
Two Room by Room Recaps in two days?! I know you’re pumped!!
When we first saw this original master closet, we knew that just wouldn’t work. Since we knew that we were going to be completely transforming the original kitchenette into the master bathroom, we decided to do a little rearranging.
This area can be a little confusing if you haven’t seen it in person. To get a better idea, I drew up these simple before and after plans in Floorplanner.
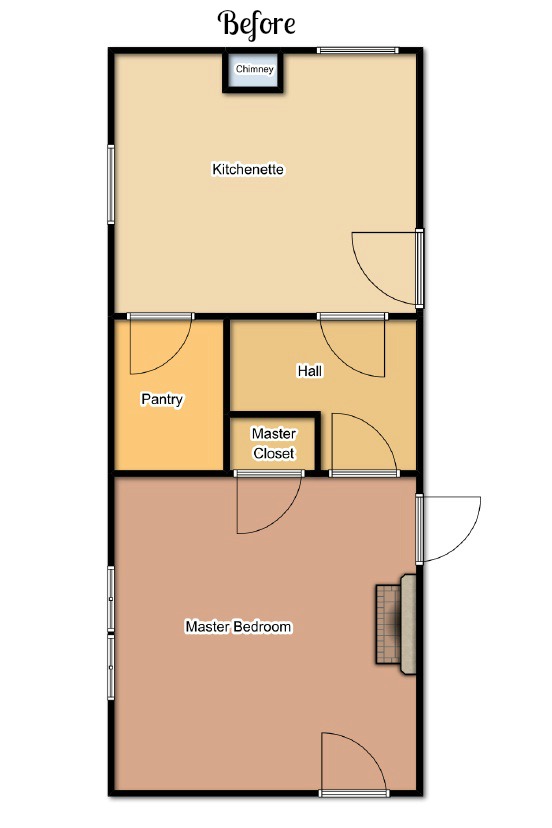
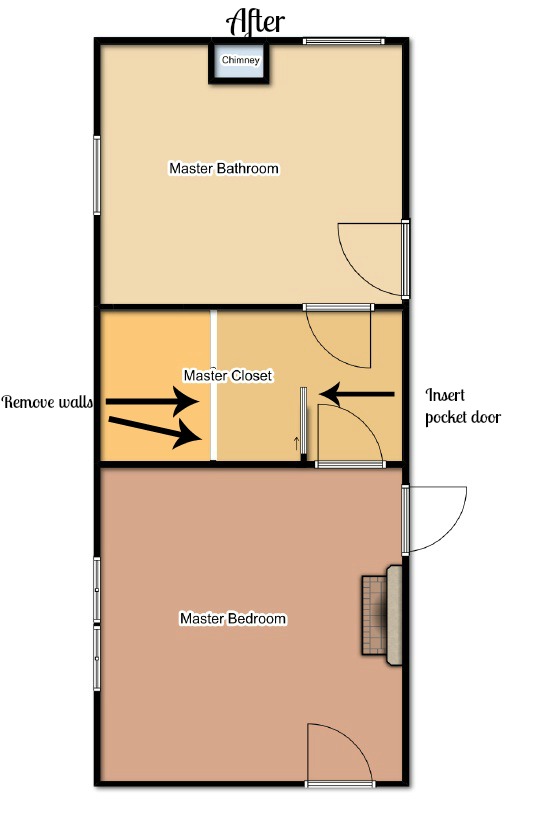
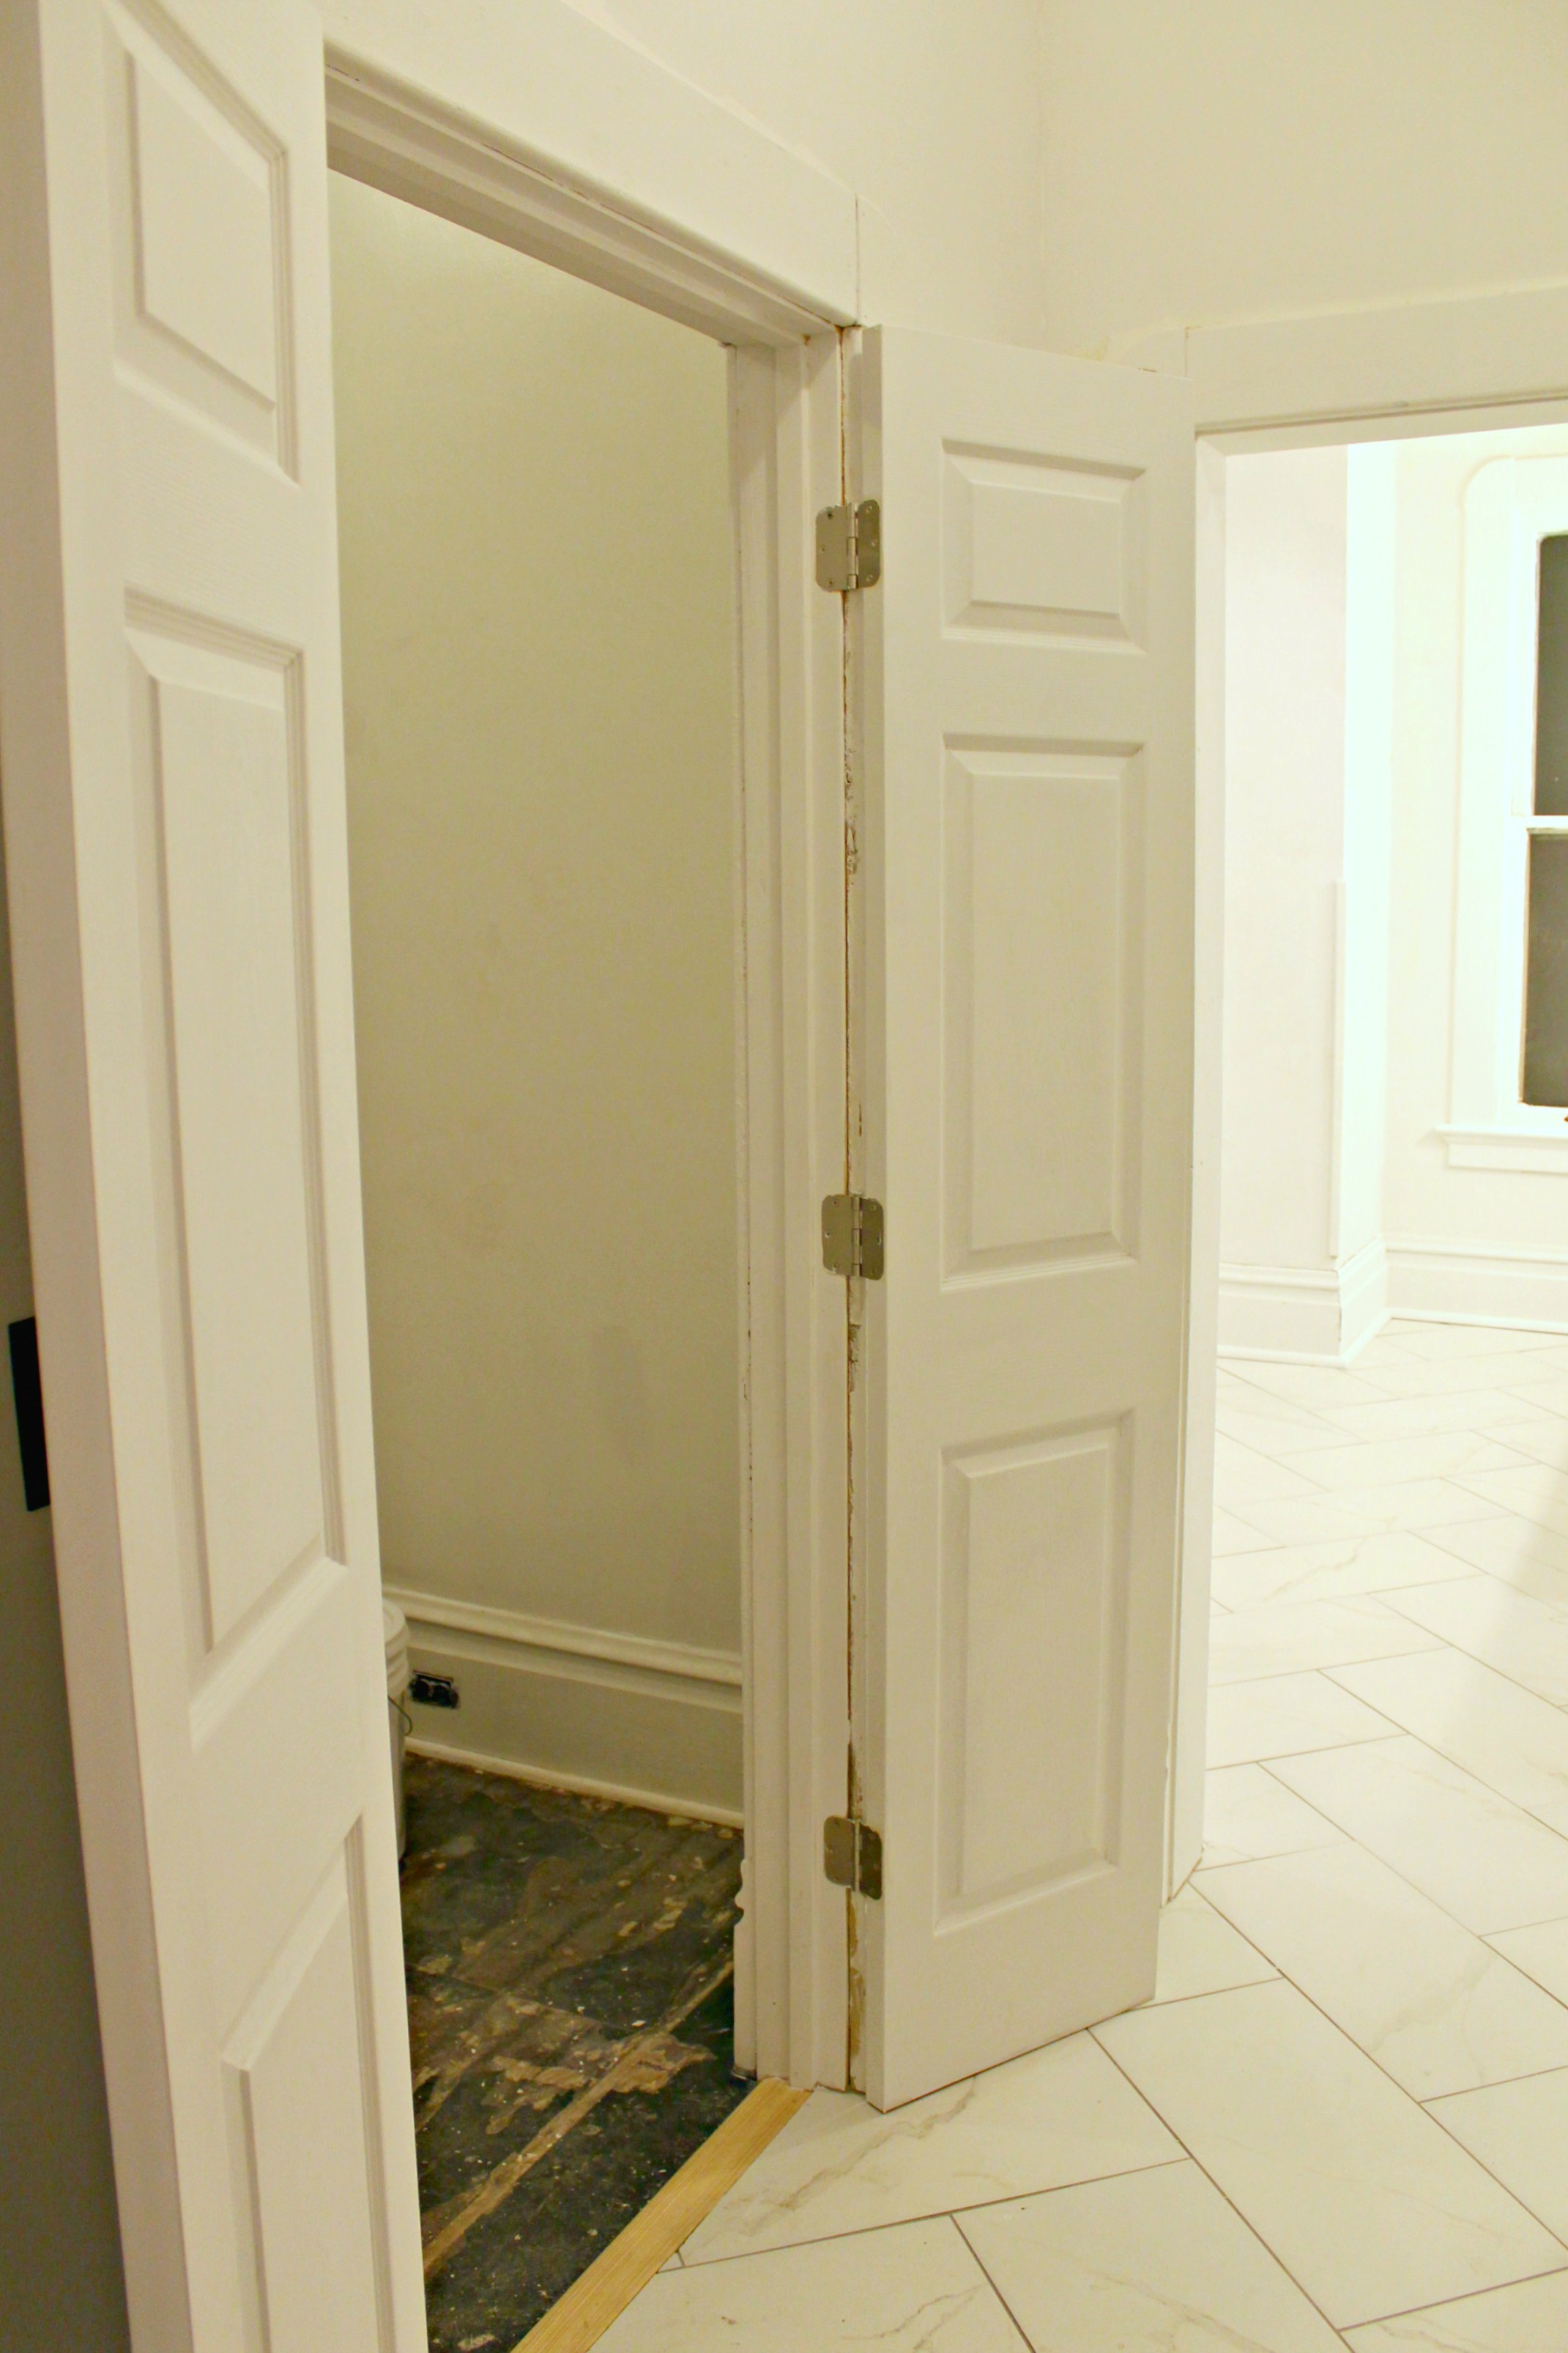
With the exception of the substituting french doors for the pocket door, we pretty much stuck to this plan.
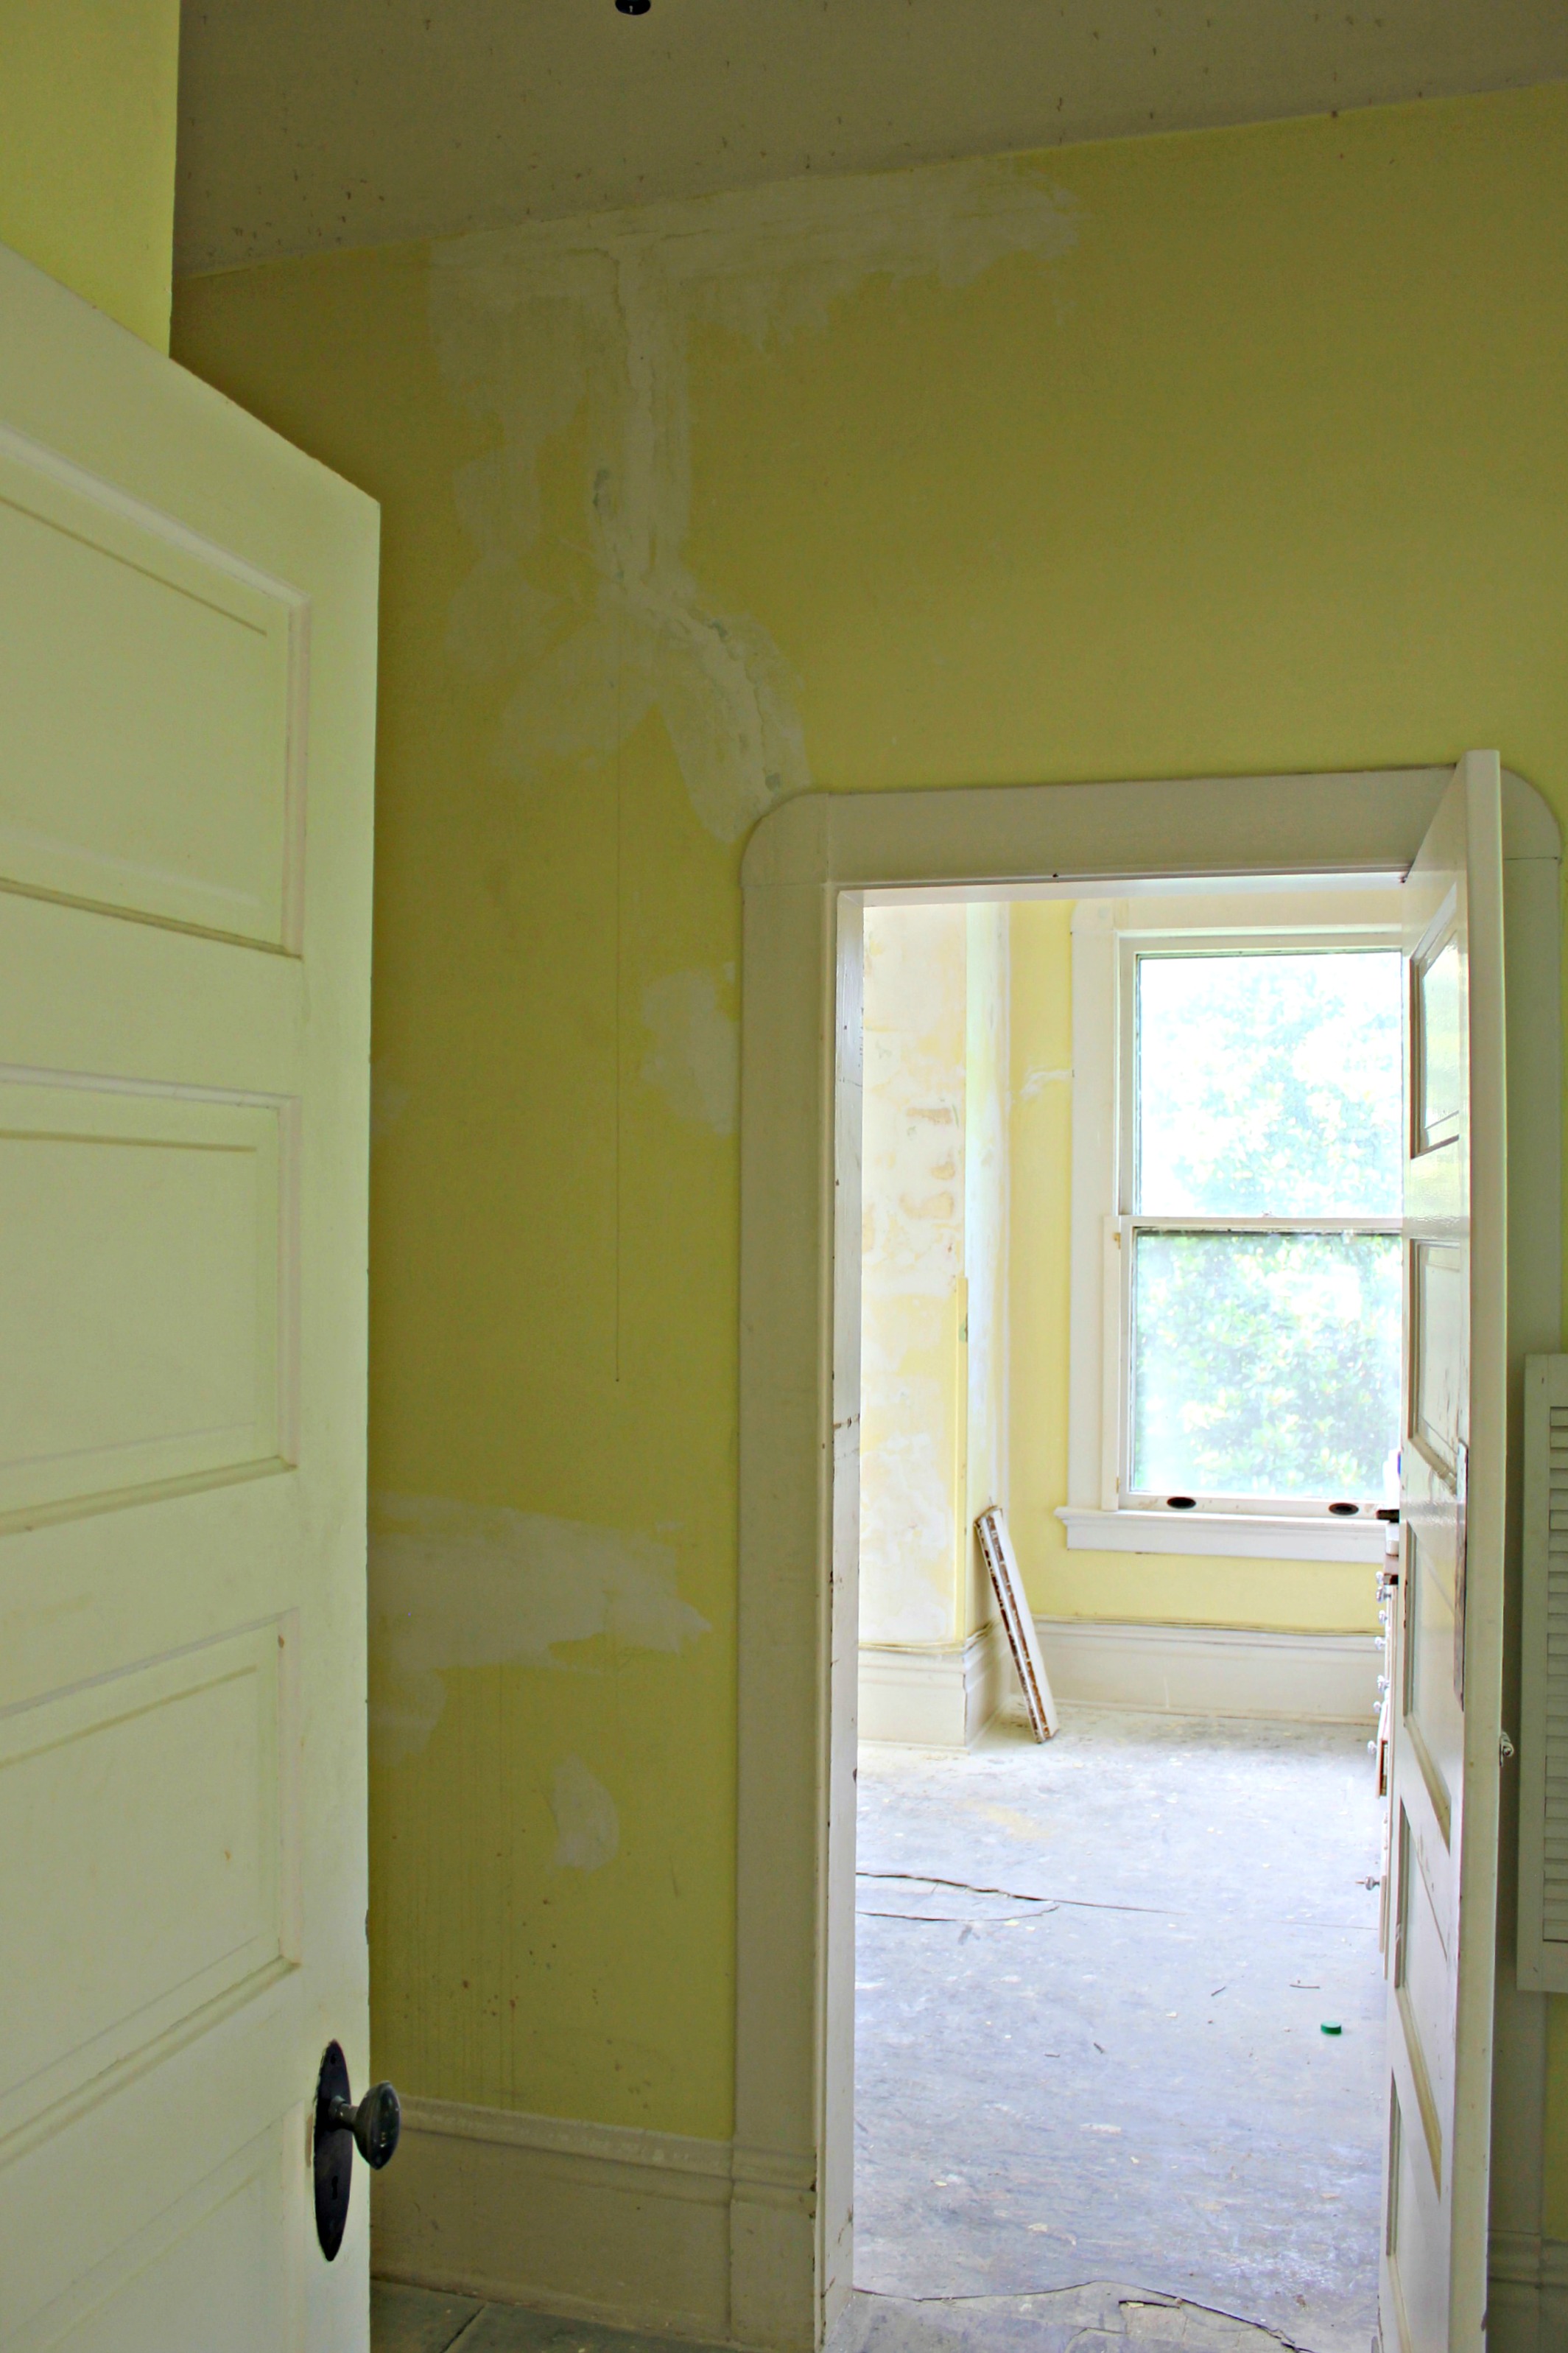
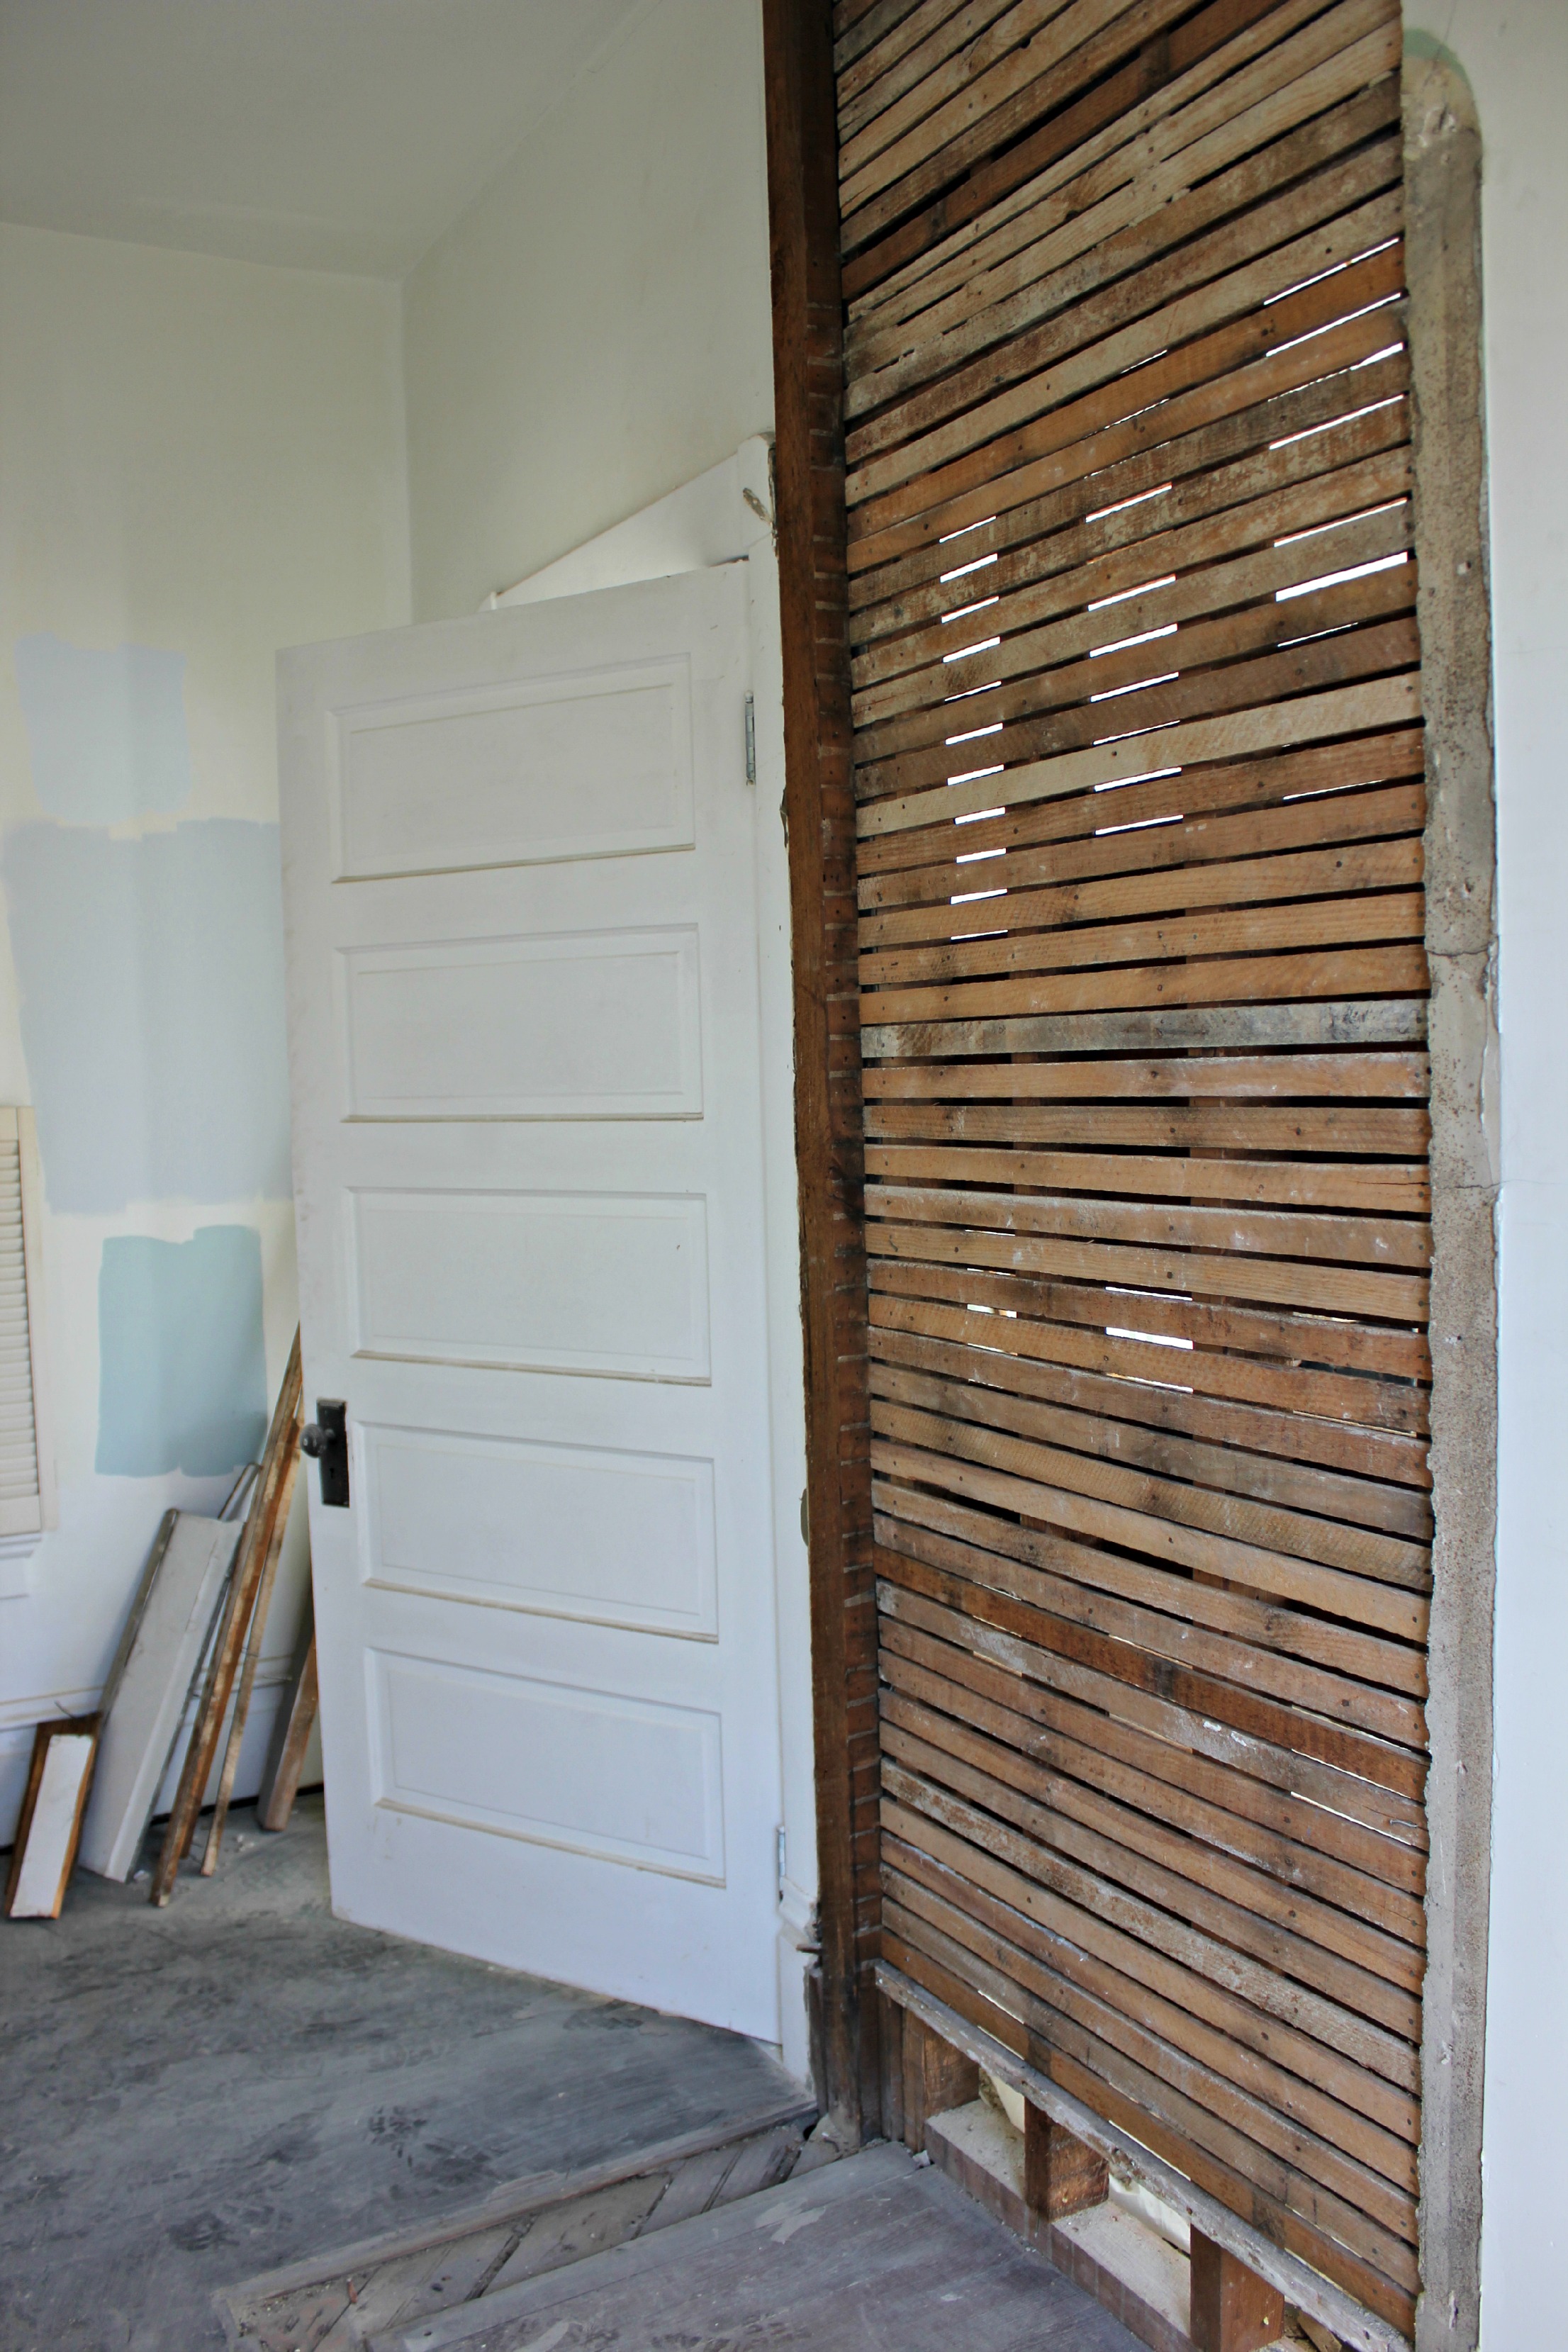
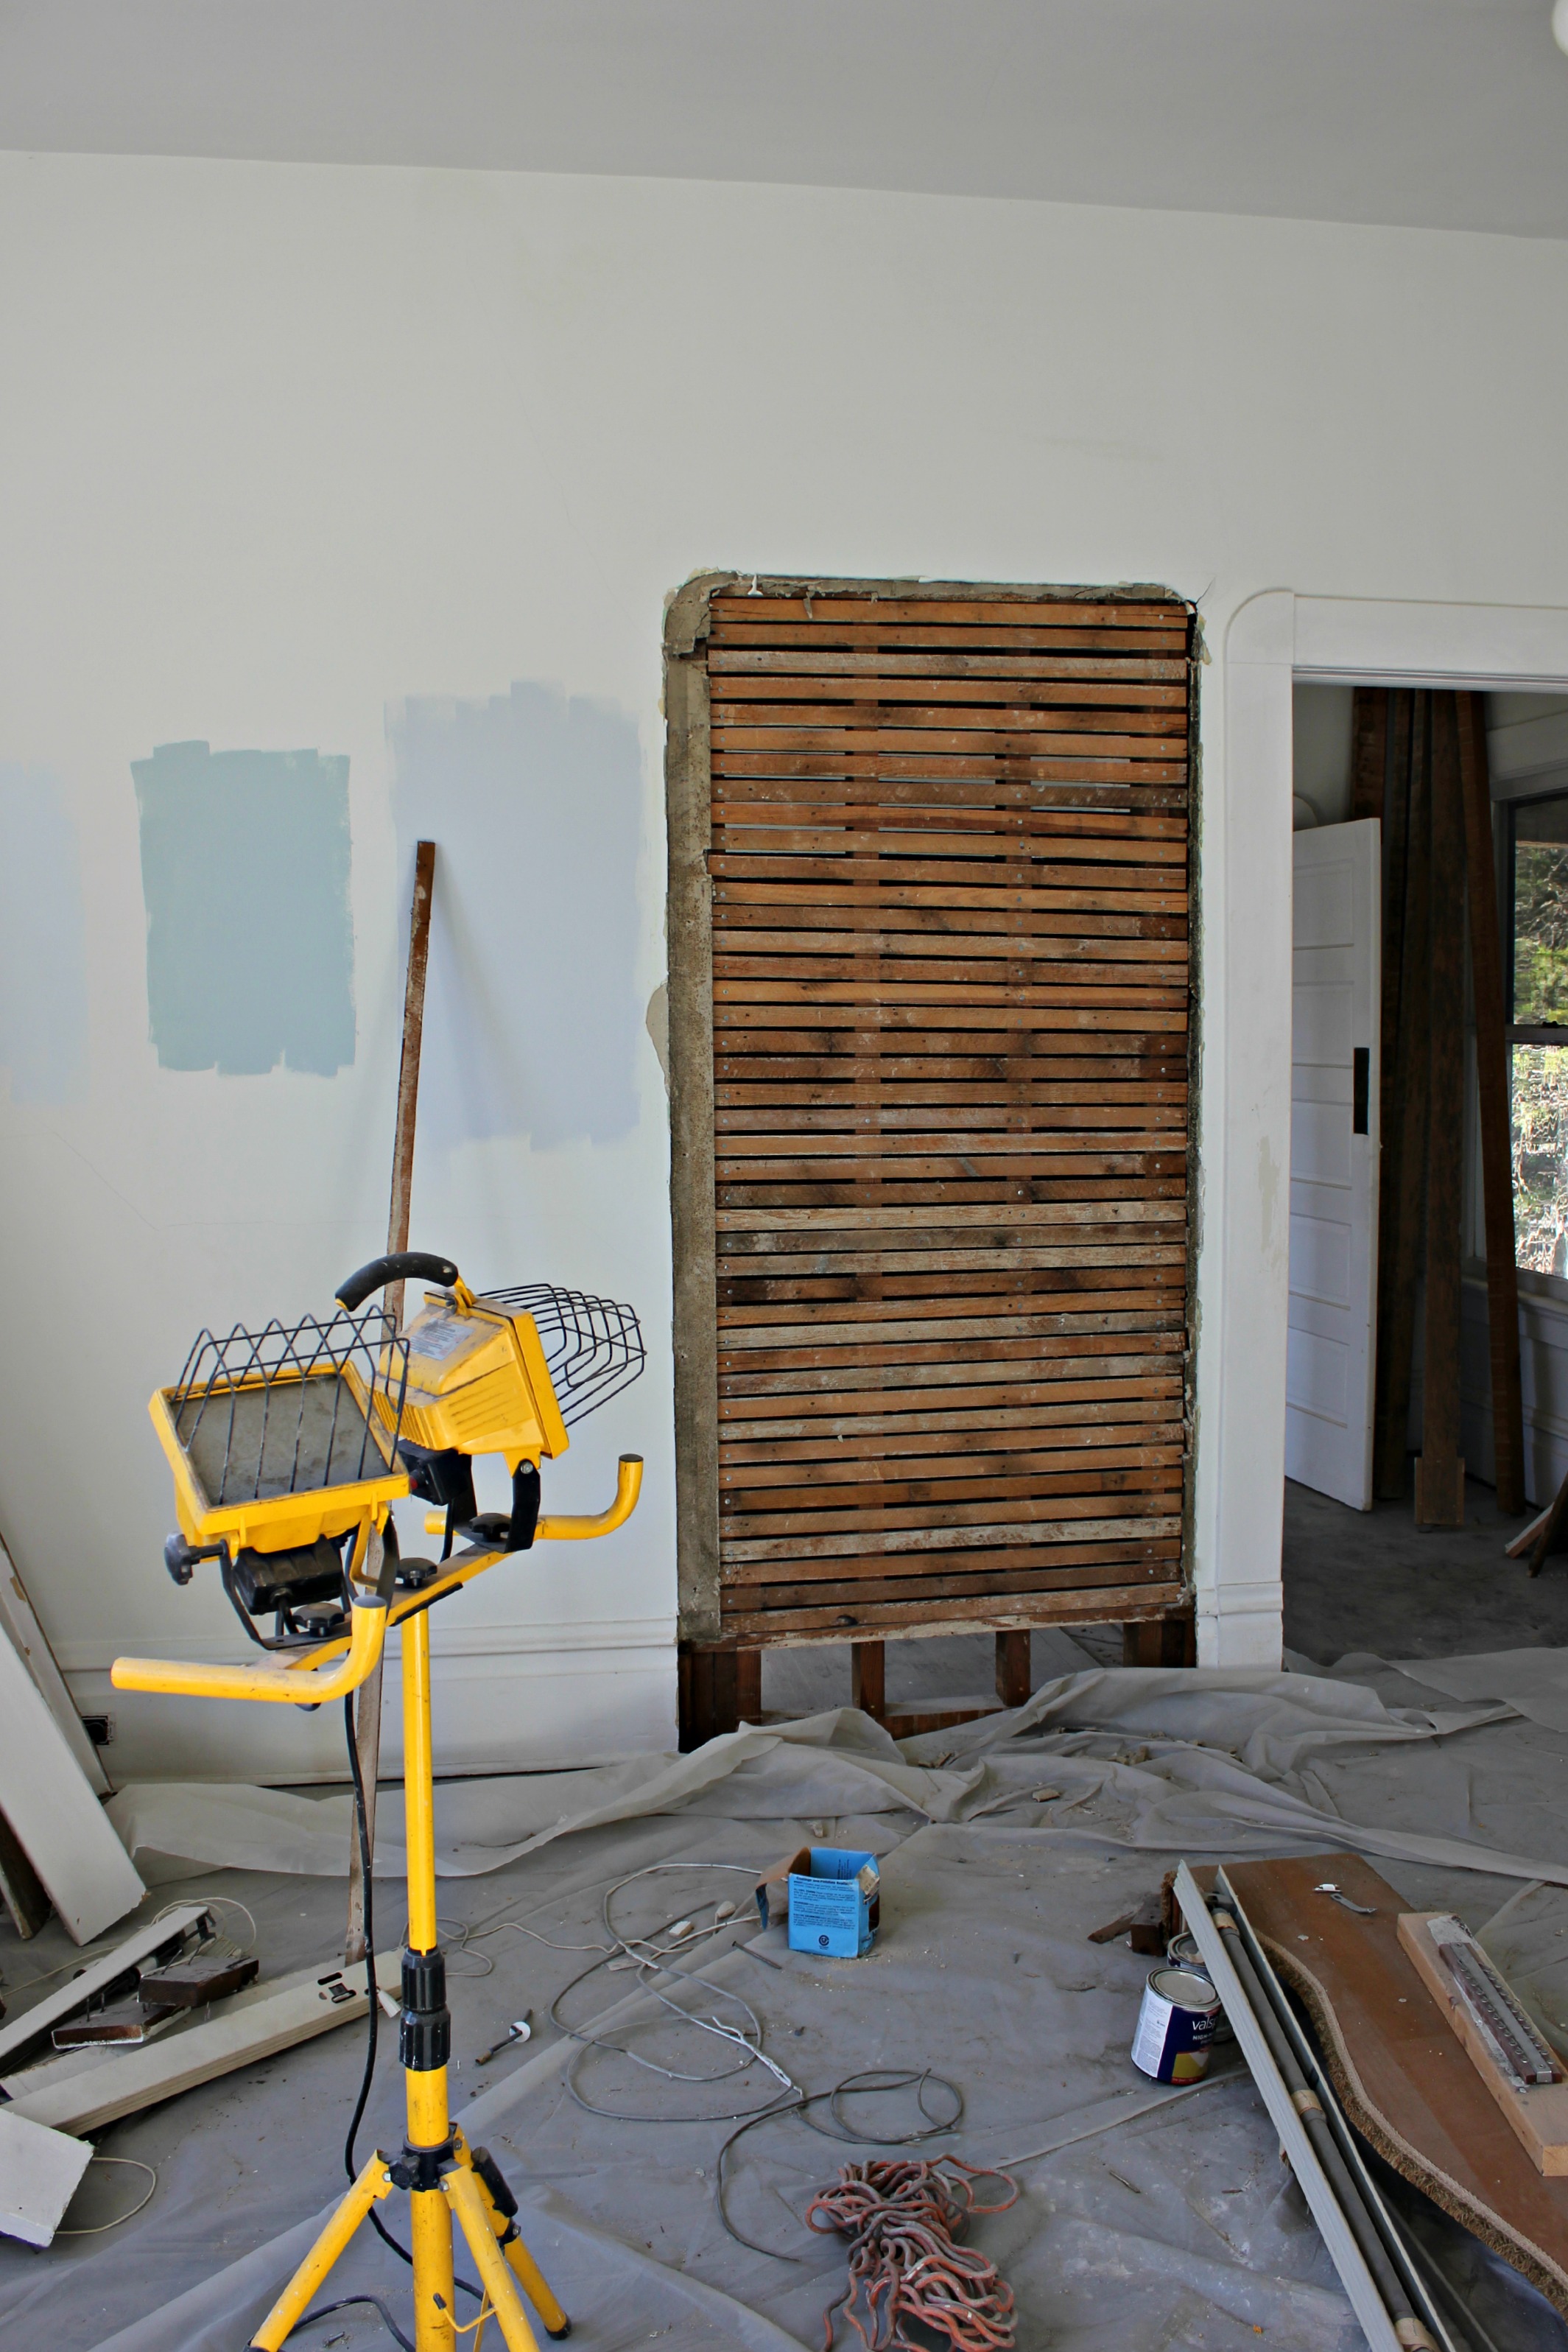
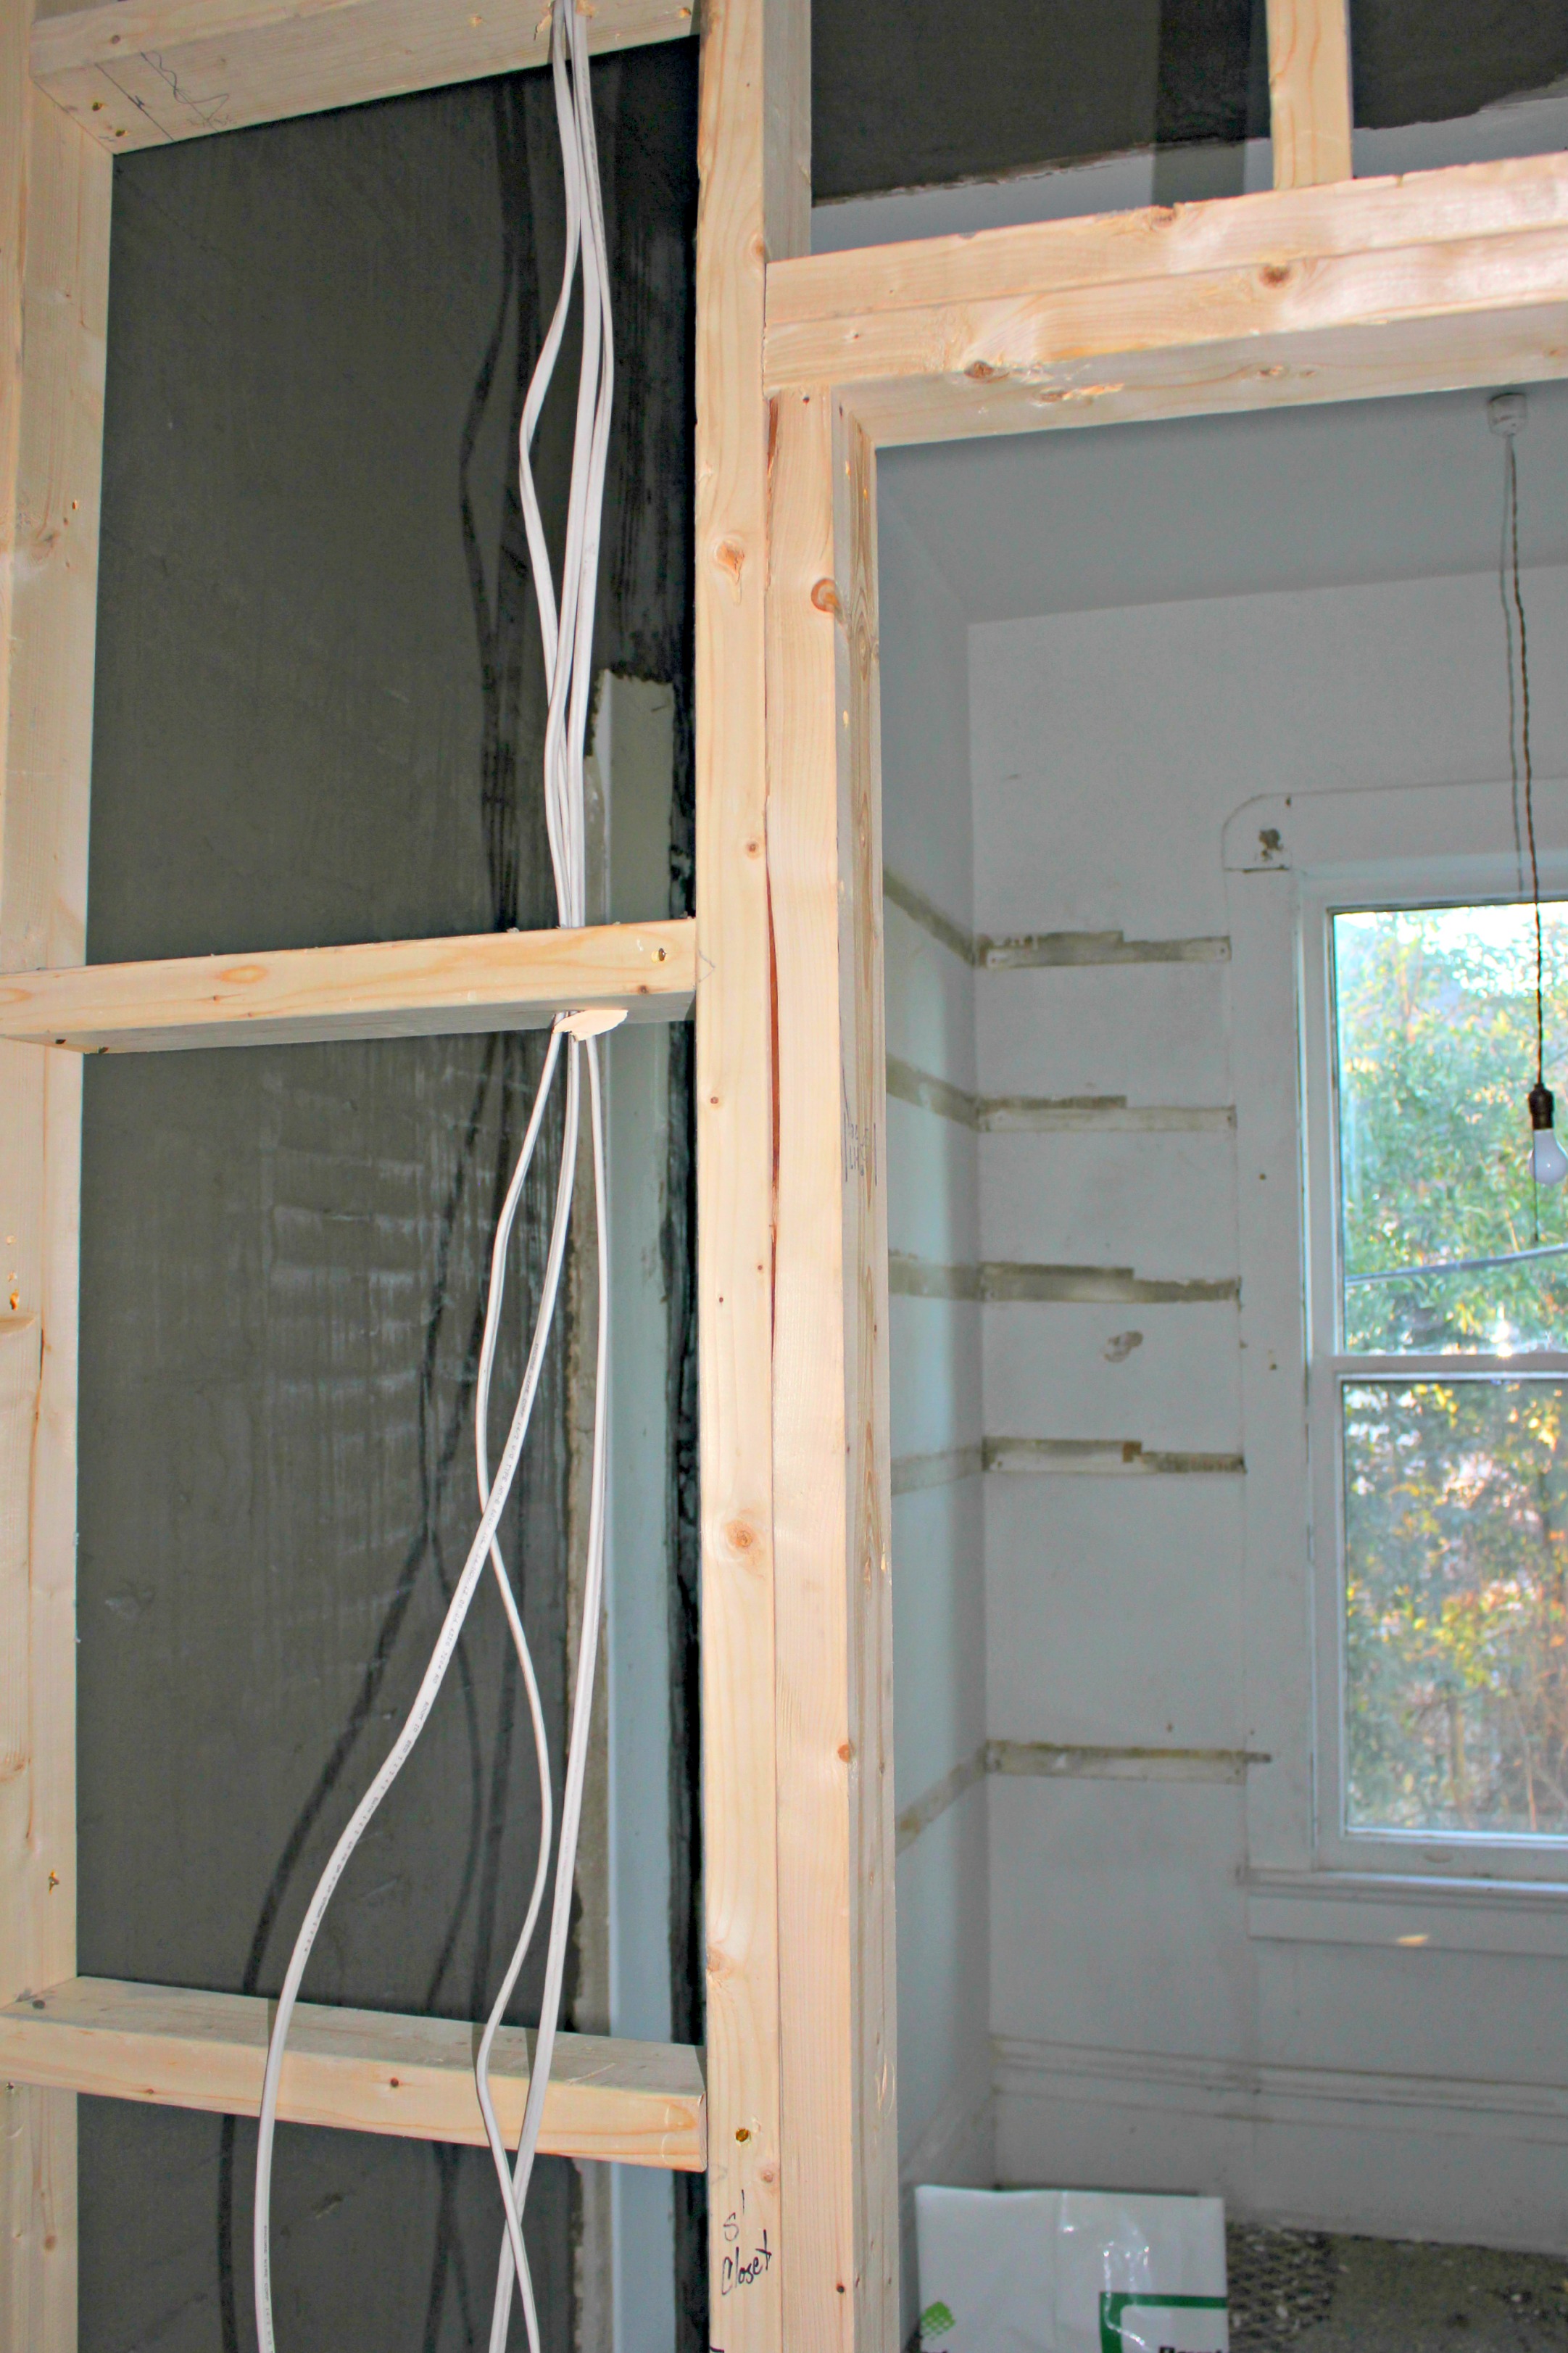
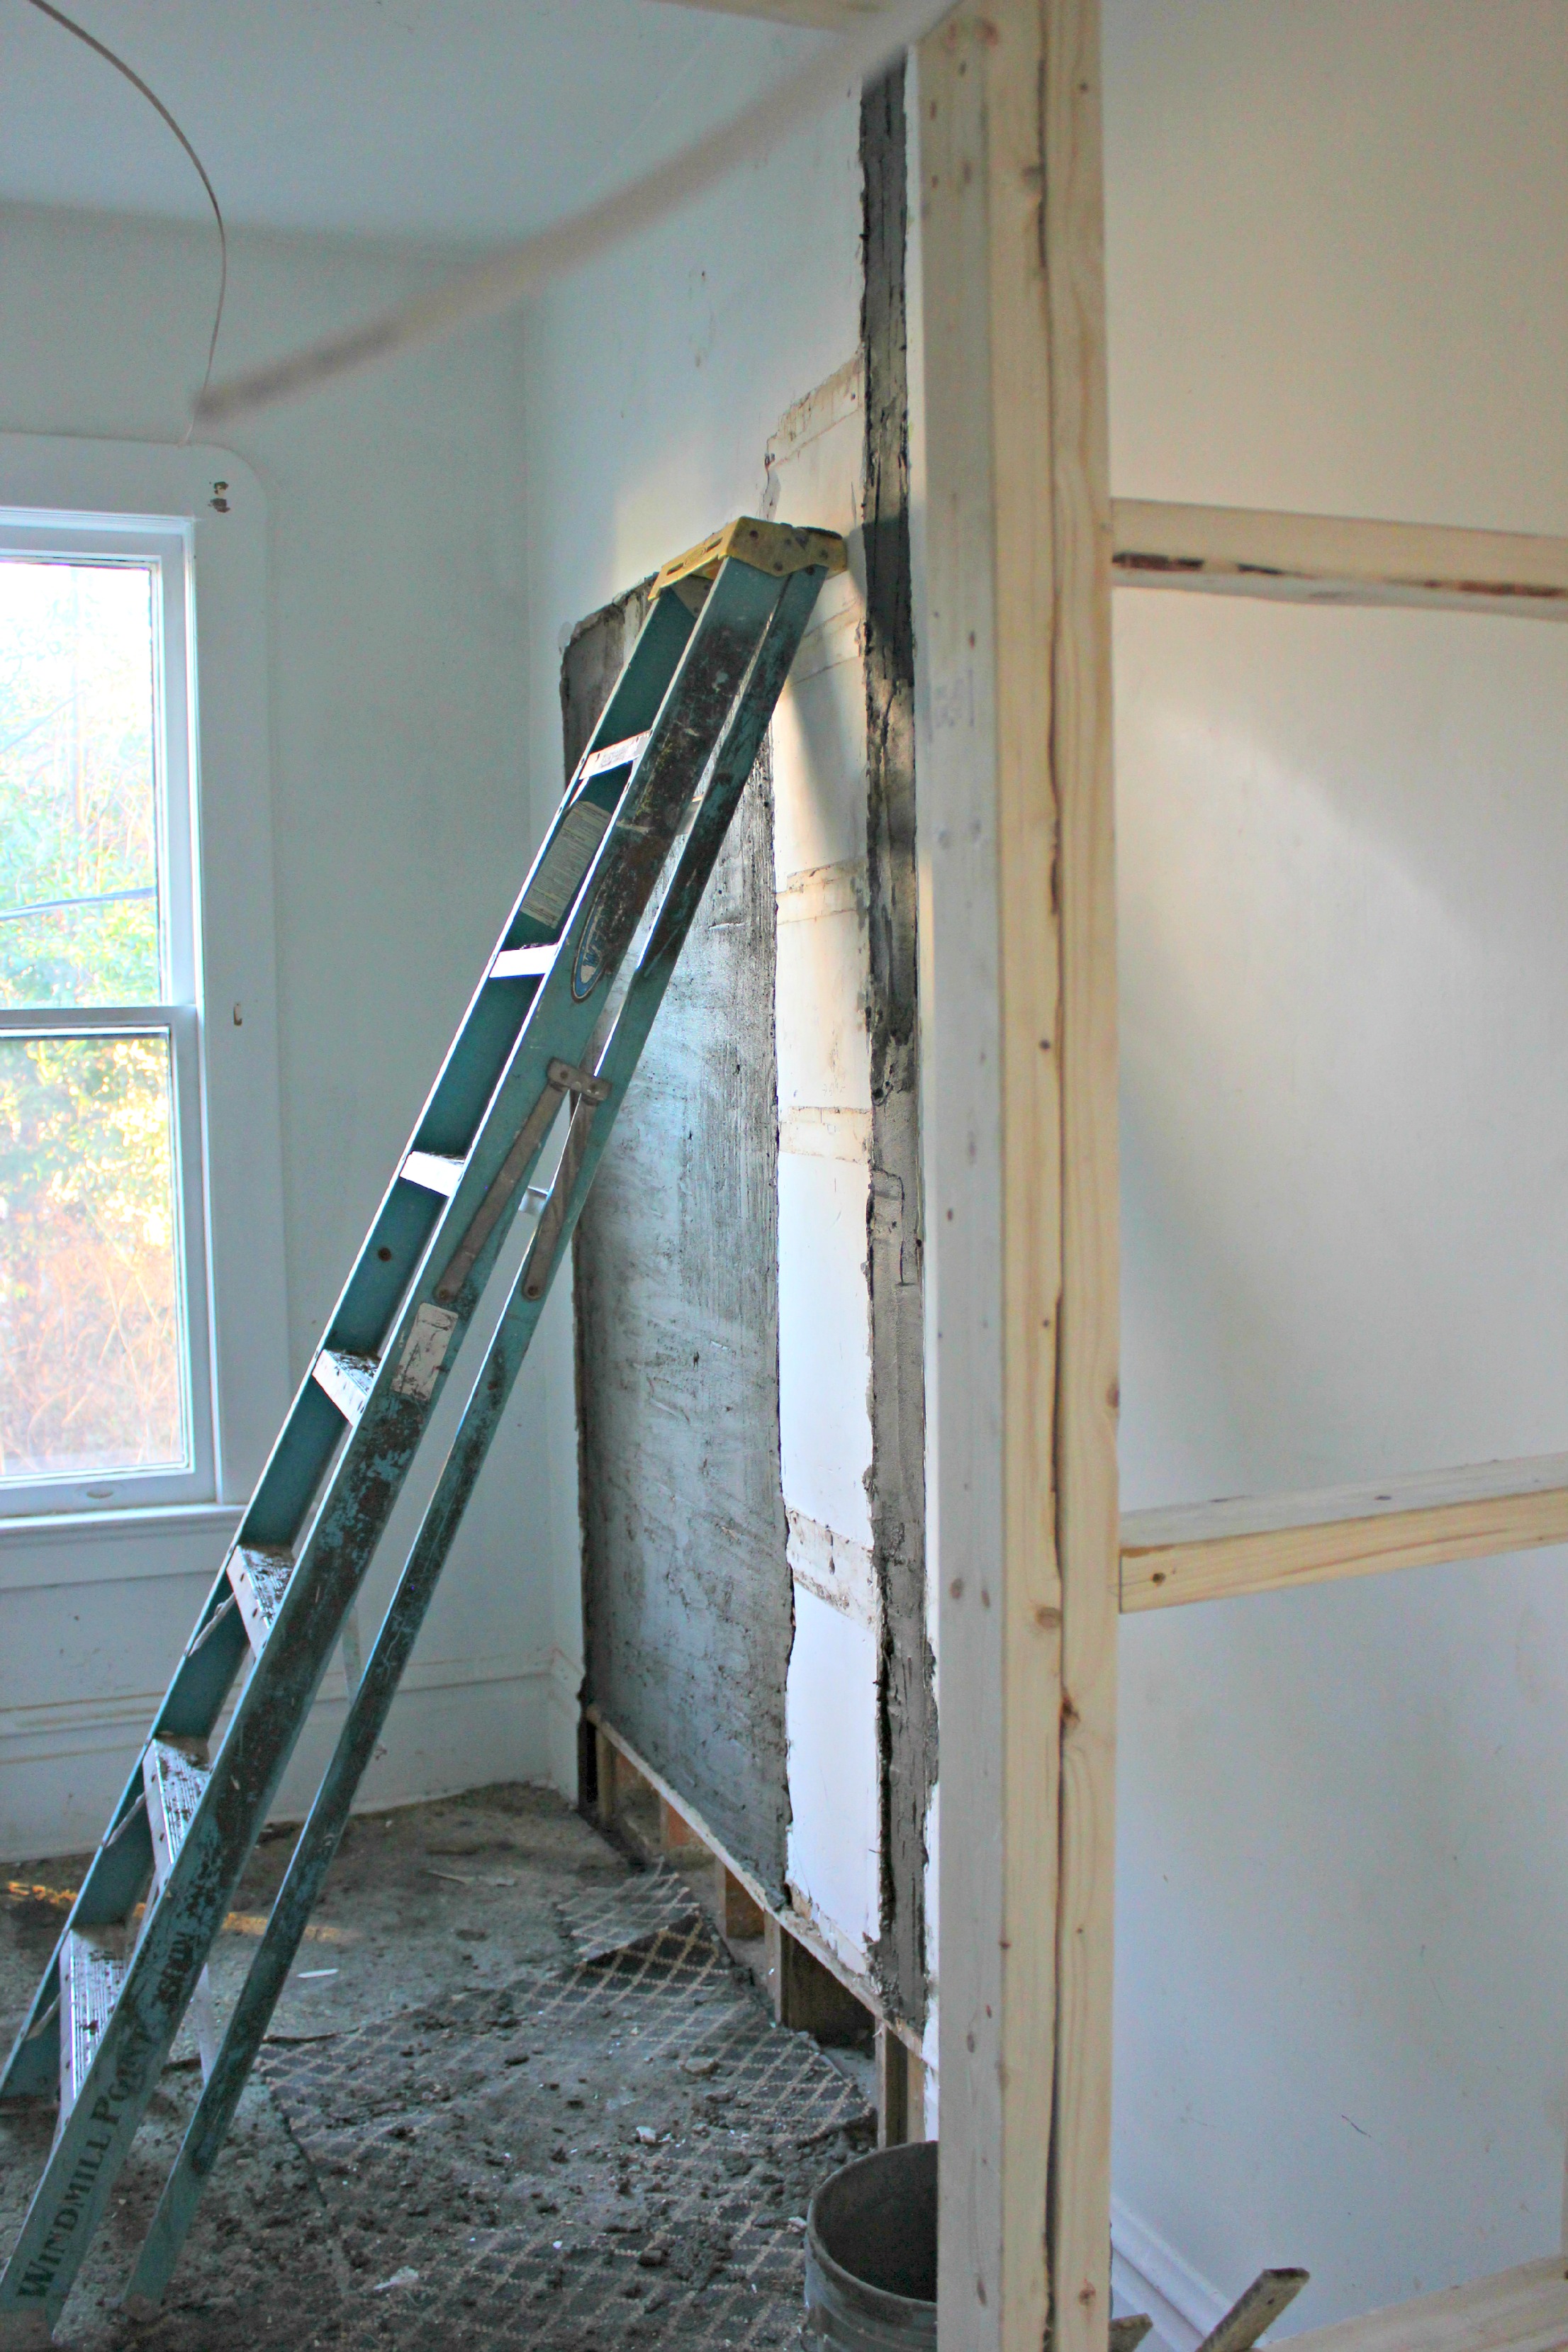
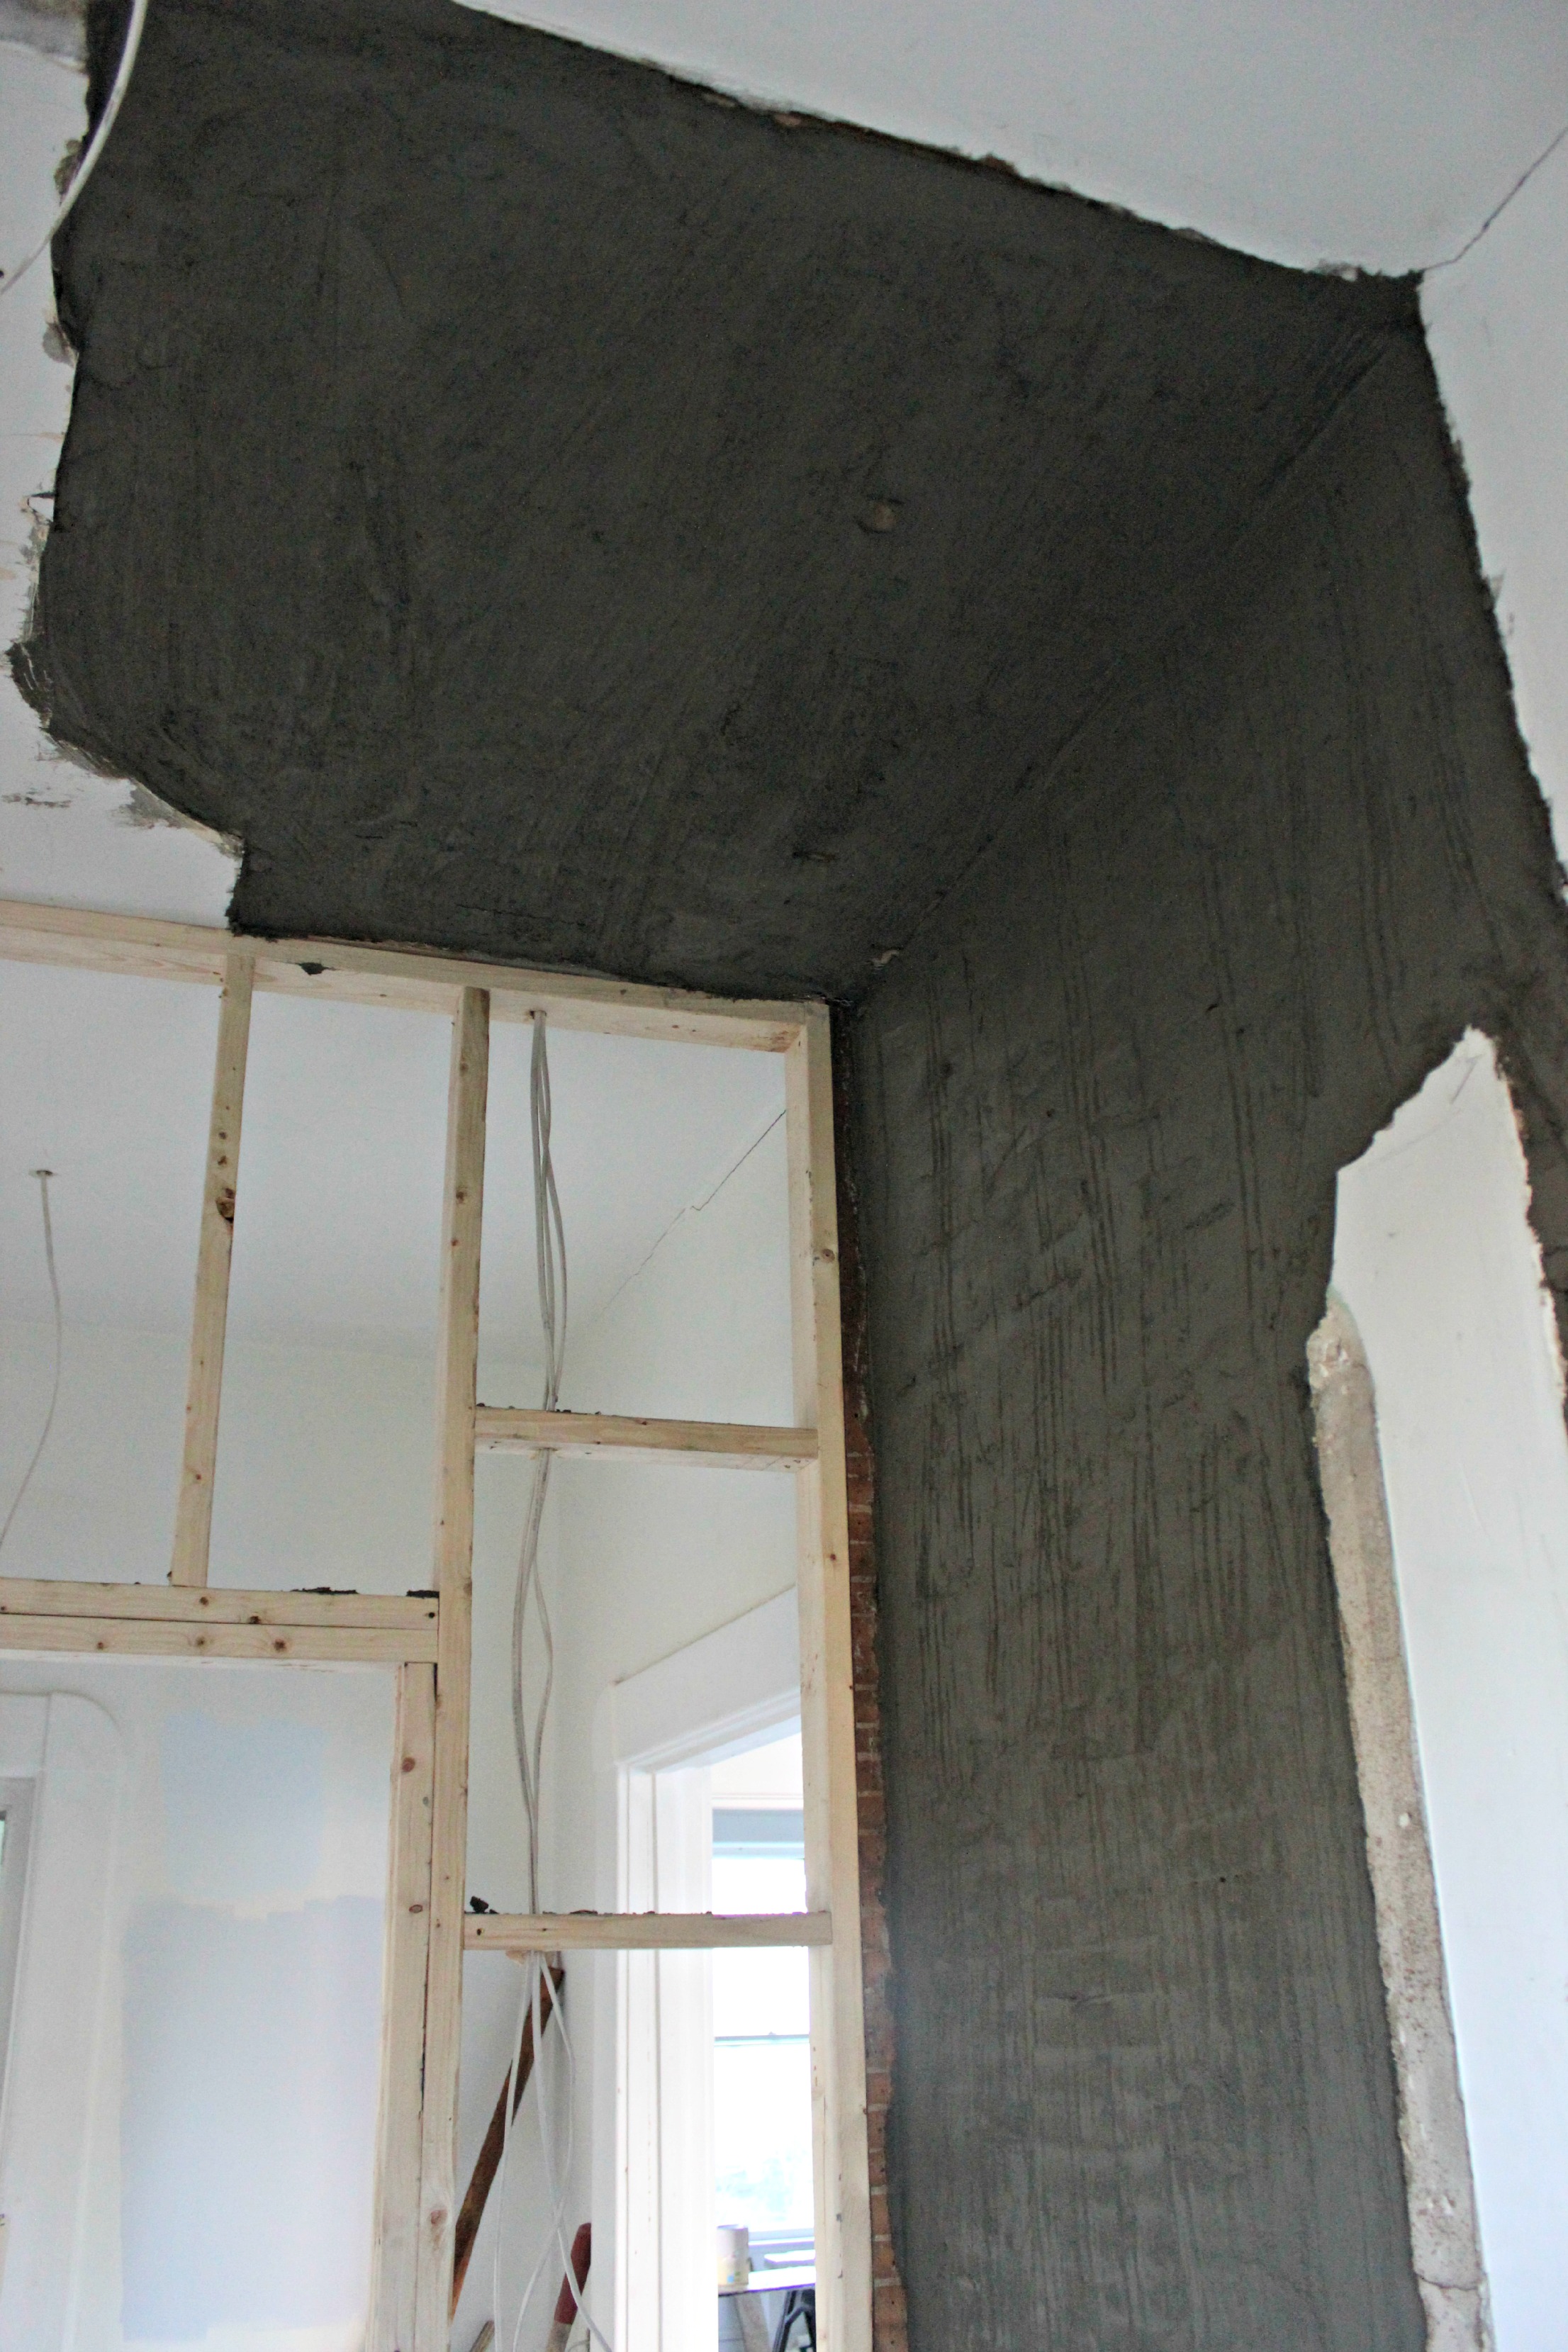
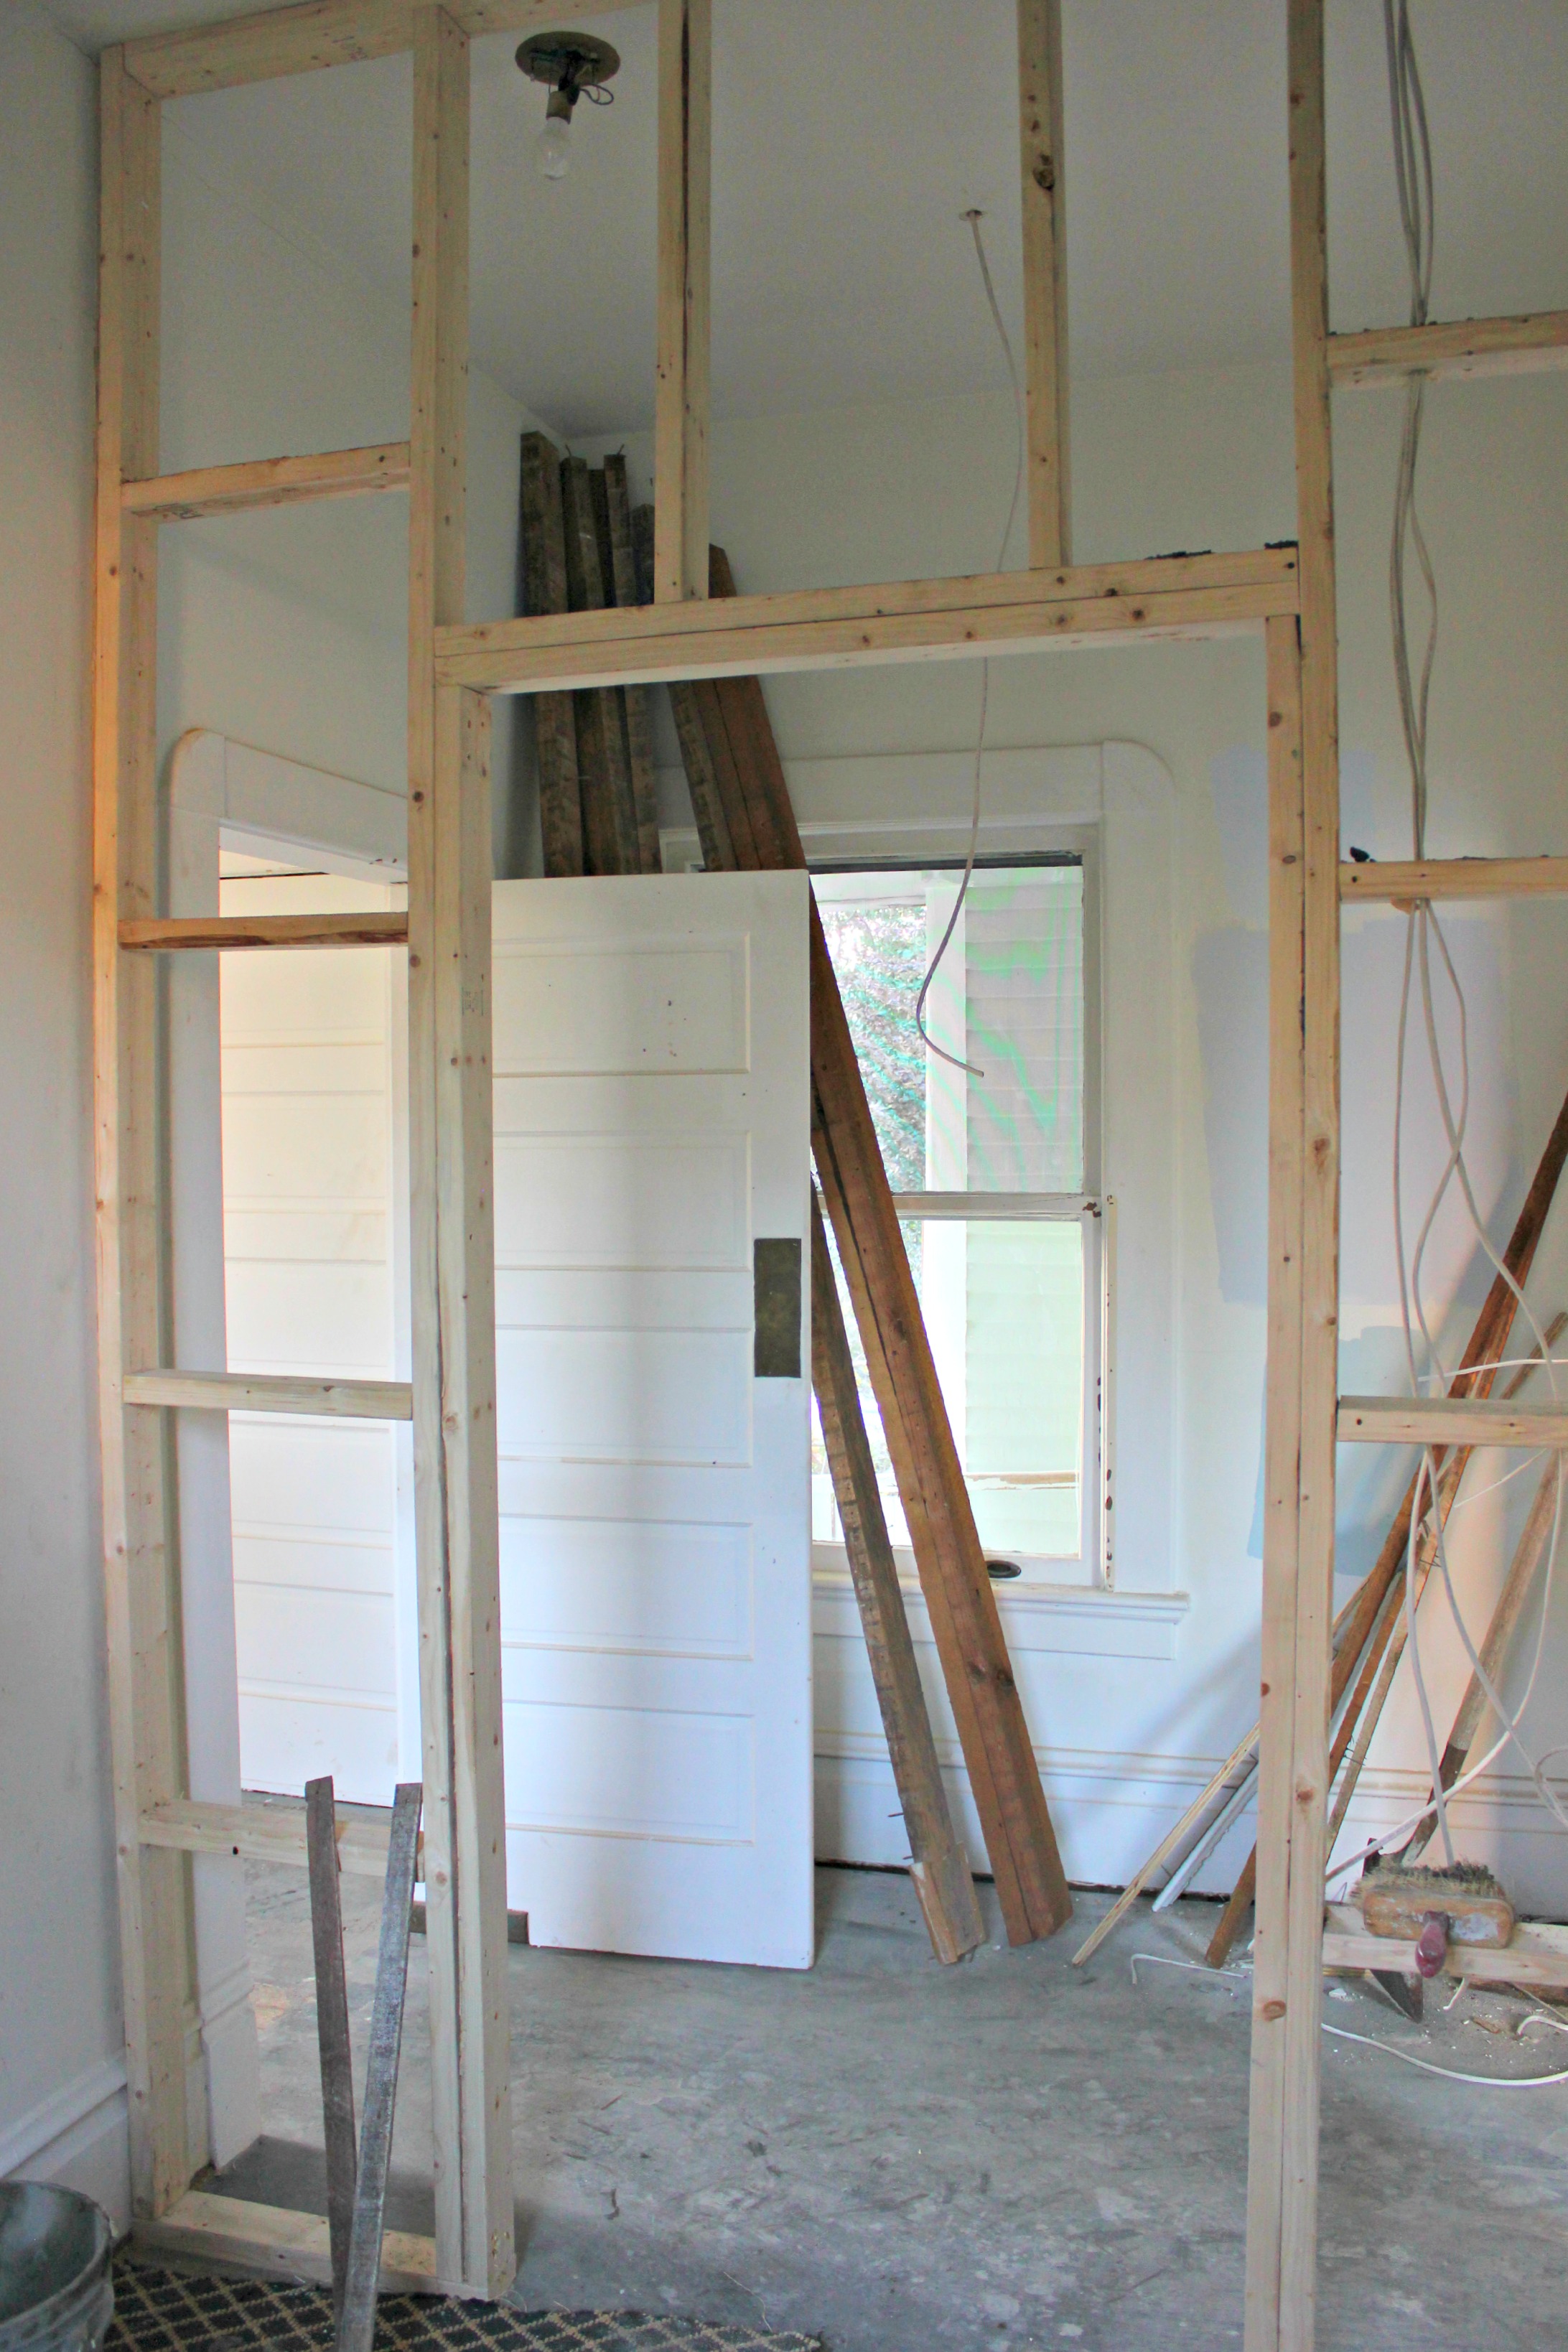
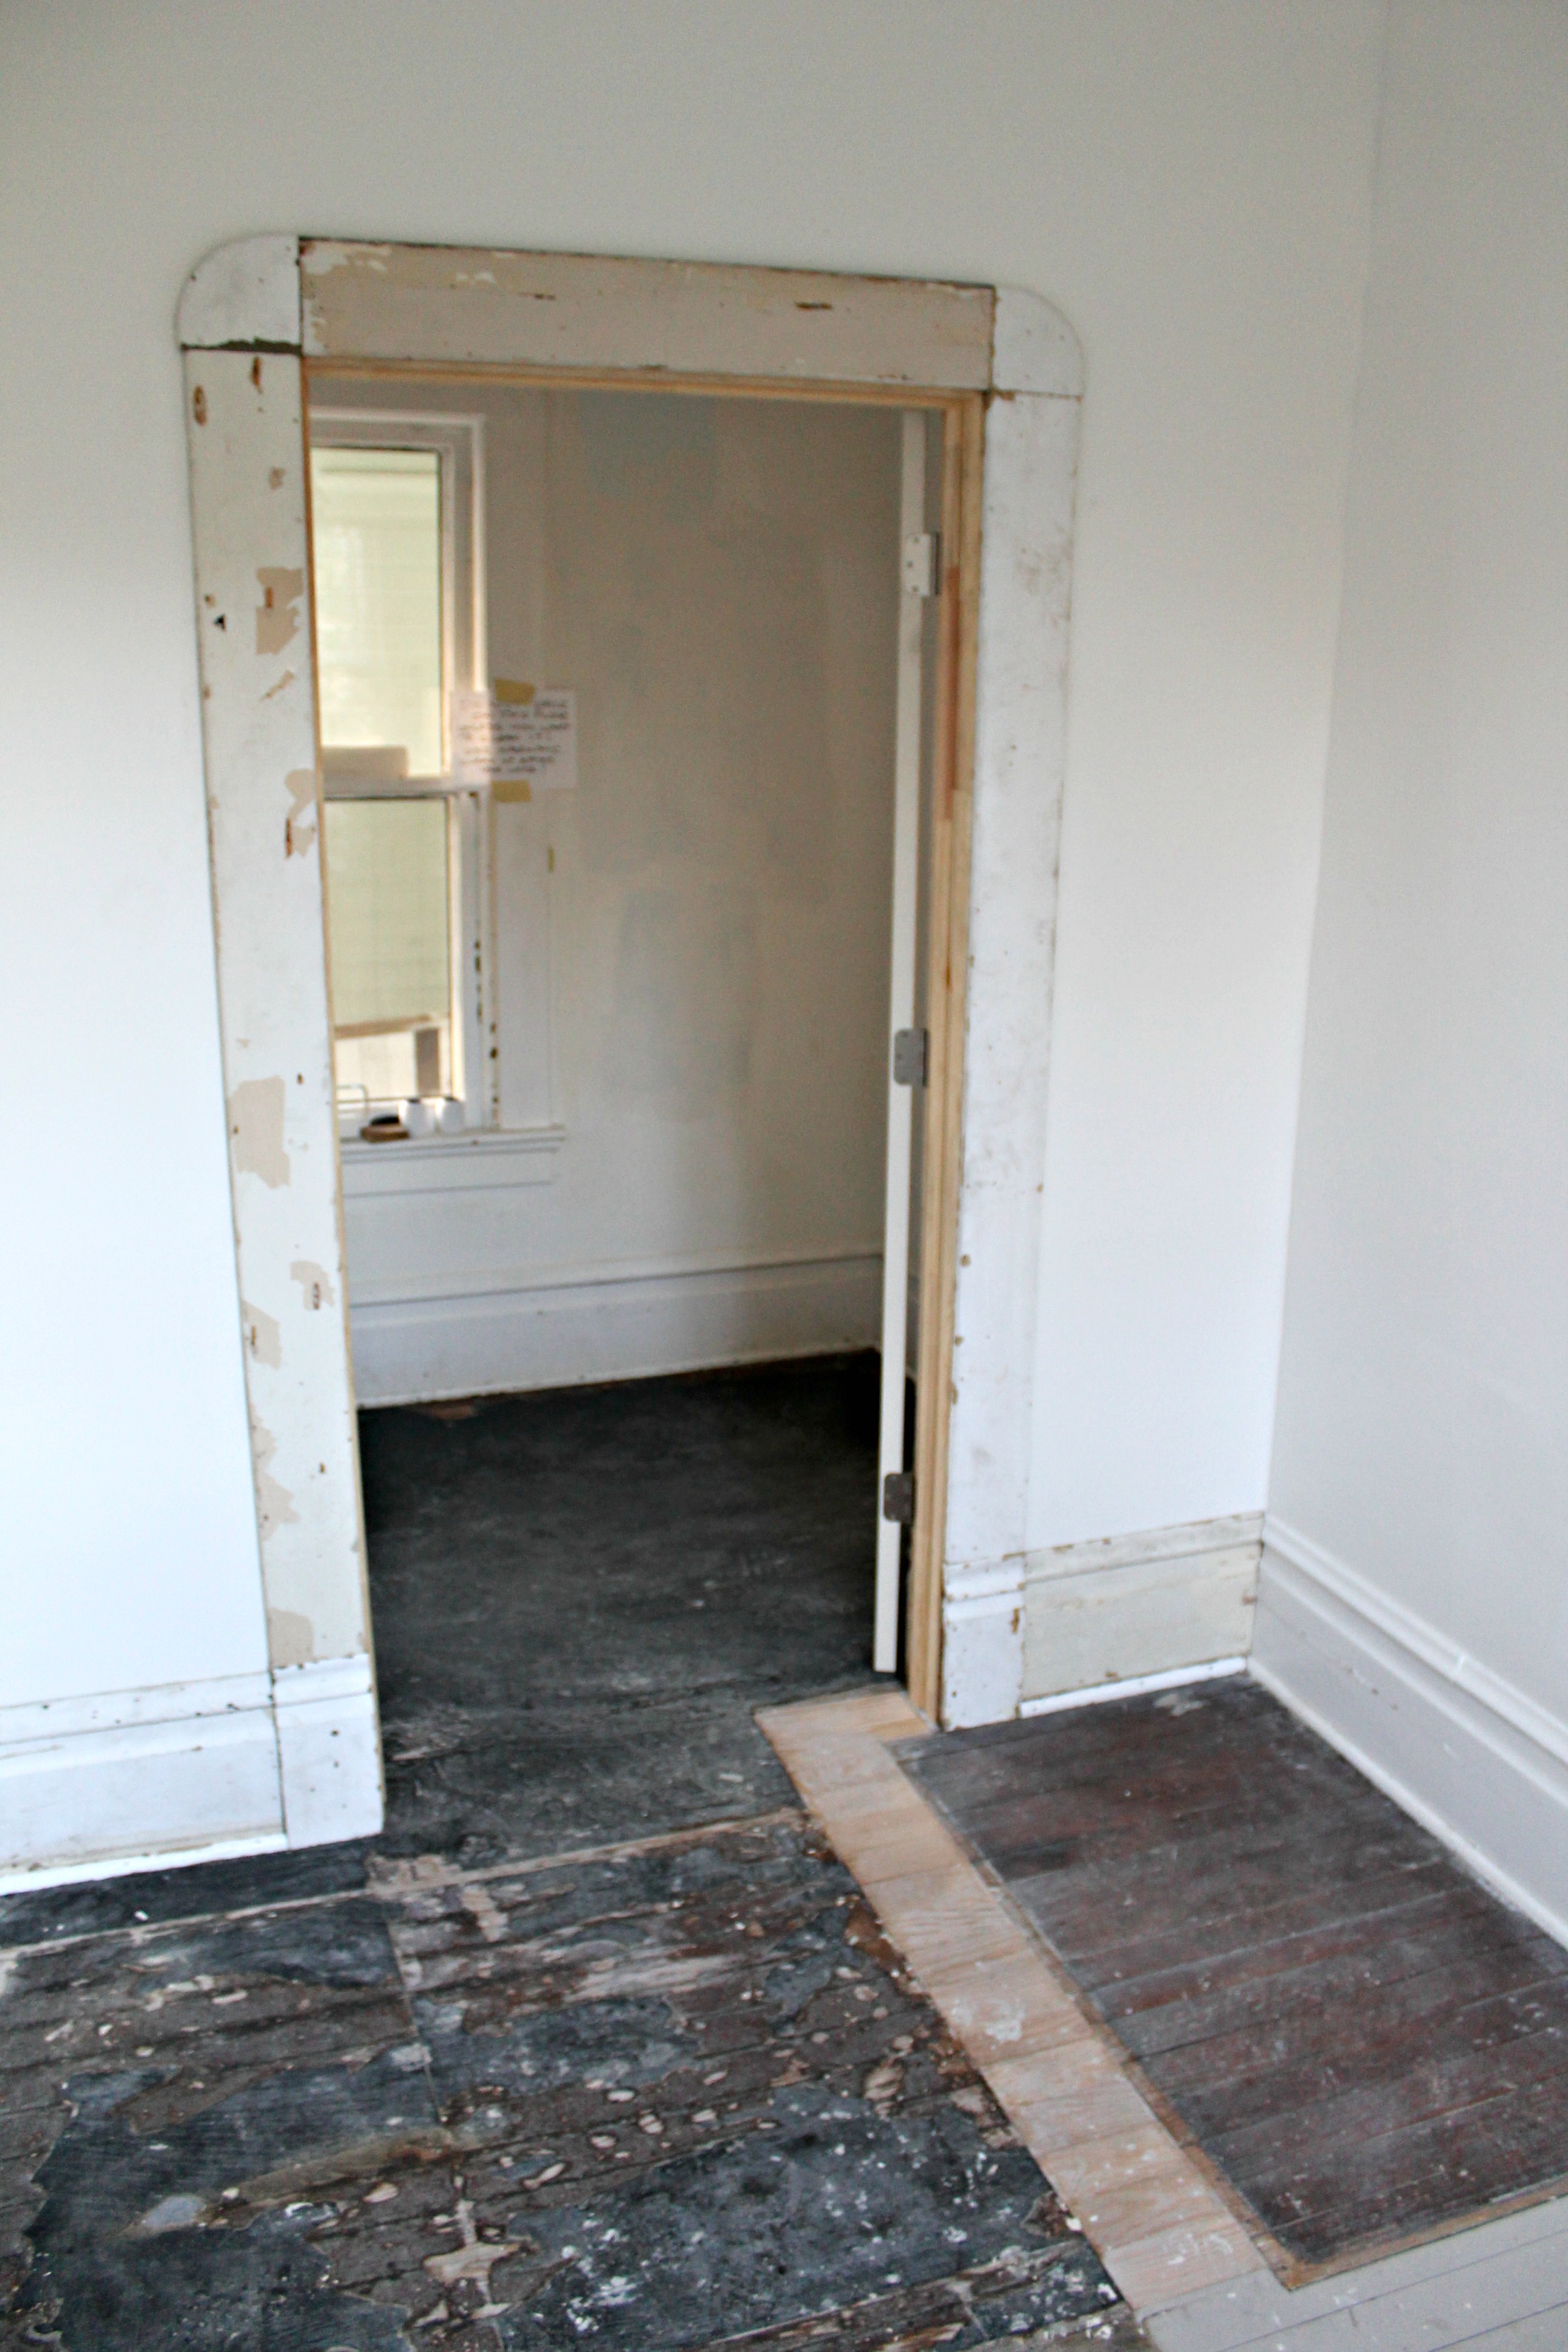
Here’s the original hall/walk through to the kitchenette (which became our master bathroom). We knocked out all of the walls on the left here.
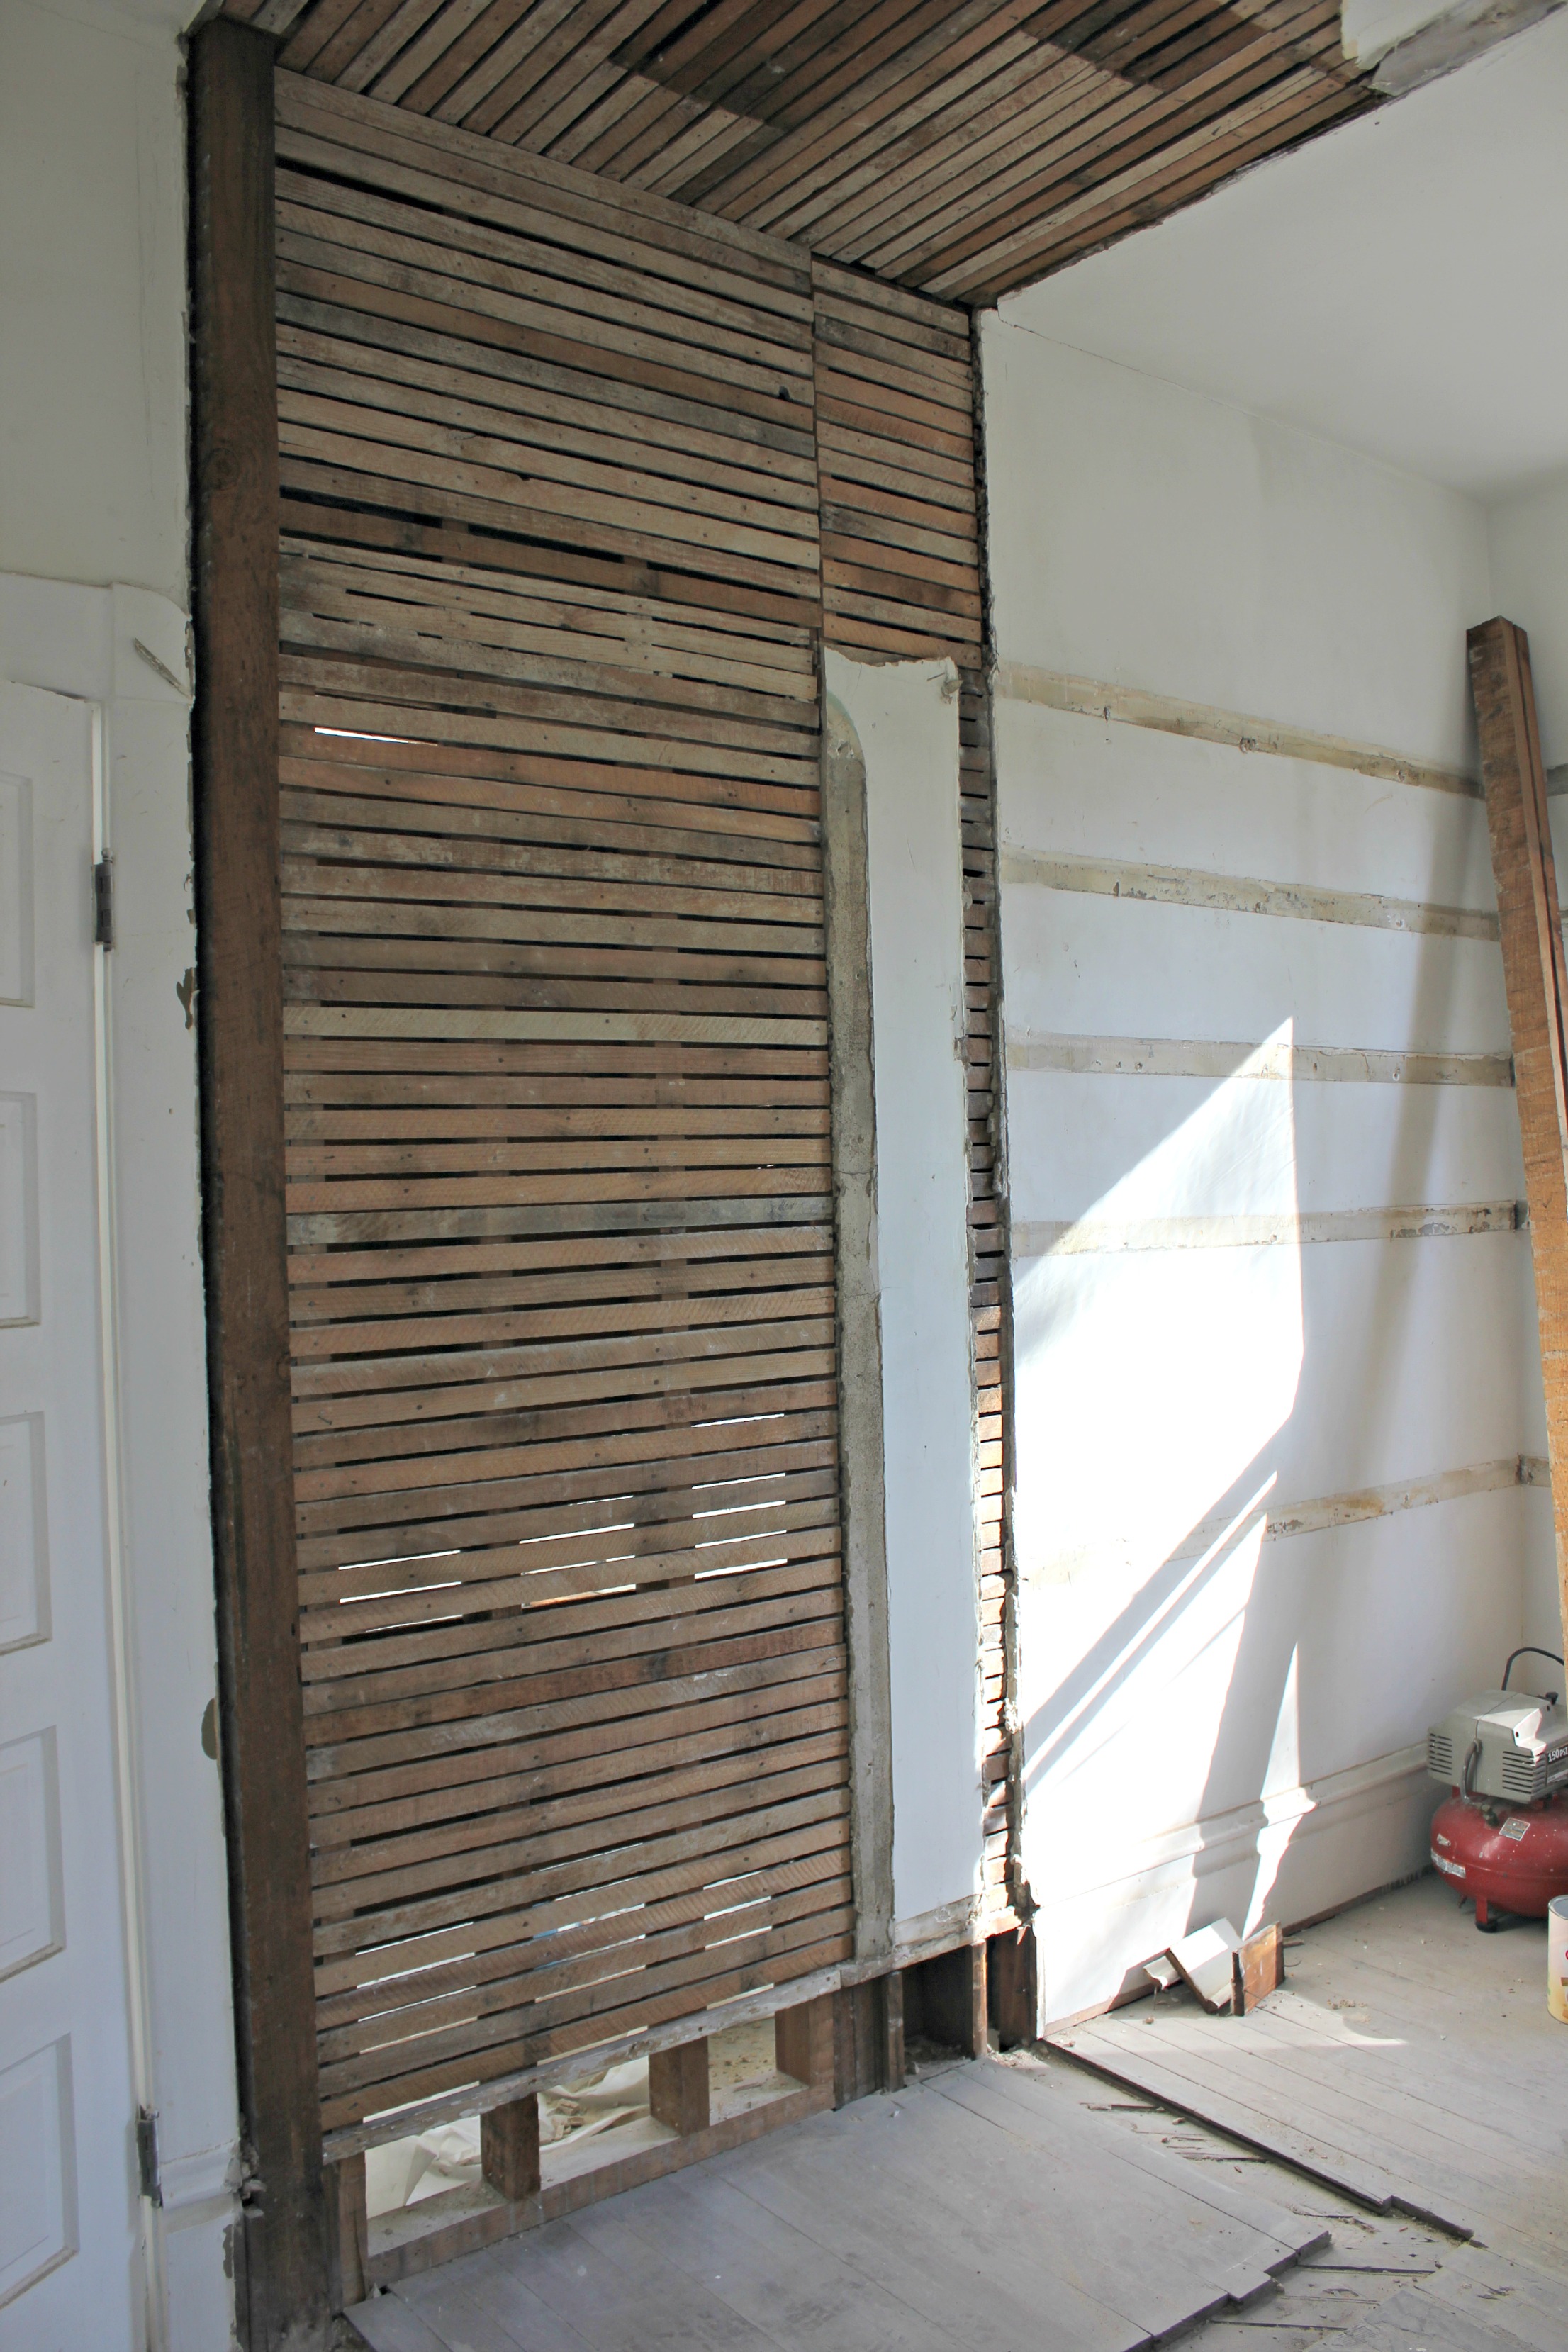
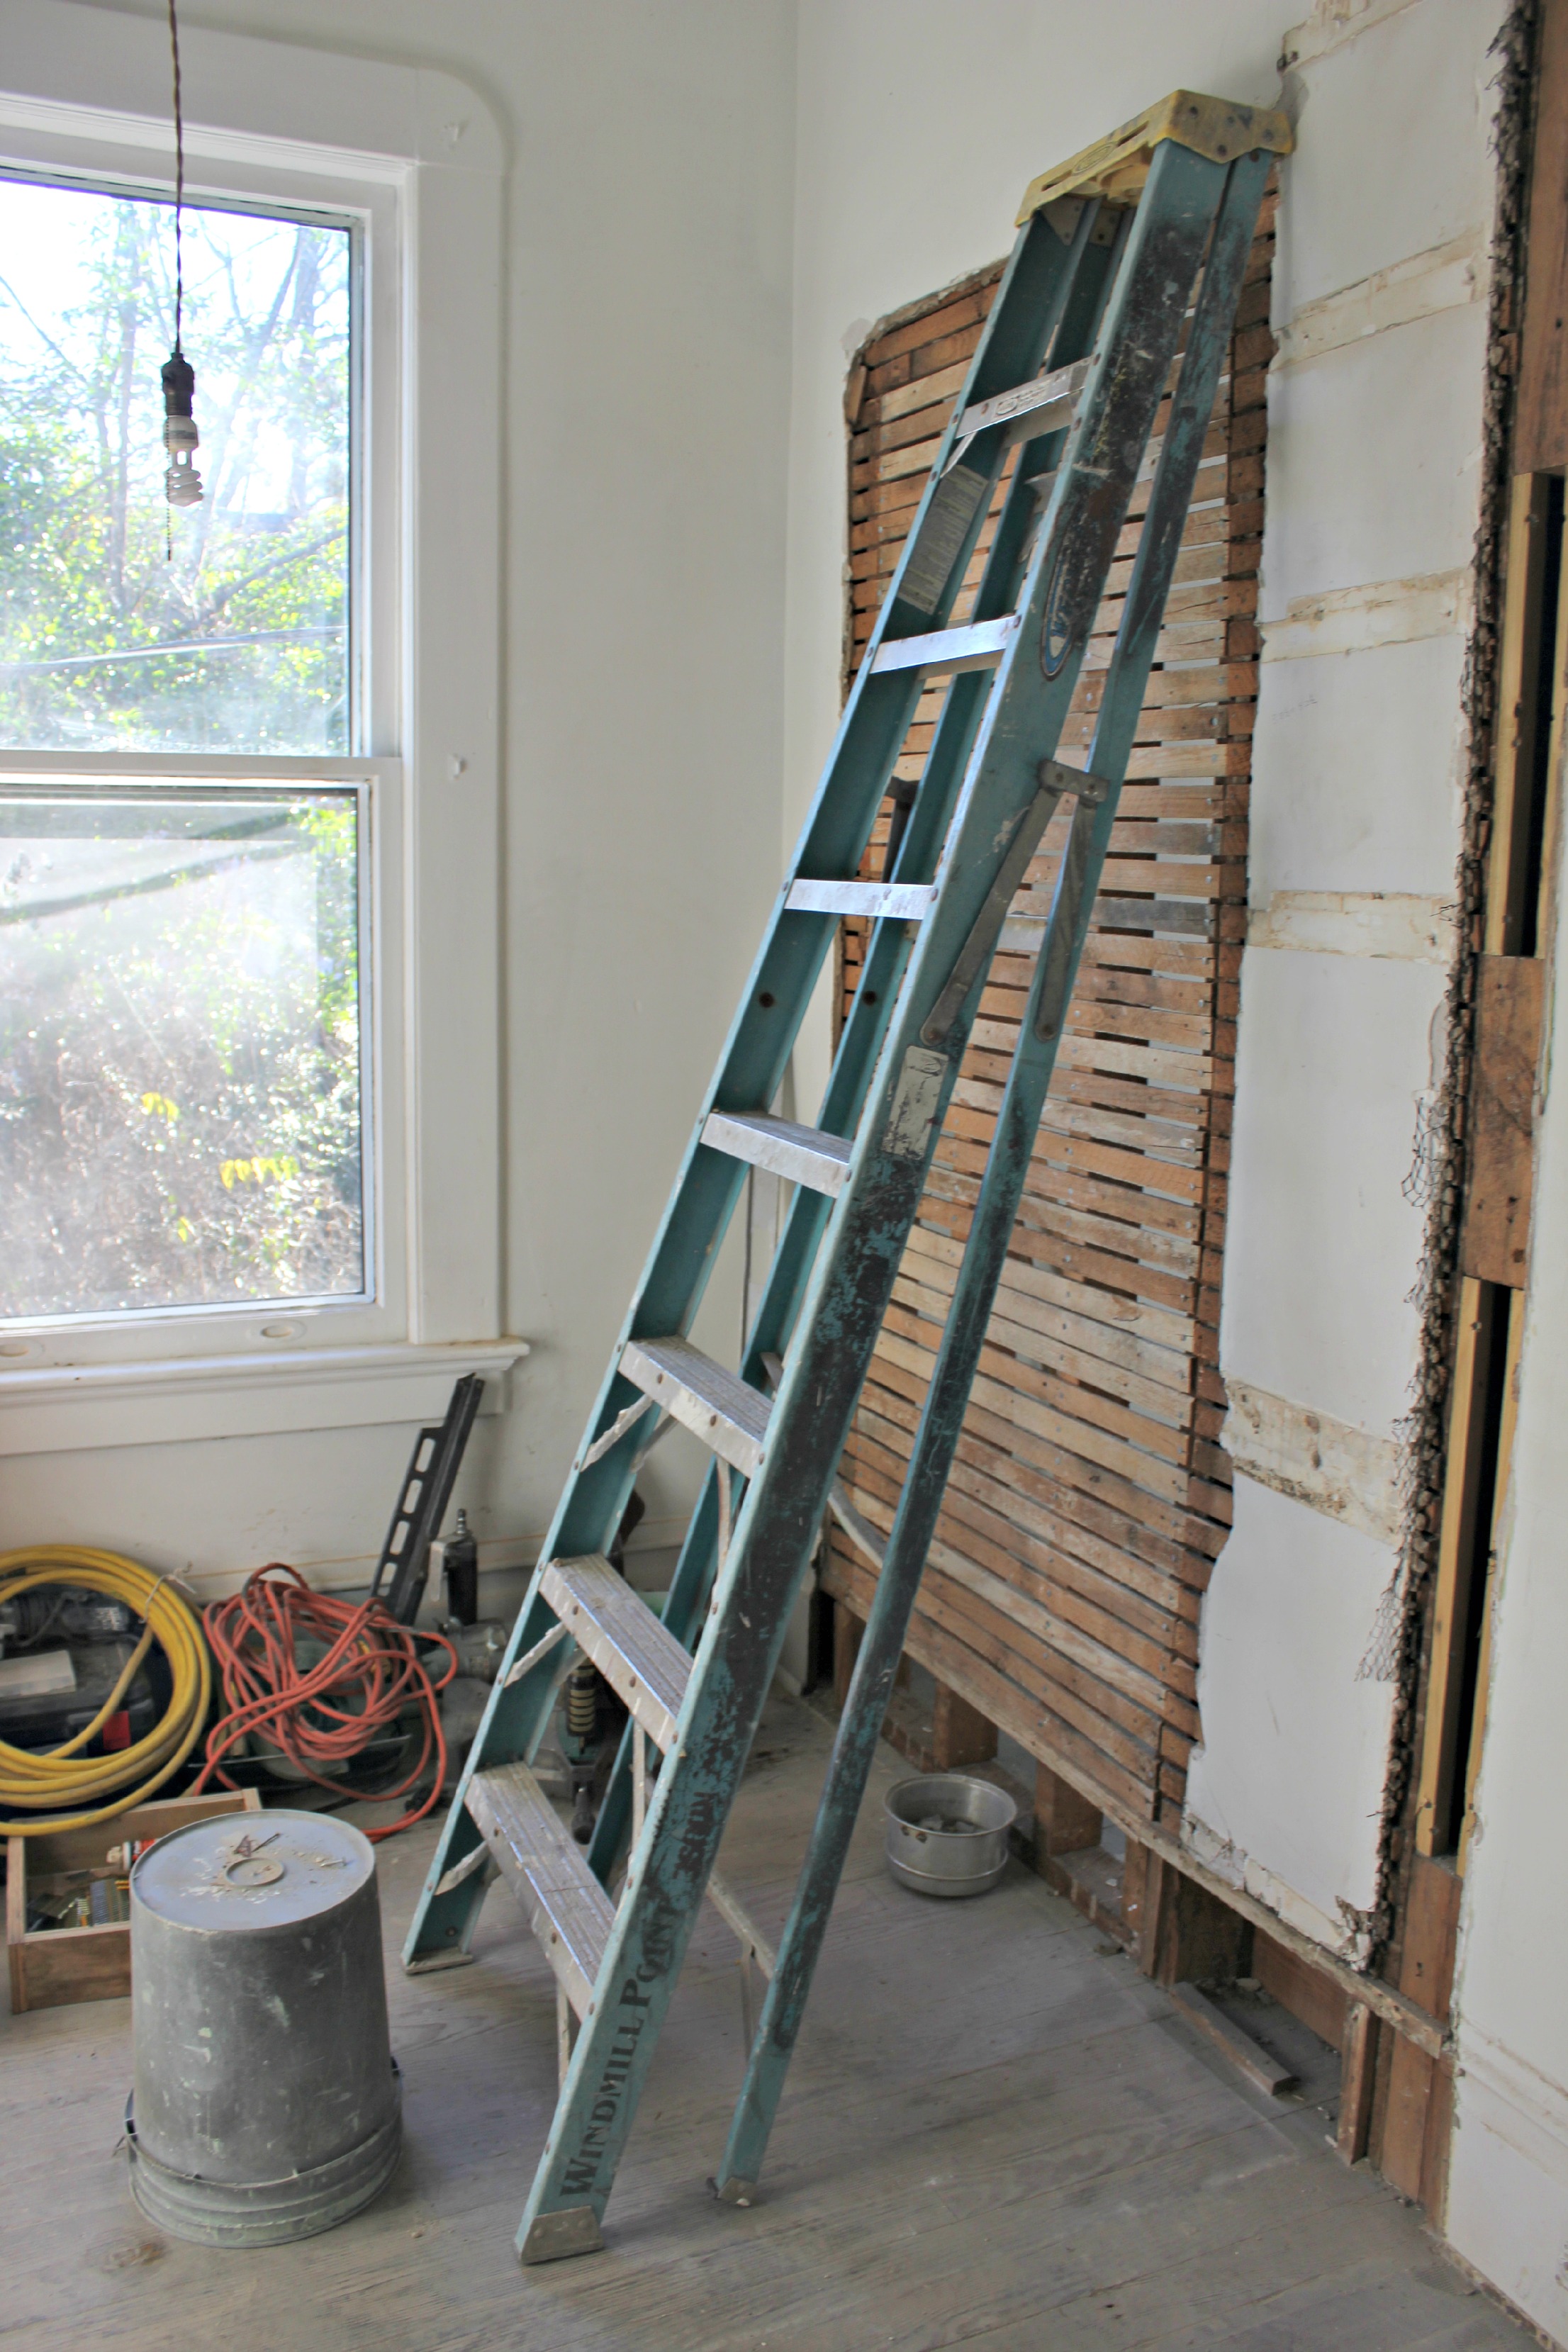
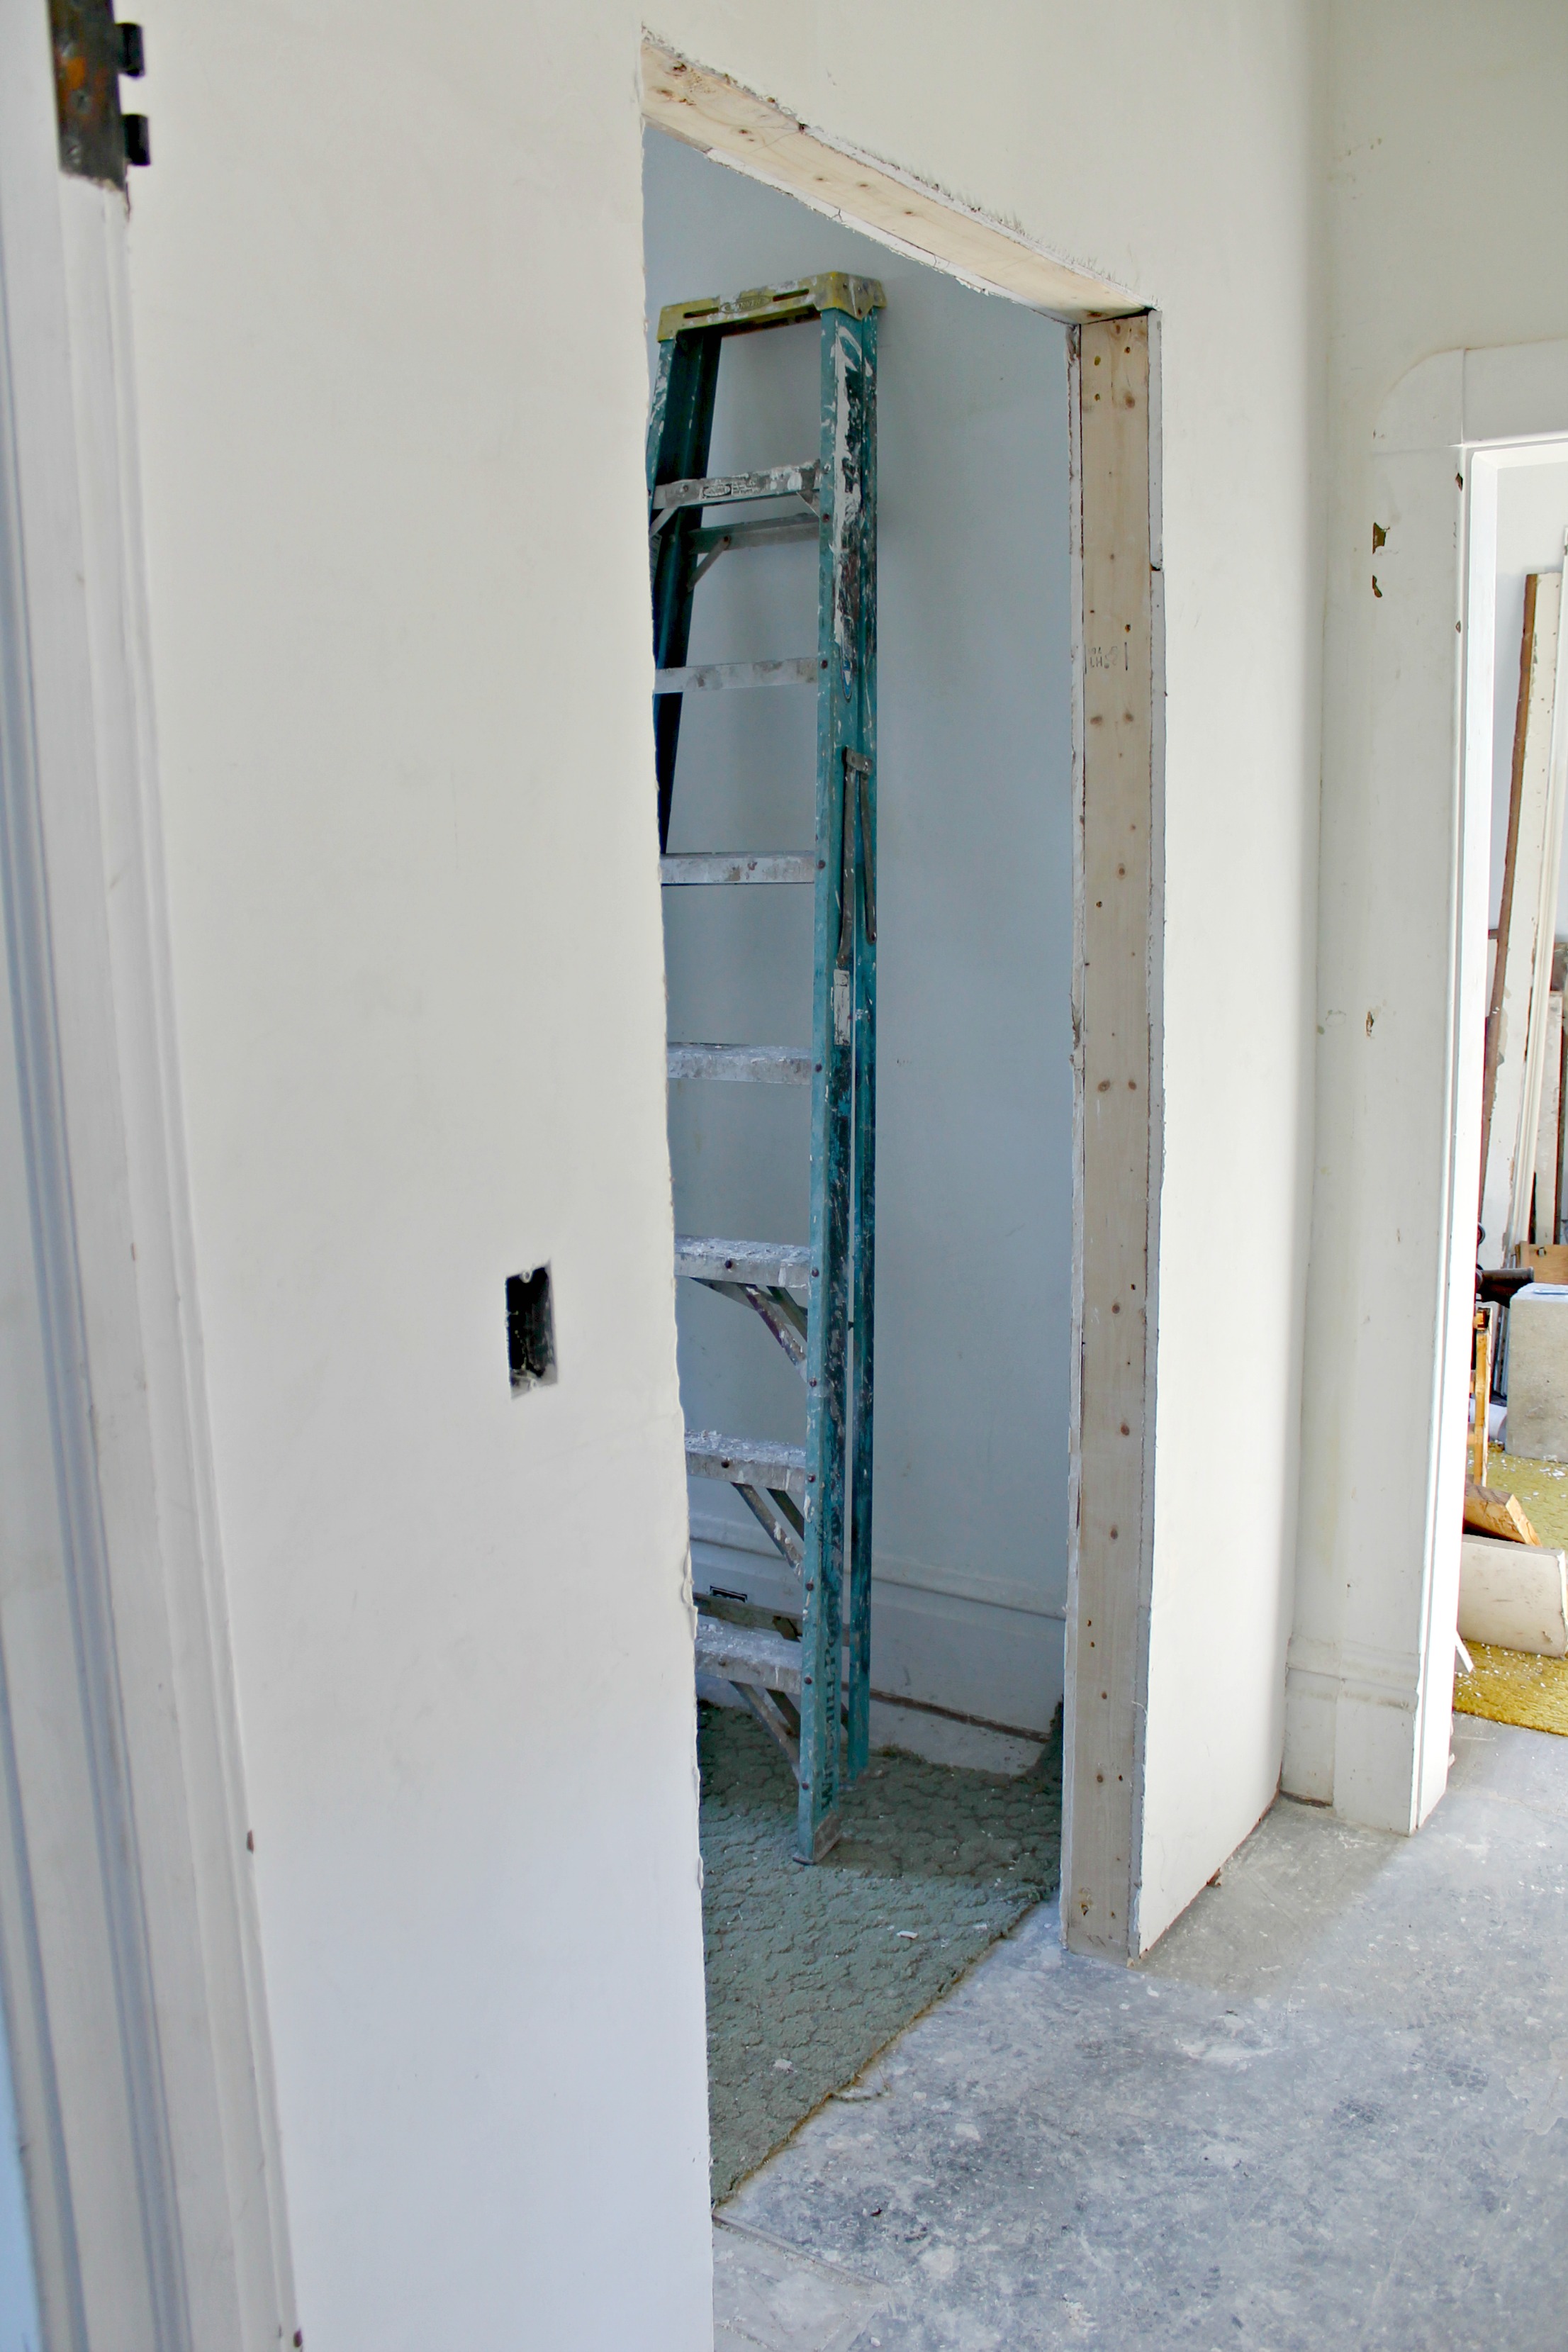
Here’s the “pantry” to the kitchenette. We closed up this door I’m standing in and knocked out the wall on the left.
Ok, you with me? Let’s get started with the transformation!

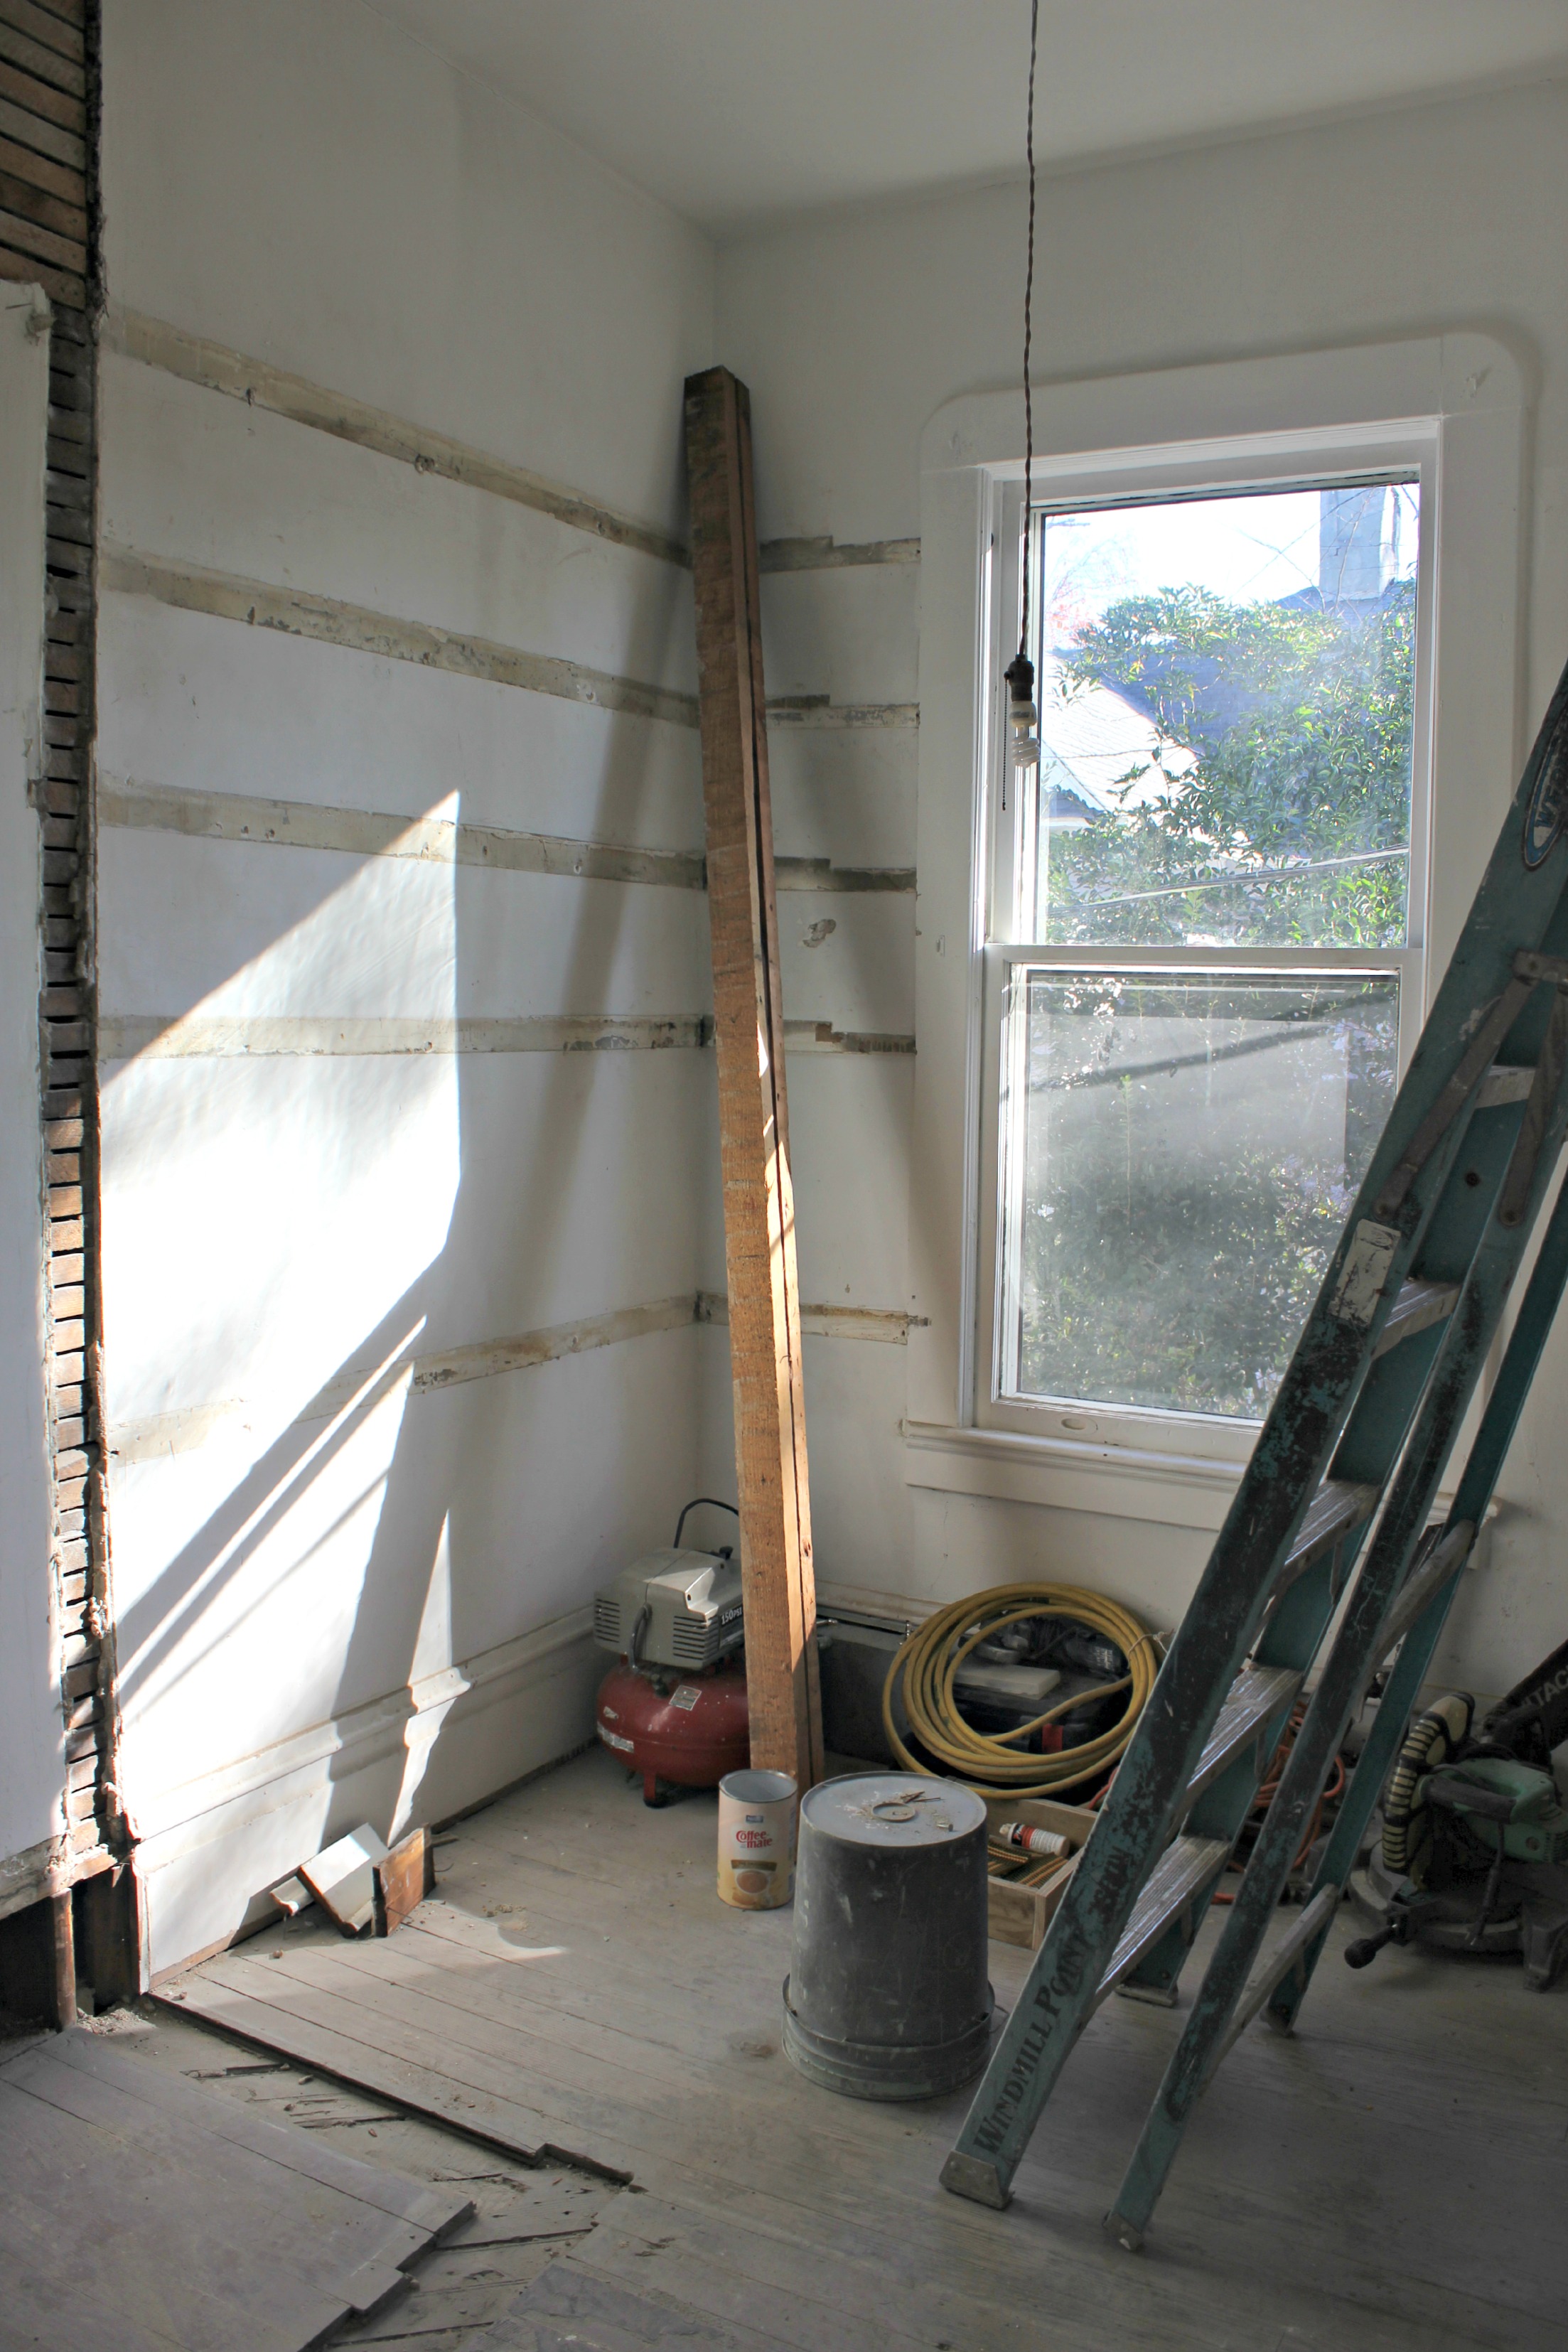
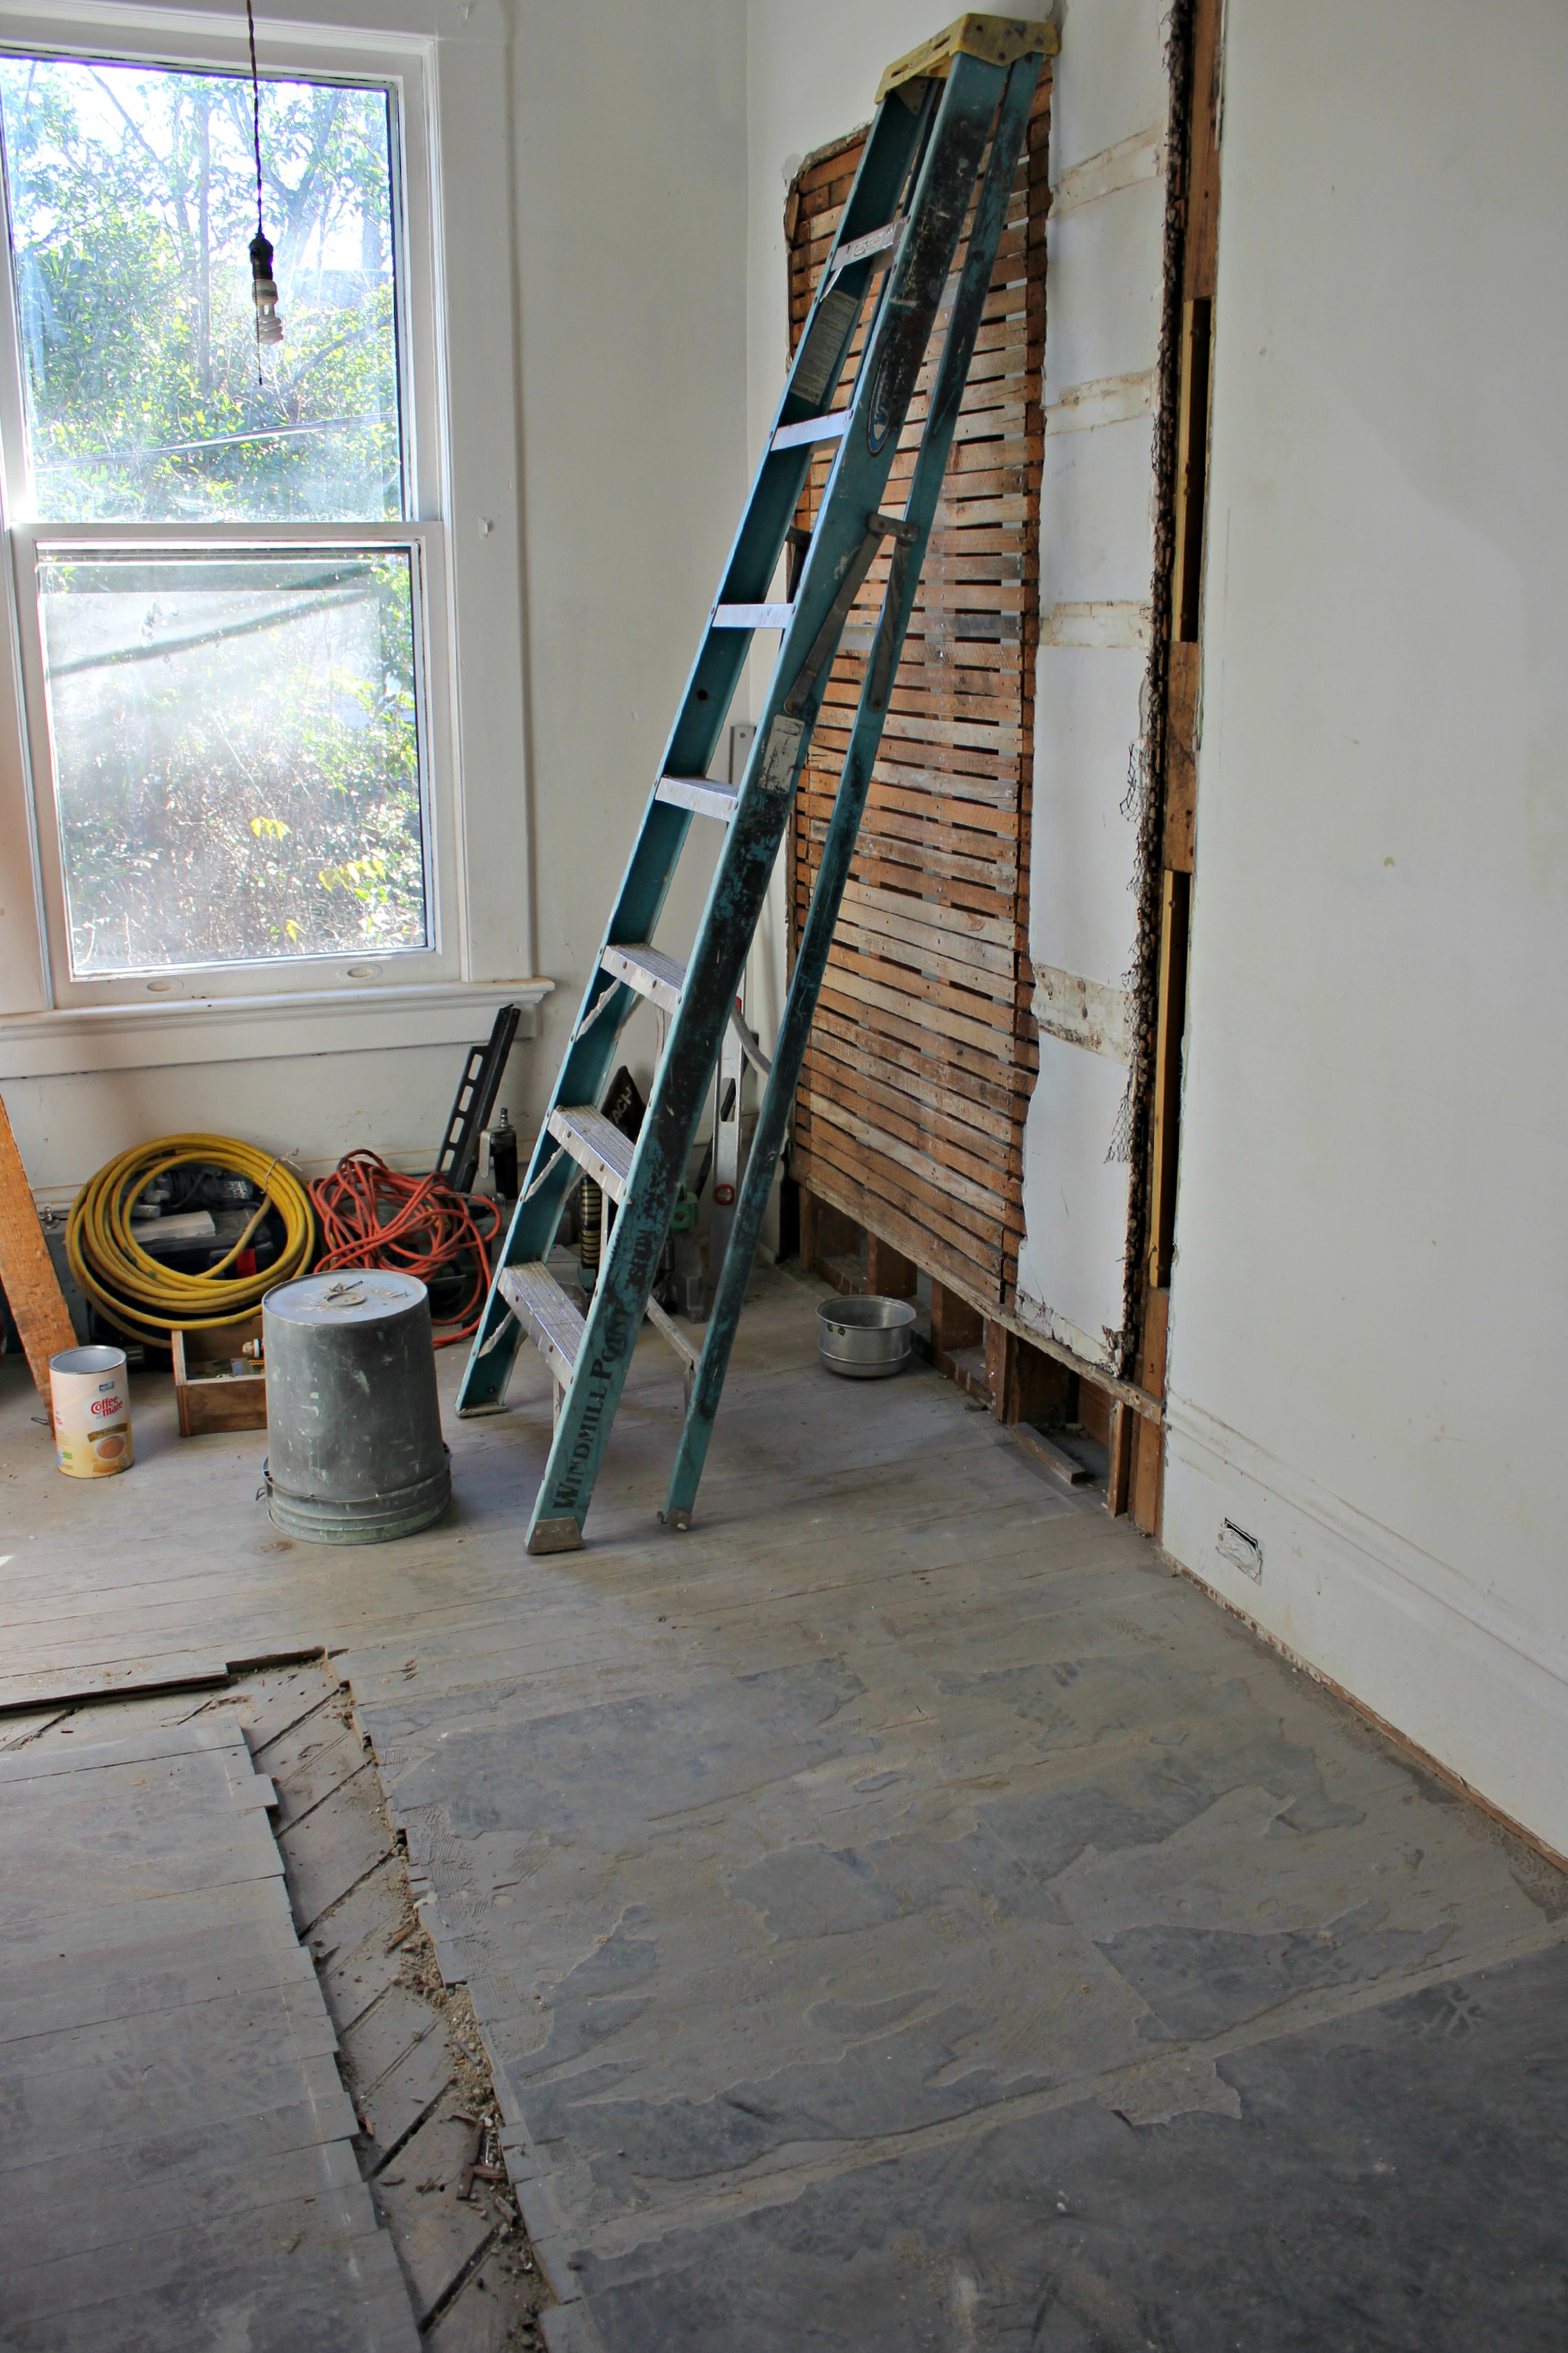
Here’s the view at this point from our bedroom:

And from the bathroom:
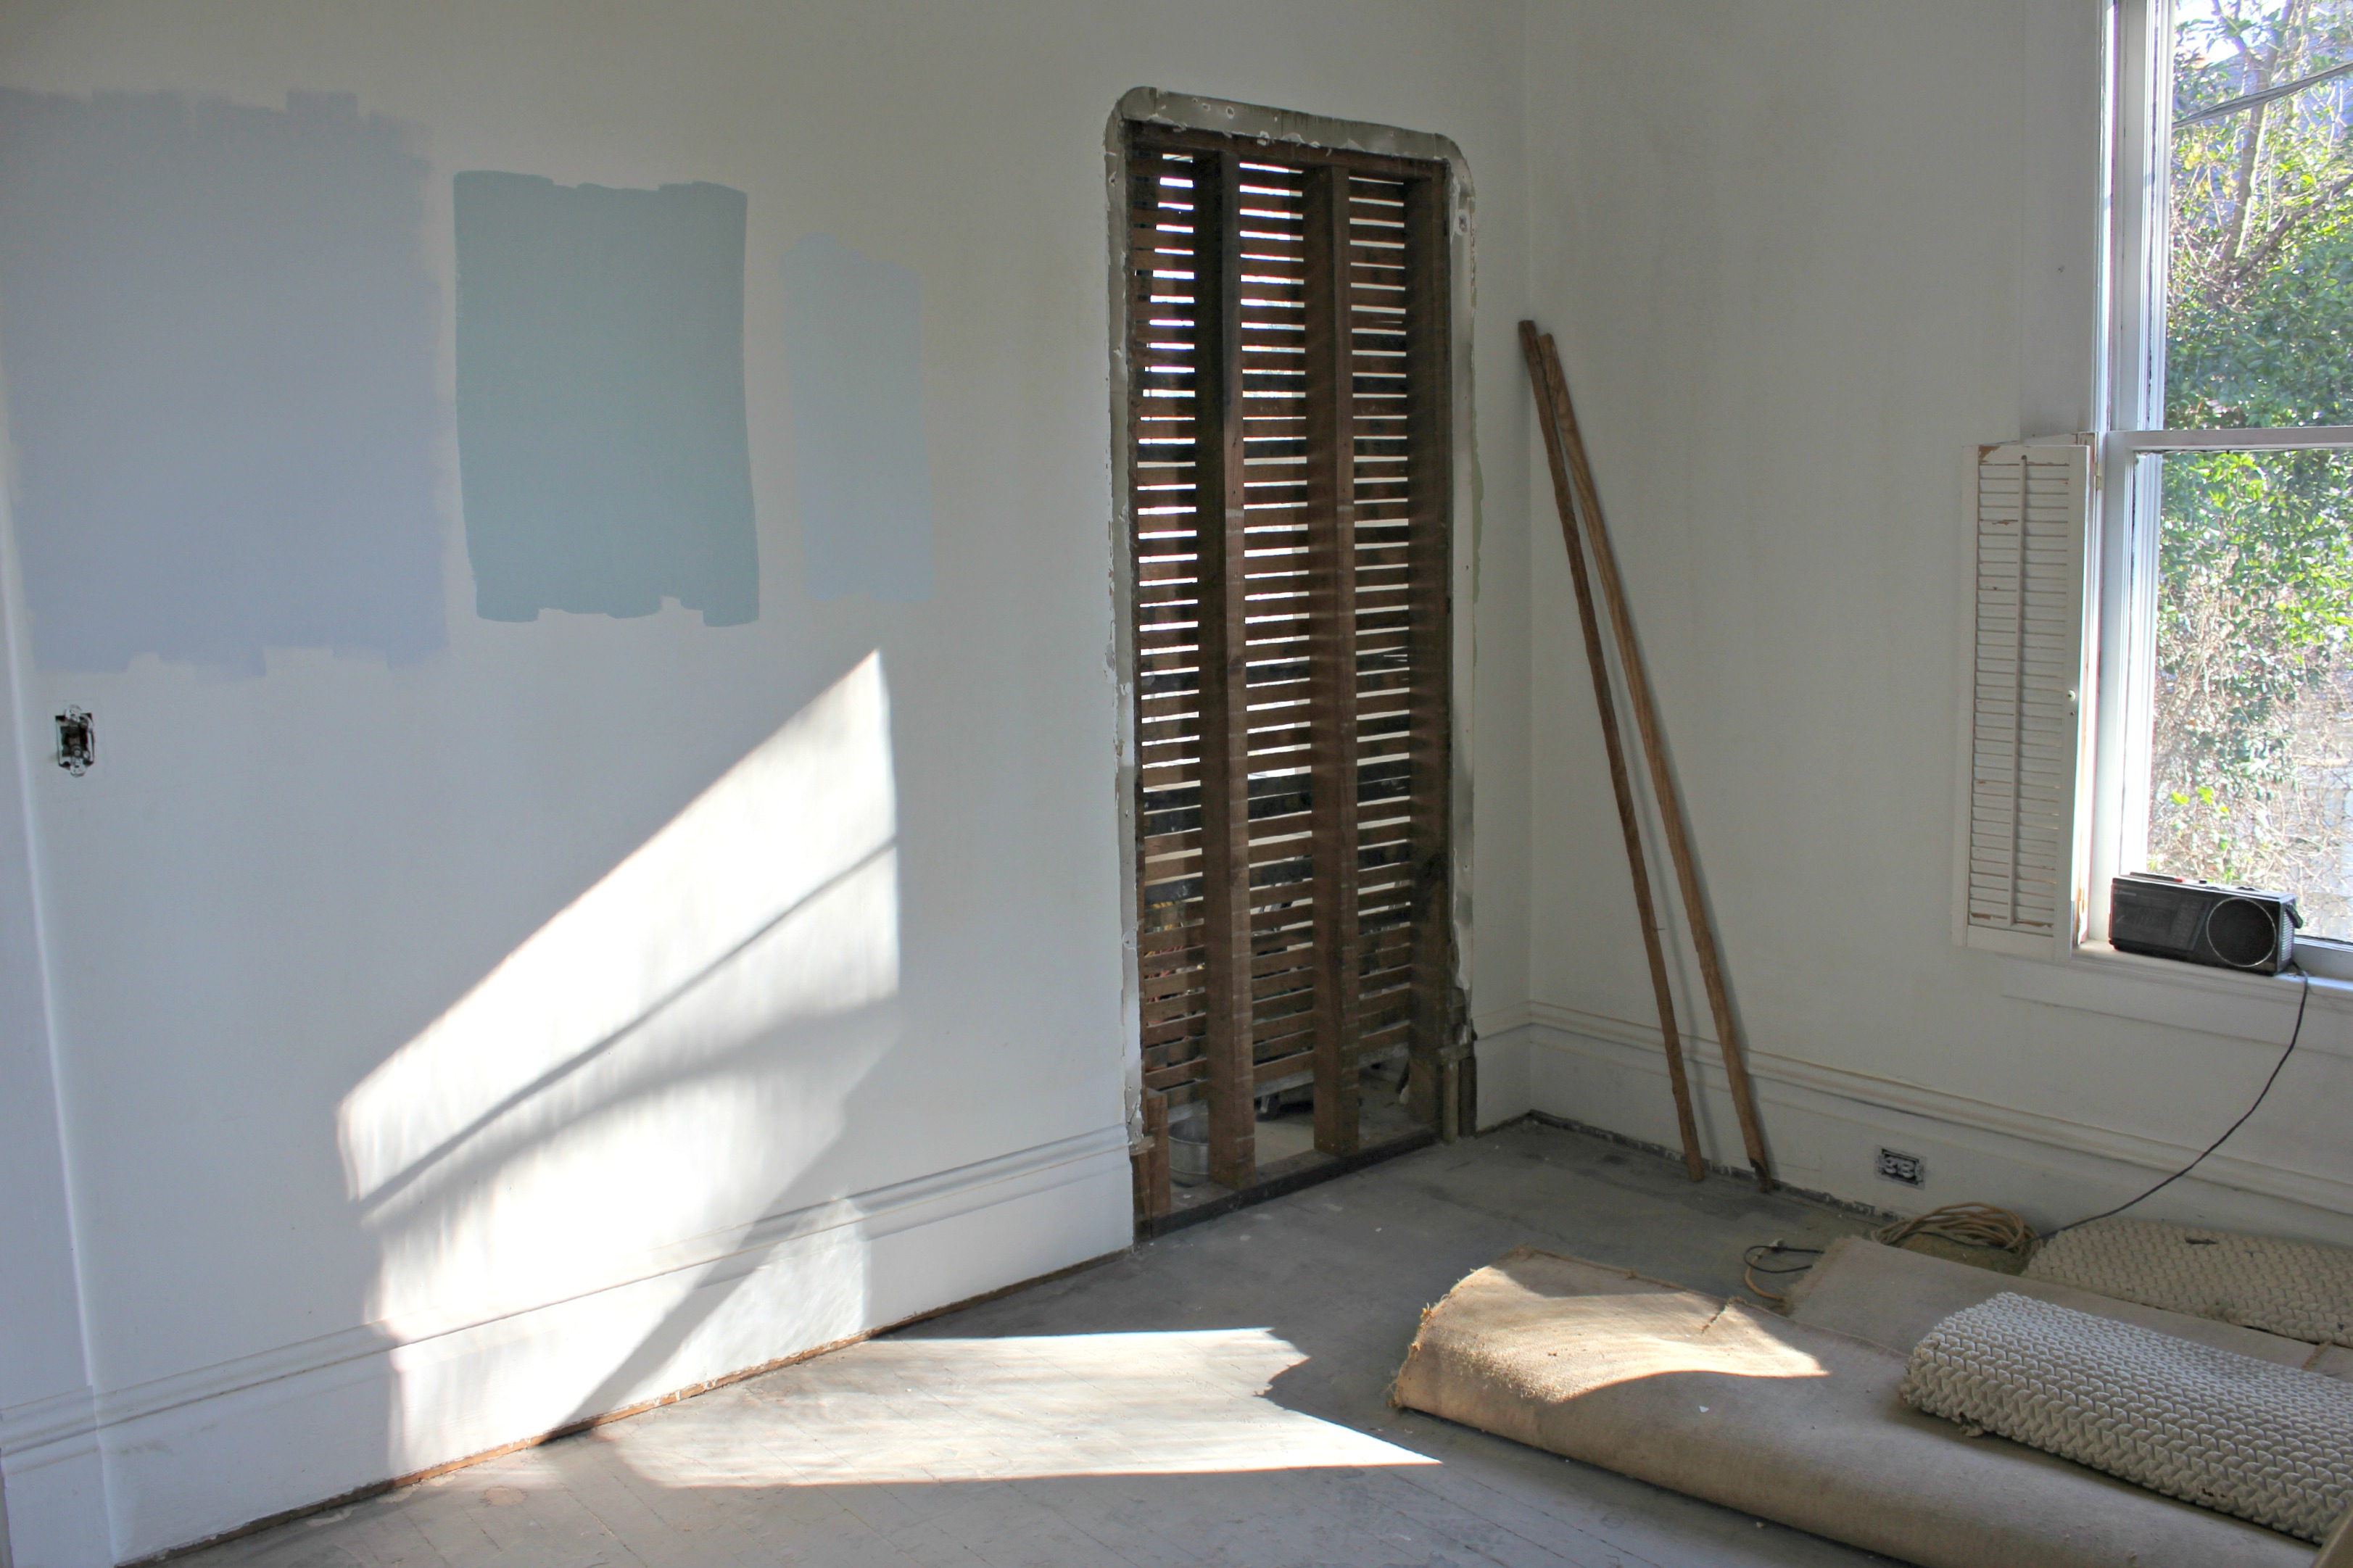
Ok, back to the closet.
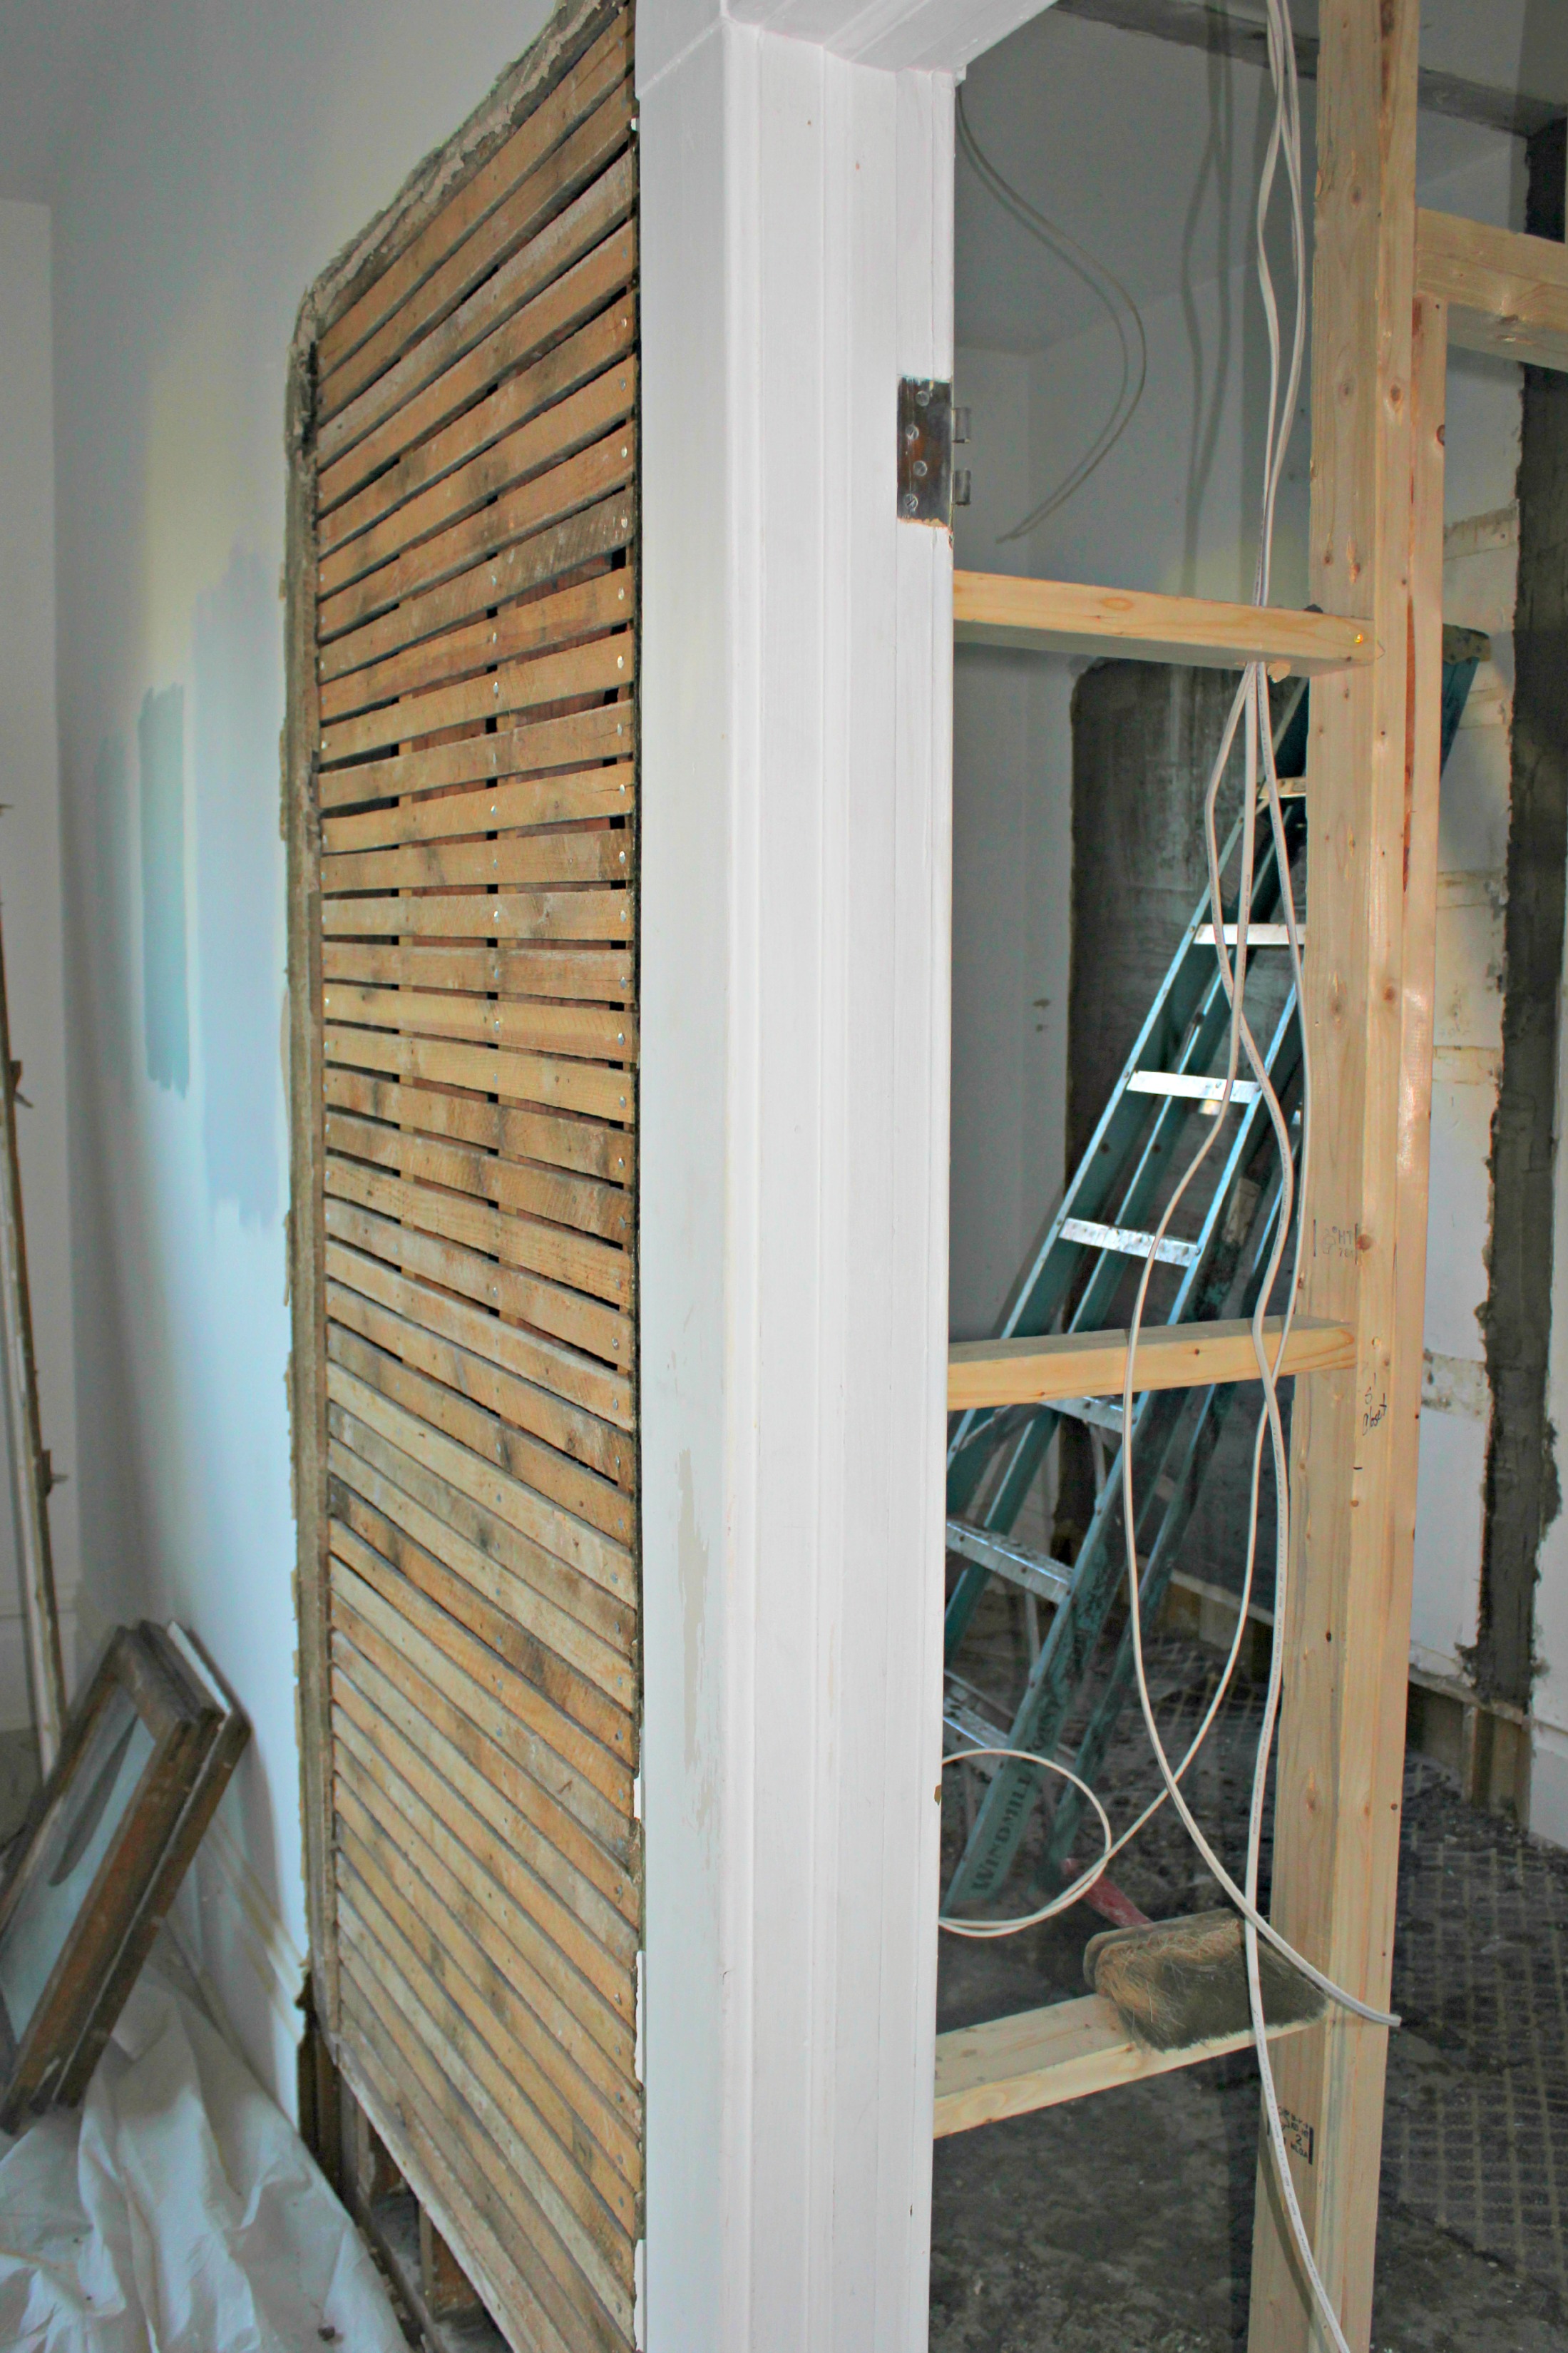

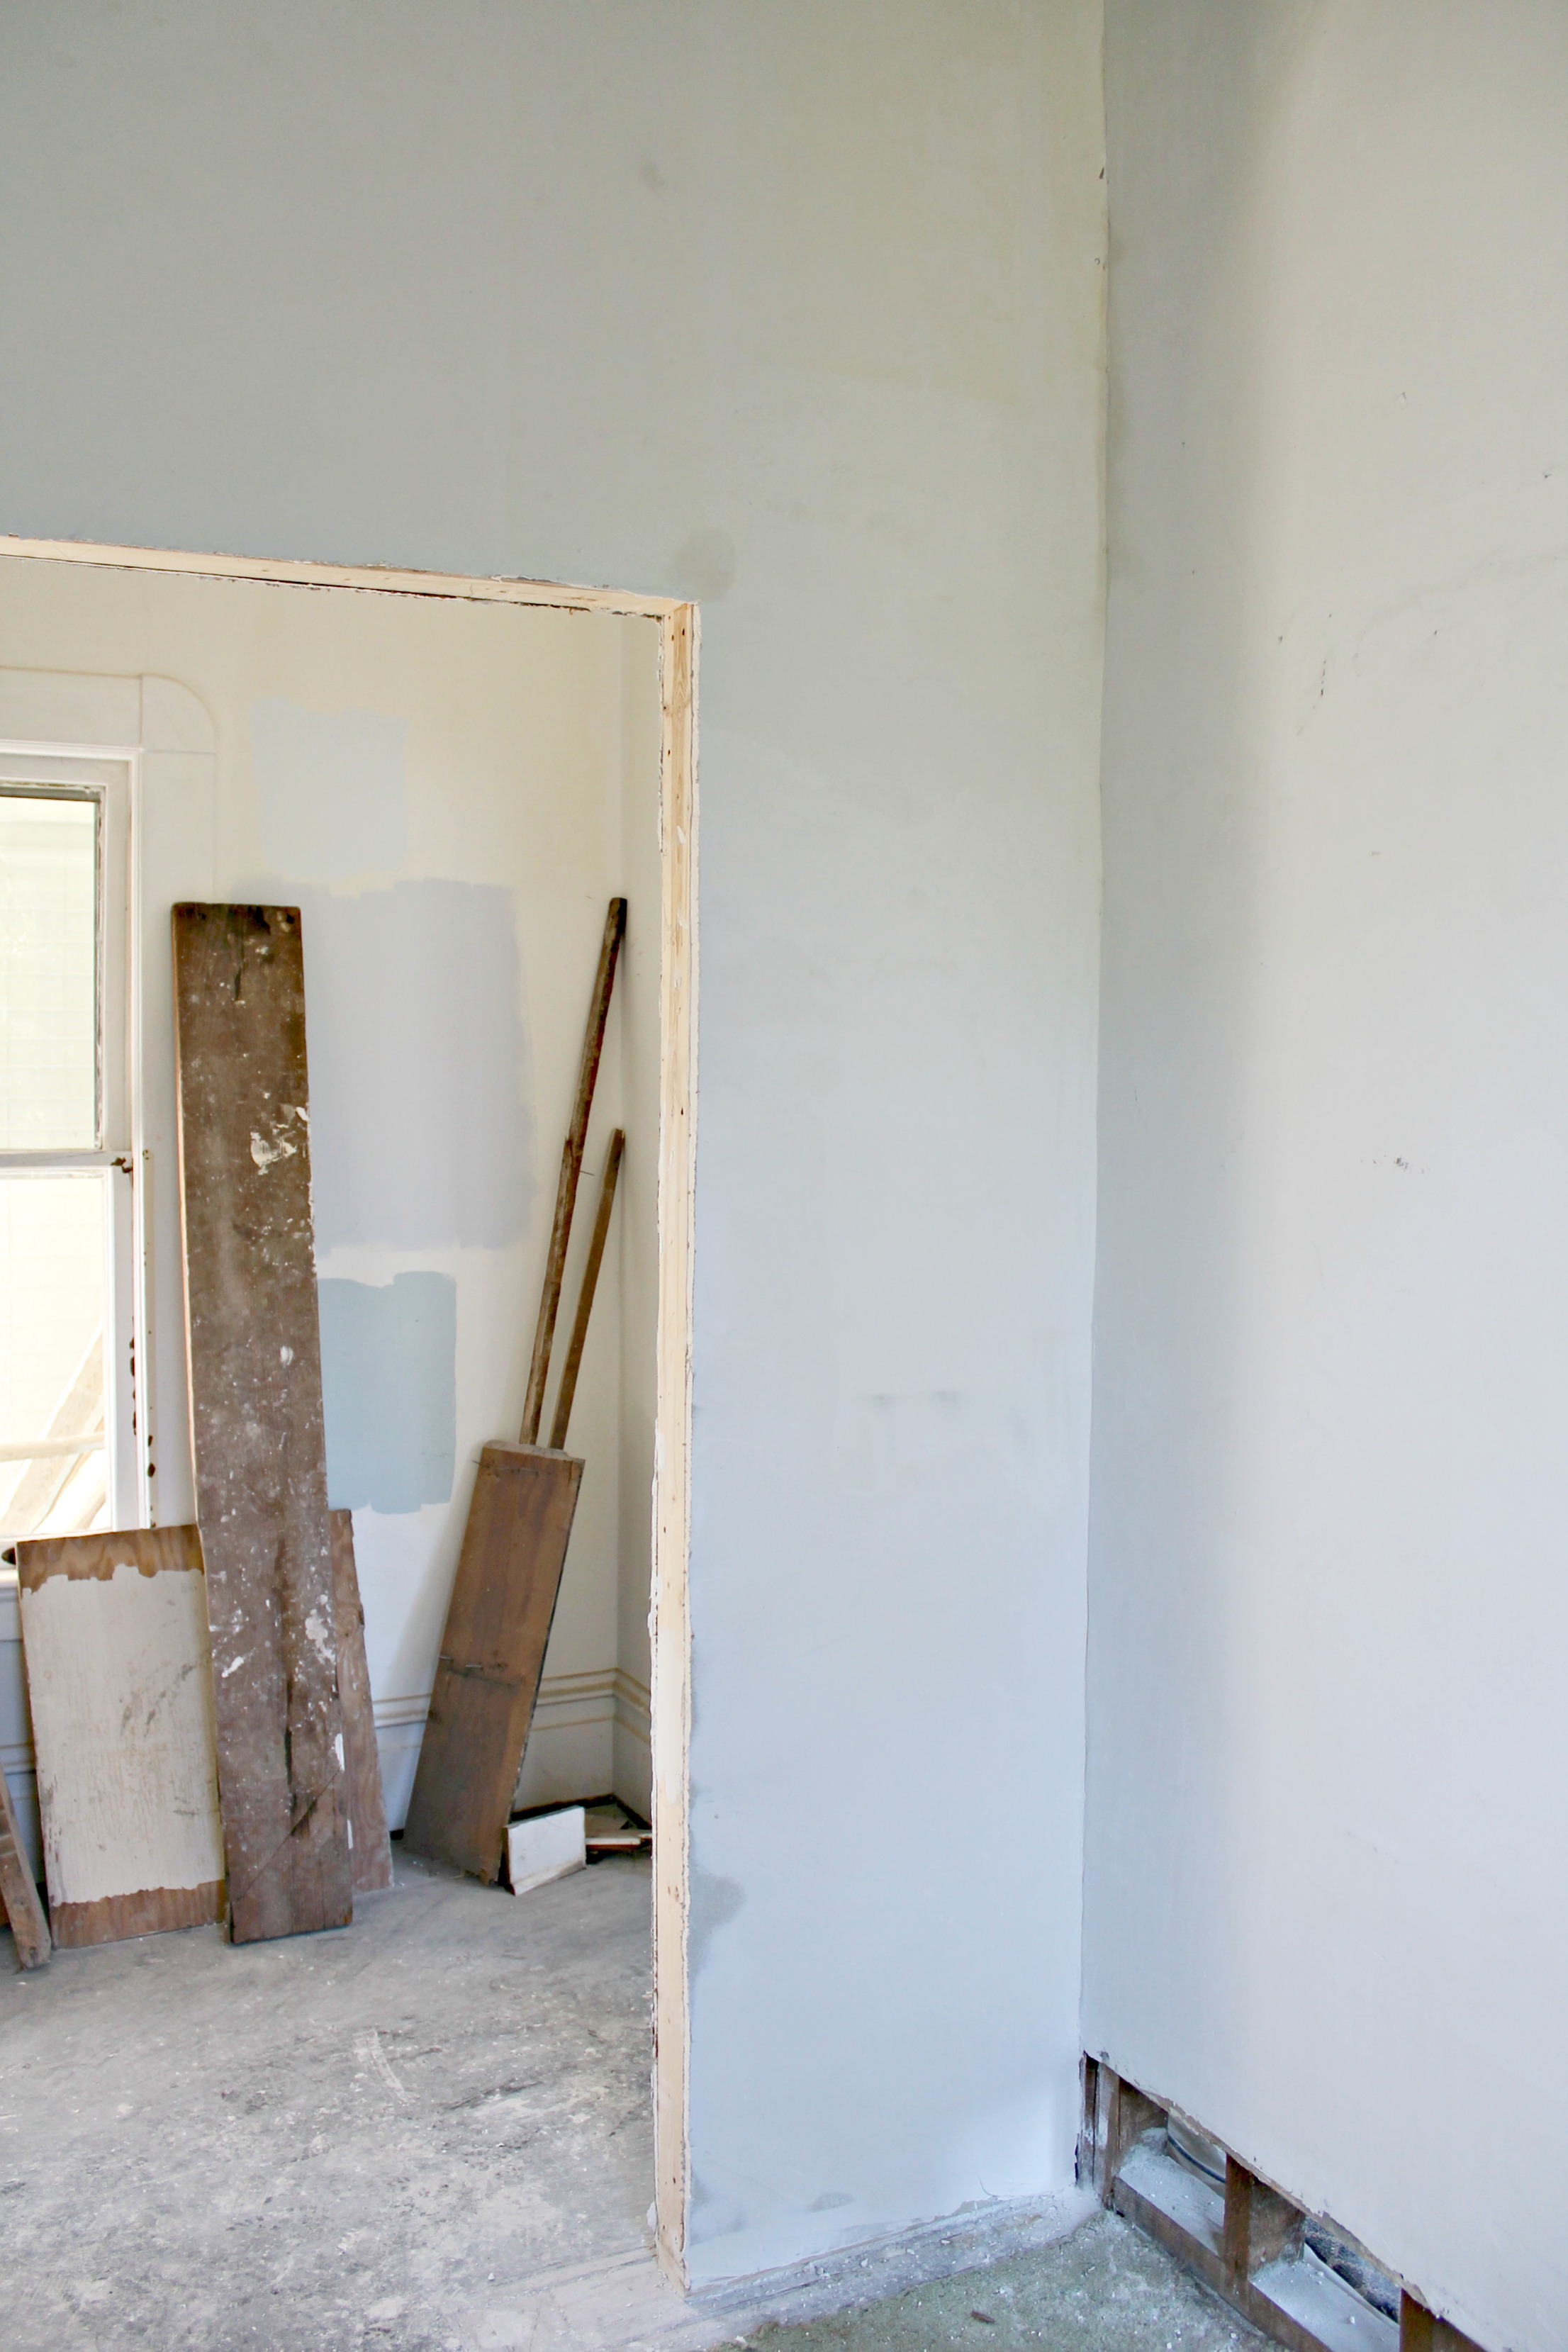

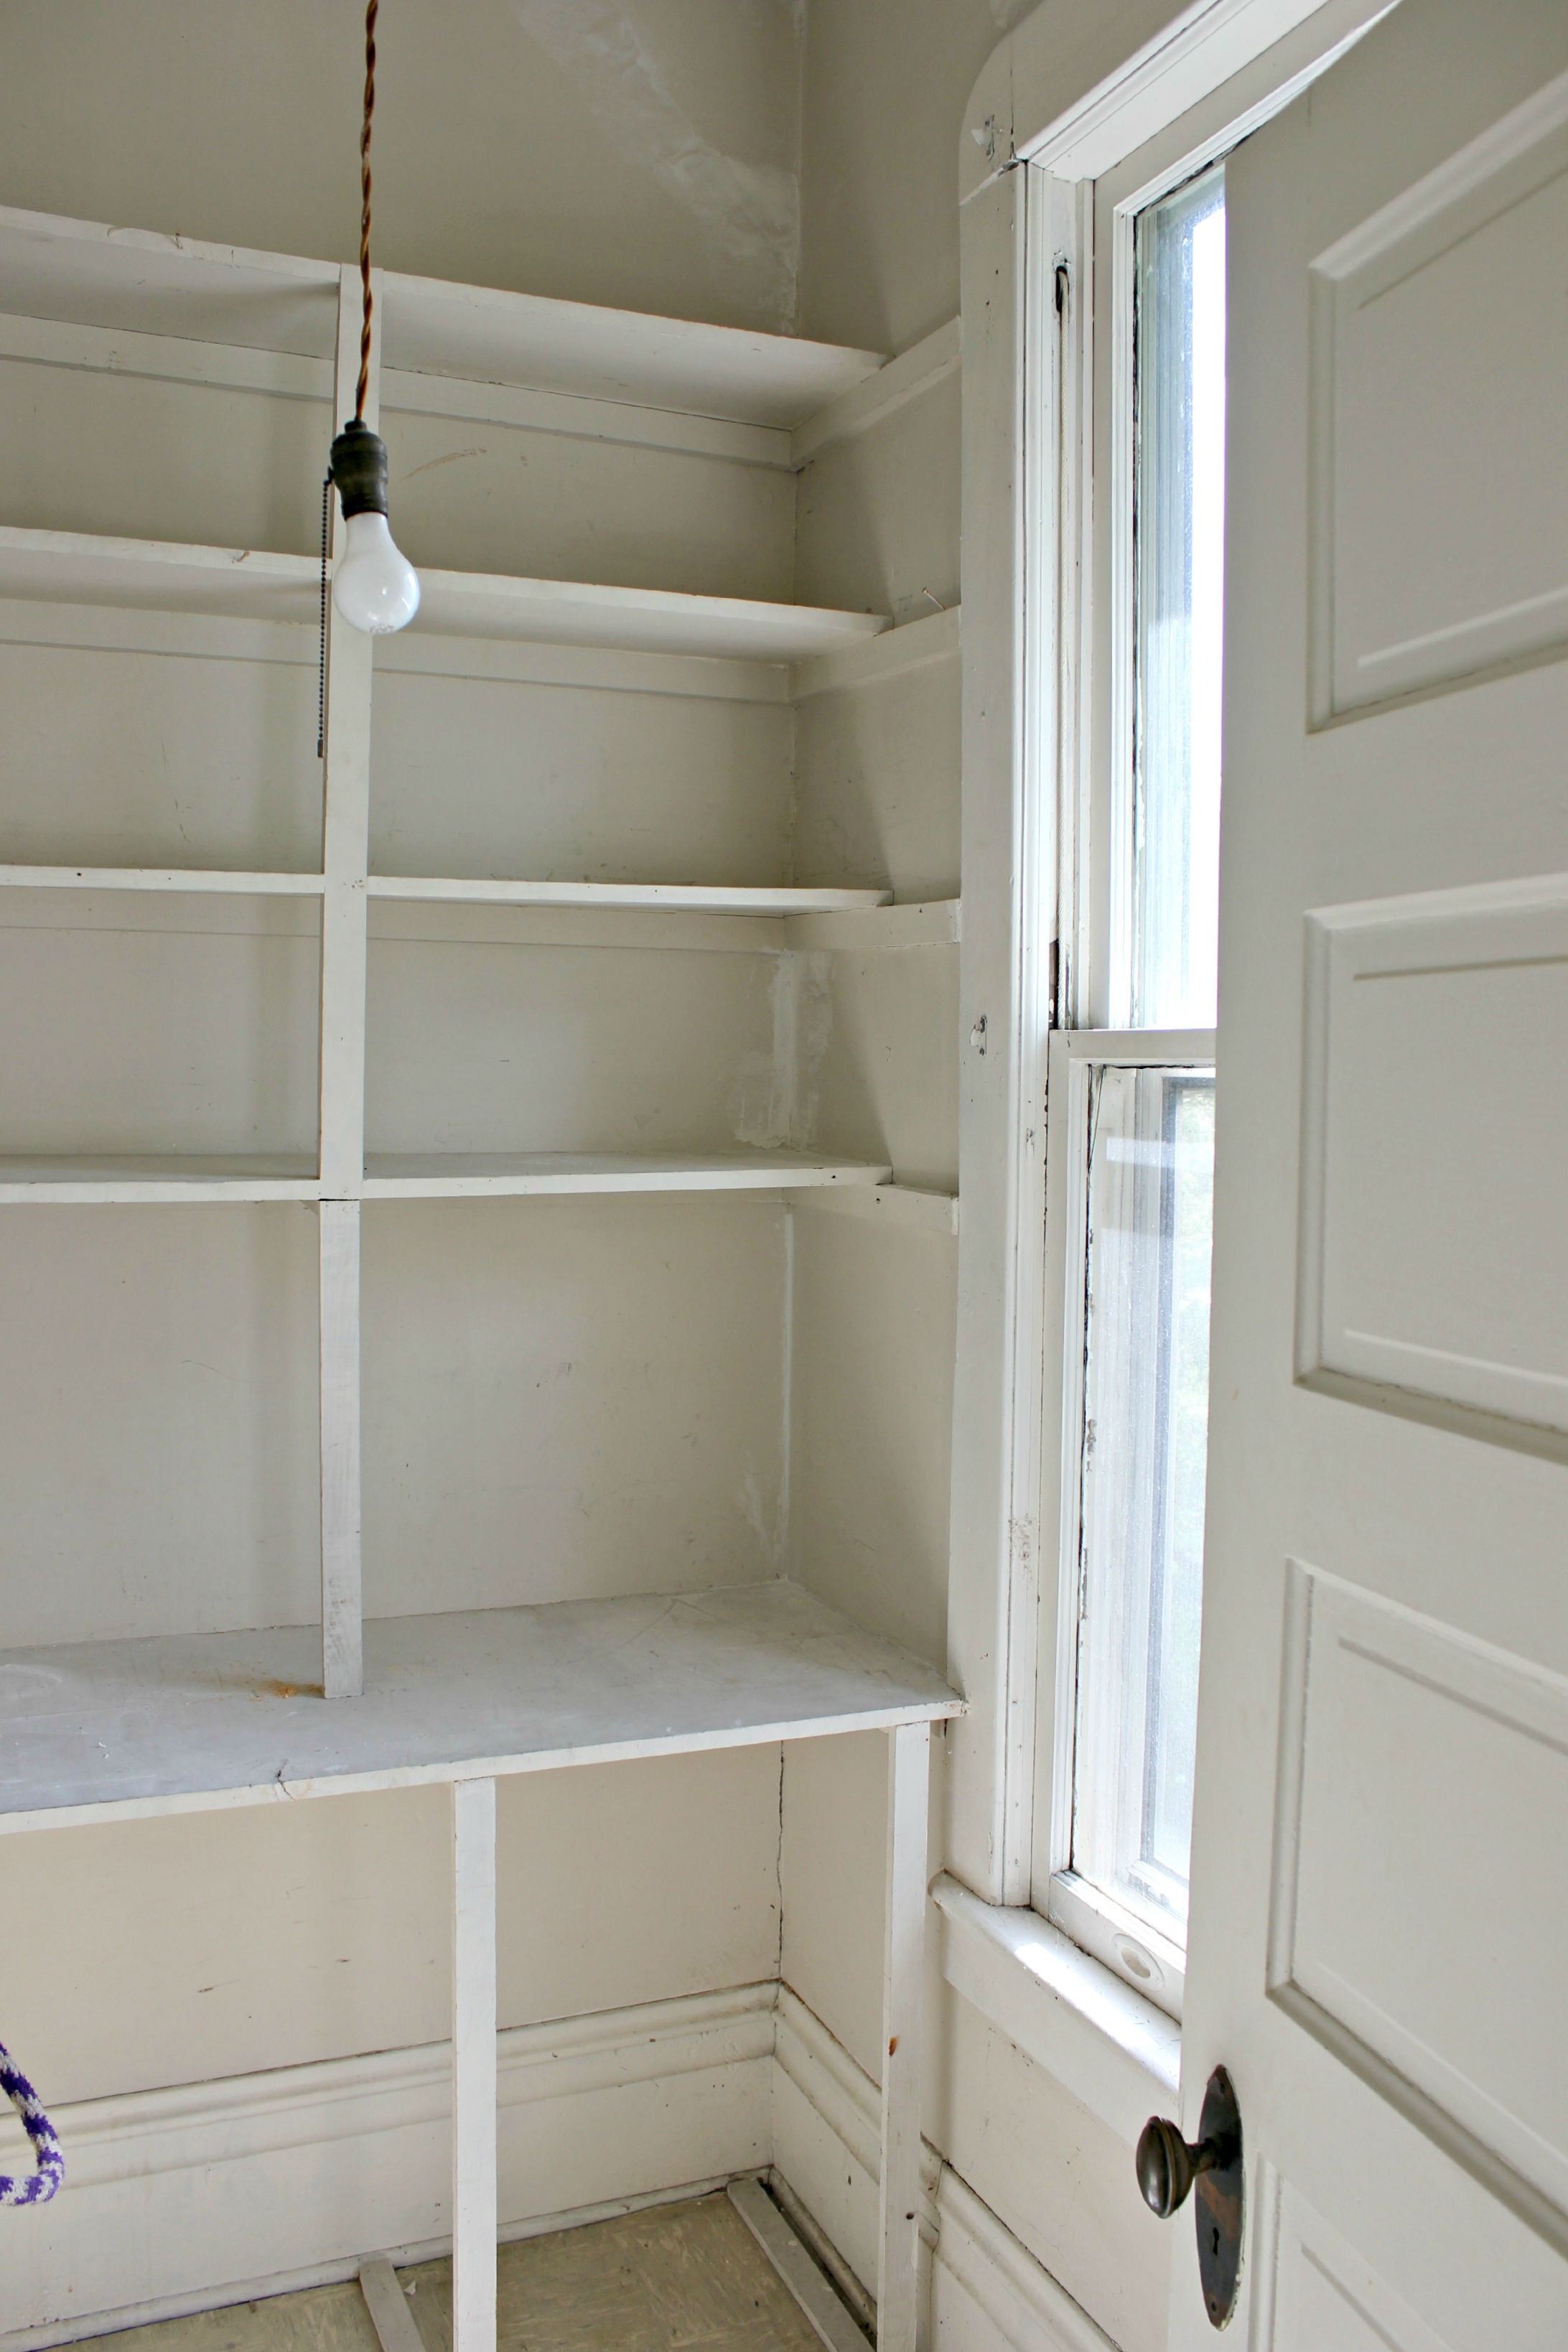
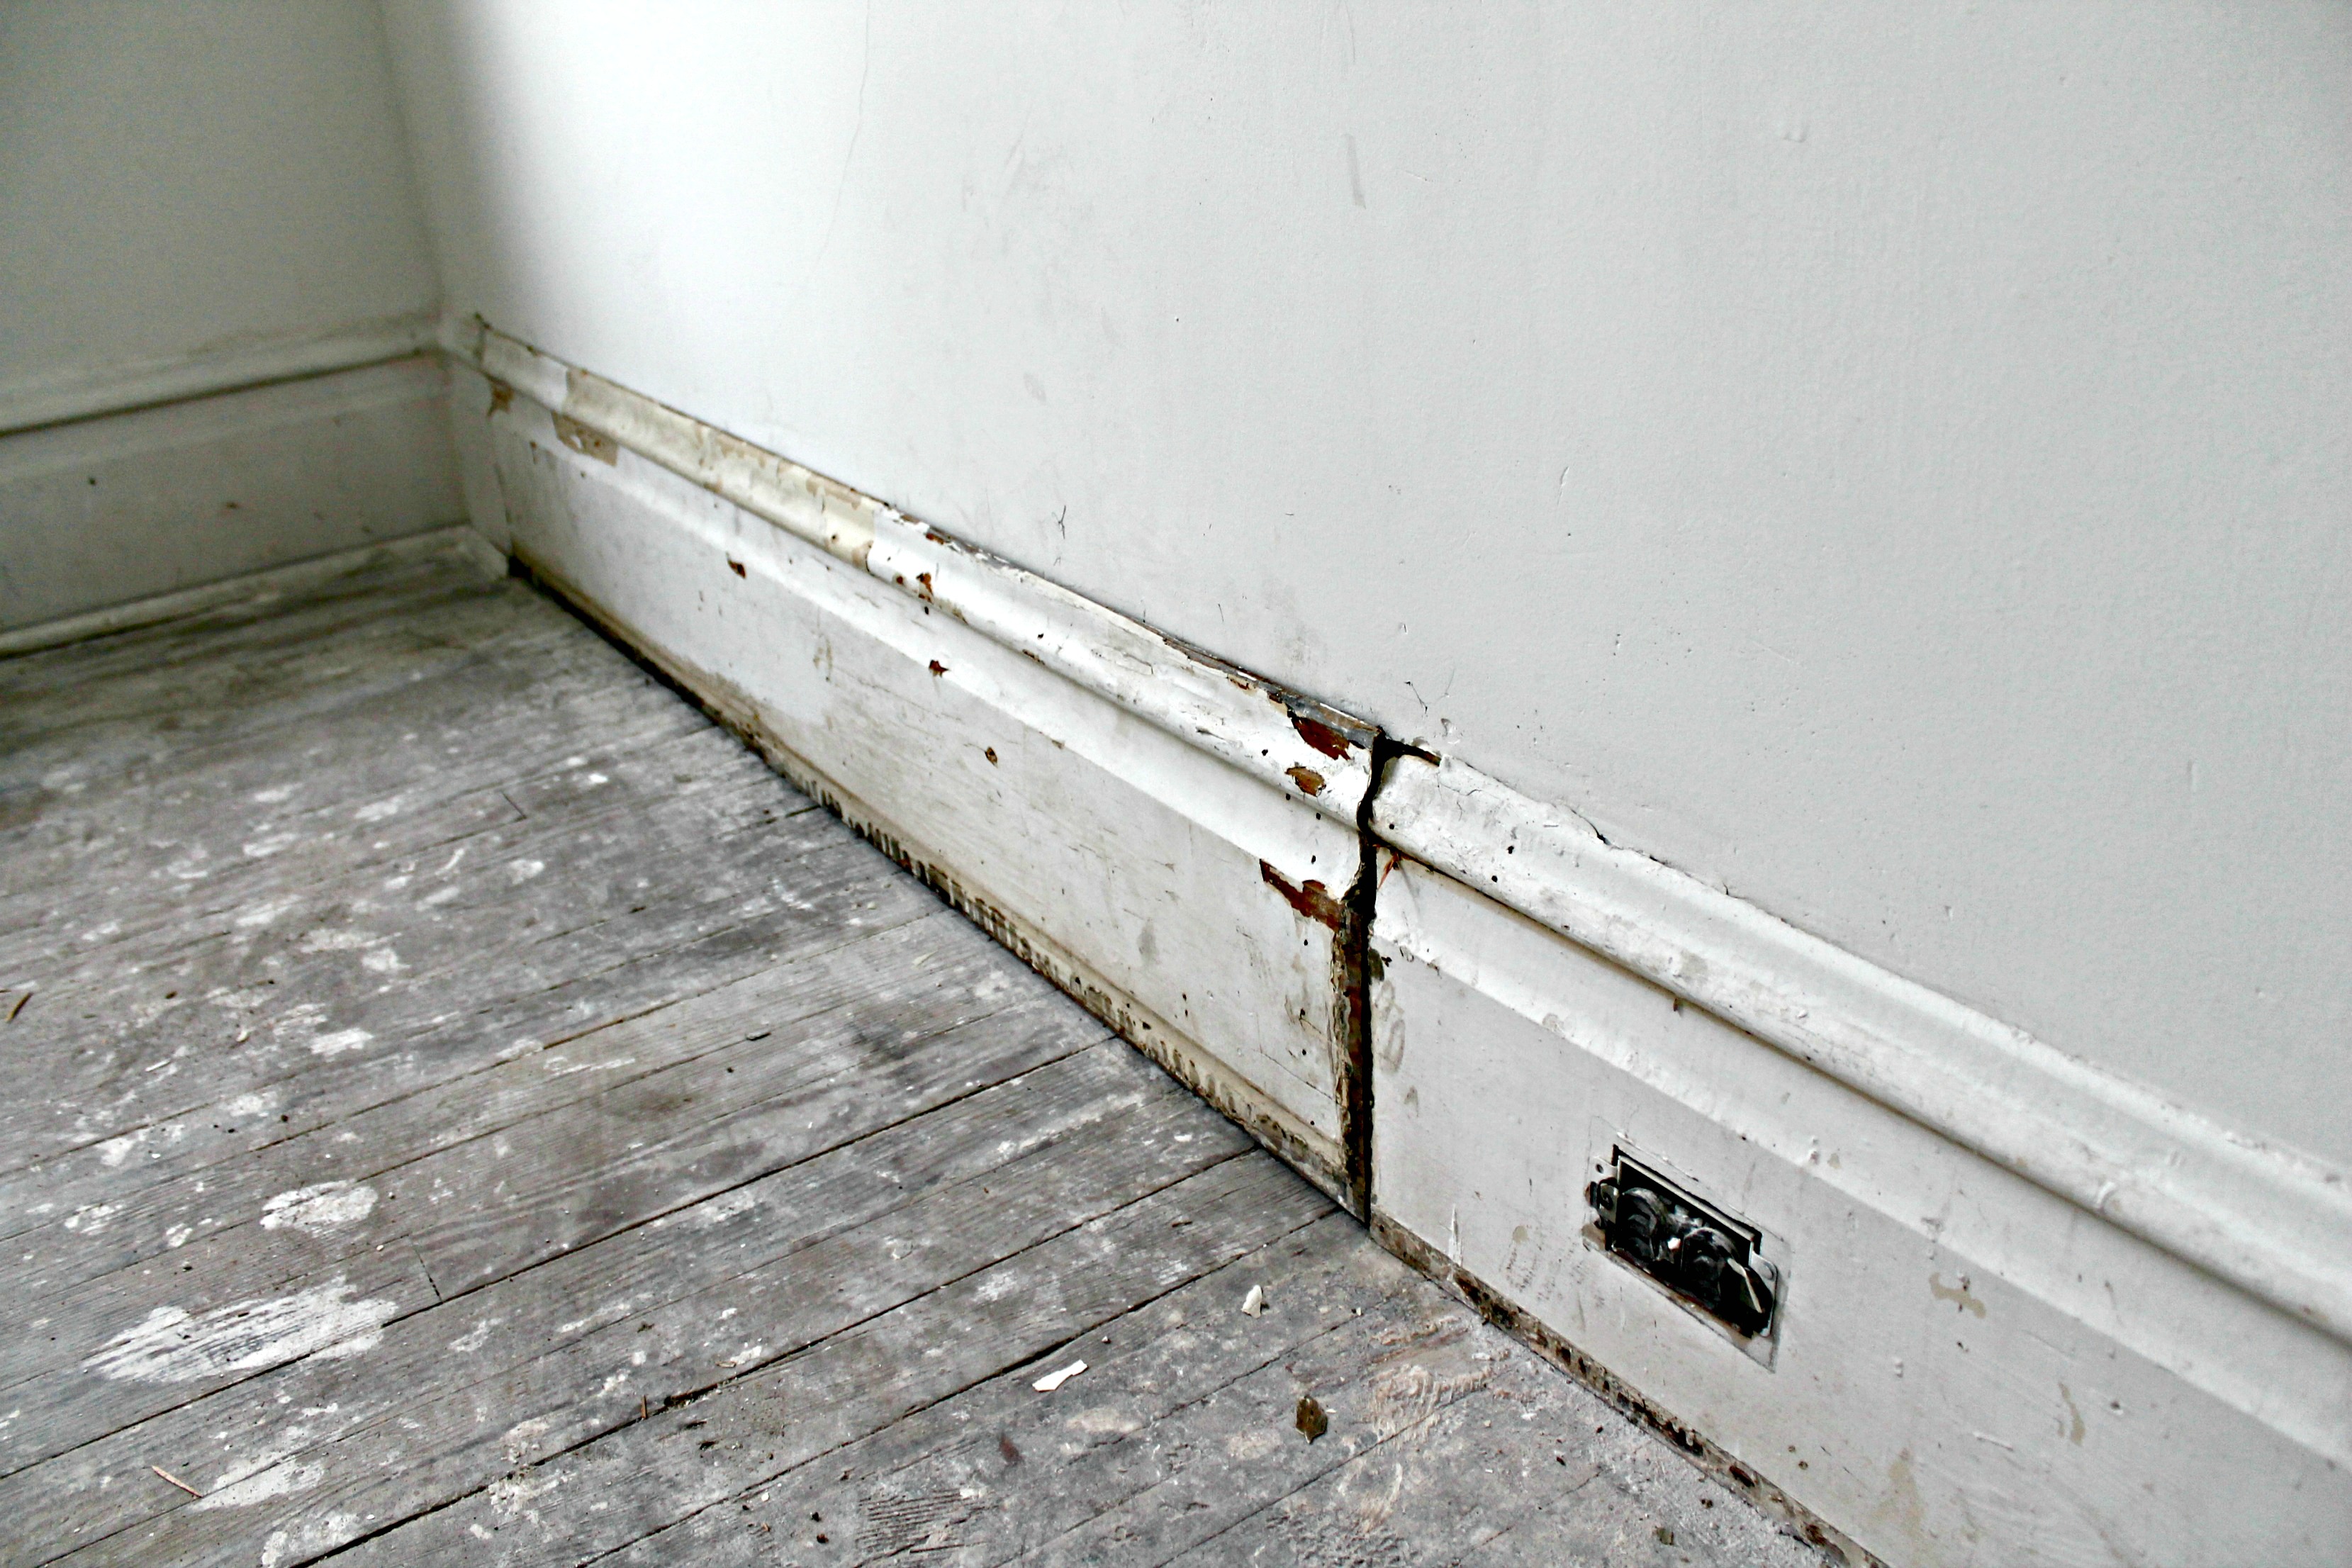
Luckily, we were able to steal a few baseboards and door trim from other places in the house, so all Charles and I had to do was add a little joint compound and nail hole filler to make them cohesive.


What we’ve finished:
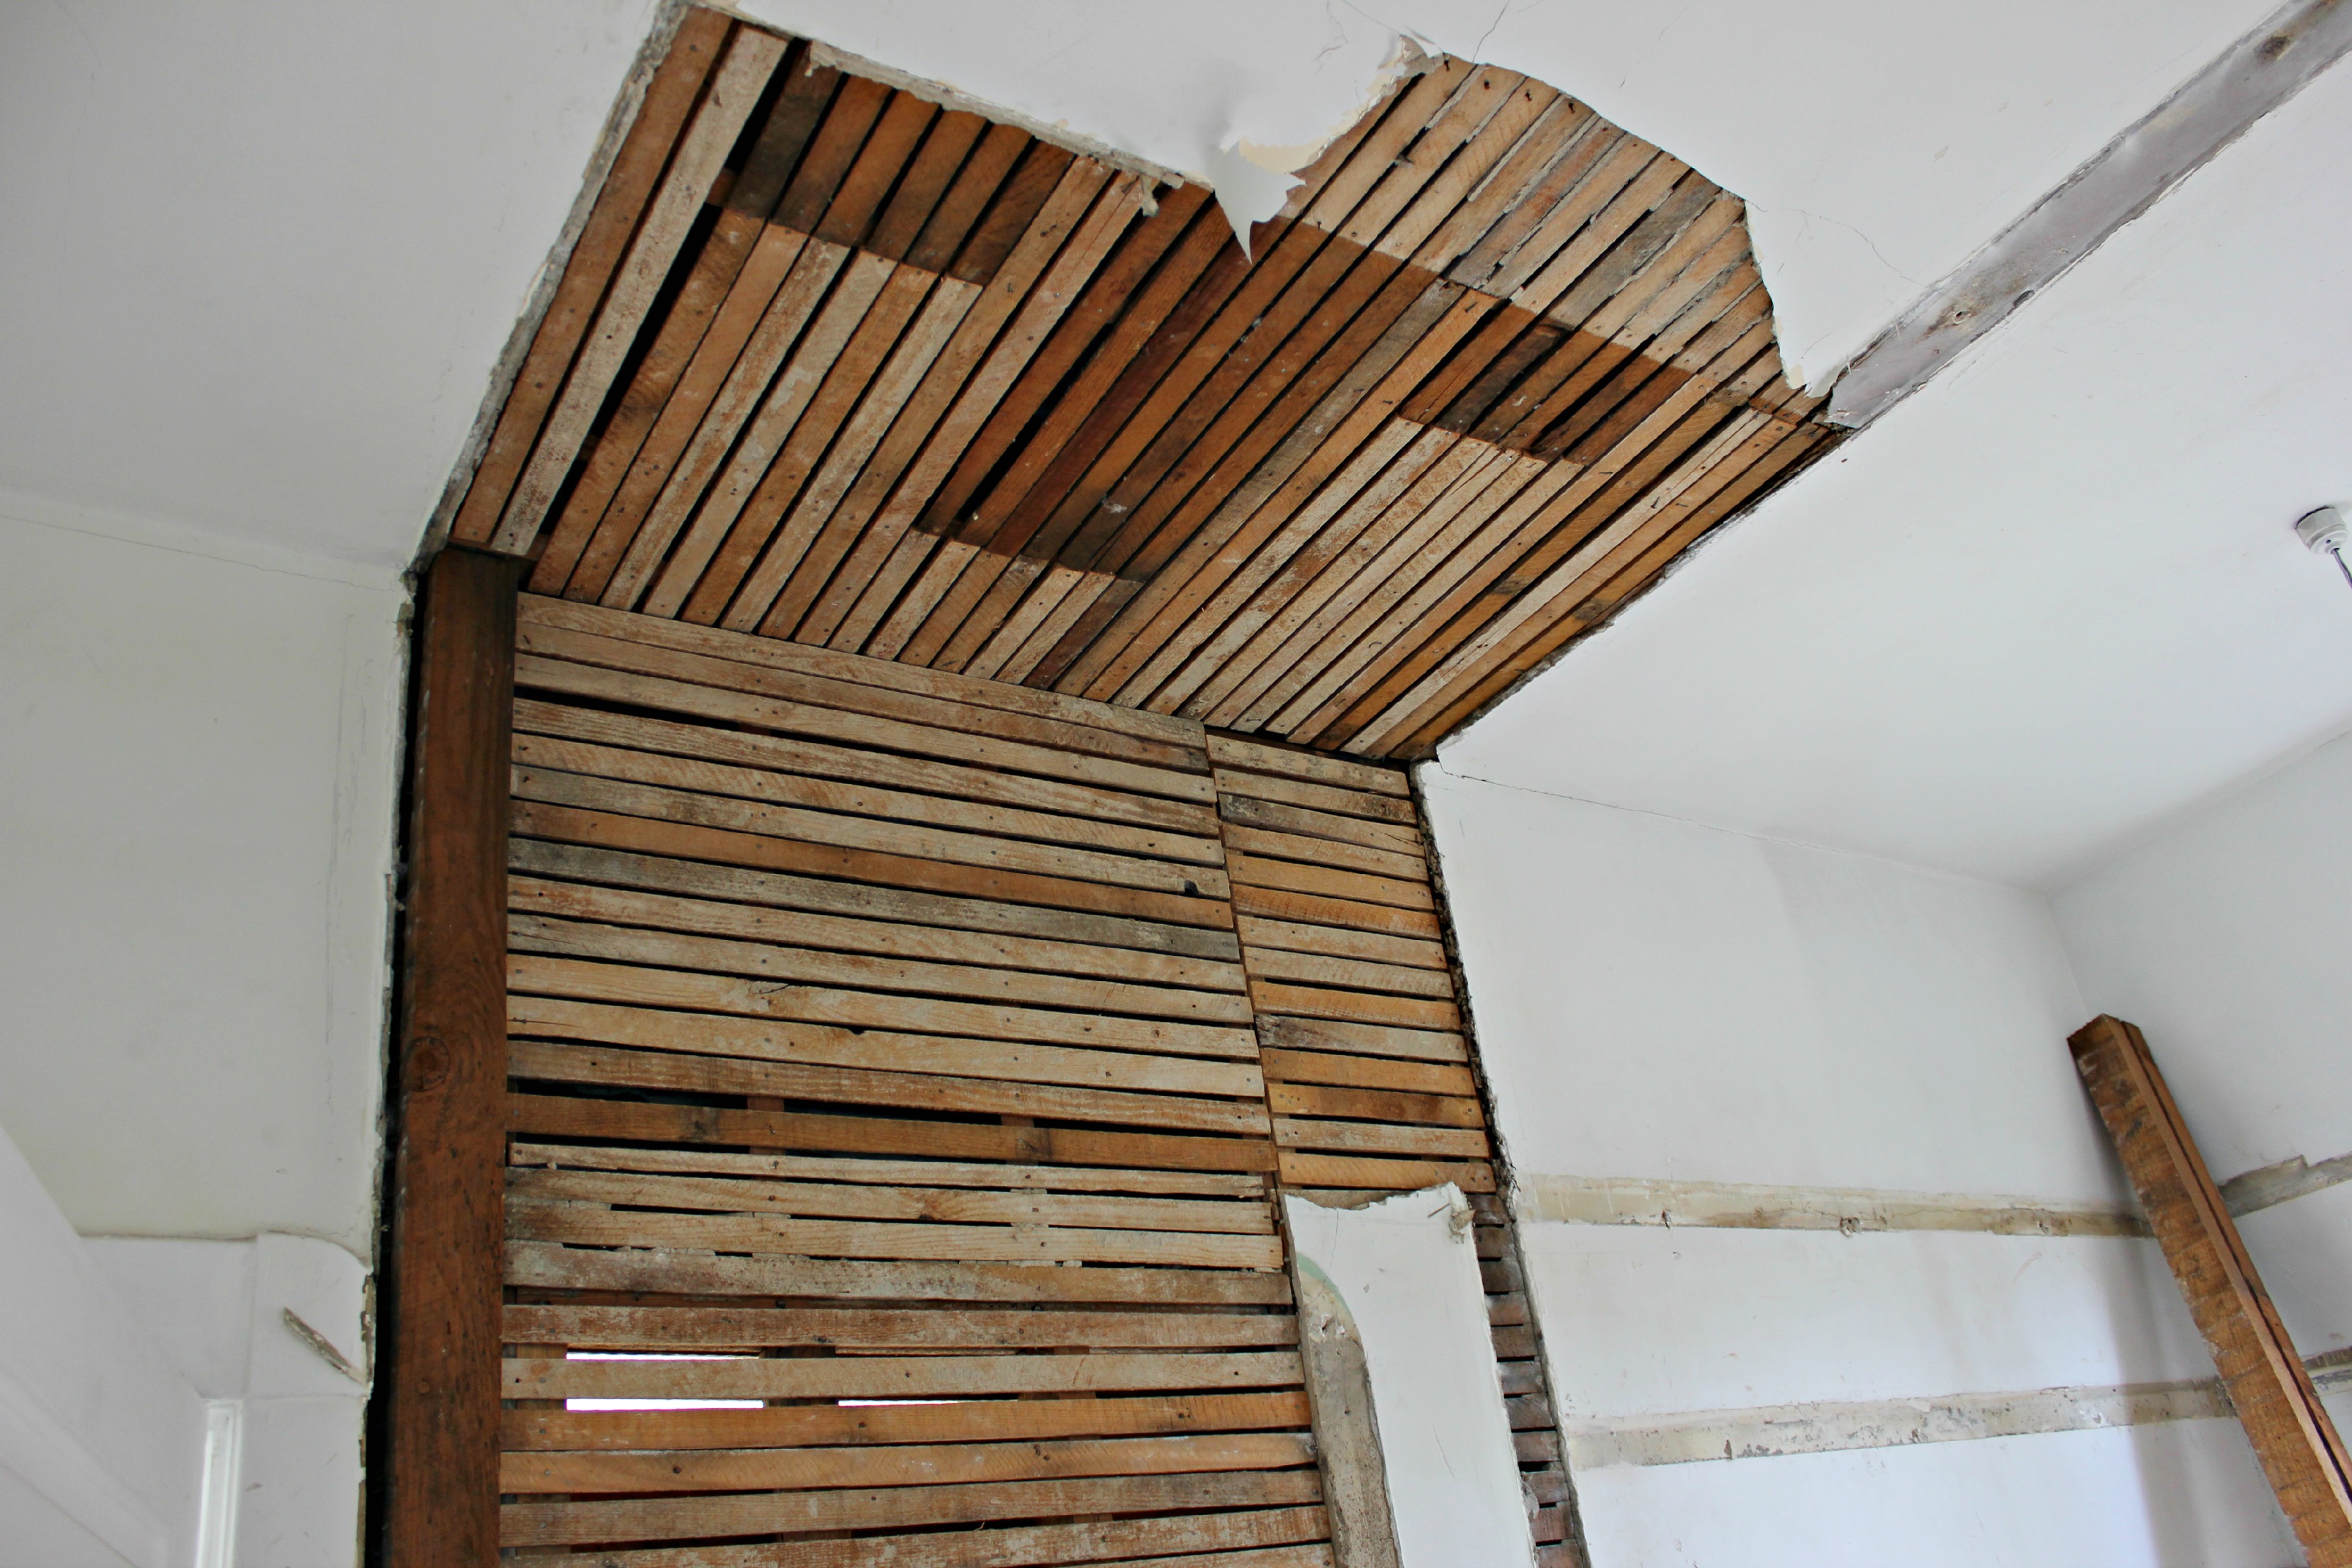
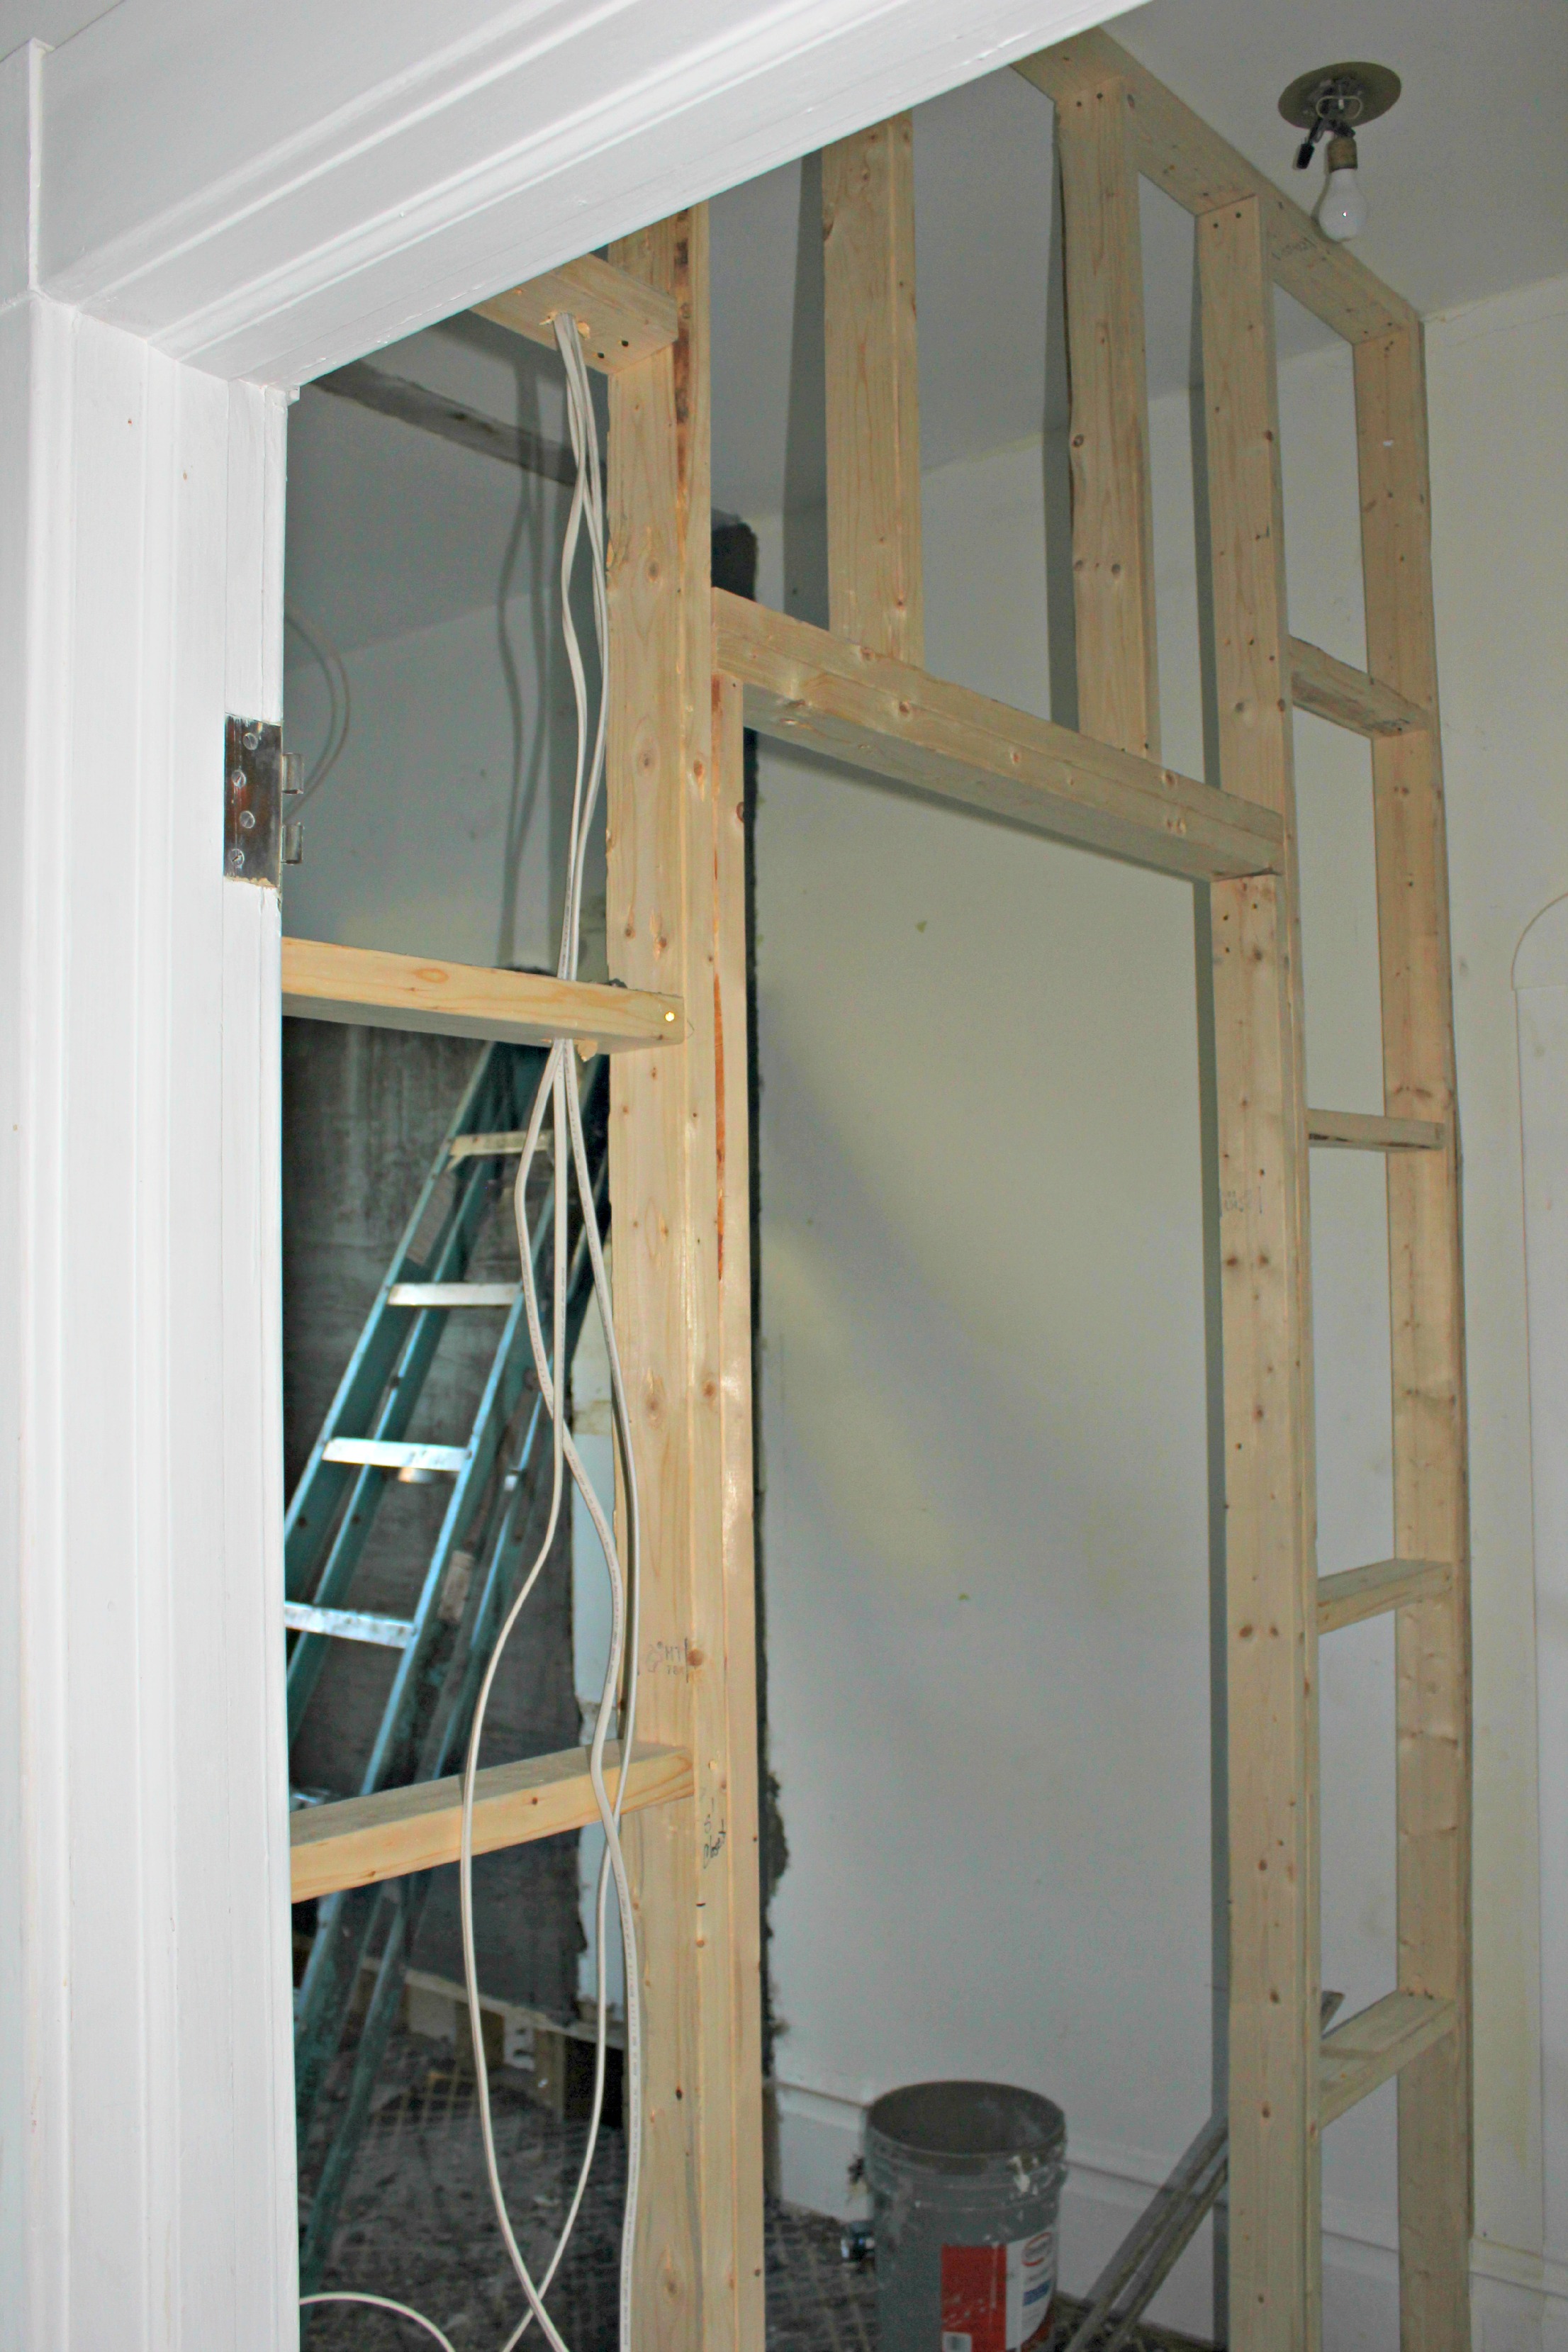
- Knock out the 3 walls
- Close up 2 doors with lathing and plaster
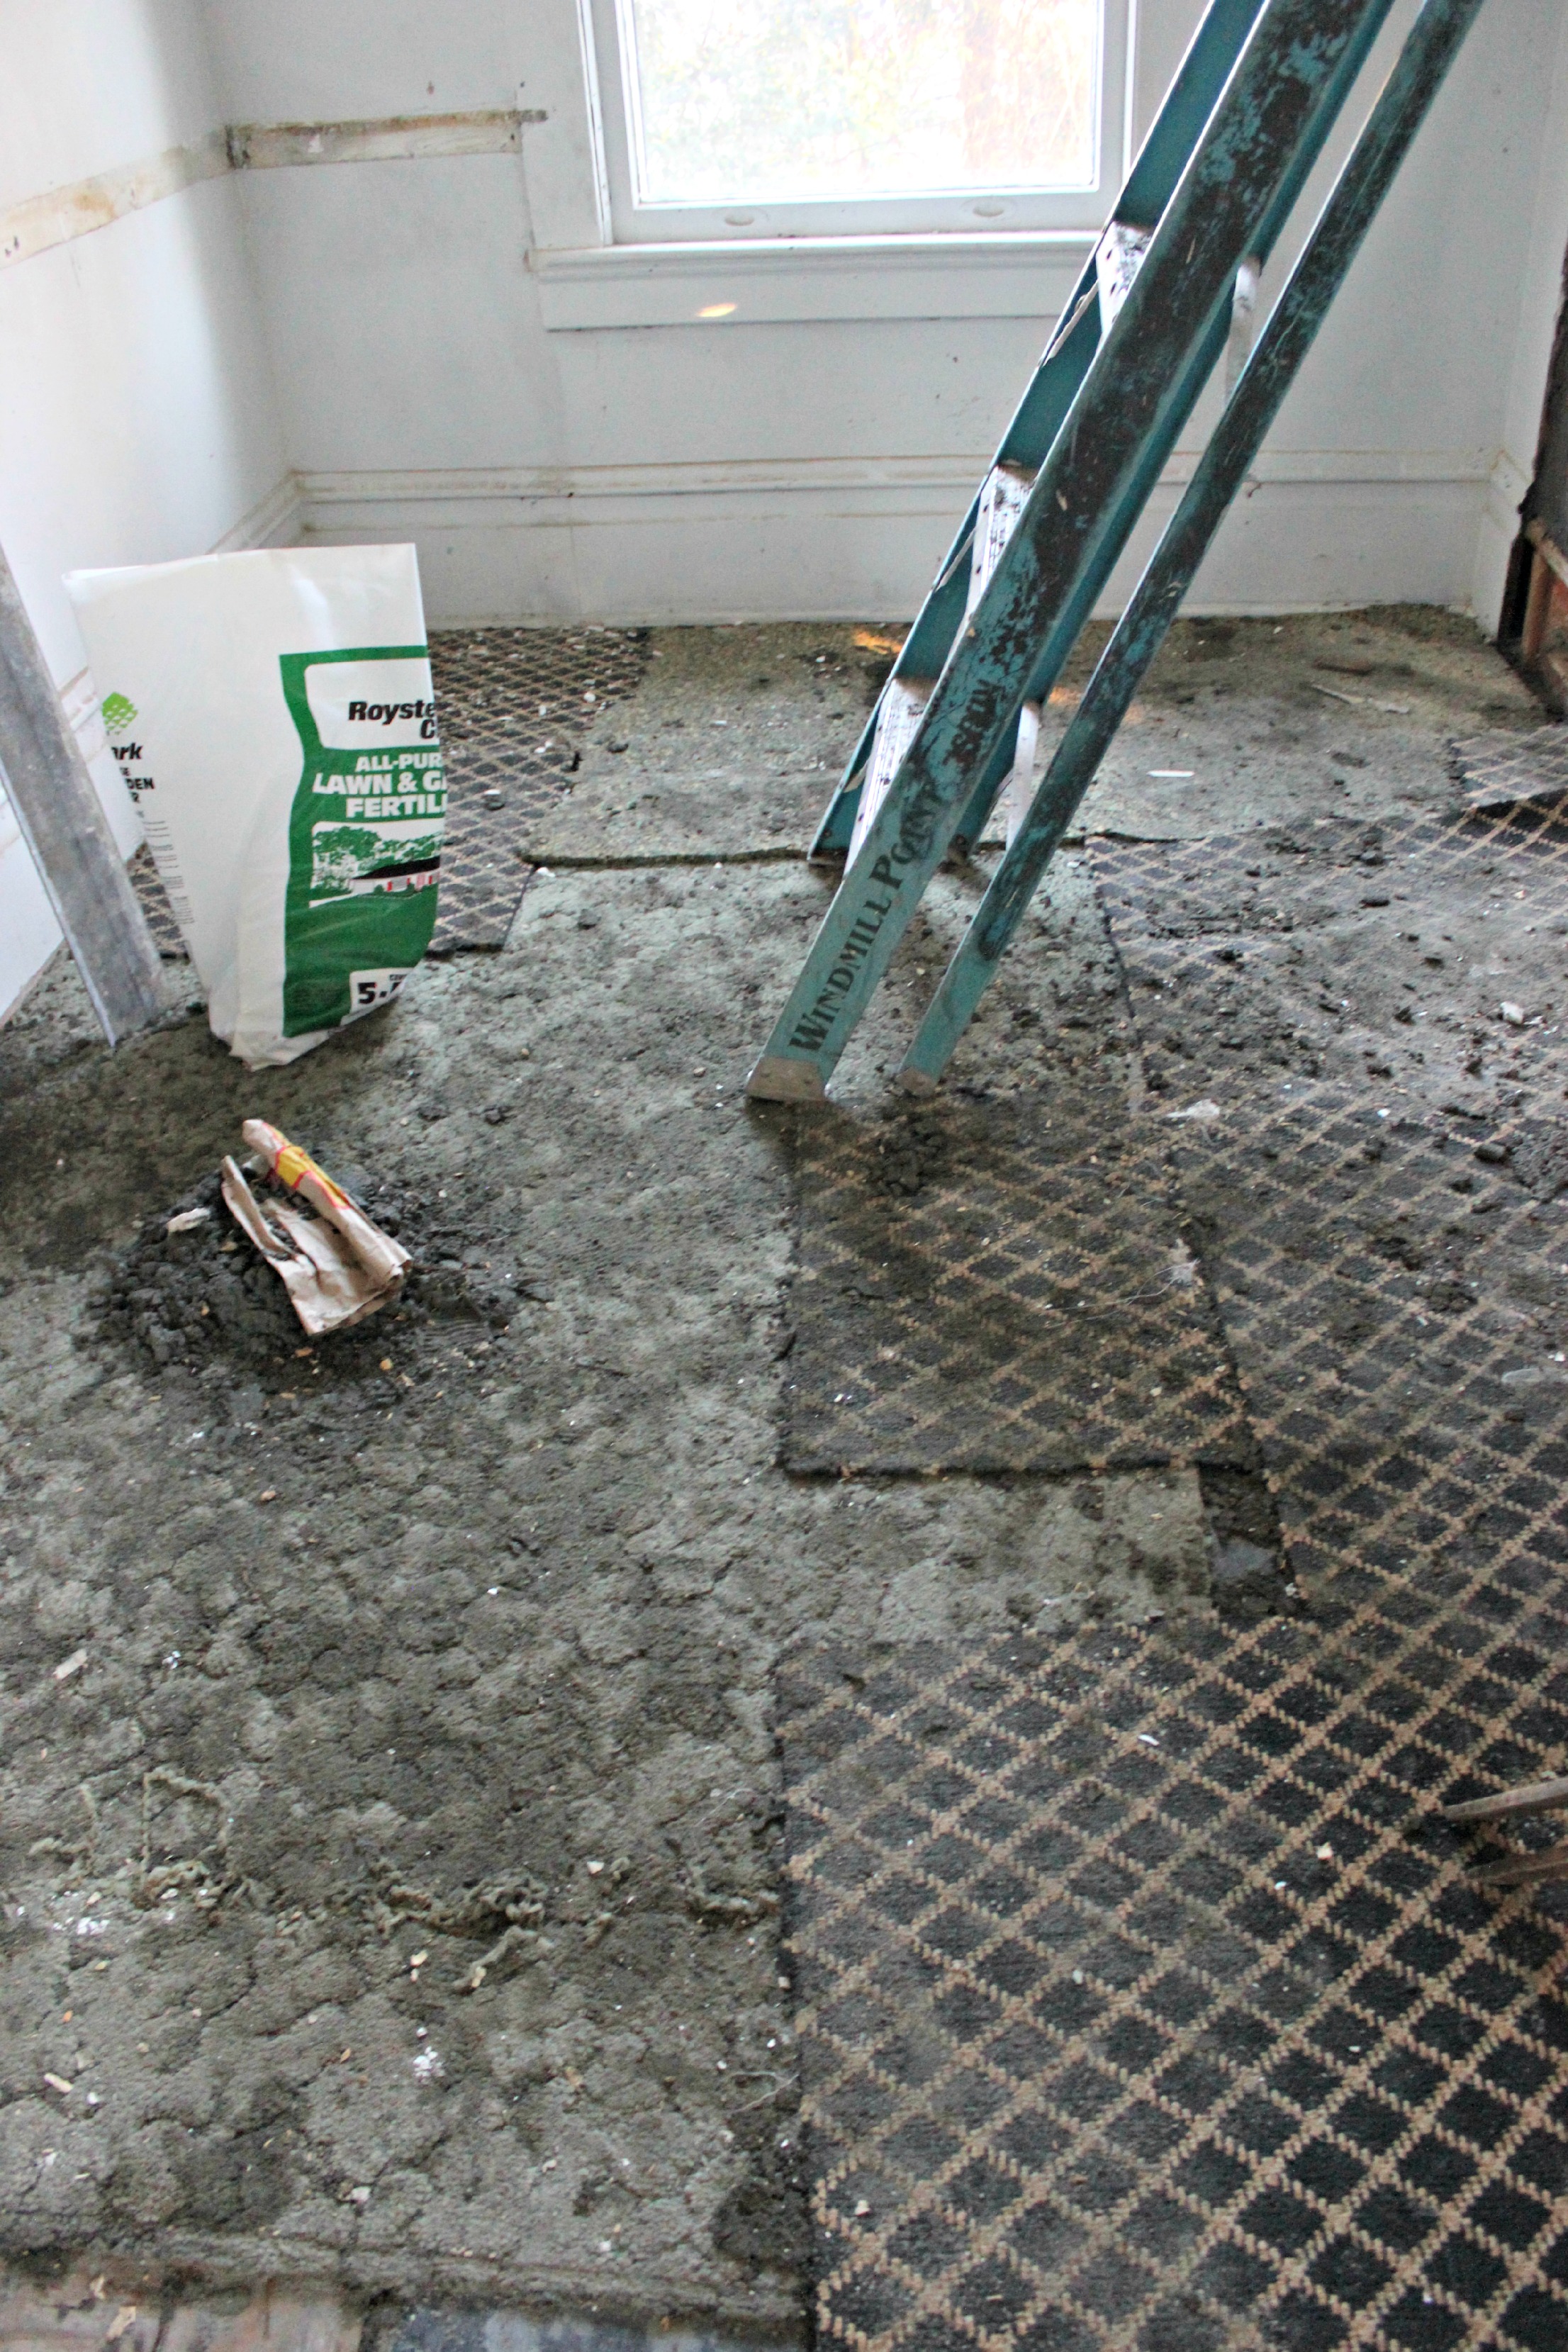
- Pull up vinyl in part of the closet
- Repair plaster as necessary
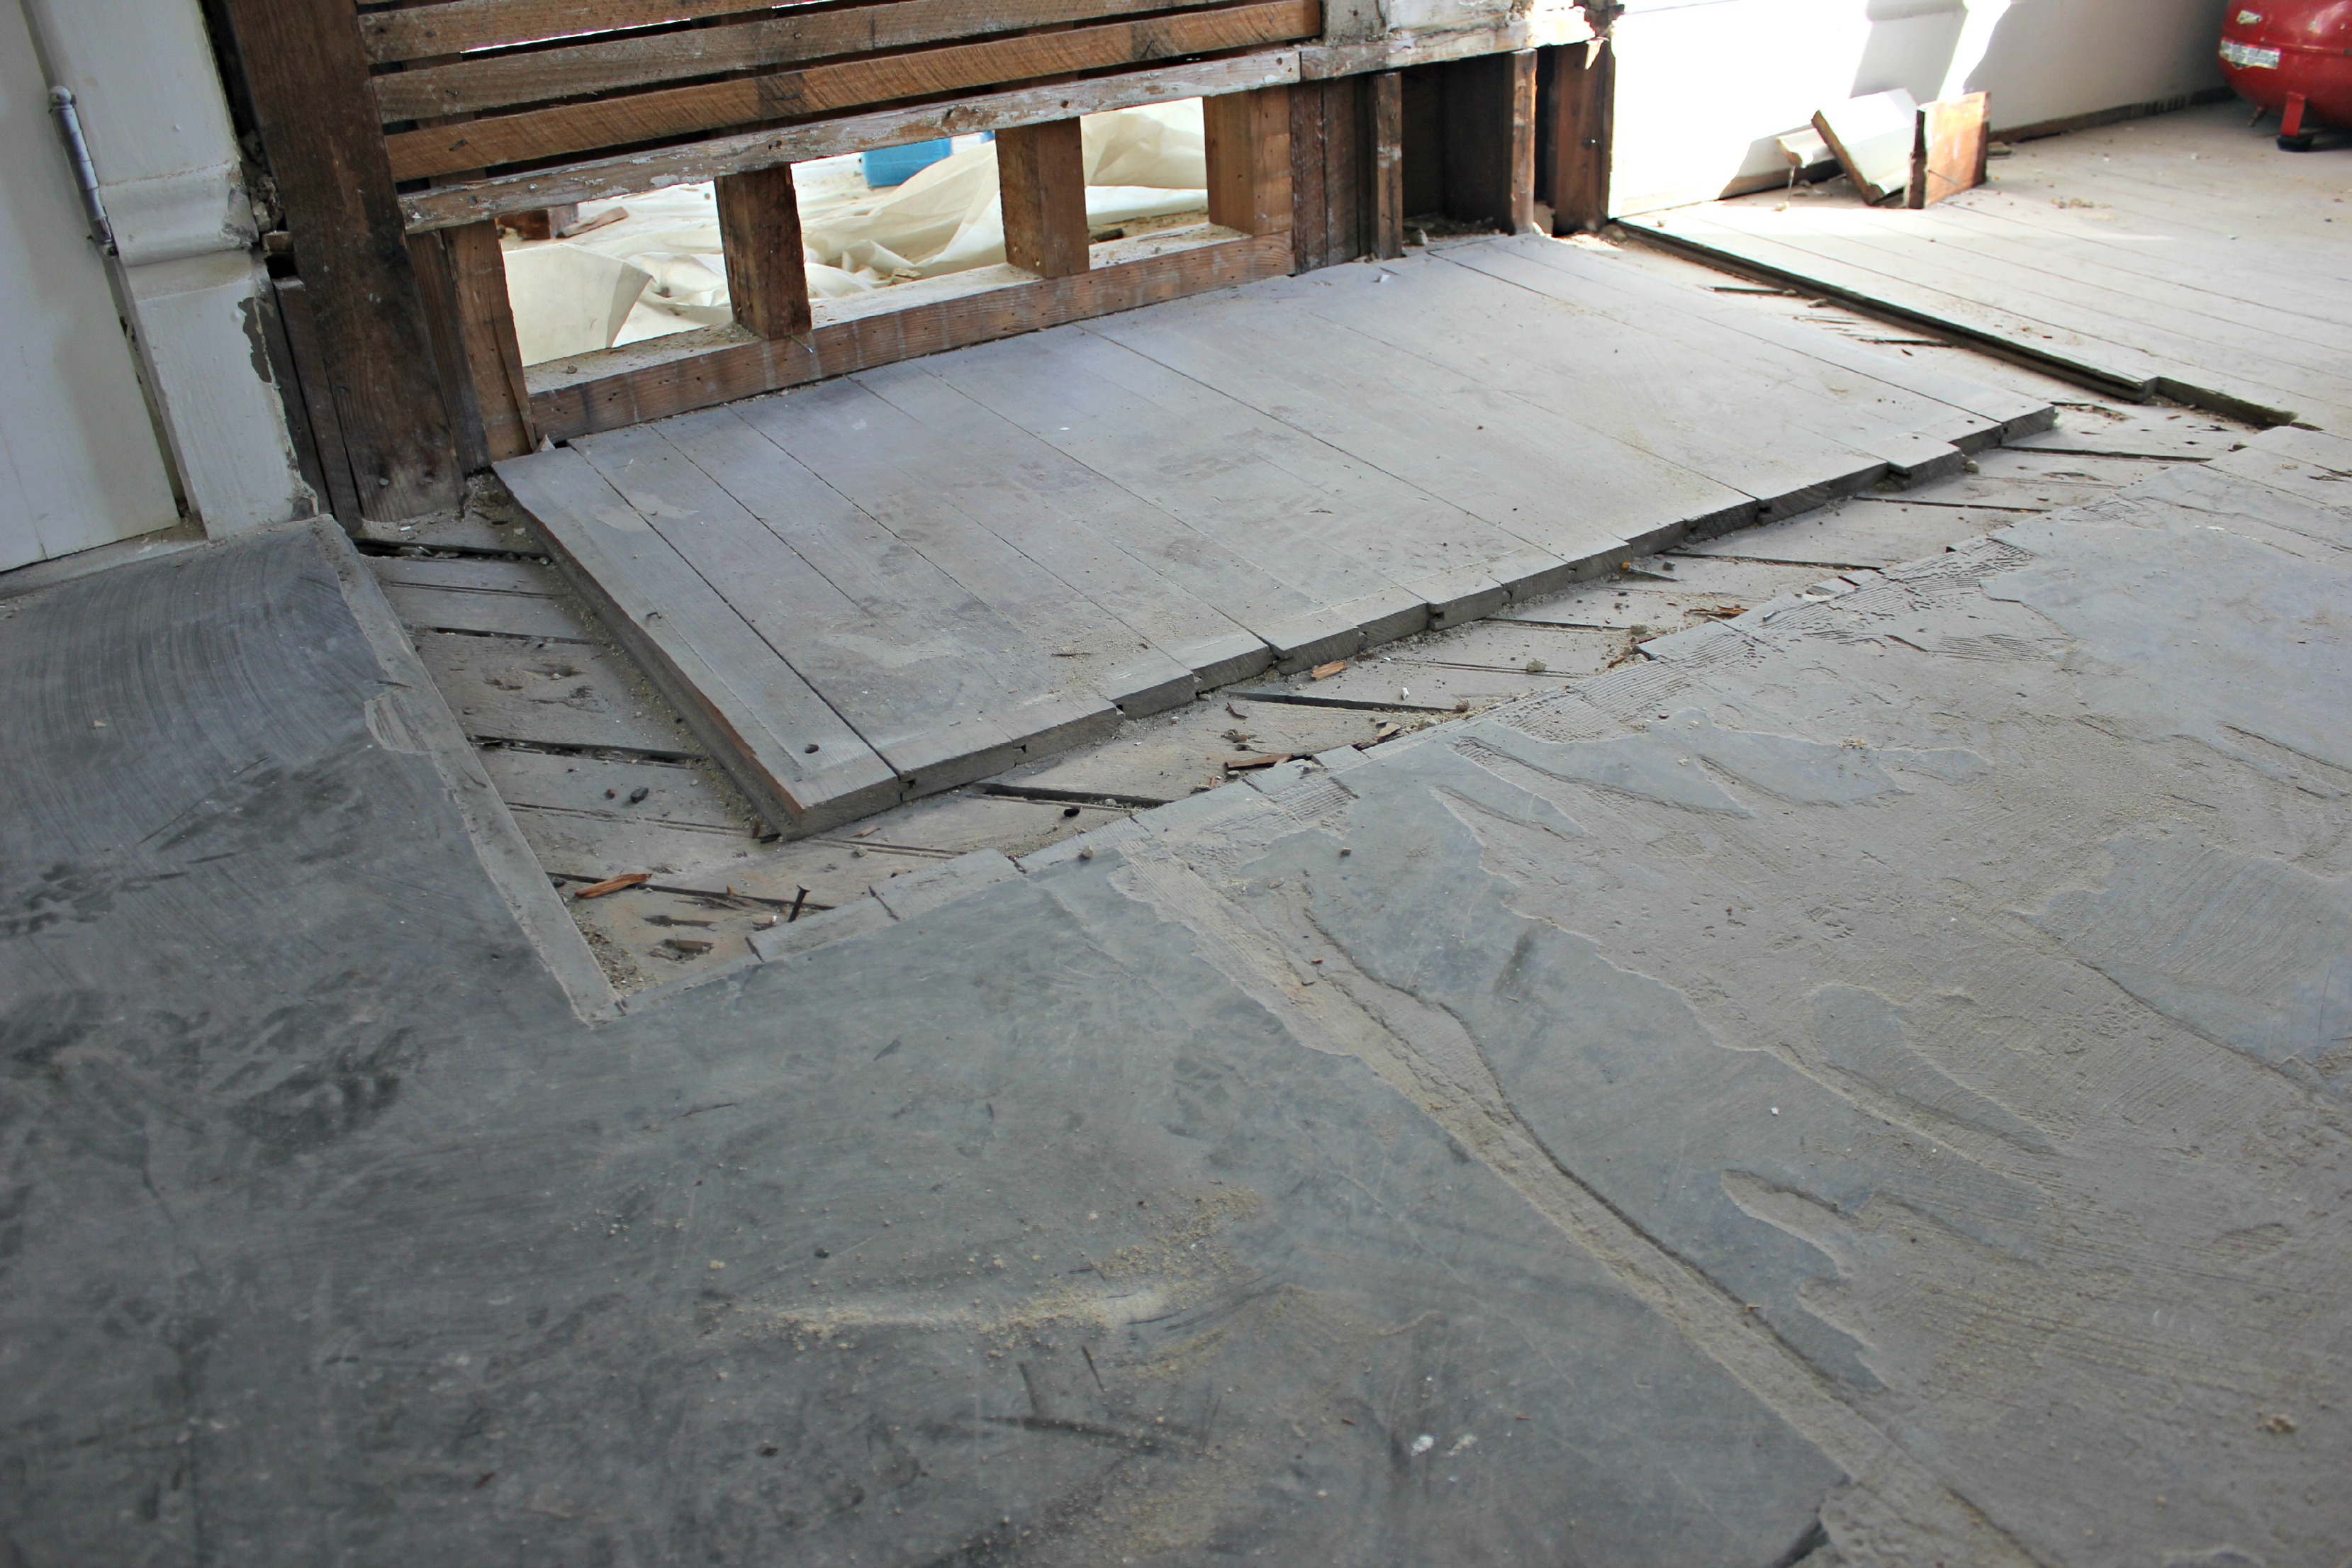
- Repair floor where walls were removed
- Install new baseboards and trim where needed
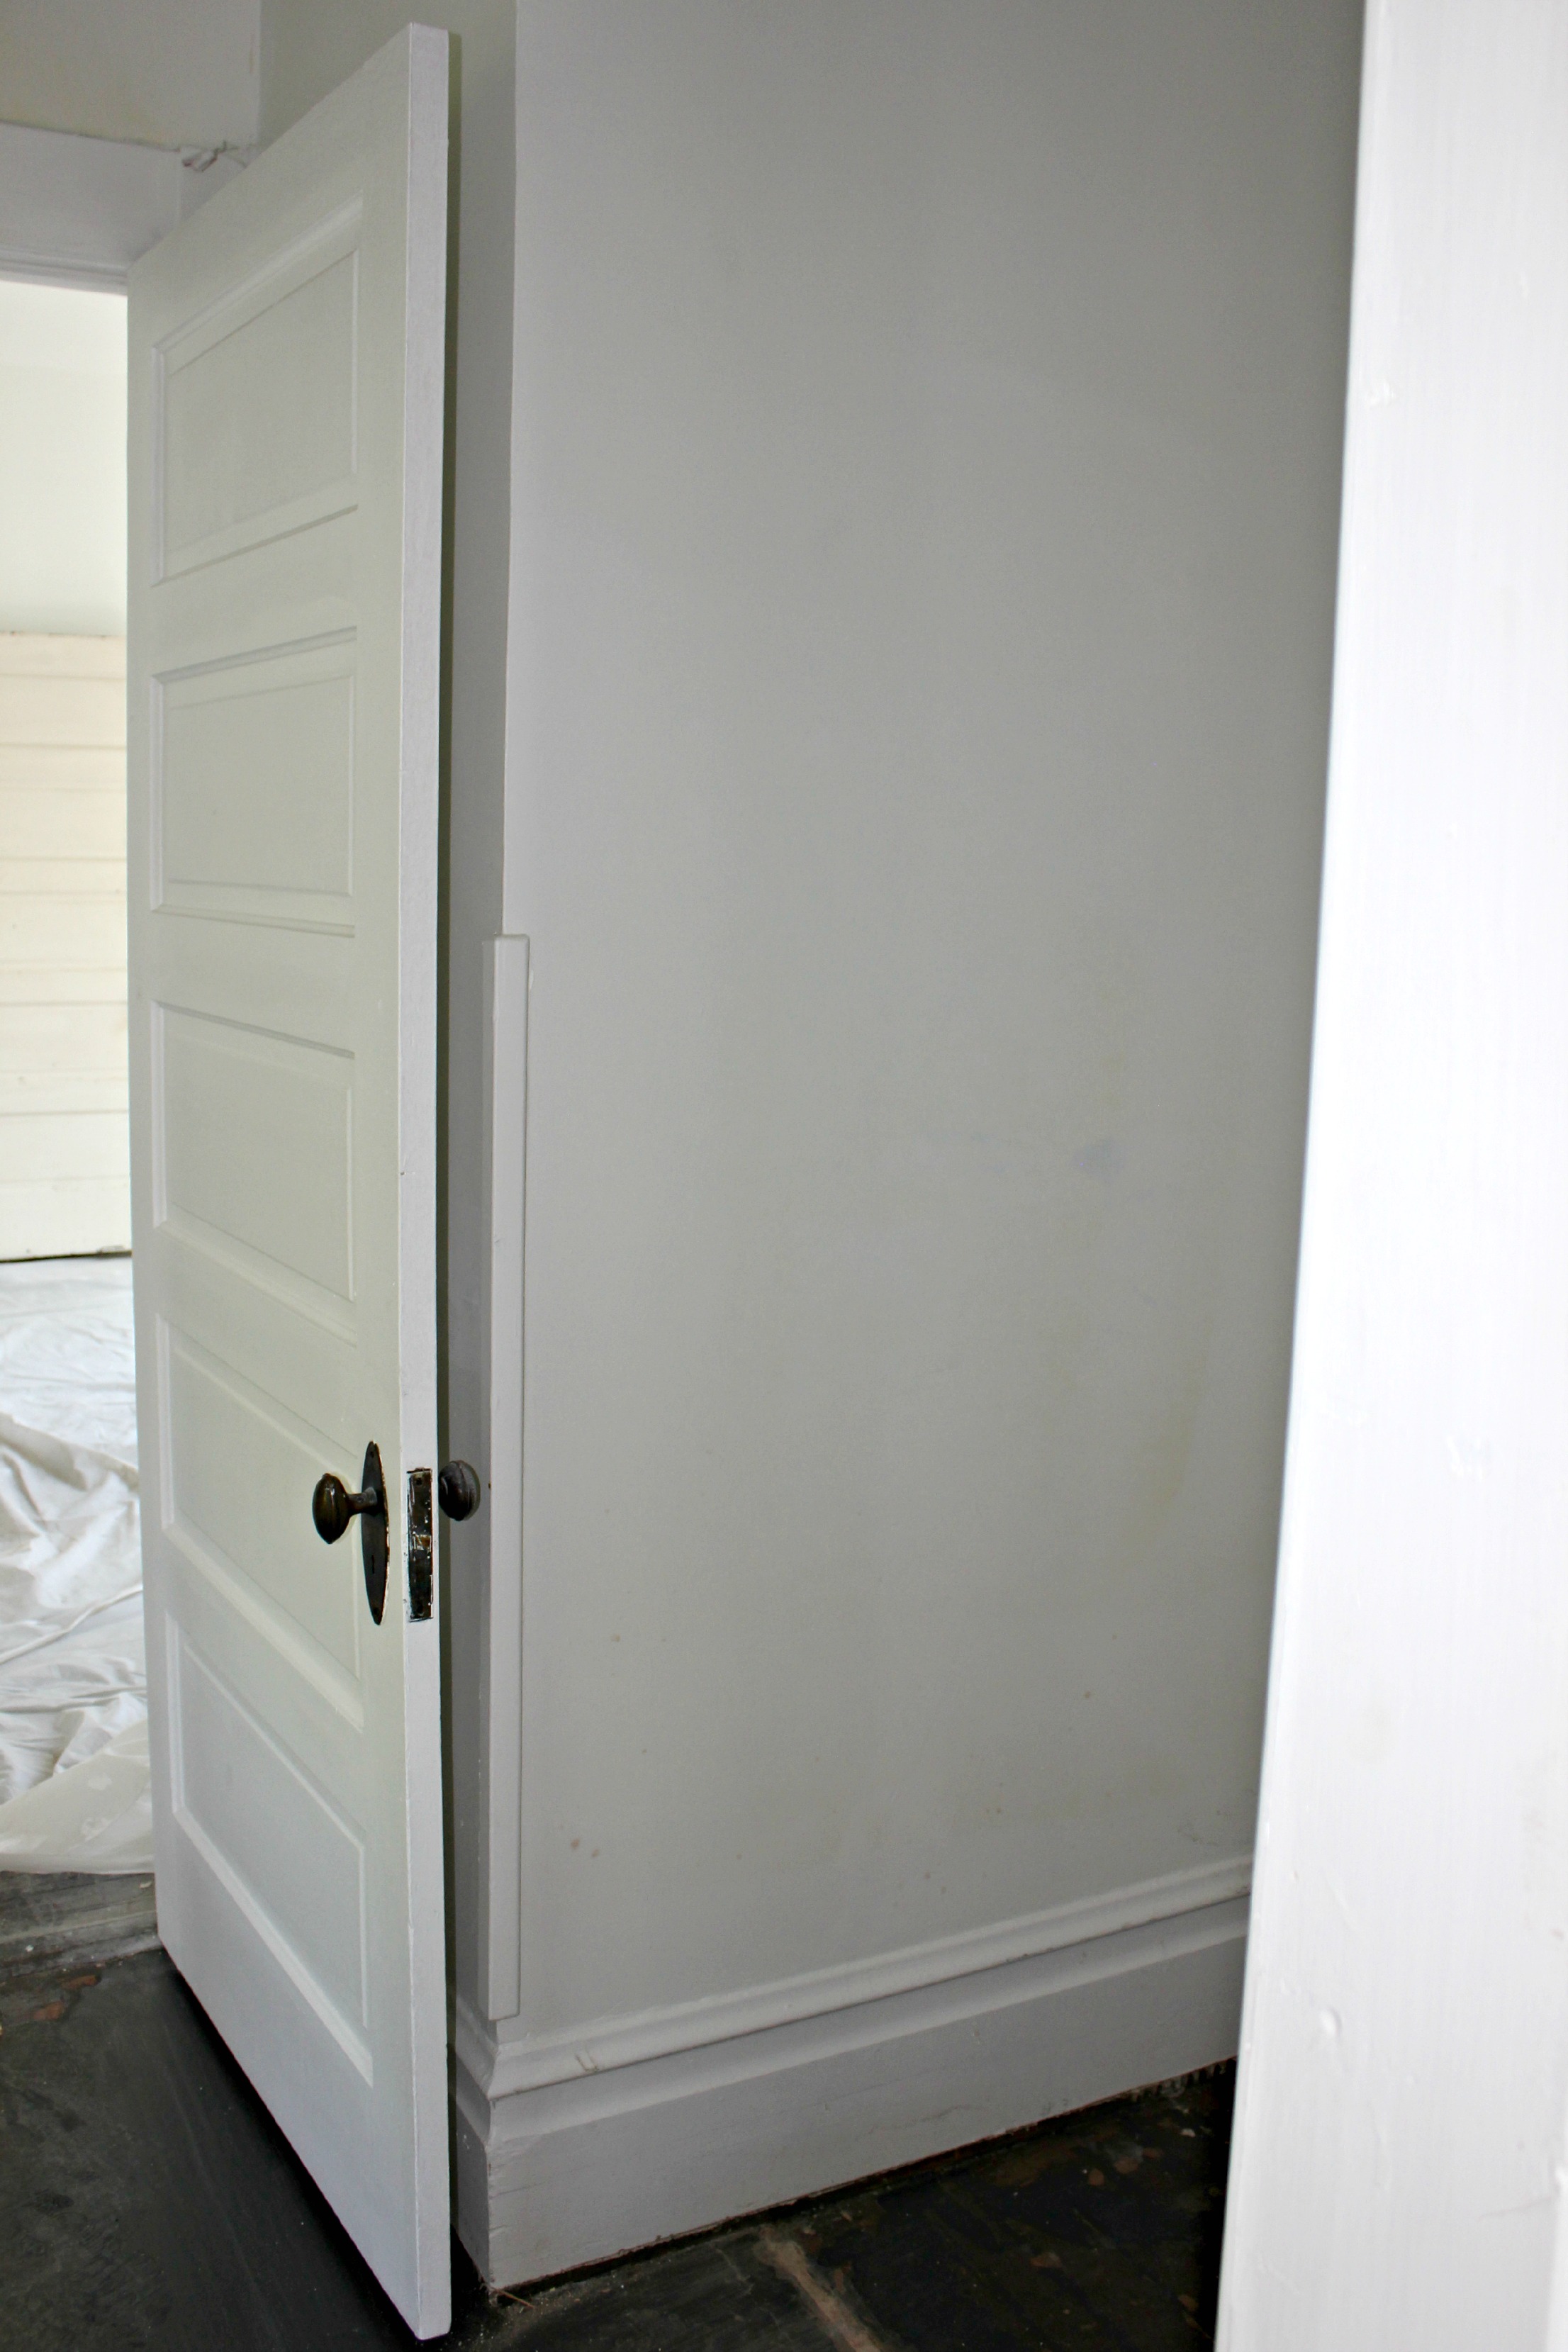
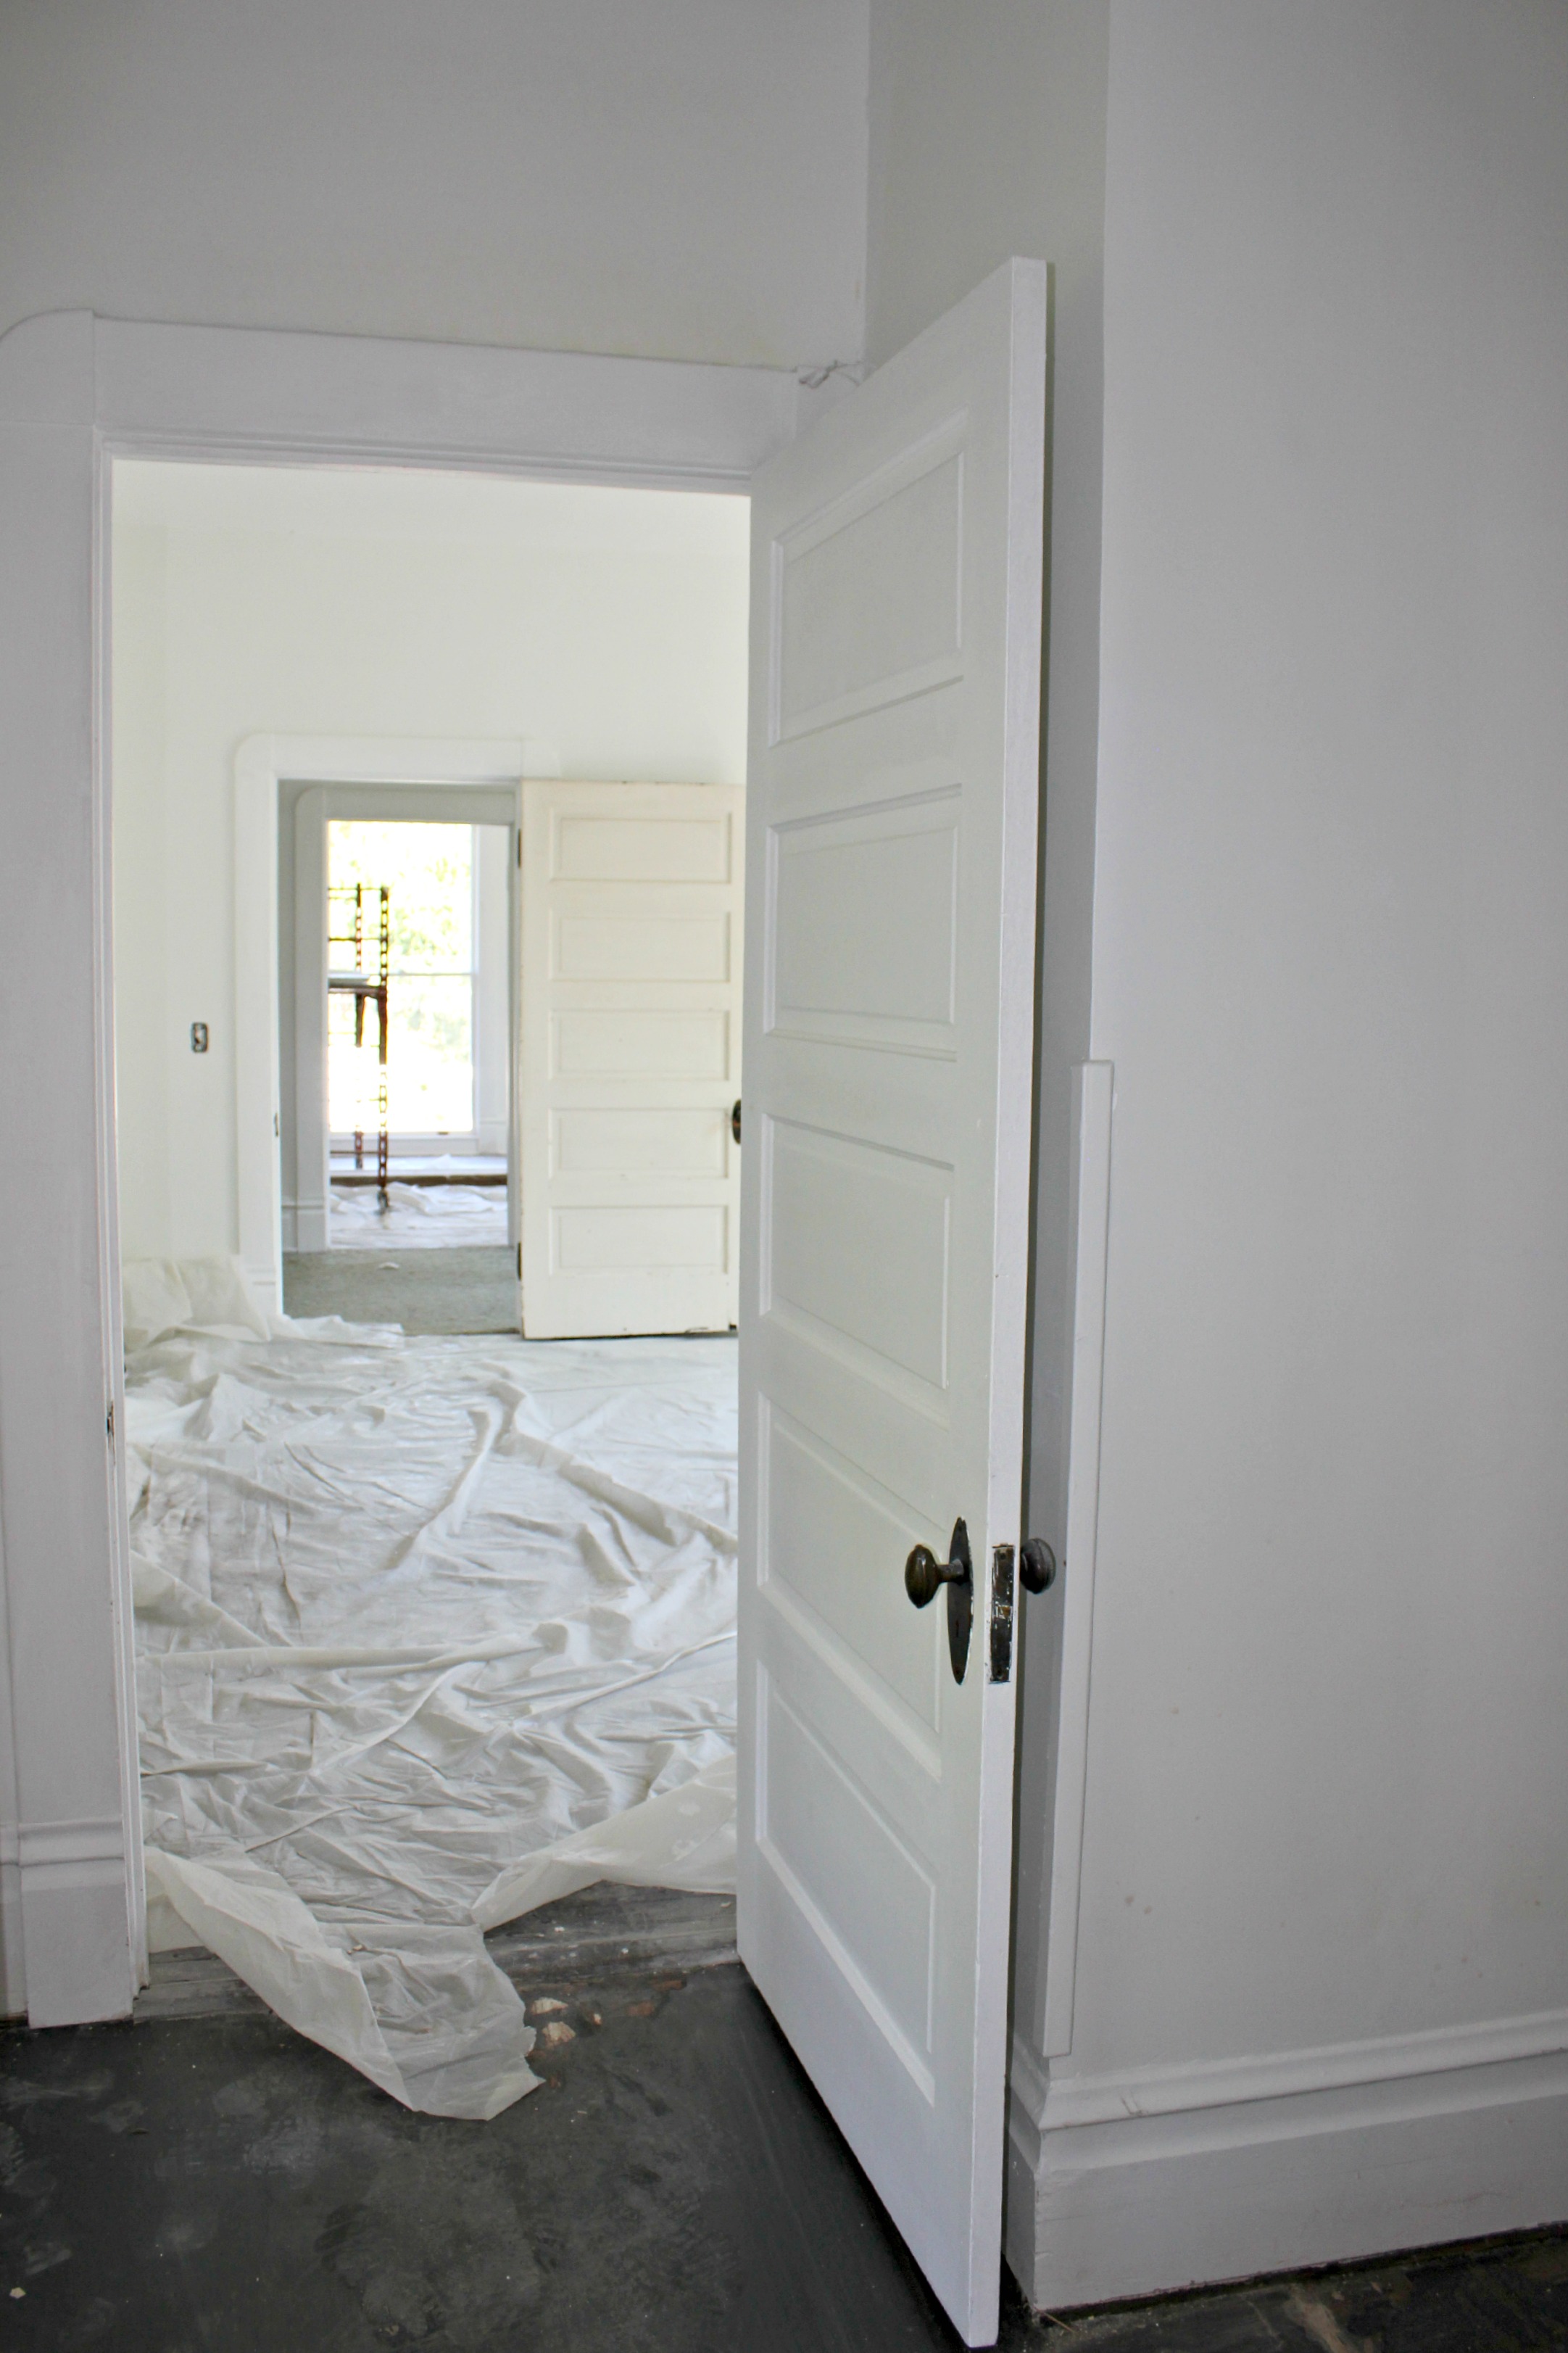
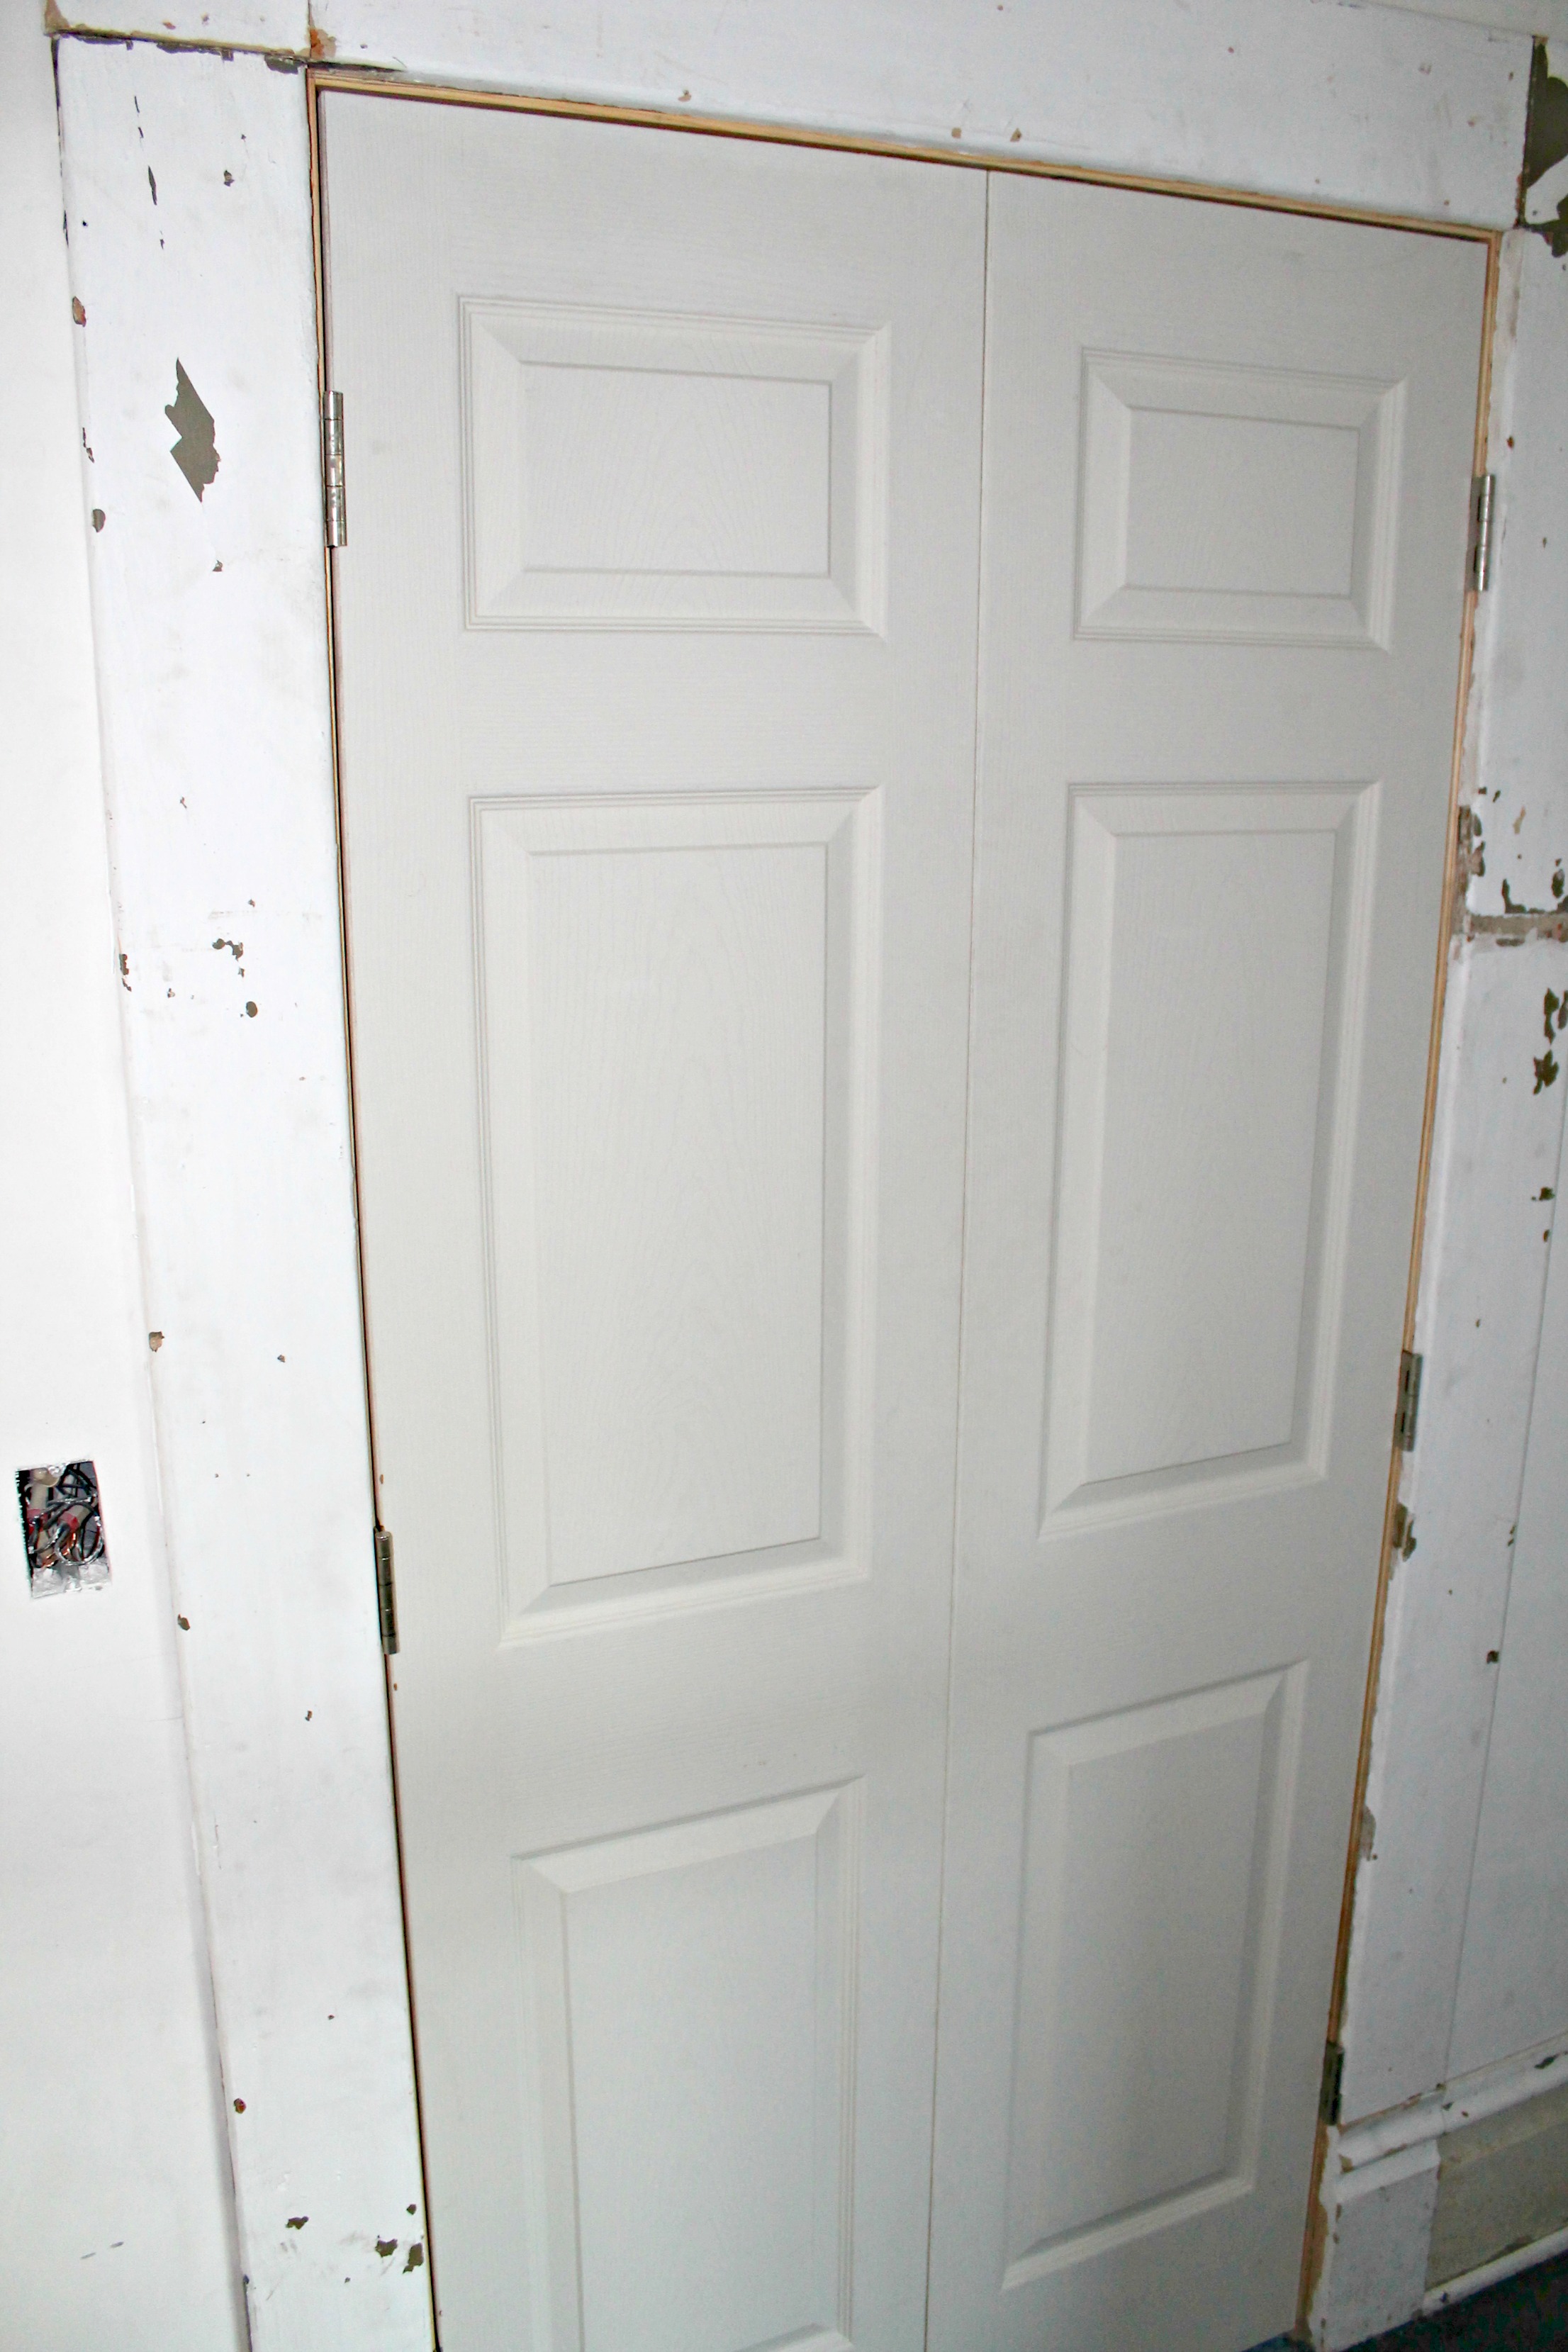
- Install new wall and french doors
- Prep, prime, and paint walls, trim, and ceiling
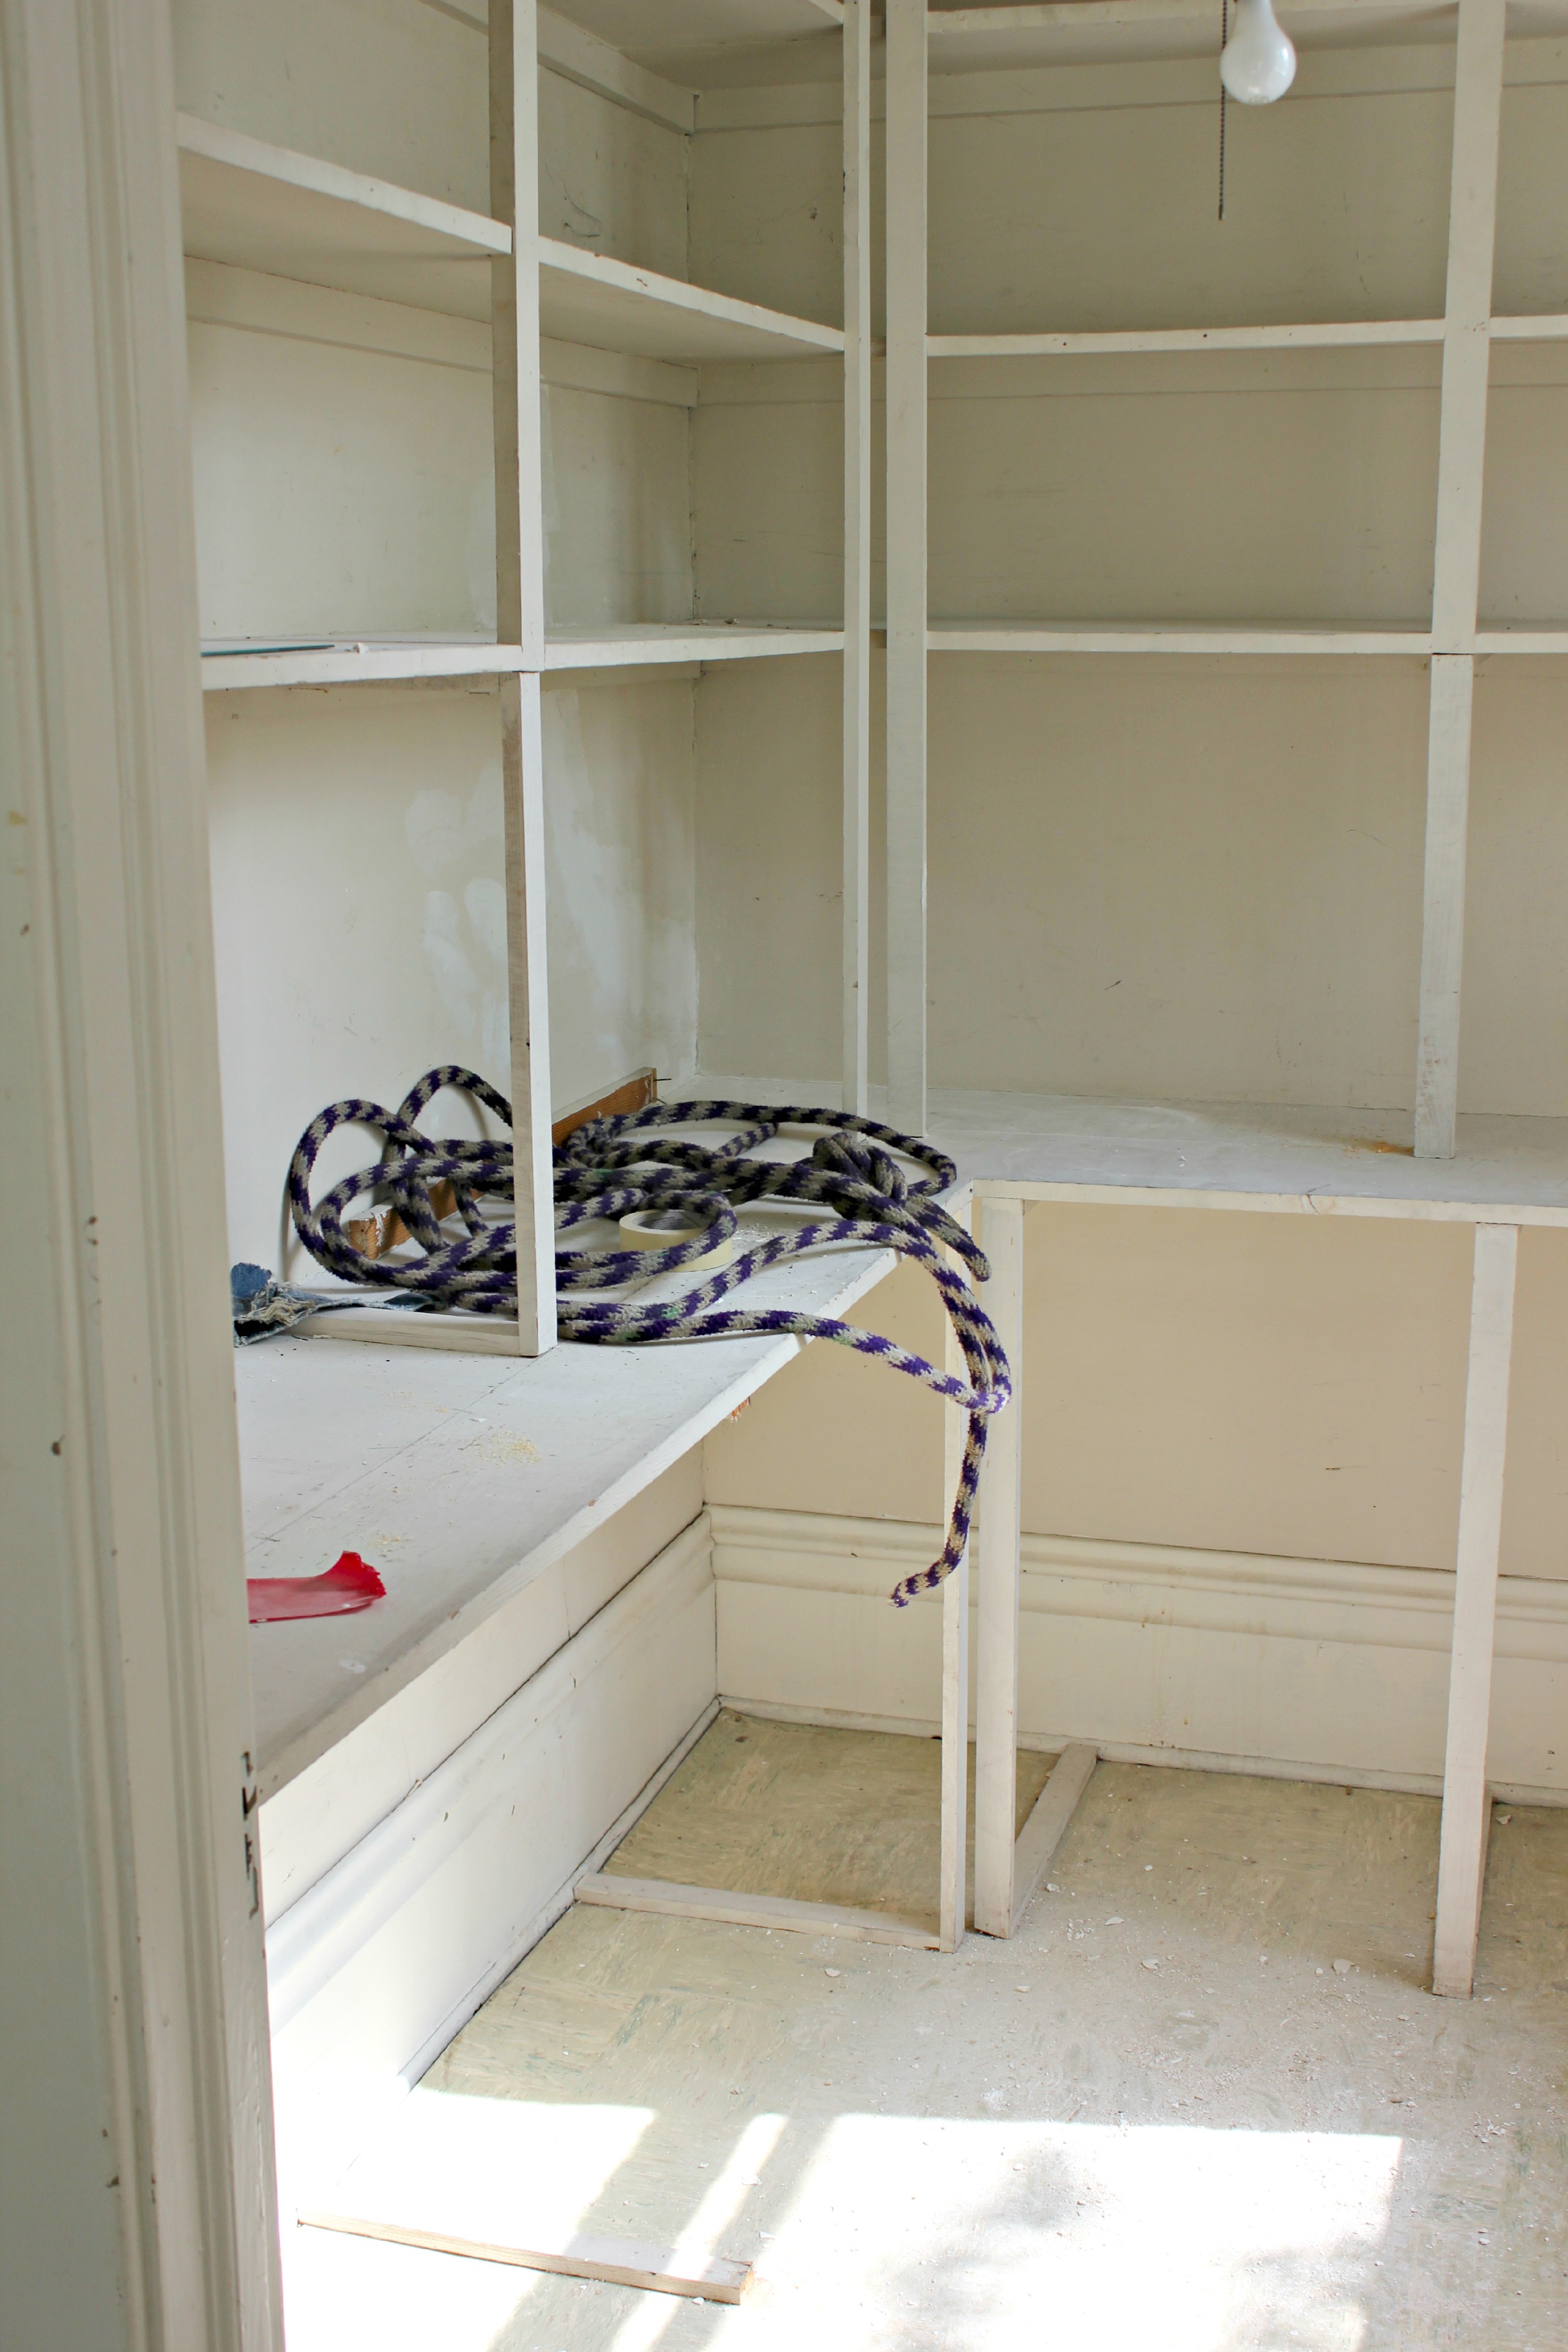
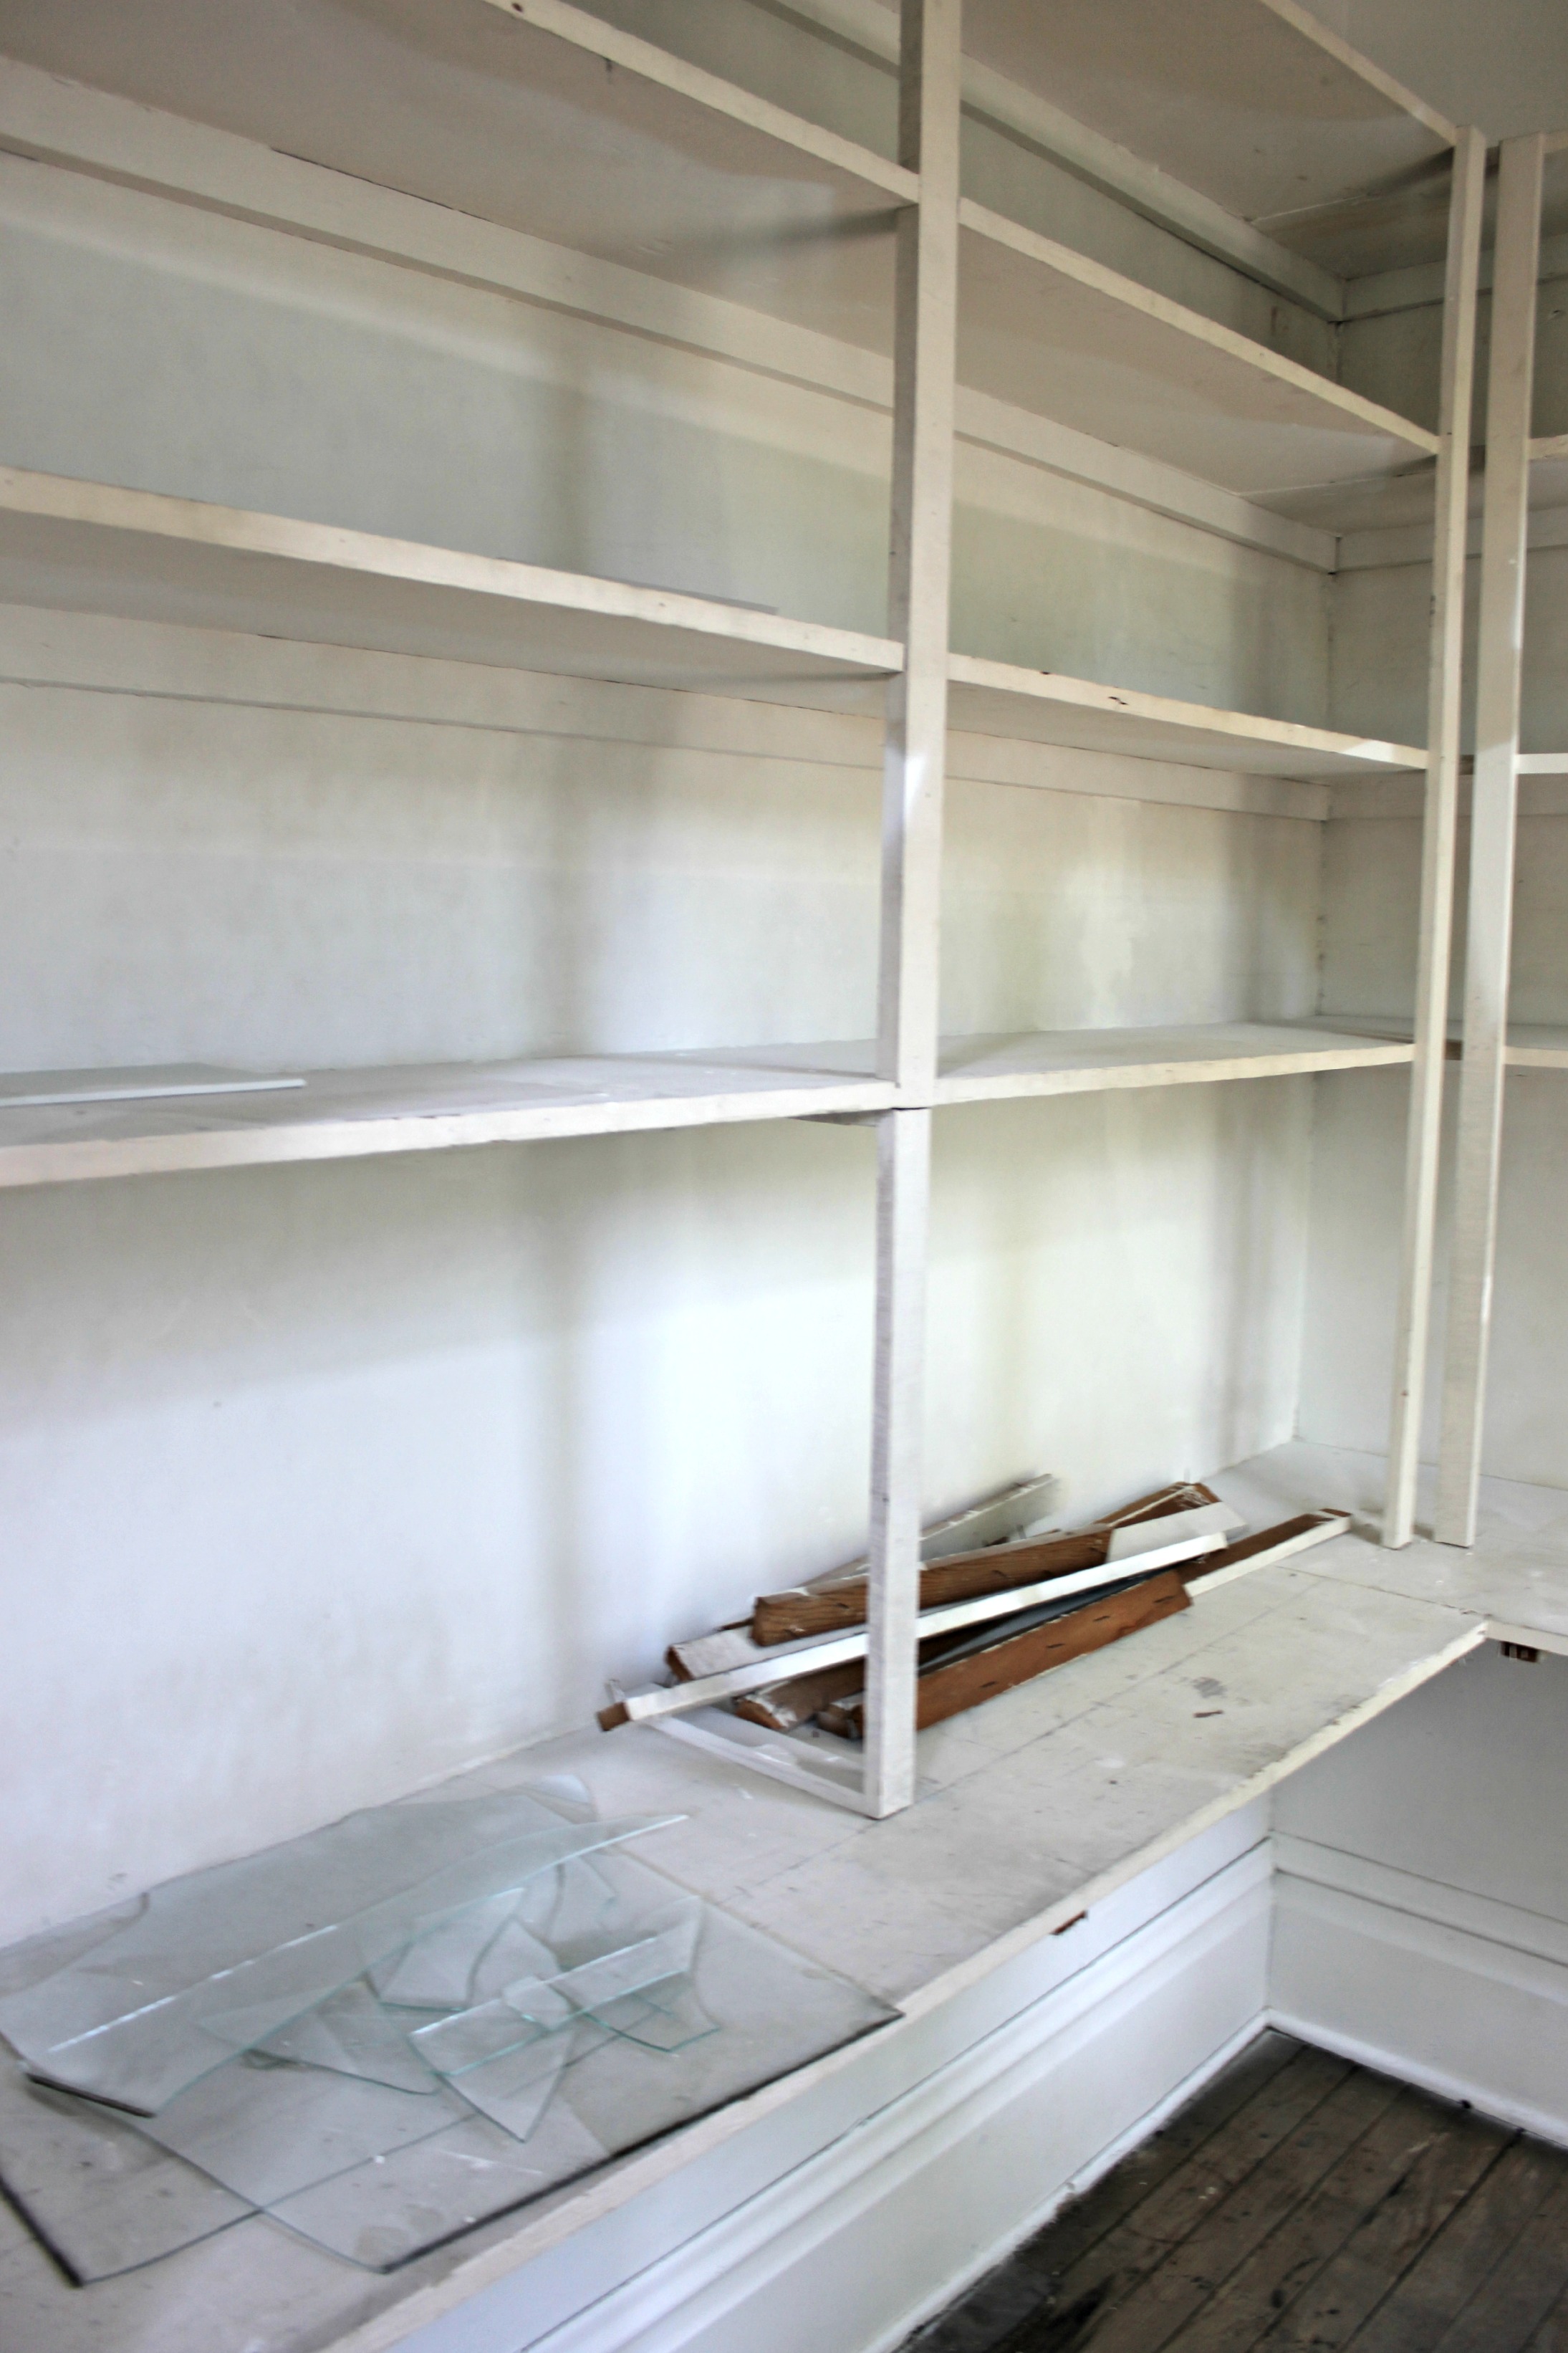
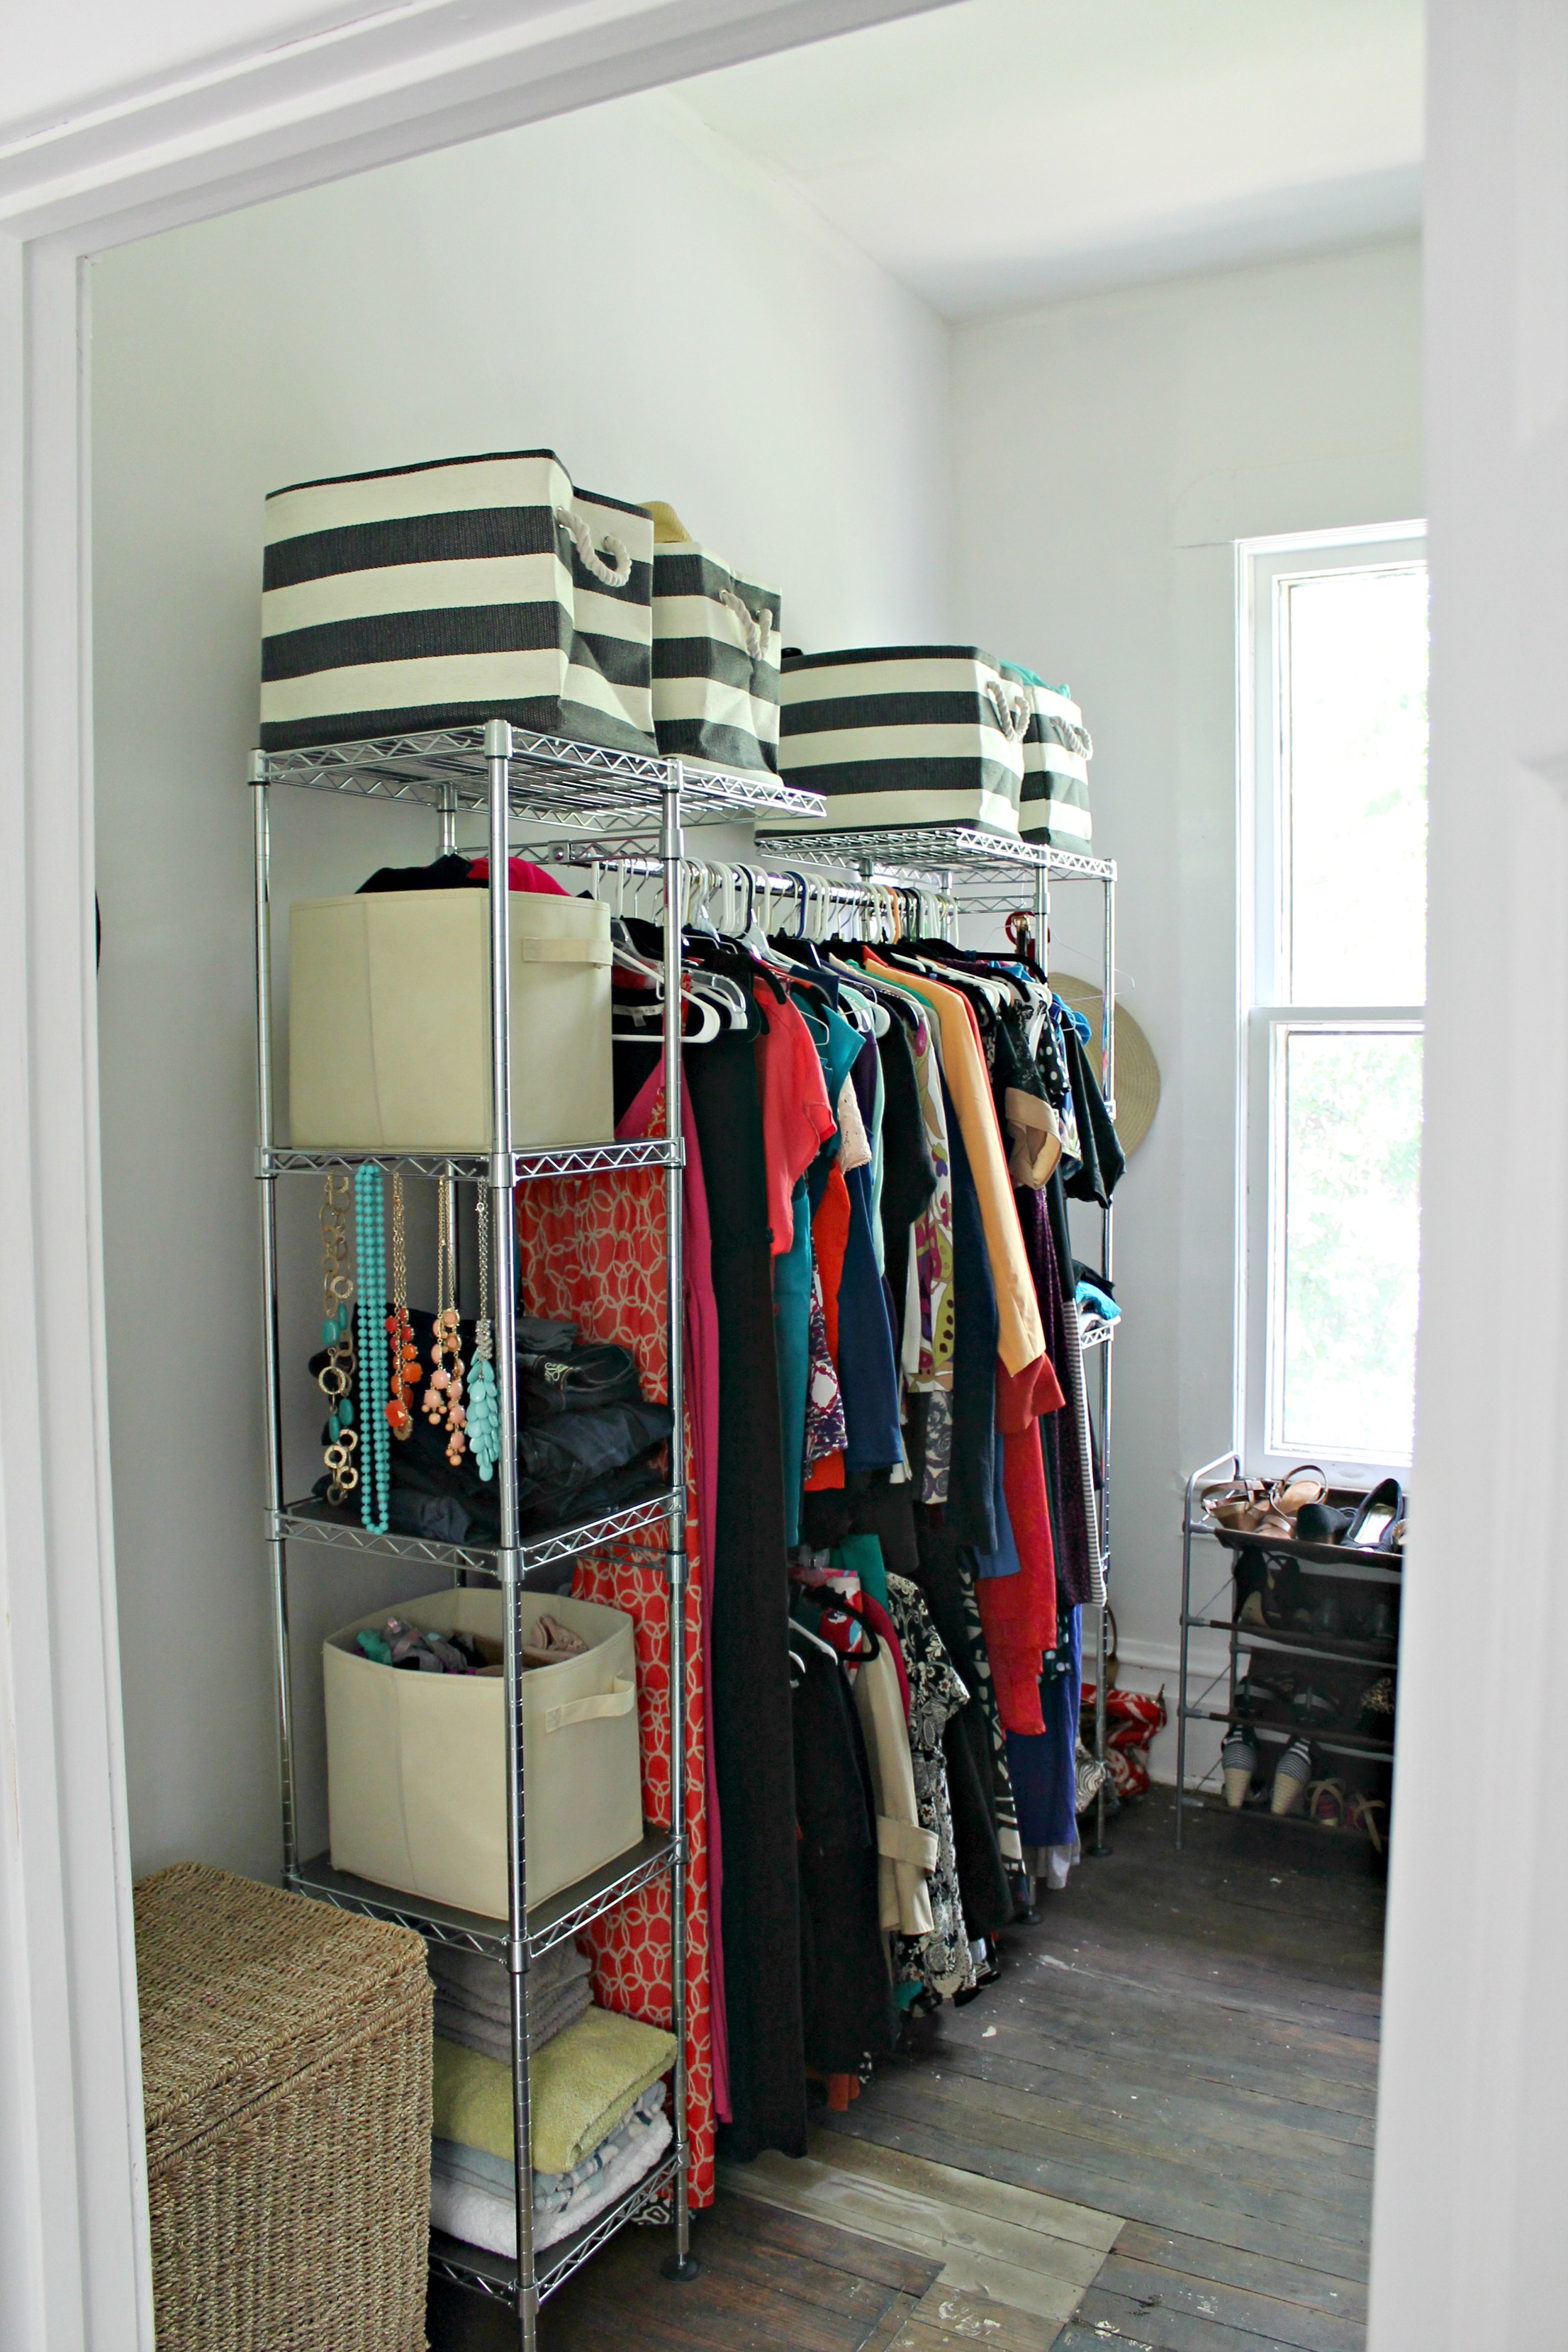
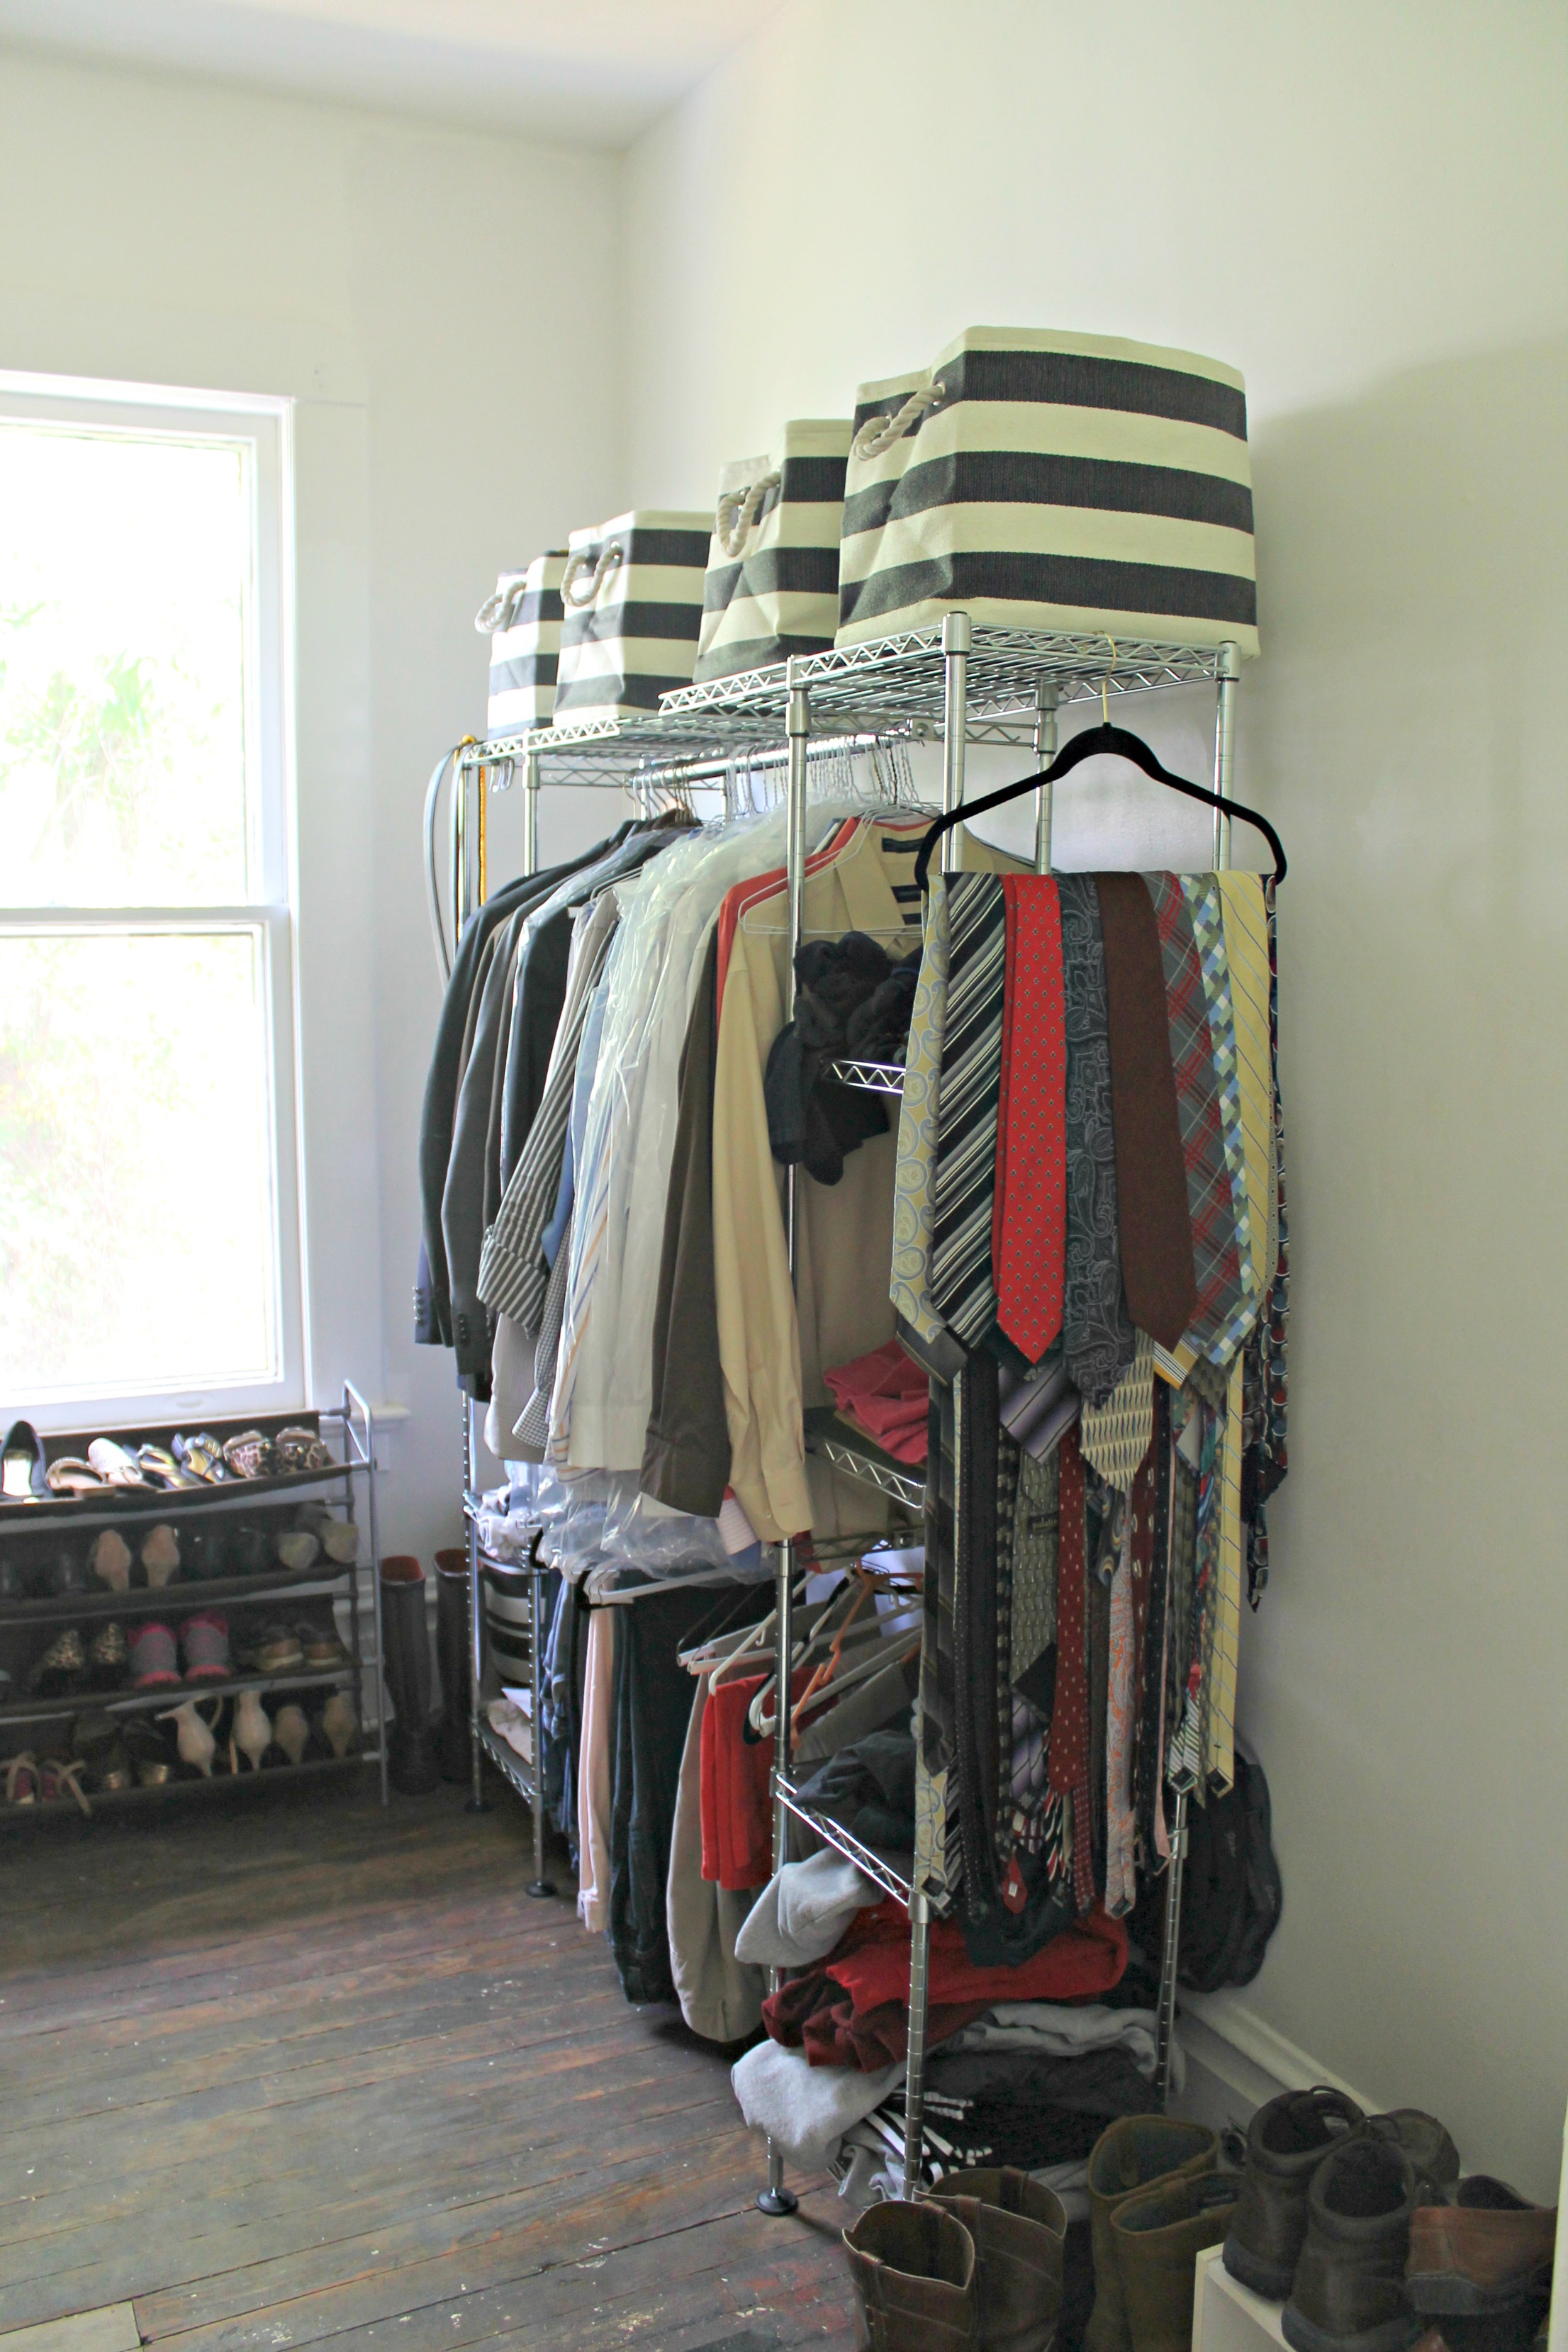
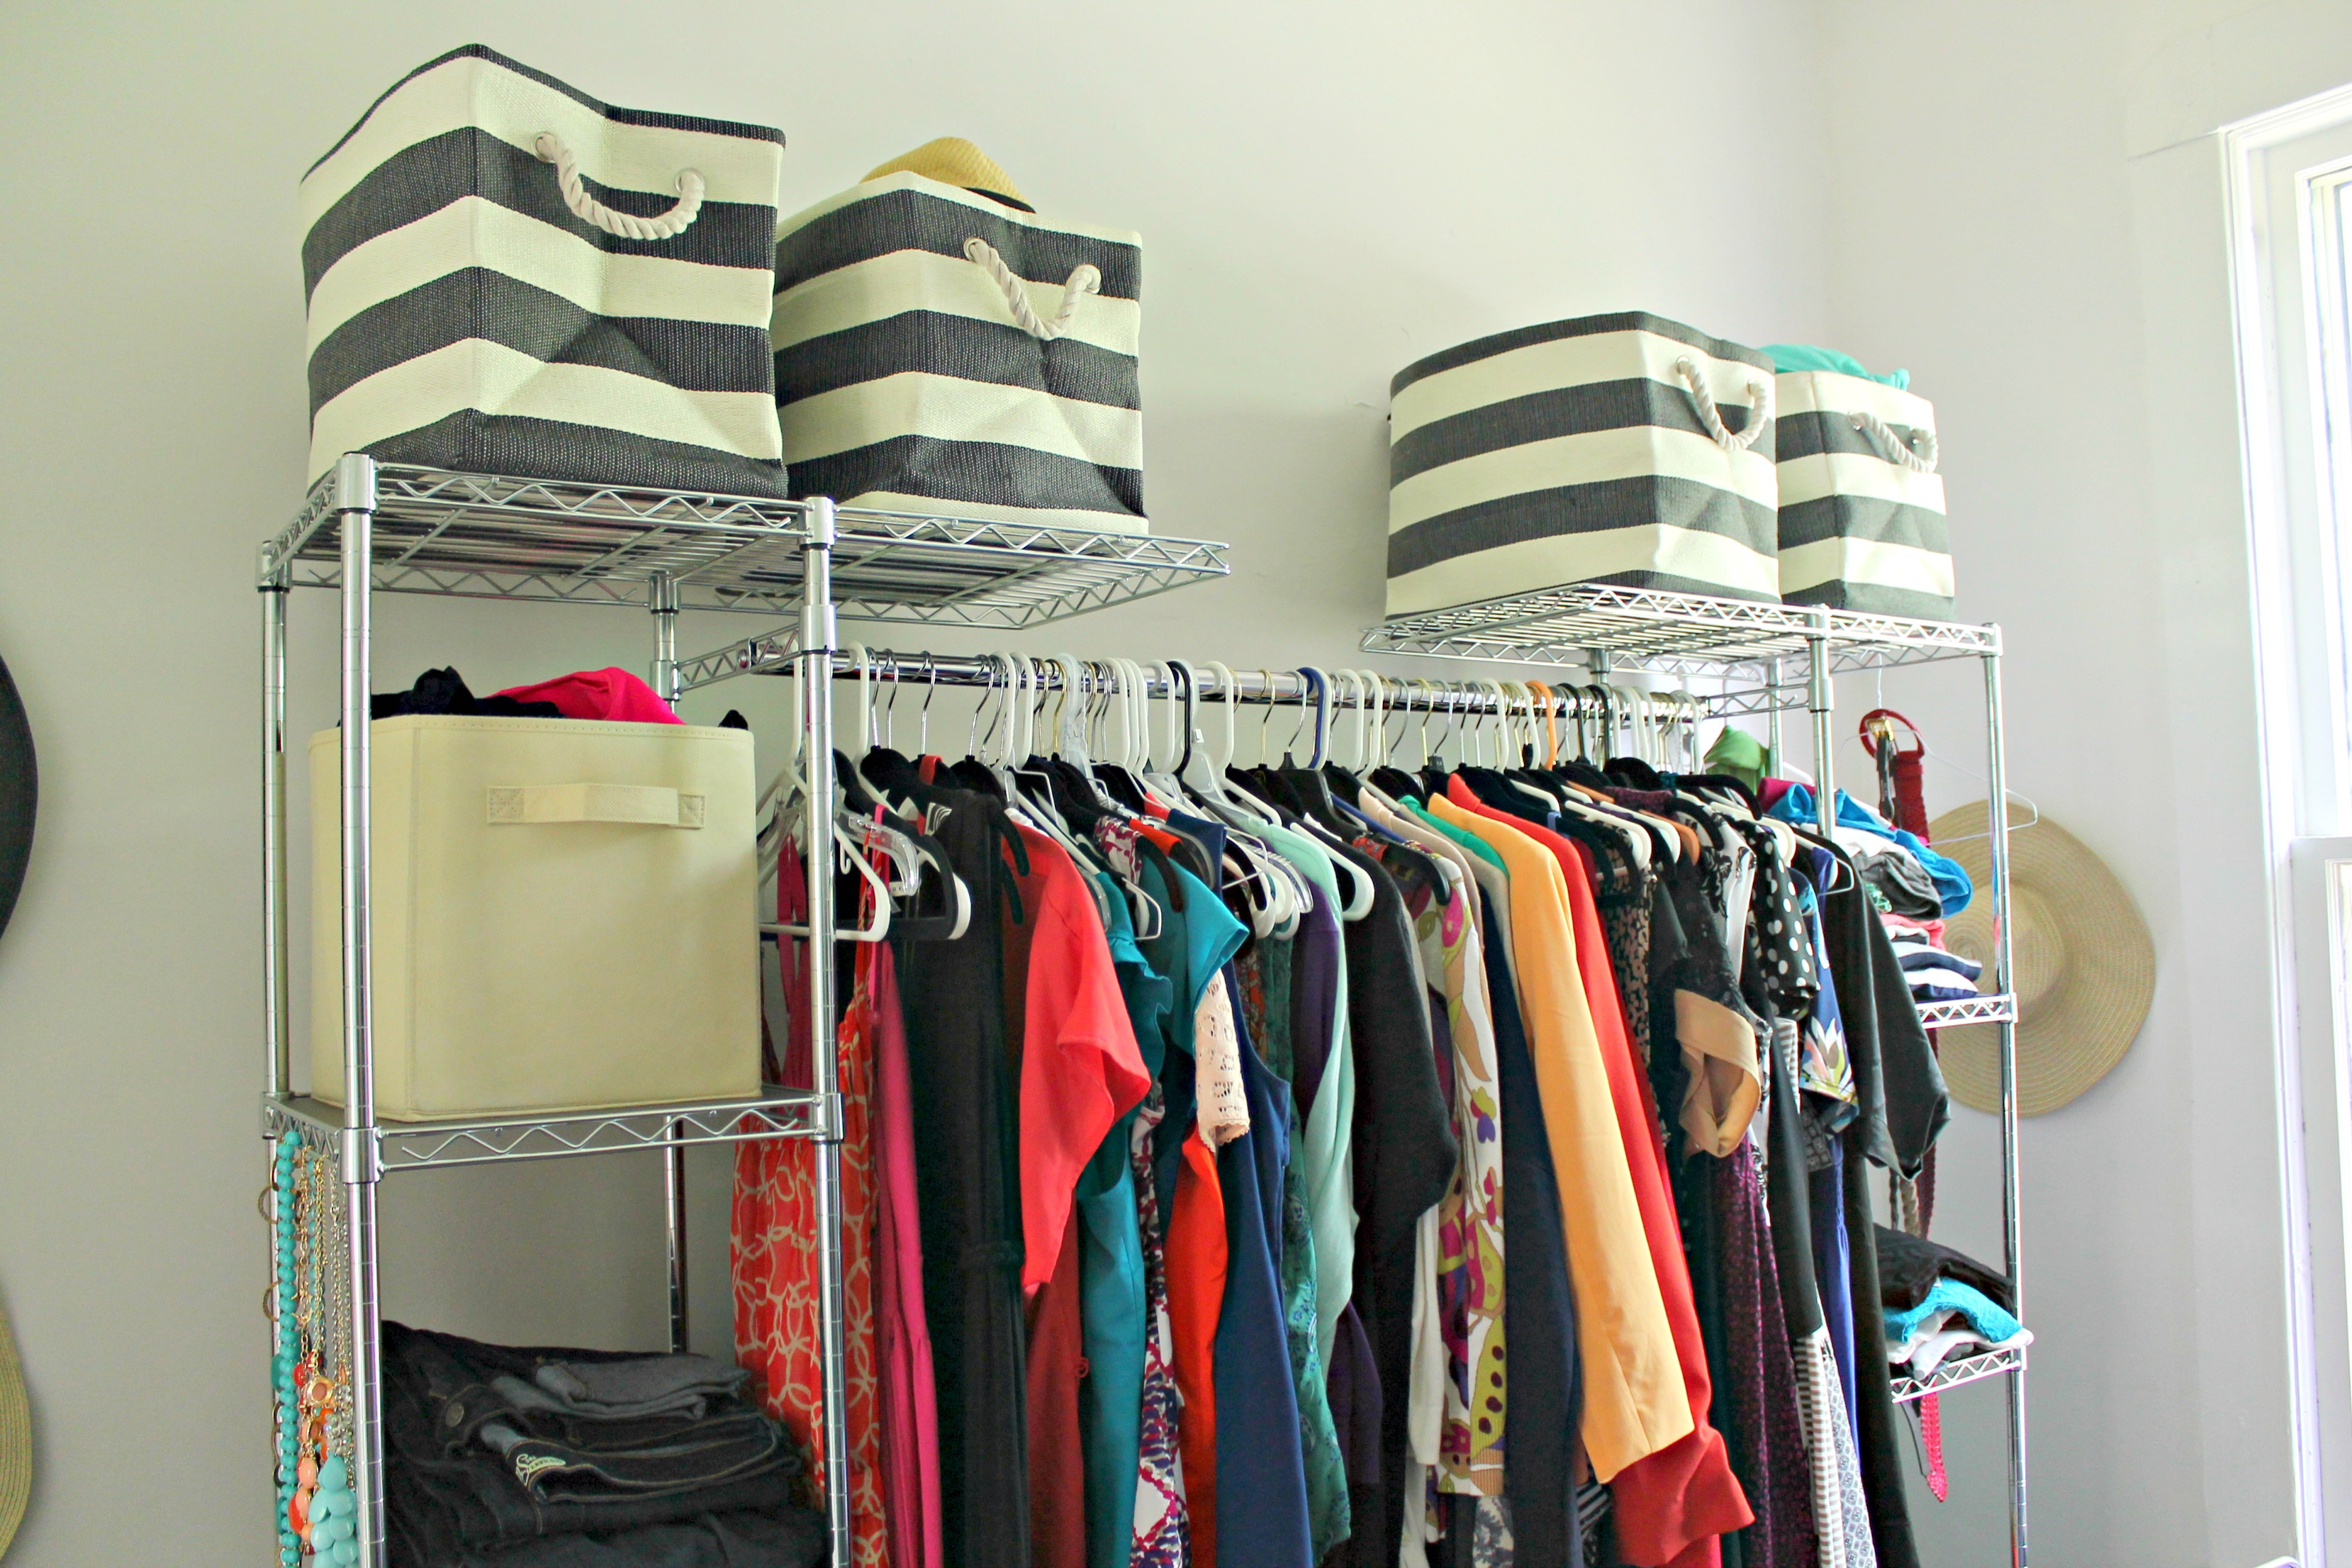
- Install closet storage system
What’s left:
- Help the floor (see below)
- Install a built in closet system
- Install new light fixture
- Install door hardware
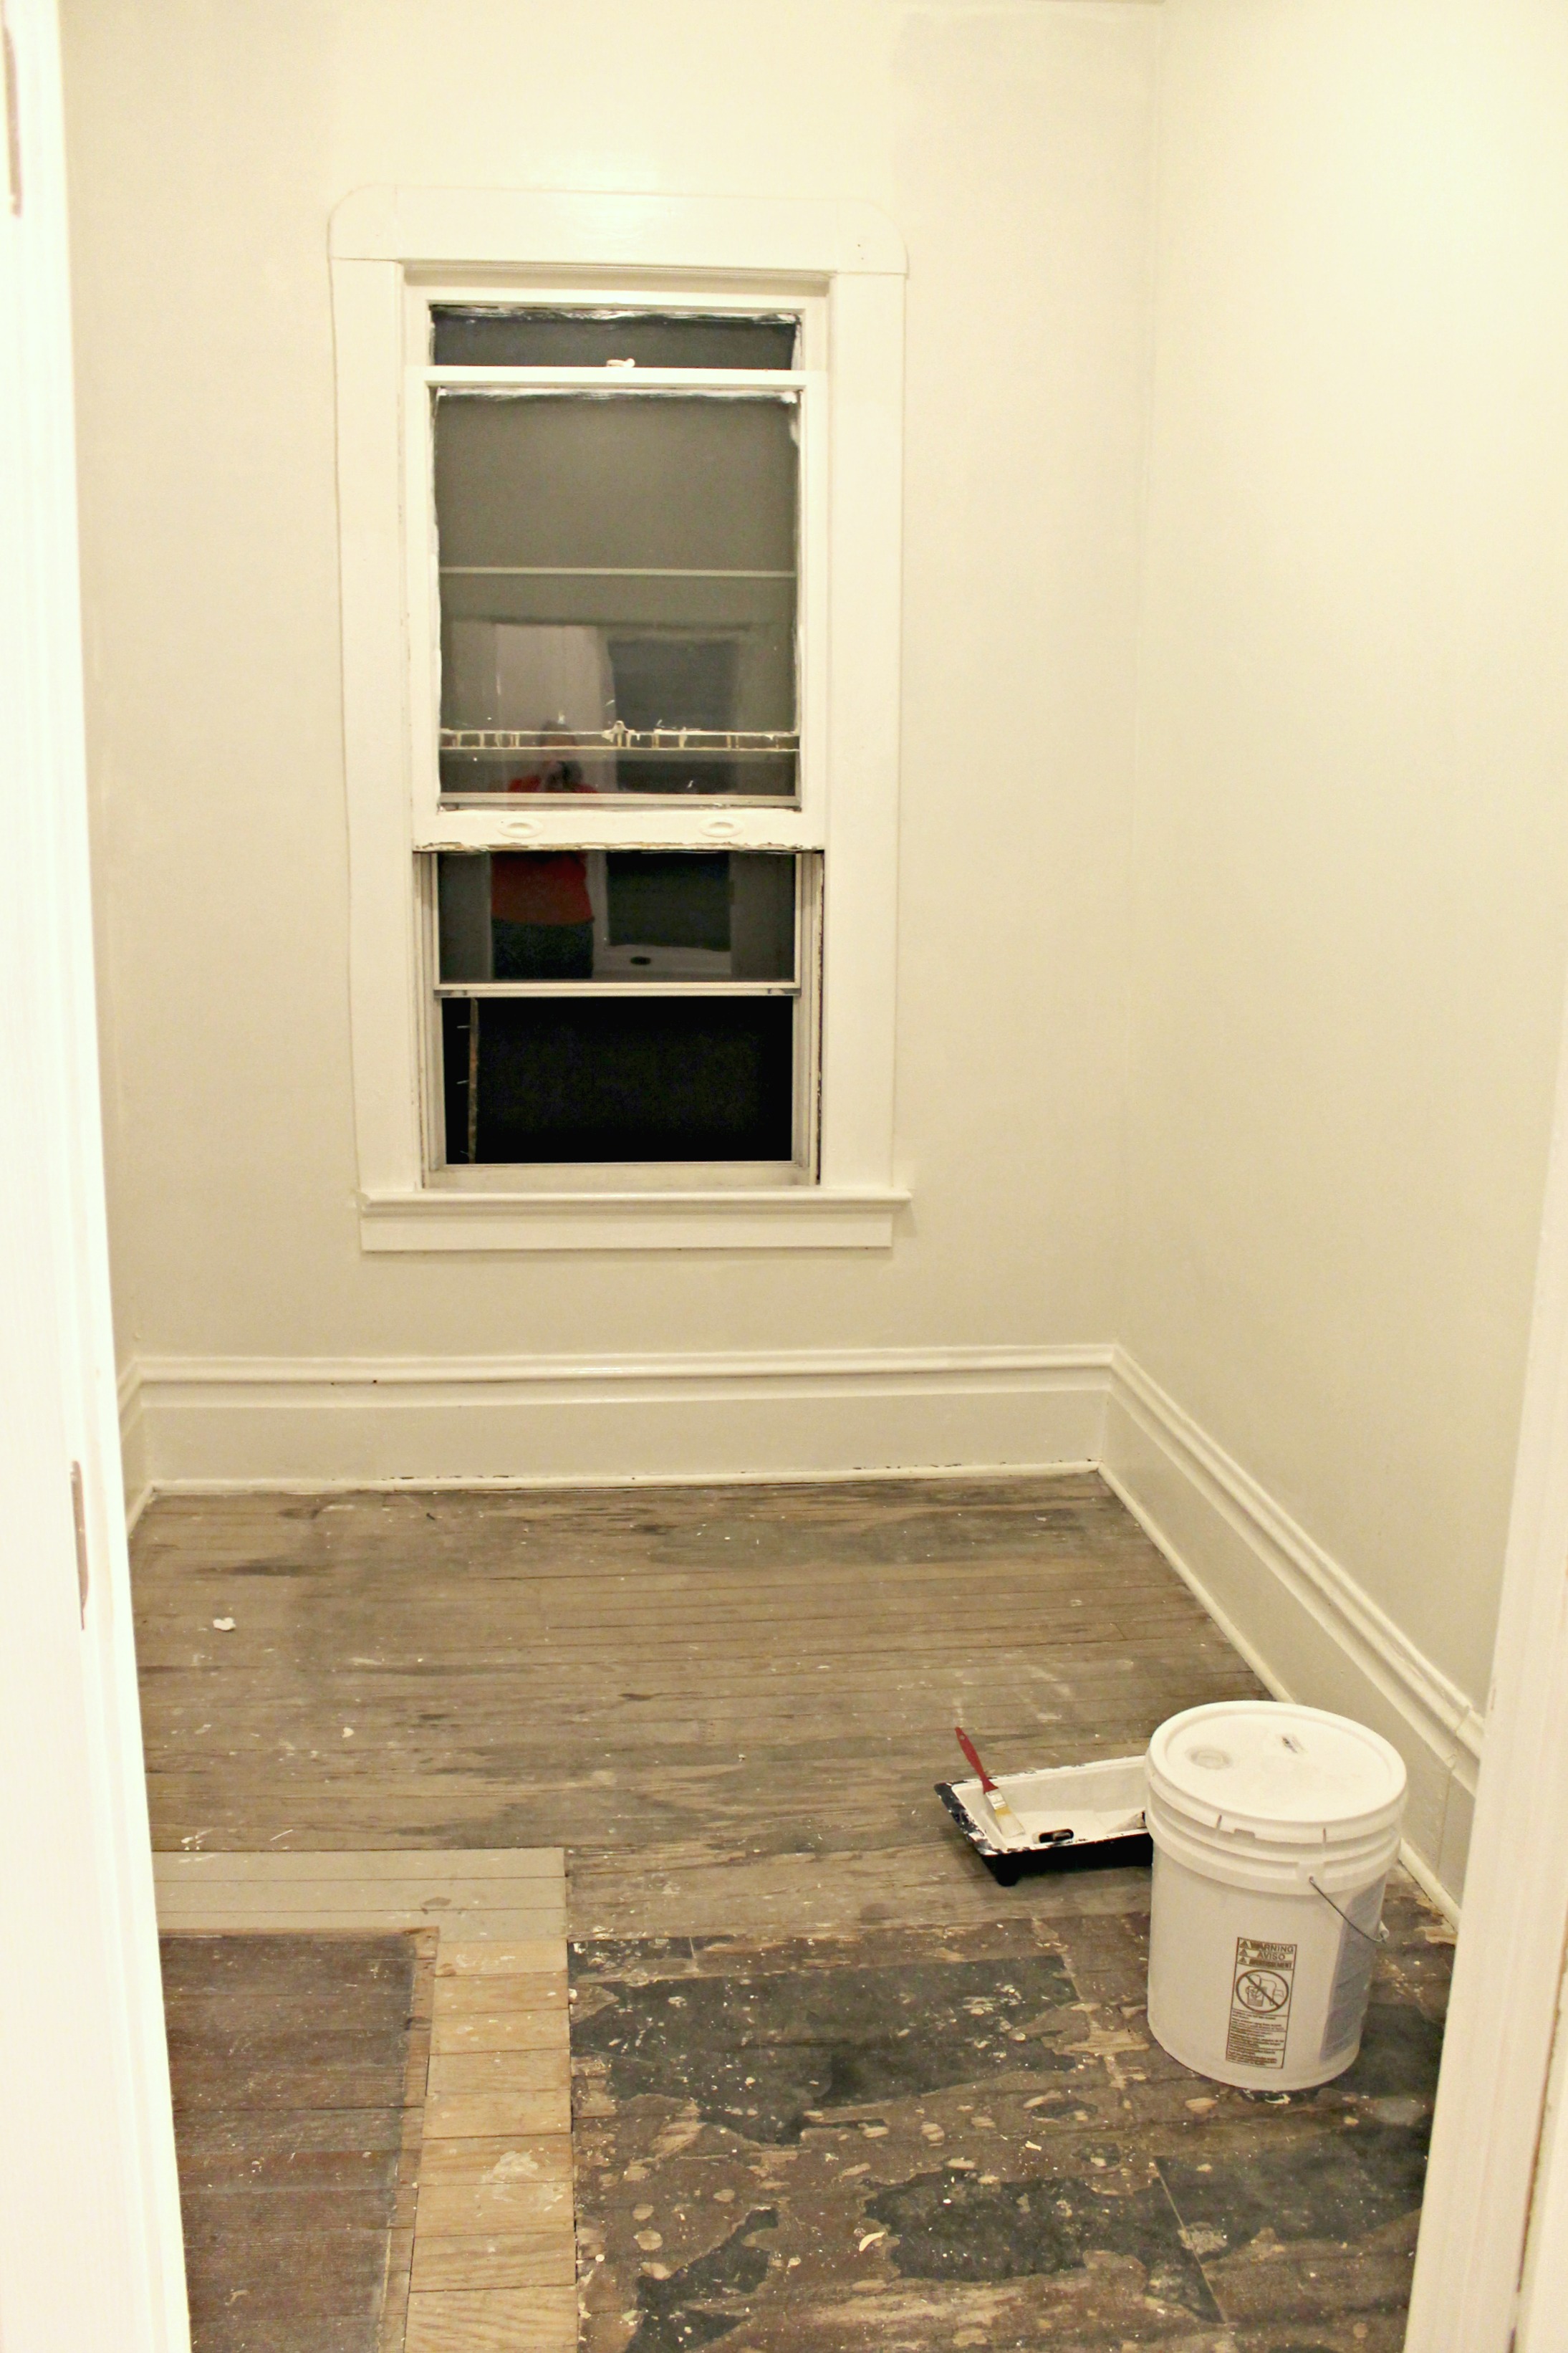
After pulling up the vinyl, we discovered a nasty tar substance had been used. Due to a limited budget, we decided to oil these floors in a dark stain and leave them for now. Eventually, I’d like to replace the floor, but a temporary solution will probably be a rug, carpet, or paint.
Our closet “system” is certainly very makeshift right now, but it works for us. We were hesitant to get anything that would rely solely on the plaster walls for support, so we will probably stick with these units until we can add some built-ins.
You can check out my master closet inspiration here!
The figures…this room is 7′ x 13′ with 10′ ceilings. There is 1 window and 1 set of french doors.
Be sure to check out these other Room by Room Recaps:
Next Monday I’ll be sharing details about how we organized and decorated the closet. You won’t want to miss it! :)
Love that old wood and I’m glad you re-purposed the lathing when moving the doors. Very nice!
Wow! We just painted our non-master bedroom closets and they are so small in comparison to your big new one. Are you doing all this work yourself or have you hired some pros?
Pros, for sure. I’d love to say that we did it ourselves, but this house was just way too much for us to try to take on ourselves. Although, we did do all of the joint compound/caulk, priming, painting, oiling the floors, and storage assembly. I guess that’s something, right? ;)
Lots of work, but this really turned out great!
Great transformation!! Where did you find the french doors?? I would love to change our master bath door into those.
We actually found them at Lowe’s, and they were fairly inexpensive. We painted them ourselves, and now we just need to add hardware.
It looks good! I used to live in an older house and the closets were sooooo tiny. Had it been a house we owned it would have been the first thing to change. I’m loving those striped bins you have on the top shelves, they’re so cute!
Your closest reno is already awesome! Can’t wait to see the final. I wish we could expand out master closet, but it’s not feasible in our house.
Wow!! What a project. I can’t wait to see how it turns out. So impressed that you are taking this on your own. Love having a bigger closet. It is so worth it!!
Wow, so much work but what a wonderful result. You are nearly finished. I look forward to seeing more. I’m hopping over from the frugal crafty home blog hop. Hugs!
Thanks for stopping by, Katherine! :)
Way to go girl! Love this! I used basically an entire bedroom for my closet. Yours is probably more practical long term. :) Thanks so much for sharing on Merry Monday! -Treana @ http://houseofbennetts.com
I love those bins you have at the top of the closet.
I love how you’re documenting these renovations – you’re doing a fantastic job – can’t wait to see the finish! I appreciate you sharing with Home and Garden Thursday,
This looks great! It must be so fun to be able to completely redo the whole house how you like it. Fun and hardwork. :-)
Thanks for linking up at the Bloggers Brags Pinterest Party. Come again!
Thanks for stopping by, Rebekah! :)
I can’t believe the progress you are making on your house. Do you hire contractors or do most of the work yourselves? It is going to be gorgeous I can tell! Thank you for sharing at What We Accomplished Wednesdays. Have a great week!
Blessings,
Deborah
Hi Deborah! We contracted out the majority of the work (it was WAY too big of a project to try to DIY!), but we’ve certainly put plenty of blood, sweat, and tears in! :)
Oh I remember working on an old house with plaster and lathe. A lot of dust but worth the blood, sweat, and tears. It’s beautiful! Thanks for sharing at Project Pin-it!
xoxo
Denyse