
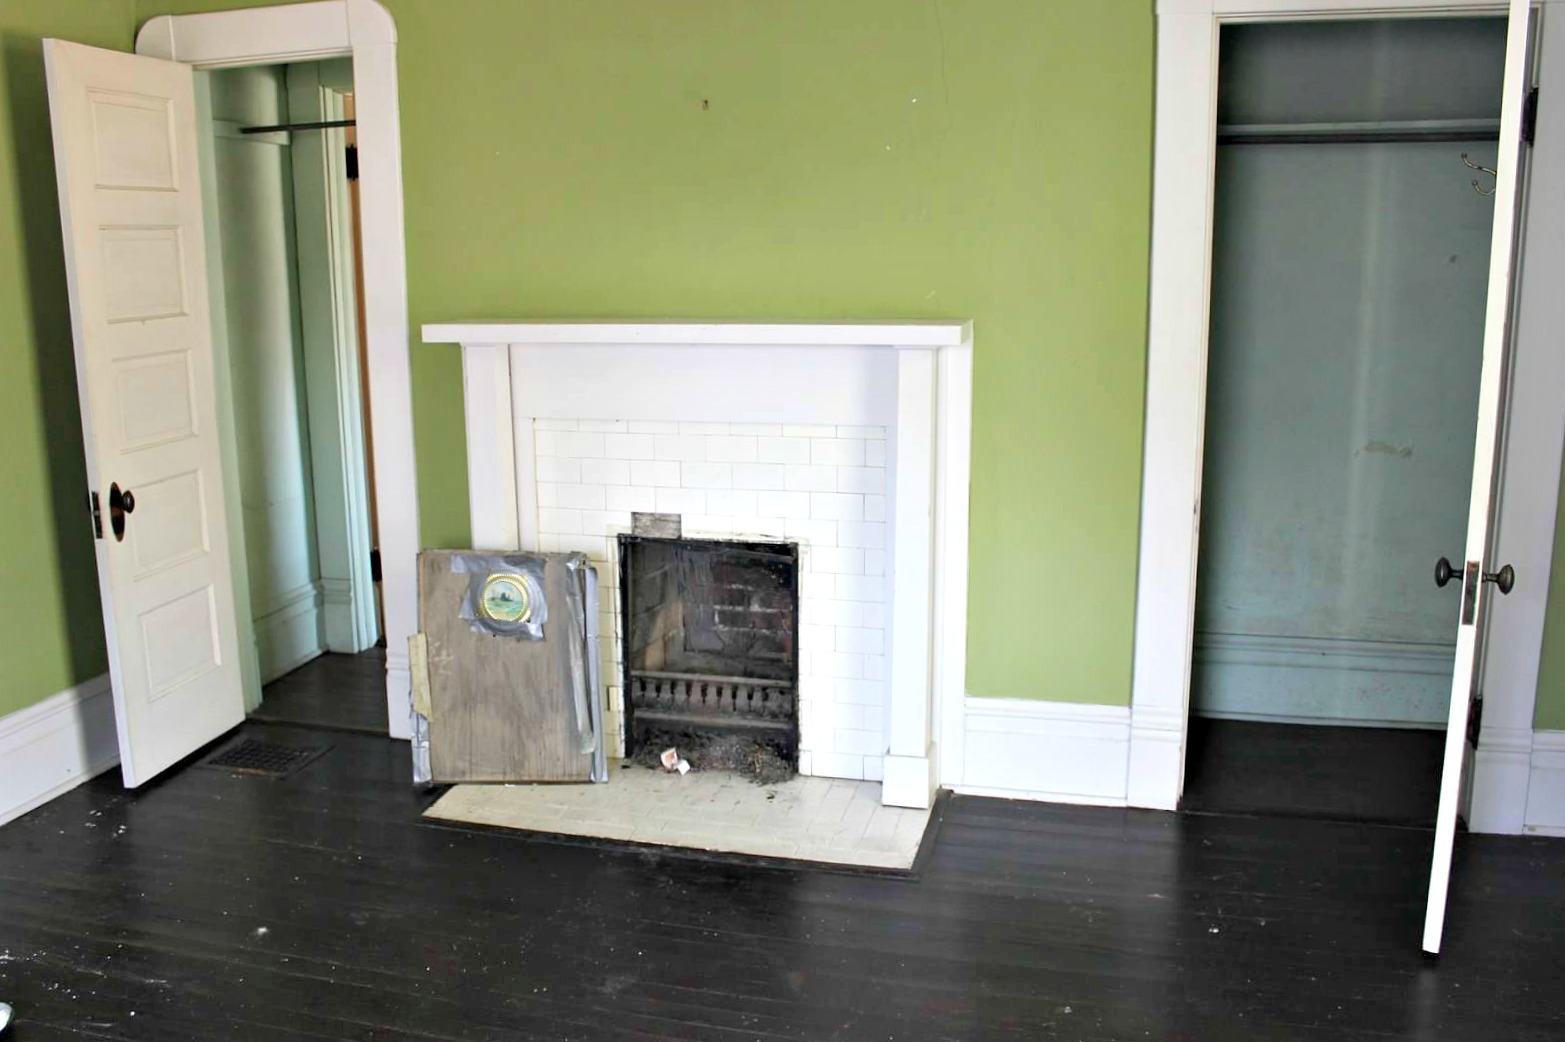
Moving on with the Room by Room Recap series, let’s head to our second guest bedroom. We call this the “bear room.” When I first heard the story I thought it was the weirdest thing ever, but now I can’t imagine calling it anything but the bear room.
Apparently when Charles was growing up and his grandmother lived in the house, she used this room to store things, especially gift wrap and presents. To keep a curious little boy out of the room, they told him there was a bear in there. Thus, the room became known as the bear room.
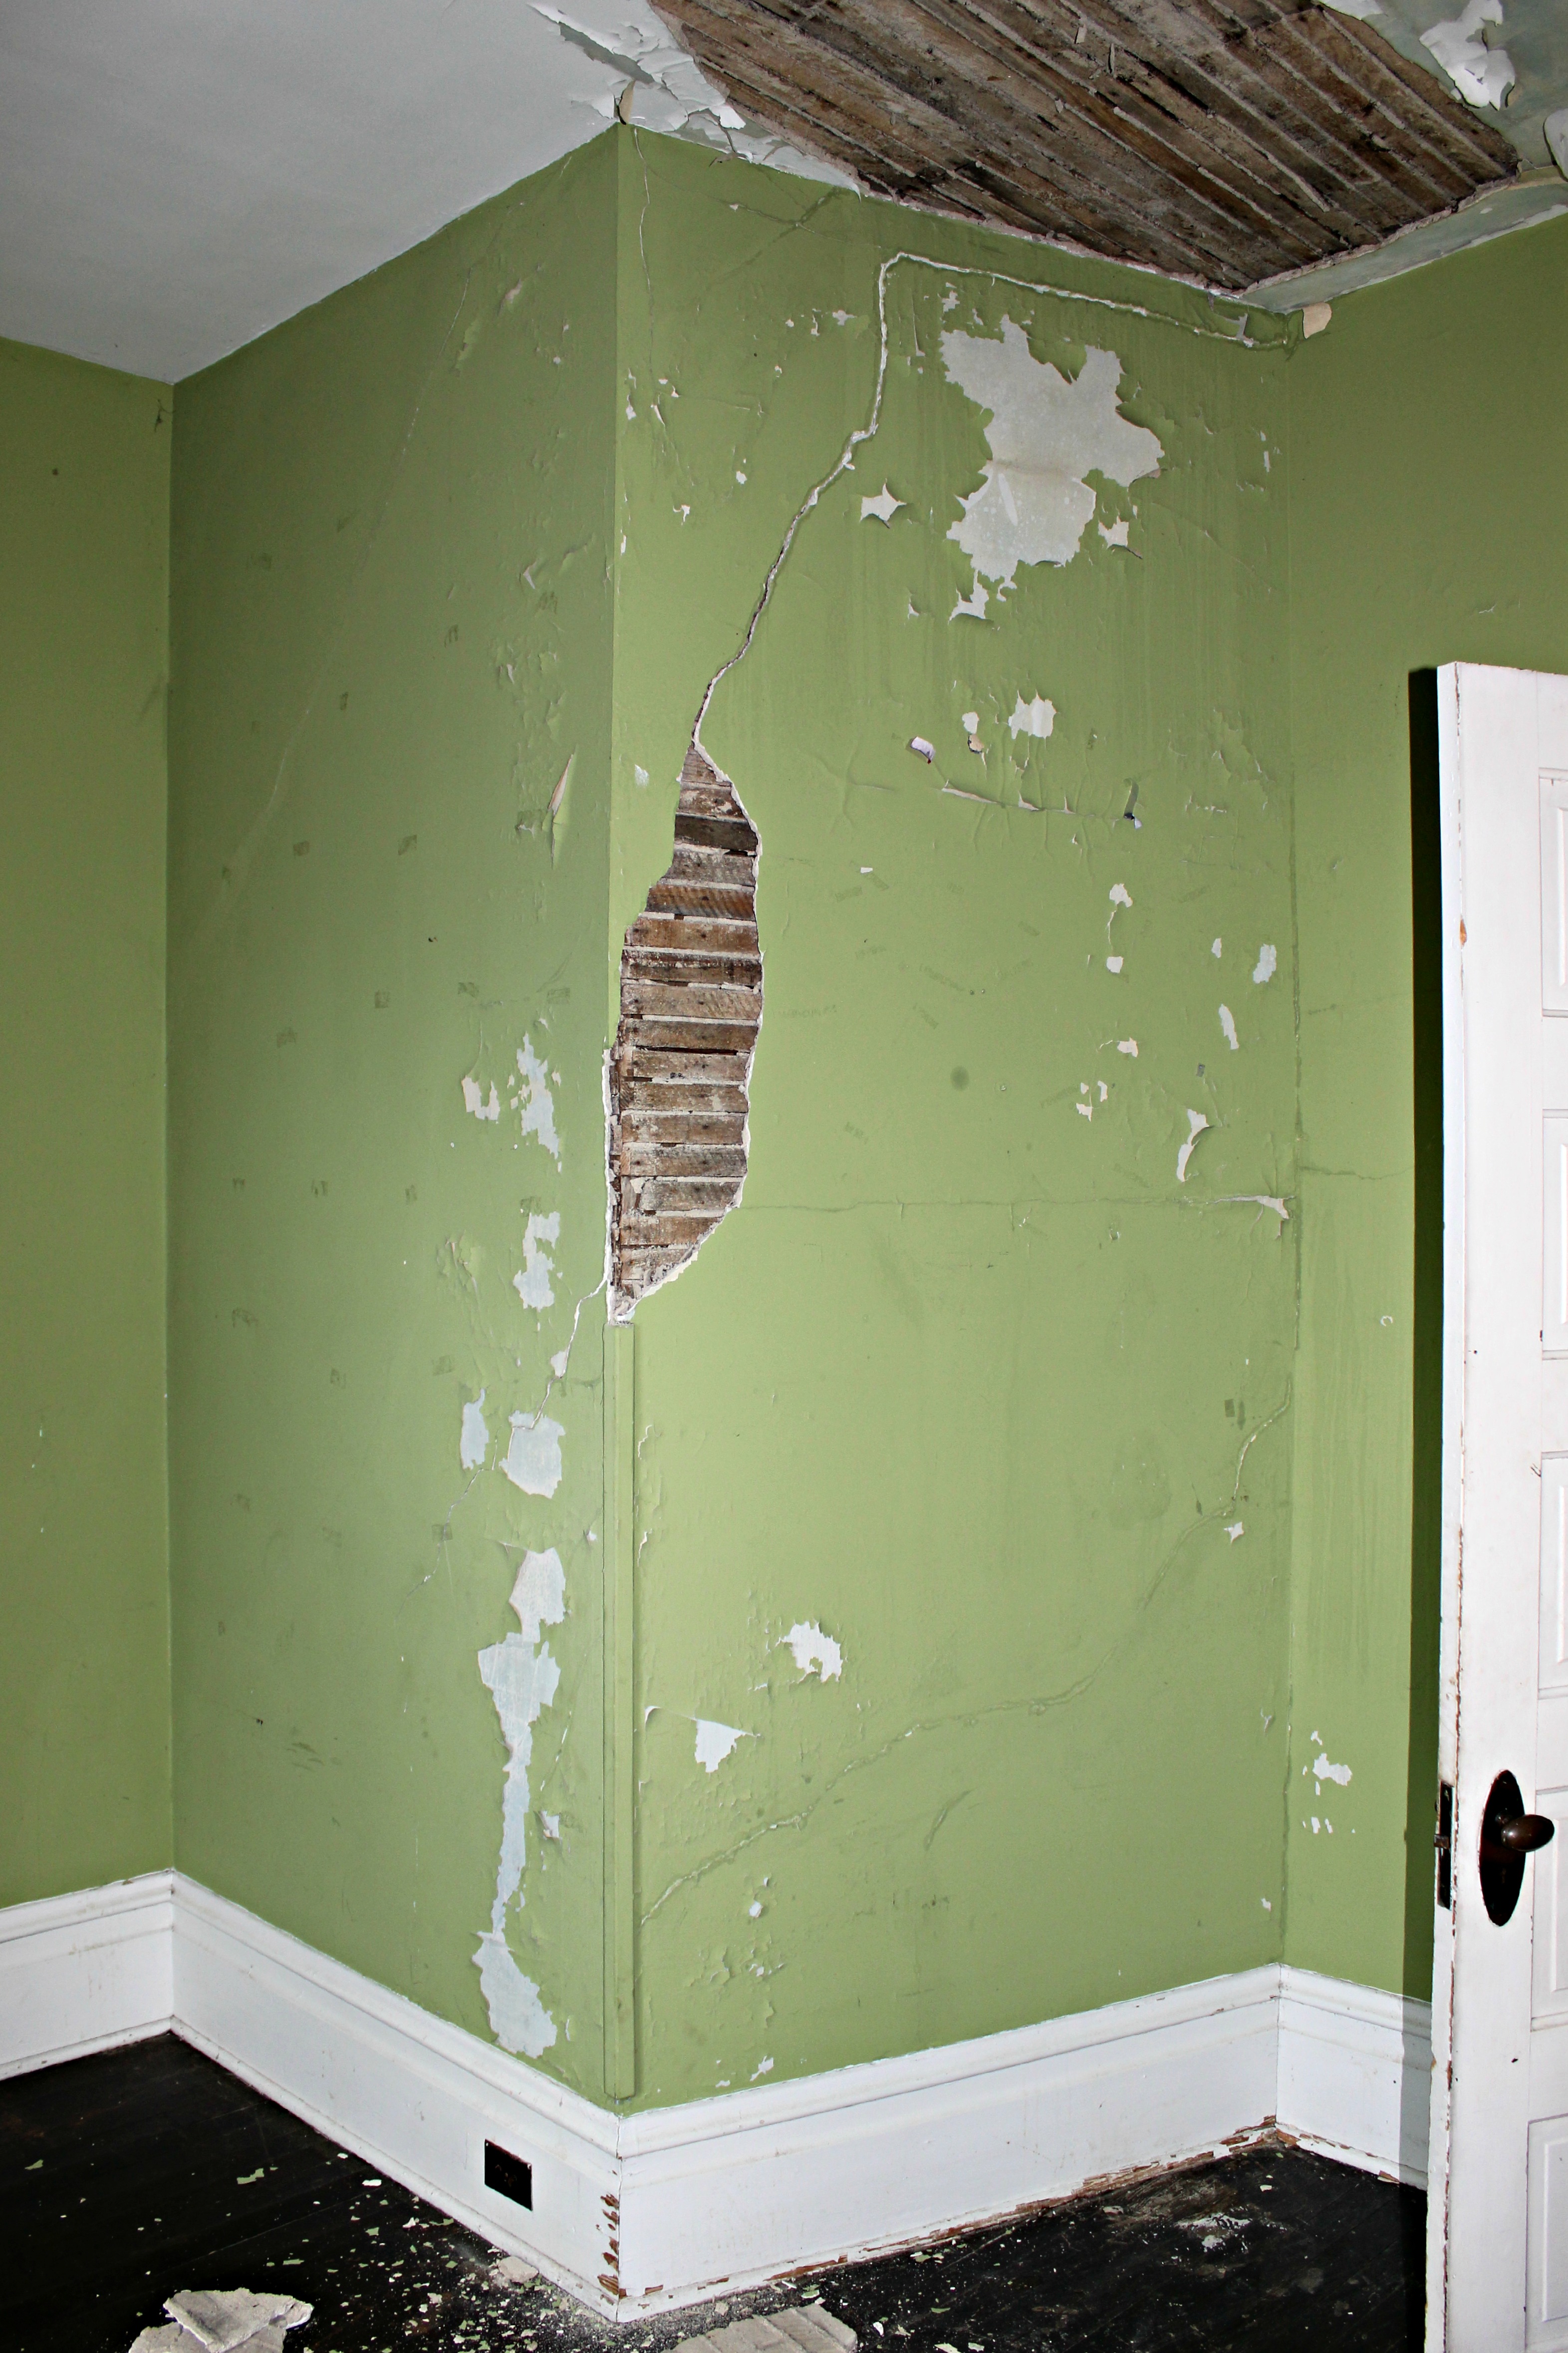
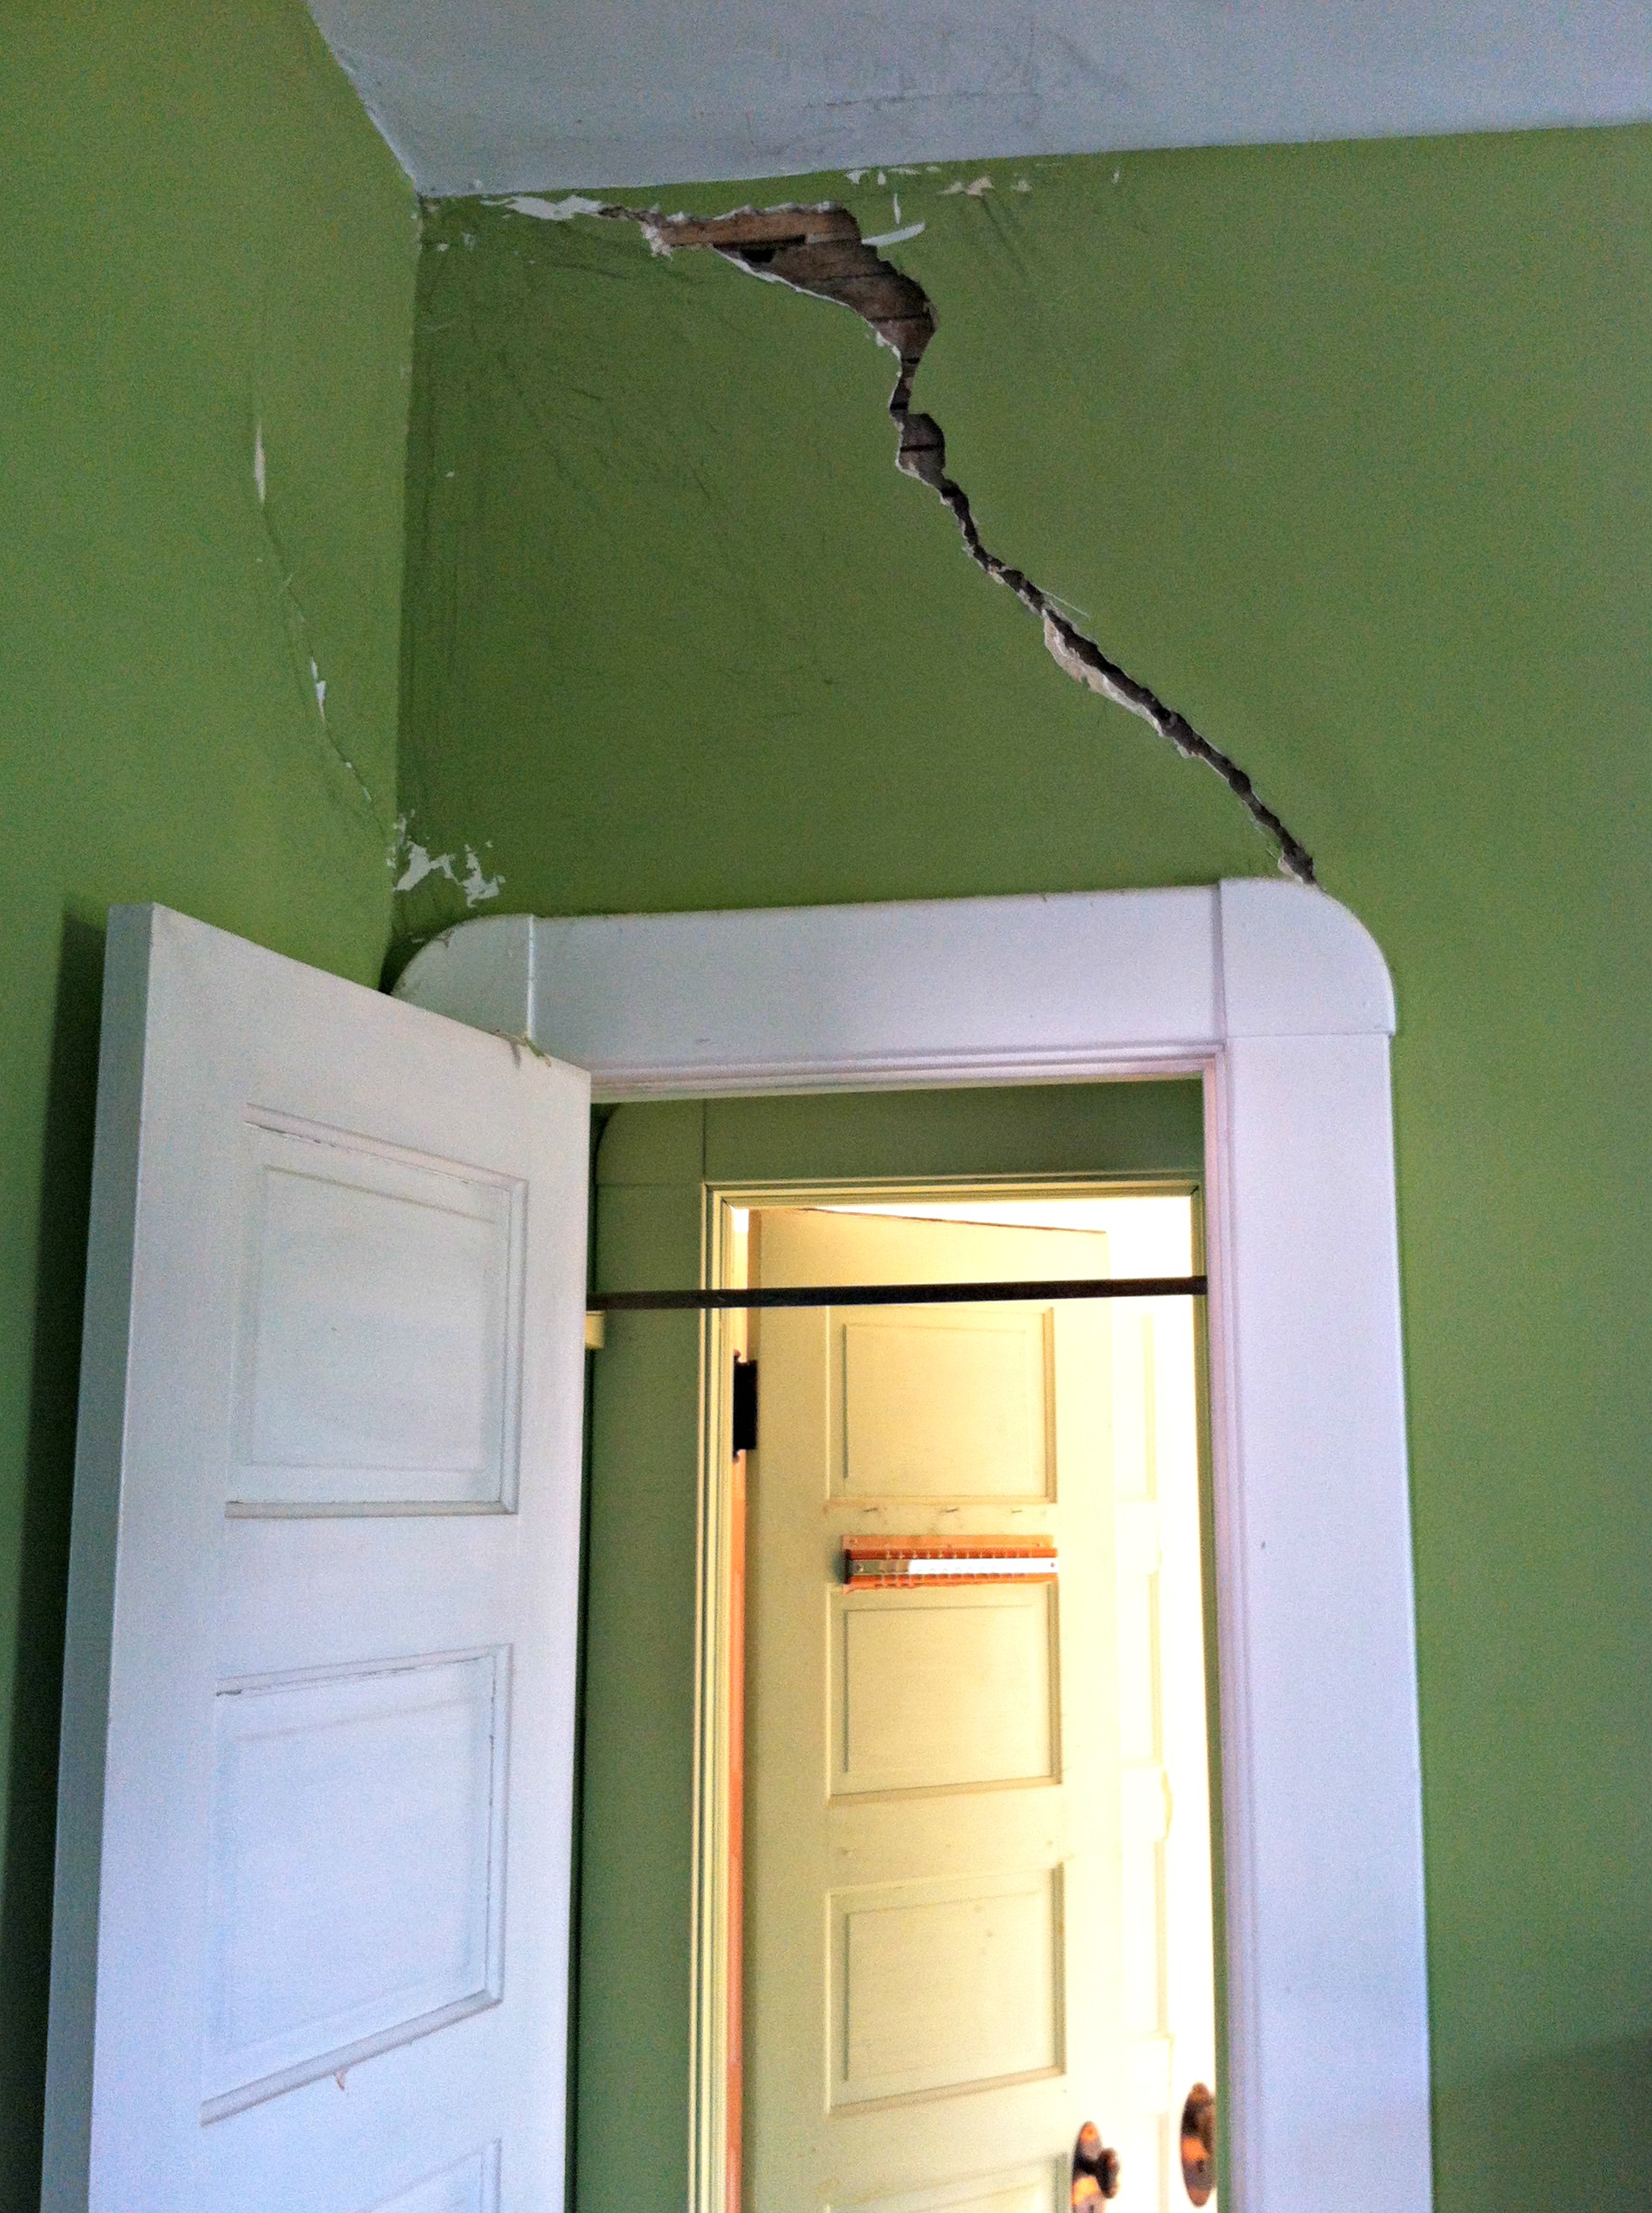
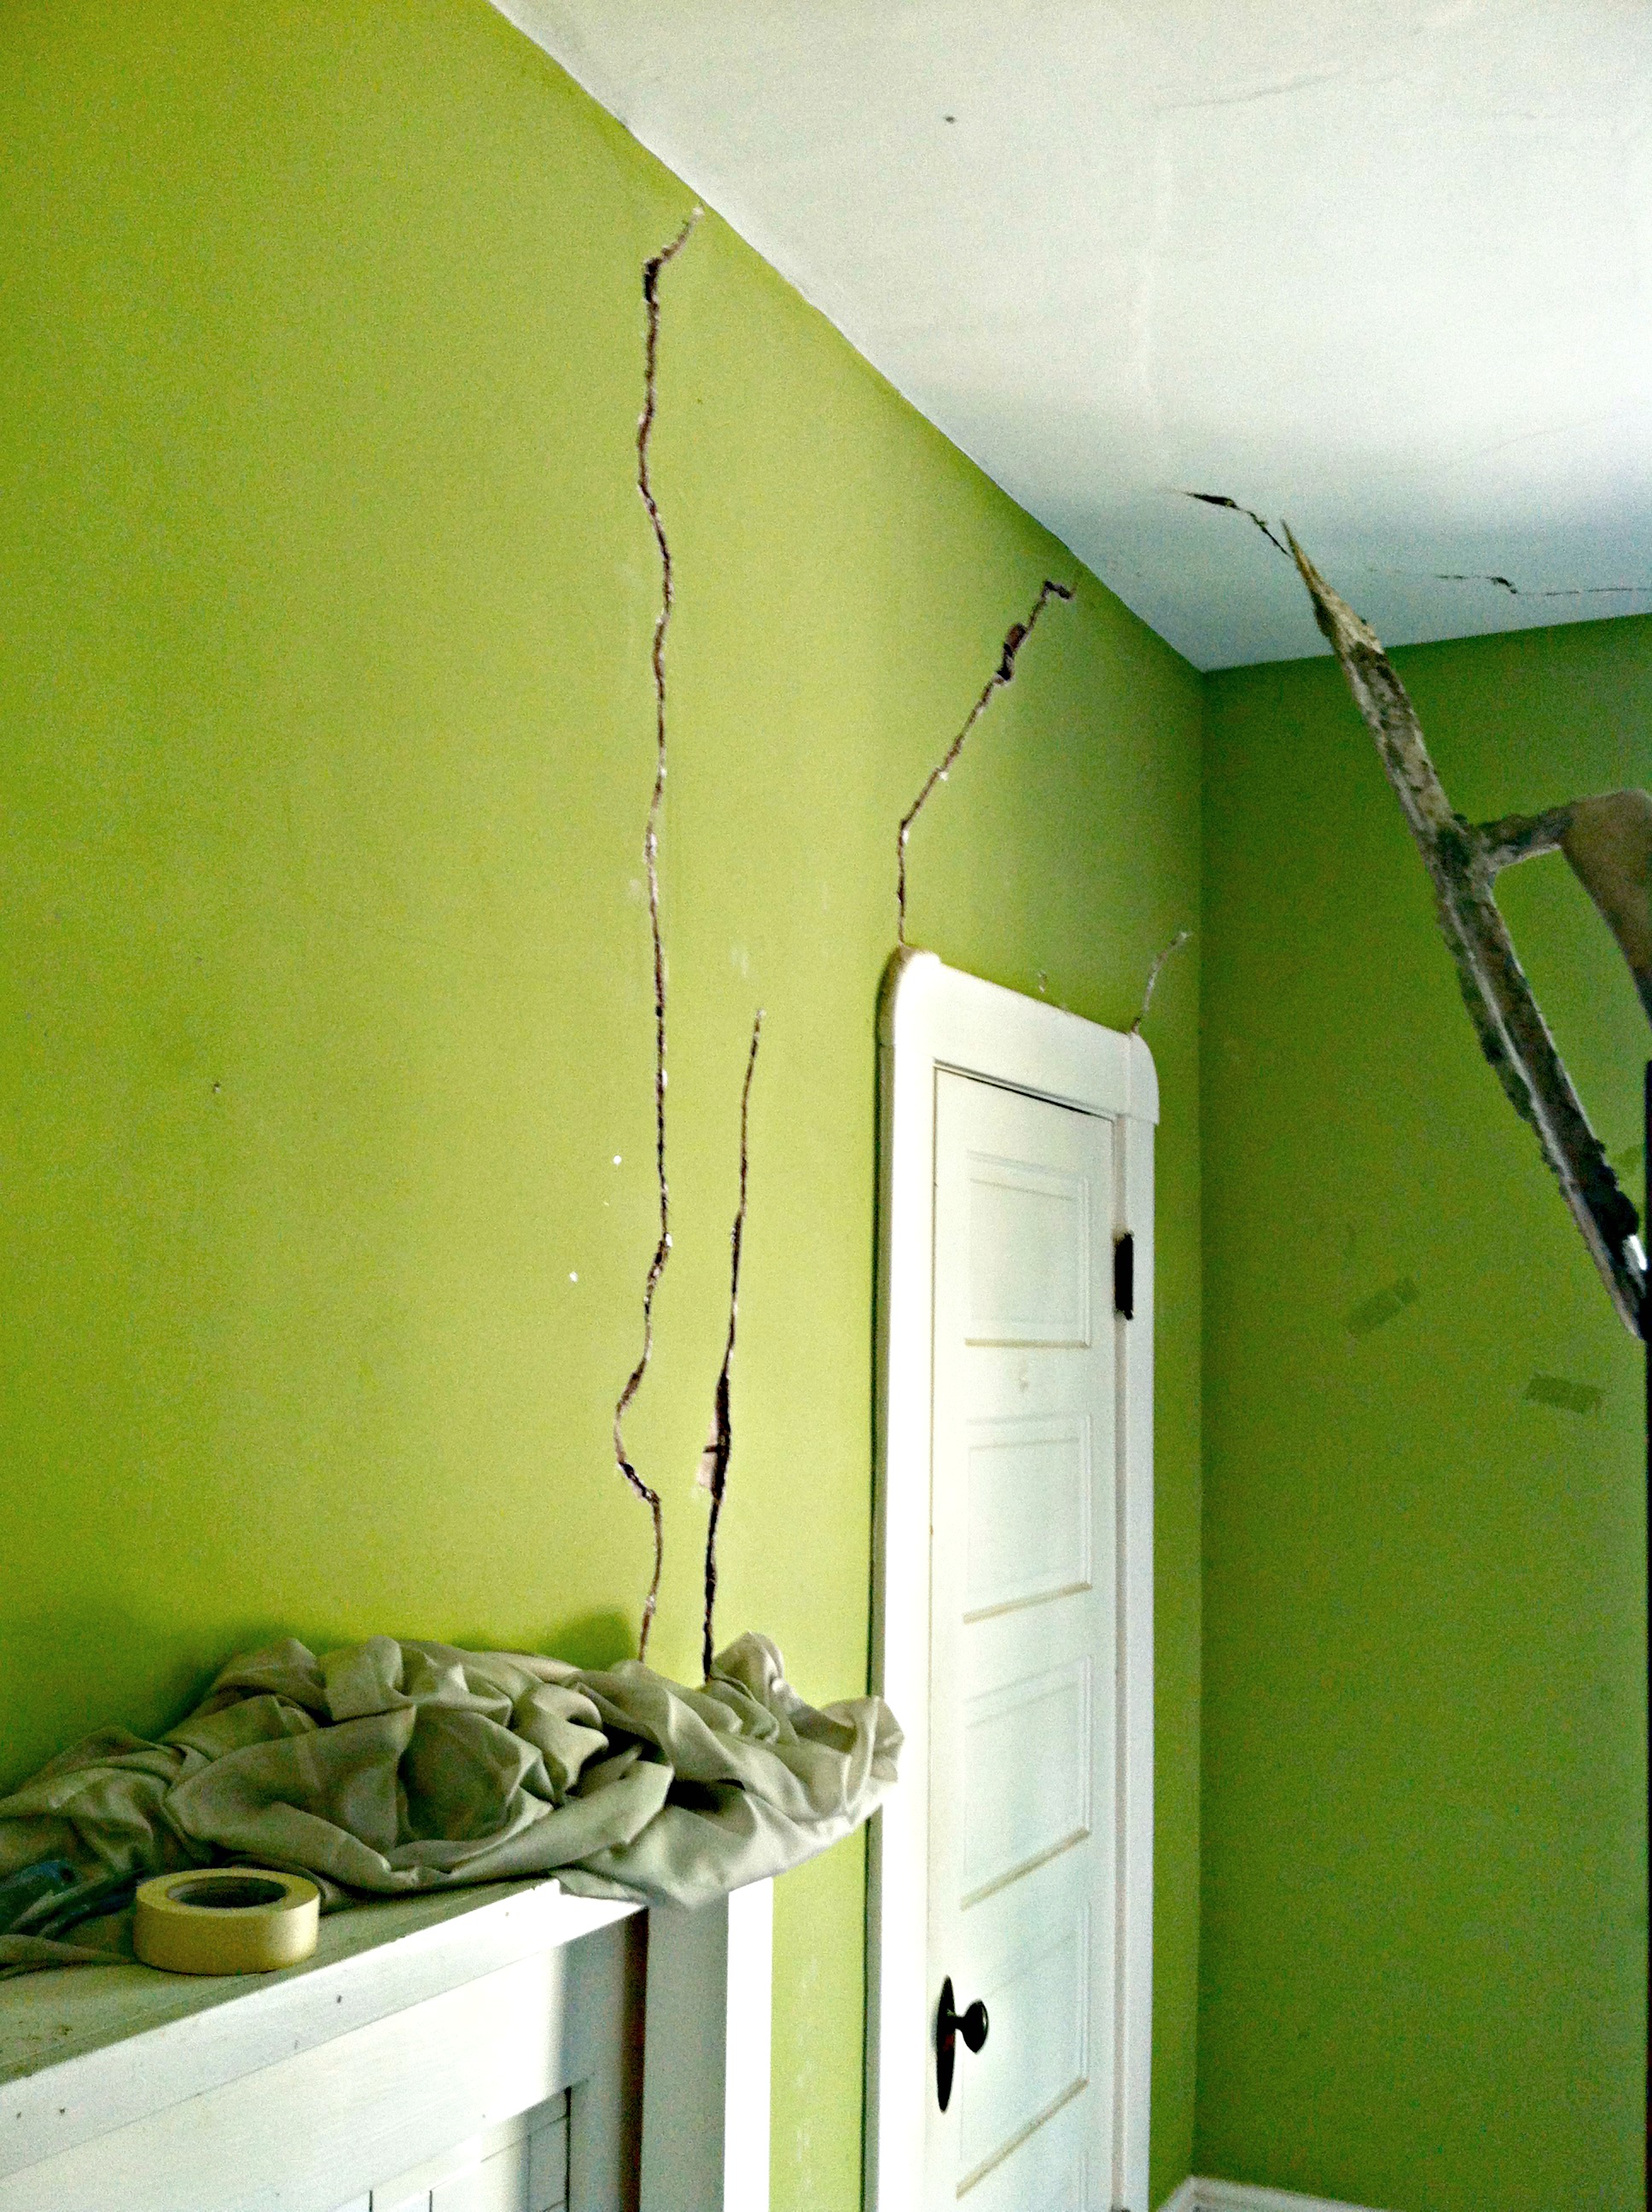
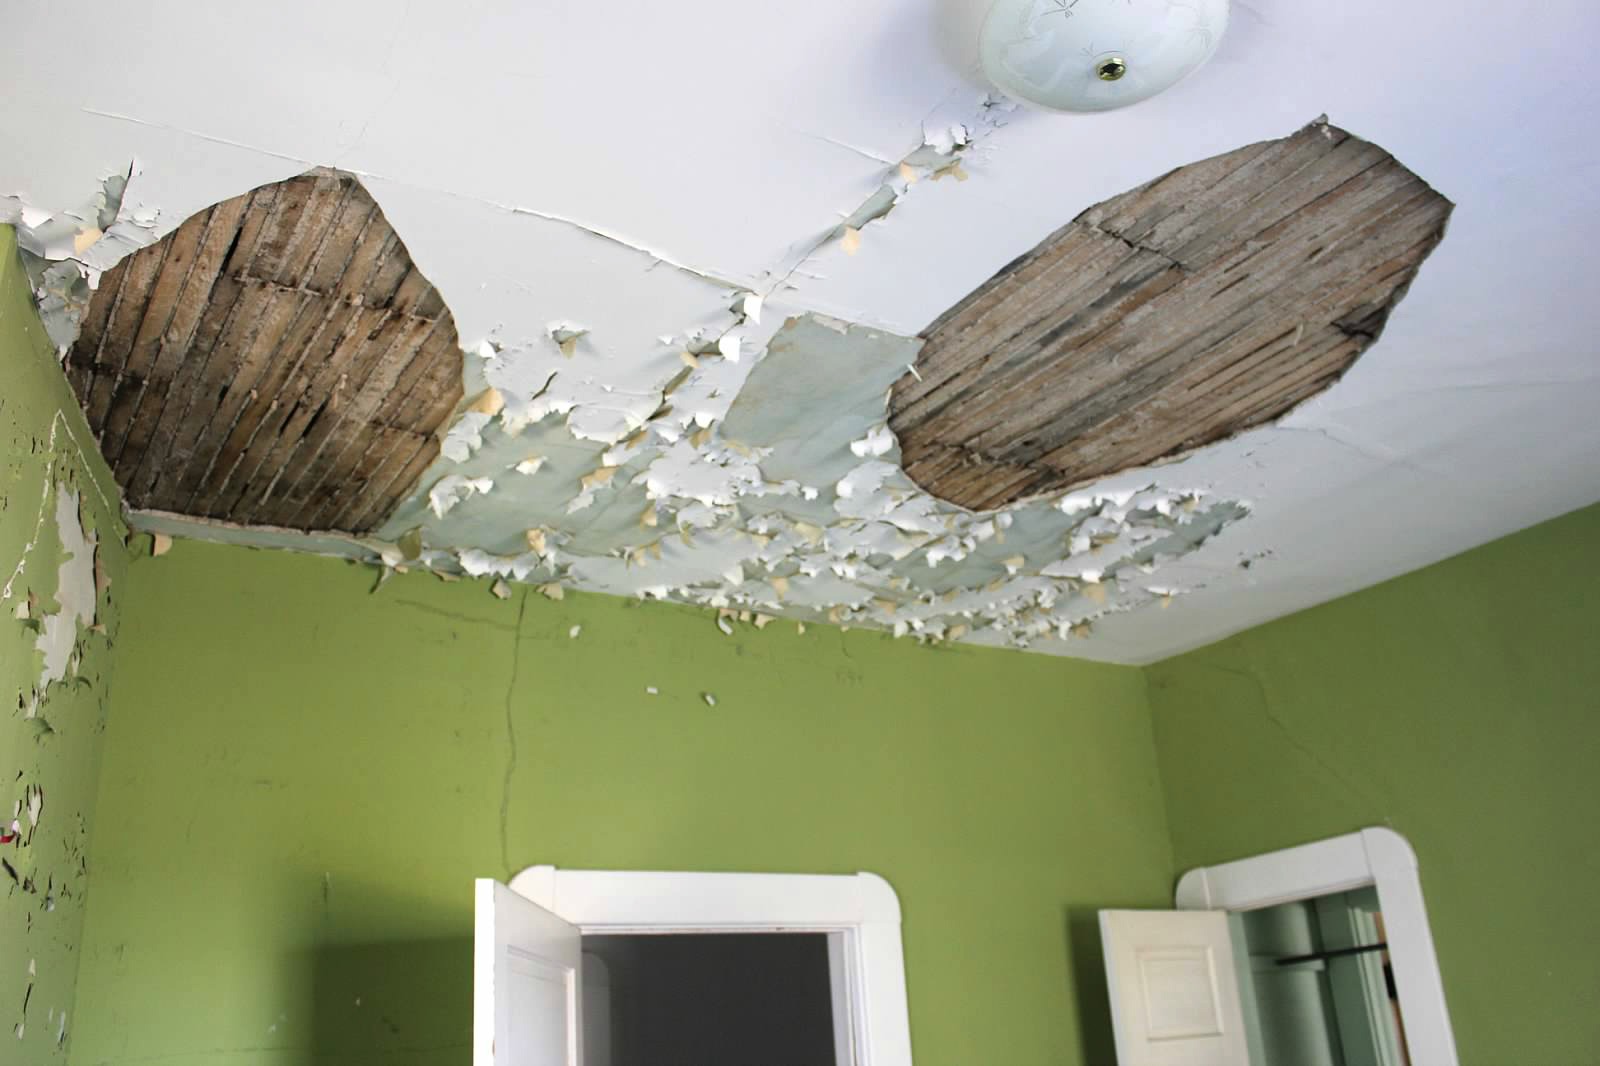
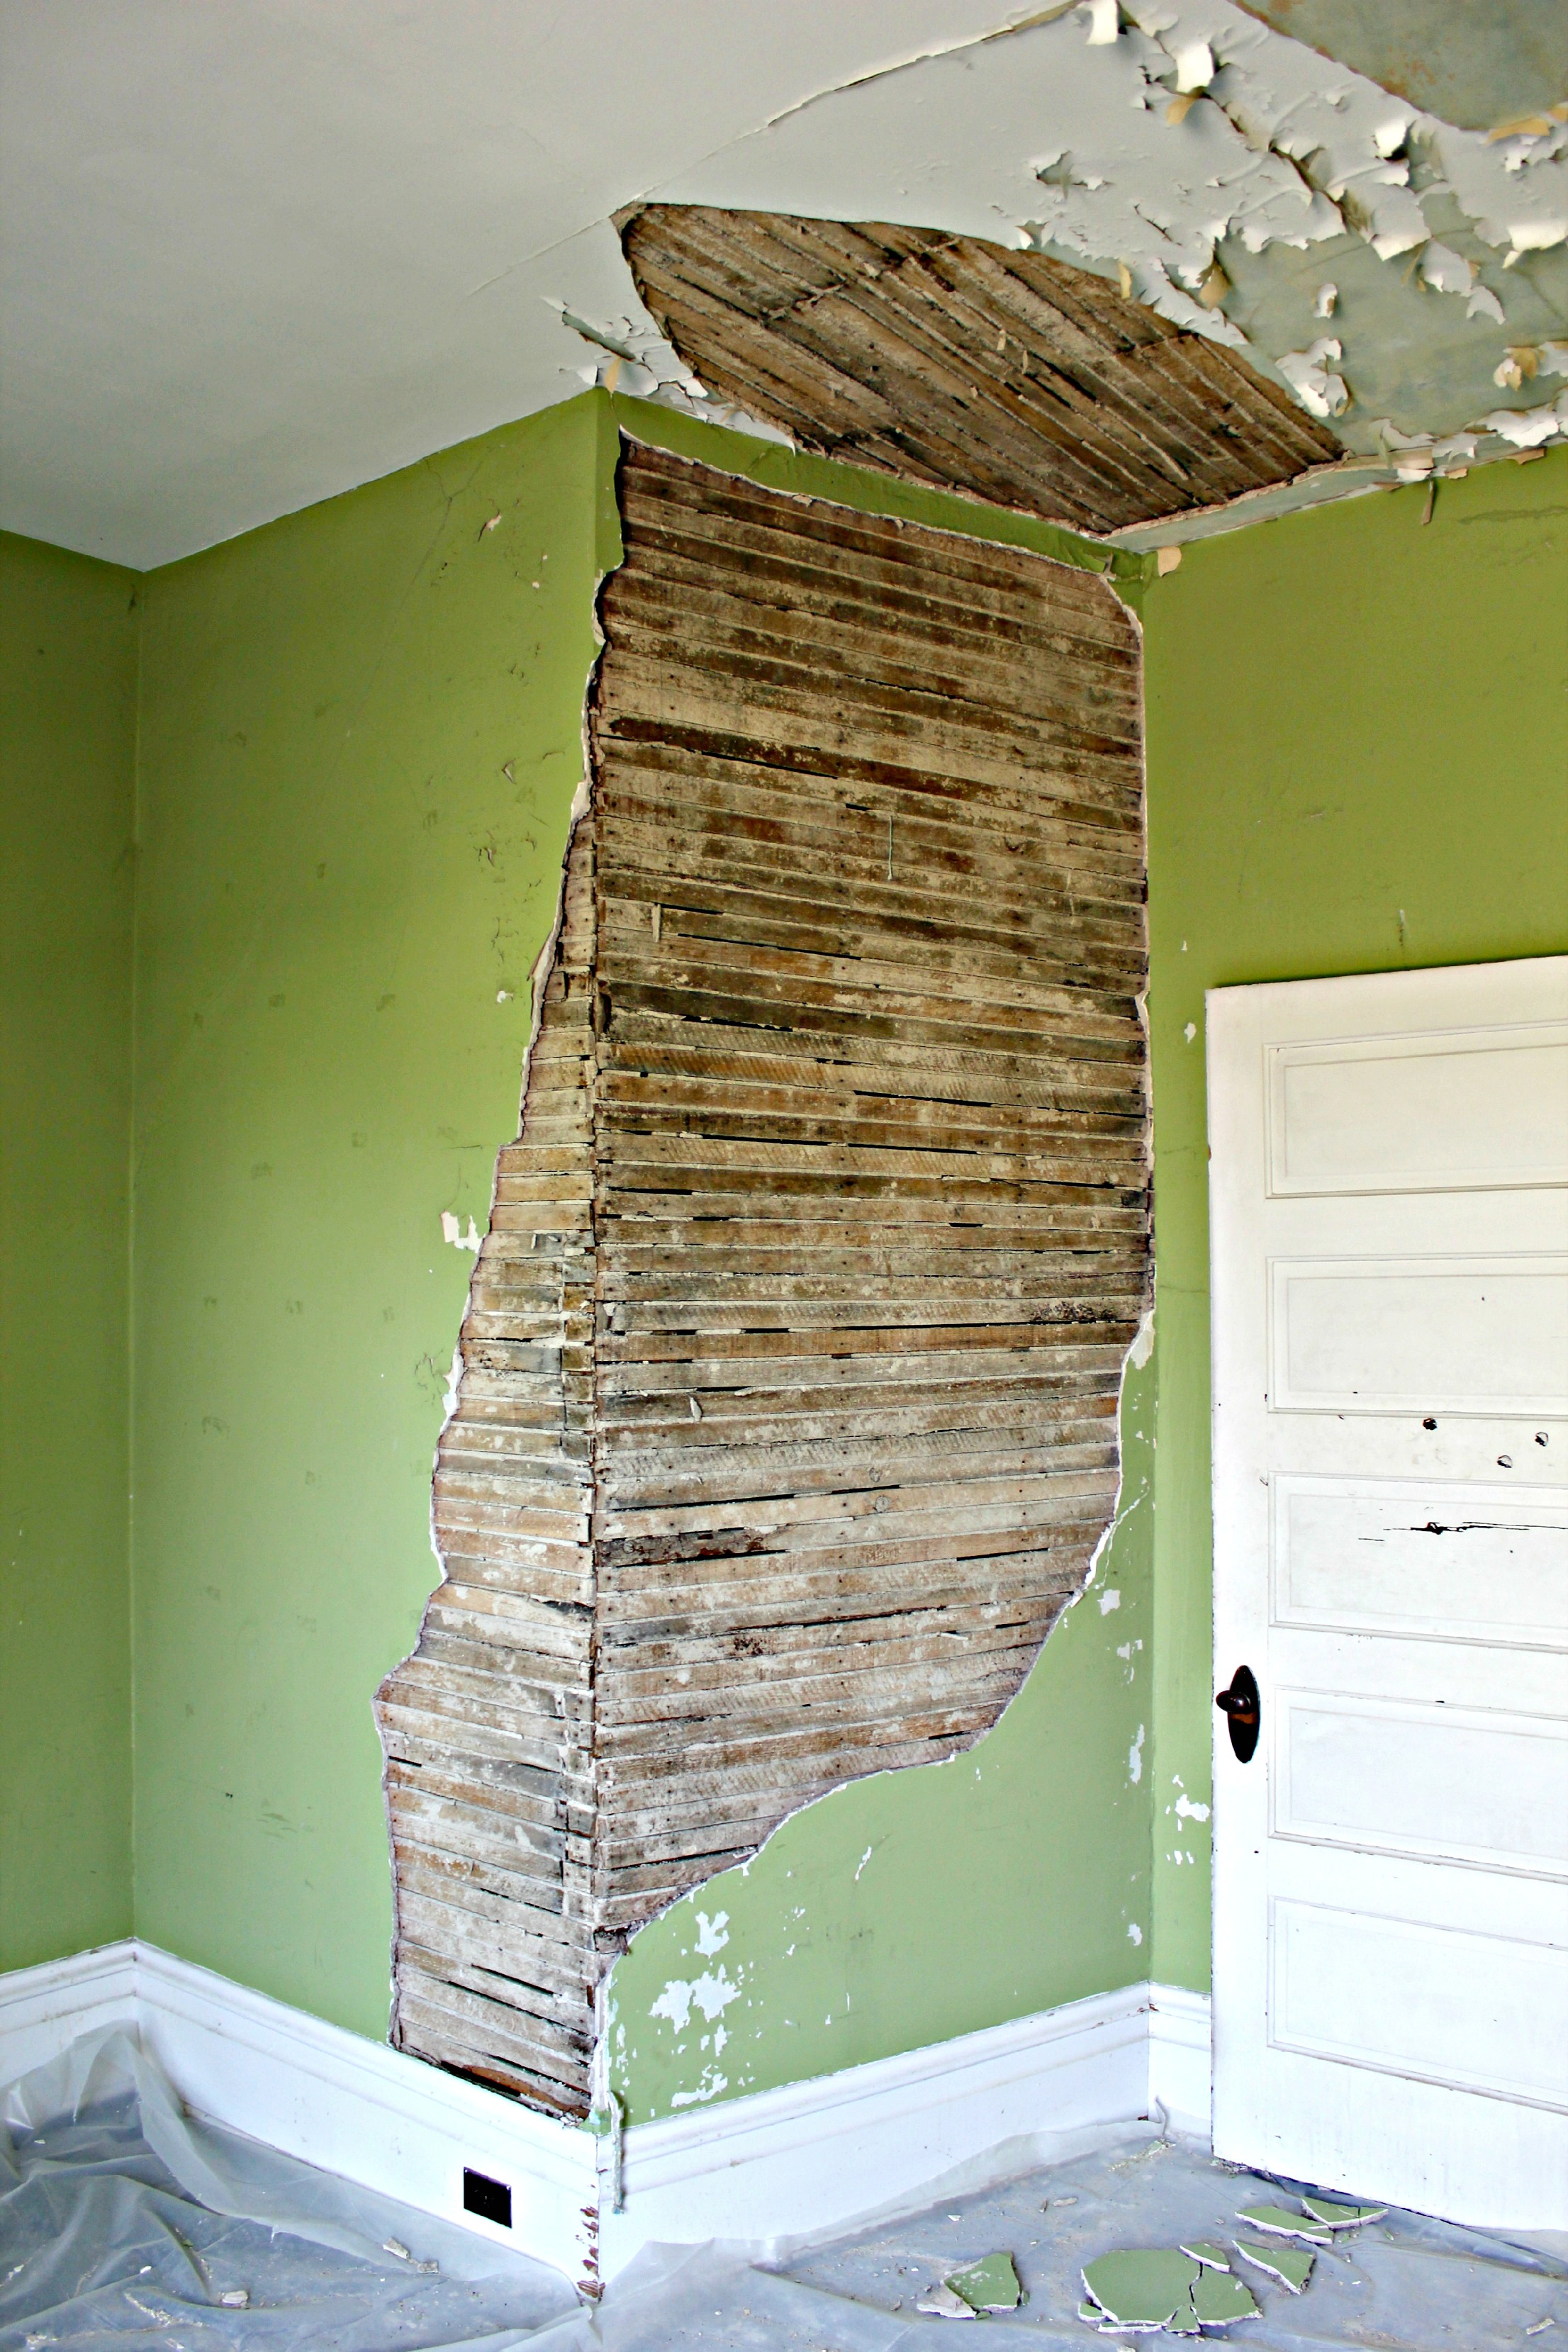
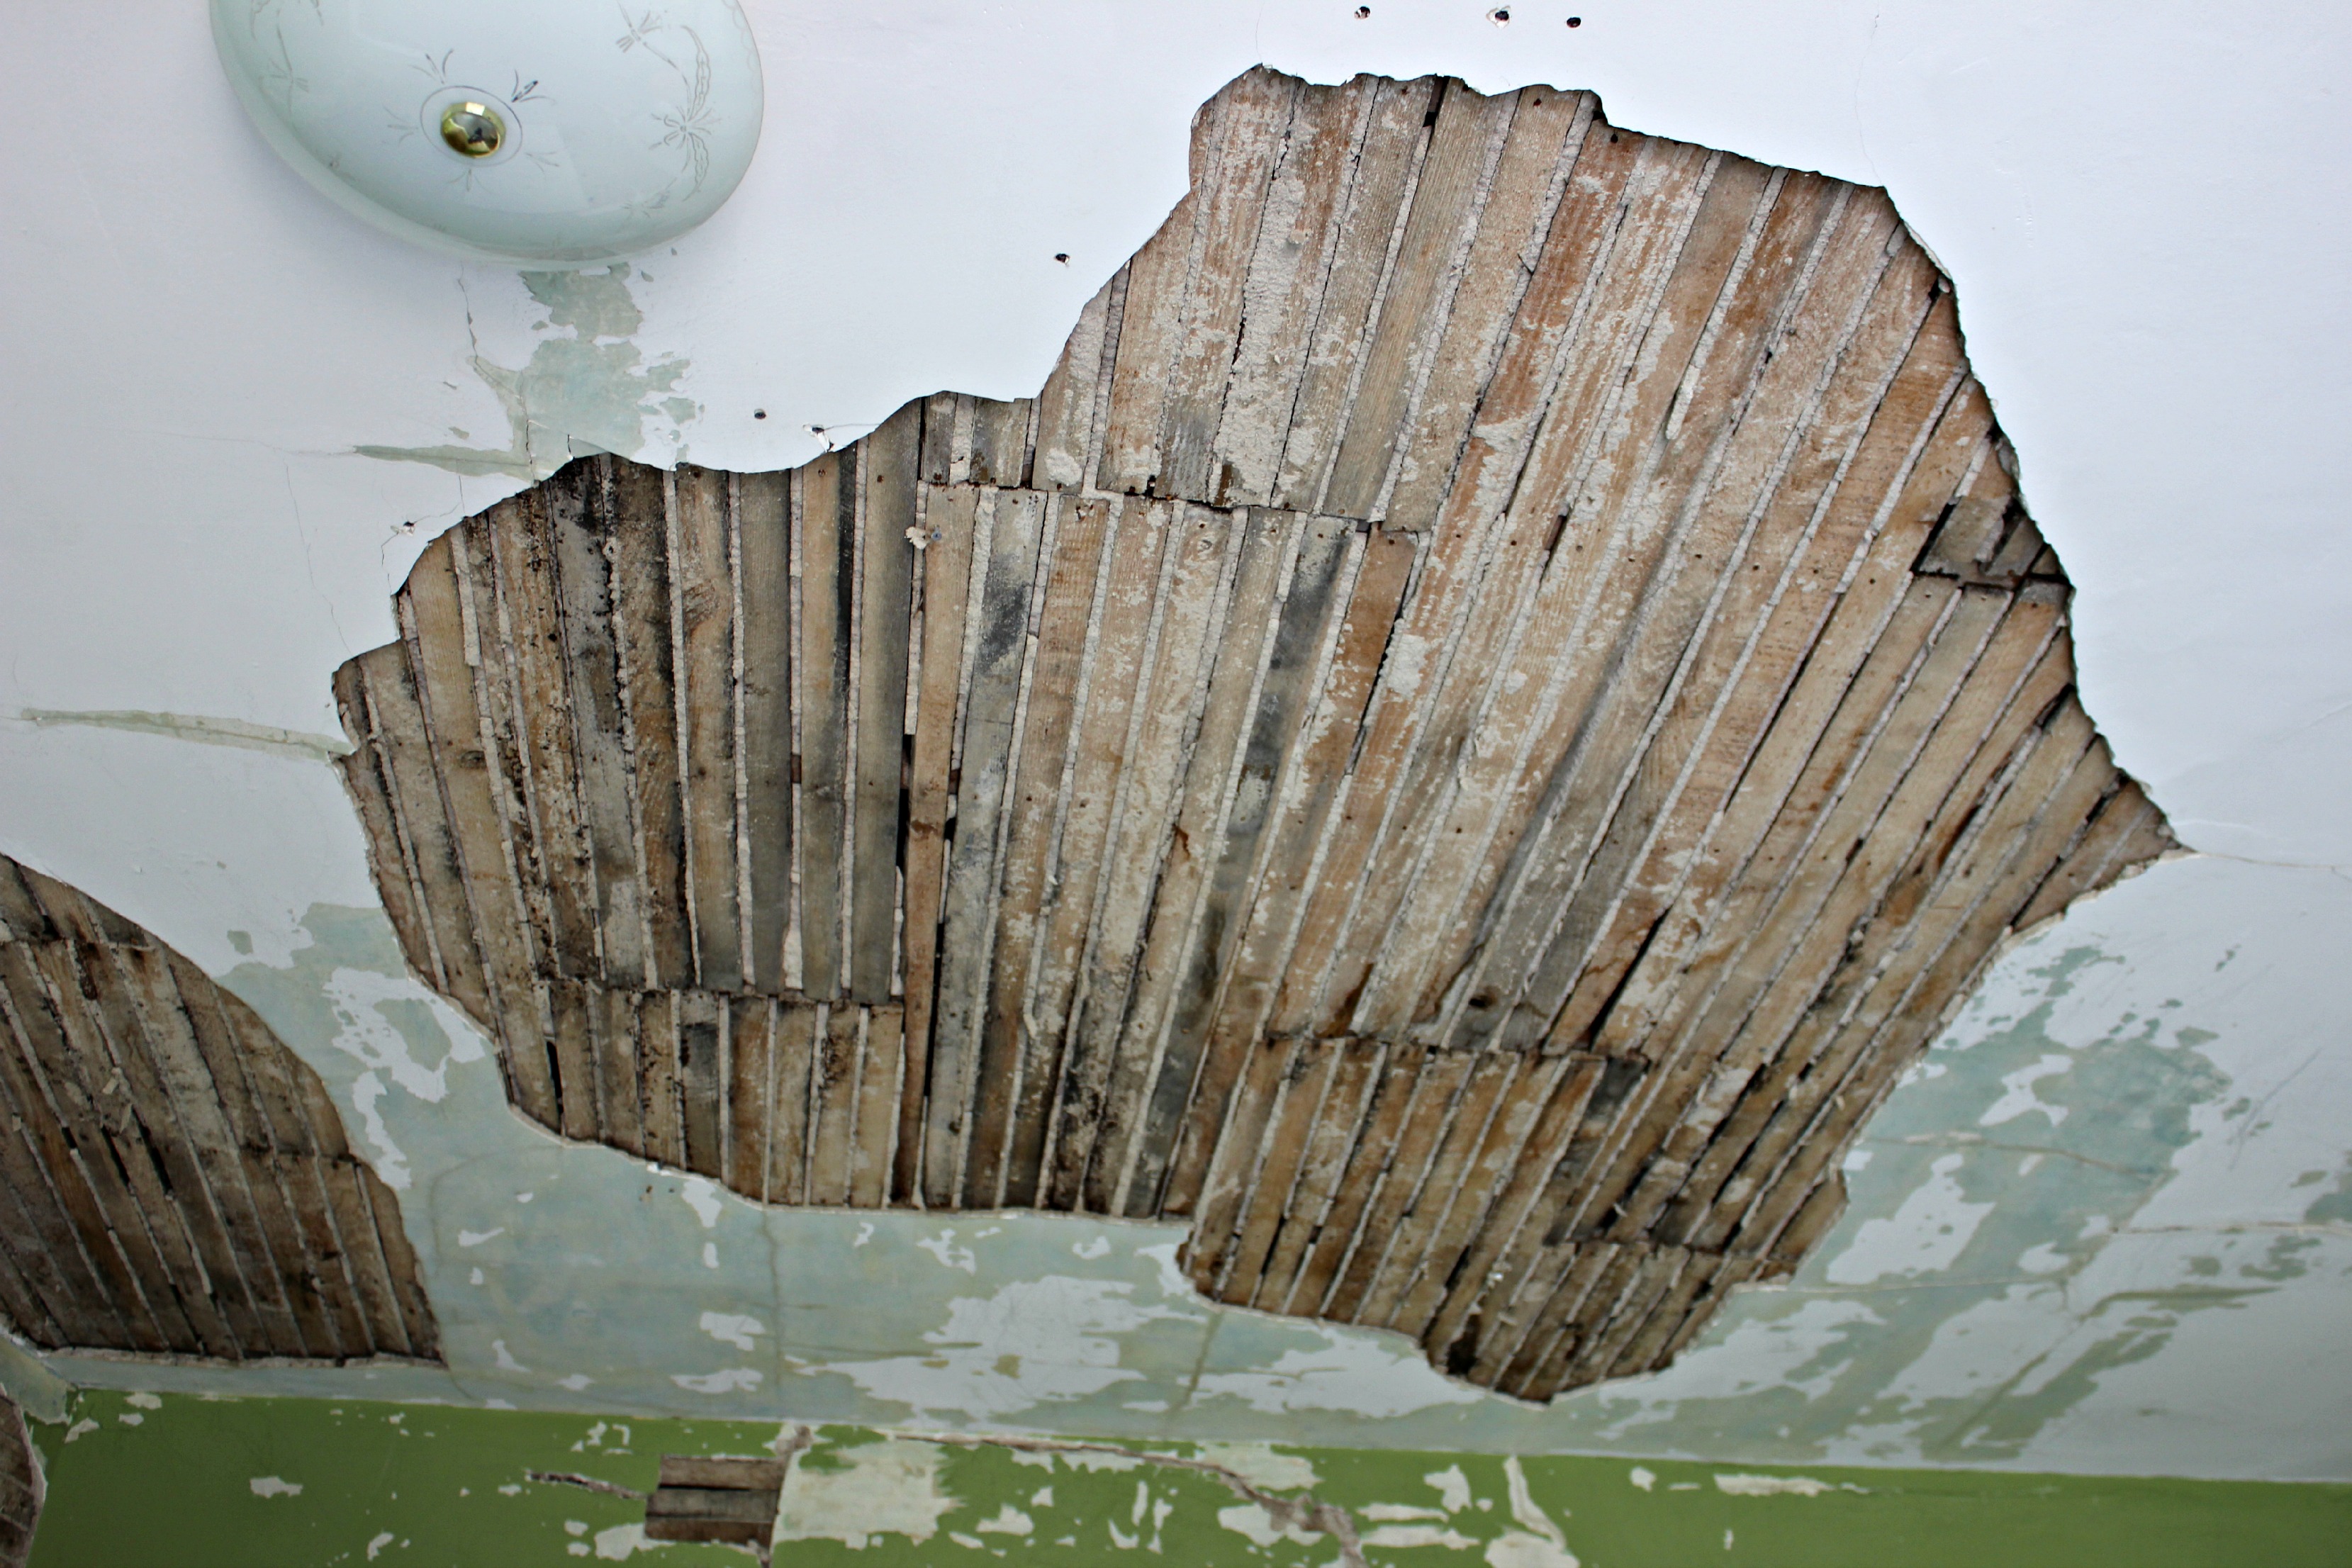
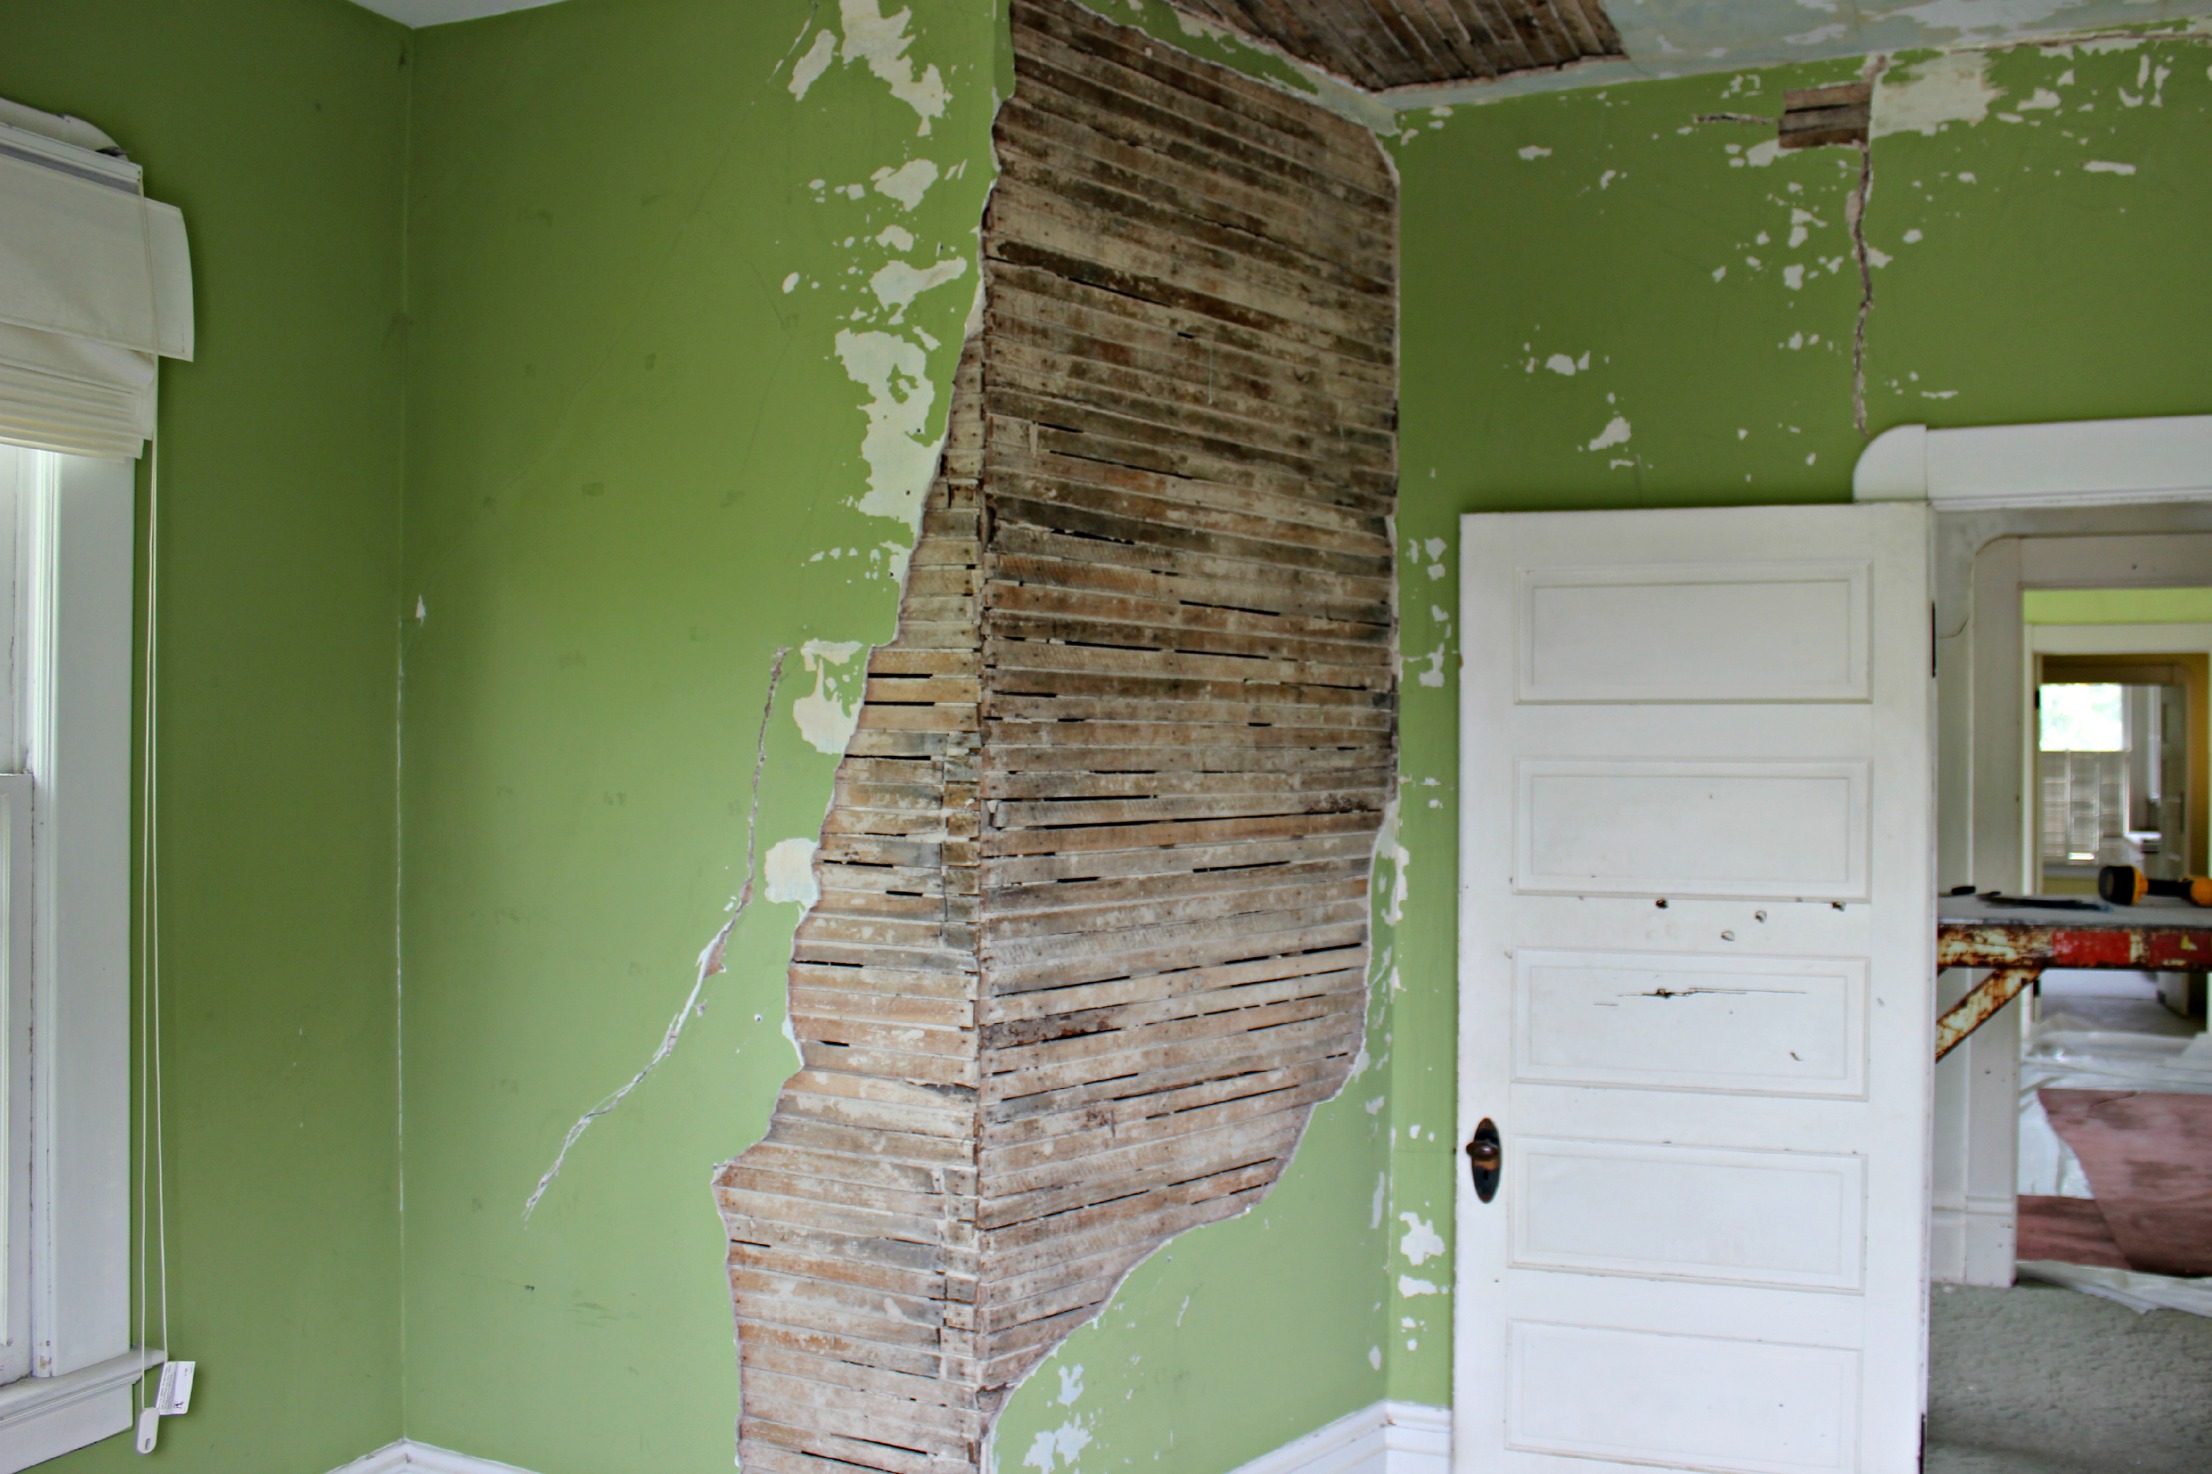
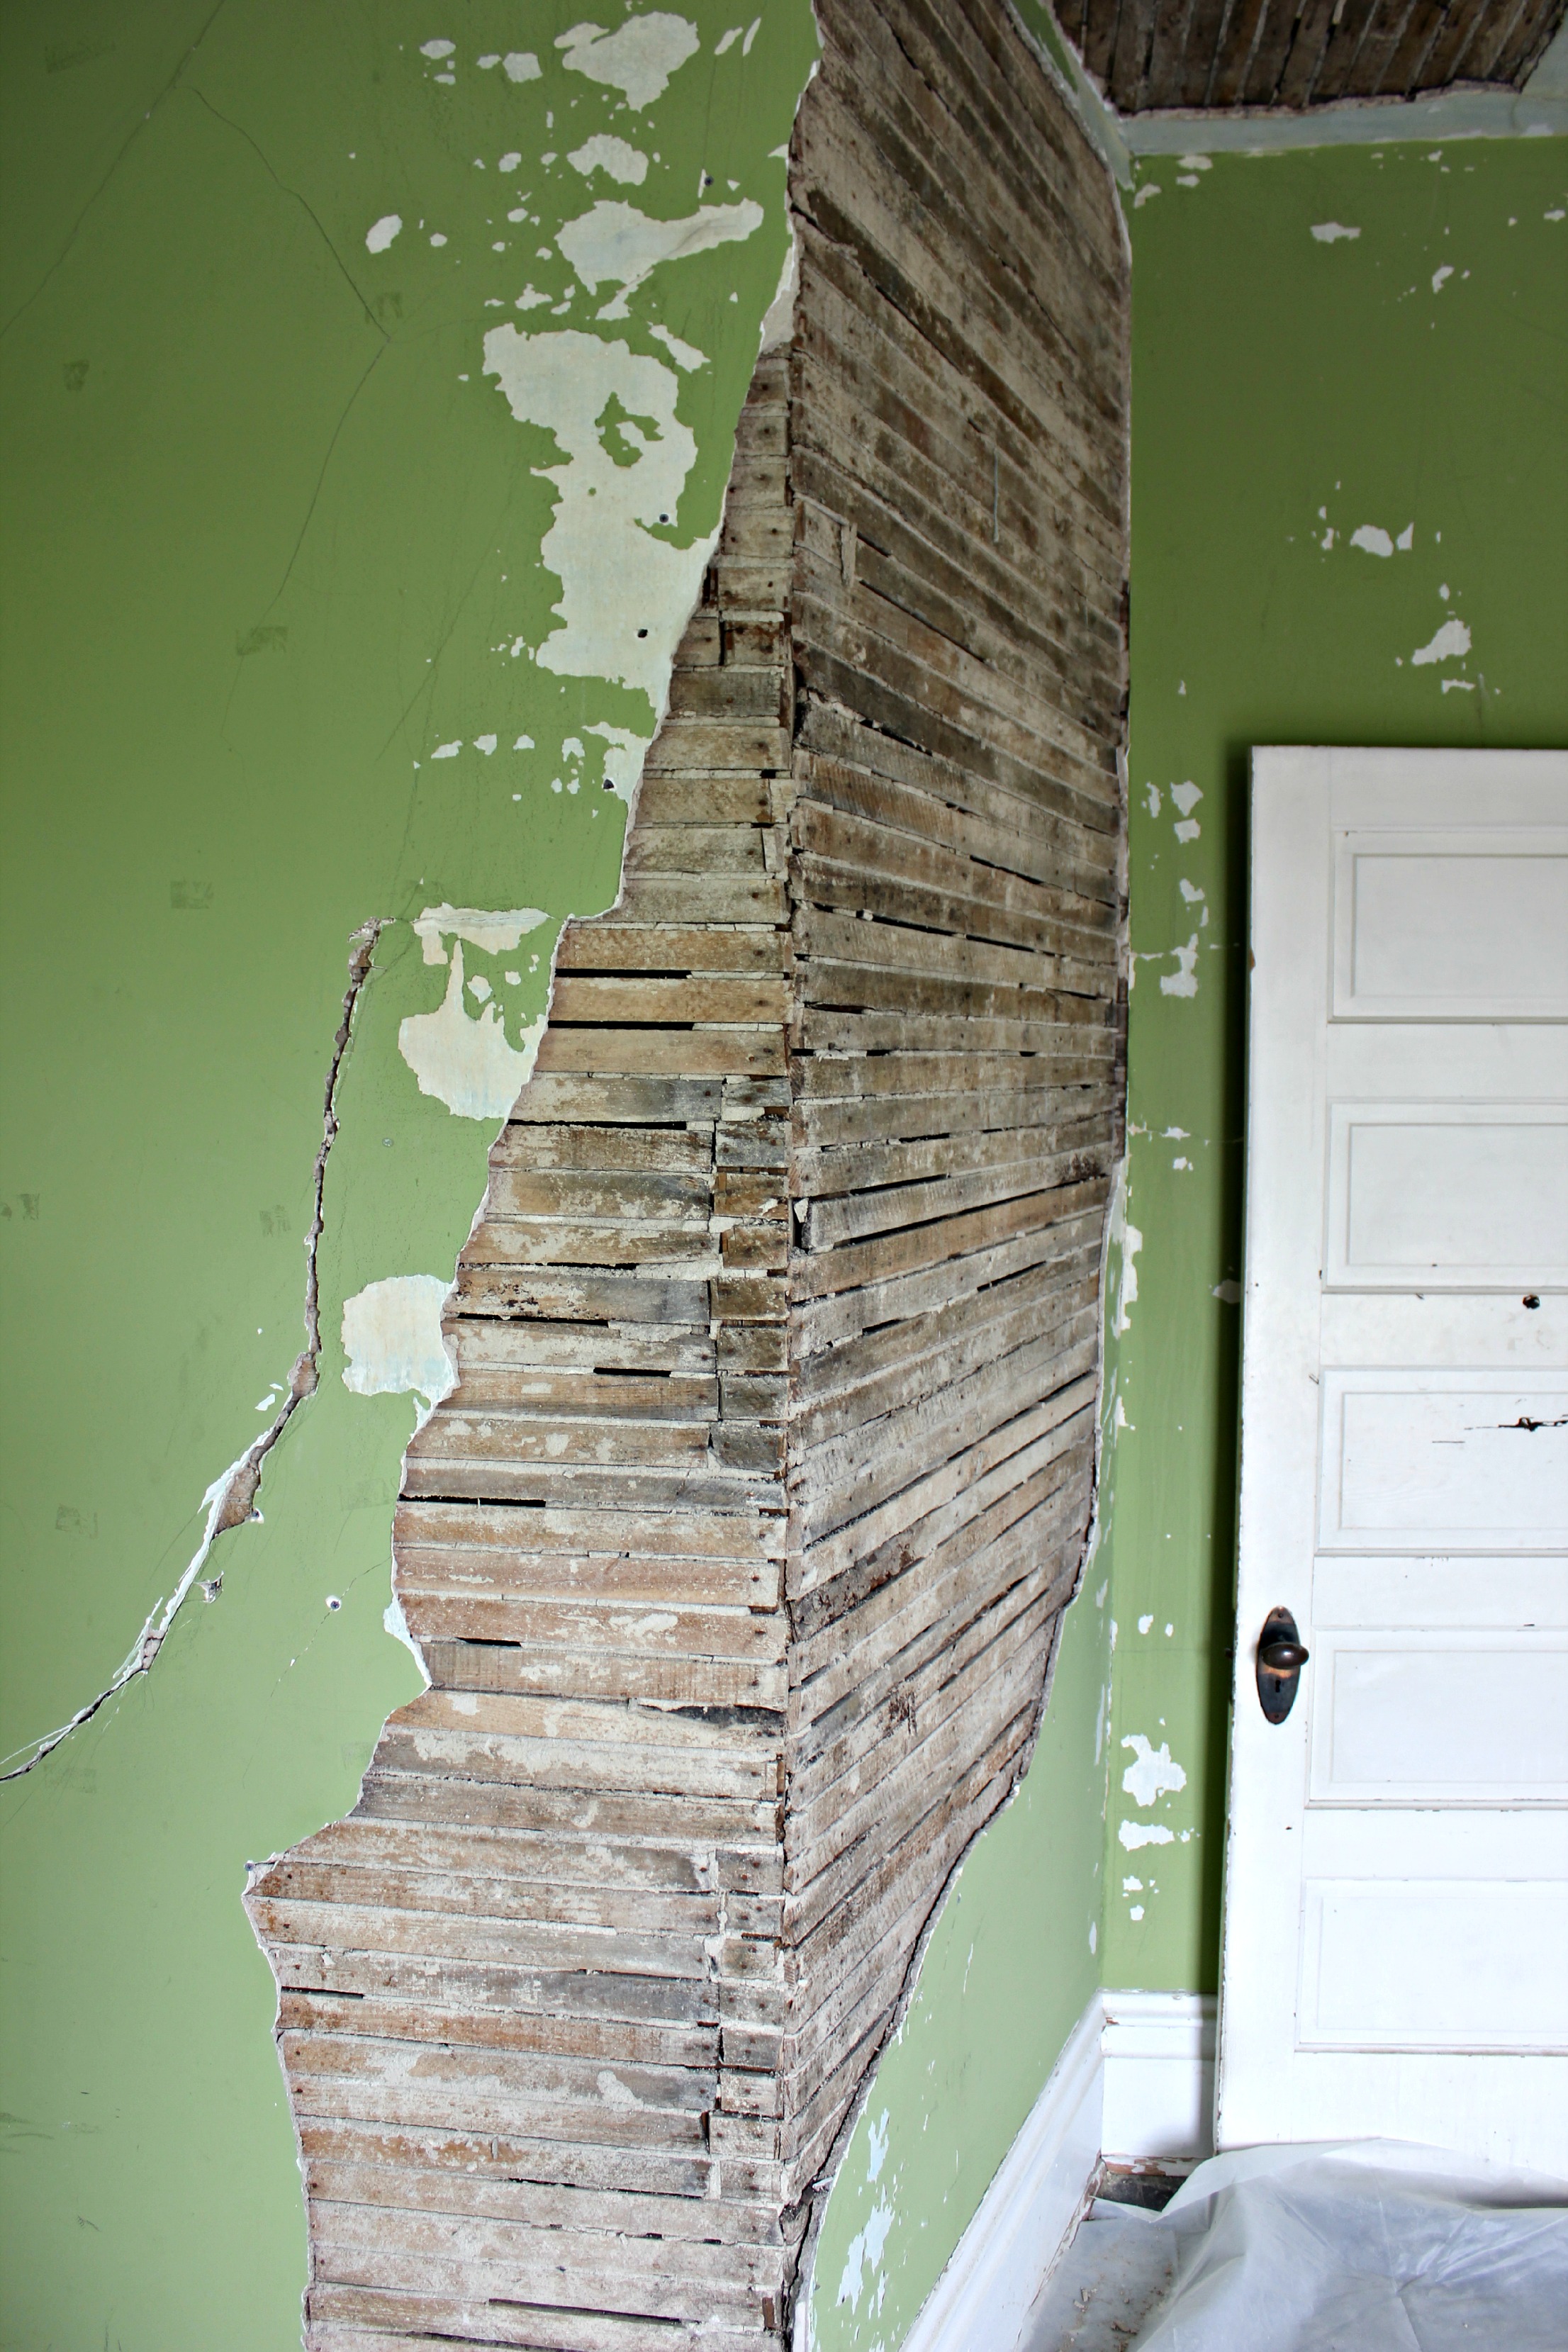
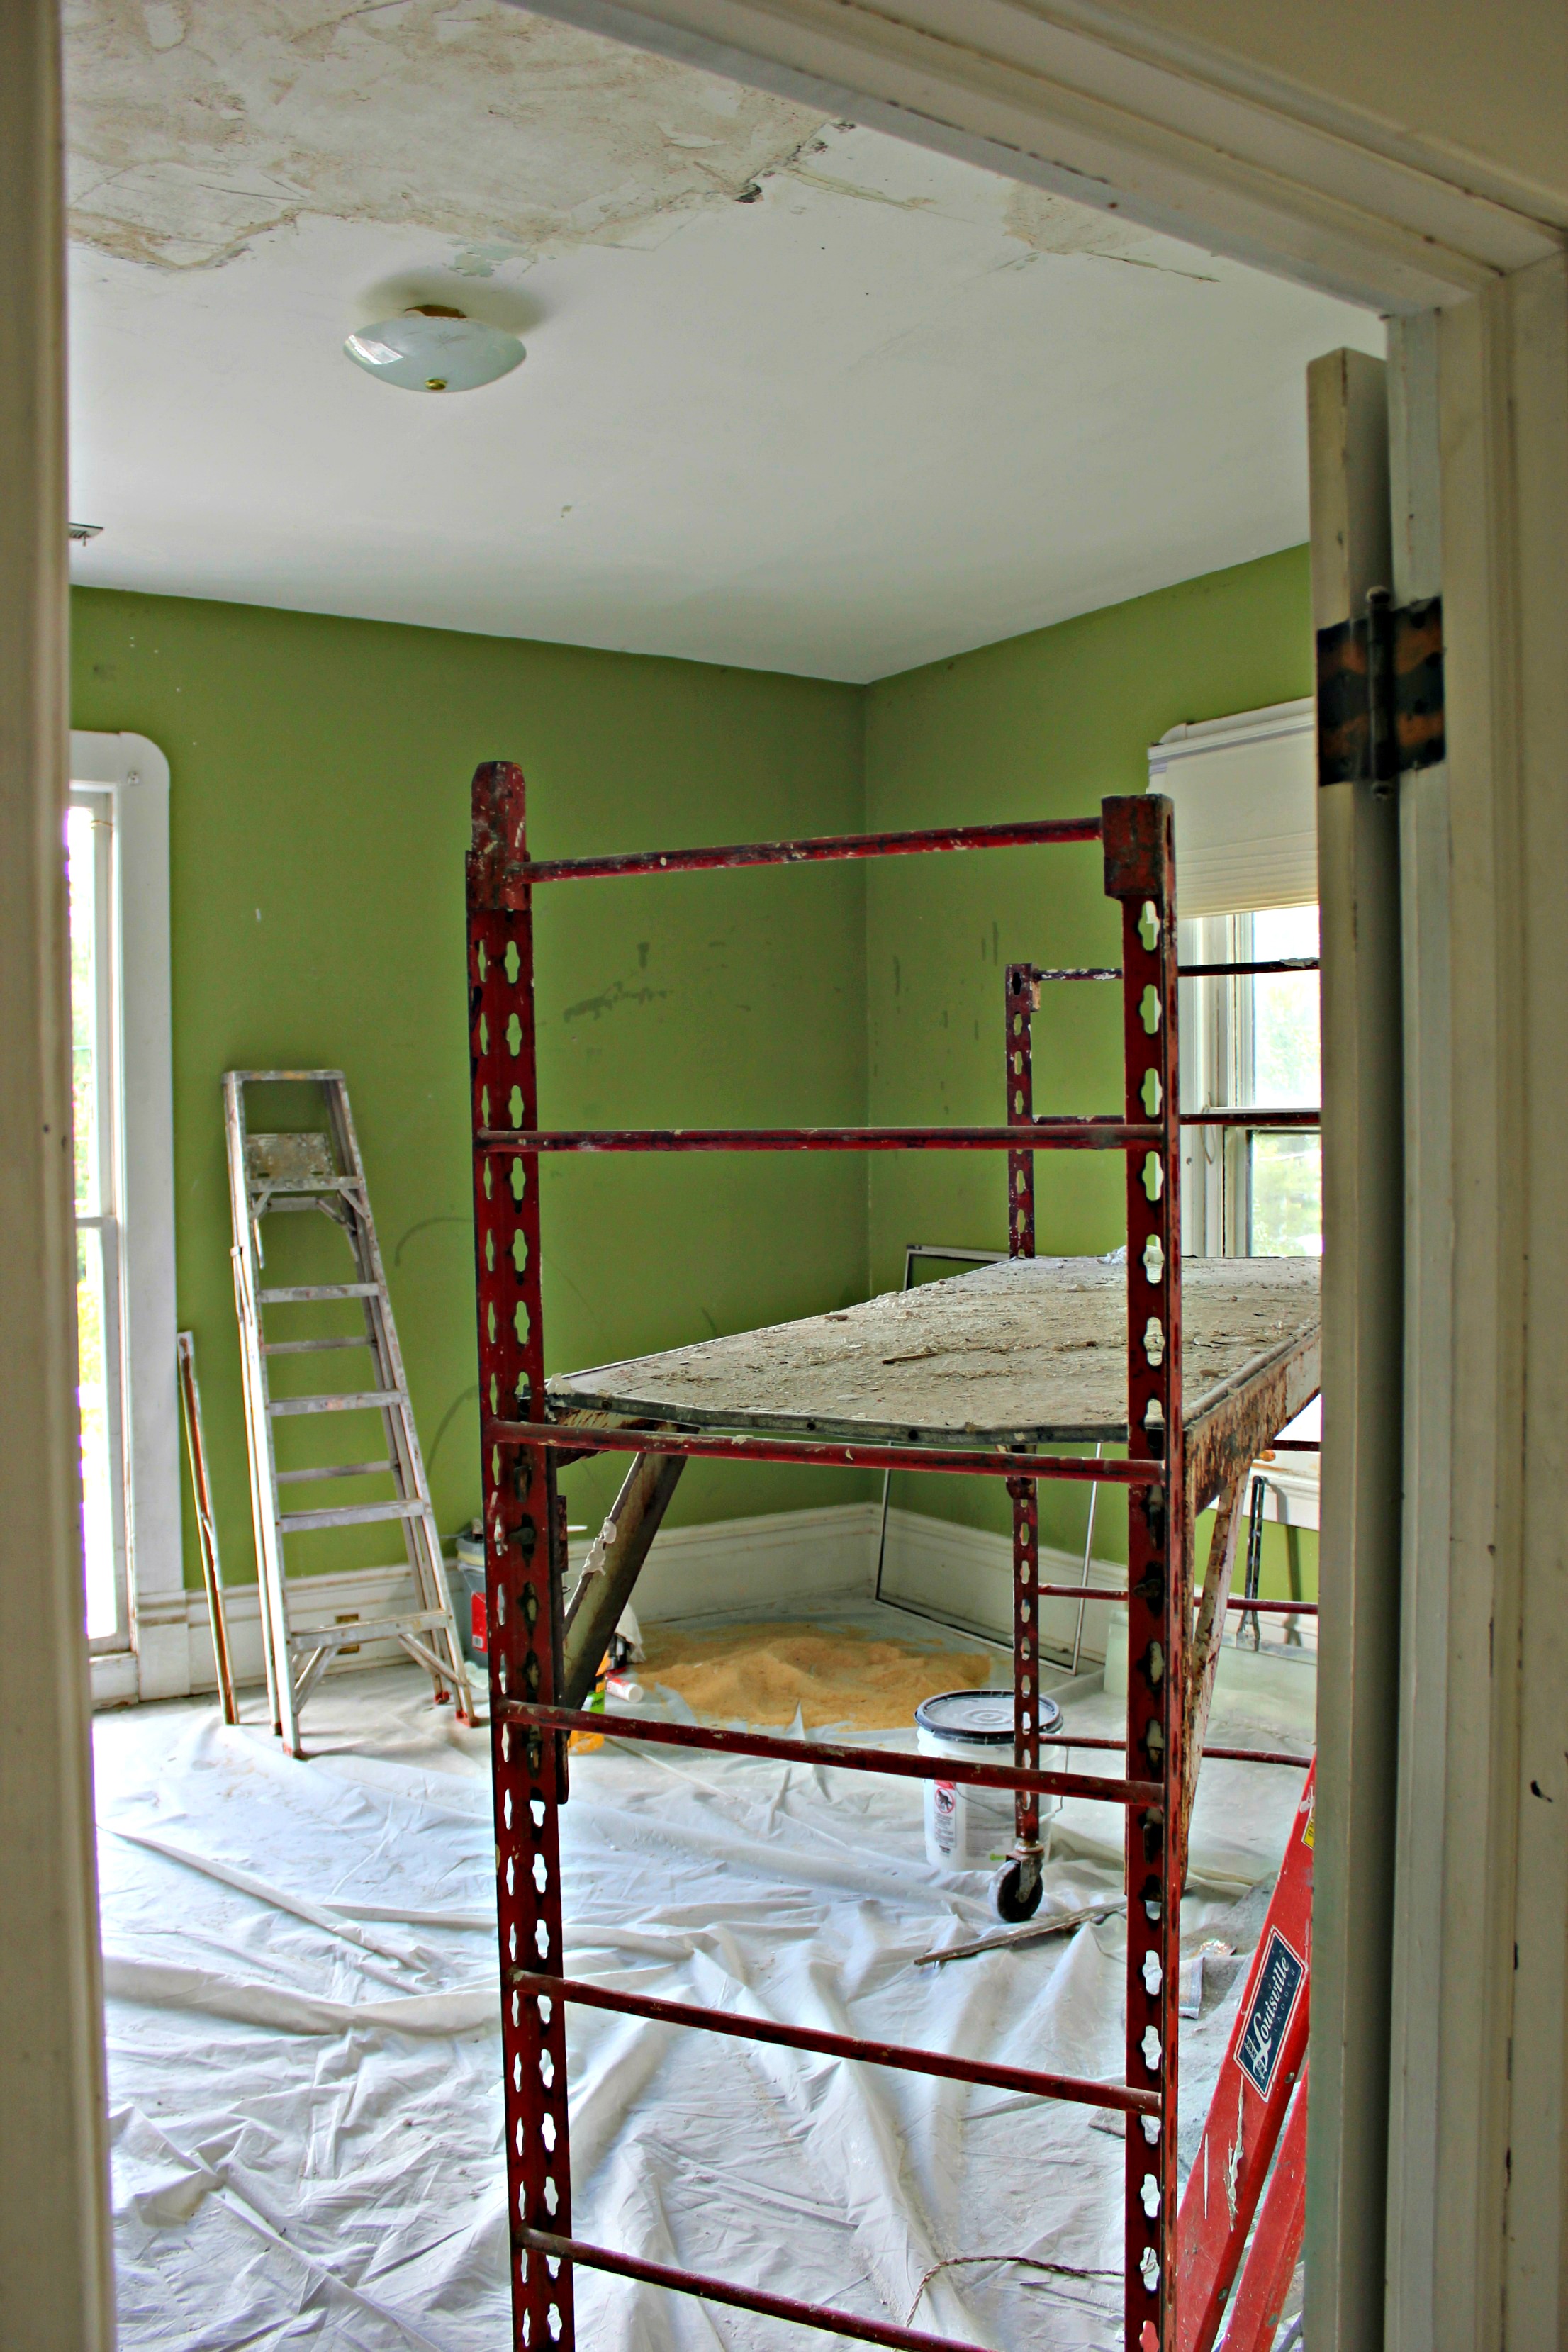
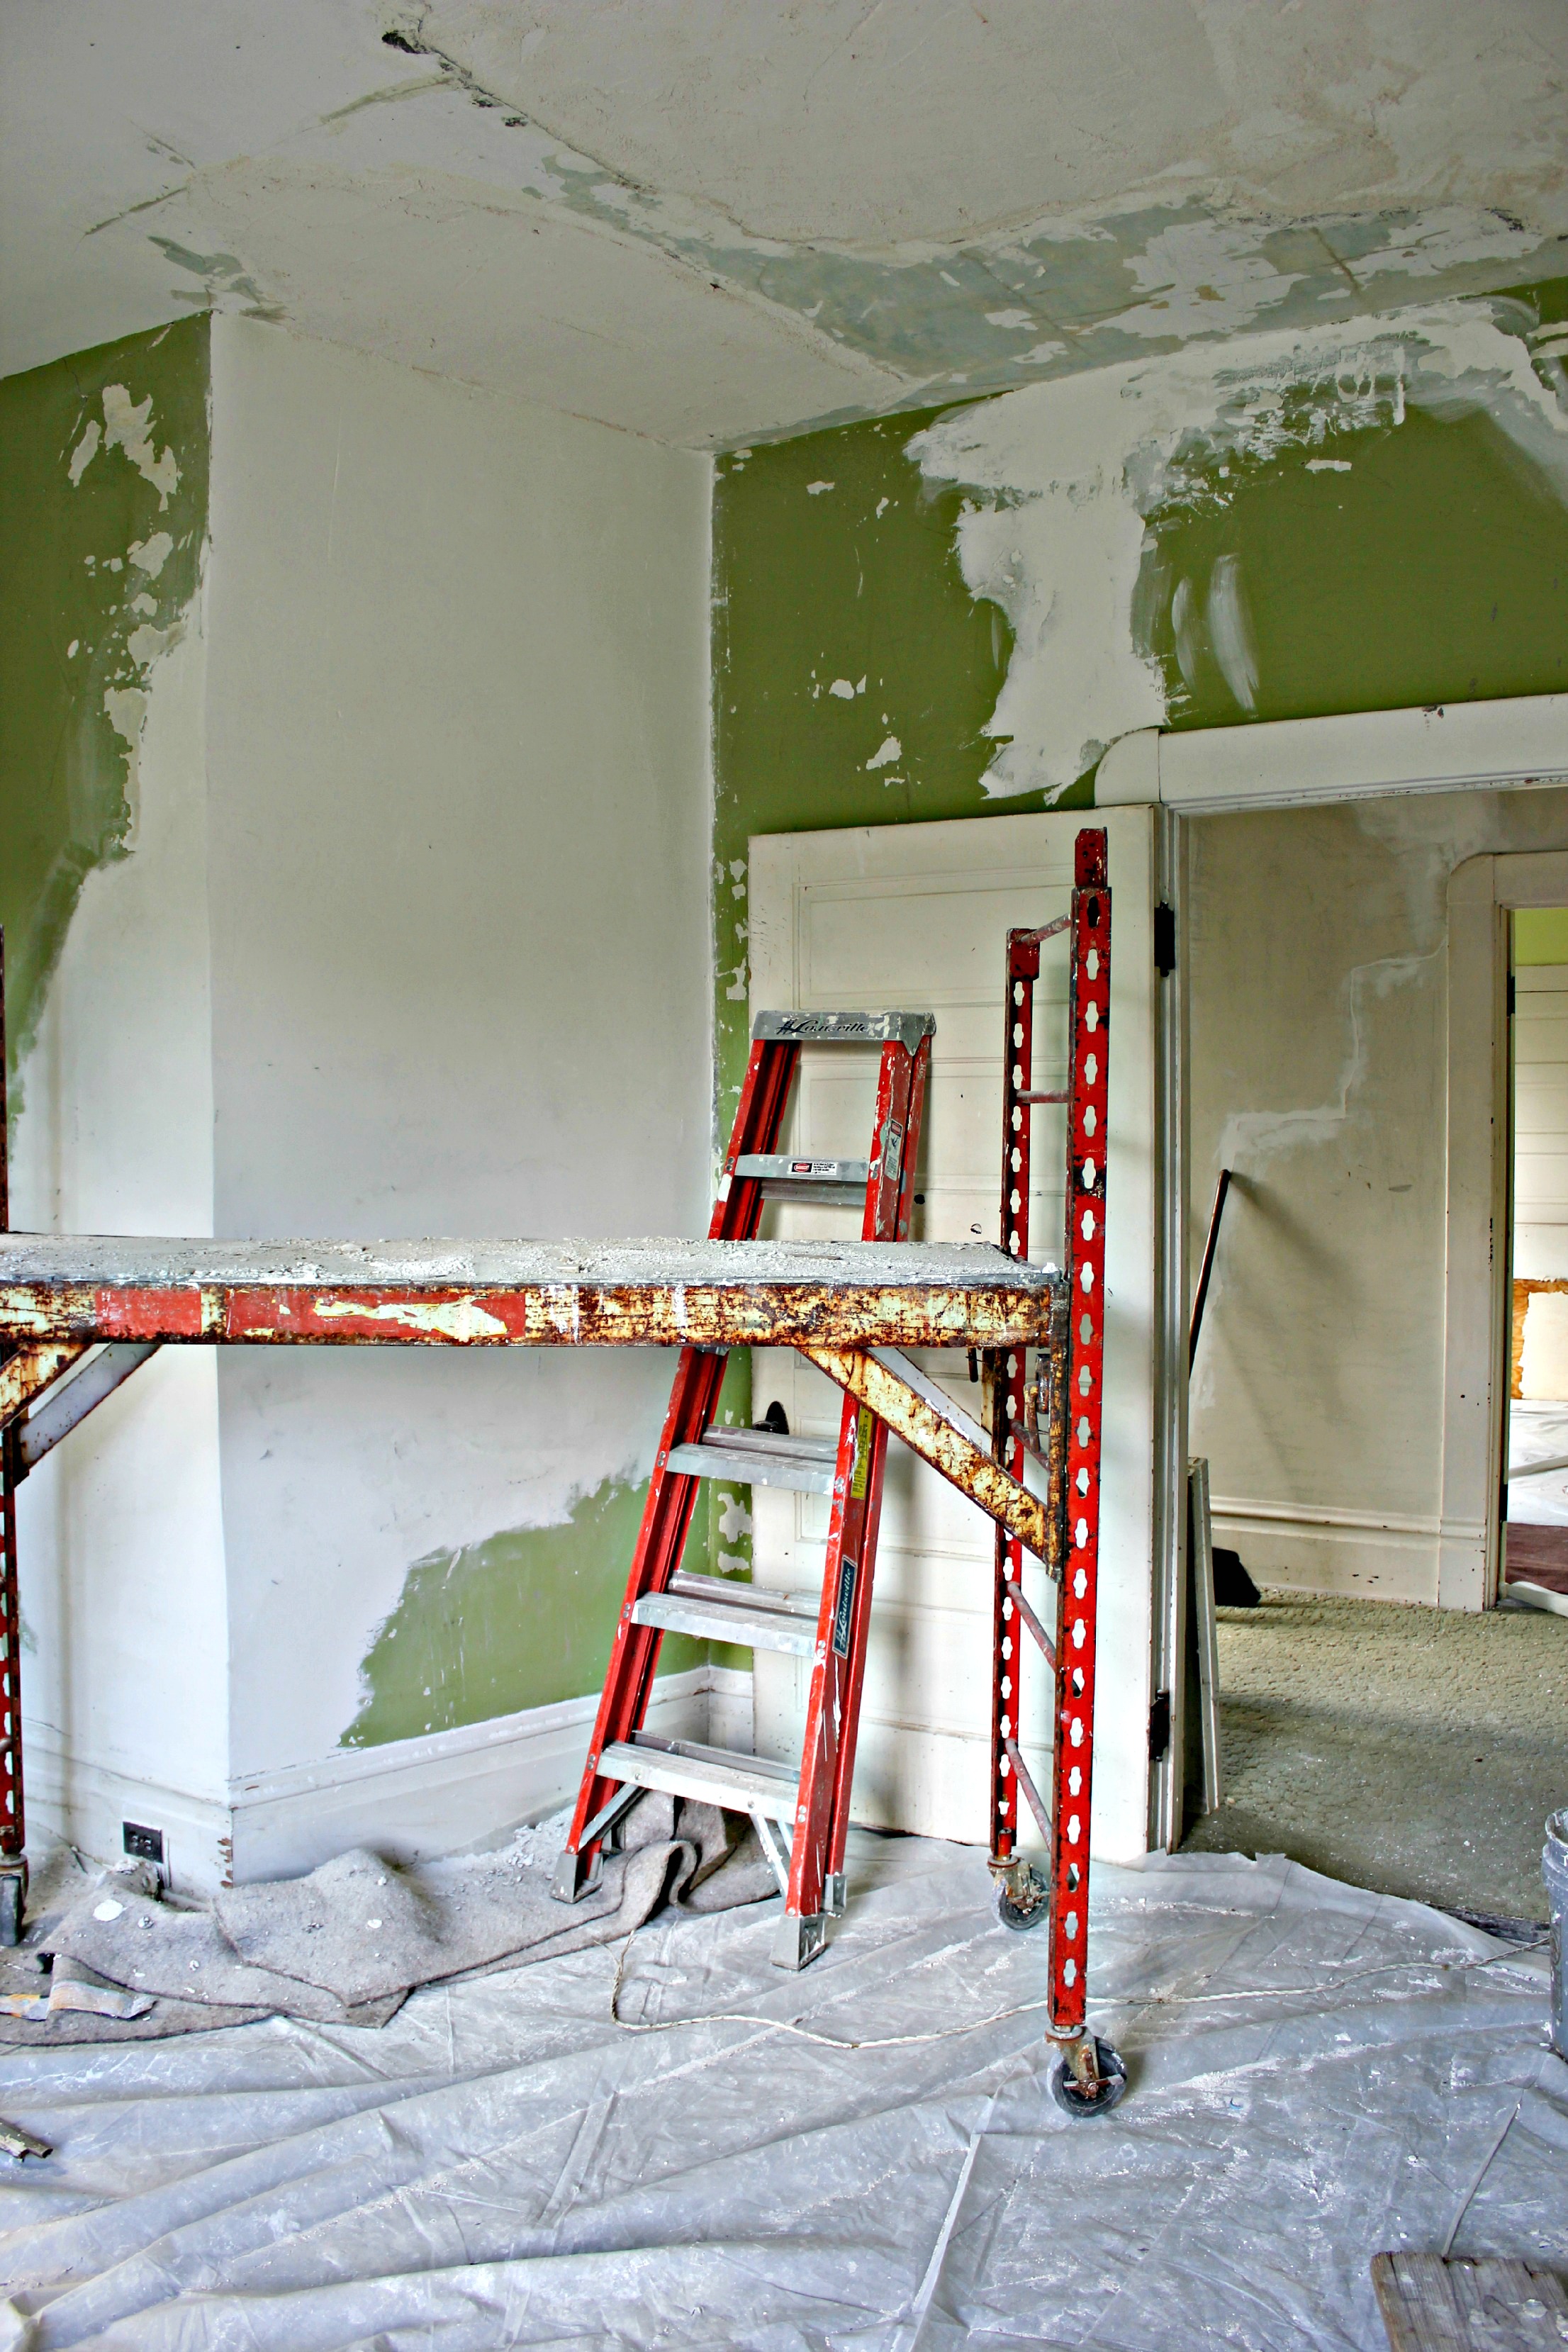
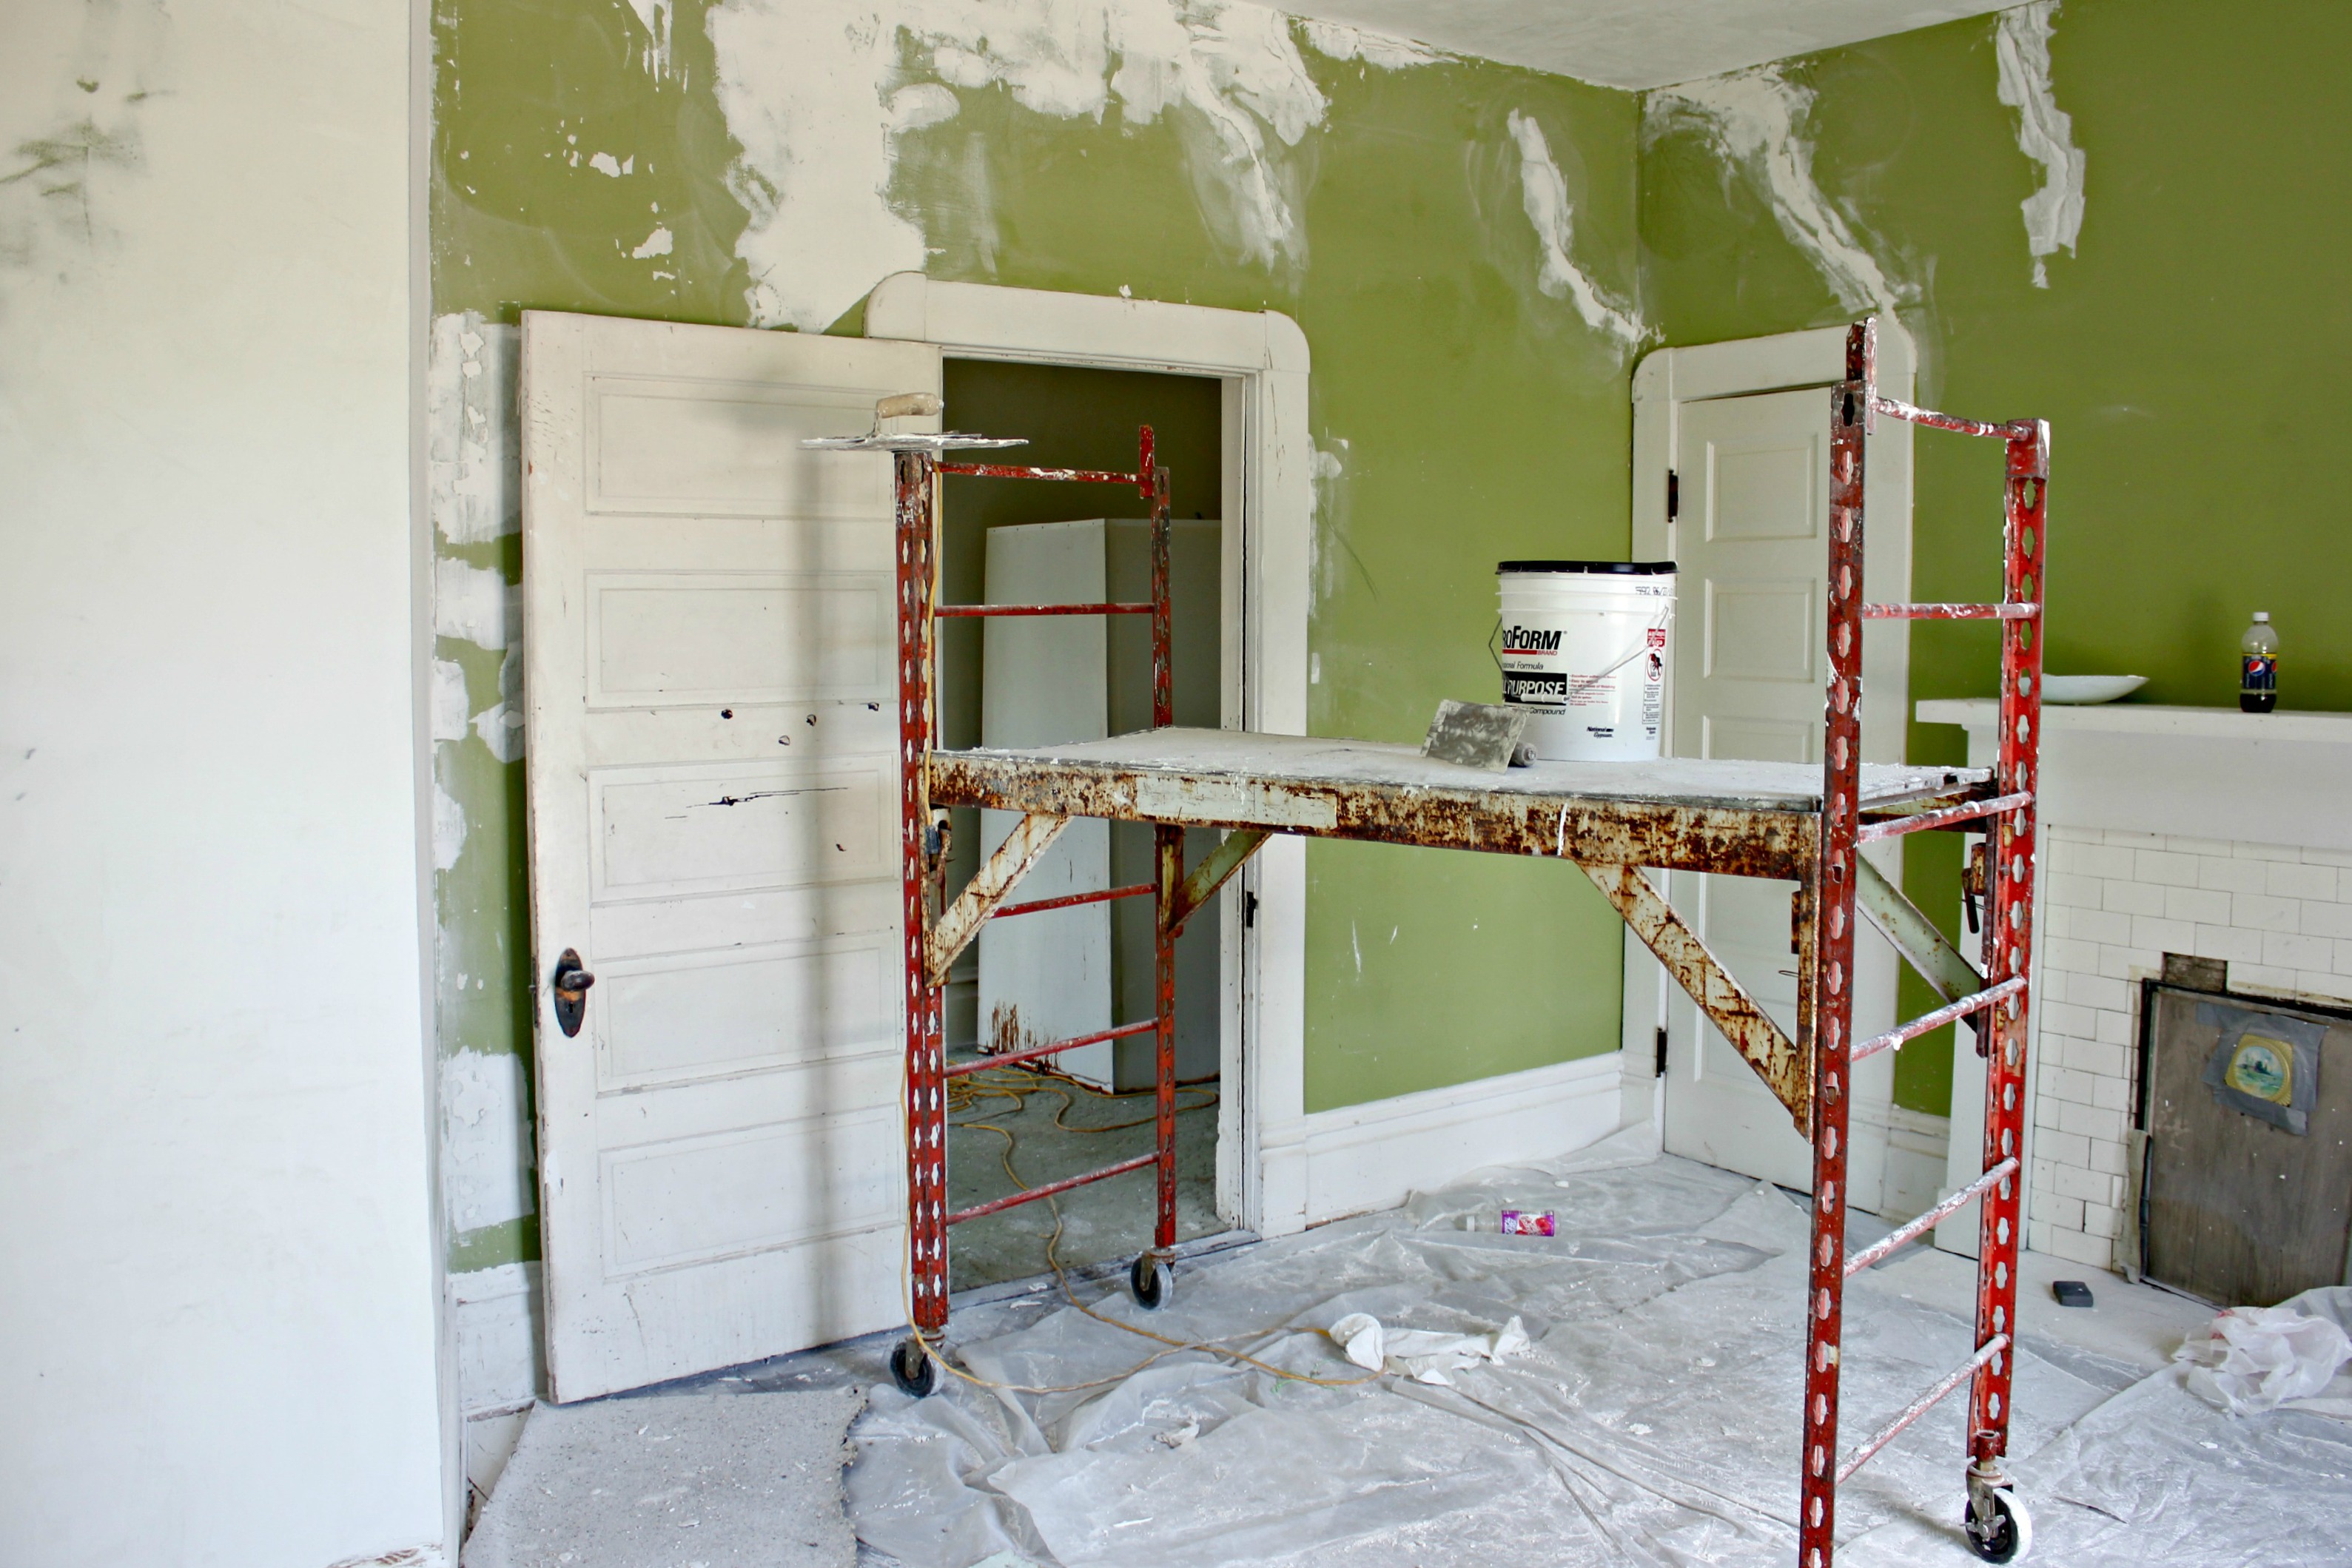
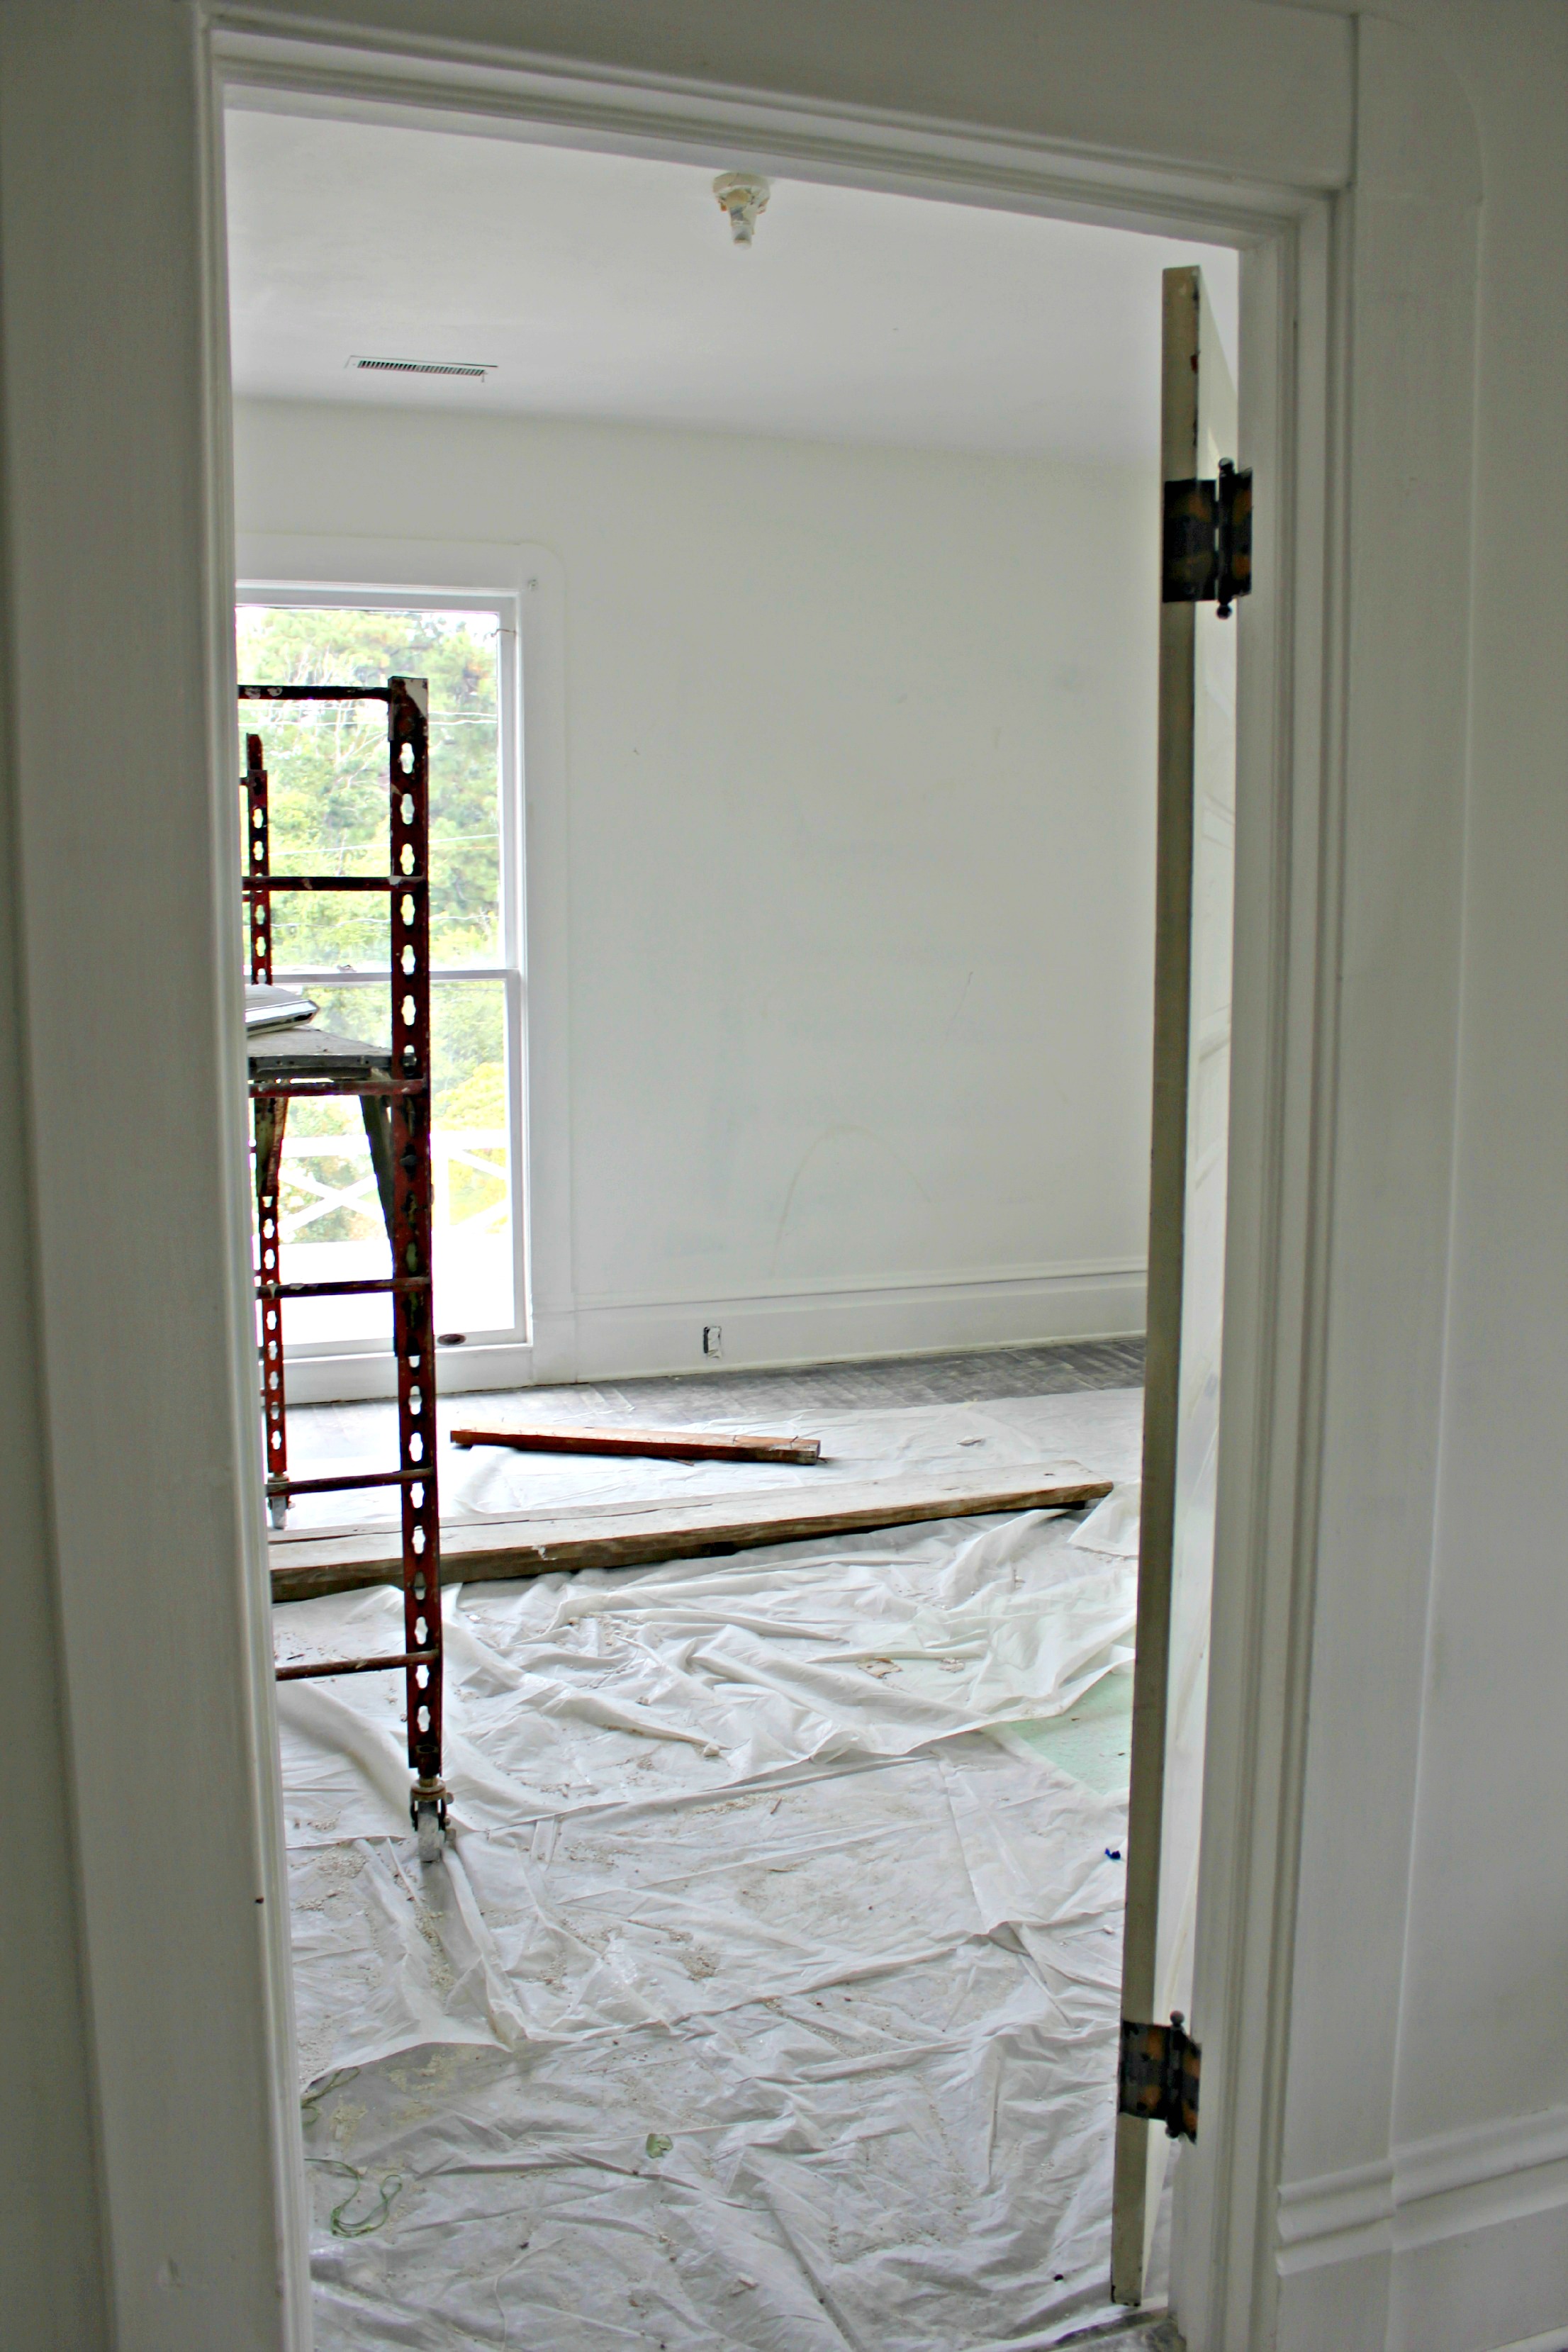
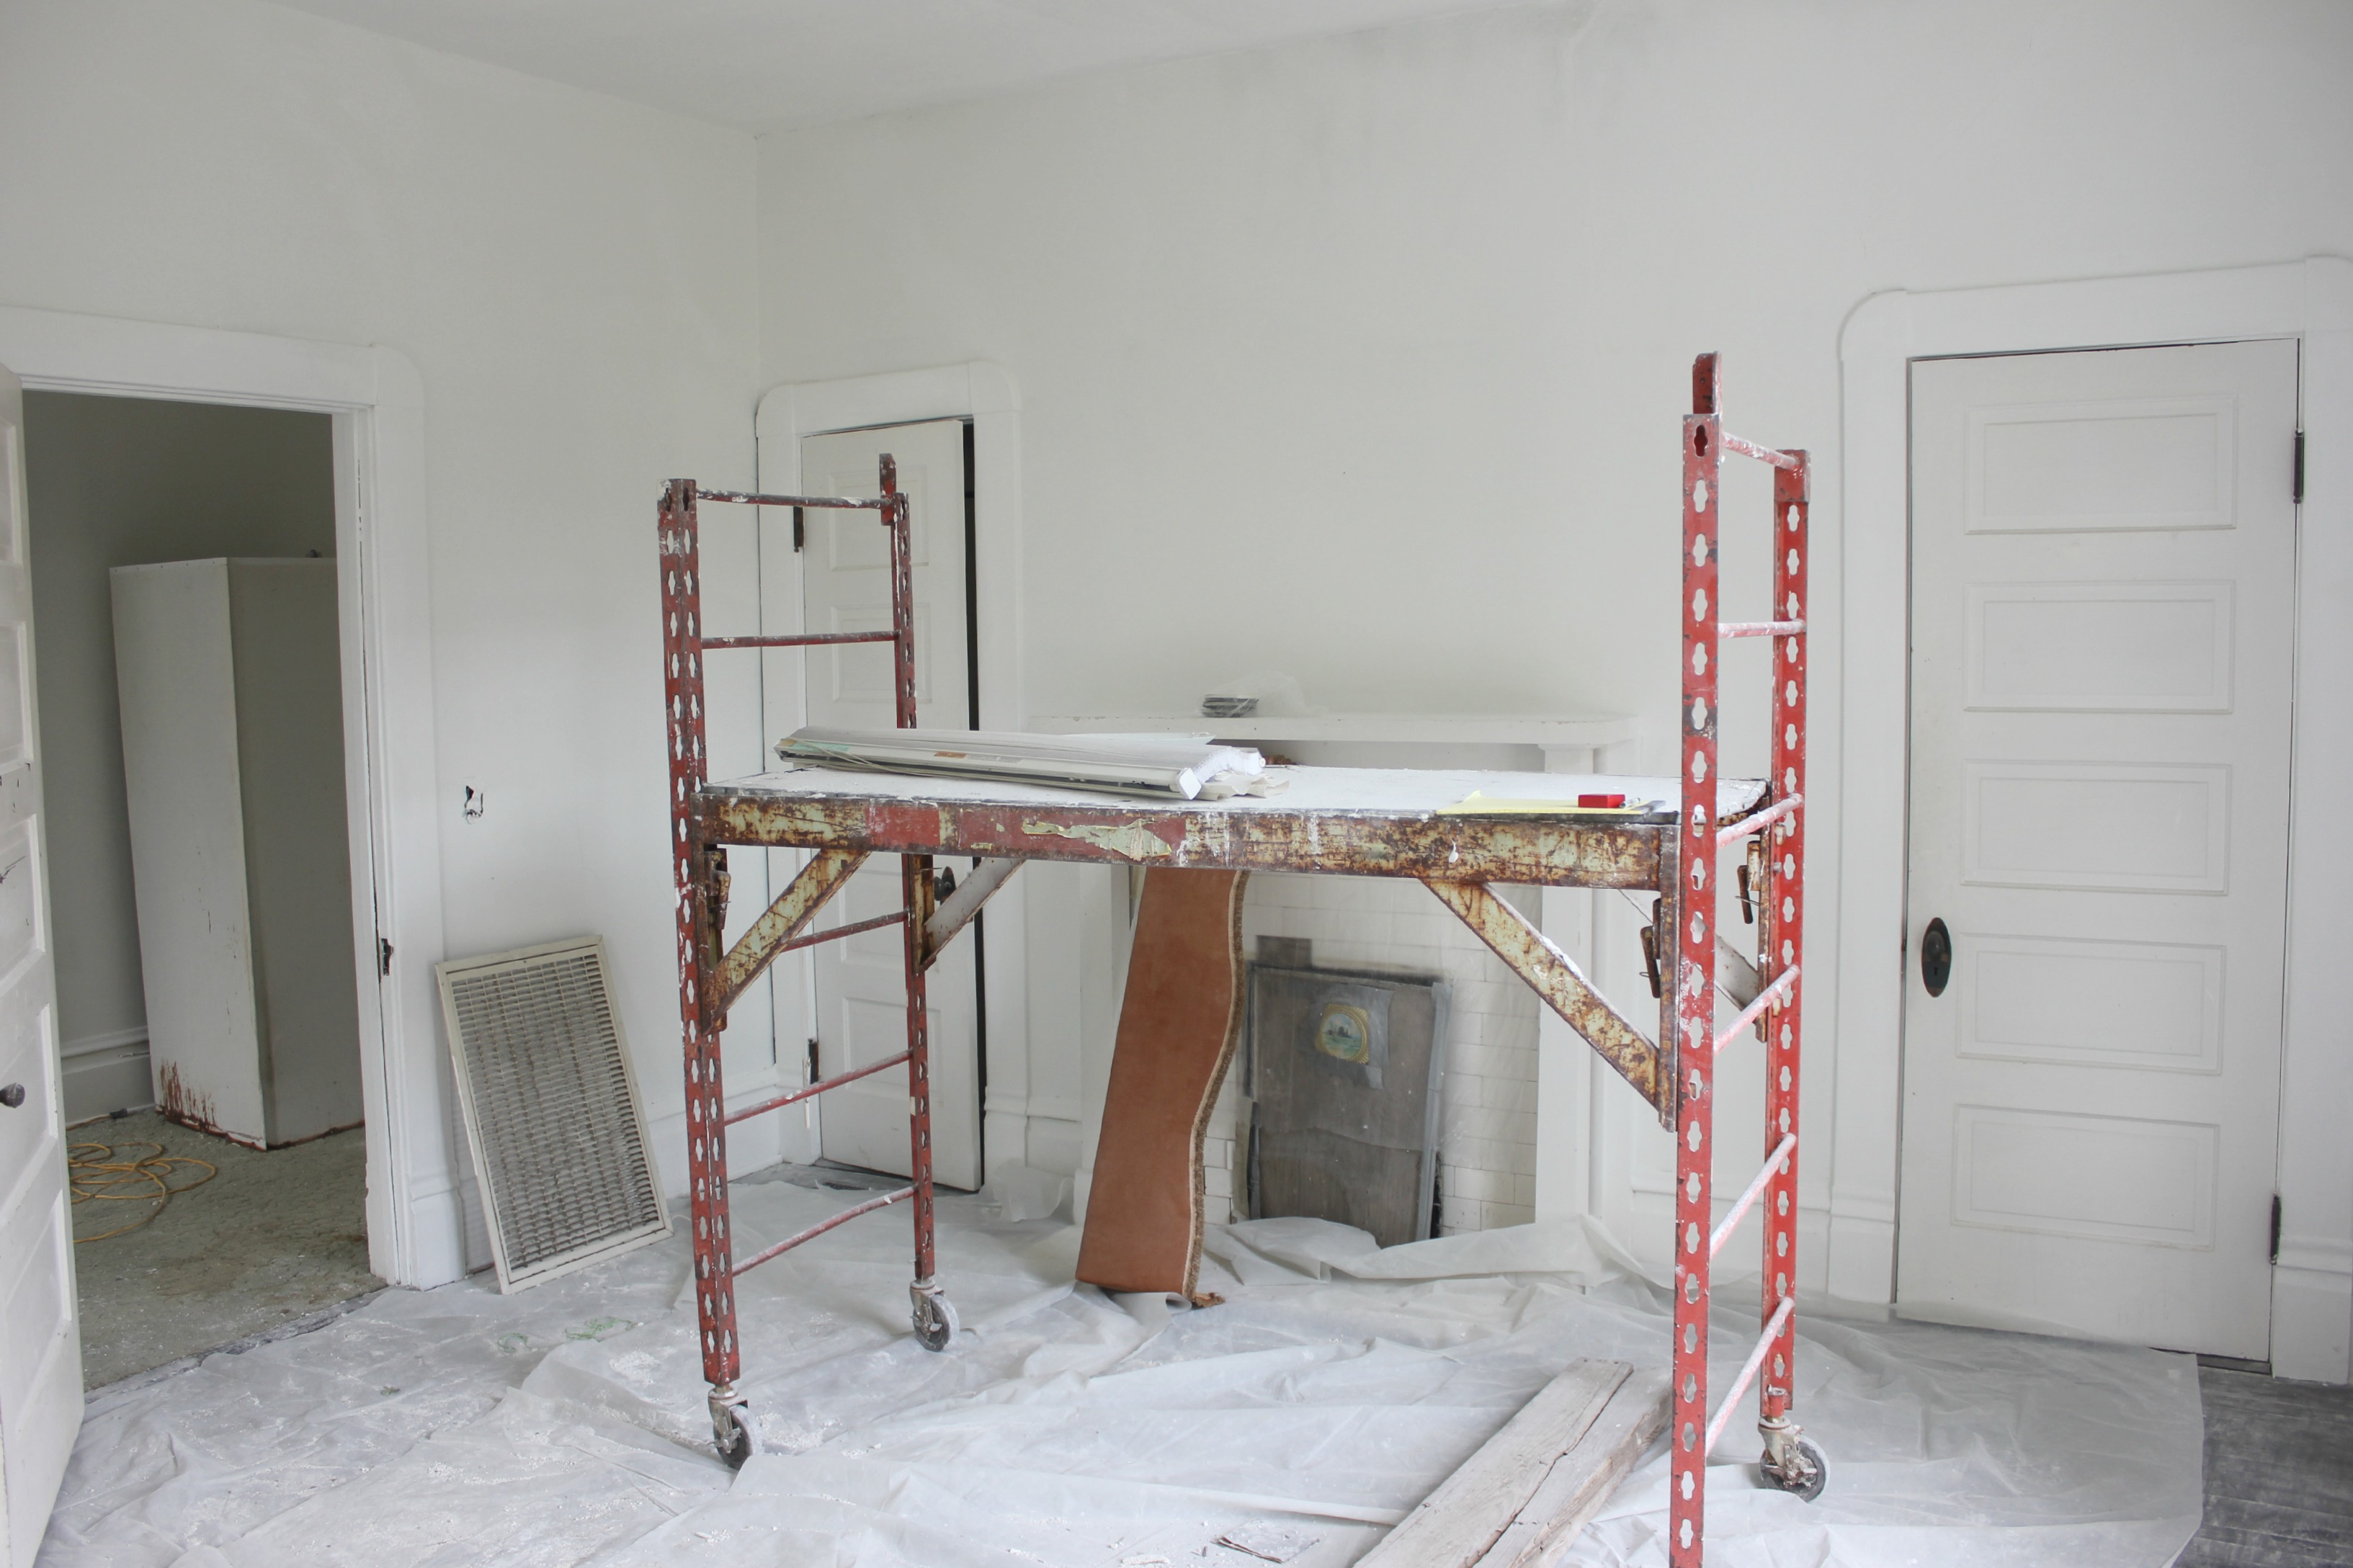
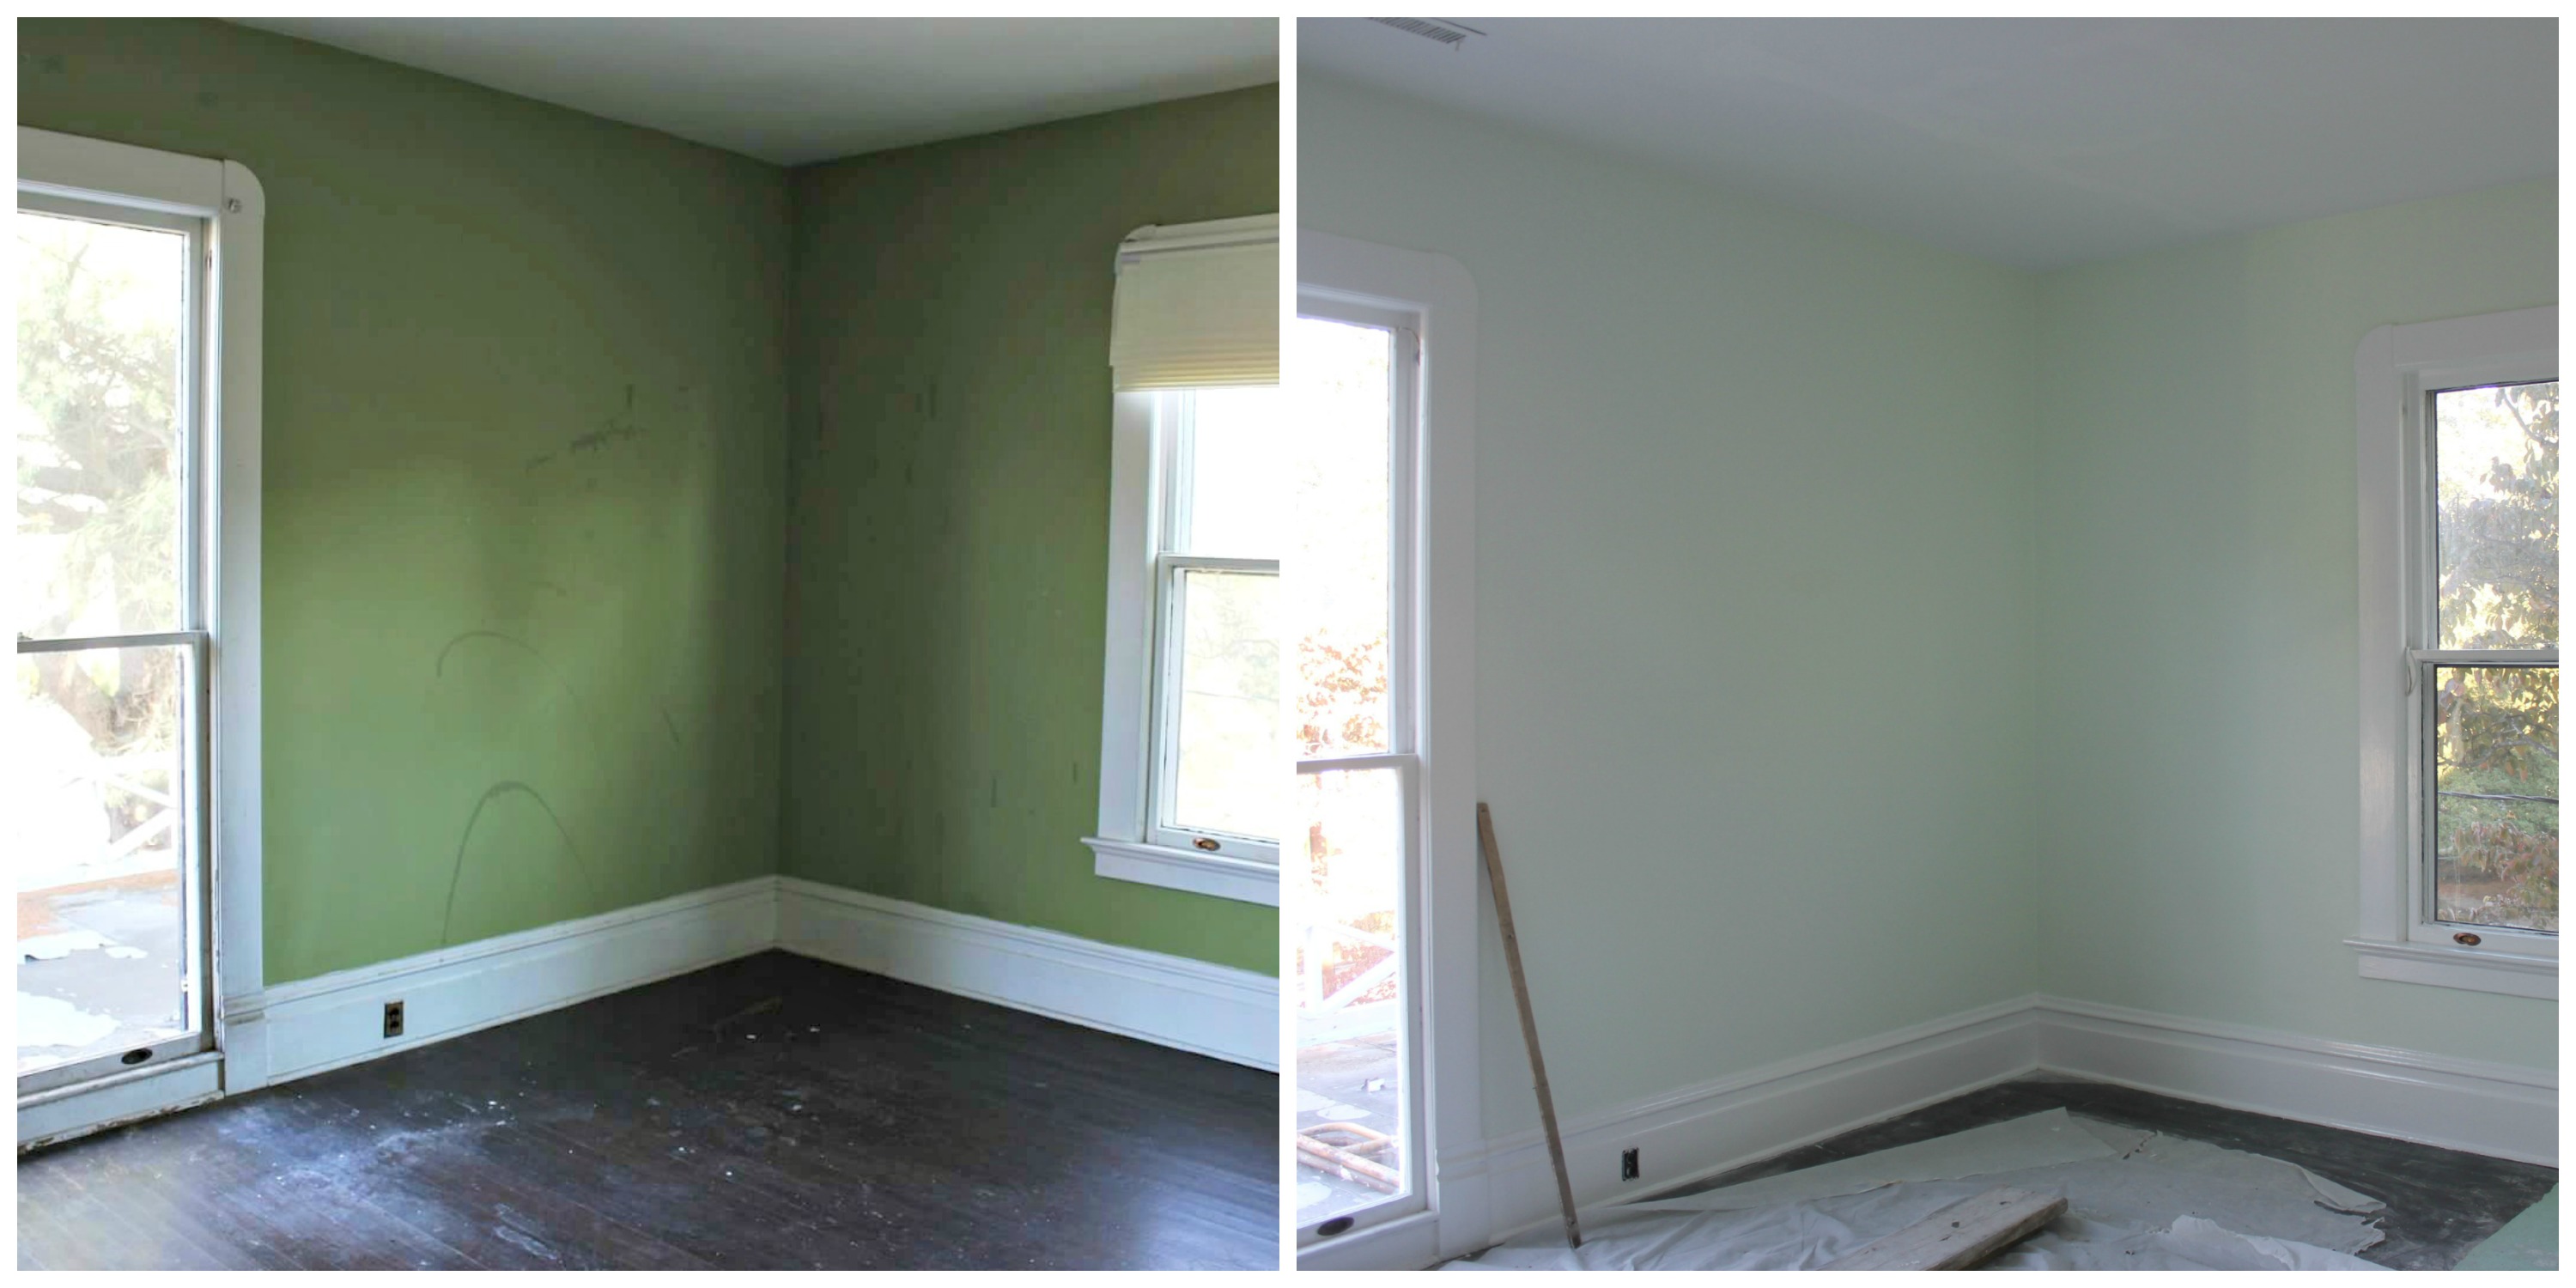
Anyway…this room had the biggest plaster issues of all. You’ll see in the pictures below that we pretty much had to tear down an entire wall and re-plaster it. There were also a lot of plaster issues with the ceiling that had to be addressed.
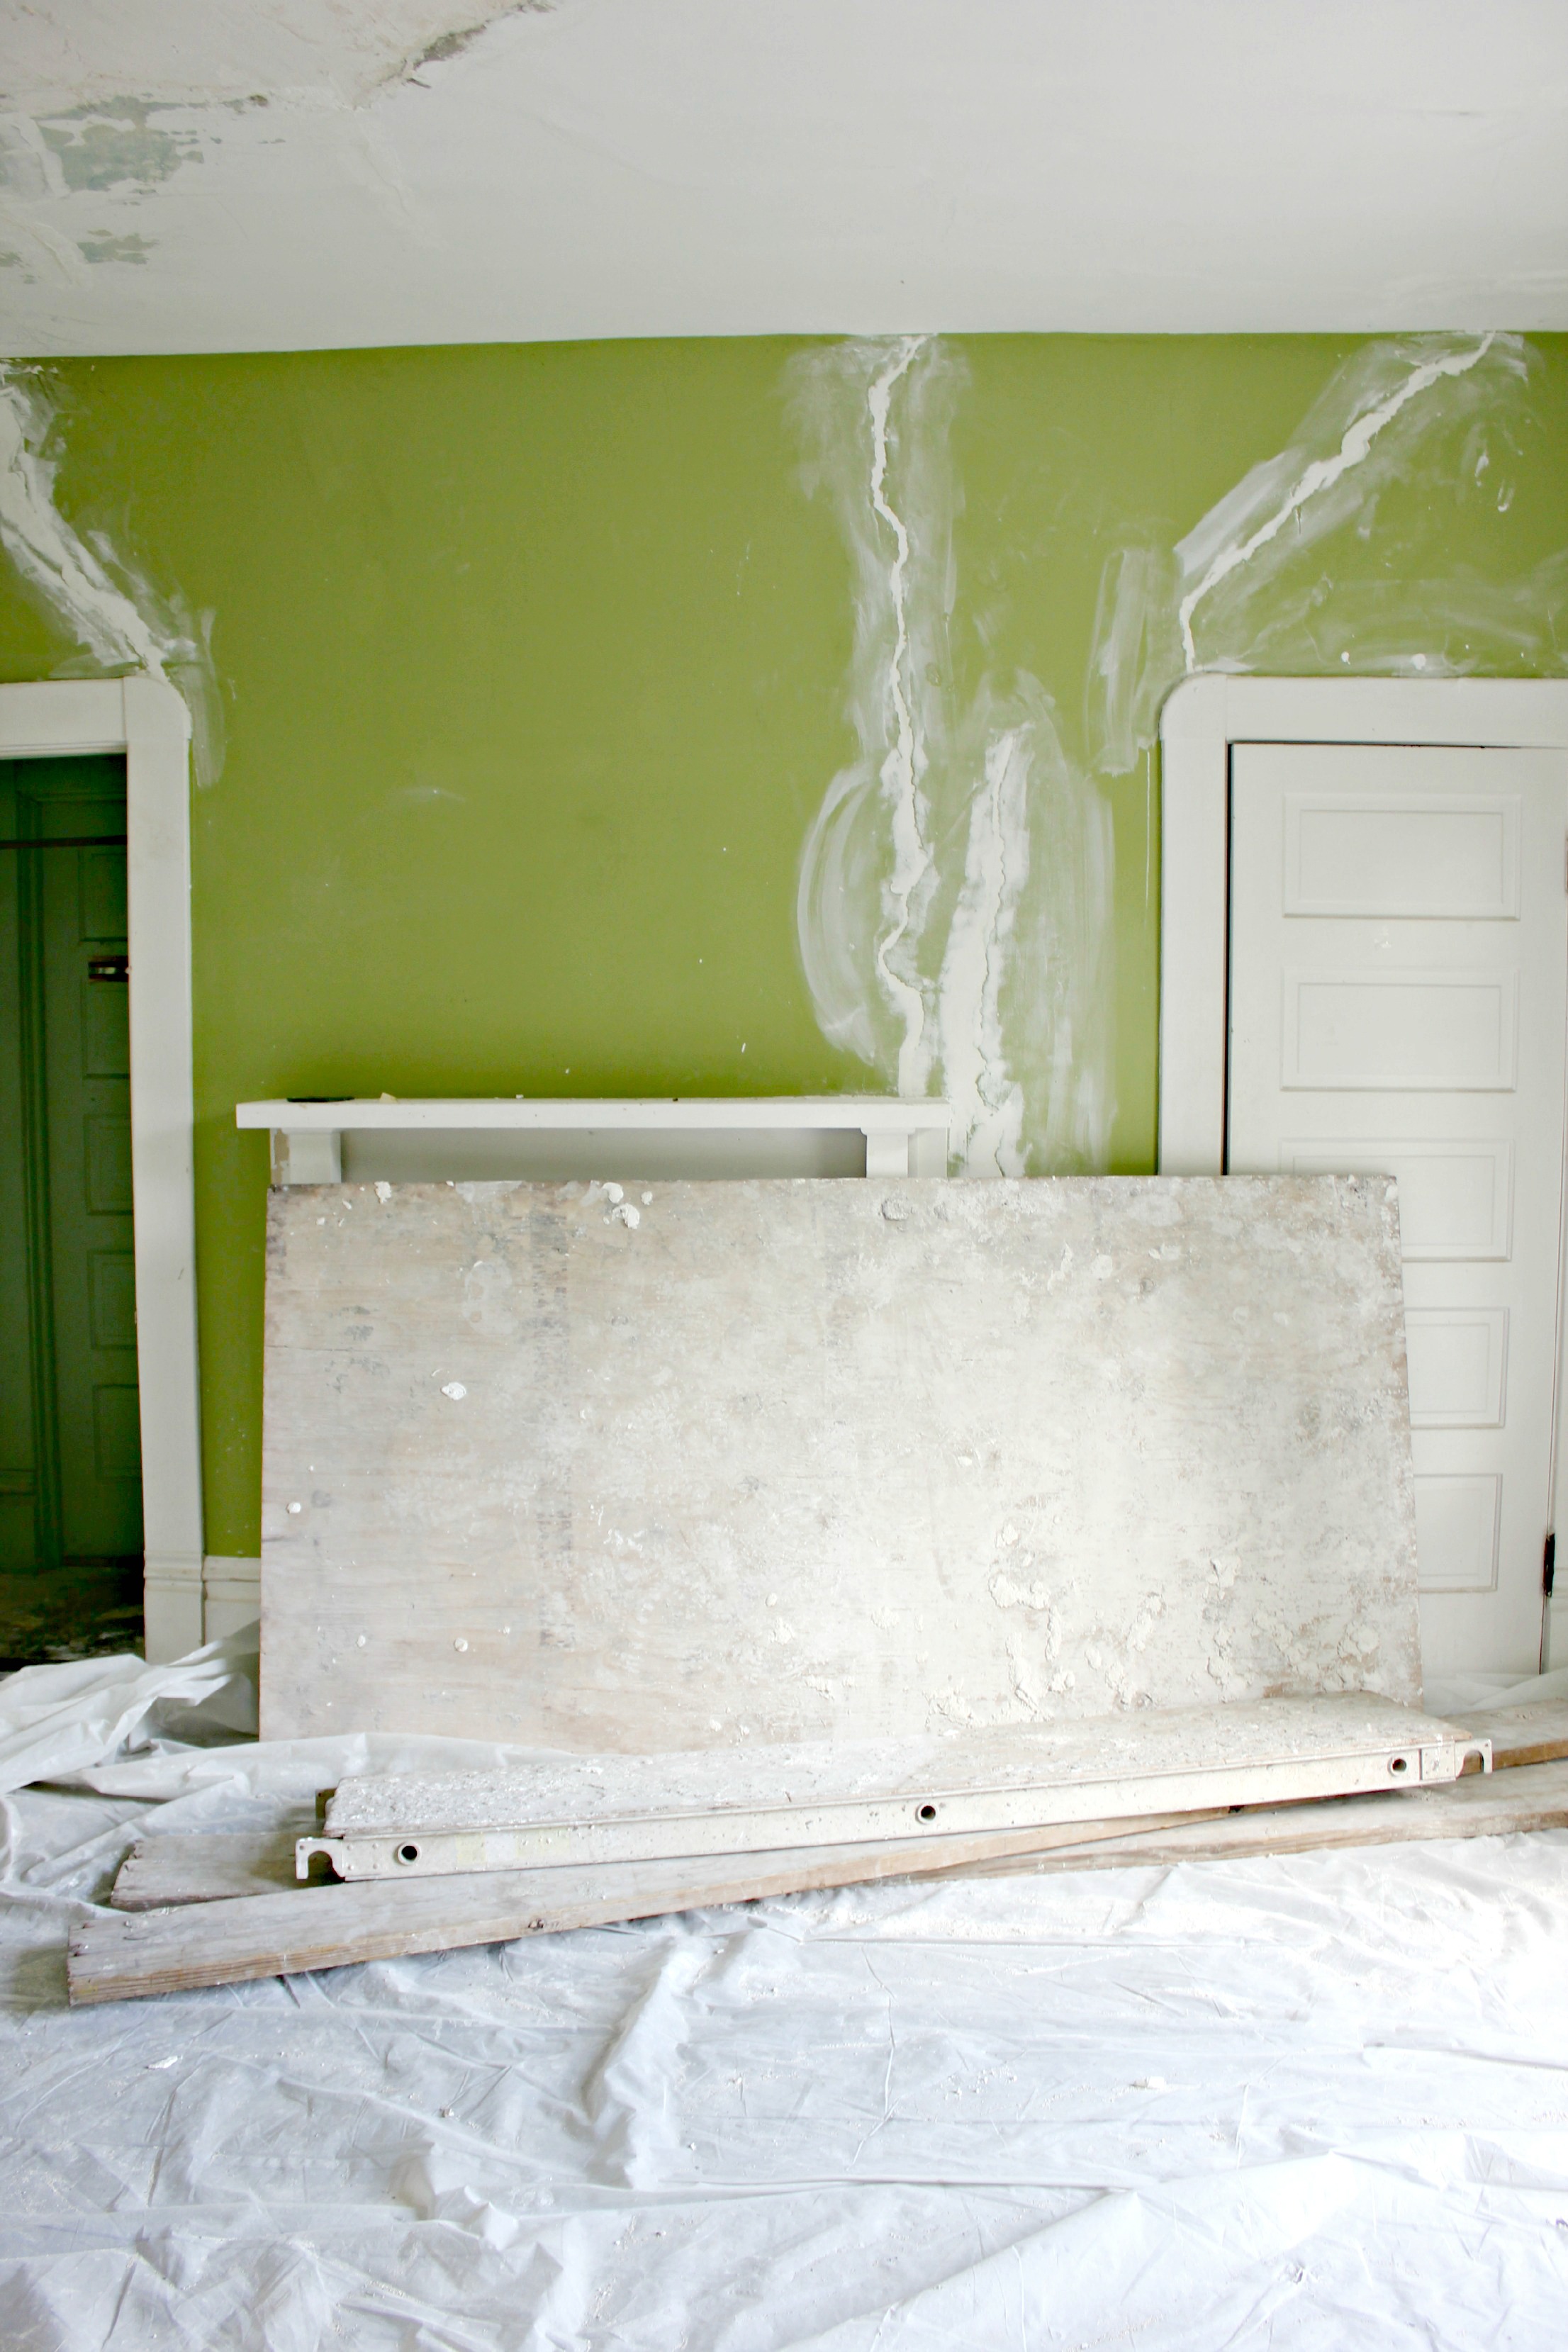
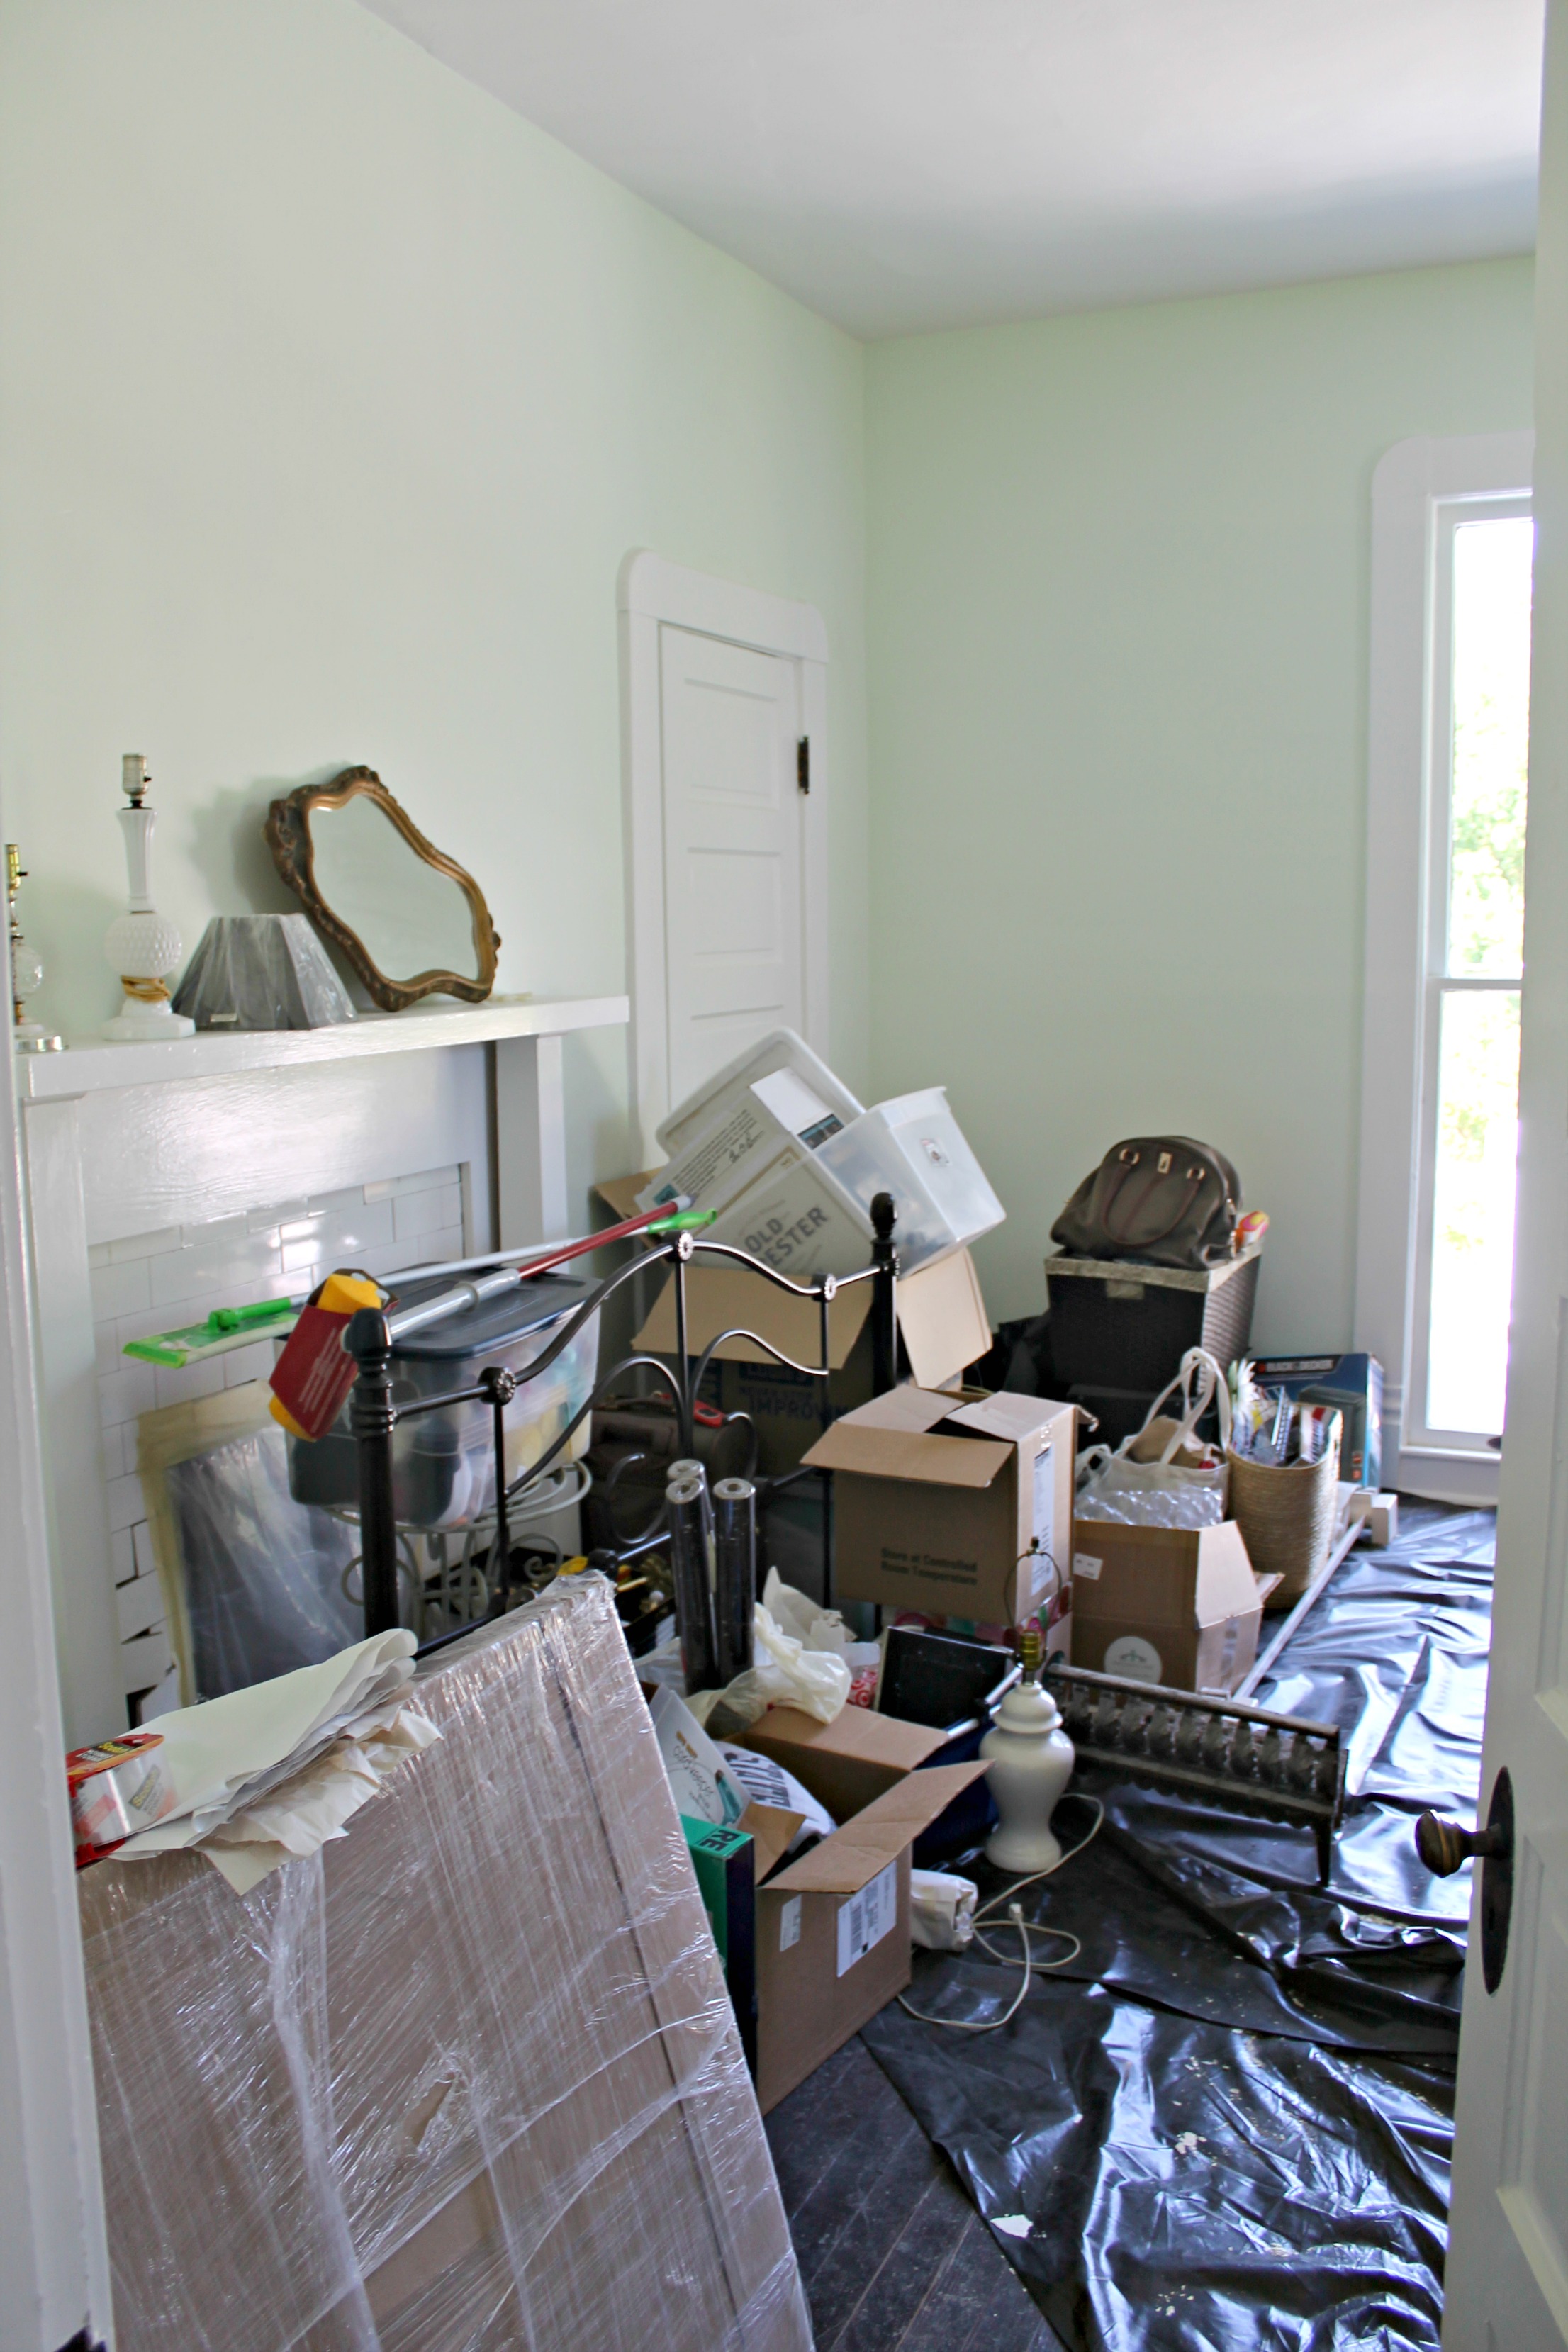
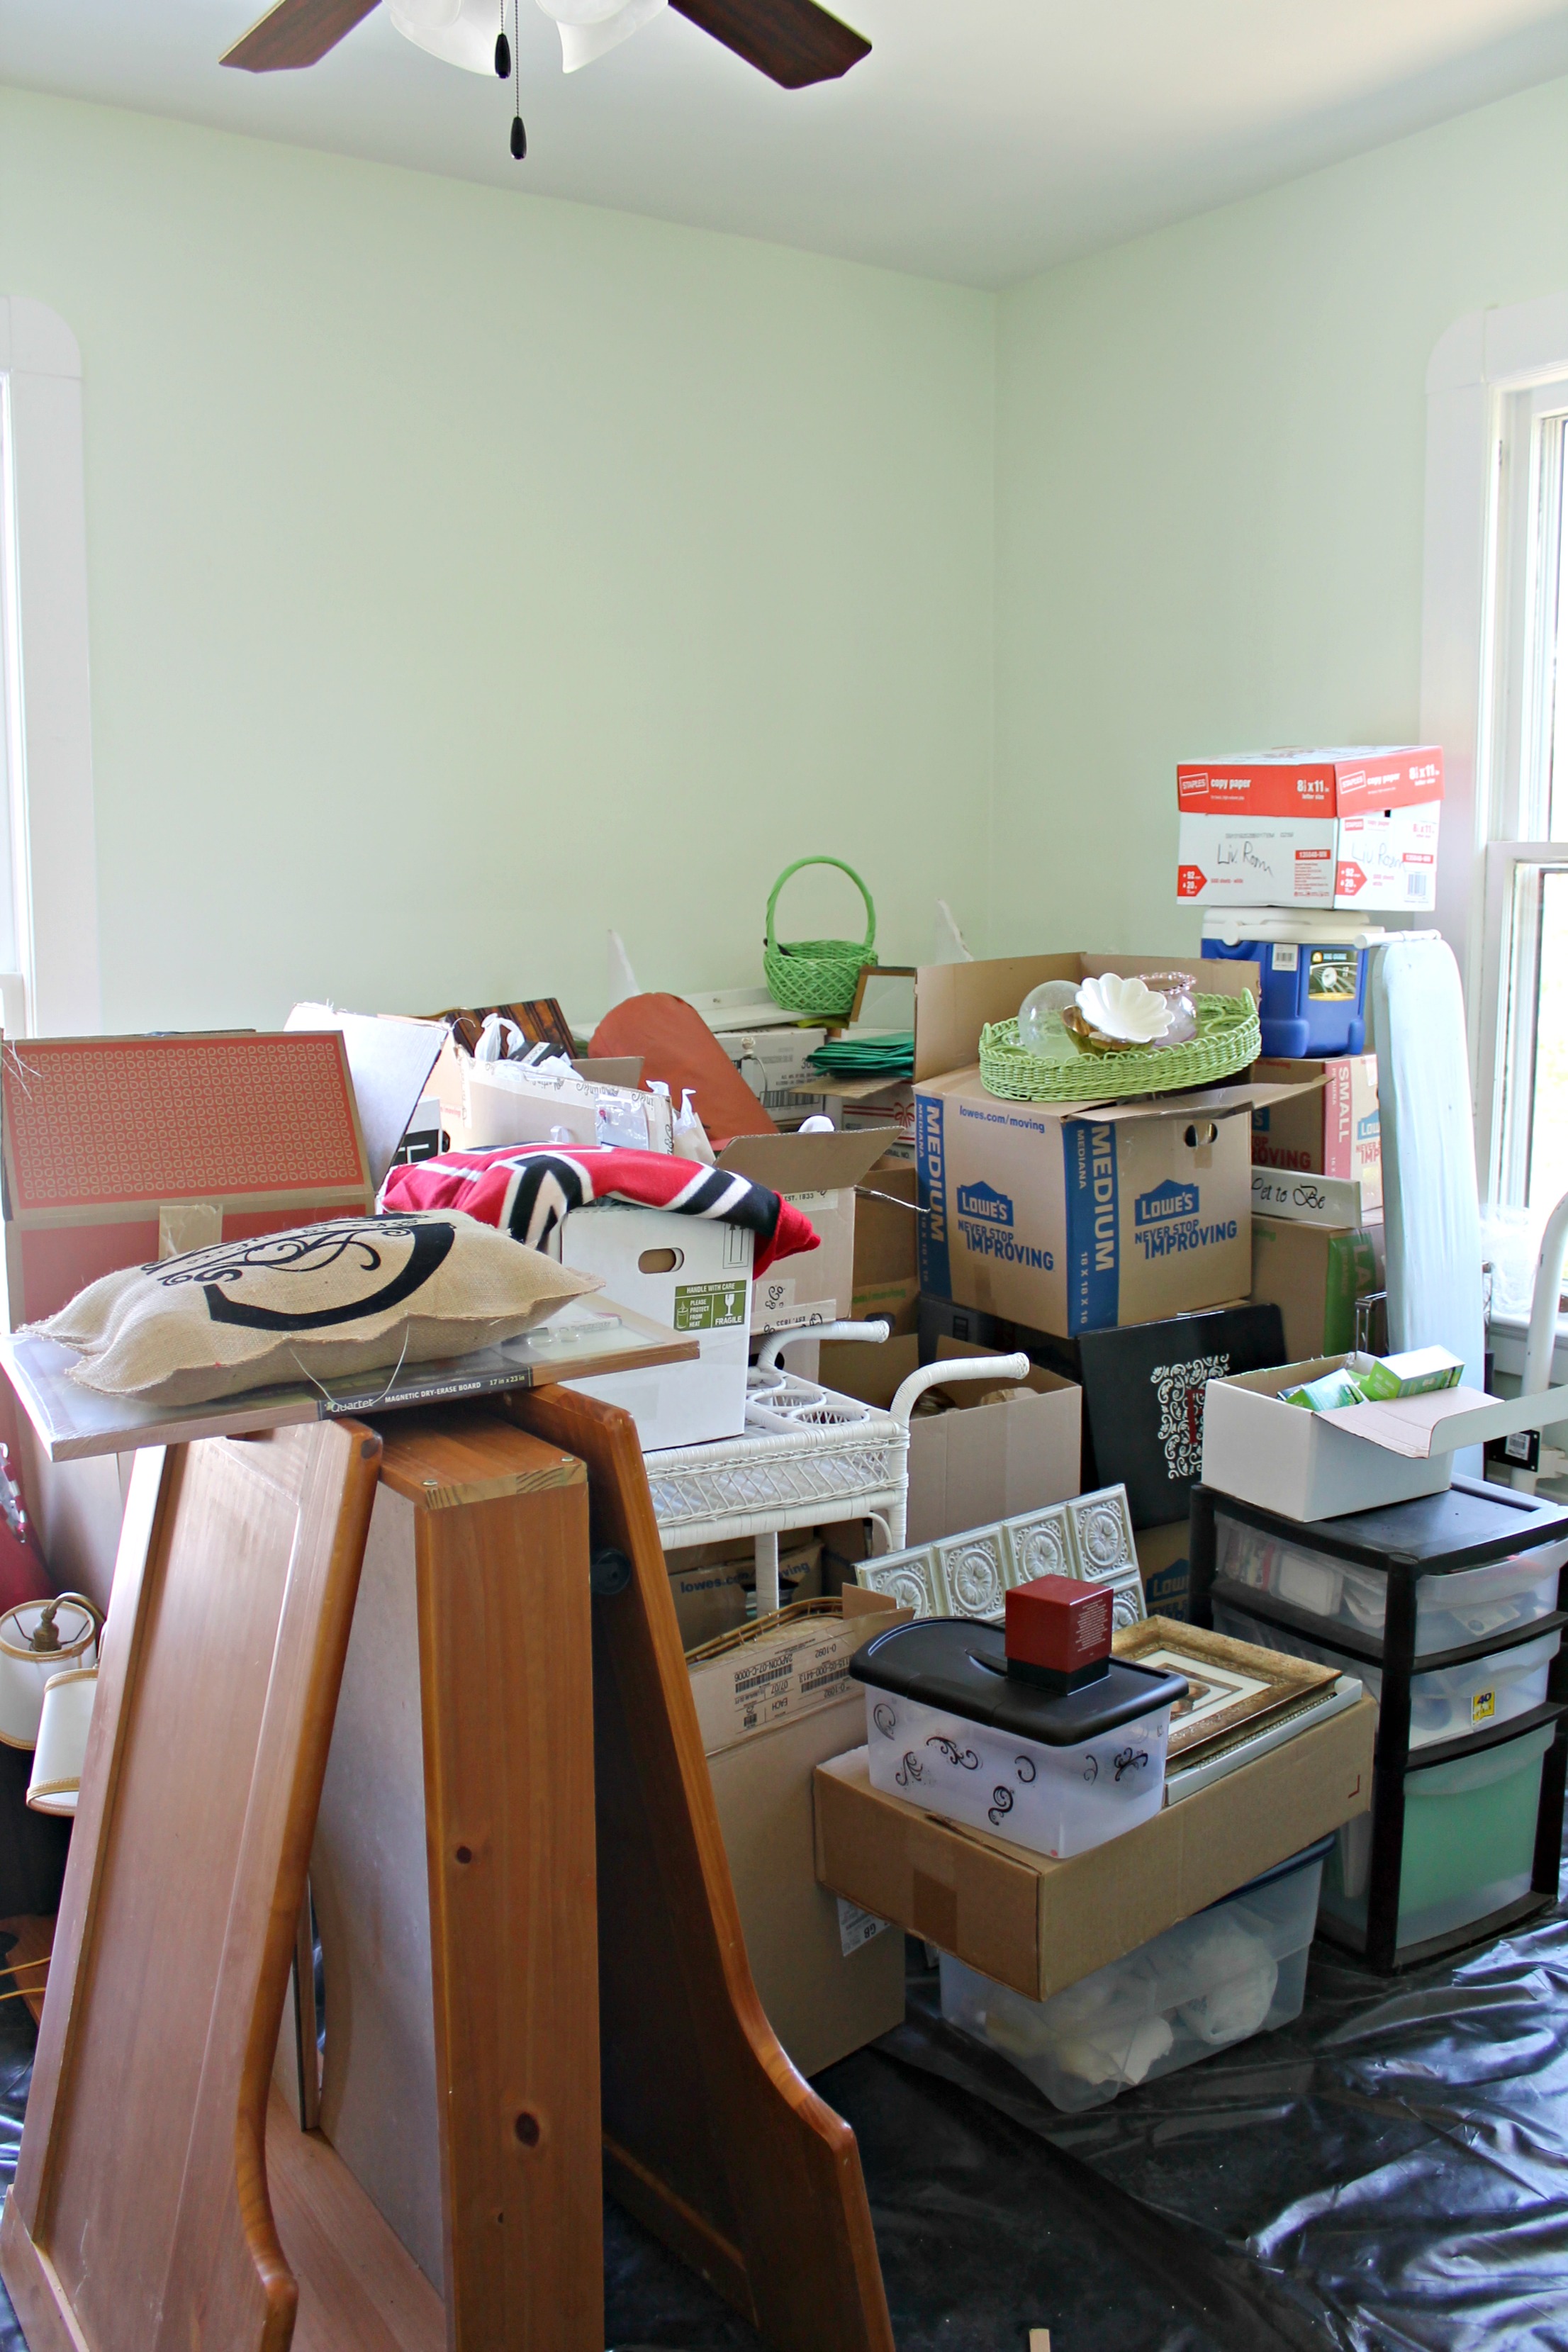
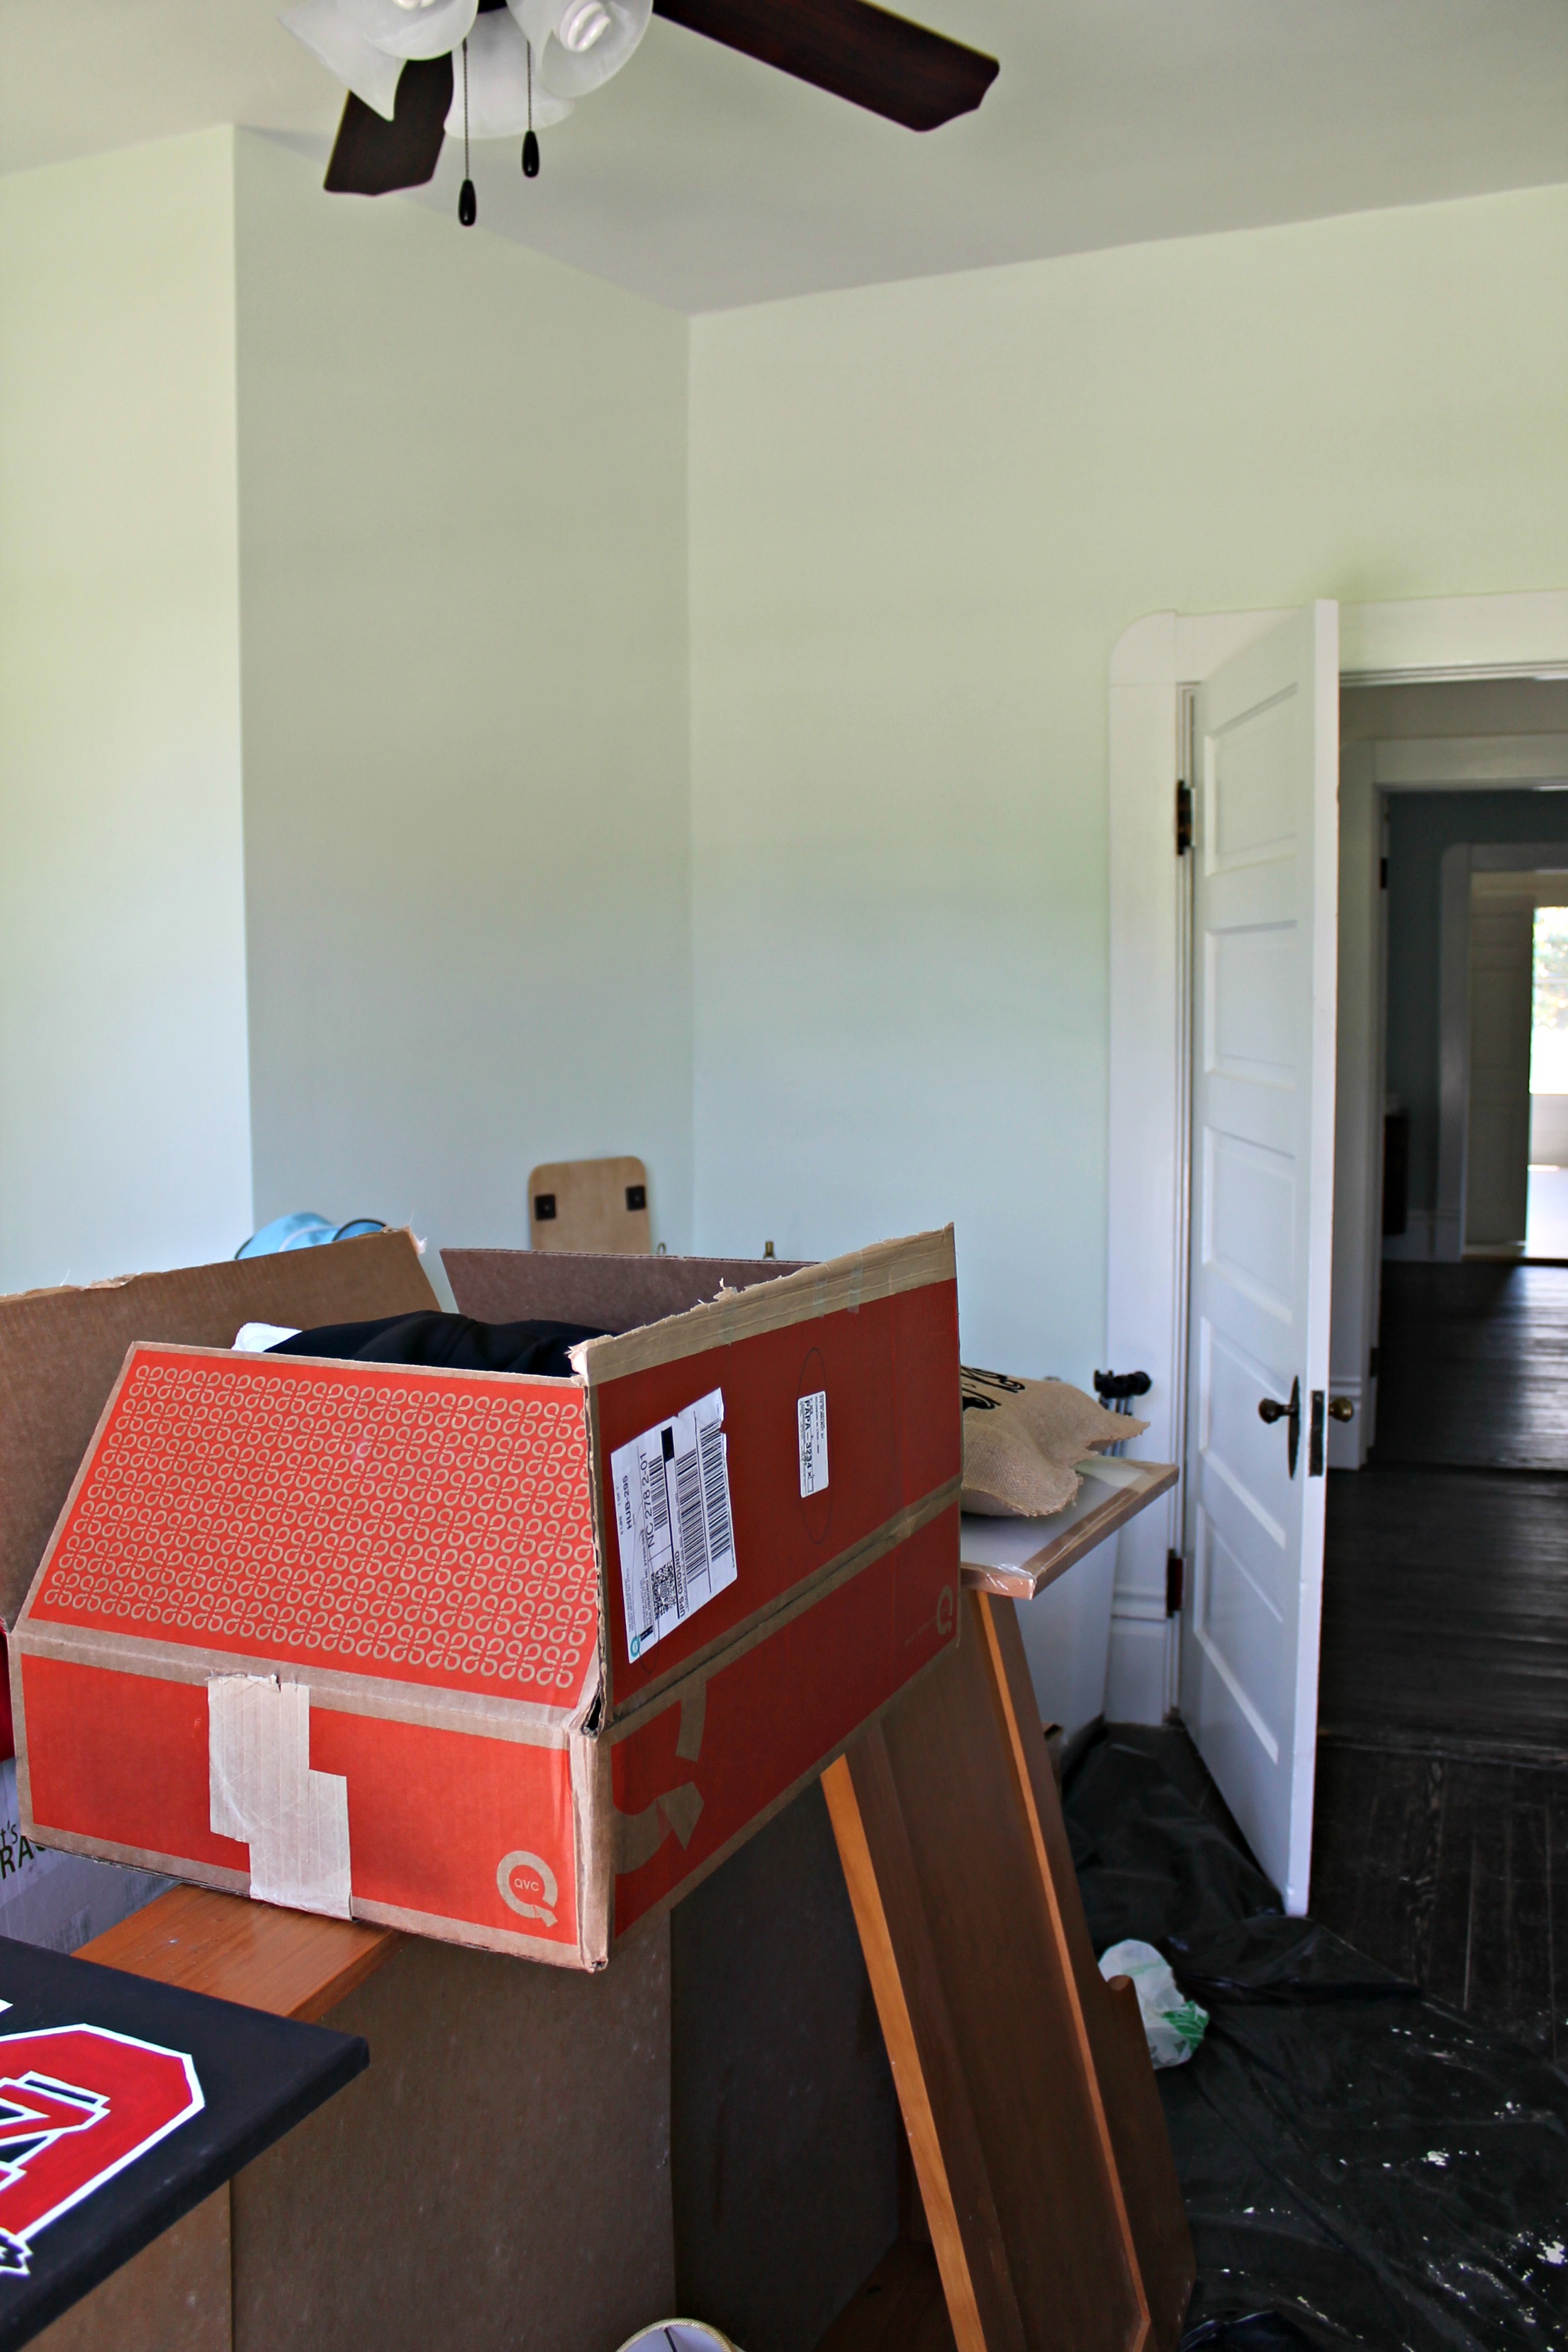
This next part is a little embarassing, but for the sake of full disclosure, I want to show you what this room looks like now. Remember when we cleaned out the entire formal living room one Sunday? Well most of what came out of there went into the bear room. But I guess only having one storage room is pretty good considering the size of this project. So here’s our messy storage room bear room now.
What we’ve finished
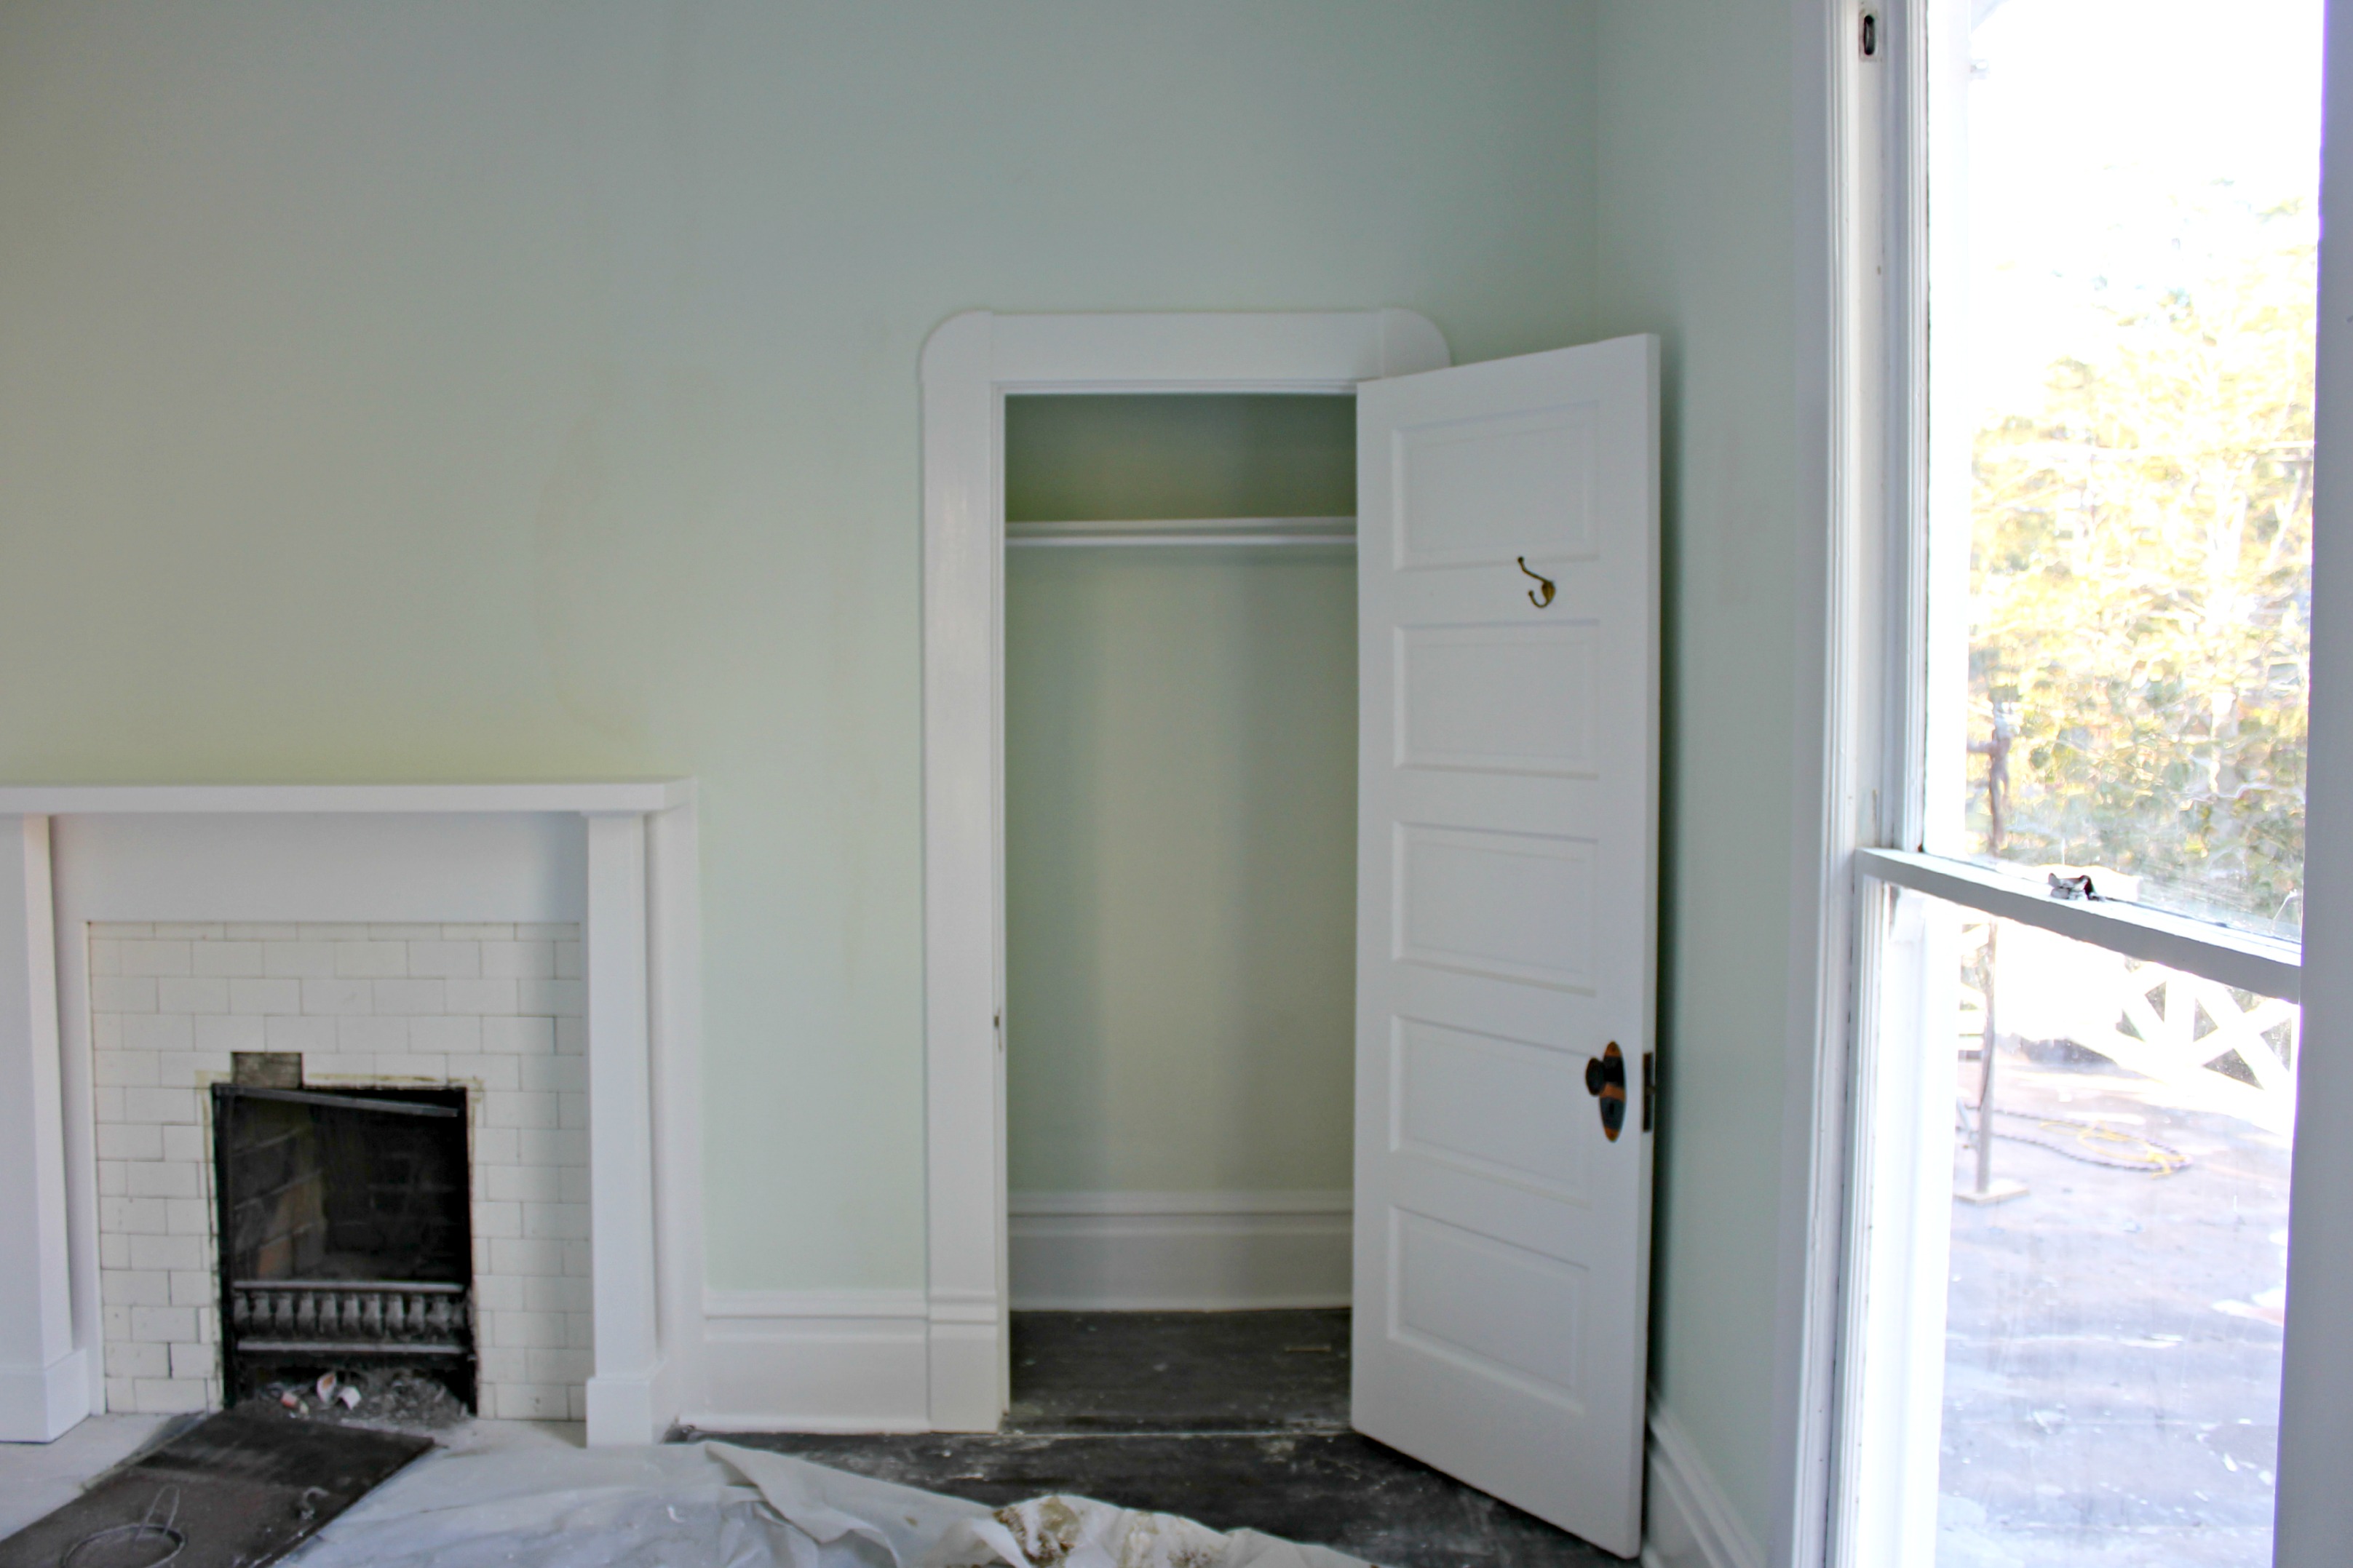
- Repair plaster walls and ceiling
- Repair/replace broken storm windows
- Repair window ropes
- Clean tile fireplace
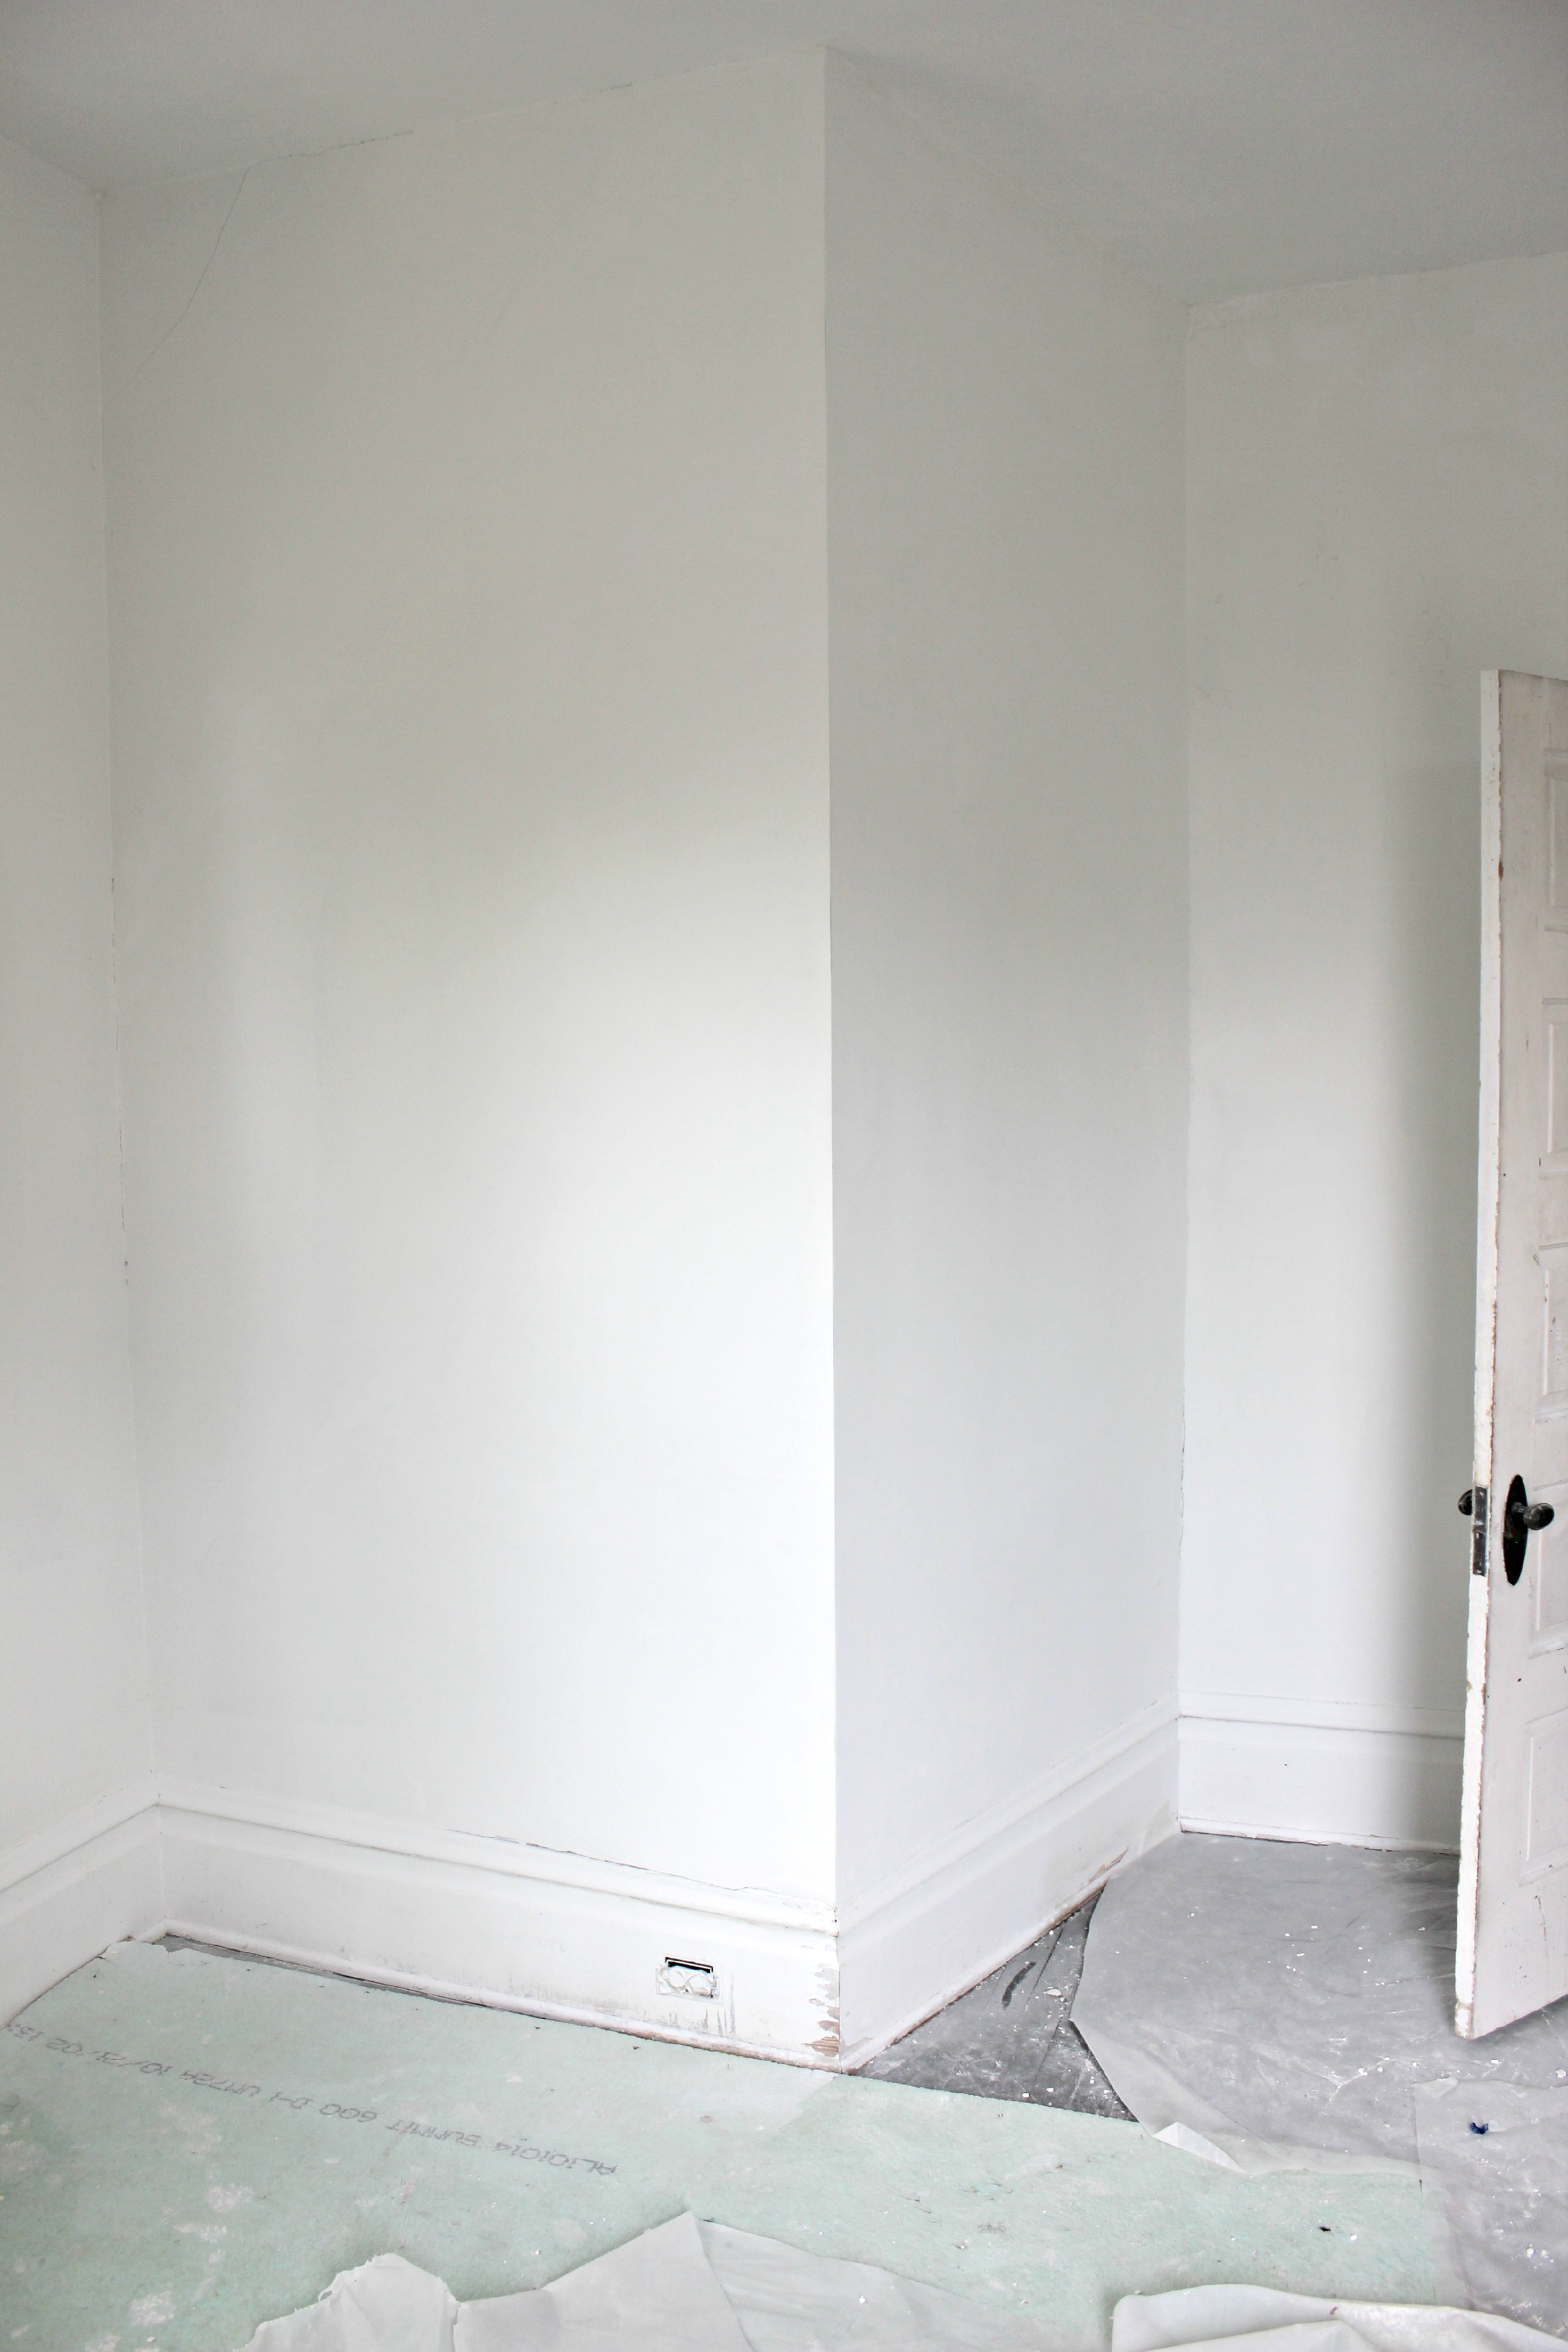
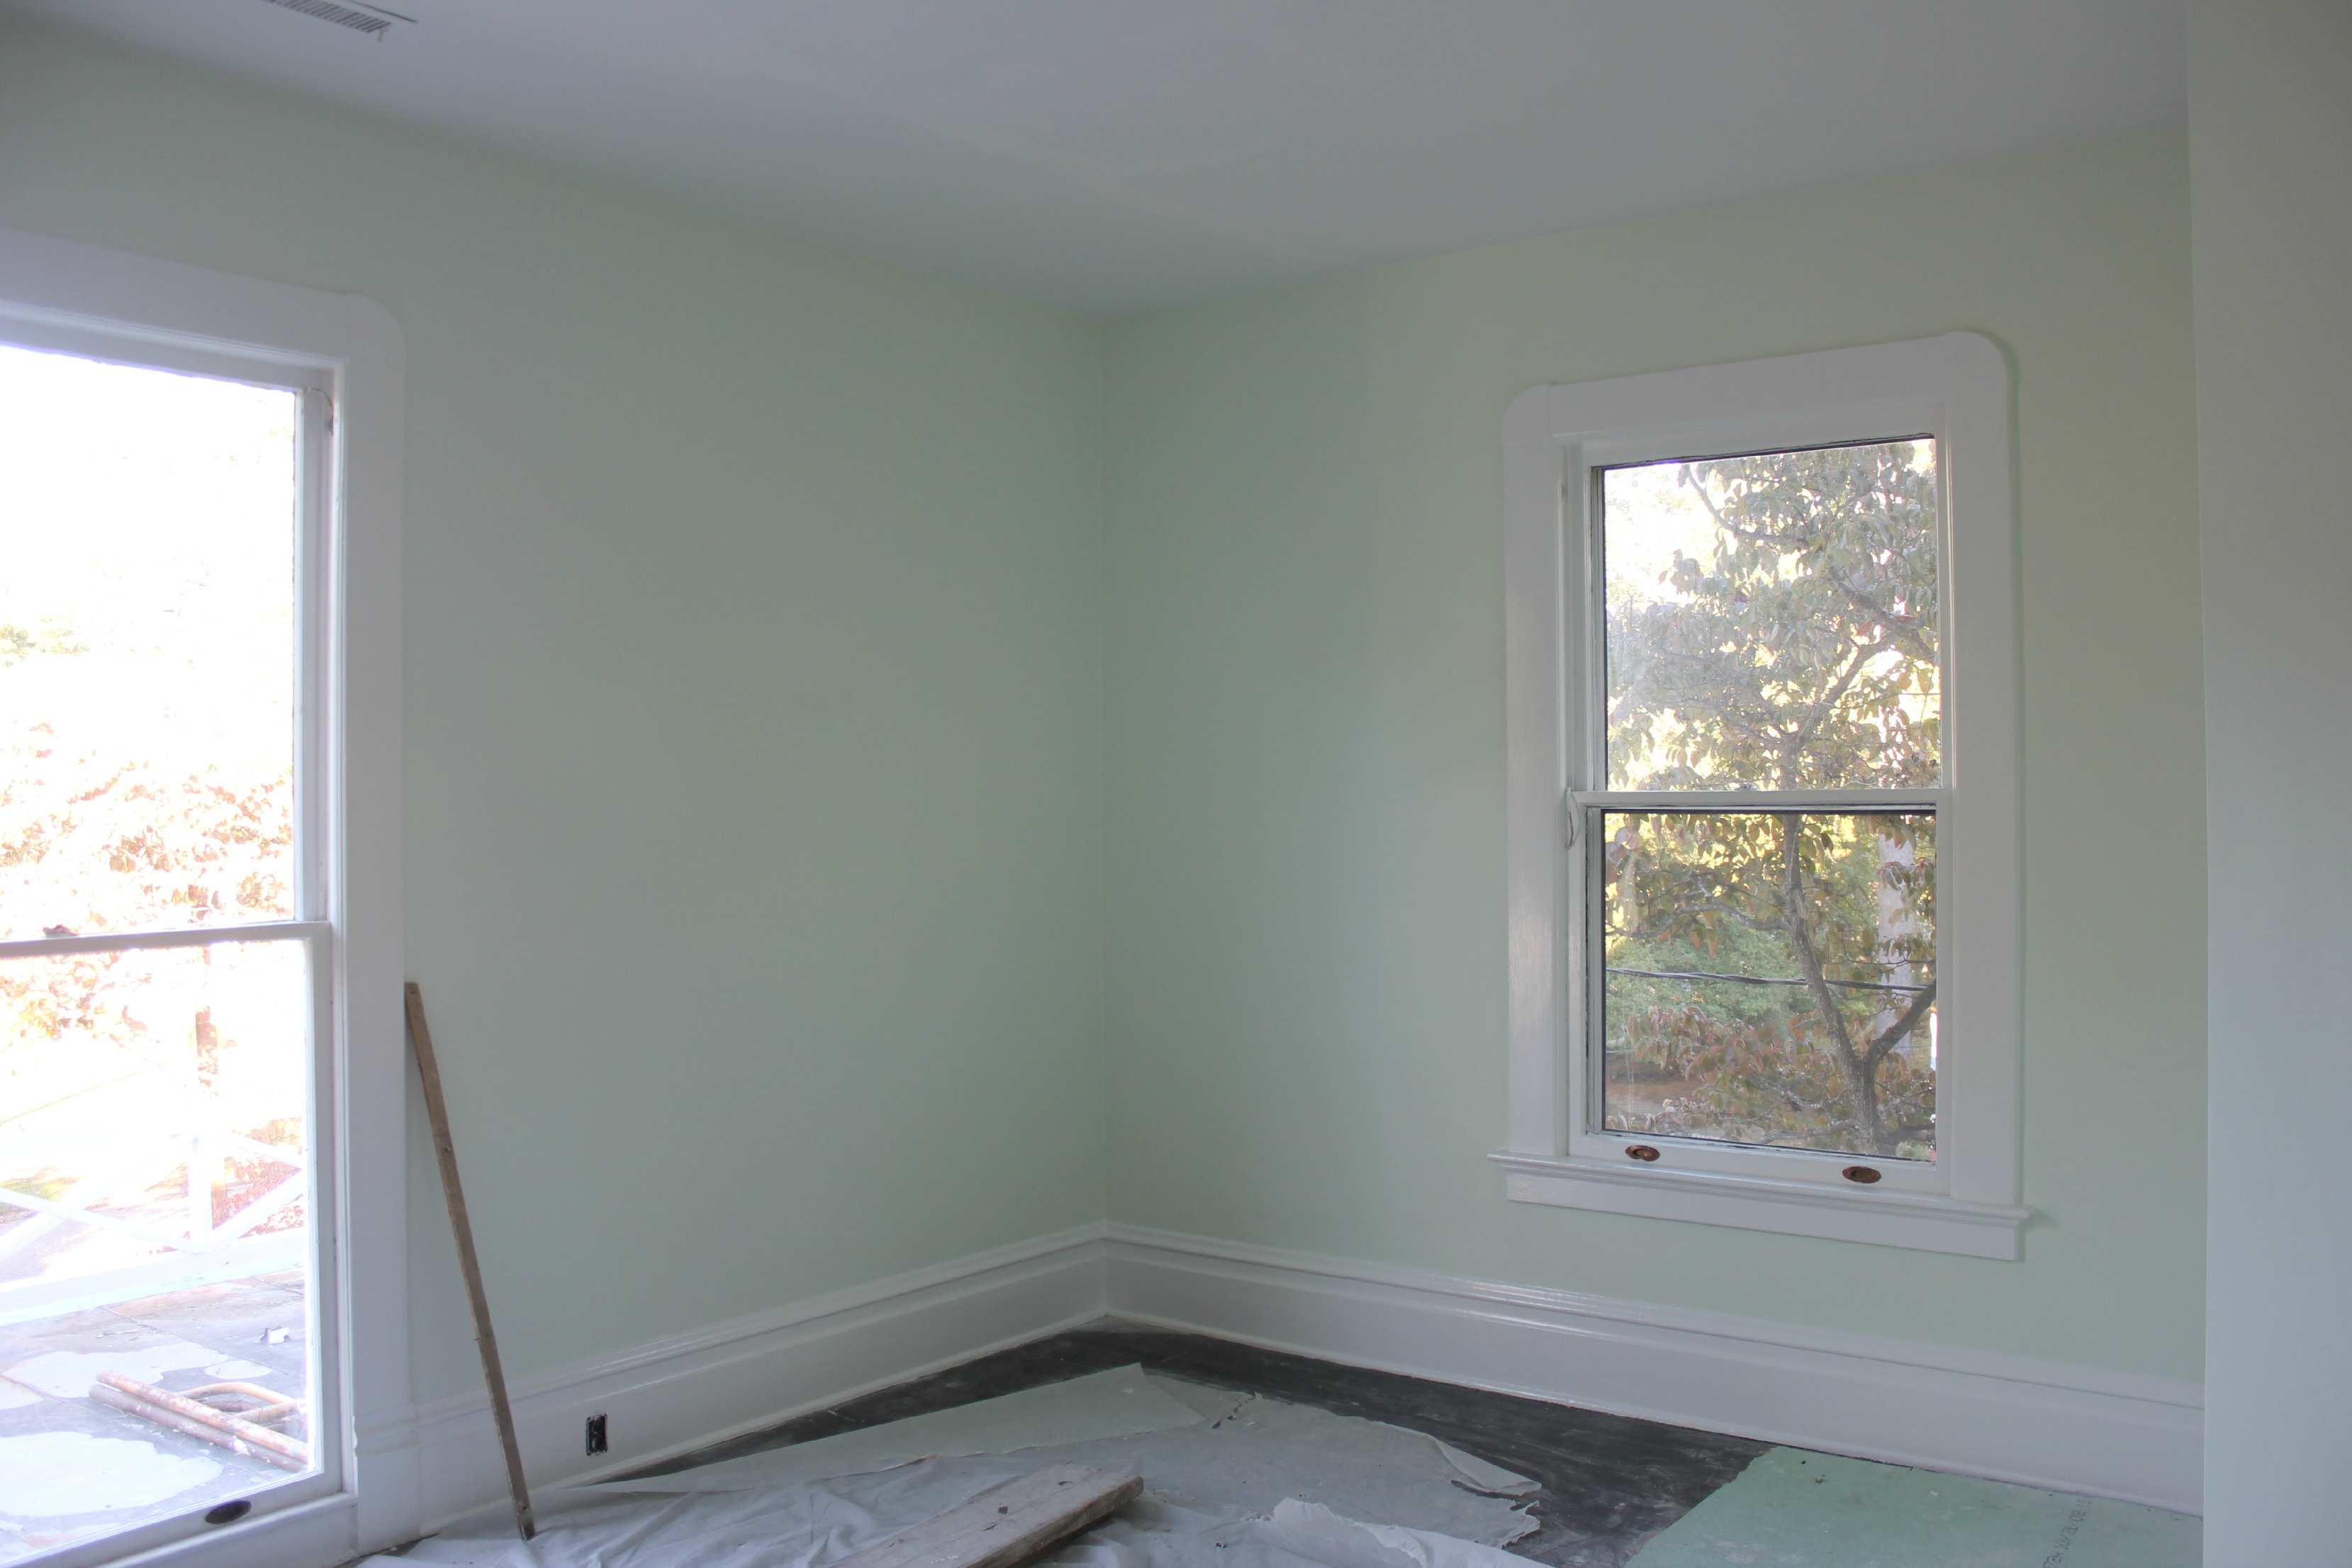
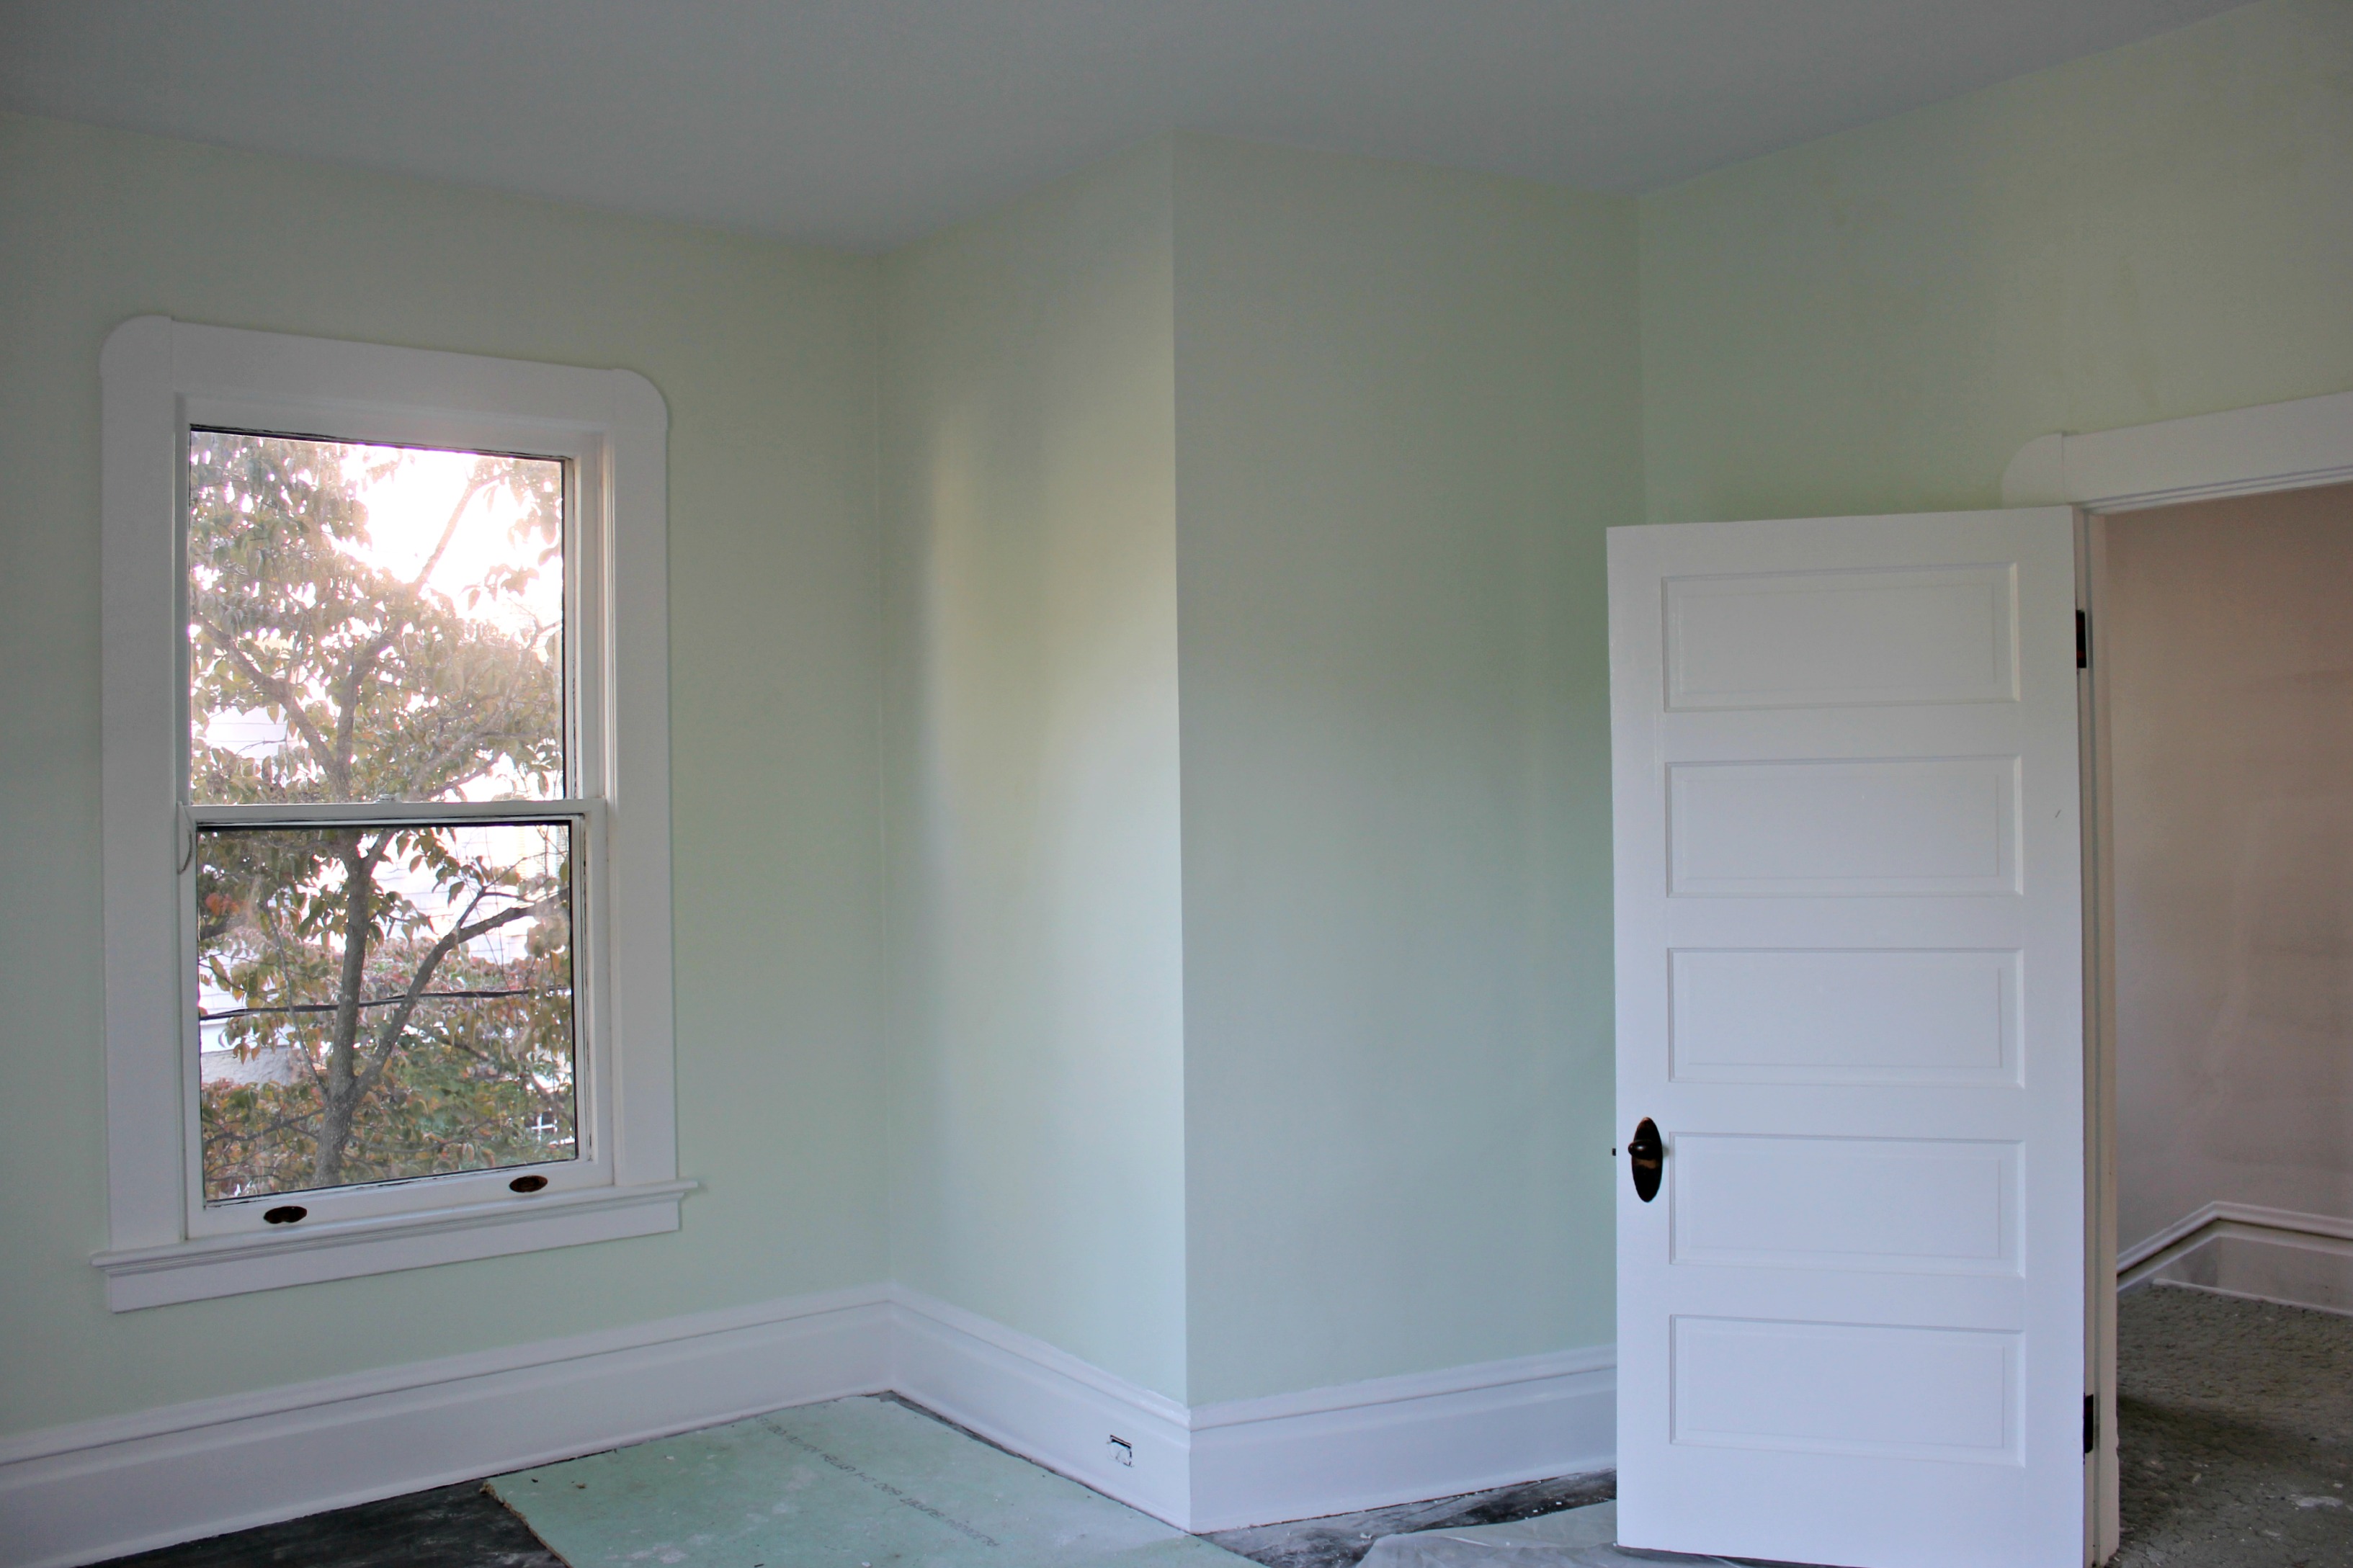
- Prep, prime, and paint walls, ceiling, and trim
- Update electrical outlets
- Install ceiling fan
What’s left
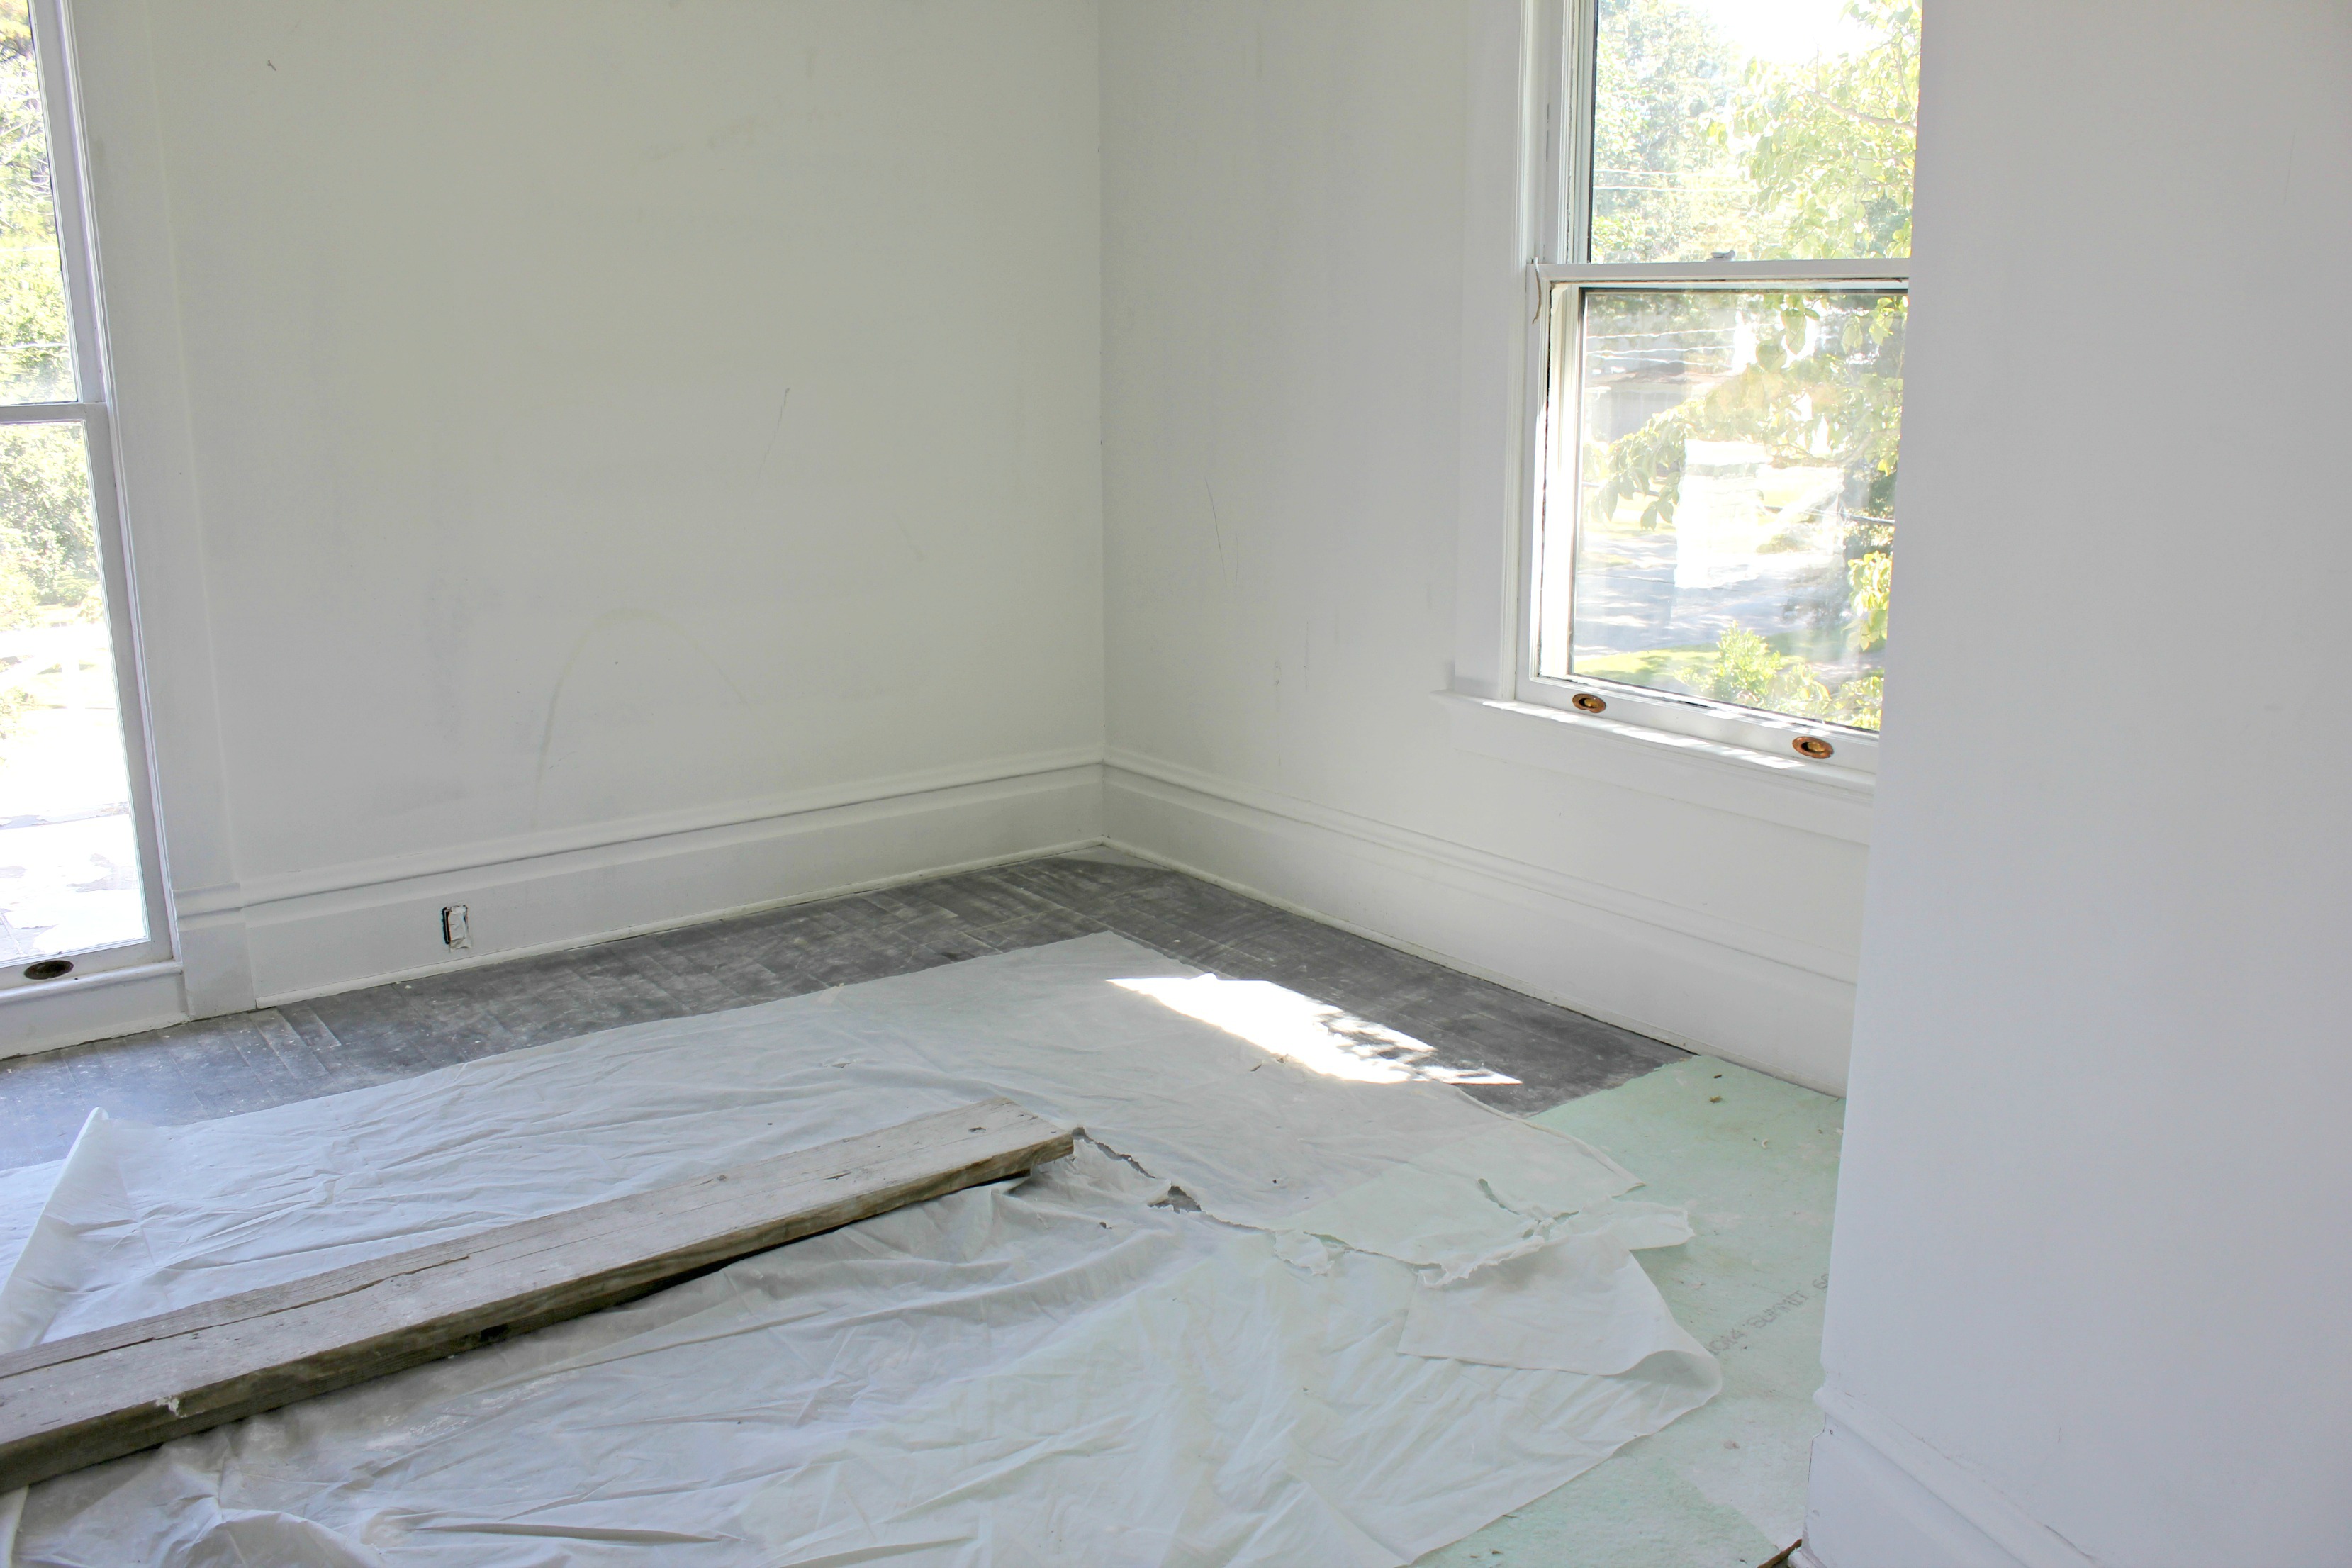
- Refinish floors
- Re-grout fireplace tiles to make them secure
Furnish and decorate
You can read more about my plans for the two guest bedrooms here, and you can find my guest bedroom inspiration here. I got this coverlet for Christmas and I can’t wait to use it in here!

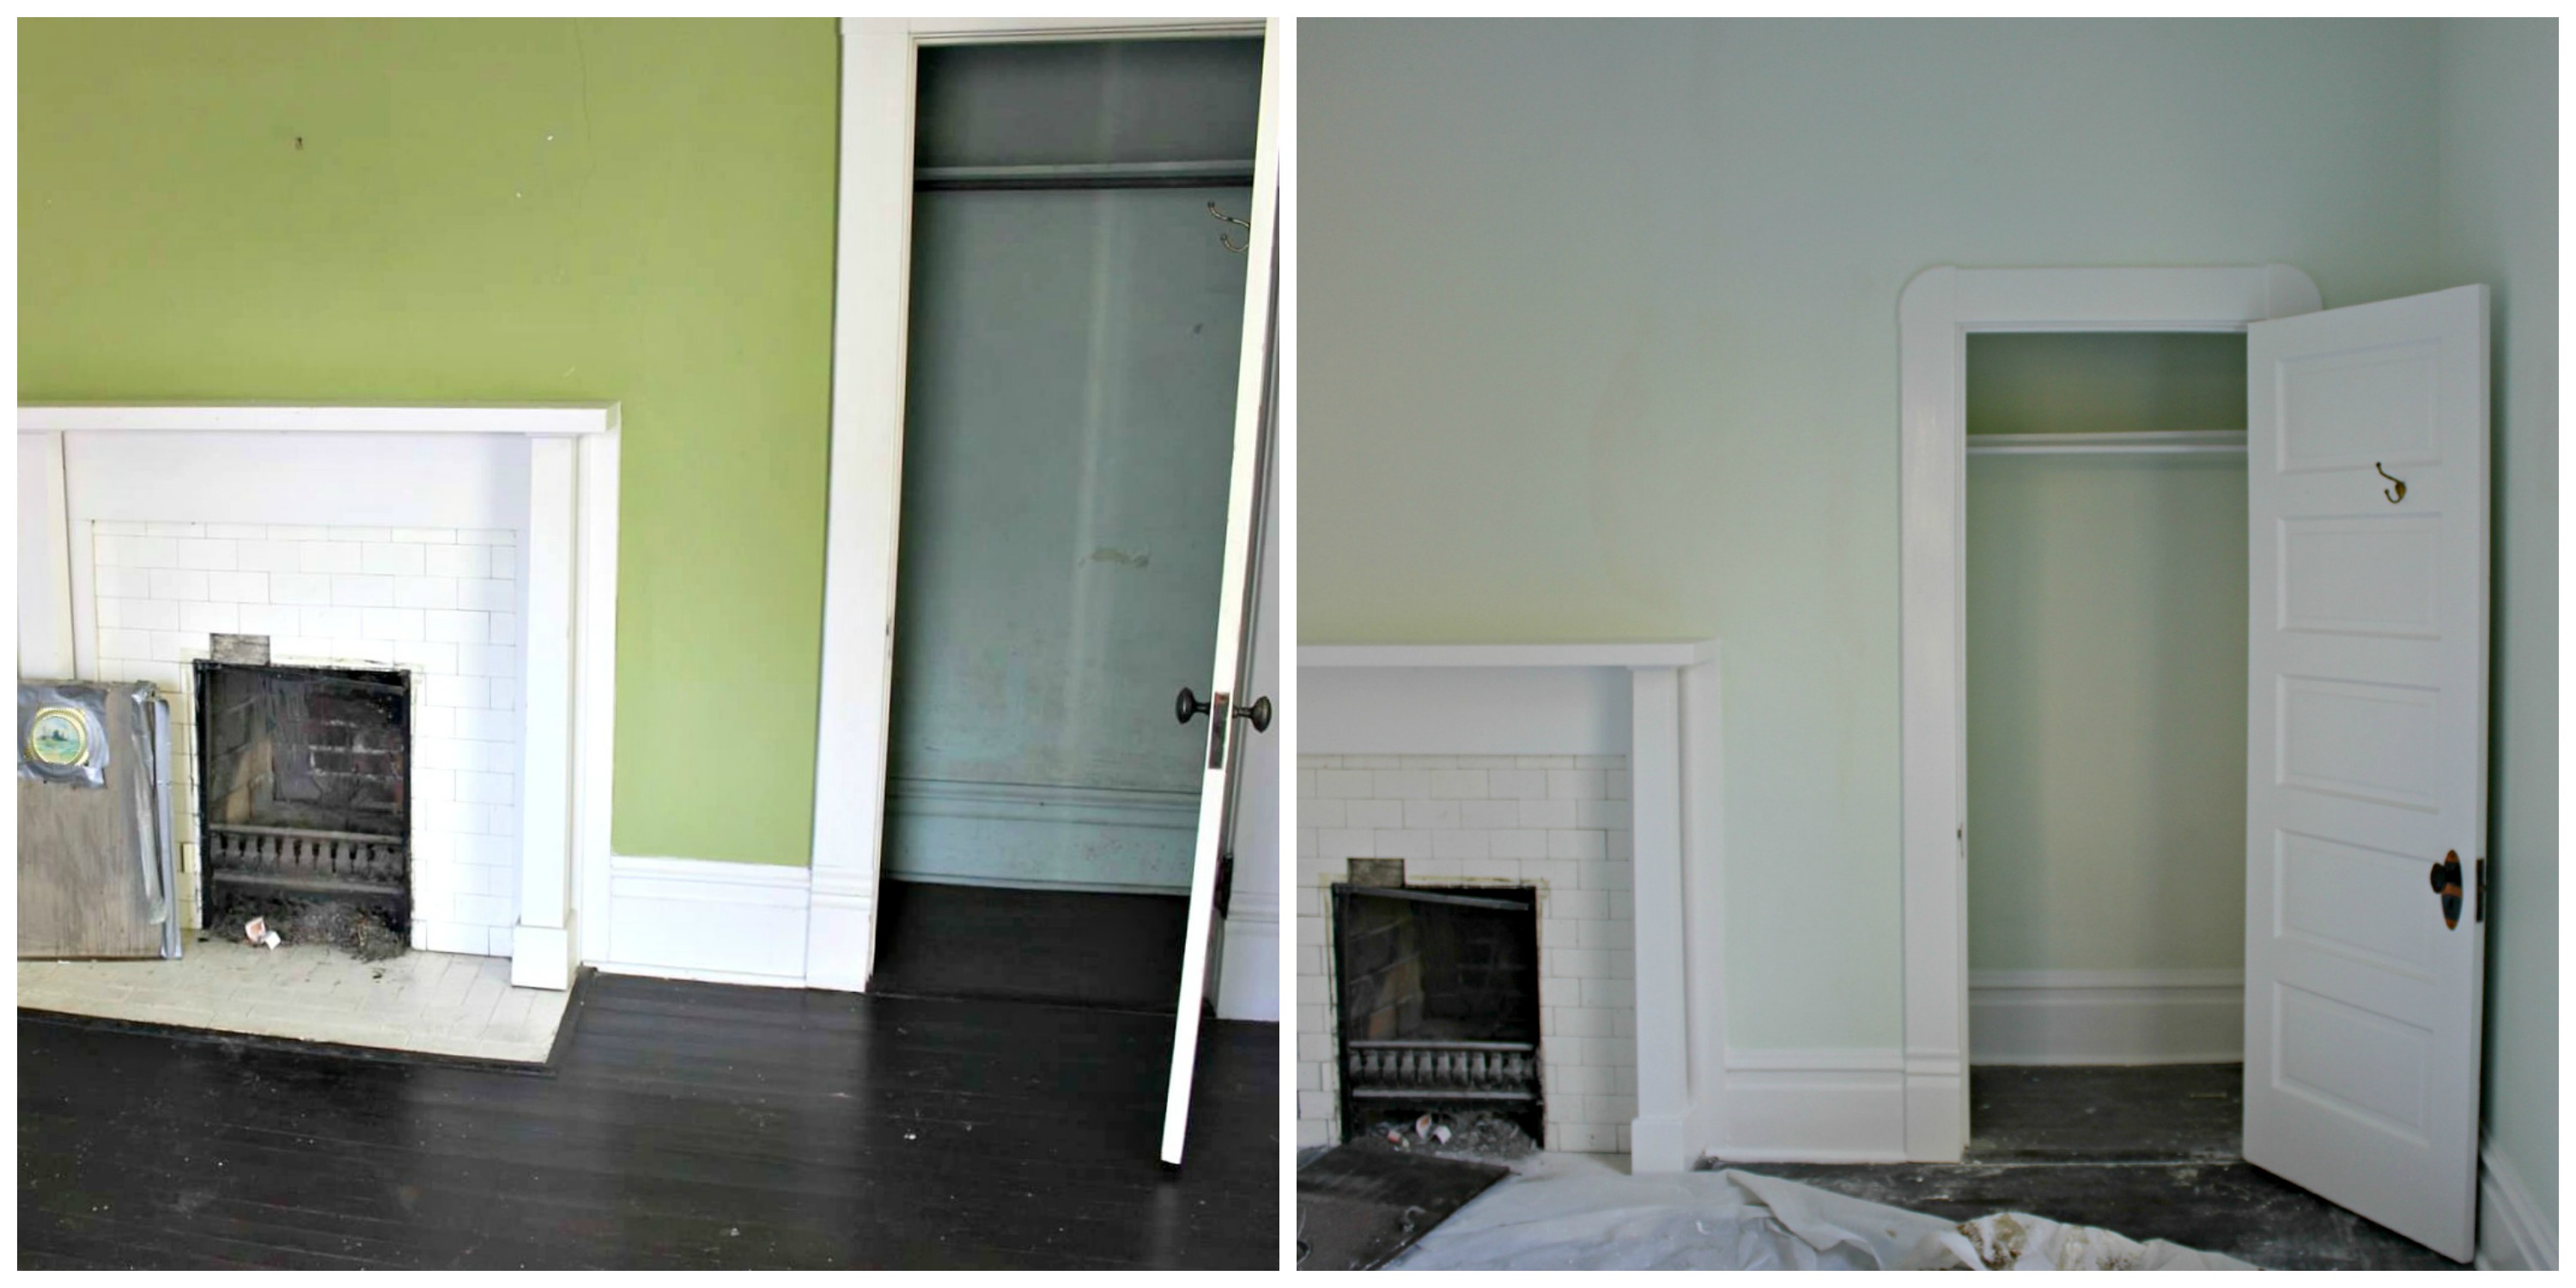
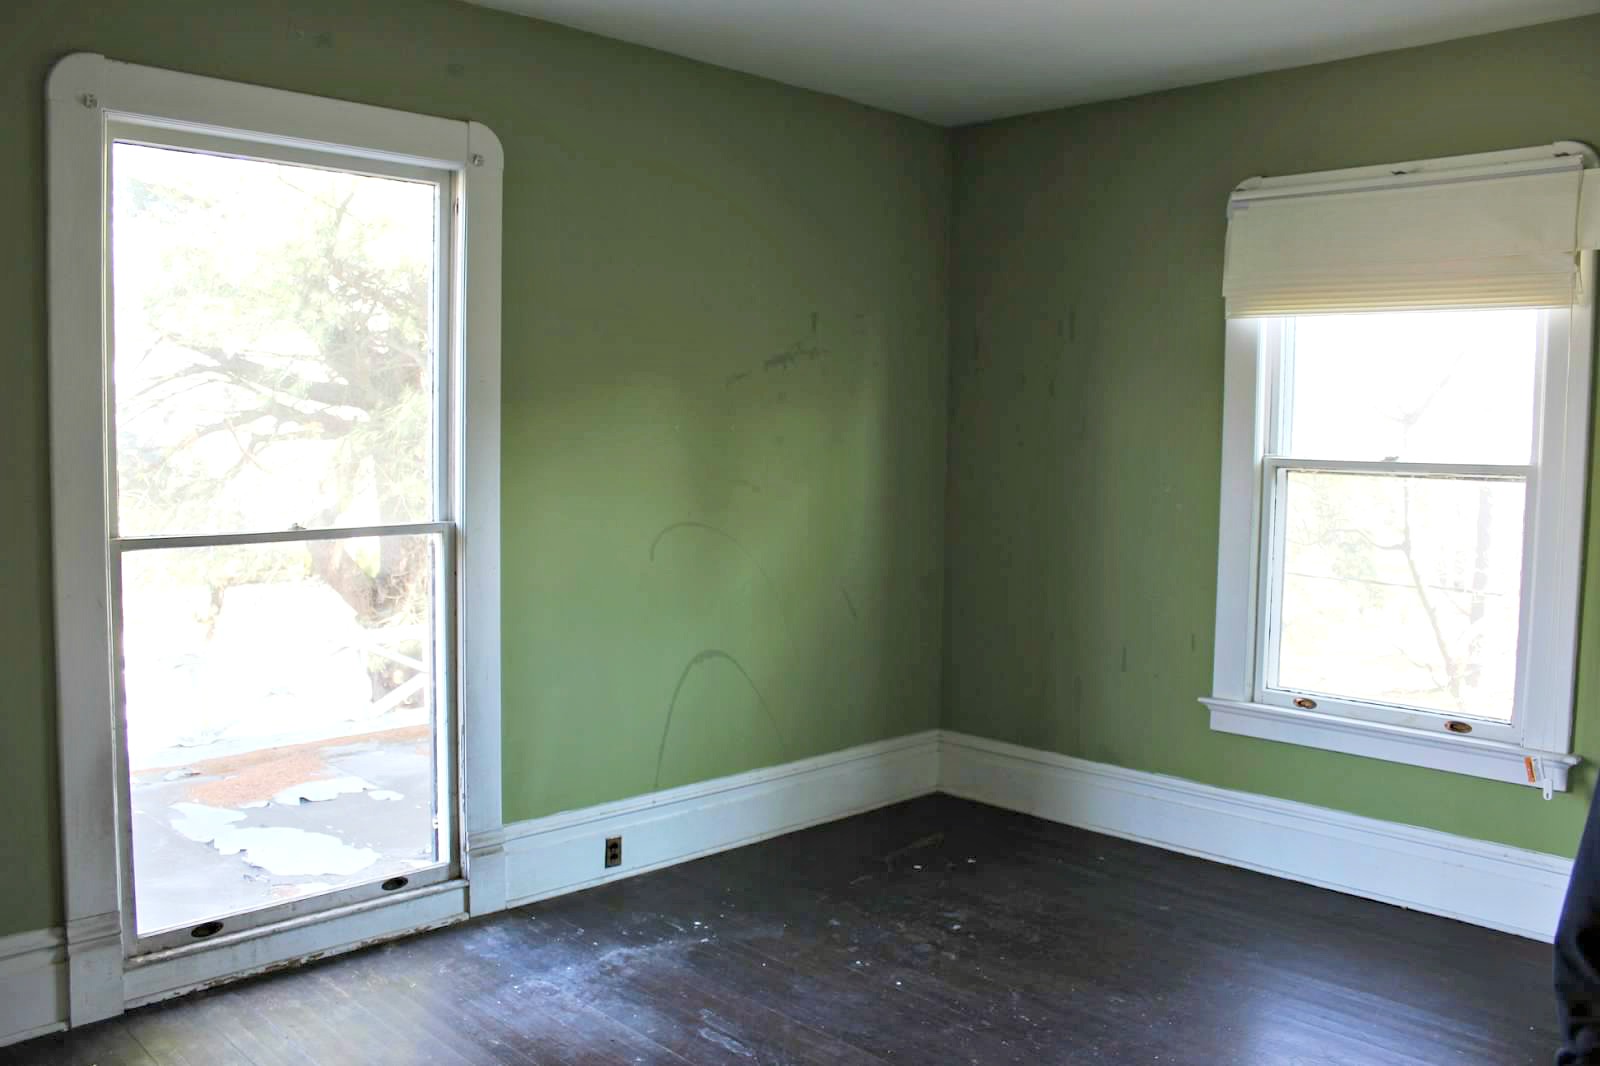
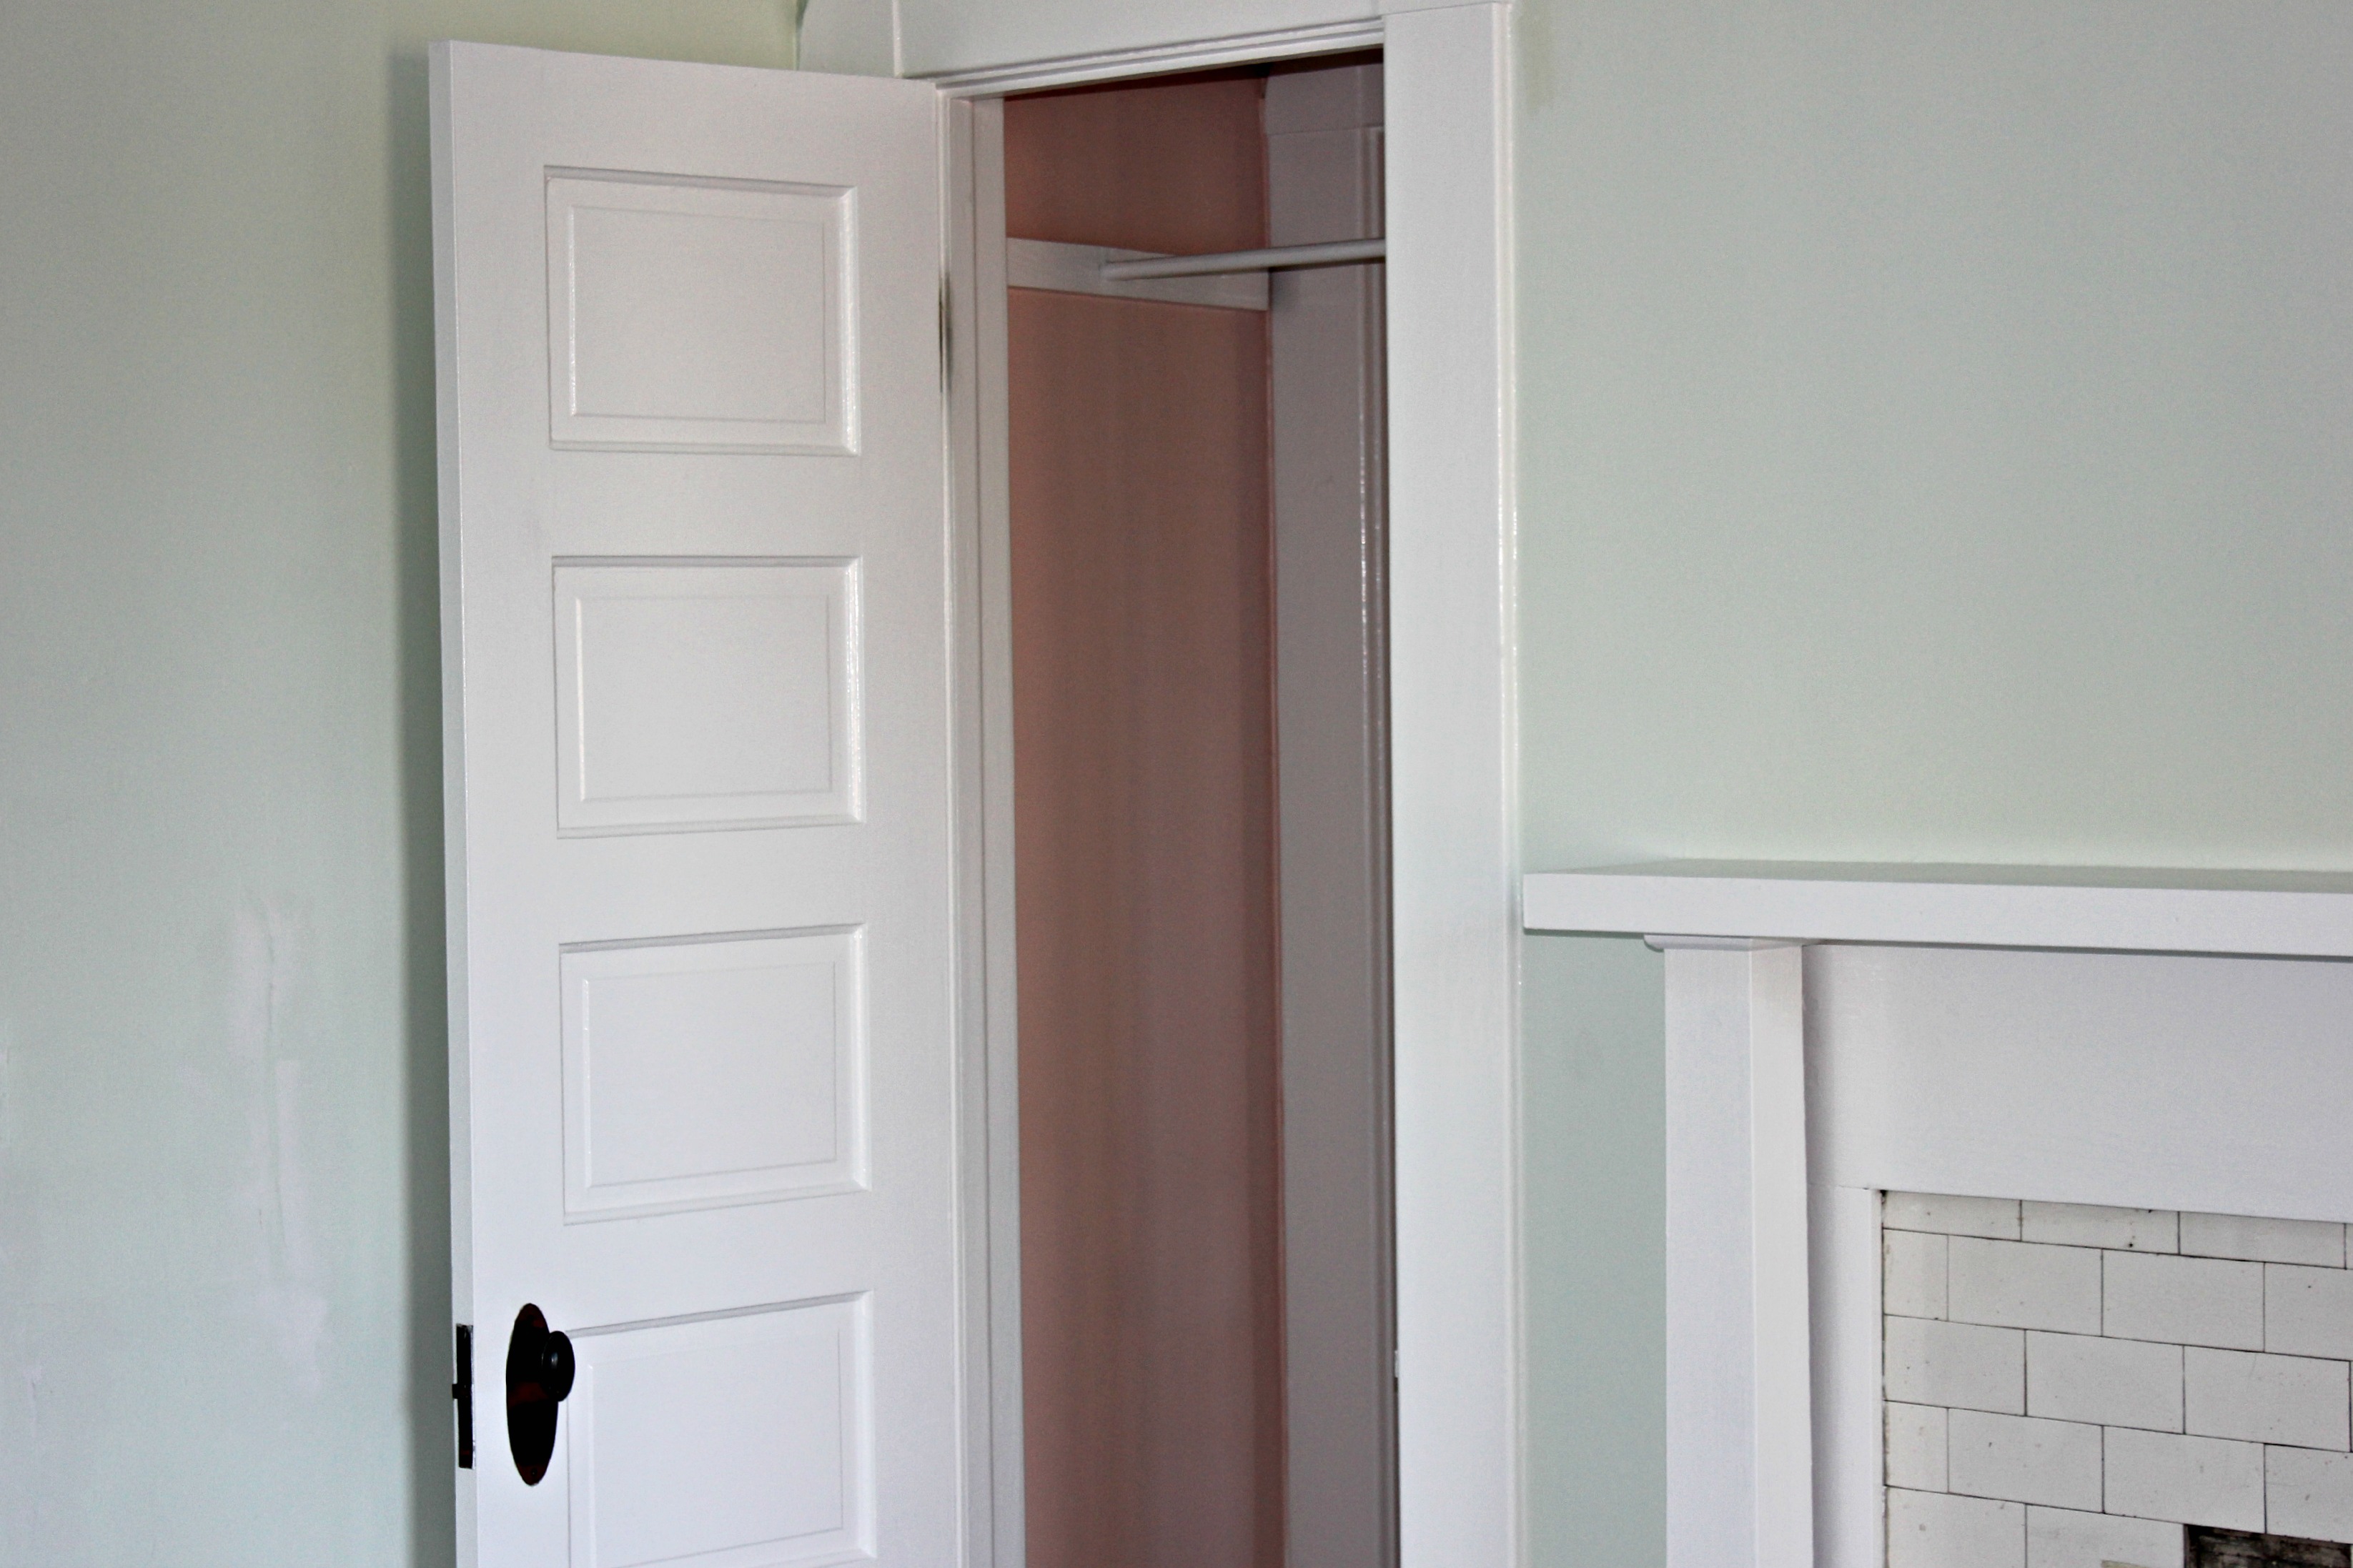
The figures…this room is 16′ 8″ x 14′ 6″ with 10′ ceilings. There are 2 windows, 3 interior doors, 2 closets, and 1 fireplace.
Be sure to check out these other Room by Room Recaps:
What color did you paint this room? It looks like an absolutely lovely mint green.
Hi Liz! It’s called Fresh Cut by Glidden and it is a very pale mint green. This room gets a lot of sun and we love how fresh it looks! :)
Wow you are very brave. I was looking at your pictures and I wanted to cry. I have a similar problem, with plaster in my 1950s home. I have no idea how to fix it. Husband may. But seeing how great your before-and-after turned out, it looks like a piece of cake.
Thanks for sharing. Glad I’m following. Can’t wait to look at your other restoration projects.
Thanks for stopping by, Dee! Plaster is definitely very tricky, but in my opinion, it’s worth it to keep with the history of the house. It’s hard to find people who know how to work with plaster…the only one we could find in our small town is 75 years old!!
all i can say is wow – just looking at the pictures i get exhausted!! i love the color of the walls. such a pretty mint!
Thanks so much, Kelli! :)
Wow! This is impressive! A huge improvement already. I love that you have a cute story to give the room a name!
Thanks, Erin! :)
You have worked so hard! Looks incredible. Pinned. Thanks again! Lou Lou Girls
Thanks so much, Kimberly! :)
Wow, what a transformation! Love that minty wall color. Thanks for linking to The DIY’ers!
Thanks Jennifer! The wall color is one of my favorites! :)