
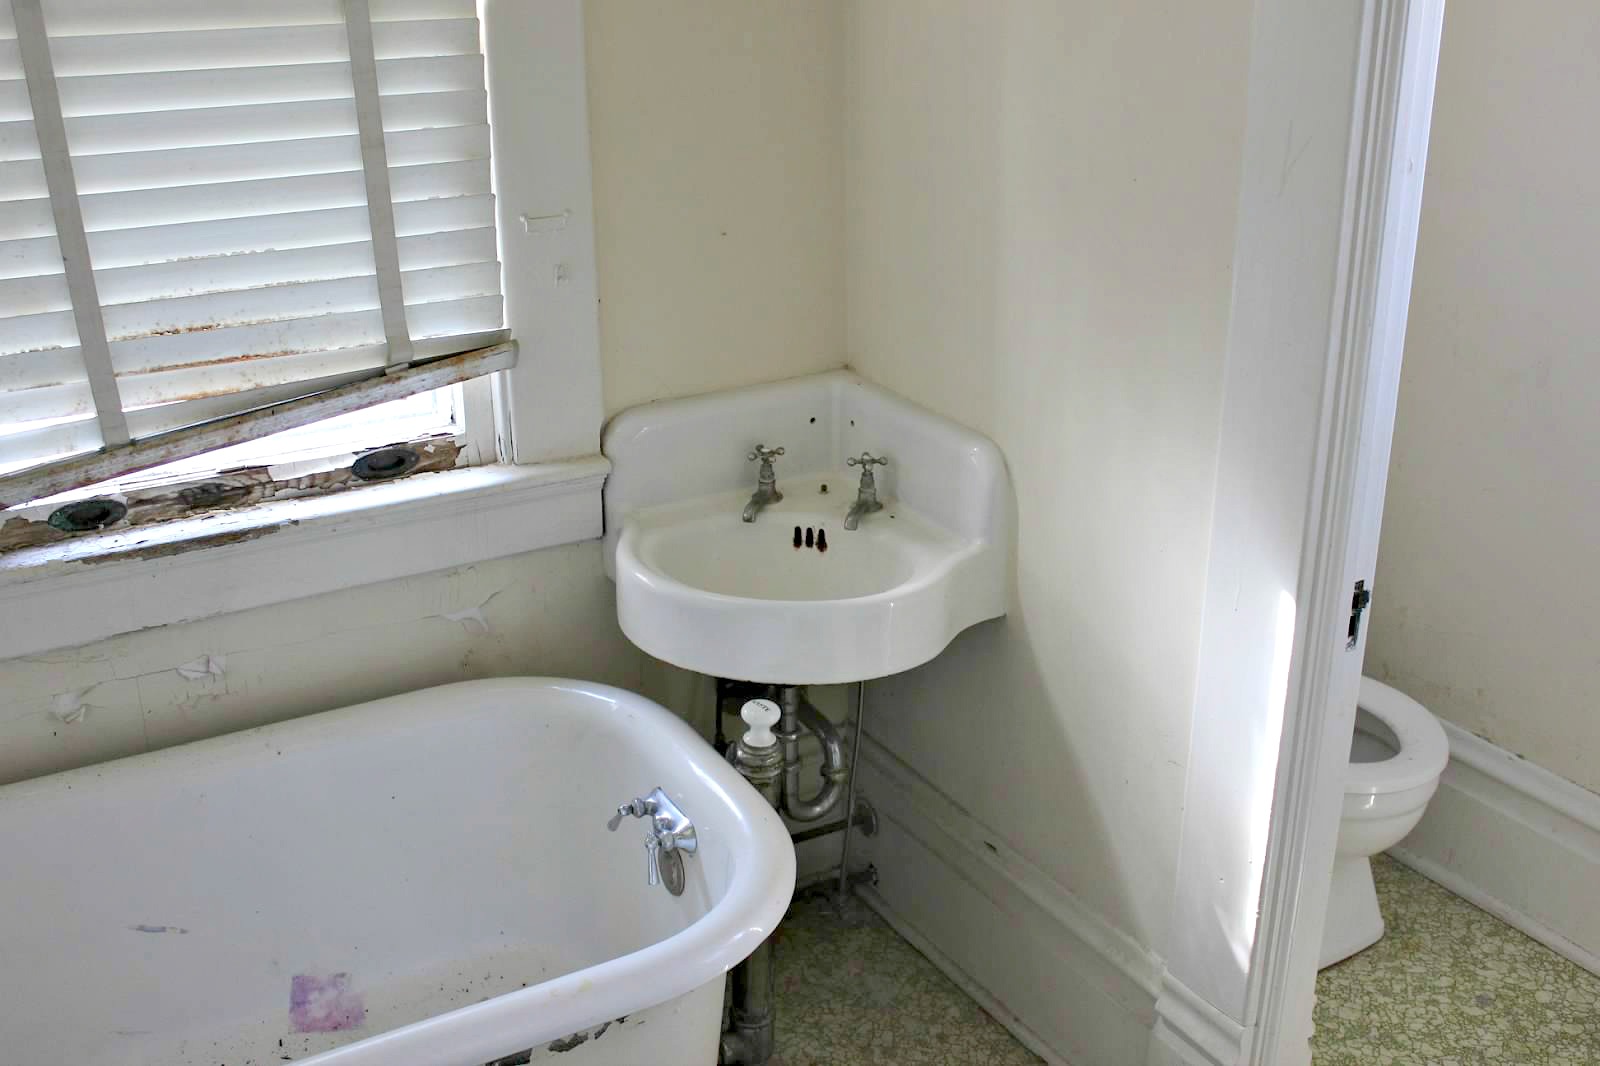
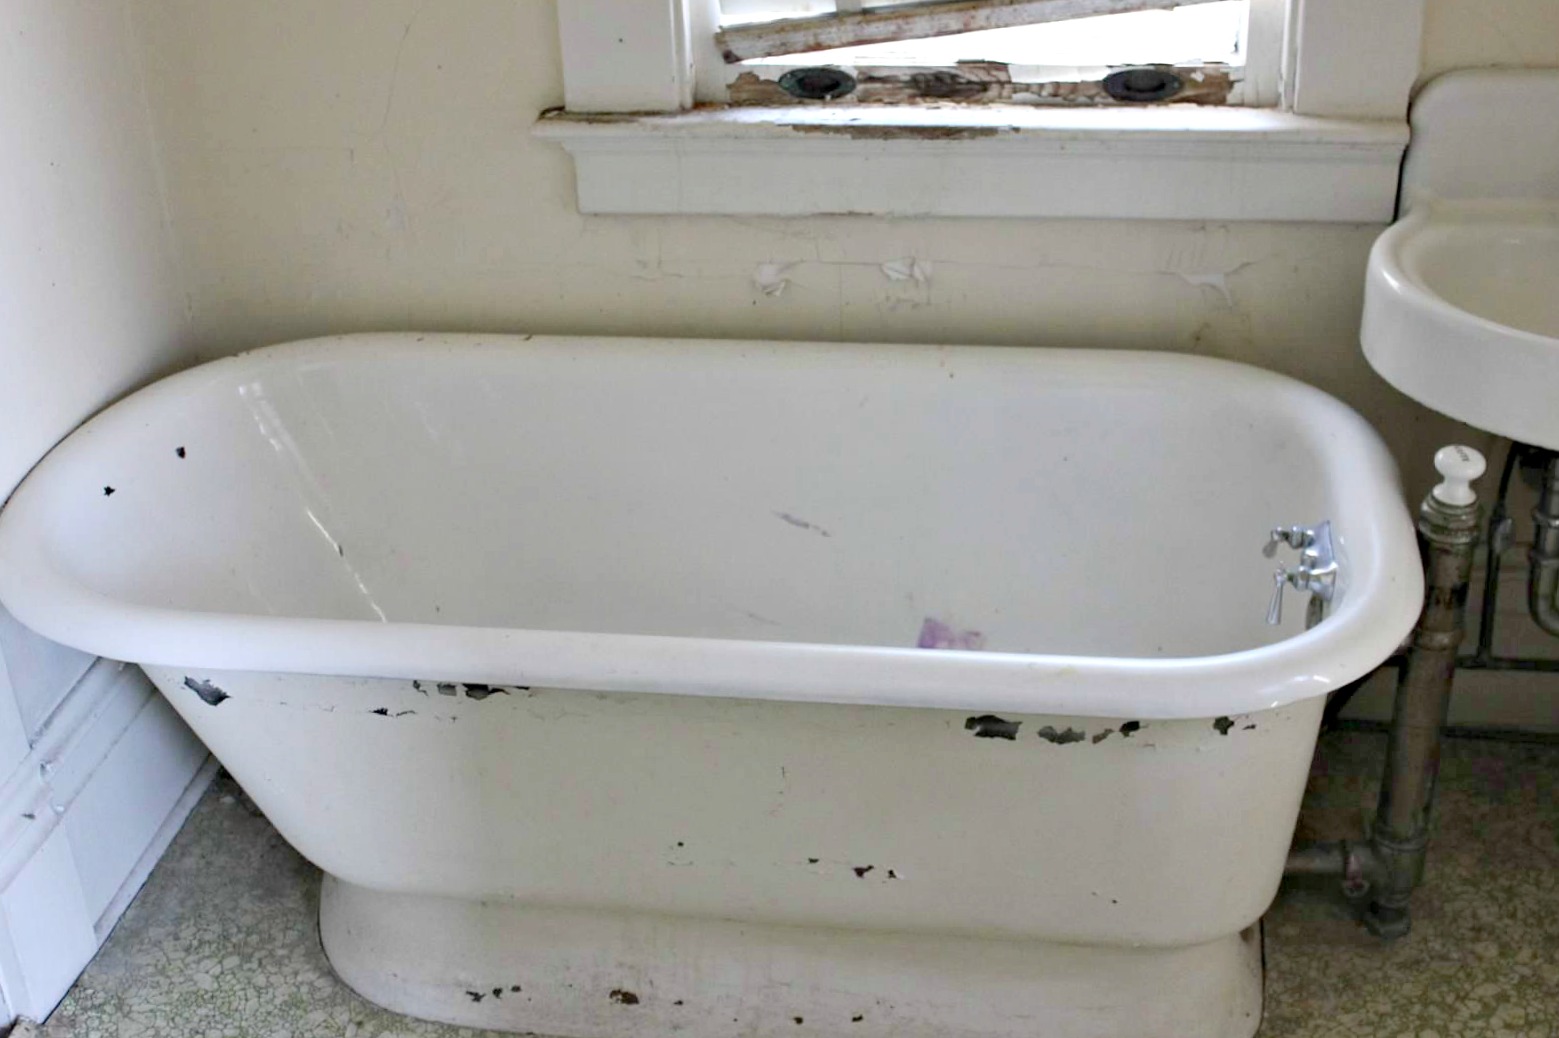
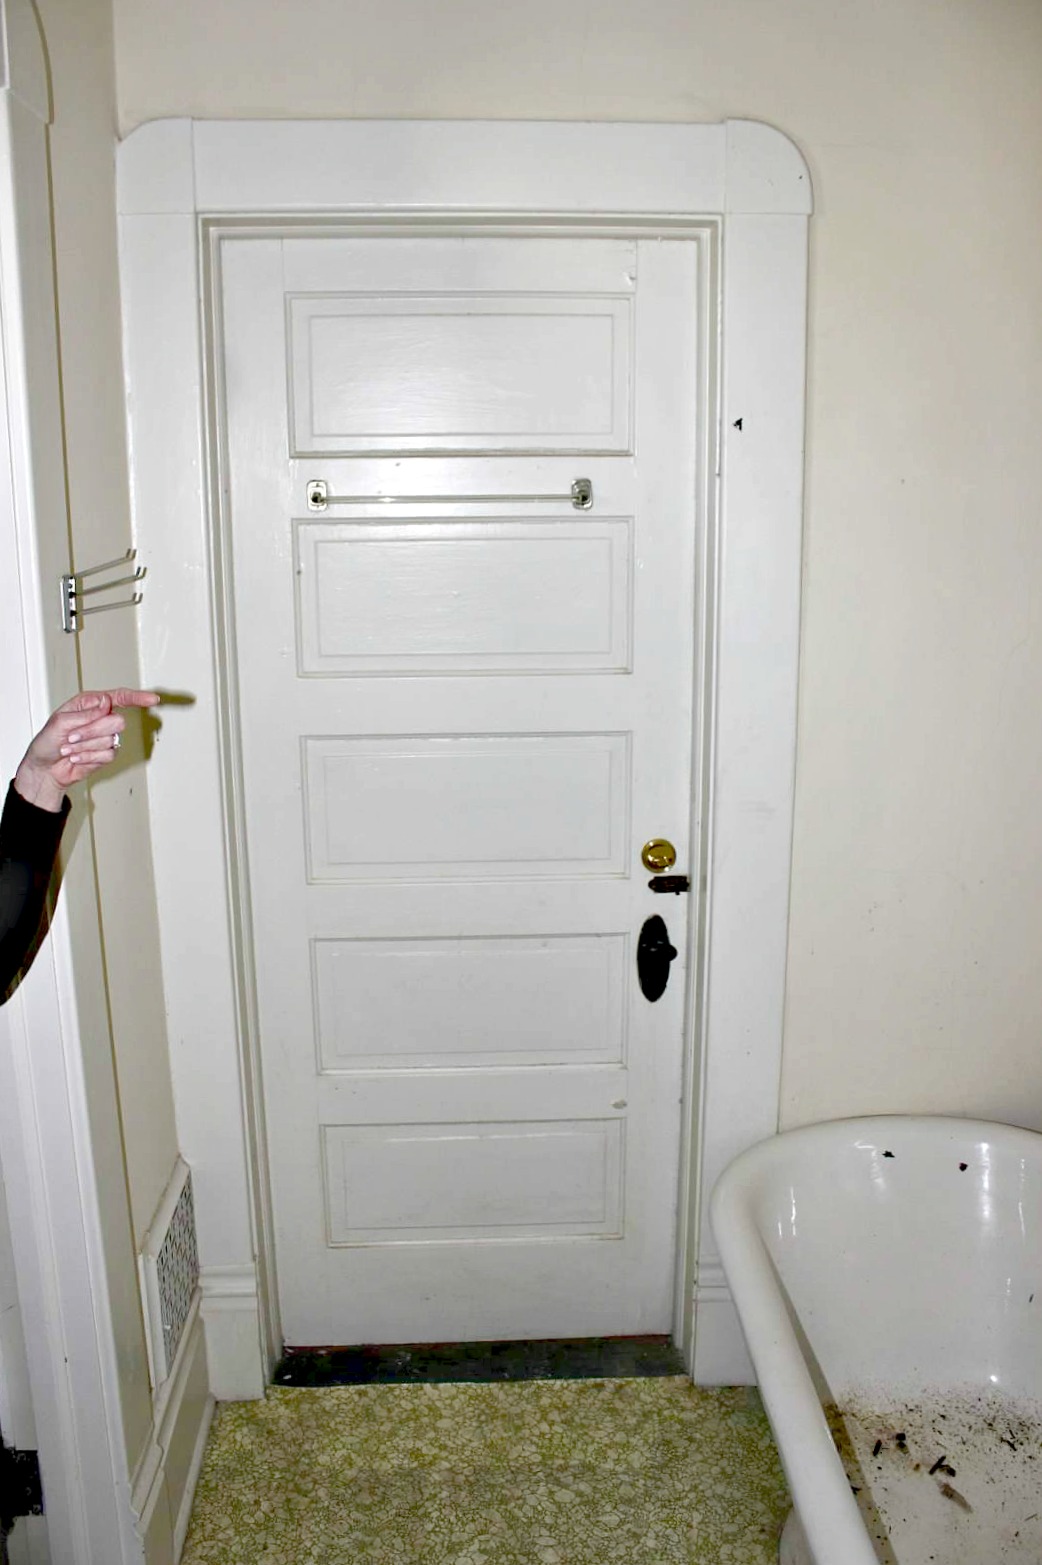
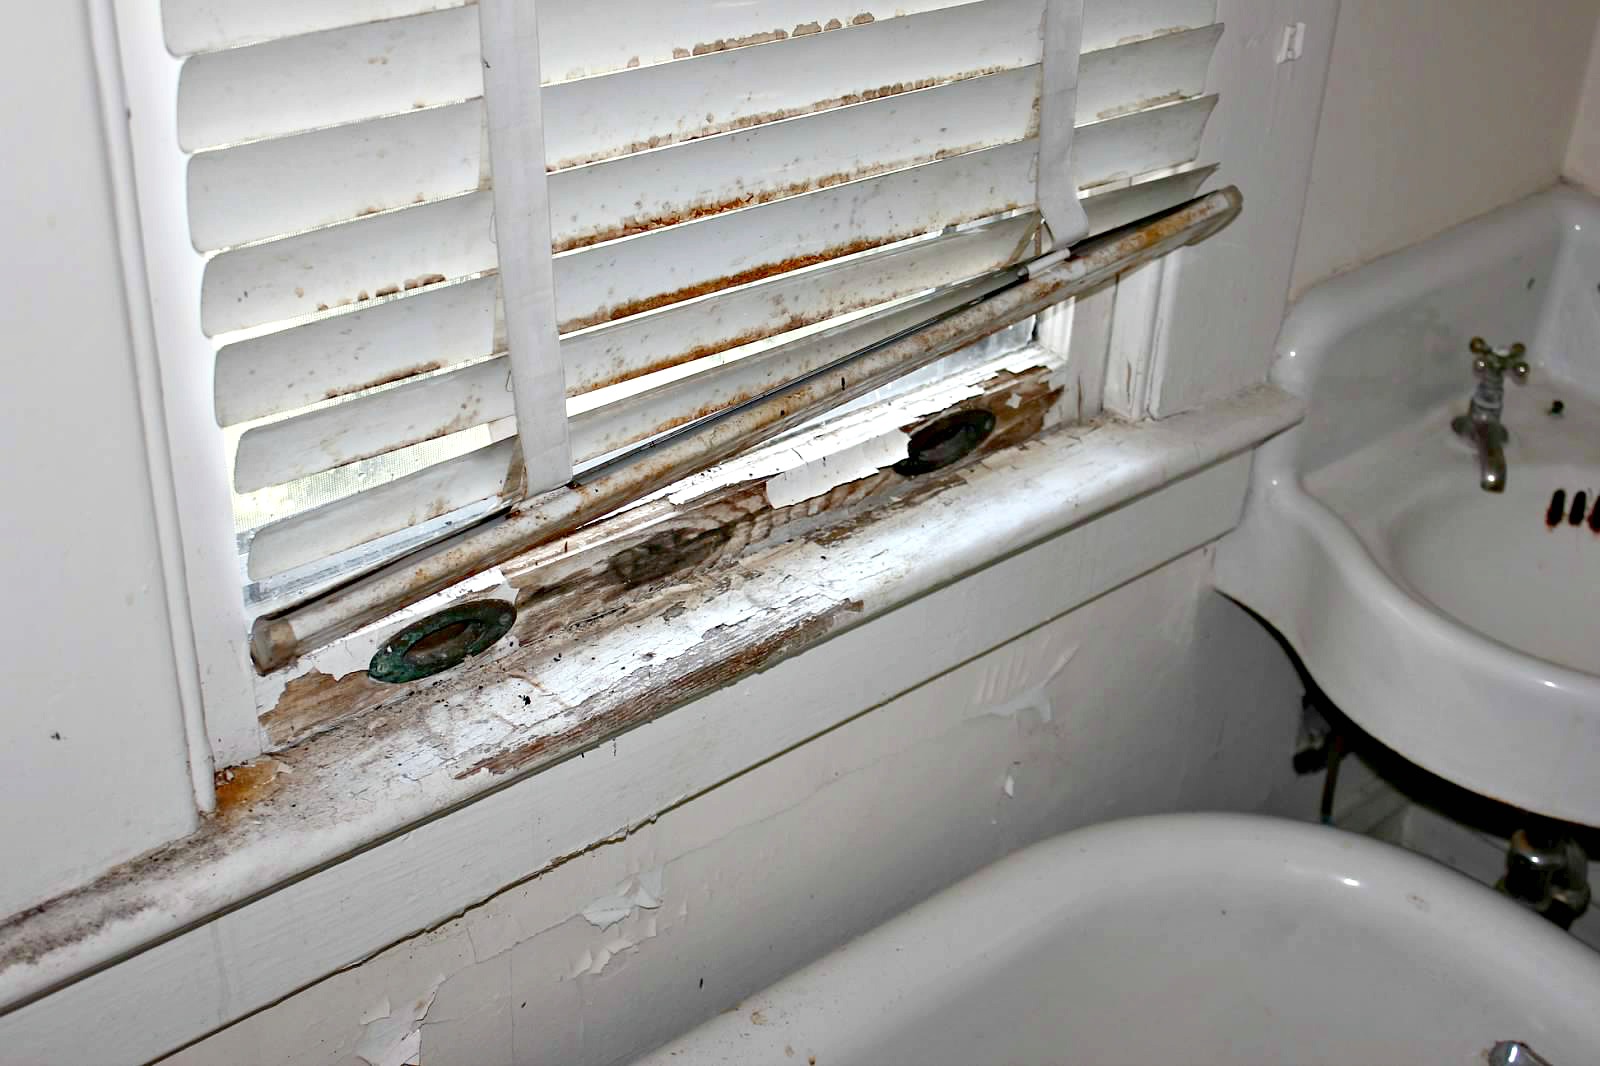
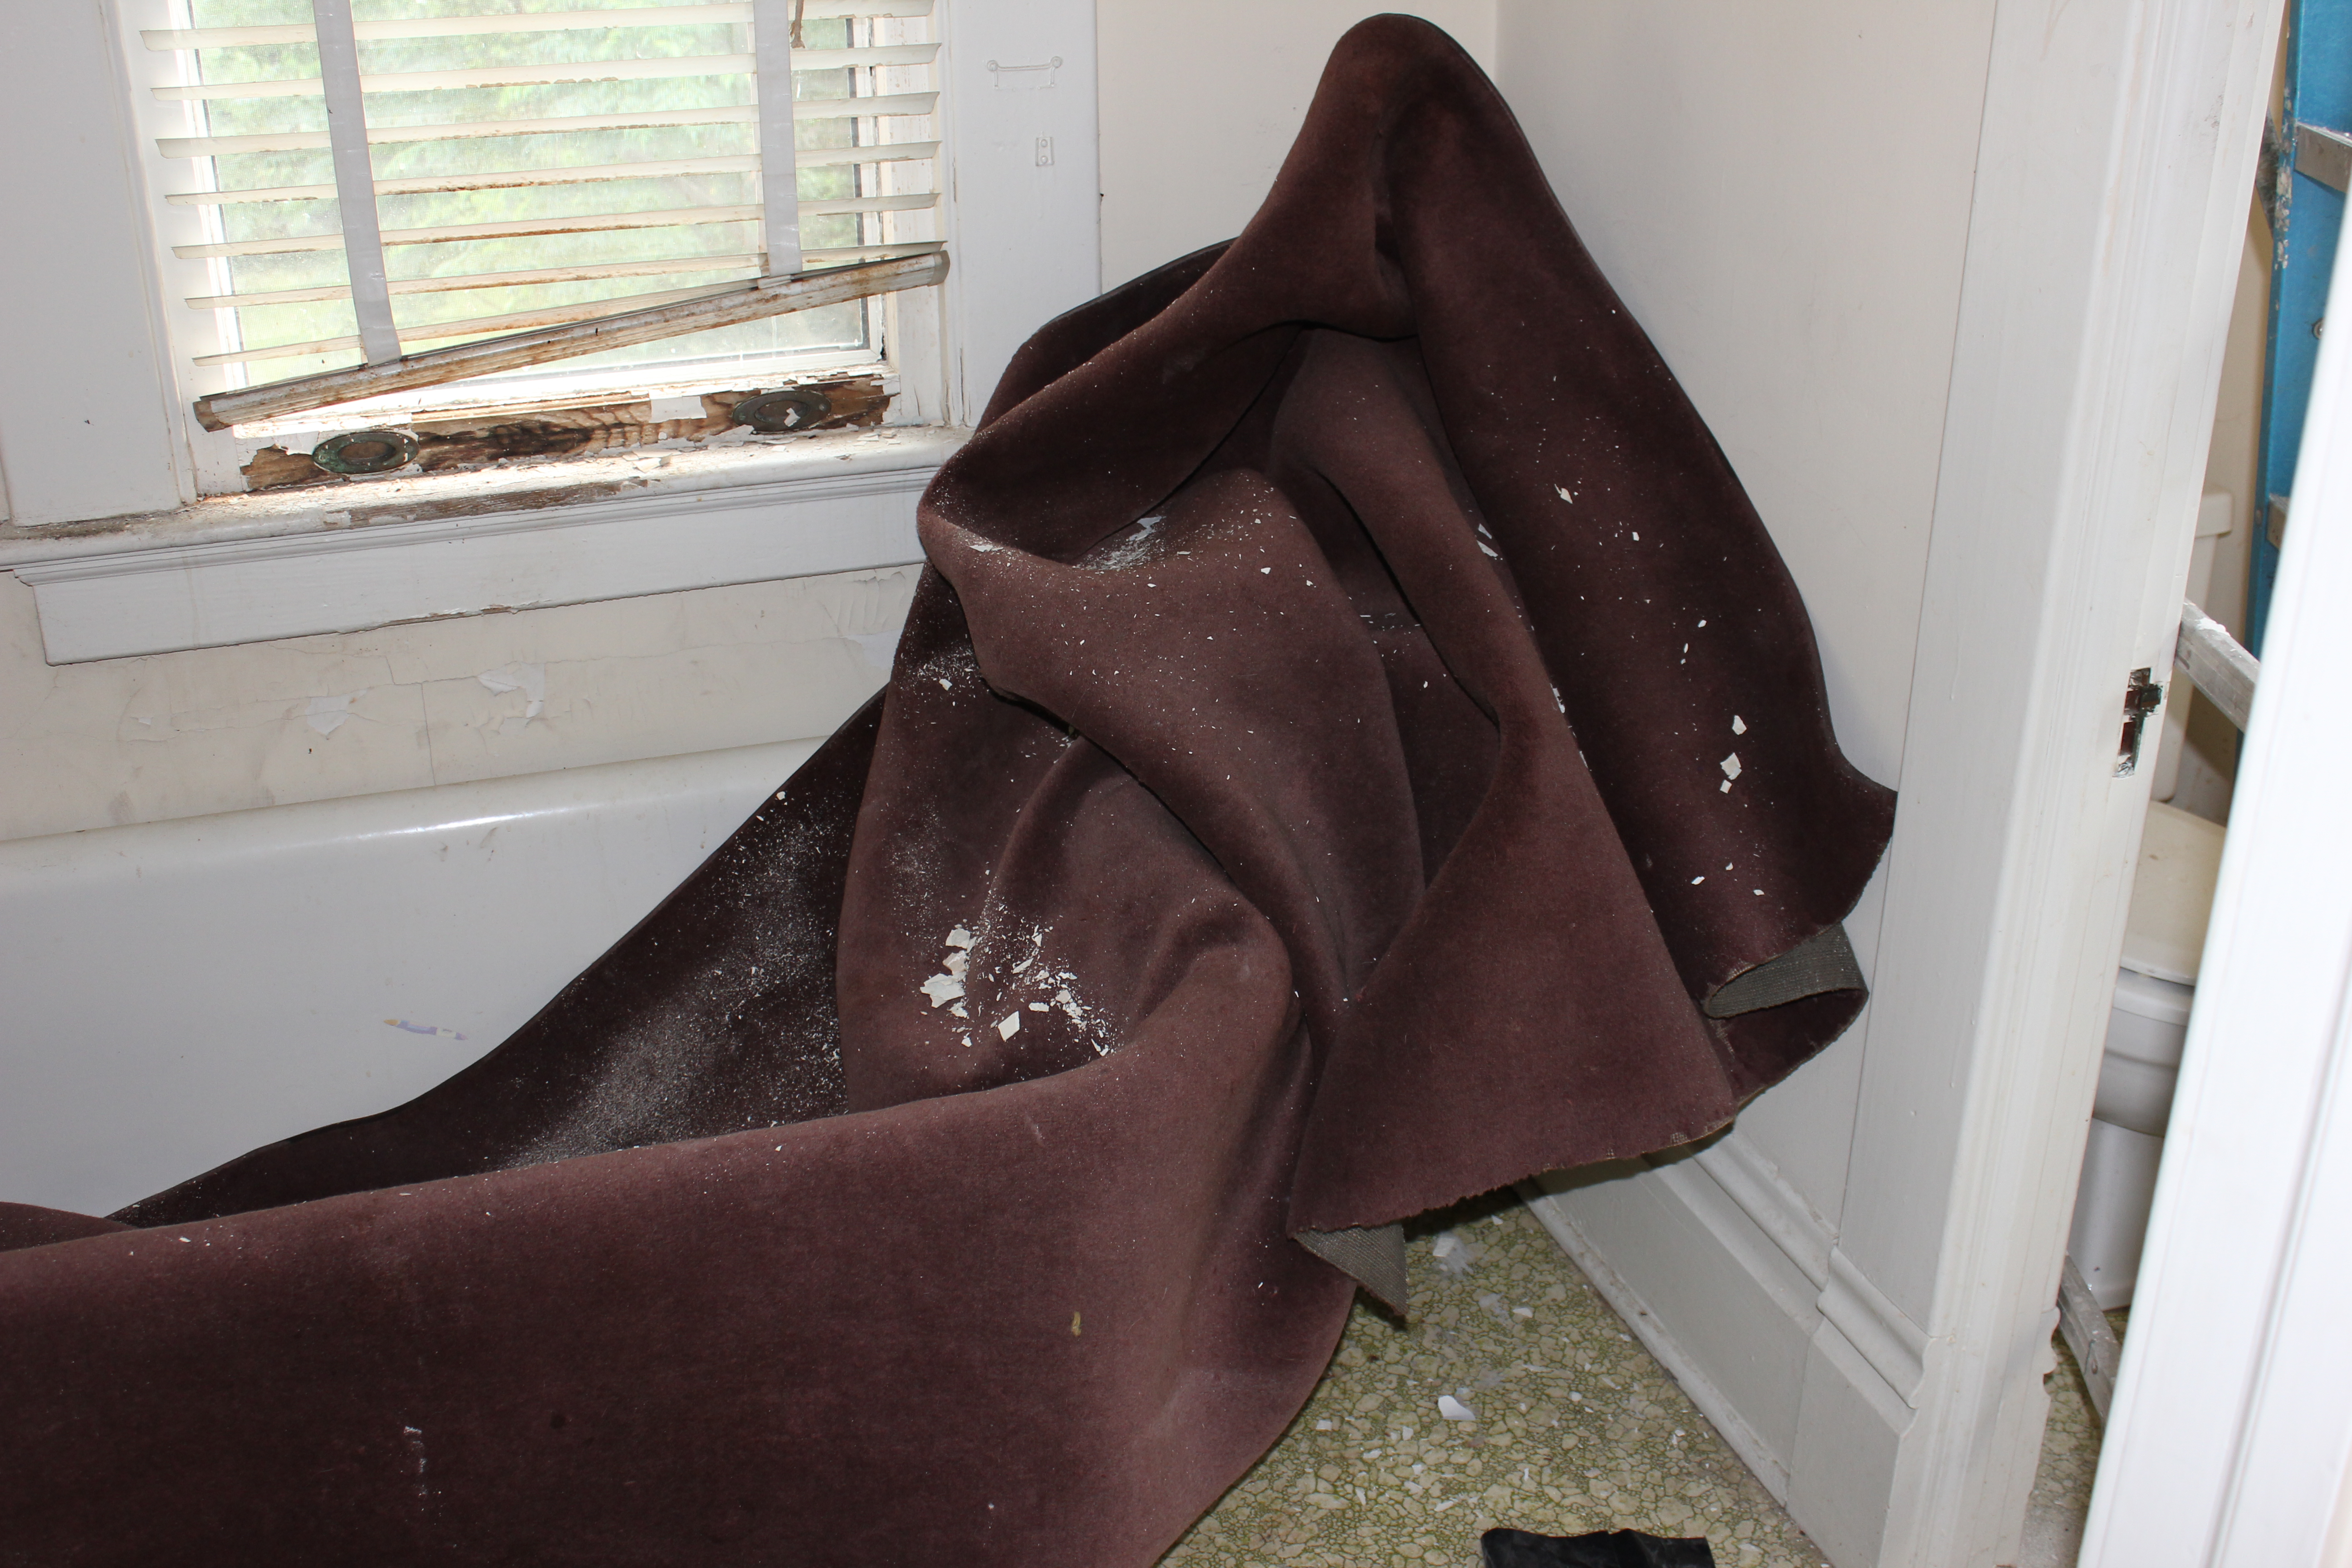
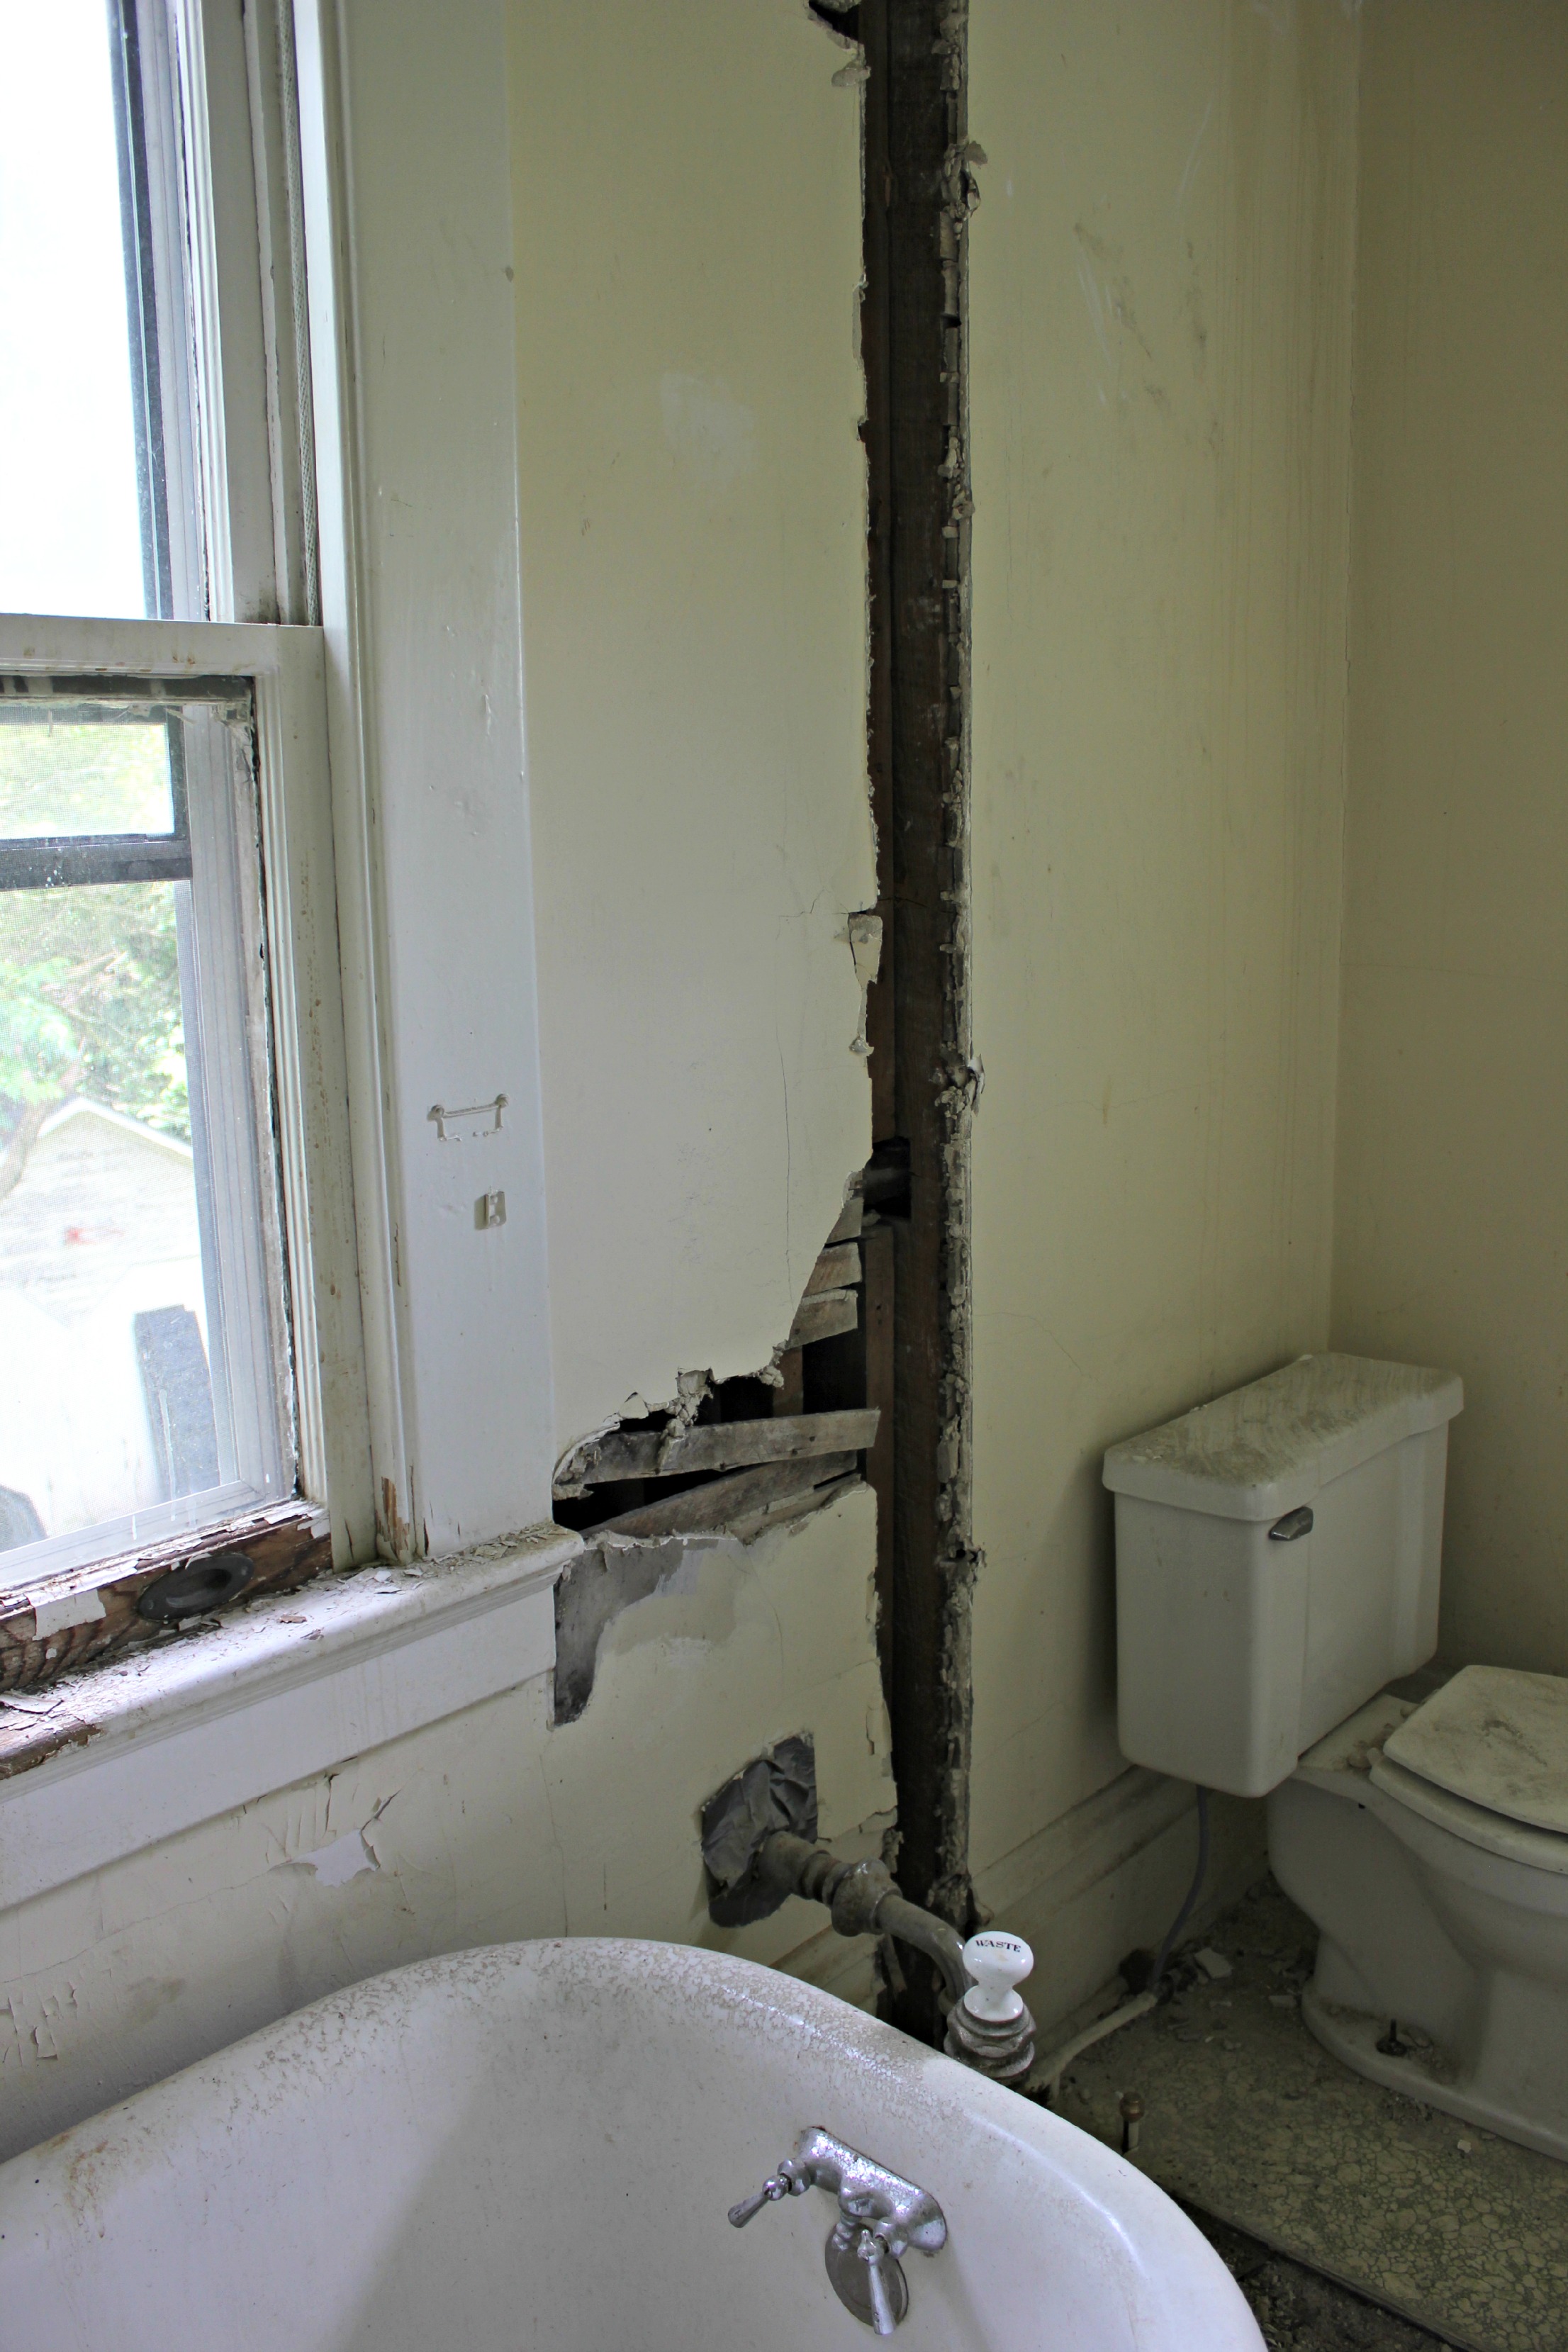
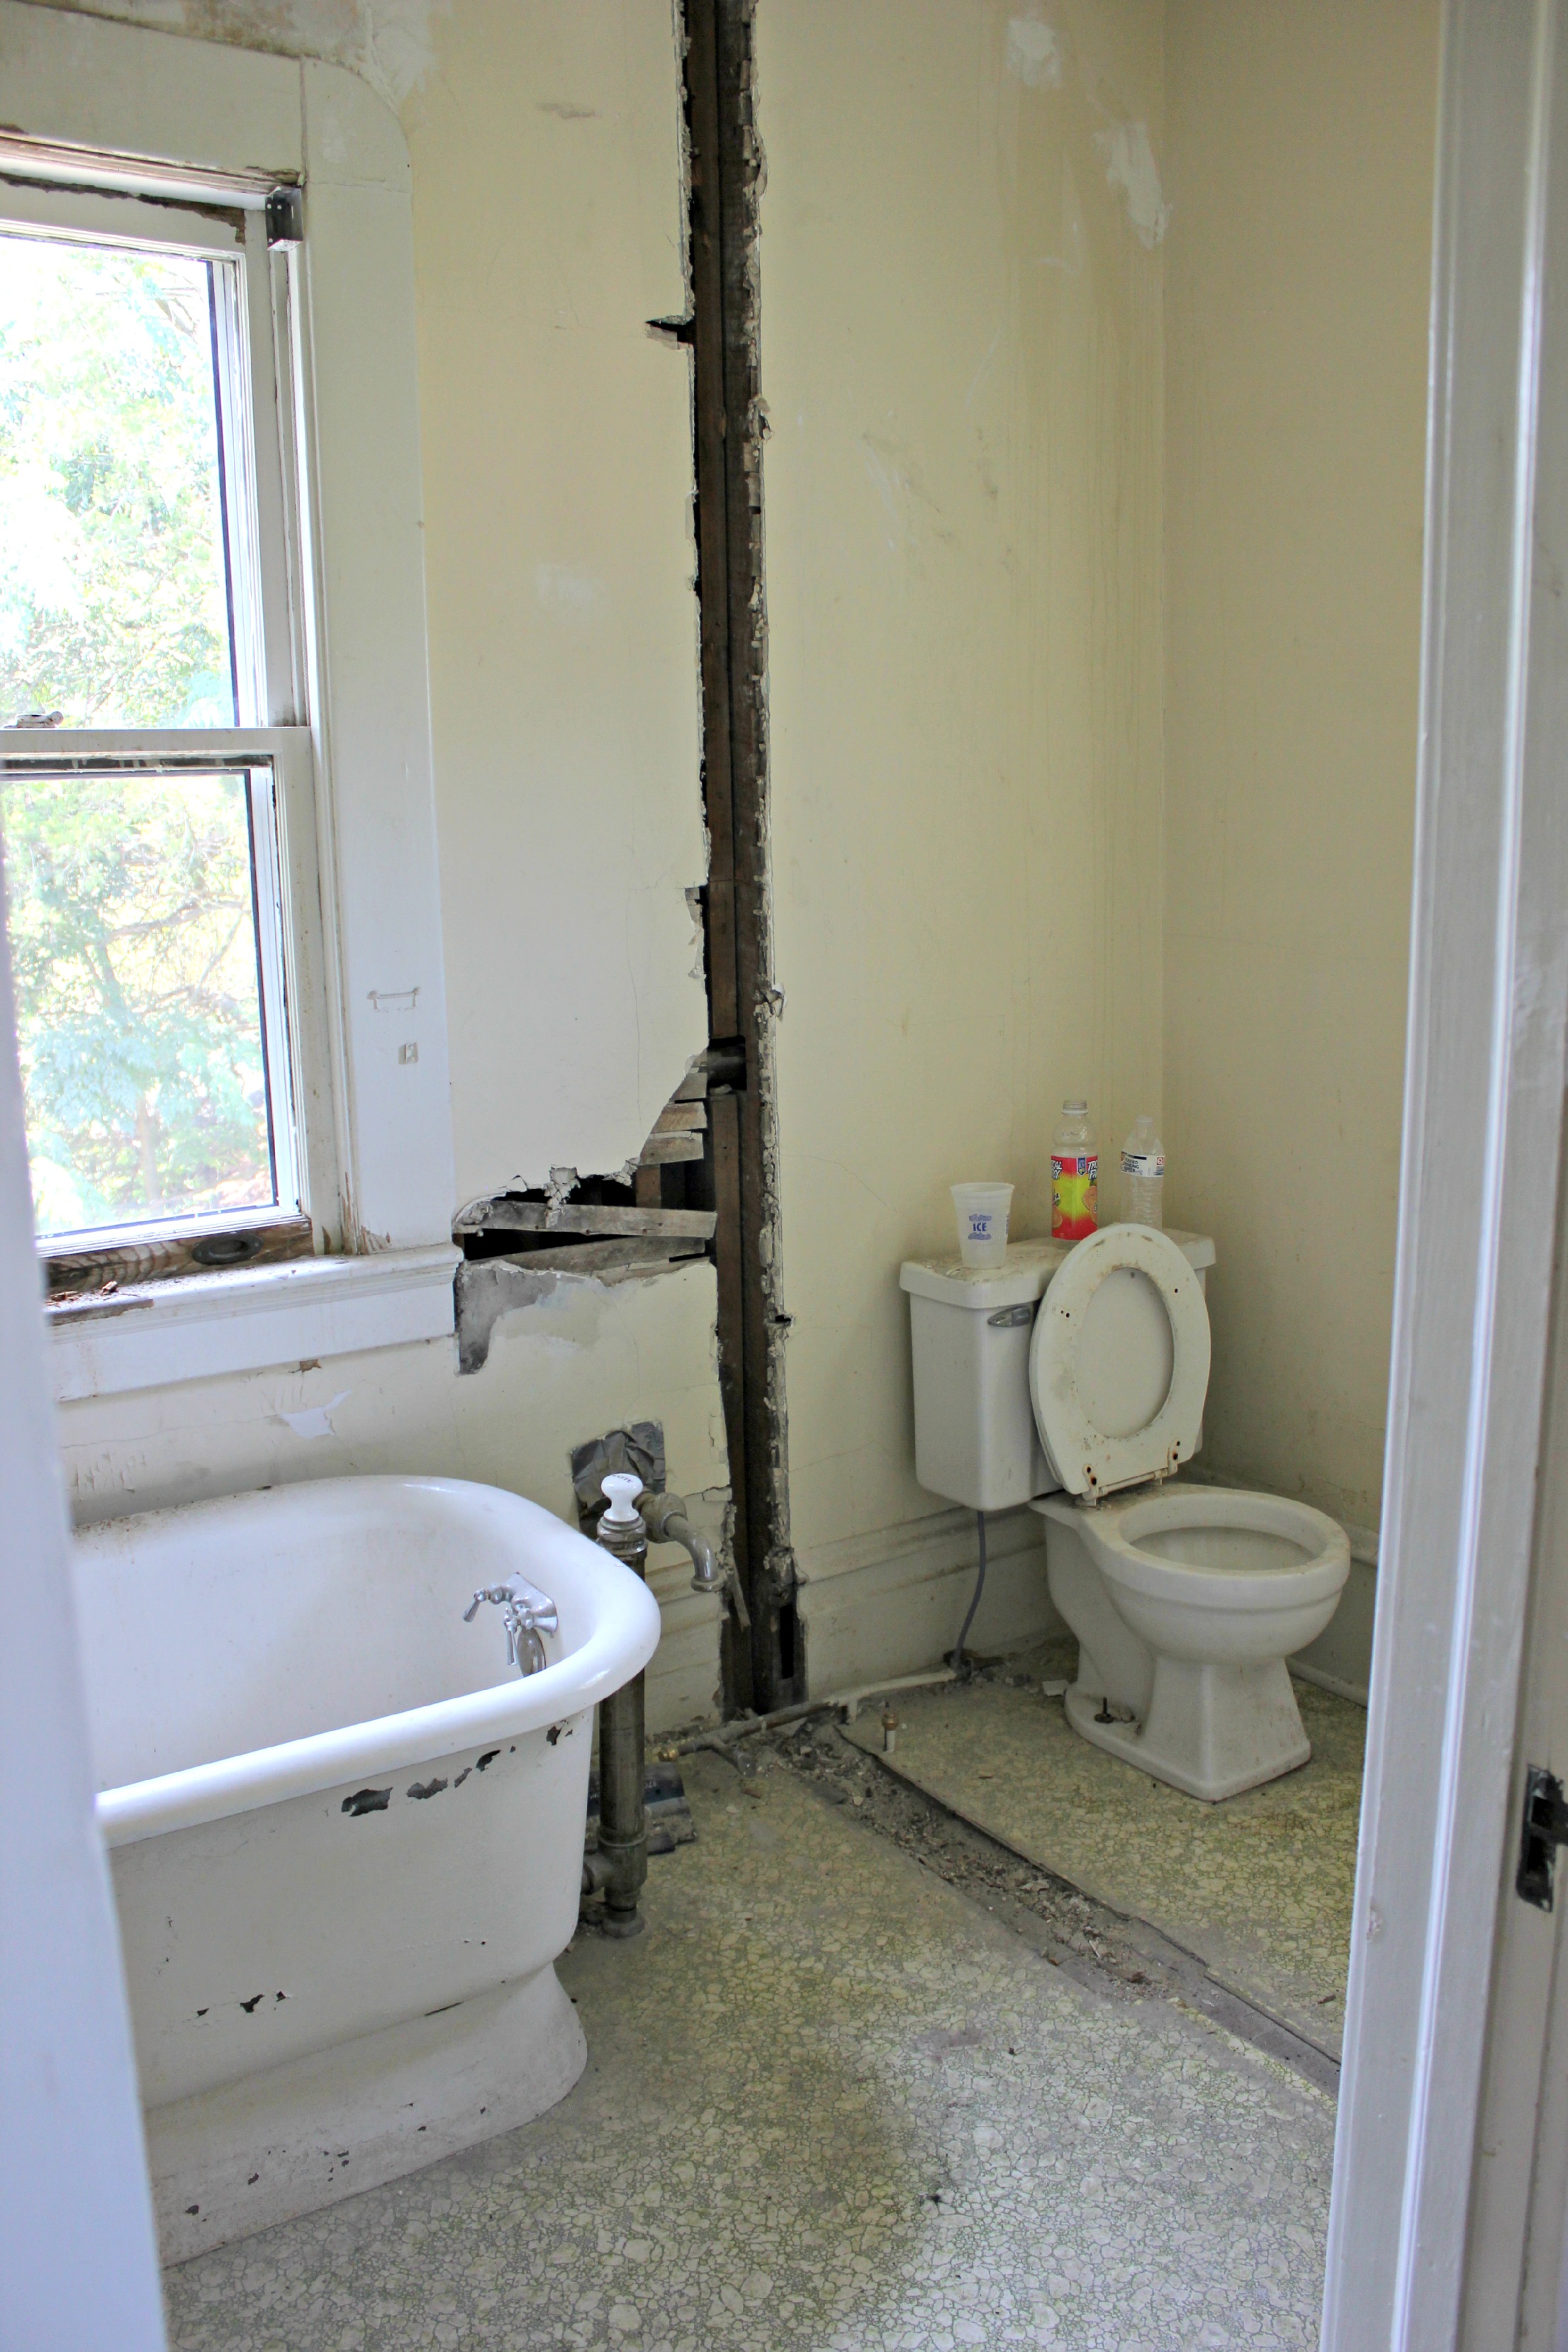
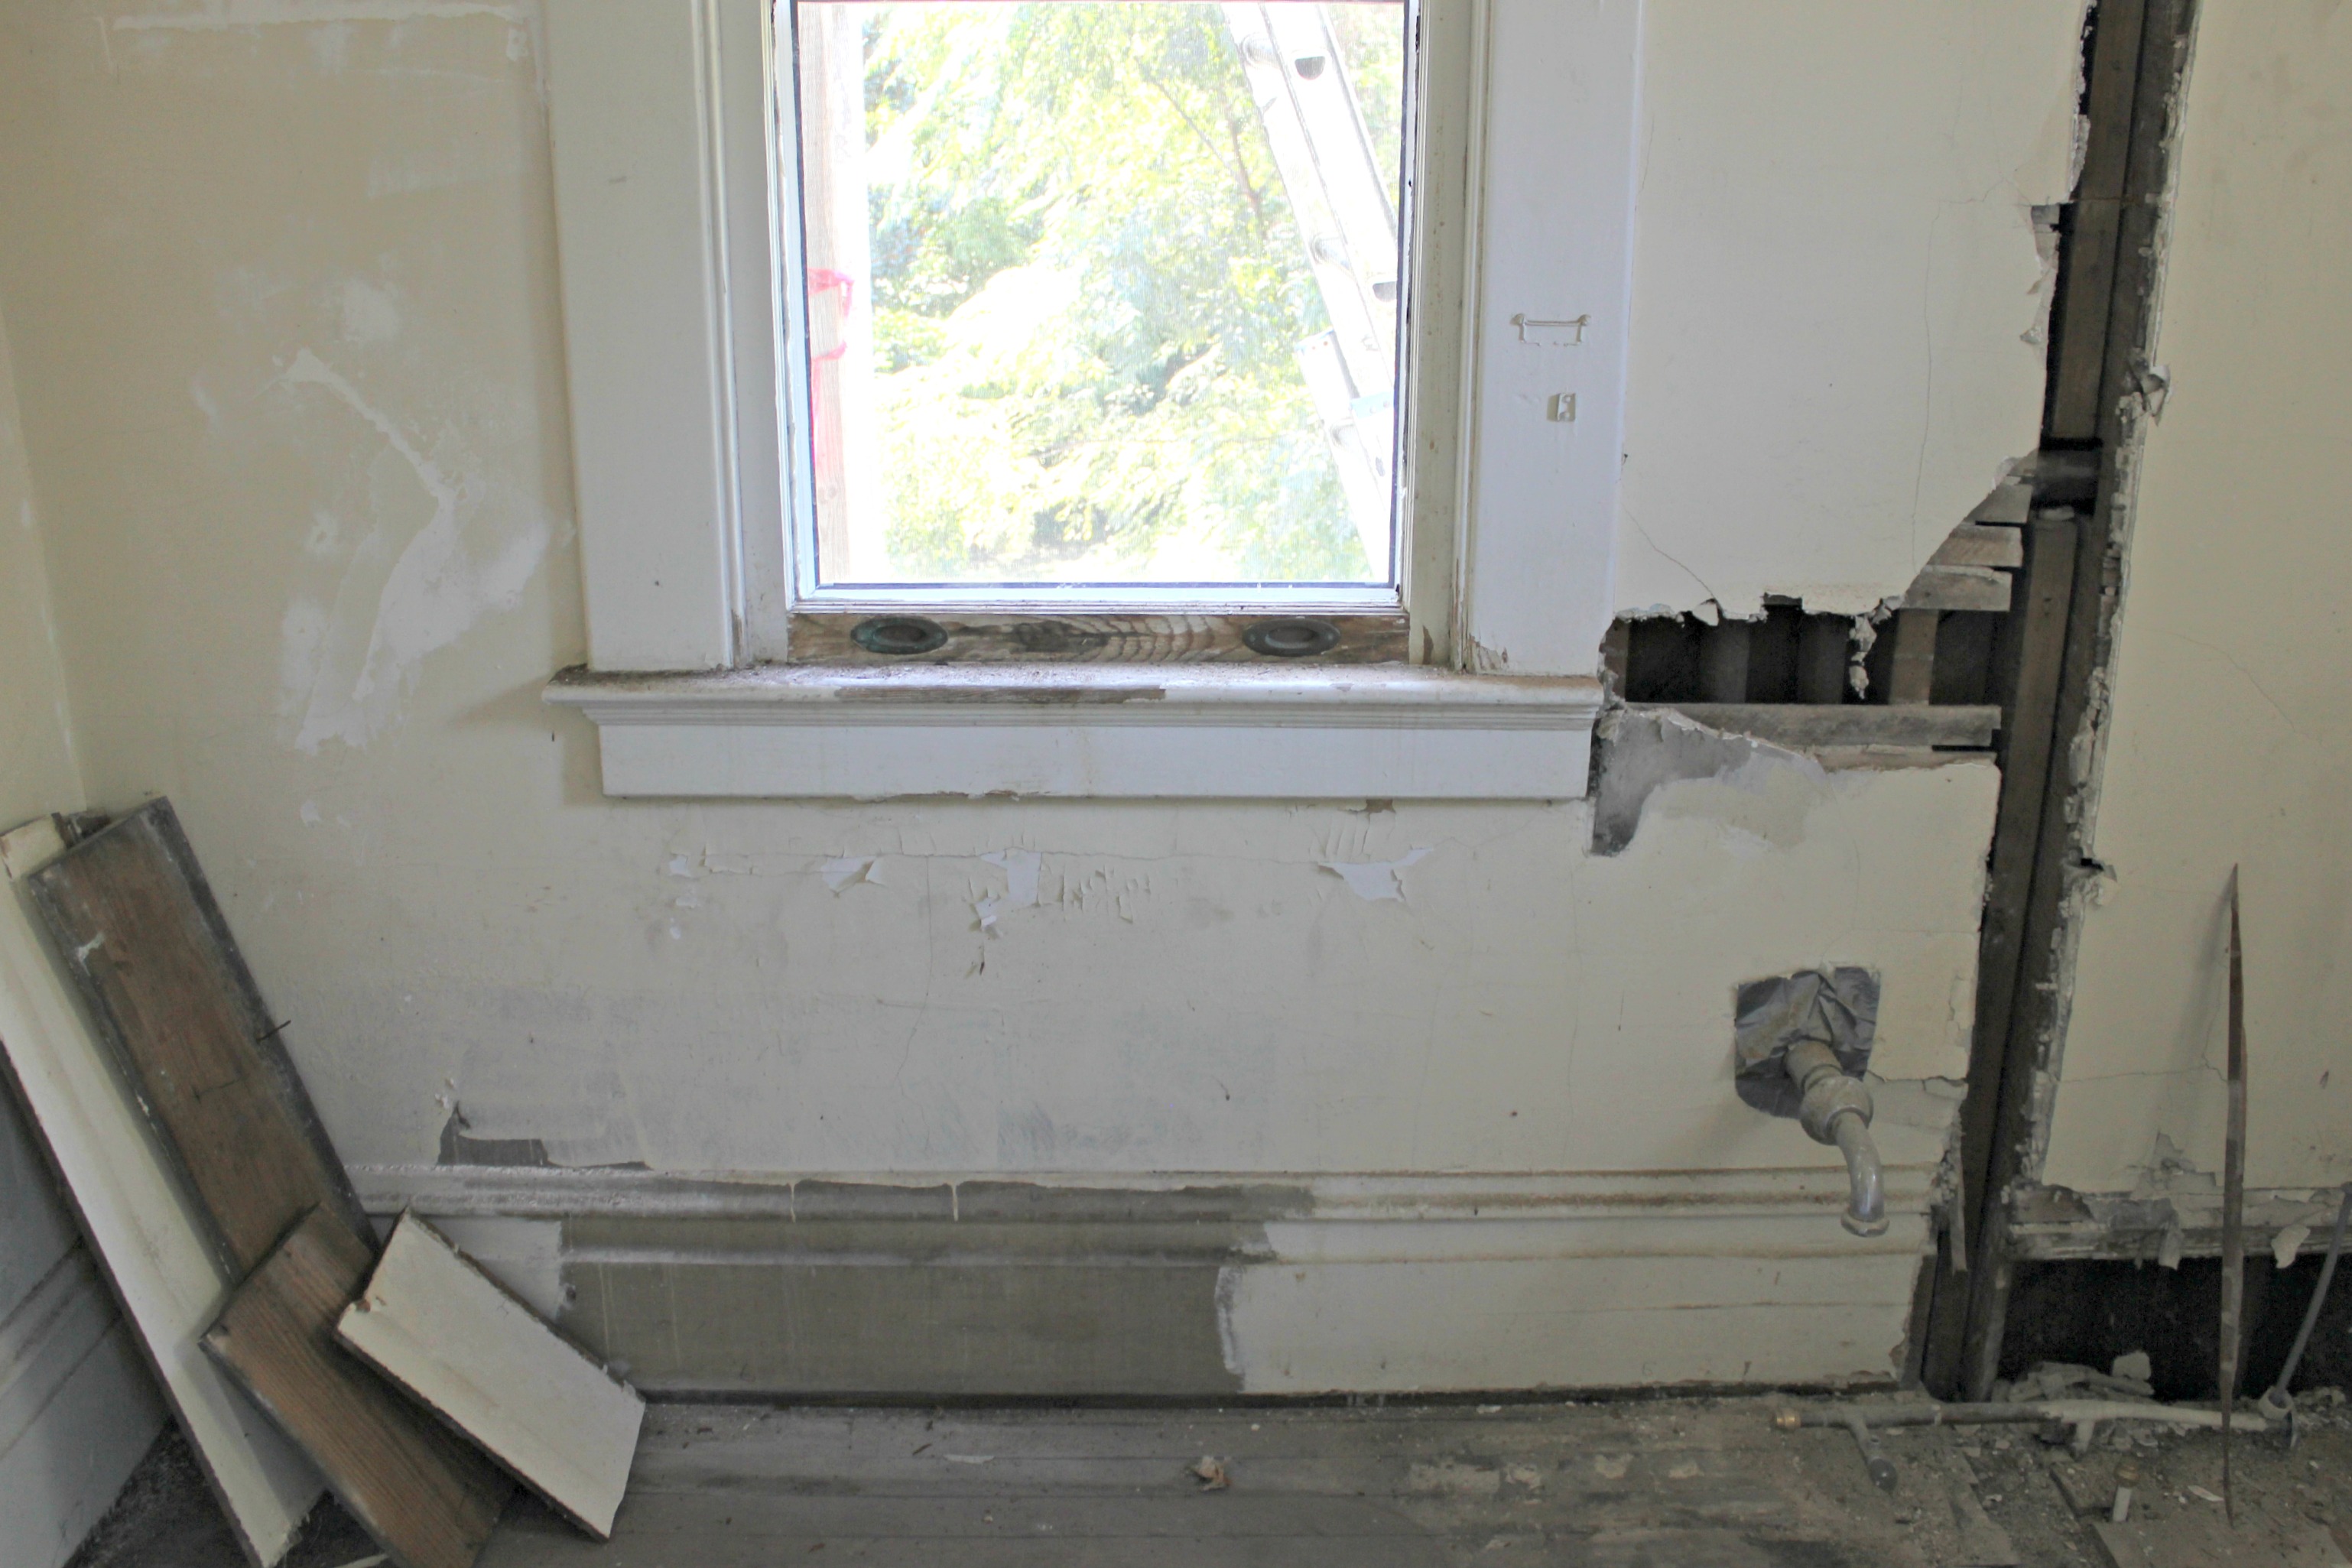
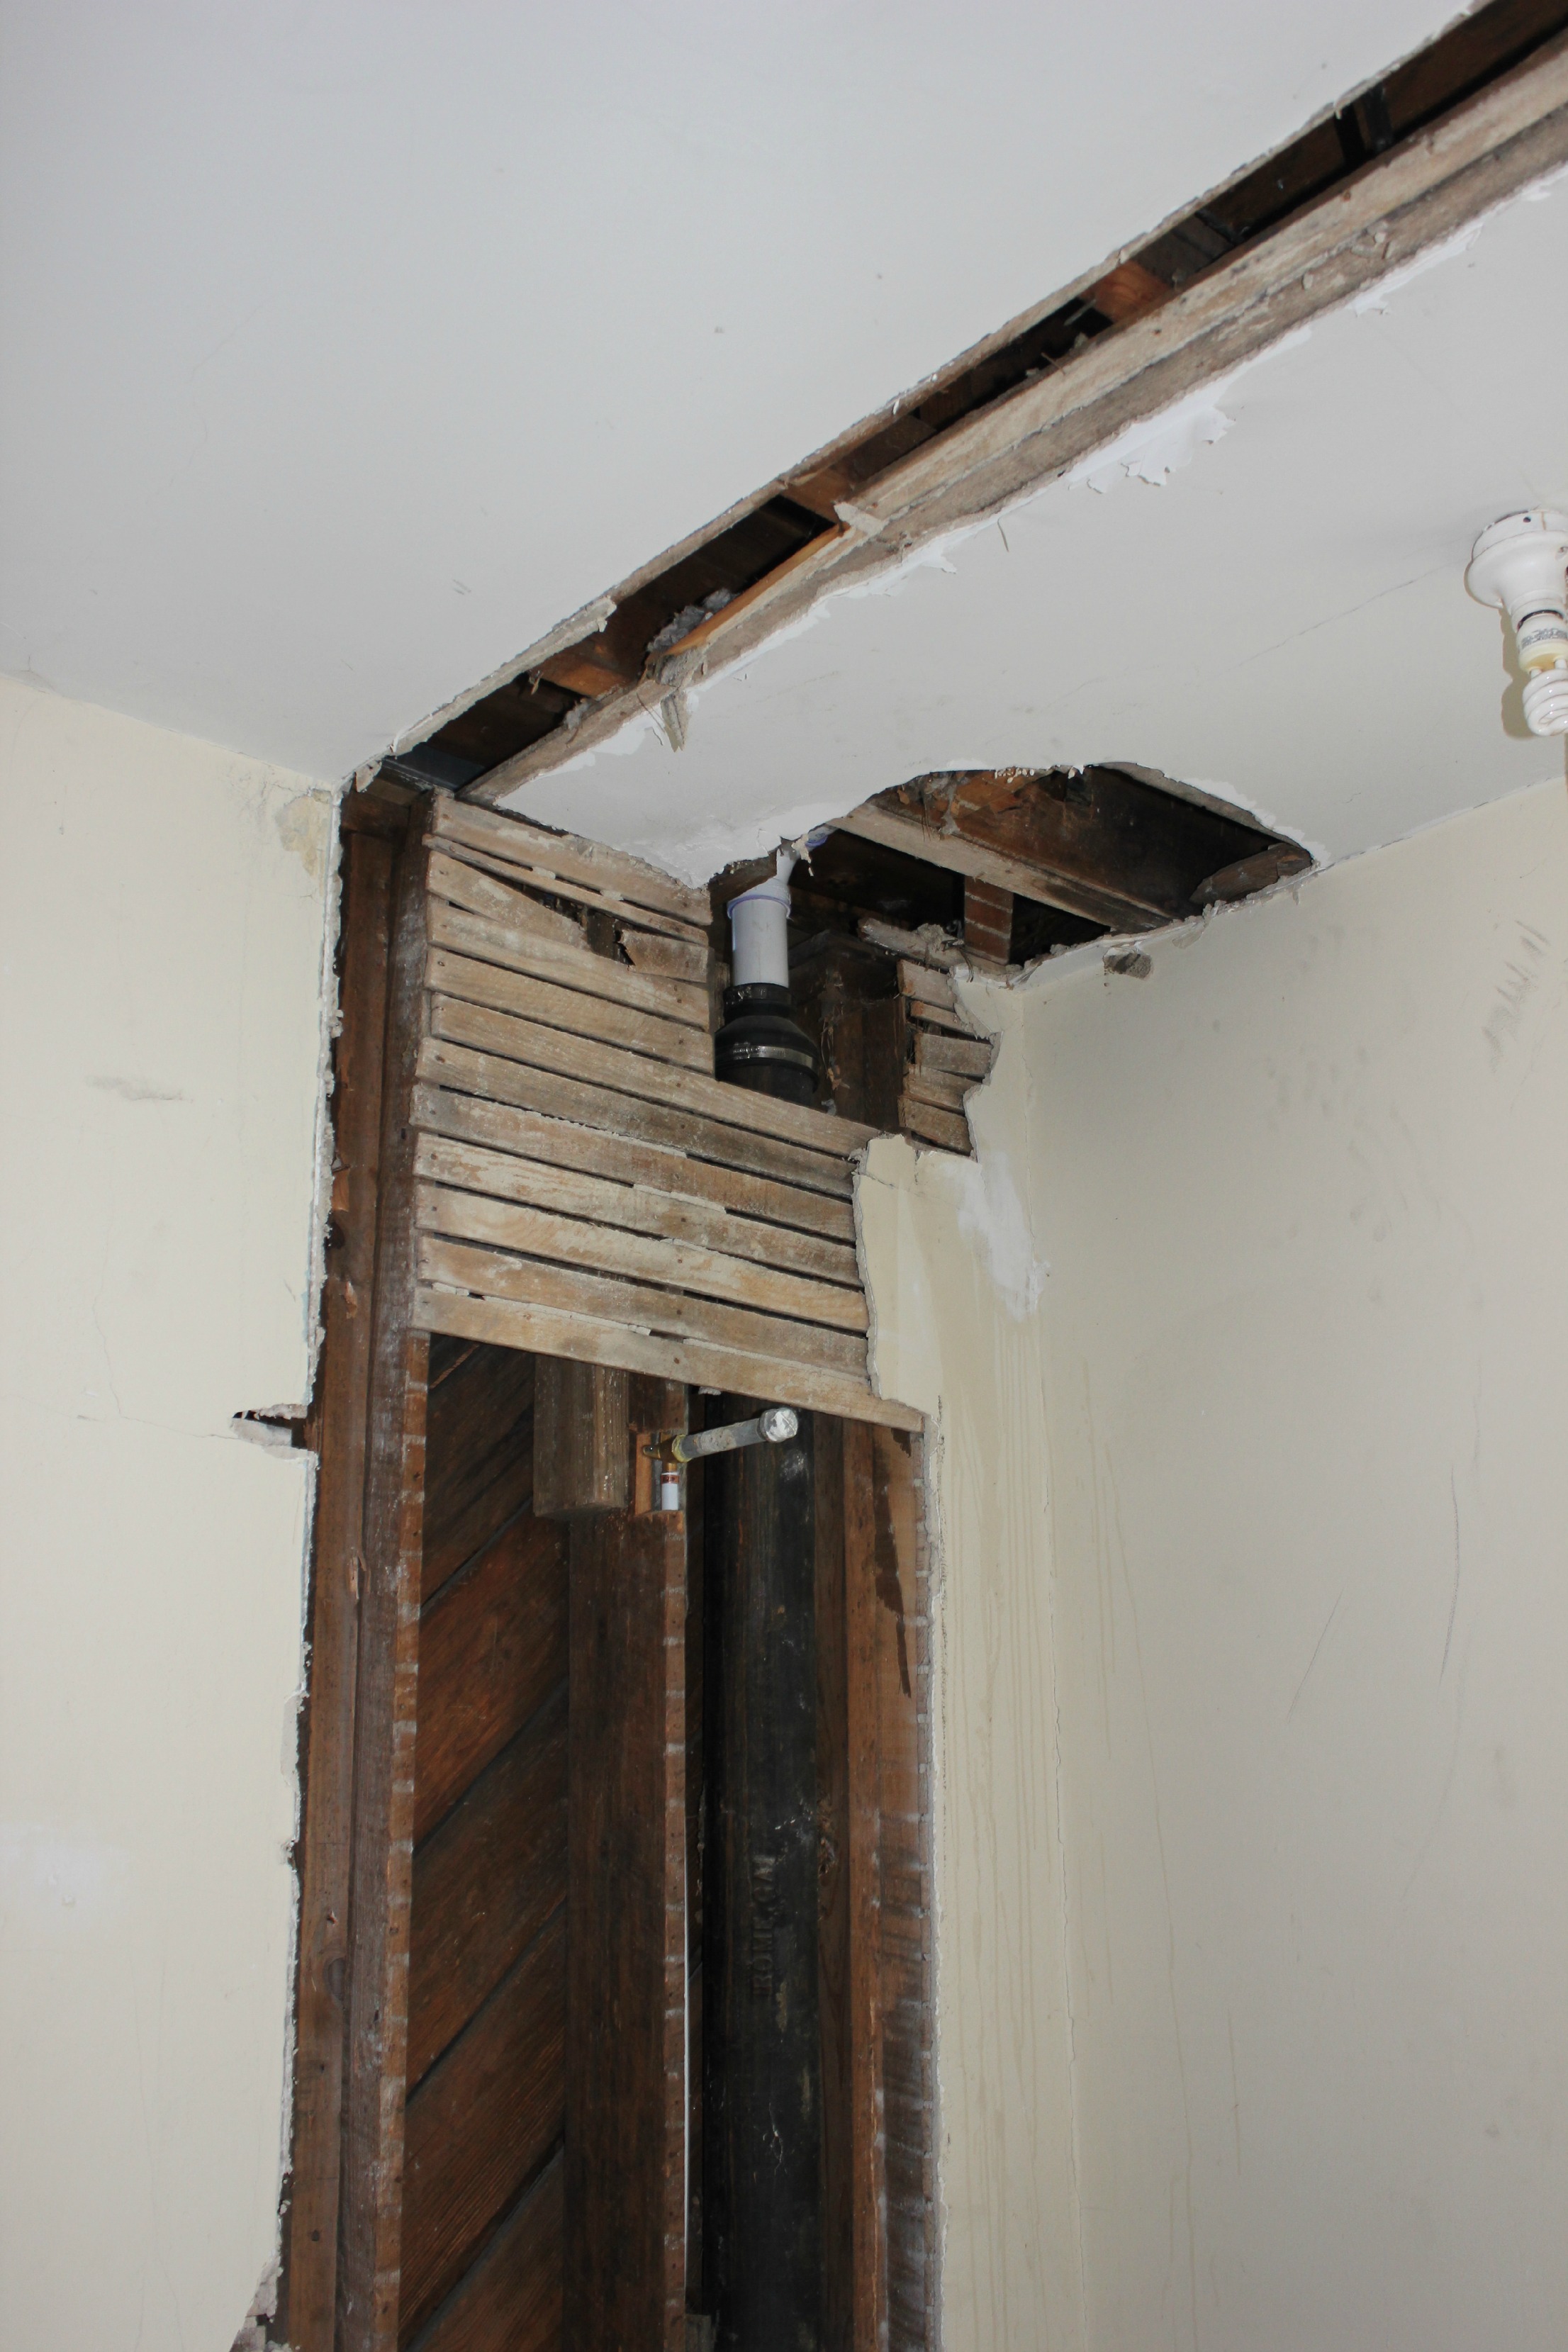
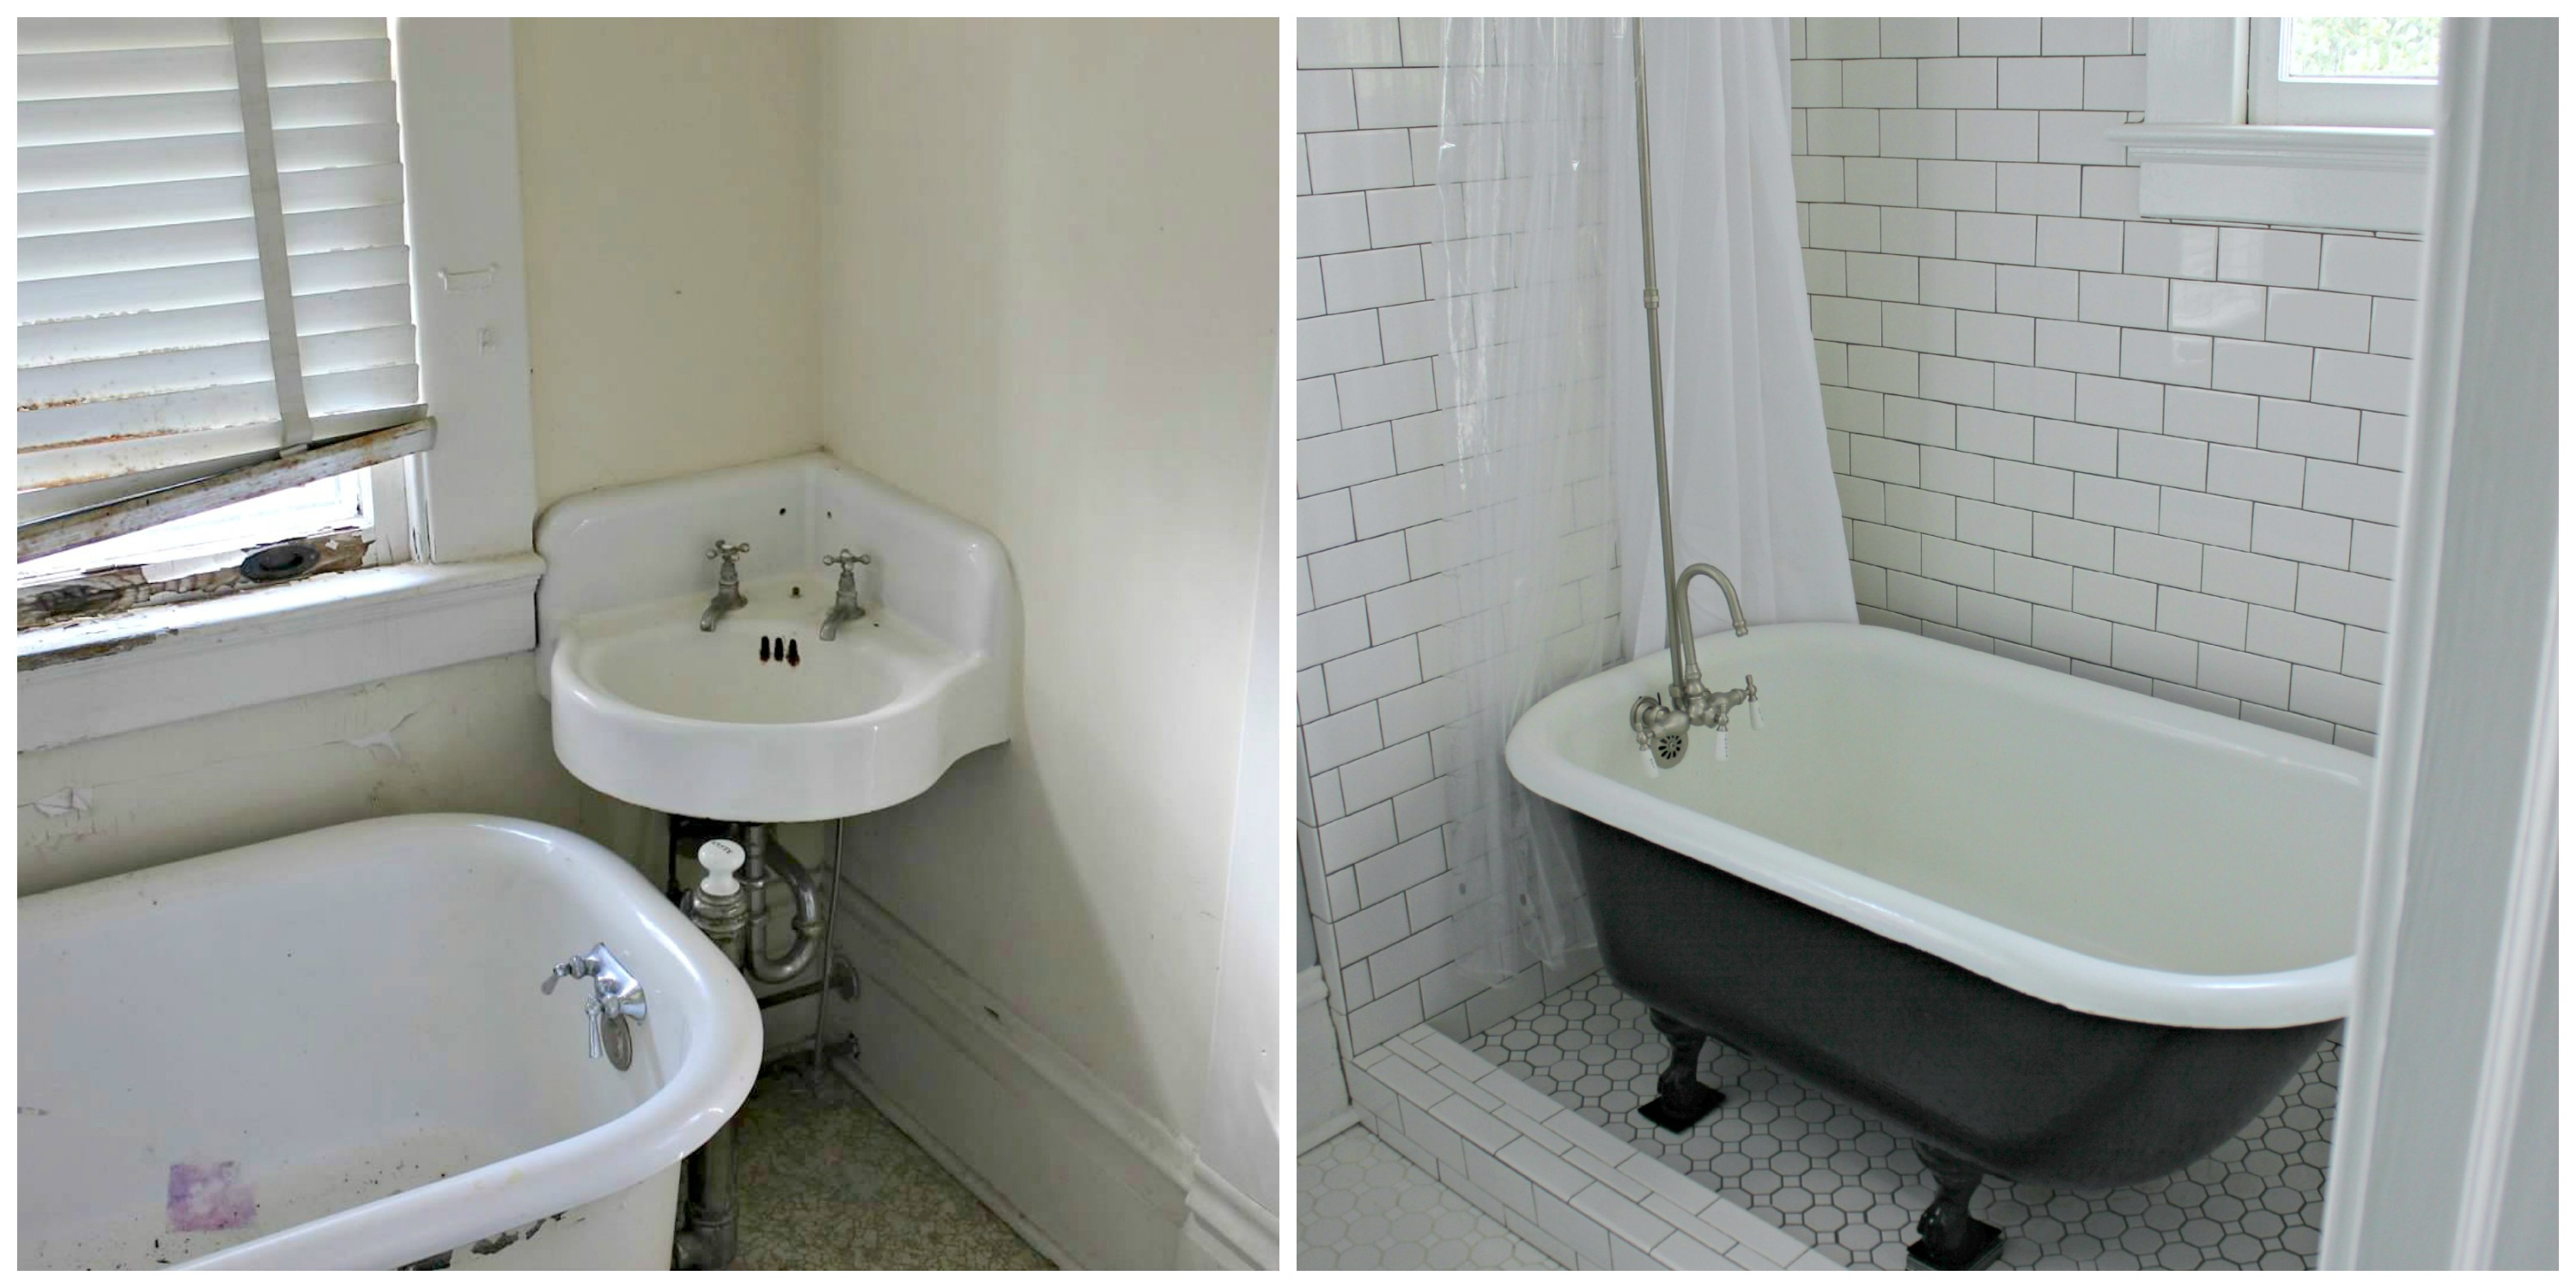
Next up in the Room by Room Recap series is the guest bathroom connected to the home office. This bathroom was pretty much a gut job. It had a silly little sink that butted right up to the oversized tub, and there was even a door to the upstairs porch. So we decided to rip everything out, including the wall to the water closet, and completely rearrange this bathroom. We’re pretty happy with the results!
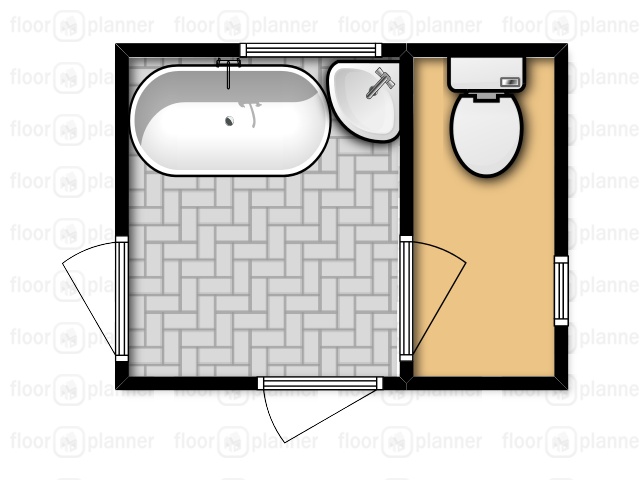
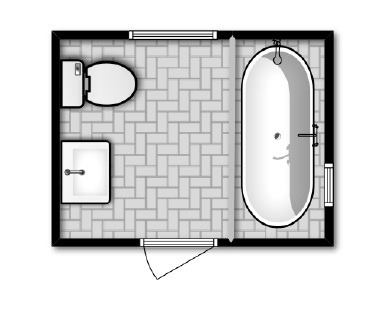
It’s hard to get a feel for the size and layout of this room because full-view pictures are pretty much impossible. Here are the before and after floorplans to help you get a better idea.
Ok, let’s dive in!


What we’ve finished:
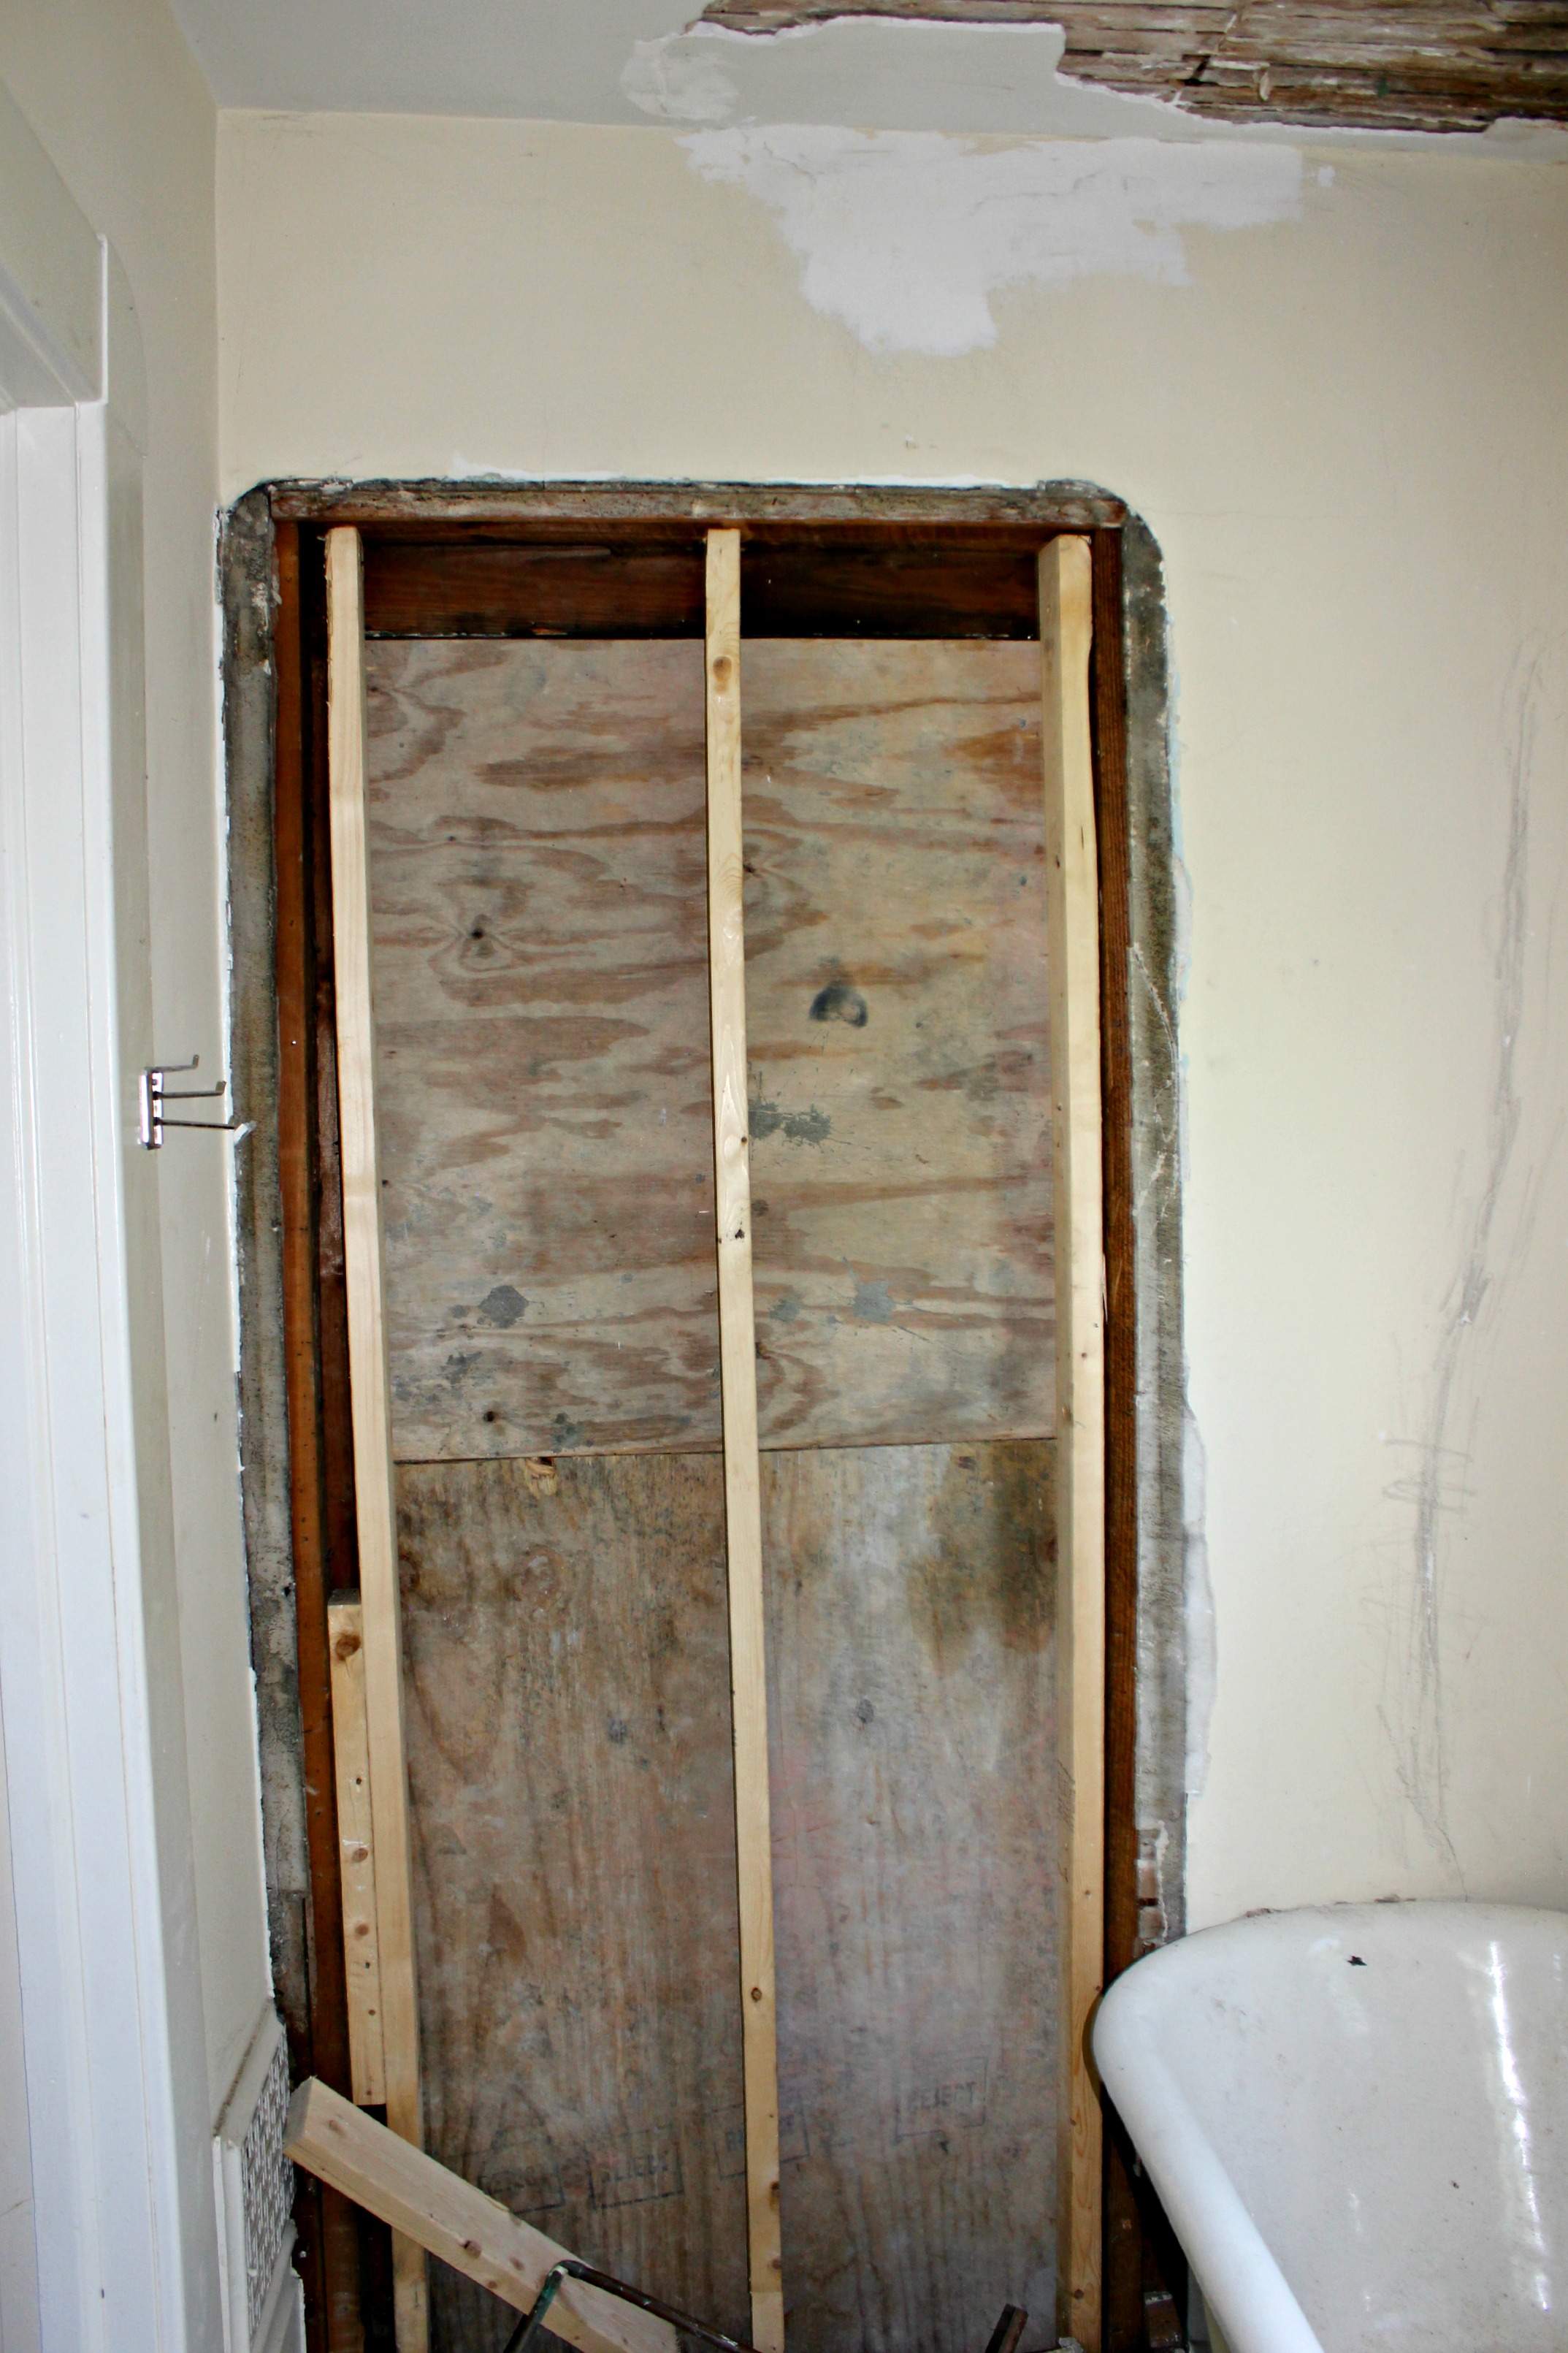
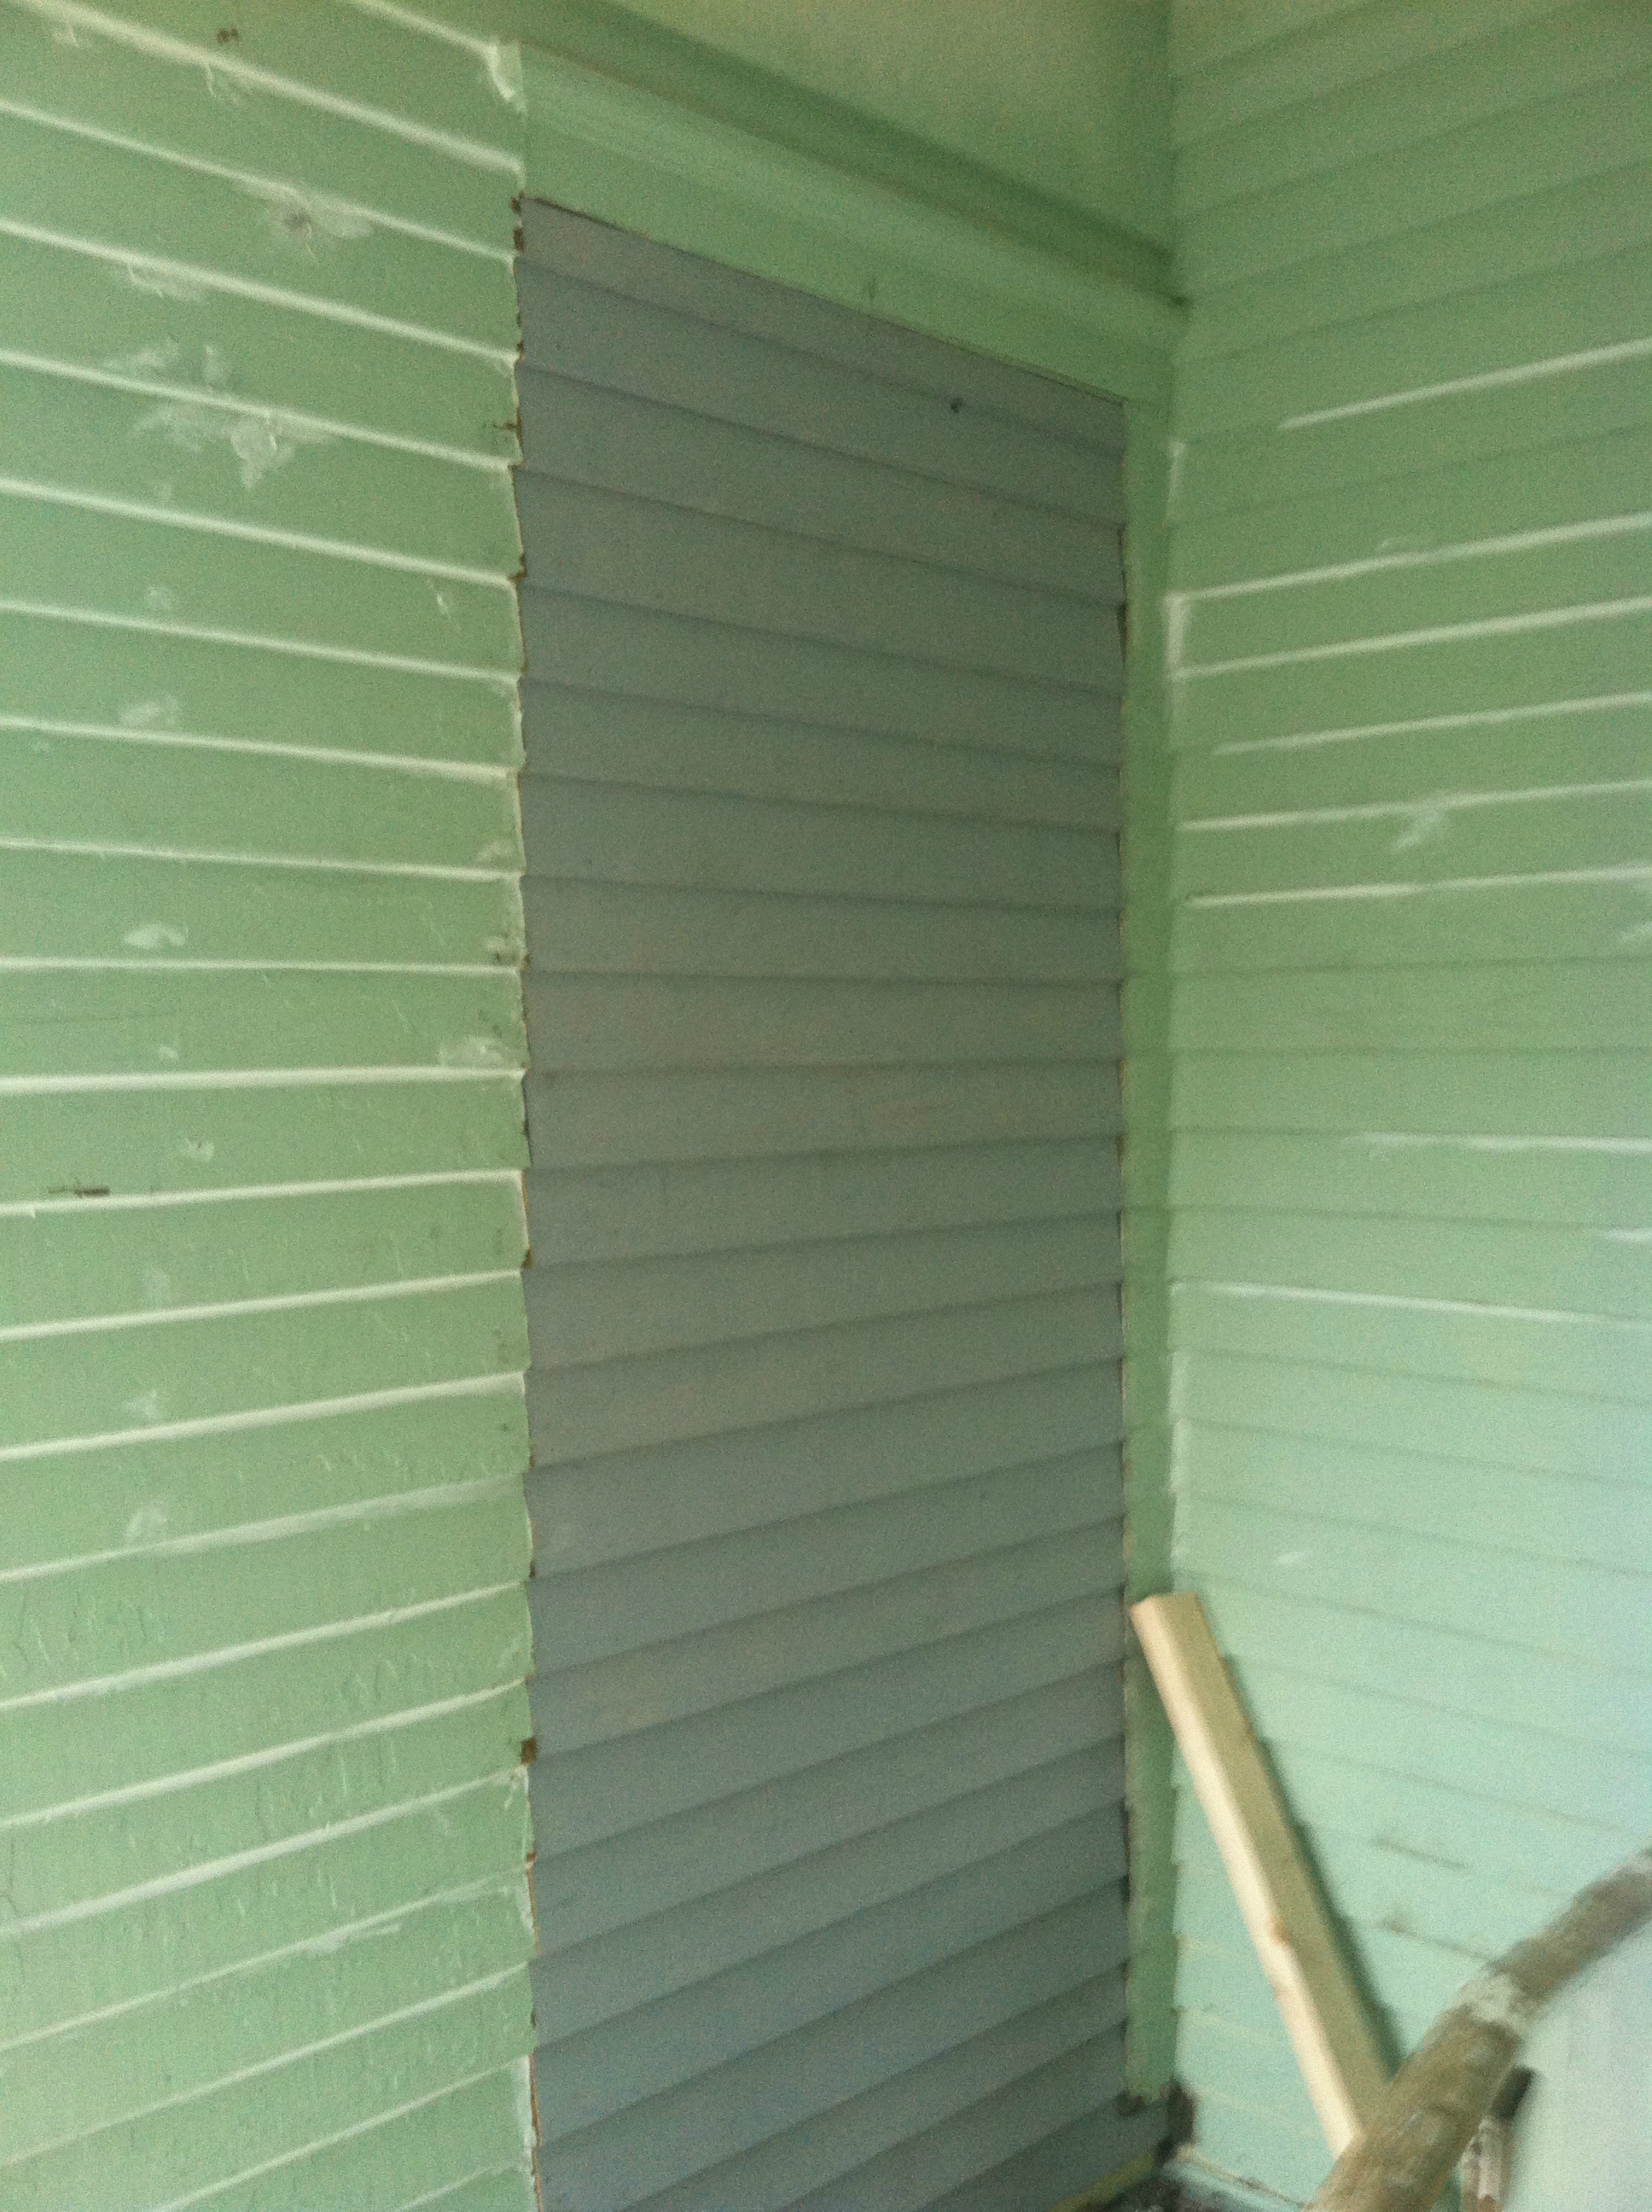
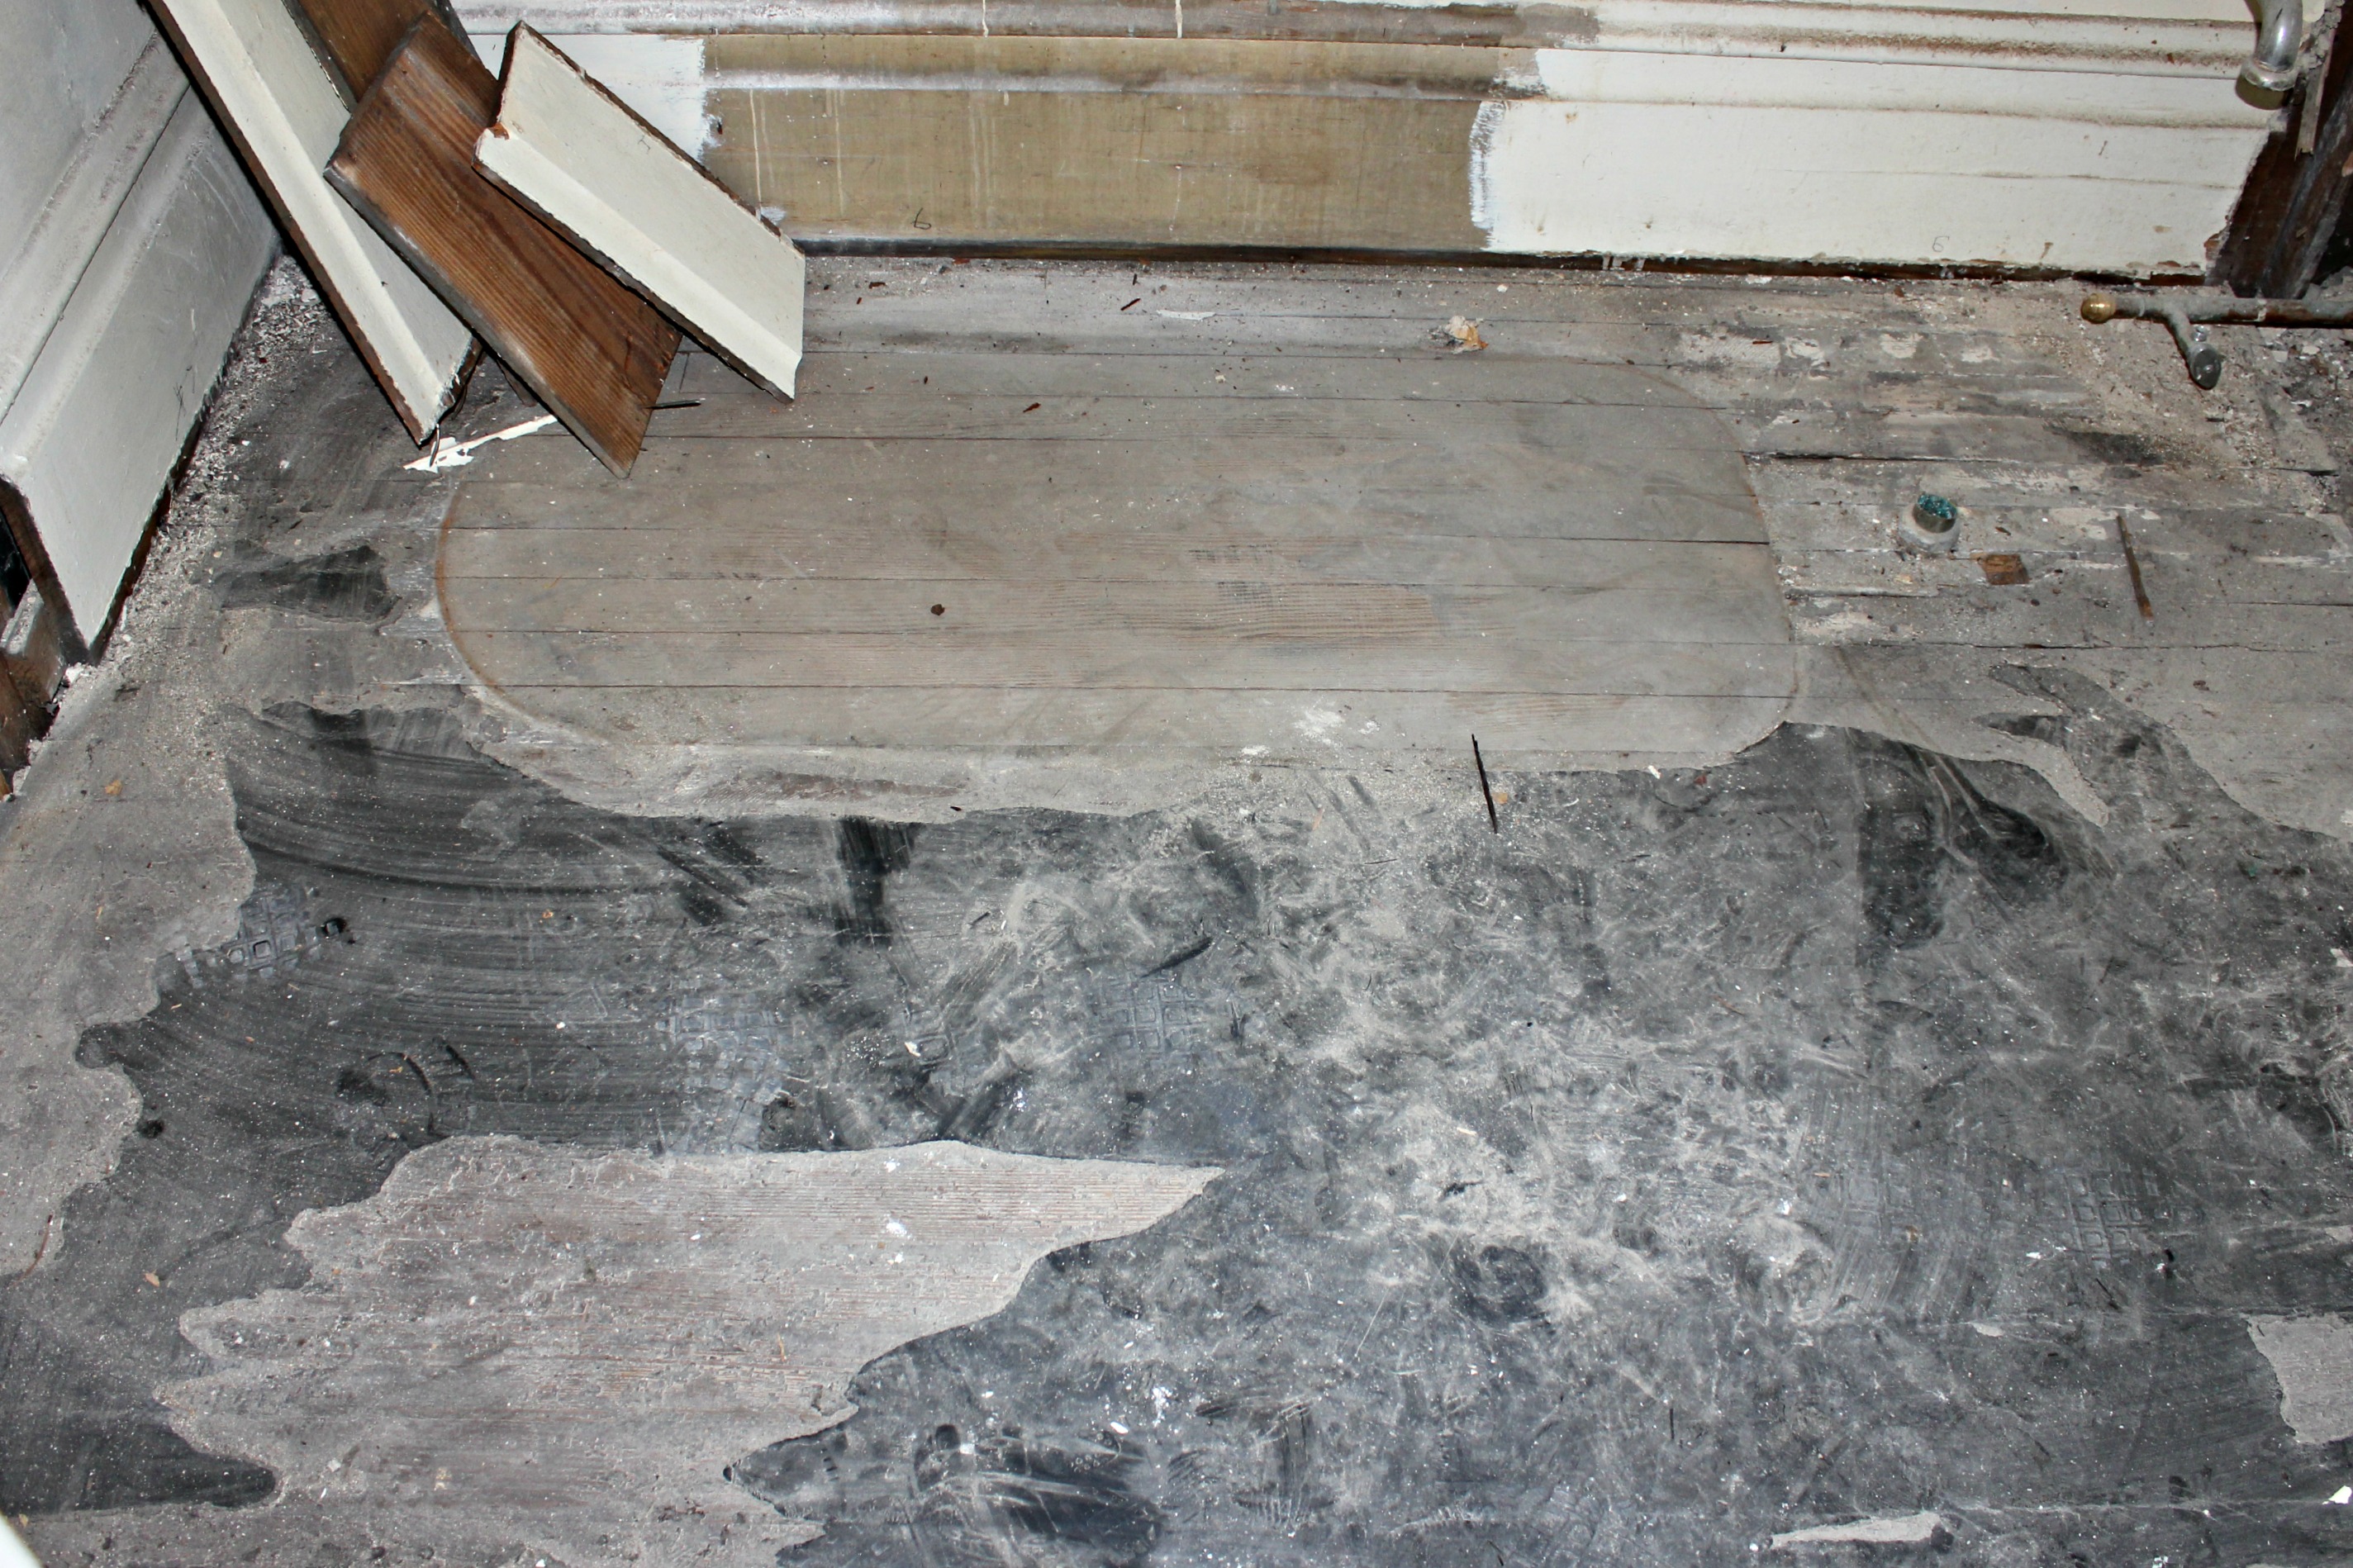
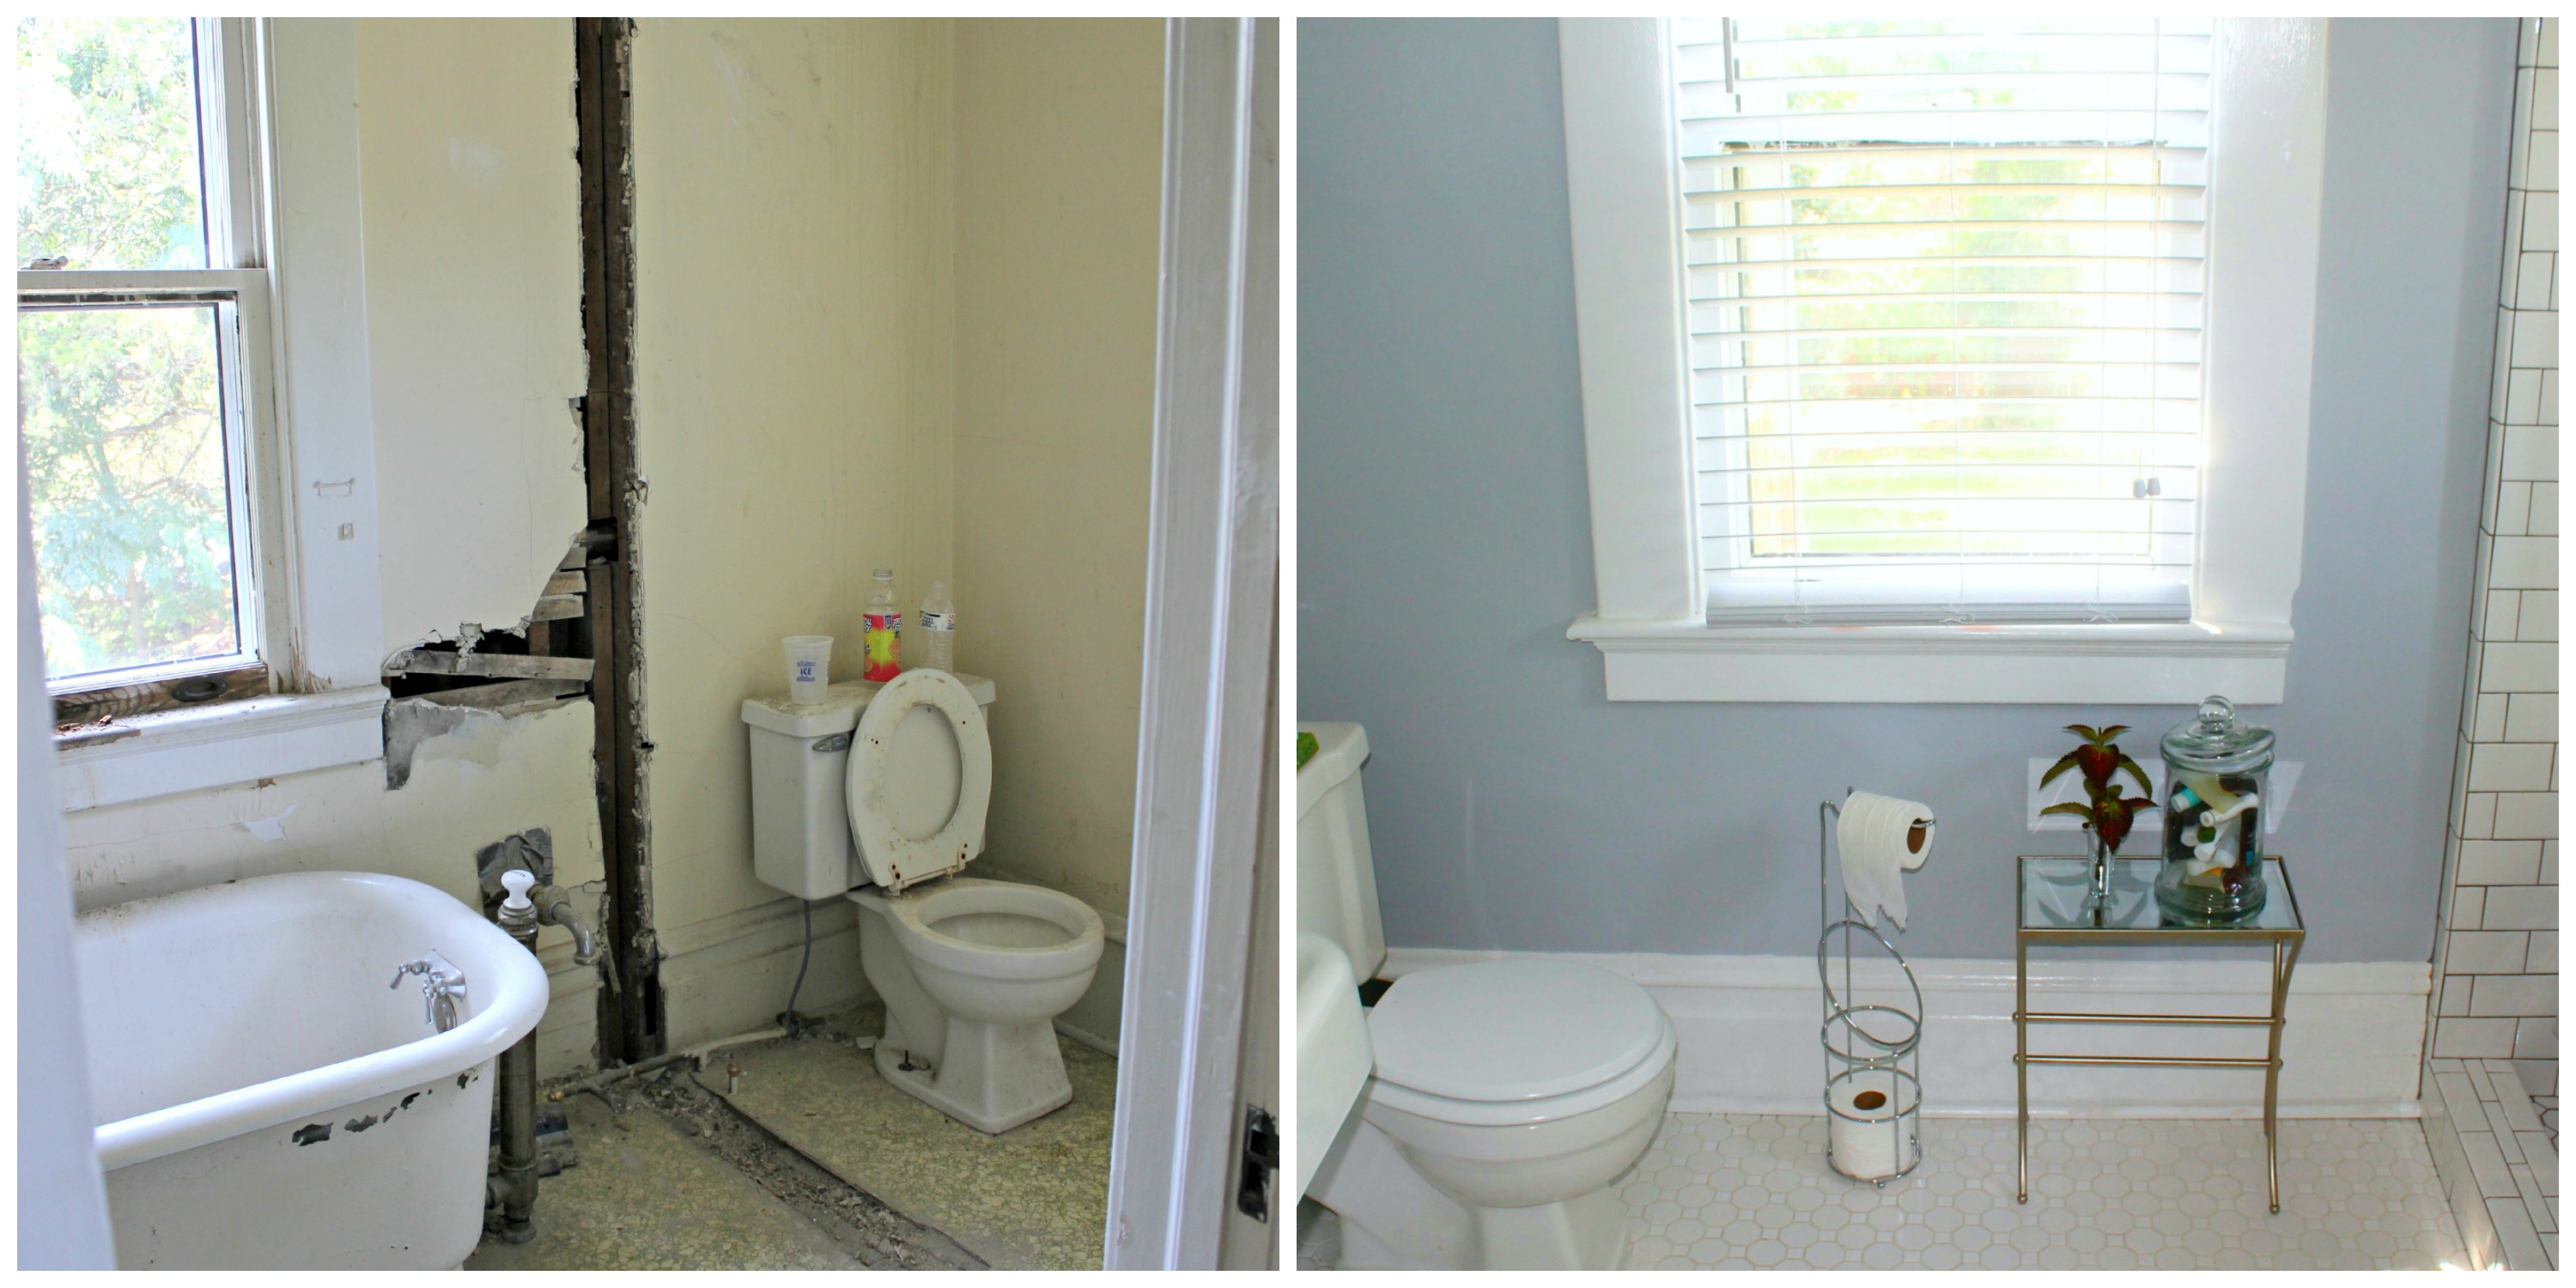
- Close up the exterior door
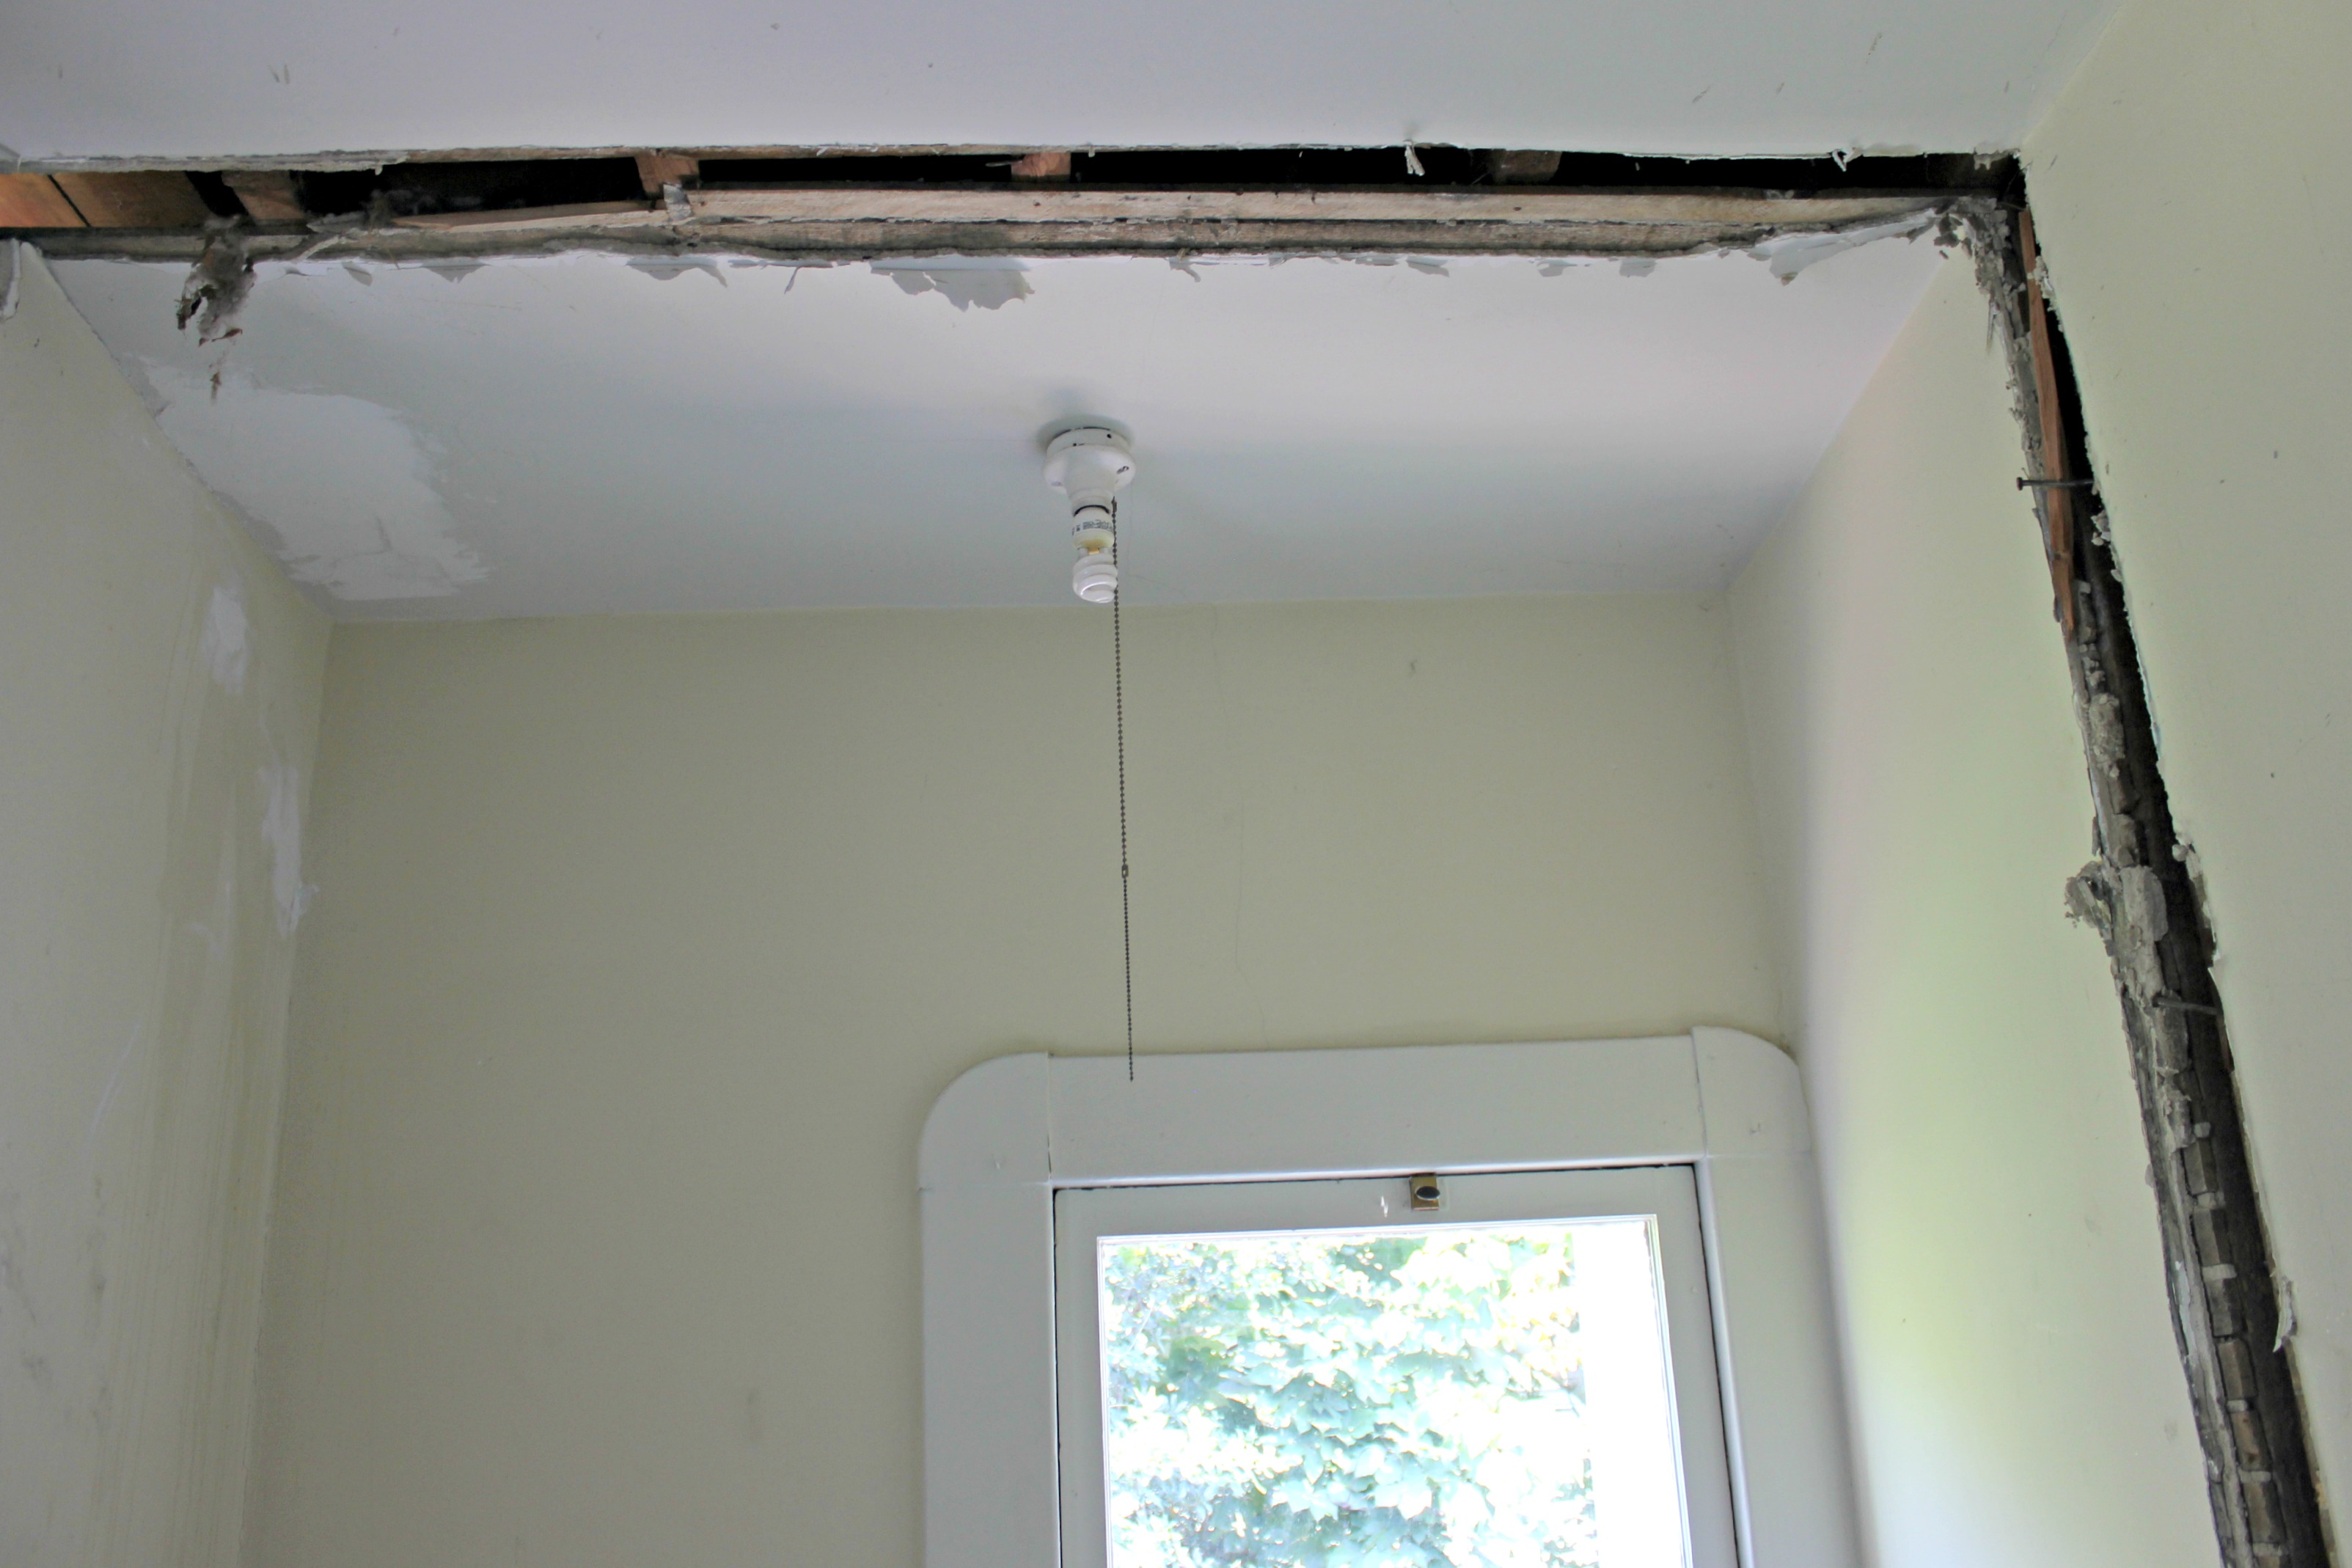
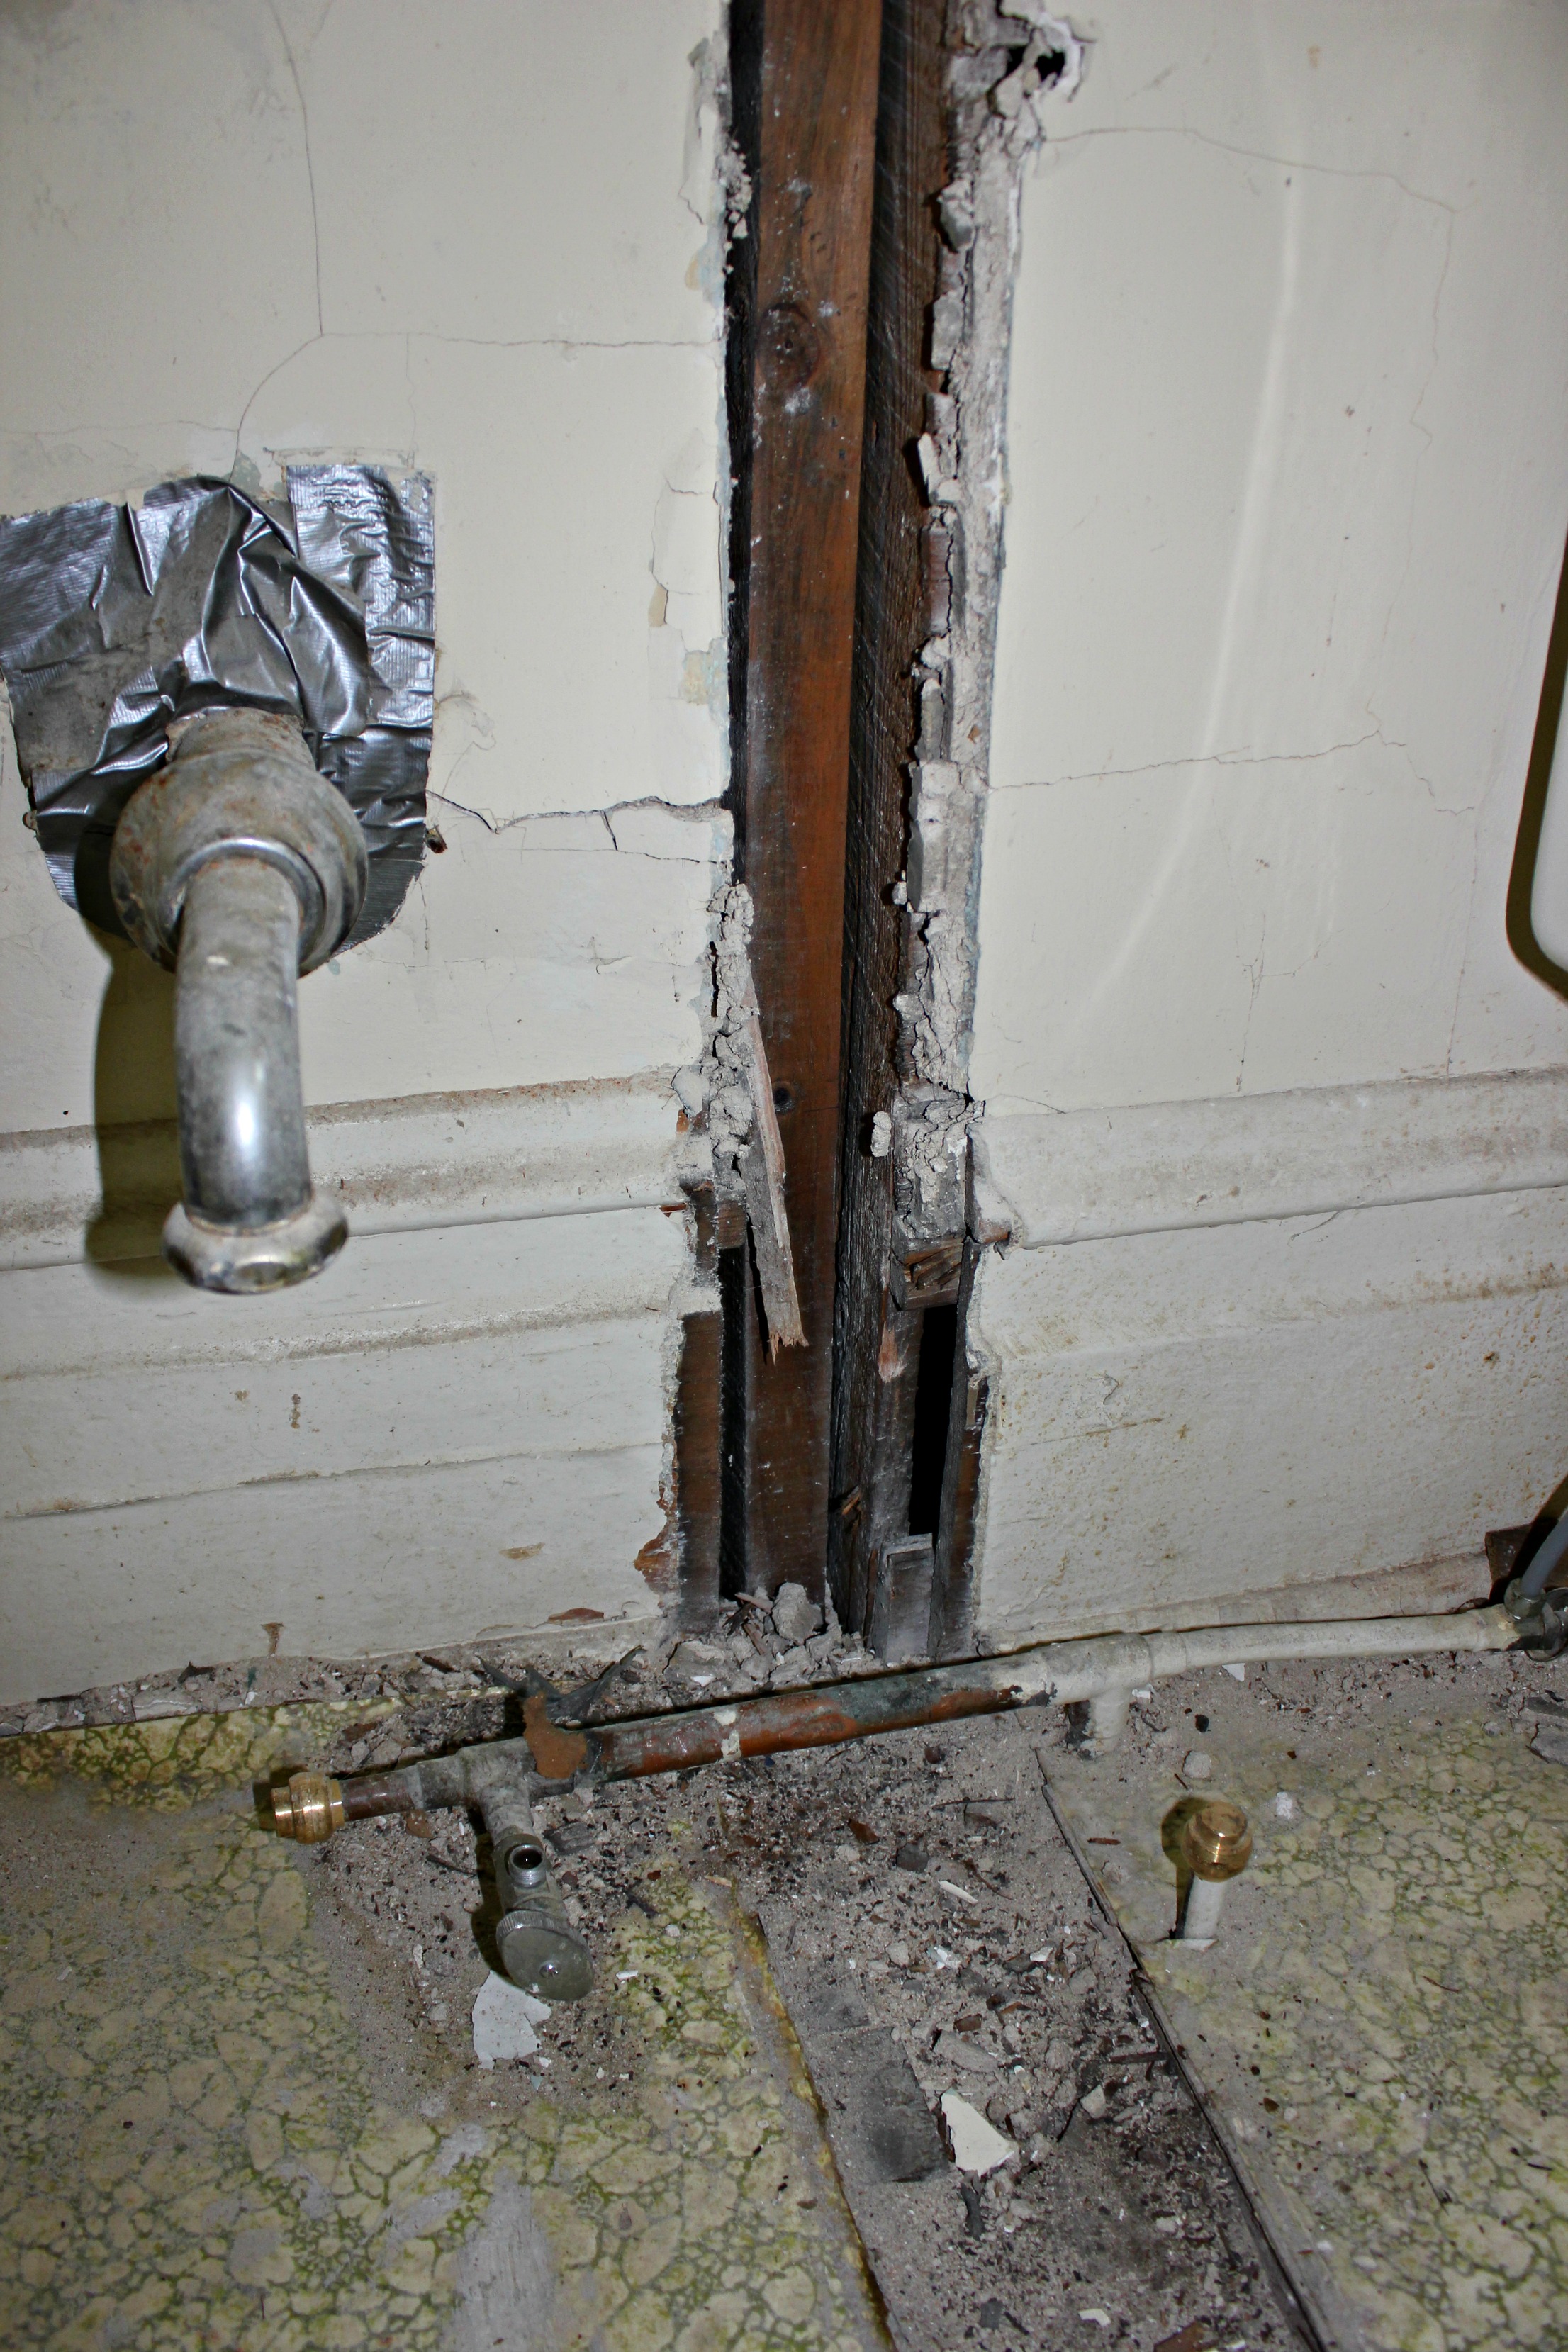
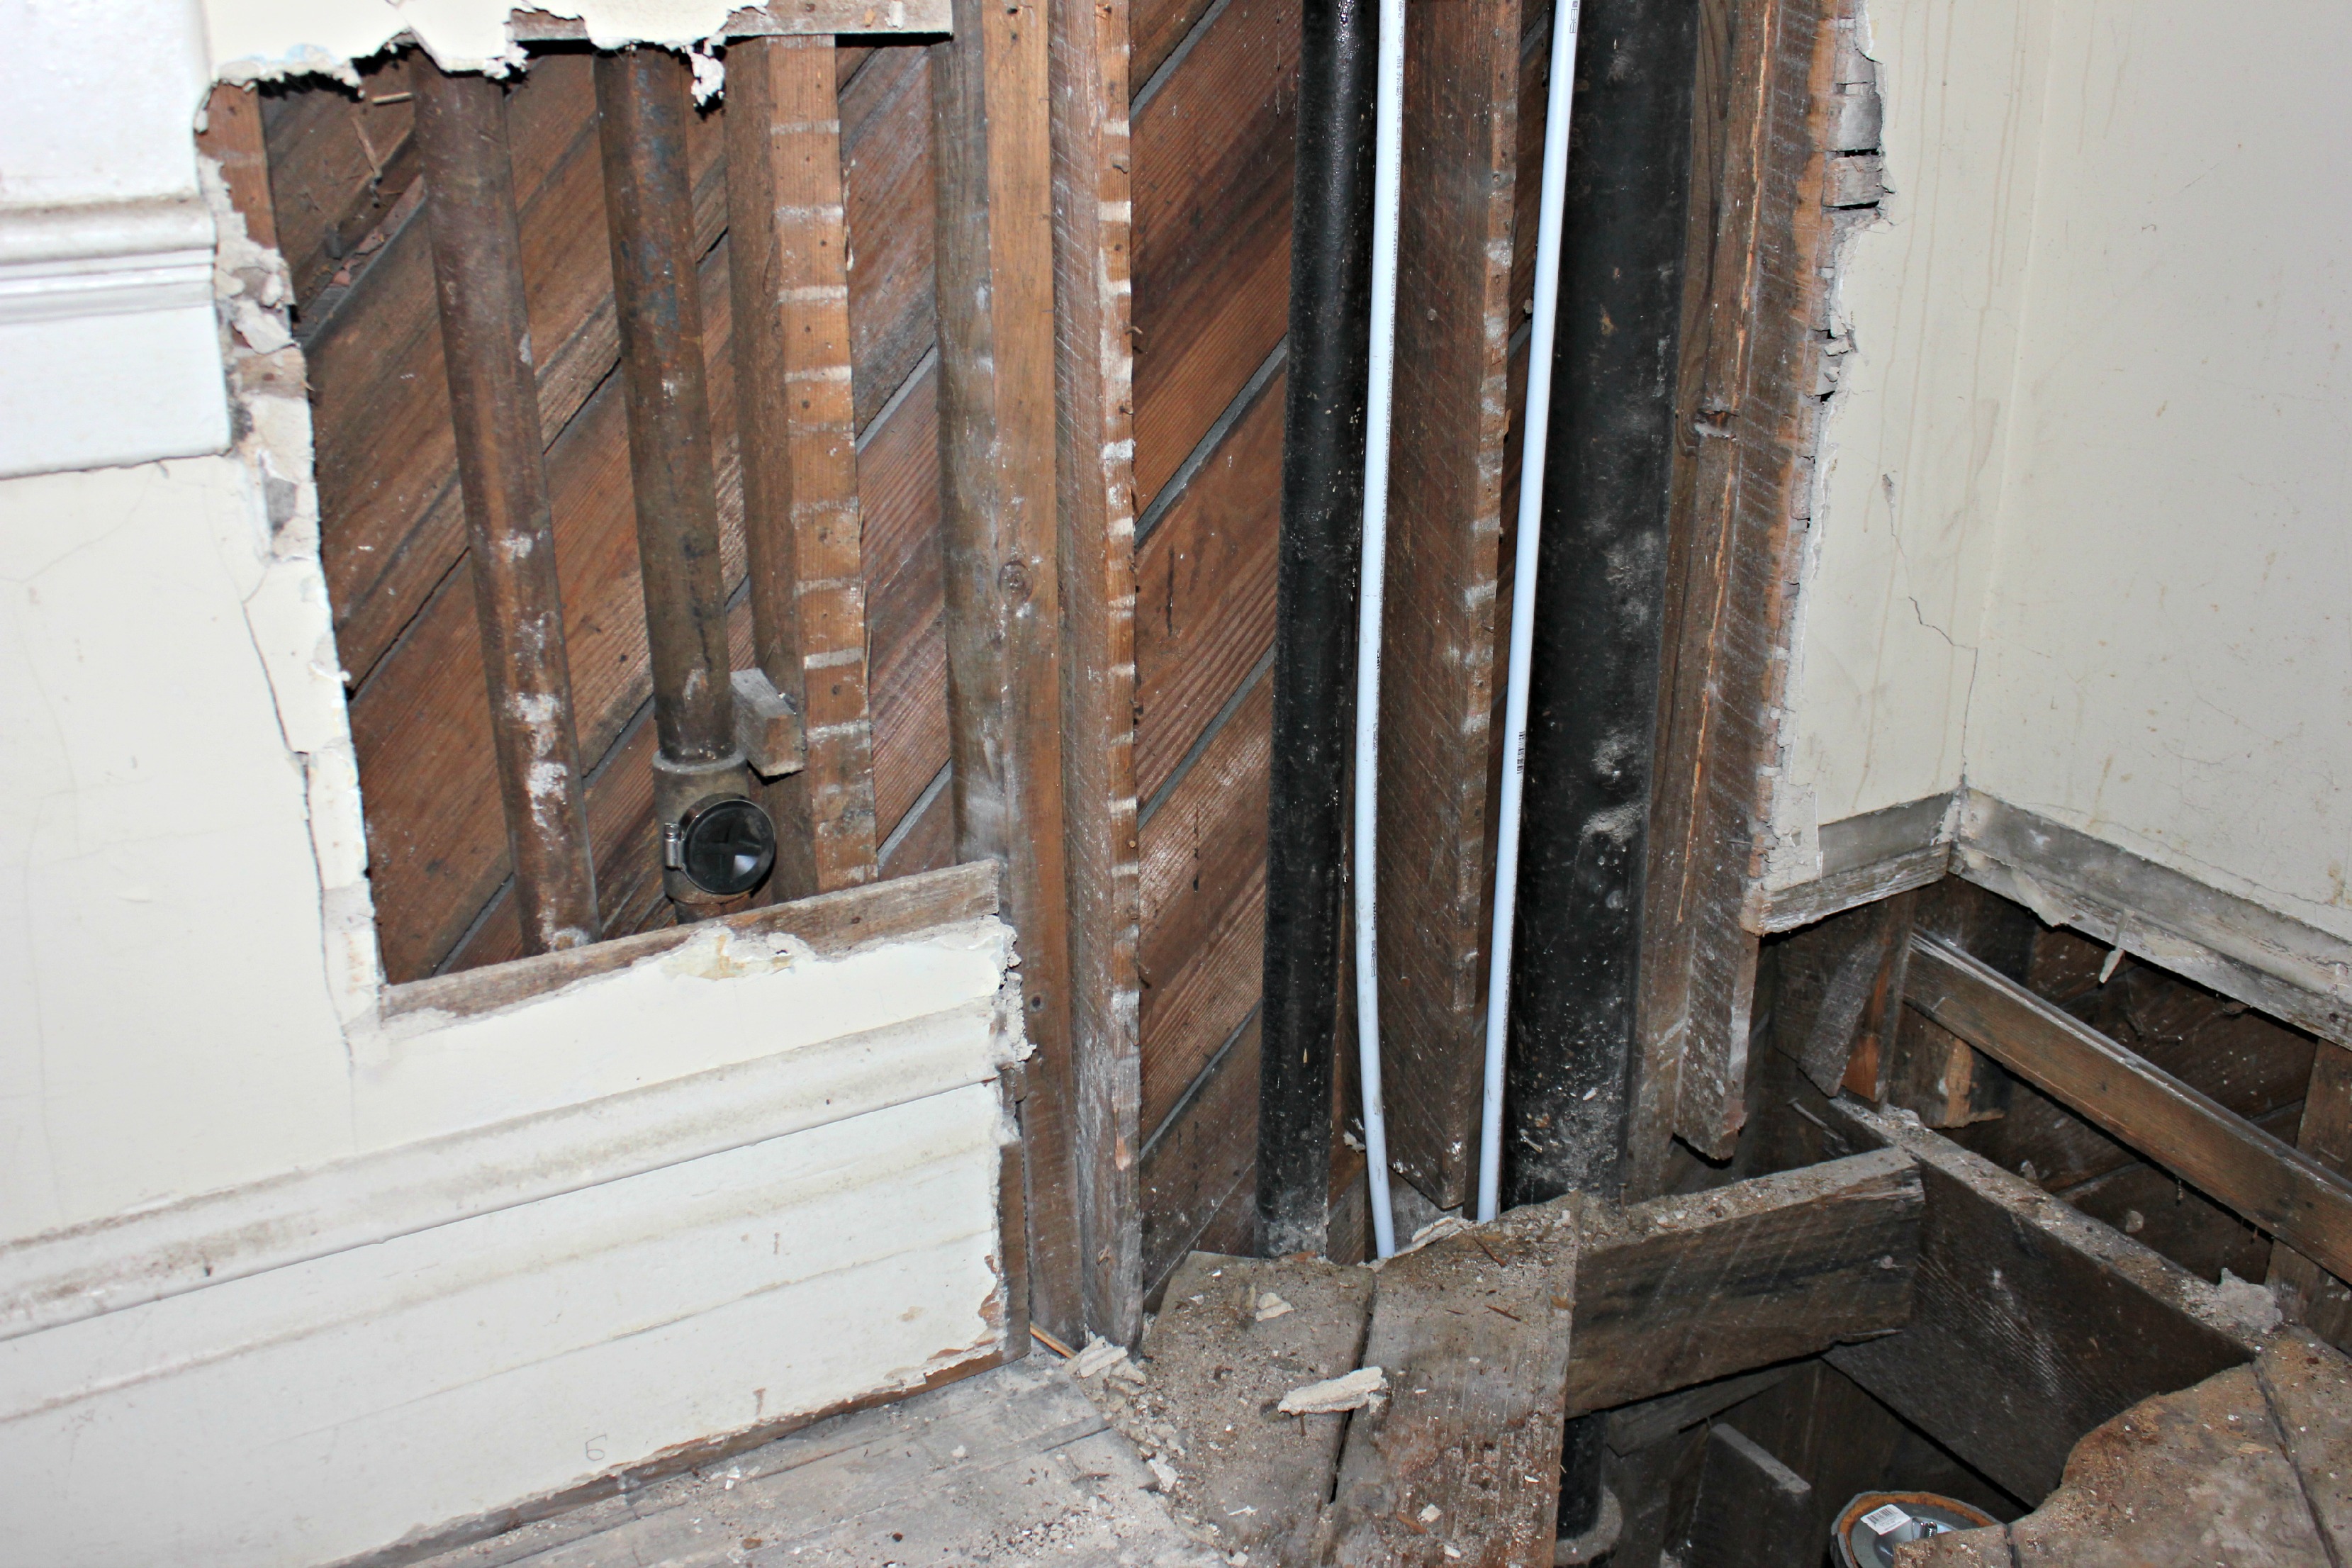
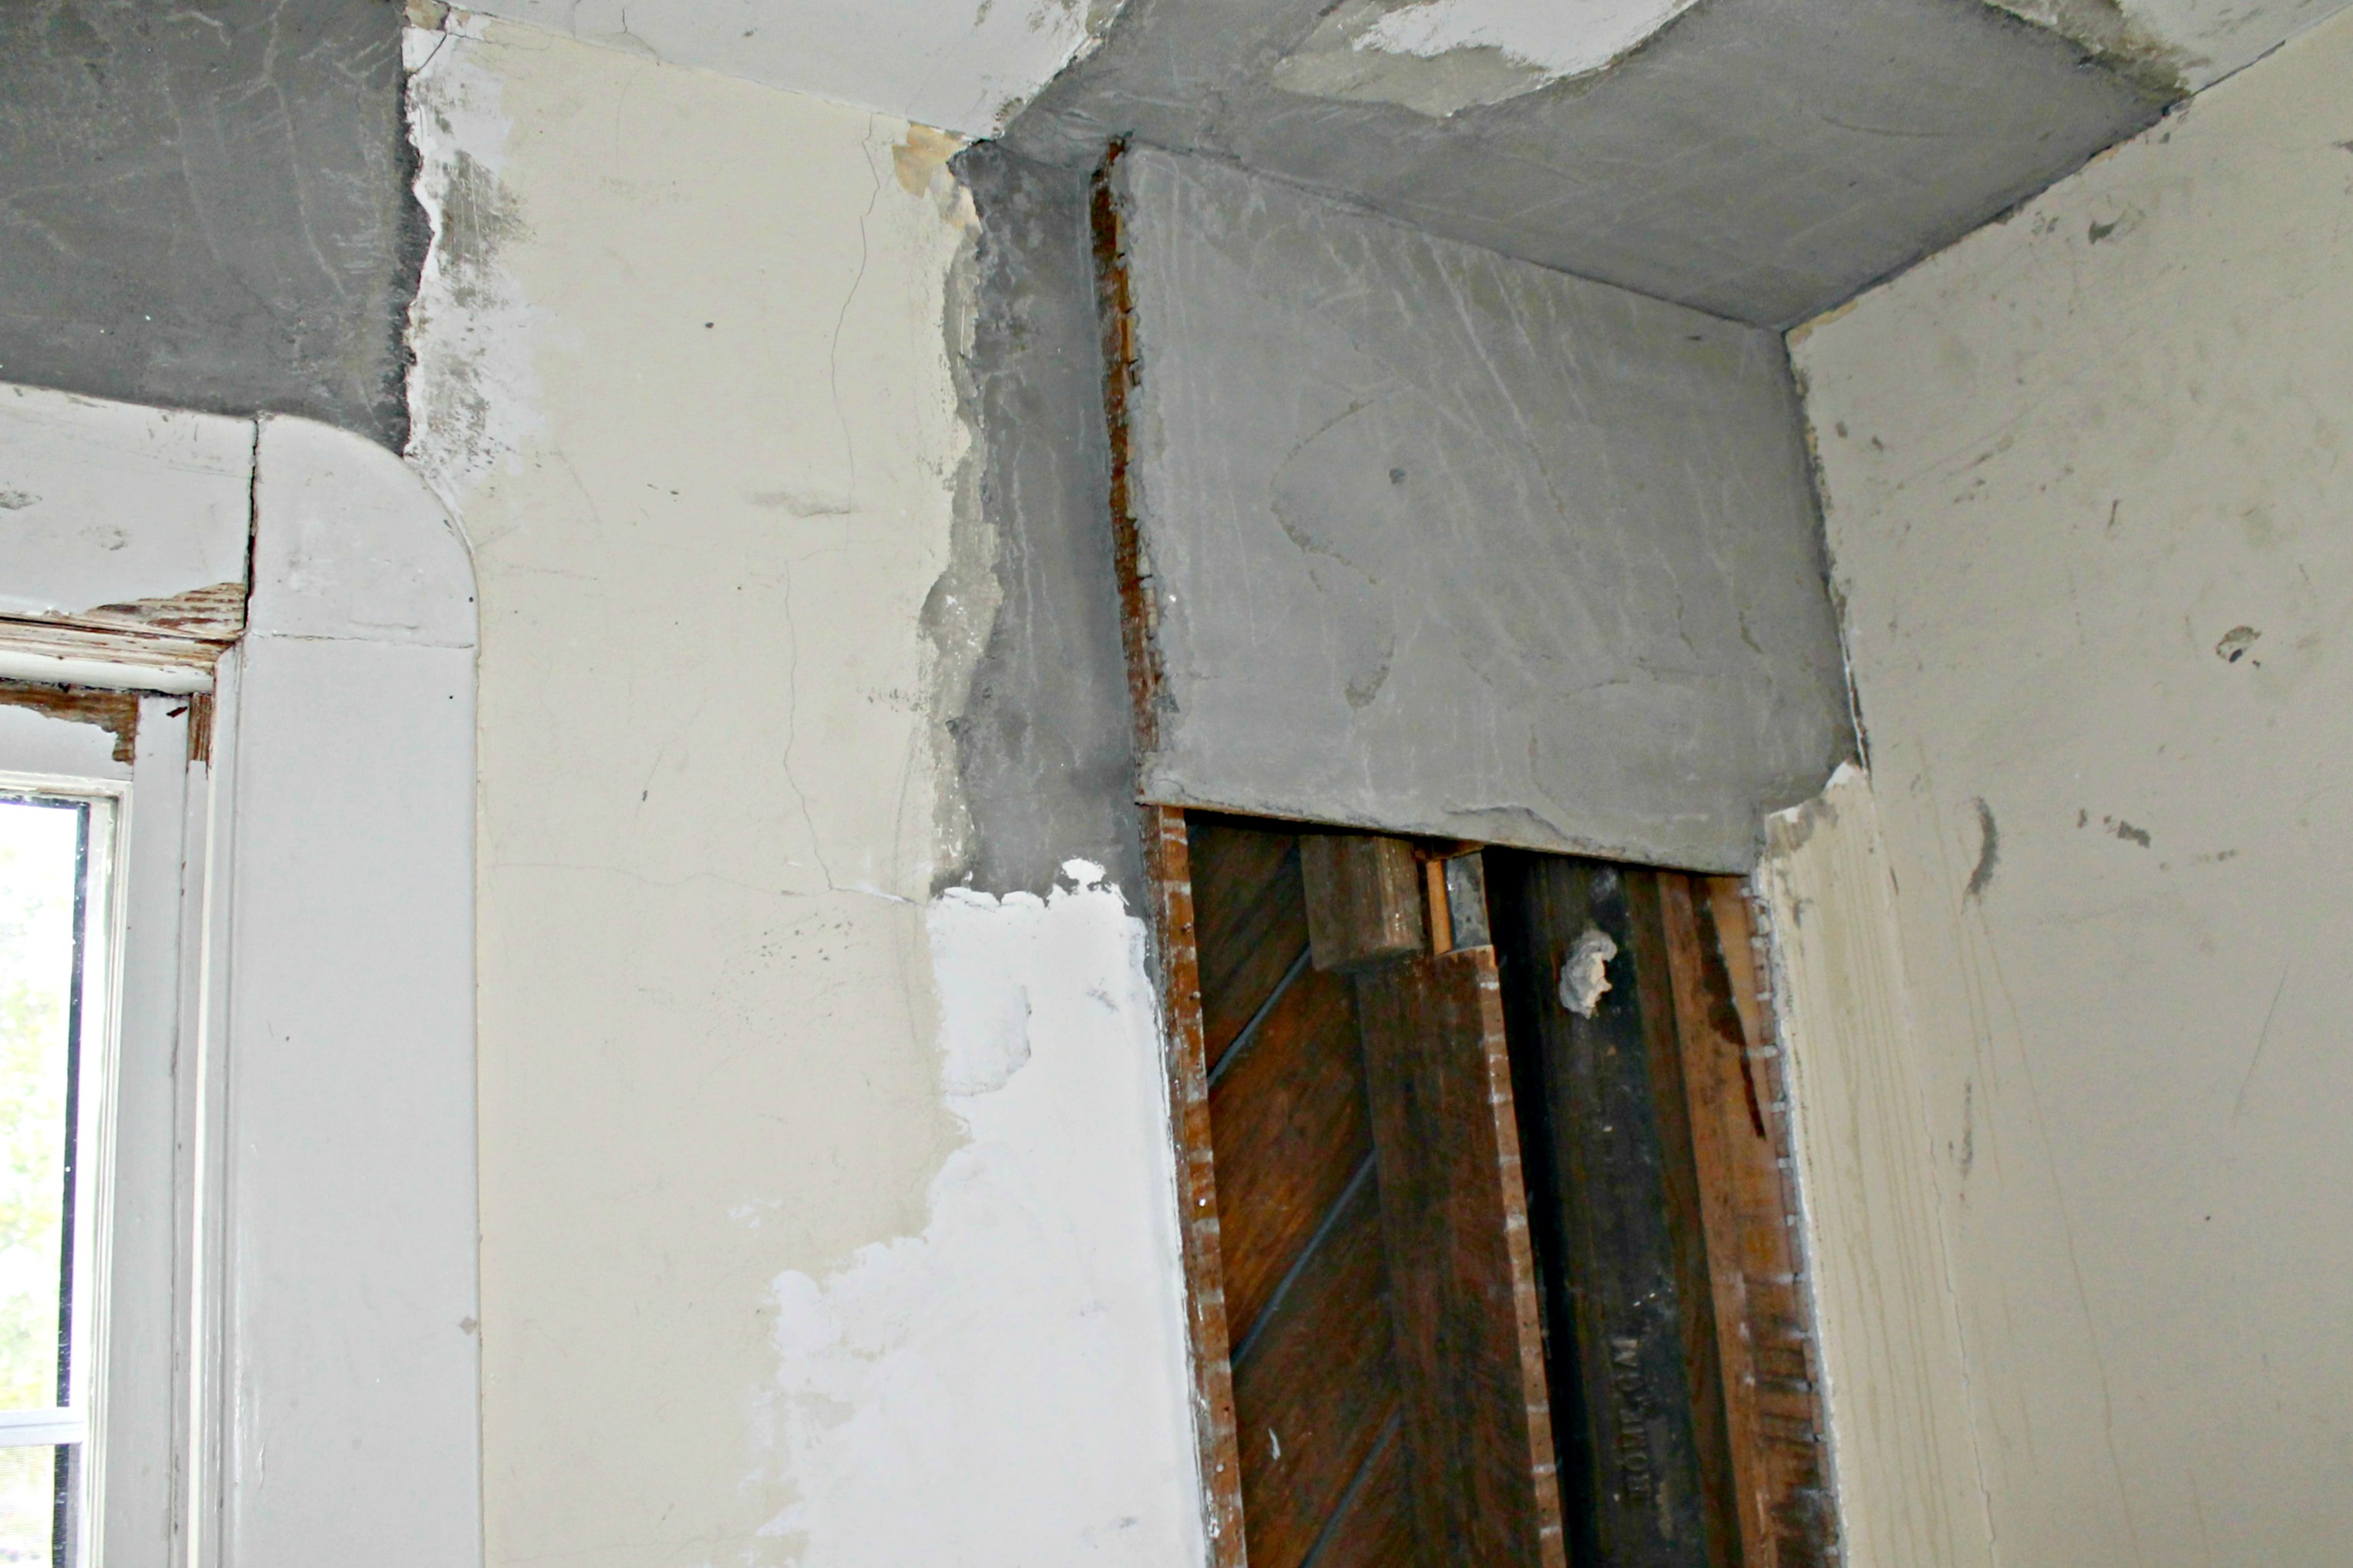
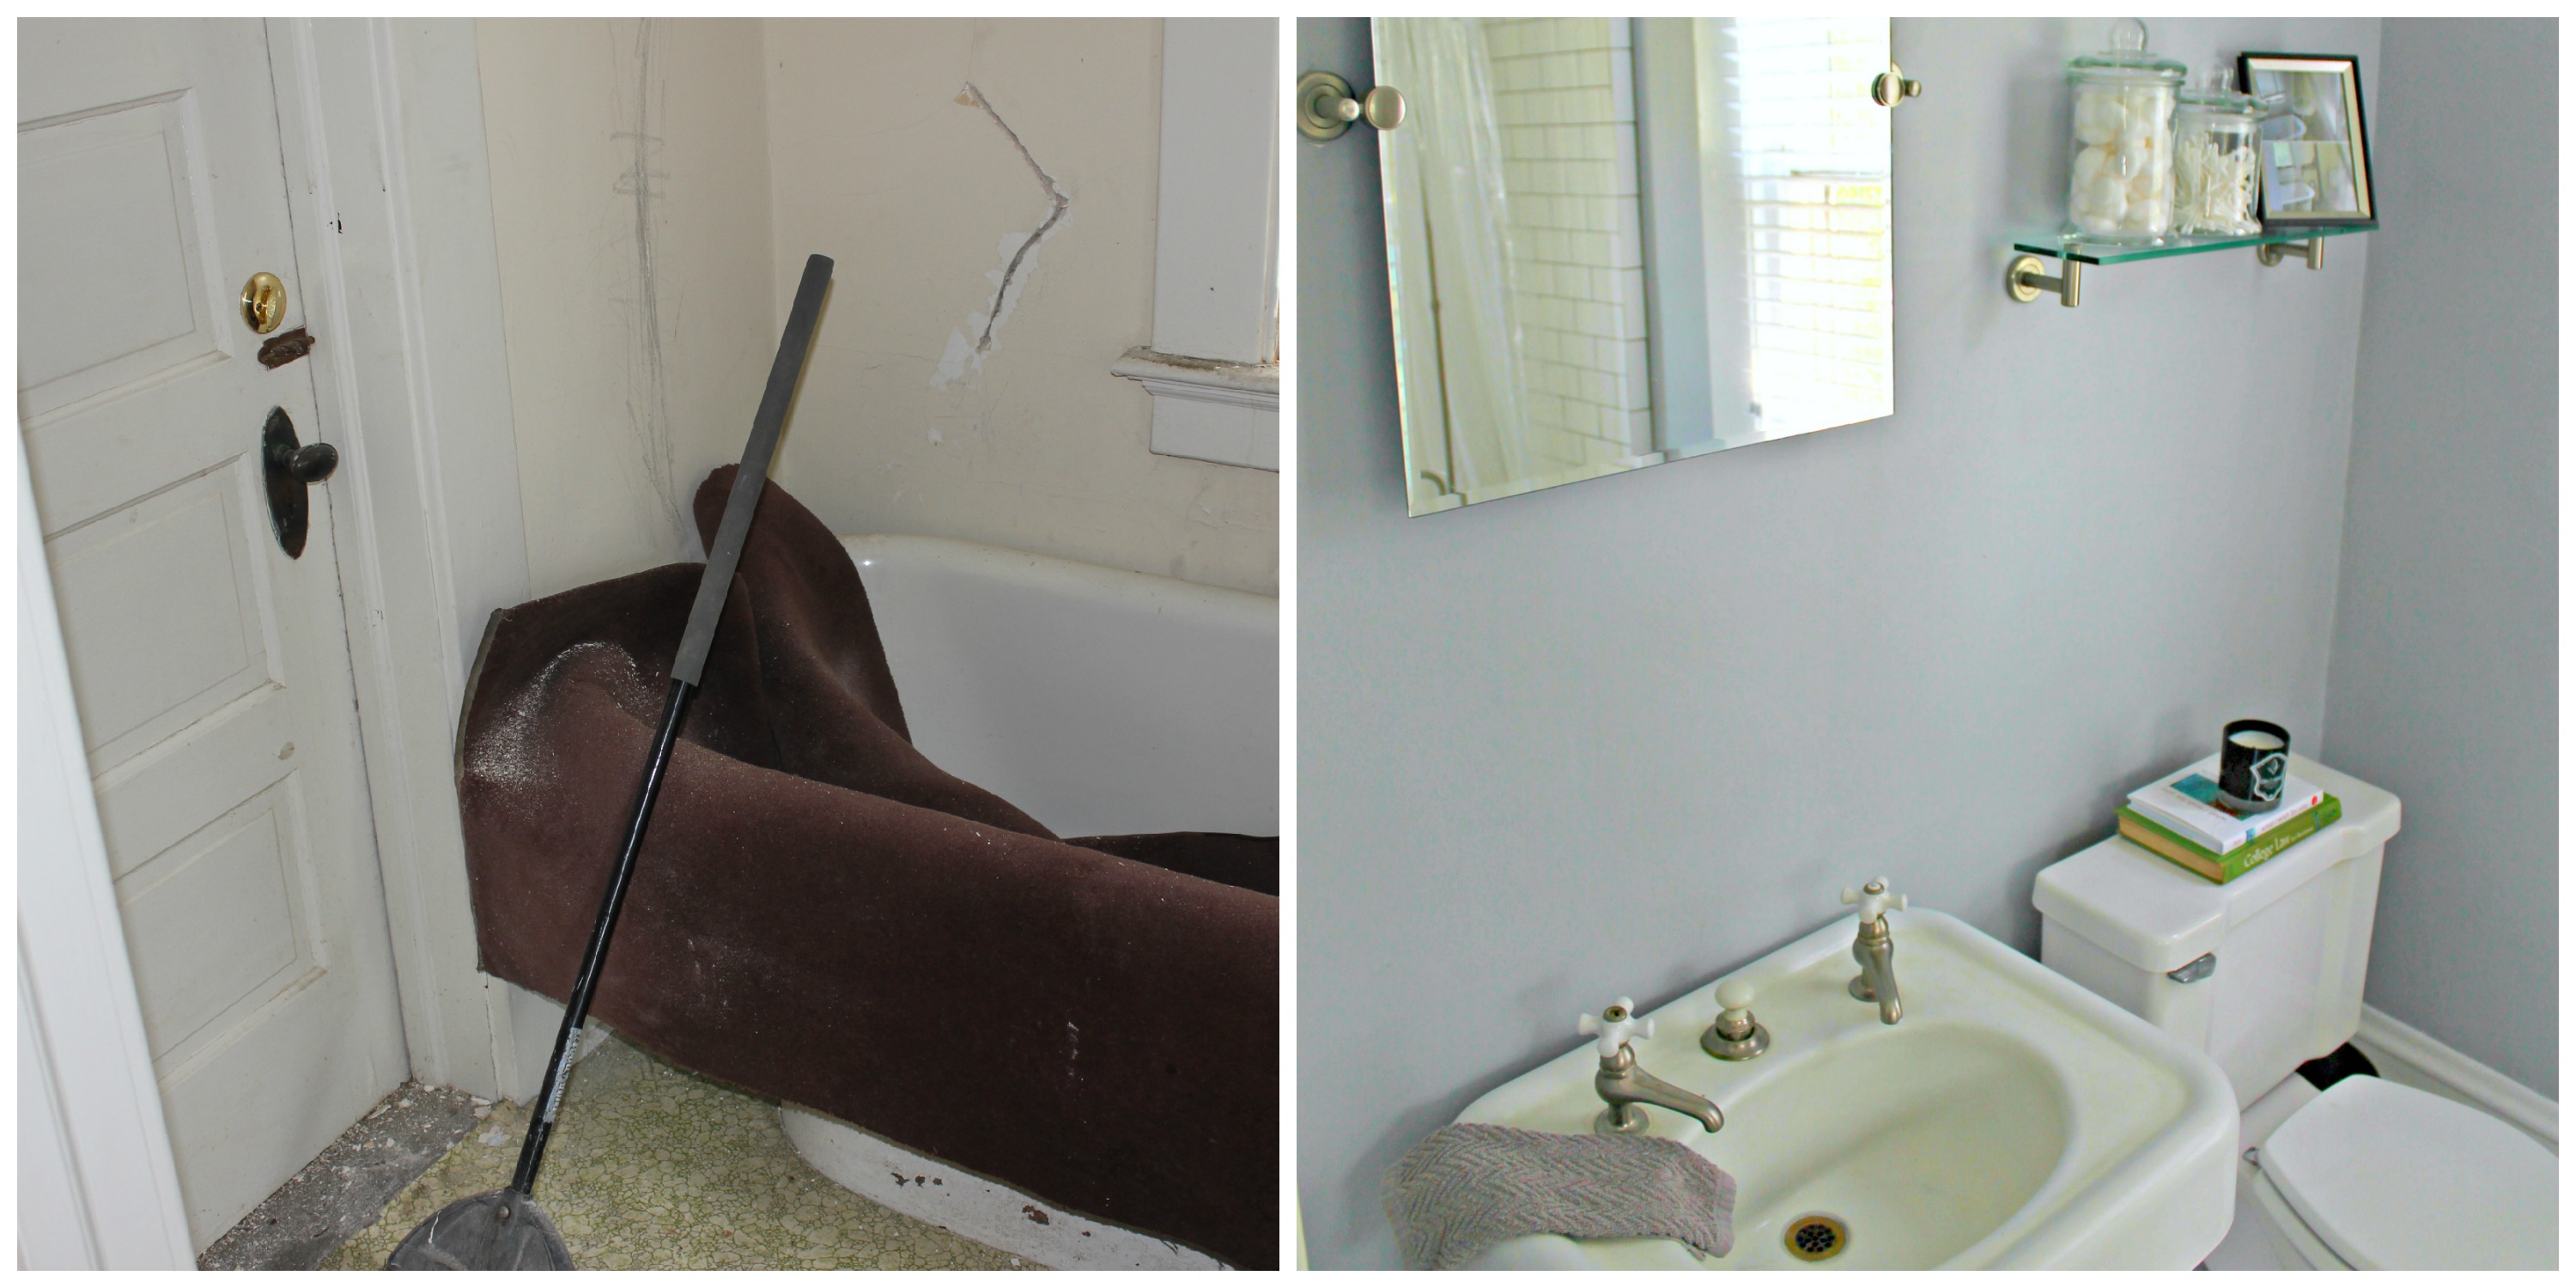
- Remove wall and door to the water closet
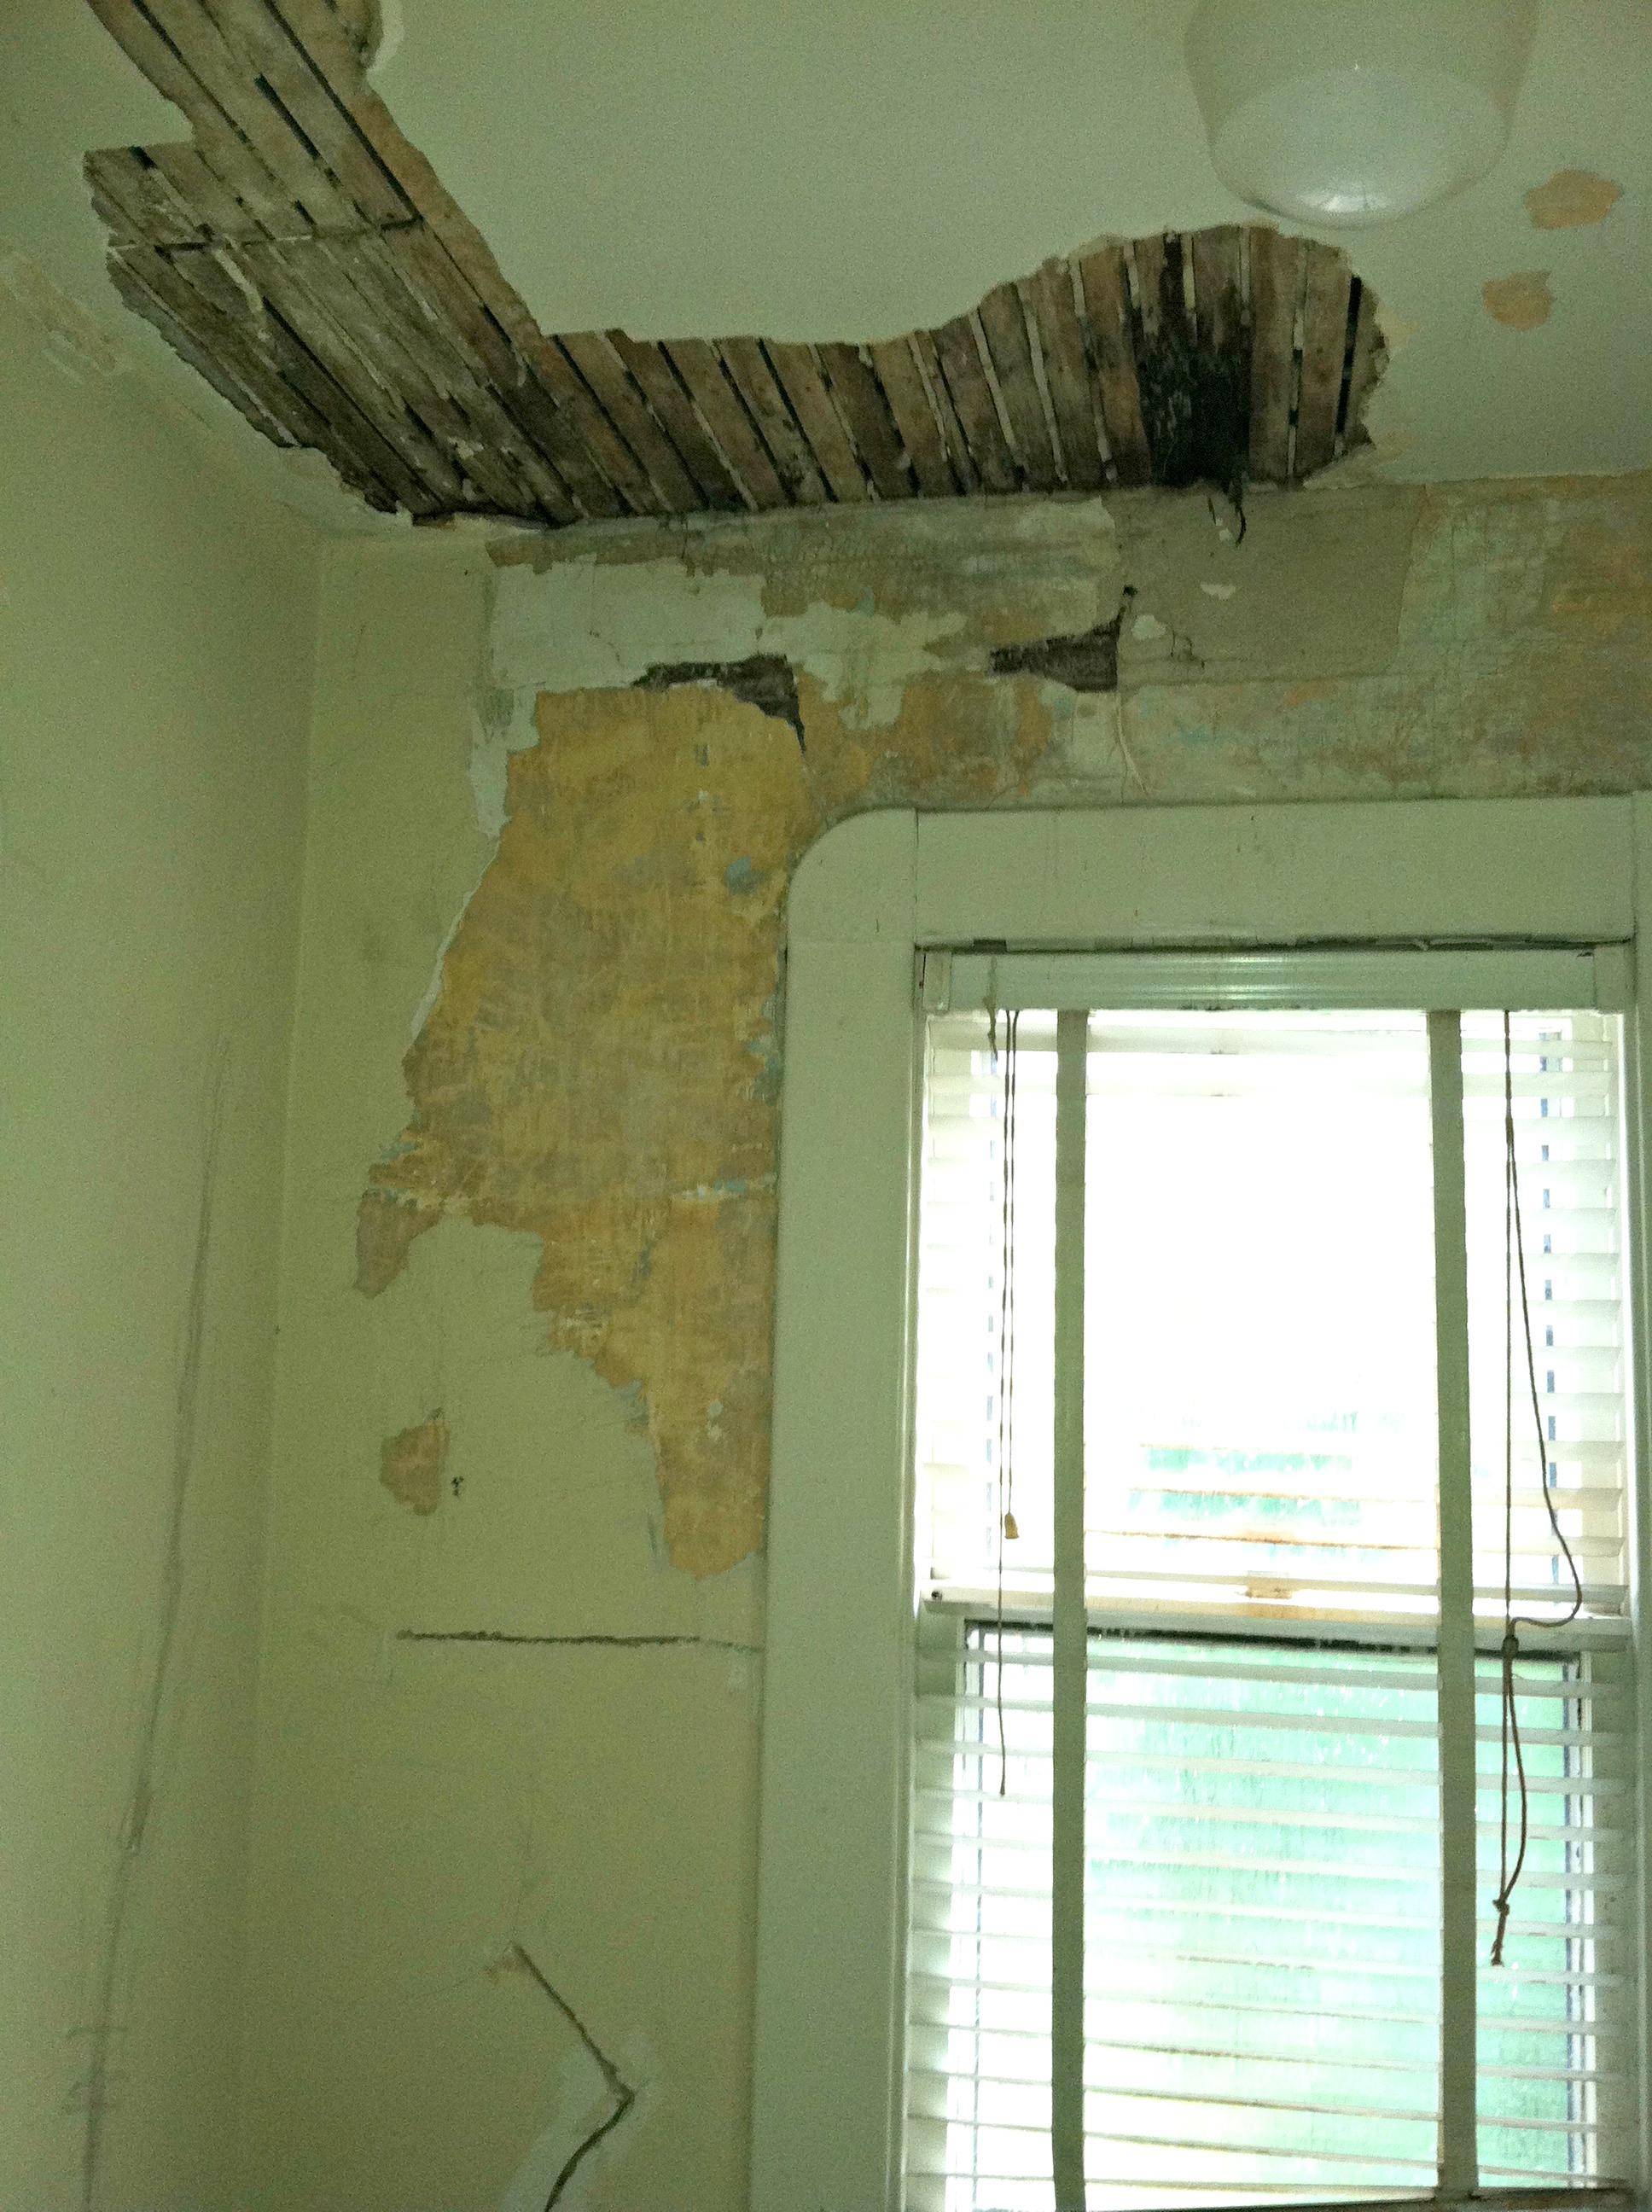
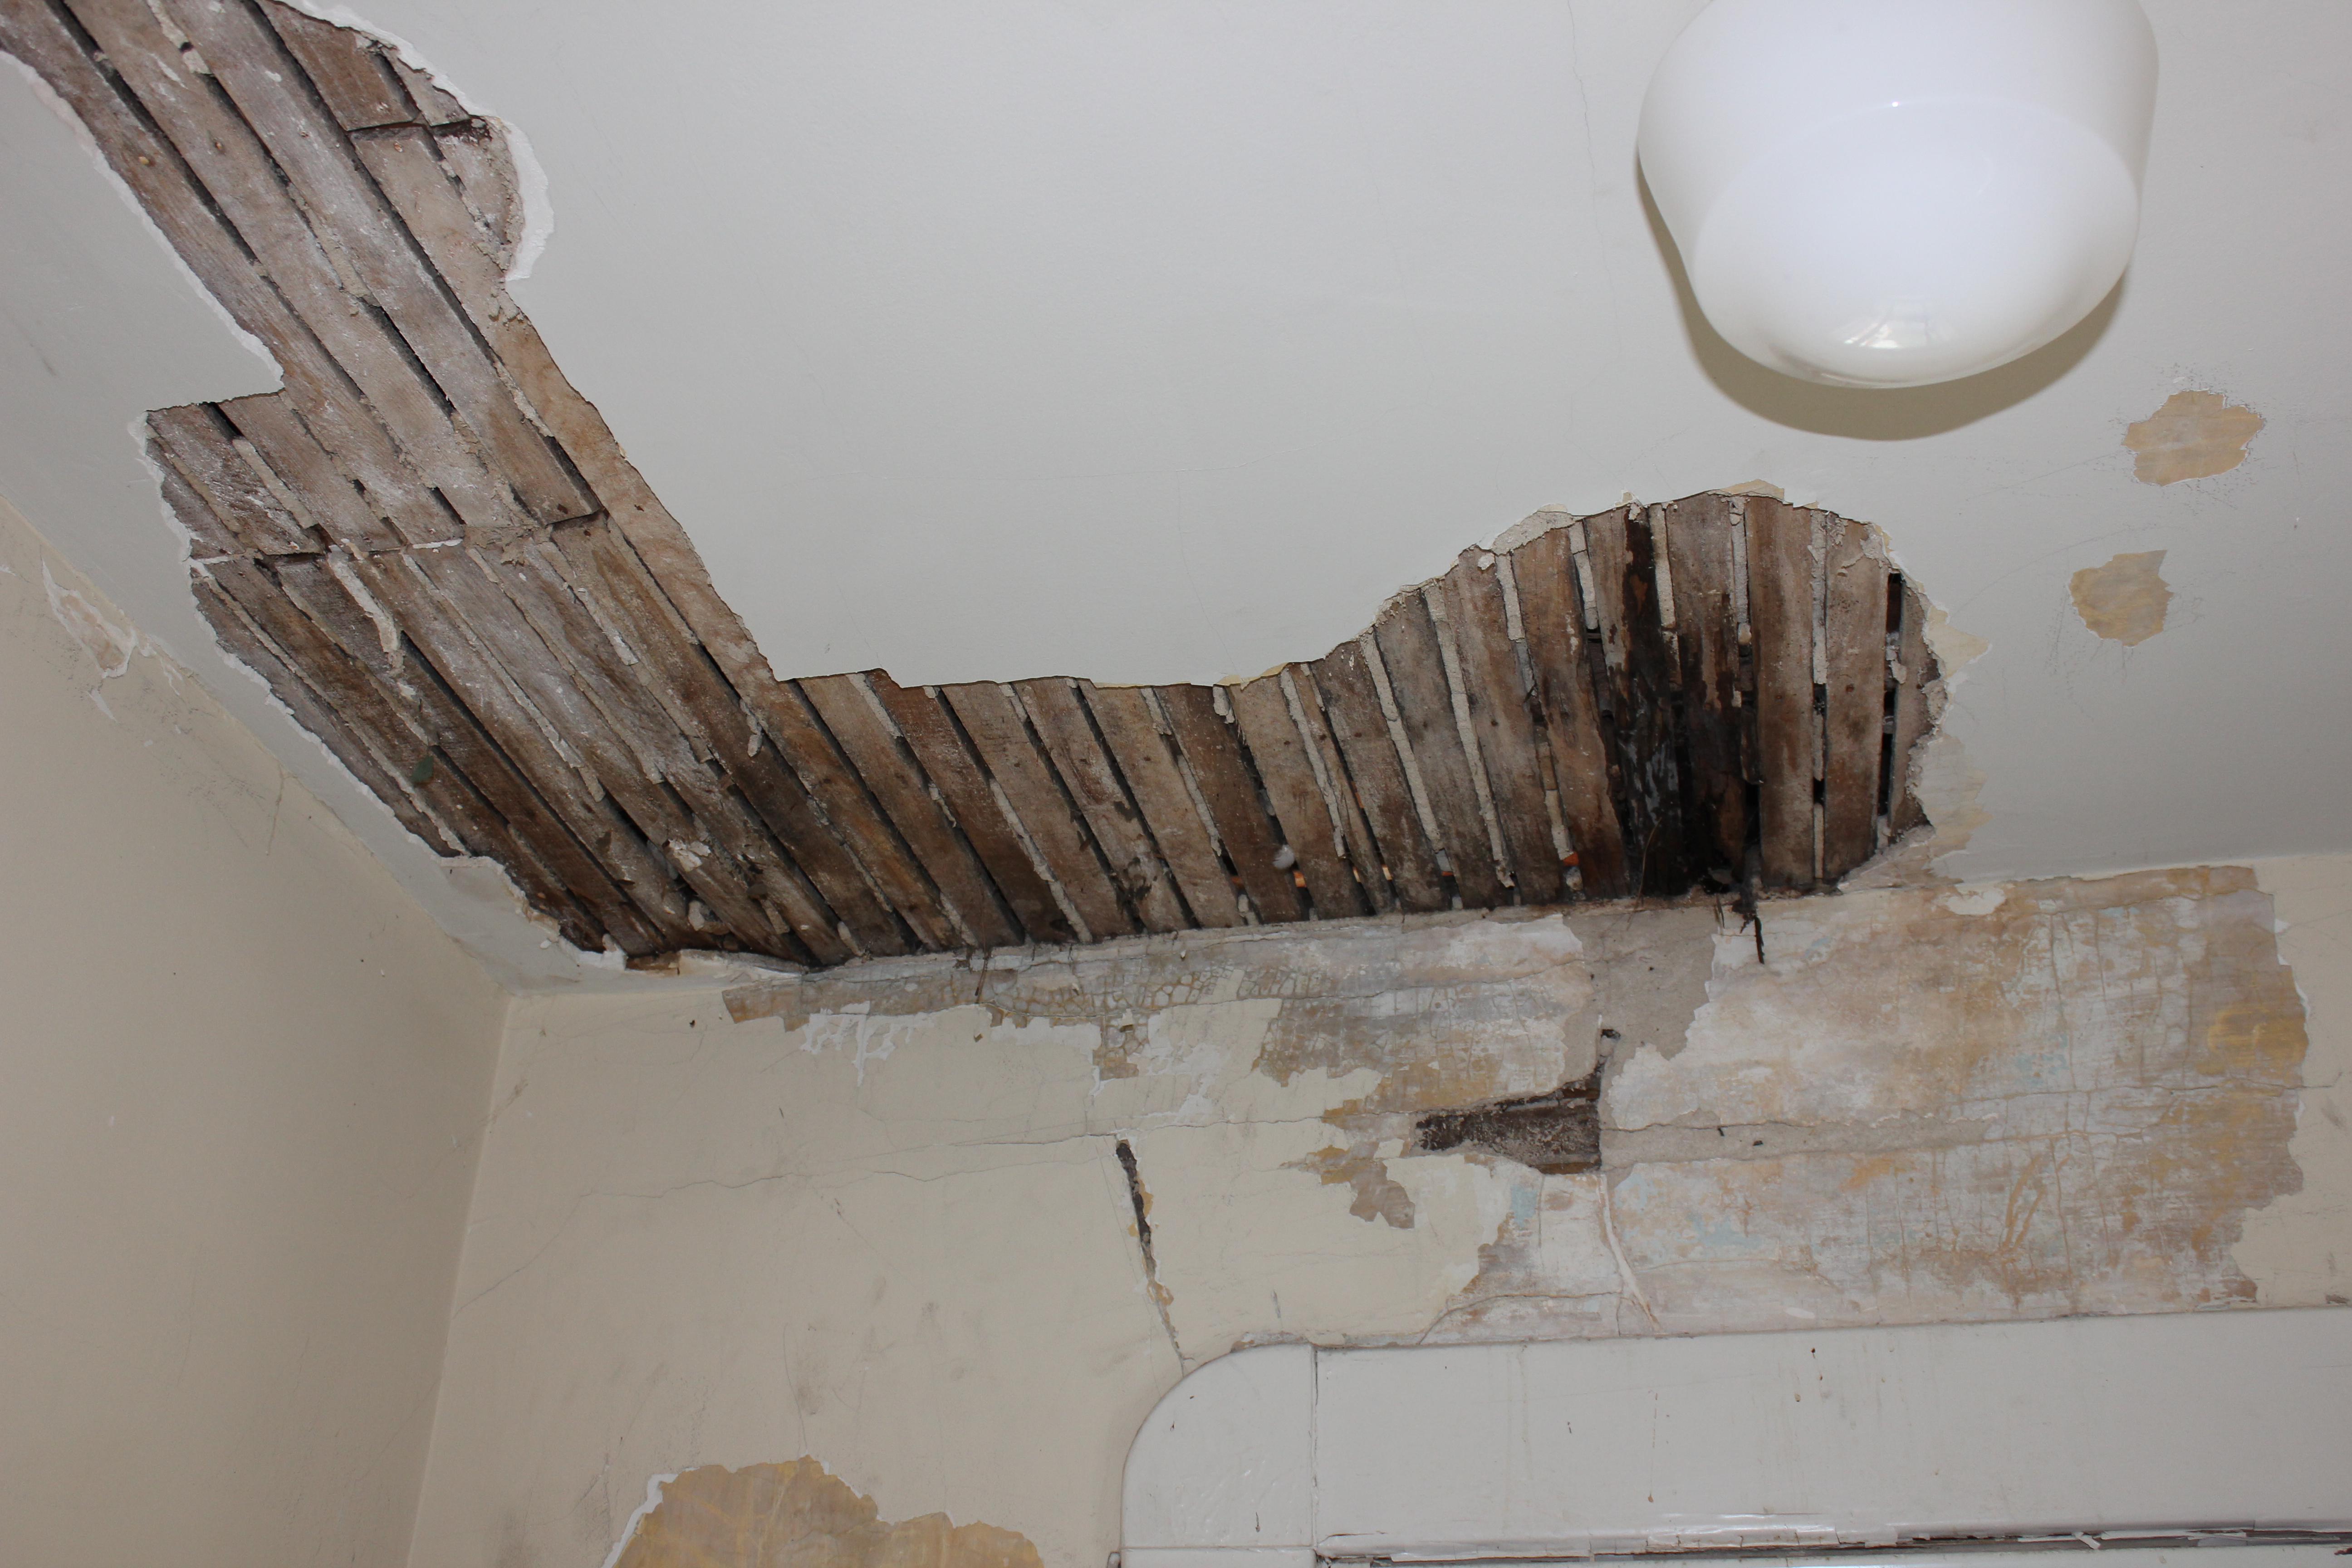
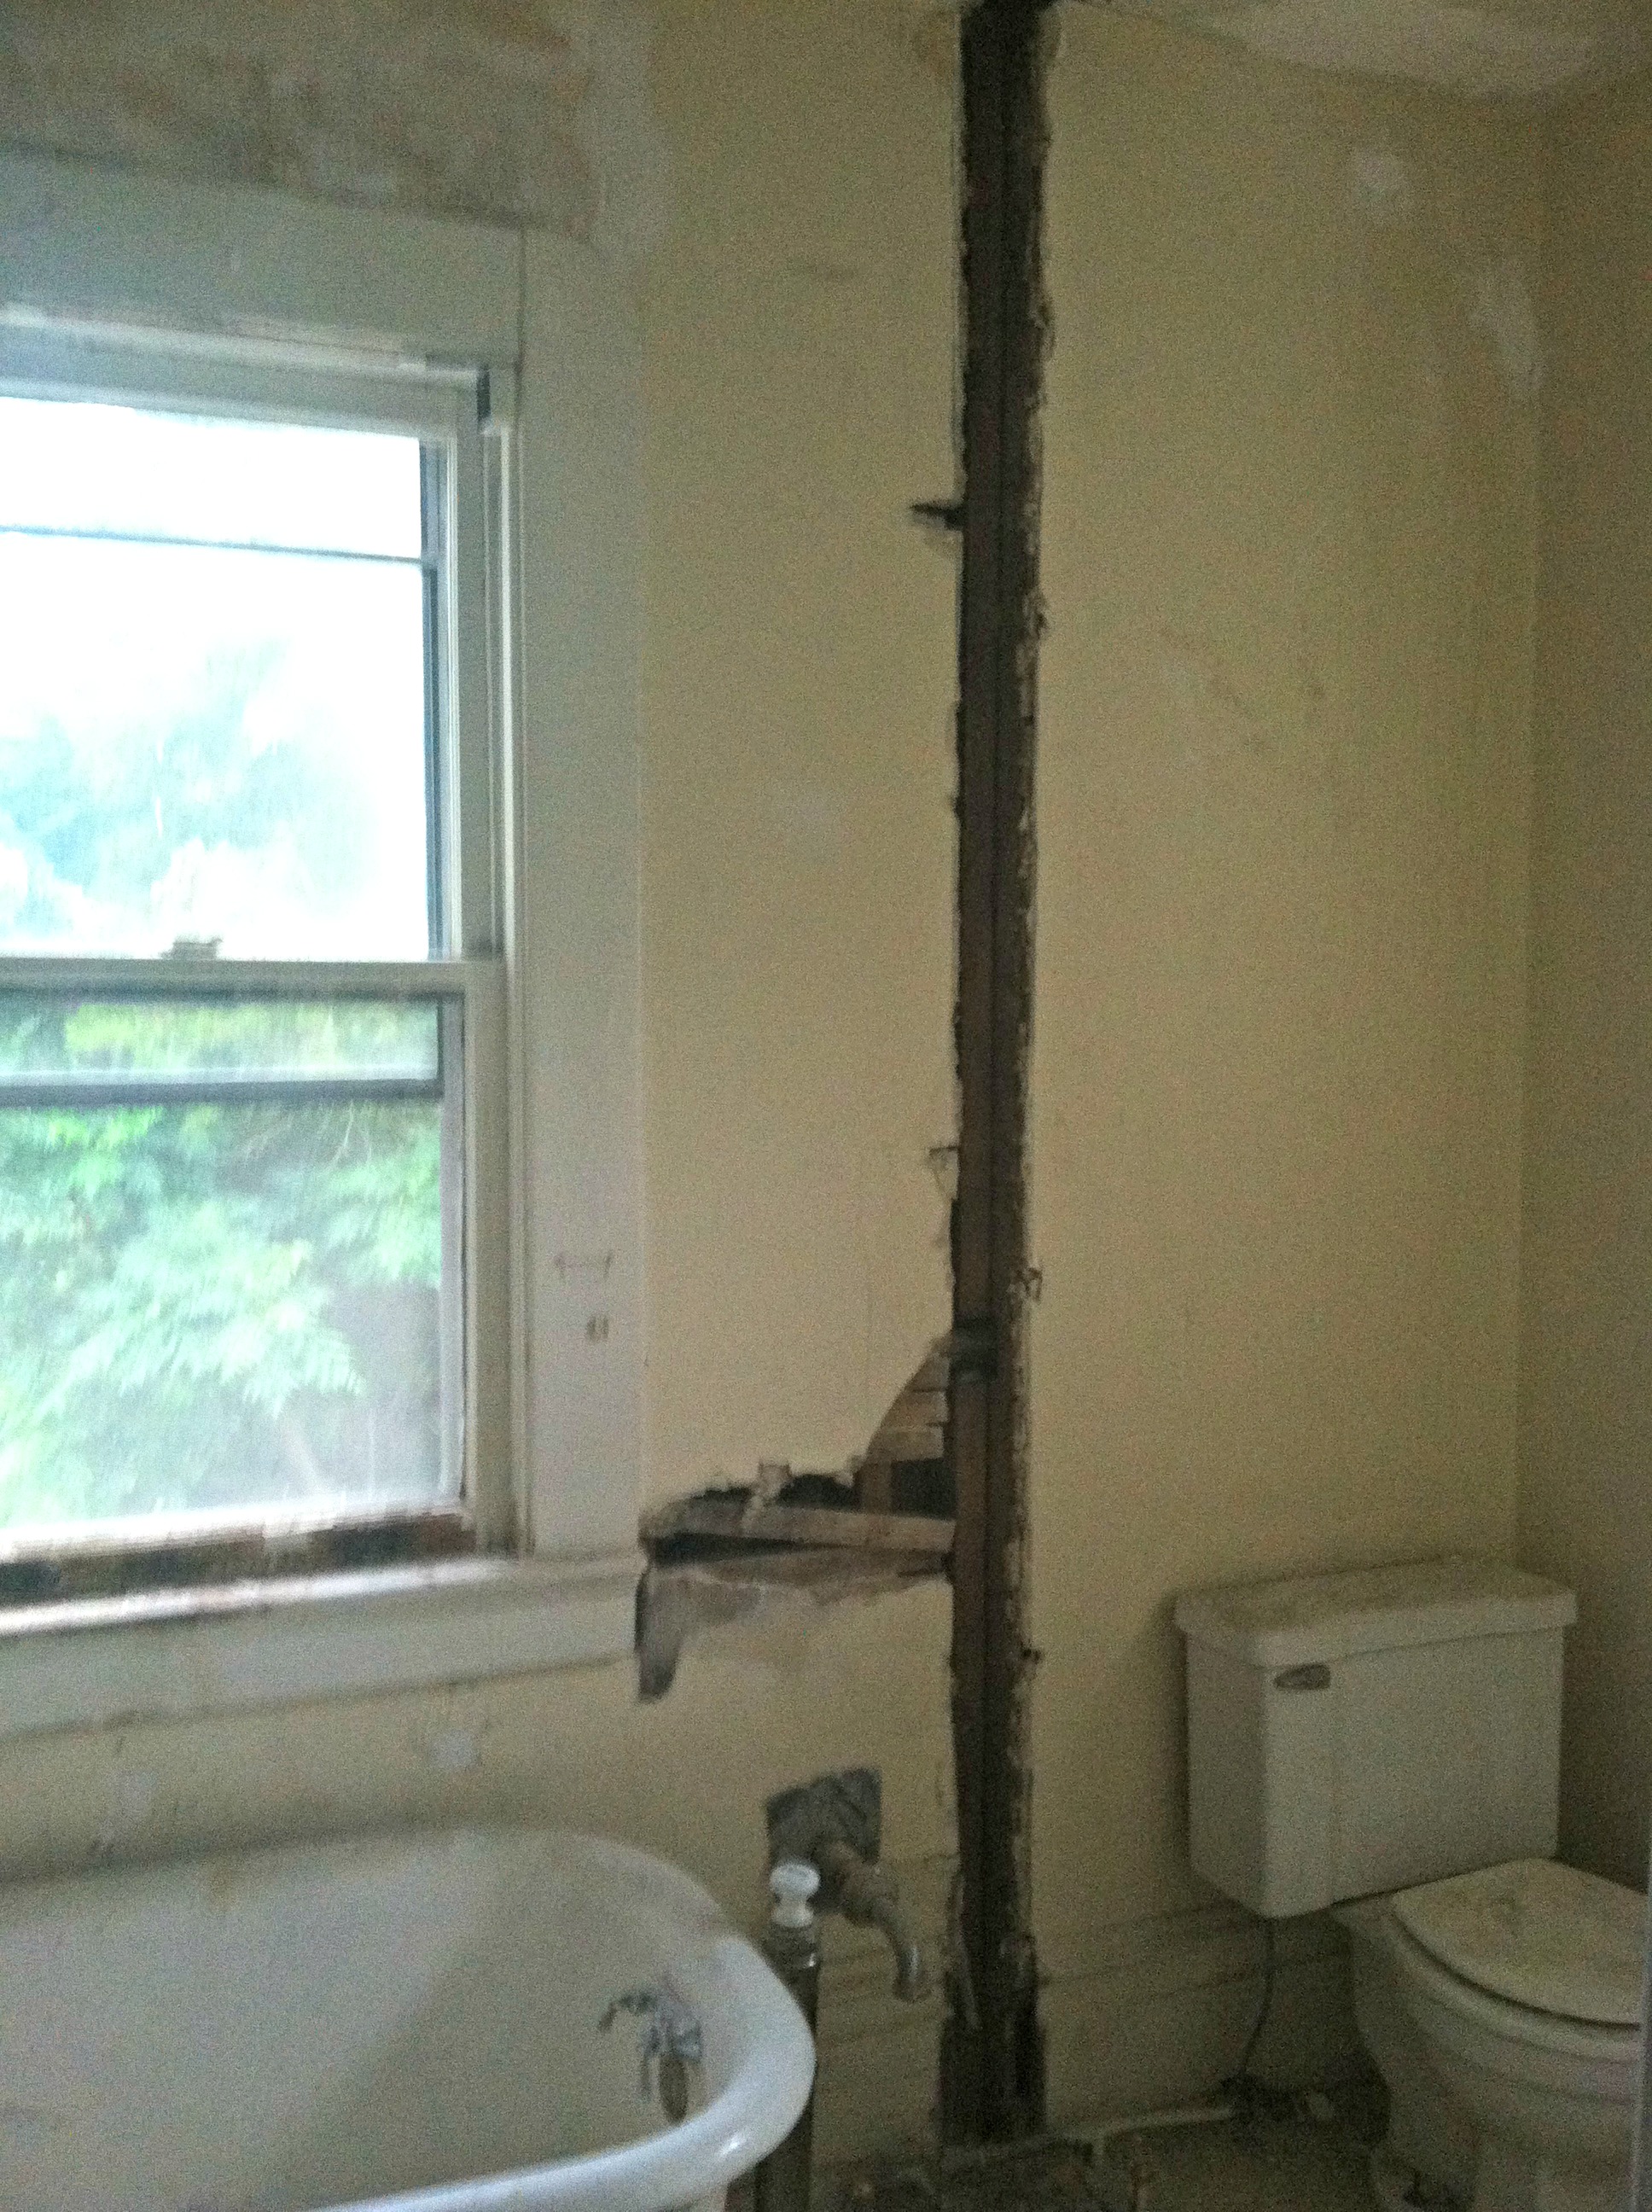
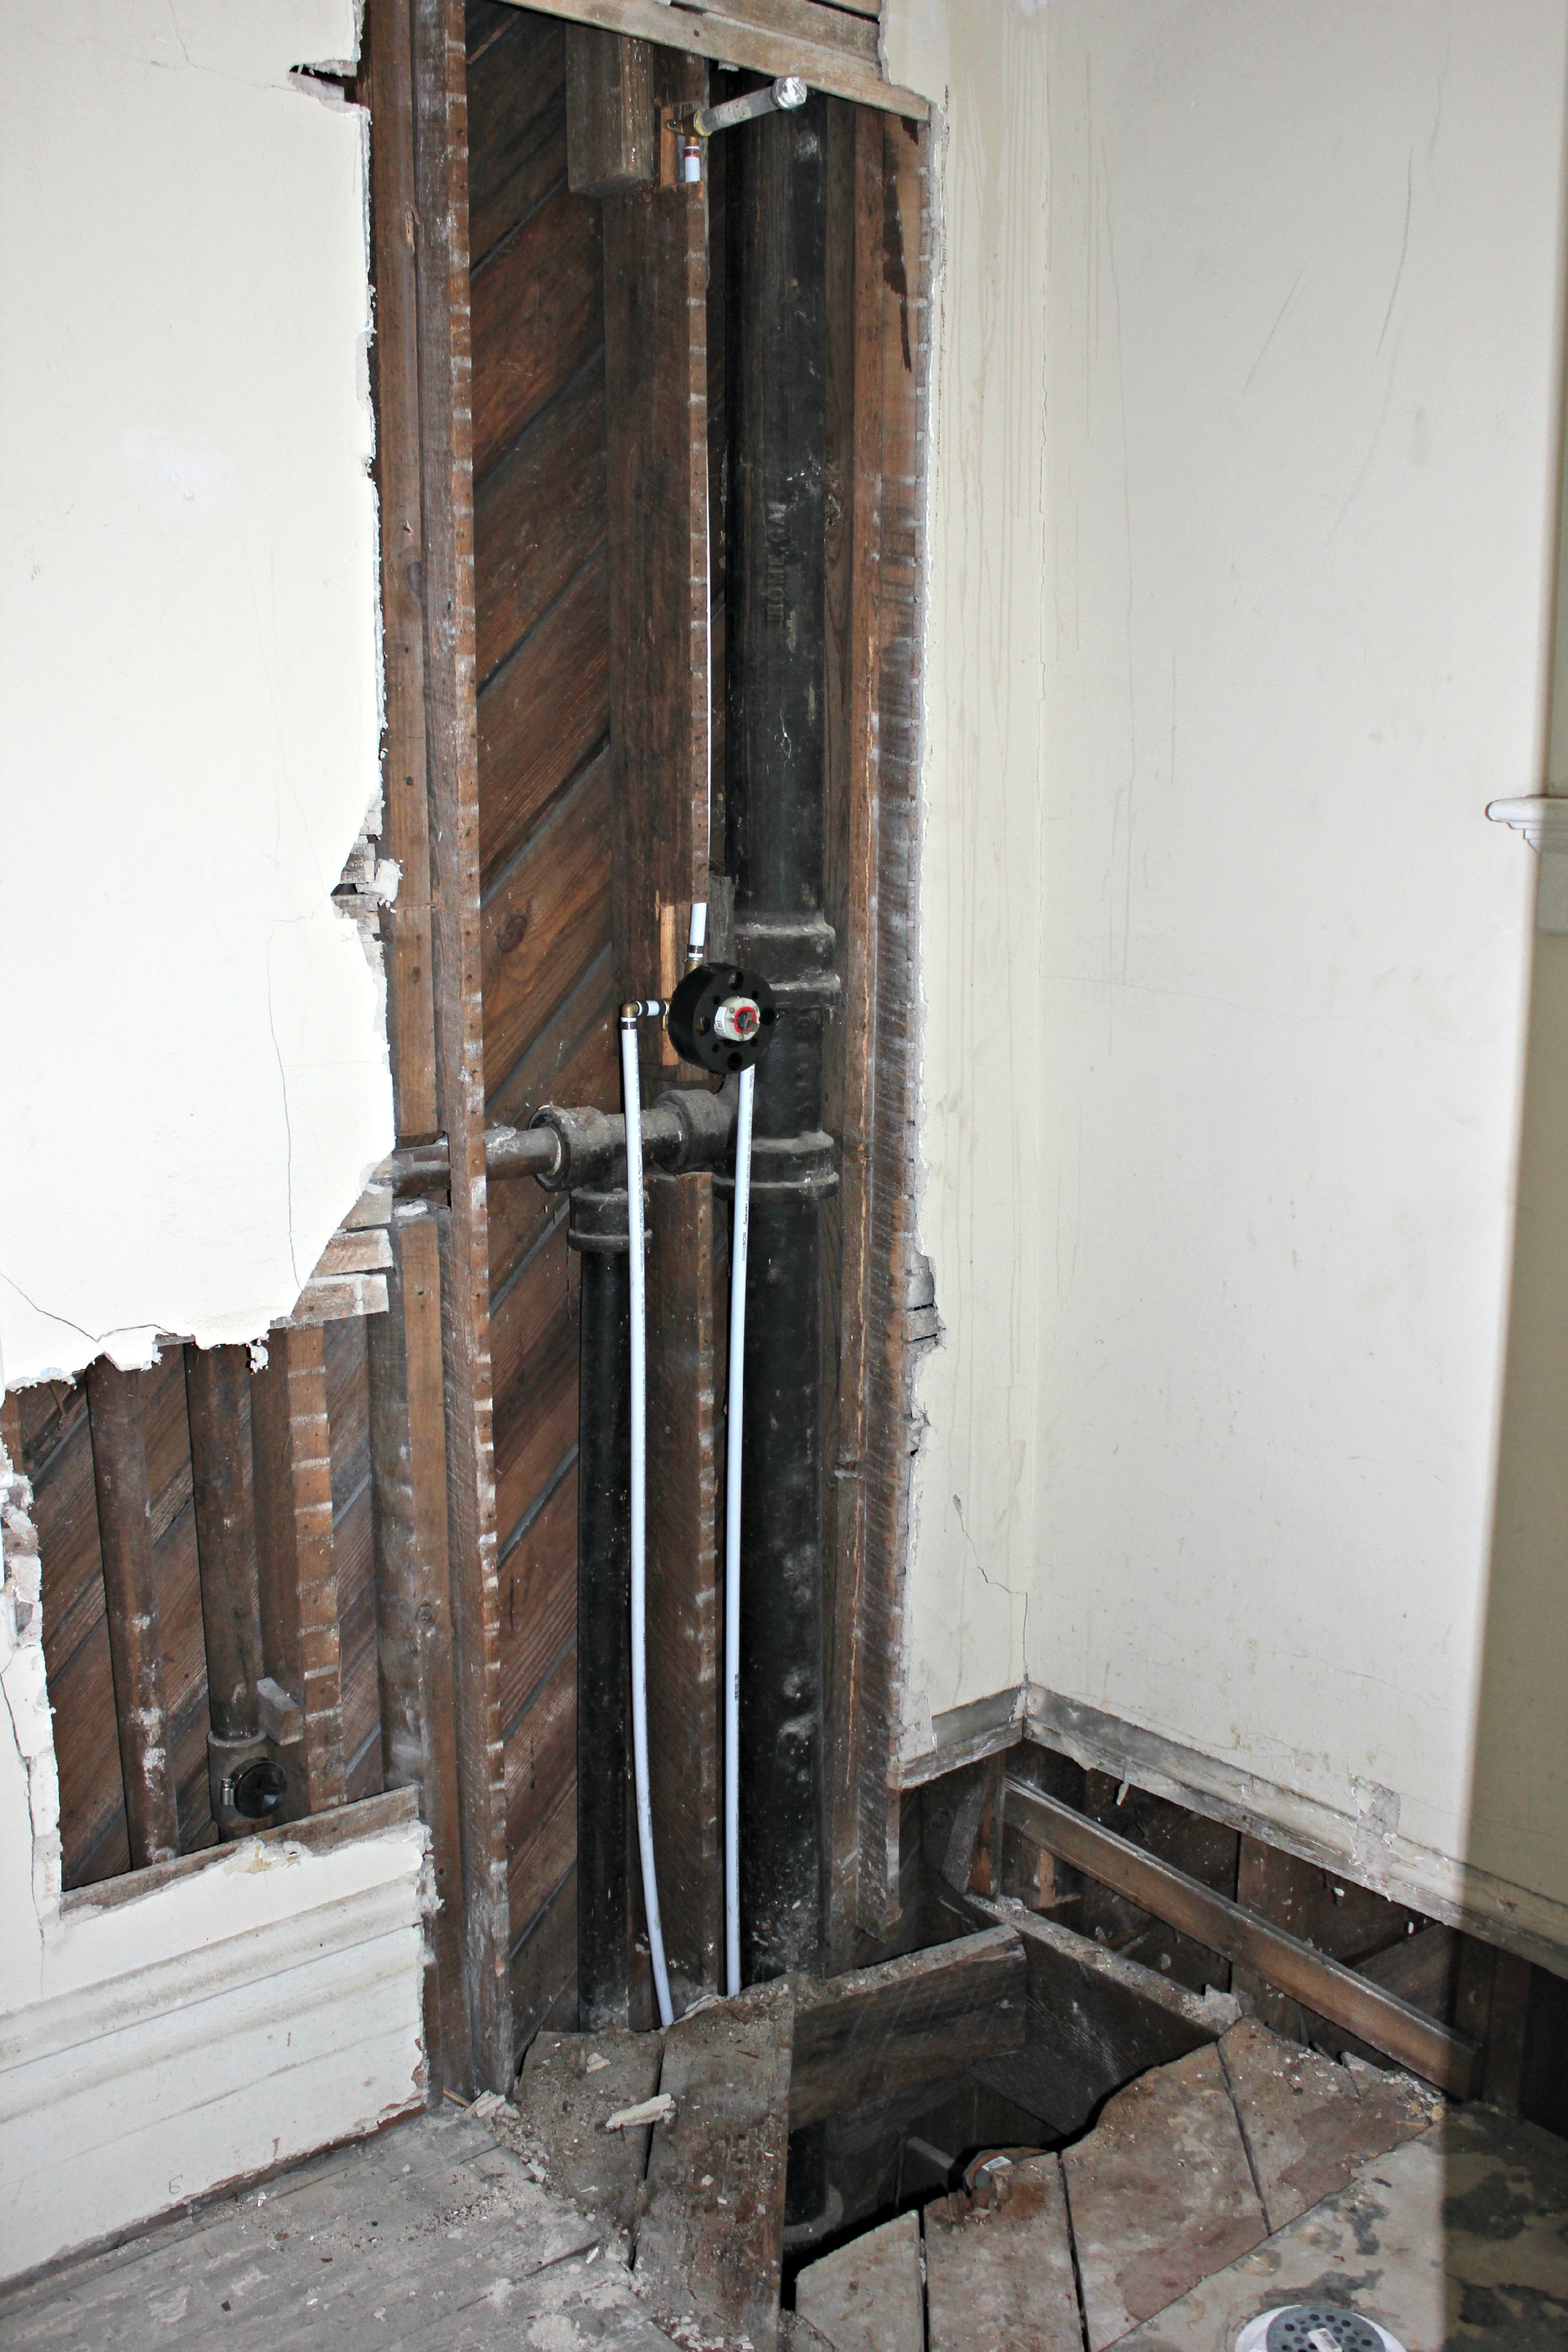
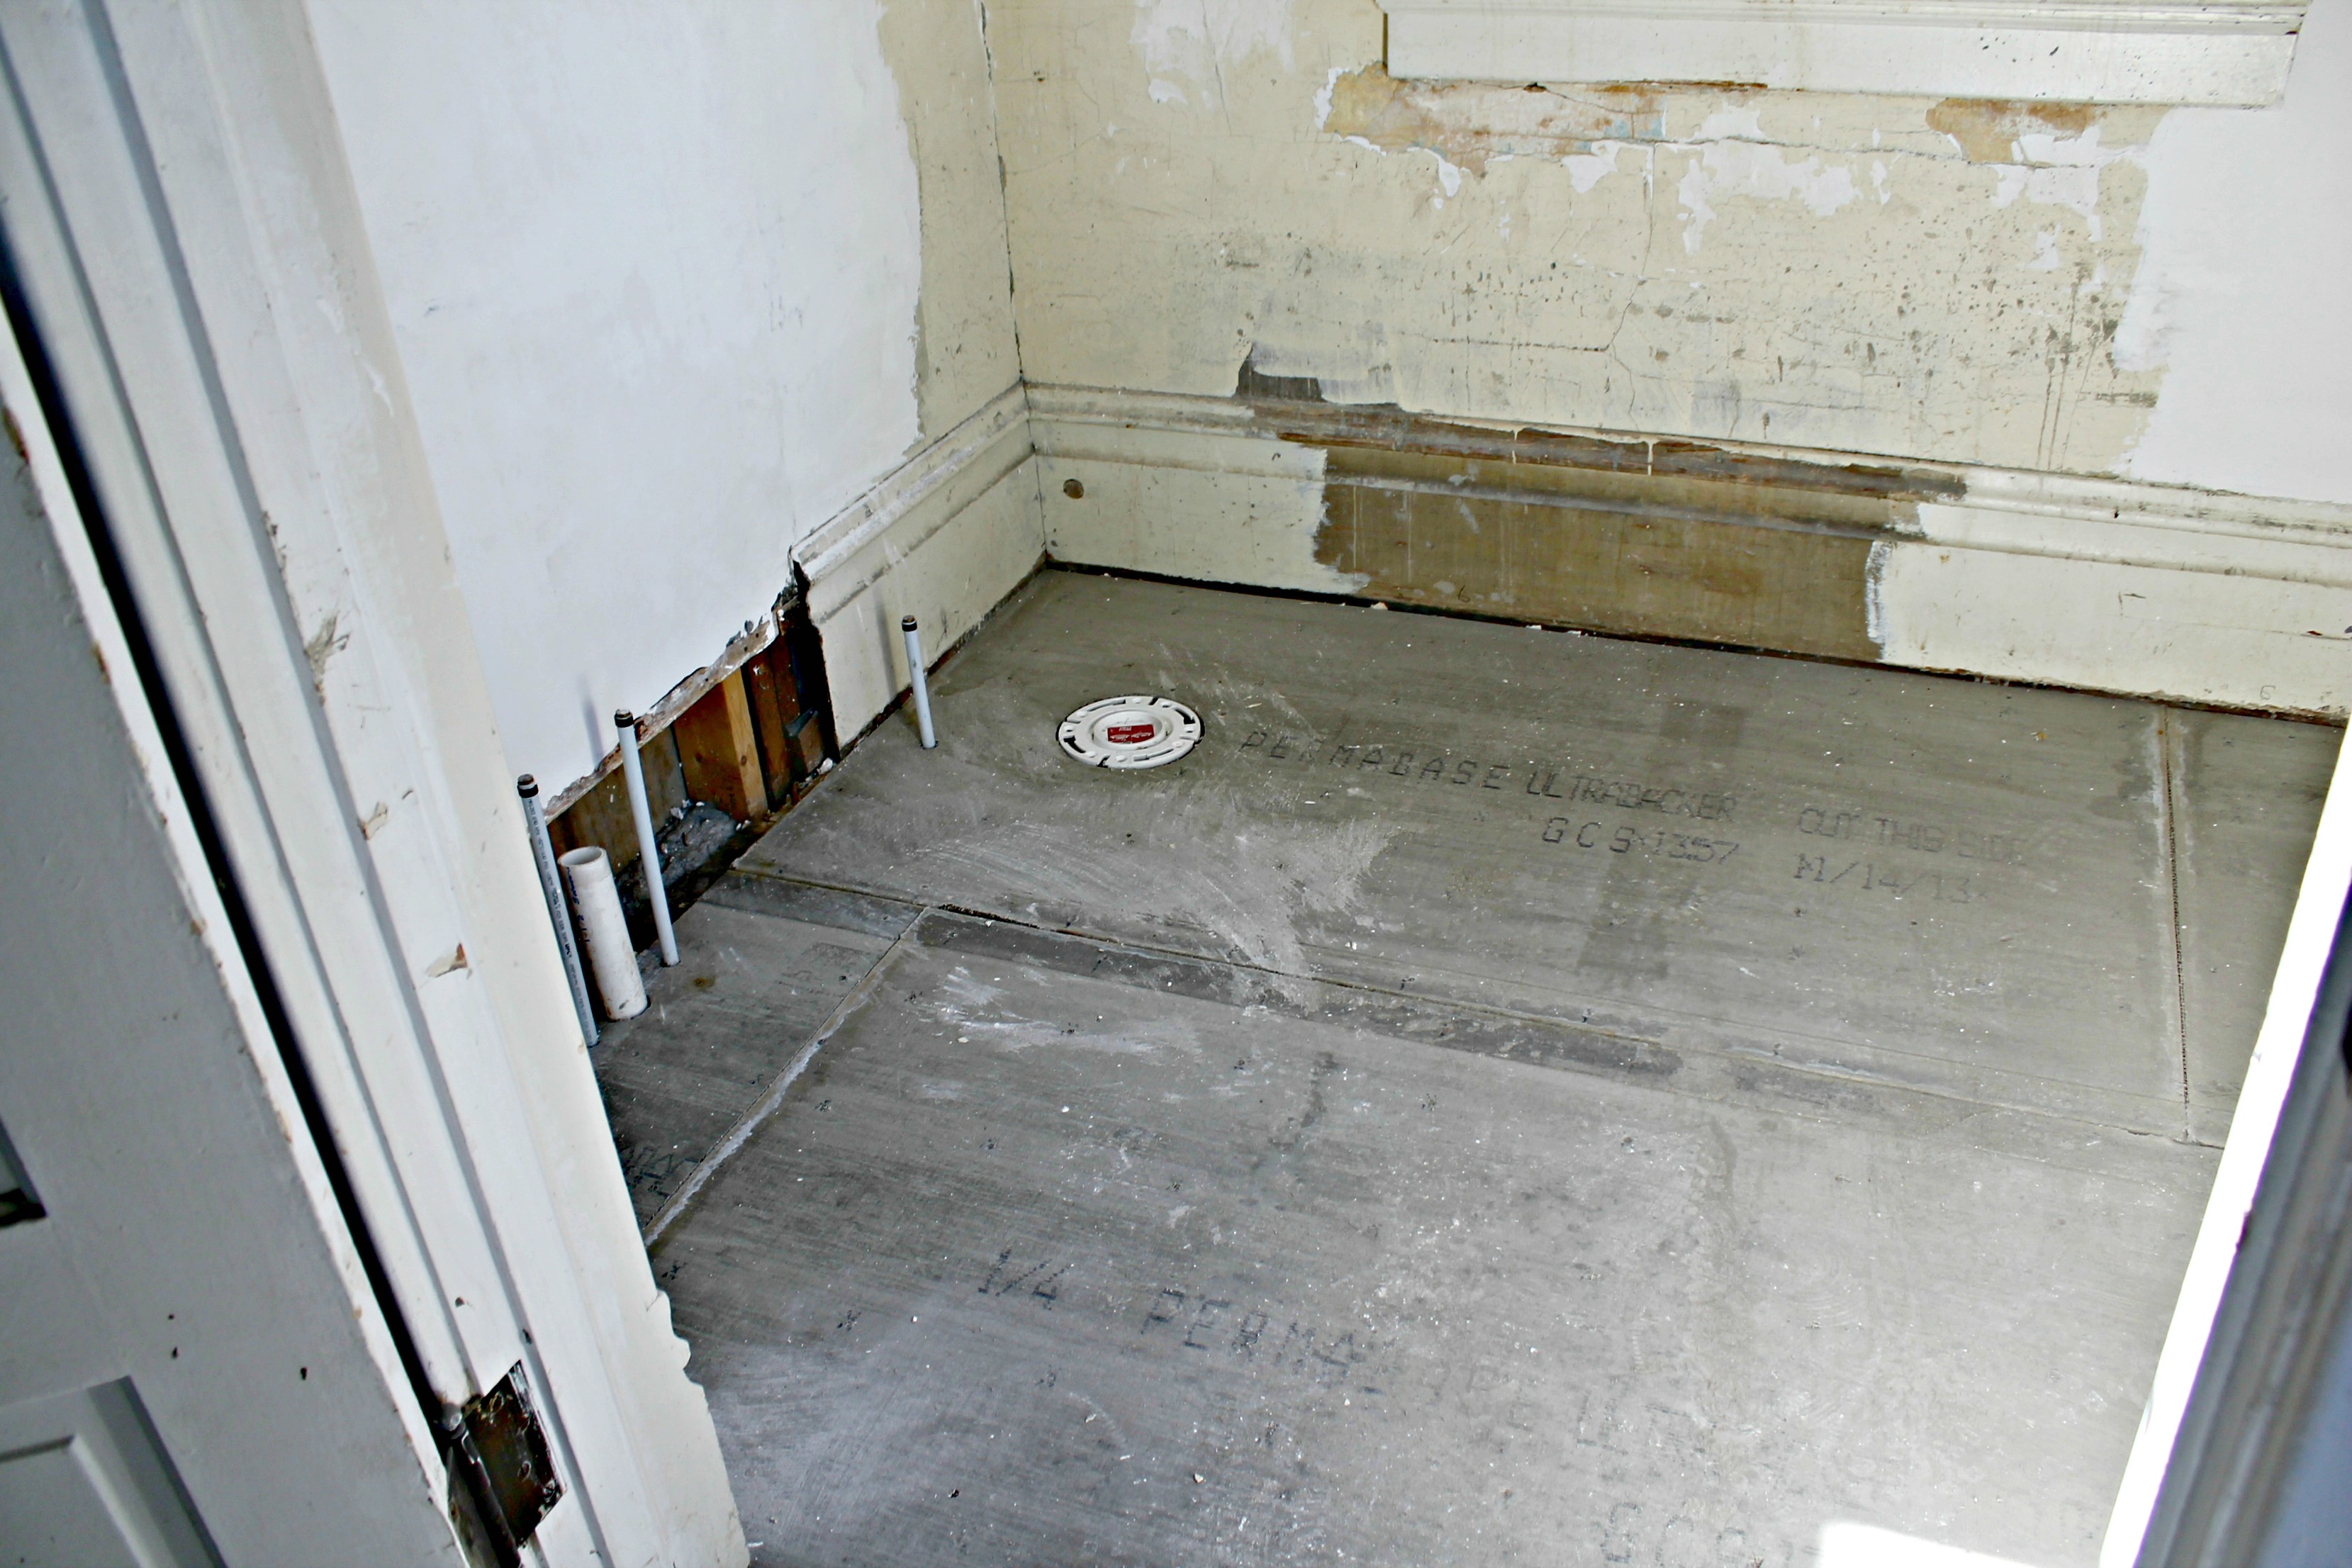
- Repair plaster where necessary
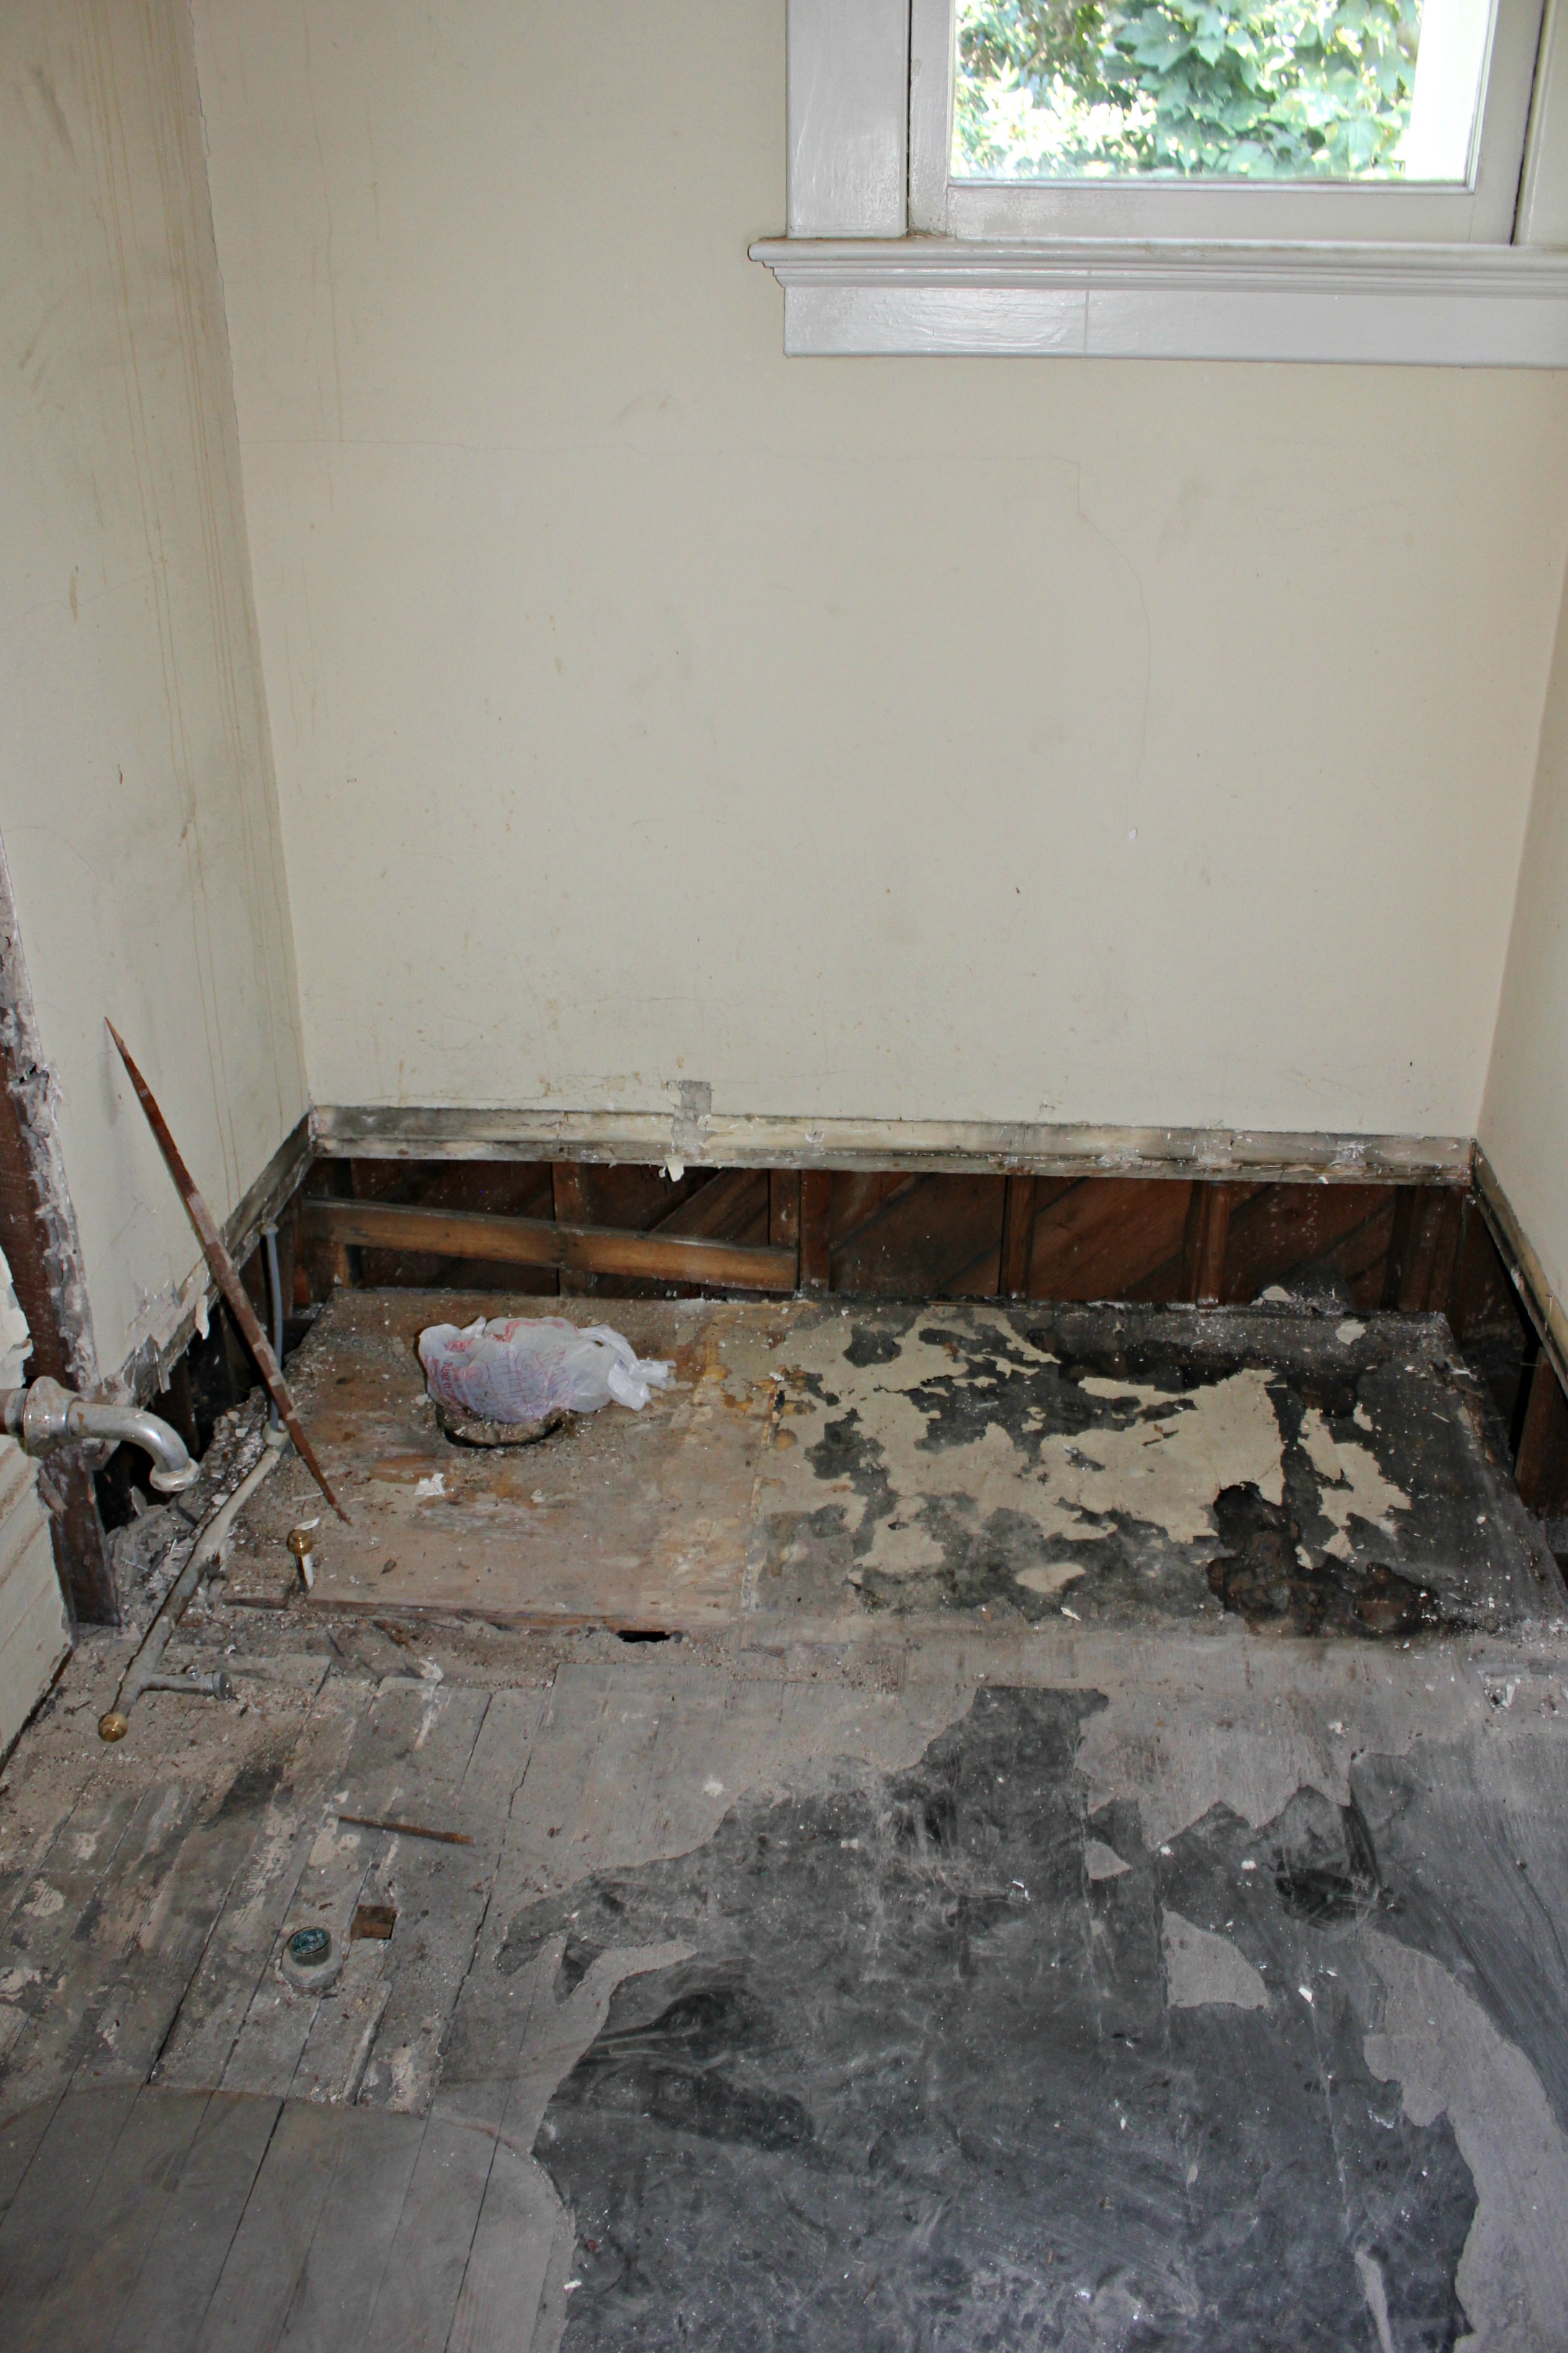
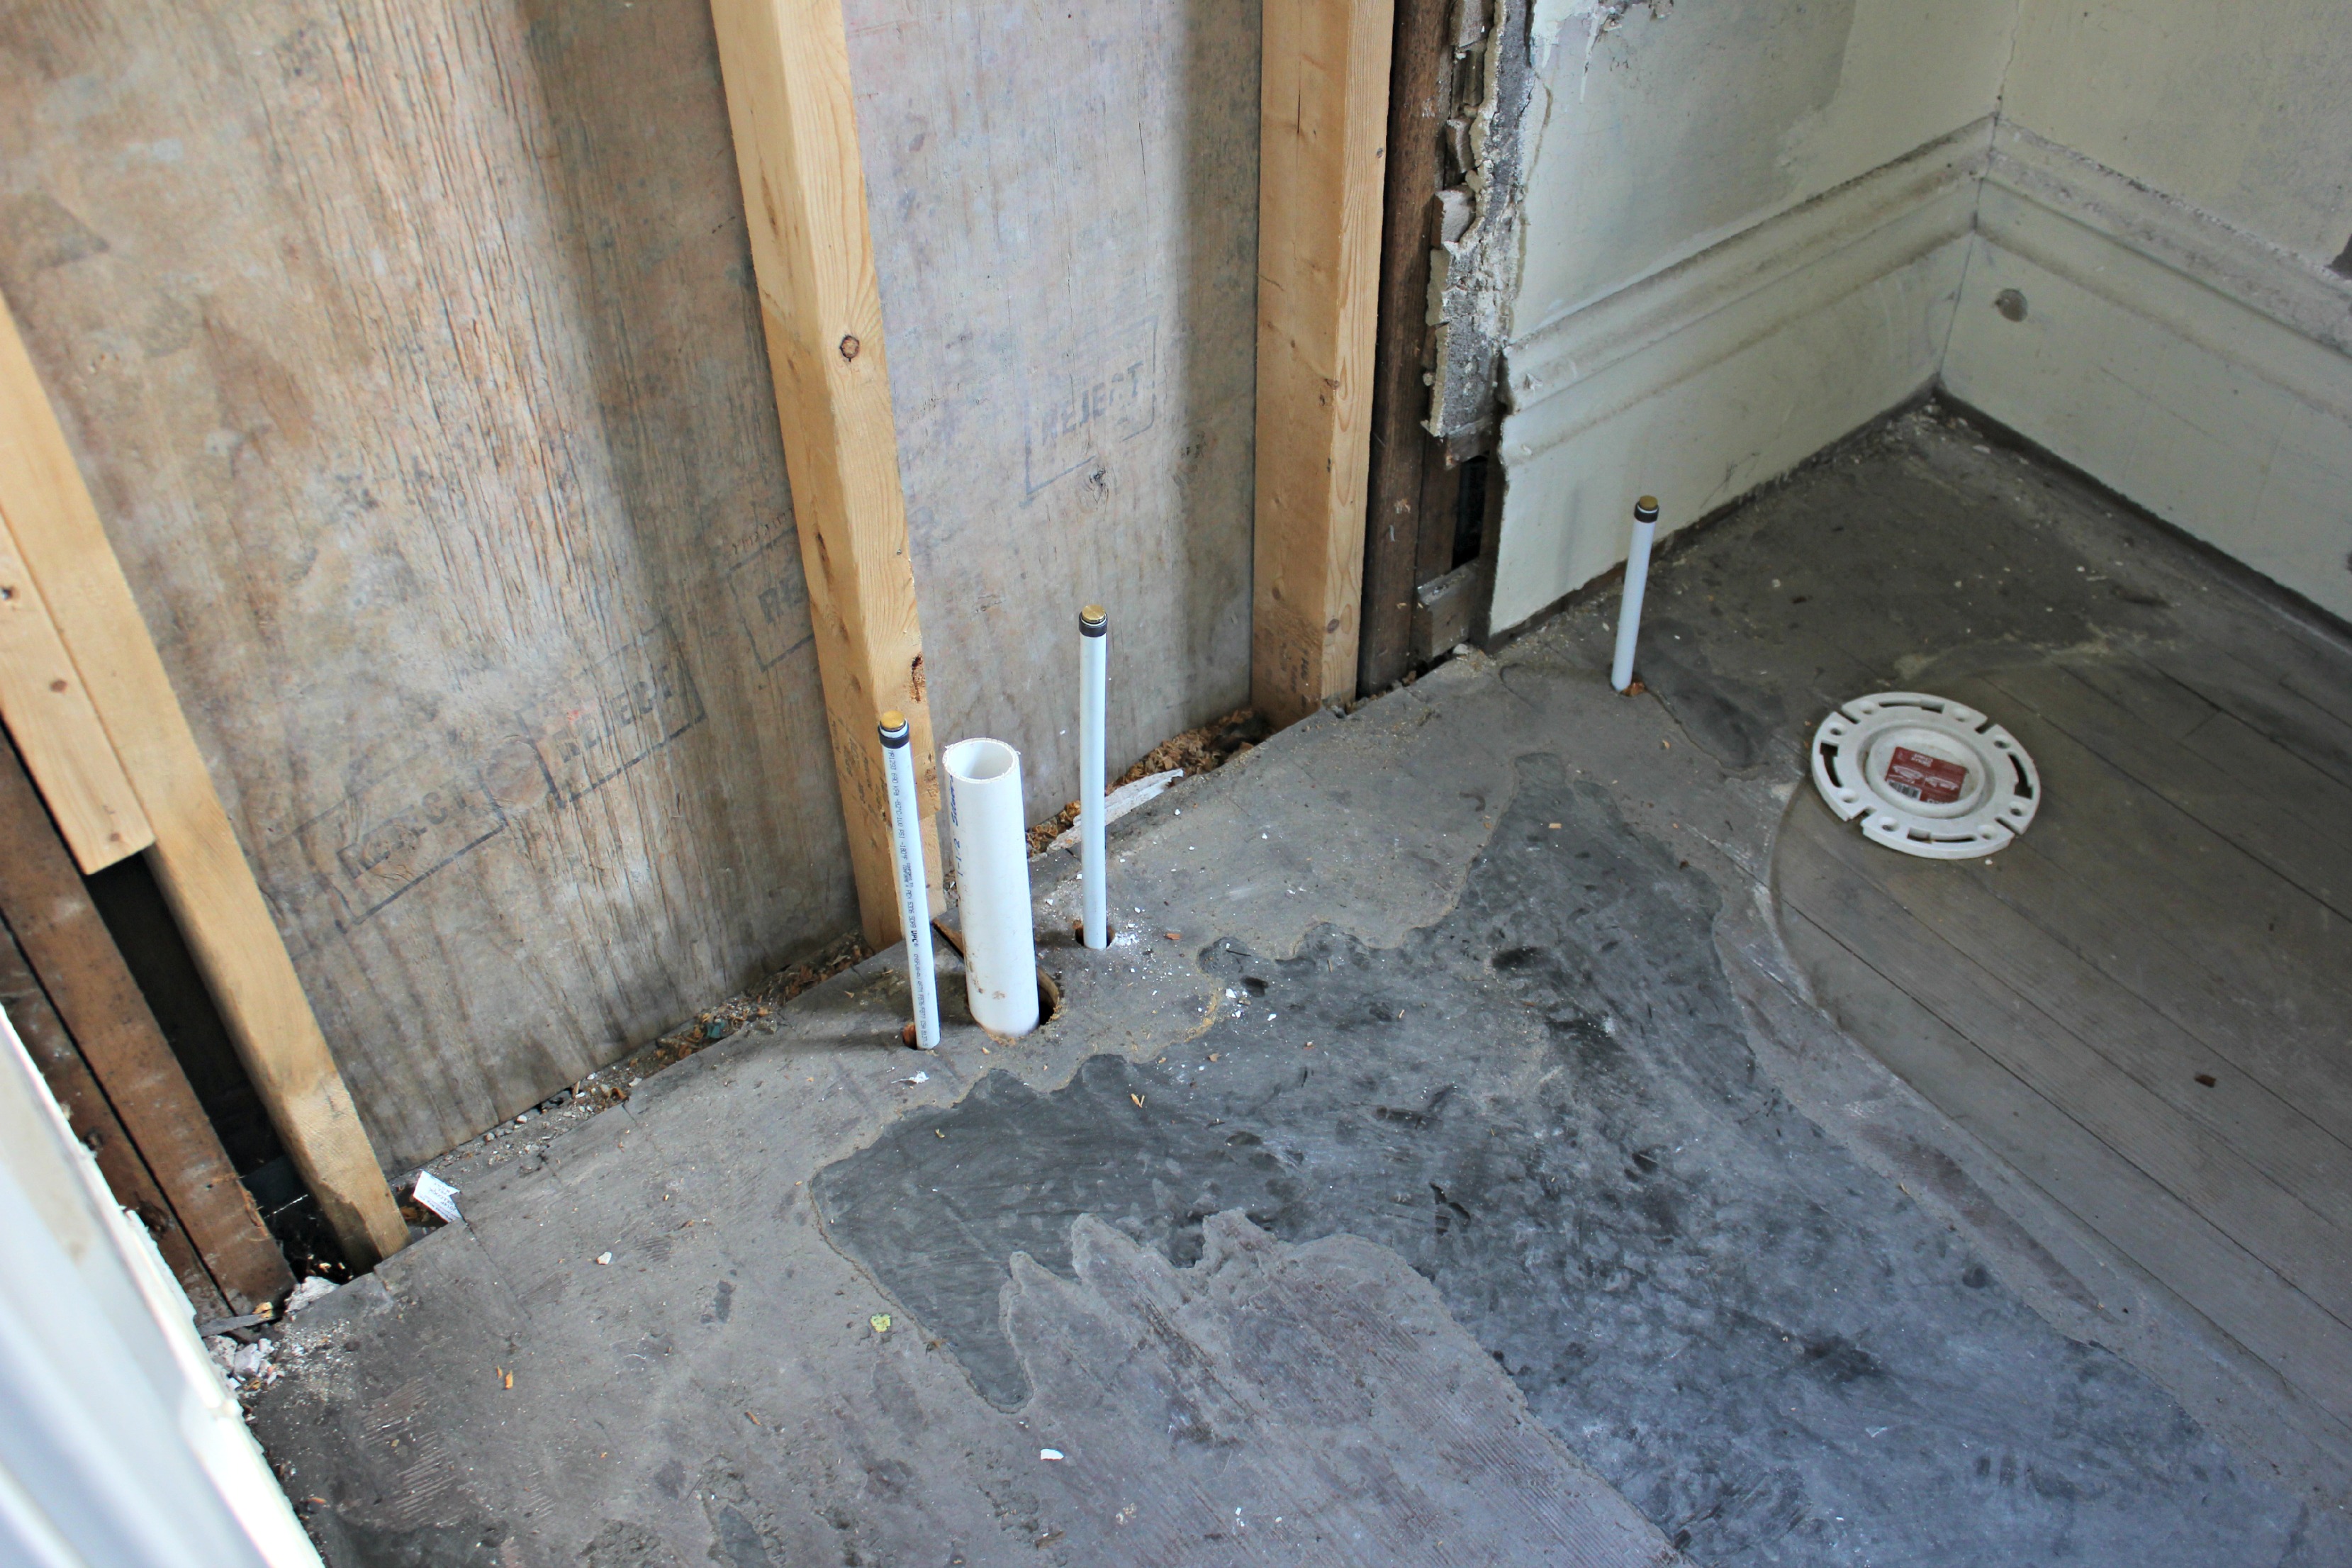
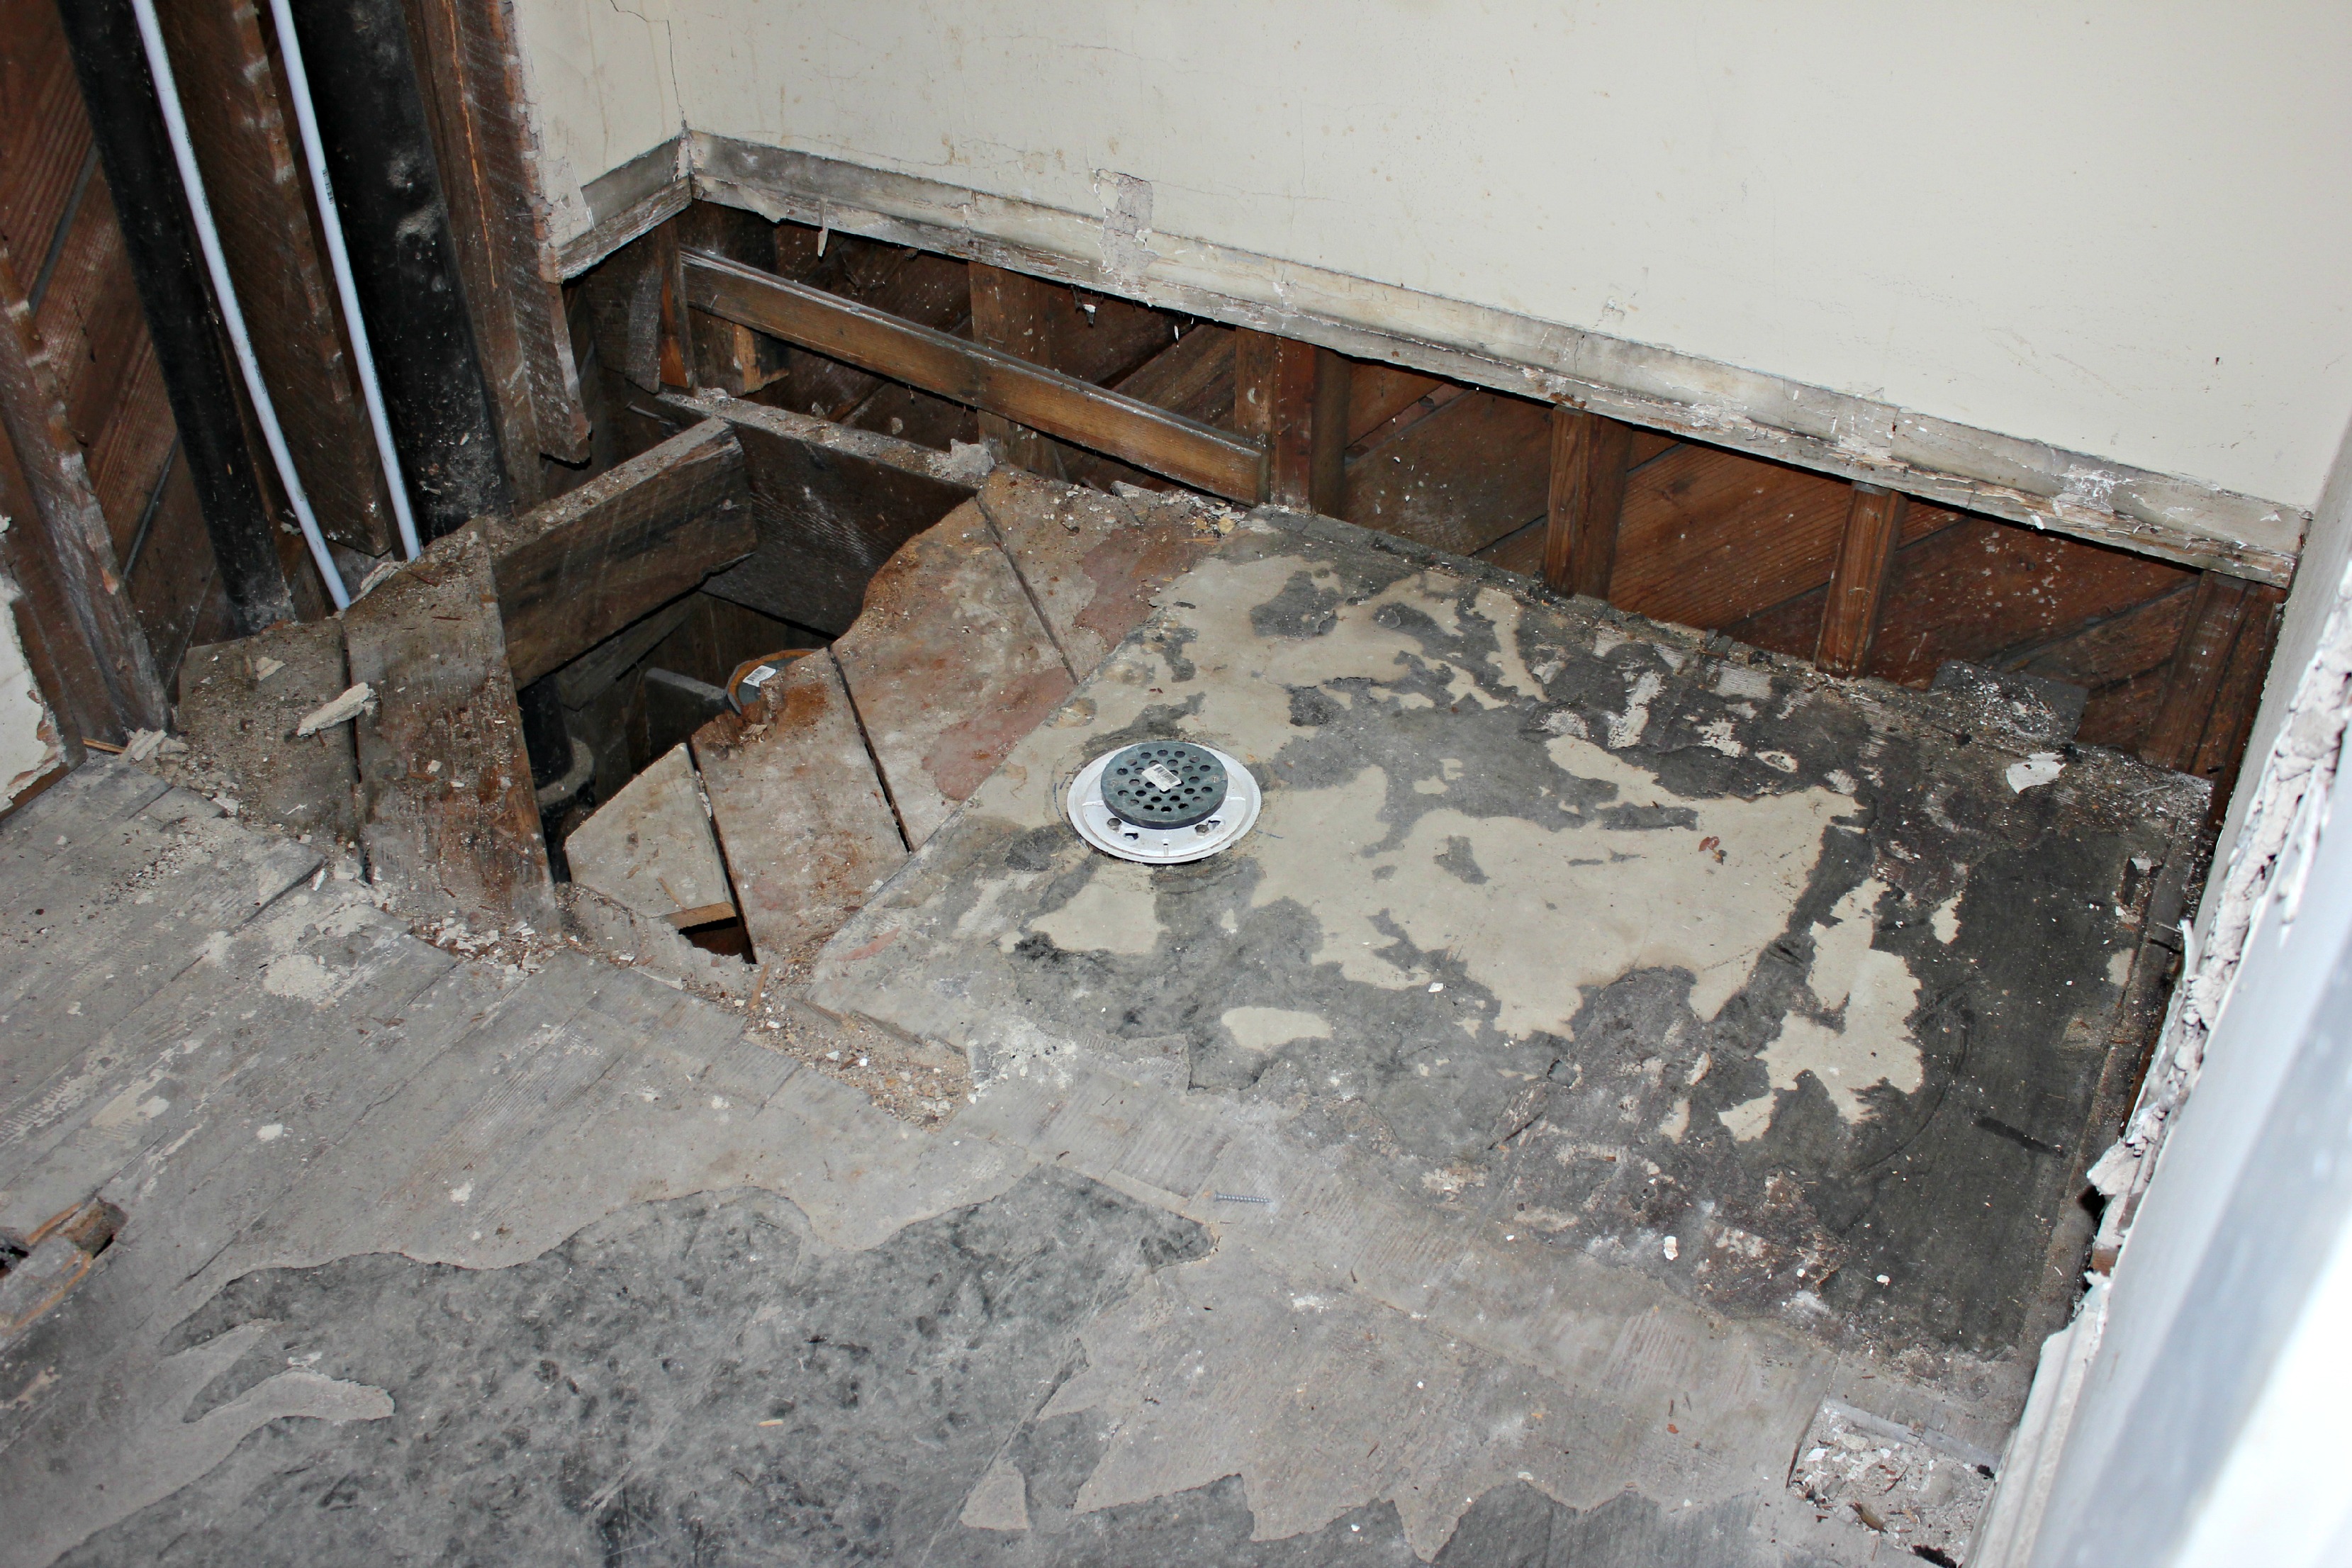
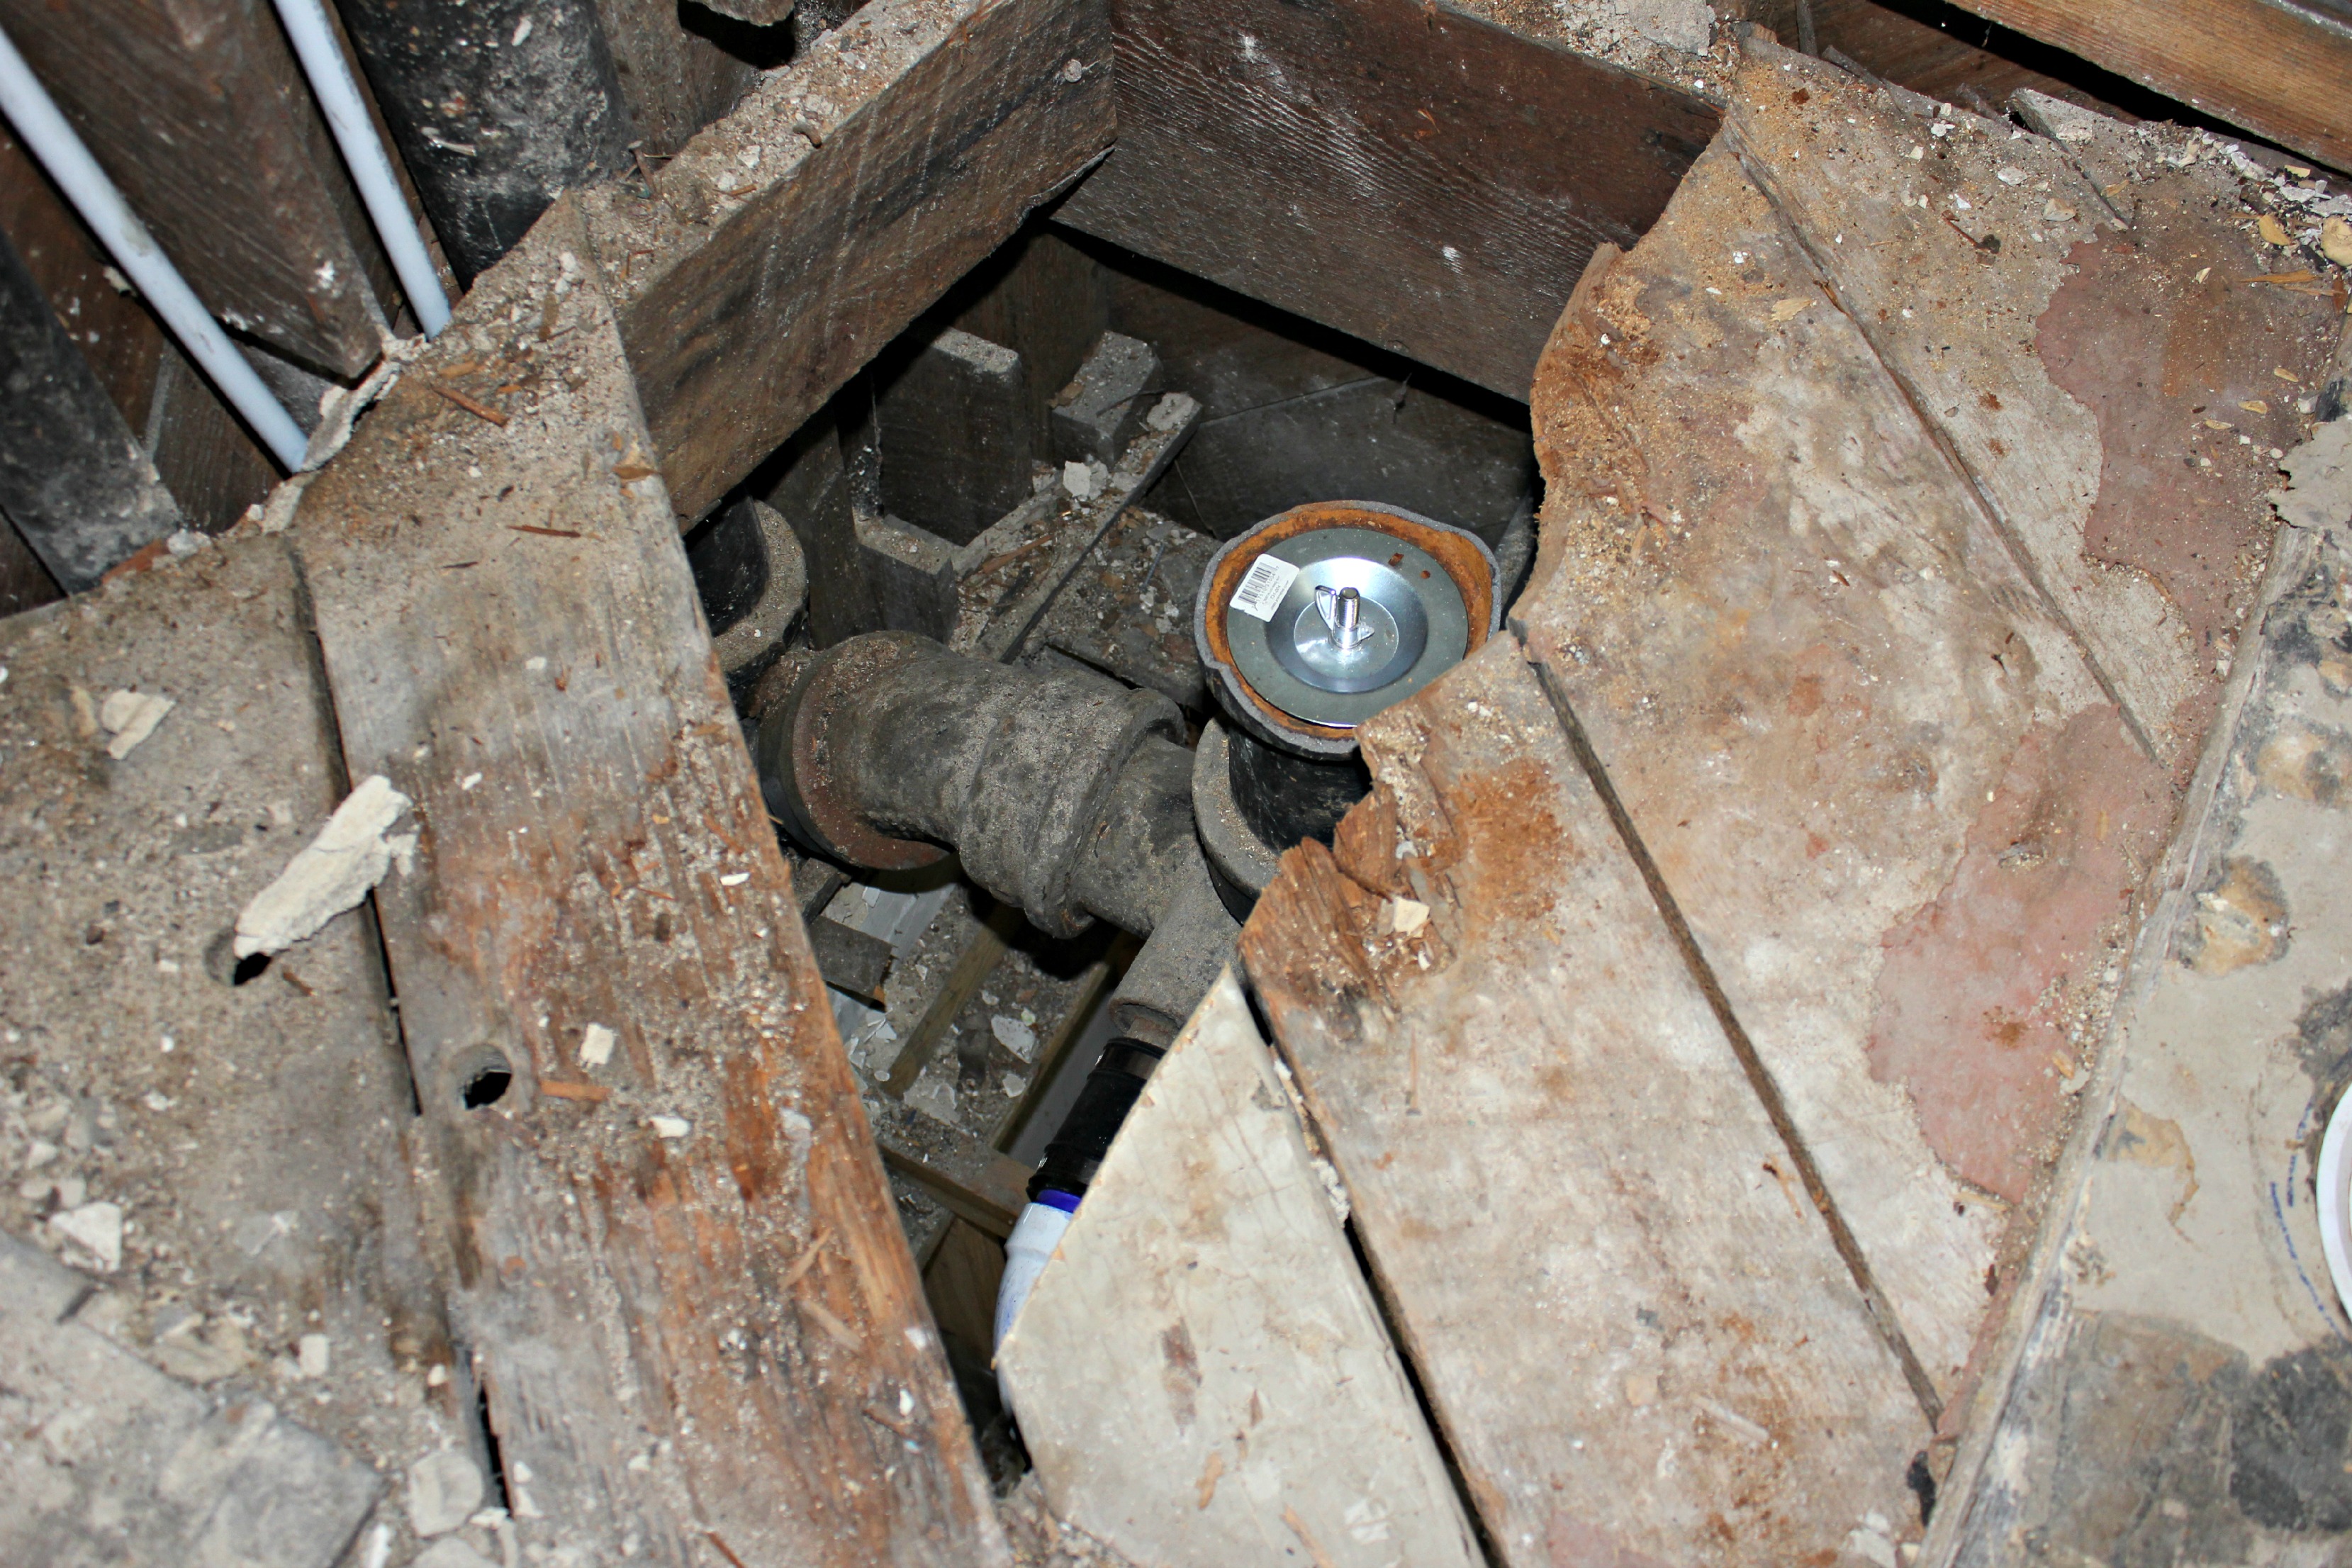
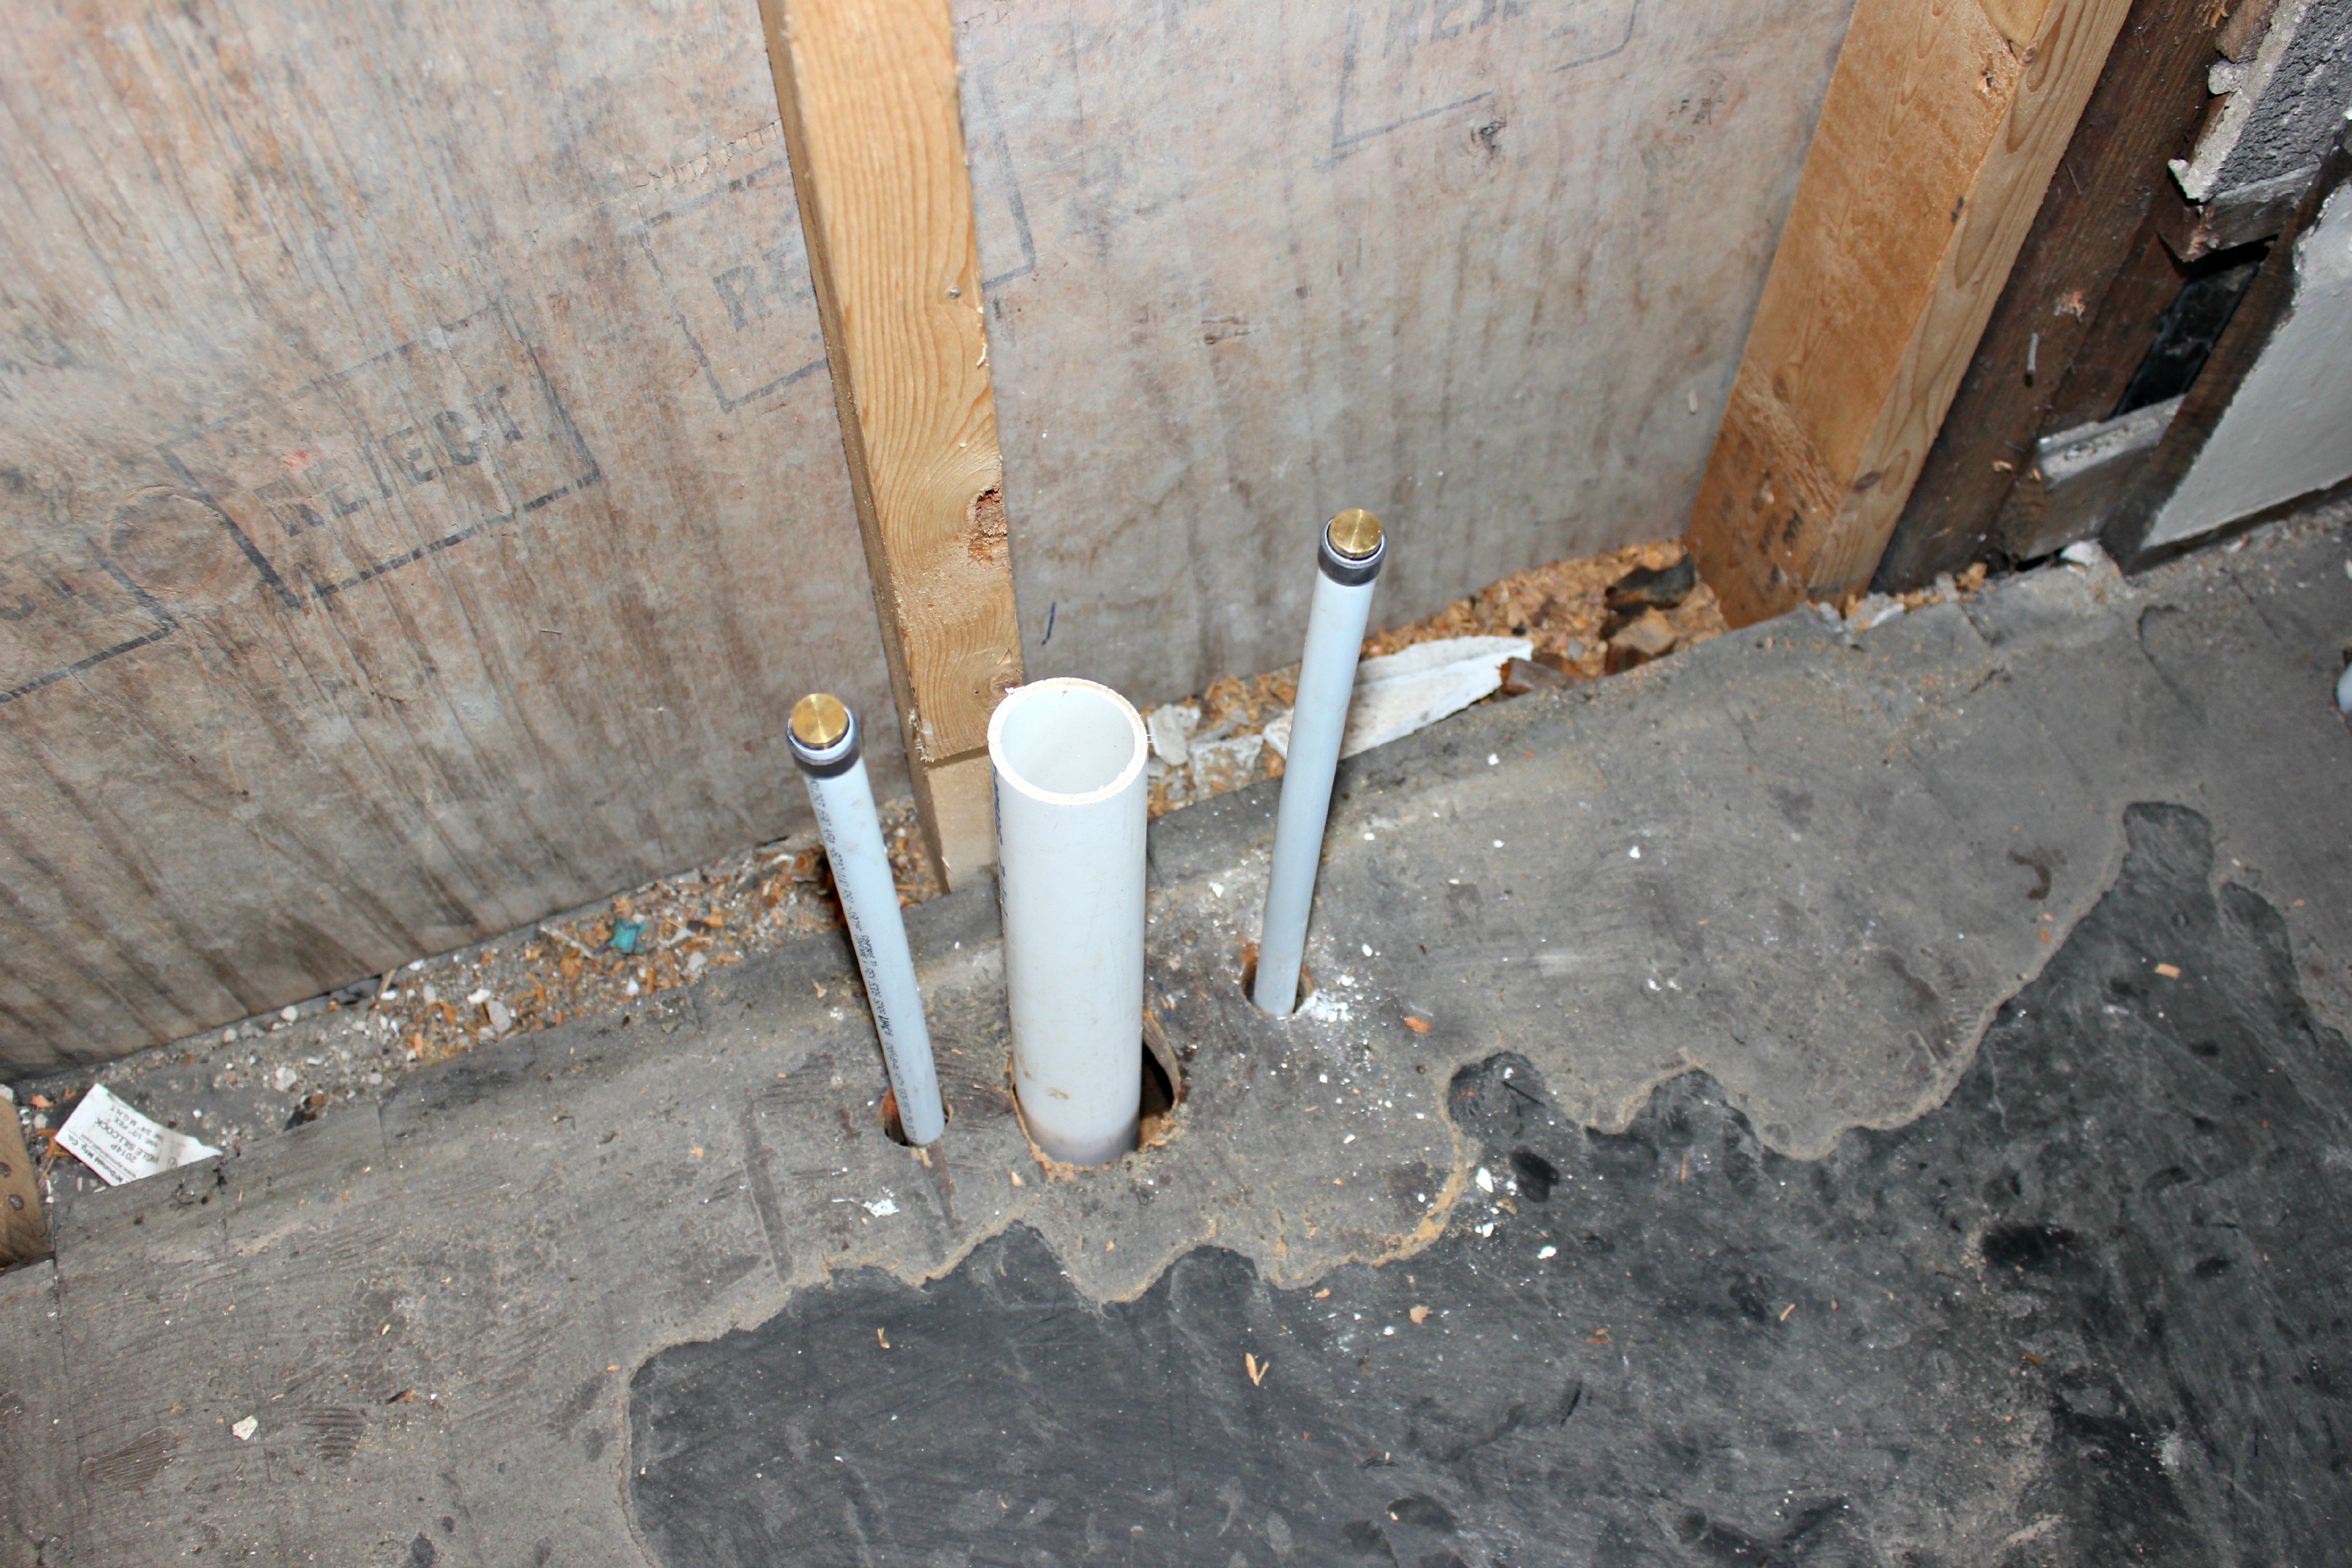
- Remove existing sink, toilet, and tub
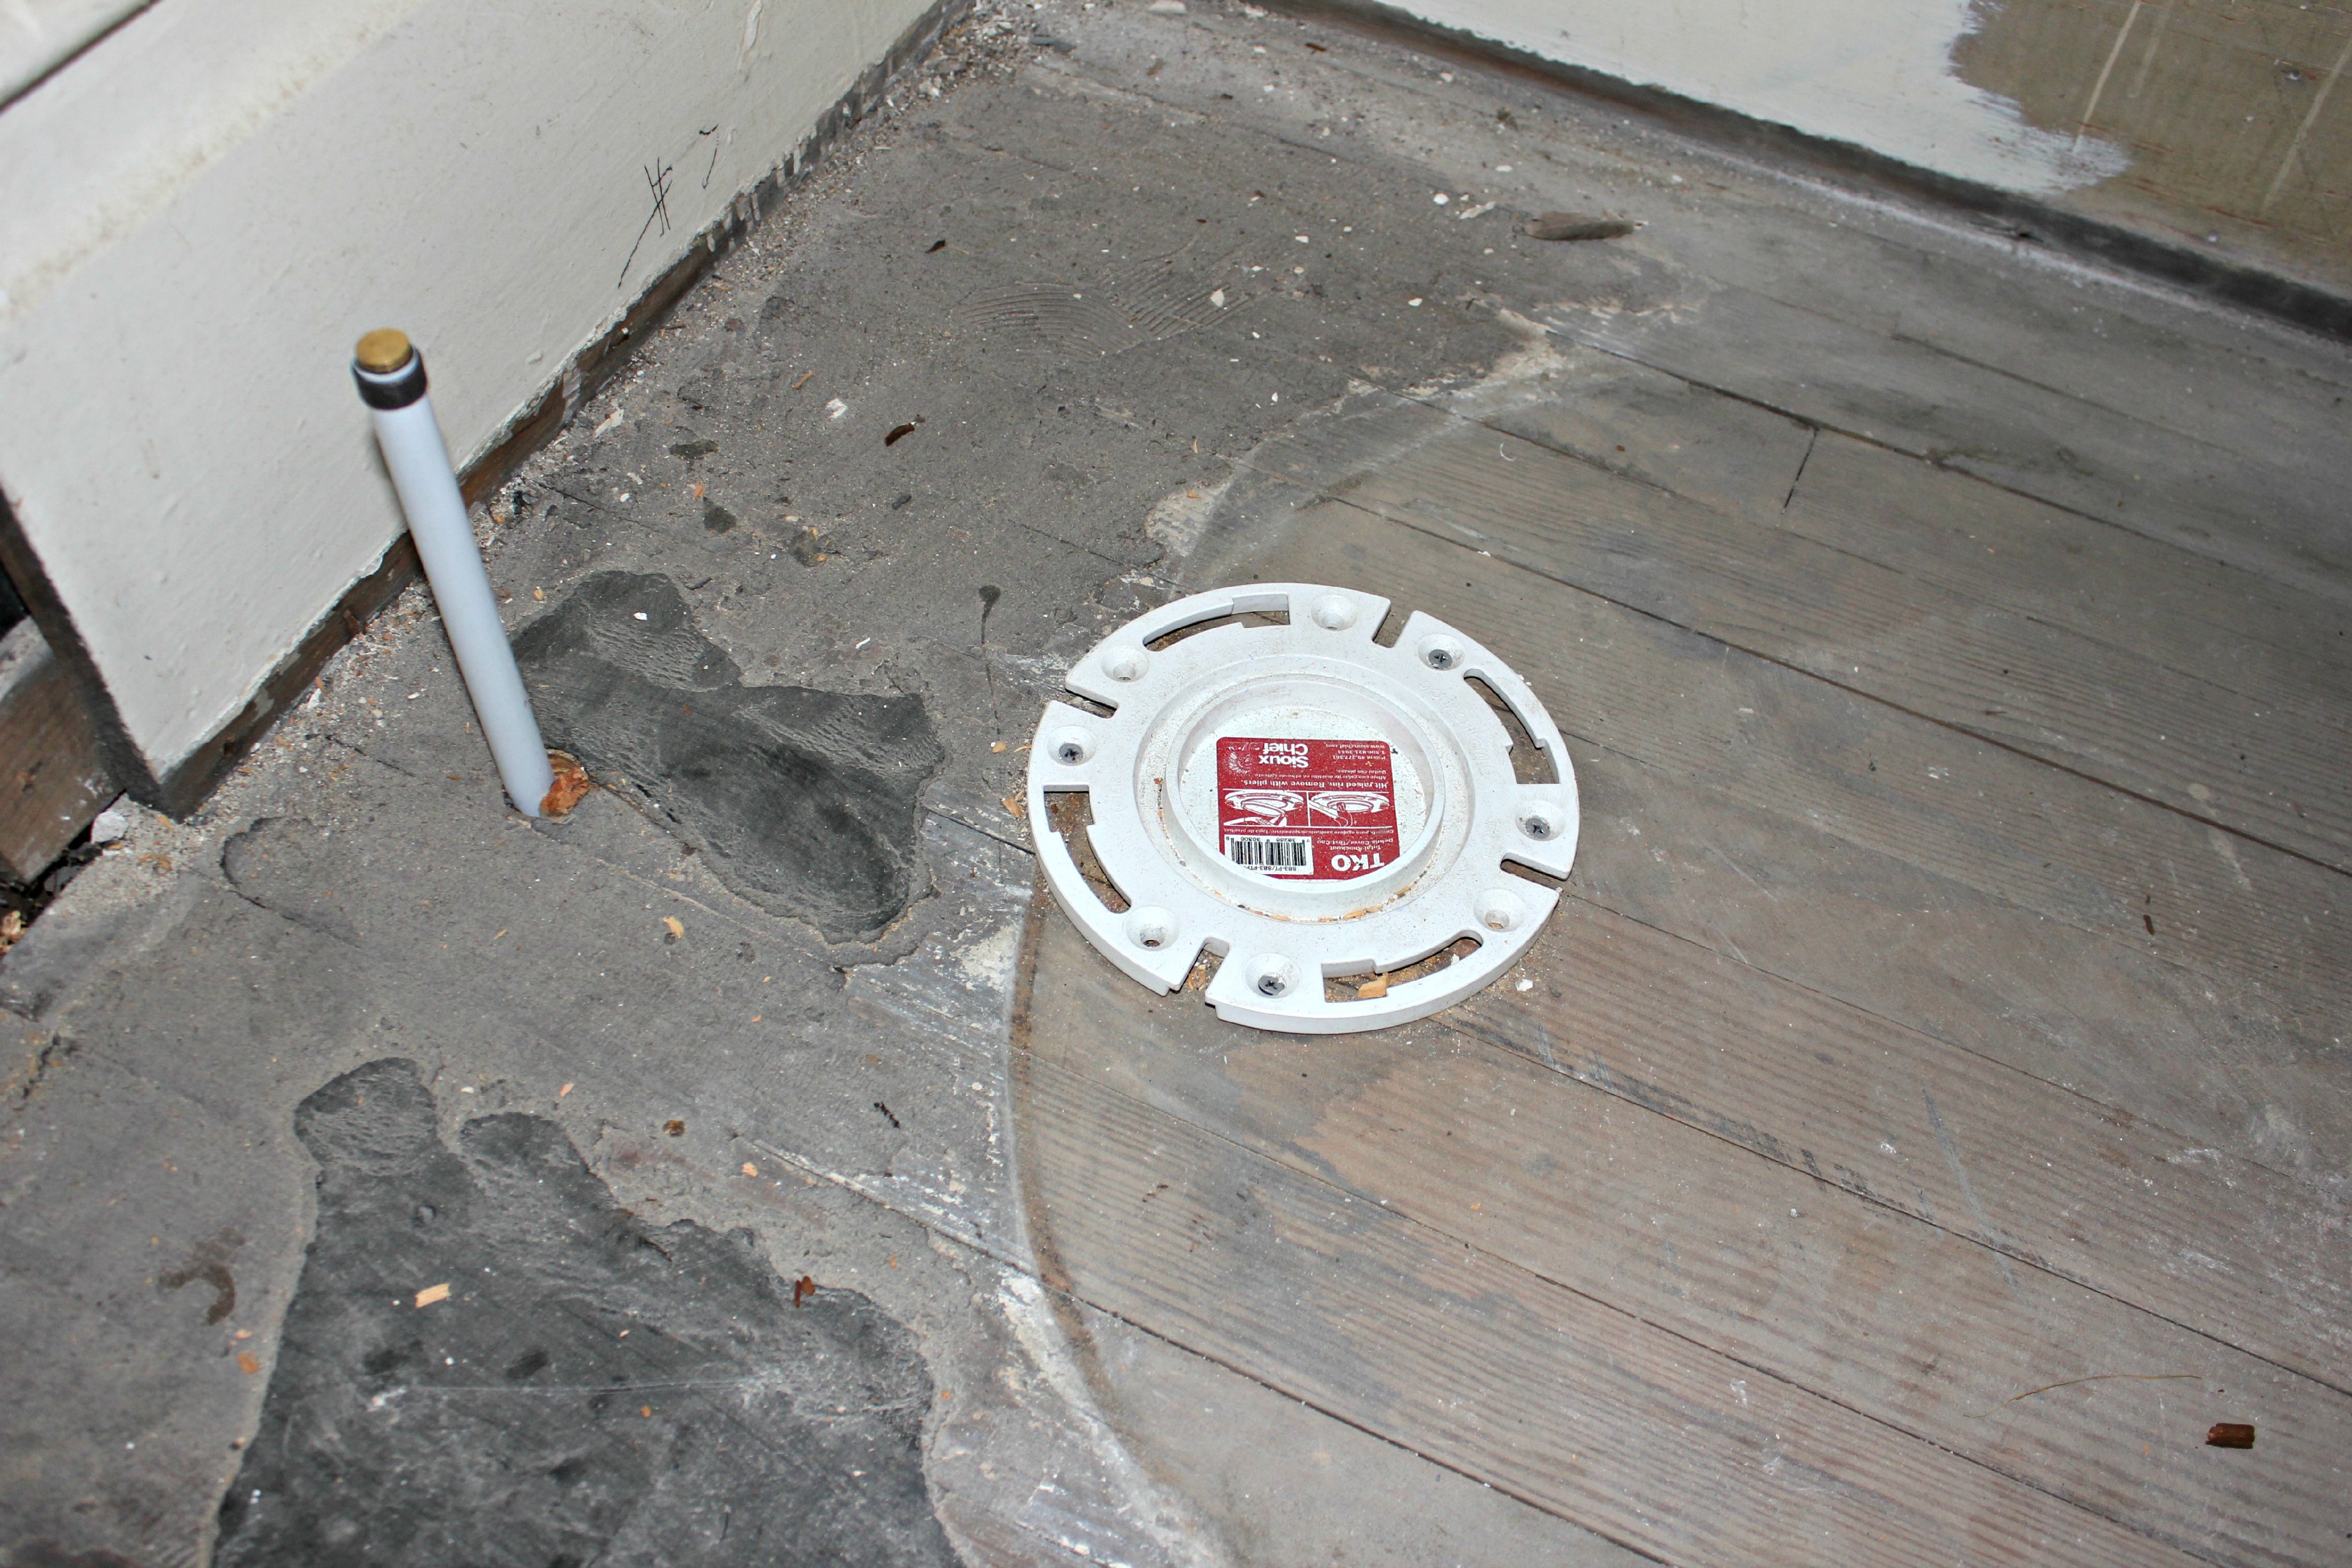
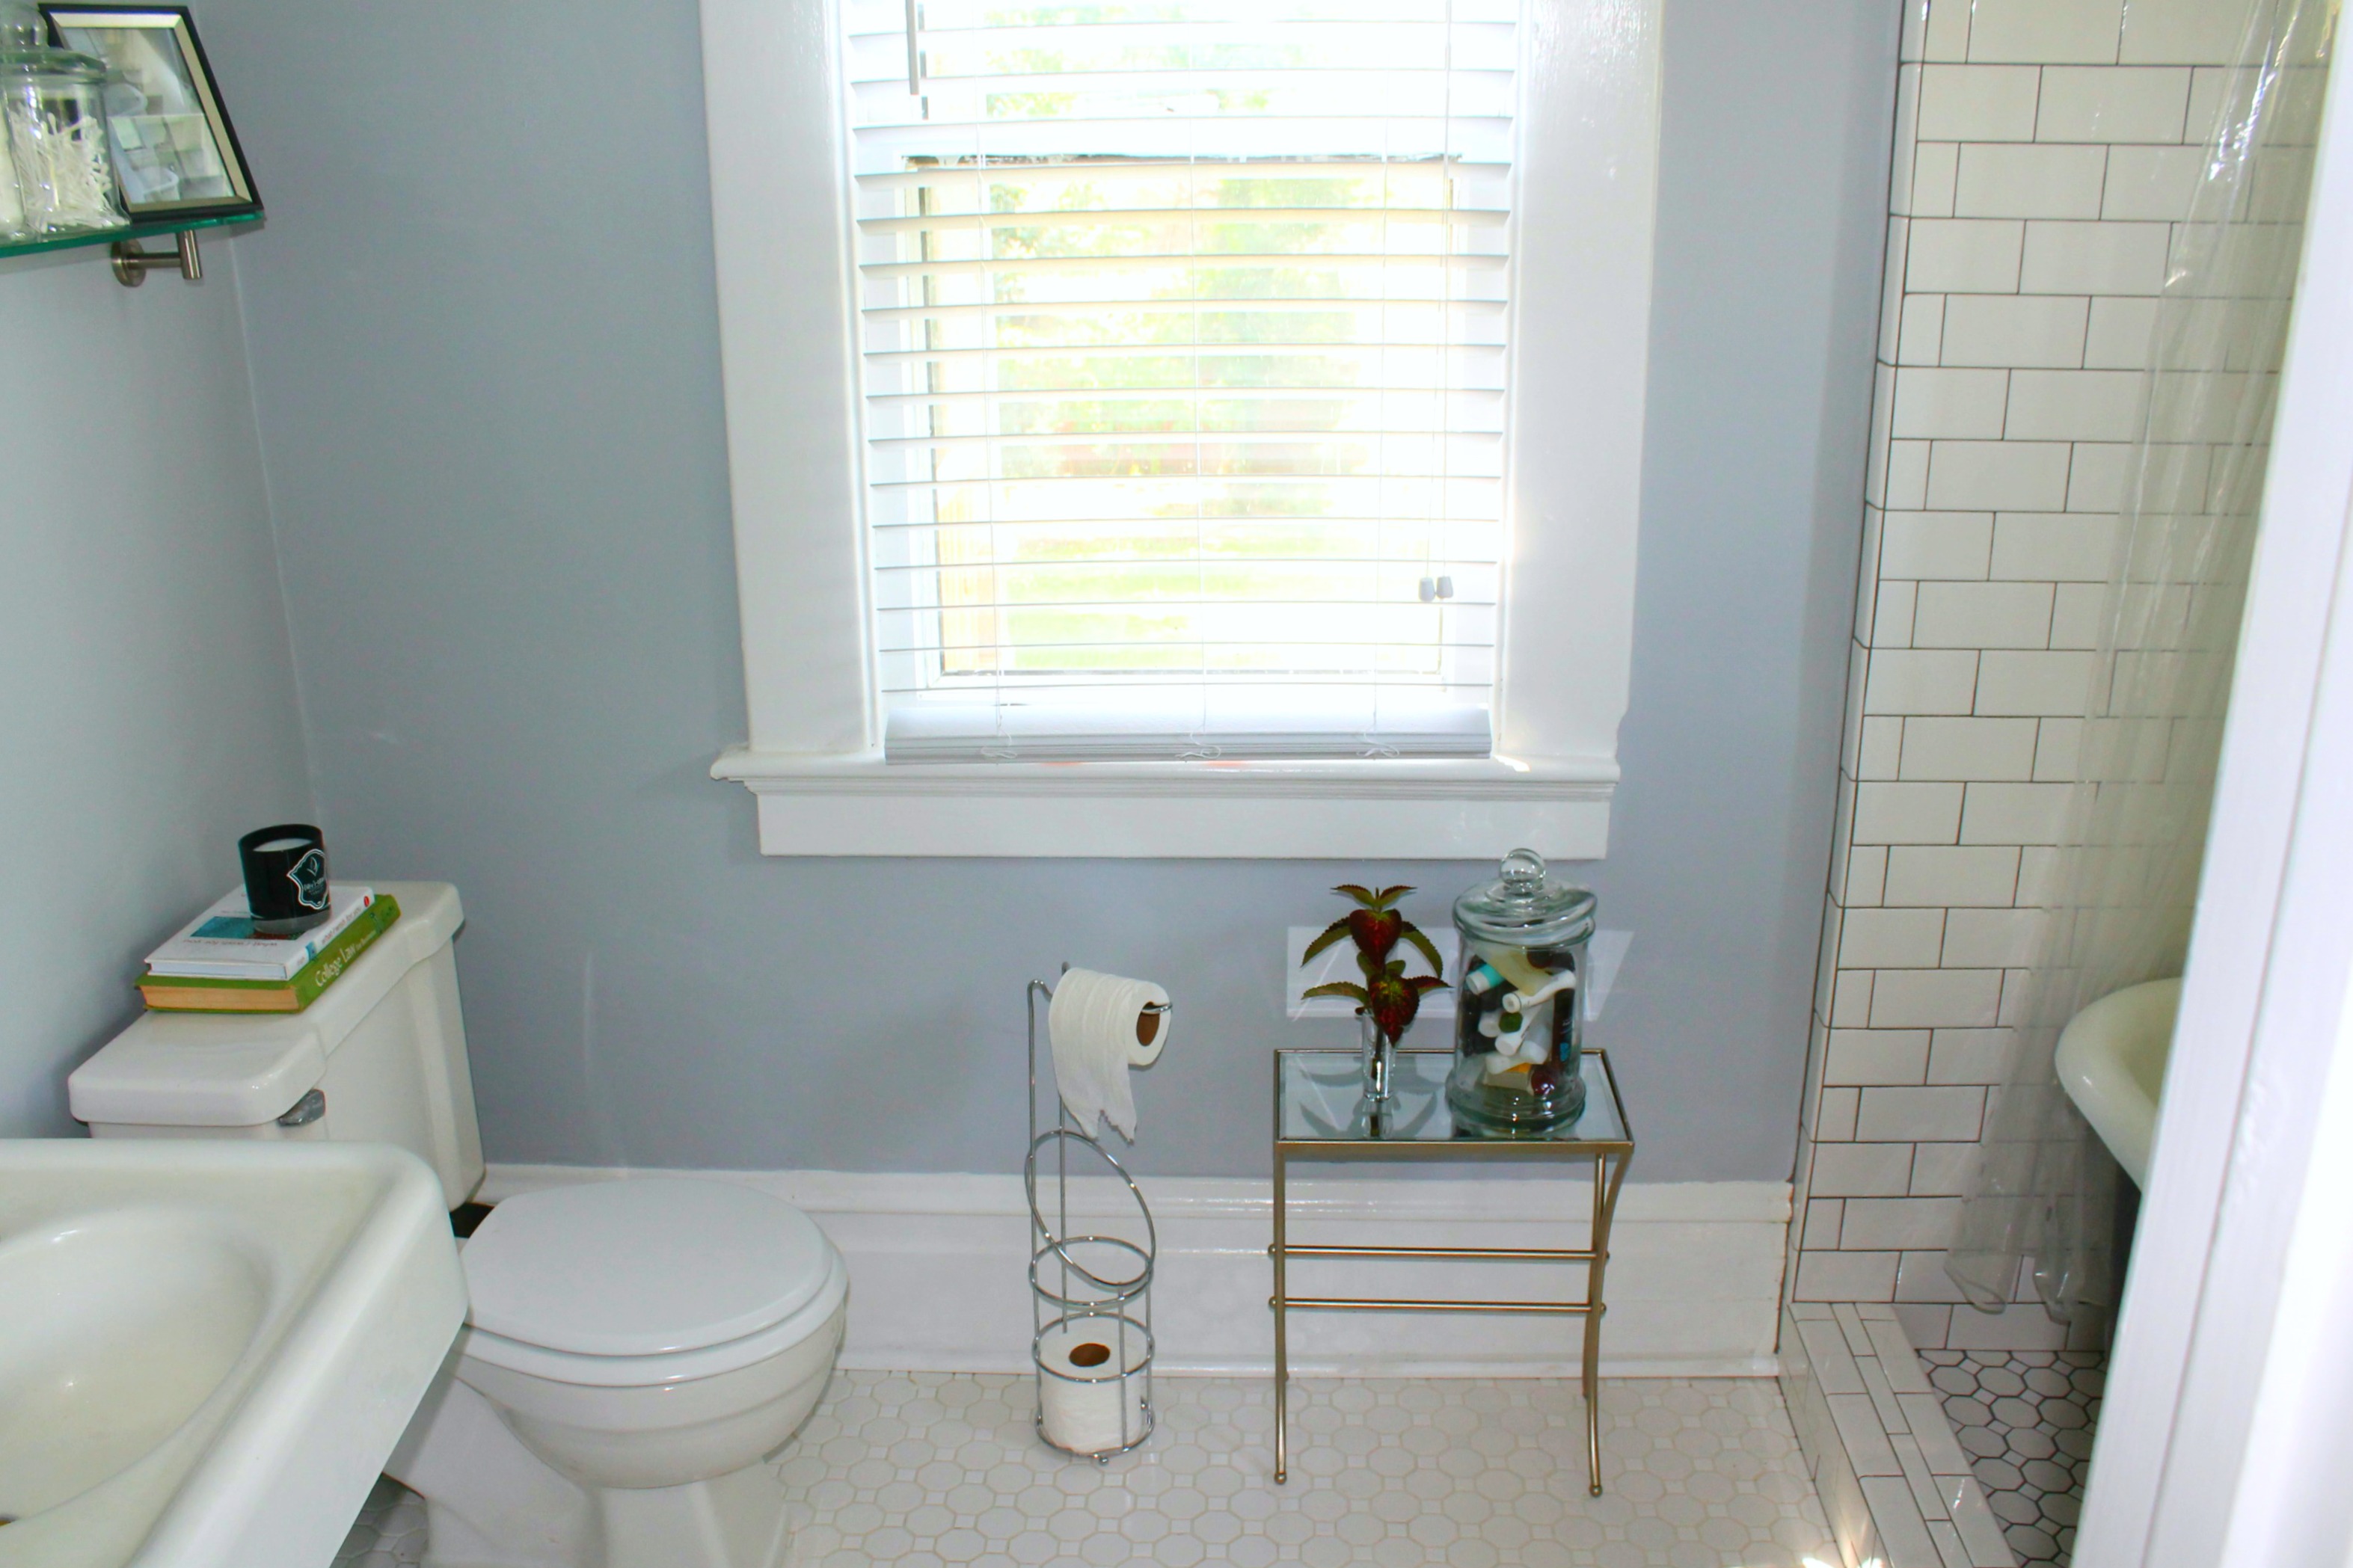
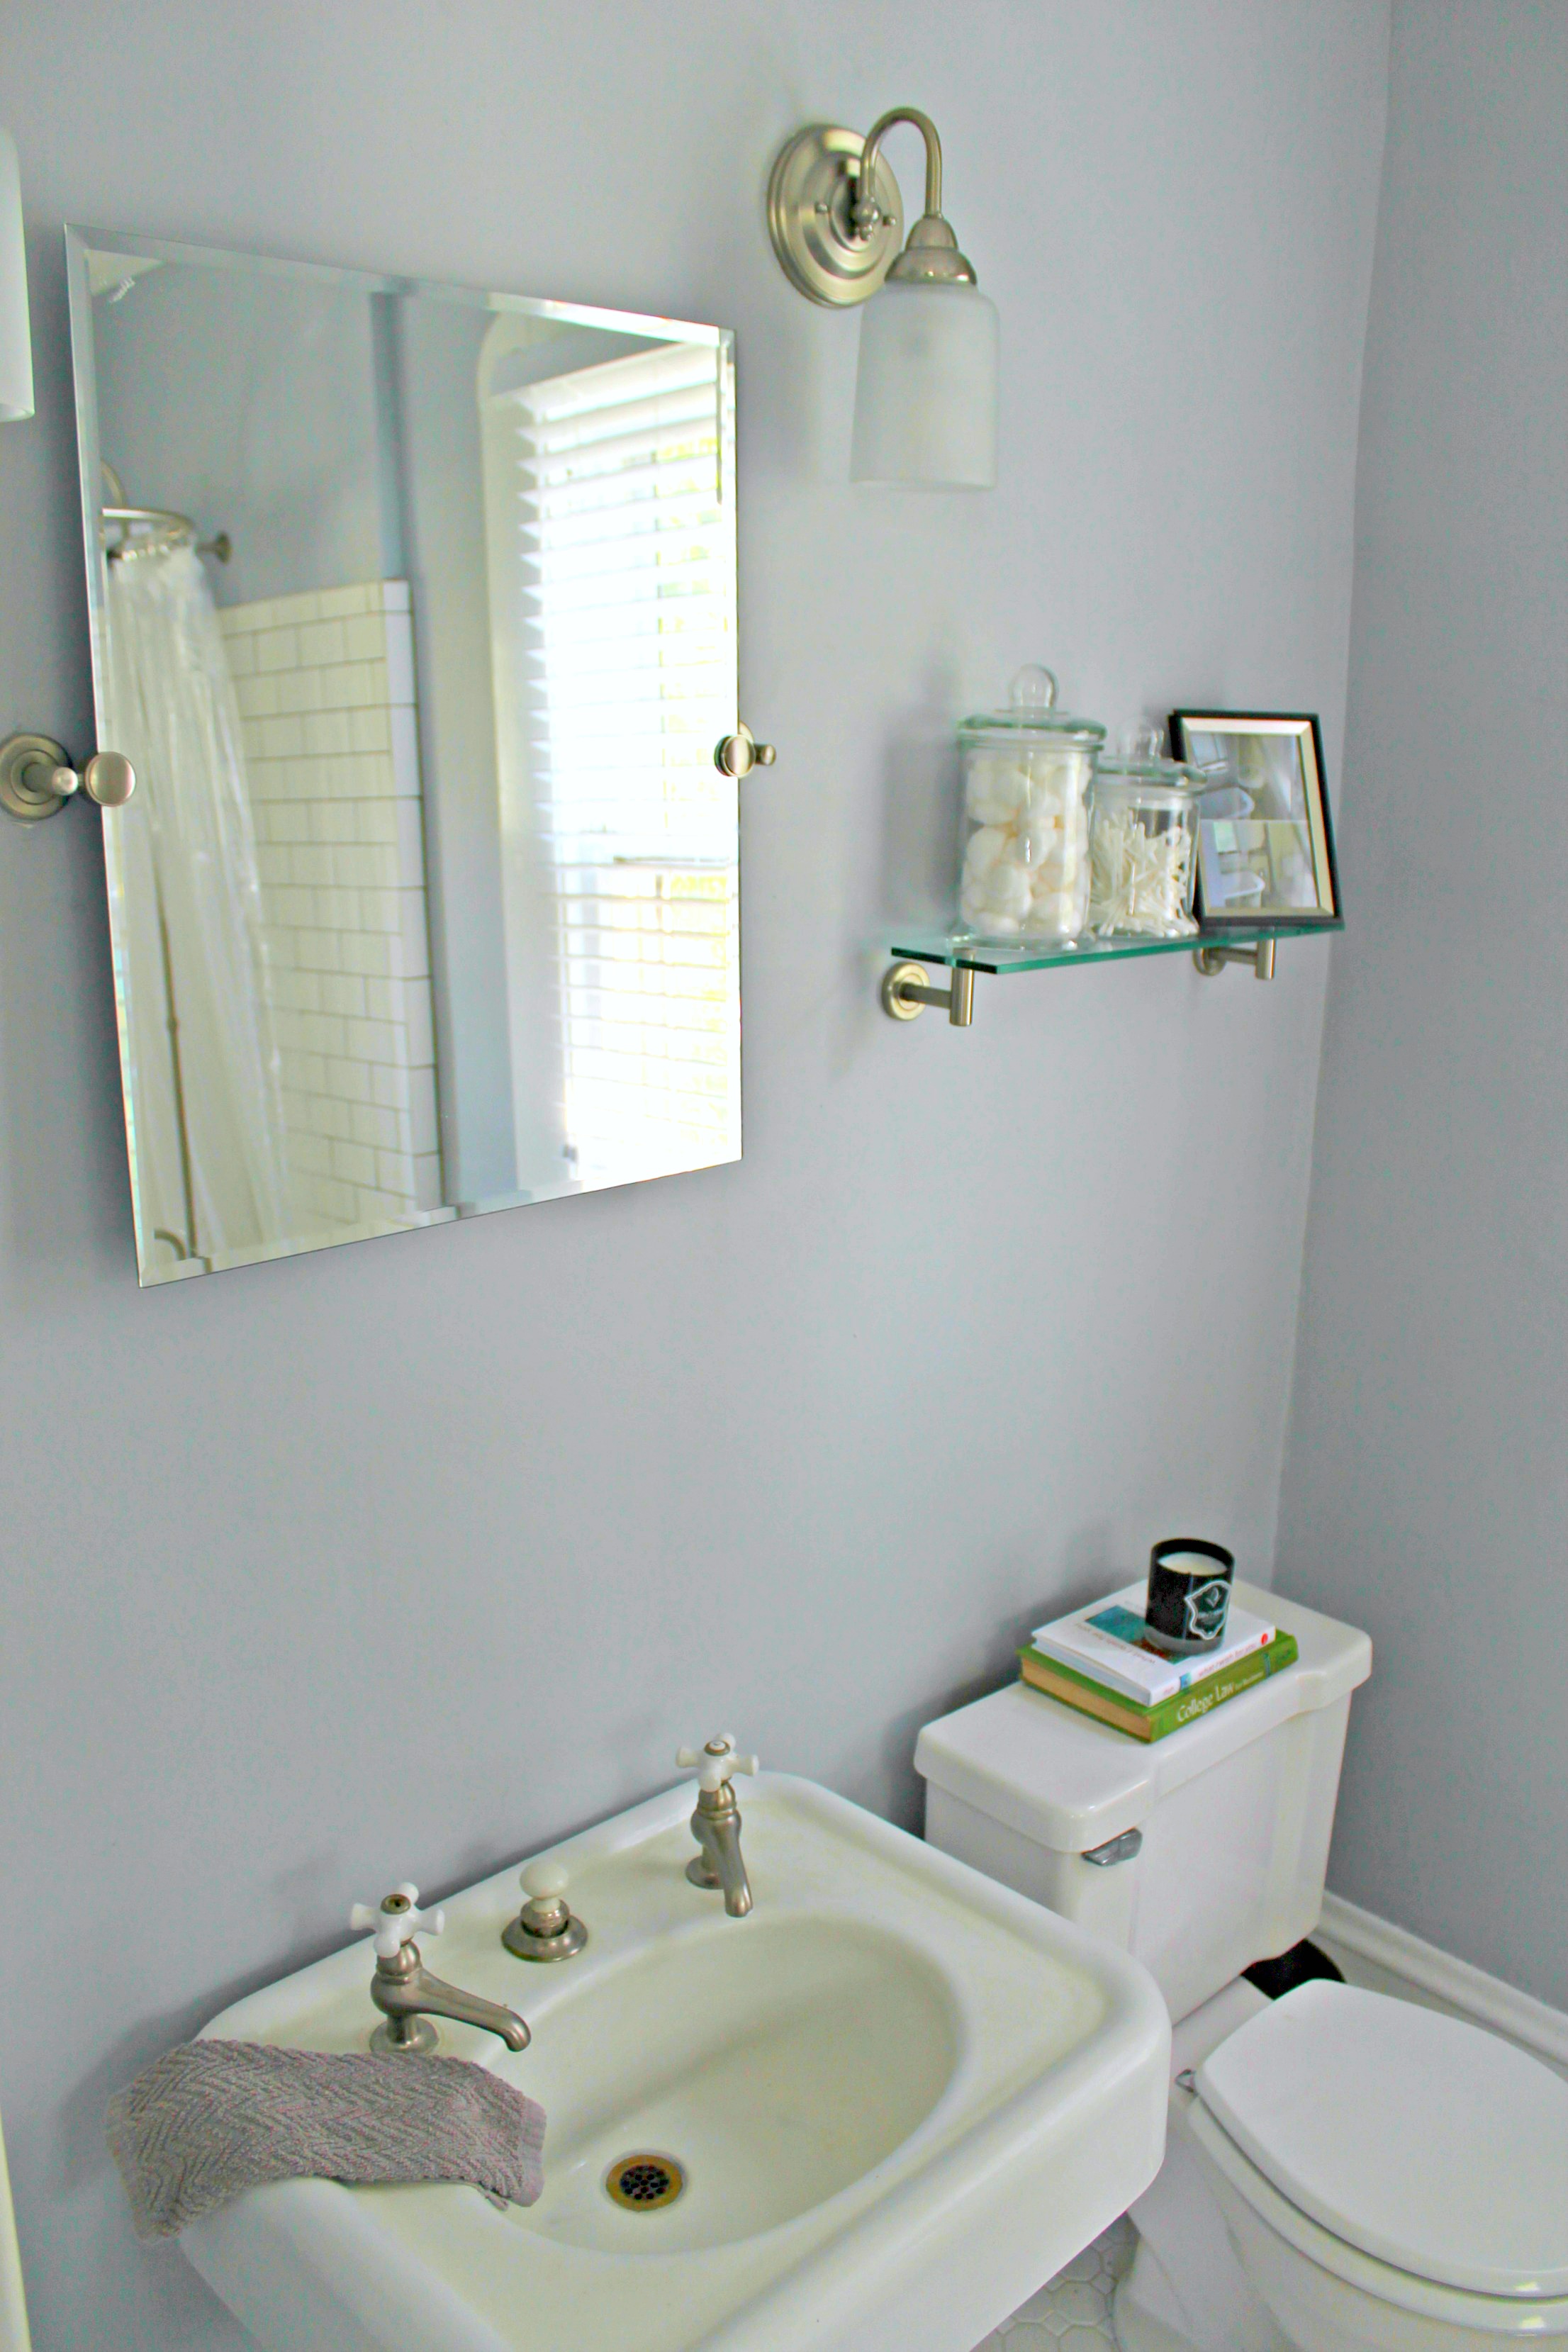
- Install pedestal sink and new toilet
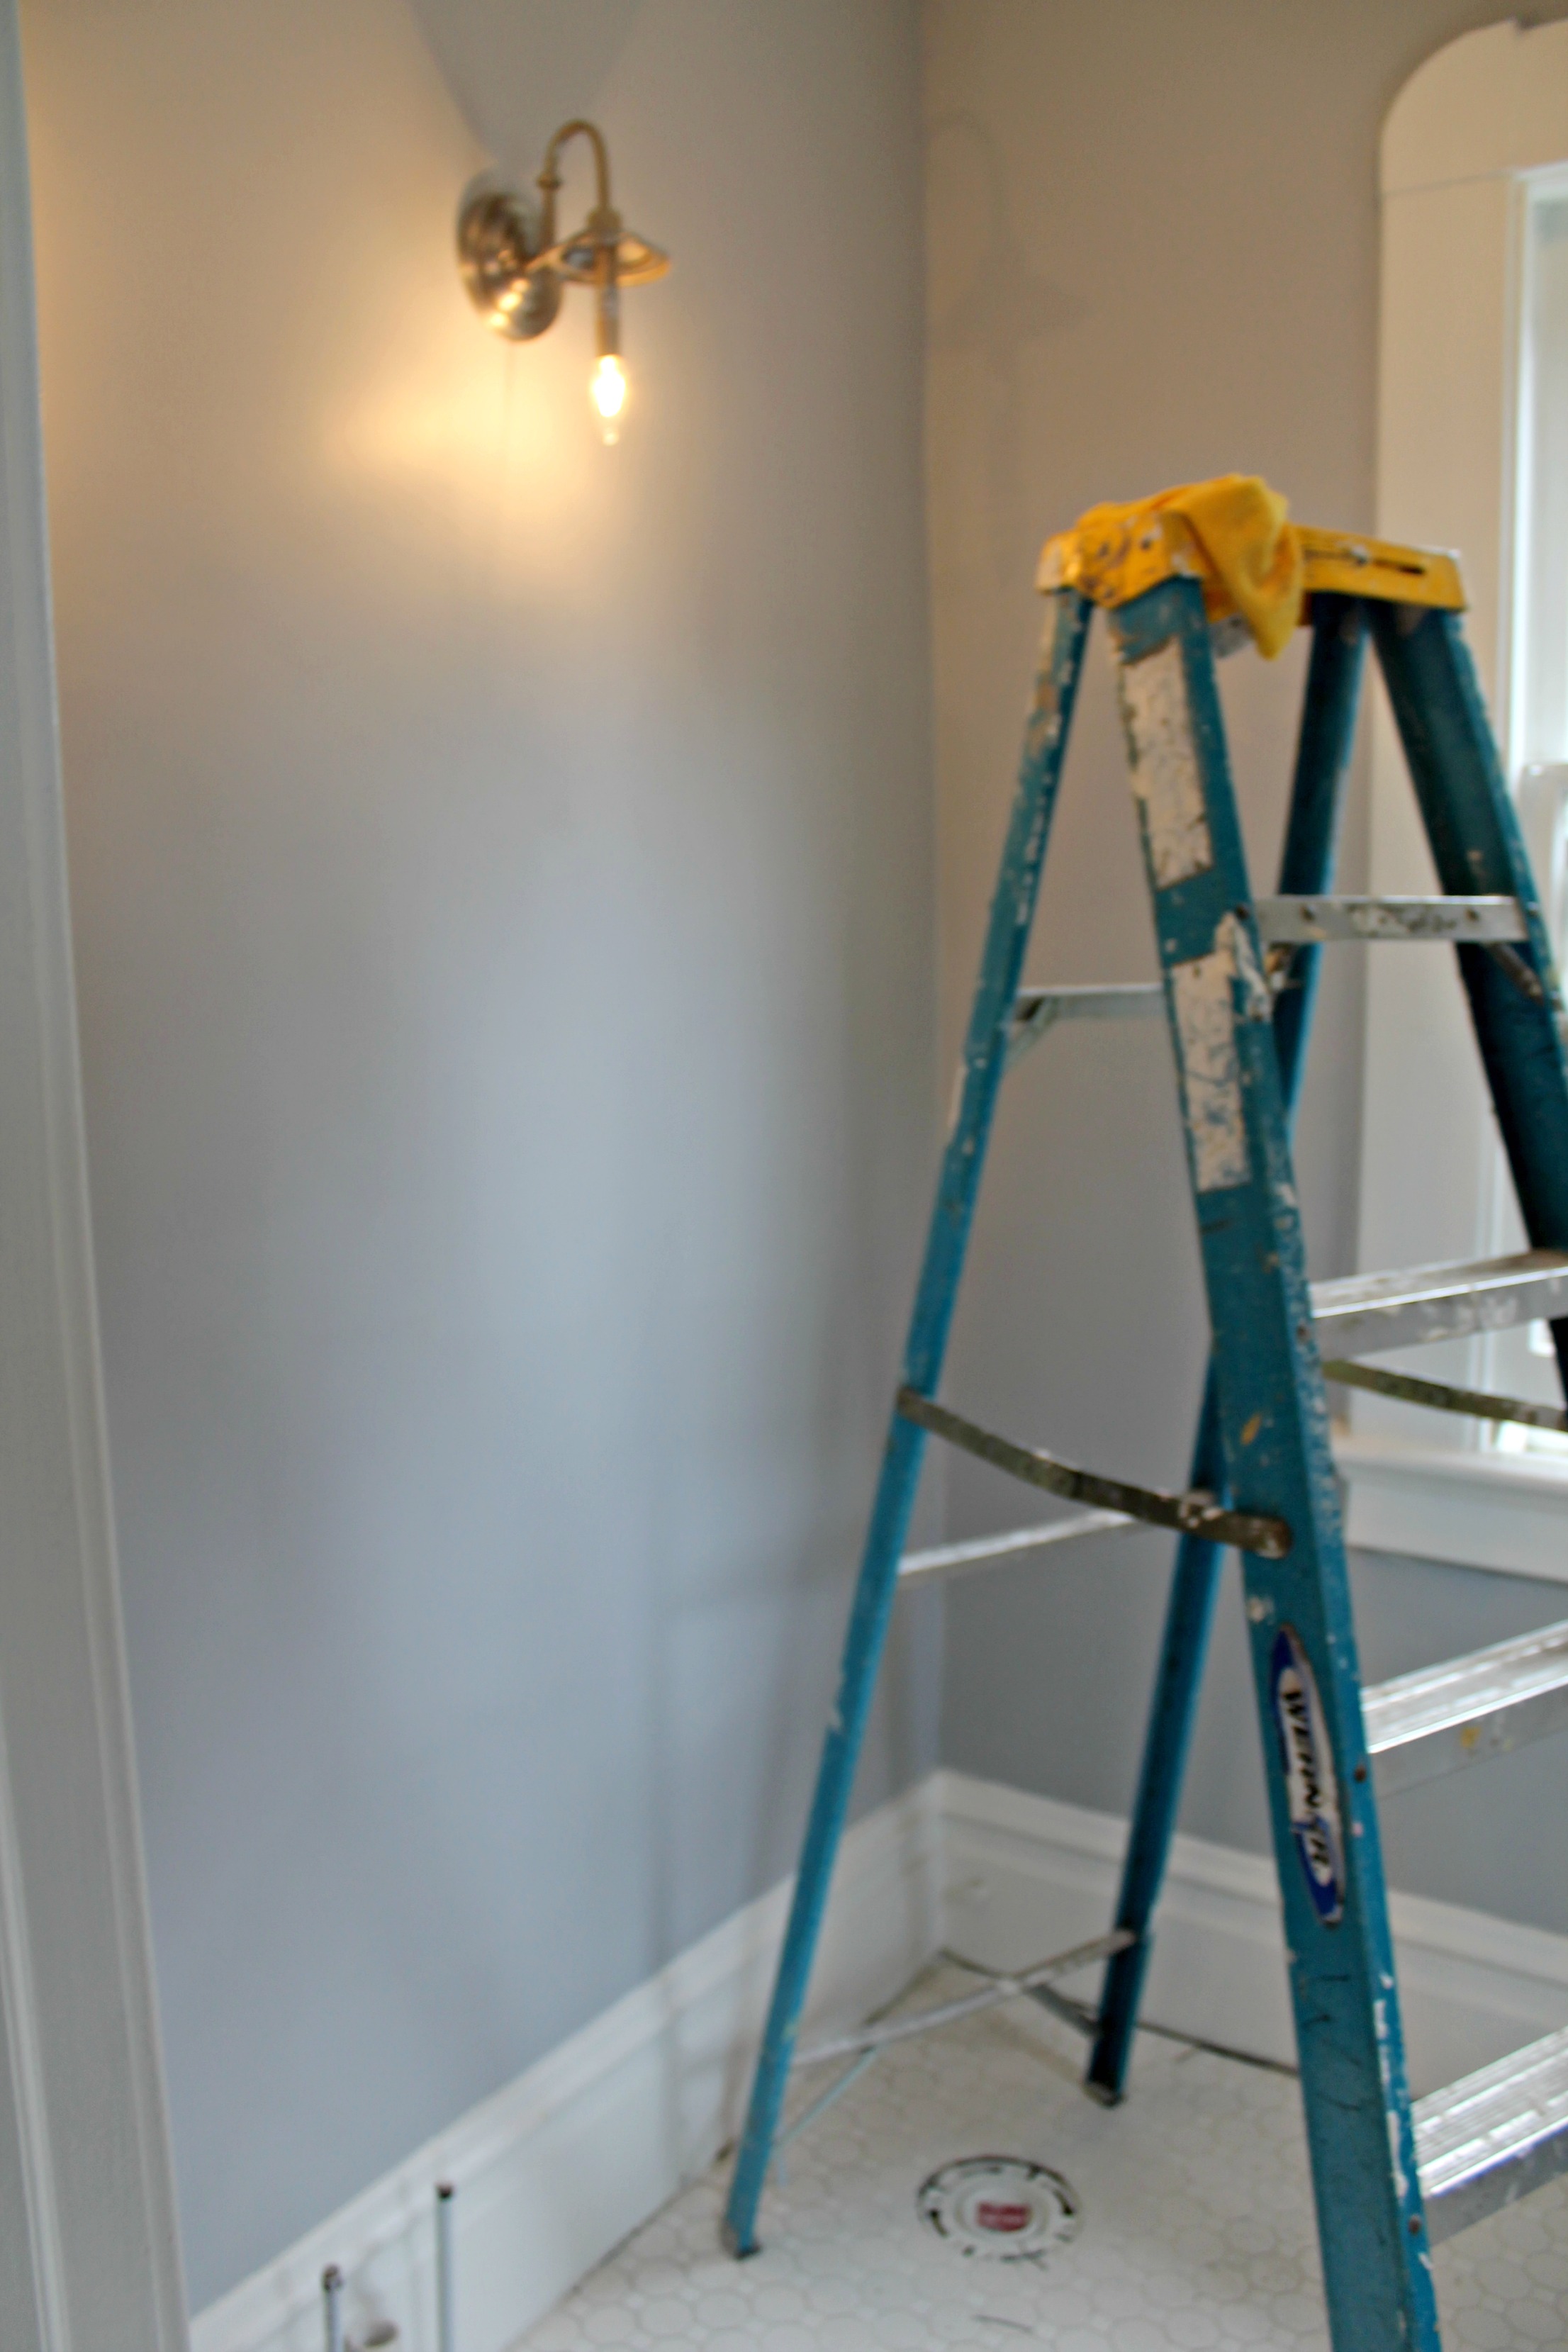
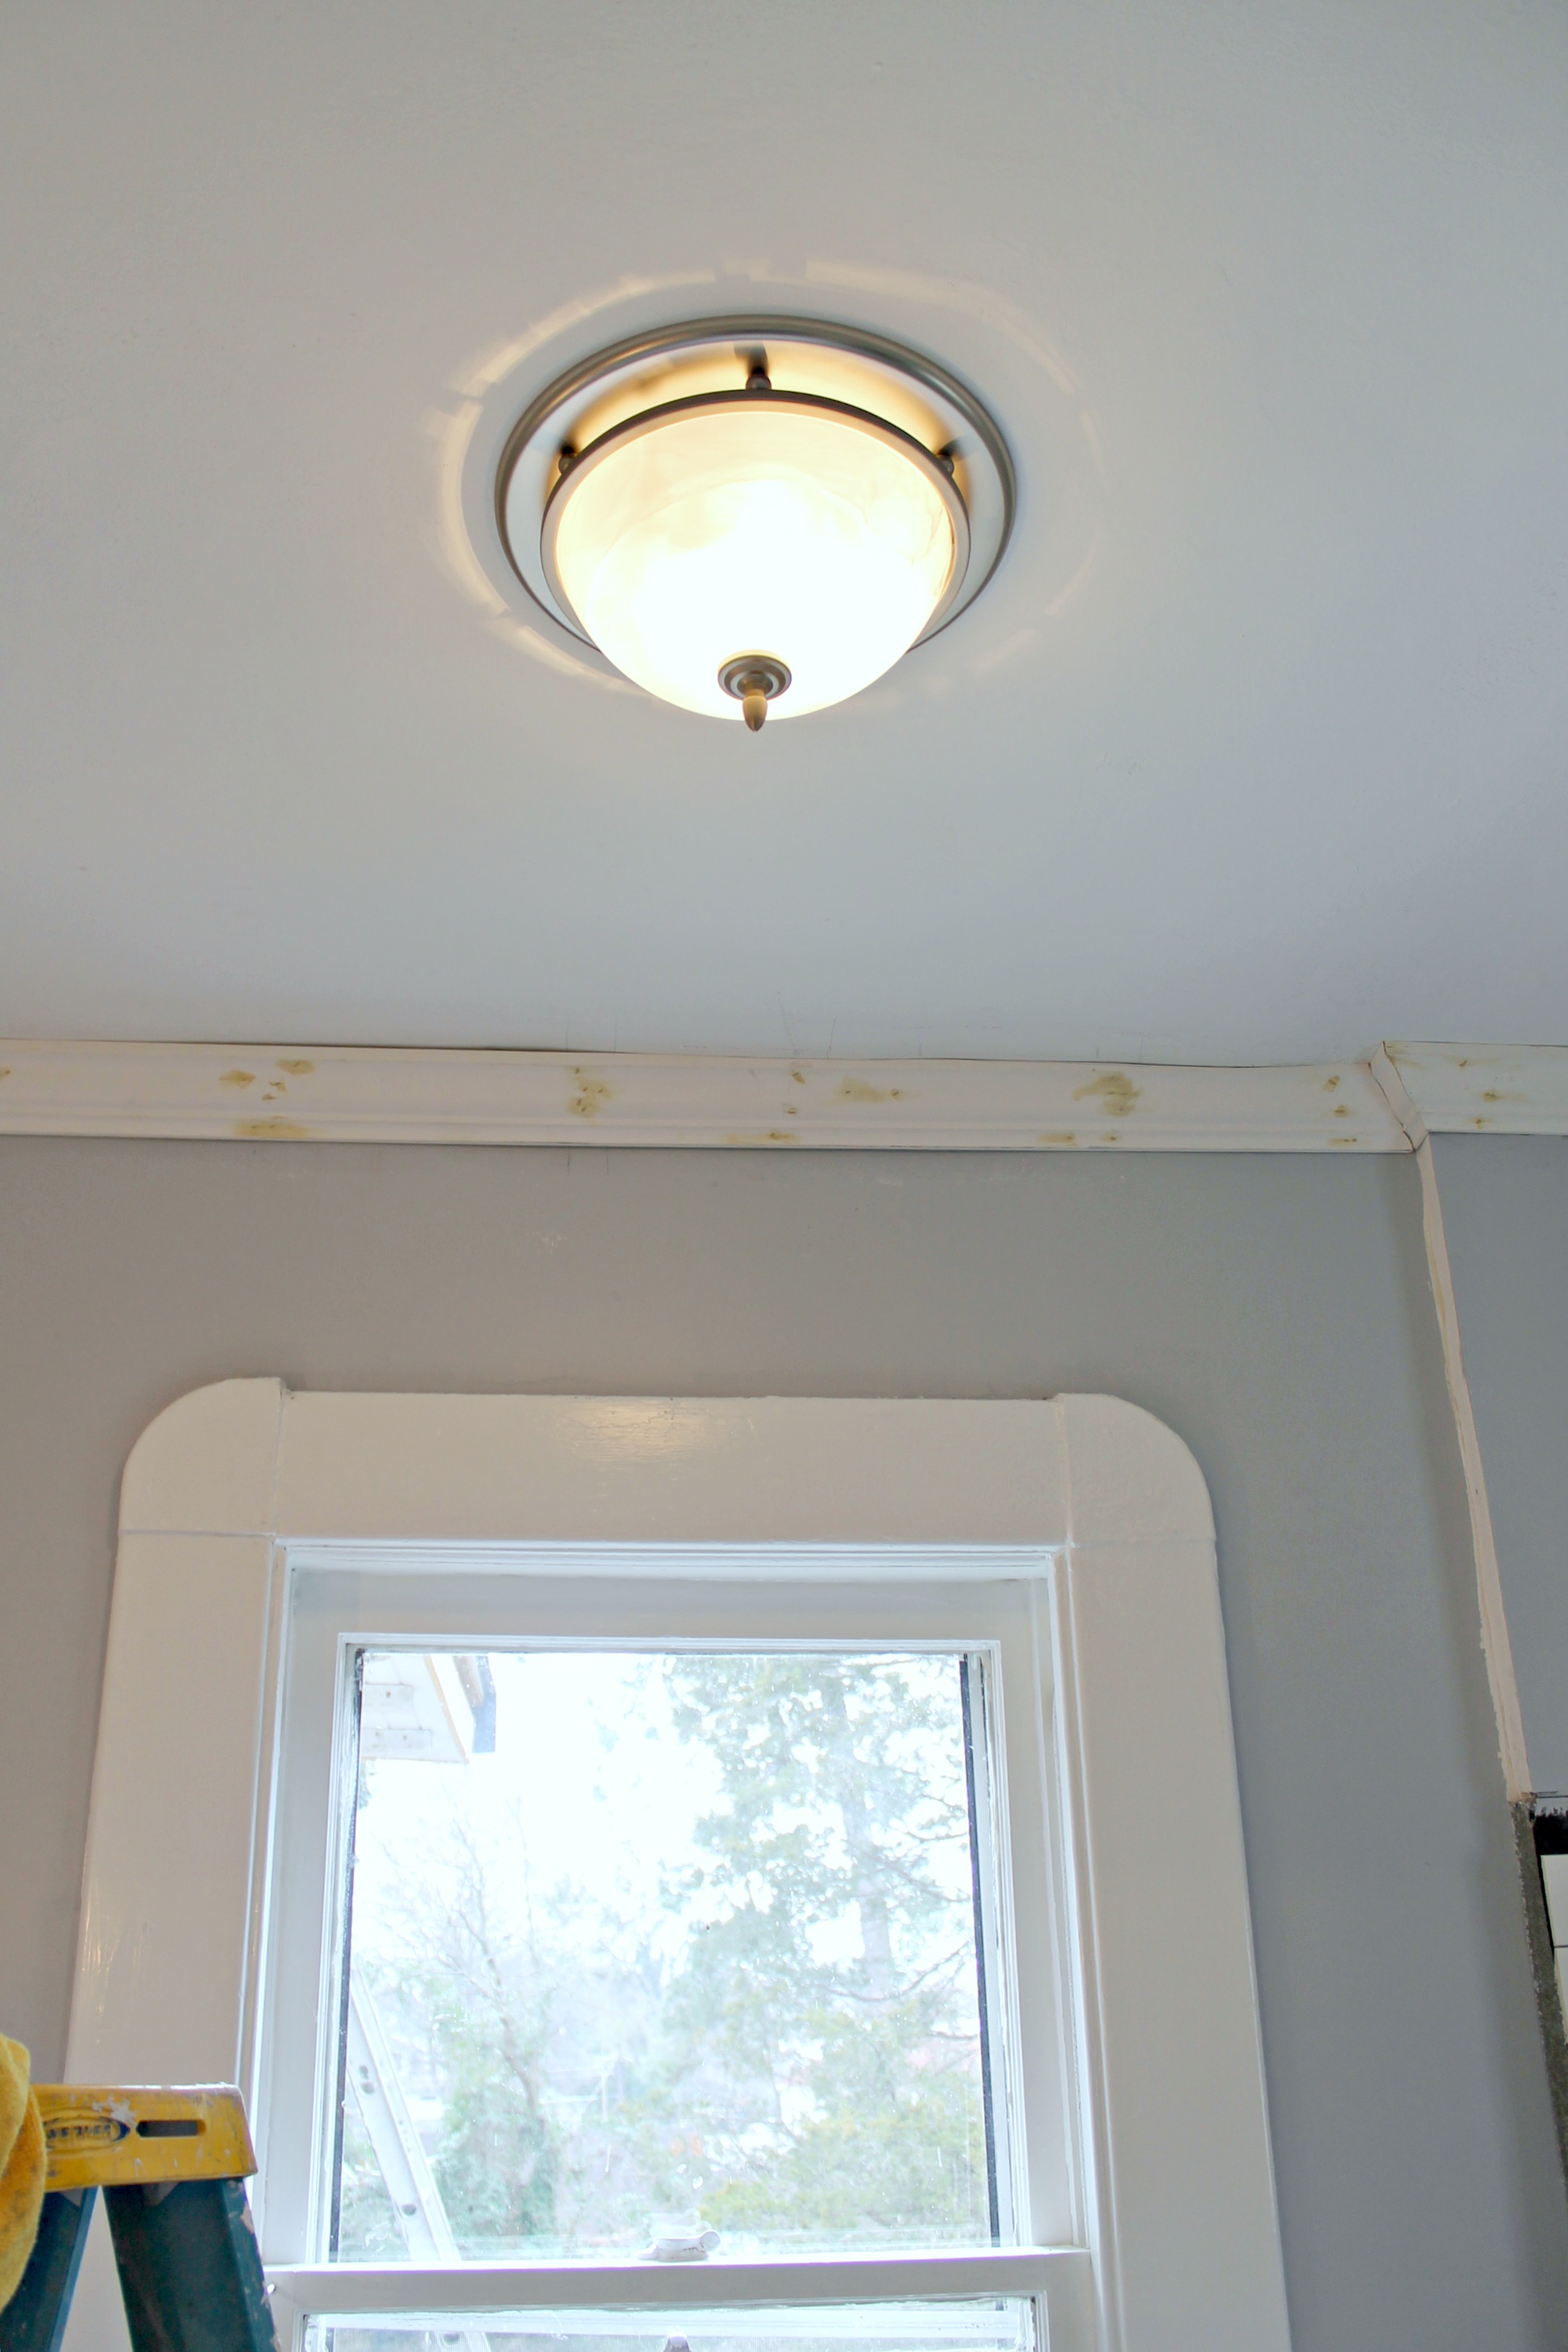
- Install new light fixtures and vent
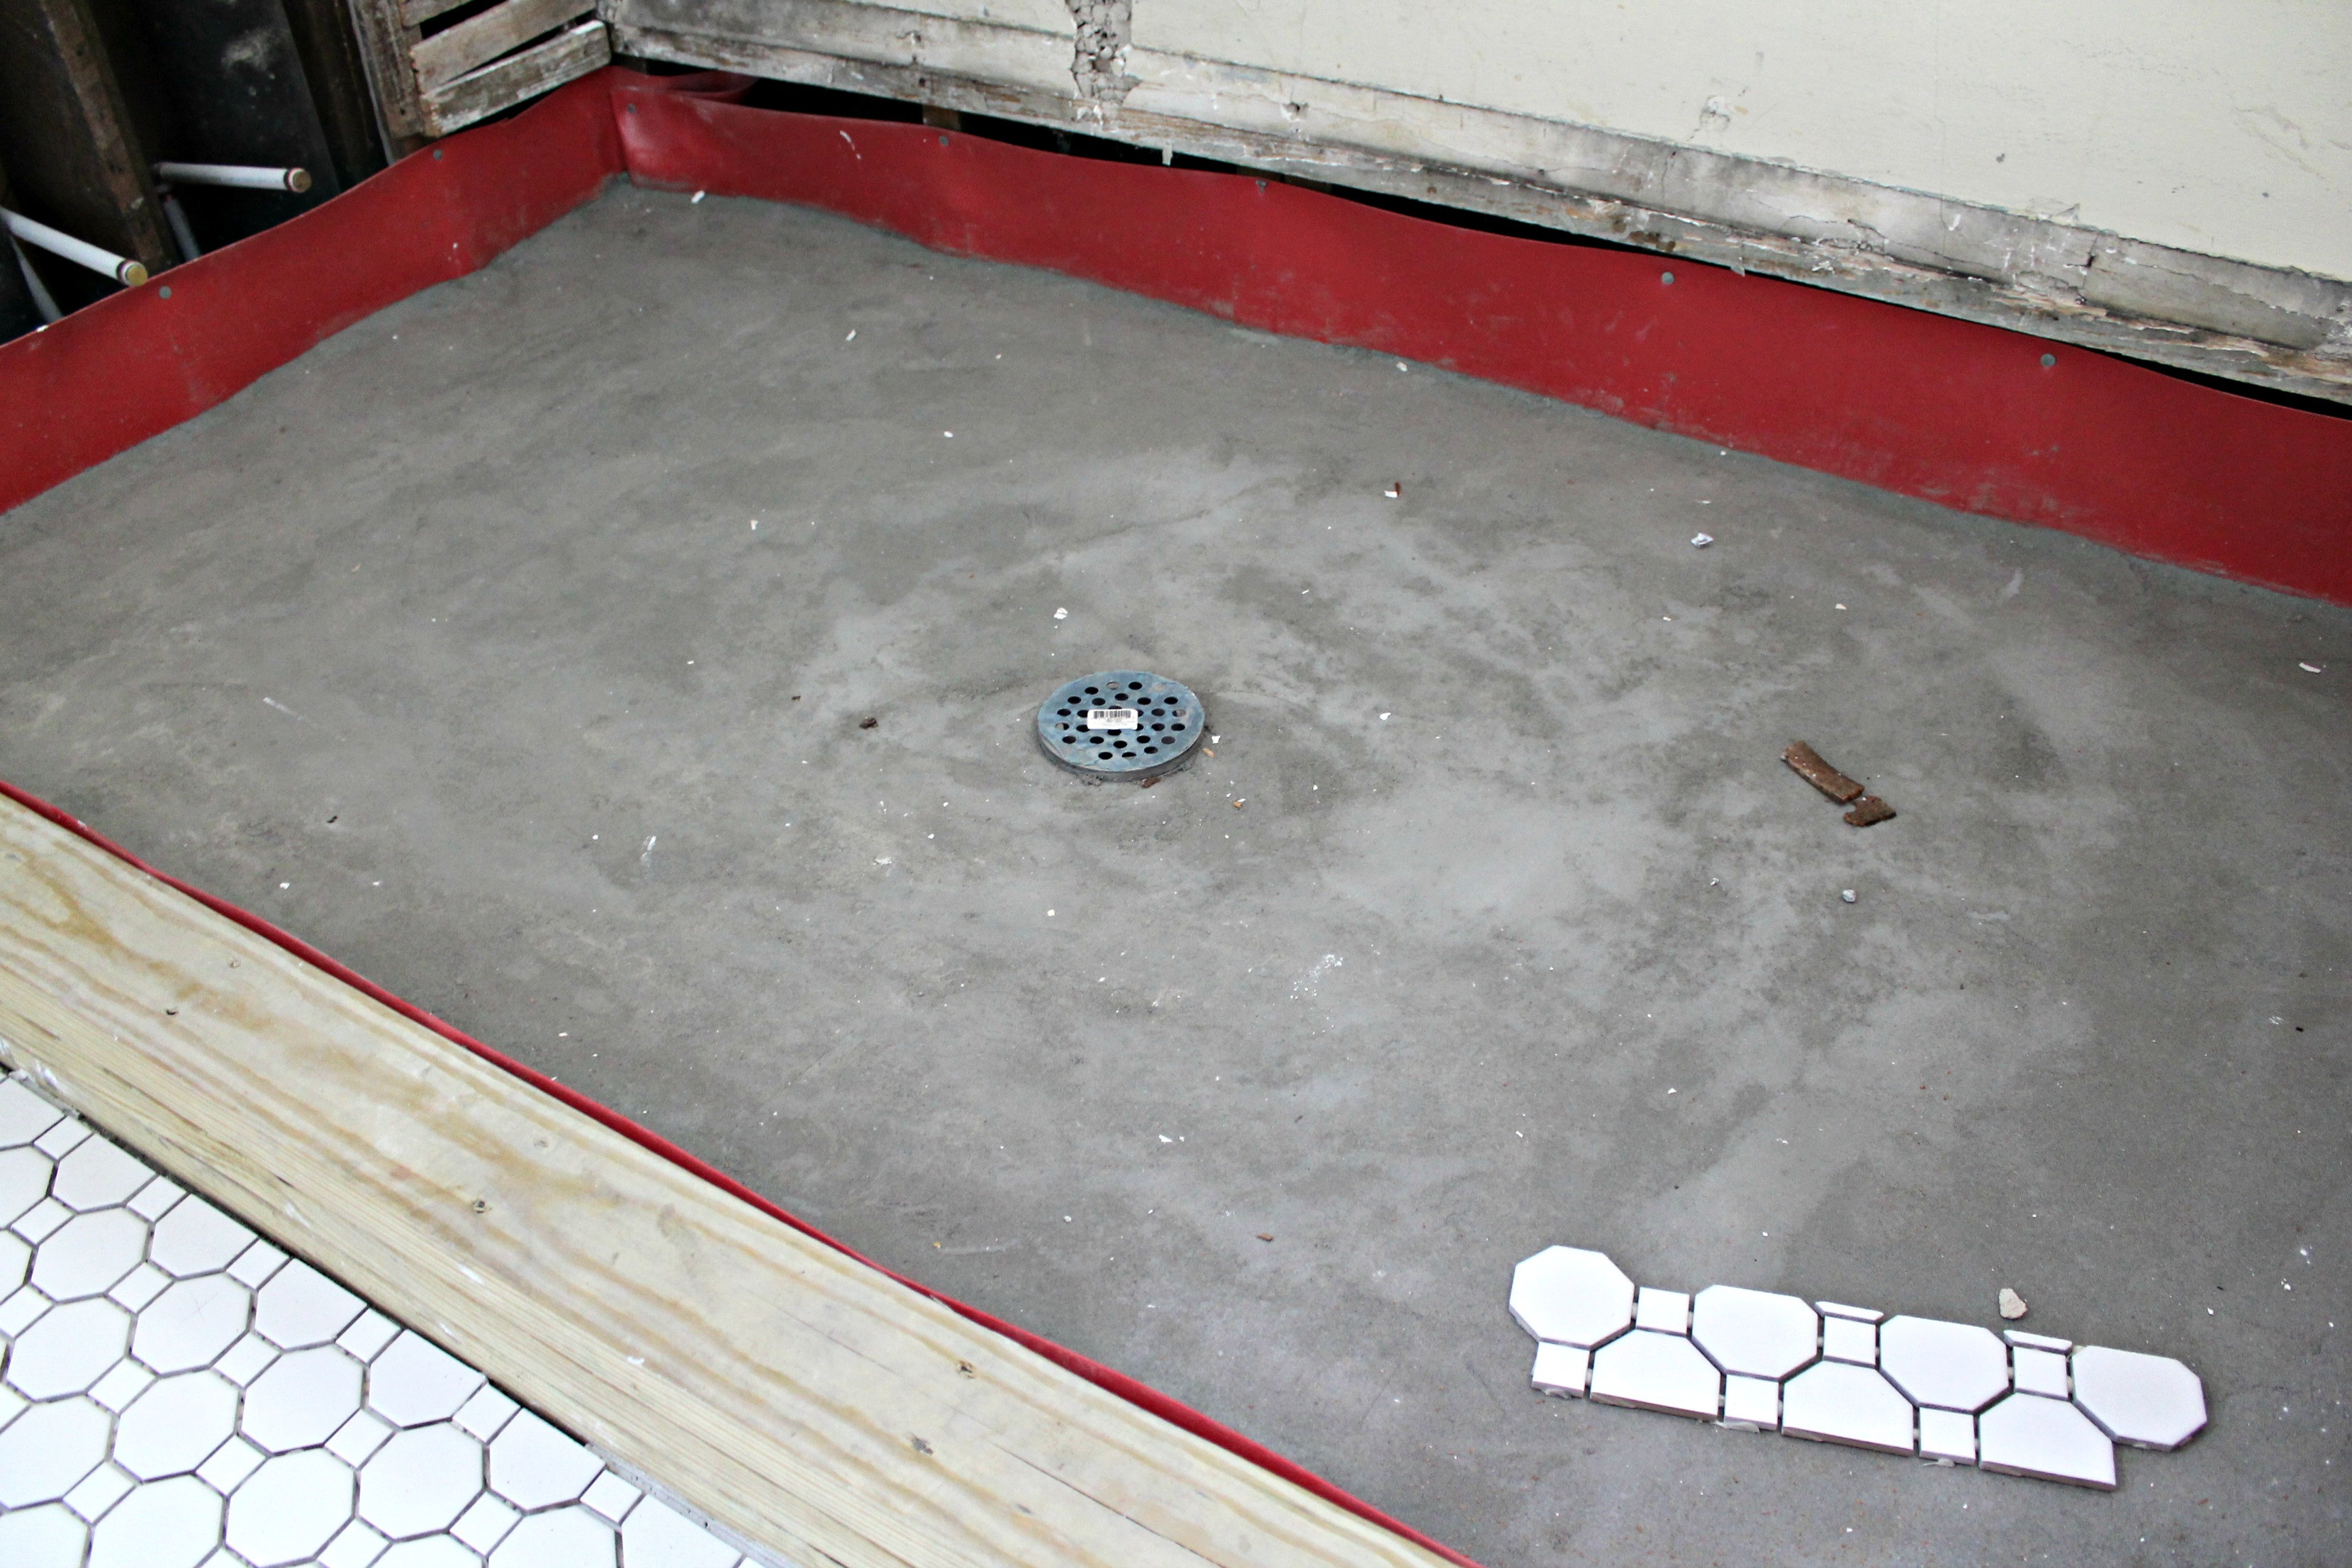
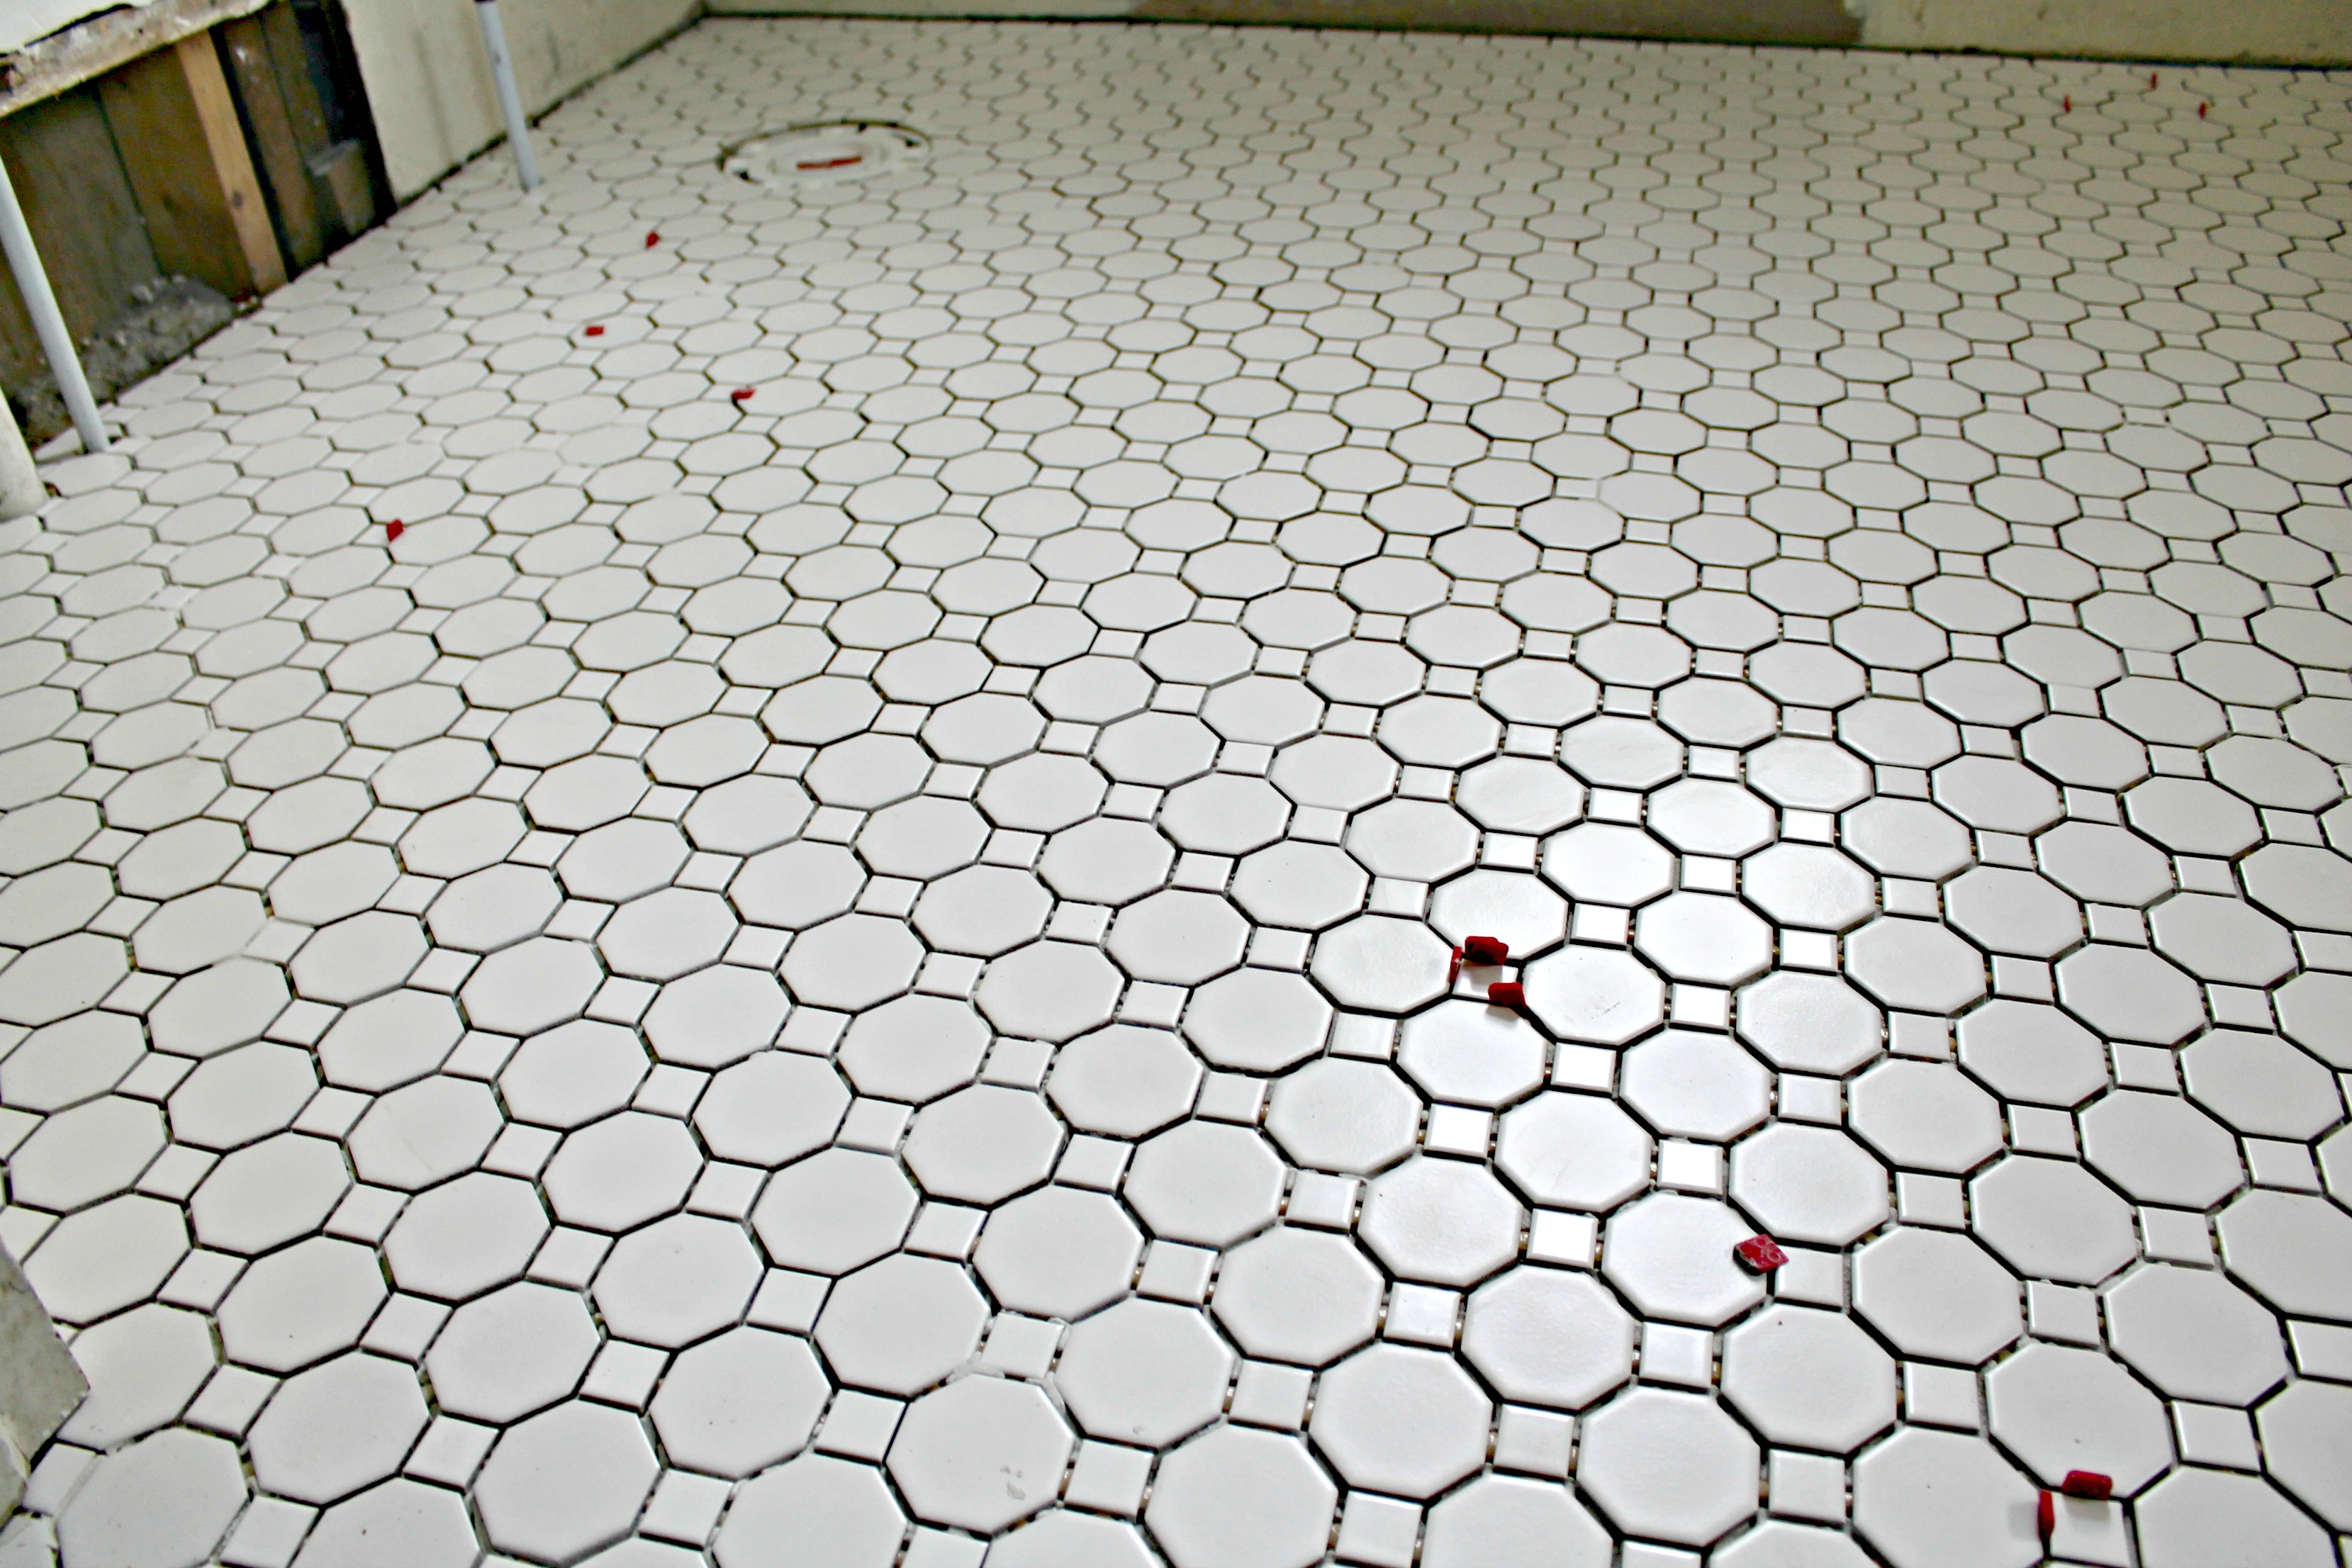
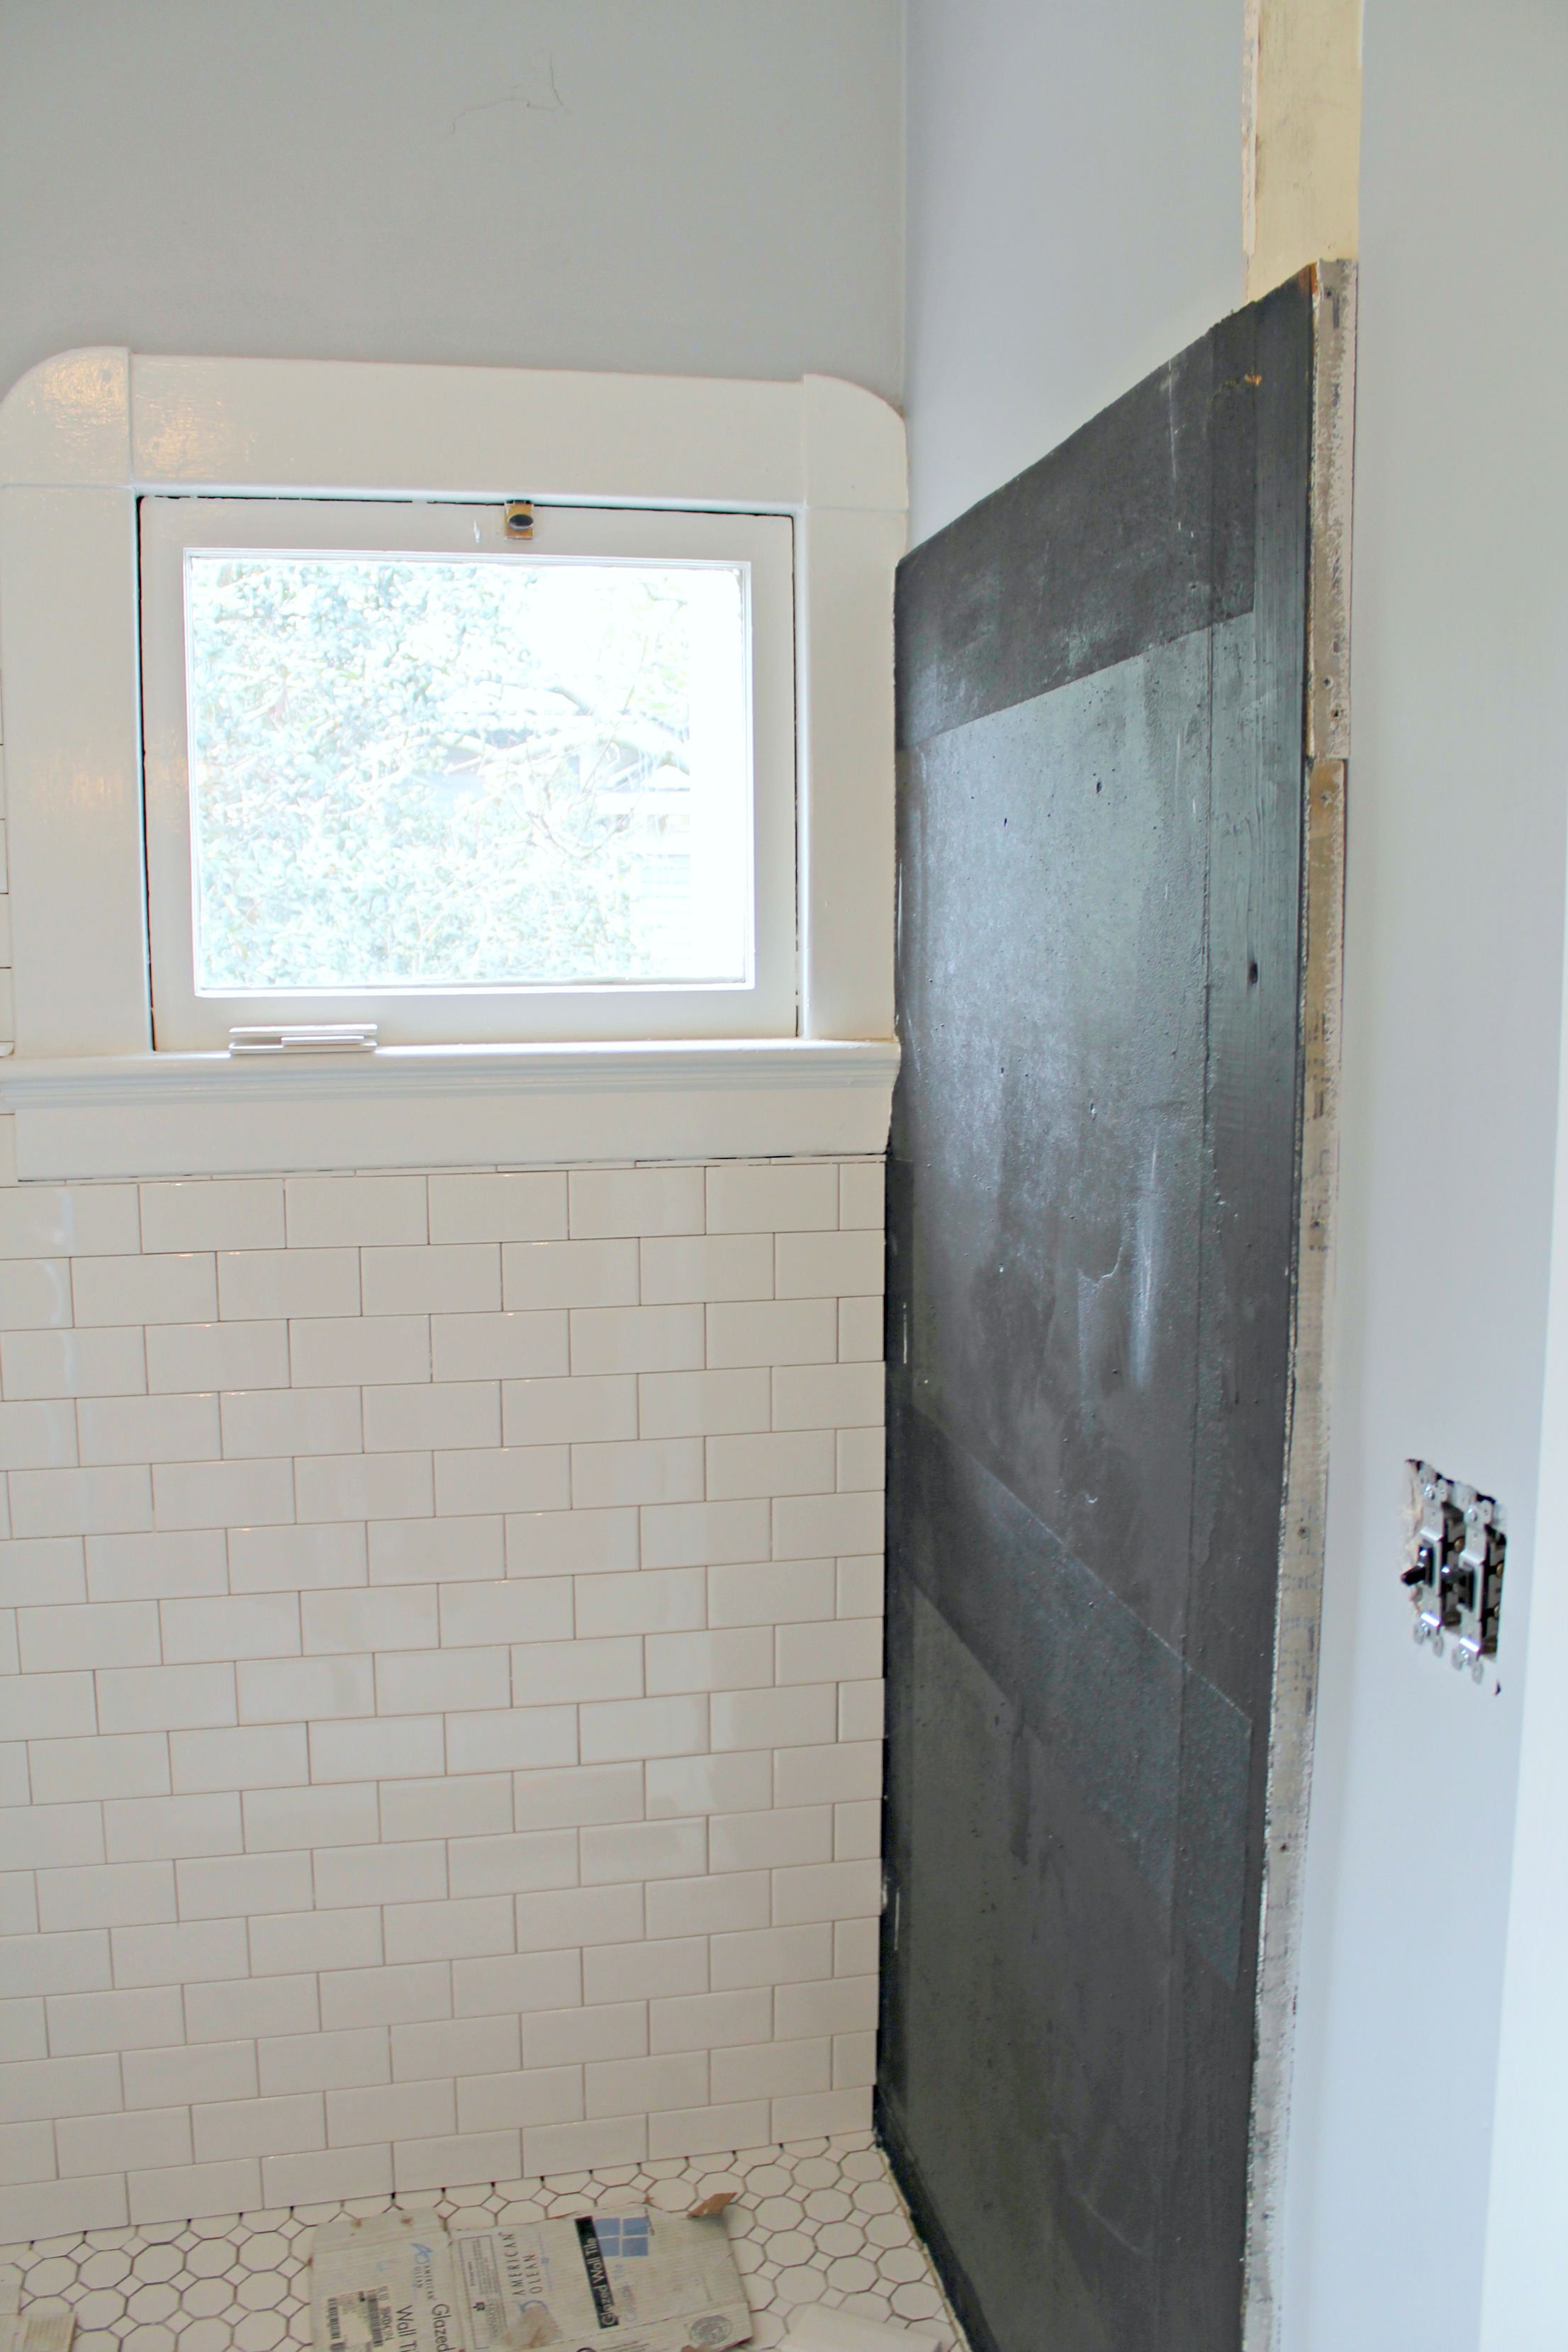
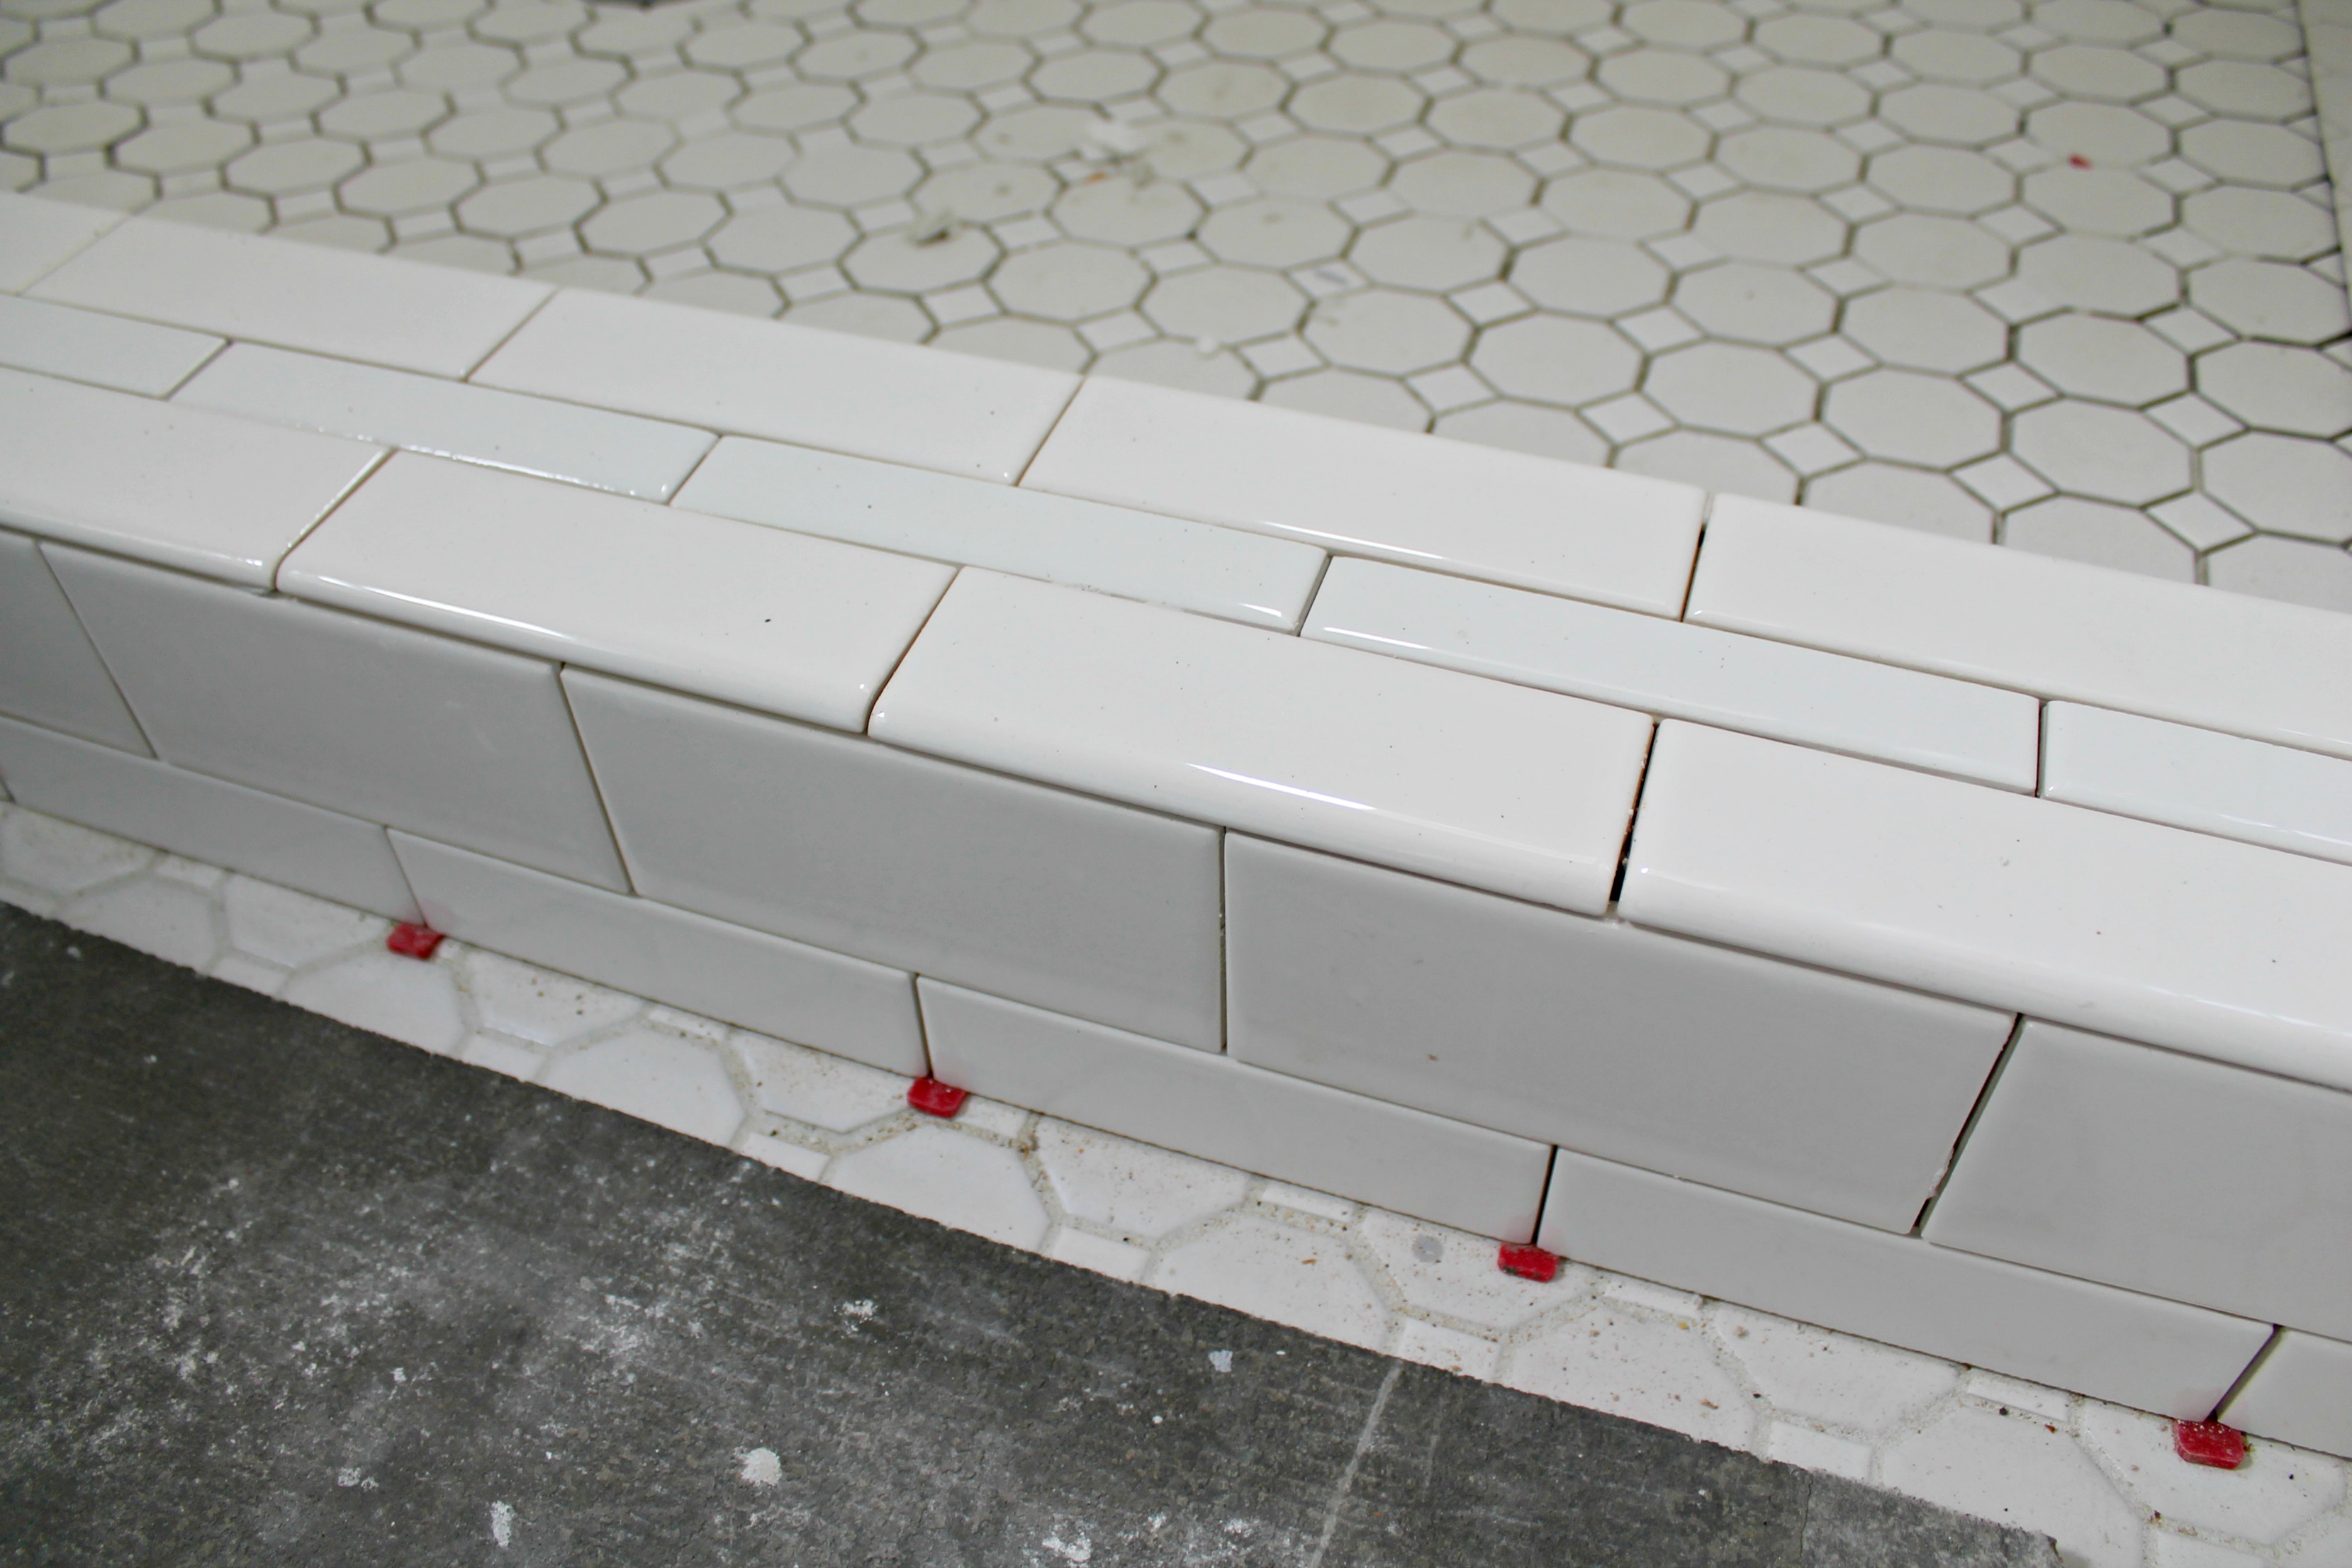
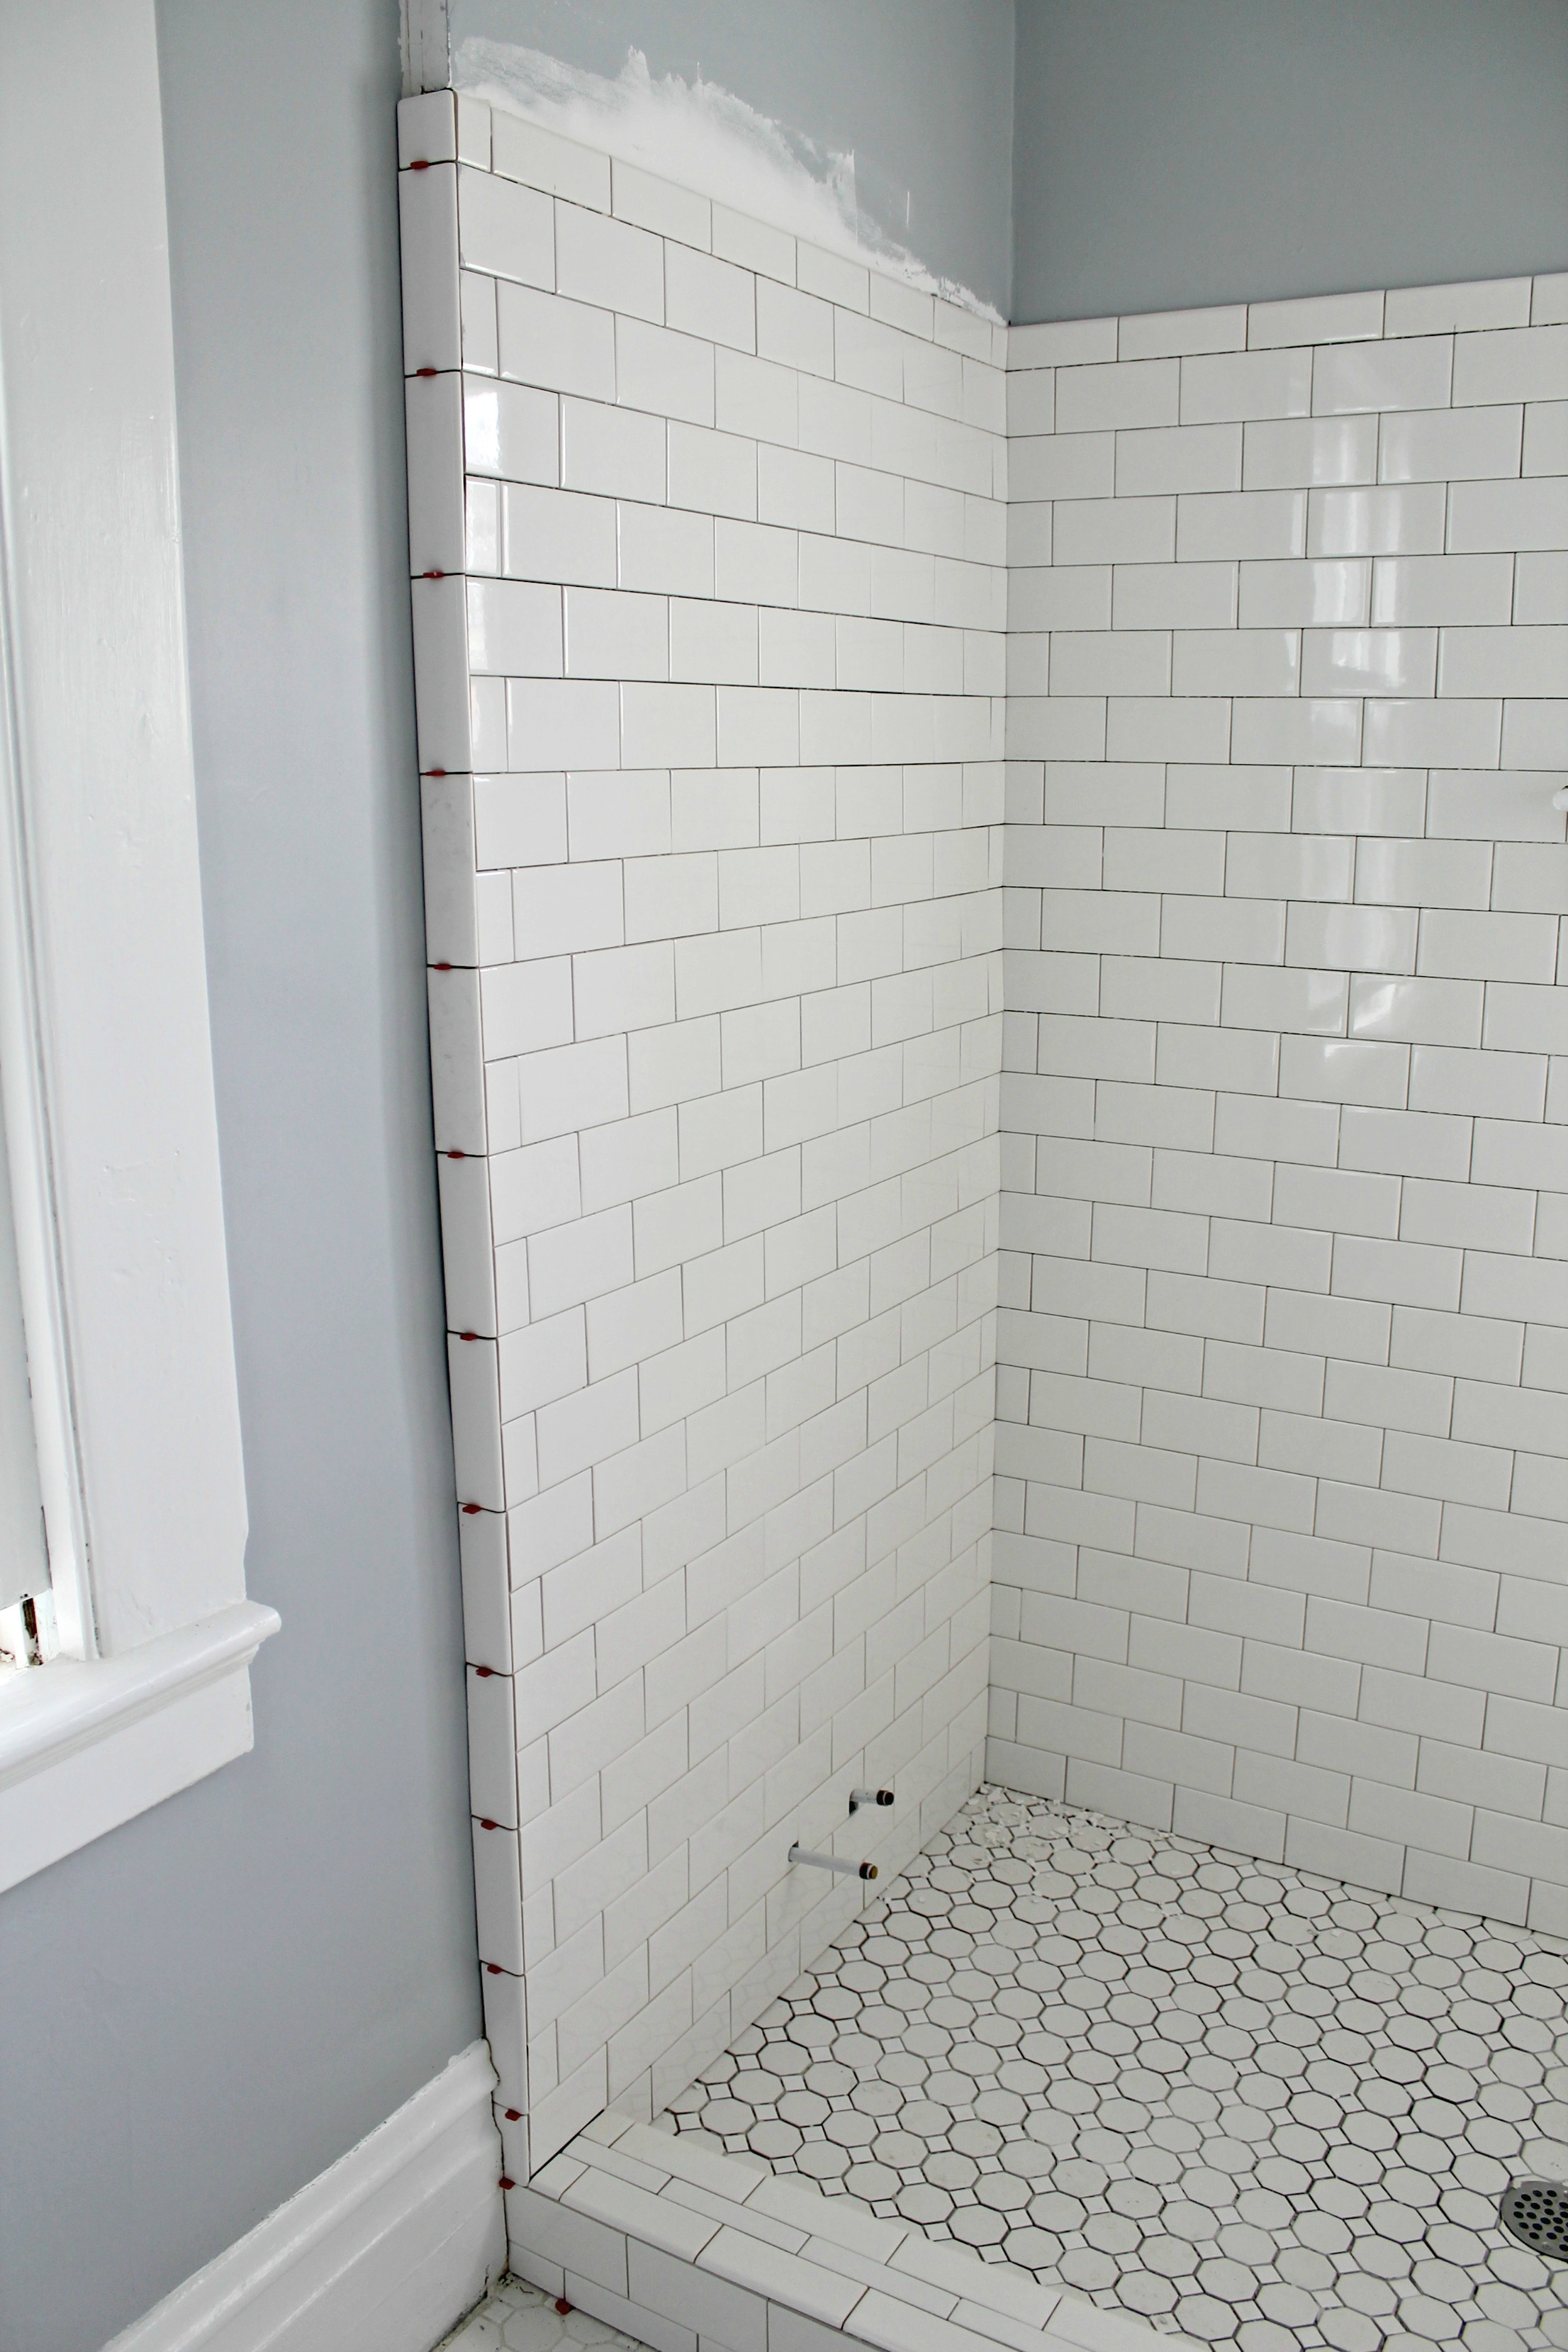
- Install tile floor
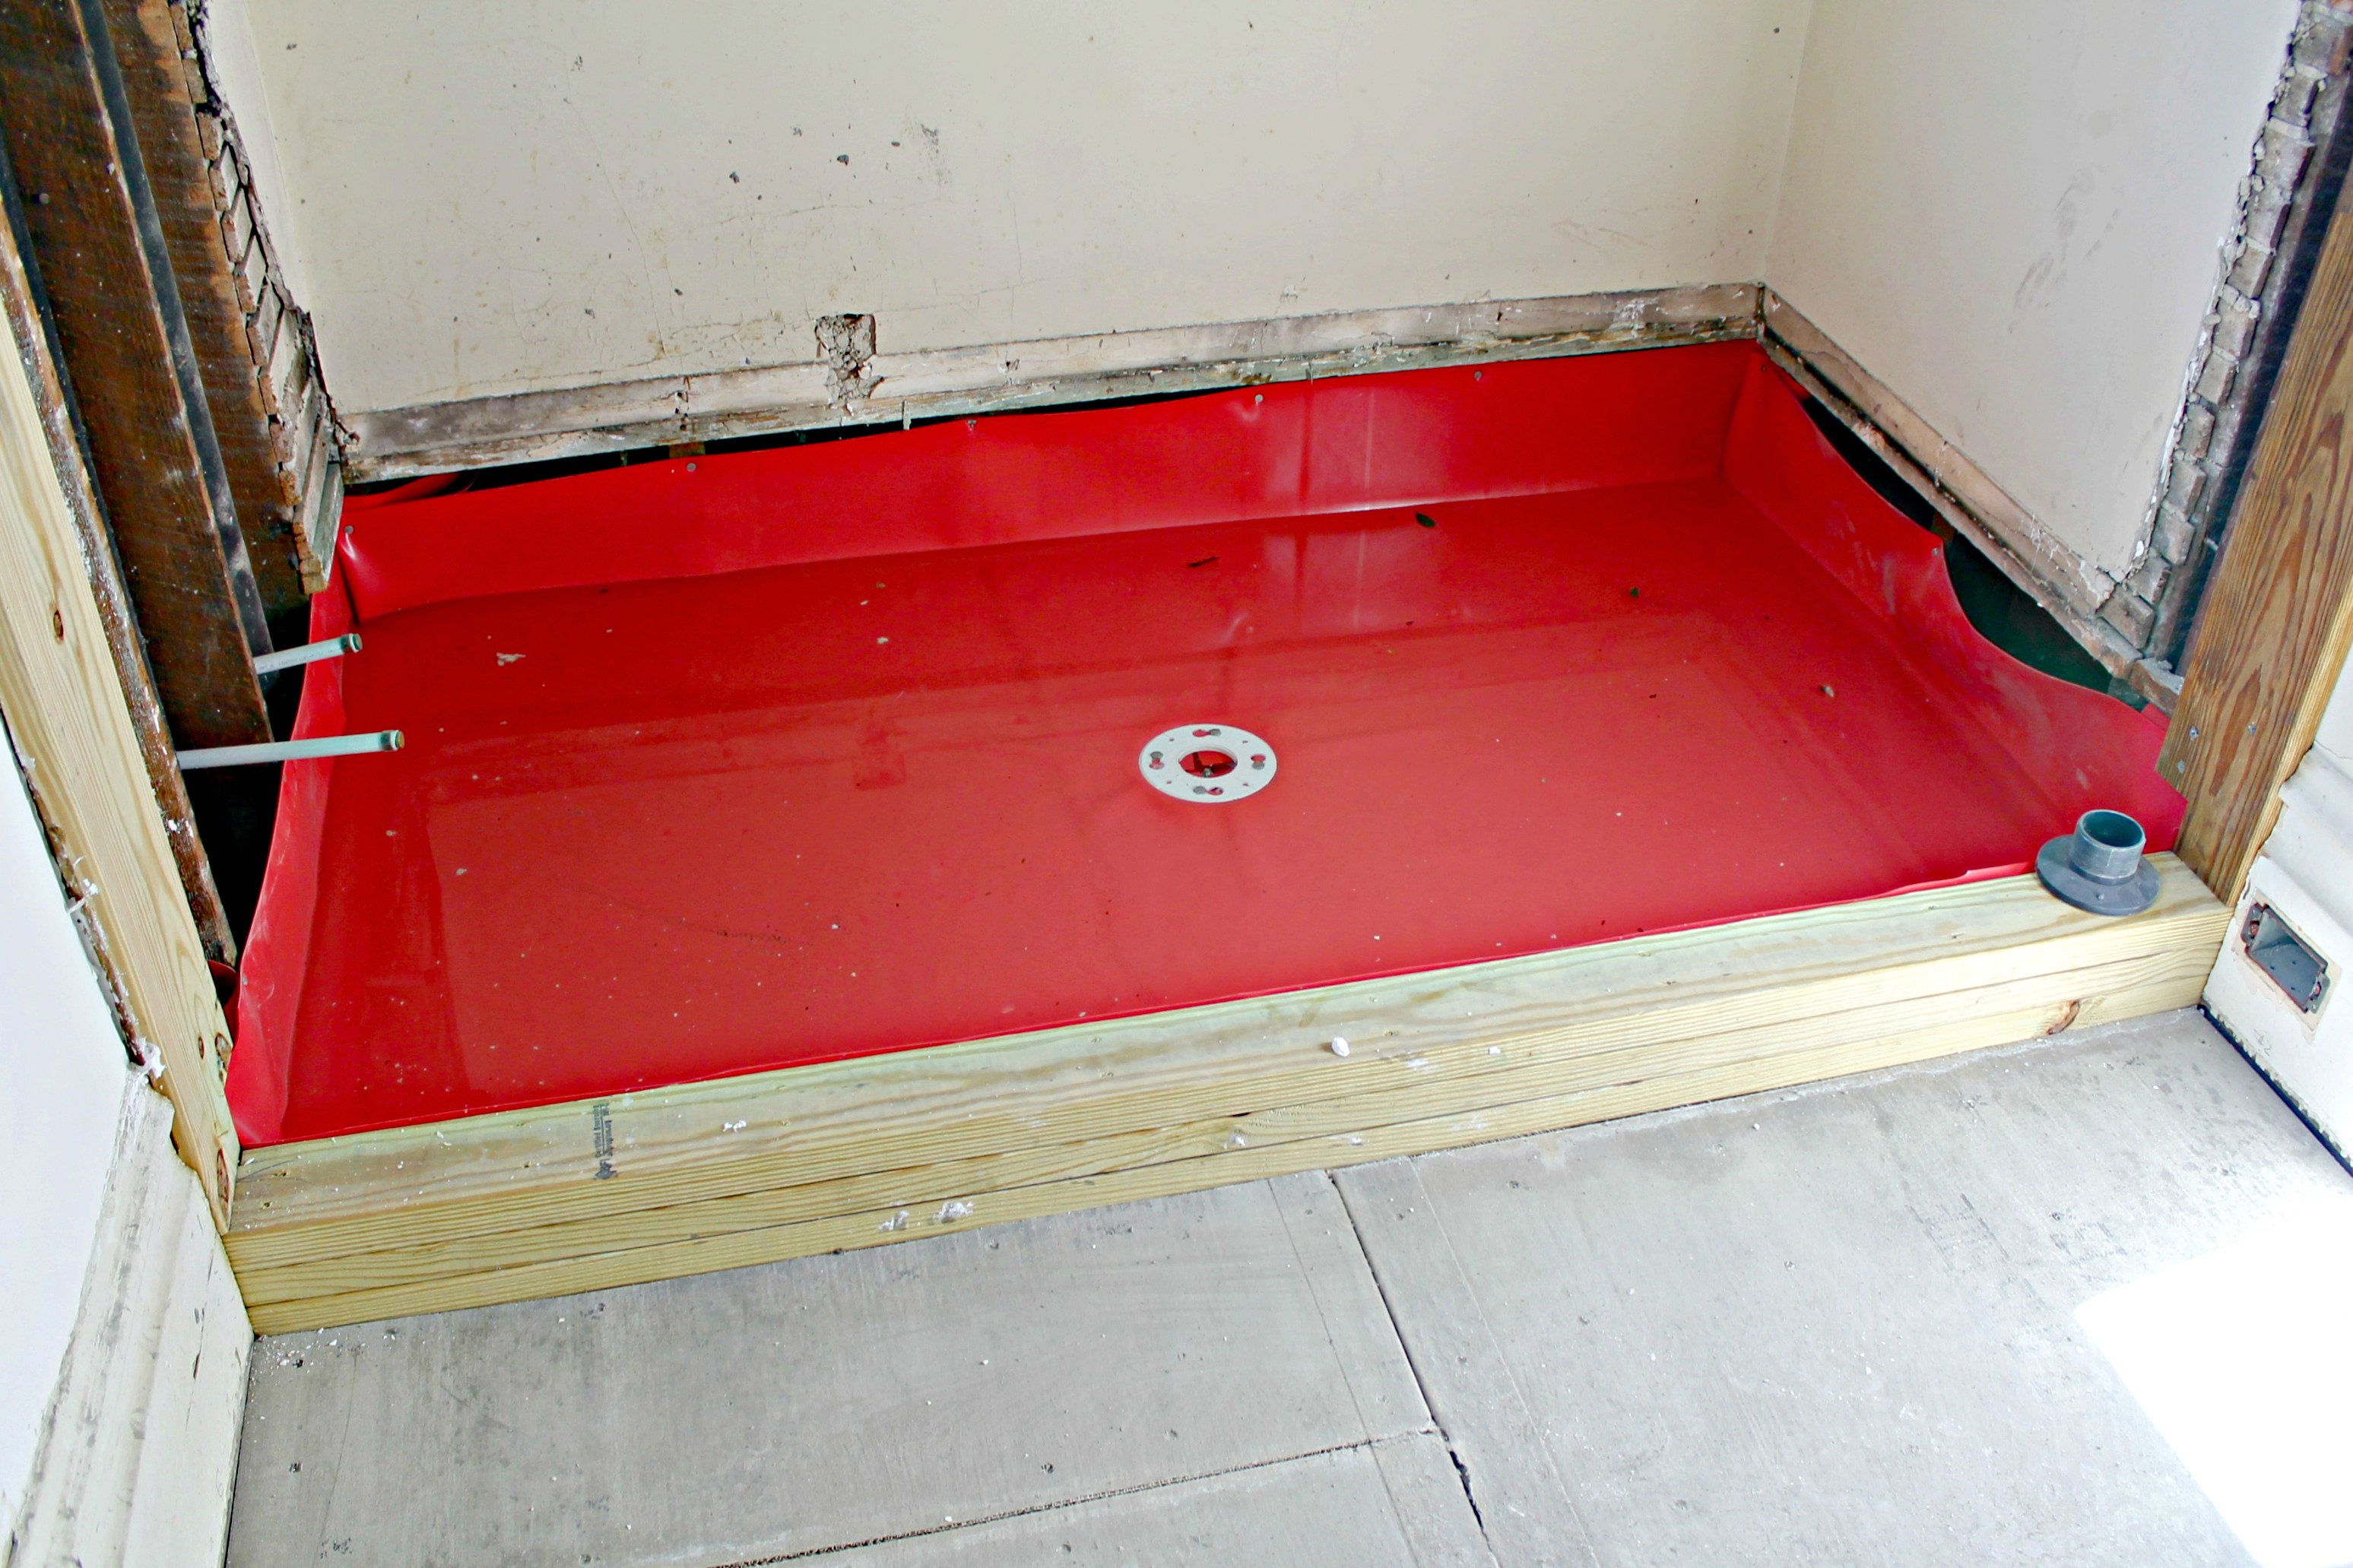
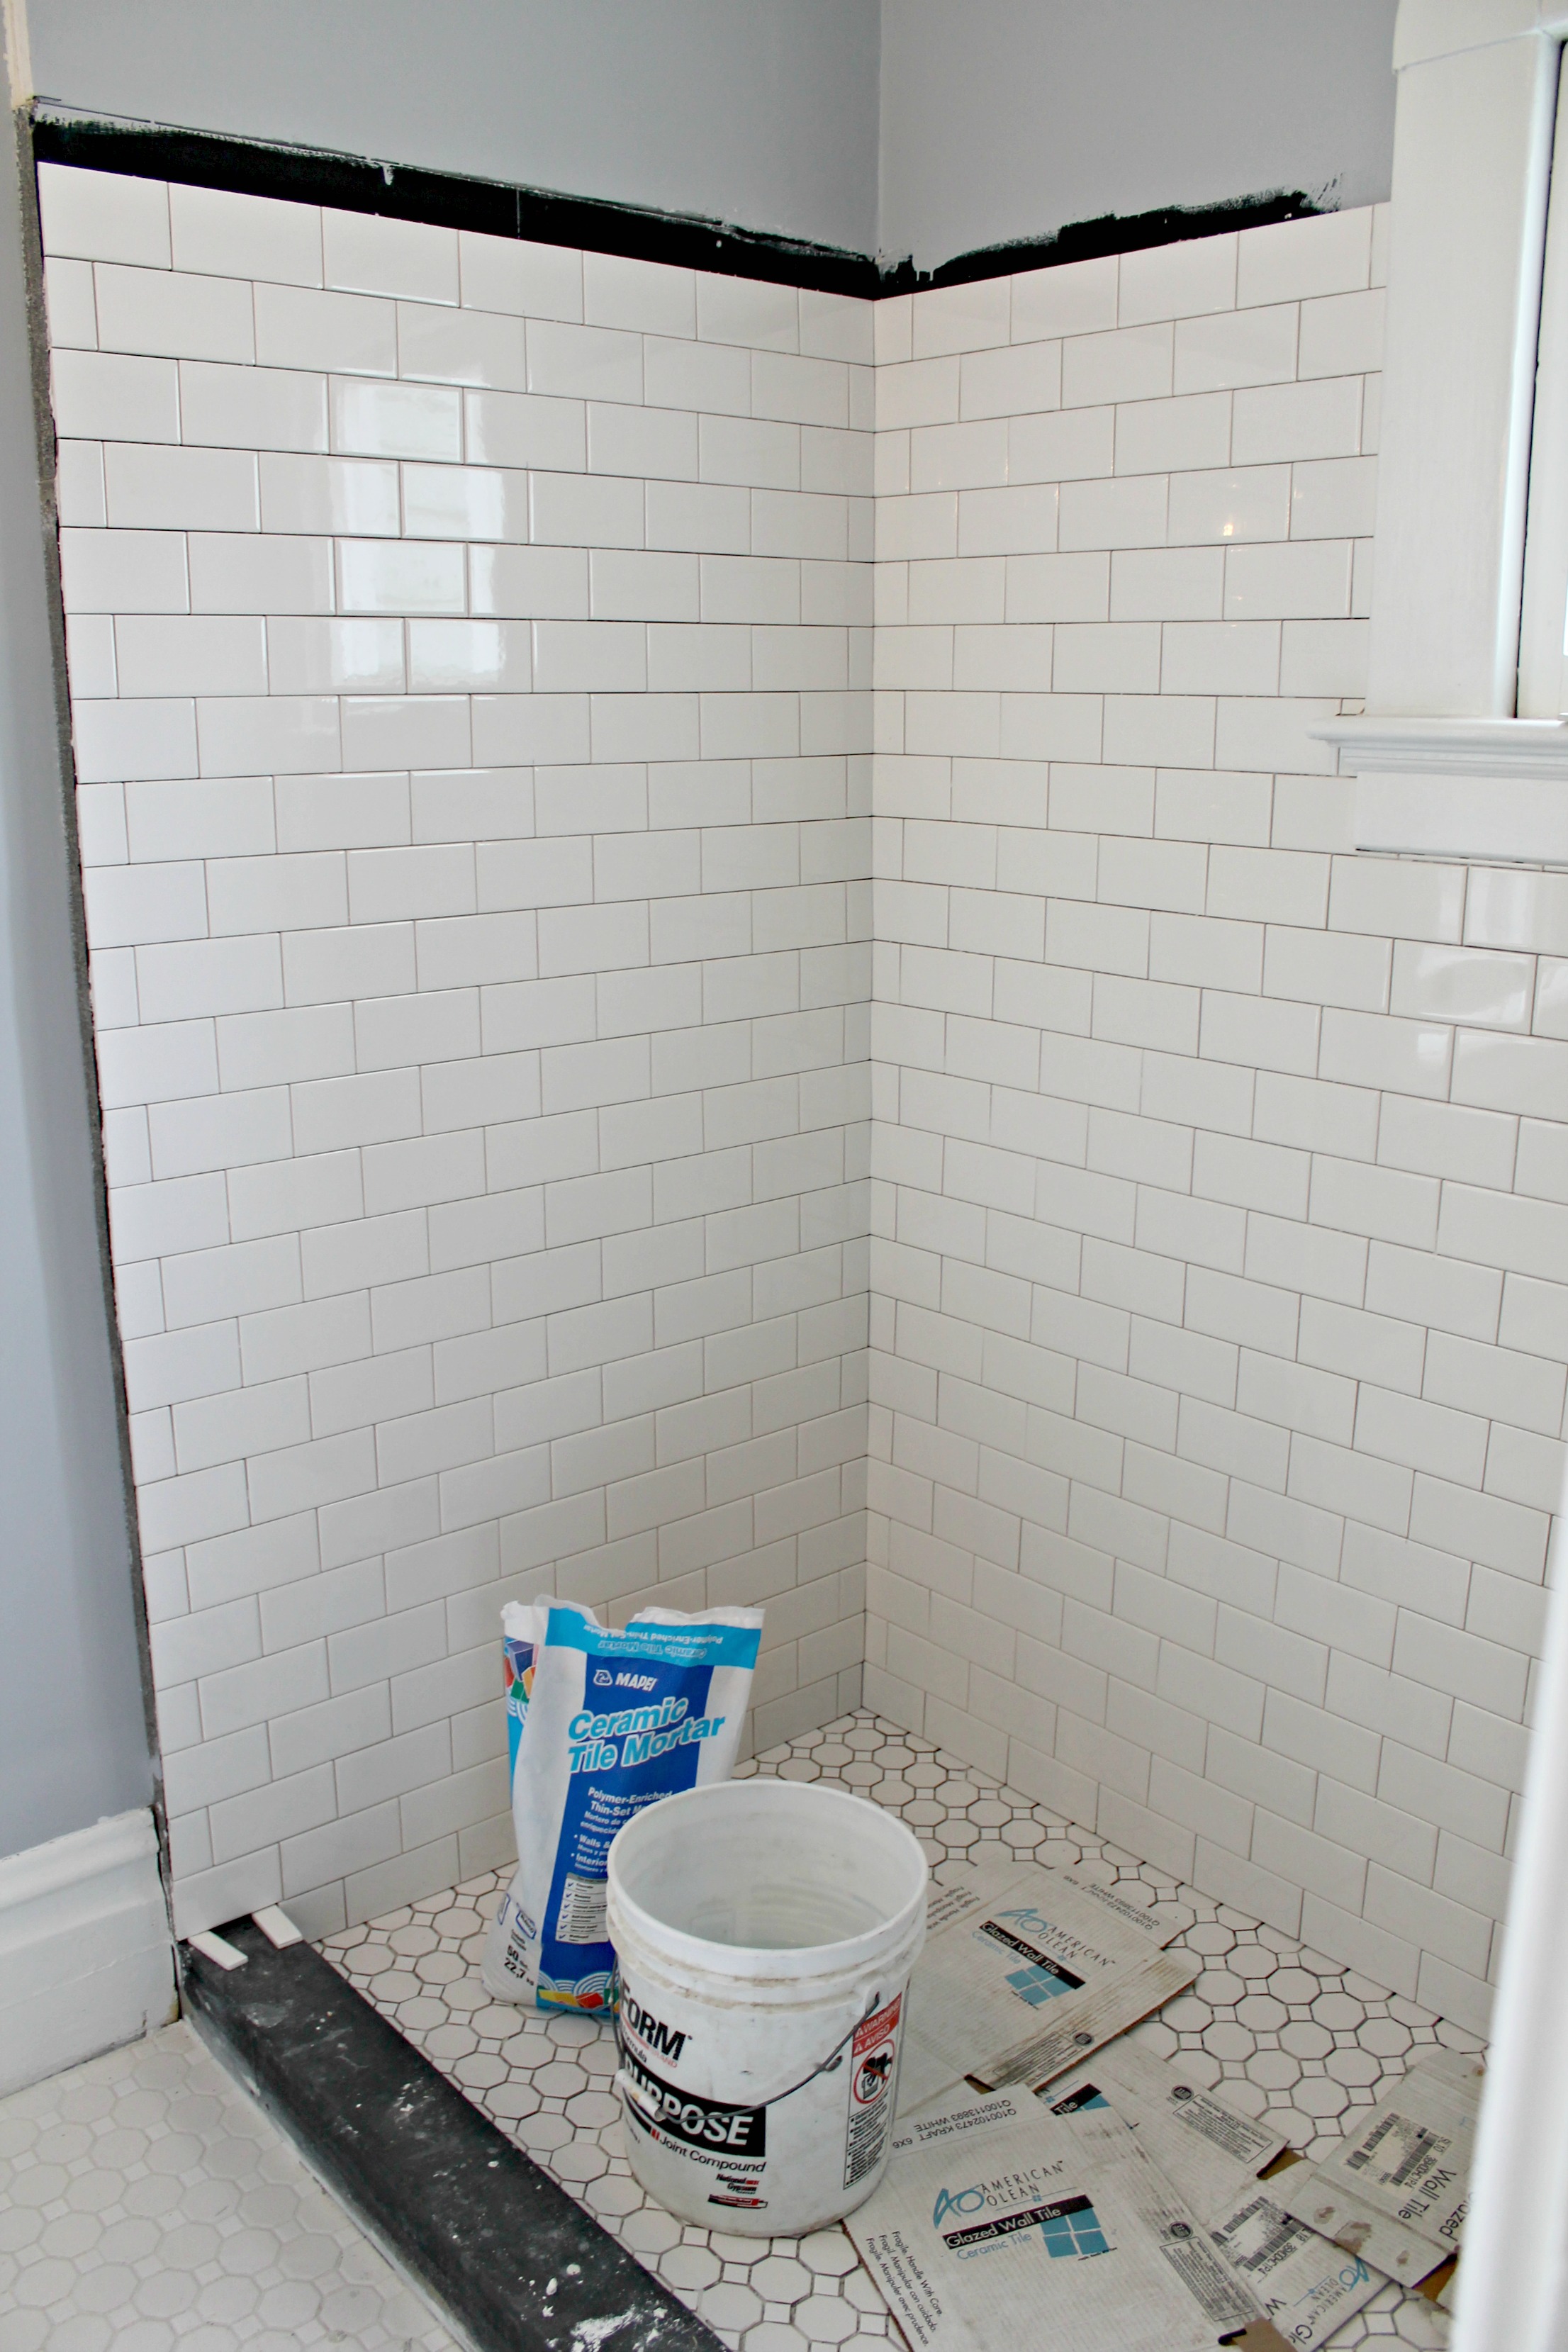
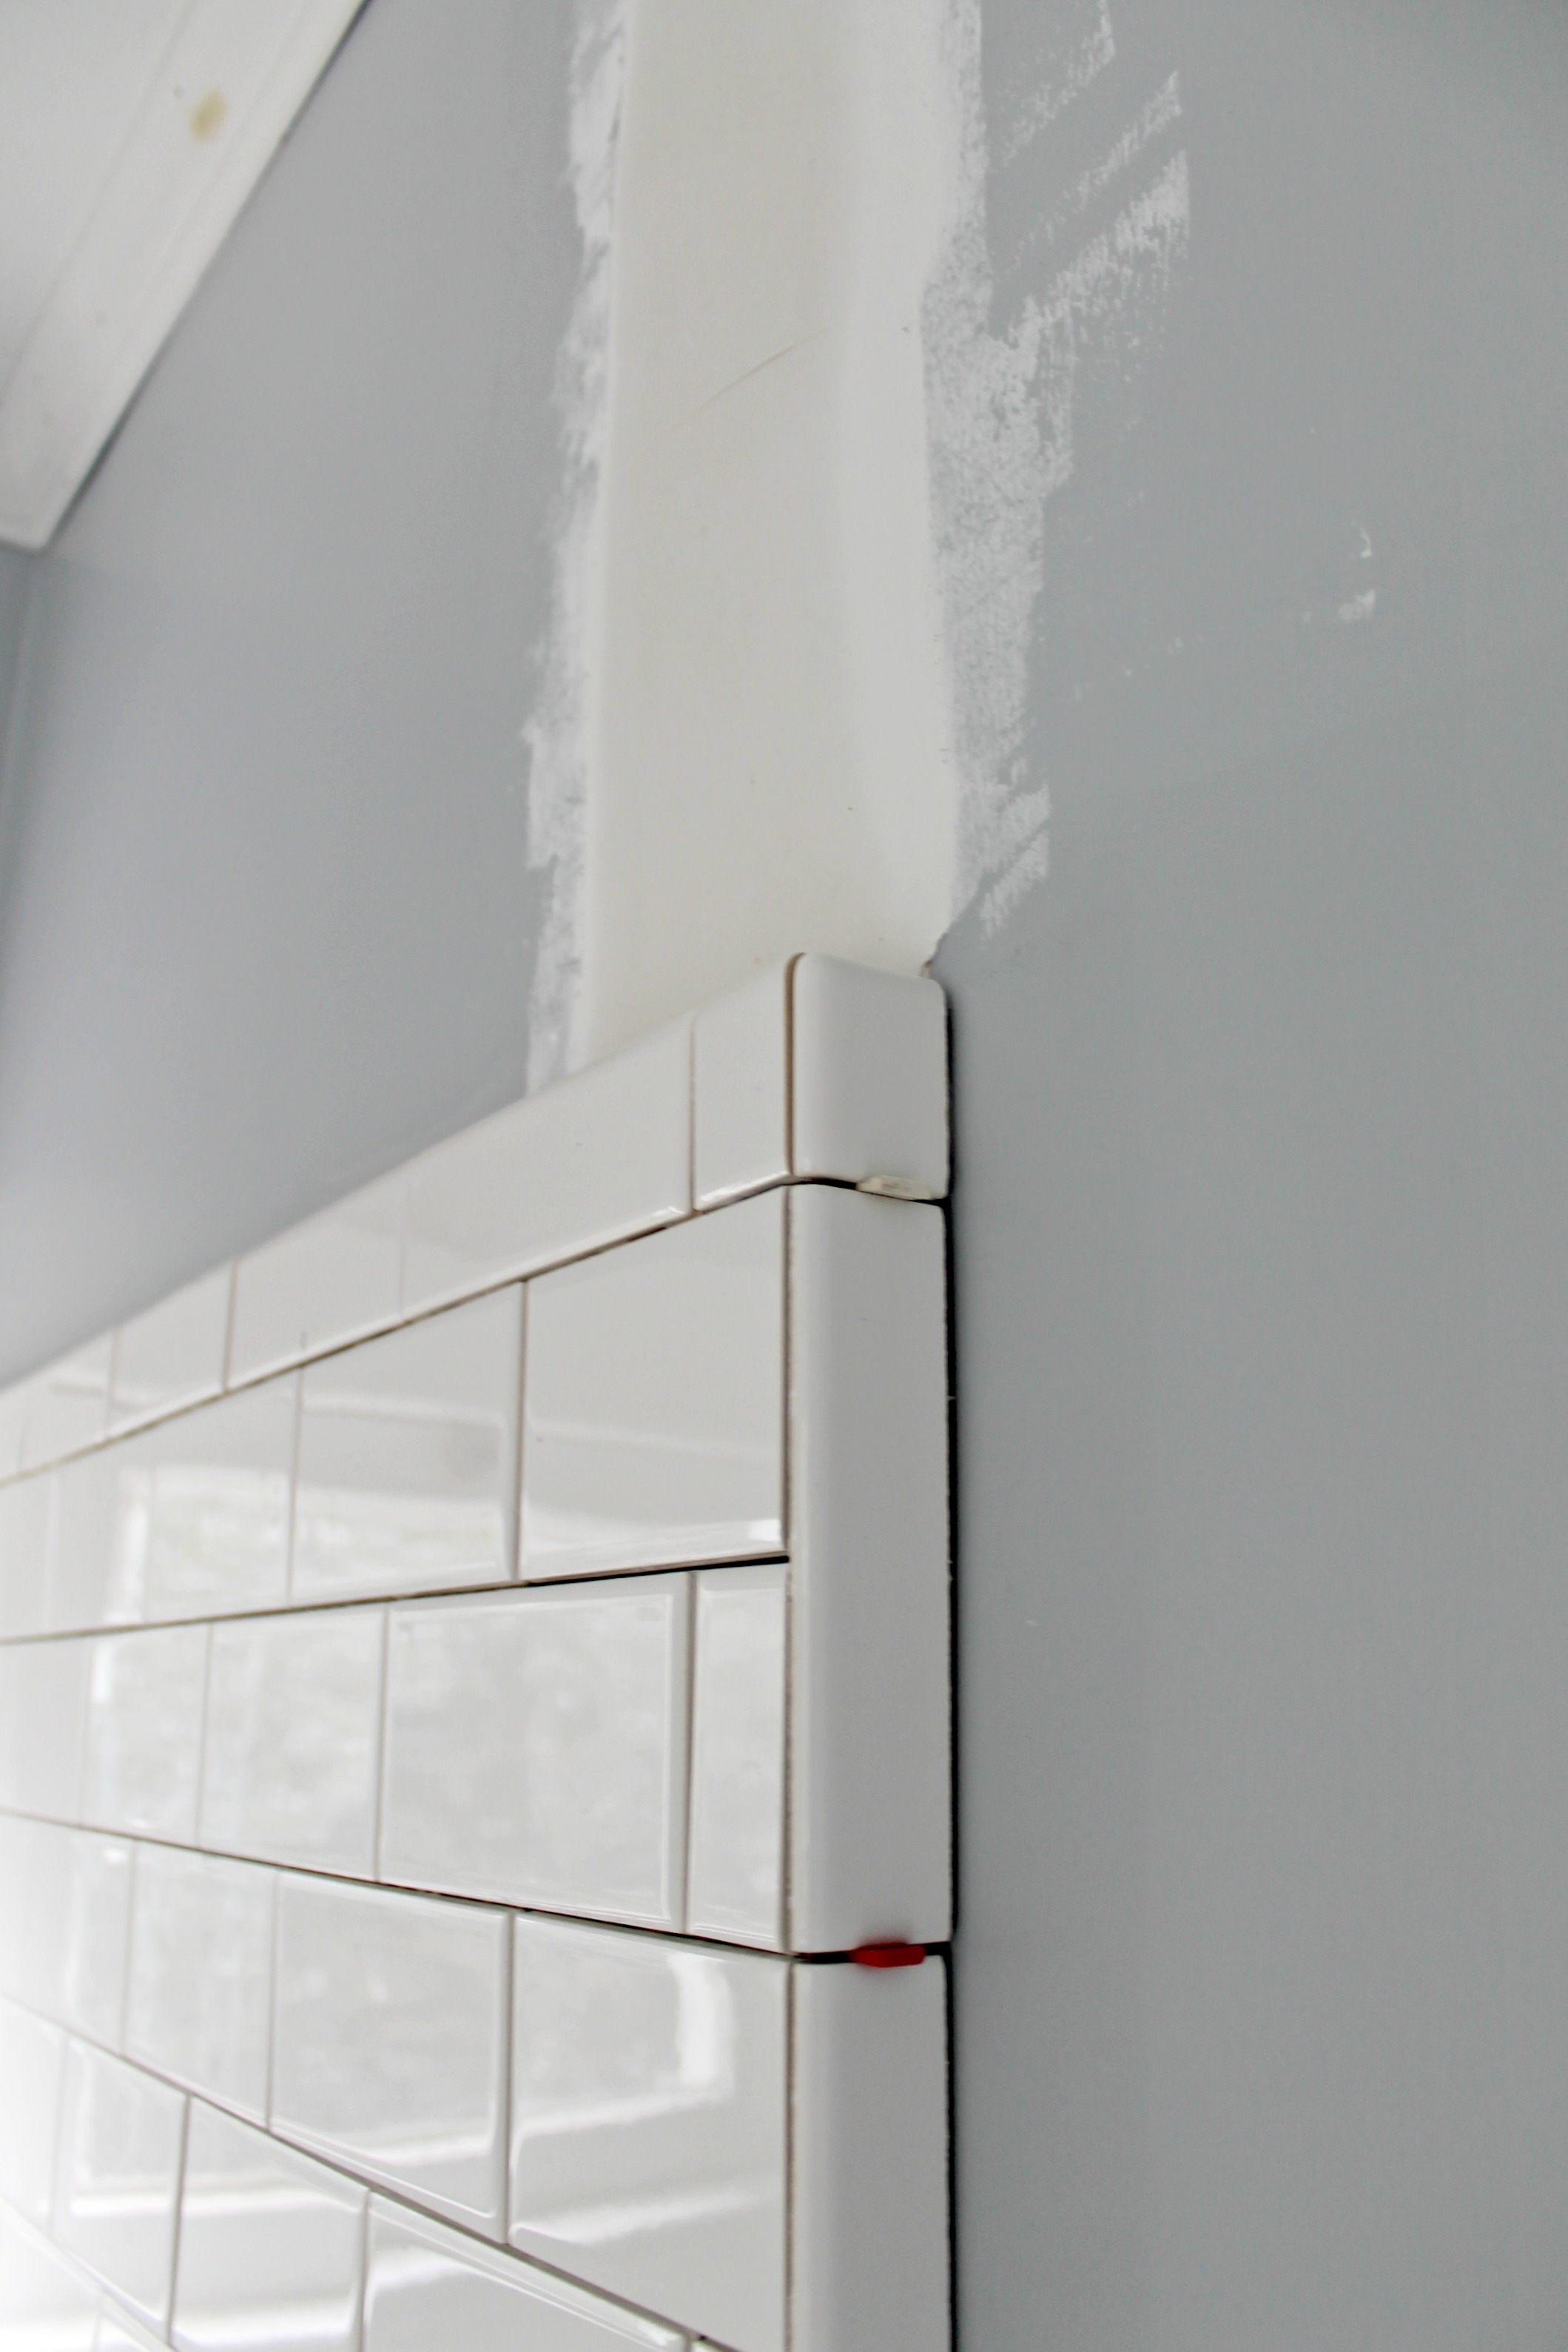
- Install tile shower
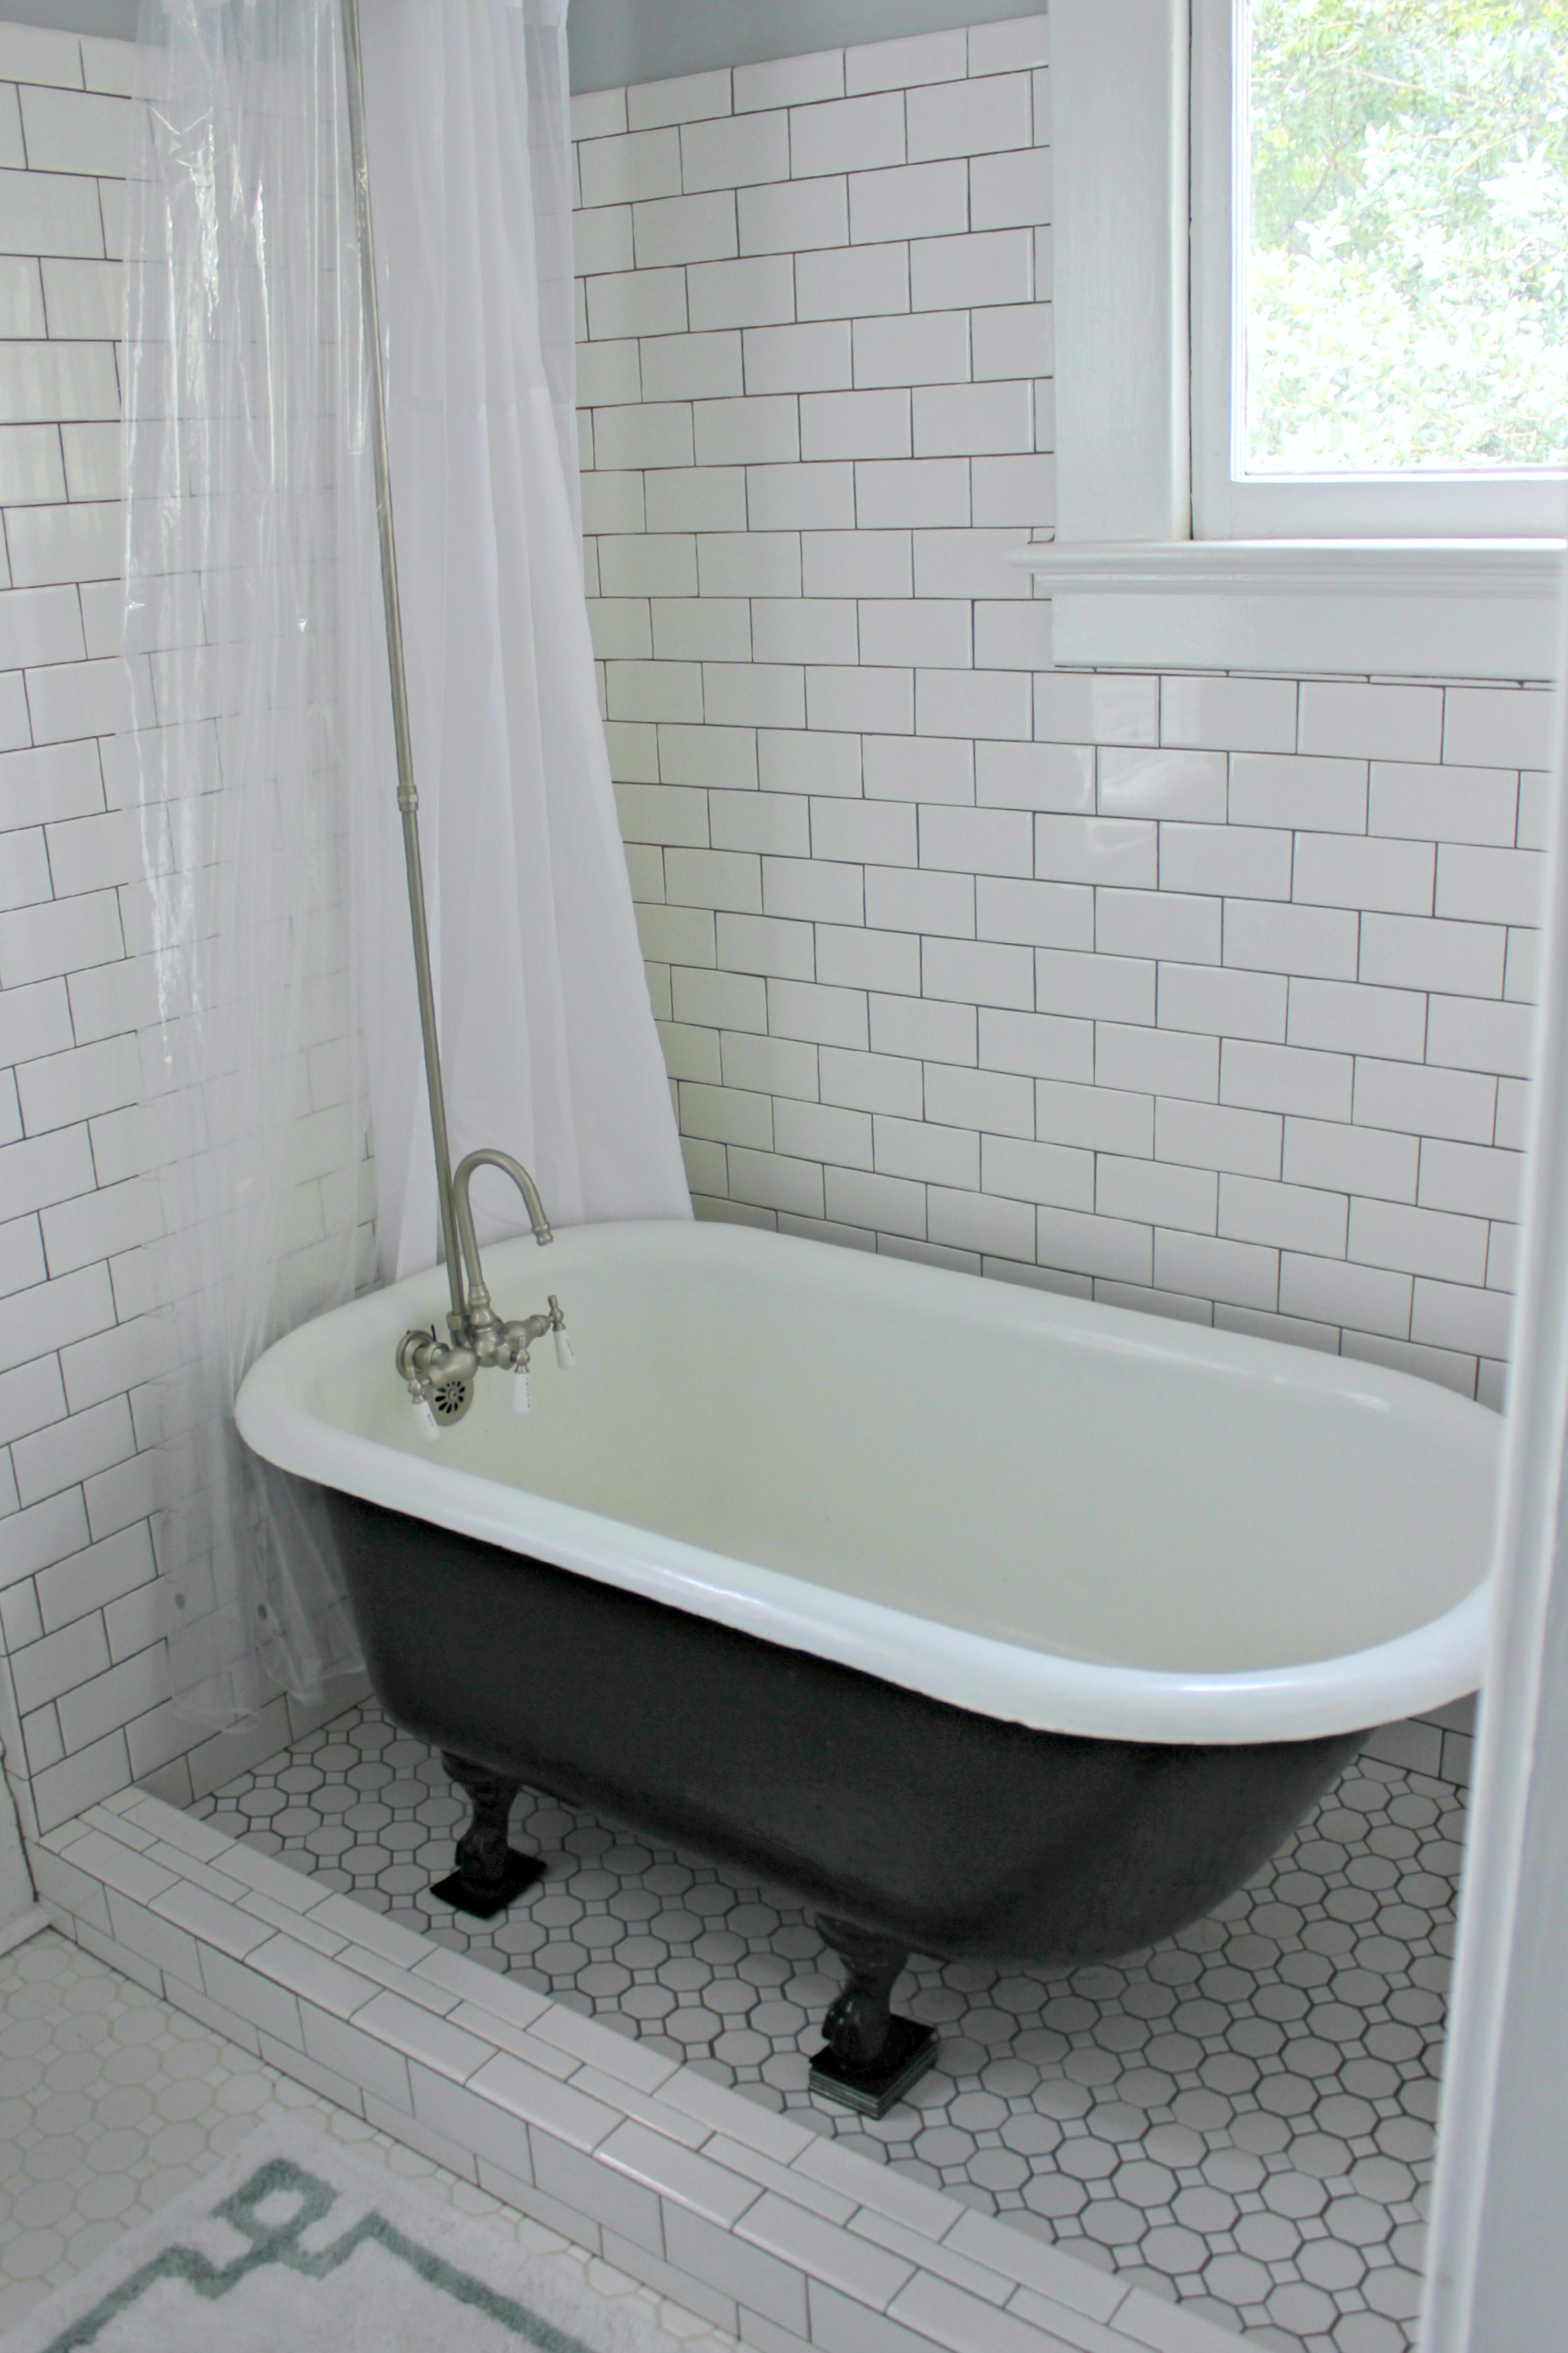
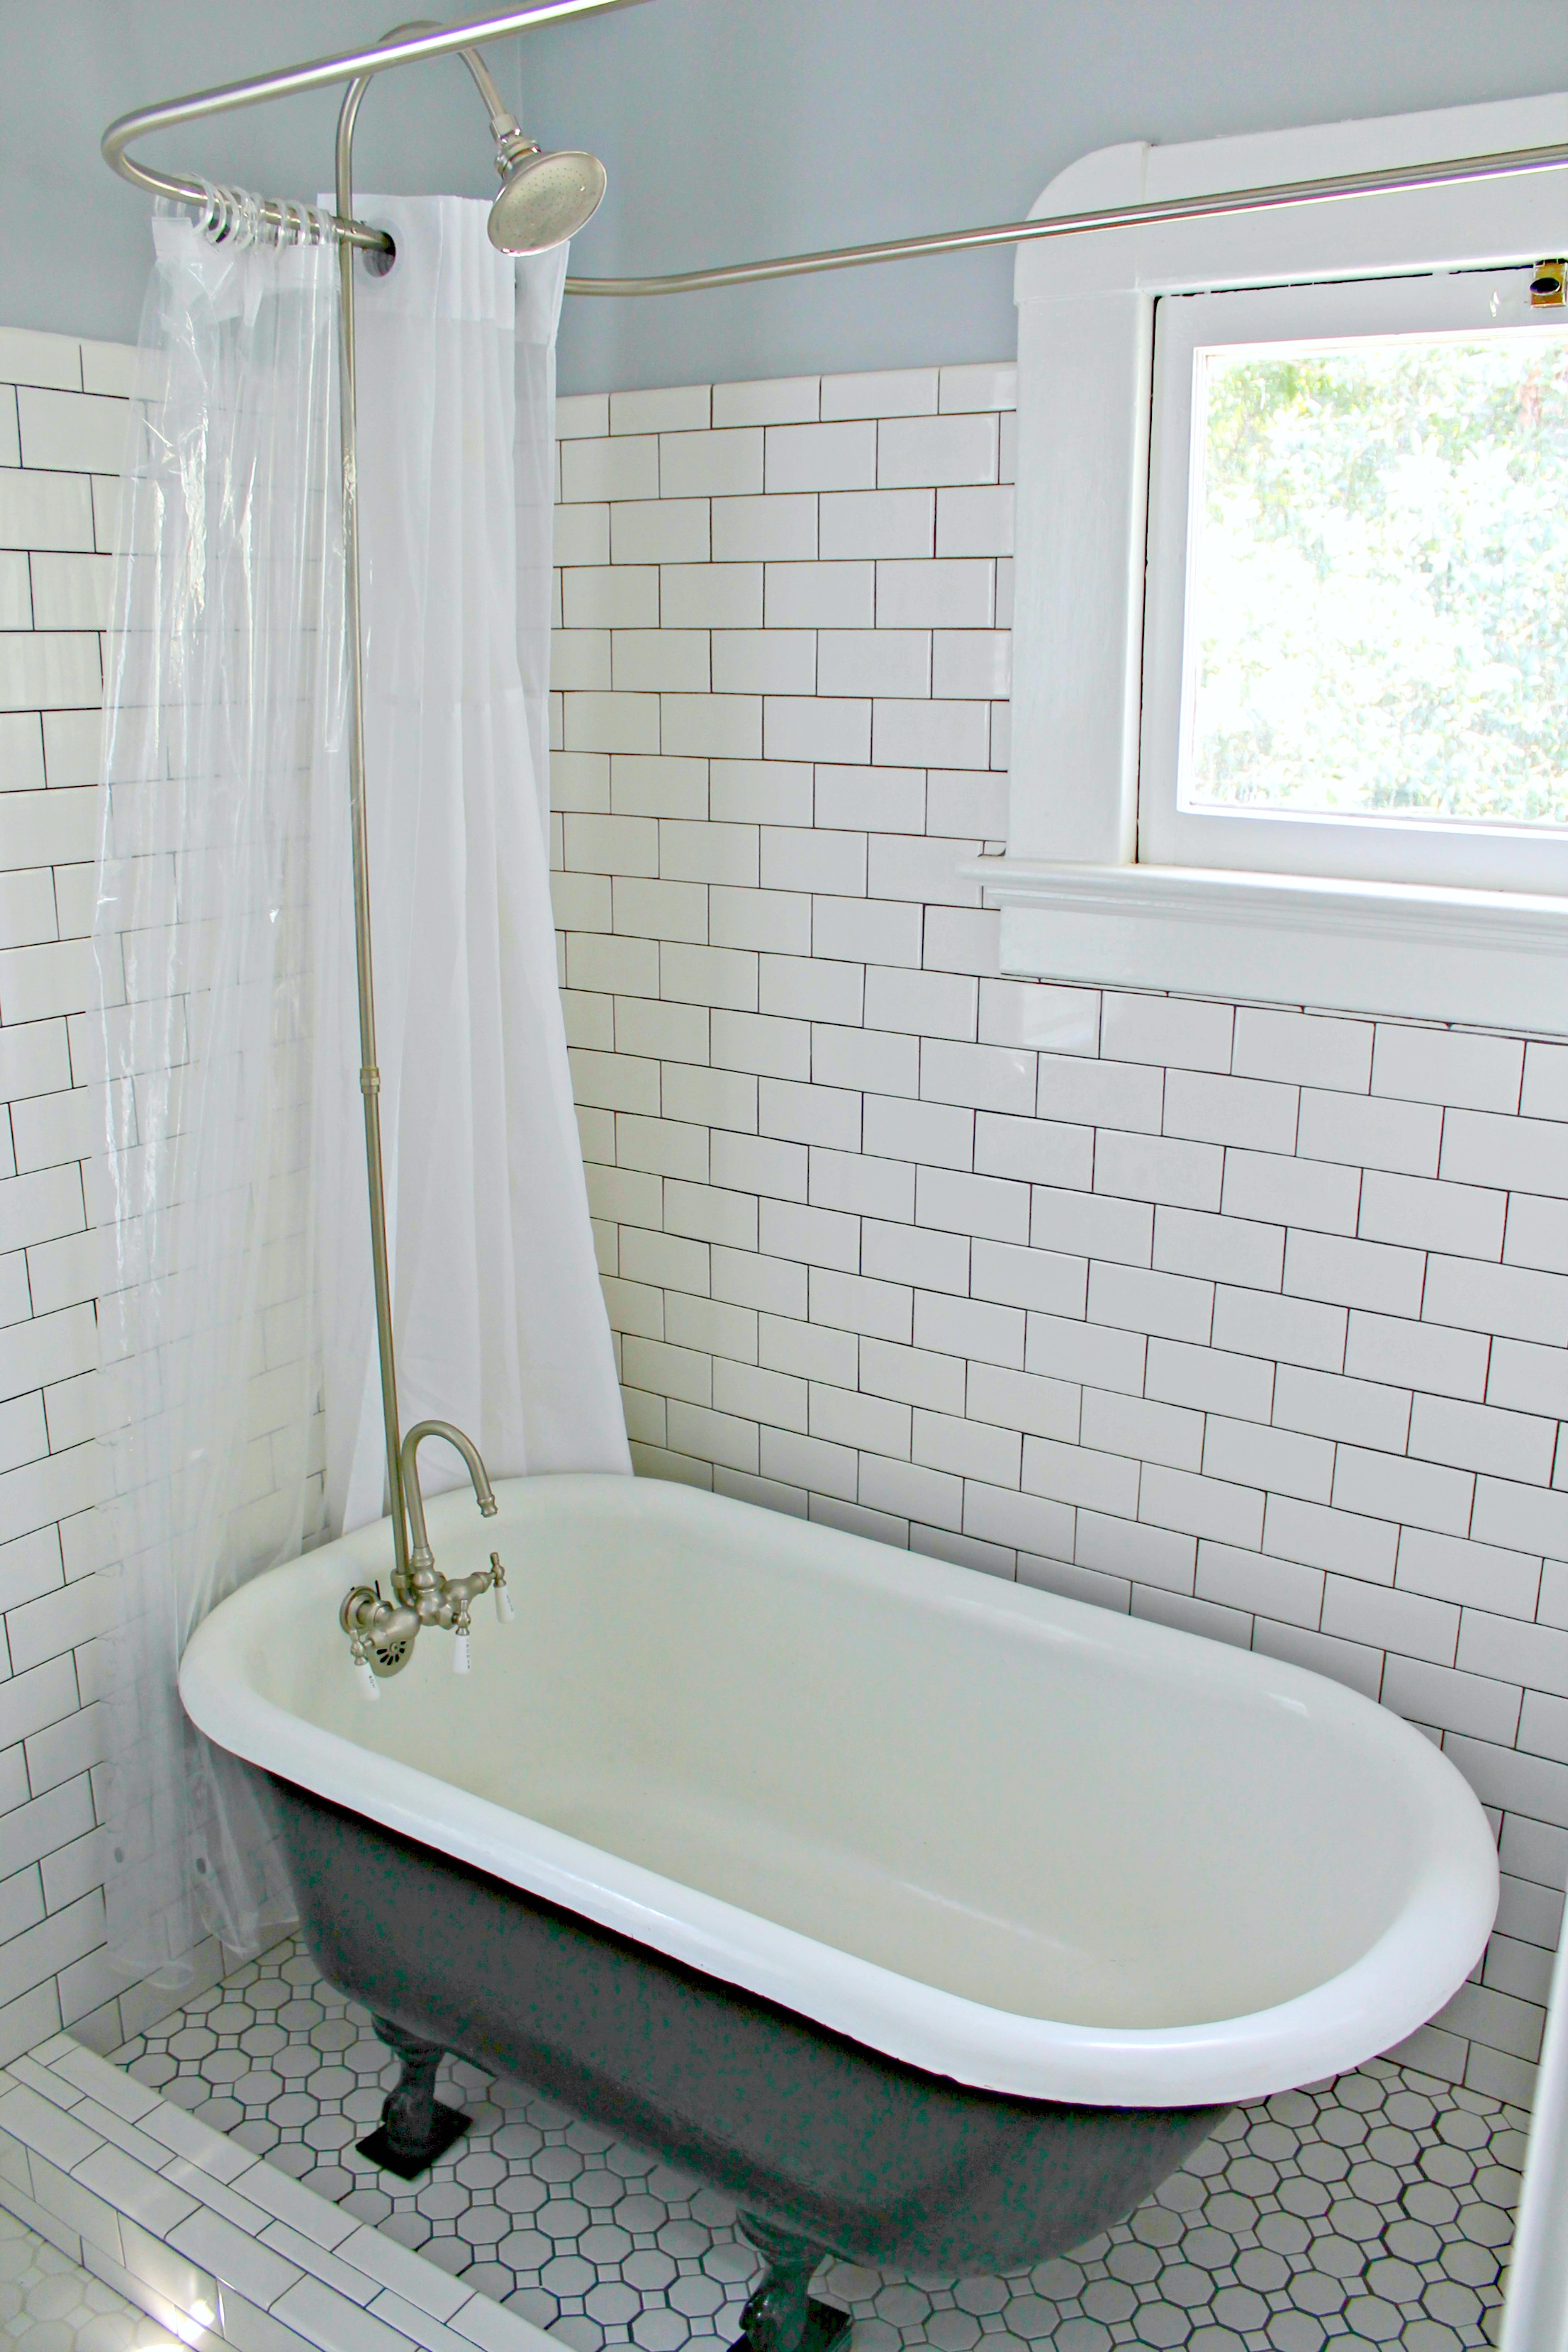
- Refinish and install new clawfoot tub, complete with shower hardware
- Install crown molding
- Prep, prime, and paint walls, trim, and ceiling
- Hang mirror and shelf
- Install blinds
What’s left:
Nothing! This room could use a few more decorative accents, but we’re counting it as finished for now! YAY!
For those of you wondering, we refinished the original tub and put it in our master bathroom, and we still have the corner sink. We haven’t found a place for the sink yet, but it was just too cute to get rid of!
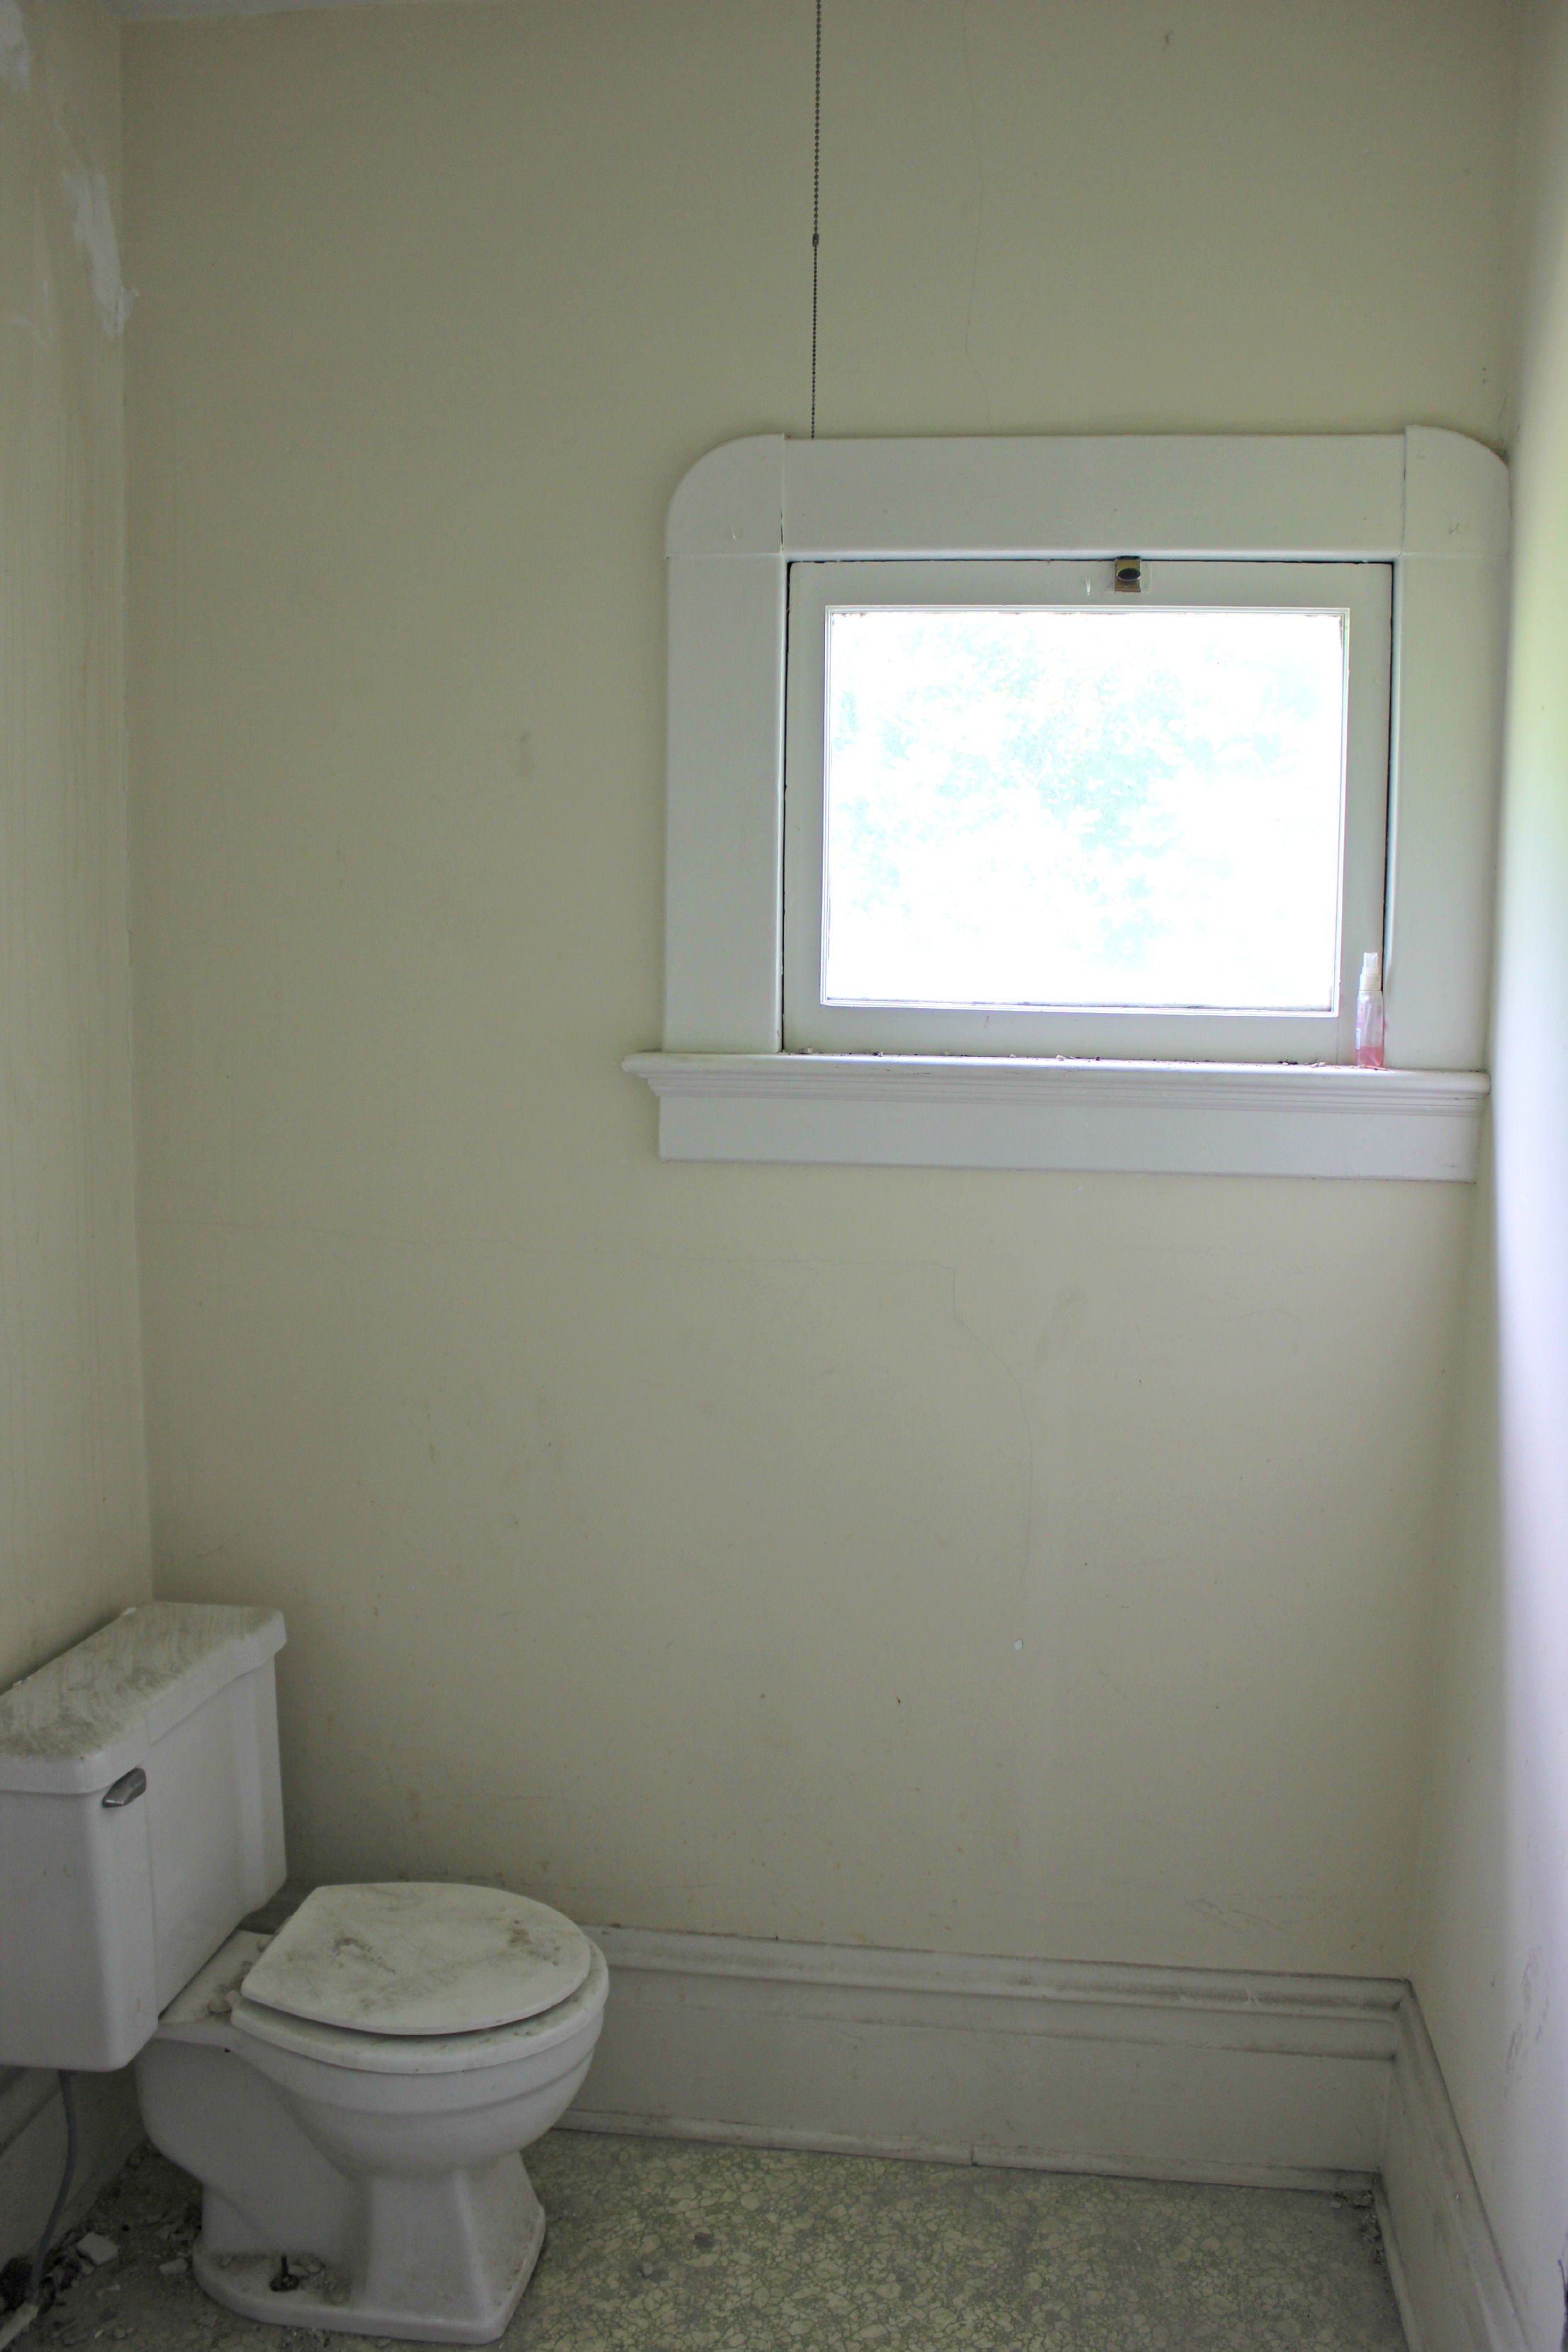
The figures…this room is 5′ 6″ x 9′ 2″ with 10′ ceilings. There are 2 windows and 1 interior door.
Be sure to check out these other Room By Room Recaps:
- Formal Living Room
- Den
- Den Bathroom
- Dining Room
- Gold Room
- Bear Room
- Butler’s Pantry
- Foyer & Stairs
- Master Closet
- Mud Room
- Home Office
Wow that was a huge project! I love the finishes and colors you picked. What made y’all decide to keep the tub in the shower? So interesting.
One word: babies. Eventually this will be the kids’ bathroom, so we wanted to have a tub in there for them. There’s no pipe connected to the tub drain though…it drains onto the sloped tile floor, which has a drain in the center.
OH my! I am speechless! What a huge makeover! What a huge project! You are sooooo brave to tackle that! I am in awe…. It looks absolutely stunning! You go, girl!! :)
xox, Crystelle
CrystelleBoutique
Thanks so much, Crystelle! You’re too sweet! :)
HUGE transformation! I love the classic floor tile and subway on the walls. I bet it’s really nice to have one room checked off as done (not that I would know…;))!!!!
YES! One down…a gazillion to go! ;)
Beautiful! I love your finishes, especially the shower/tub! Pinned
what a transformation! I wouldn’t even know where to start with it being in such terrible condition! I’d love you to share it at Outside {the Box} link party Tuesday 5pm EST
Oh my word, what a fabulous difference. I love it. Thanks tons for linking to Inspire Me.
WOW! Just wow. So inspiring!
Ya’ll are good…What an amazing transformation. Wow…I love it! And who doesn’t love a claw foot tub? Thanks so much for sharing this at The Southern Special.
Aren’t clawfoots just the best!?
Back to let you know that I will be featuring this awesome bathroom transformation at the next Southern Special. Again, thanks for sharing it. And have a wonderful week.
What a great transformation! Thank you so much for sharing at the Twirl & Take a Bow Party! Have an awesome week!
Leslie
What a mess, but you turned it into a beauty!
Dawn
Spatulas On Parade
Oh my gosh. I’d lose my mind in the middle of that project! It turned out great though! I love your tile choices. And I’m super jealous of that awesome tub.
Thanks a bunch, Lauren! I may have lost it a time or two… ;)
This is so gorgeous! thanks for linking up at DIY Inspired!
I look at rooms like your before and I just don’t understand the purpose of such wonky layouts. Your makeover is incredible, and makes so much more sense!
Thank you for sharing! I think the tub in the shower is actually very clever and out of the norm! Love it!
Oh yeah, that layout had to go! Thanks for stopping by, Emily! :)
I love what you did with your clawfoot tub in the shower! What a great idea. I have a similar clawfoot in a small bathroom that I eventually would like to reno. Hmmm….
We love ours, Michelle. It just made so much sense to us!
This looks so amazing! Pinned. Thank you for being a part of our party. I hope to see you tonight at 7 pm. We love partying with you! http://loulougirls.blogspot.com/
Happy Monday! Lou Lou Girls
Wow, what a transformation! The original sink placement was so weird! You did a great job keeping the old feel of the original bathroom. I love it, especially that tub!
I would have been completely overwhelmed! Y’all did an awesome job! It’s beautiful. Thanks for sharing with us at the Teach Me Tuesday Linky Party:)
I’m so glad you’re not getting rid of that little corner sink. It’s too cute! Thanks for linking up to The DIY’ers!
How beautiful! I want to redo my bathroom similar to this. Love it. Hope you can check out our Mommy Needs a Timeout Thursday this week. We would love to have you!
Thanks
Lauren
Twin Tested, Pin Approved
http://twintestedpinapproved.wordpress.com
How about that tiny sink! What an amazing remodel:) Beautiful! Pinning
Oh, my,… what a huge job… but it looks great.
Oh my gosh, that room had so much potential! I love it! Your door and molding are beautiful! And of course, love the claw foot tub :)
I love that corner sink! Seems like without the tub the sink would work in the new space. Not sure about the shower tiling for the bathtub. Why not just the tub without being in a shower?
Oh my goodness! This is quite a transformations and a labor of love on an old house. You’ve got some major sweat equity going on there. It turned out beautiful. Thanks so much for linking up to the Be. YOU. tiful link party :) Hugs Adrienne
What a wonderful advantage. Well done.
Greetings from South Africa
Amazing transformation! It is fabulous.
We’re contemplating putting a clawfoot tub in our master bath and doing something like this. I absolutely love your design! I just have one question: Have you found it difficult to clean behind the tub?
It’s worked great for us! We chose a “baby” clawfoot, so there’s plenty of room all around it to clean. I will say though that this tub is in our guest bathroom, so it doesn’t get used every day.
I’m literally planning to do the exact same thing in my tiny bathroom with my clawfoot tub. Right now my bathroom is water damage waiting to happen! I was trying to figure out the best way to handle the drain, and I see in the comments that you just have the one shower drain. When you drain the tub and it poors into the shower pan, how well does that work? Does it overflow? I feel worried about regulating how quickly it drains so the rest of the bathroom doesn’t flood.
Hello. I am wondering how you like your claw foot tub with the little shower pan of tiles that you put in front? Do you find that you stub your toe or find it awkward to get into the tub with the way you did the surround in tiles? We are getting a guesthouse ready and have a claw foot tub that we could use. I want to have a good shower head rather than a hand held shower…that being said I am wondering if surrounding the tub in tiles will help solve the problem of extra water being sprayed around if the shower curtain does not get put on the inside of the tub. Thanks so much for your feed back on how your shower/tub area is working for you. :) Great job on your renos! My goodness you took on a huge job! So rewarding to see it finished!
The results are totally awesome! Any tips on how to make my small bathroom look cute?
This was such an inspiring renovation recap! I really enjoyed seeing how the bathroom connected to the home office was completely reimagined. Transforming a cramped layout by removing walls, updating fixtures, and installing new tile and a clawfoot tub shows how thoughtful design can dramatically improve both functionality and style. The detailed breakdown of the completed steps—from structural changes to finishing touches like crown molding and lighting—makes the transformation even more impressive. It’s always motivating to see how a full gut renovation can turn an awkward space into a beautiful and practical room. Fantastic work and a great recap of the entire process!
john smith recently posted…The Difference Between Acrylic, PVC, and Solid-Surface Shower Walls