All posts by Sarah @ 702 Park Project

Online Resources for Planning a Home Renovation

Pin

1. Floorplanner– Whether you want to completely change the layout of a house, or simply see how furniture will fit into a space, Floorplanner is a great tool.  You can plan out single rooms, or entire houses.  Having had no experience in interior design, Floorplanner was incredibly easy to work with.  With the free option, you get one free “project” (which includes 3 levels), and each additional project is $4.95.  More info on pricing here.  Check out my use of the site here,here, and here.

2. Sherwin Williams Paint Visualizer– I had so much fun with this one! You can use the paint visualizer to see what the entire exterior of your house would look like in a certain color, or use it for a single room inside, or even a single door.  With such a large variety of color choices, you’re bound to find one you like! Here are a few front door choices that I played around with.

Park Ave - Fuschia Park Ave - Teal Park Ave - Maroon

3. Polyvore– Once you get to the decorating, the fun really begins…trust me! With Polyvore, you can add just about any item to a mood board.  This came in handy when I was trying to decide on decor options for the office. (We decided to go with masculine, by the way!) I used Polyvore to put together some fun spring ideas too. This site is so fun; I seriously could spend hours playing!

c600x447

4. Historic Properties– If you are renovating or restoring an older home, I would suggest checking out this list of resources.  You can find anything from local tradesmen to architectural tips to hard-to-find historic home products.  We have consulted this list on many occasions!

5. Apartment Therapy– Don’t let the name fool you.  Apartment Therapy is hardly limited to apartments.  Whether you want to ask a specific question or just looking for some inspiration, Apartment Therapy is the place to look.

There are so many resources out there and I feel so fortunate that they are all available to us! These are just a few that I have personally found helpful.

What are some of your favorite online home and DIY resources?


Favorite Finds & Other Features

Today I’m sharing a few of my favorite finds over on Brittany’s blog, Classically B!  Take a look, and be sure to follow Brittany.  I love seeing her vintage treasures on Instagram, and her Hunter’s Alley and Etsy shops are full of eye candy!

Favorite Finds - 702 Park

Also, I was honored to be featured on a few blogs last week.  Here they are!

Creative Mondays

Knick of Time Tuesday
 

Wicked Awesome Wednesday

 photo throwbackthursday150x150button_zps0a54e8e1.jpg

Throwback Thursday


all things with purpose
All Things Thursday
 
The Dedicated House

Anything Blue Fridays

Creative Party Spotlight

A Bright and Beautiful Life

The Sunday Currently, #28

Happy Sunday to you!  I hope your weekend is going well.  We are heading back home after a much-needed long weekend at the beach with great friends. A little antiquing, a lot of sunscreen, and plenty of booze was just what the doctor ordered! :)

Currently:

ReadingThis post on the importance of soaking up your Sundays.  On the same note, I loved this article about getting the most out of your weekends.

Thinking– How much I love this blog that I discovered through the SITS Girls.  What they can do with salvaged furniture is pretty much the best ever.  I’m especially loving this bar cart.

bar cart

Wishing– It was next weekend already! It’s a very special one…we are getting my pup back after her stint of living with “the grandparents.” We couldn’t have her in our old apartment, and then we’ve been in a construction zone for the last year, but next weekend she becomes ours again and I can’t wait!!

Elby

Hoping– You won’t mind a few changes I’m making on the blog.  You may have noticed a couple of ads in the sidebar, and a new “Affiliates” page in my menu. Don’t worry, I’m not quitting my day job…but I figured if I could make a buck or two while doing something I love, why not? It shouldn’t affect your daily reading in any way, but please let me know if it does! It’s all trial and error around here.

Wearing– My new flip flops from Old Navy.  My favorites broke last week, so I snagged these which, for the price, are pretty fabulous. And who doesn’t love tortoise anything?!

LovingThese tips on how to sound smart at a party of interior designers.  I seriously need this.

Wanting– To make this cake! Wouldn’t it be so cute for a birthday party or baby shower?

cake

Feeling– Nauseous just looking at this.  Seriously, that video freaks me out.

Clicking– These 10 things you “must” have in your home. We really need a headboard…

headboard

siddathornton


Please don’t forget to vote for our porches here!
And in case you missed it this week…

Room by Room Recap – The Bear Room

Moving on with the Room by Room Recap series, let’s head to our second guest bedroom.  We call this the “bear room.” When I first heard the story I thought it was the weirdest thing ever, but now I can’t imagine calling it anything but the bear room.

Apparently when Charles was growing up and his grandmother lived in the house, she used this room to store things, especially gift wrap and presents.  To keep a curious little boy out of the room, they told him there was a bear in there.  Thus, the room became known as the bear room.

Anyway…this room had the biggest plaster issues of all.  You’ll see in the pictures below that we pretty much had to tear down an entire wall and re-plaster it. There were also a lot of plaster issues with the ceiling that had to be addressed.

IMG_2688 IMG_2691 5.22 IMG_0439 IMG_0440 IMG_2687 IMG_3312 IMG_3377 IMG_3378 IMG_3379 IMG_3545 IMG_3546 IMG_3548 IMG_3656 IMG_3867 IMG_3869 IMG_3871 IMG_3980 IMG_4152 IMG_4153 IMG_4154 IMG_4155

This next part is a little embarassing, but for the sake of full disclosure, I want to show you what this room looks like now.  Remember when we cleaned out the entire formal living room one Sunday? Well most of what came out of there went into the bear room.  But I guess only having one storage room is pretty good considering the size of this project.  So here’s our messy storage room bear room now.

IMG_5521 IMG_5523 IMG_5525

What we’ve finished

  1. Repair plaster walls and ceiling
  2. Repair/replace broken storm windows
  3. Repair window ropes
  4. Clean tile fireplace
  5. Prep, prime, and paint walls, ceiling, and trim
  6. Update electrical outlets
  7. Install ceiling fan

What’s left

  1. Refinish floors
  2. Re-grout fireplace tiles to make them secure
  3. Furnish and decorate

You can read more about my plans for the two guest bedrooms here, and you can find my guest bedroom inspiration here.  I got this coverlet for Christmas and I can’t wait to use it in here!

B&A1 B&A2 B&A3

The figures…this room is 16′ 8″ x 14′ 6″ with 10′ ceilings. There are 2 windows, 3 interior doors, 2 closets, and 1 fireplace.

Be sure to check out these other Room by Room Recaps:

  1. Formal living room
  2. Den
  3. Den bathroom
  4. Dining room
  5. Gold Room


12 Lessons in 12 Months

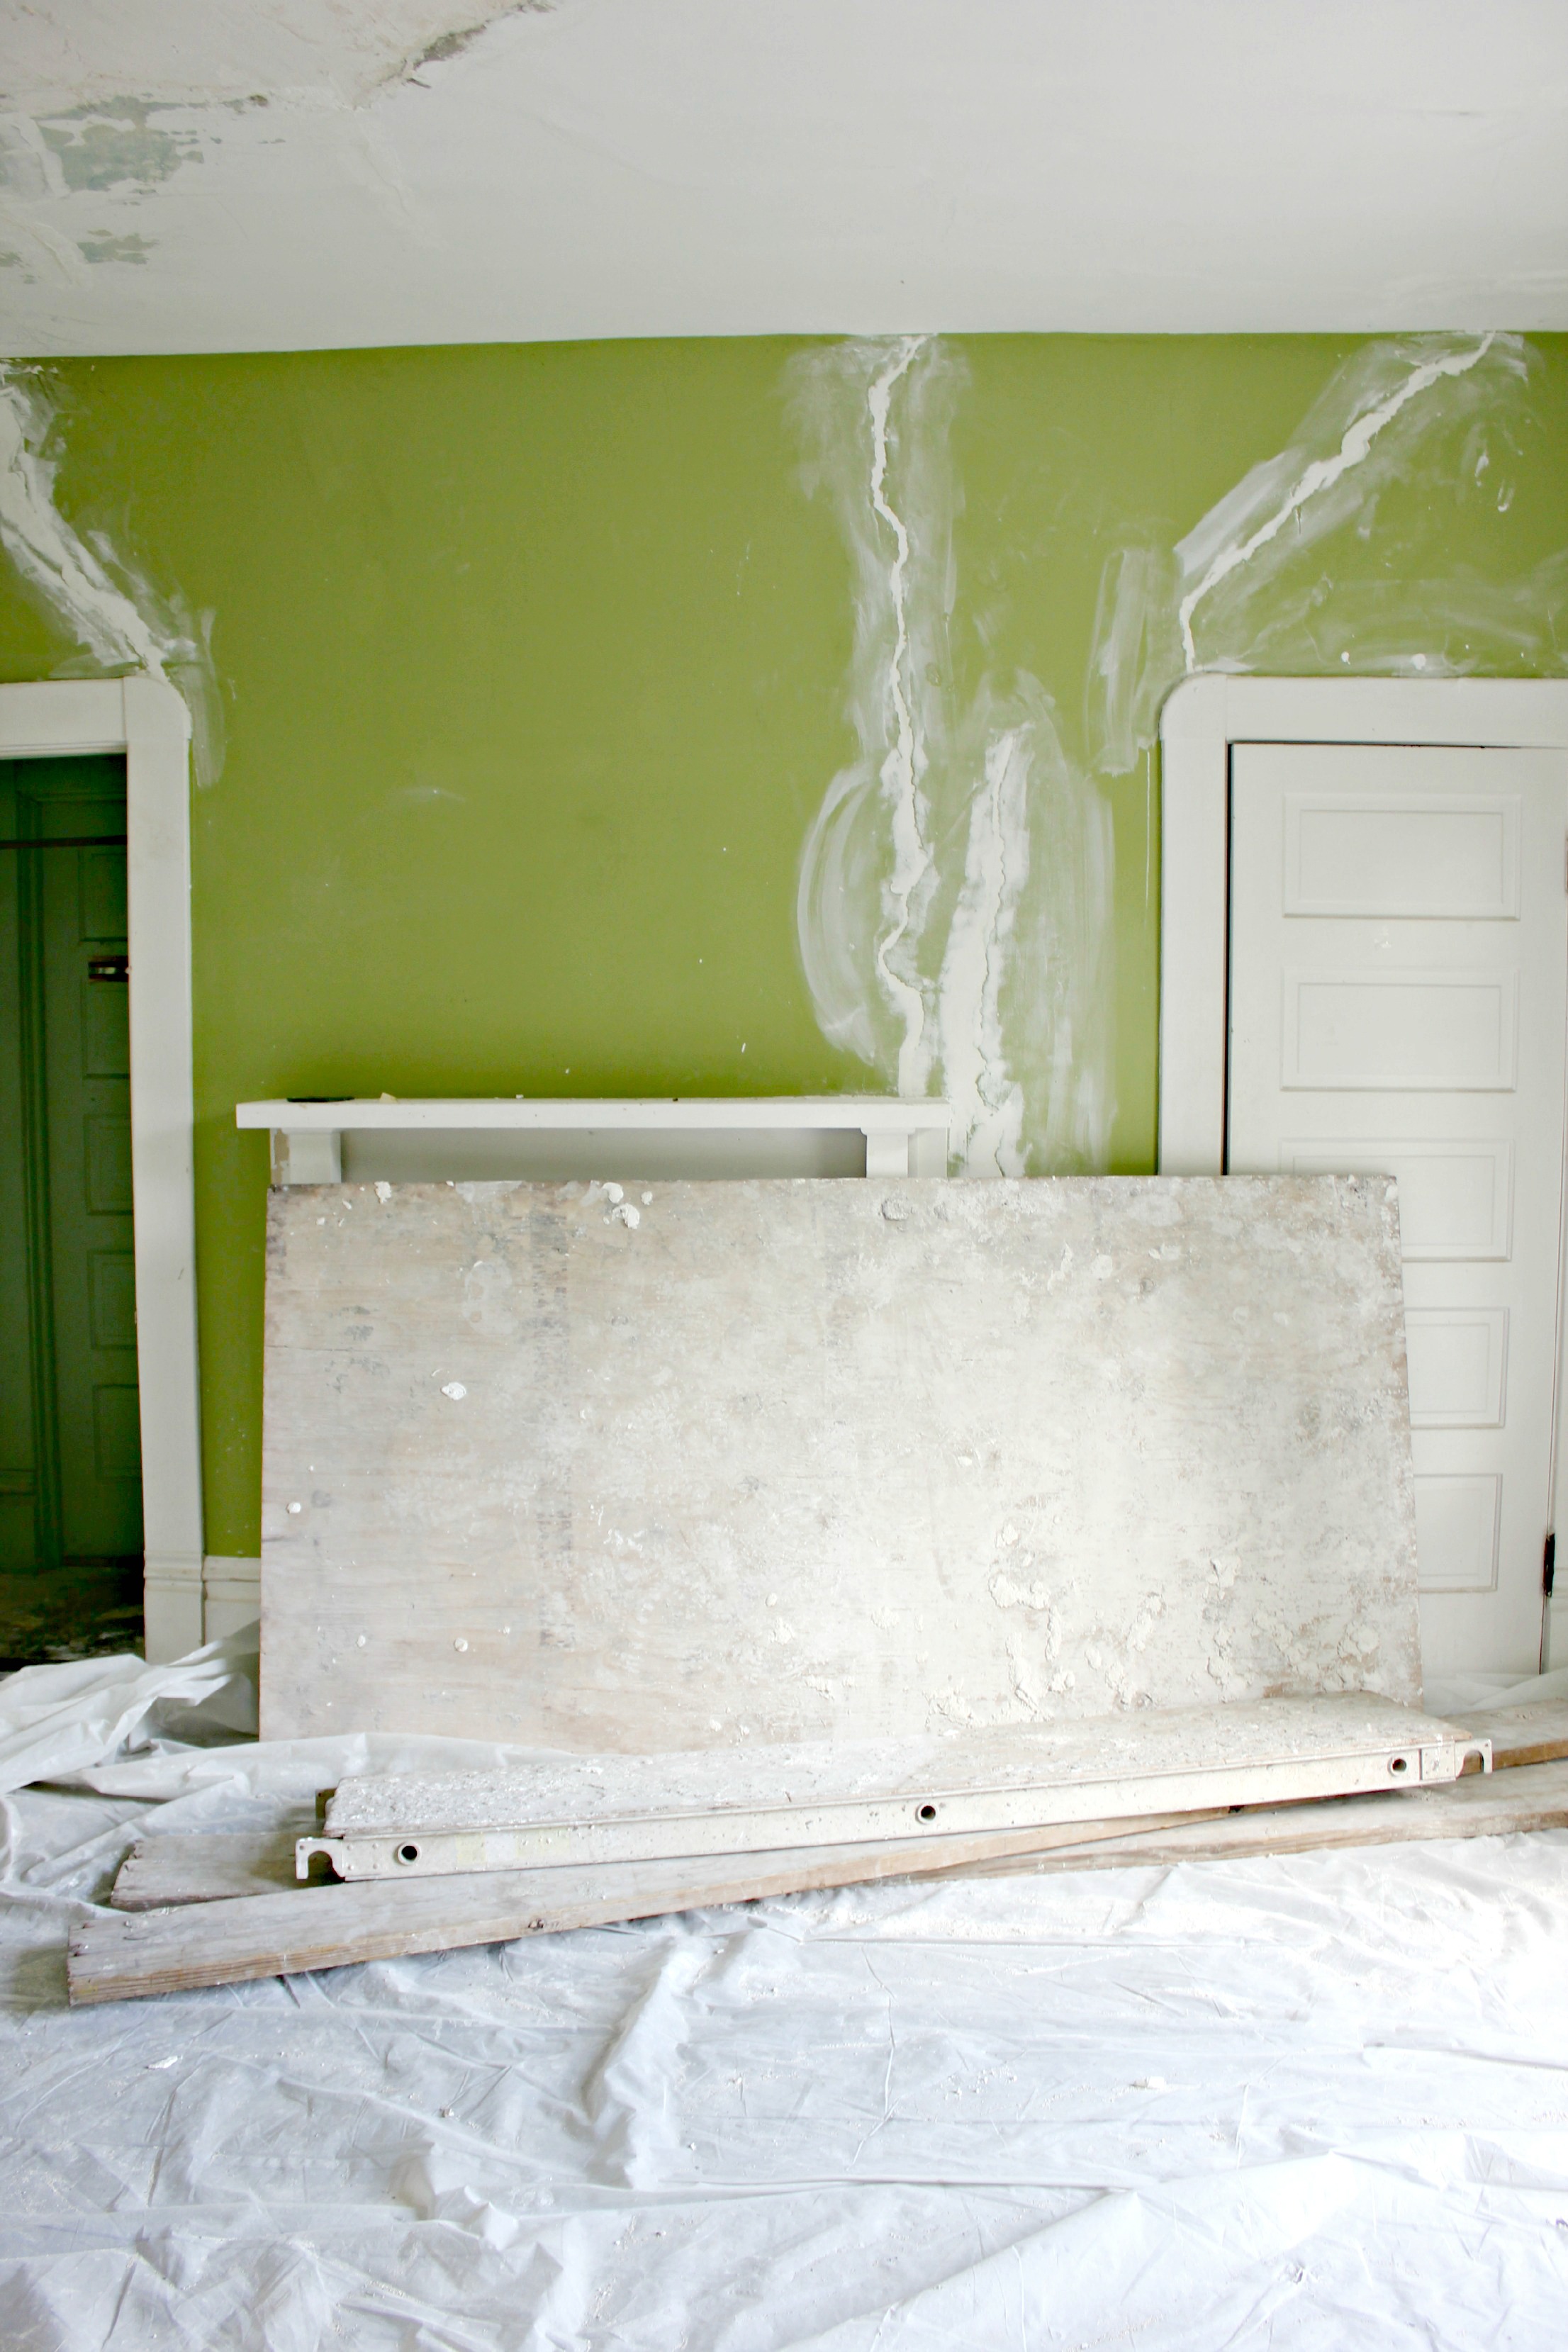
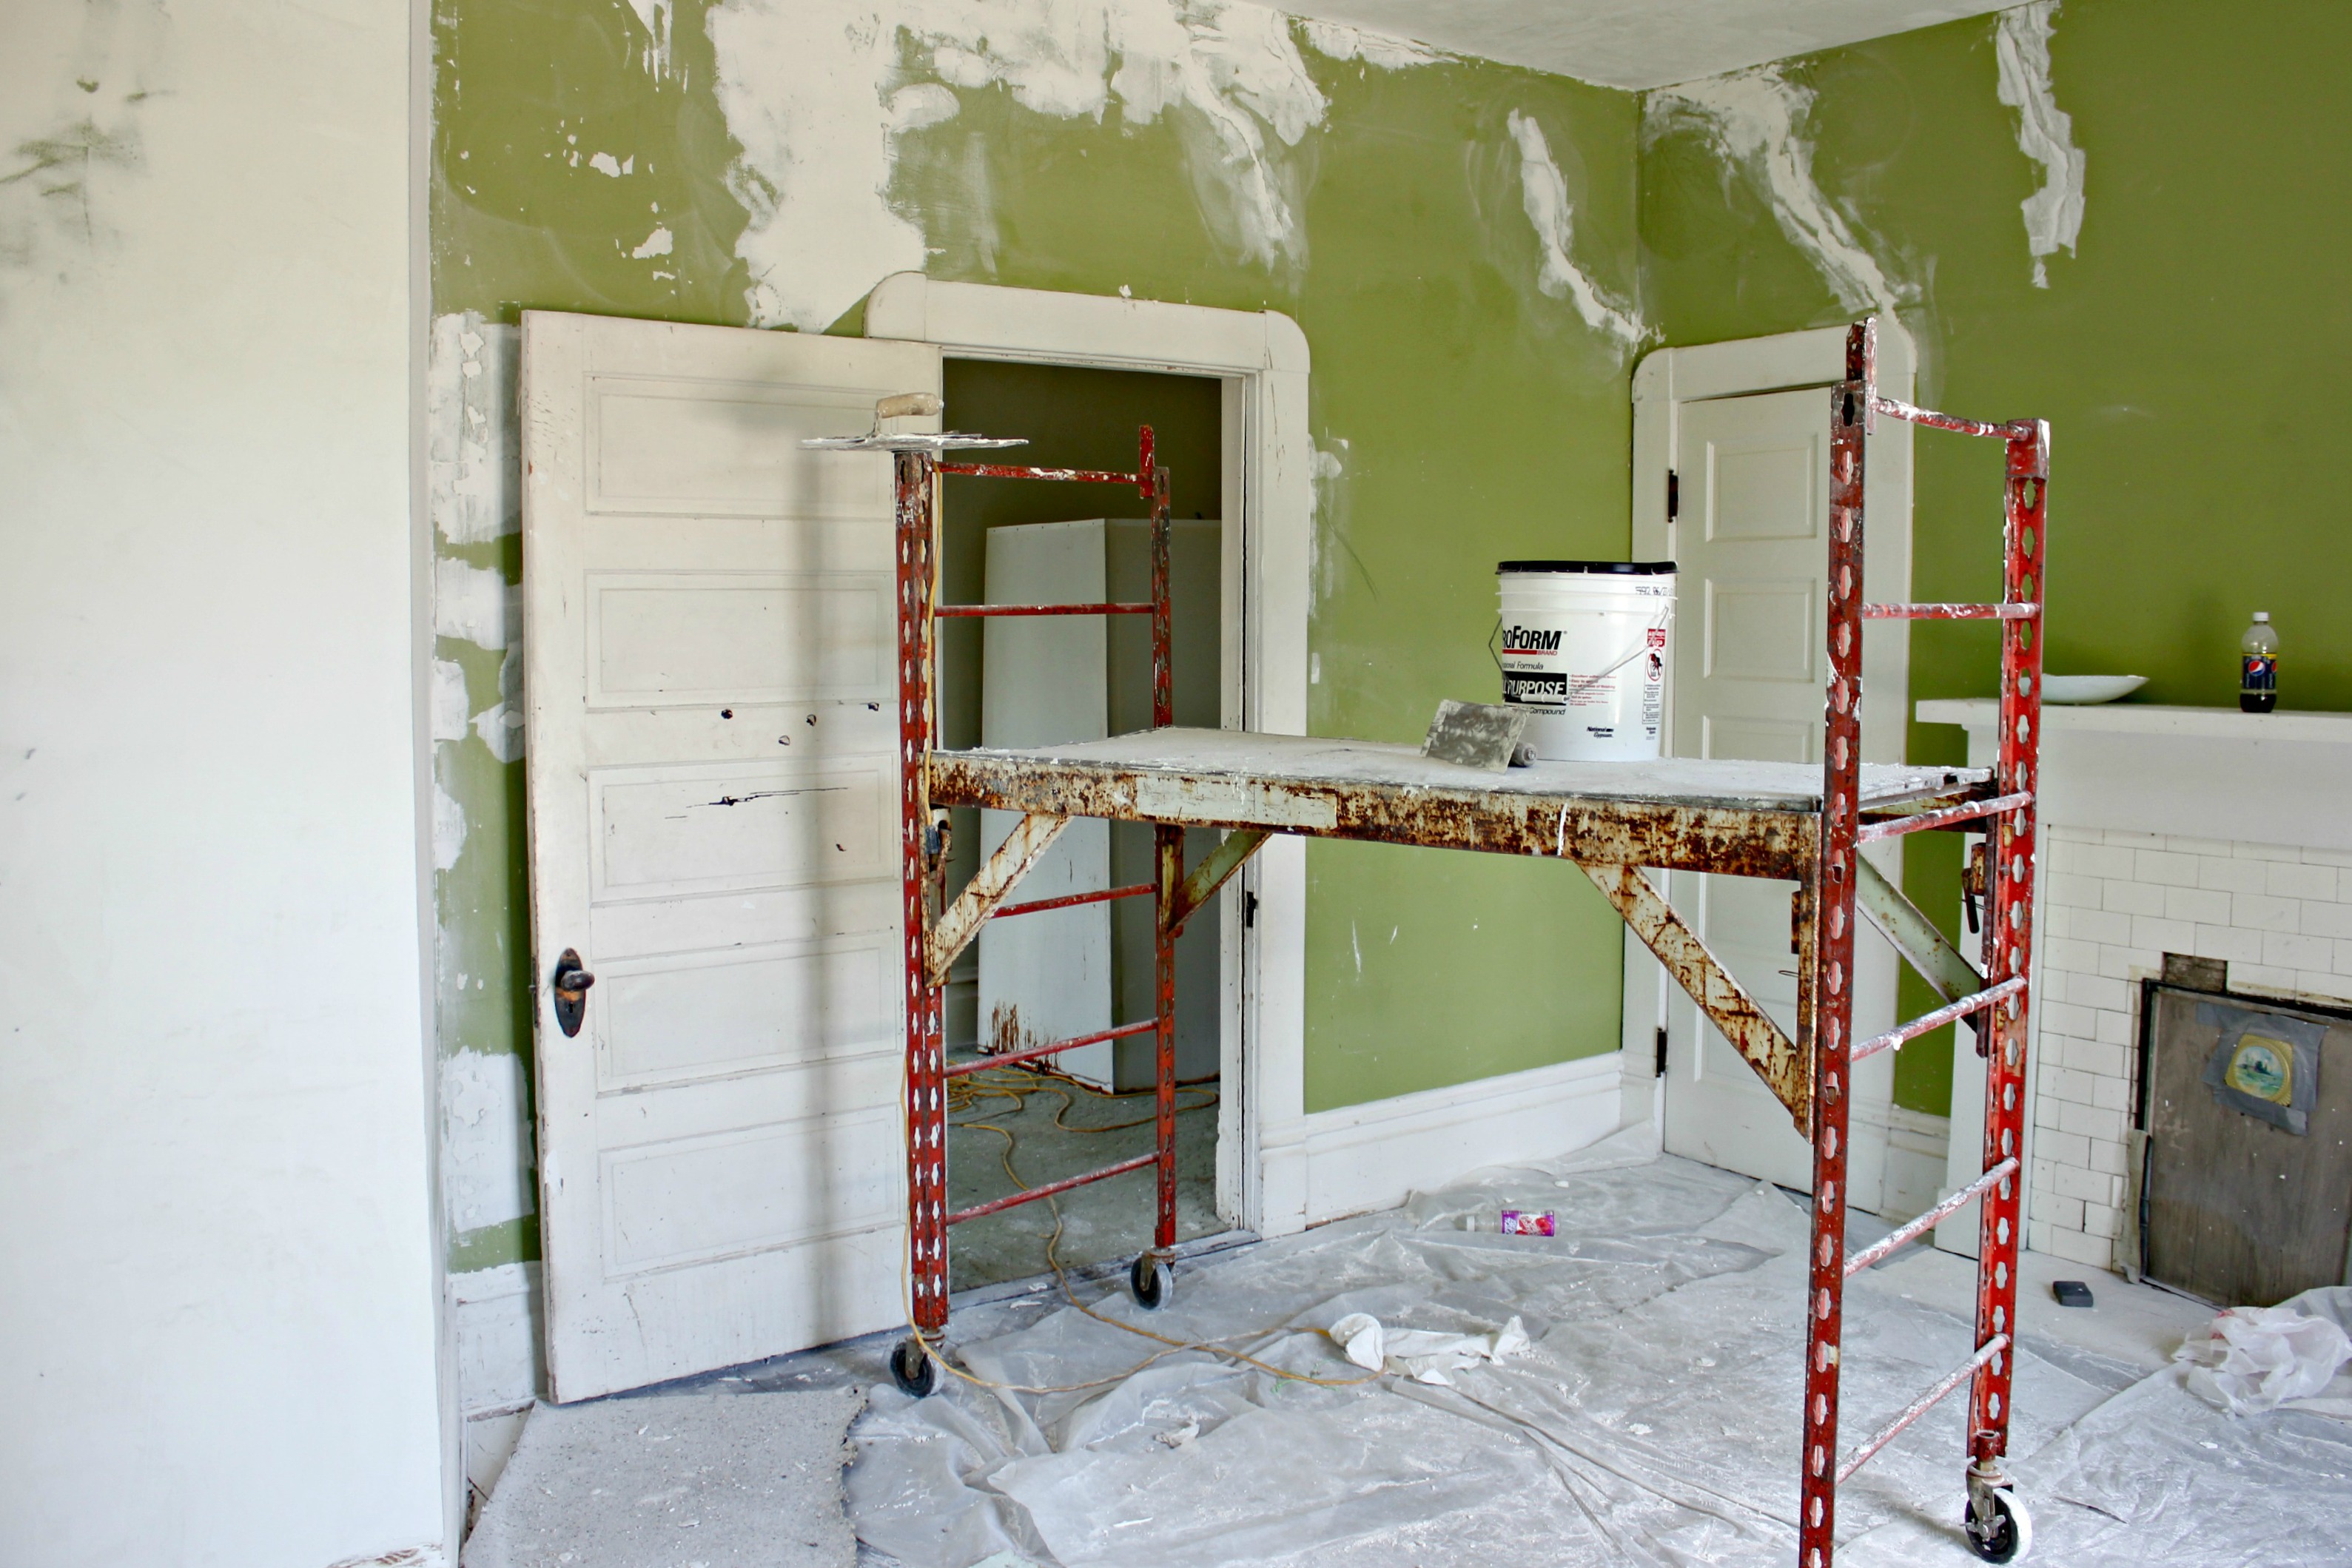
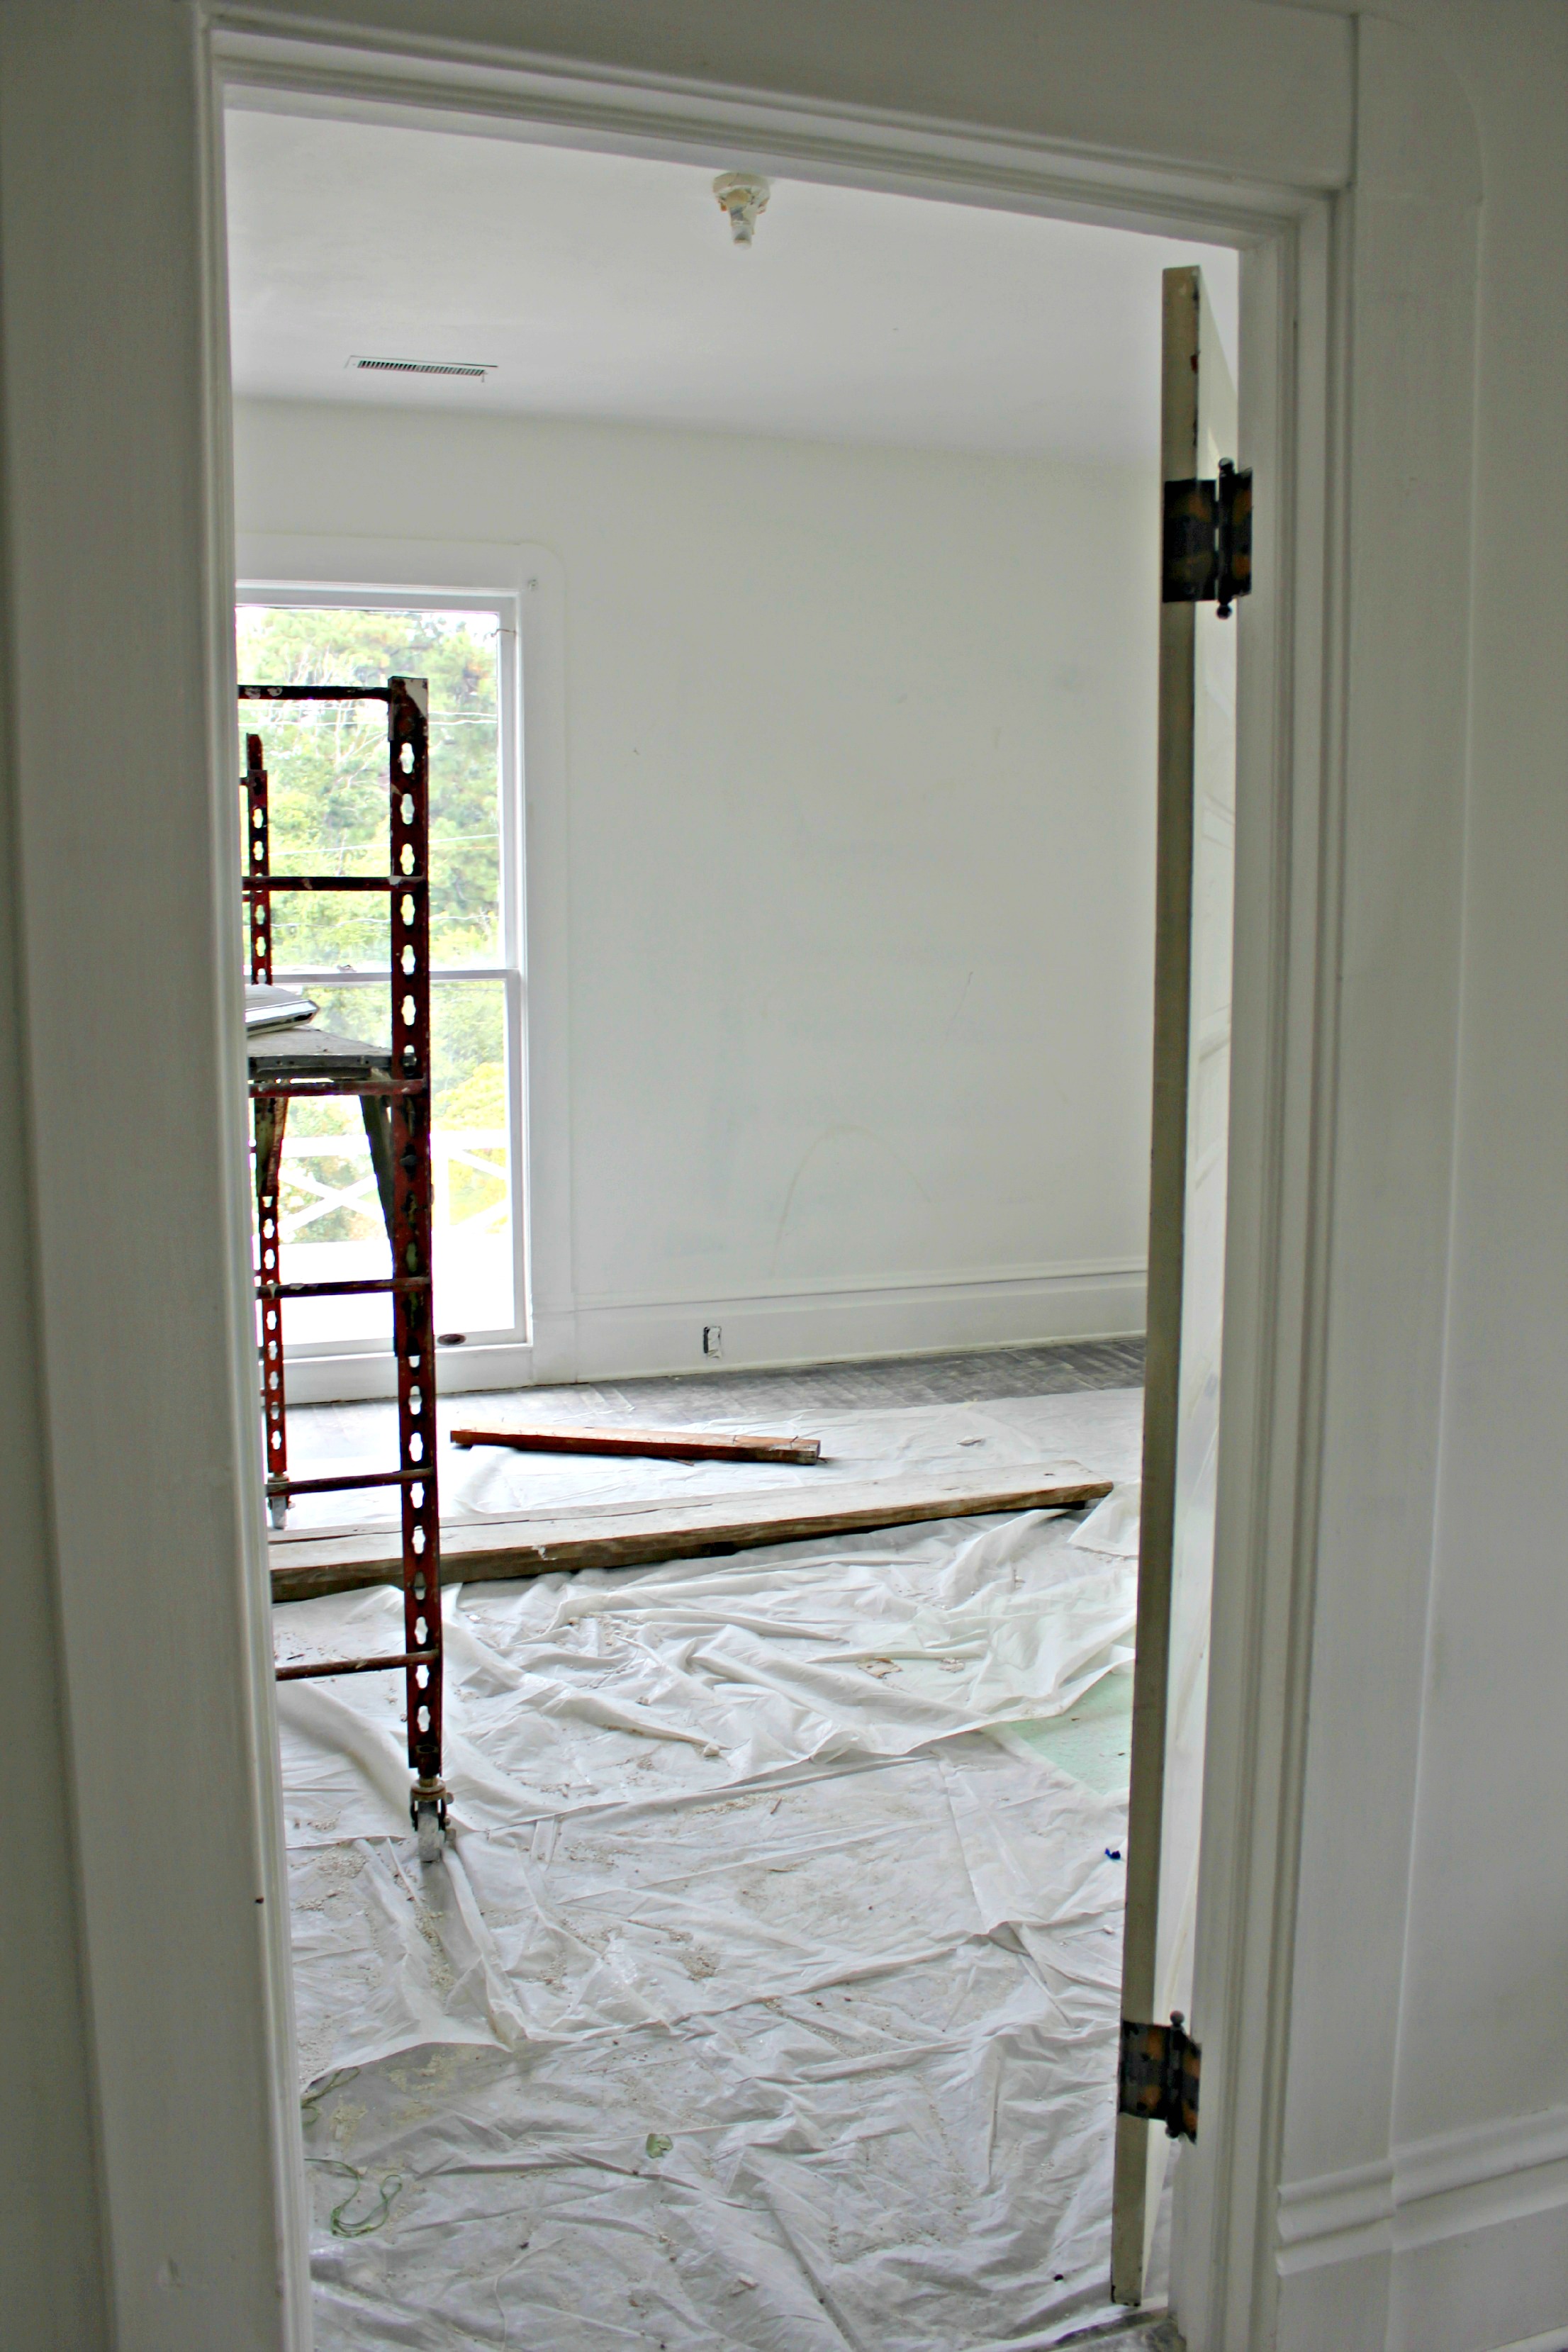
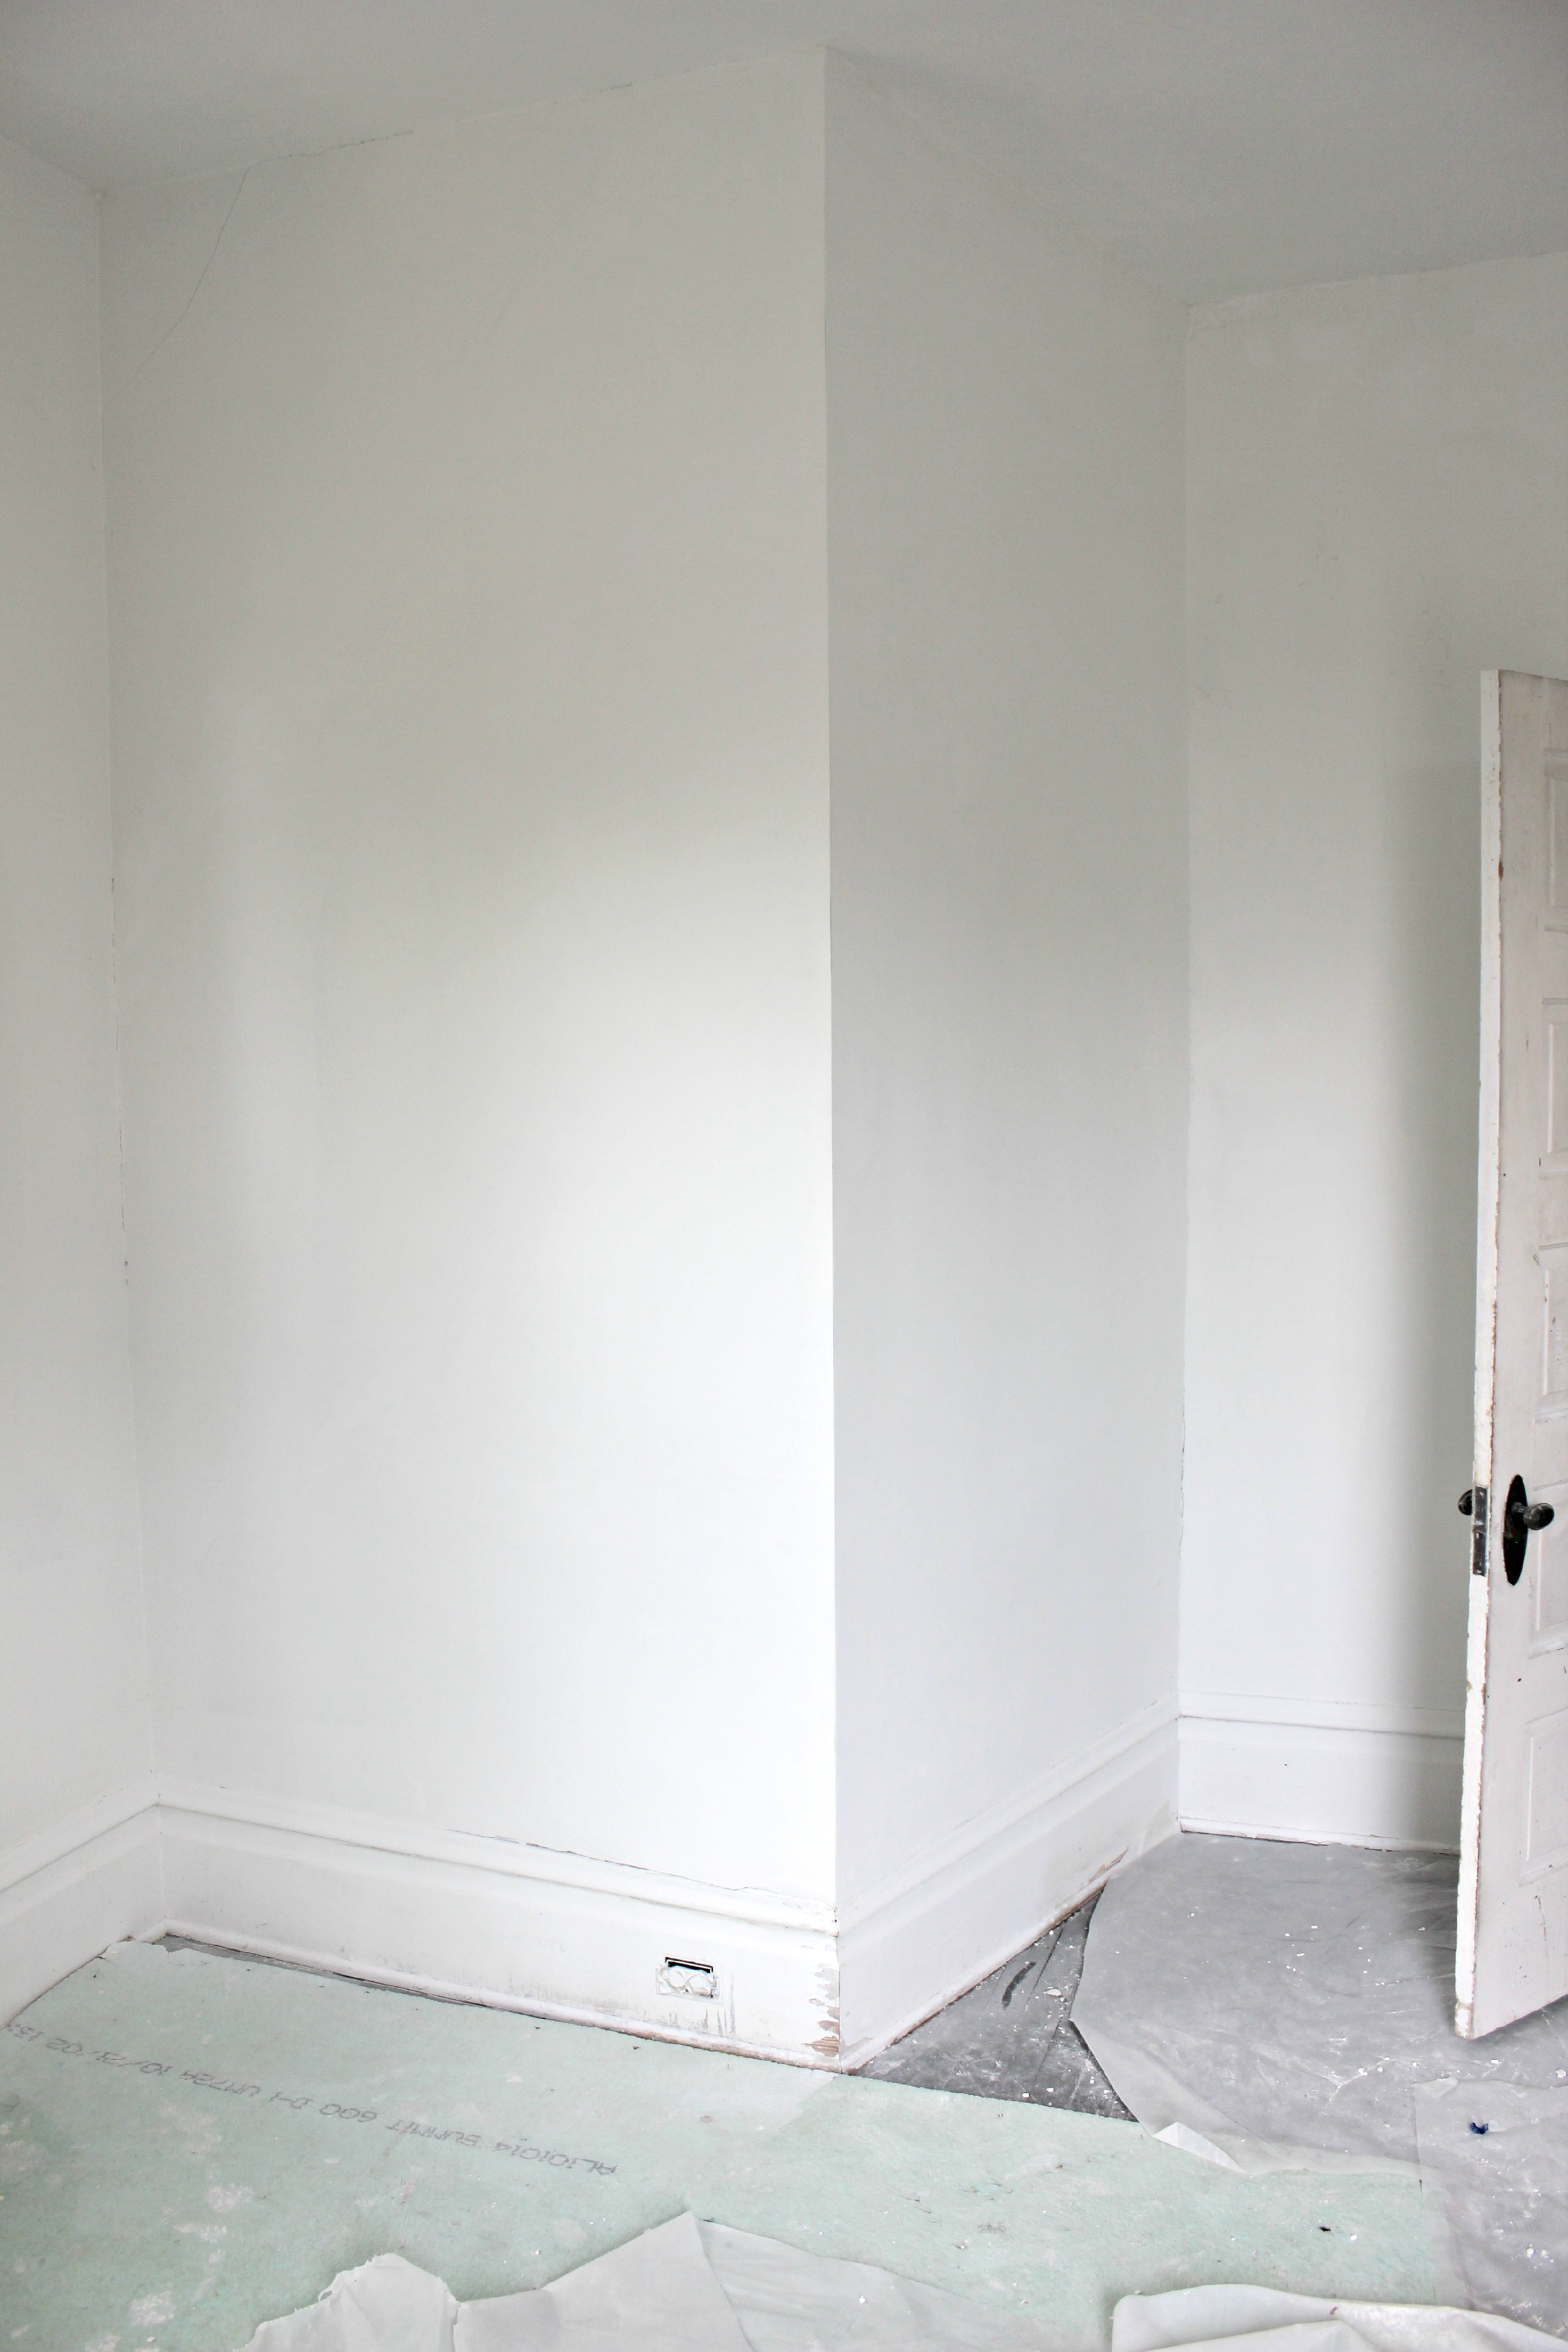
You may remember this post from the 10 month mark of our restoration.  As with most things, this process has certainly been a learning experience, and I think it’s safe to say we are still learning!

IMG_5389

Since we hit the one year mark on Saturday, and we closed on our house about 10 days ago, I wanted to add a couple more lessons that I’ve learned.  Here goes…

1.  Always get a clear and detailed contract in writing.  Always.  Because our contractor is also a family friend, we let this one slide.  Big mistake.  ALWAYS get it in writing, even if it means going with someone else.

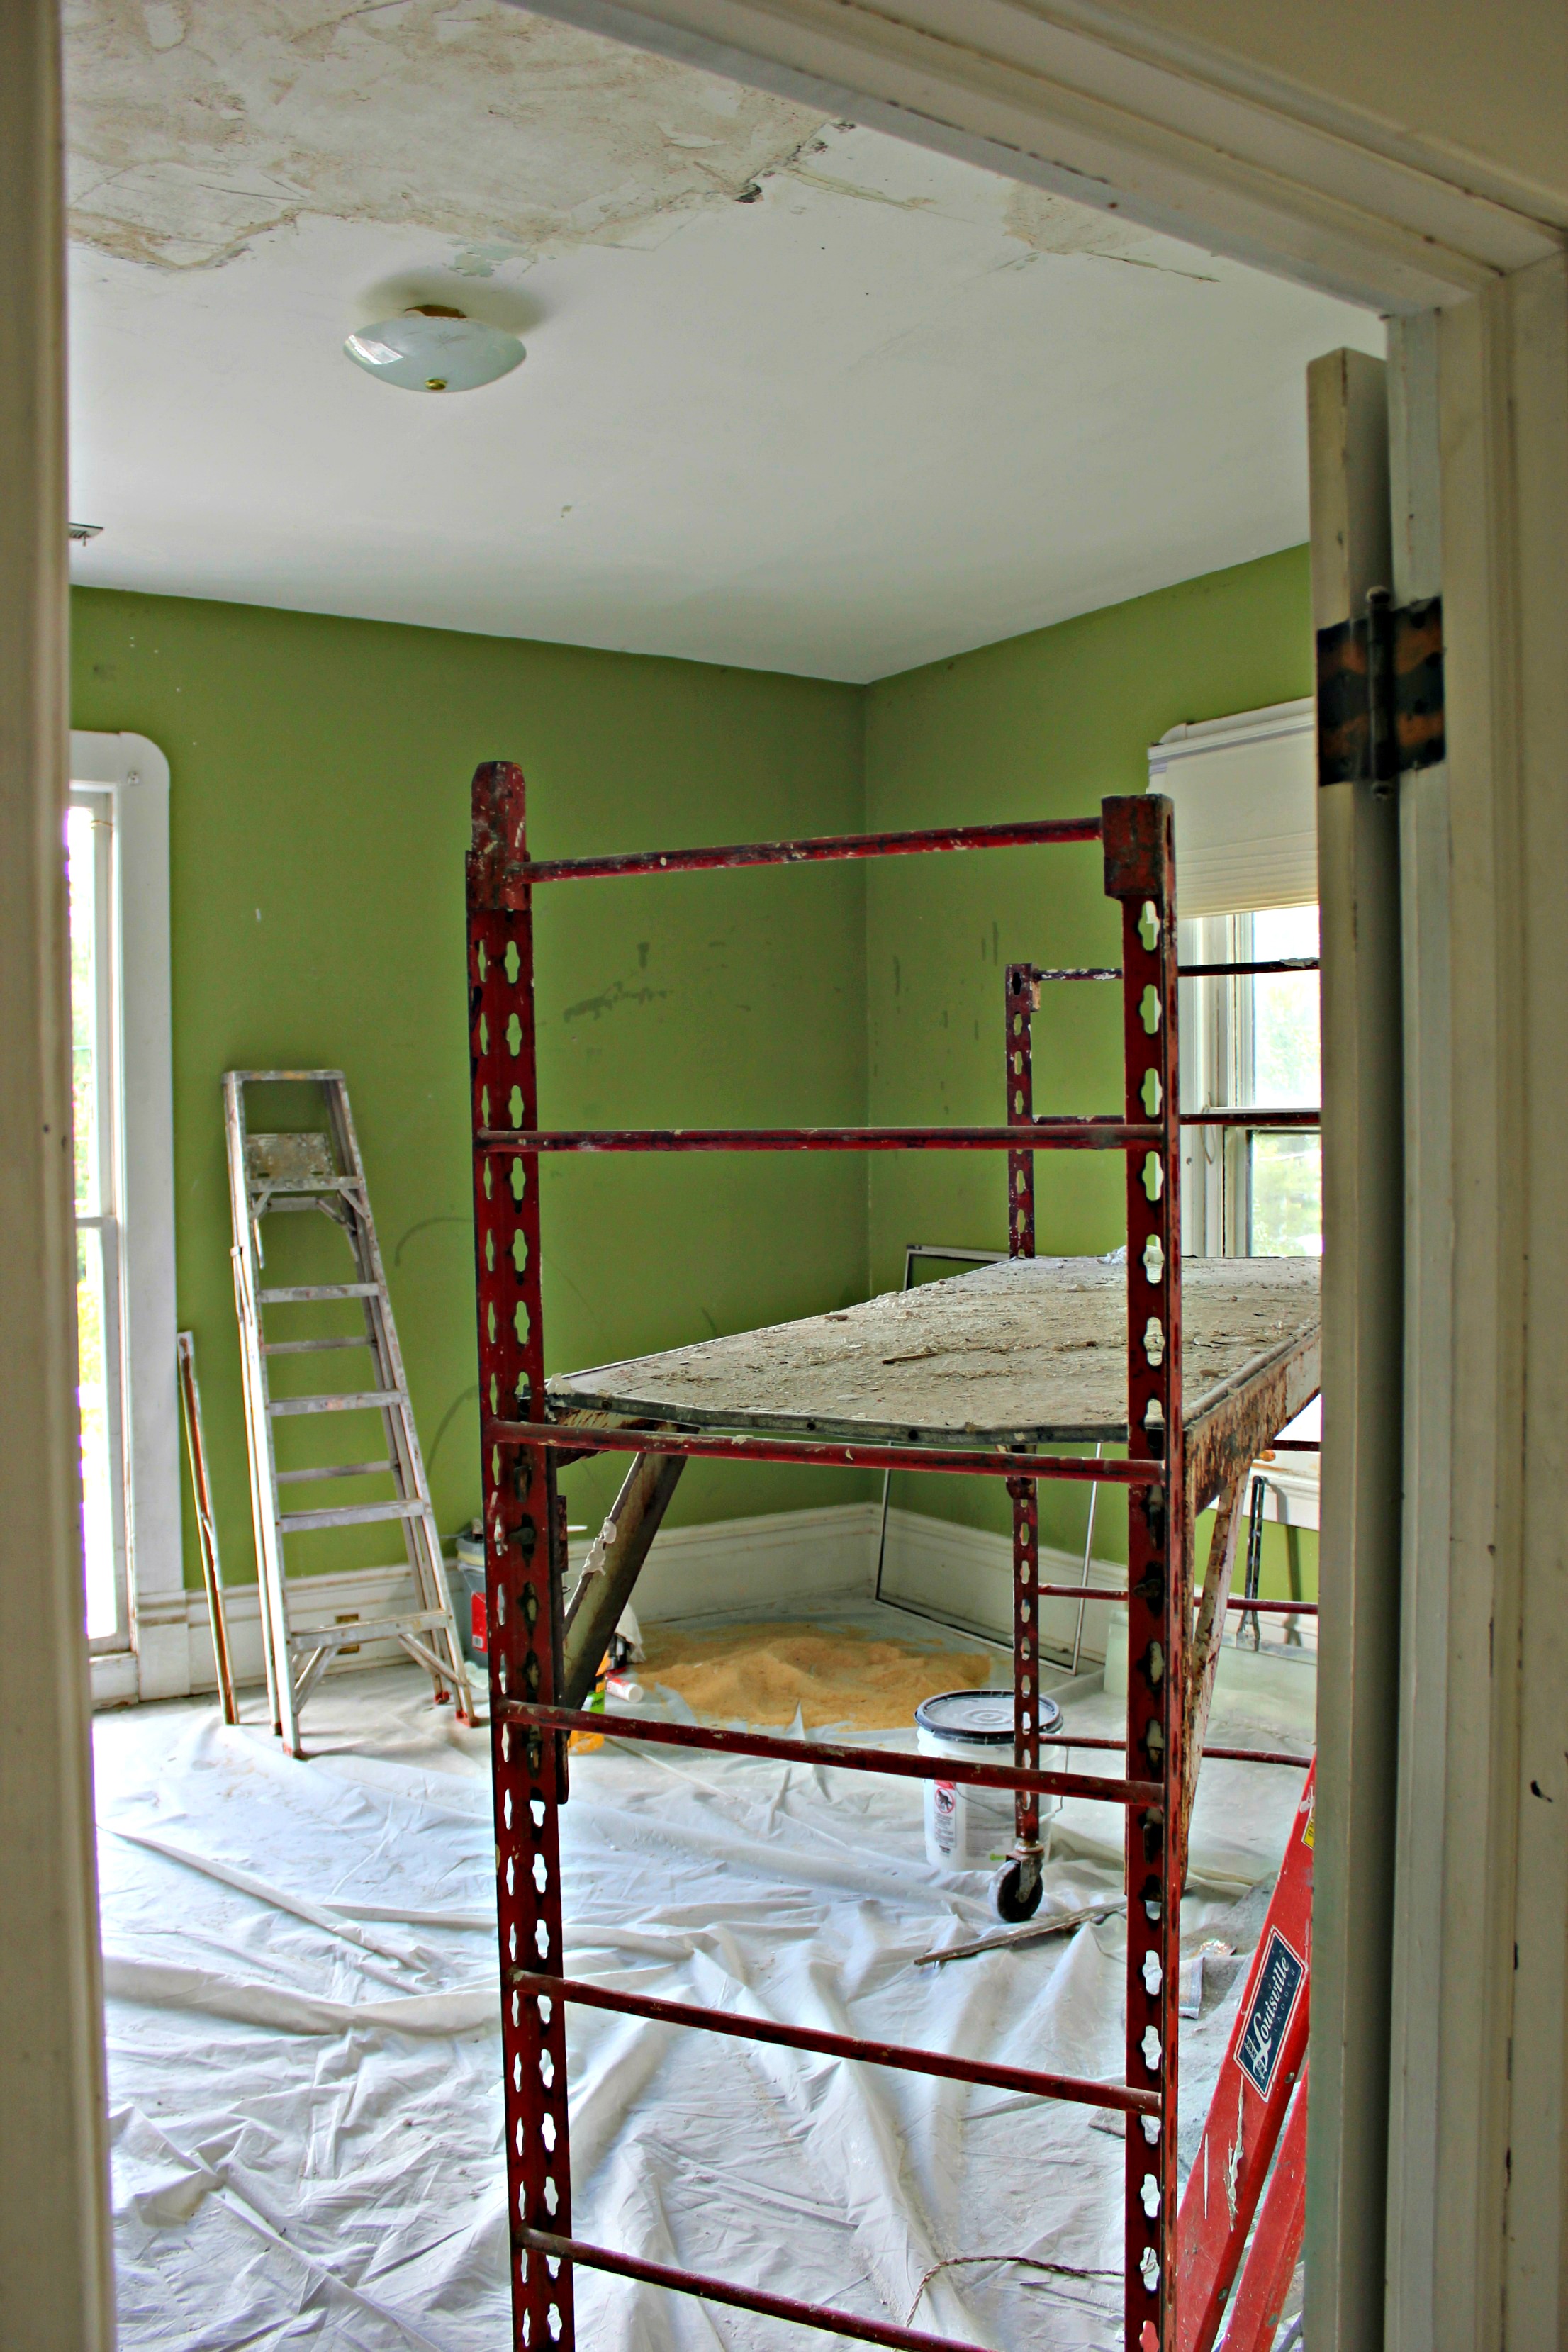
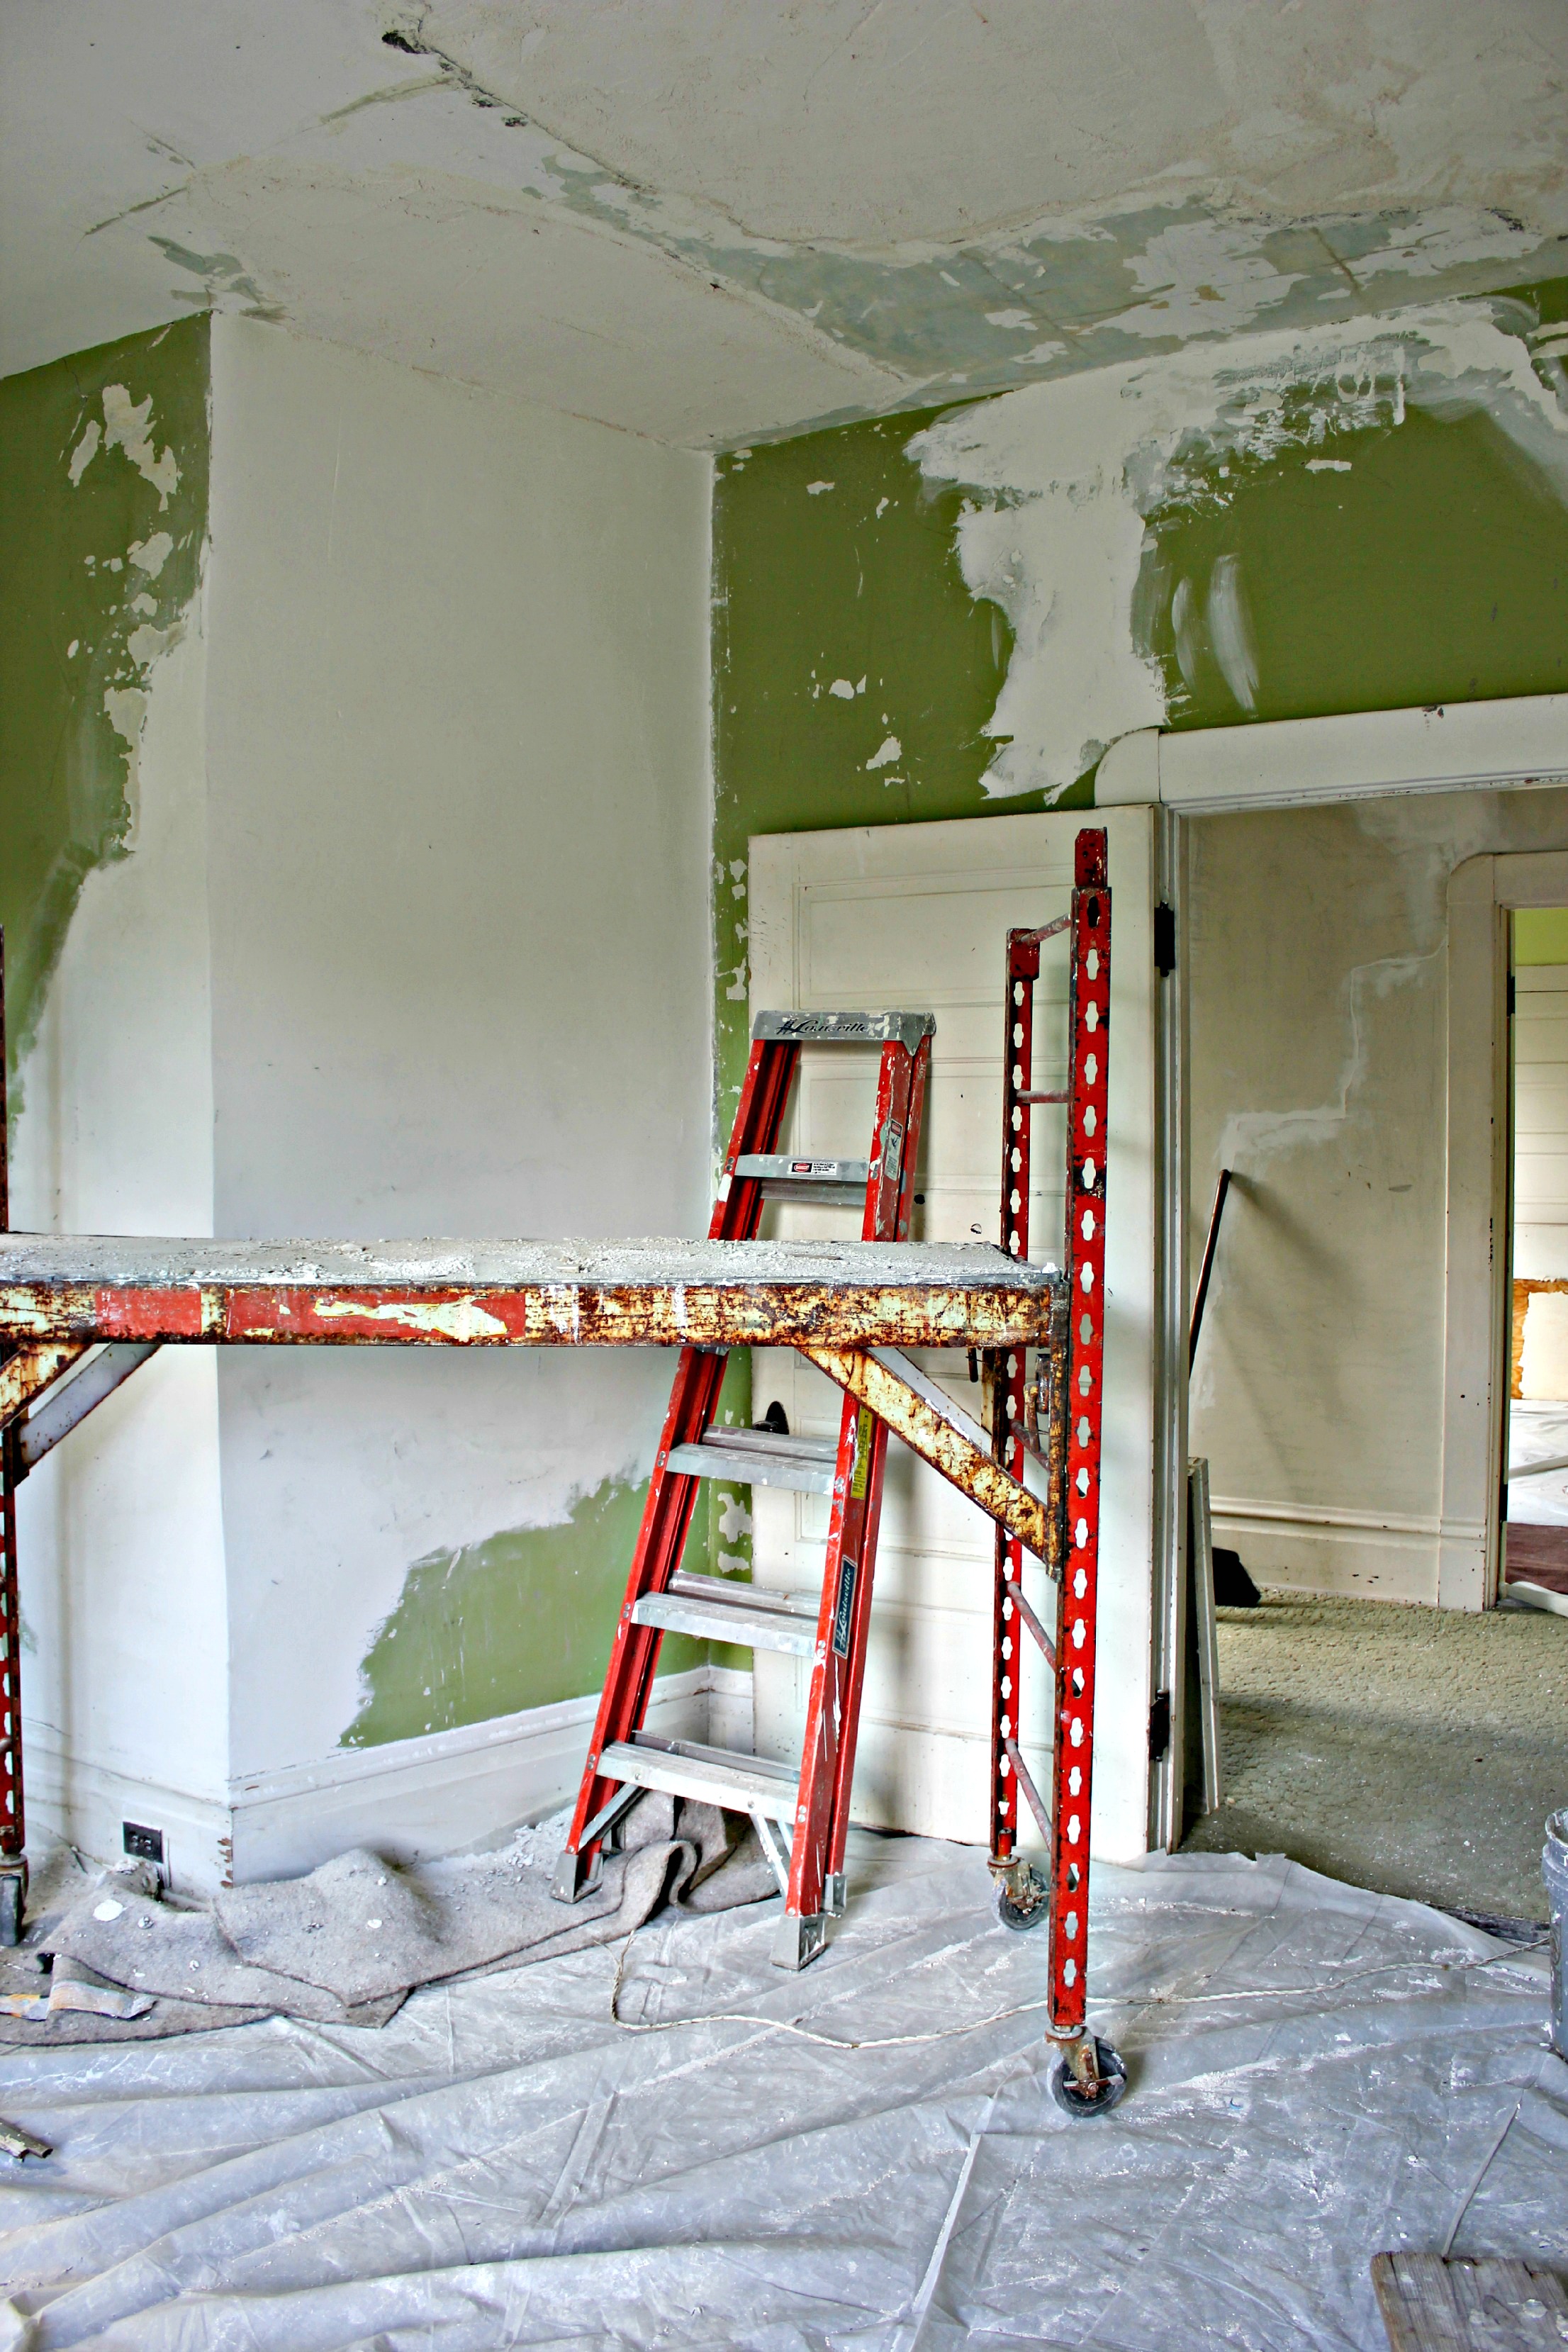
2. It WILL take longer and cost more than you planned.  Enough said. (Update: we are now in month 13 of our “4-month renovation.”)

Conan Facepalm

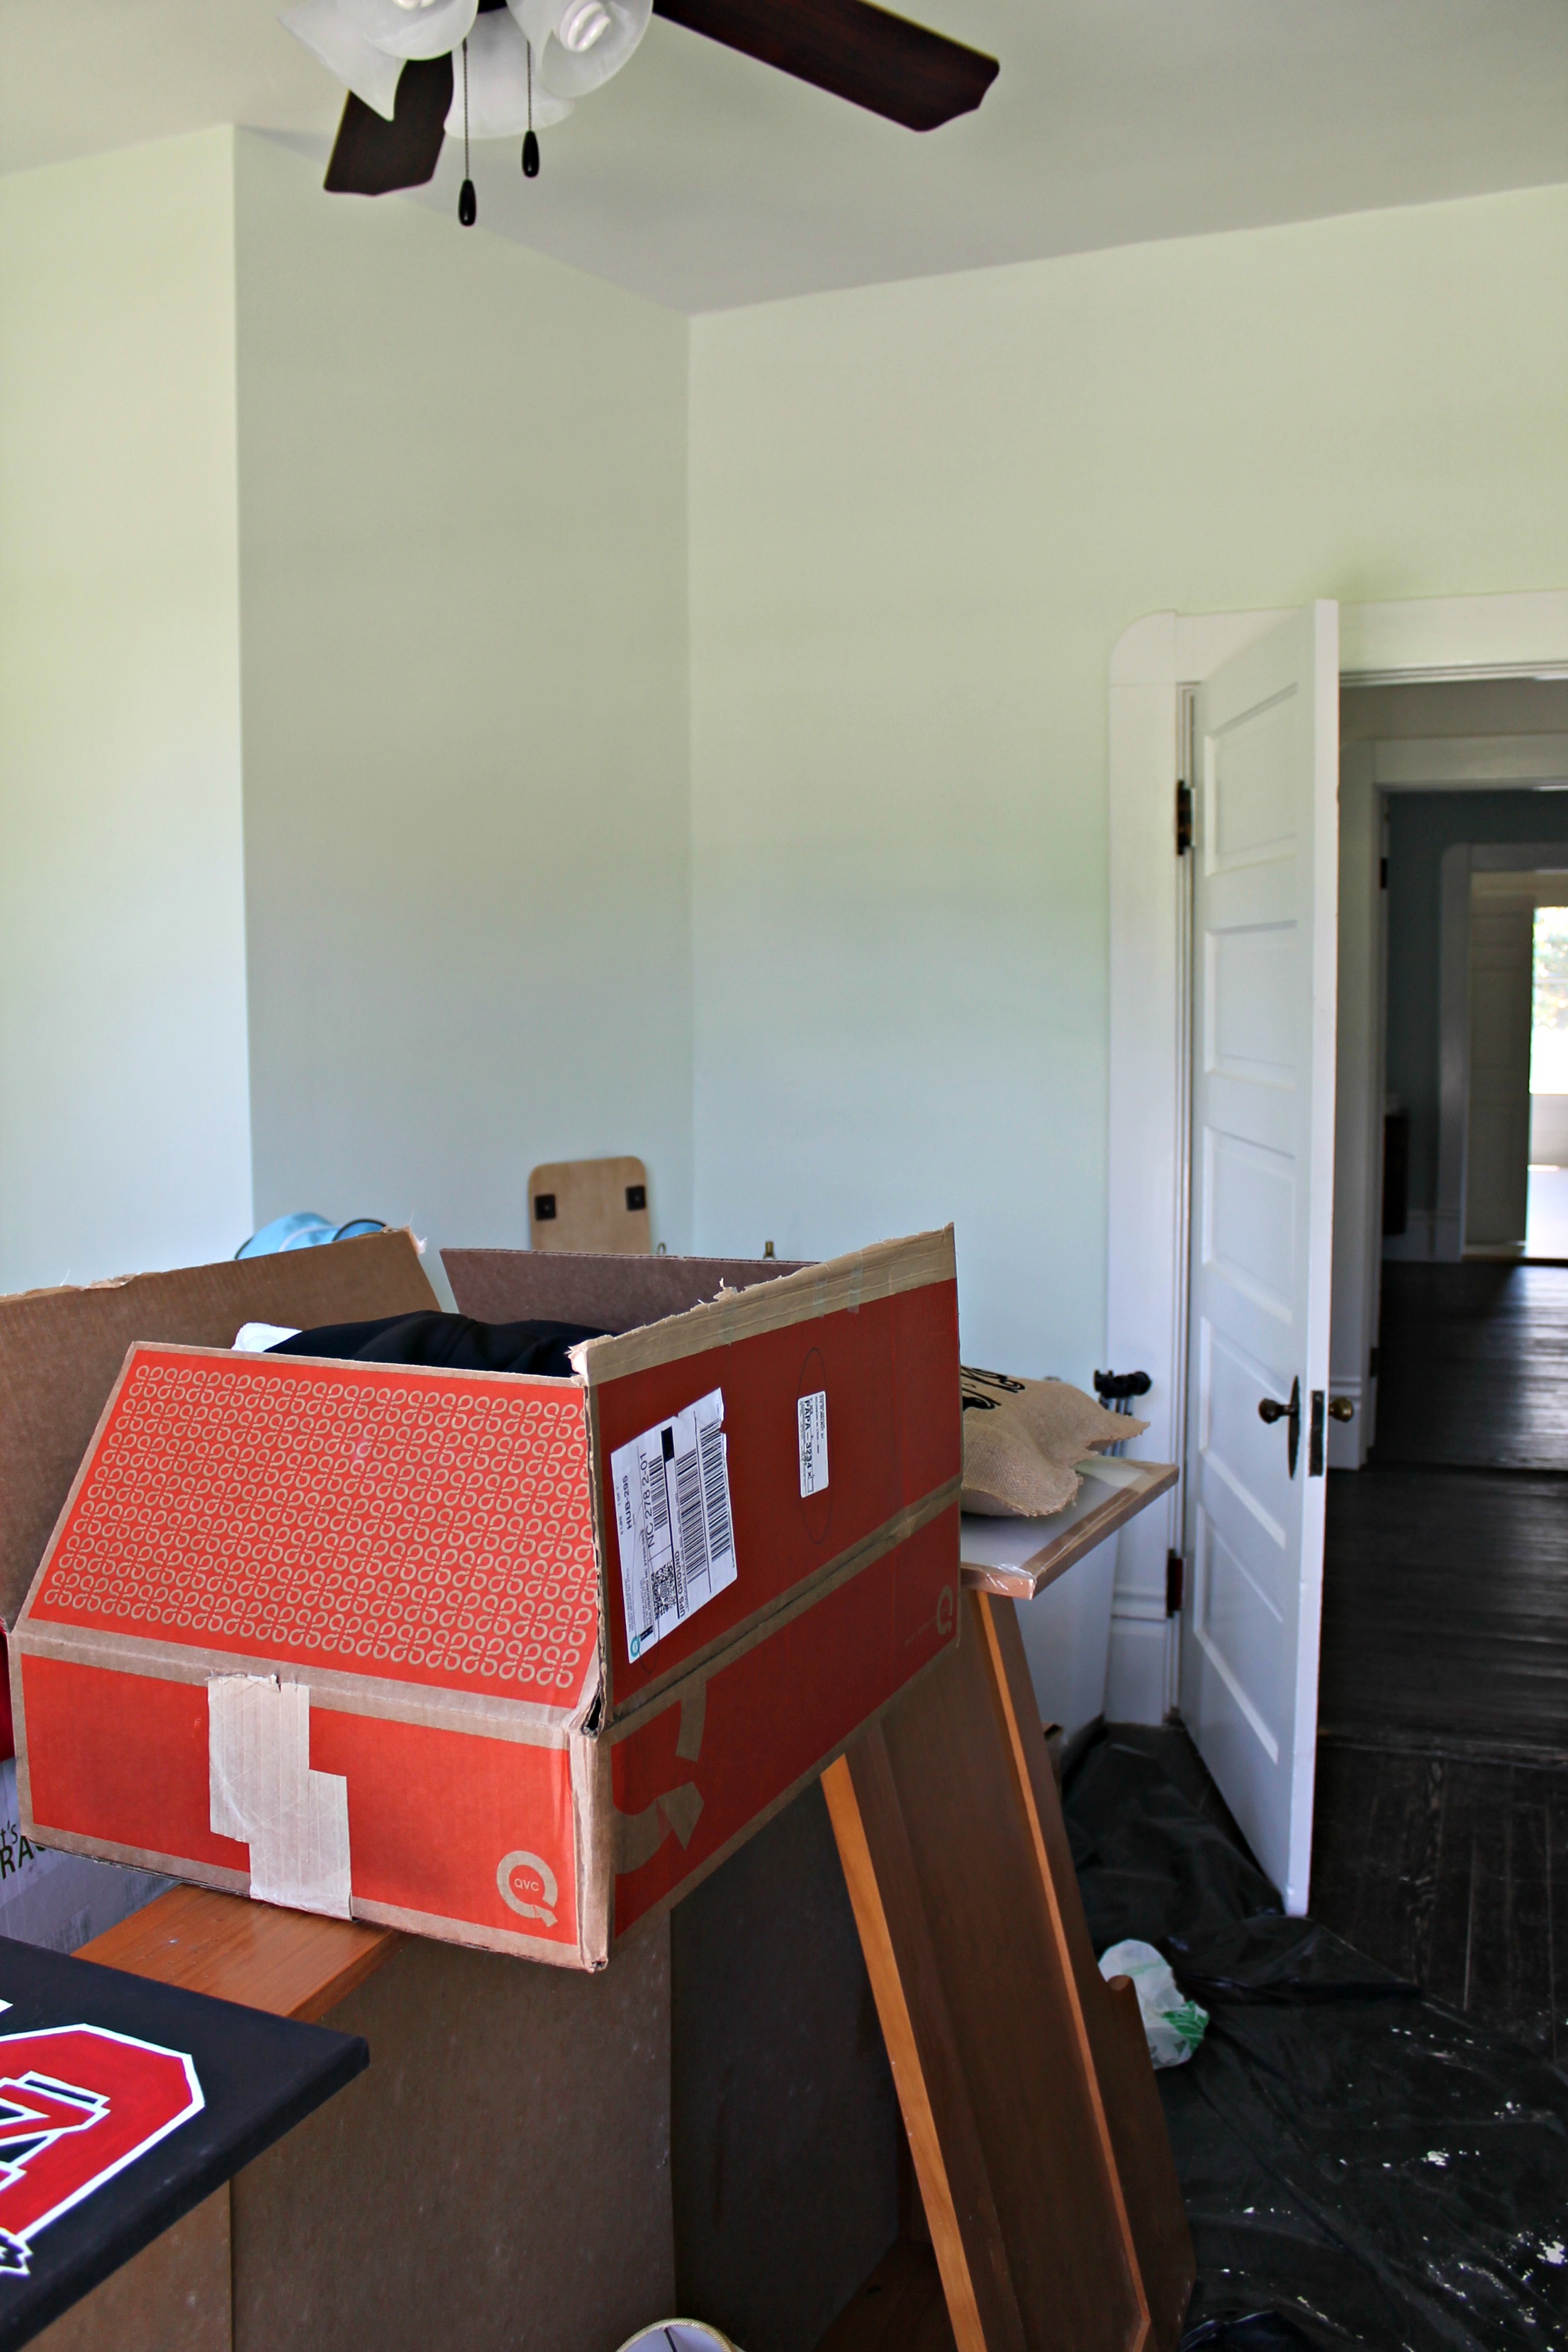
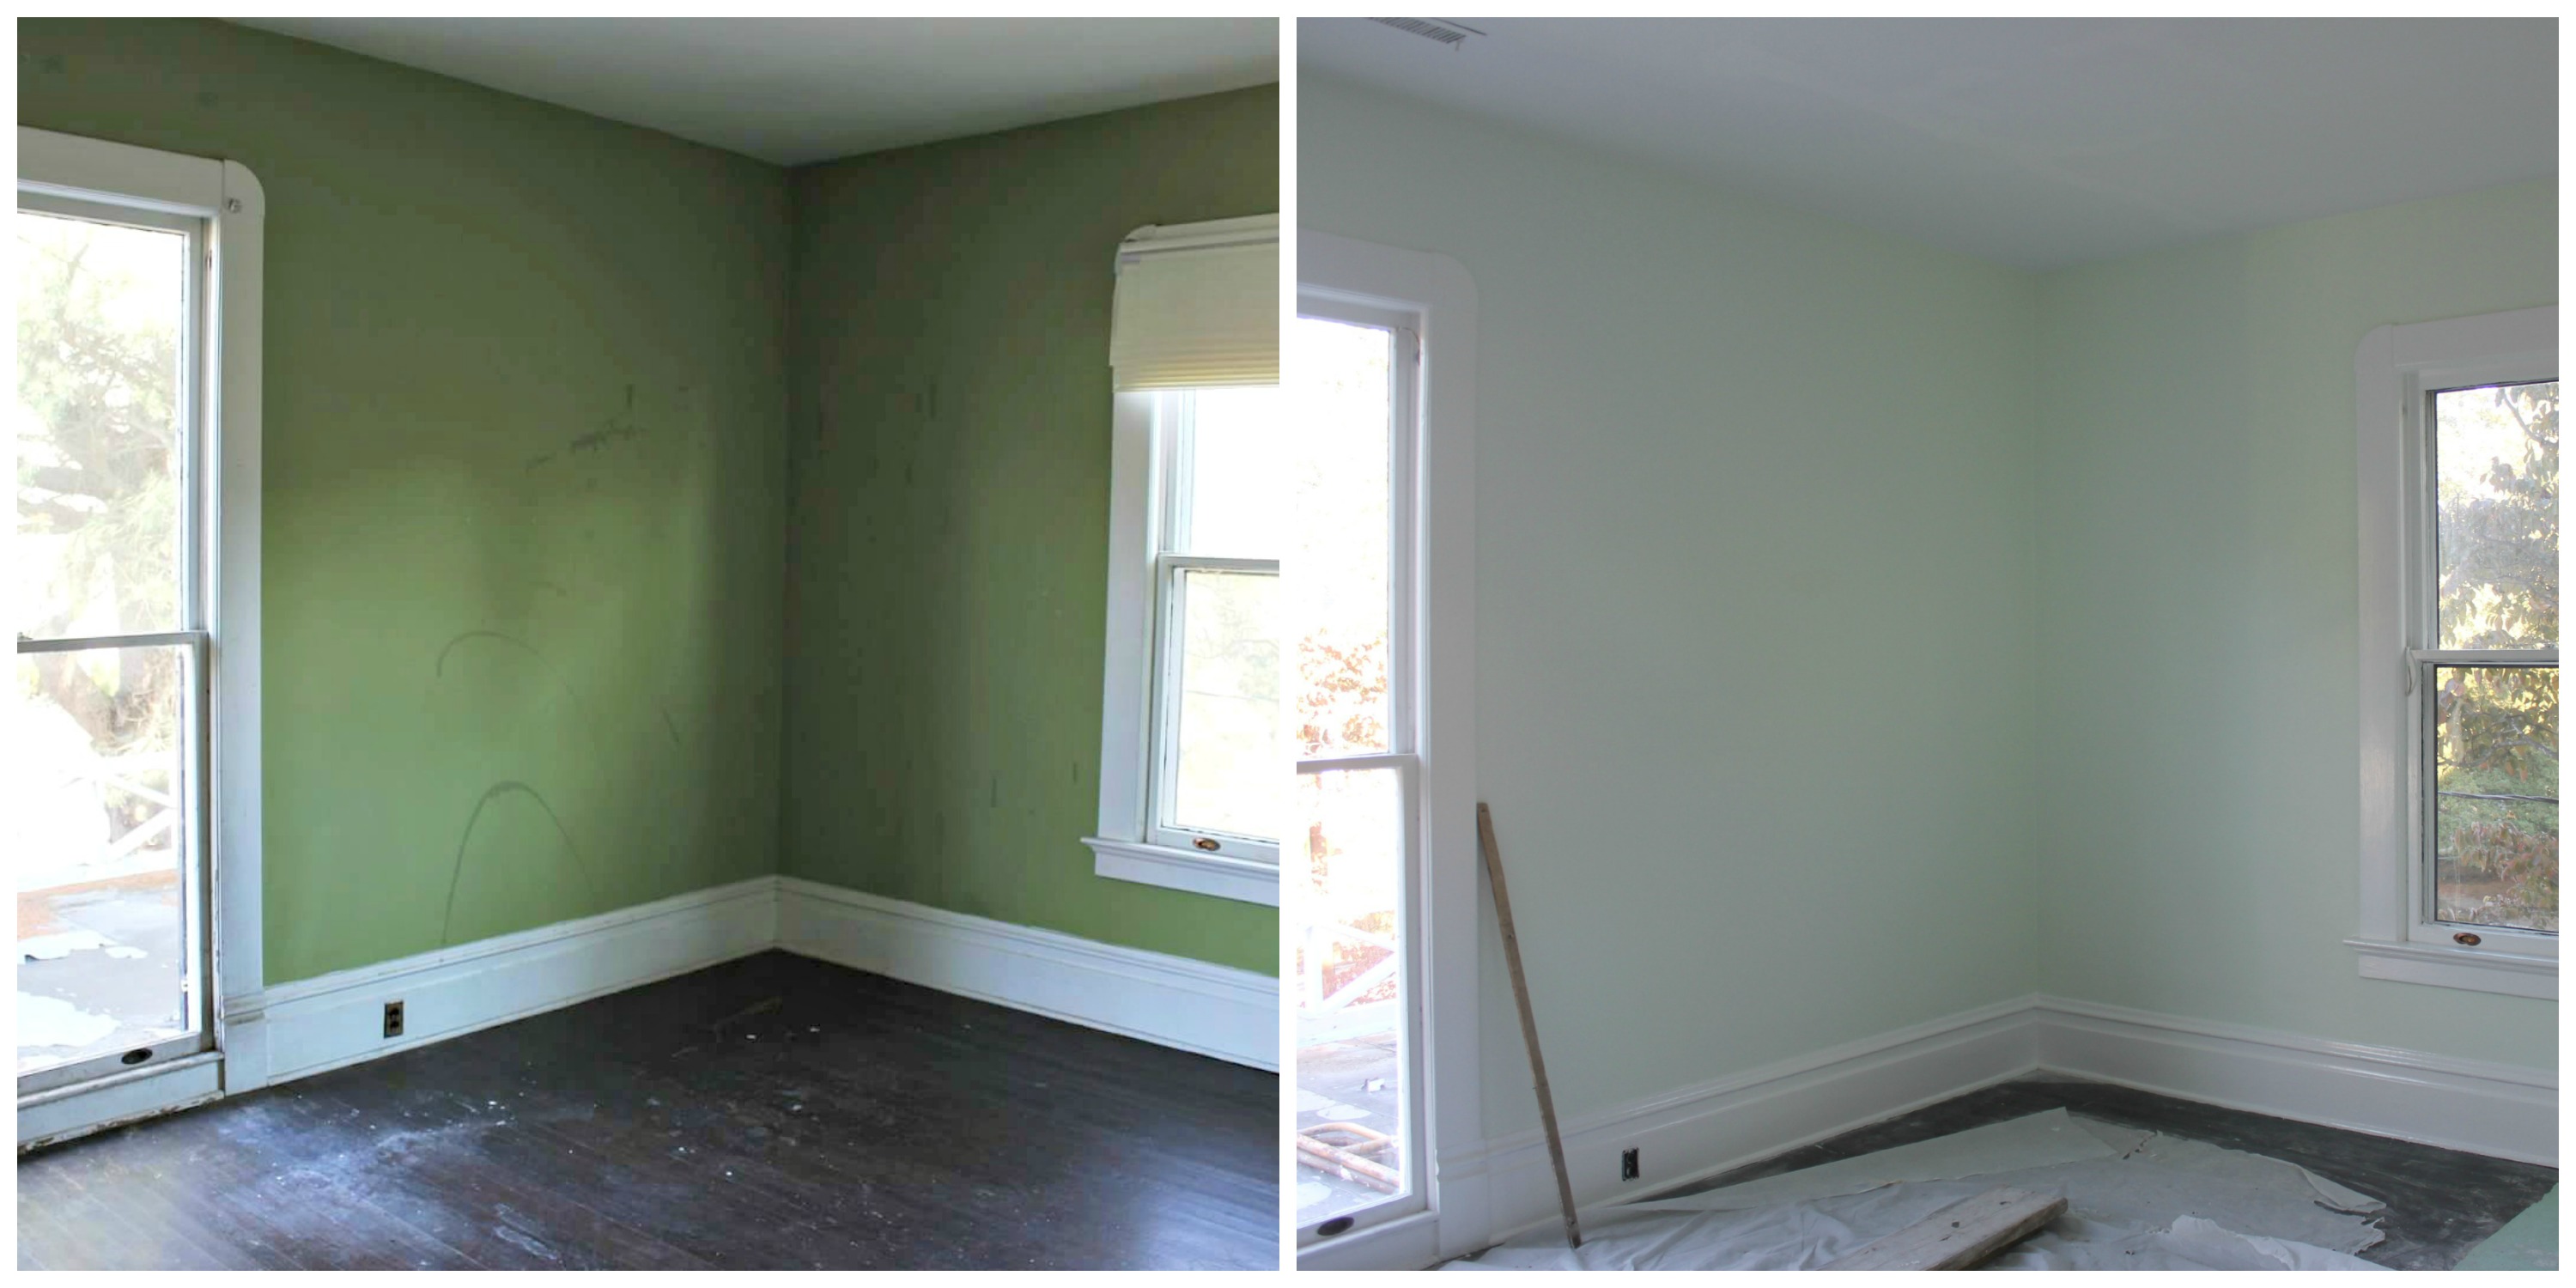
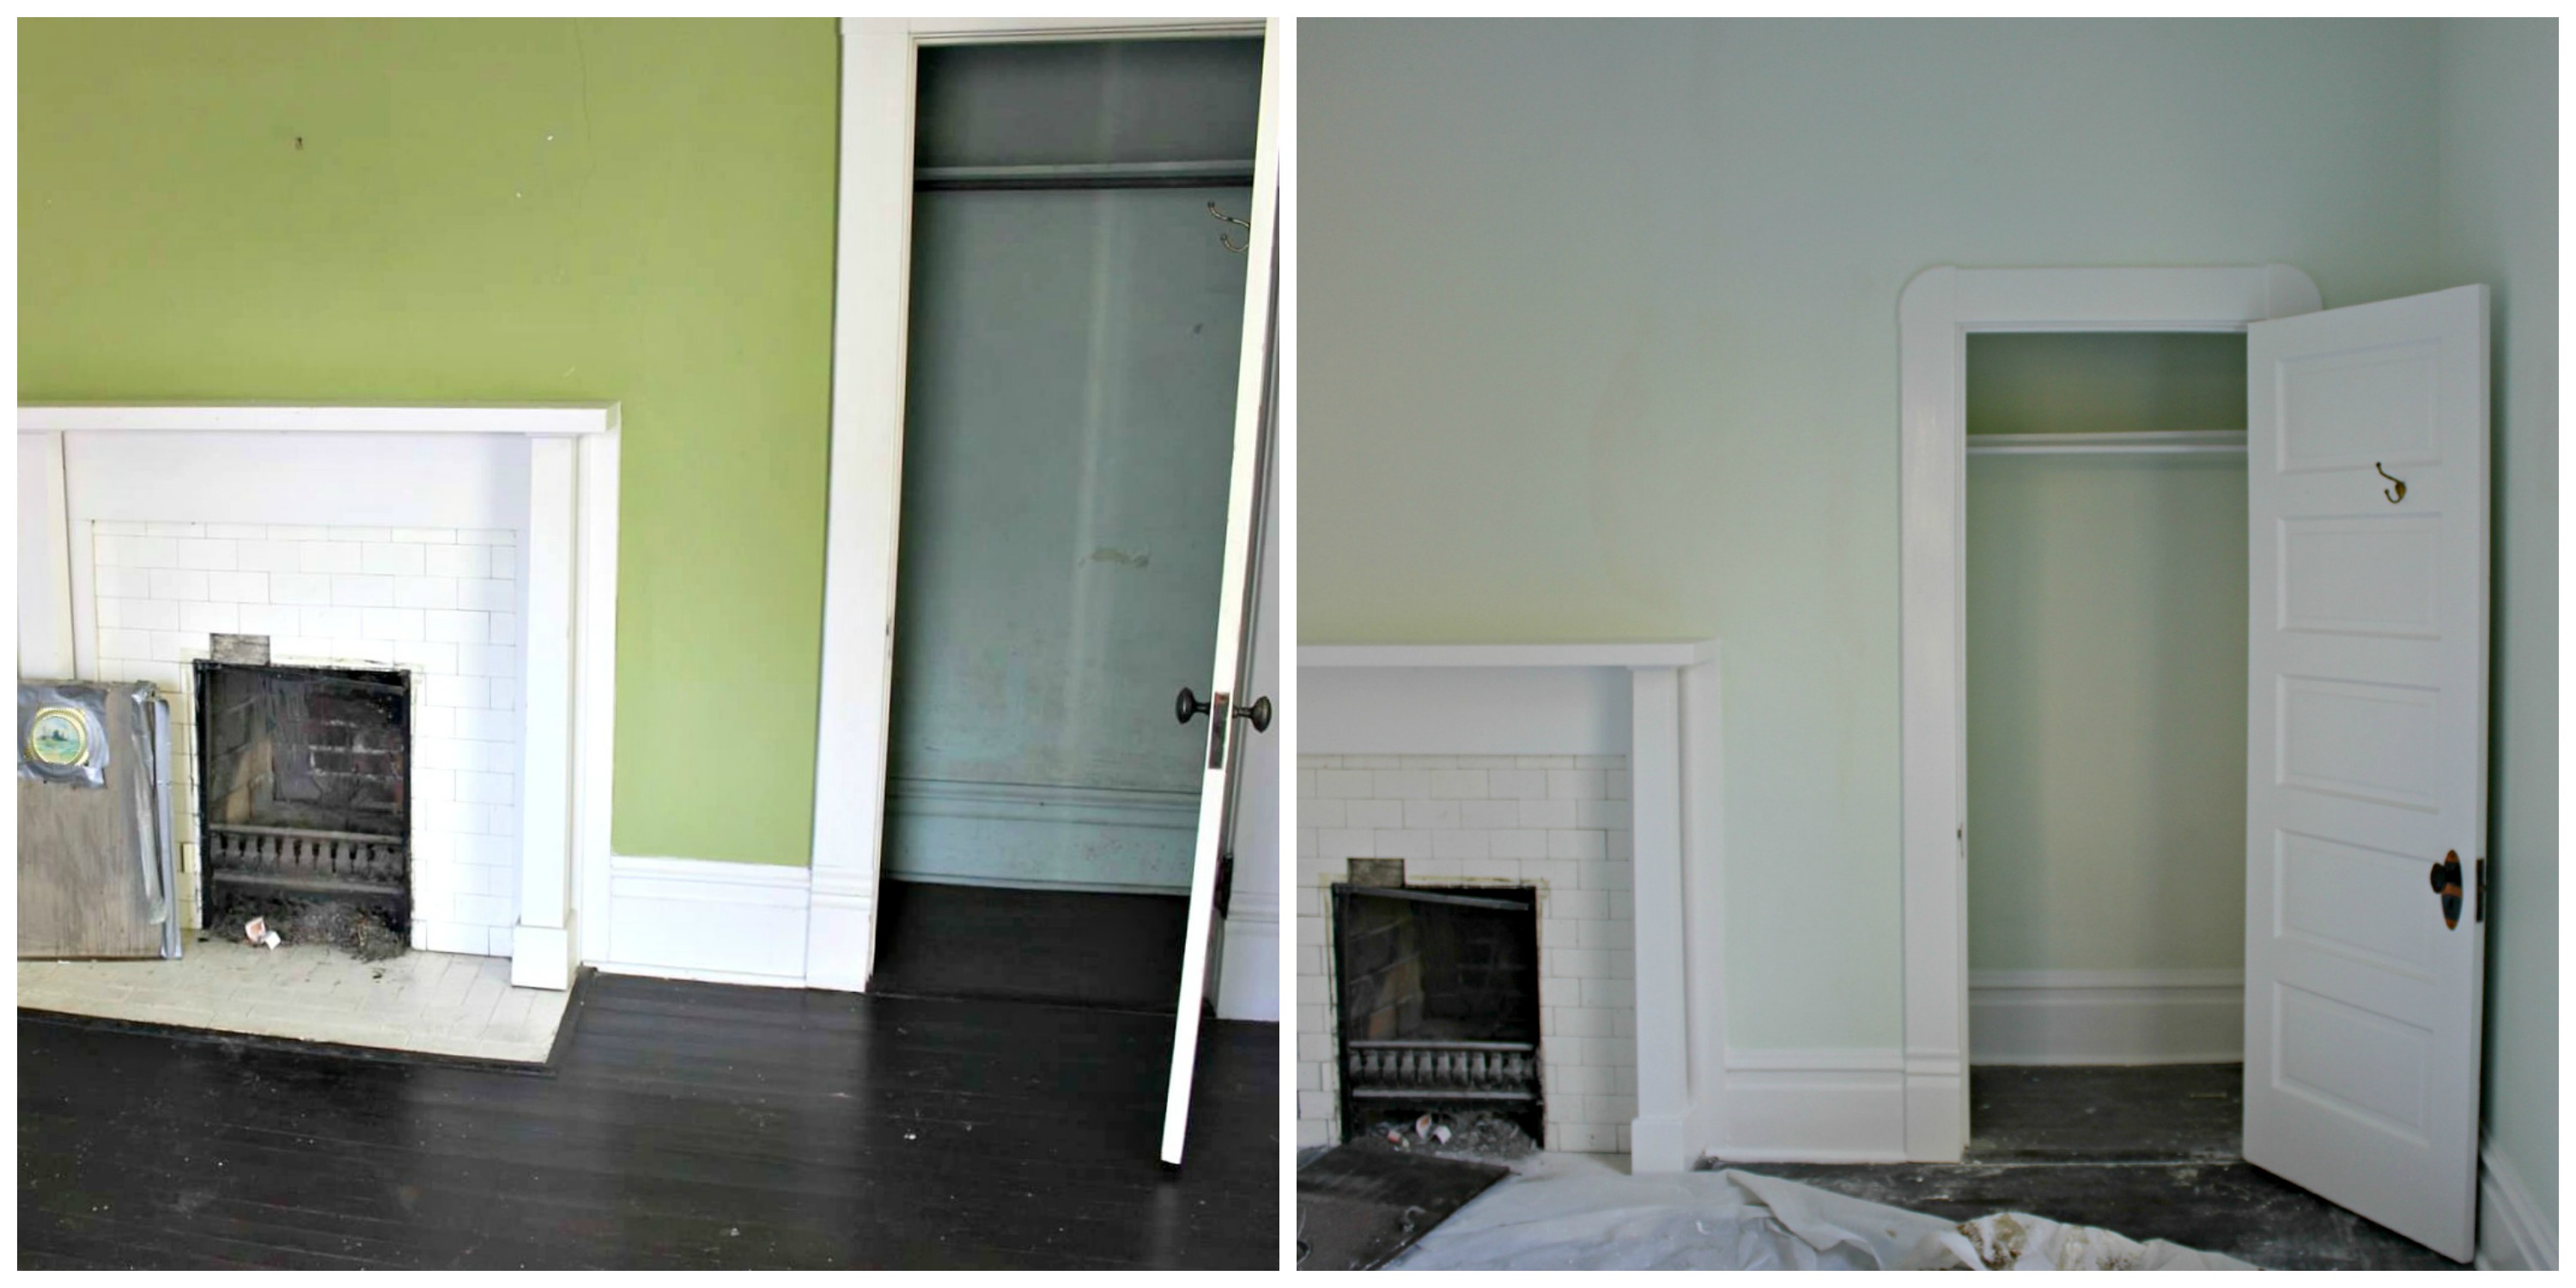
3. Choose your priorities.  Your budget will never go as far as you think (see #1).  In our house, we chose to have a few rooms professionally painted, but only the trim was done in the other rooms.  We painted those rooms ourselves, and saved a lot of money.  We also plan to paint the porches ourselves, and re-tar the roof to the front porch, among other things.  On a project our size, you can’t DIY everything, but you can find ways to cut corners.

4. Compromise is unavoidable.  But if you have to compromise, compromise on aesthetics.  Never compromise on the structural things that make your house safe and functional.  Stabilizing the electrical, fixing the plumbing, installing new air ducts…these things matter a whole lot more in the long run that my beloved pink couch.  I can’t believe I just said that! (Update: This is my favorite little corner of the house right now. It might be the only part of the house that is styled, but it makes me happy!)

image

5.  Invest in the long term.  We chose to install brand new heating and cooling units that are incredibly efficient.  The cost up front was big, but it will save us money long term.  The brick steps and cheek walls are another place that we decided to splurge.  But we think they are totally worth it!  One thing that most people would never know we invested in was our bathroom tile grout.  We chose to go with an epoxy grout instead of the regular grout because it is so much more durable, and virtually stain-proof and water-proof.

6. Take a breath.  Any renovation, whether you’re living in the construction zone or not, will take a toll on your relationship.  That also means, if you’re lucky, that you will come out on the other side stronger than ever.  Just remember to breathe.  You’re in this together.

Right Here Bro

7. Measure twice, cut once.  Ok, my dad taught me this a long time ago, but it’s so true.  Always double check.

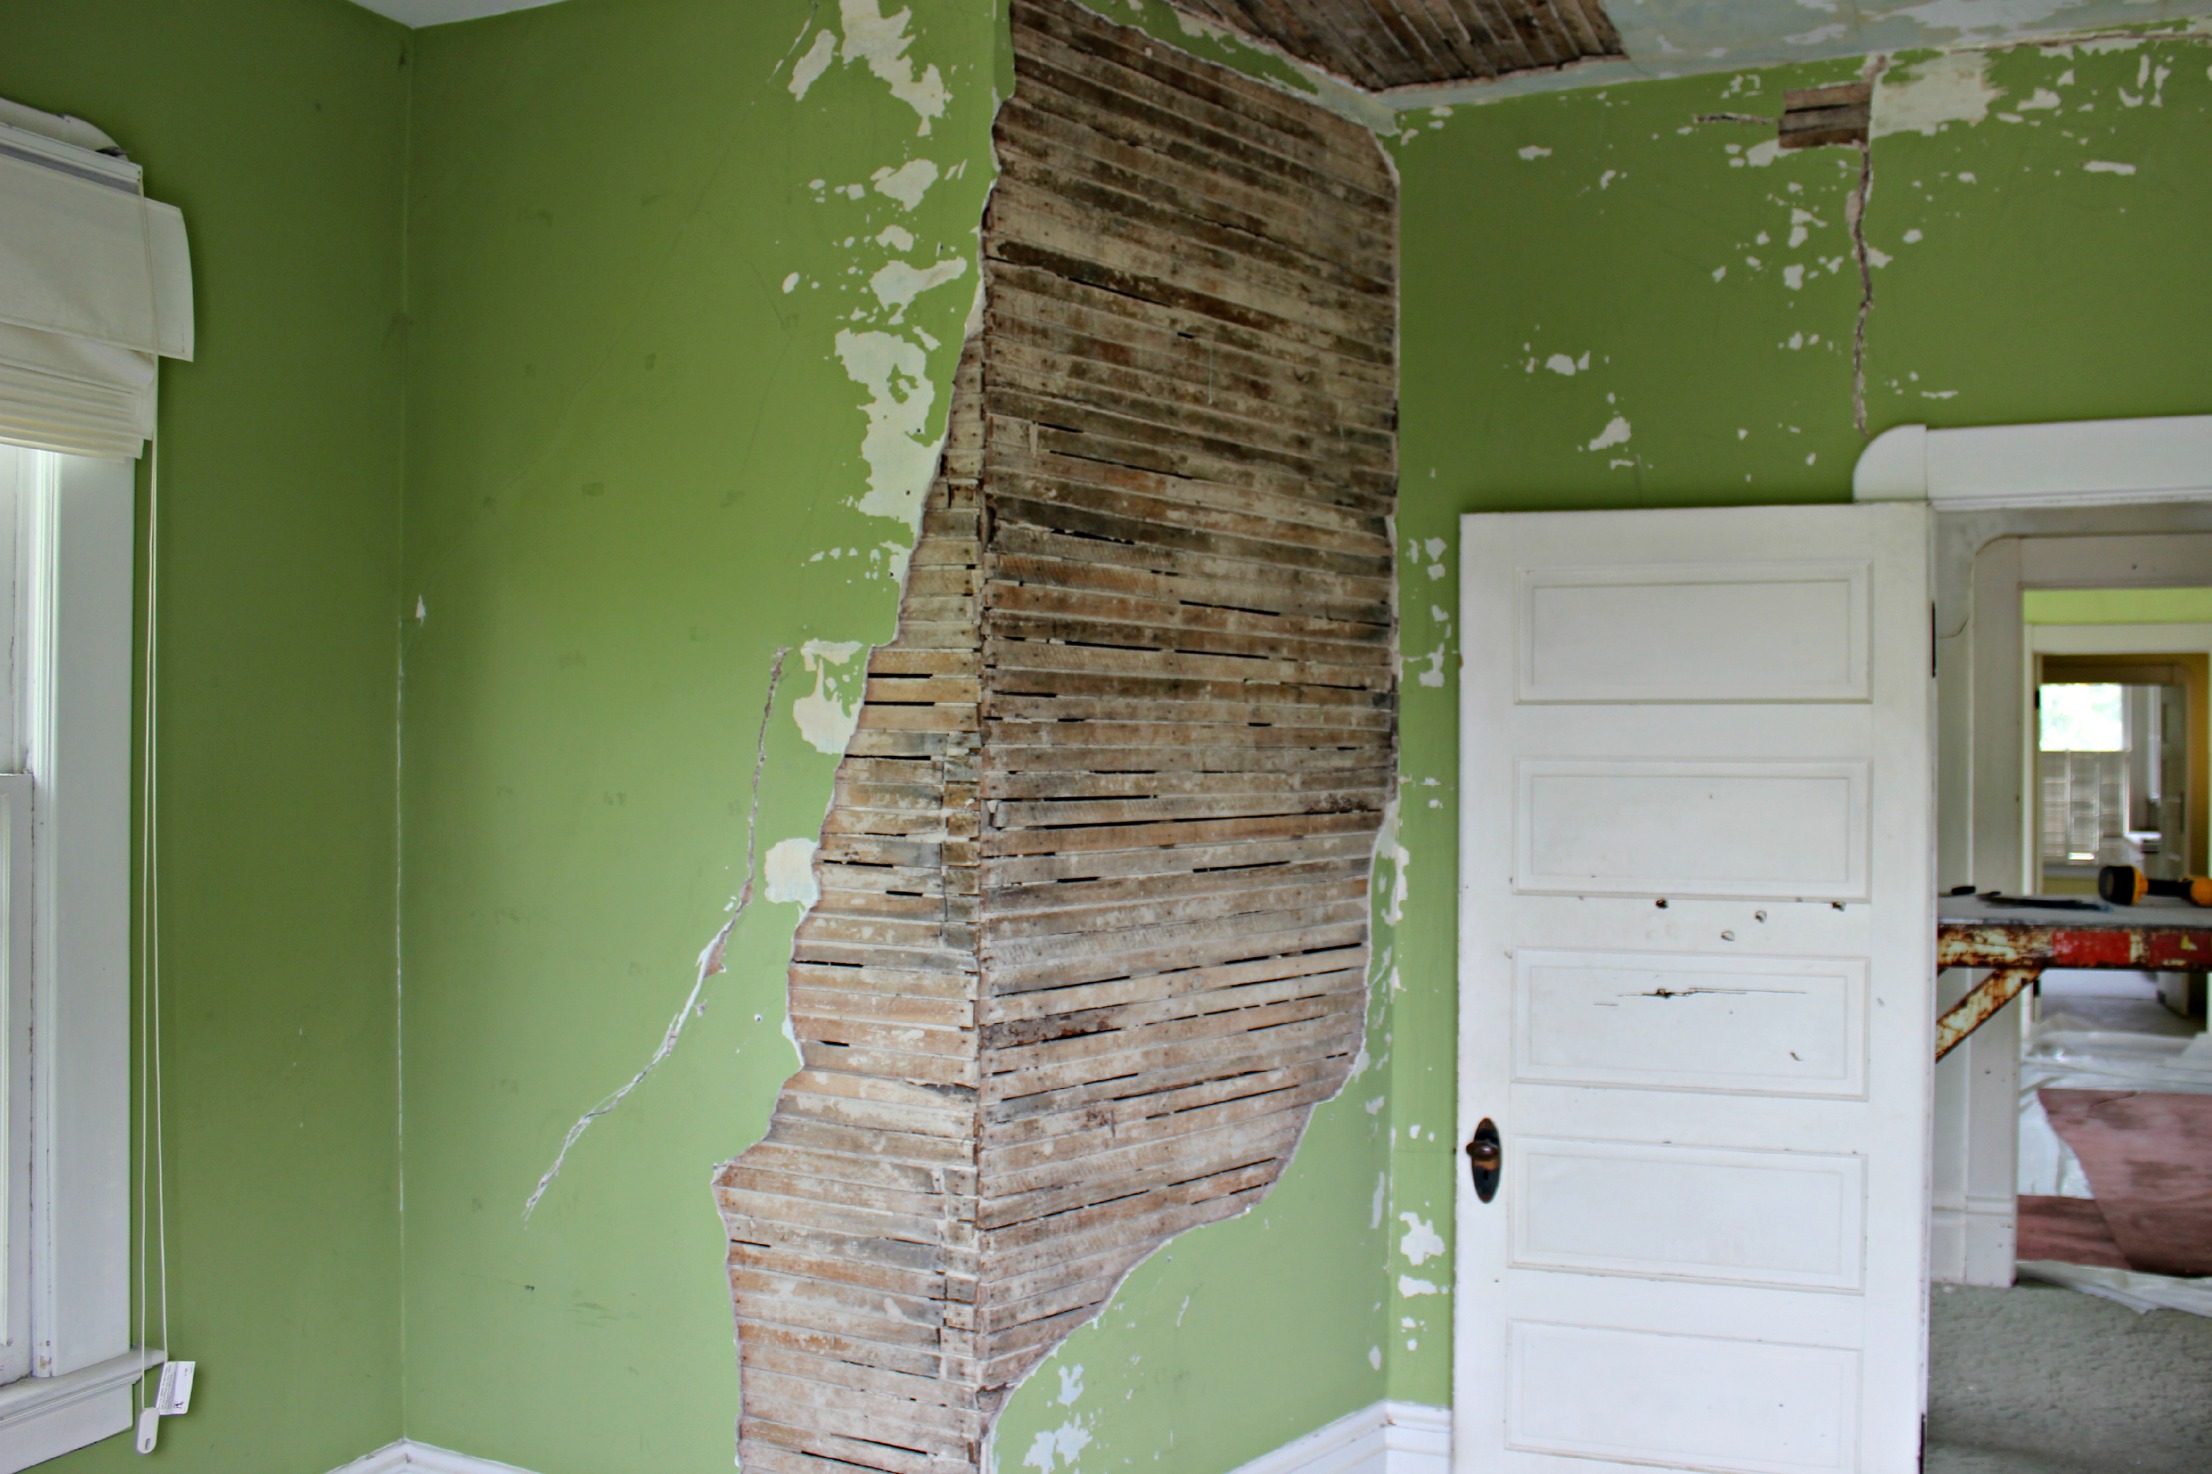
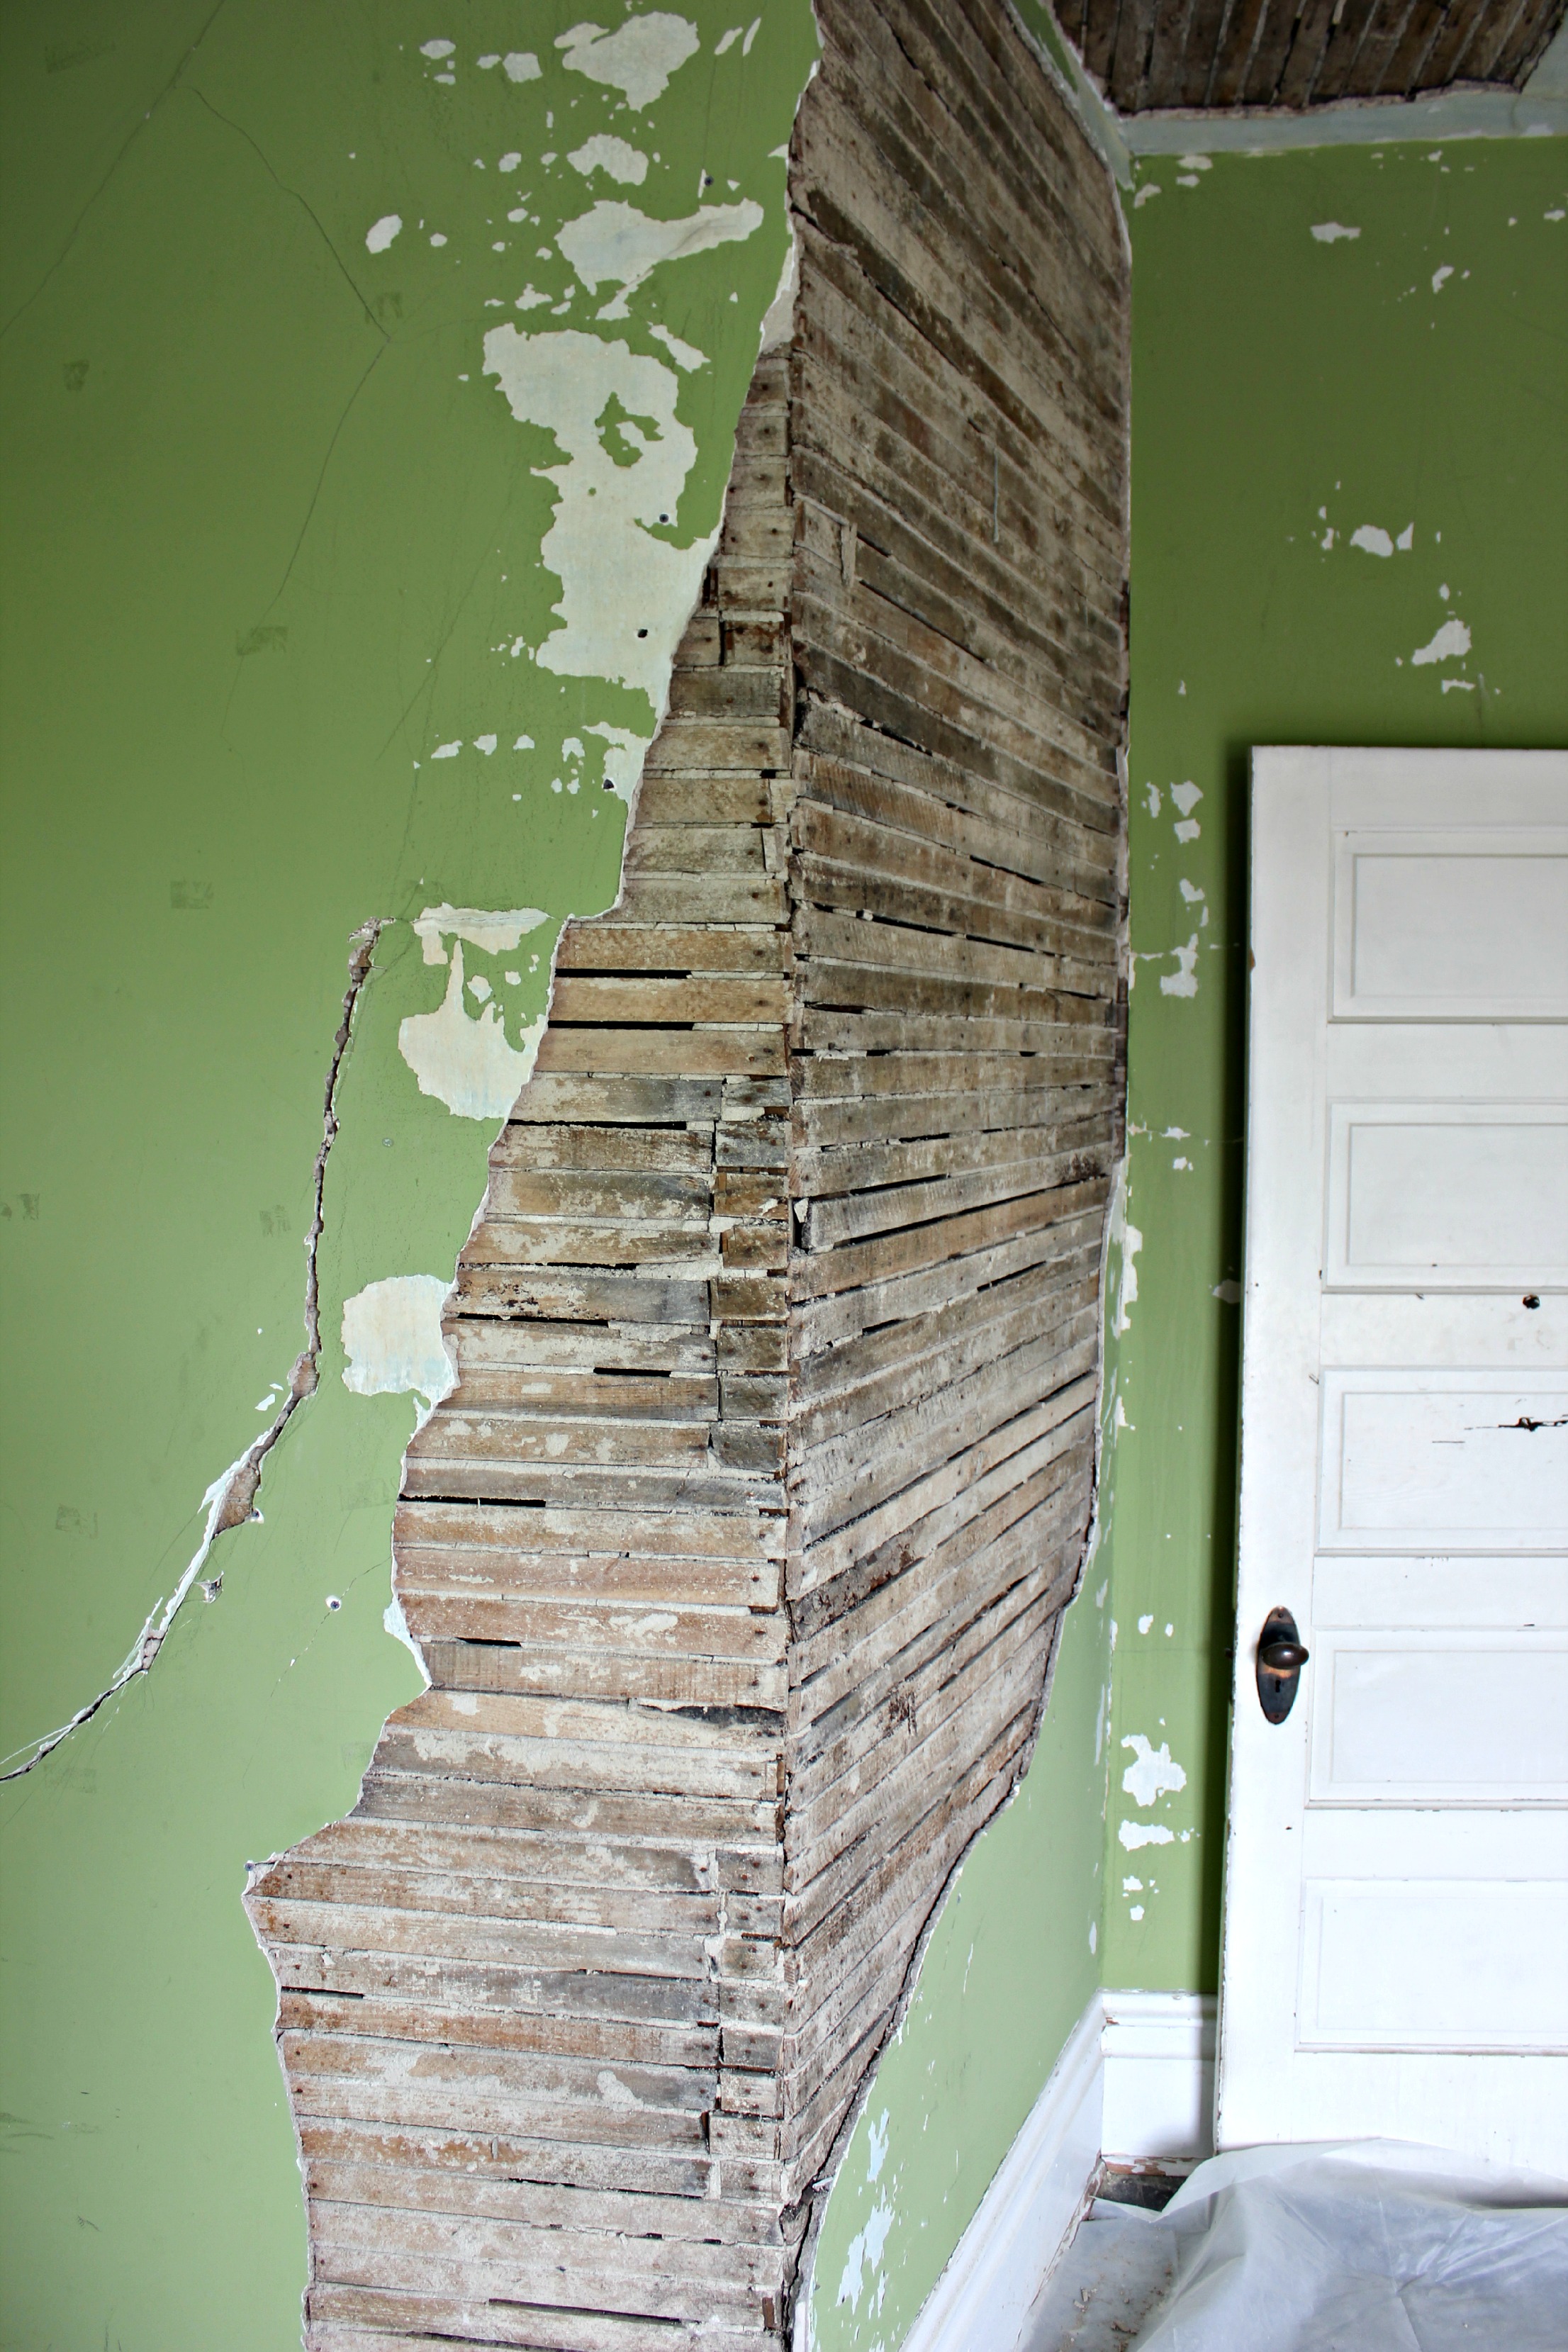
8. Reduce, reuse, recycle.  I can’t tell you how much money we have saved by reusing old wood and bricks.  We’ve also reused old doors and moldings.  These really keep our home streamlined, and saves us a lot of money! (Update: we were able to use a tub in the master bathroom that’s original to the house.)

9. Think ahead.  I’m not saying you have to make your house wheelchair accessible, but you should think ahead to future obstacles.  For us, we decided to leave the downstairs bathroom a full bath so that our parents can stay downstairs comfortably when they get older, or one of us if we have a surgery or injury that prevents us from climbing the stairs.  We decided to add the tub to the upstairs guest bathroom instead of just a shower so that we have a place to “wash our babies” one day (as my mom likes to say).

10. Blog about it! You don’t actually have to start a blog, but be sure to at least keep a journal and take lots of pictures throughout the process.  You’ll be sad you didn’t later on. One day, hopefully many years from now, when I’m frustrated over something about our house, I can look back and see how much time, money, energy, blood, sweat, tears, and love we poured into it and remember the reasons why.

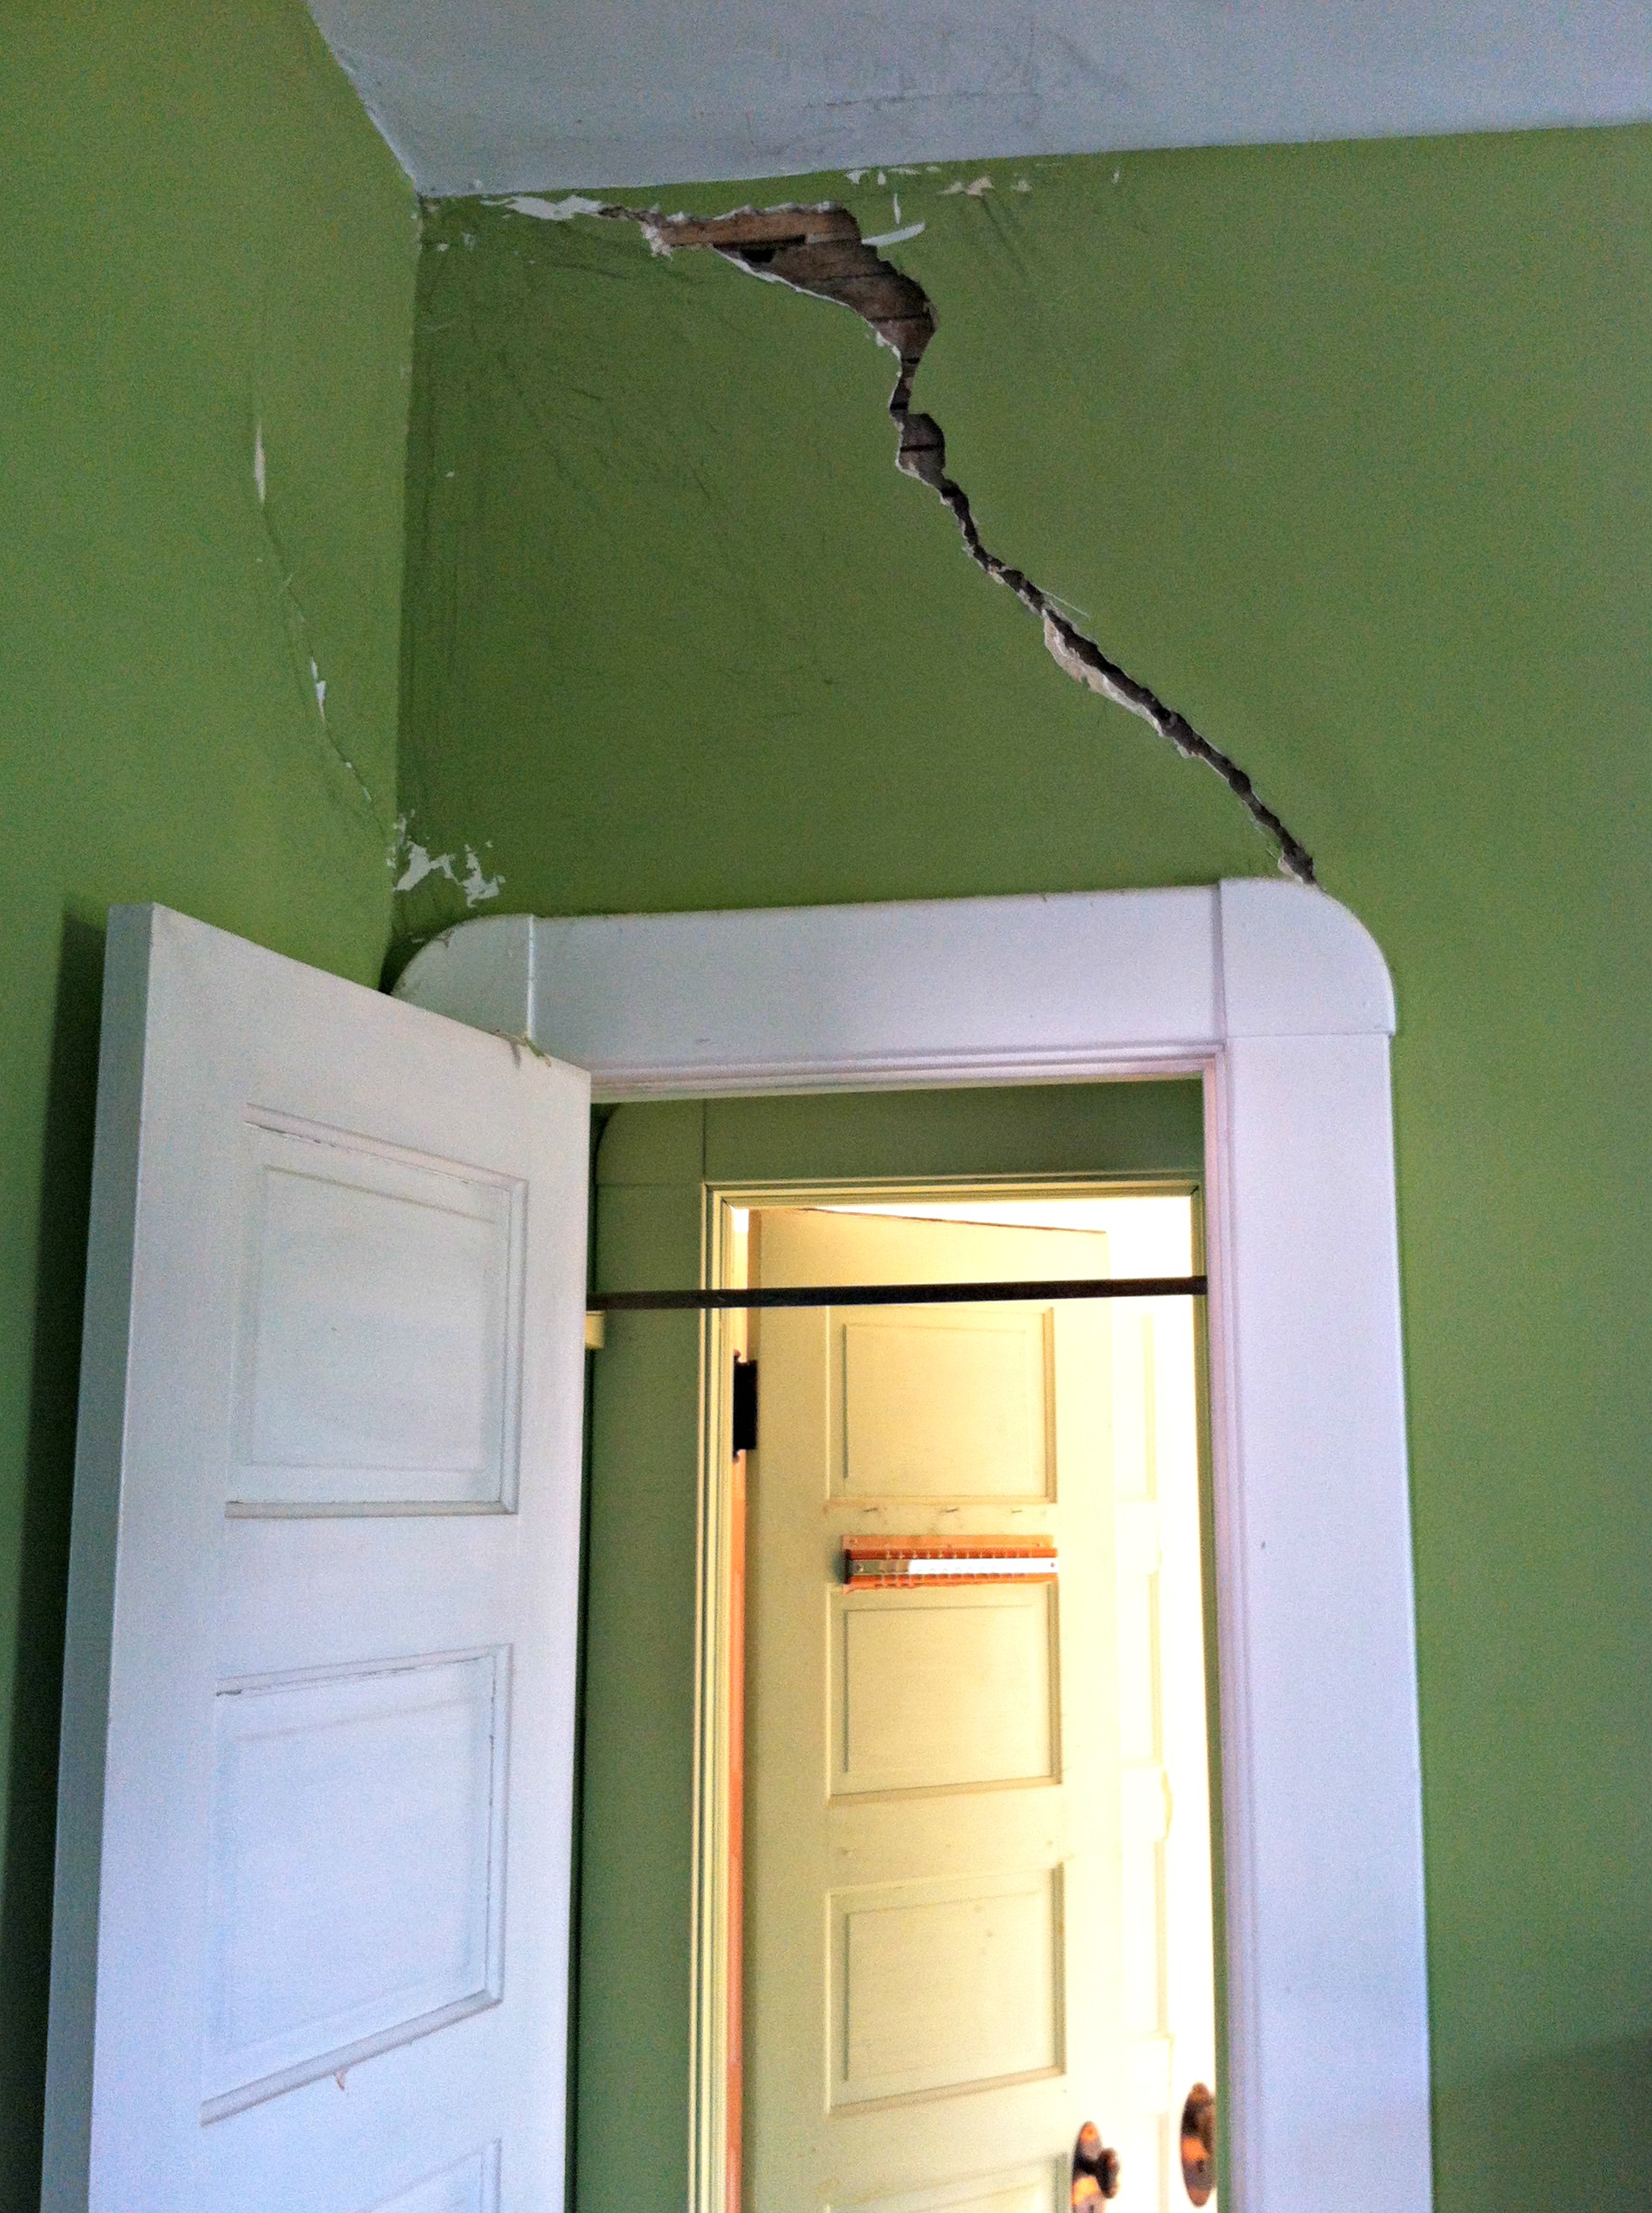
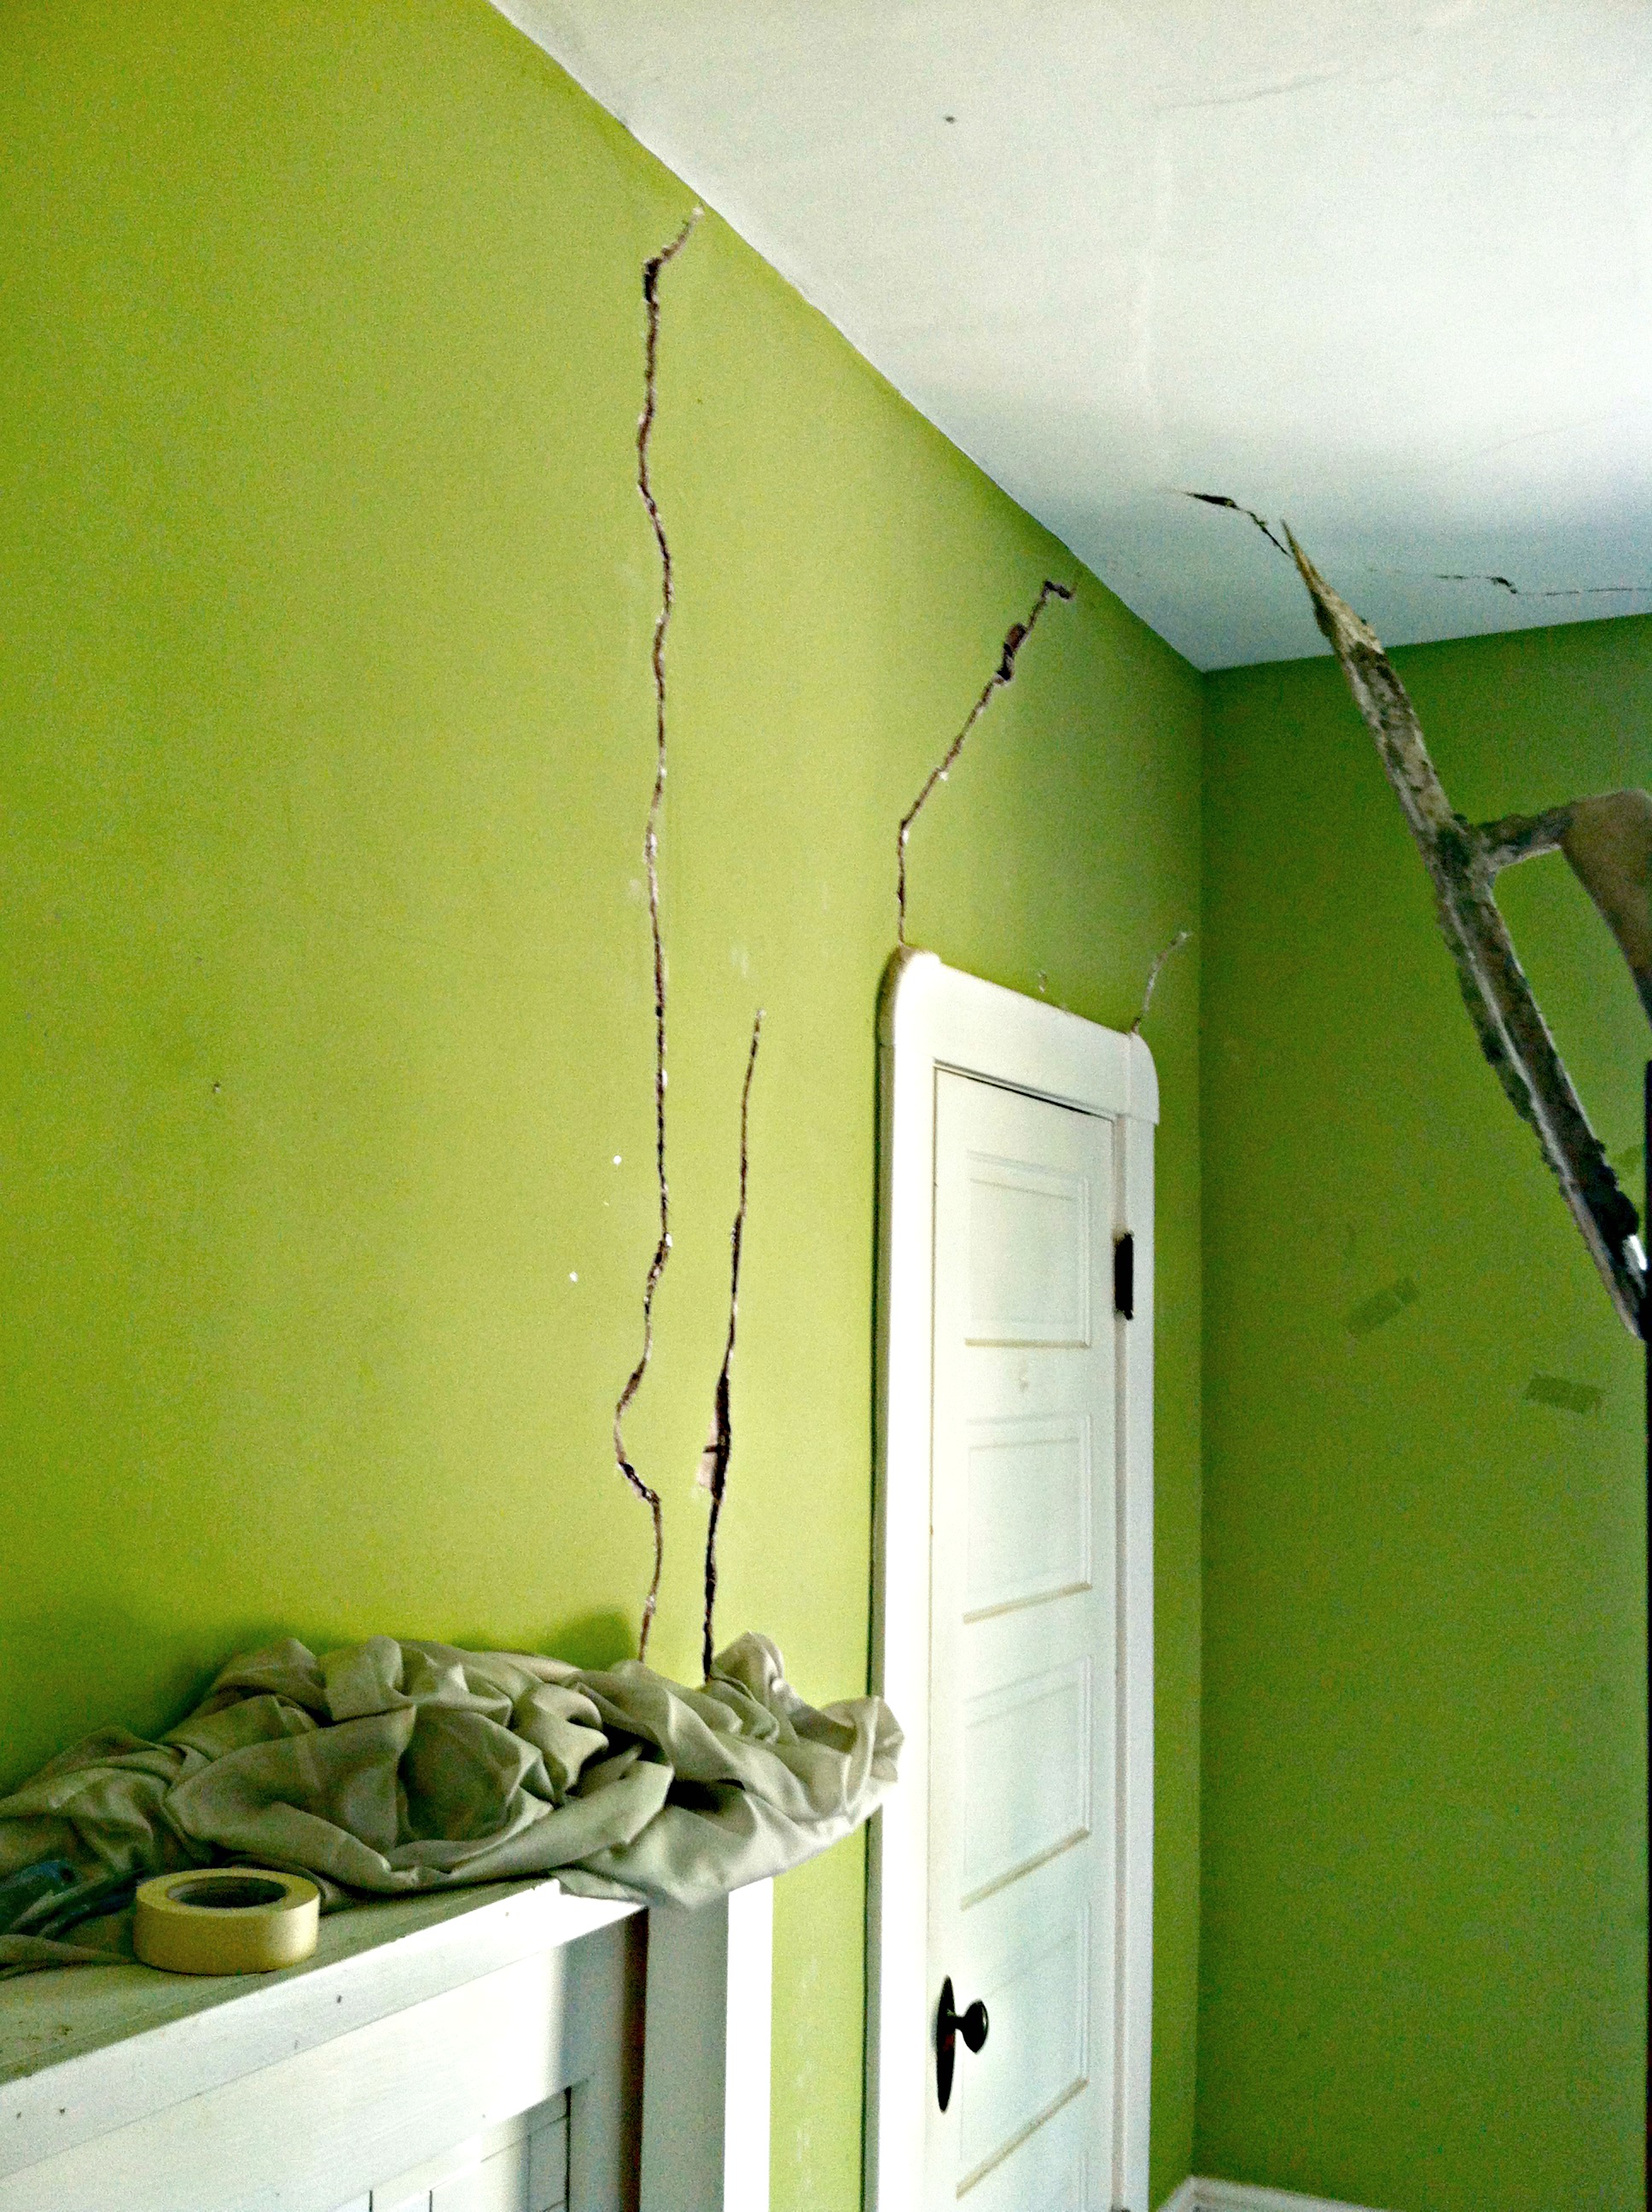
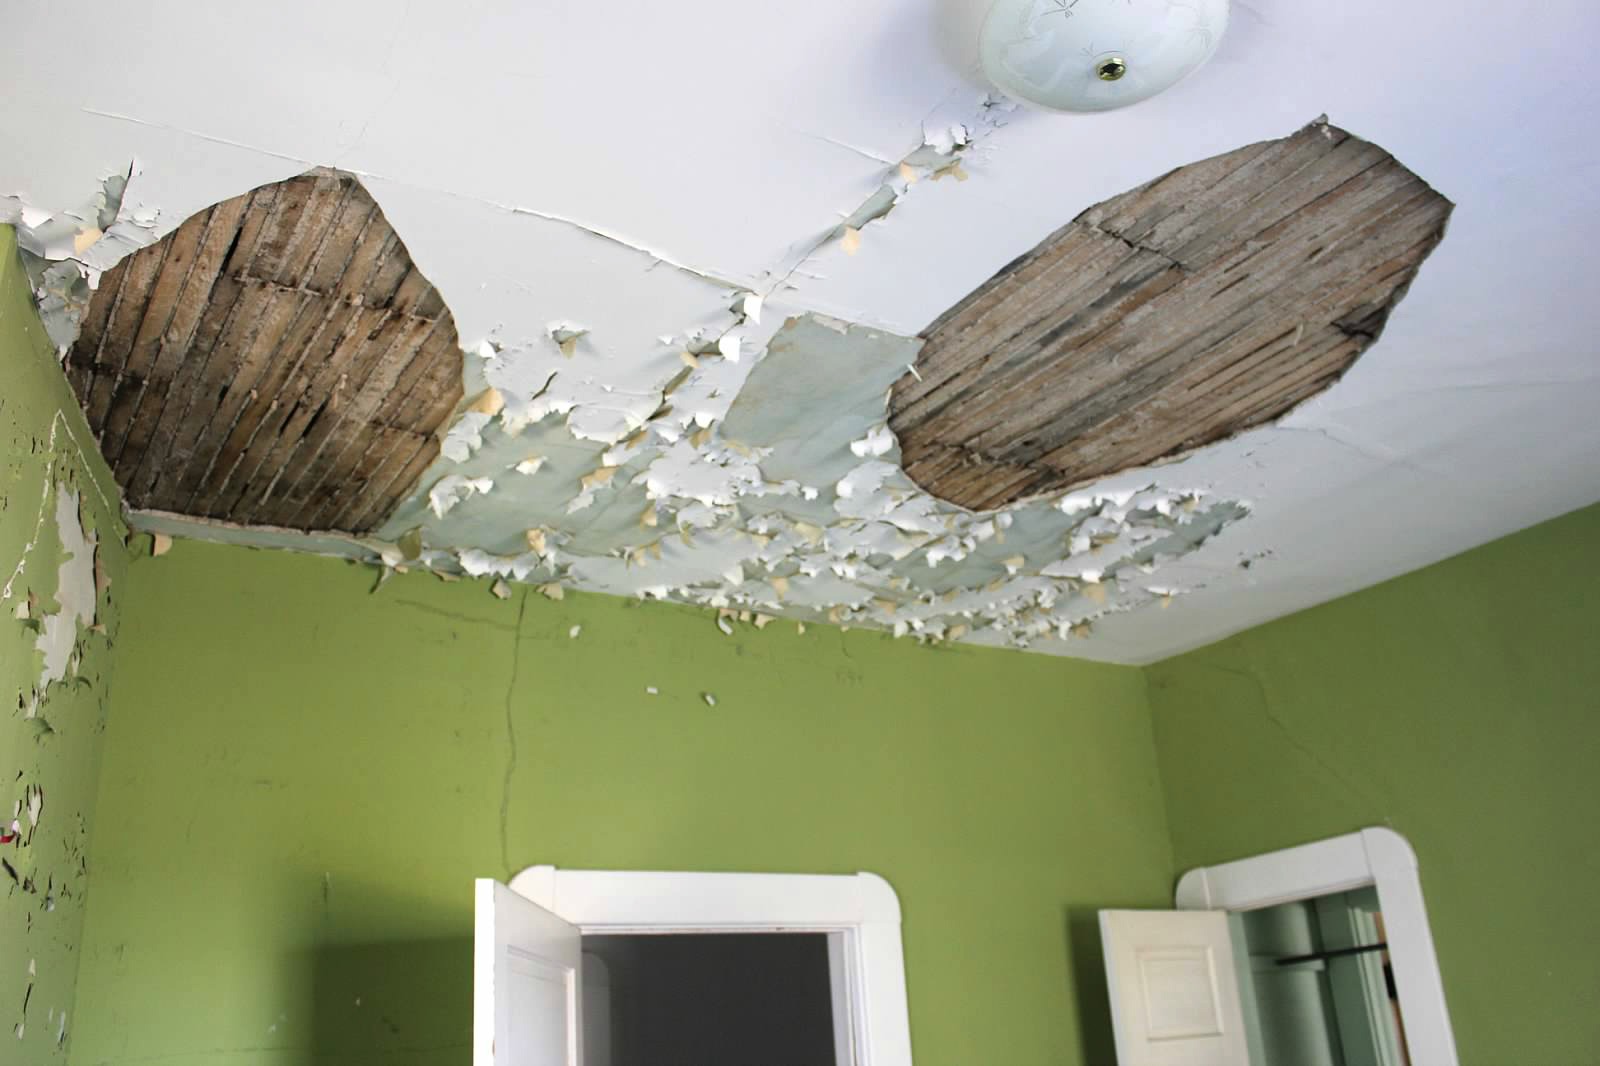
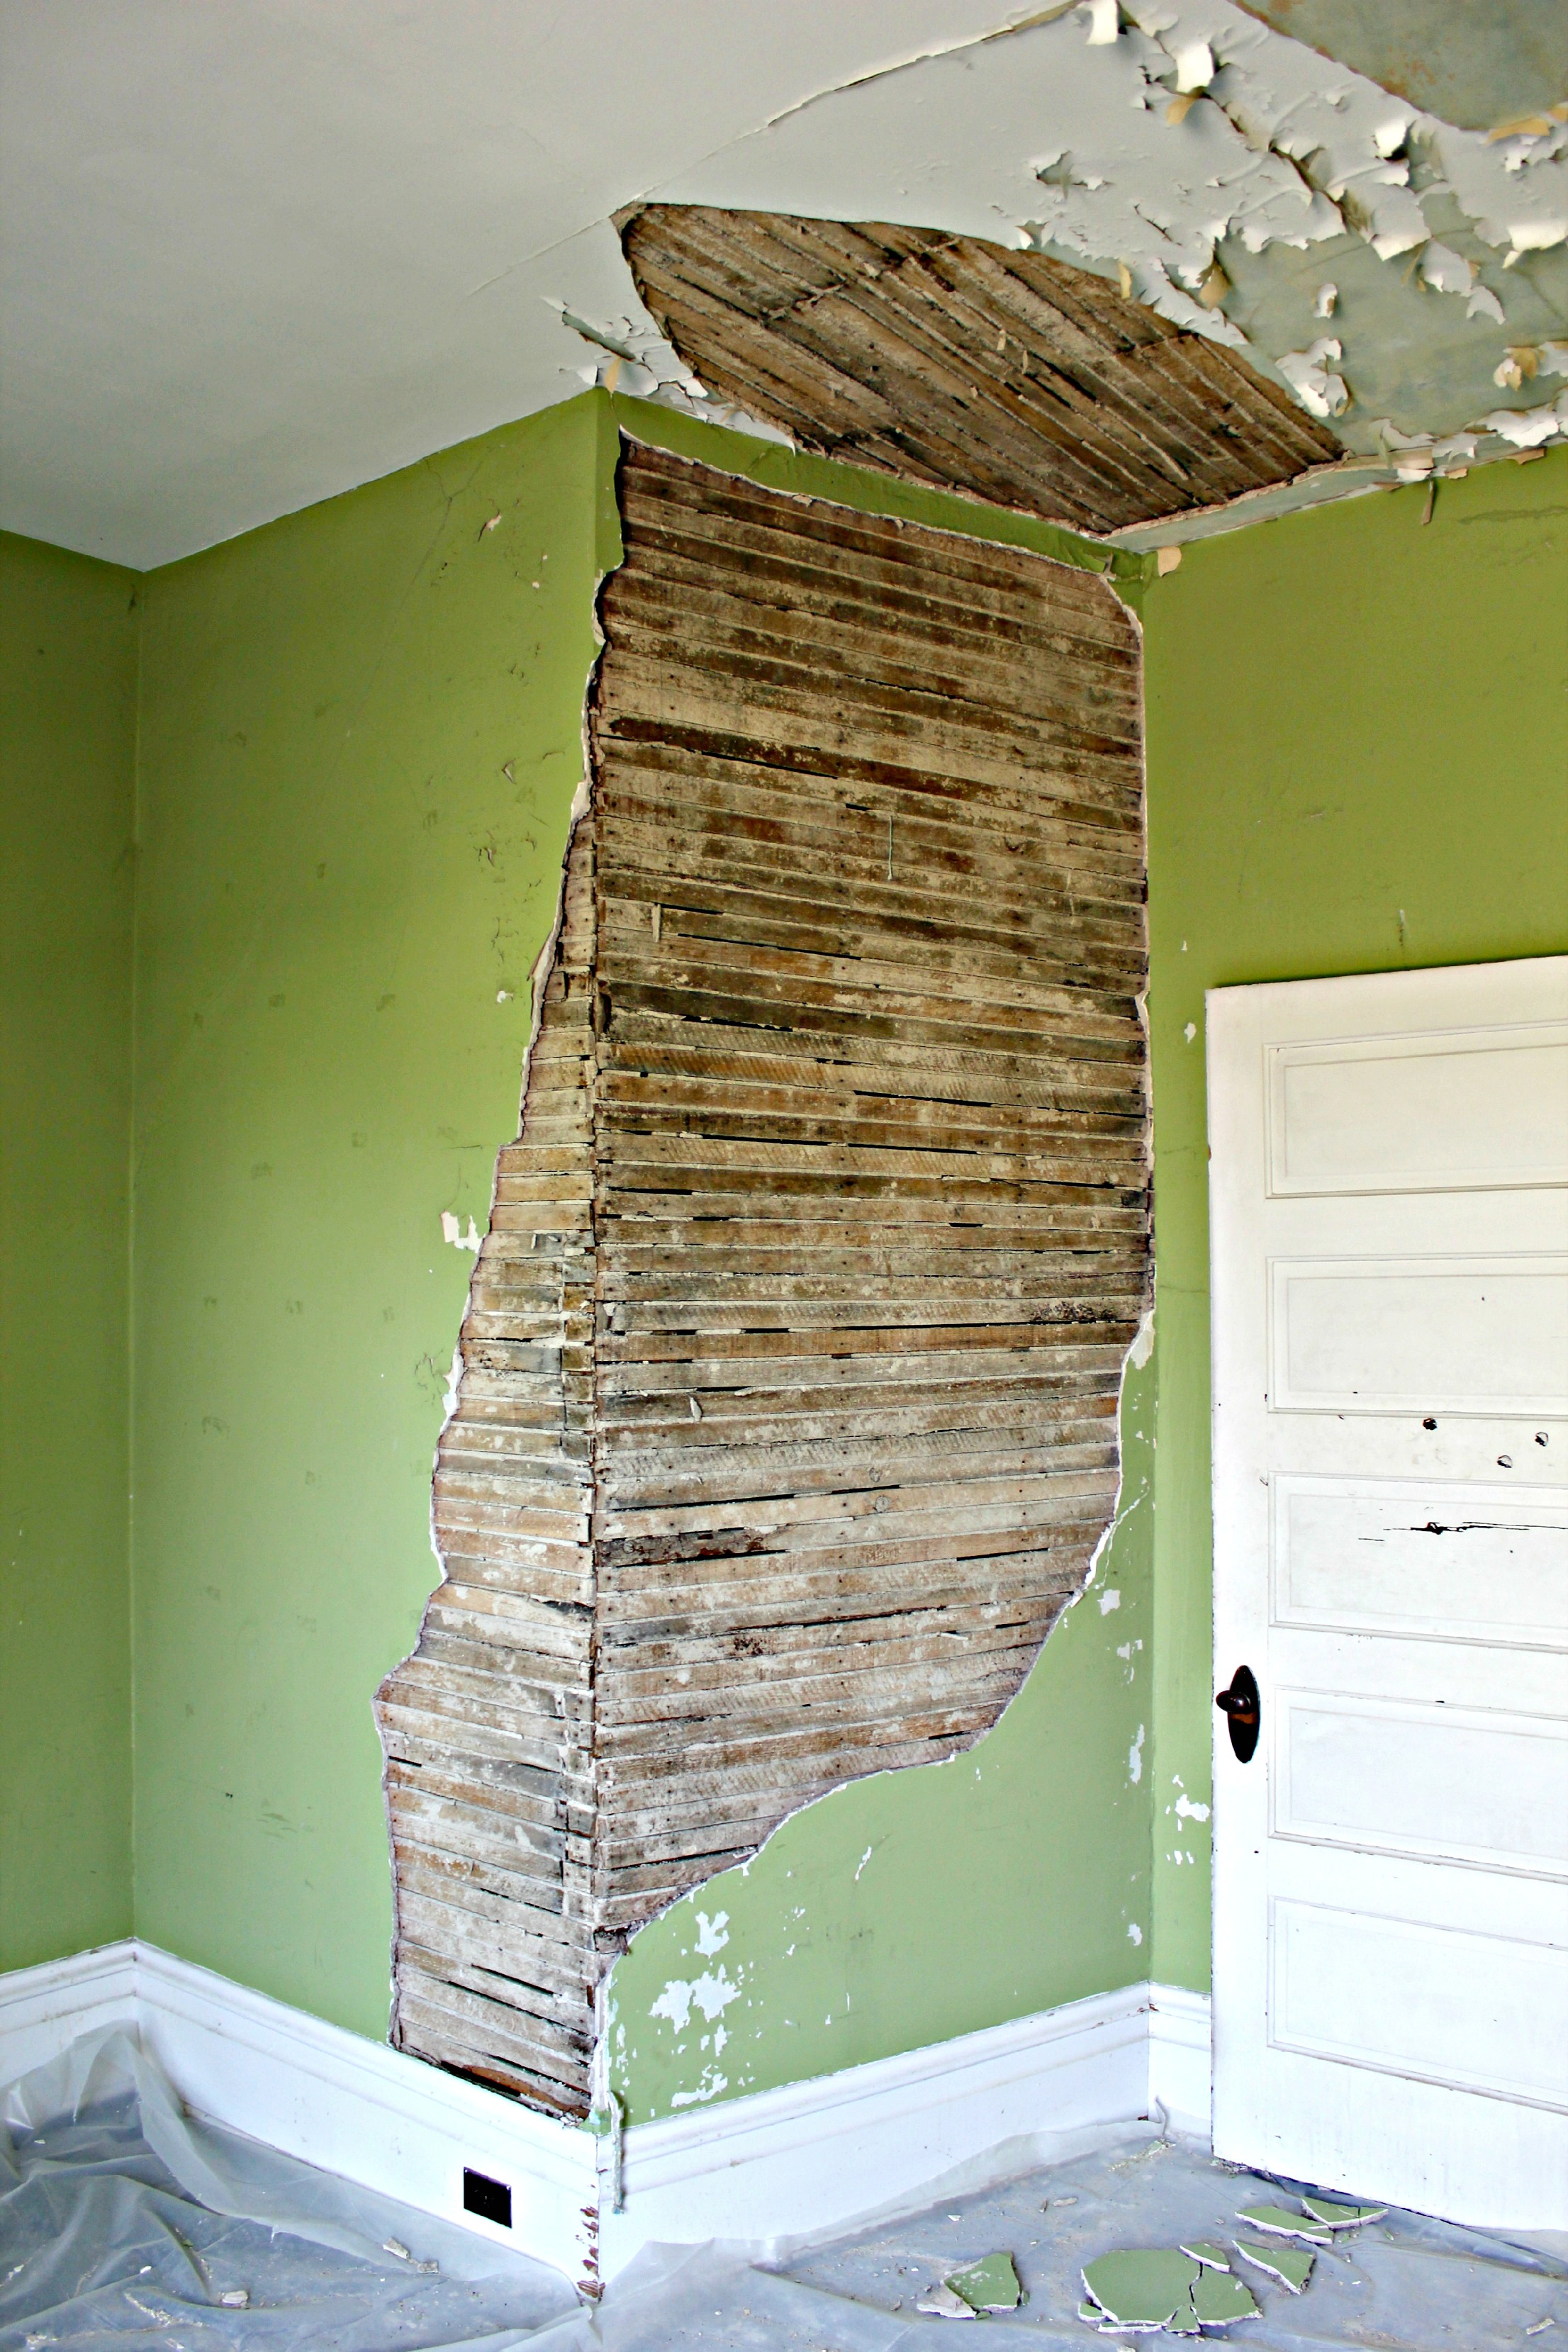
11. Even when you think you’re finished, you’re not.  We’ve been “officially” living in the house for about a month now, and we are still constantly finding things that need to be fixed or changed.  It’s a never-ending process.  I think this is probably worse with an old home, but it’s probably true to some degree no matter the age.

12. Throw your plans and your time table out the window.  I had hoped to have an open house/housewarming party in March, then April, then May.  Now I’m shooting for the fall! The planner in me has had to learn to just let that go. It will be fun when it happens!

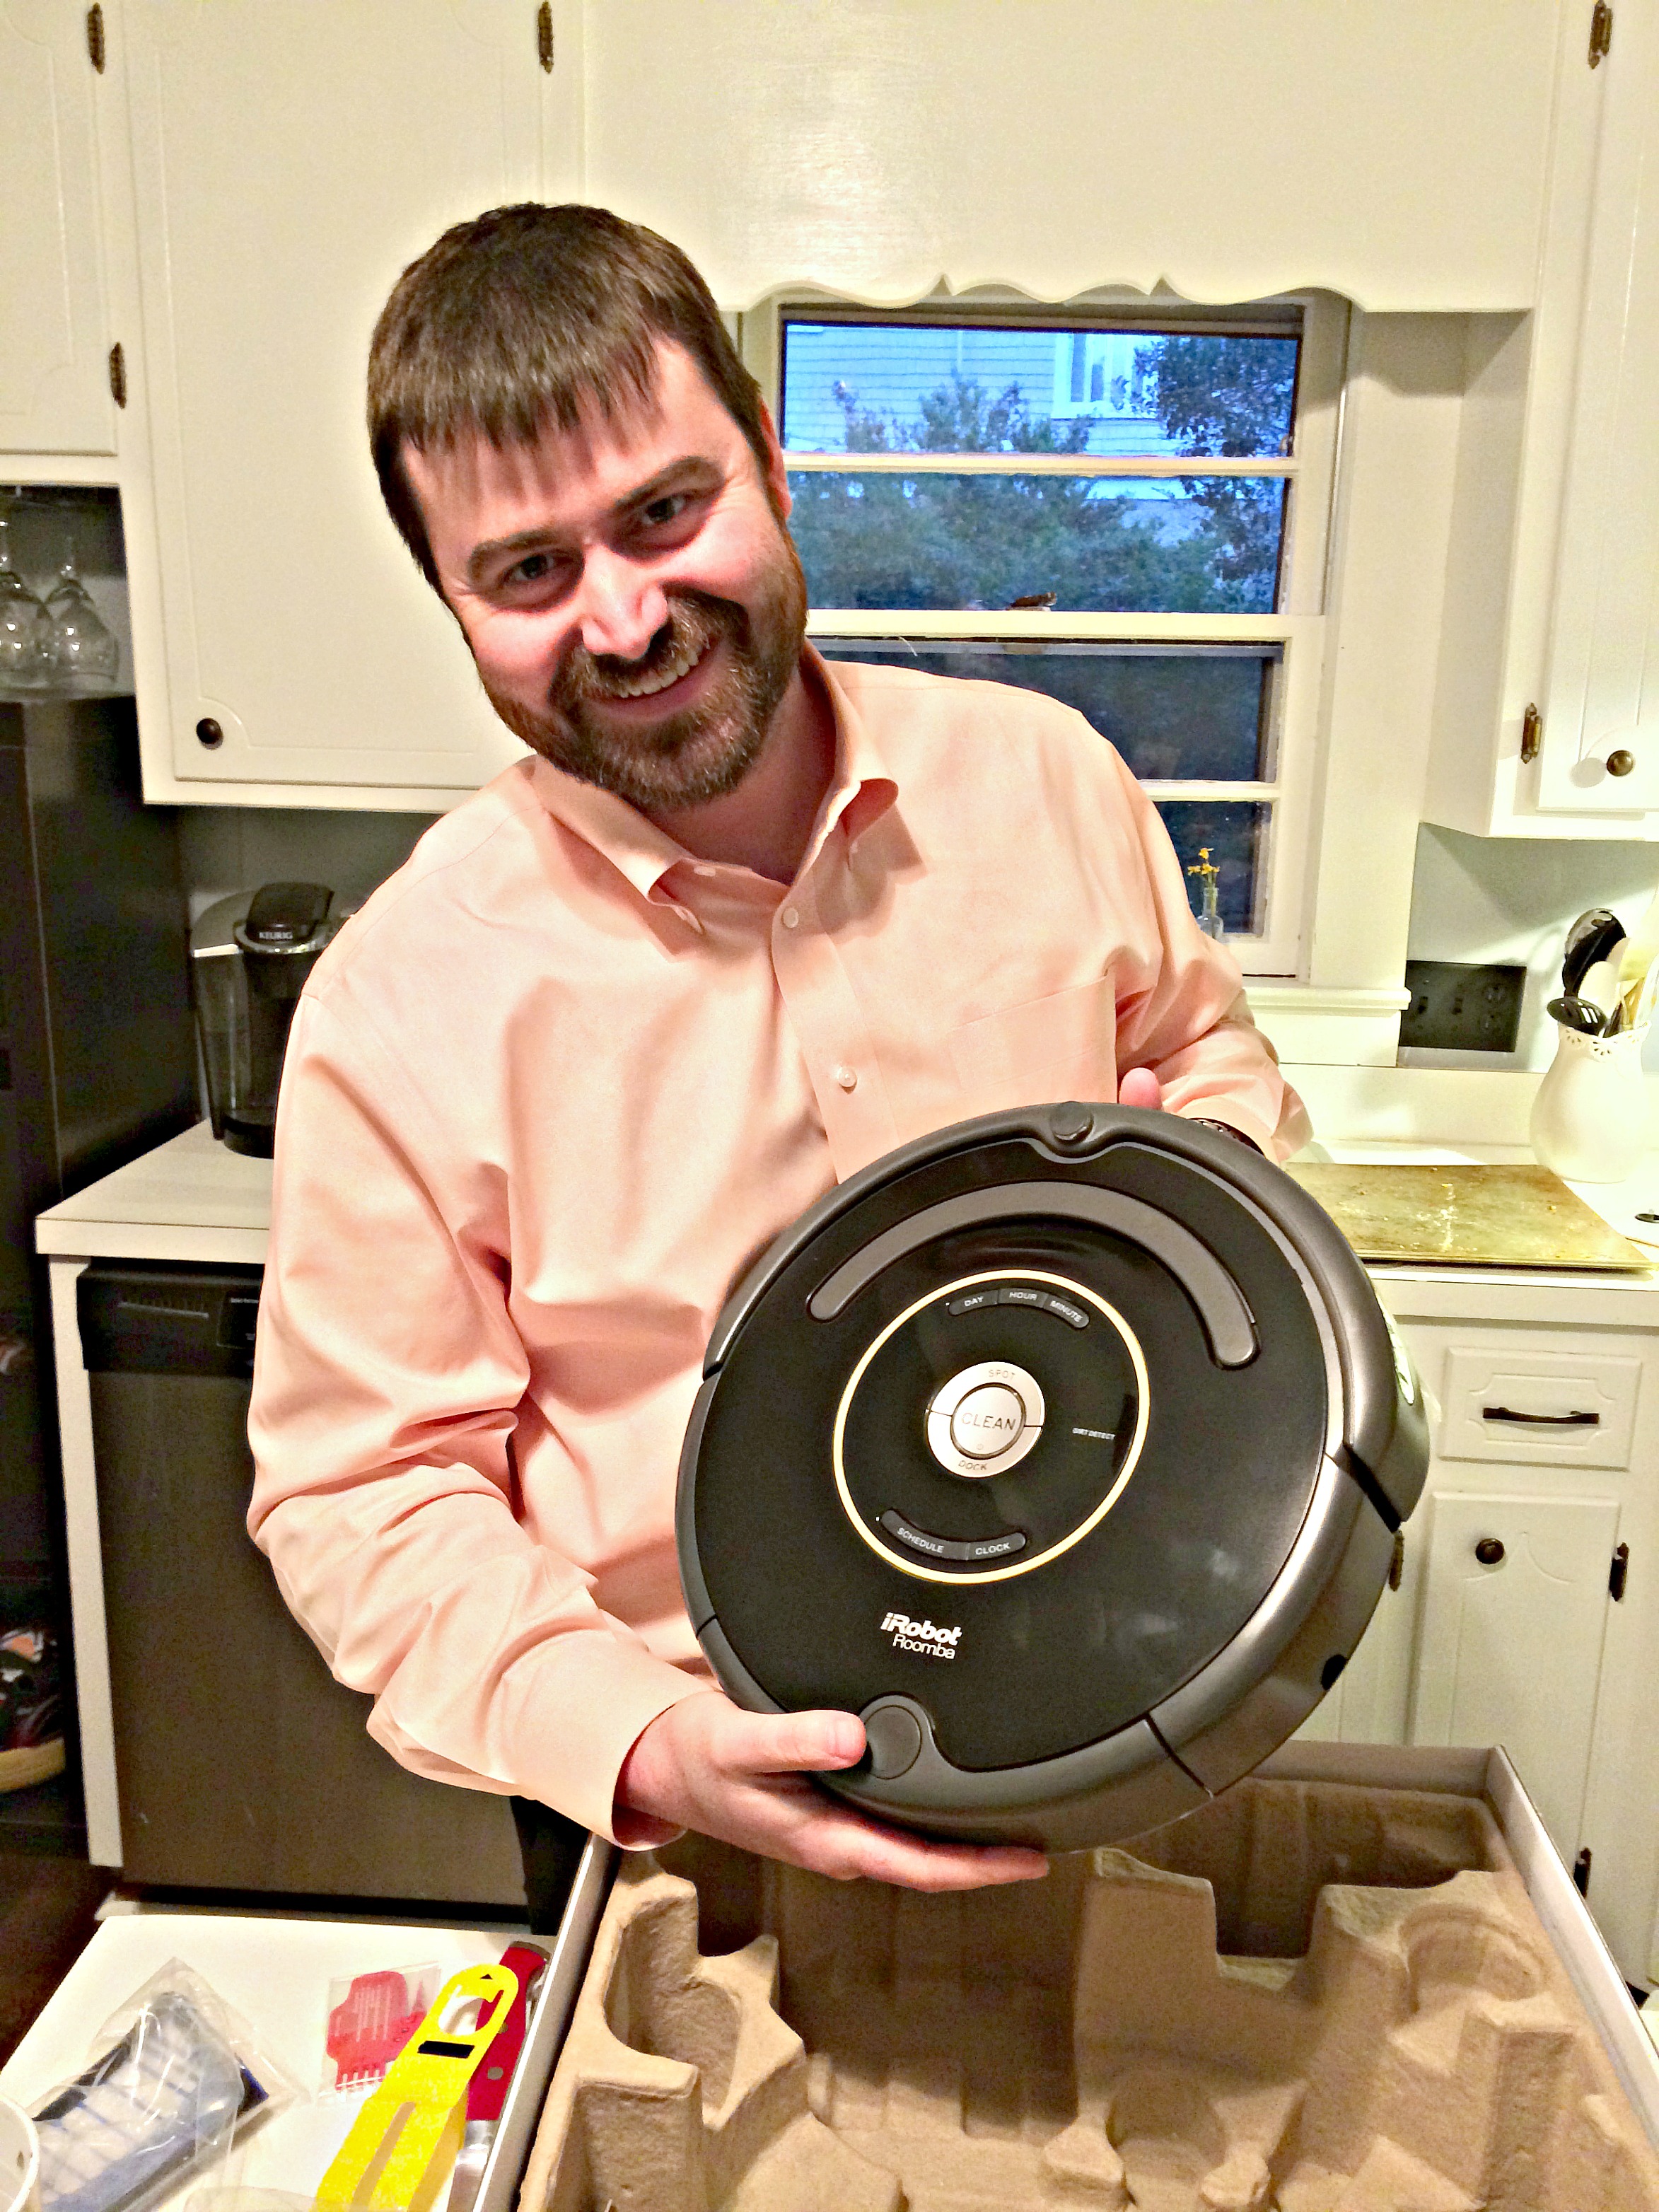
And one to grow on….get a ROOMBA!!

image1

Charles turns the big 3-0 in a couple weeks and he wanted the most romantic gift from his loving wife: a Roomba! So it came early and he is completely in love. I often catch him just standing in the corner watching it work.  He’s even named it (Rowdy the Roomba) and calls himself a “Roomba parent.” It’s pretty sweet.  And I have to admit…that thing is freaking awesome! I would totally recommend it!!

Now it’s your turn: What advice do you have for people buying, building, or renovating a house?!