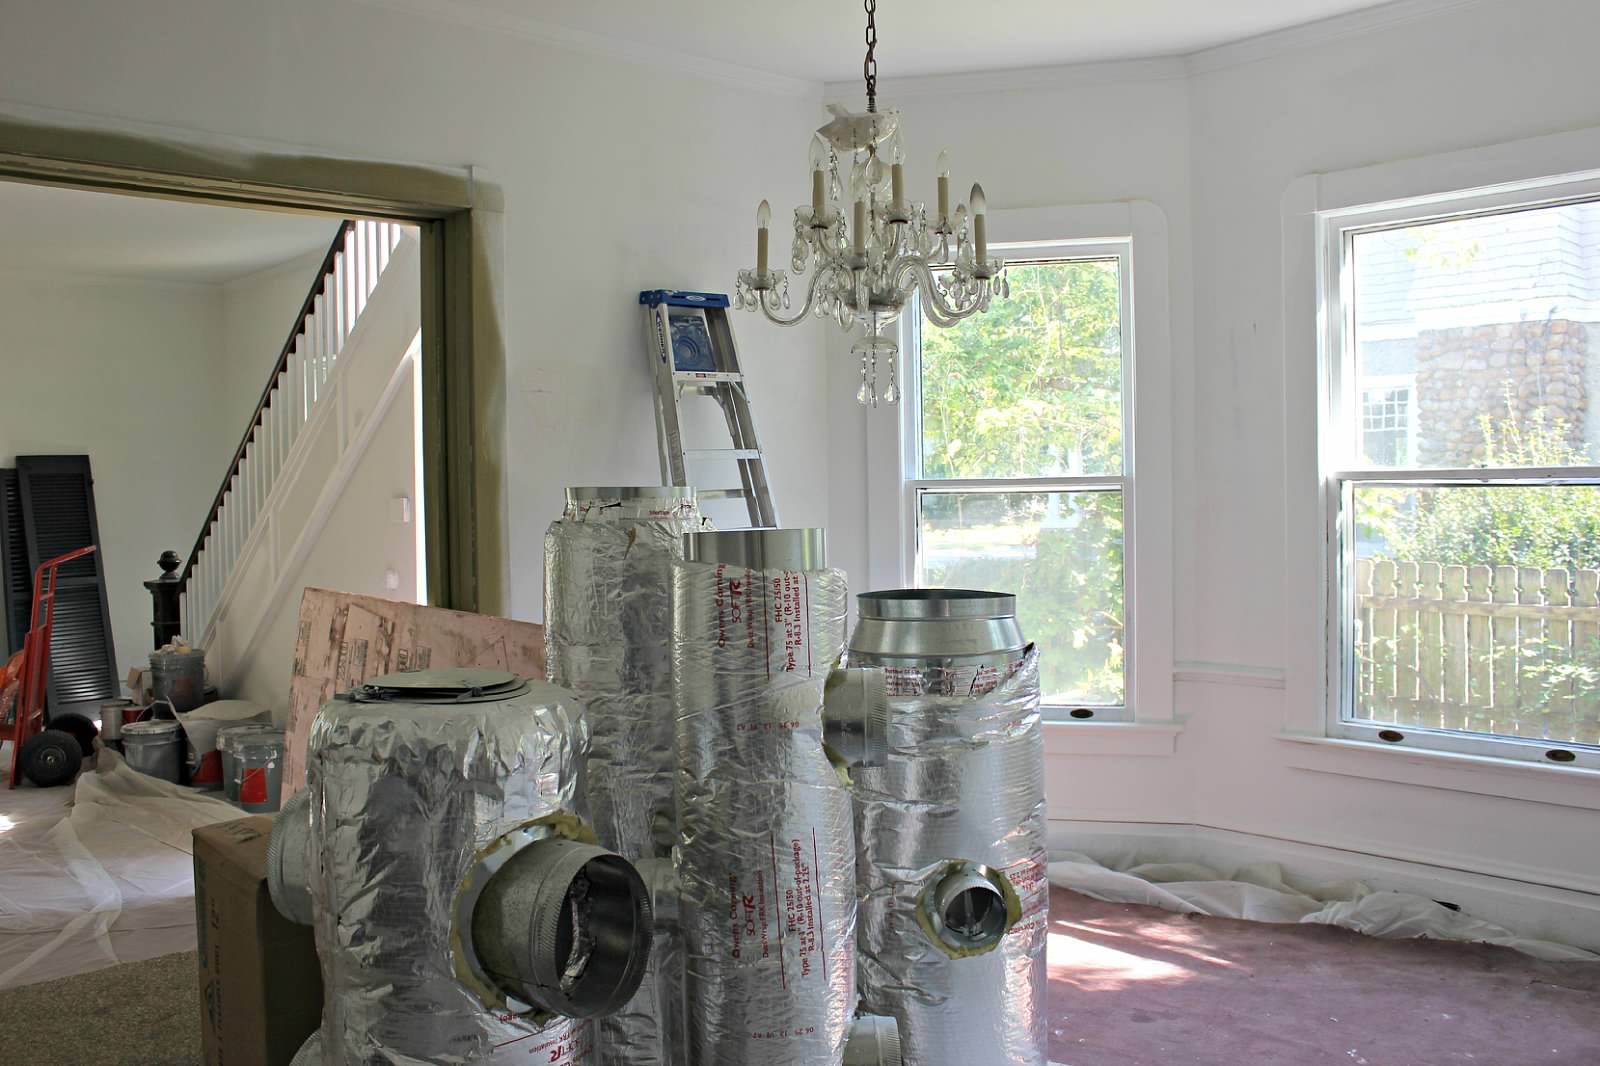
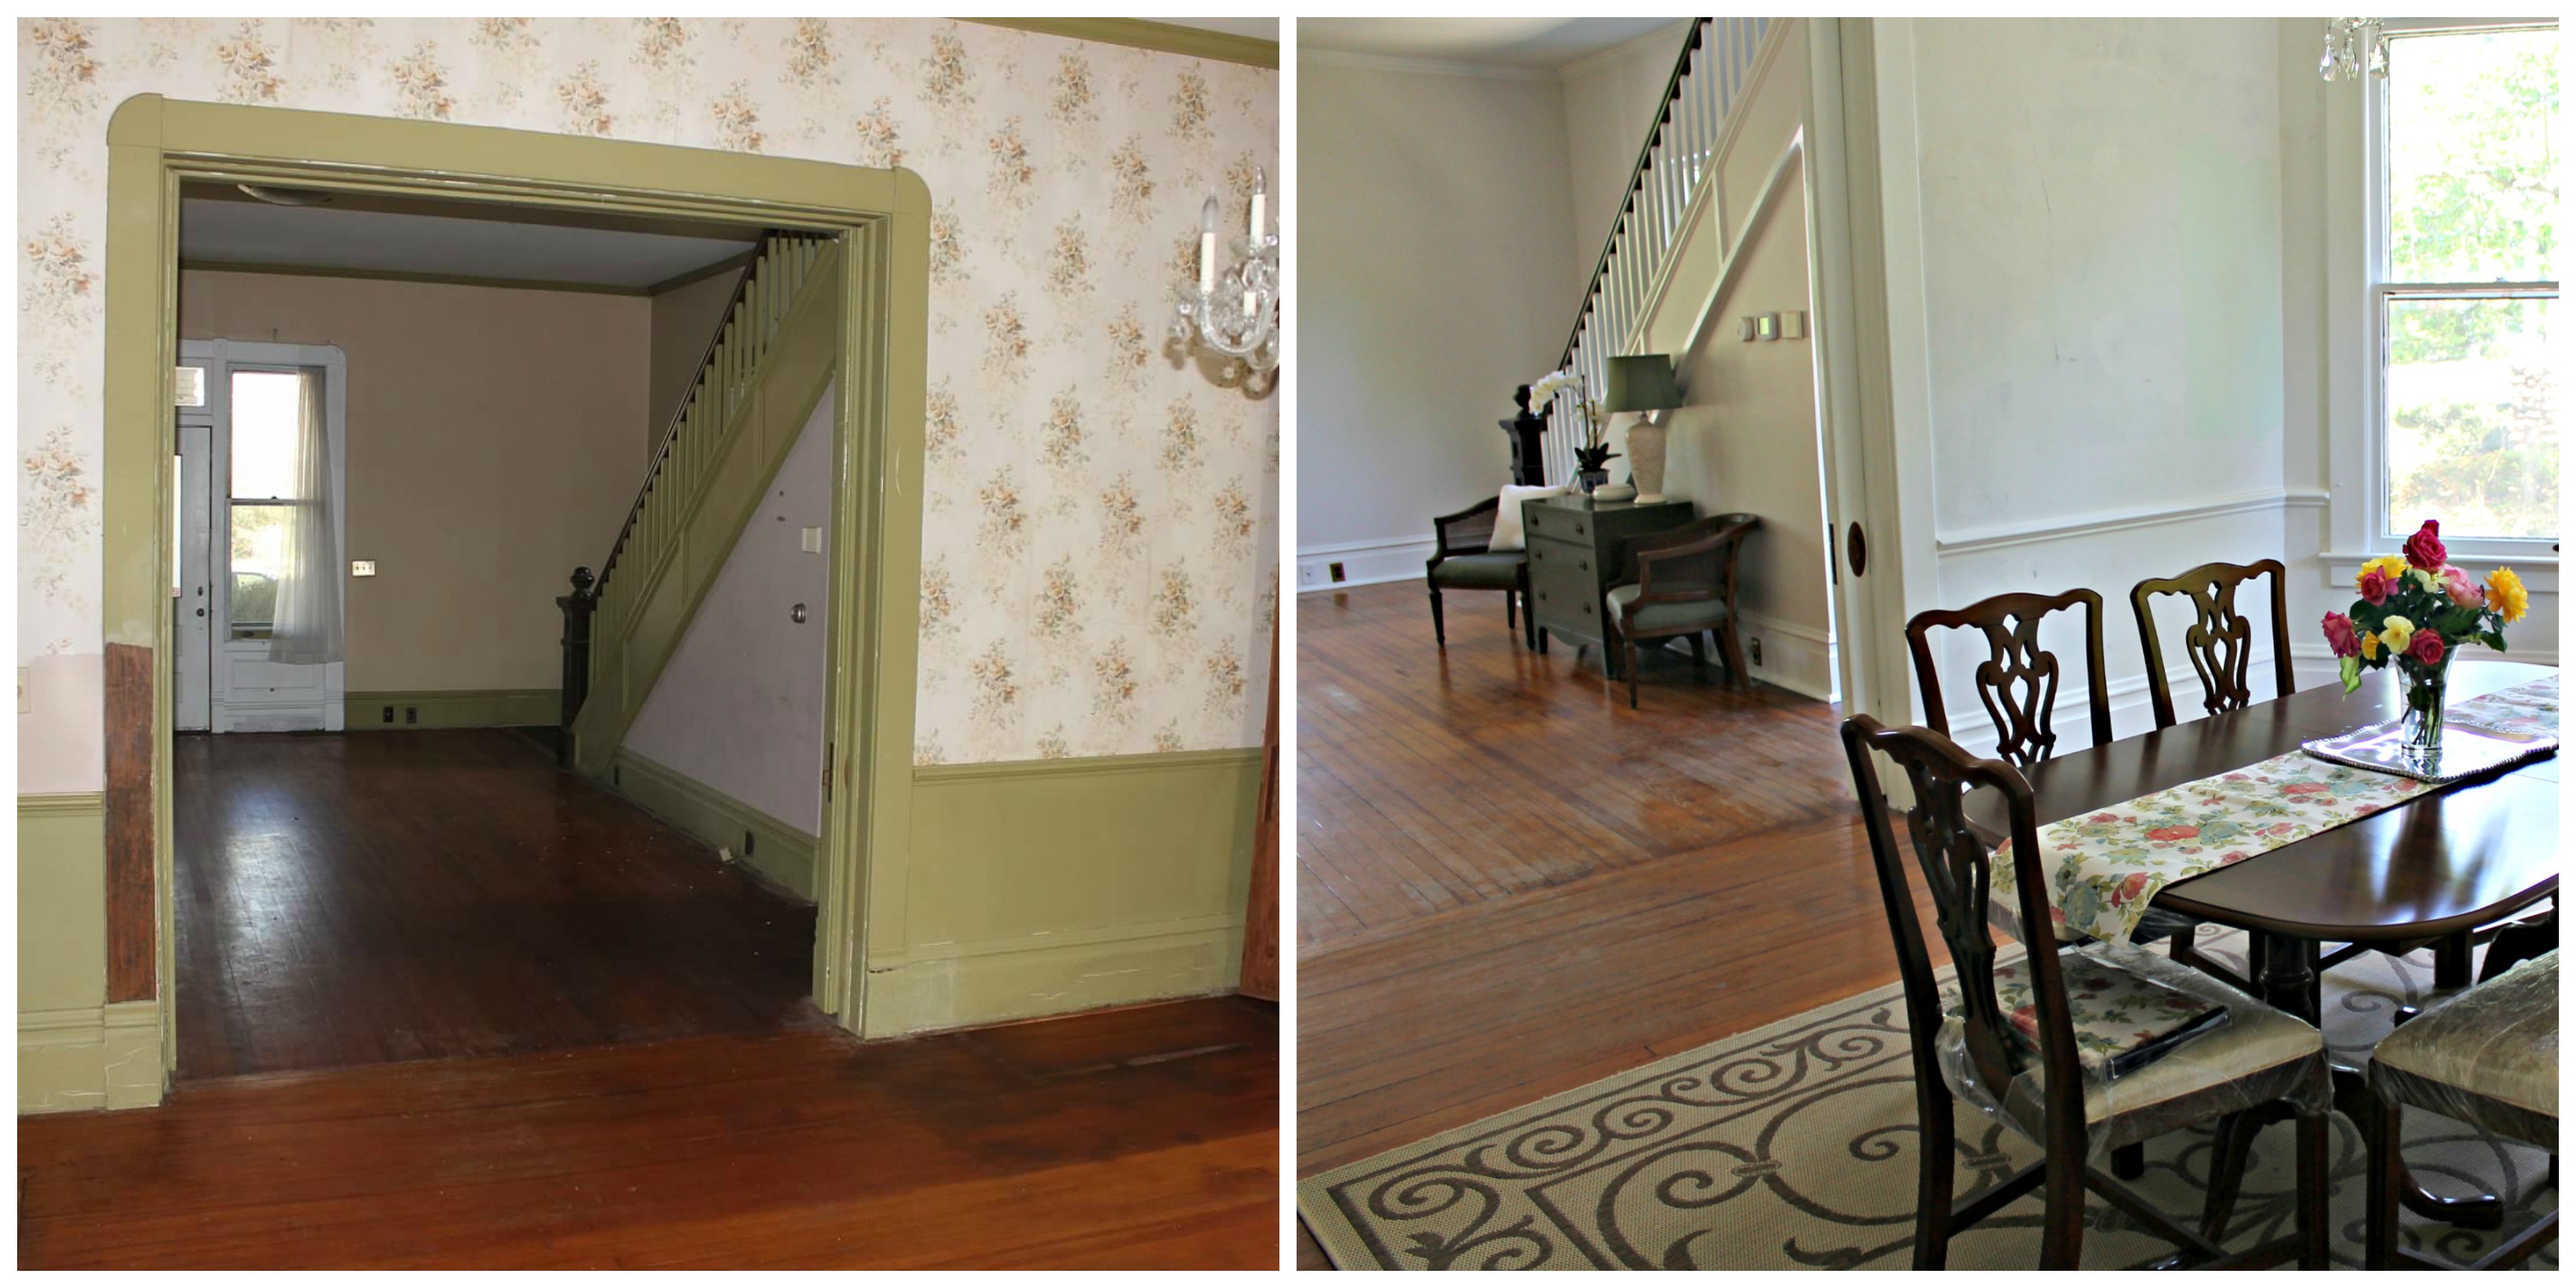
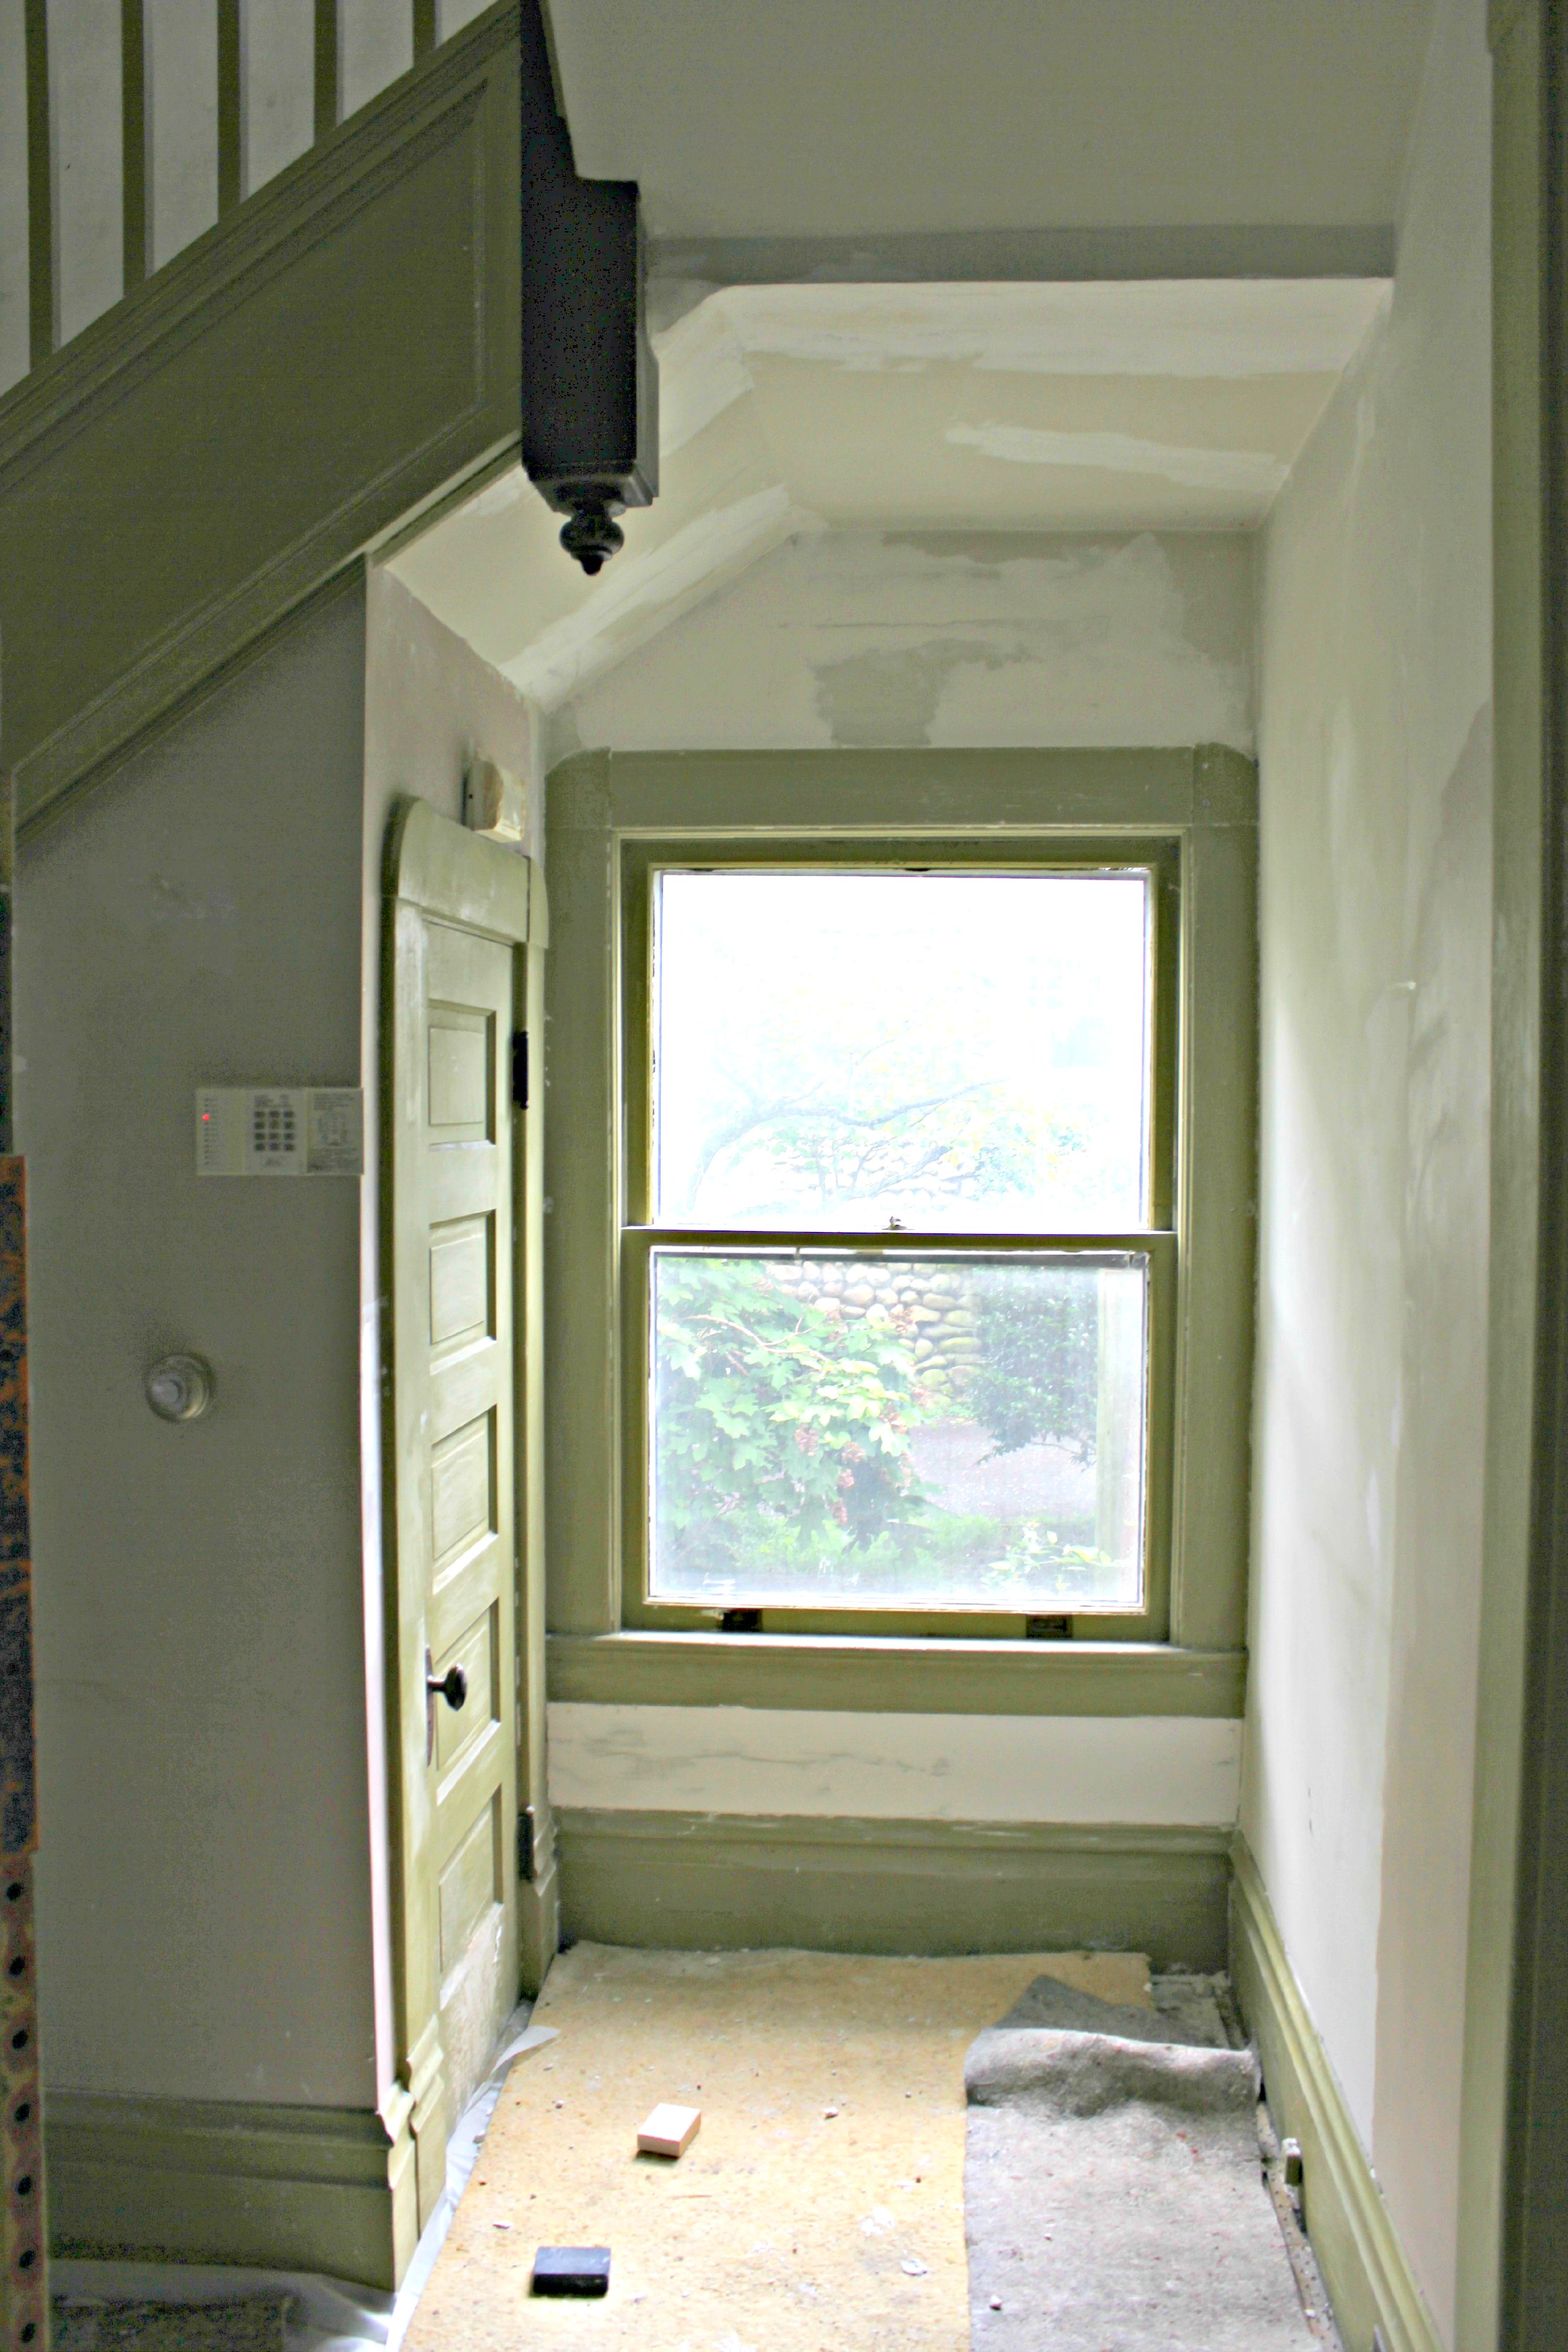
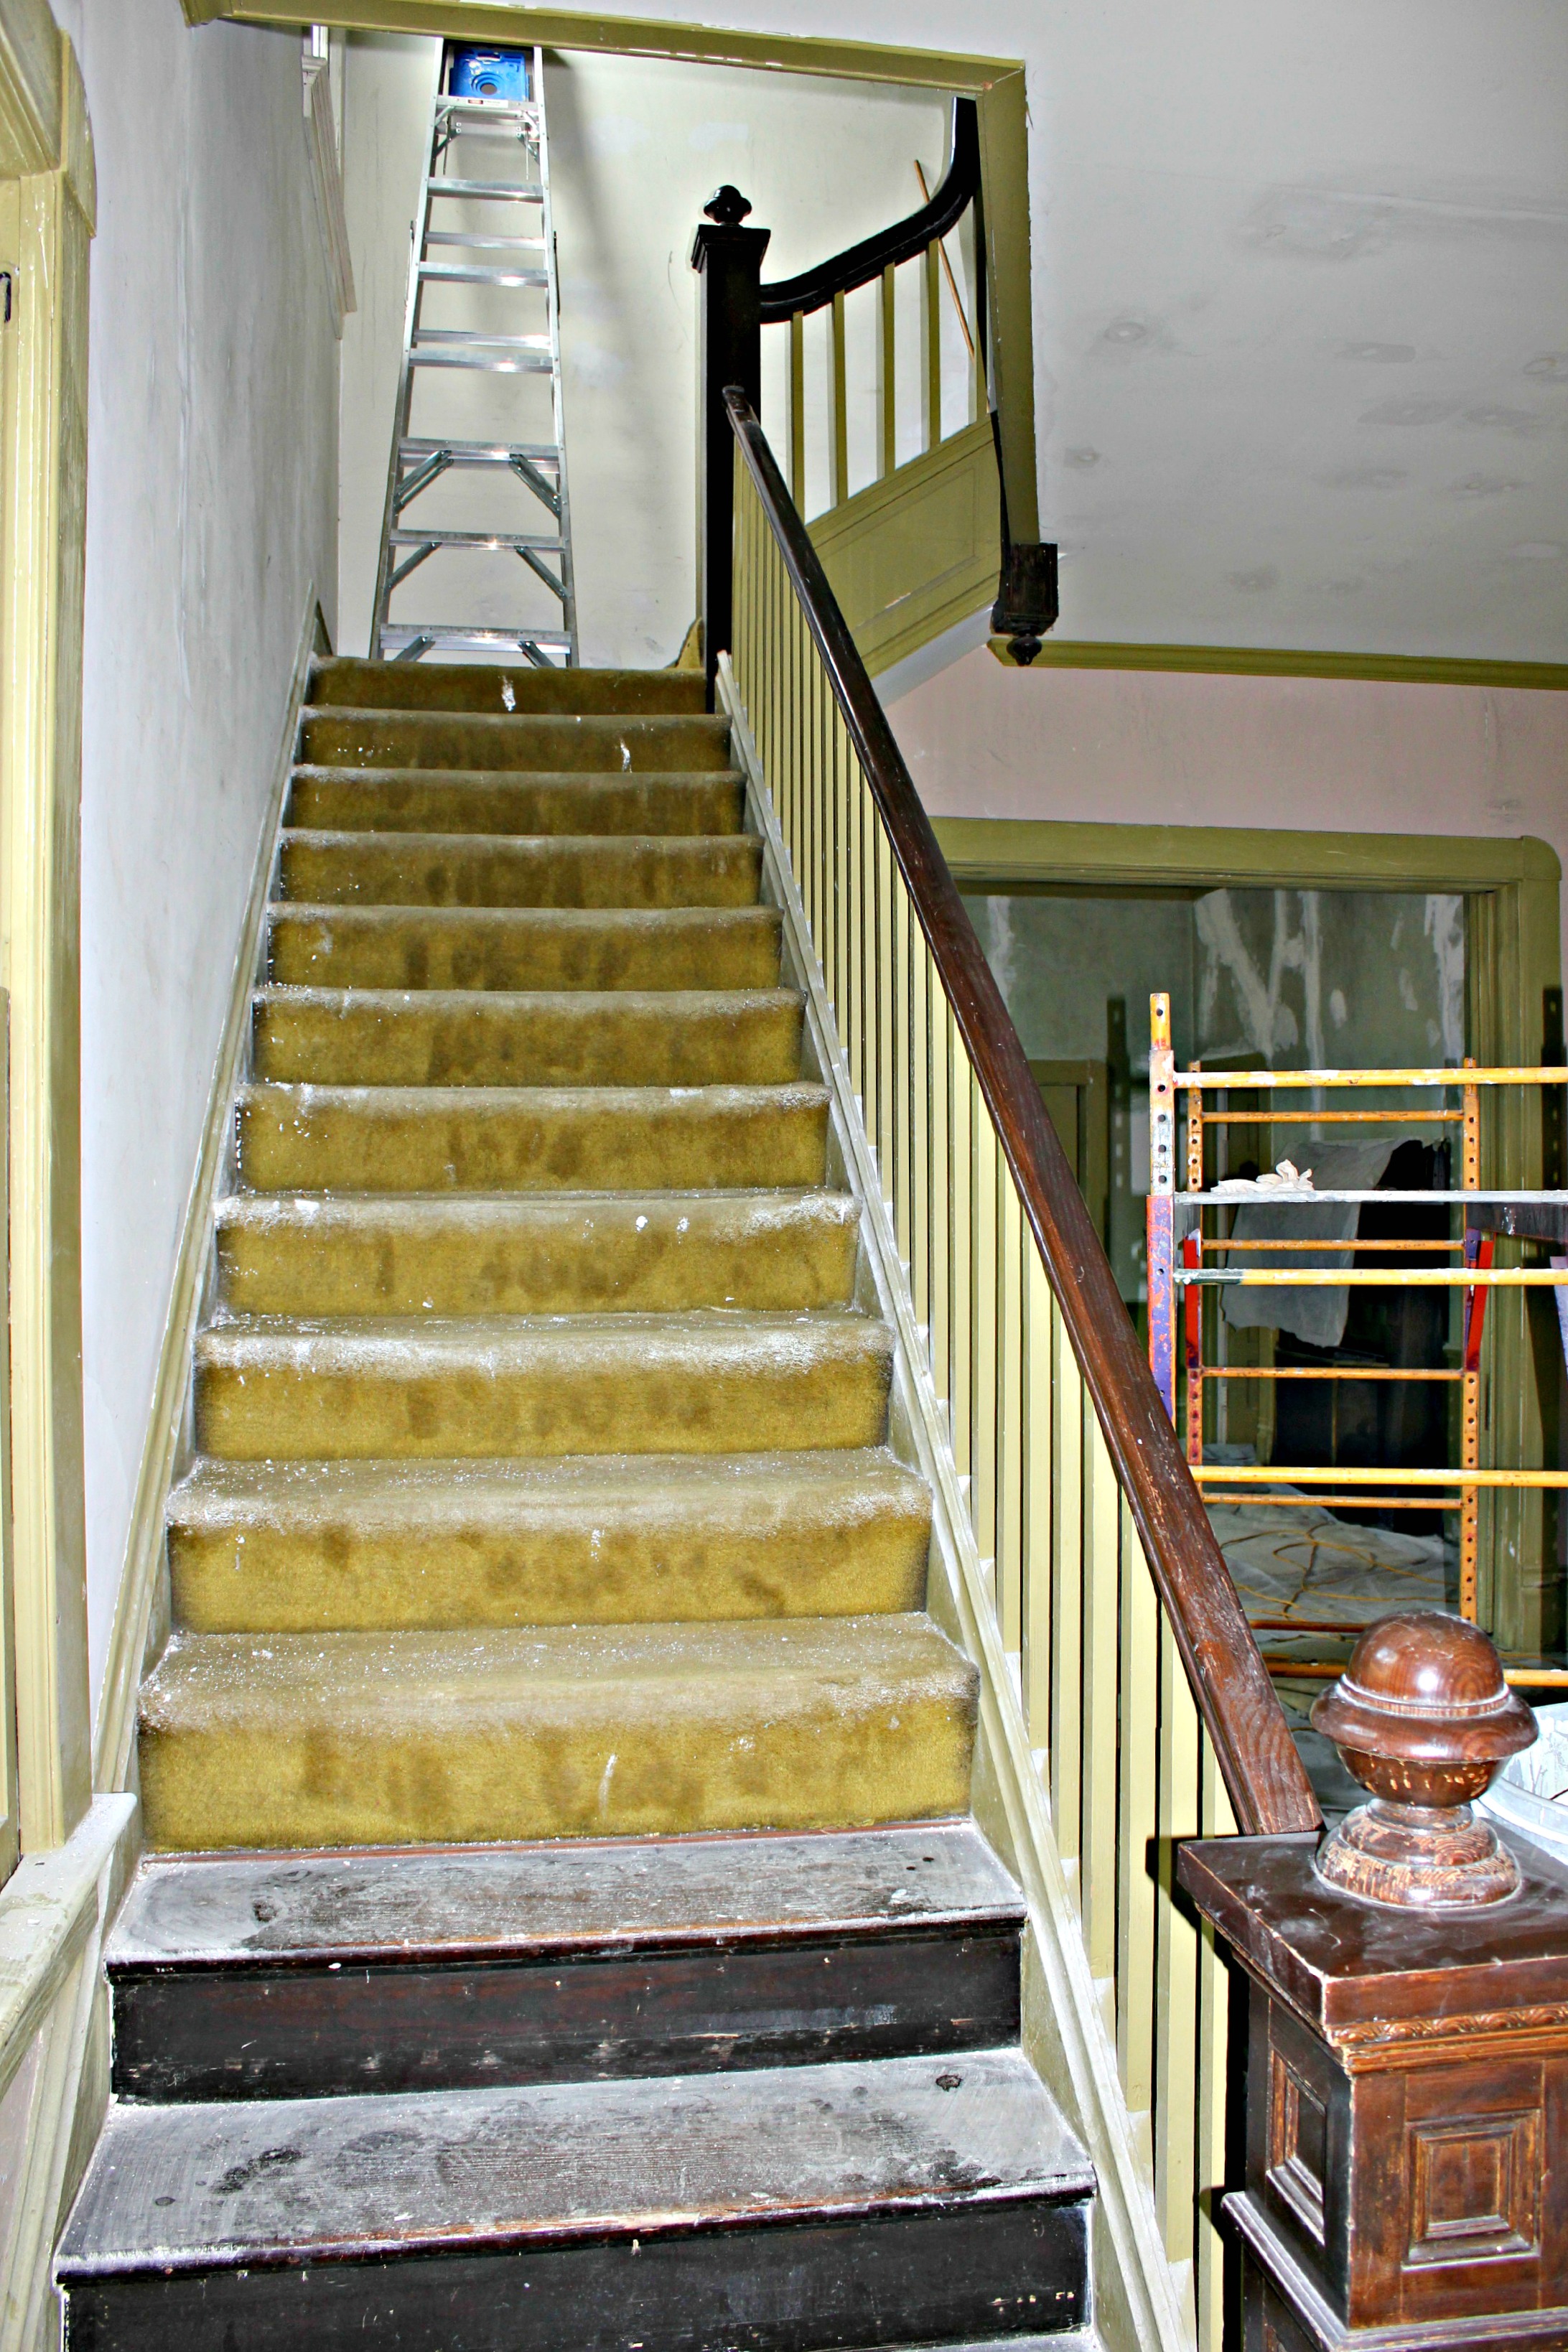
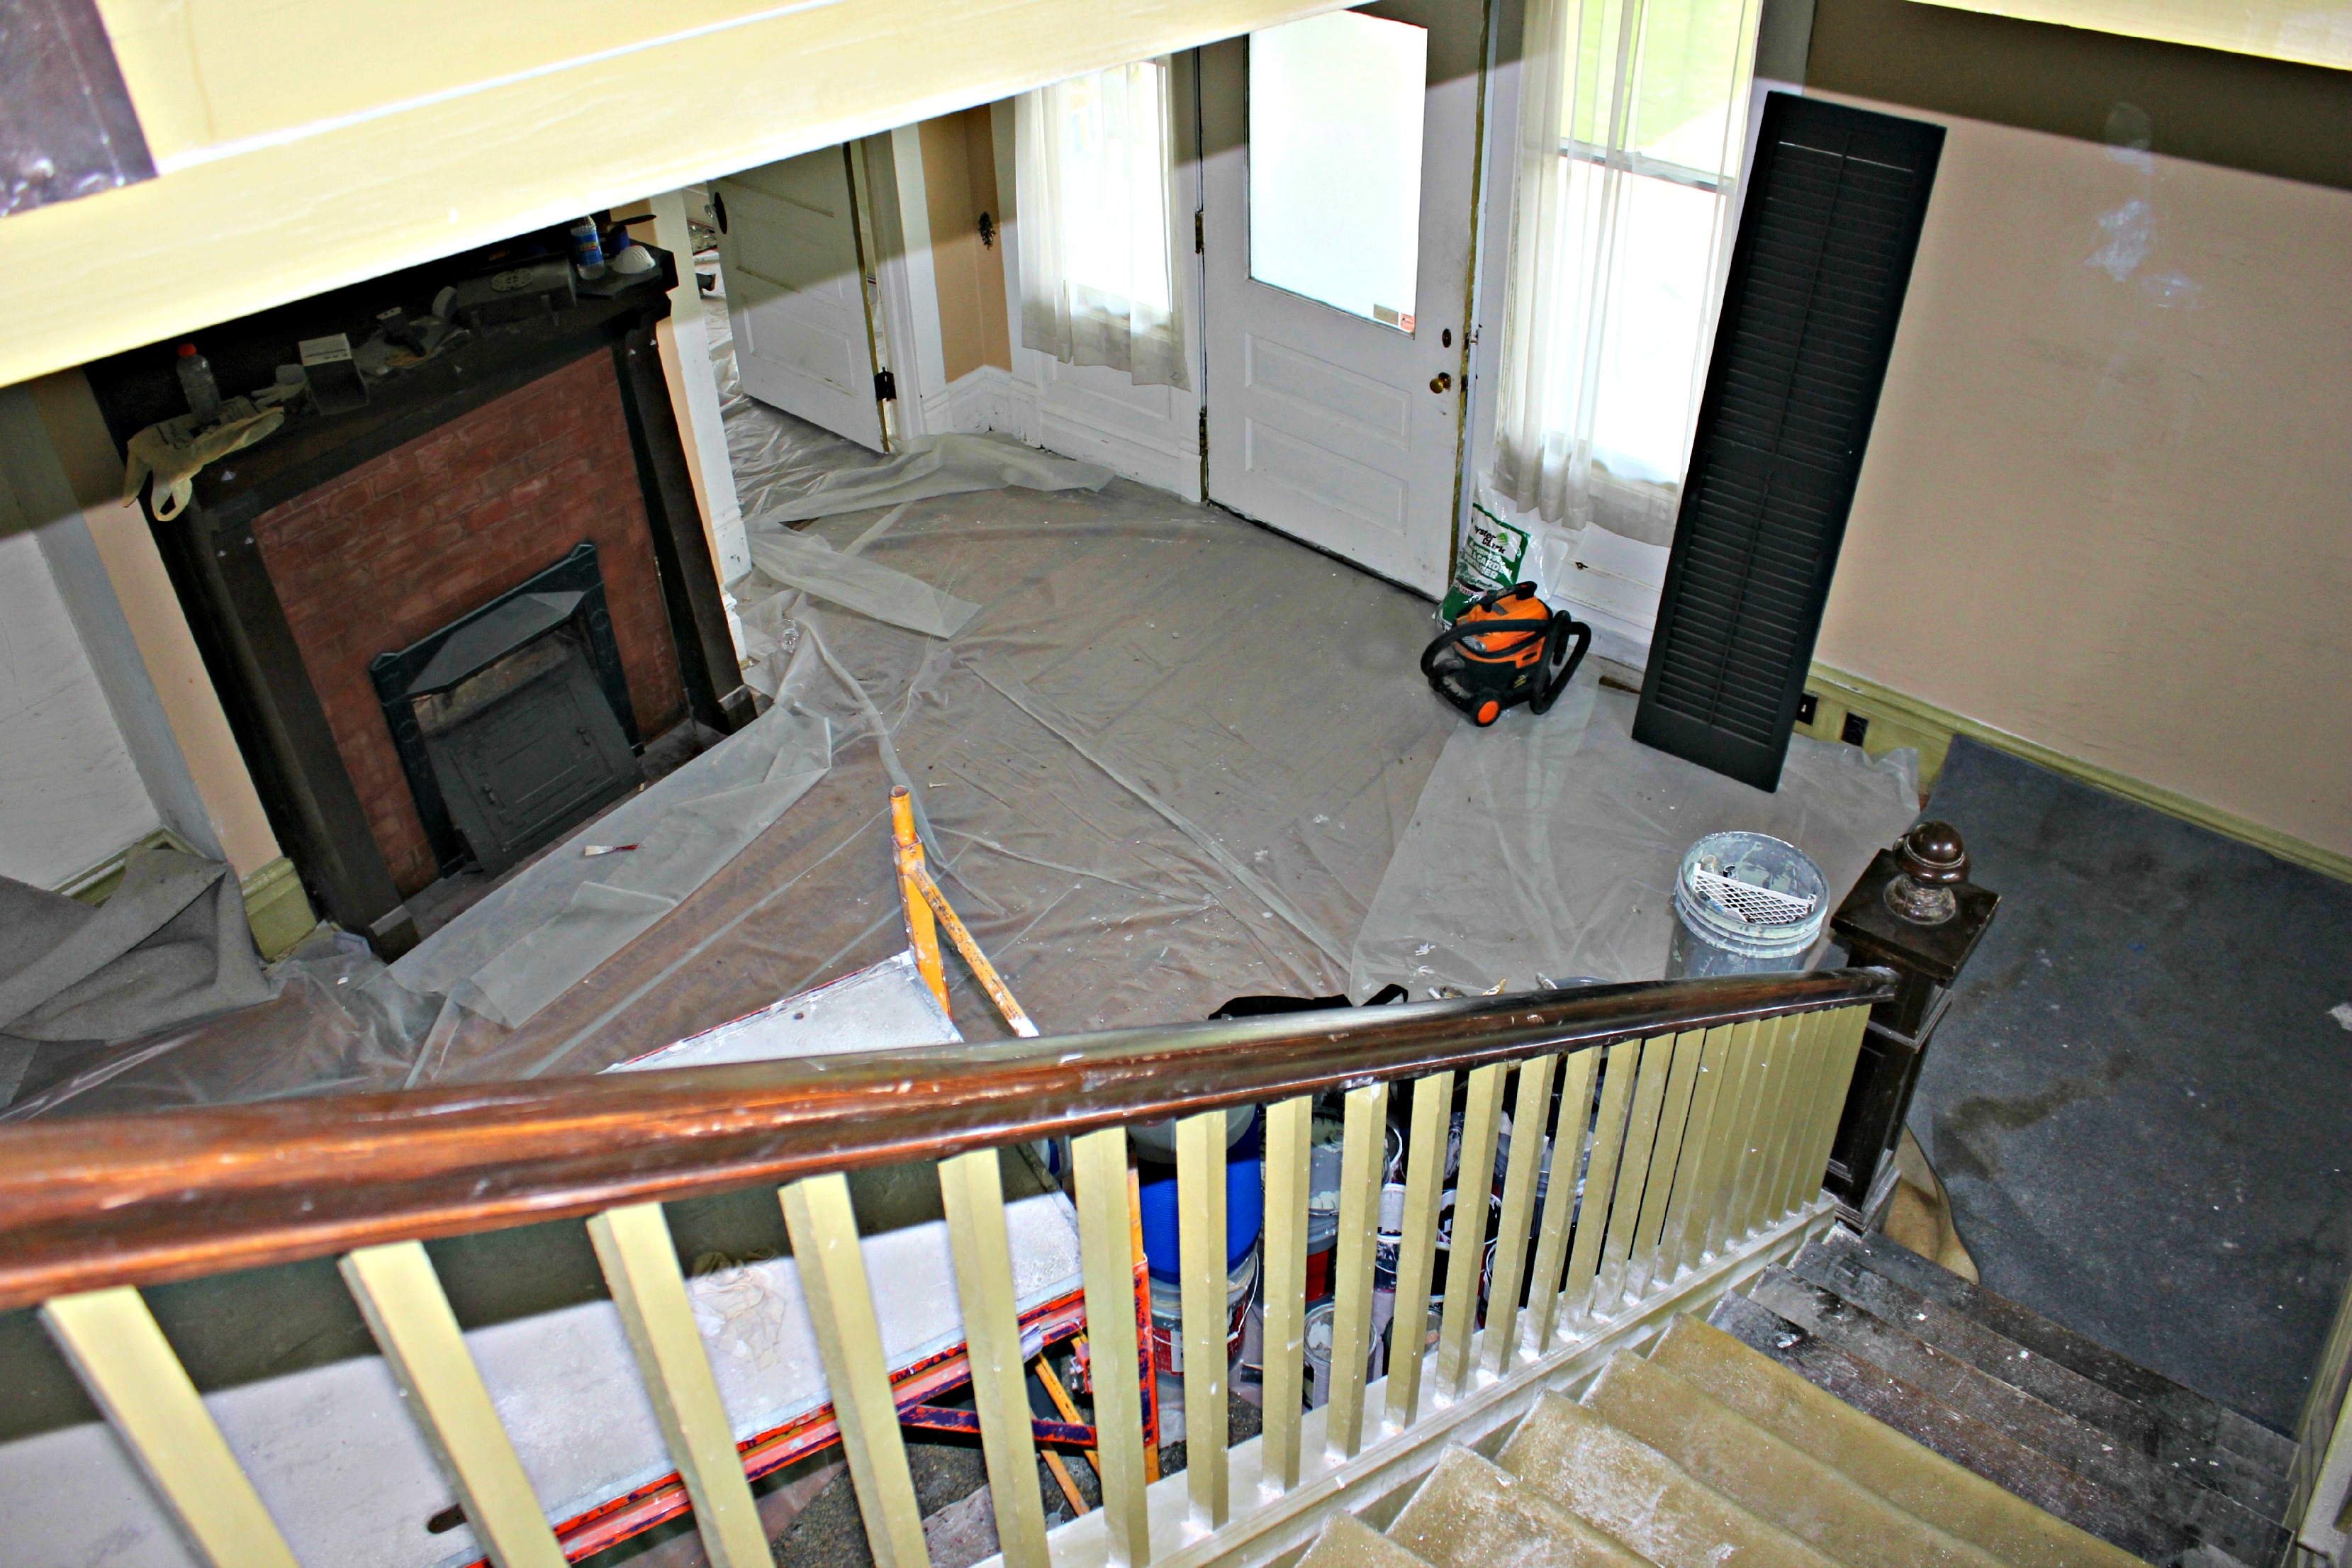
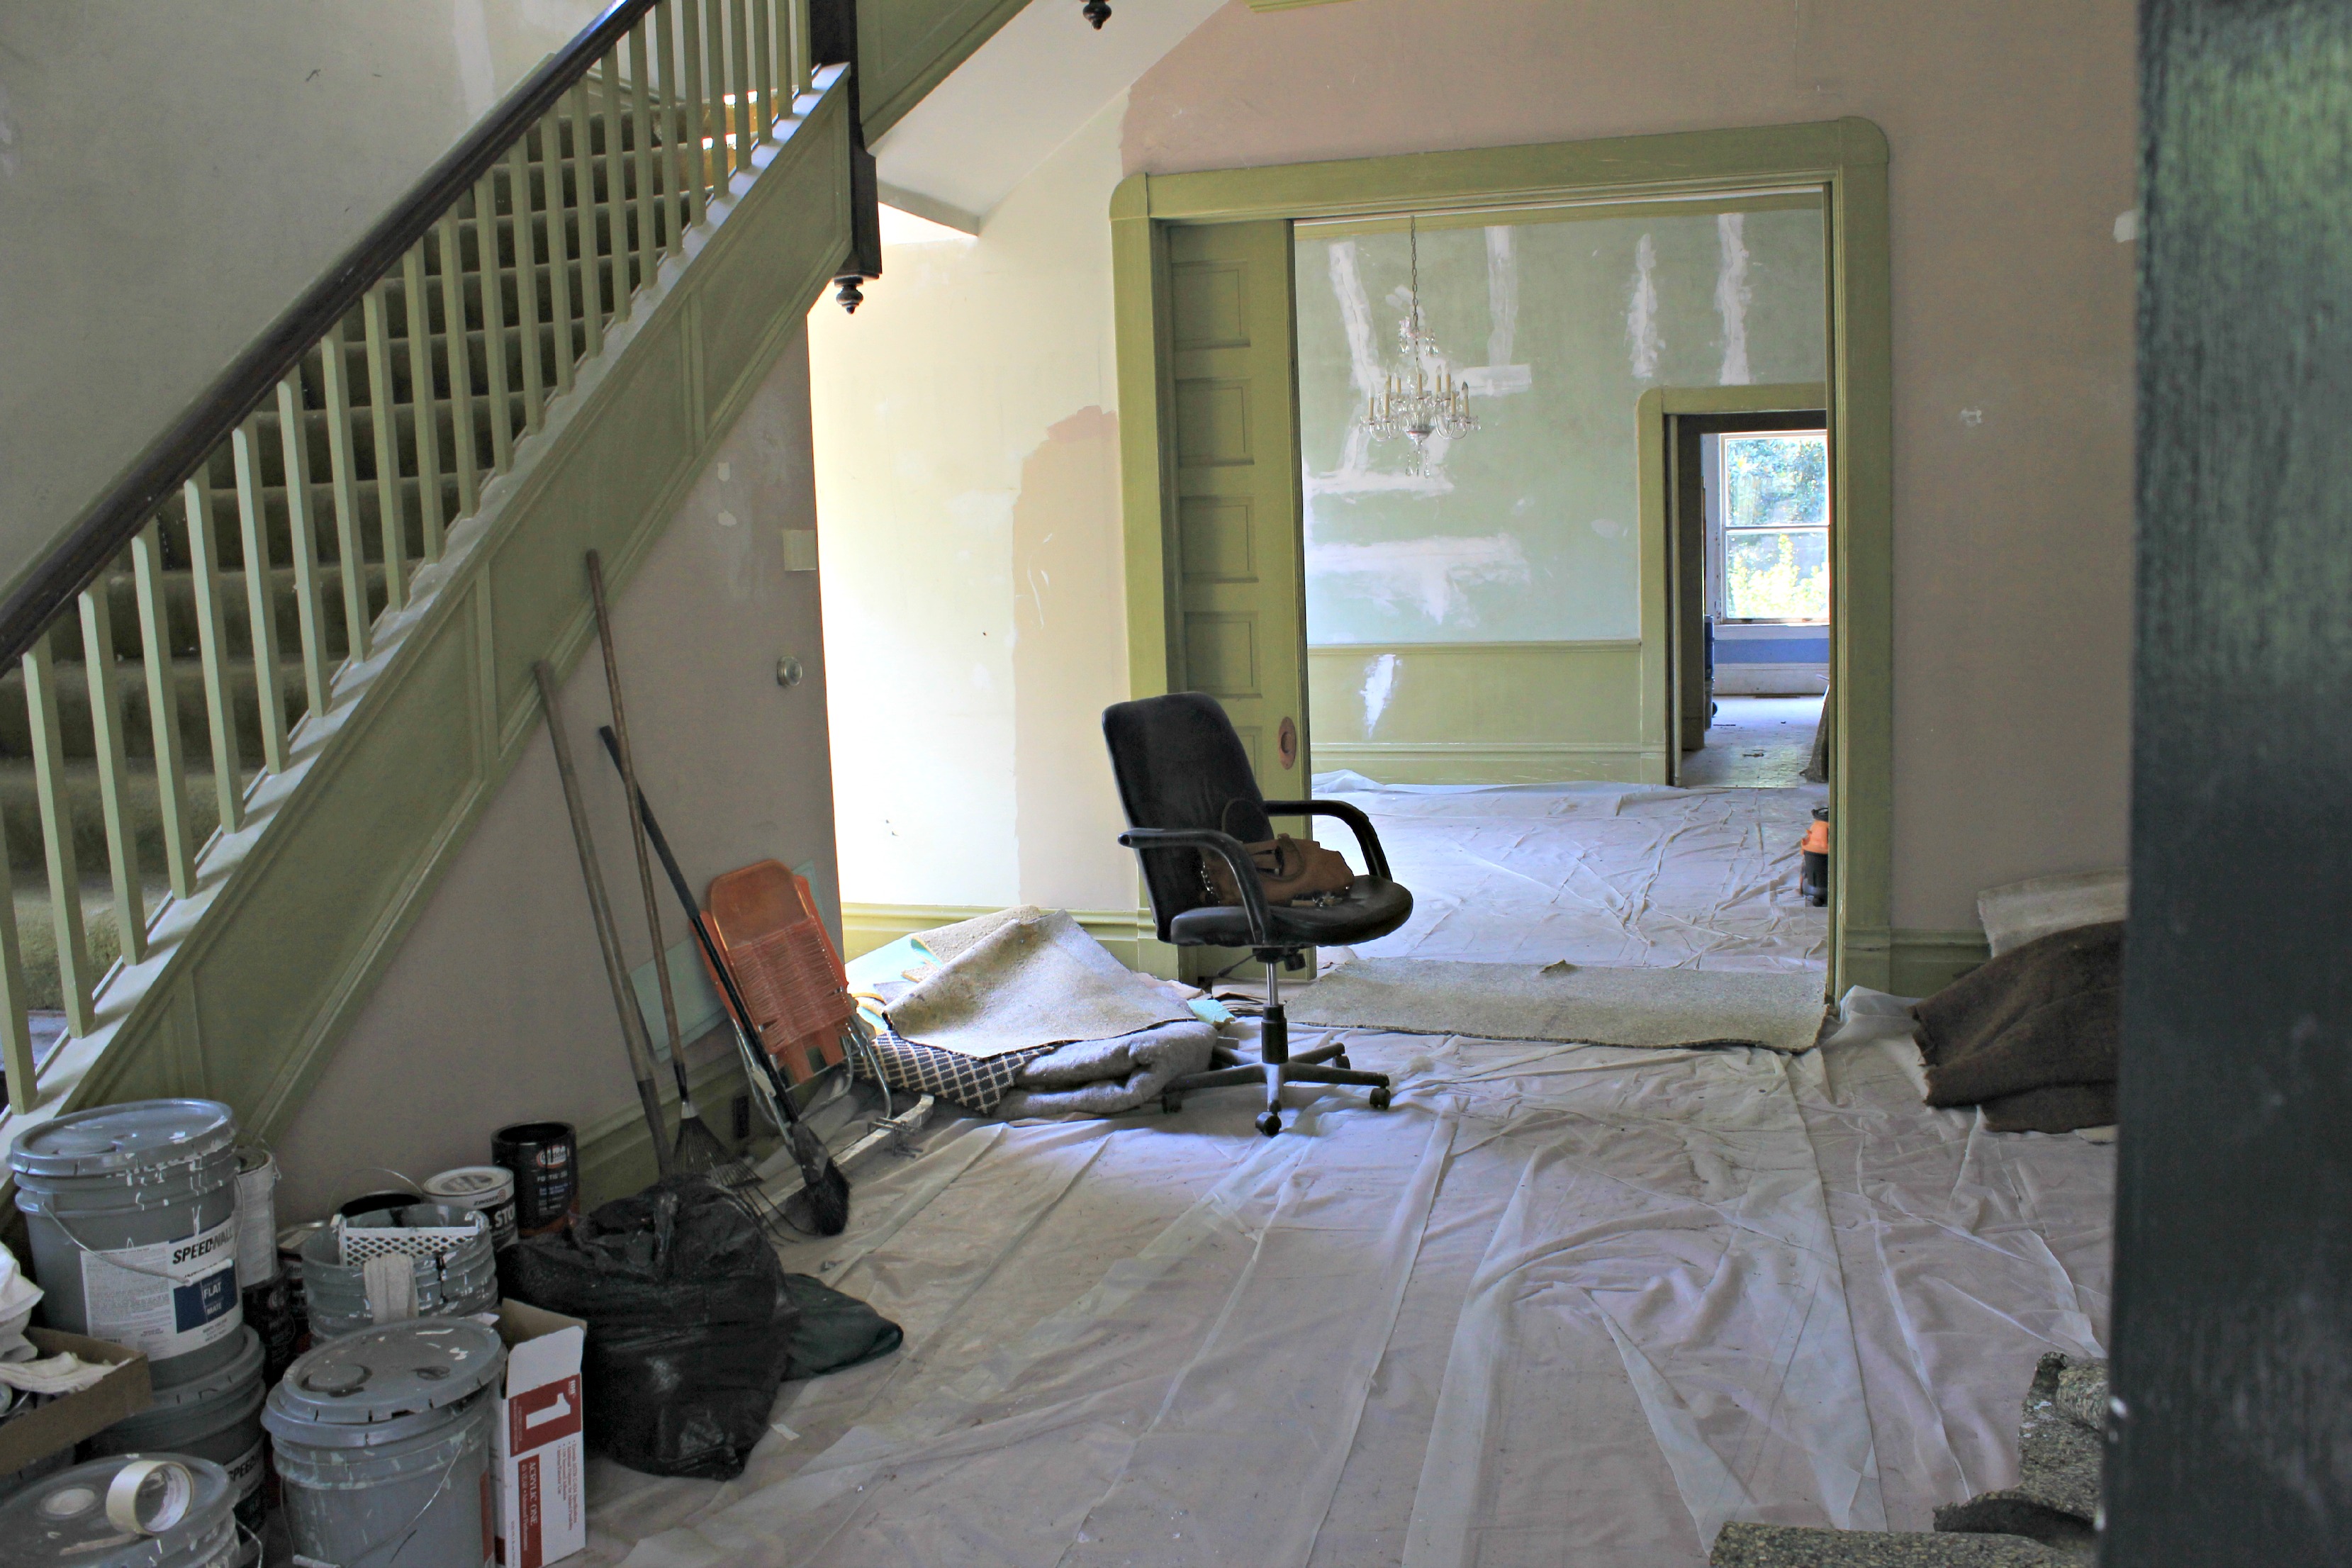
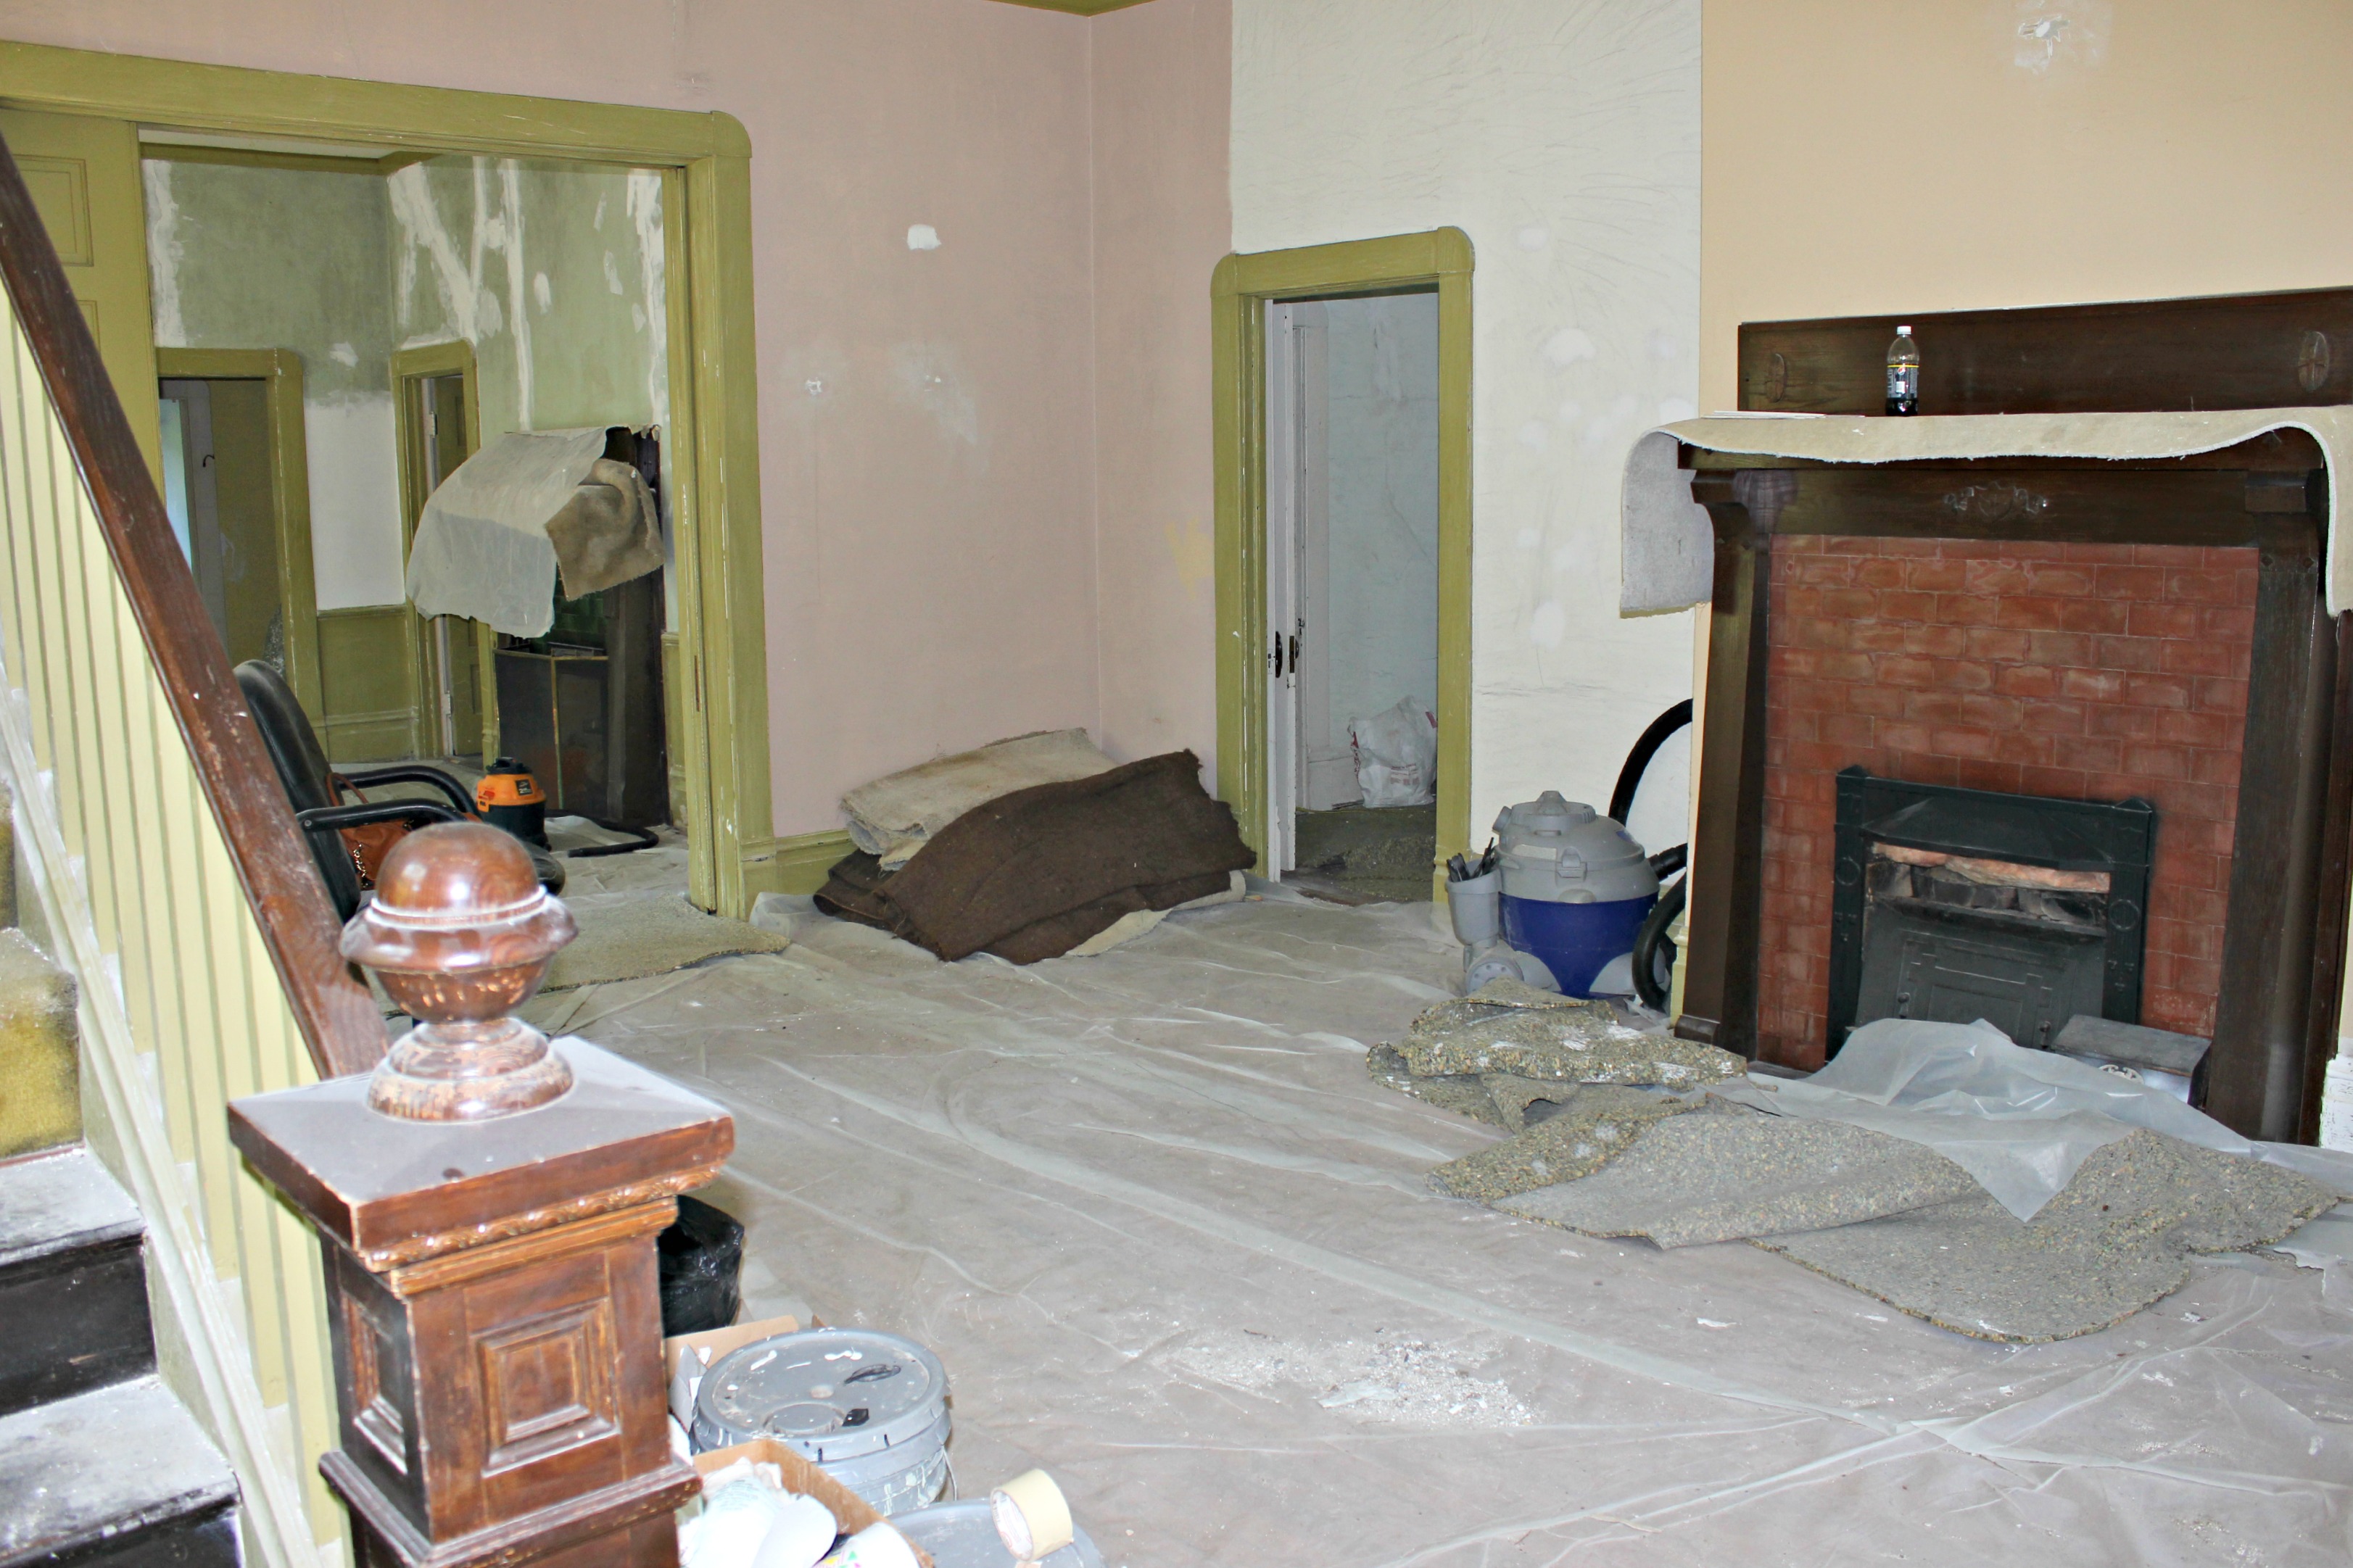
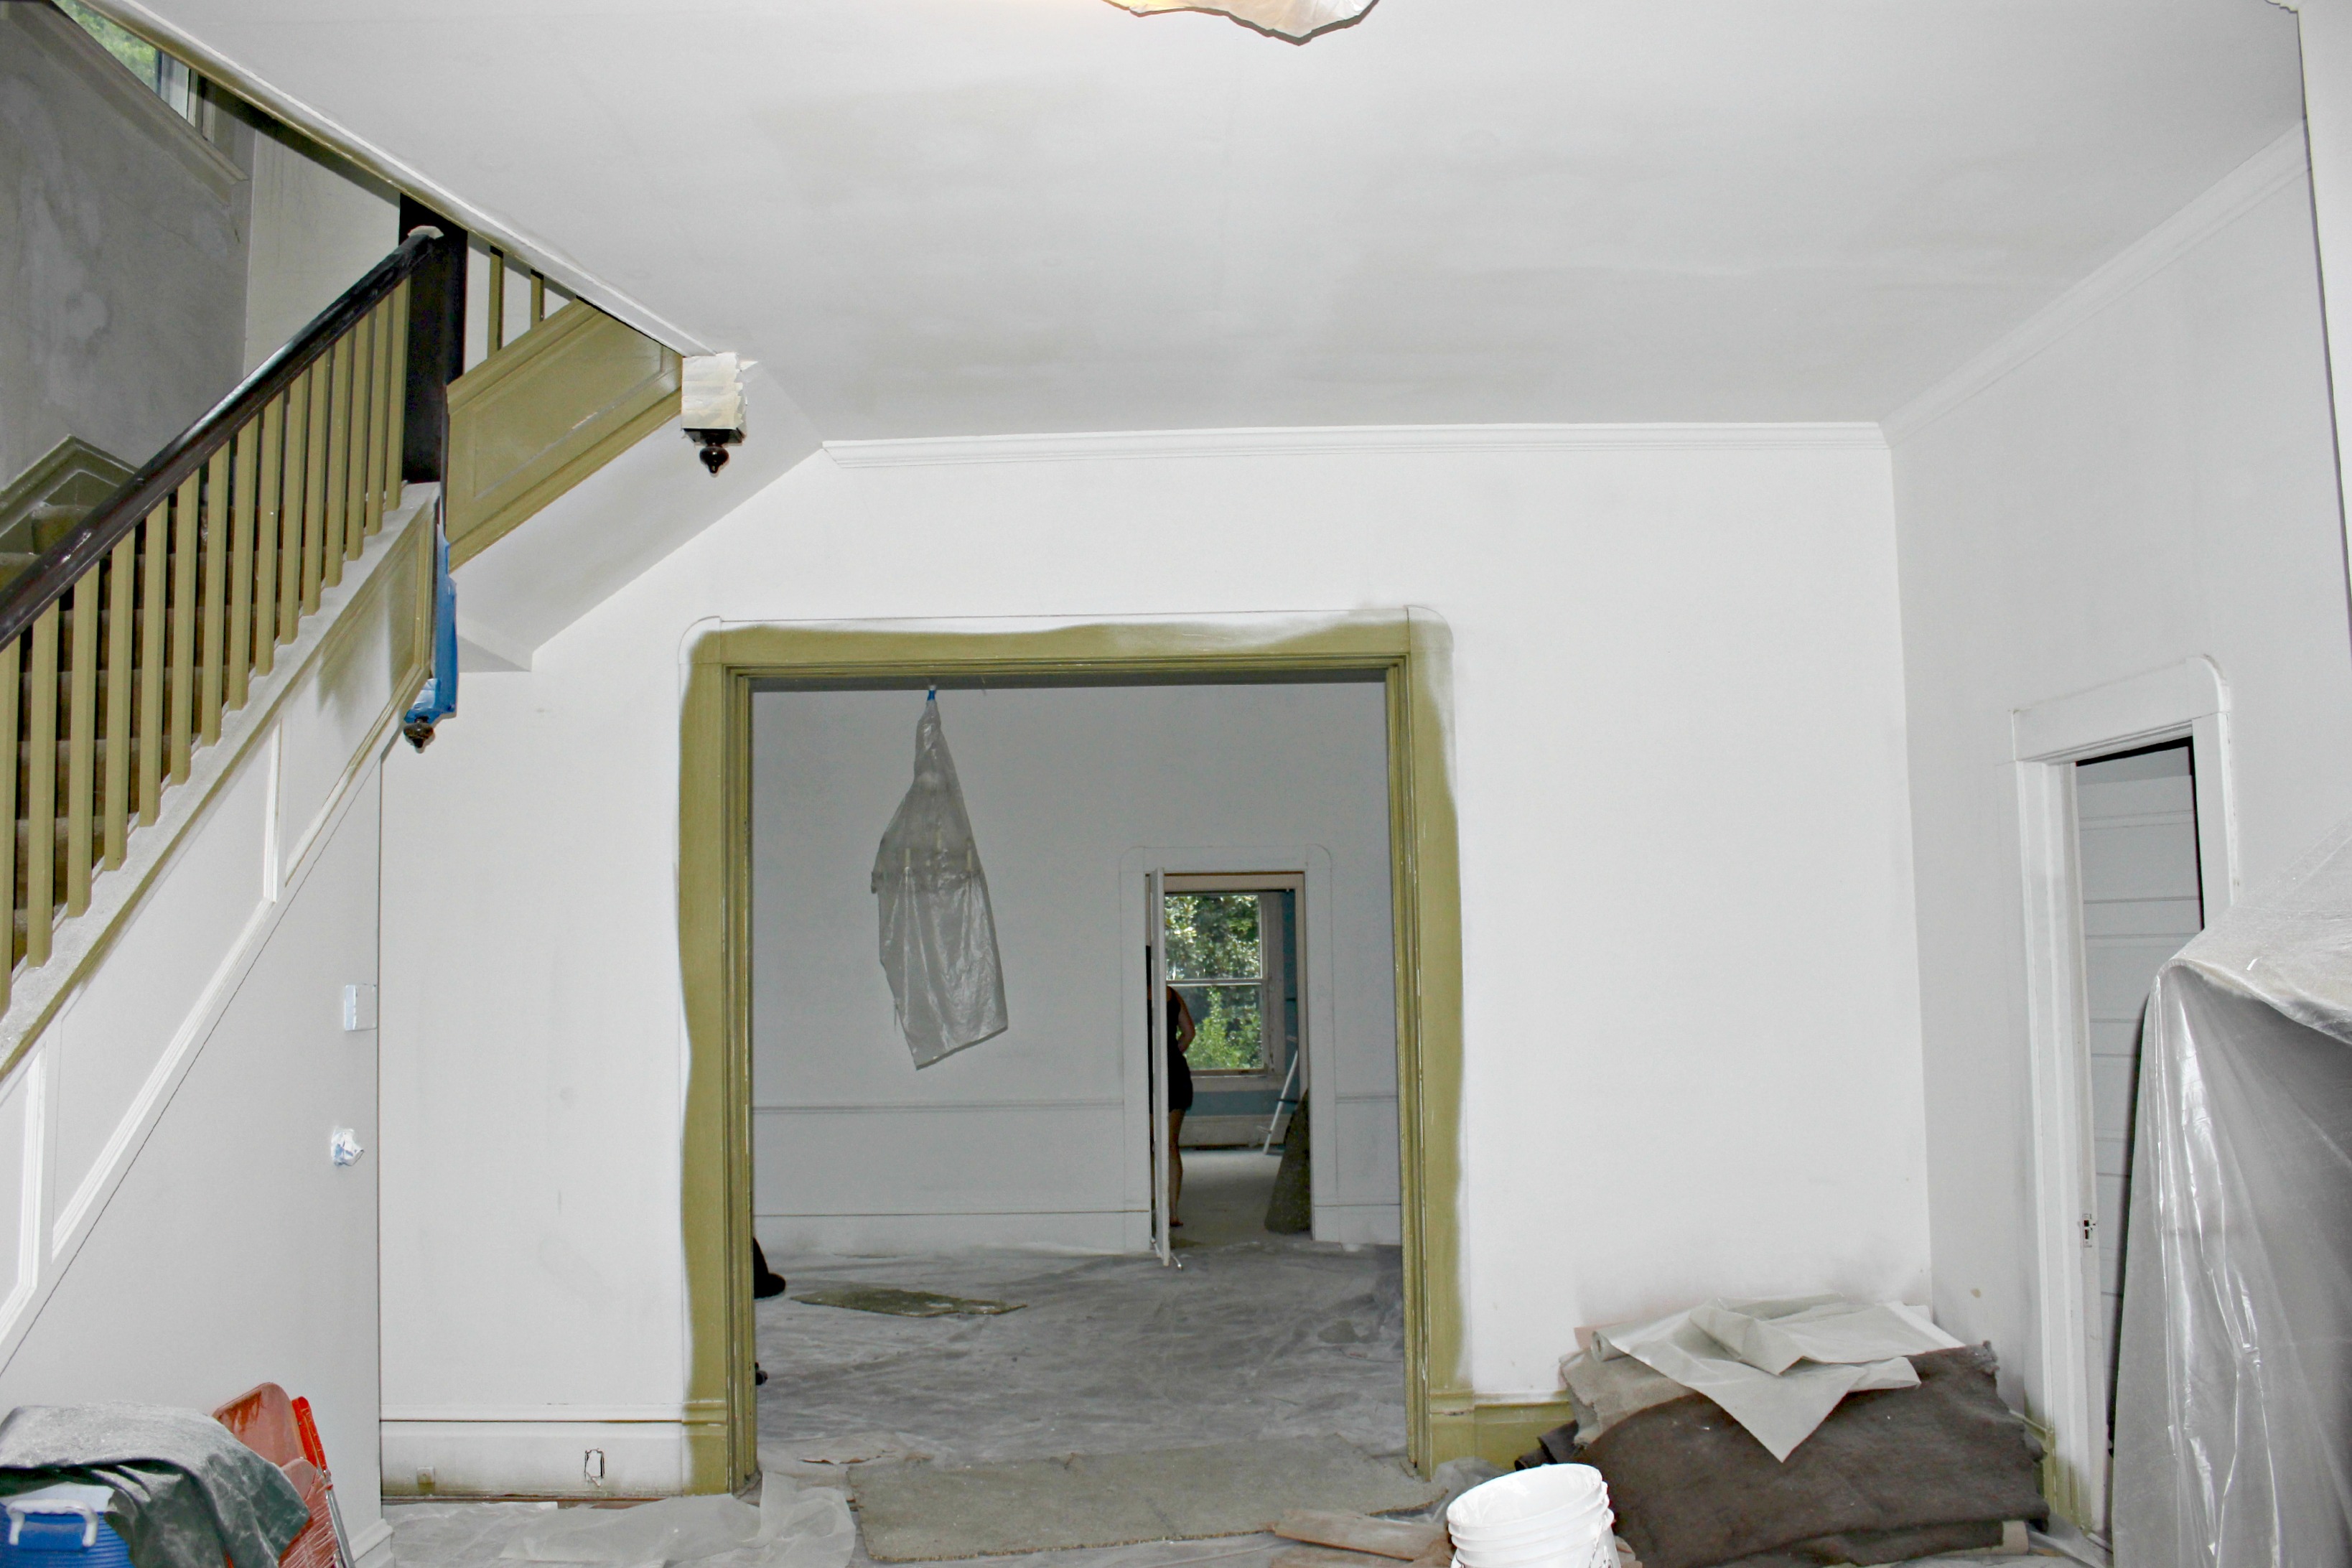
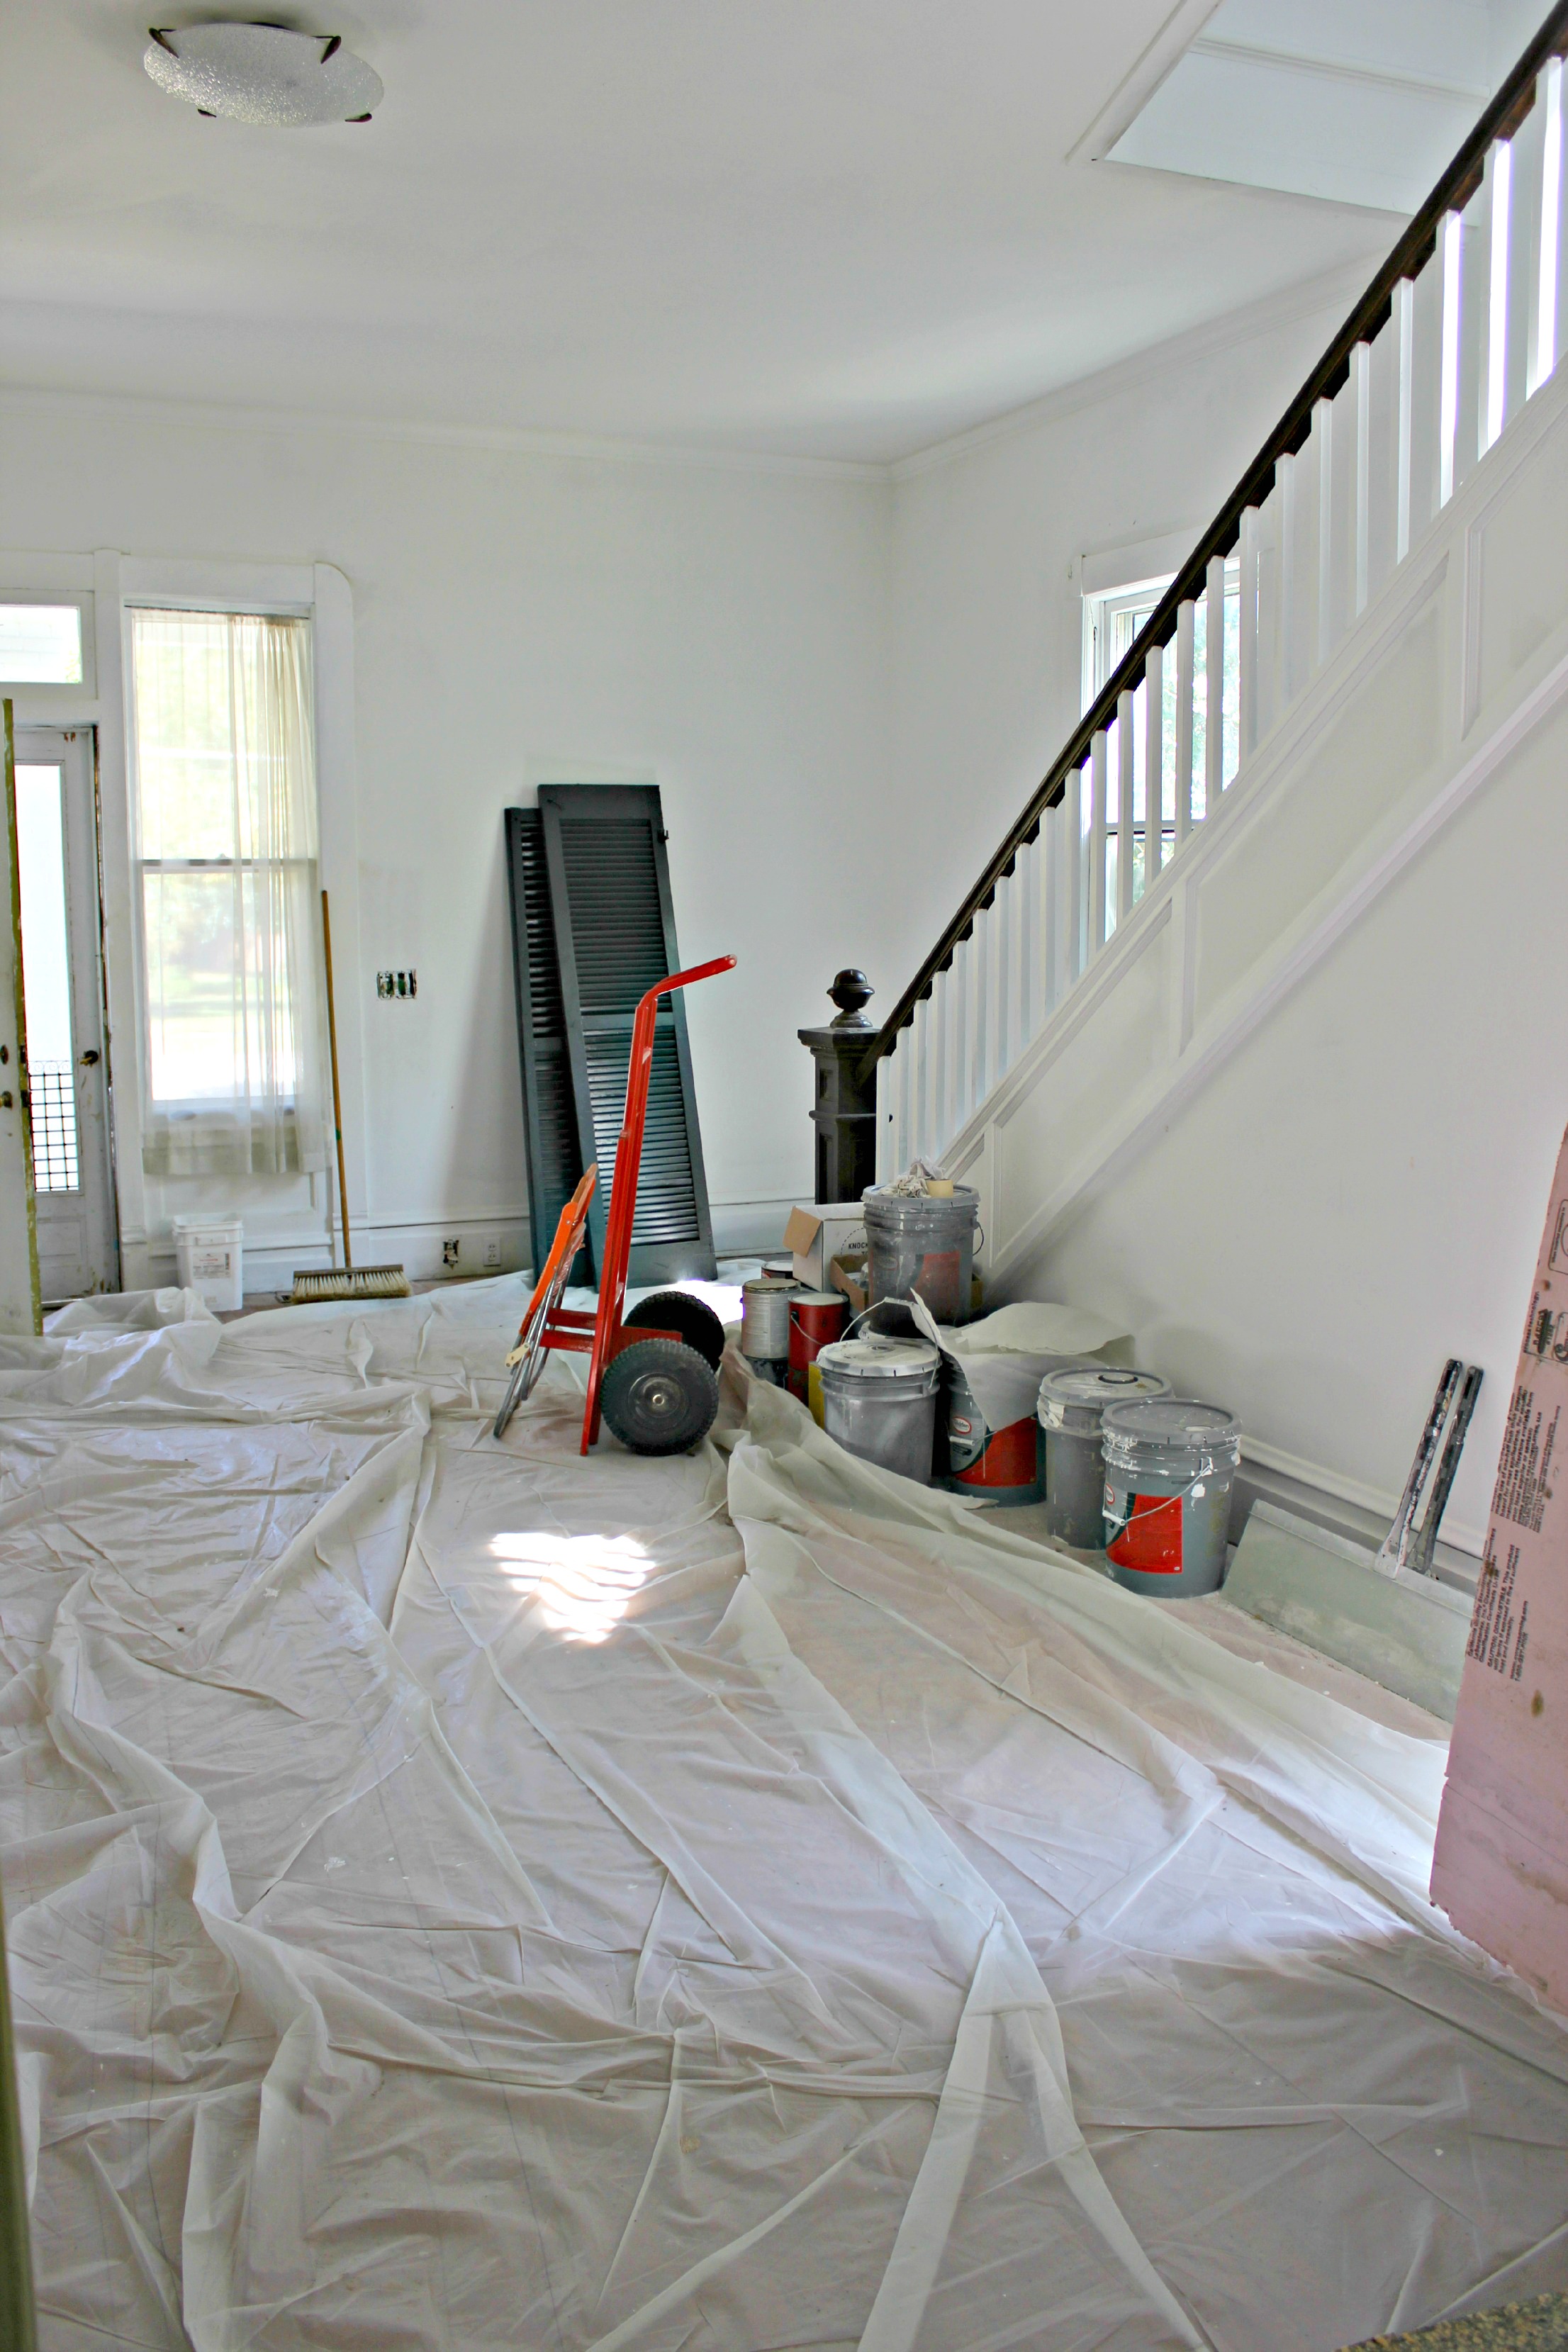
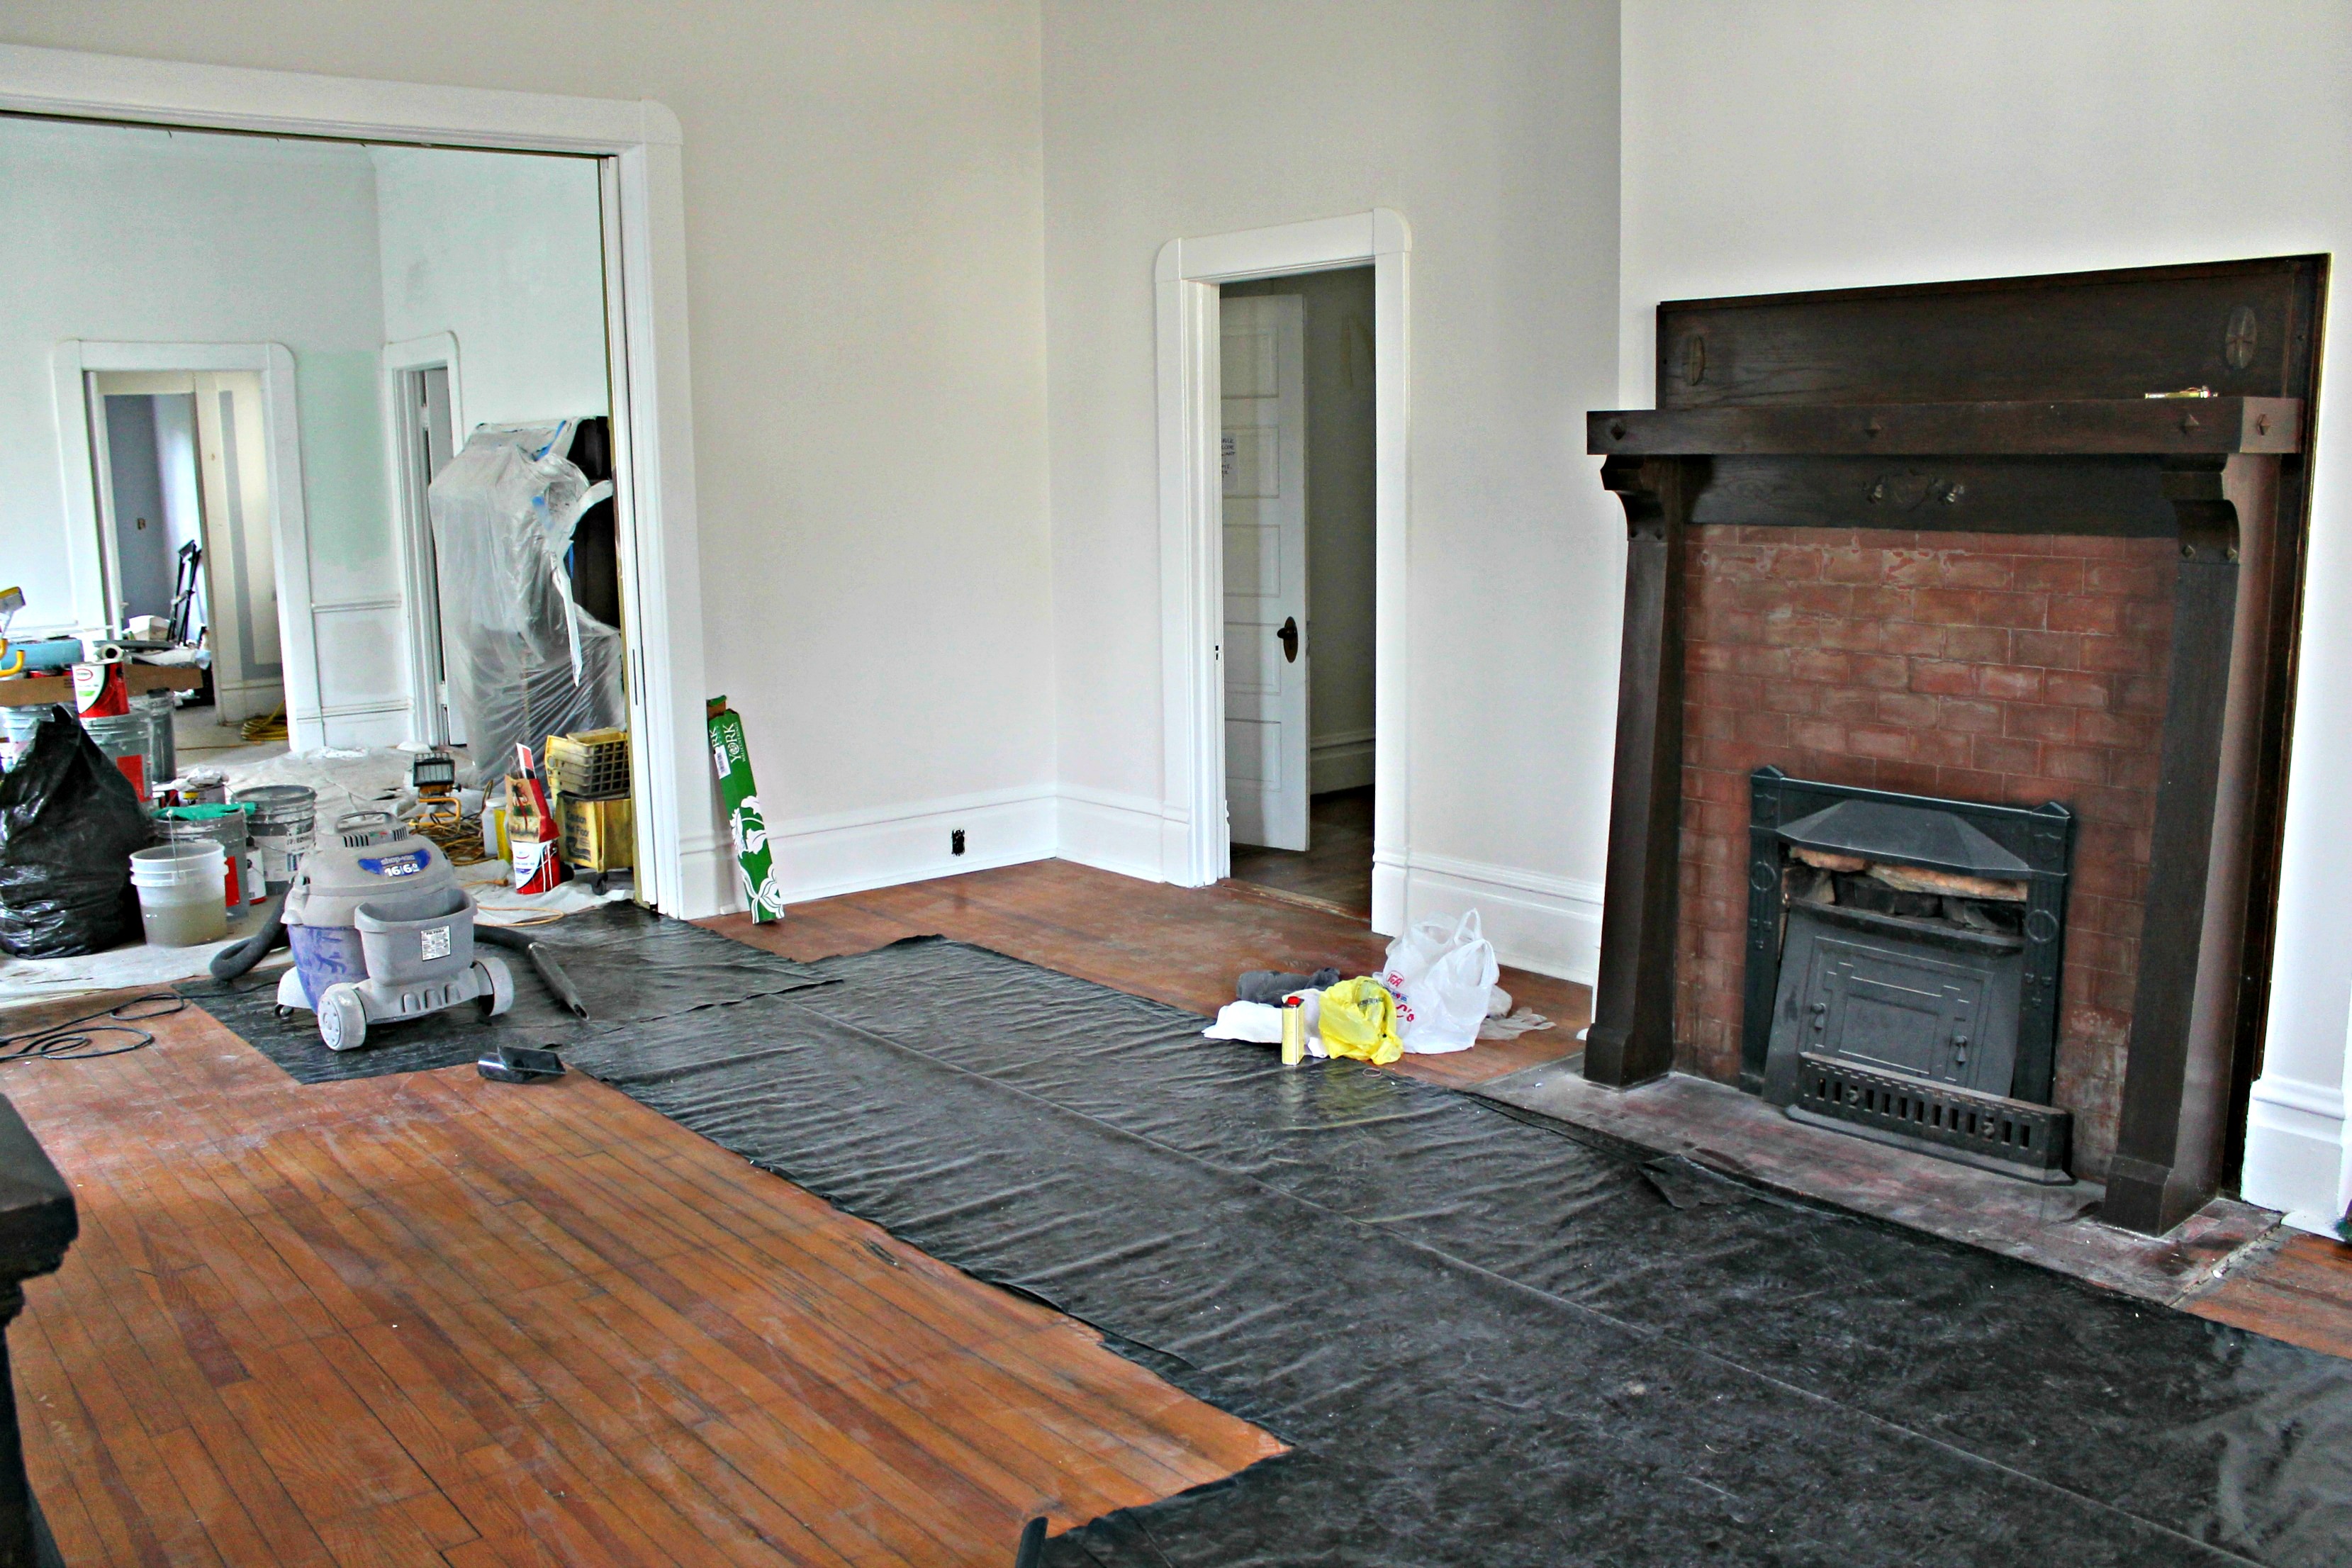
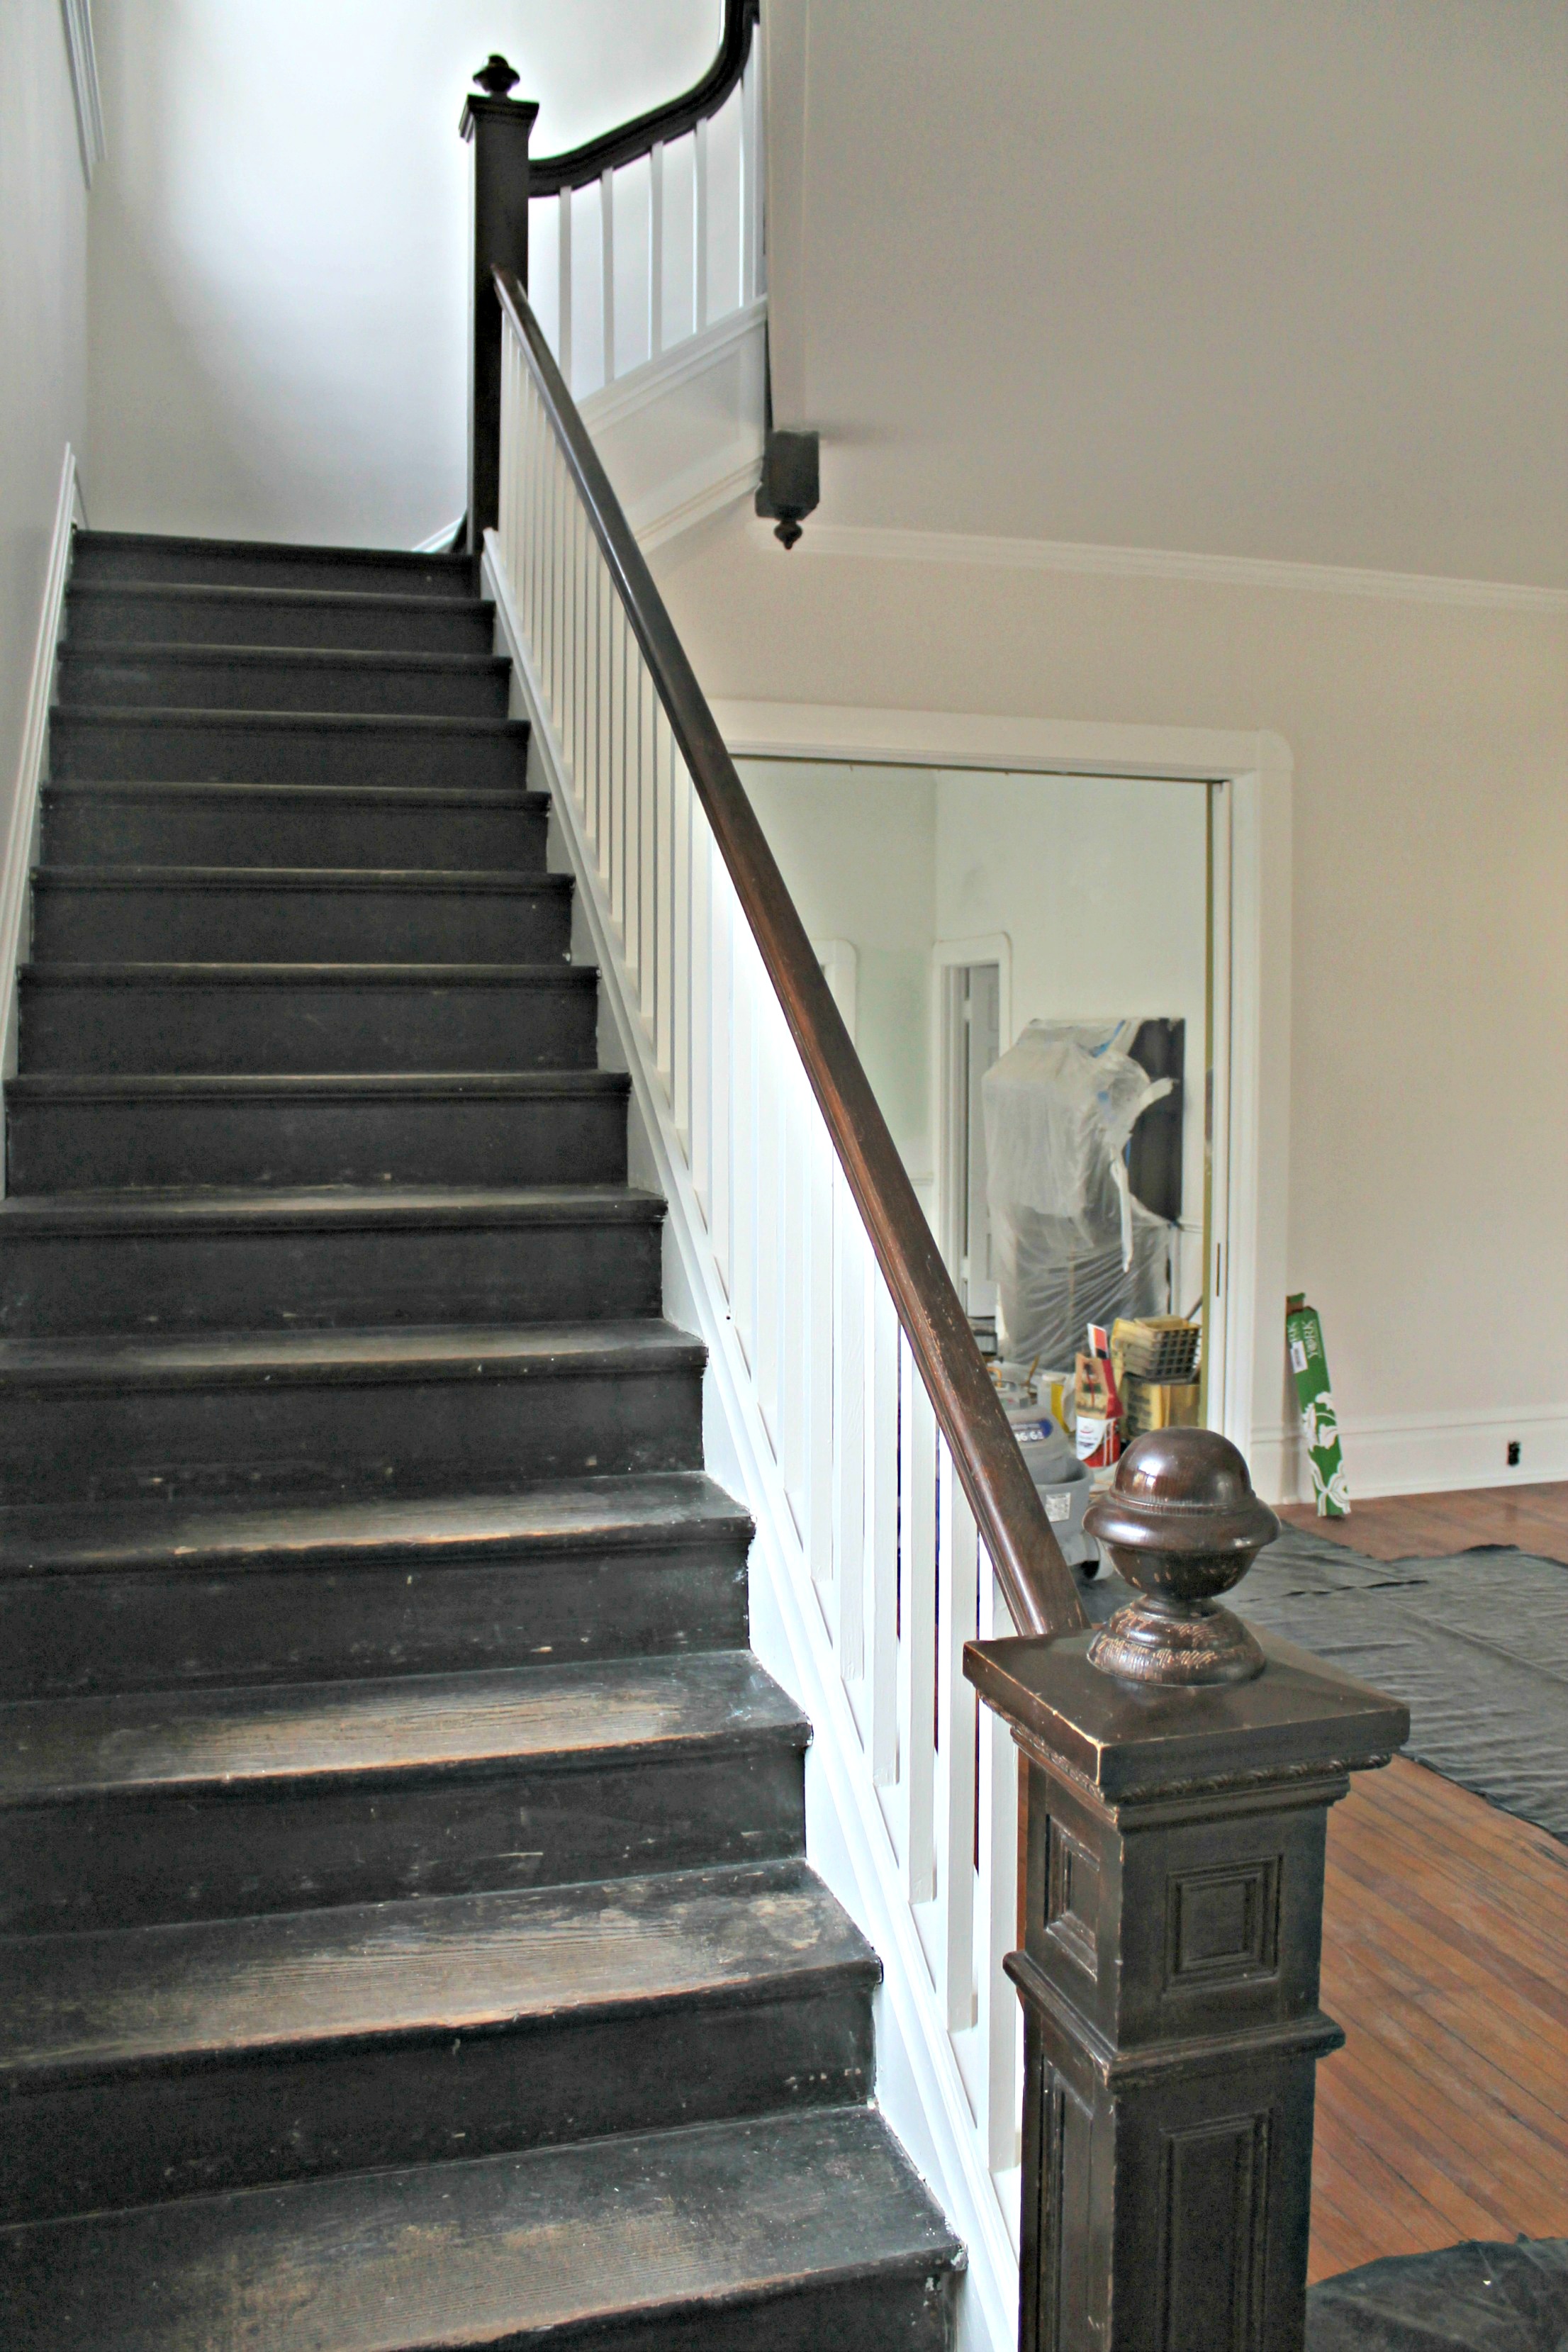
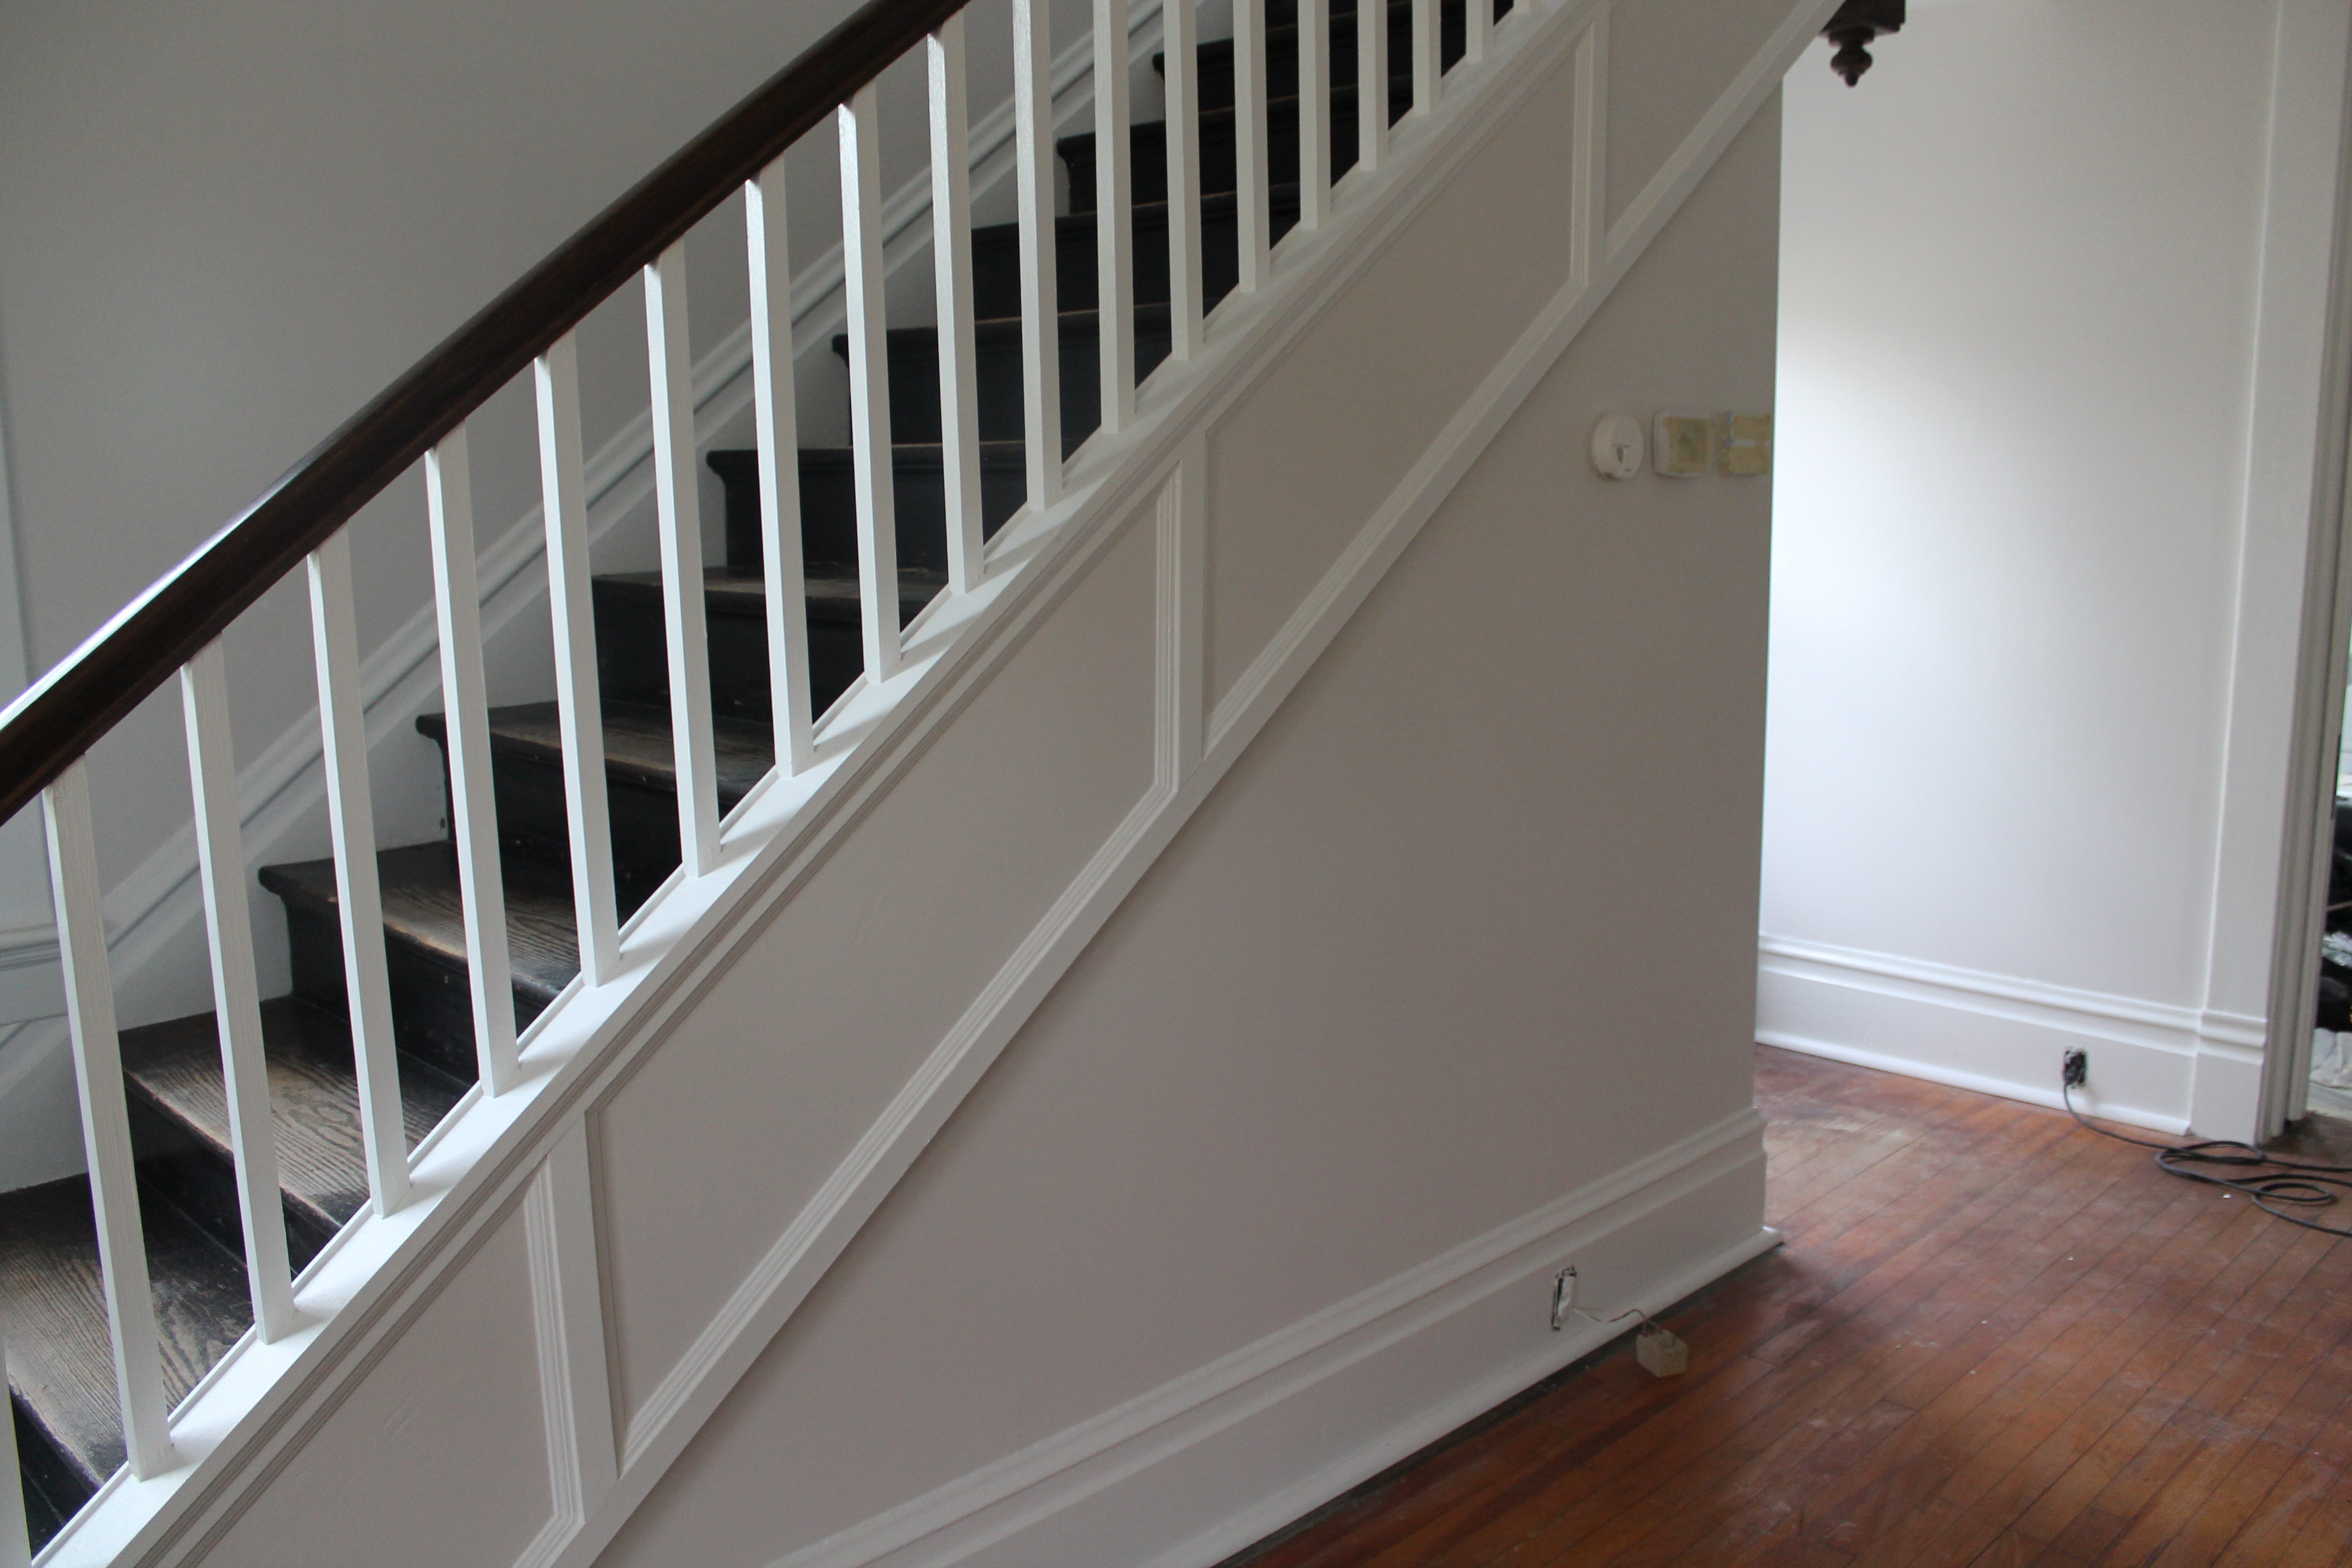
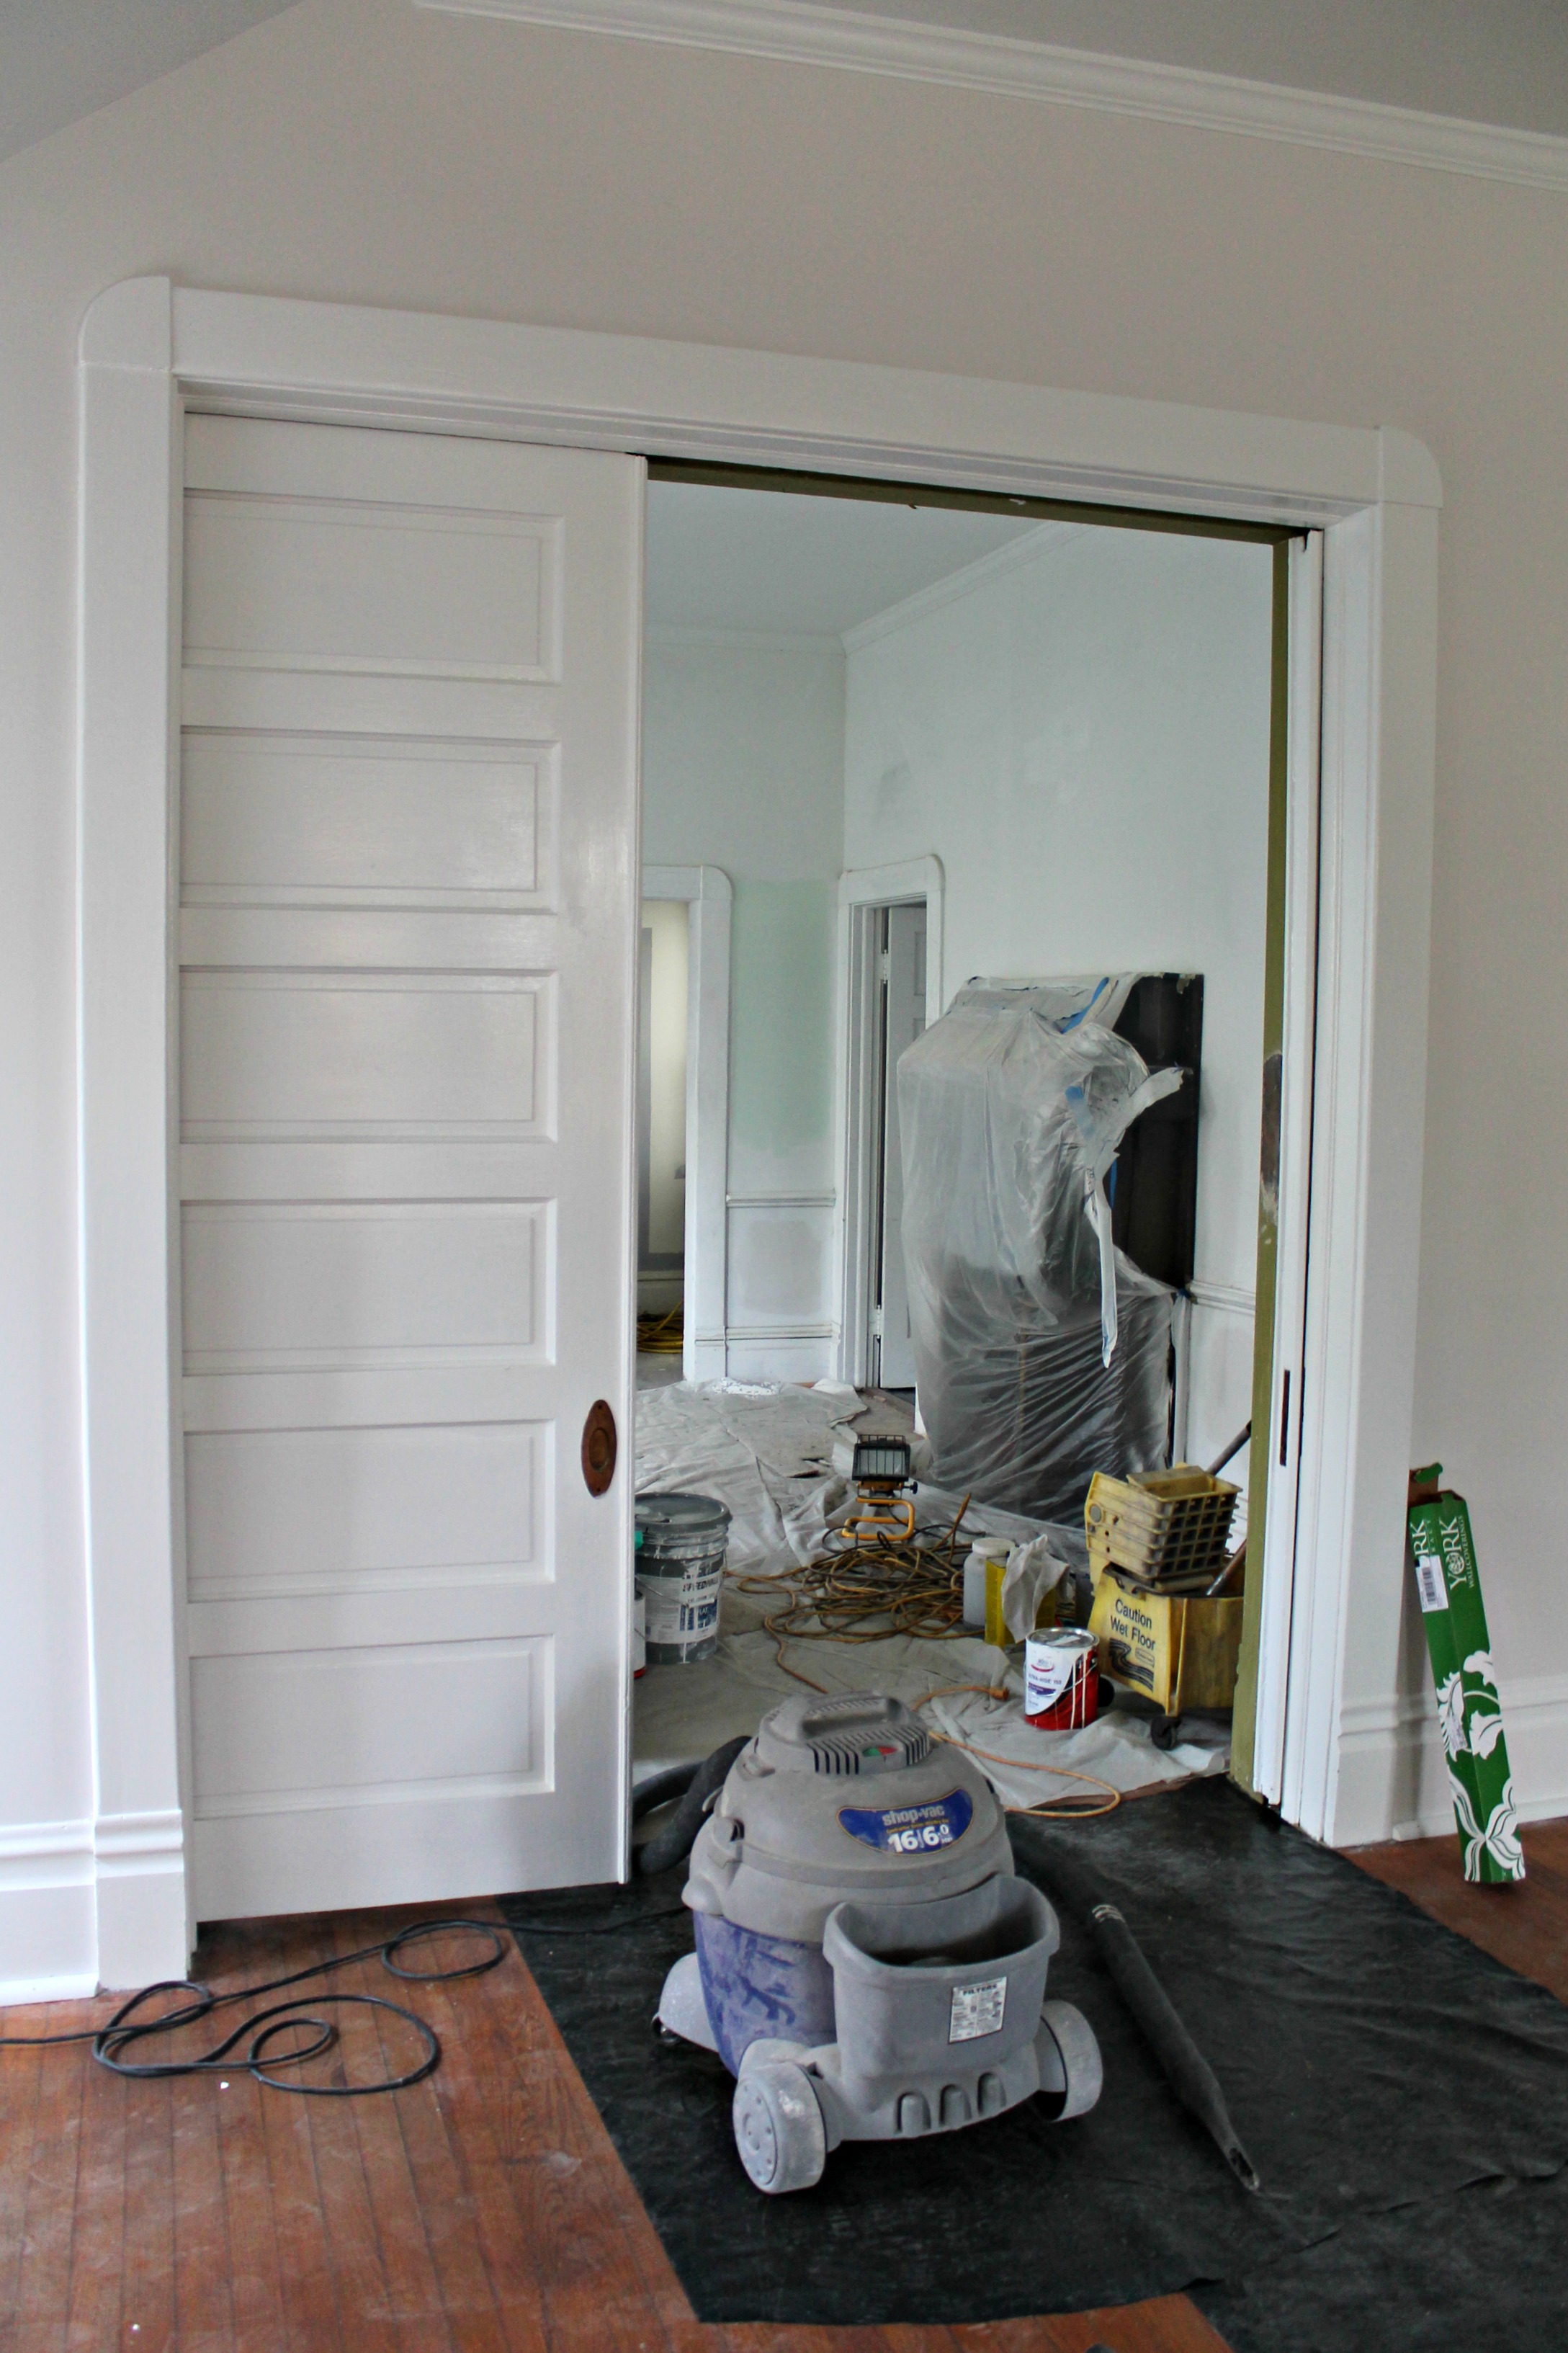
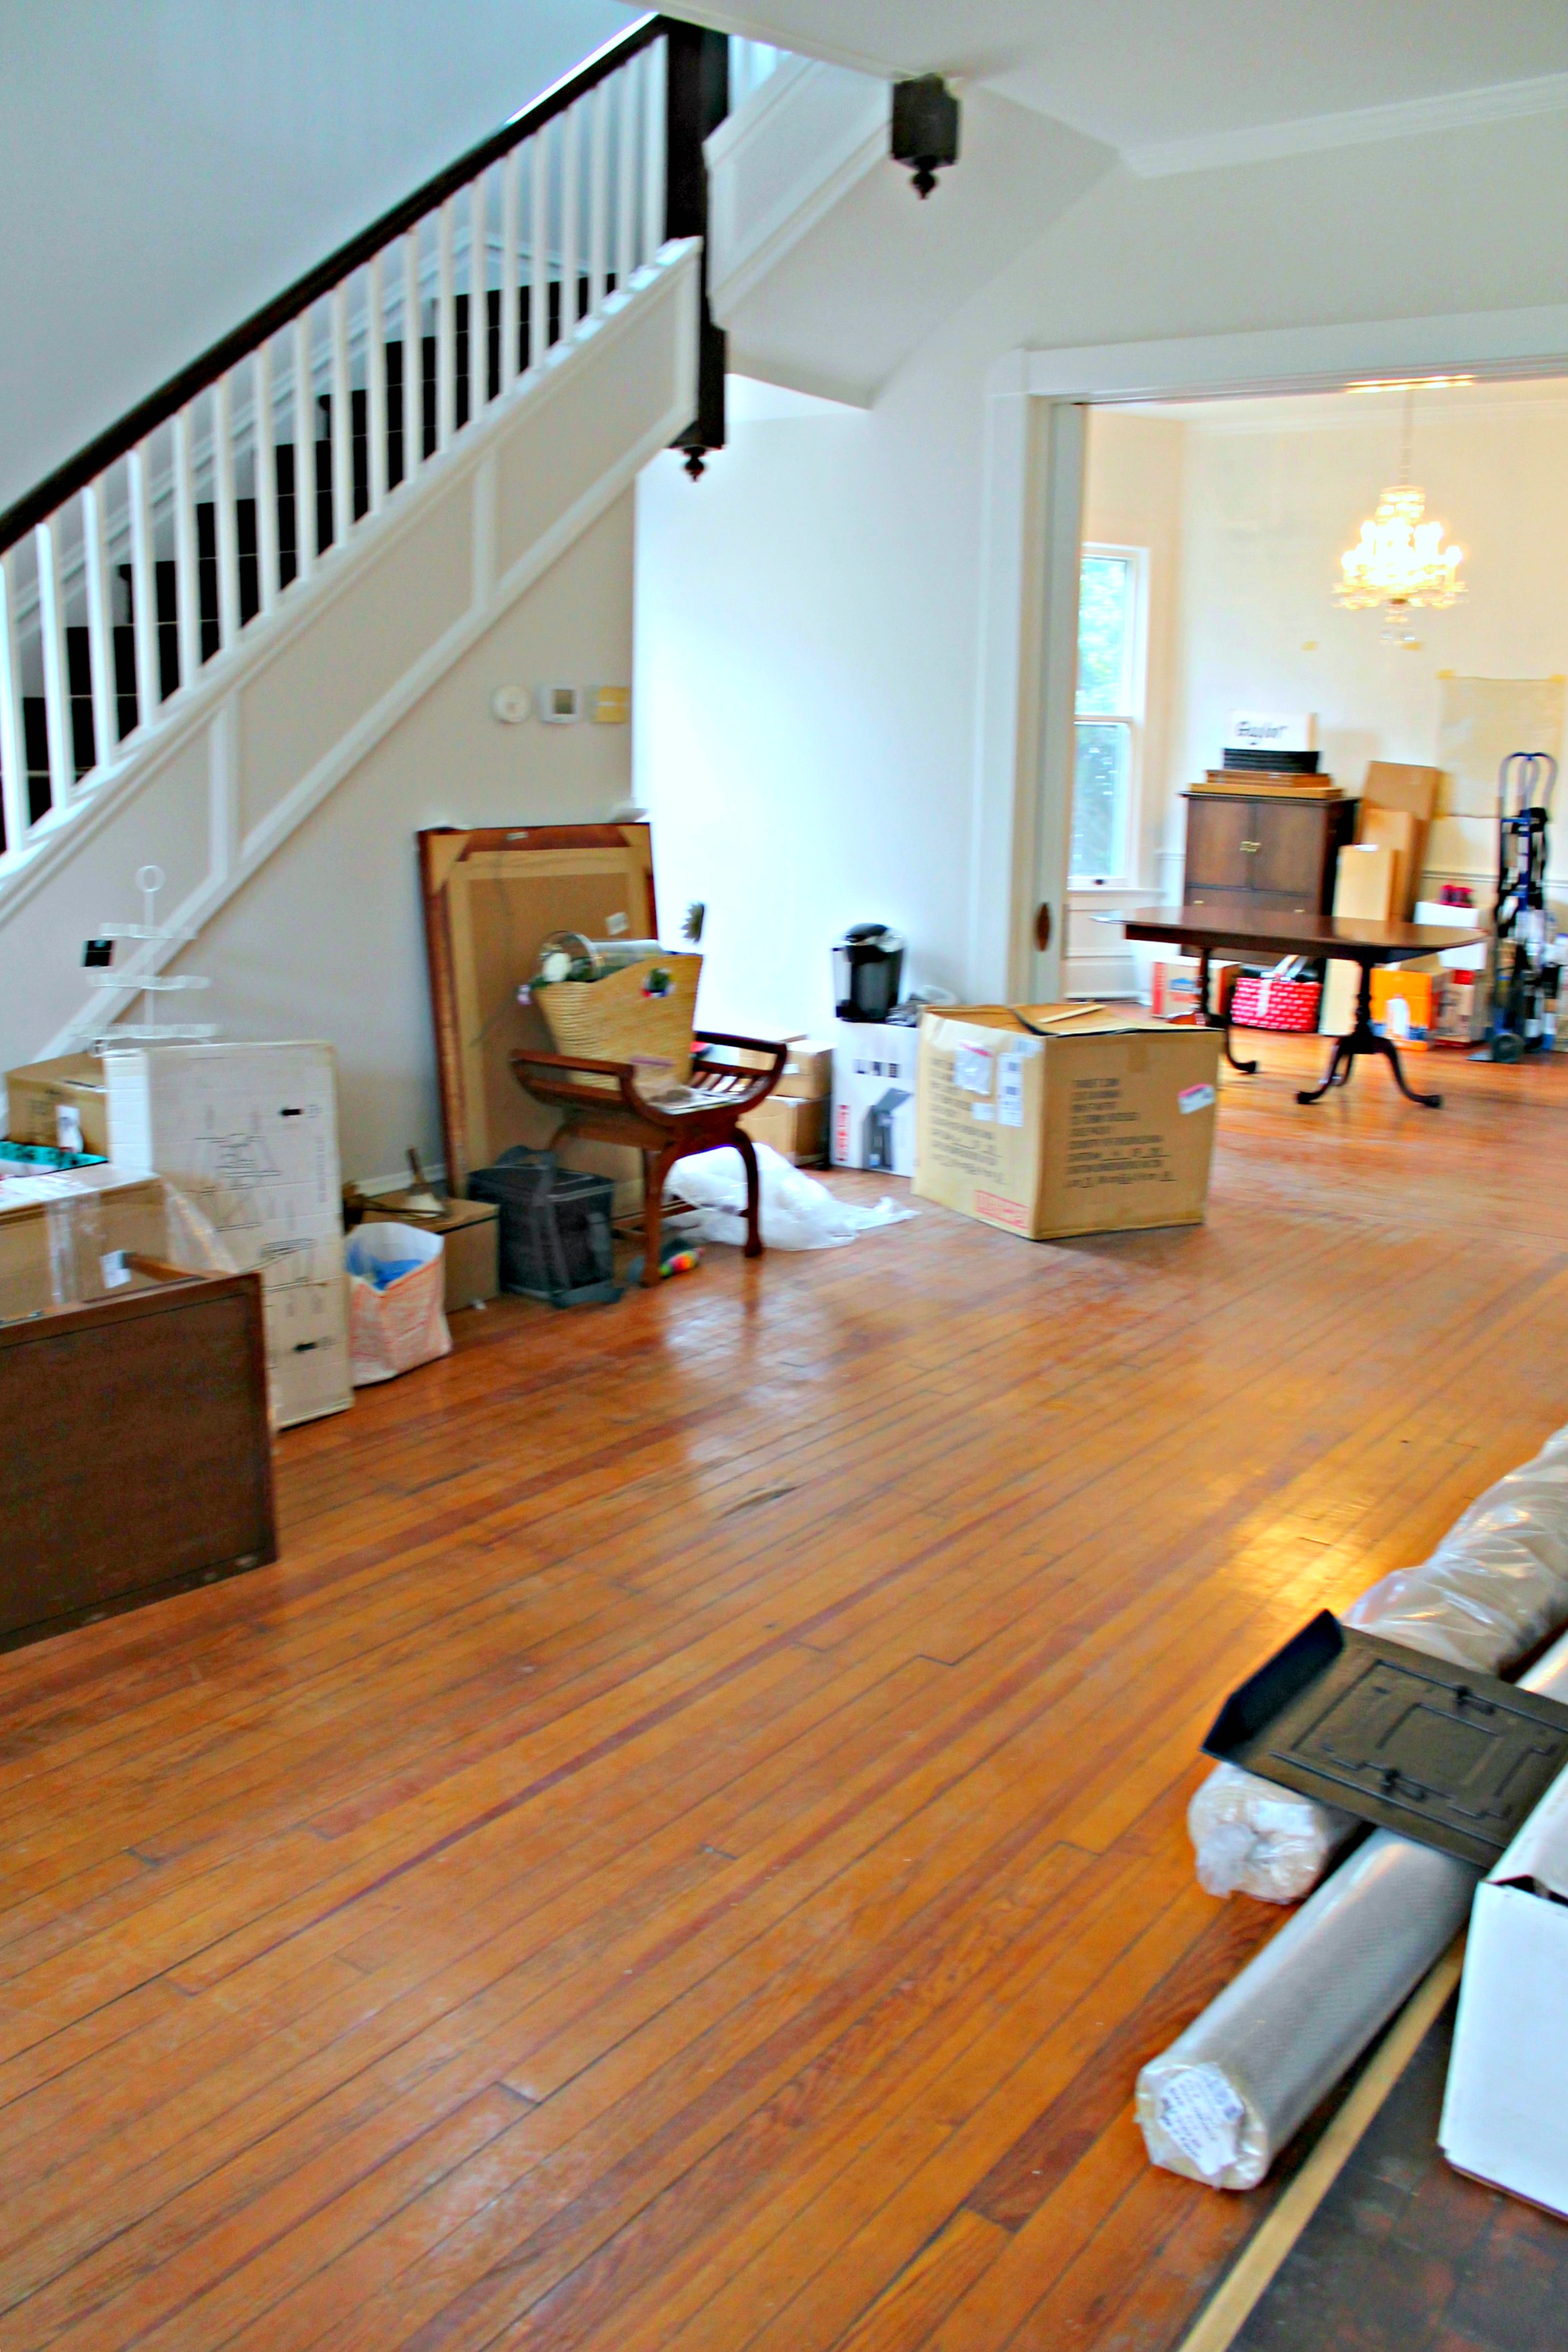
It’s been a while since our last Room by Room Recap. I hope you’re ready for photo overload!! Today, I’m giving you a recap of the transformation of our foyer and stairs.
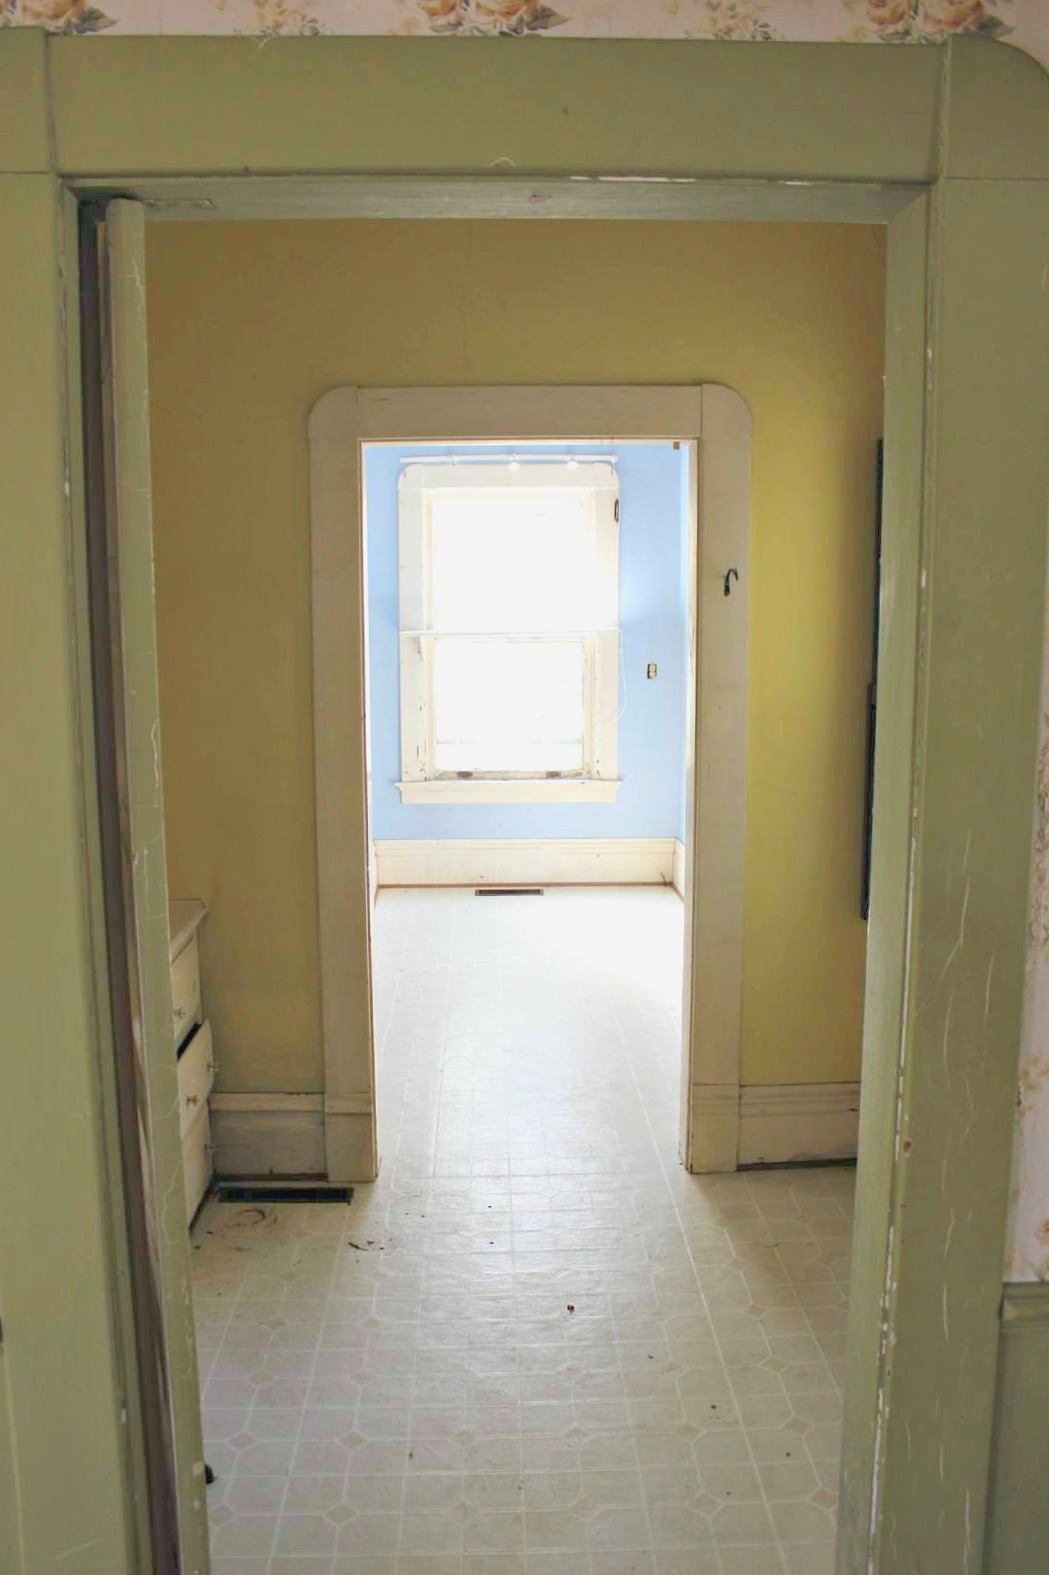
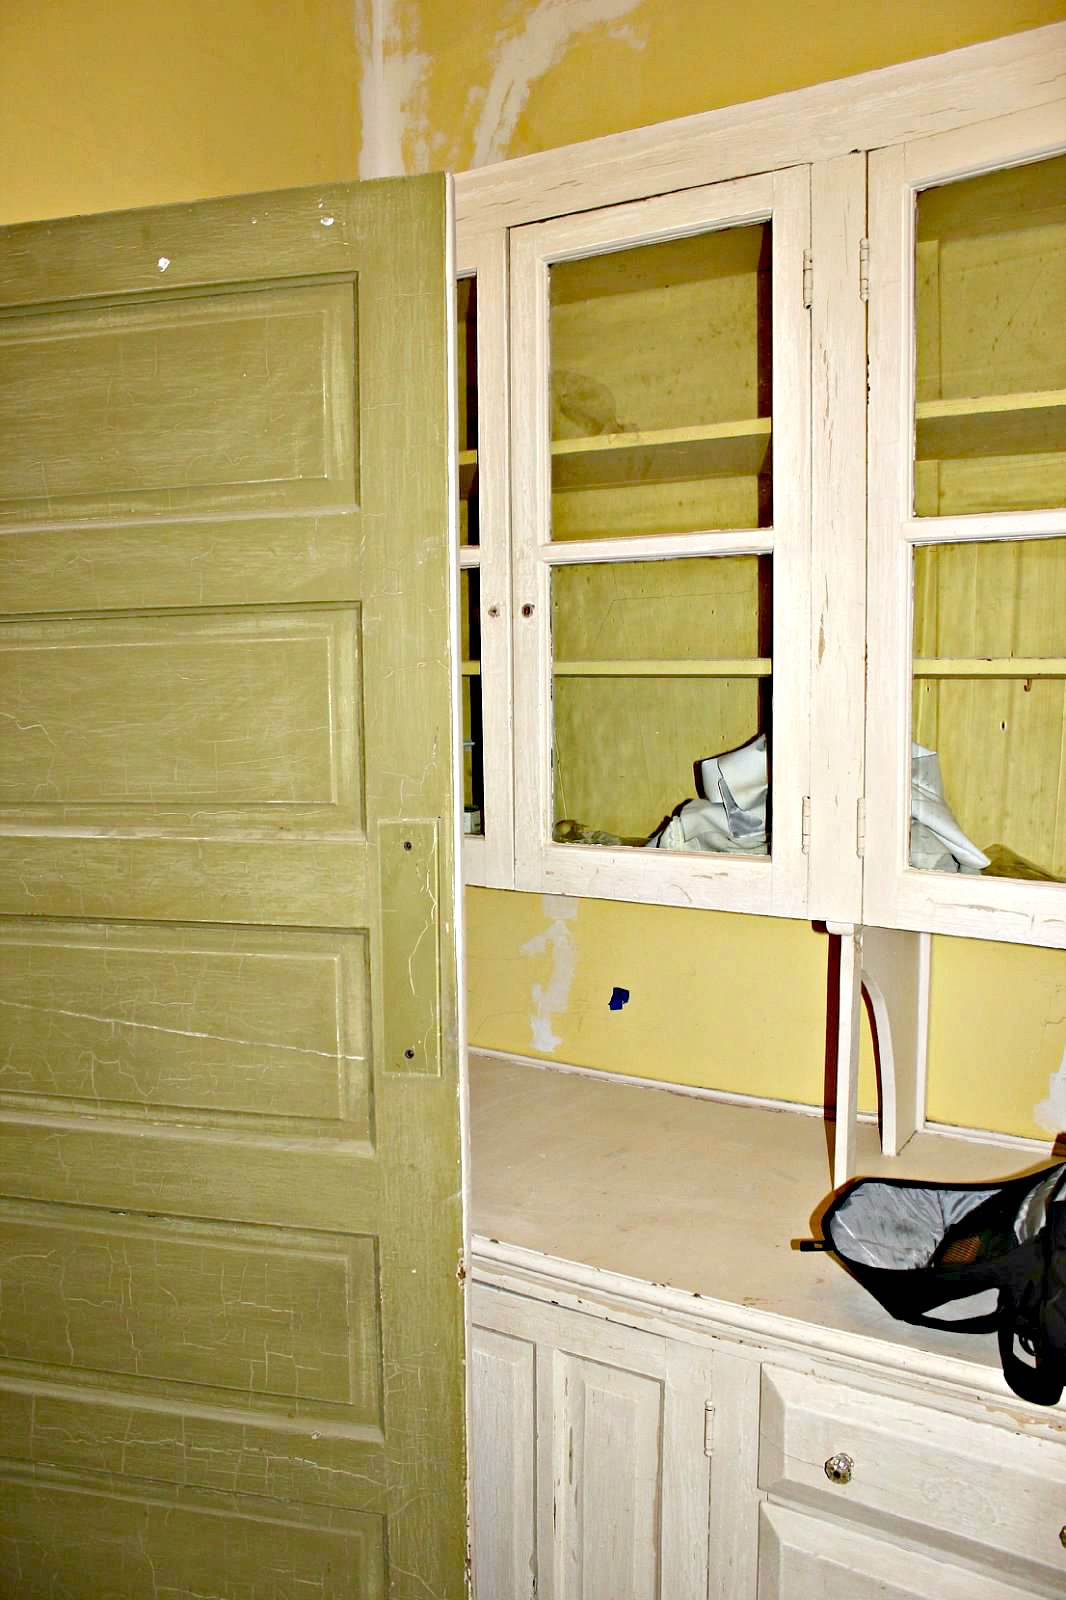
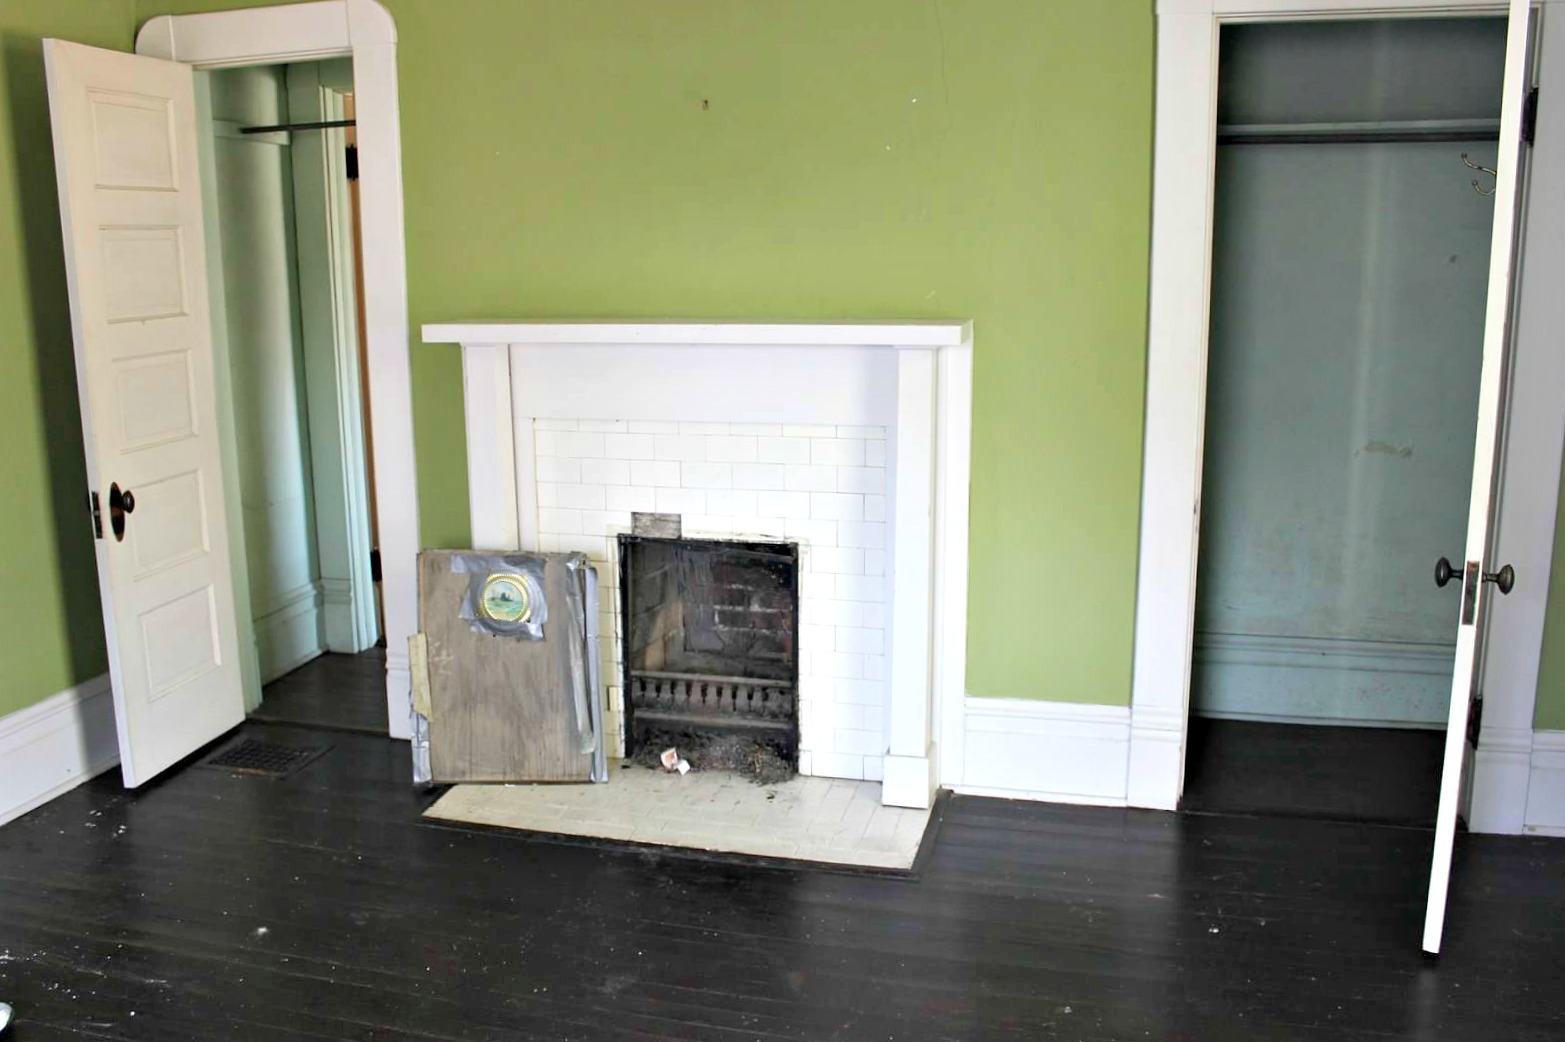
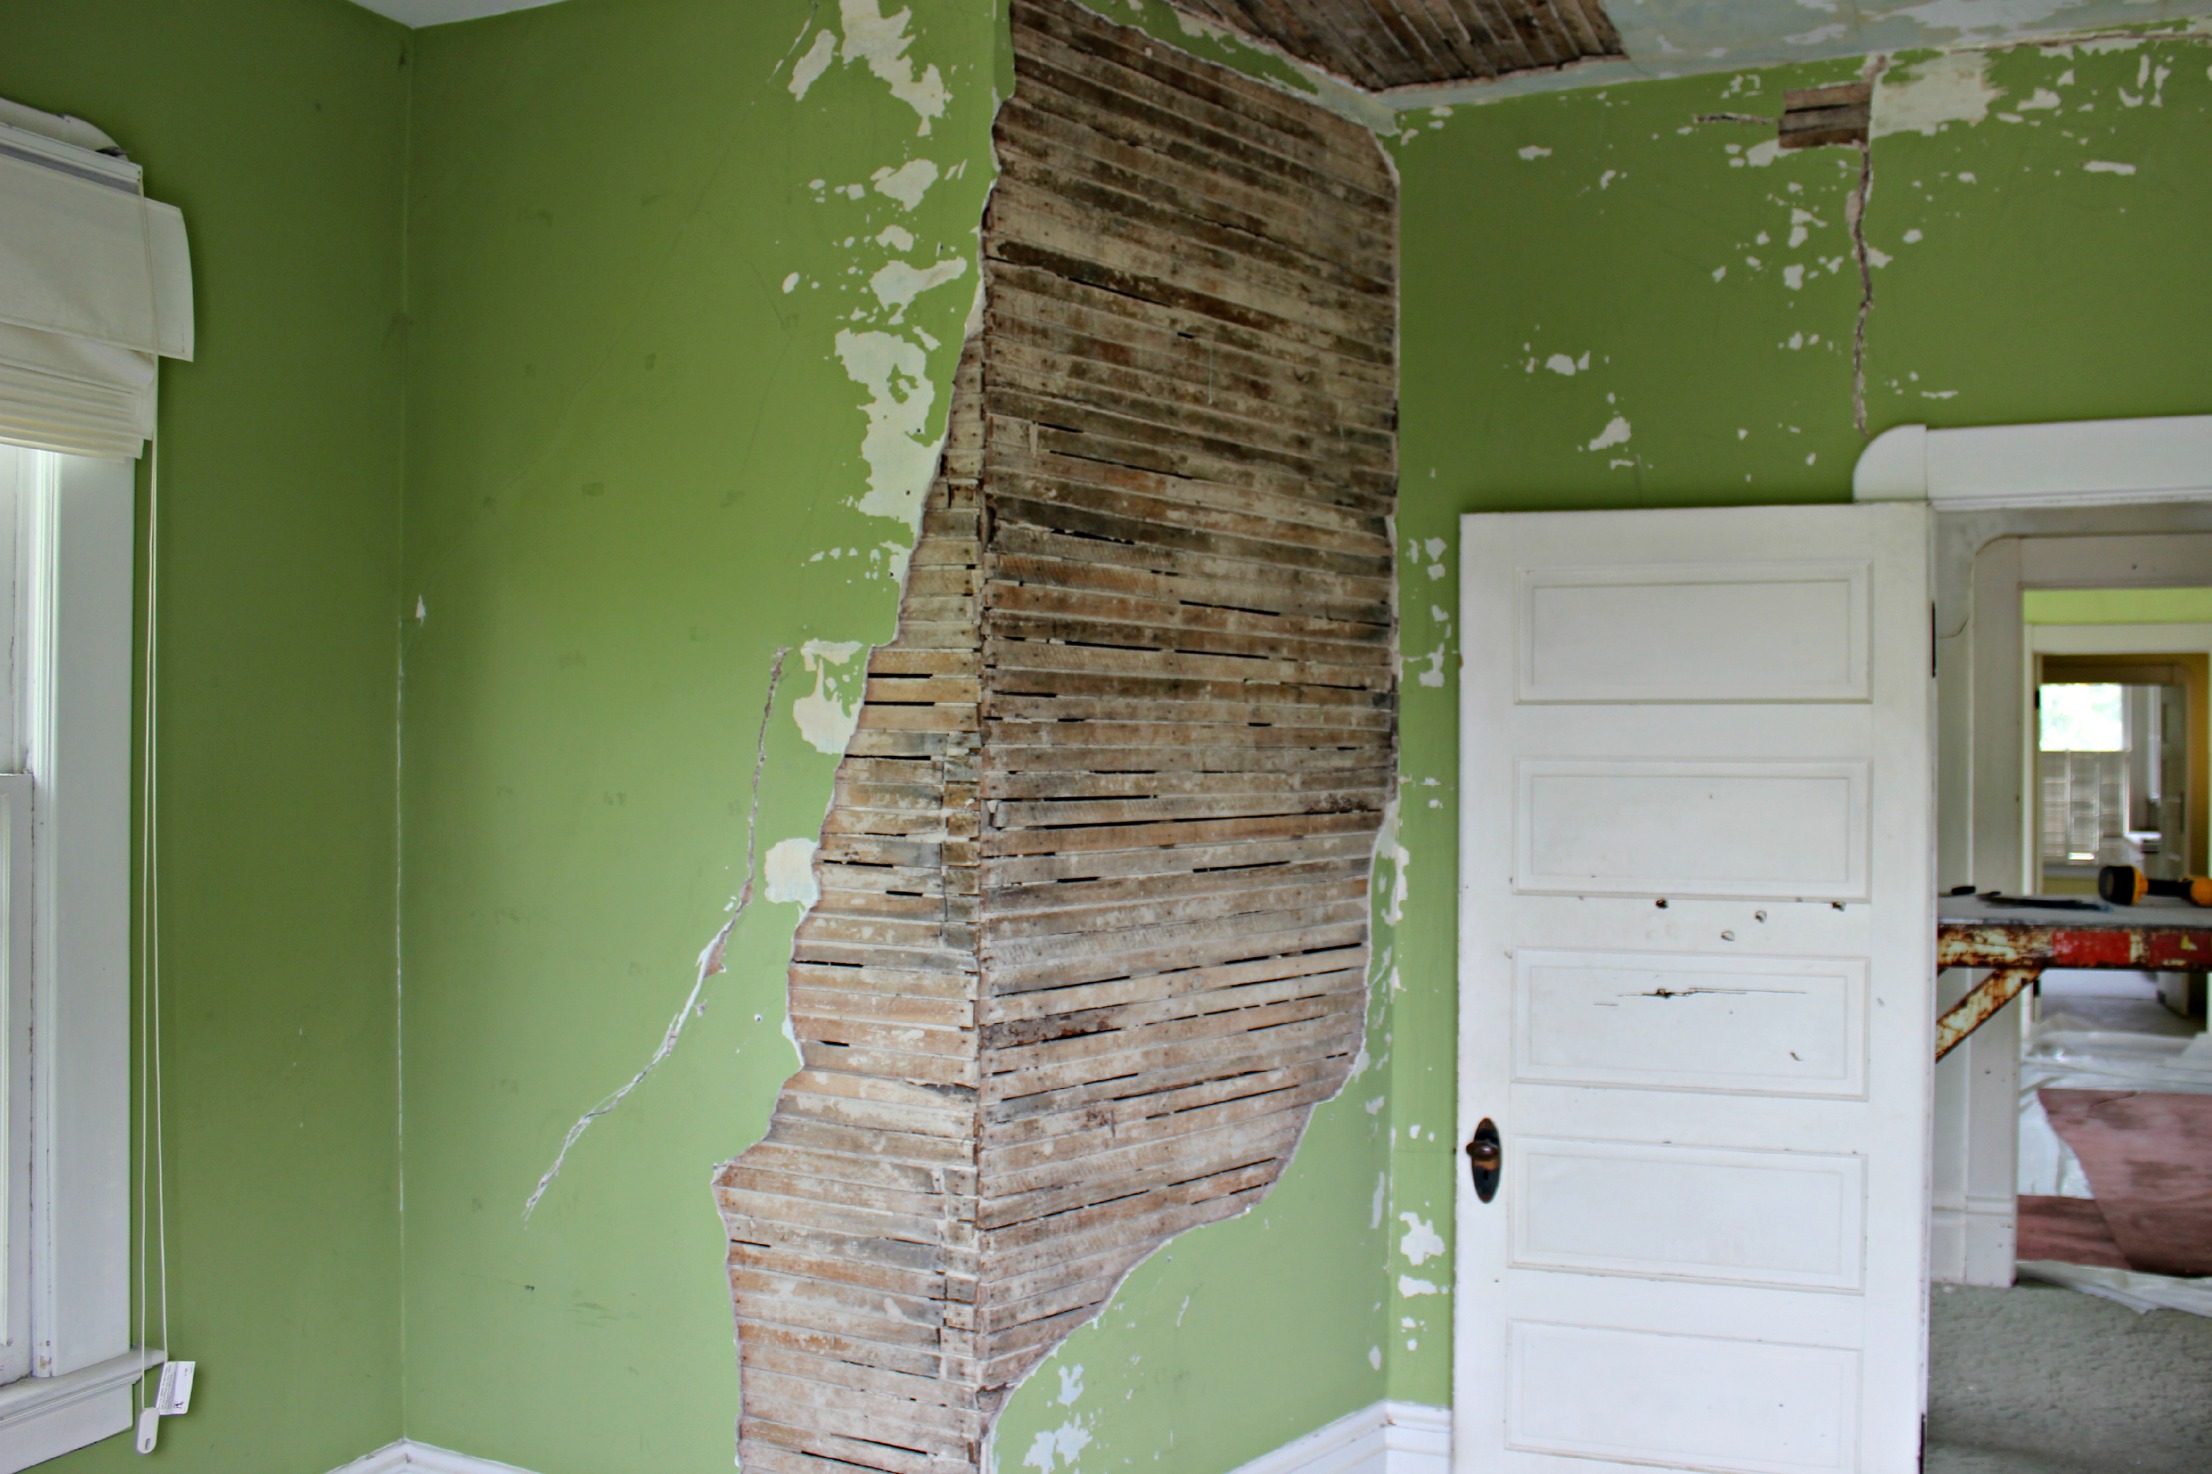
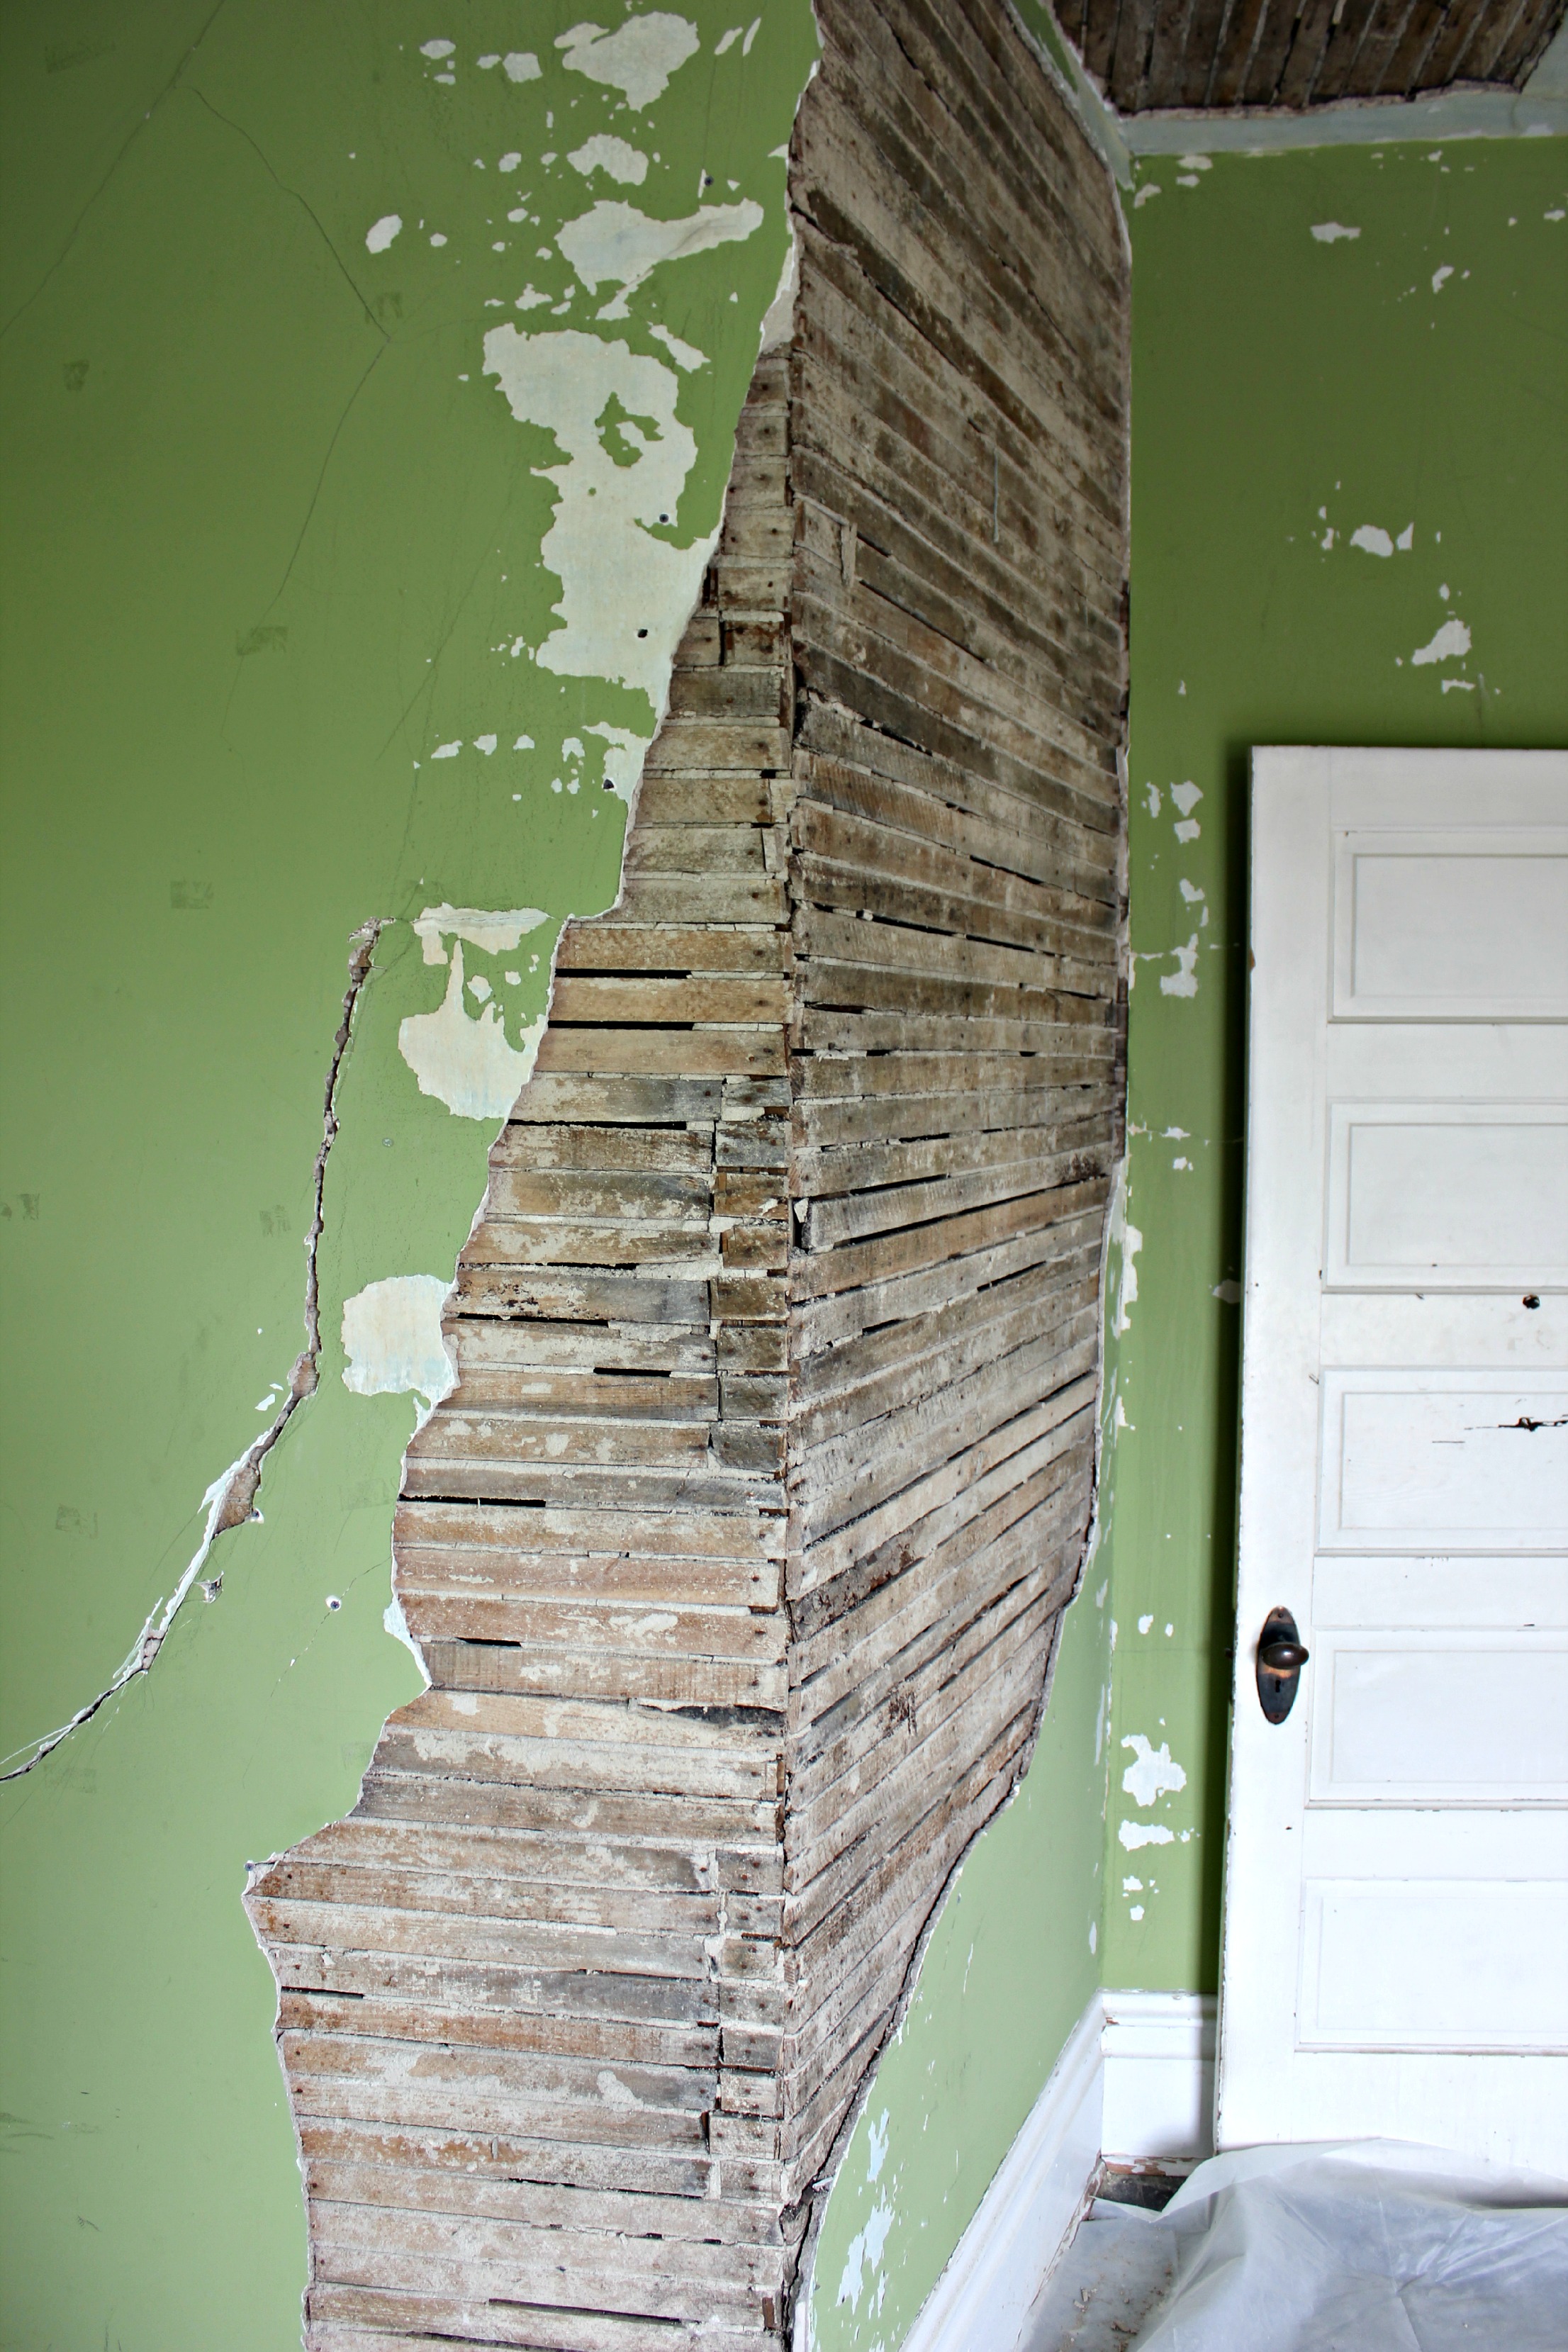
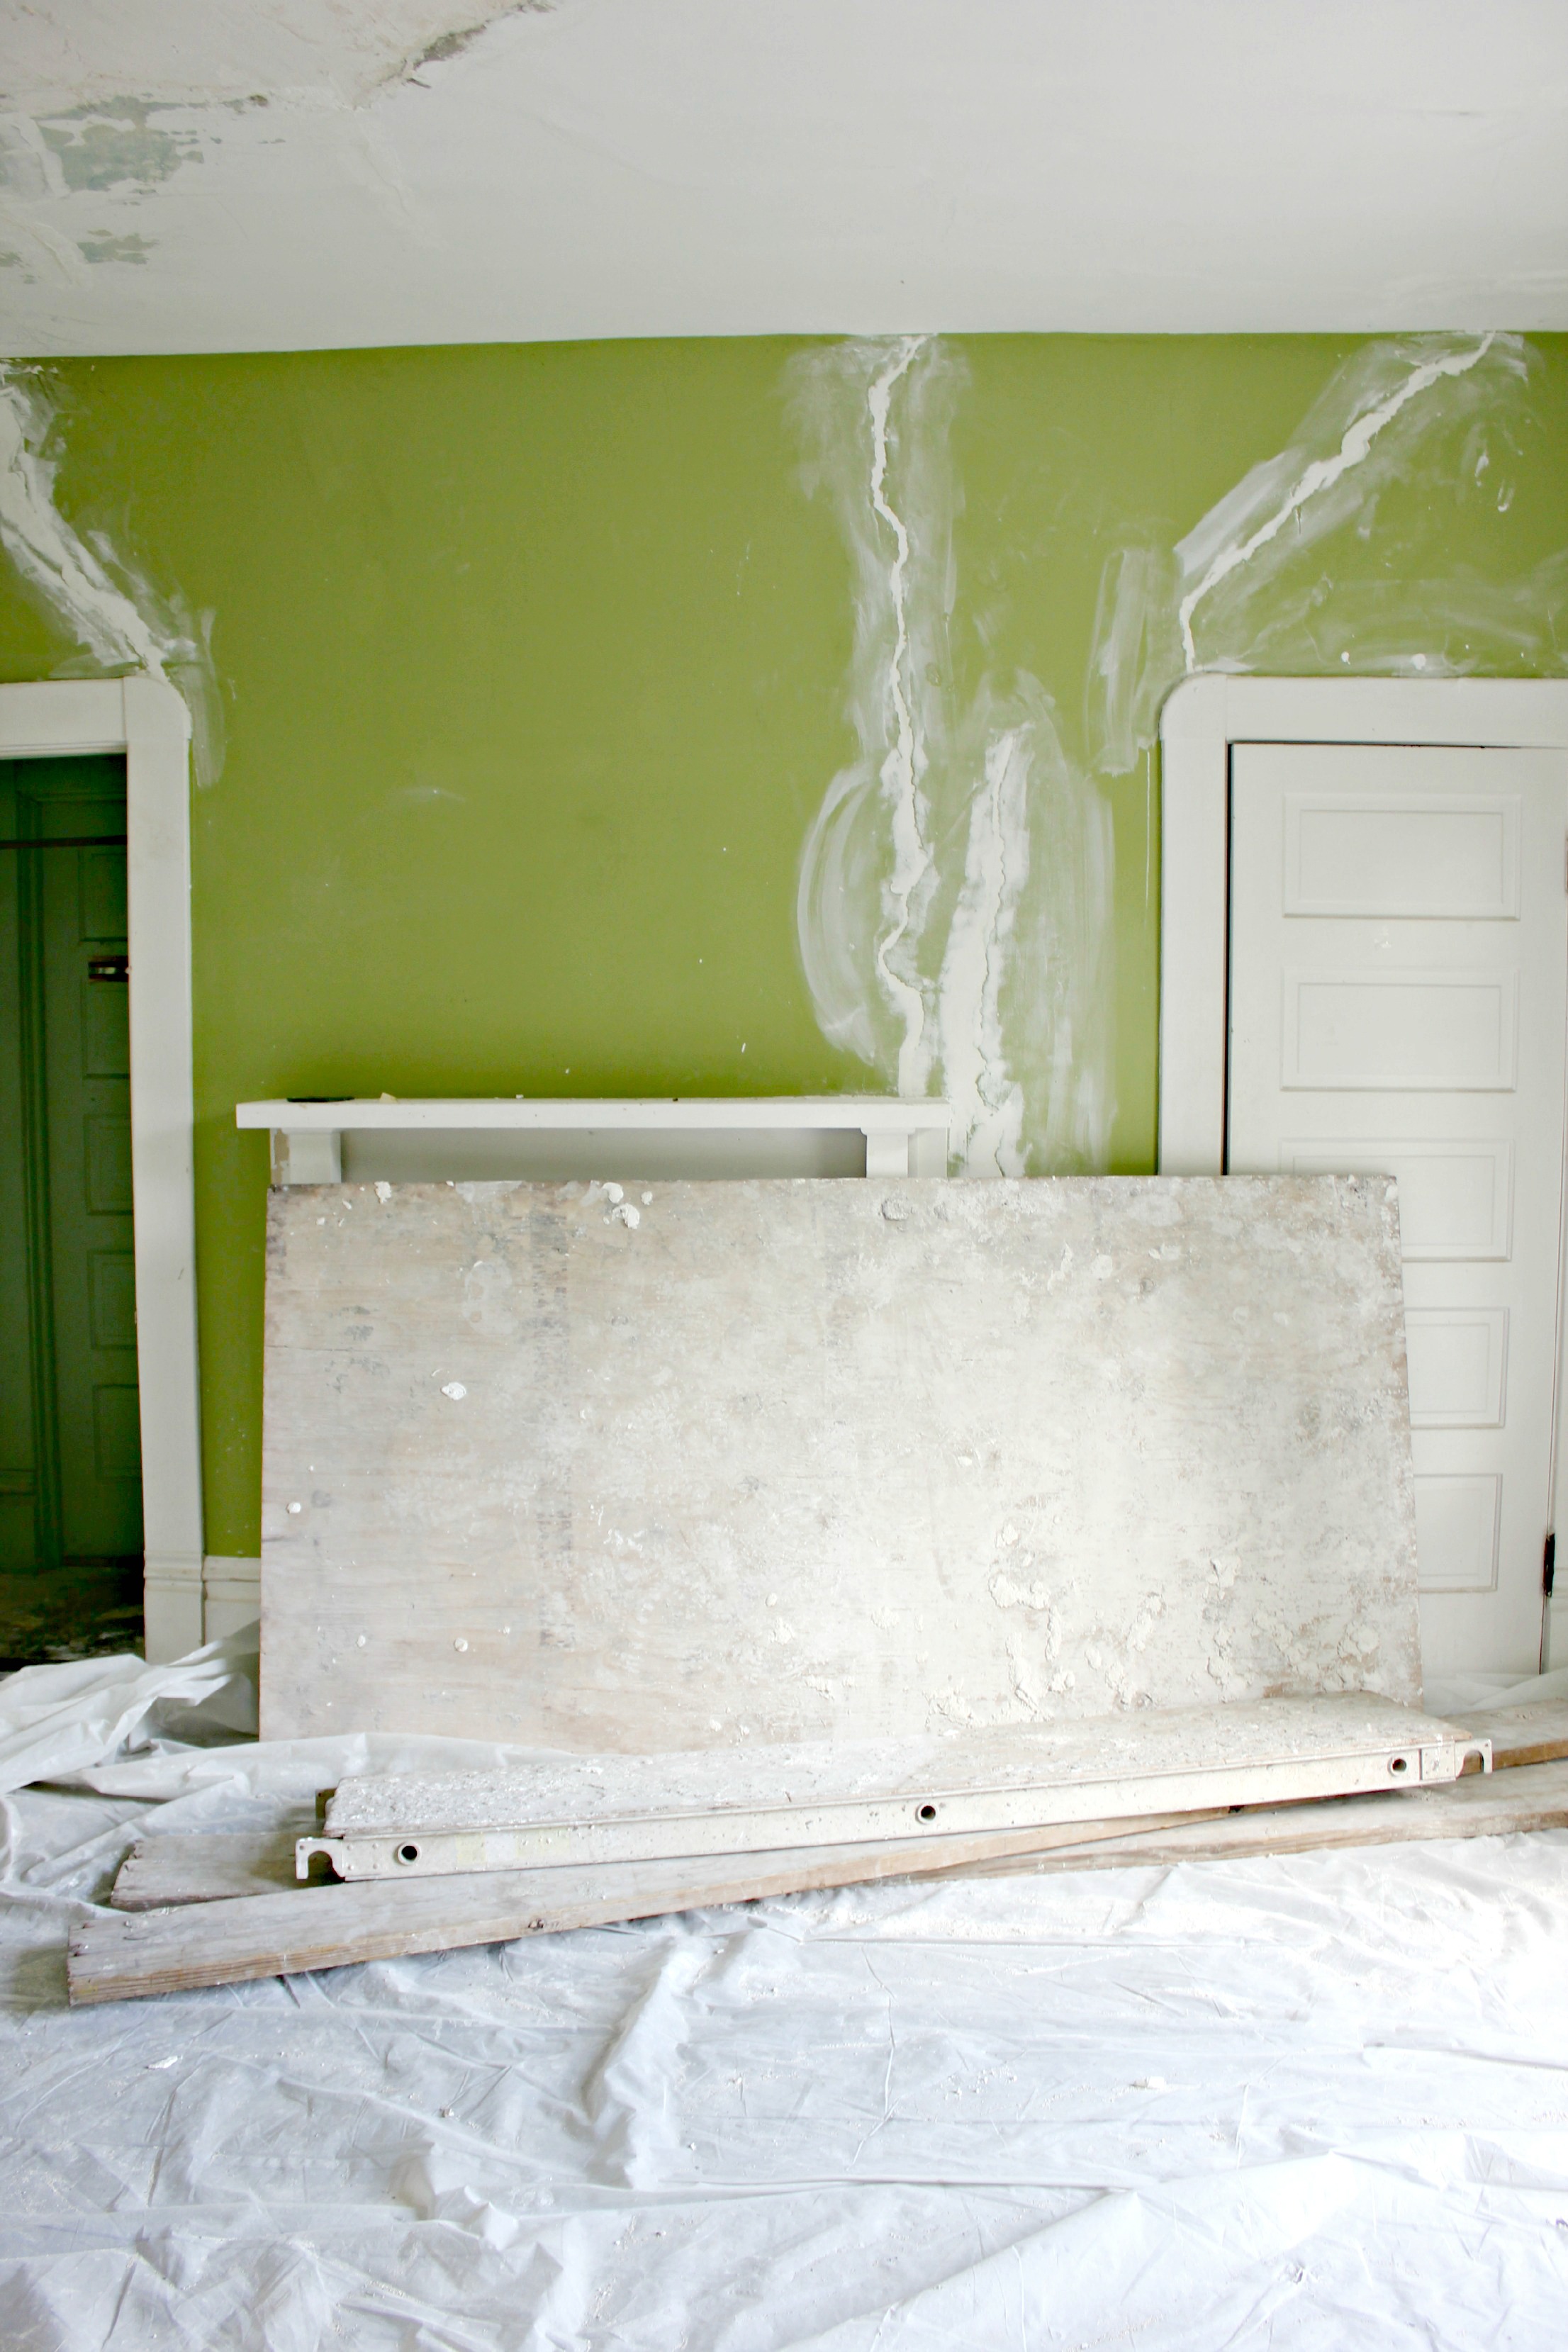
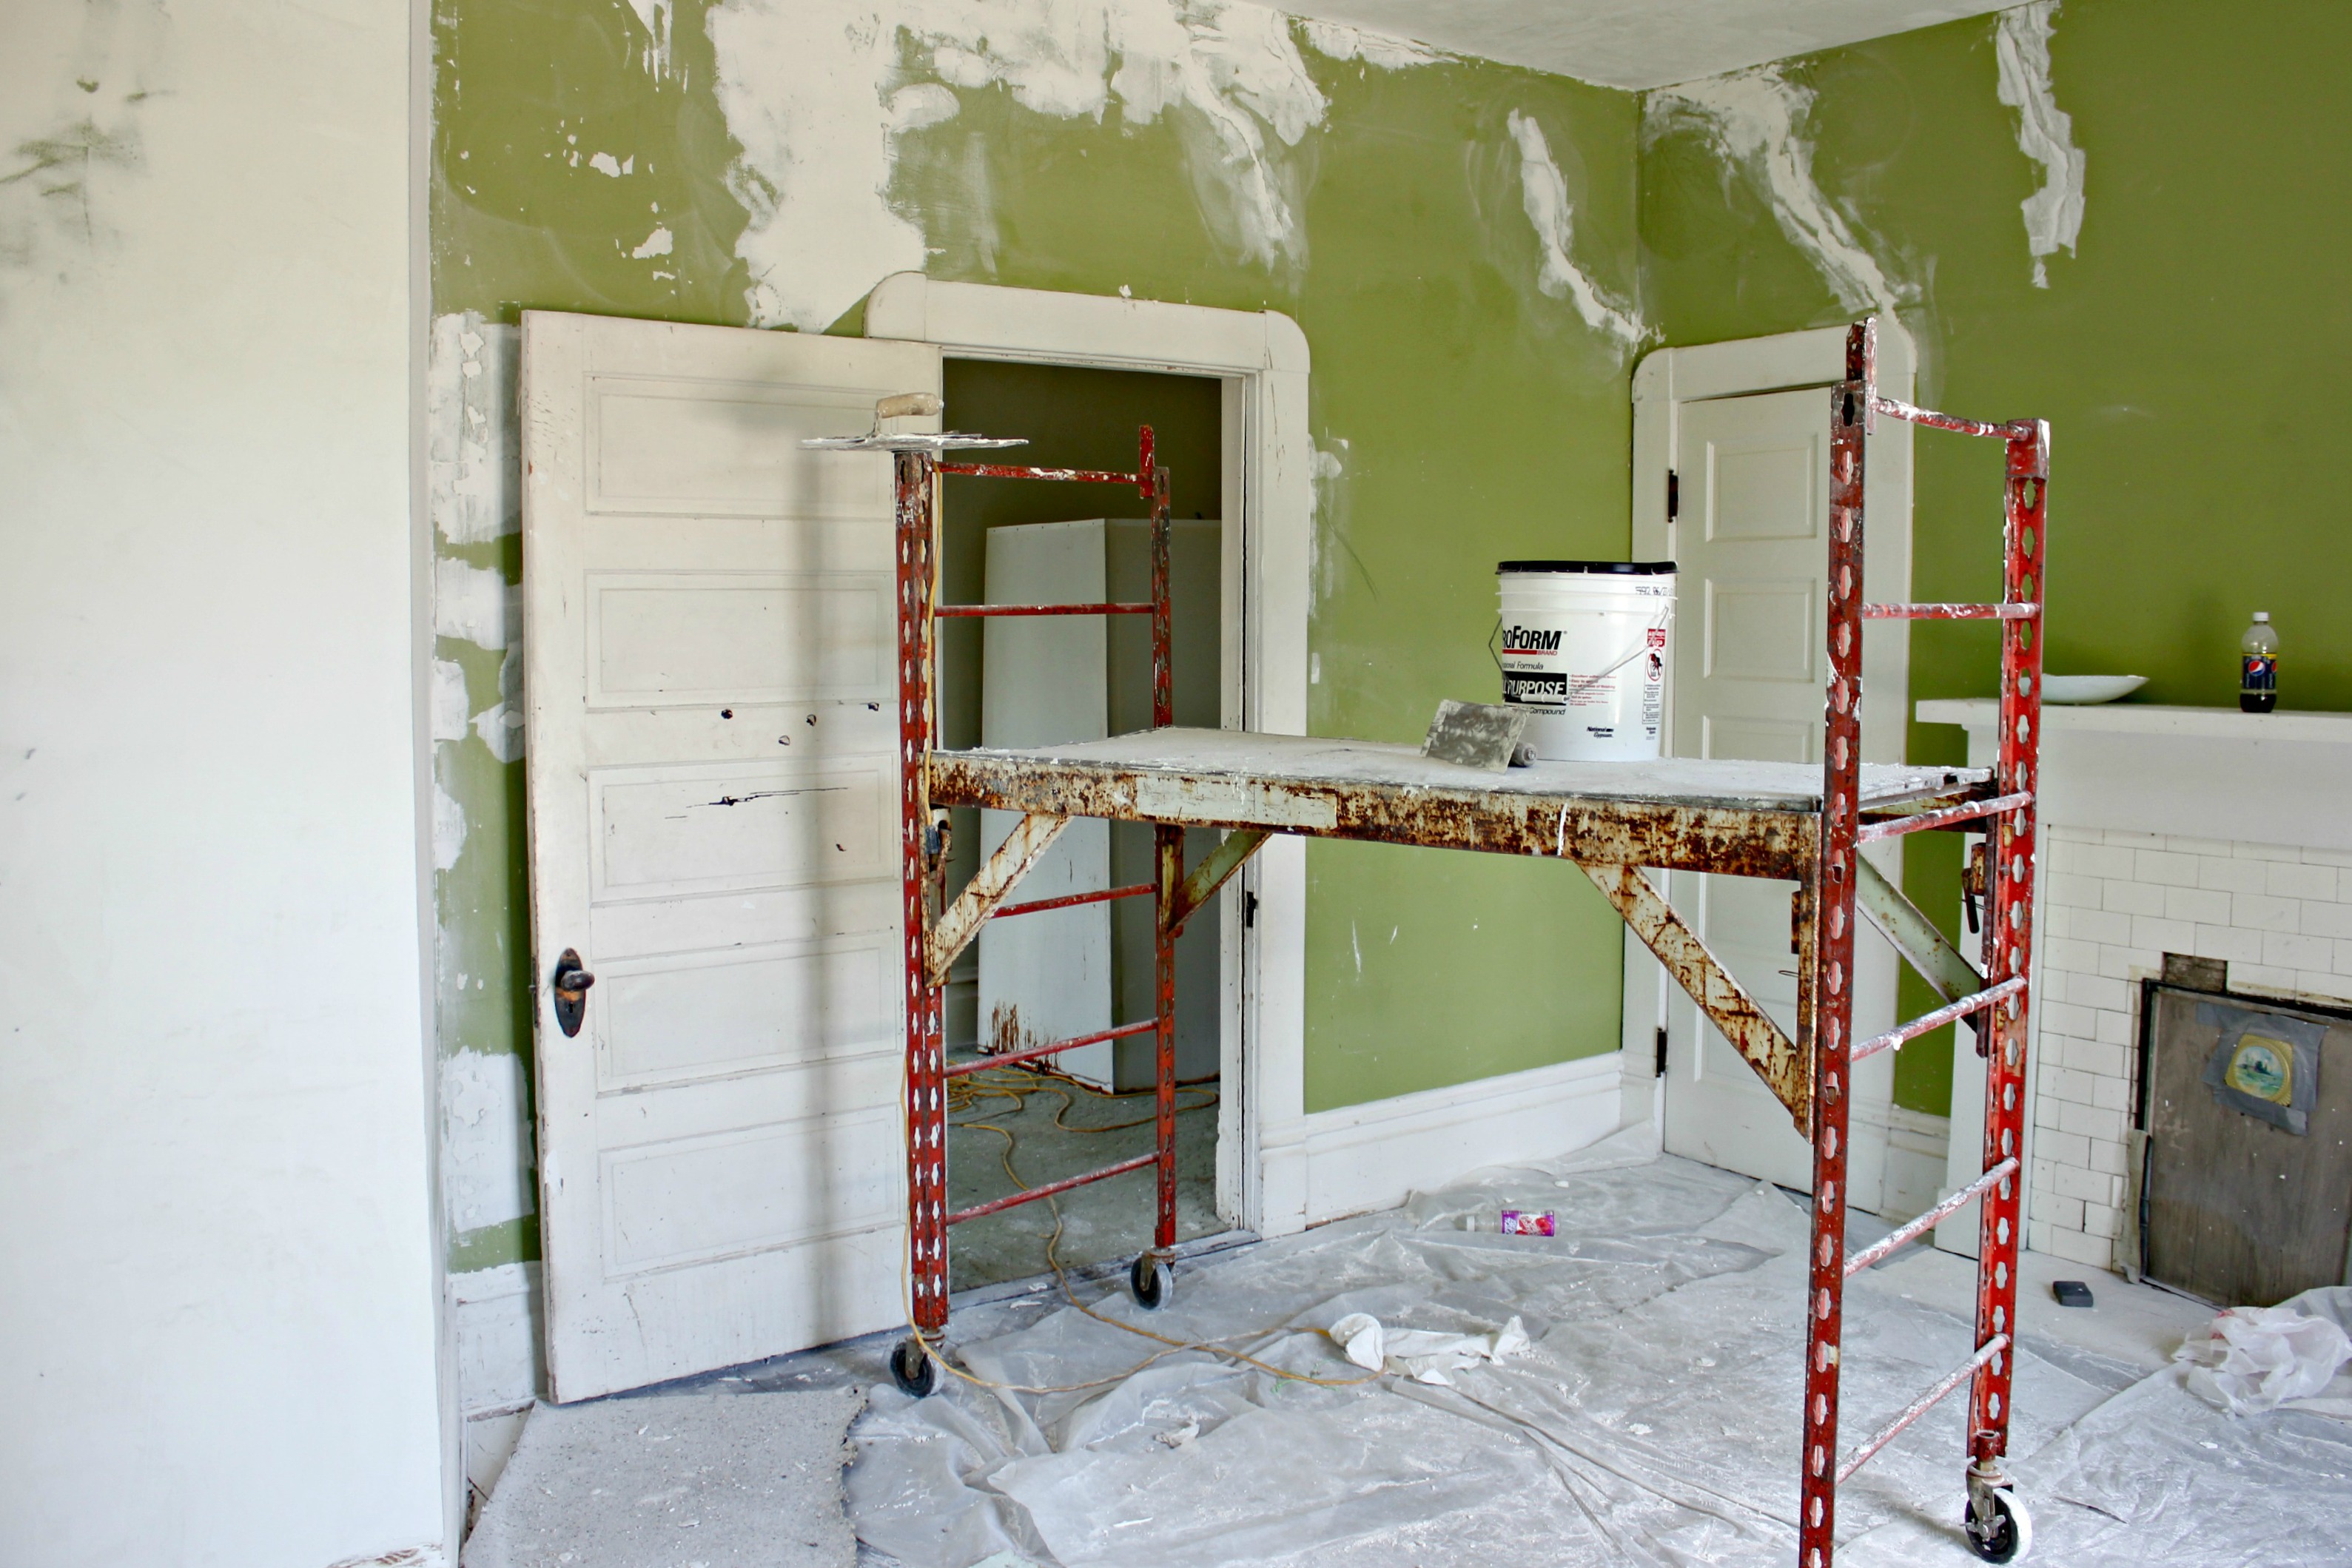
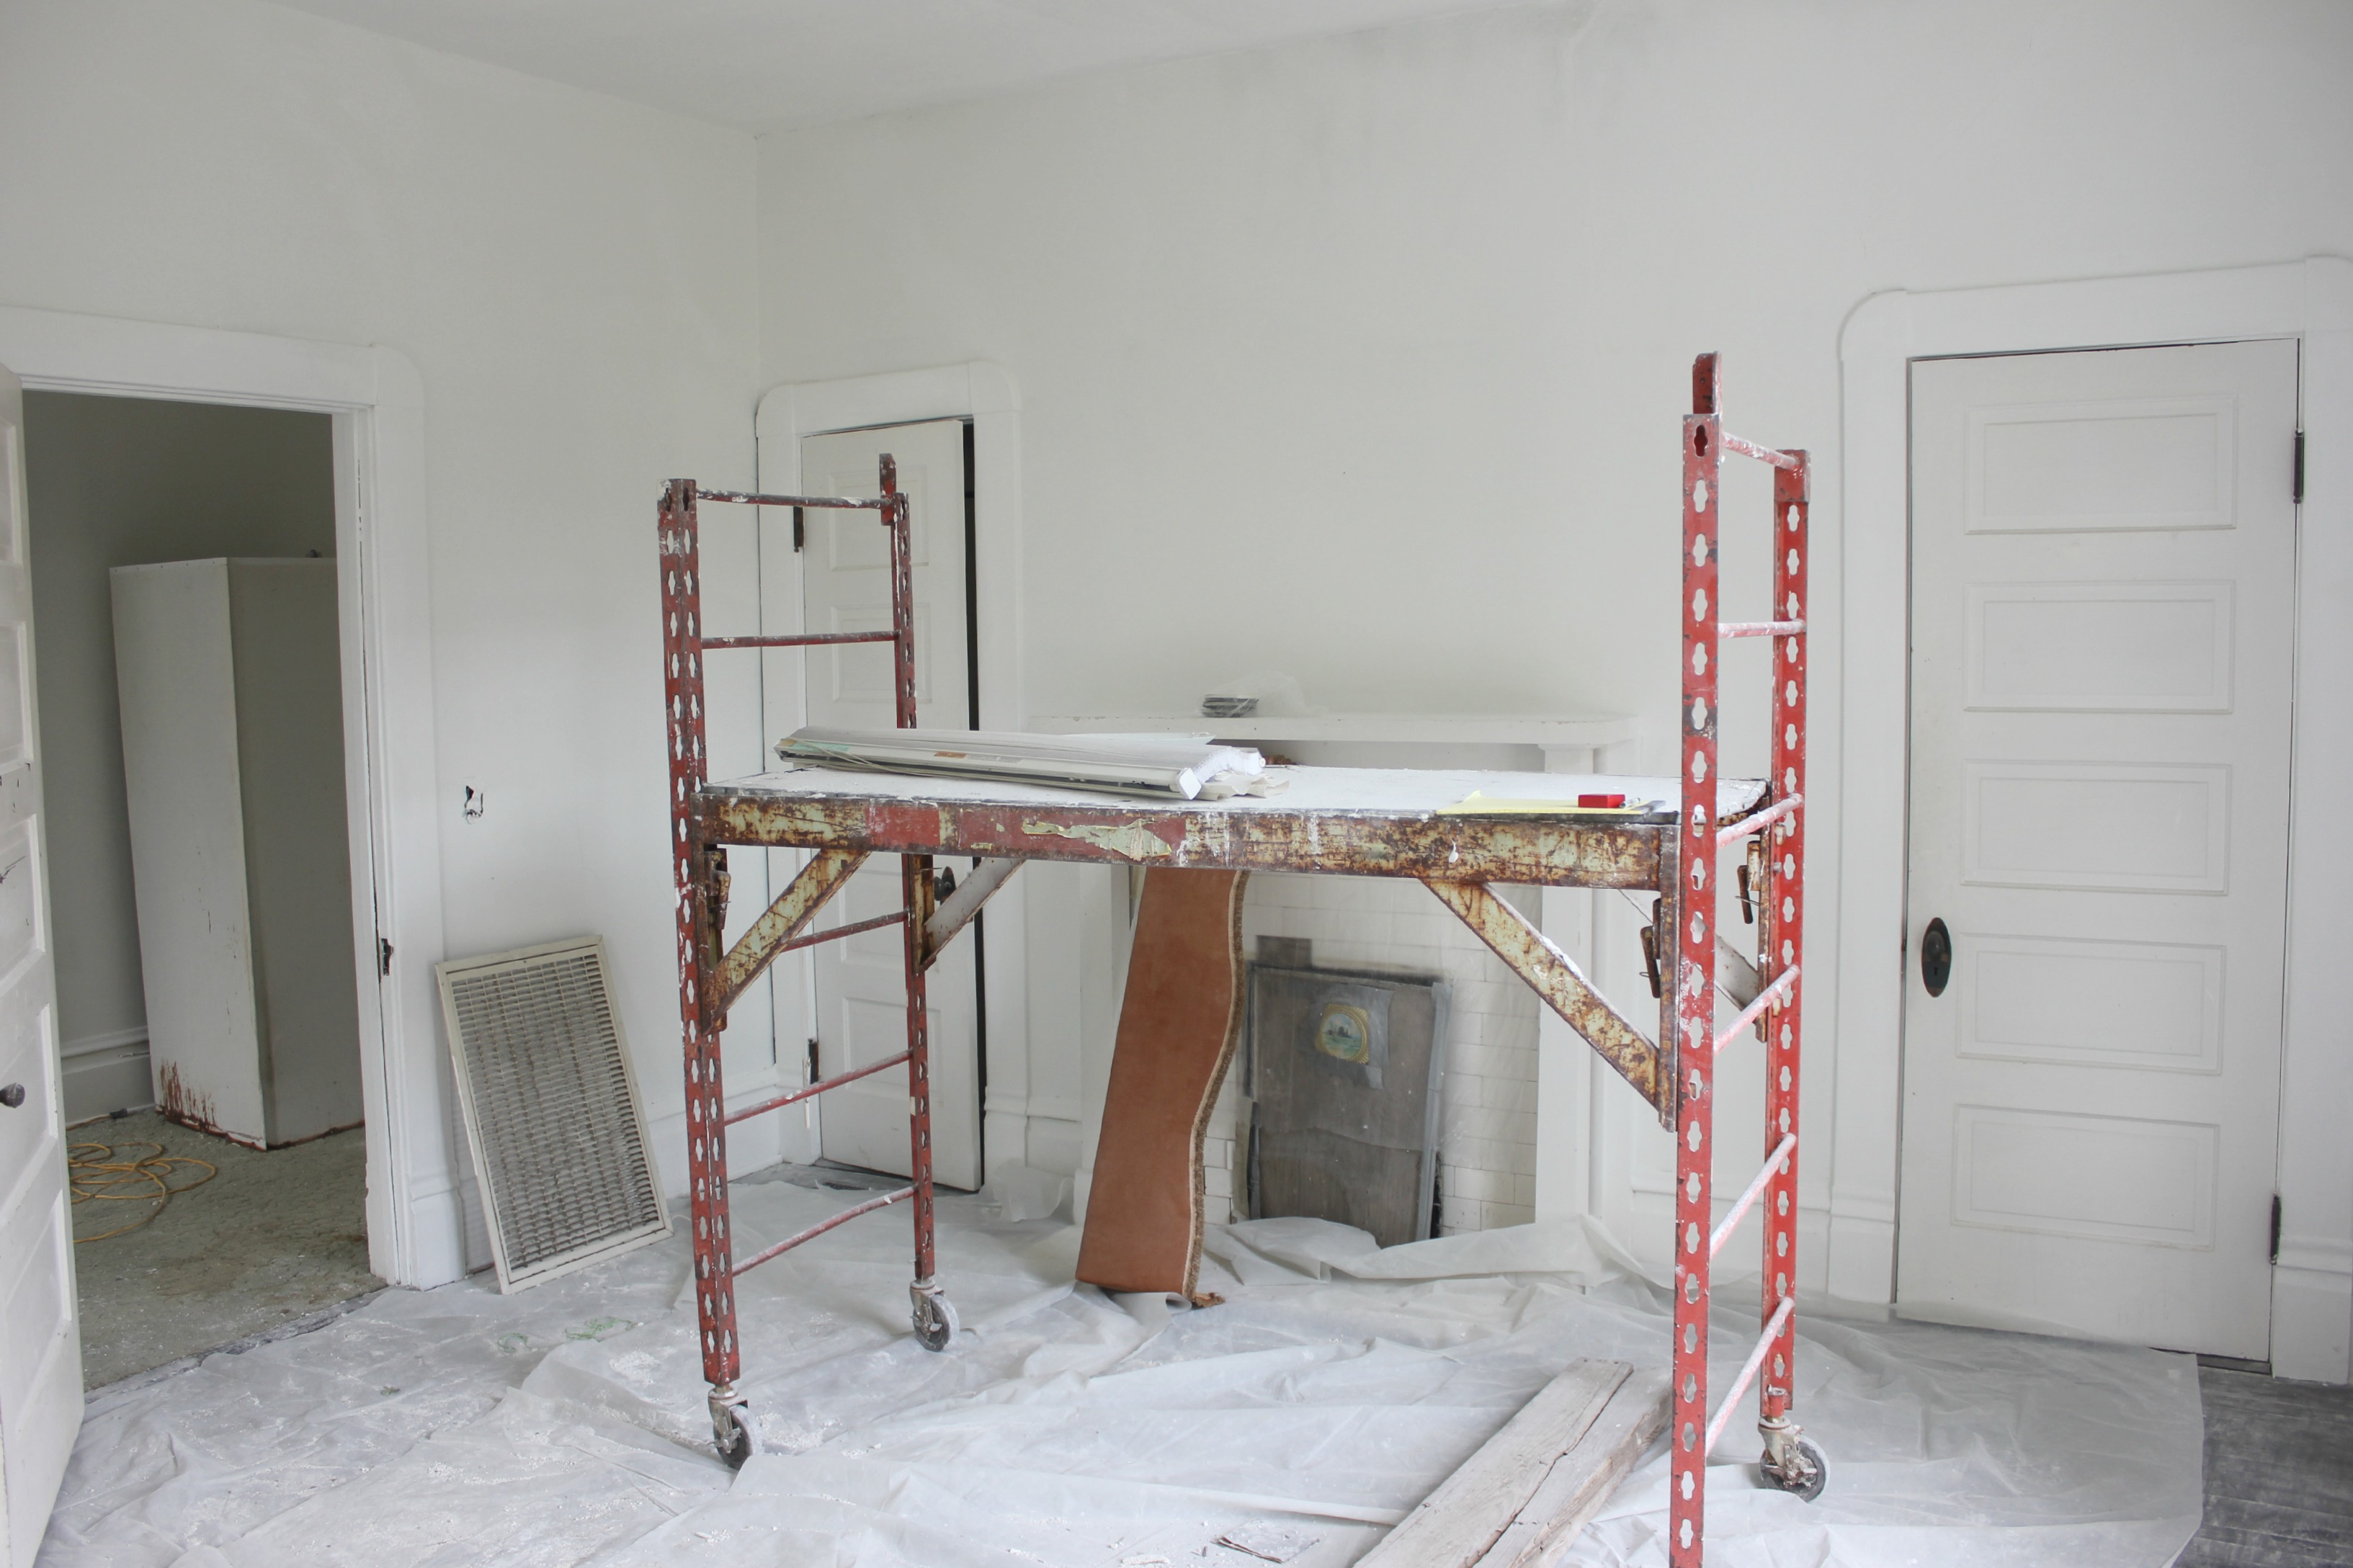
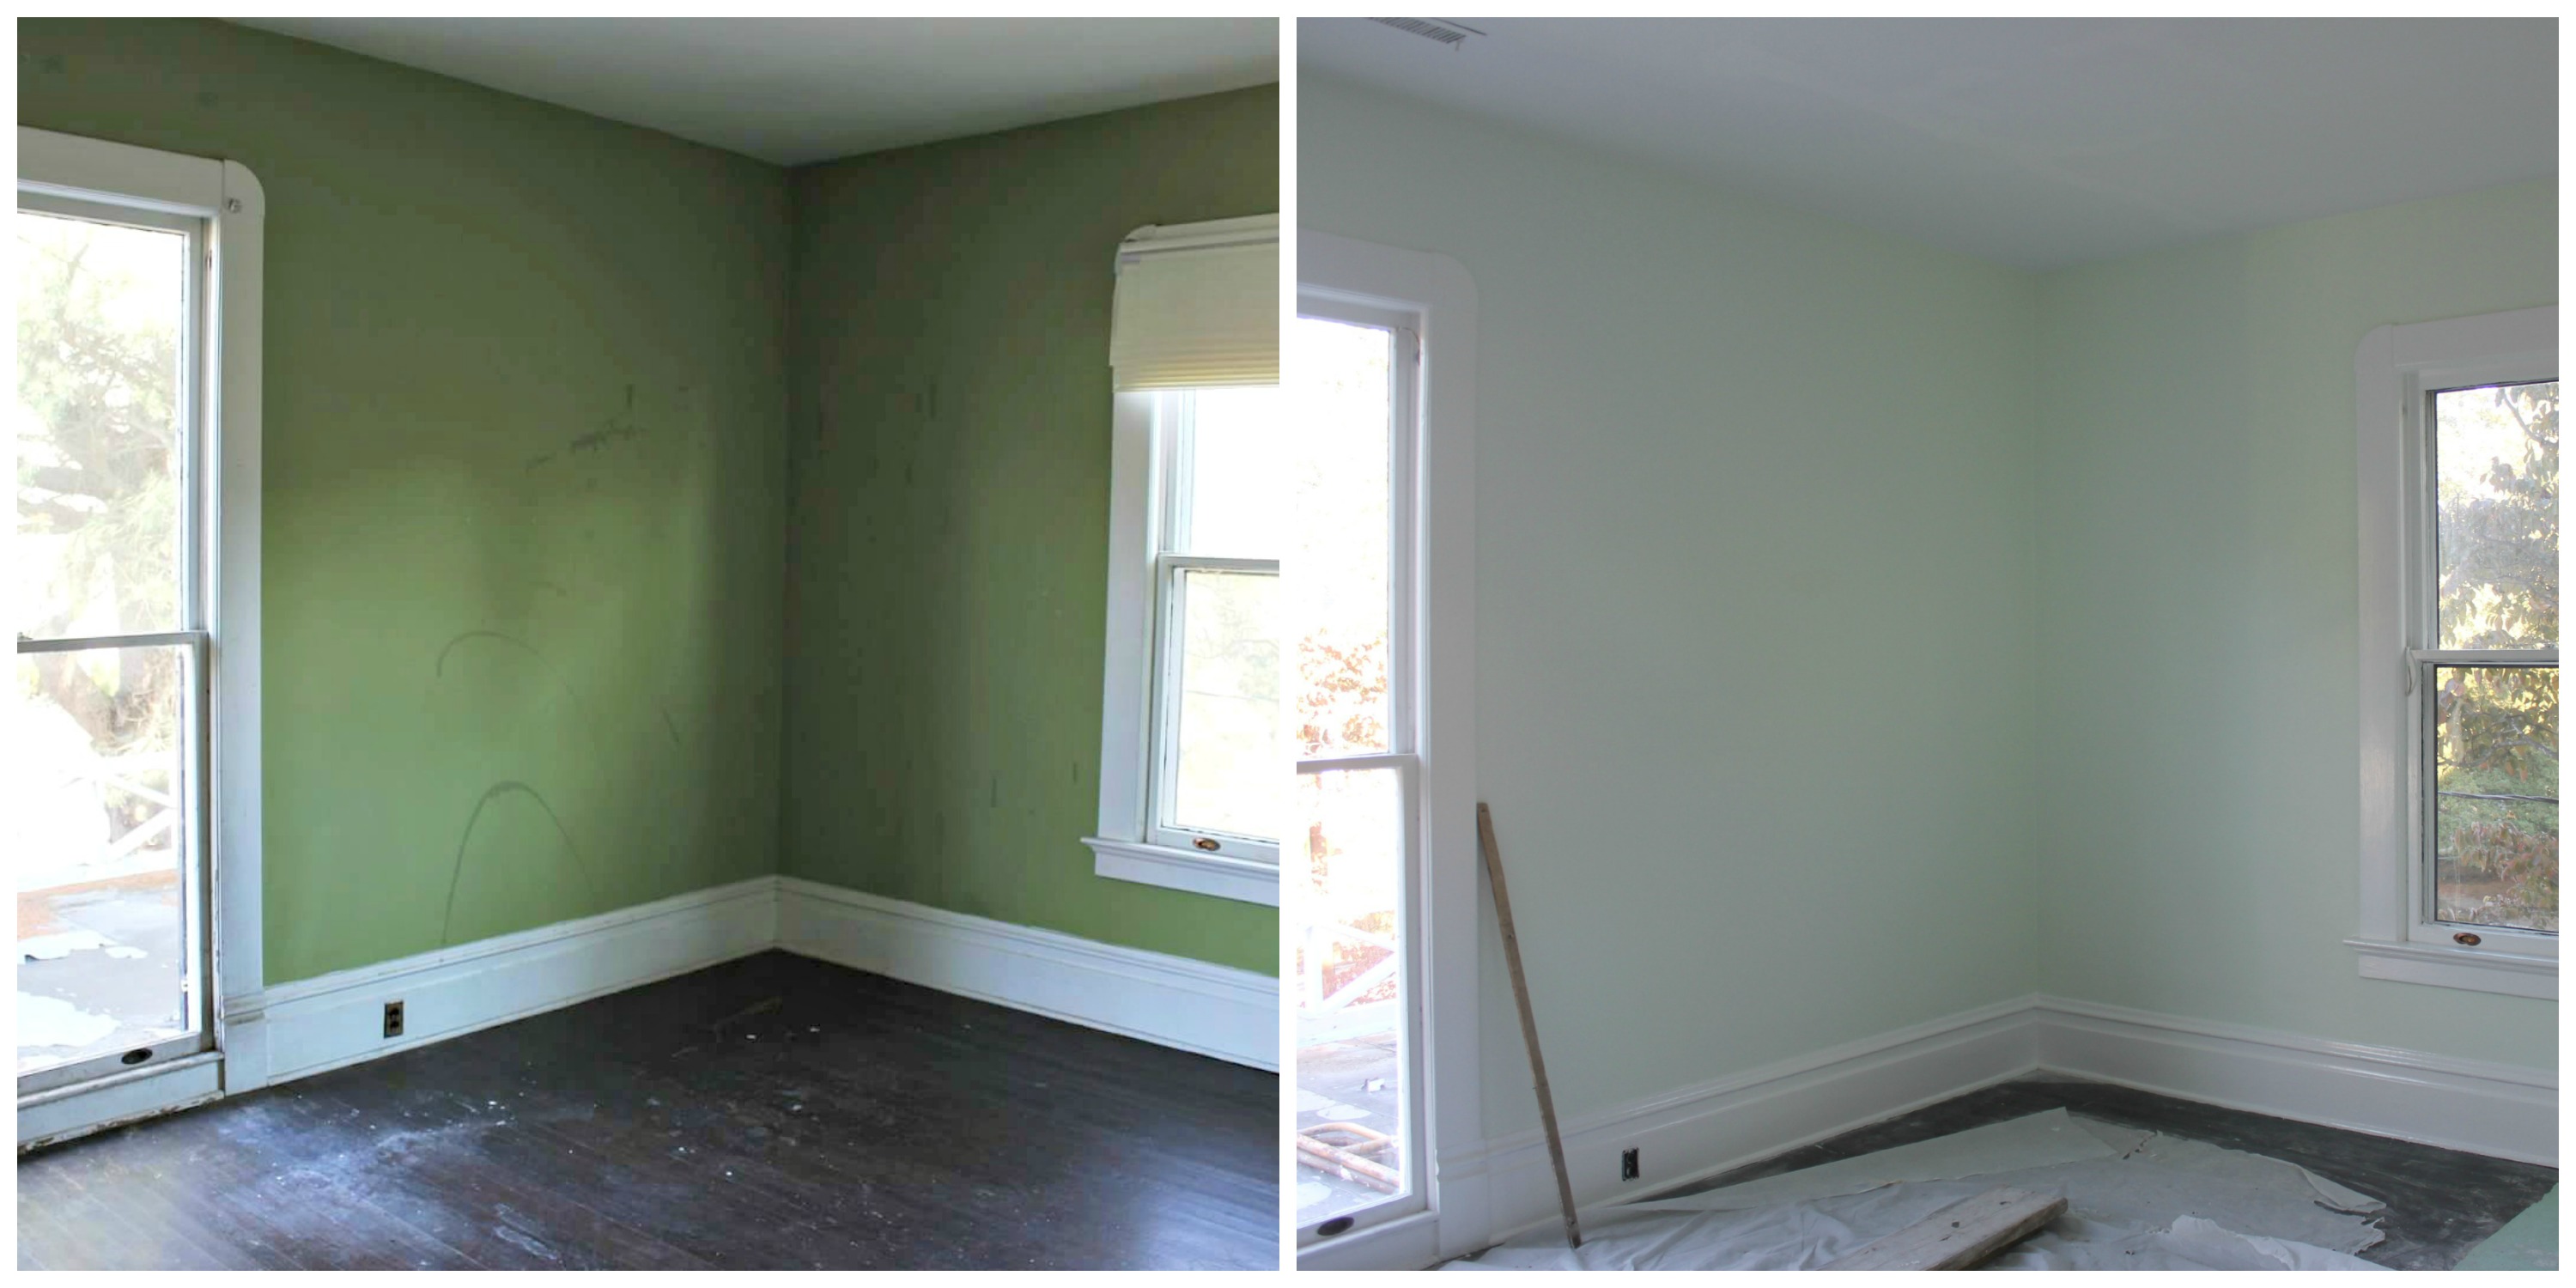
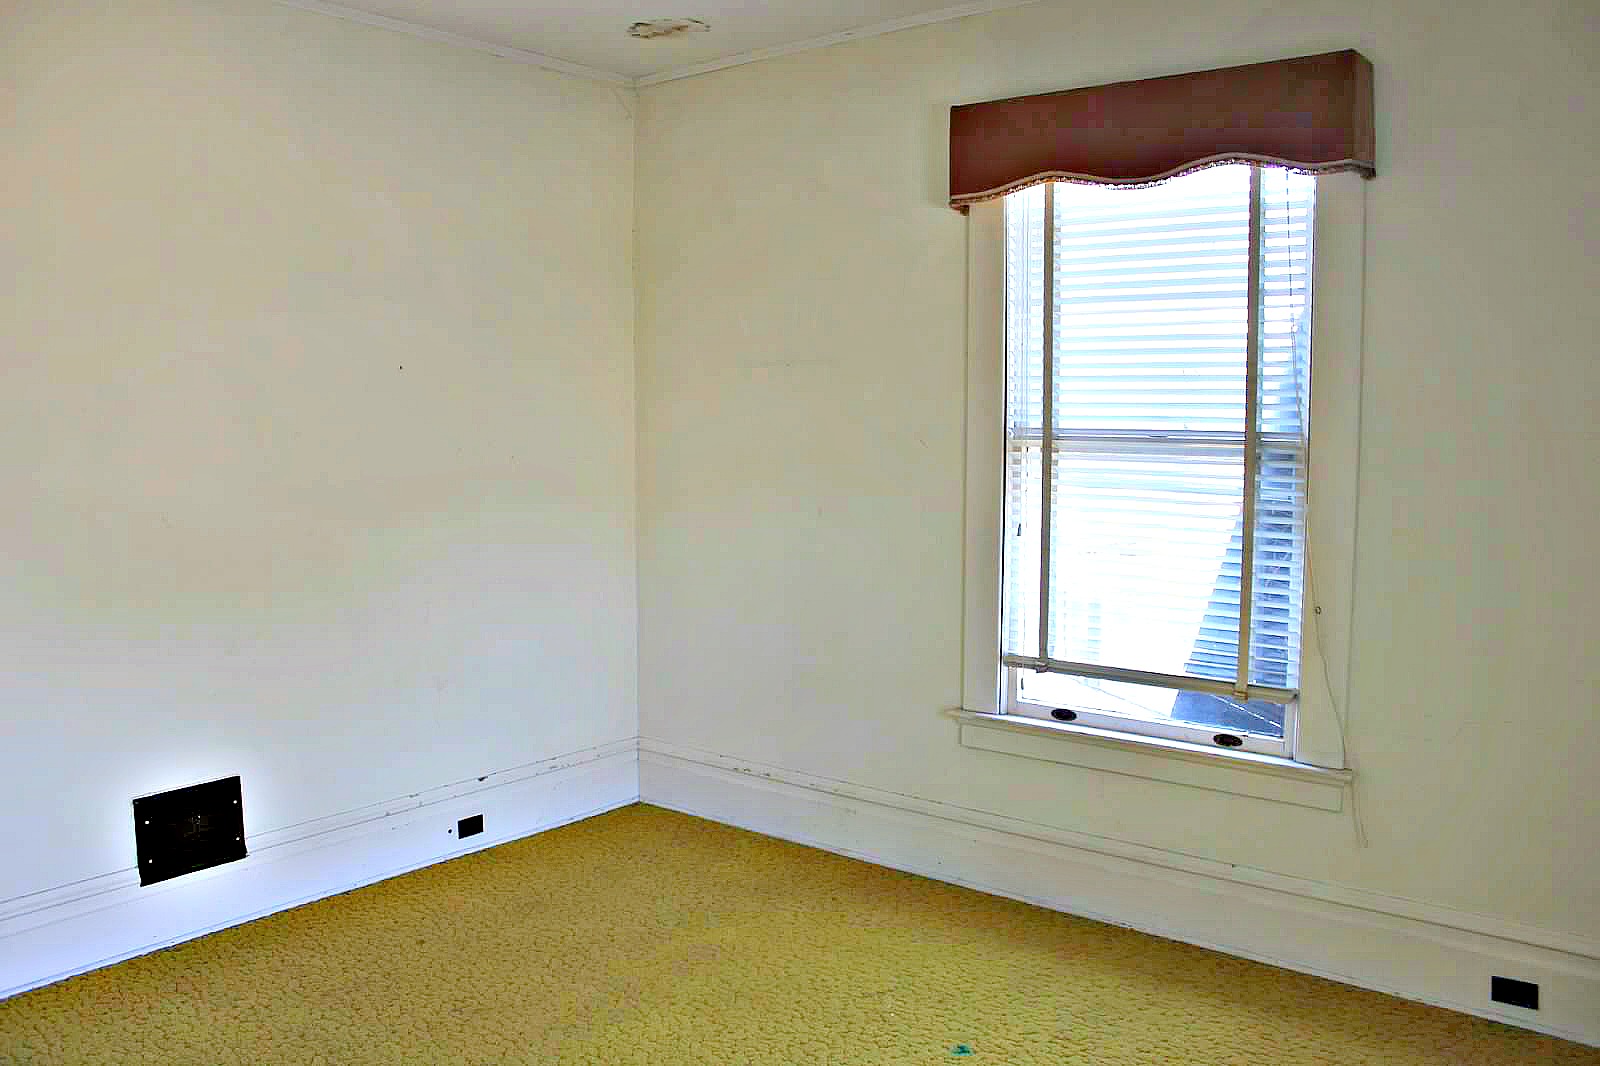
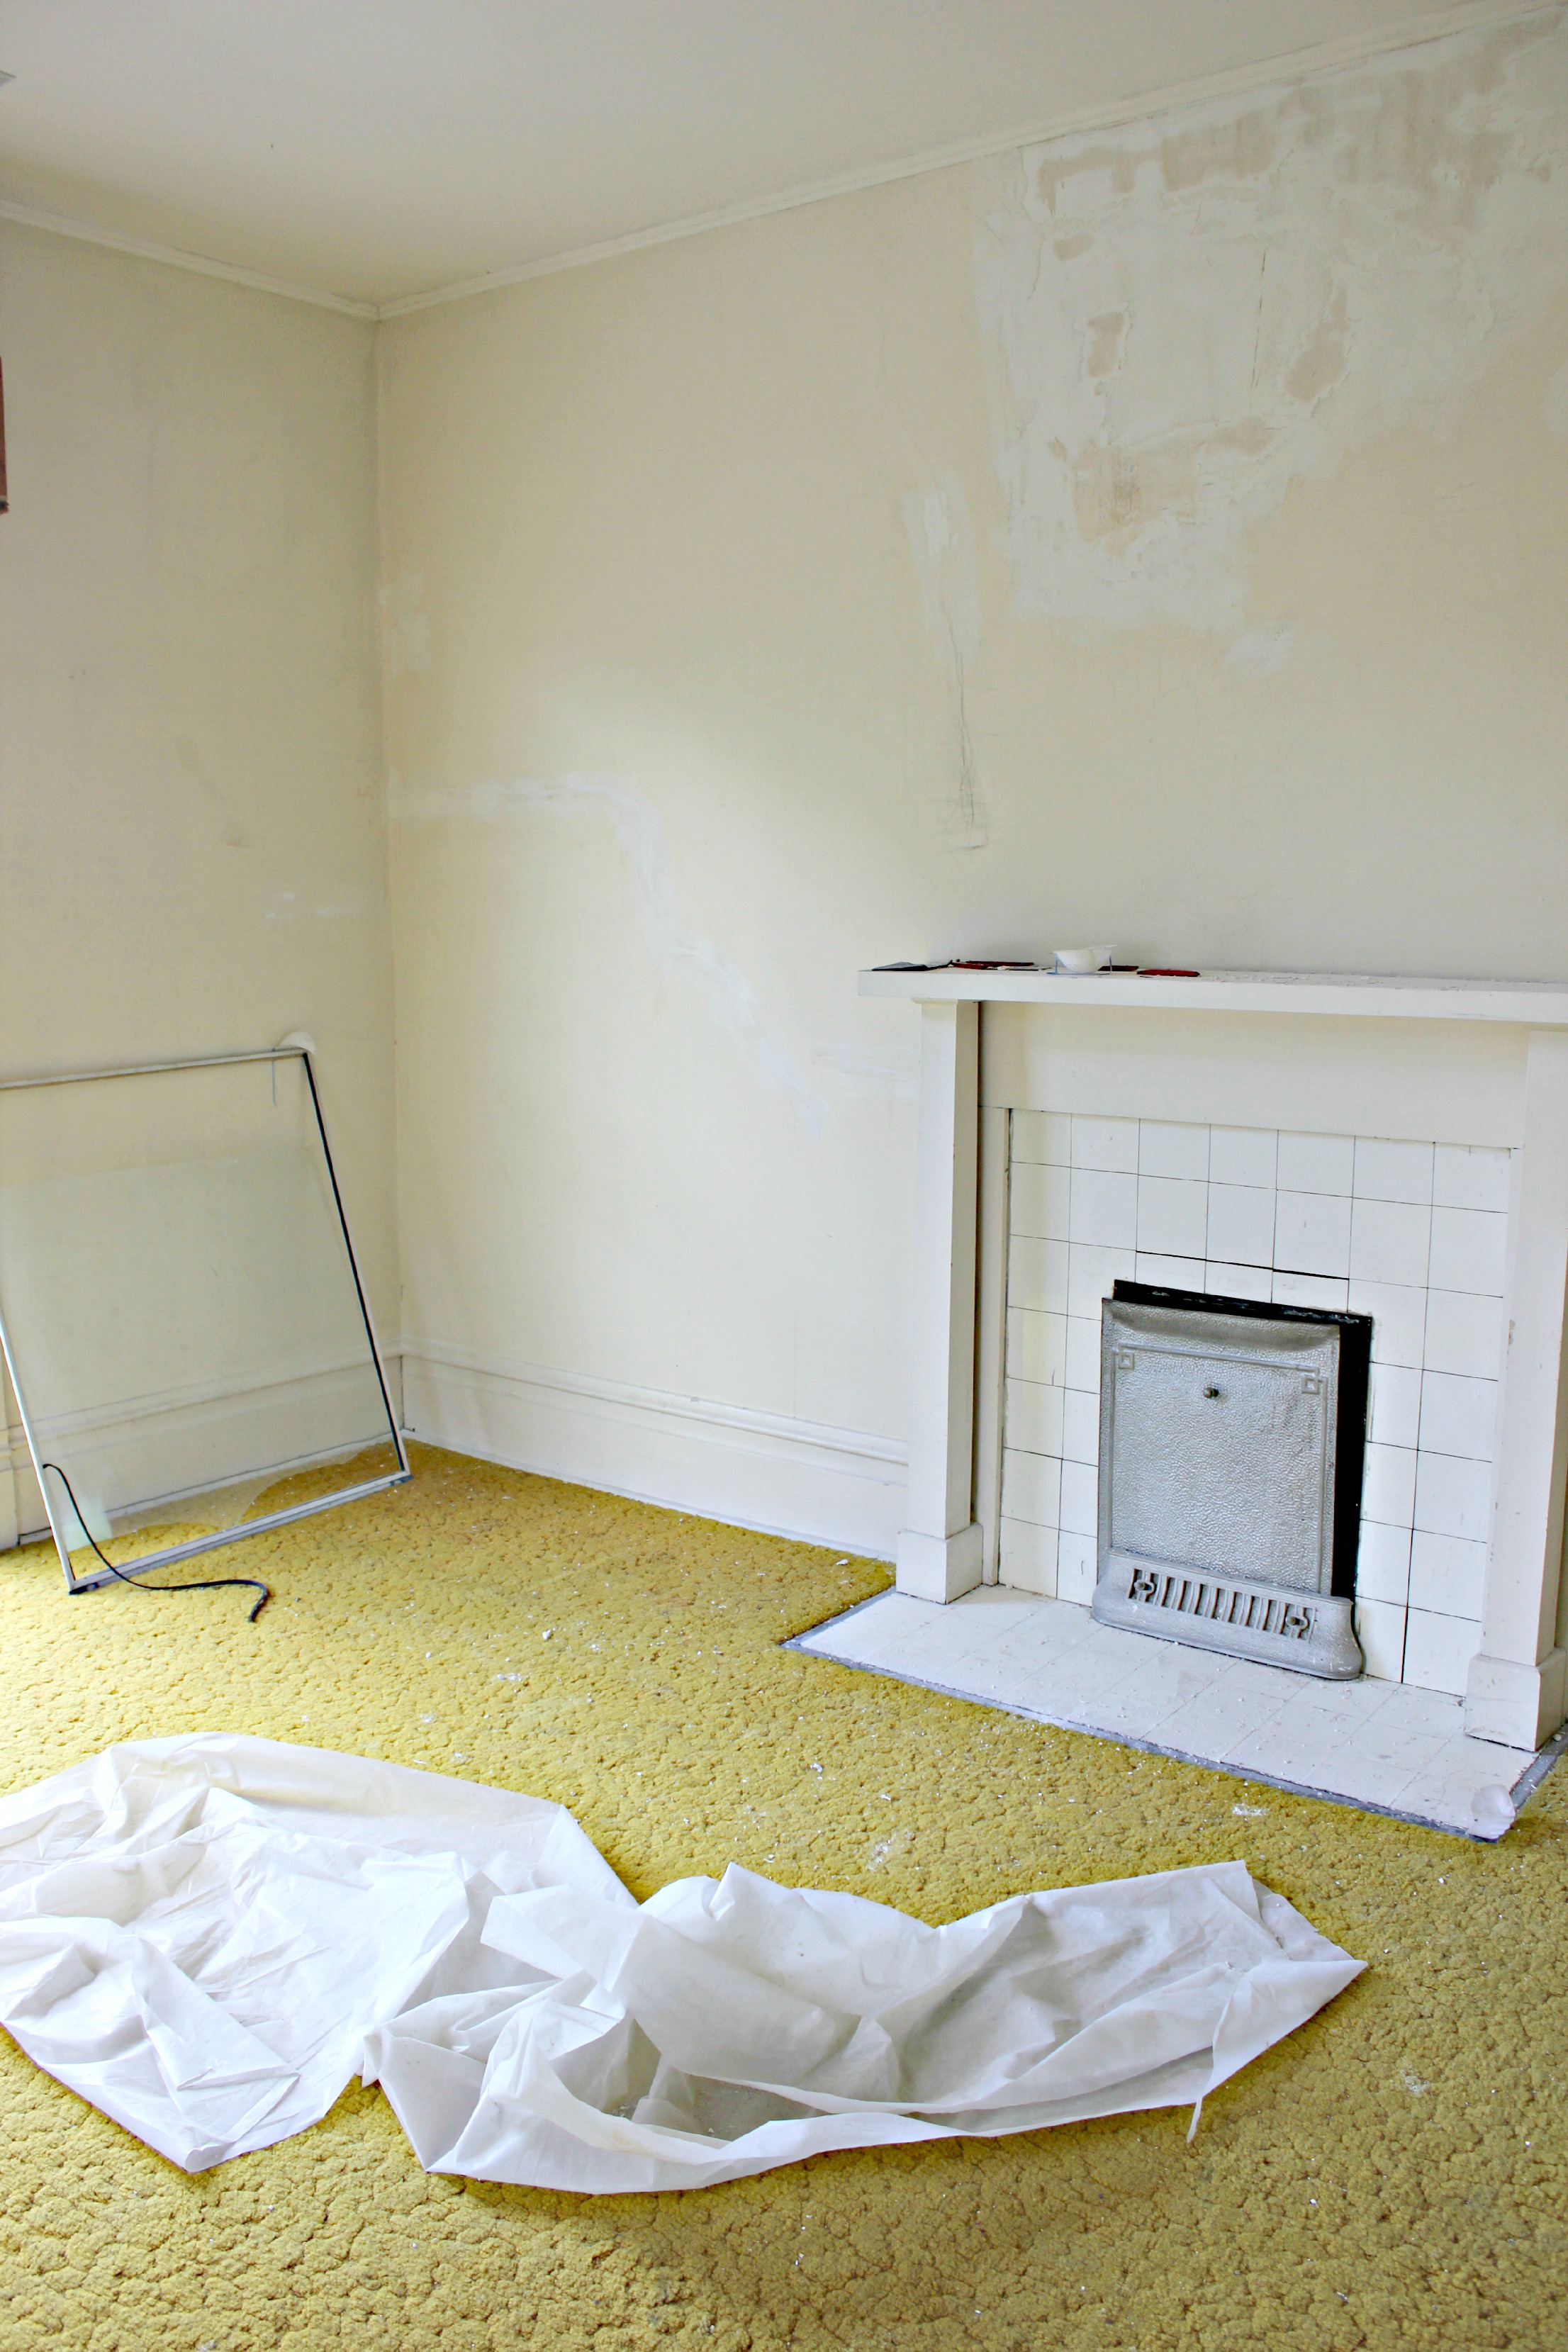
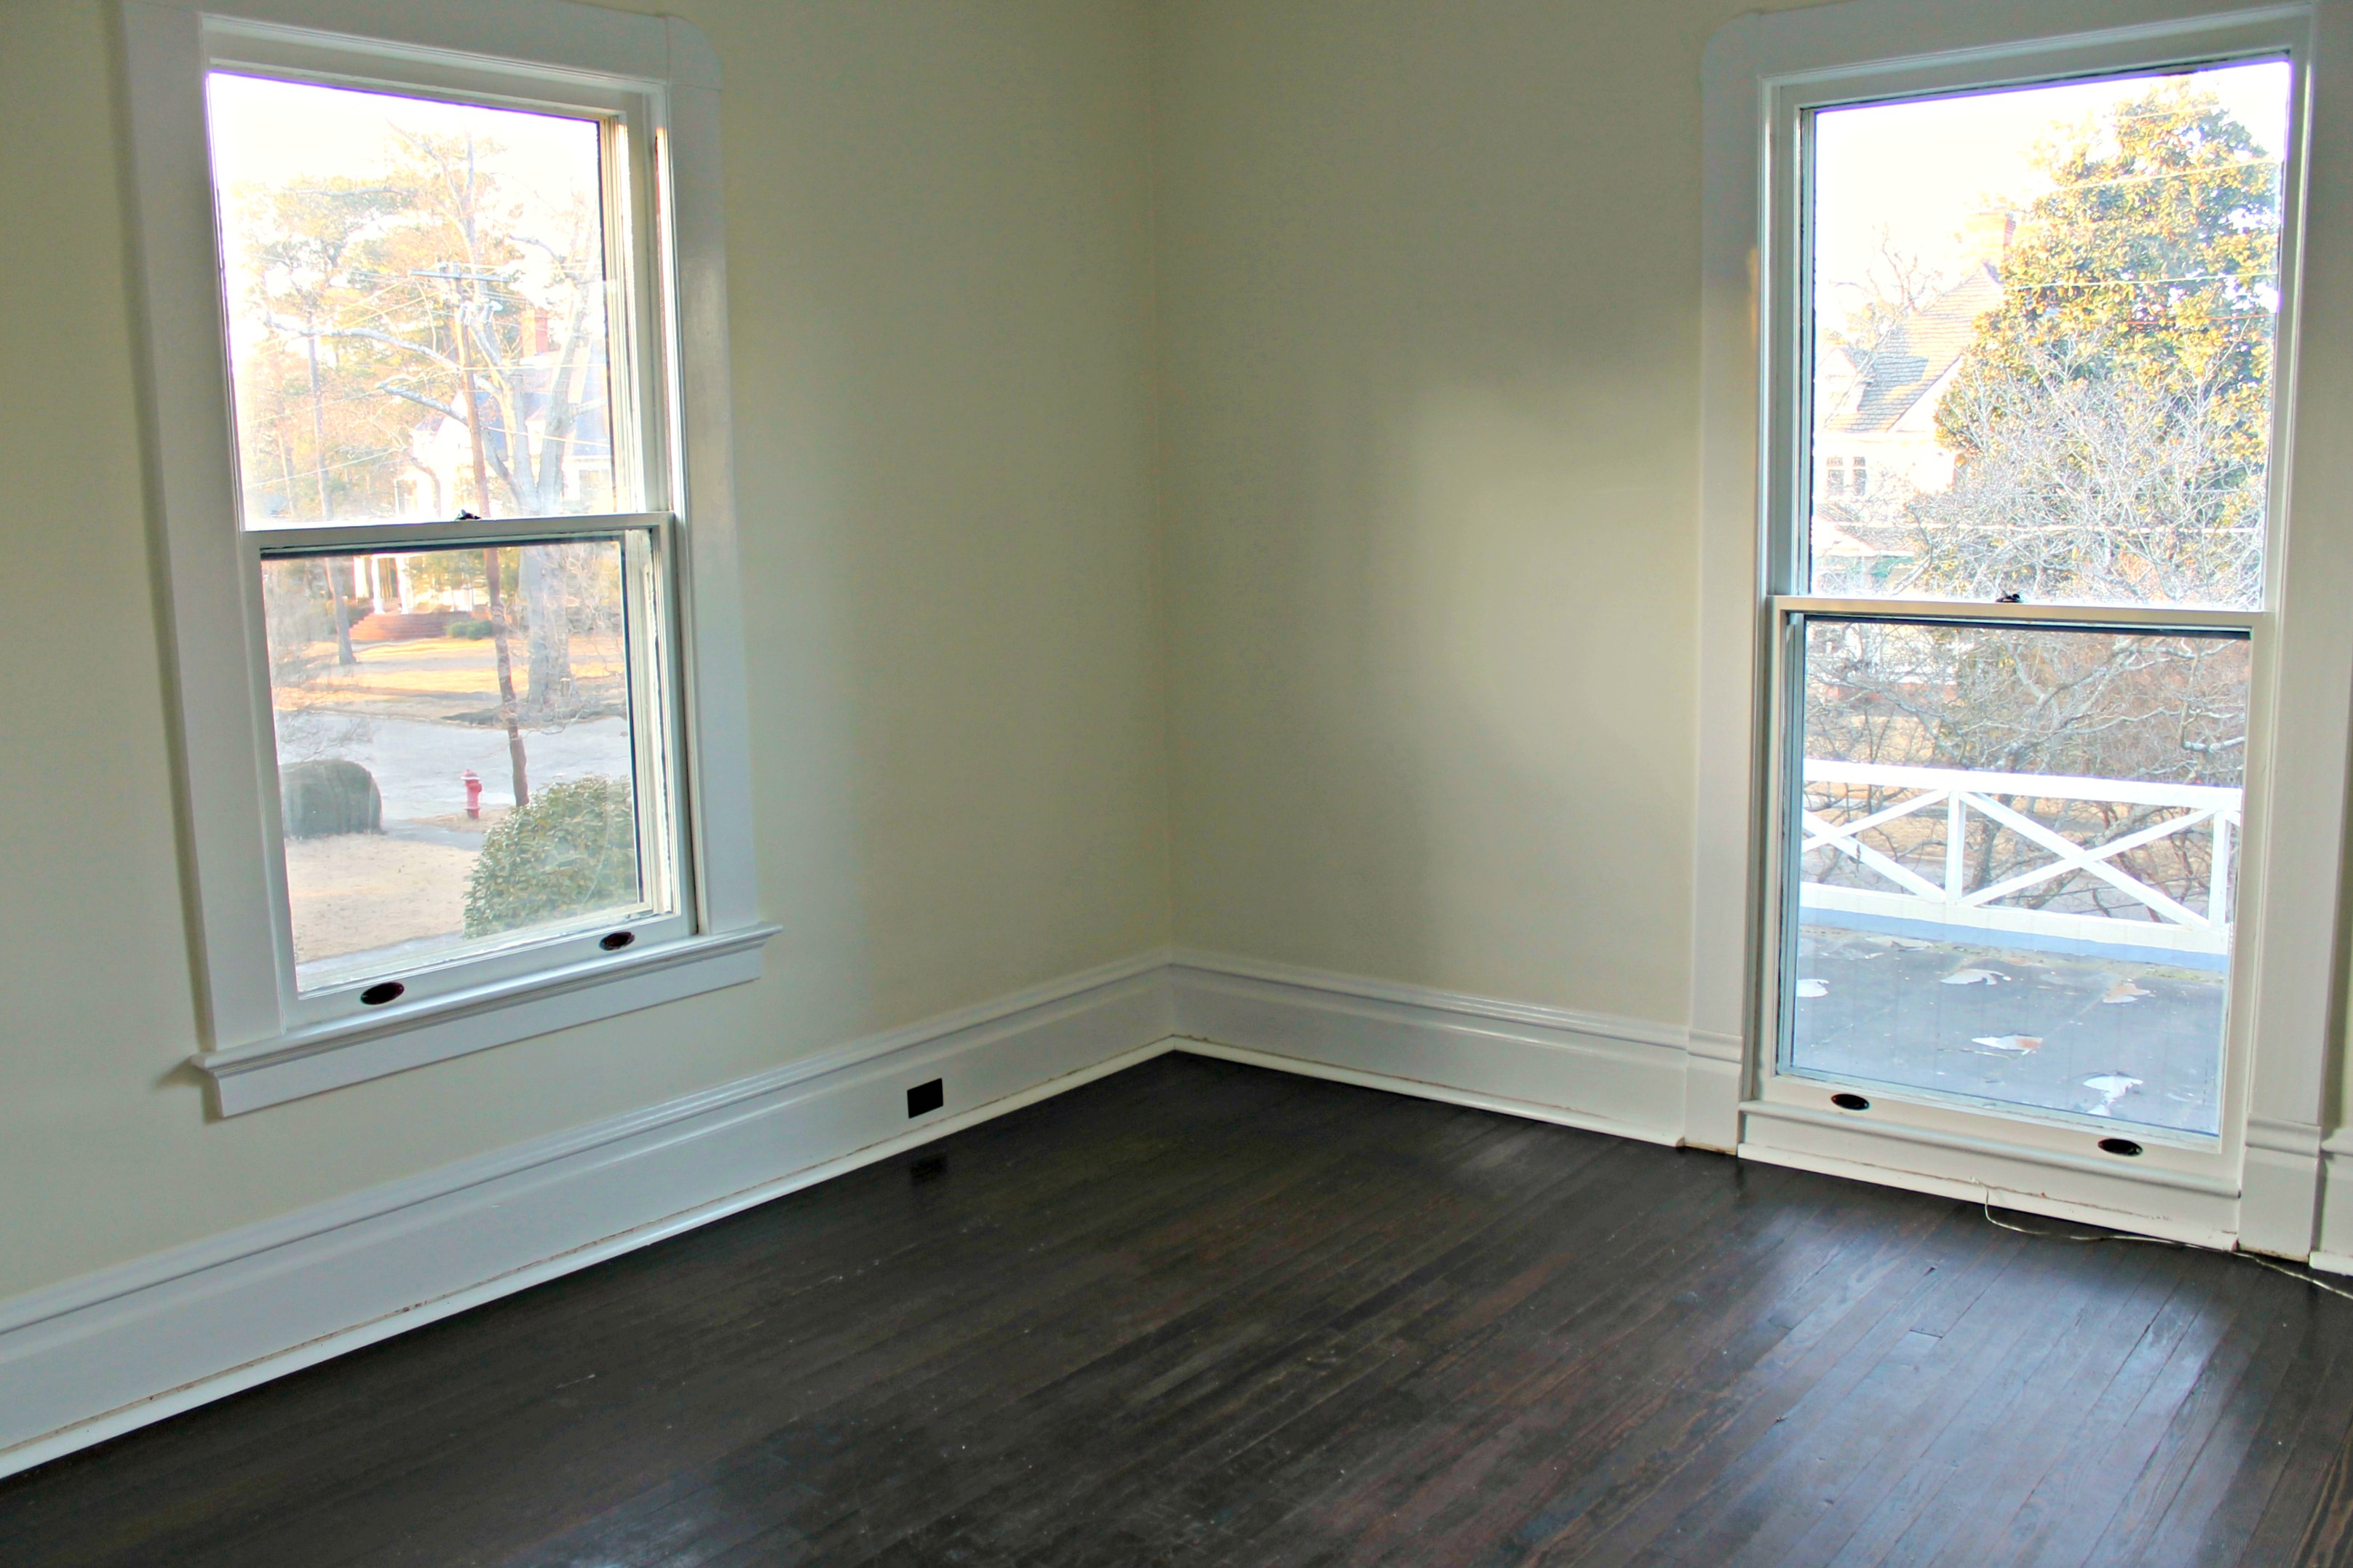
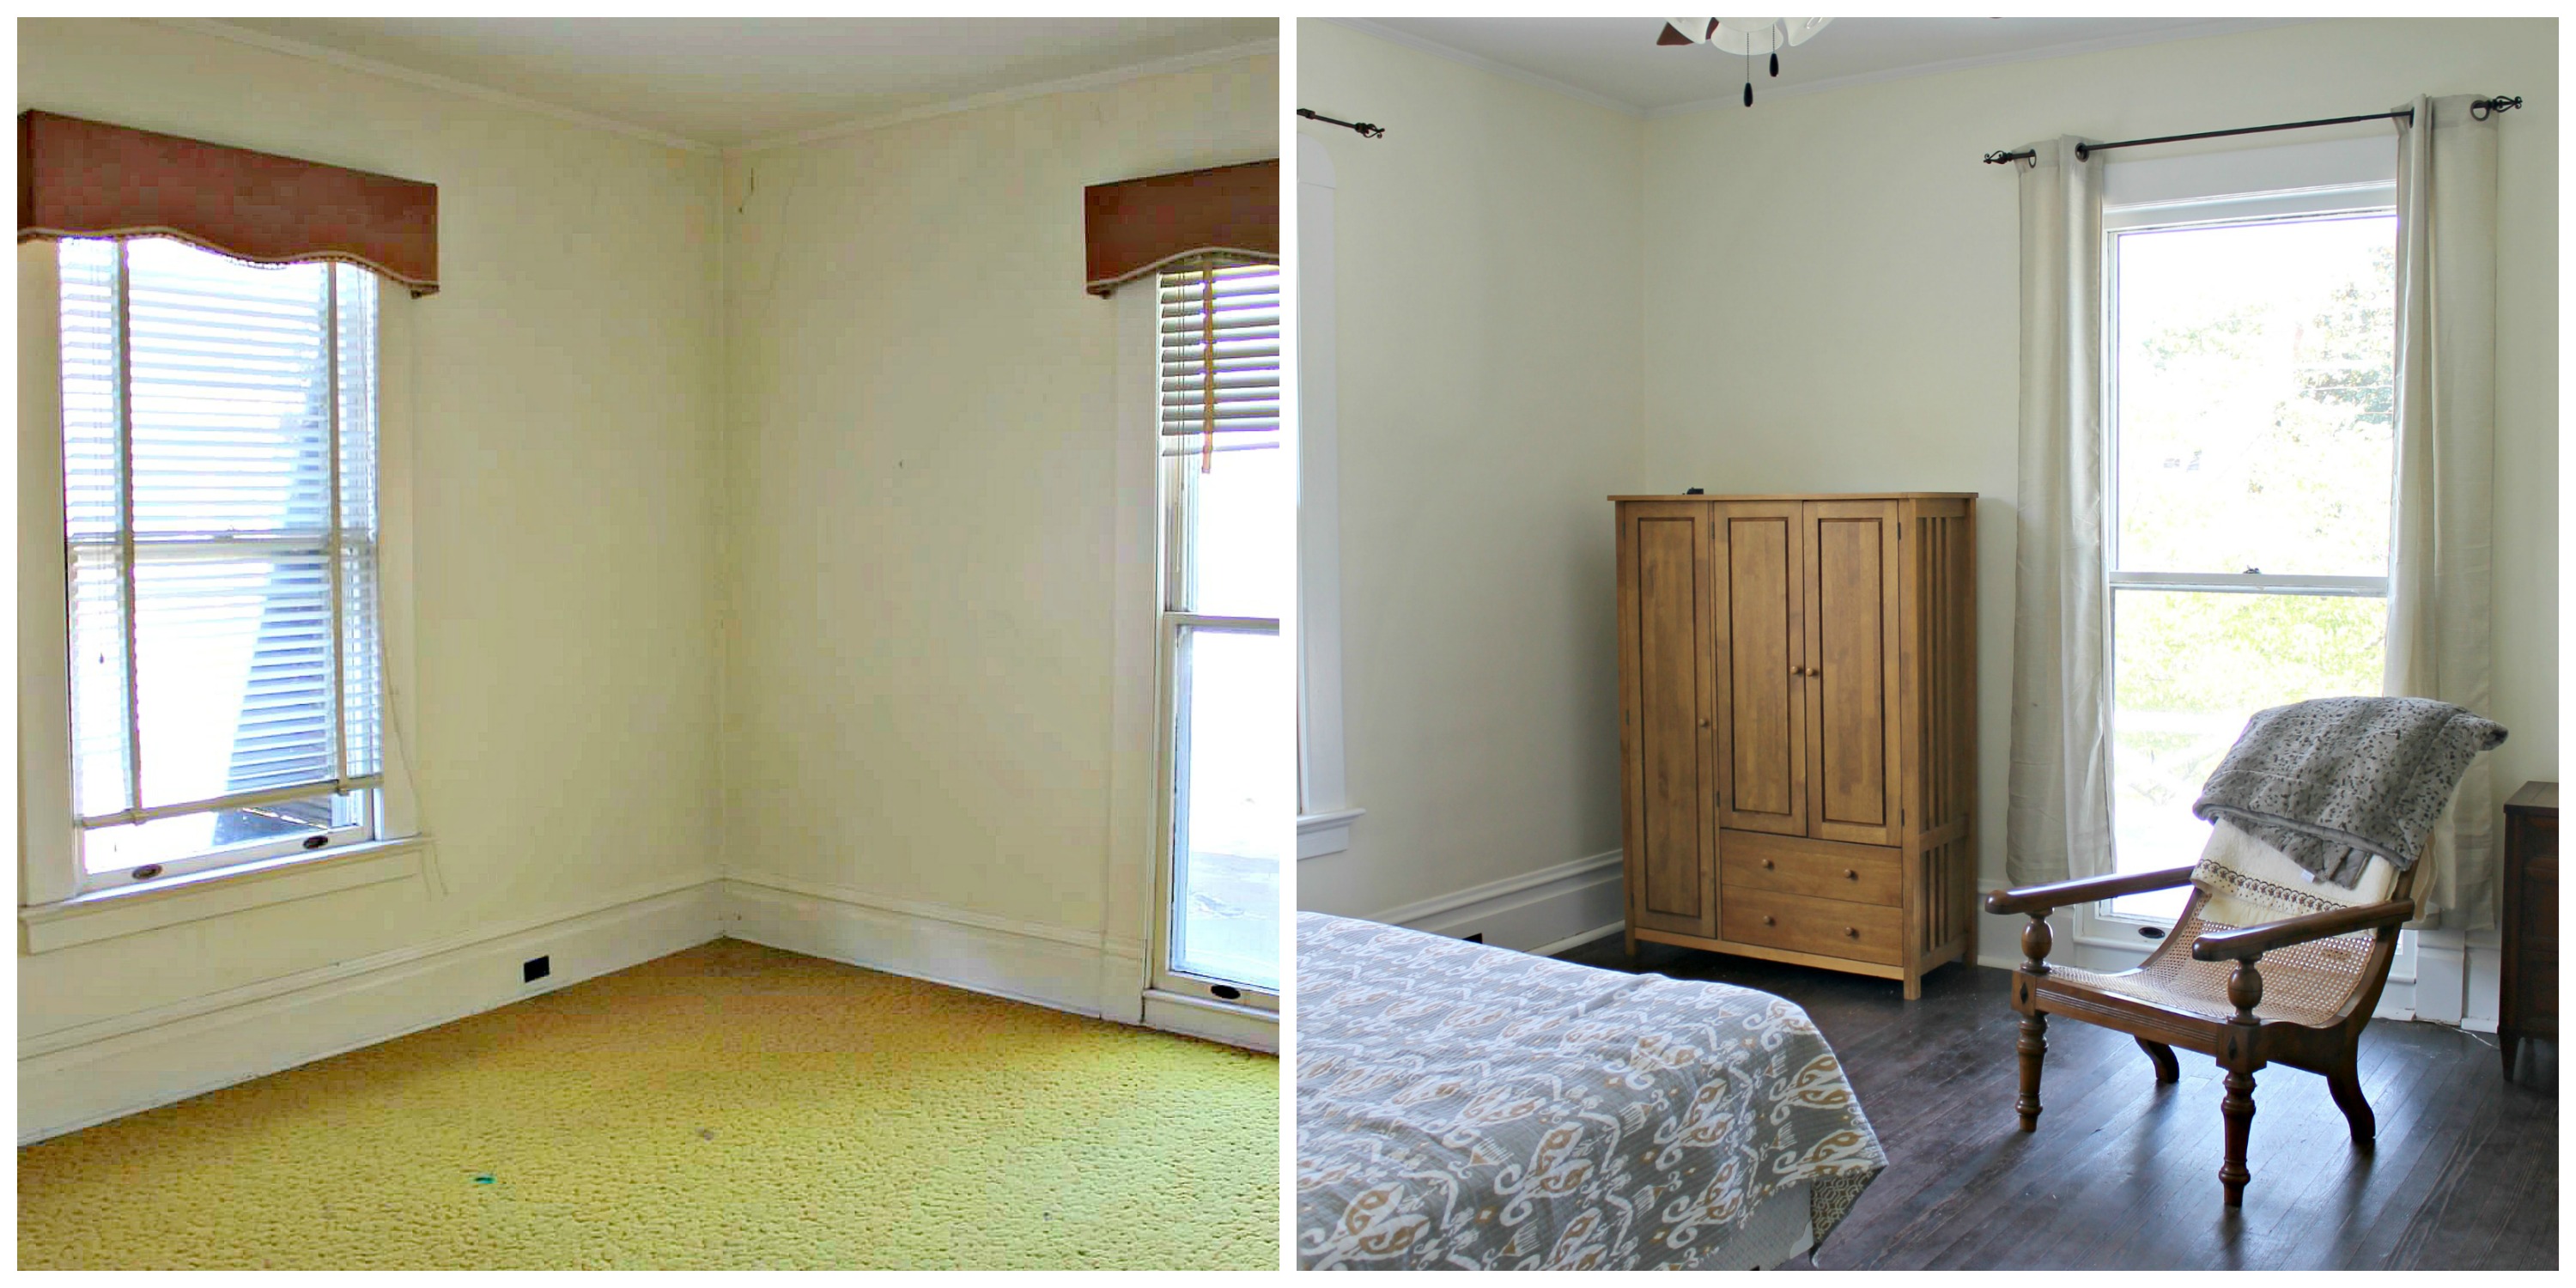
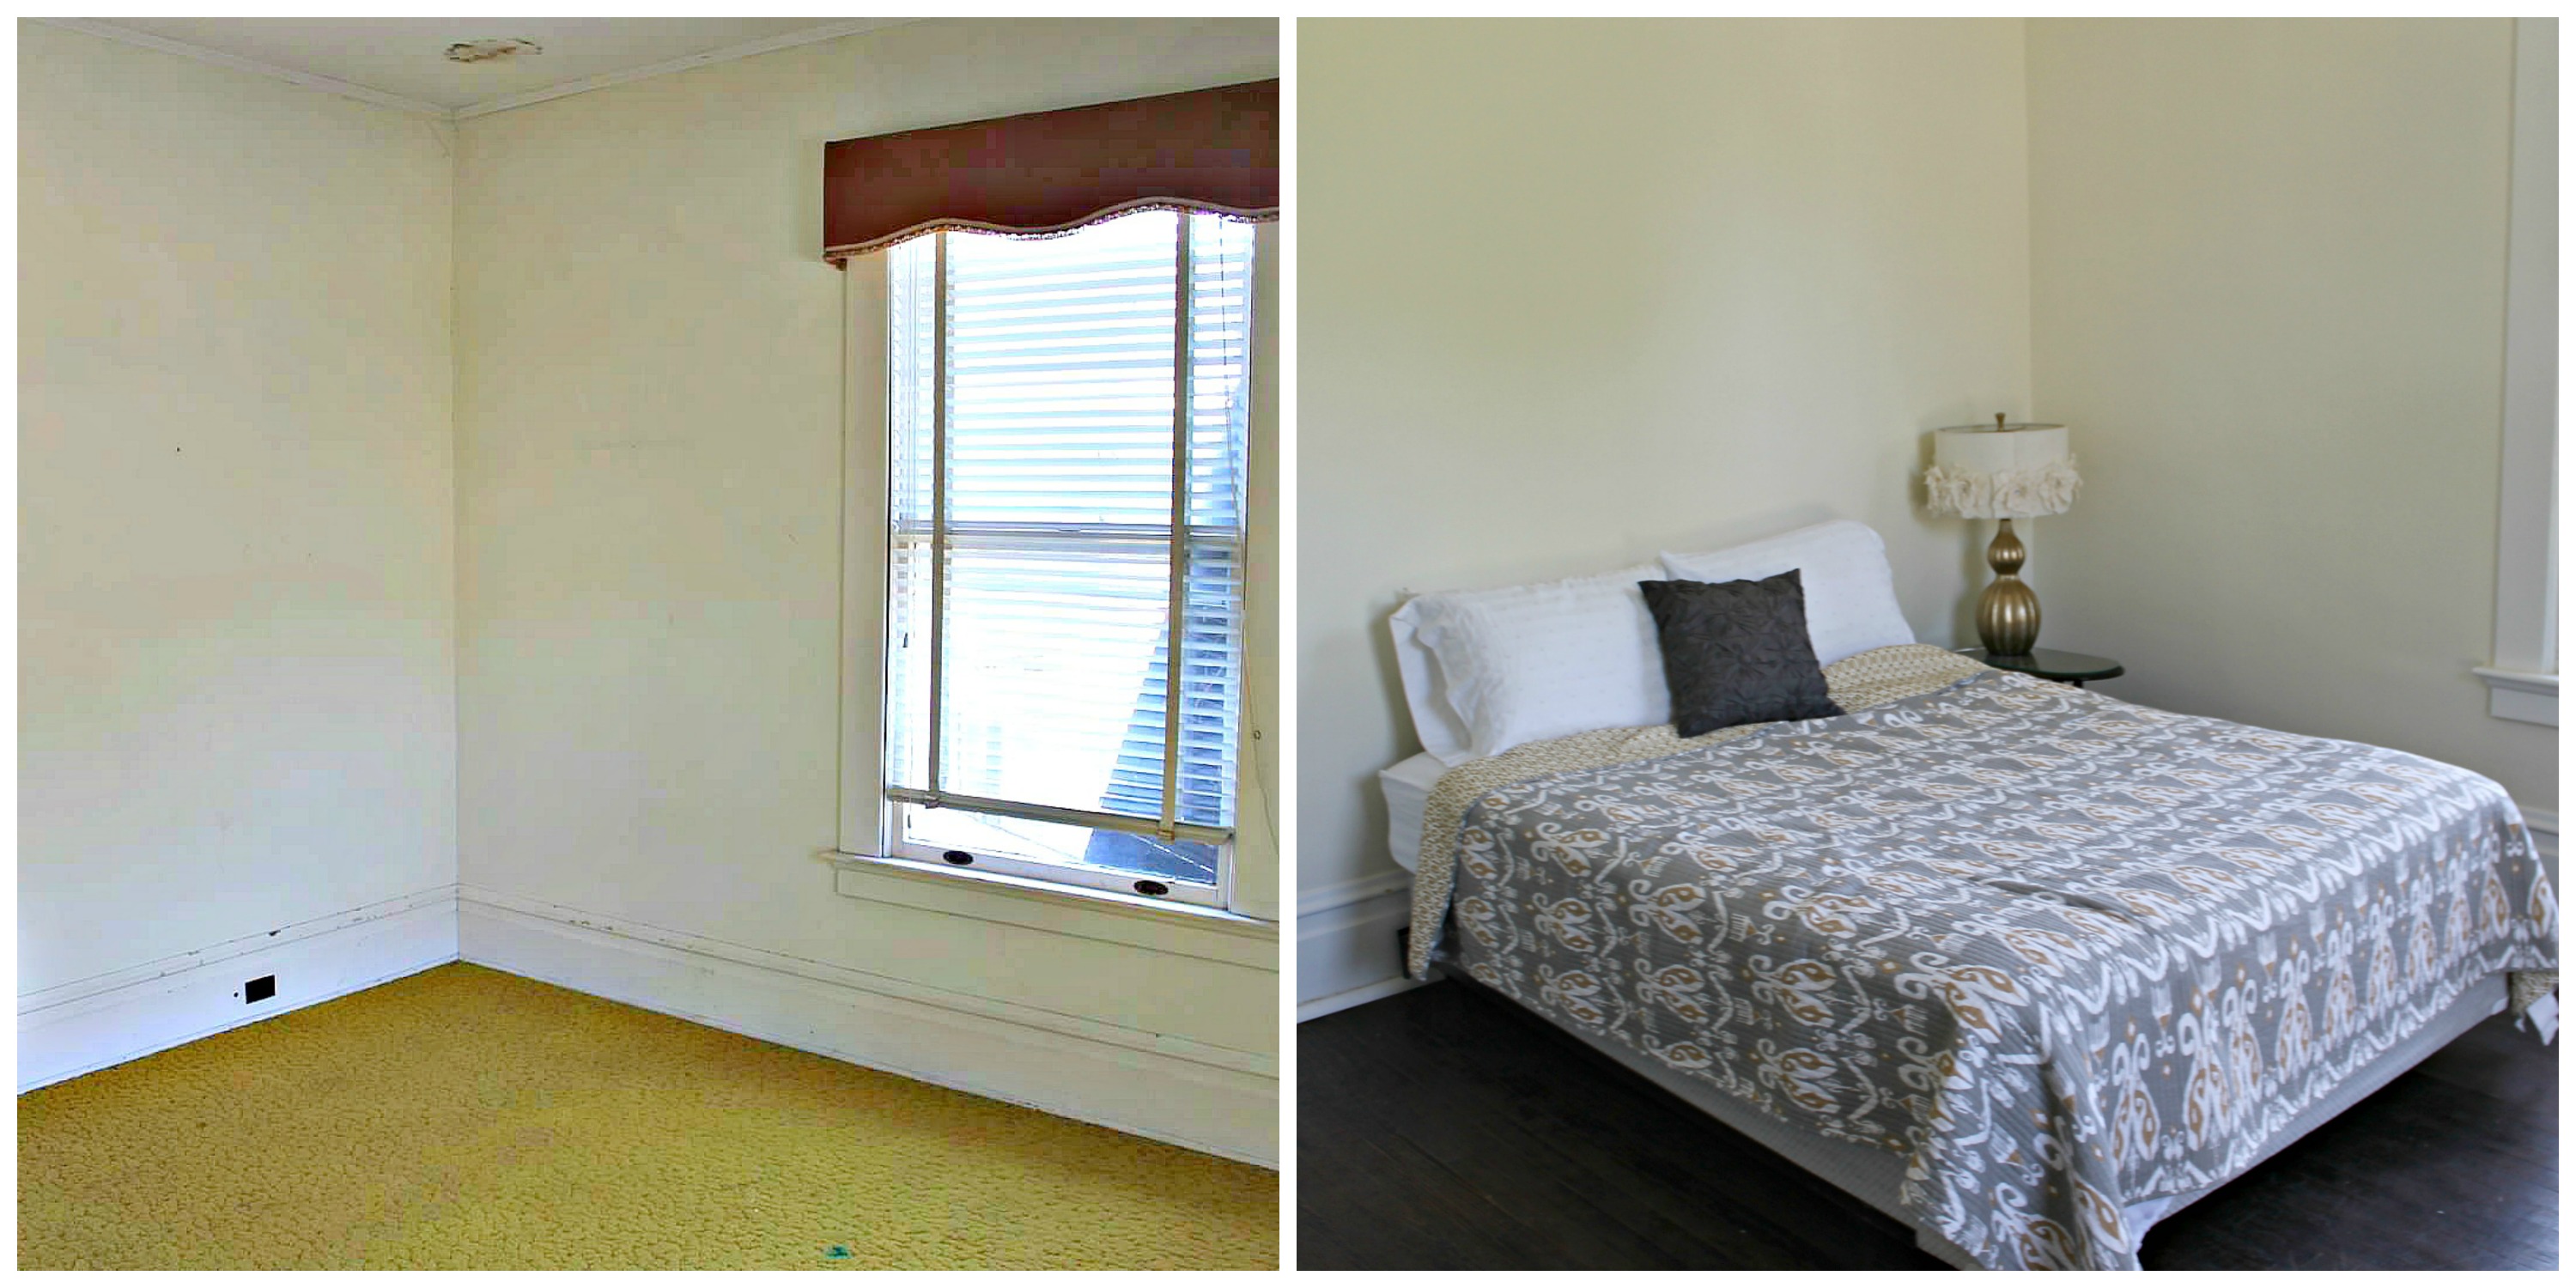
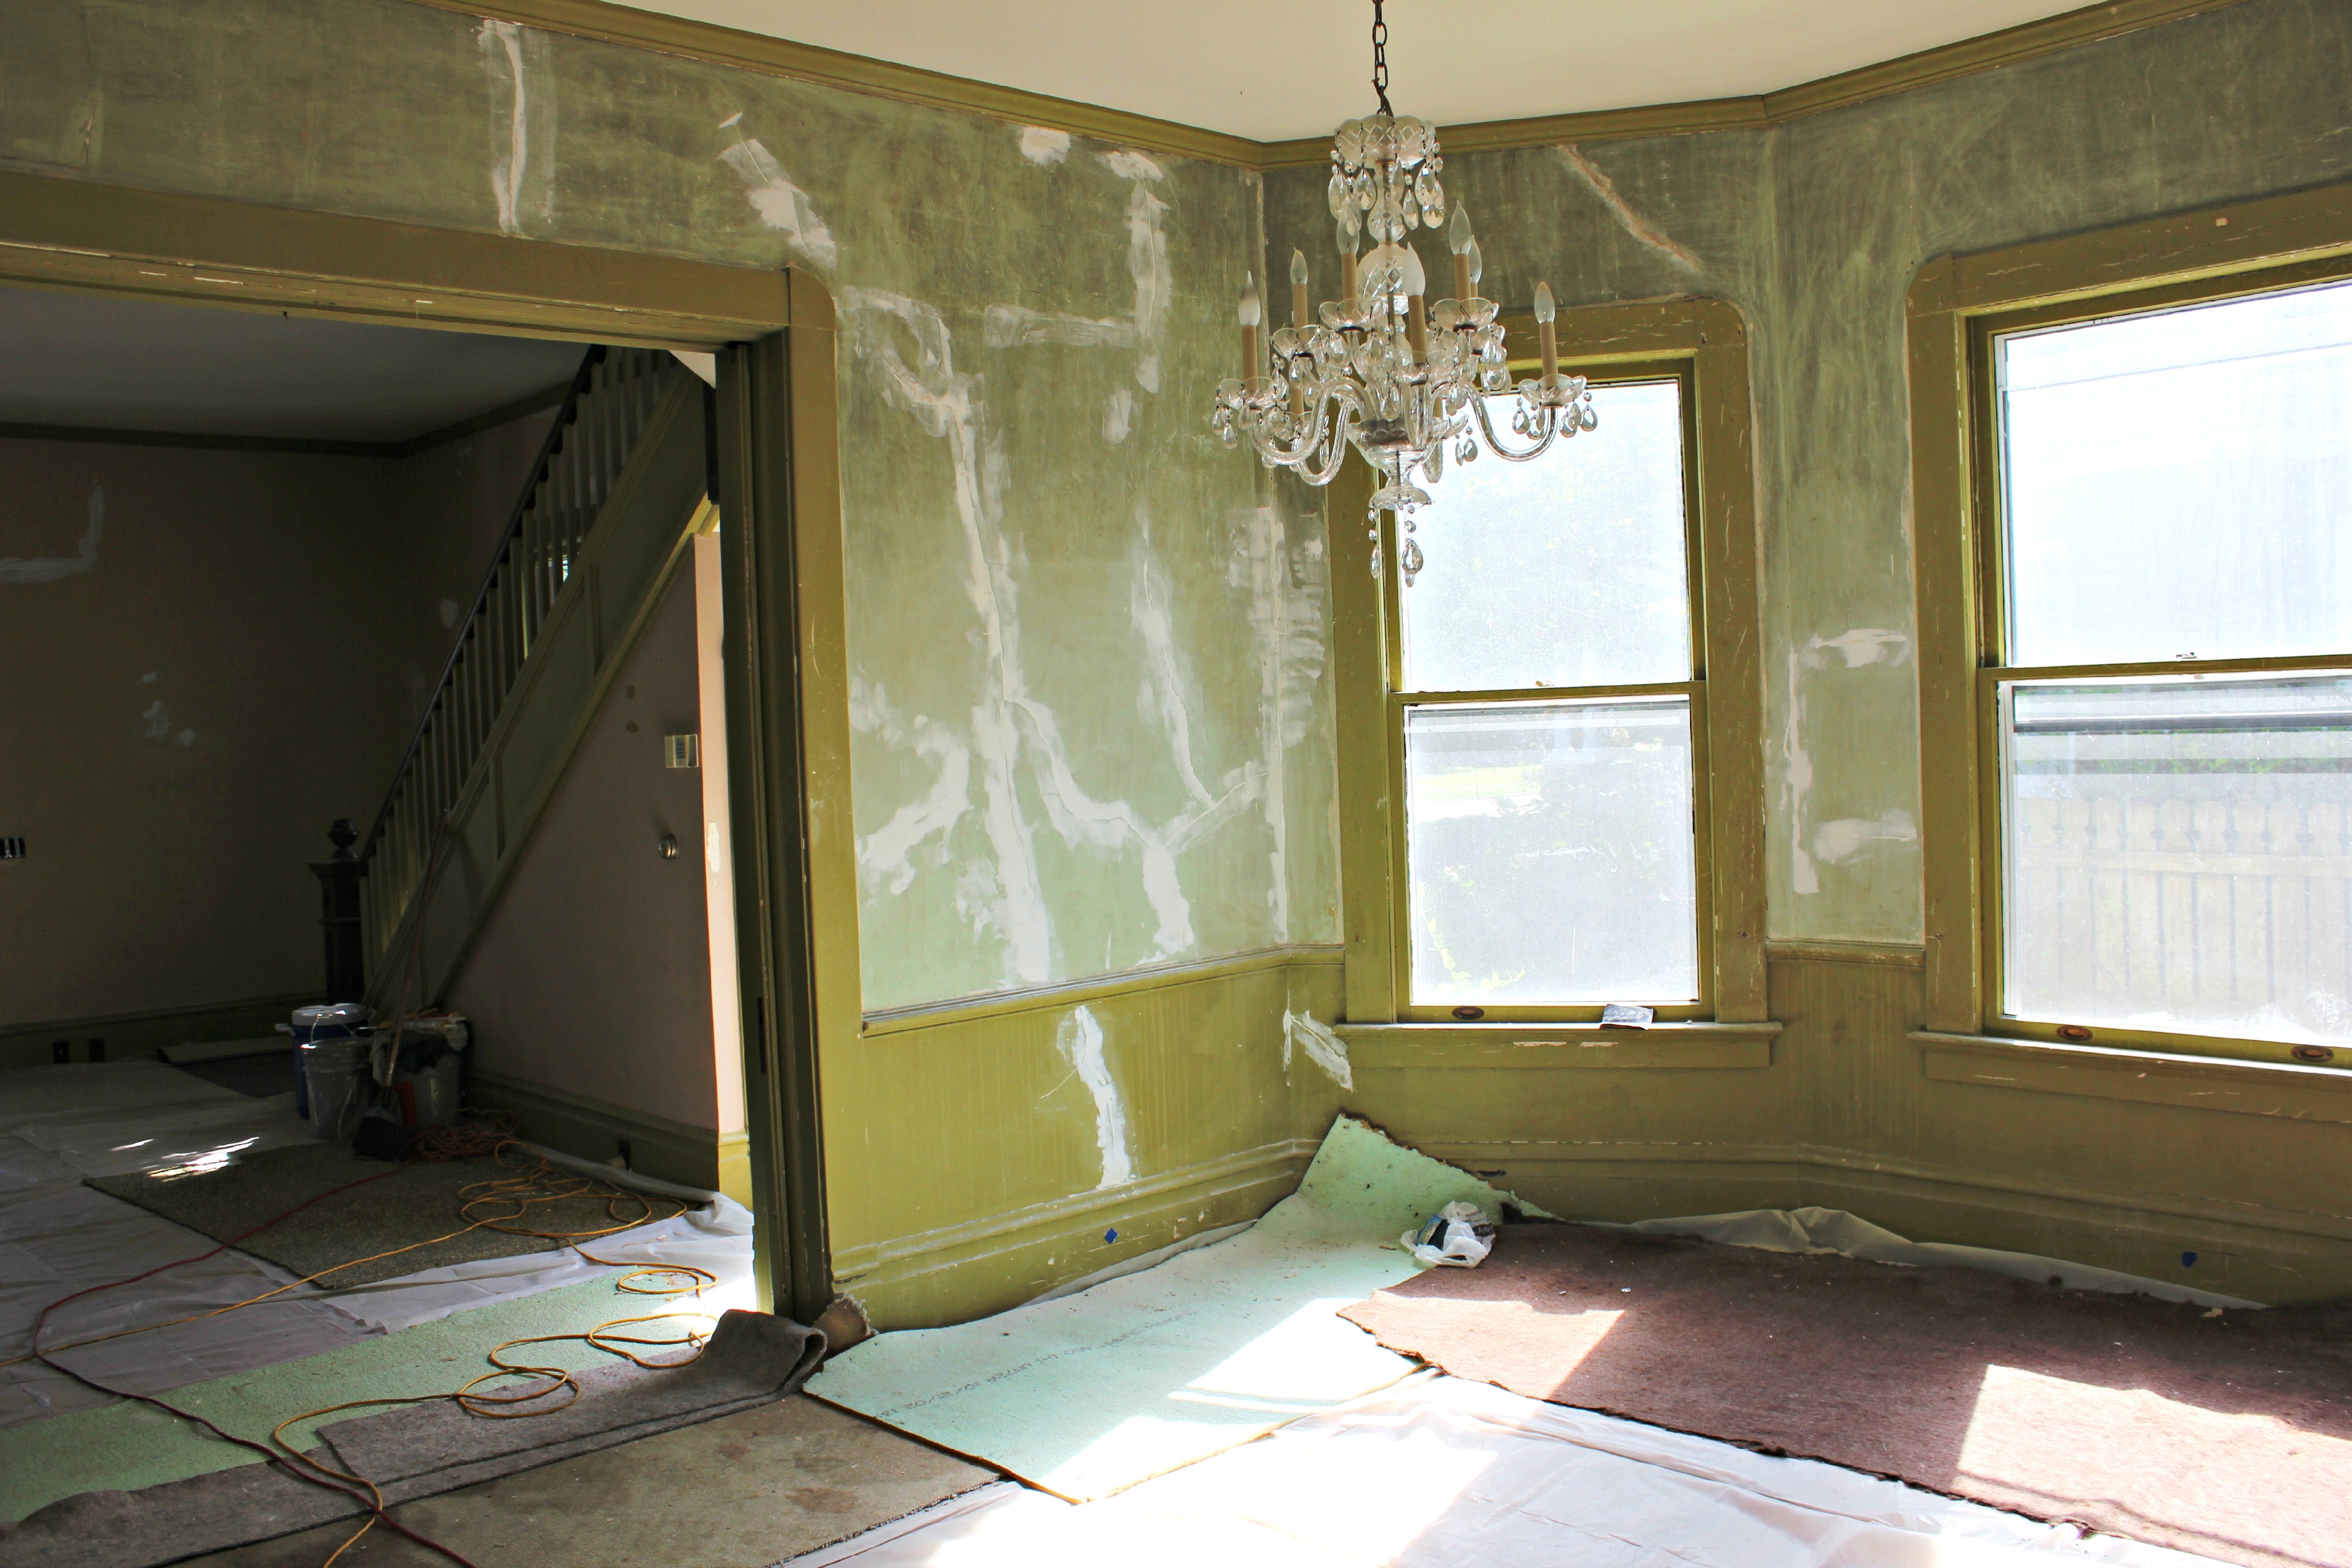
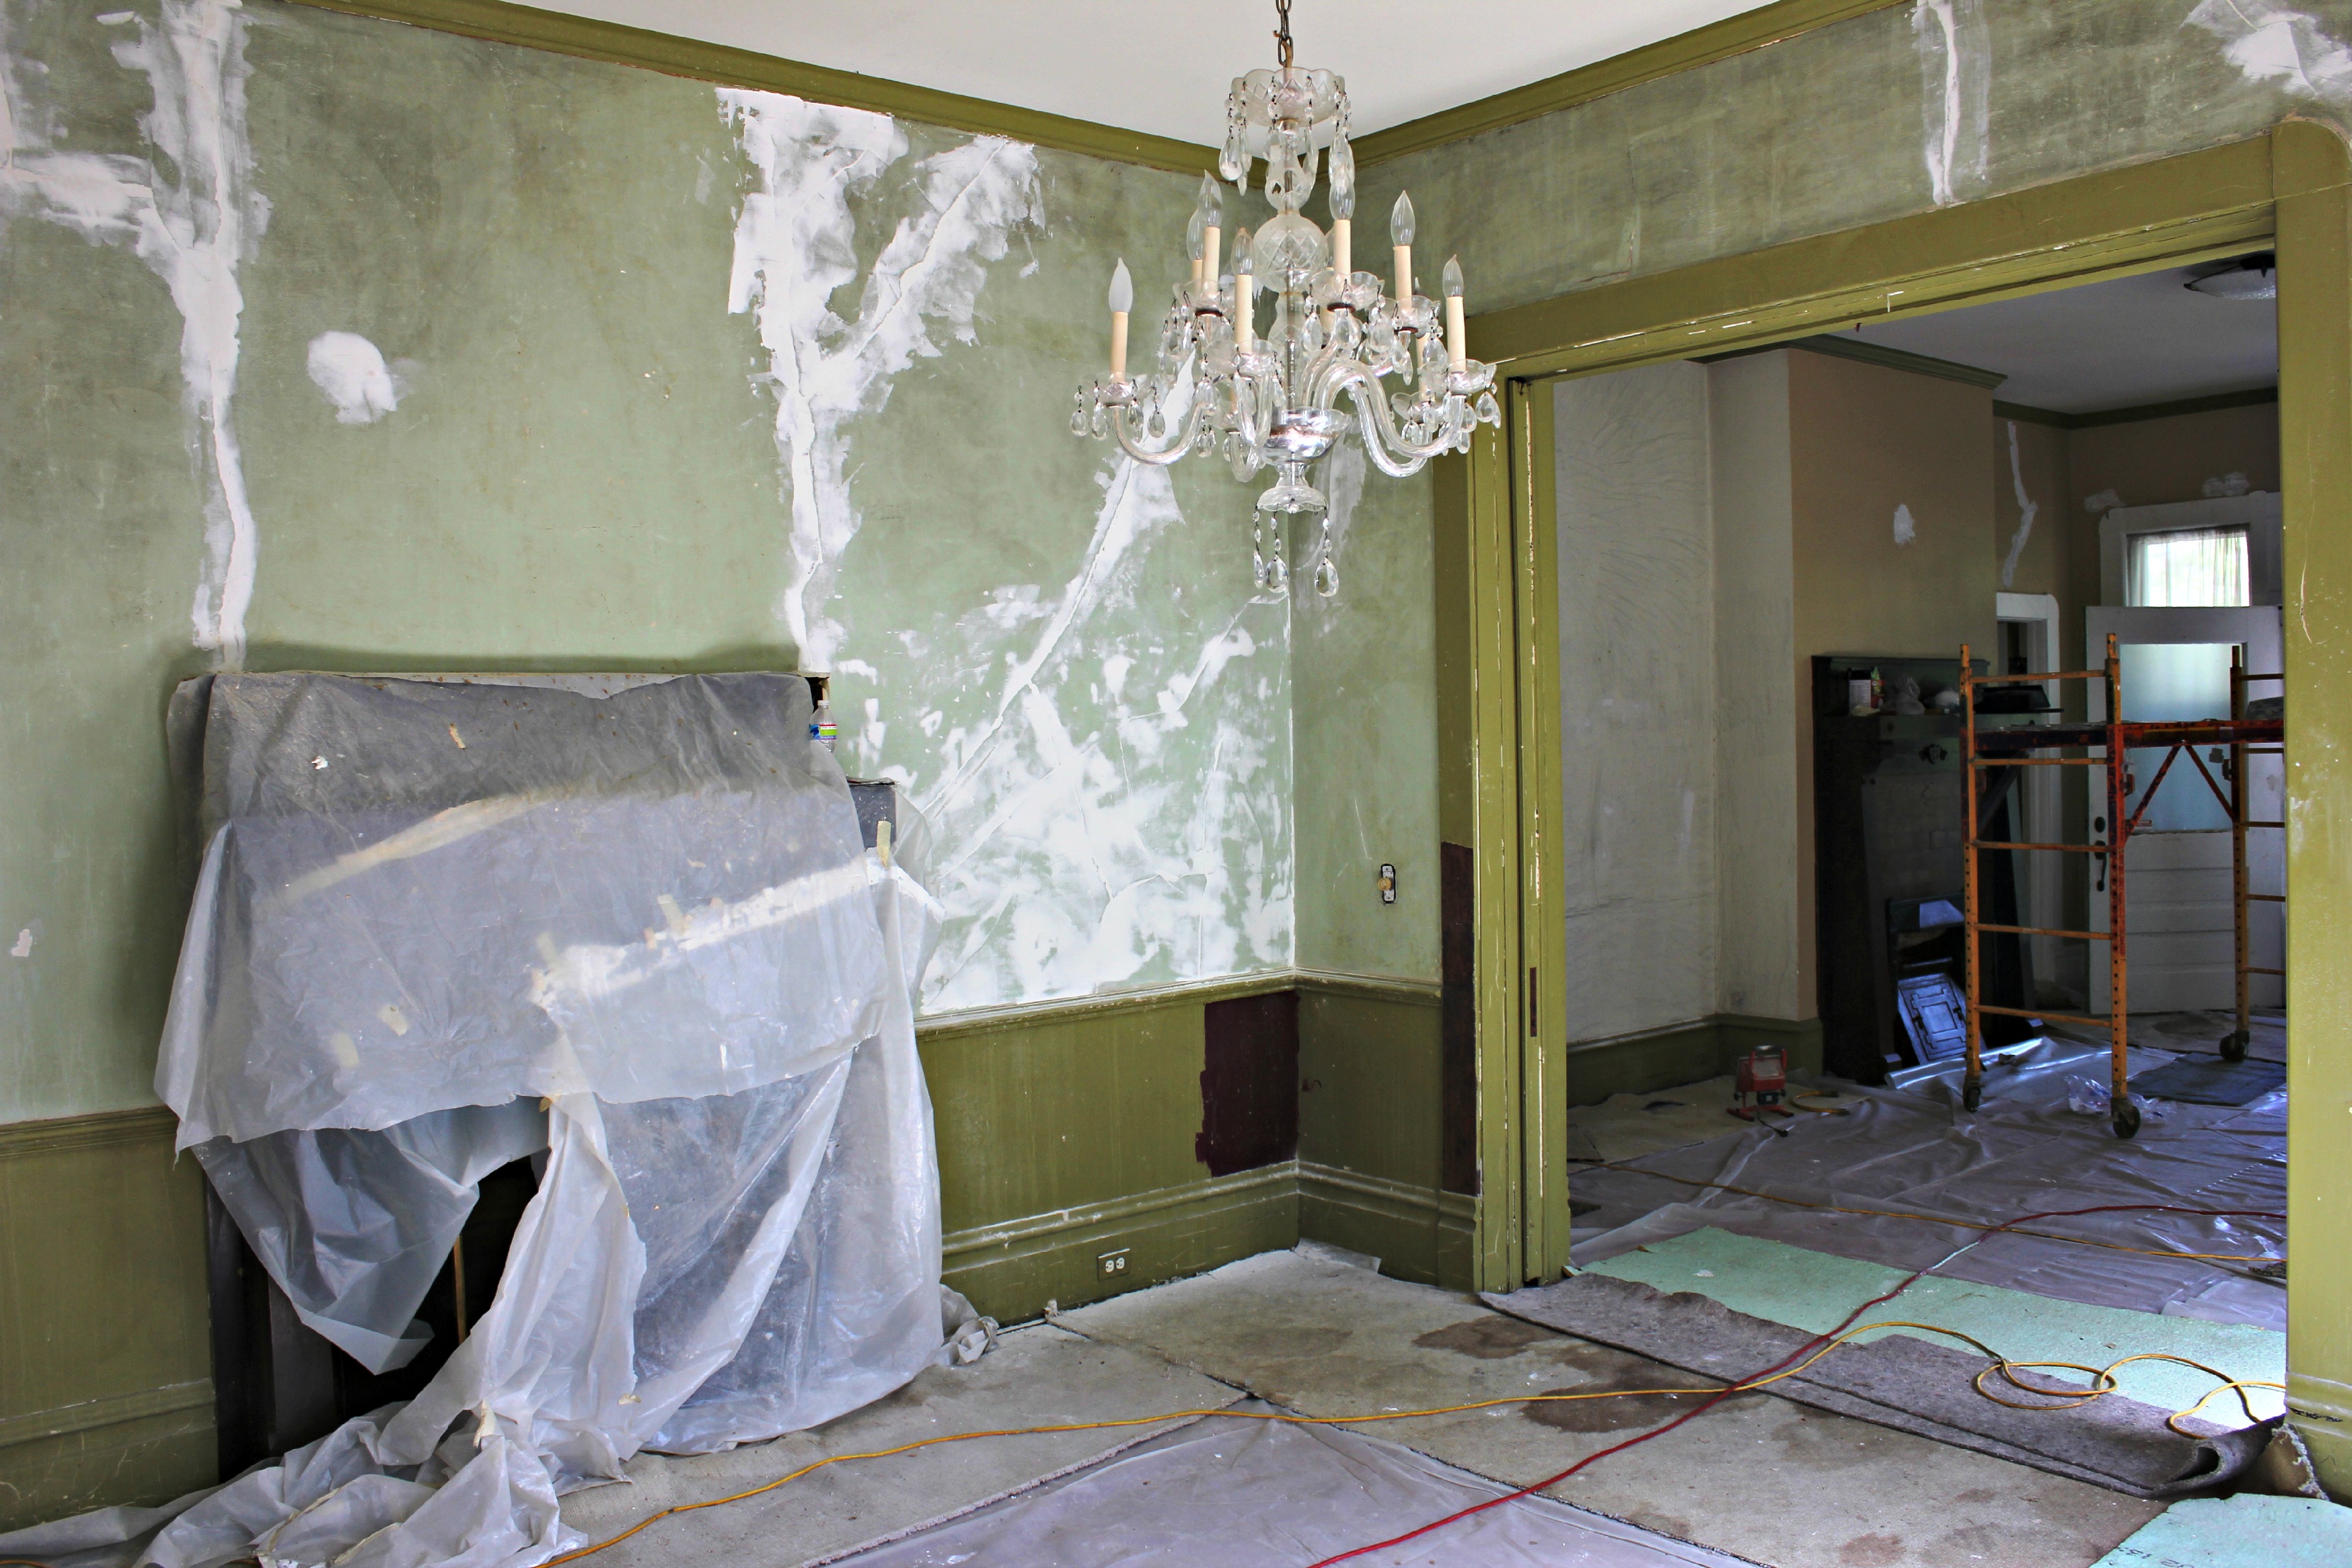
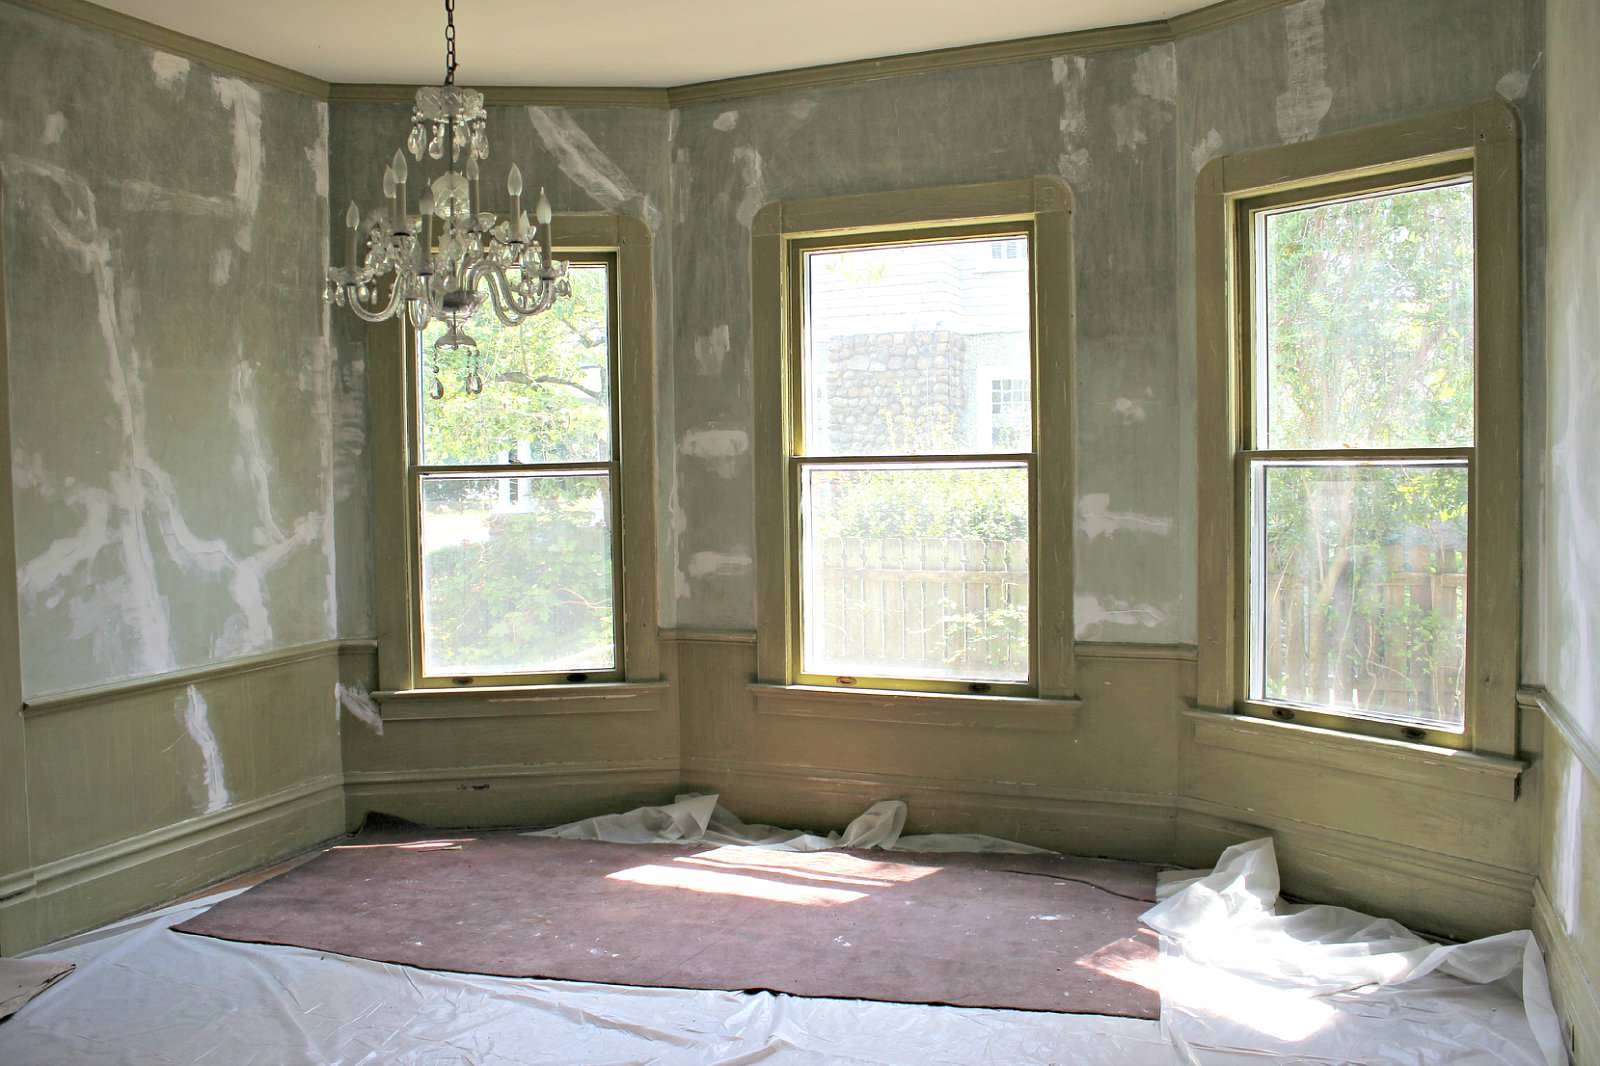
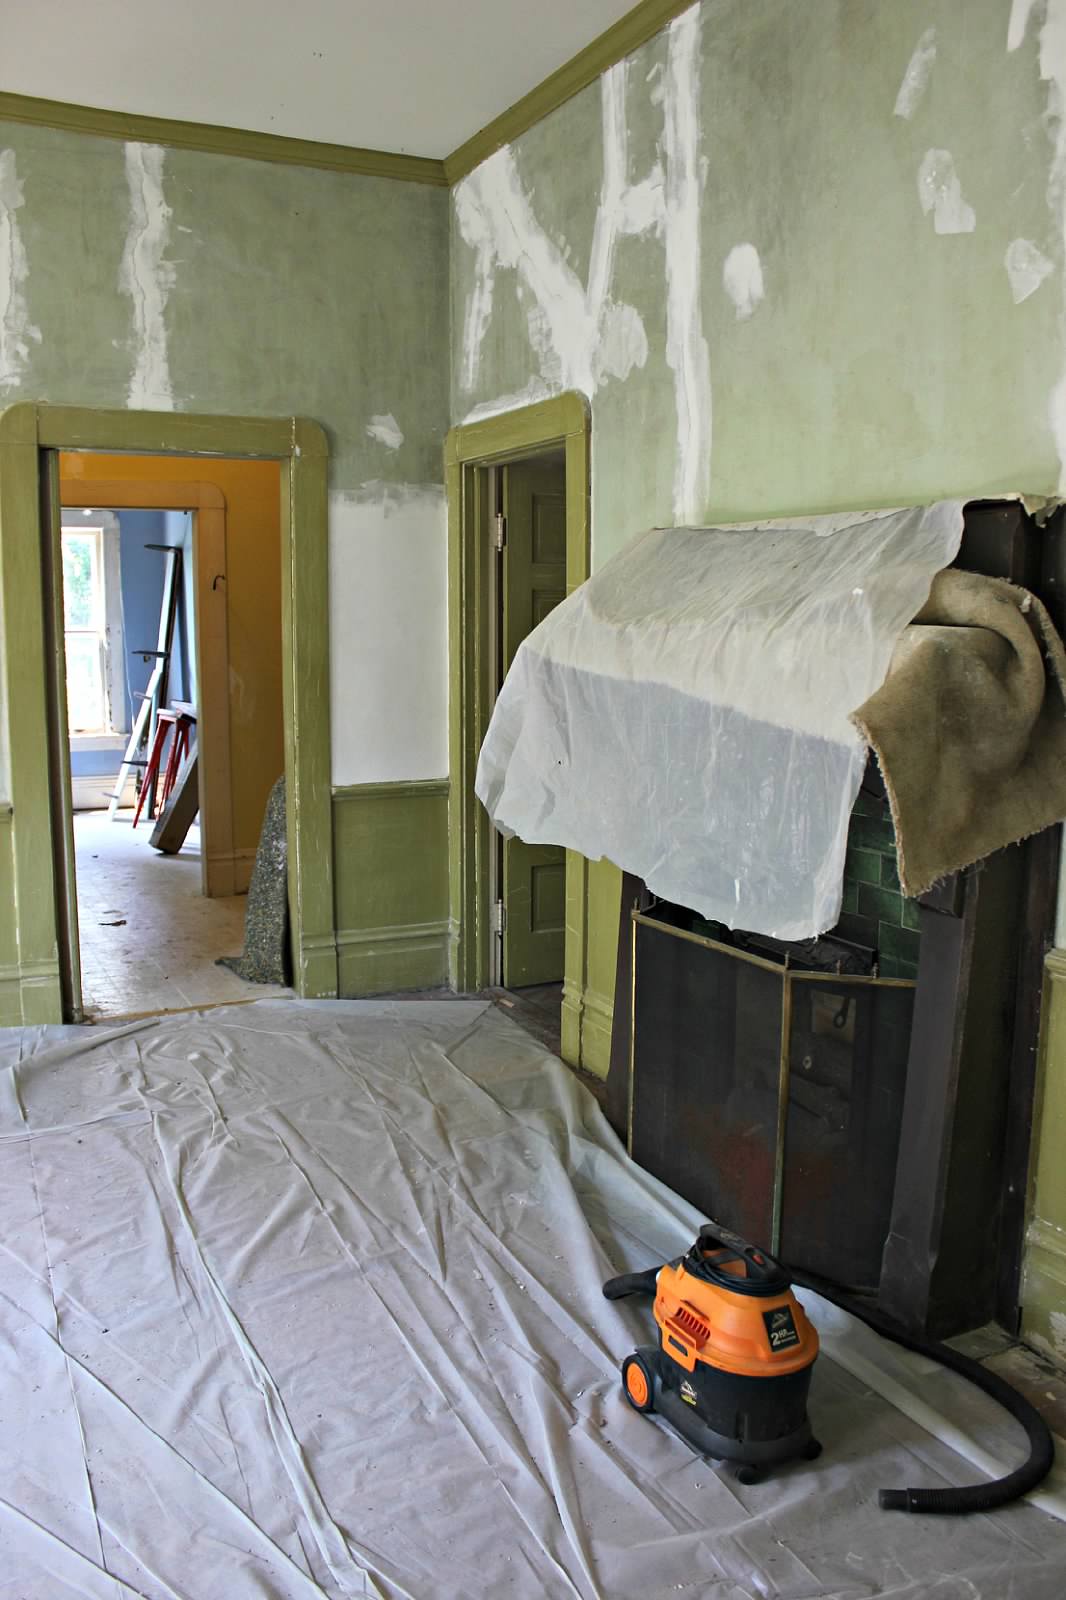
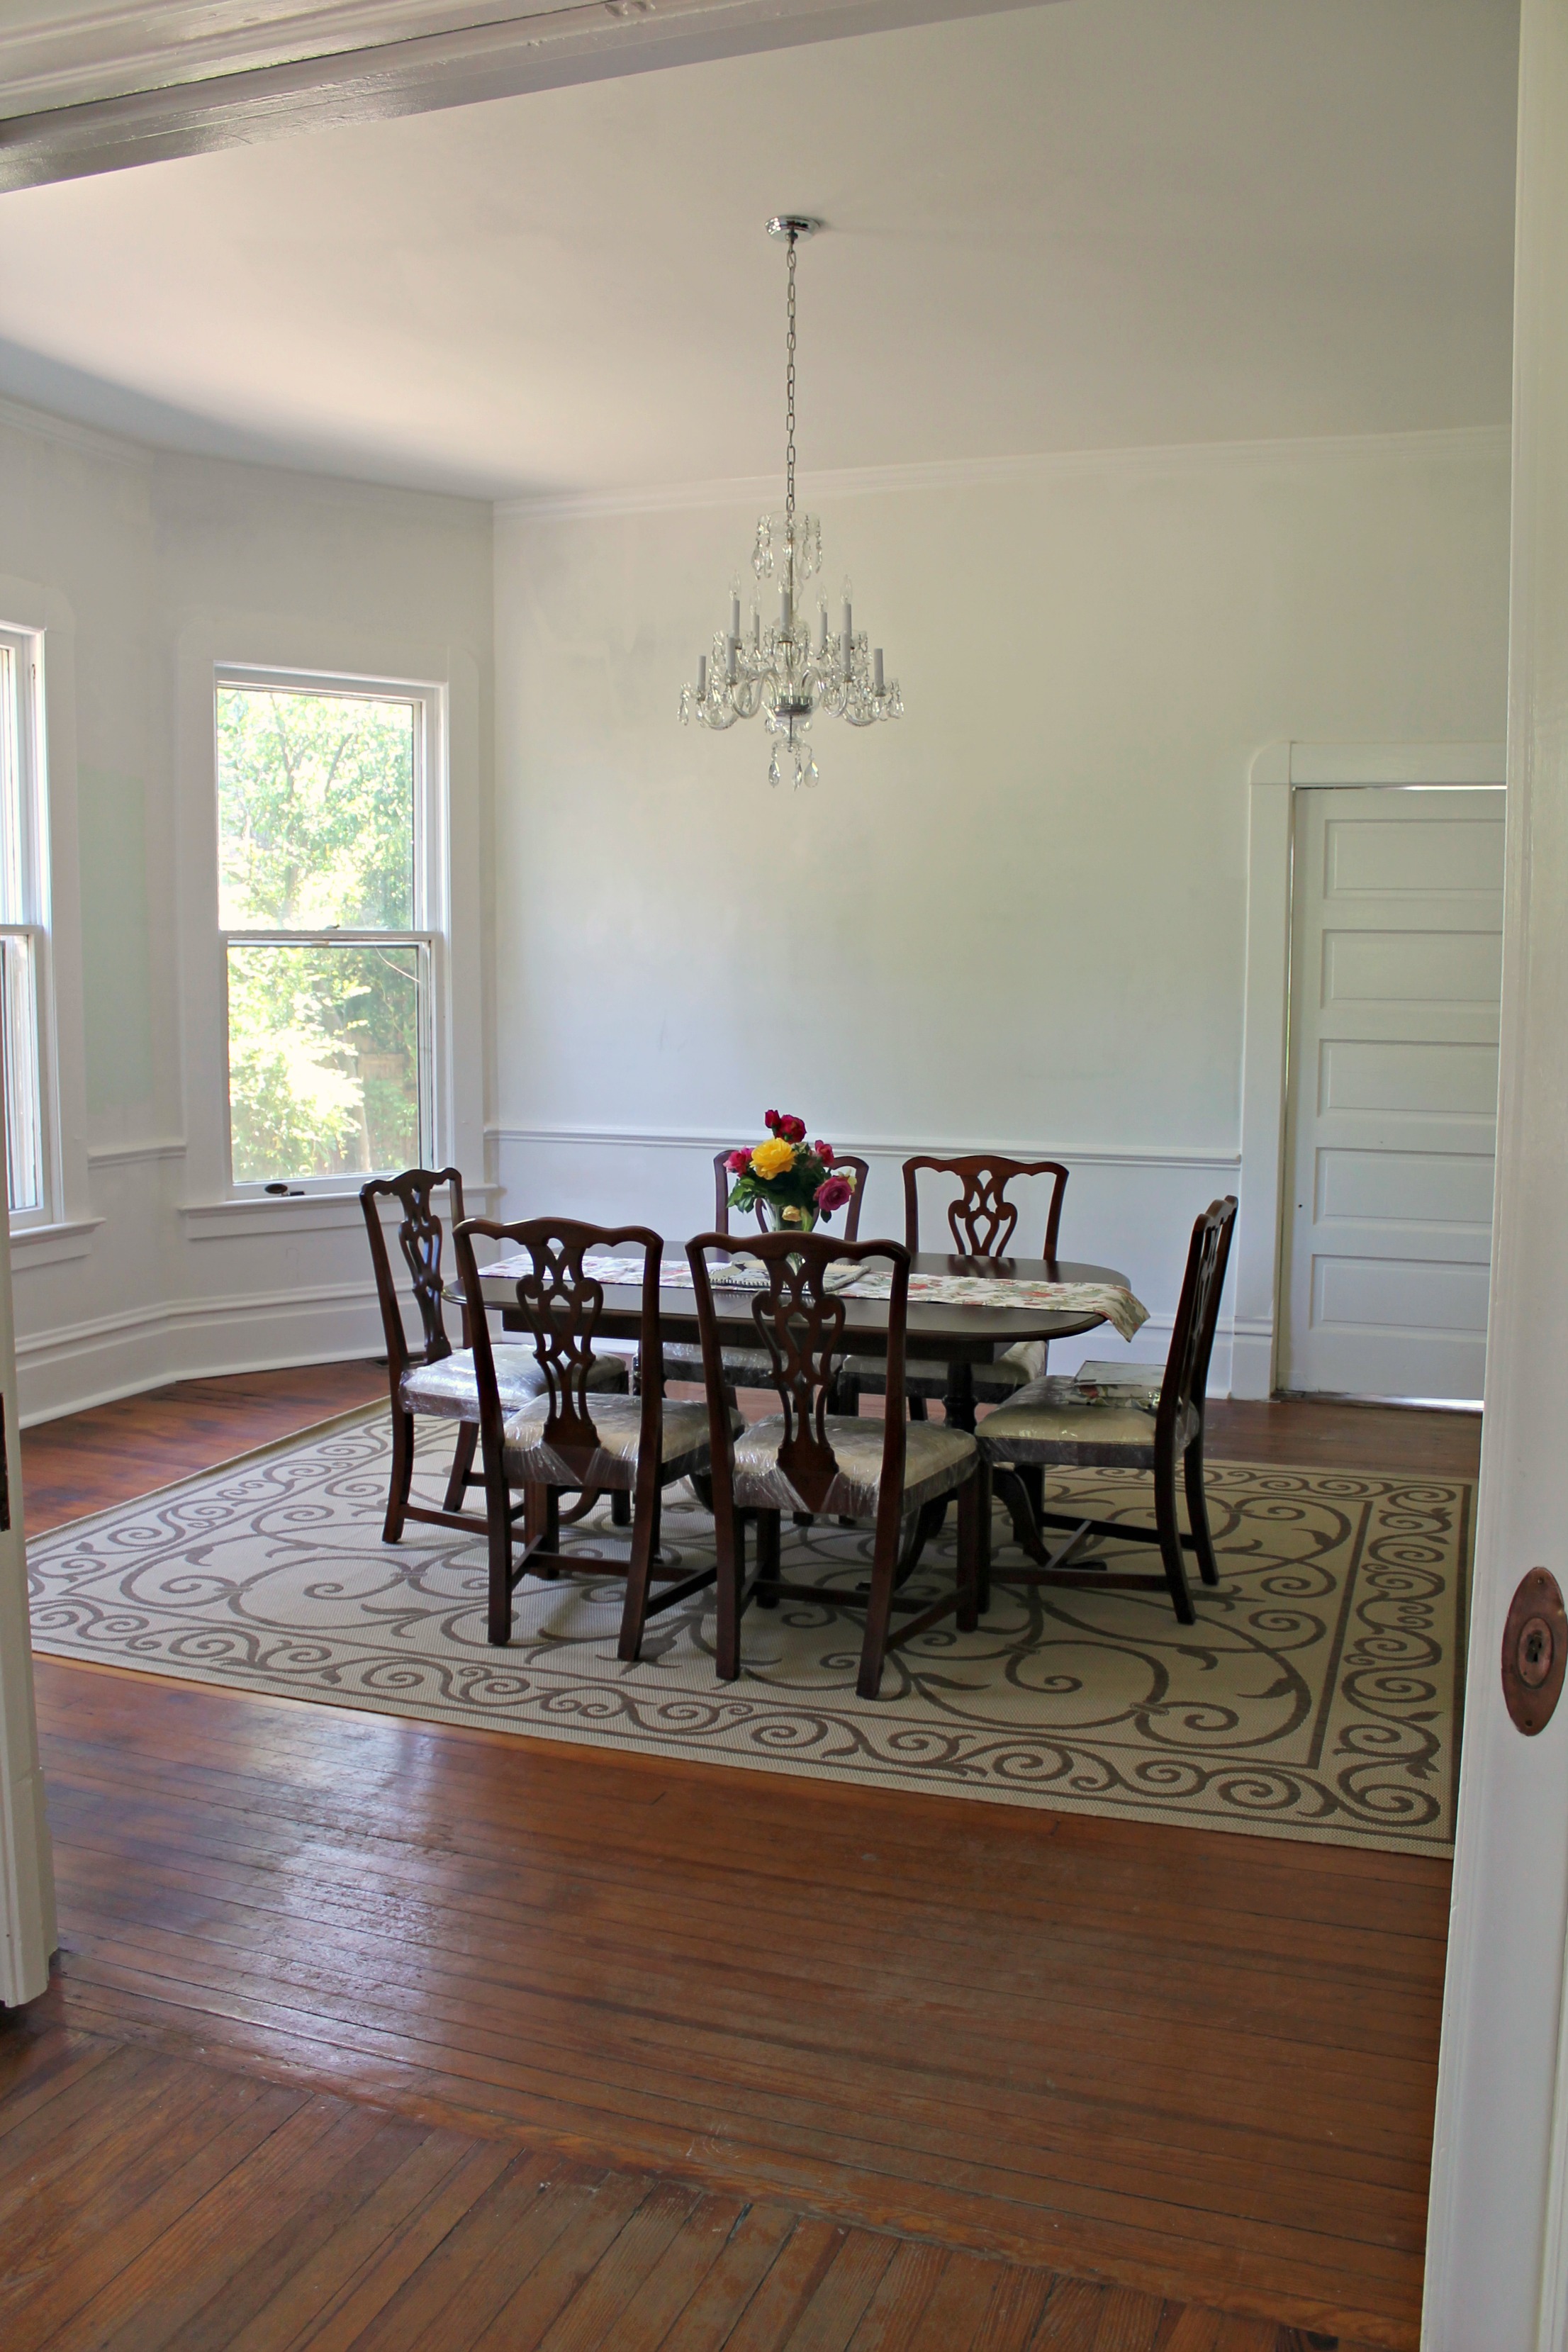
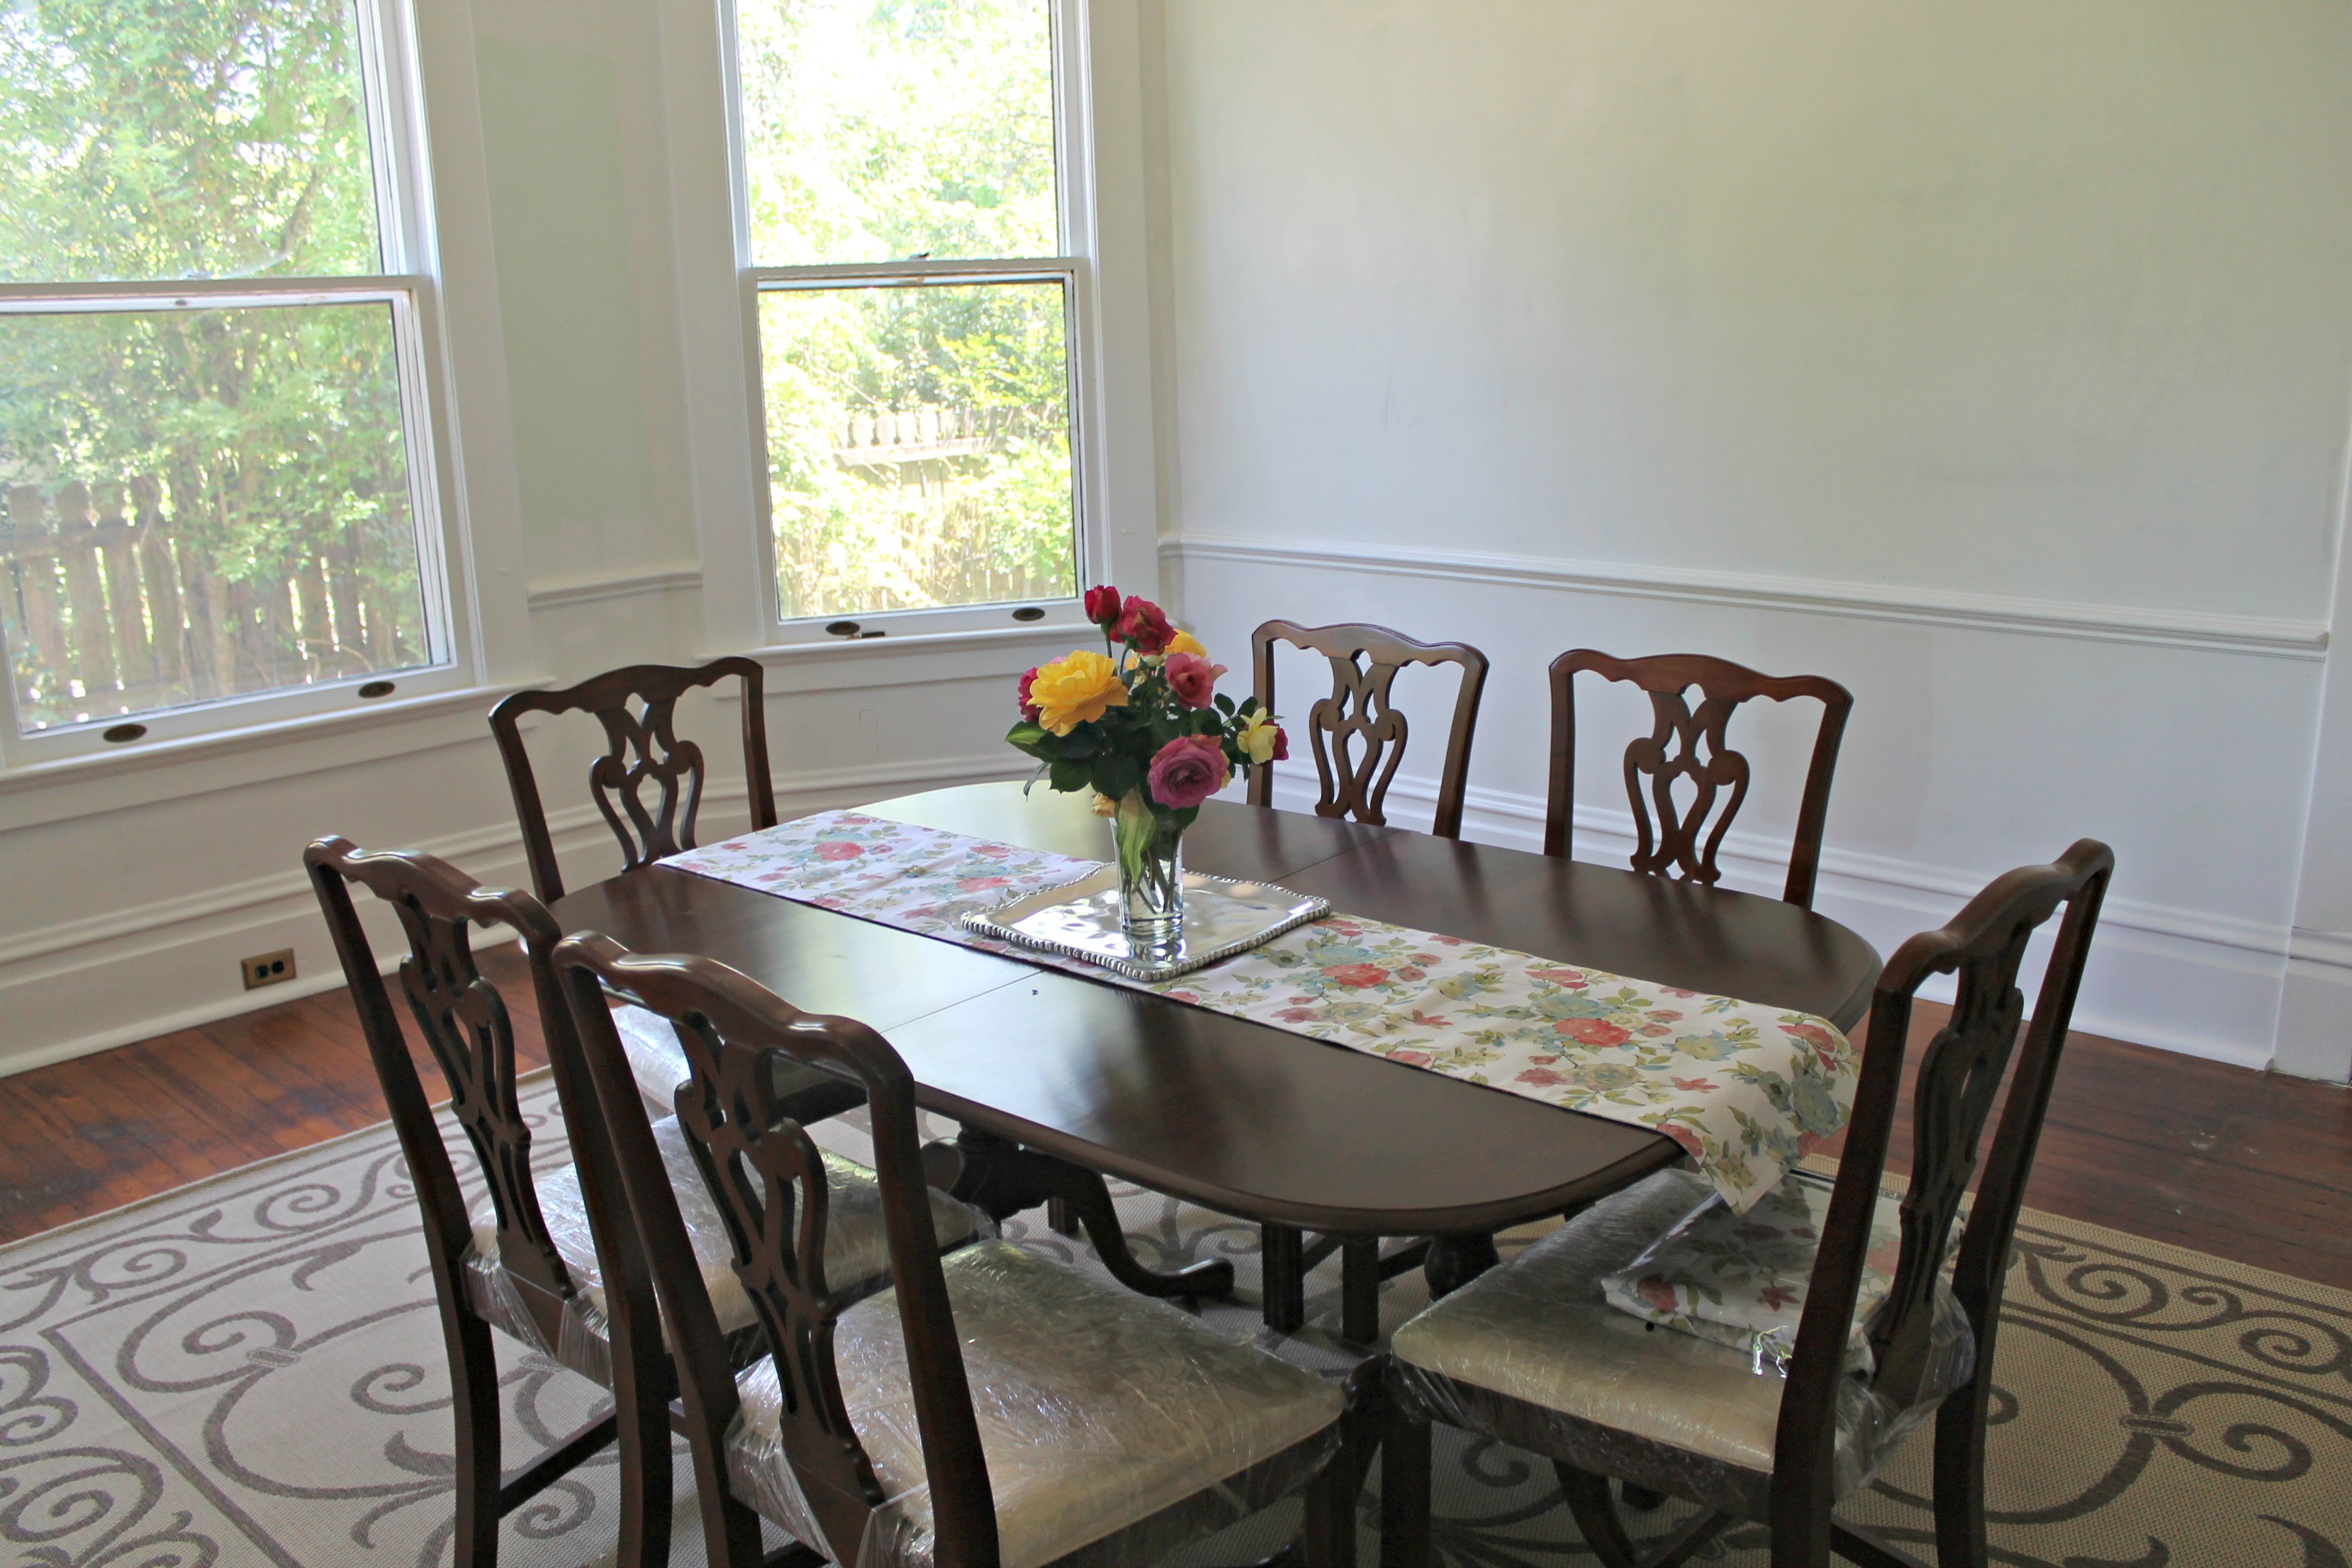
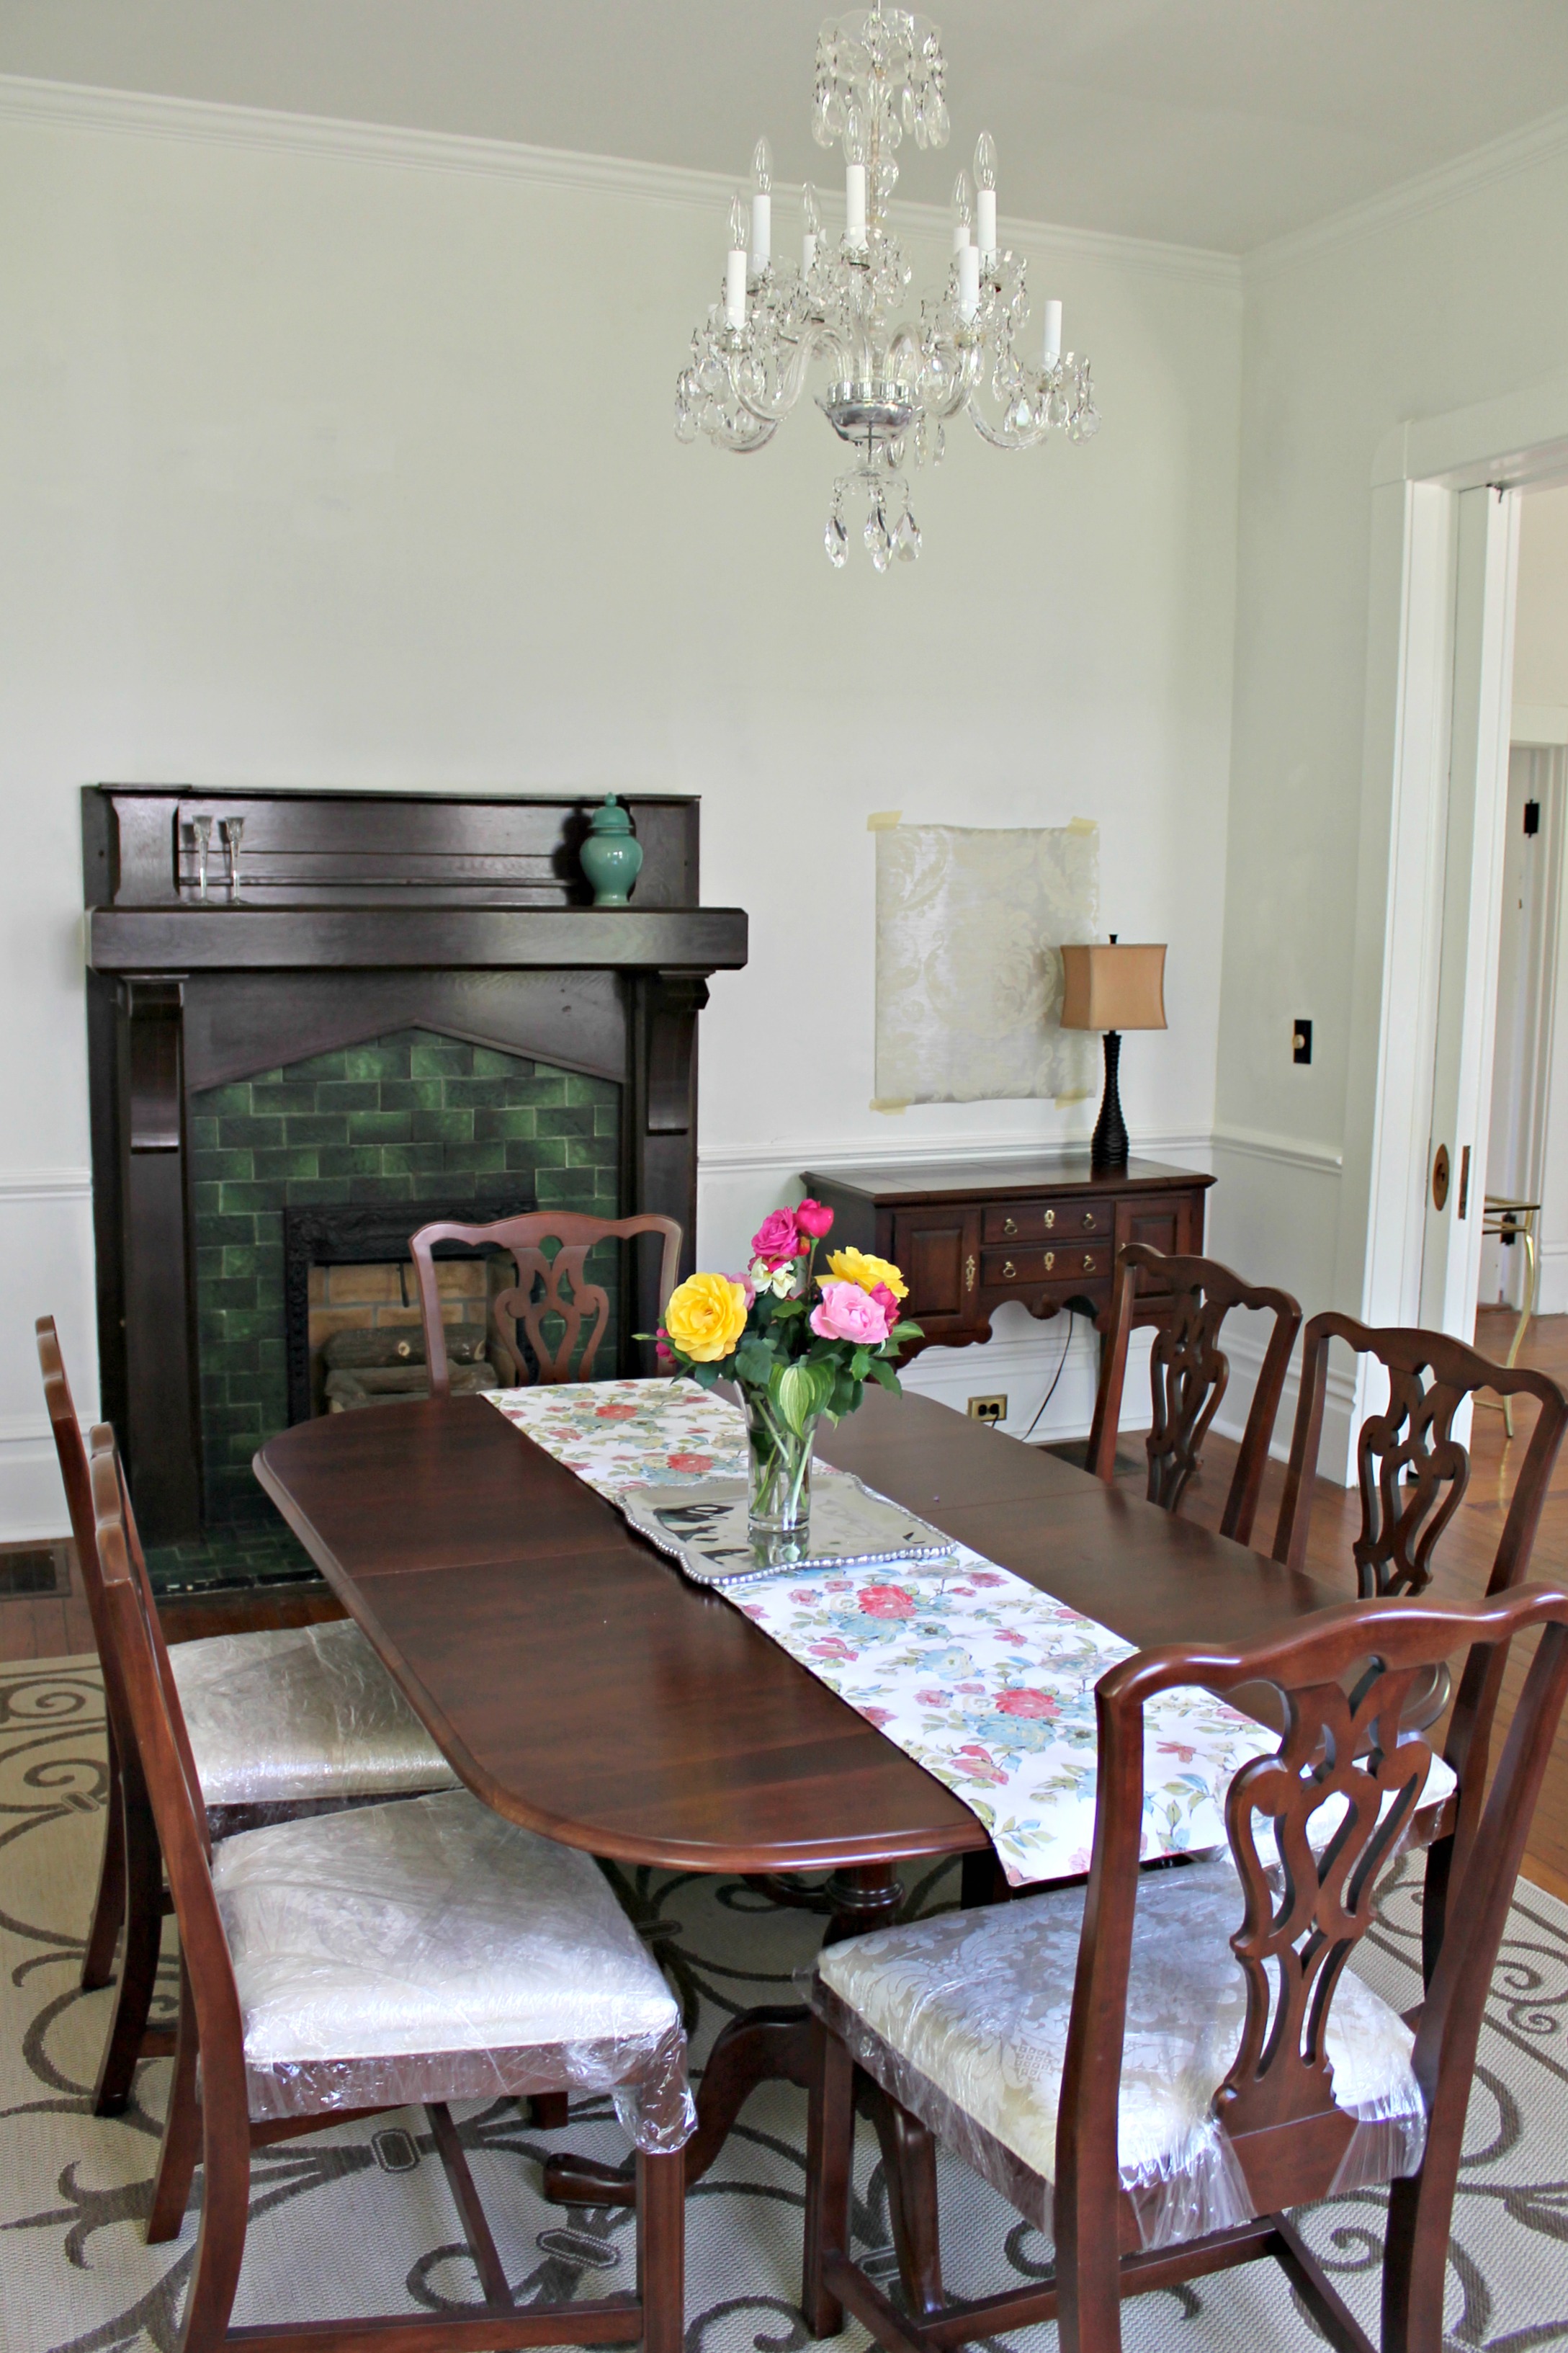
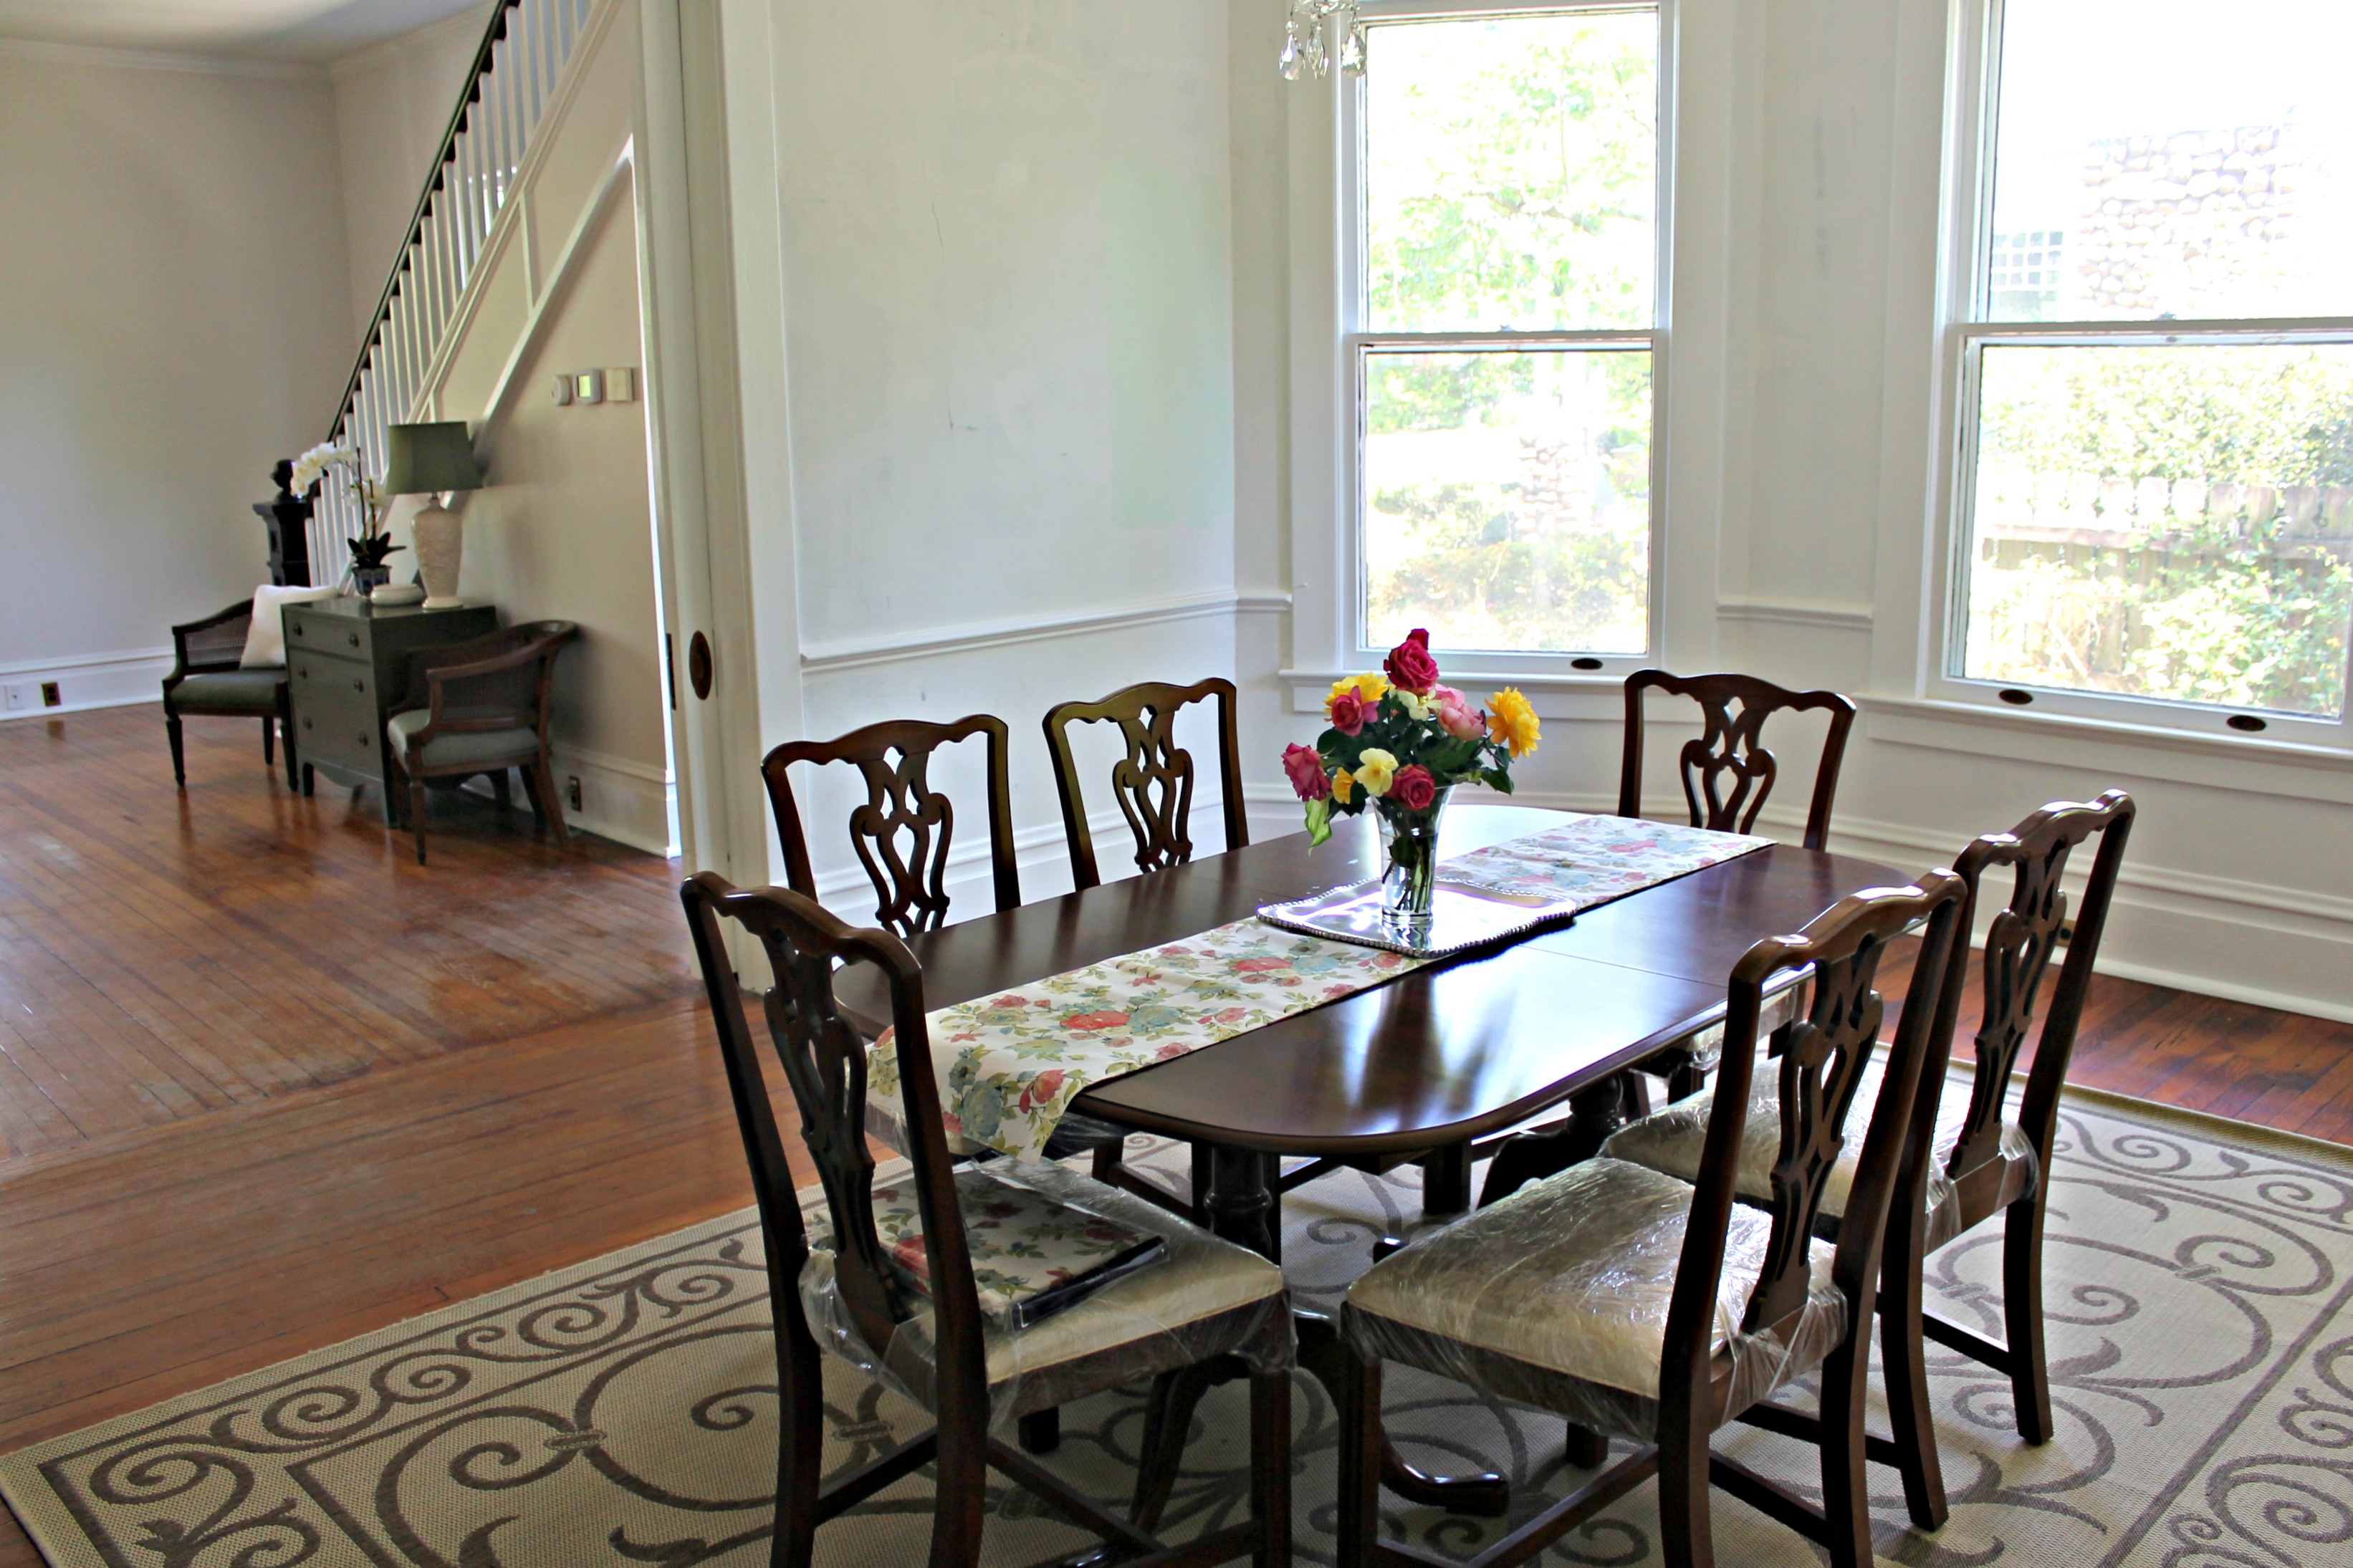
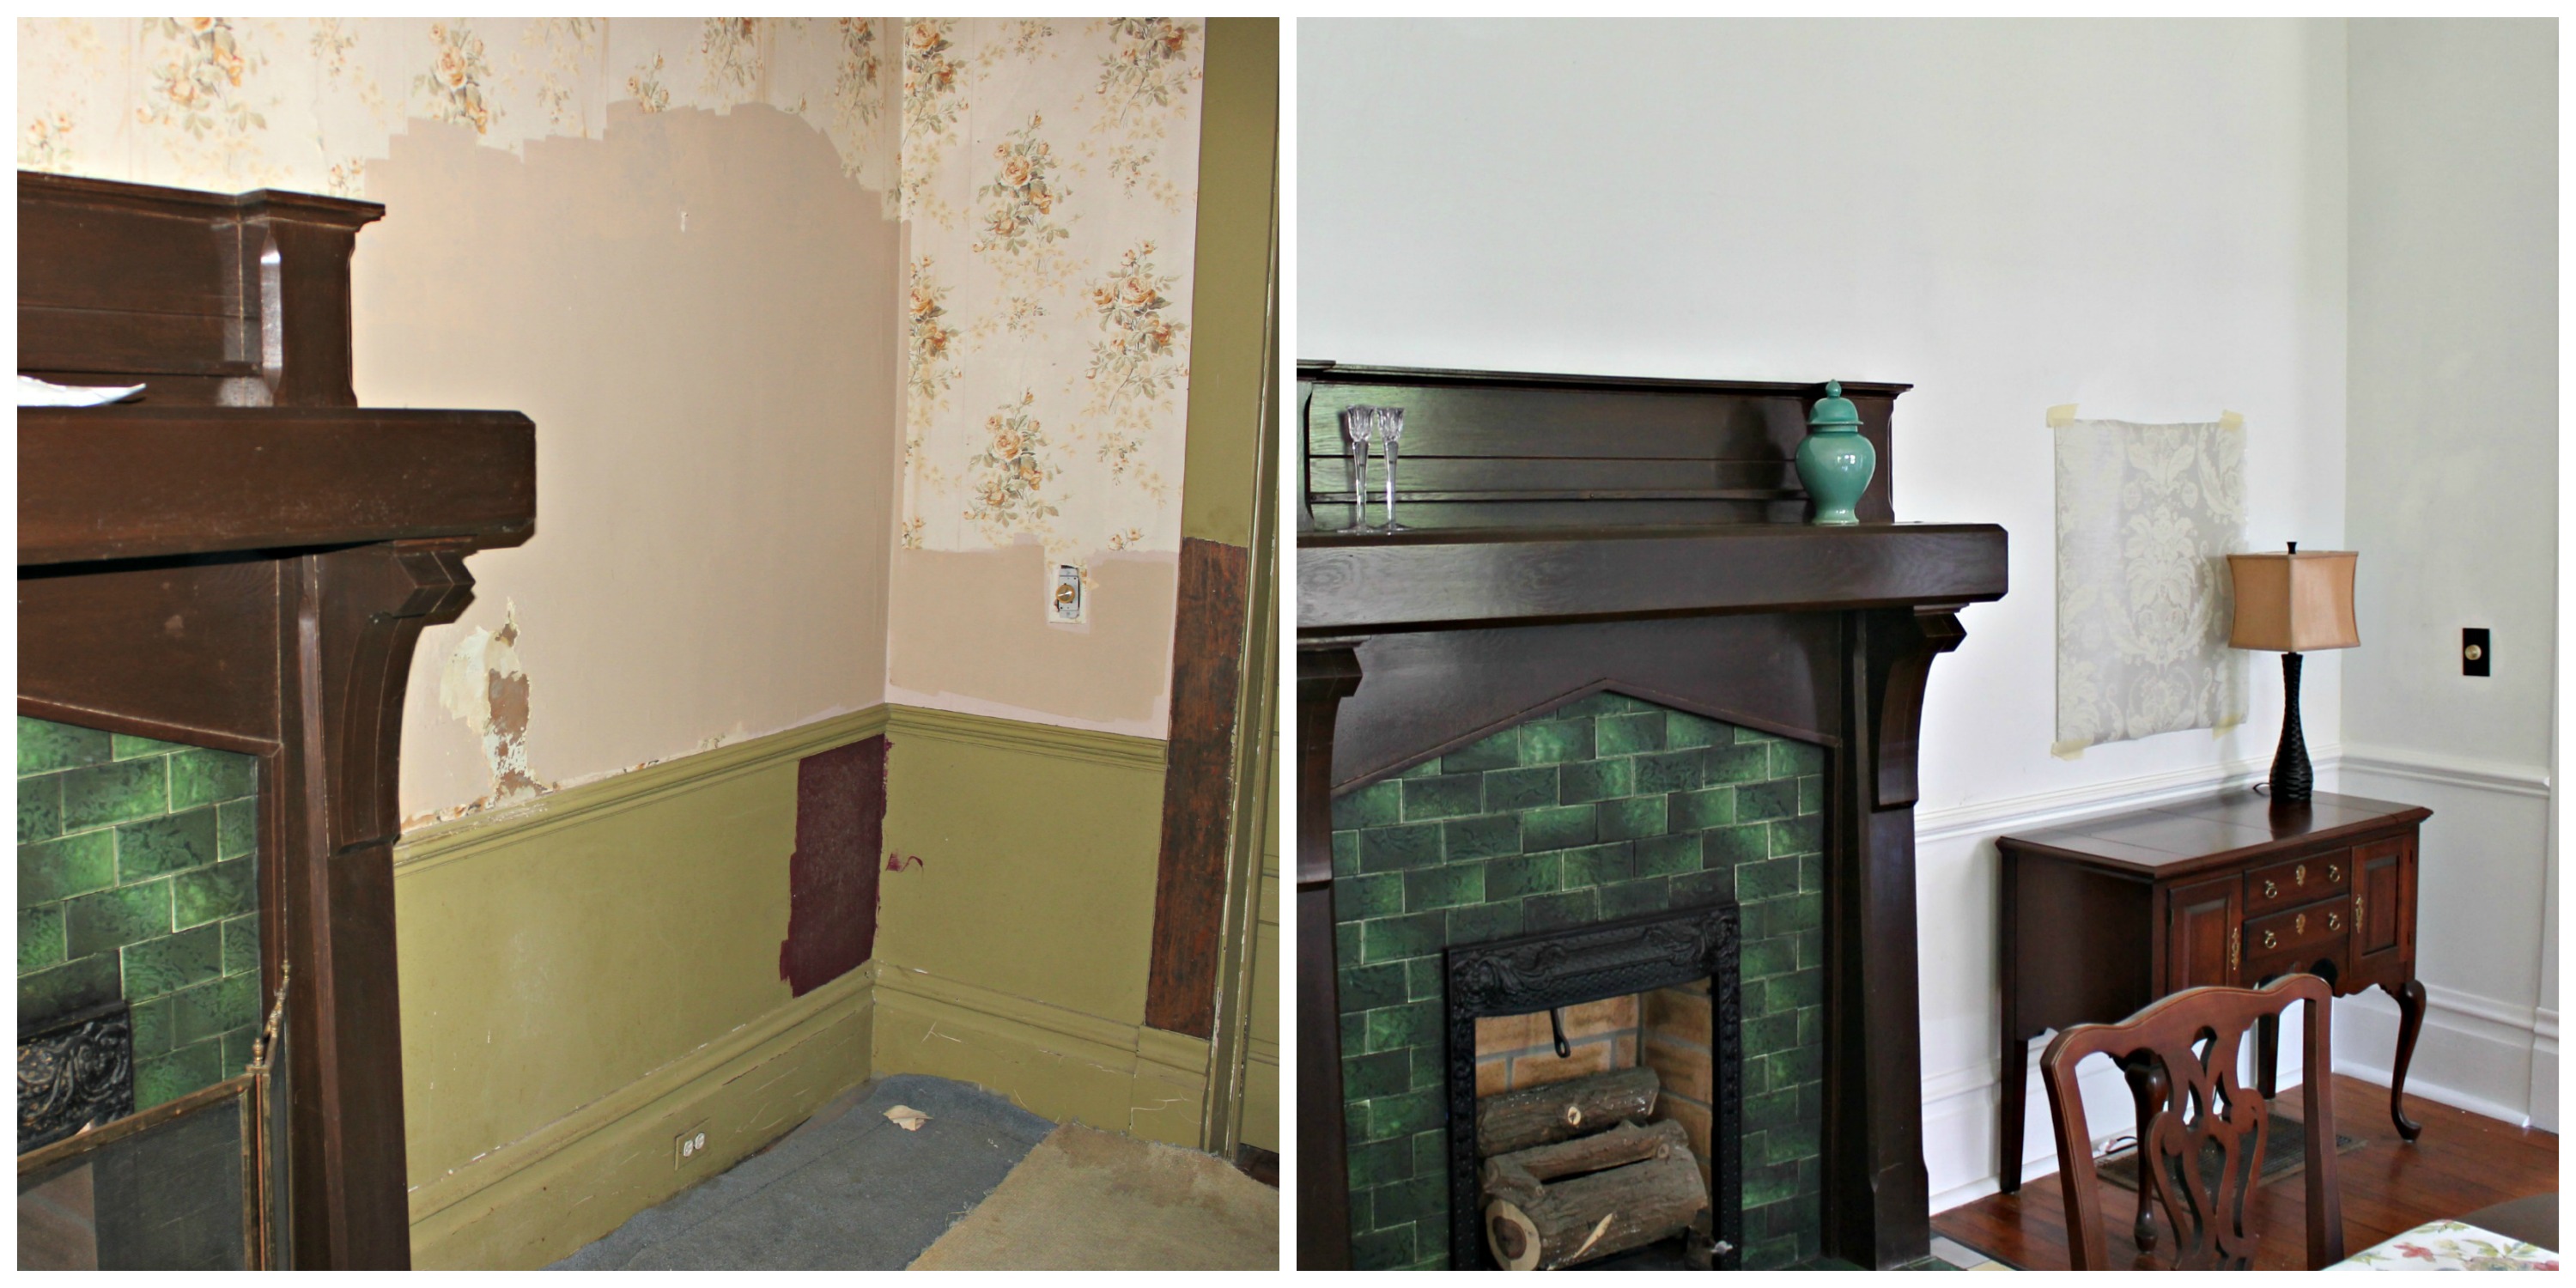
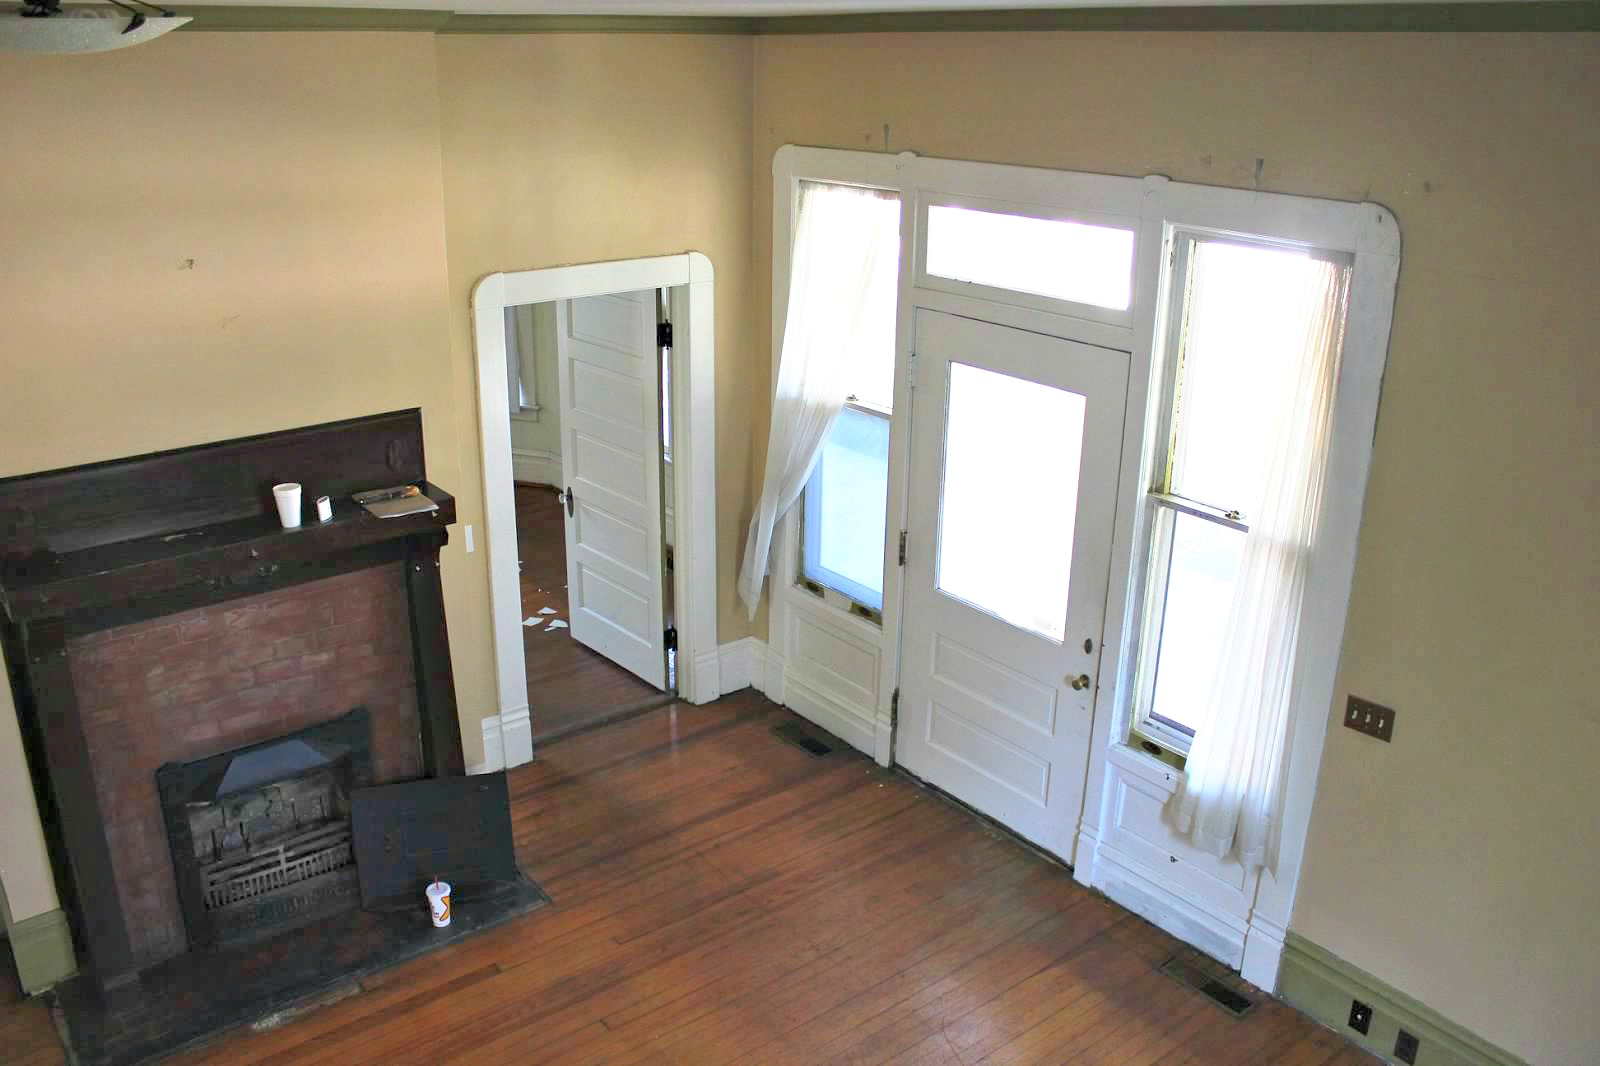
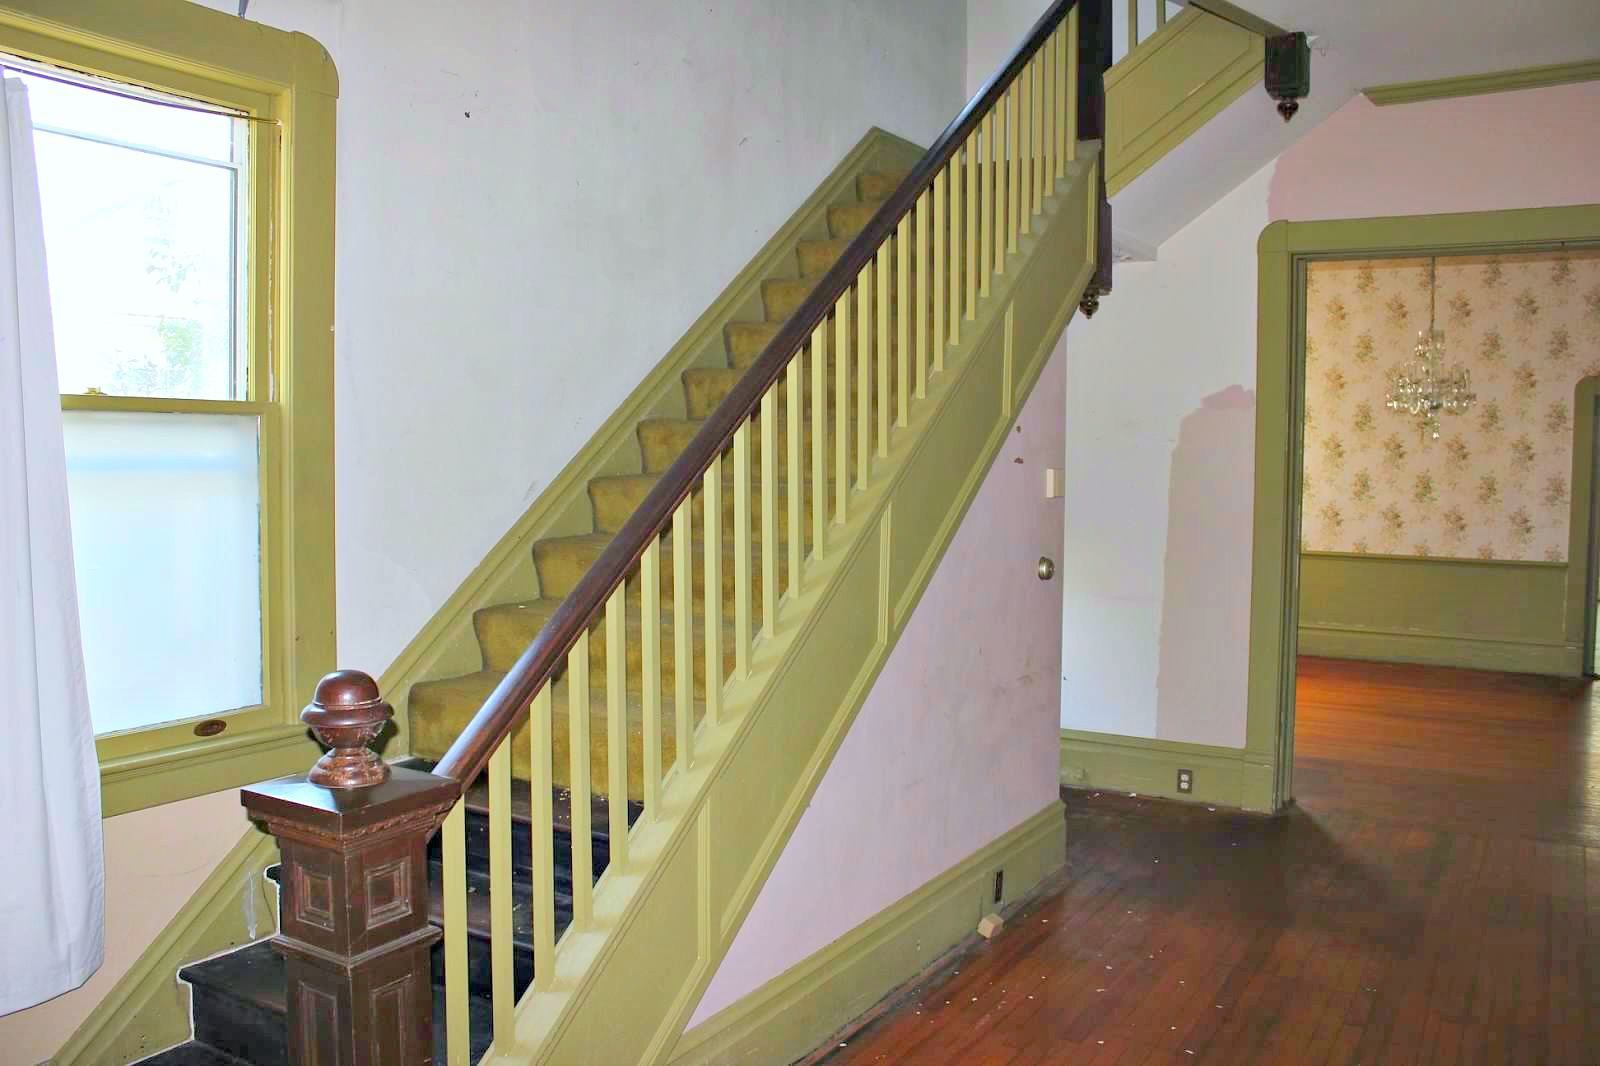
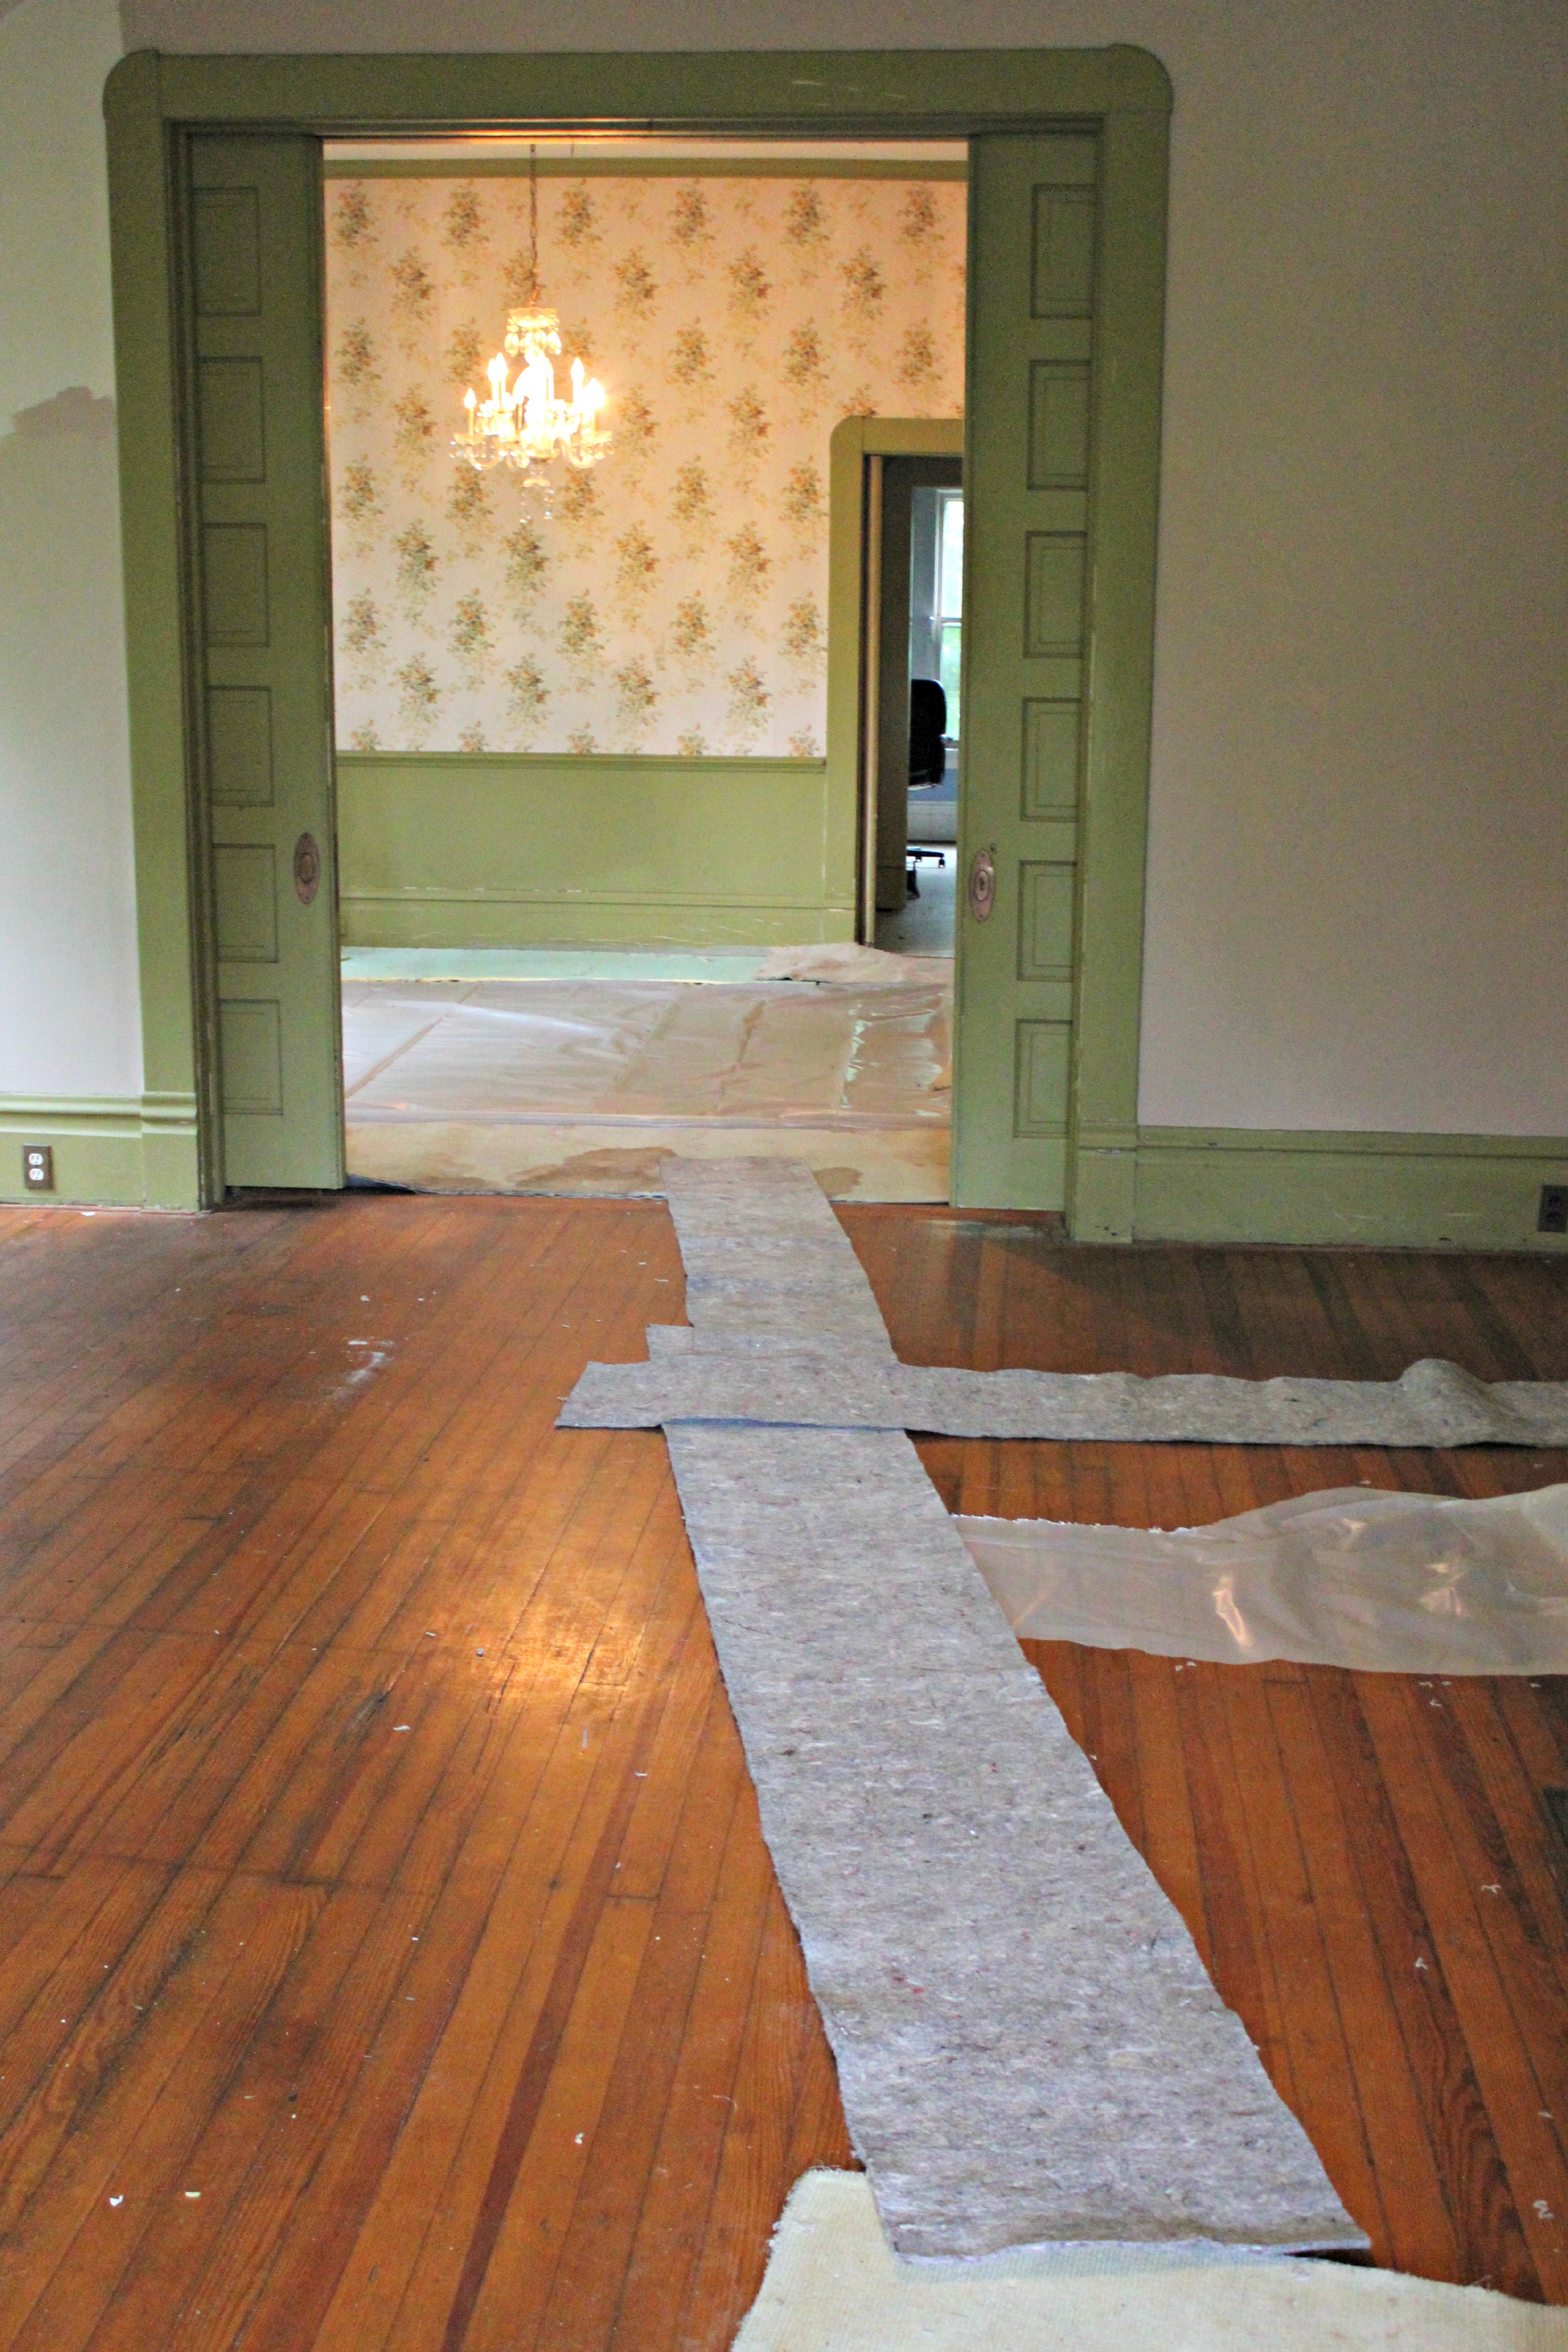
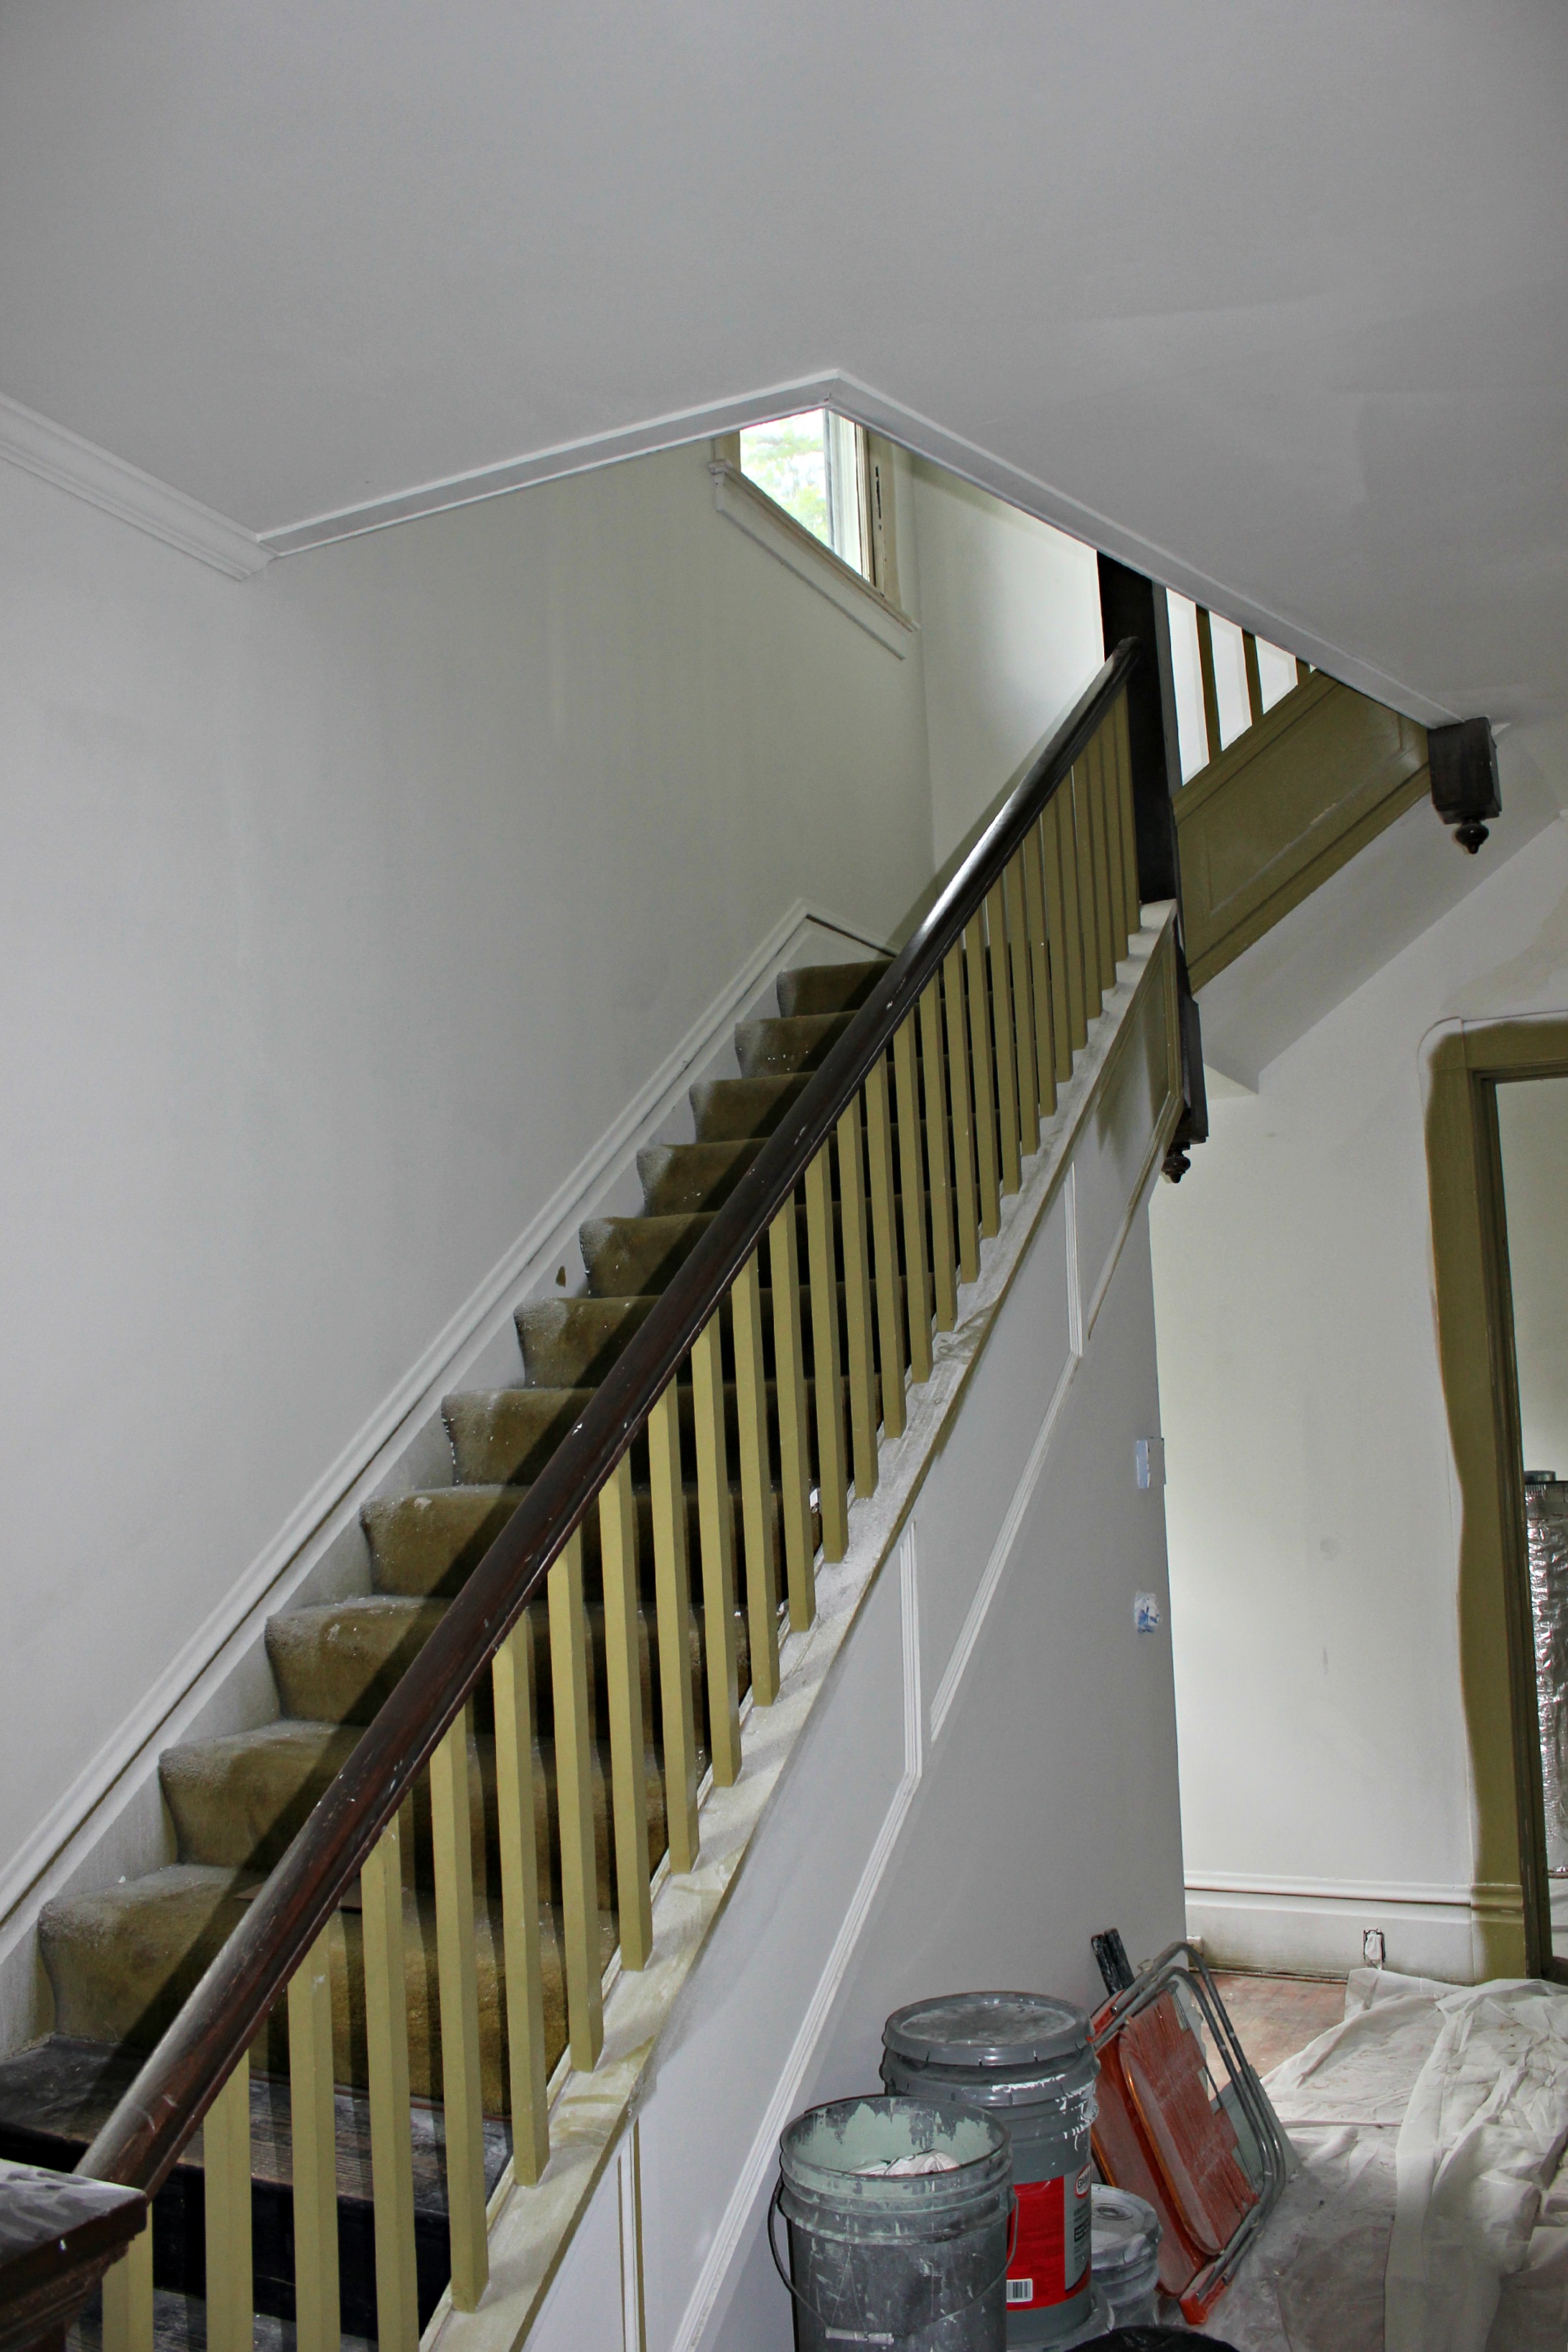
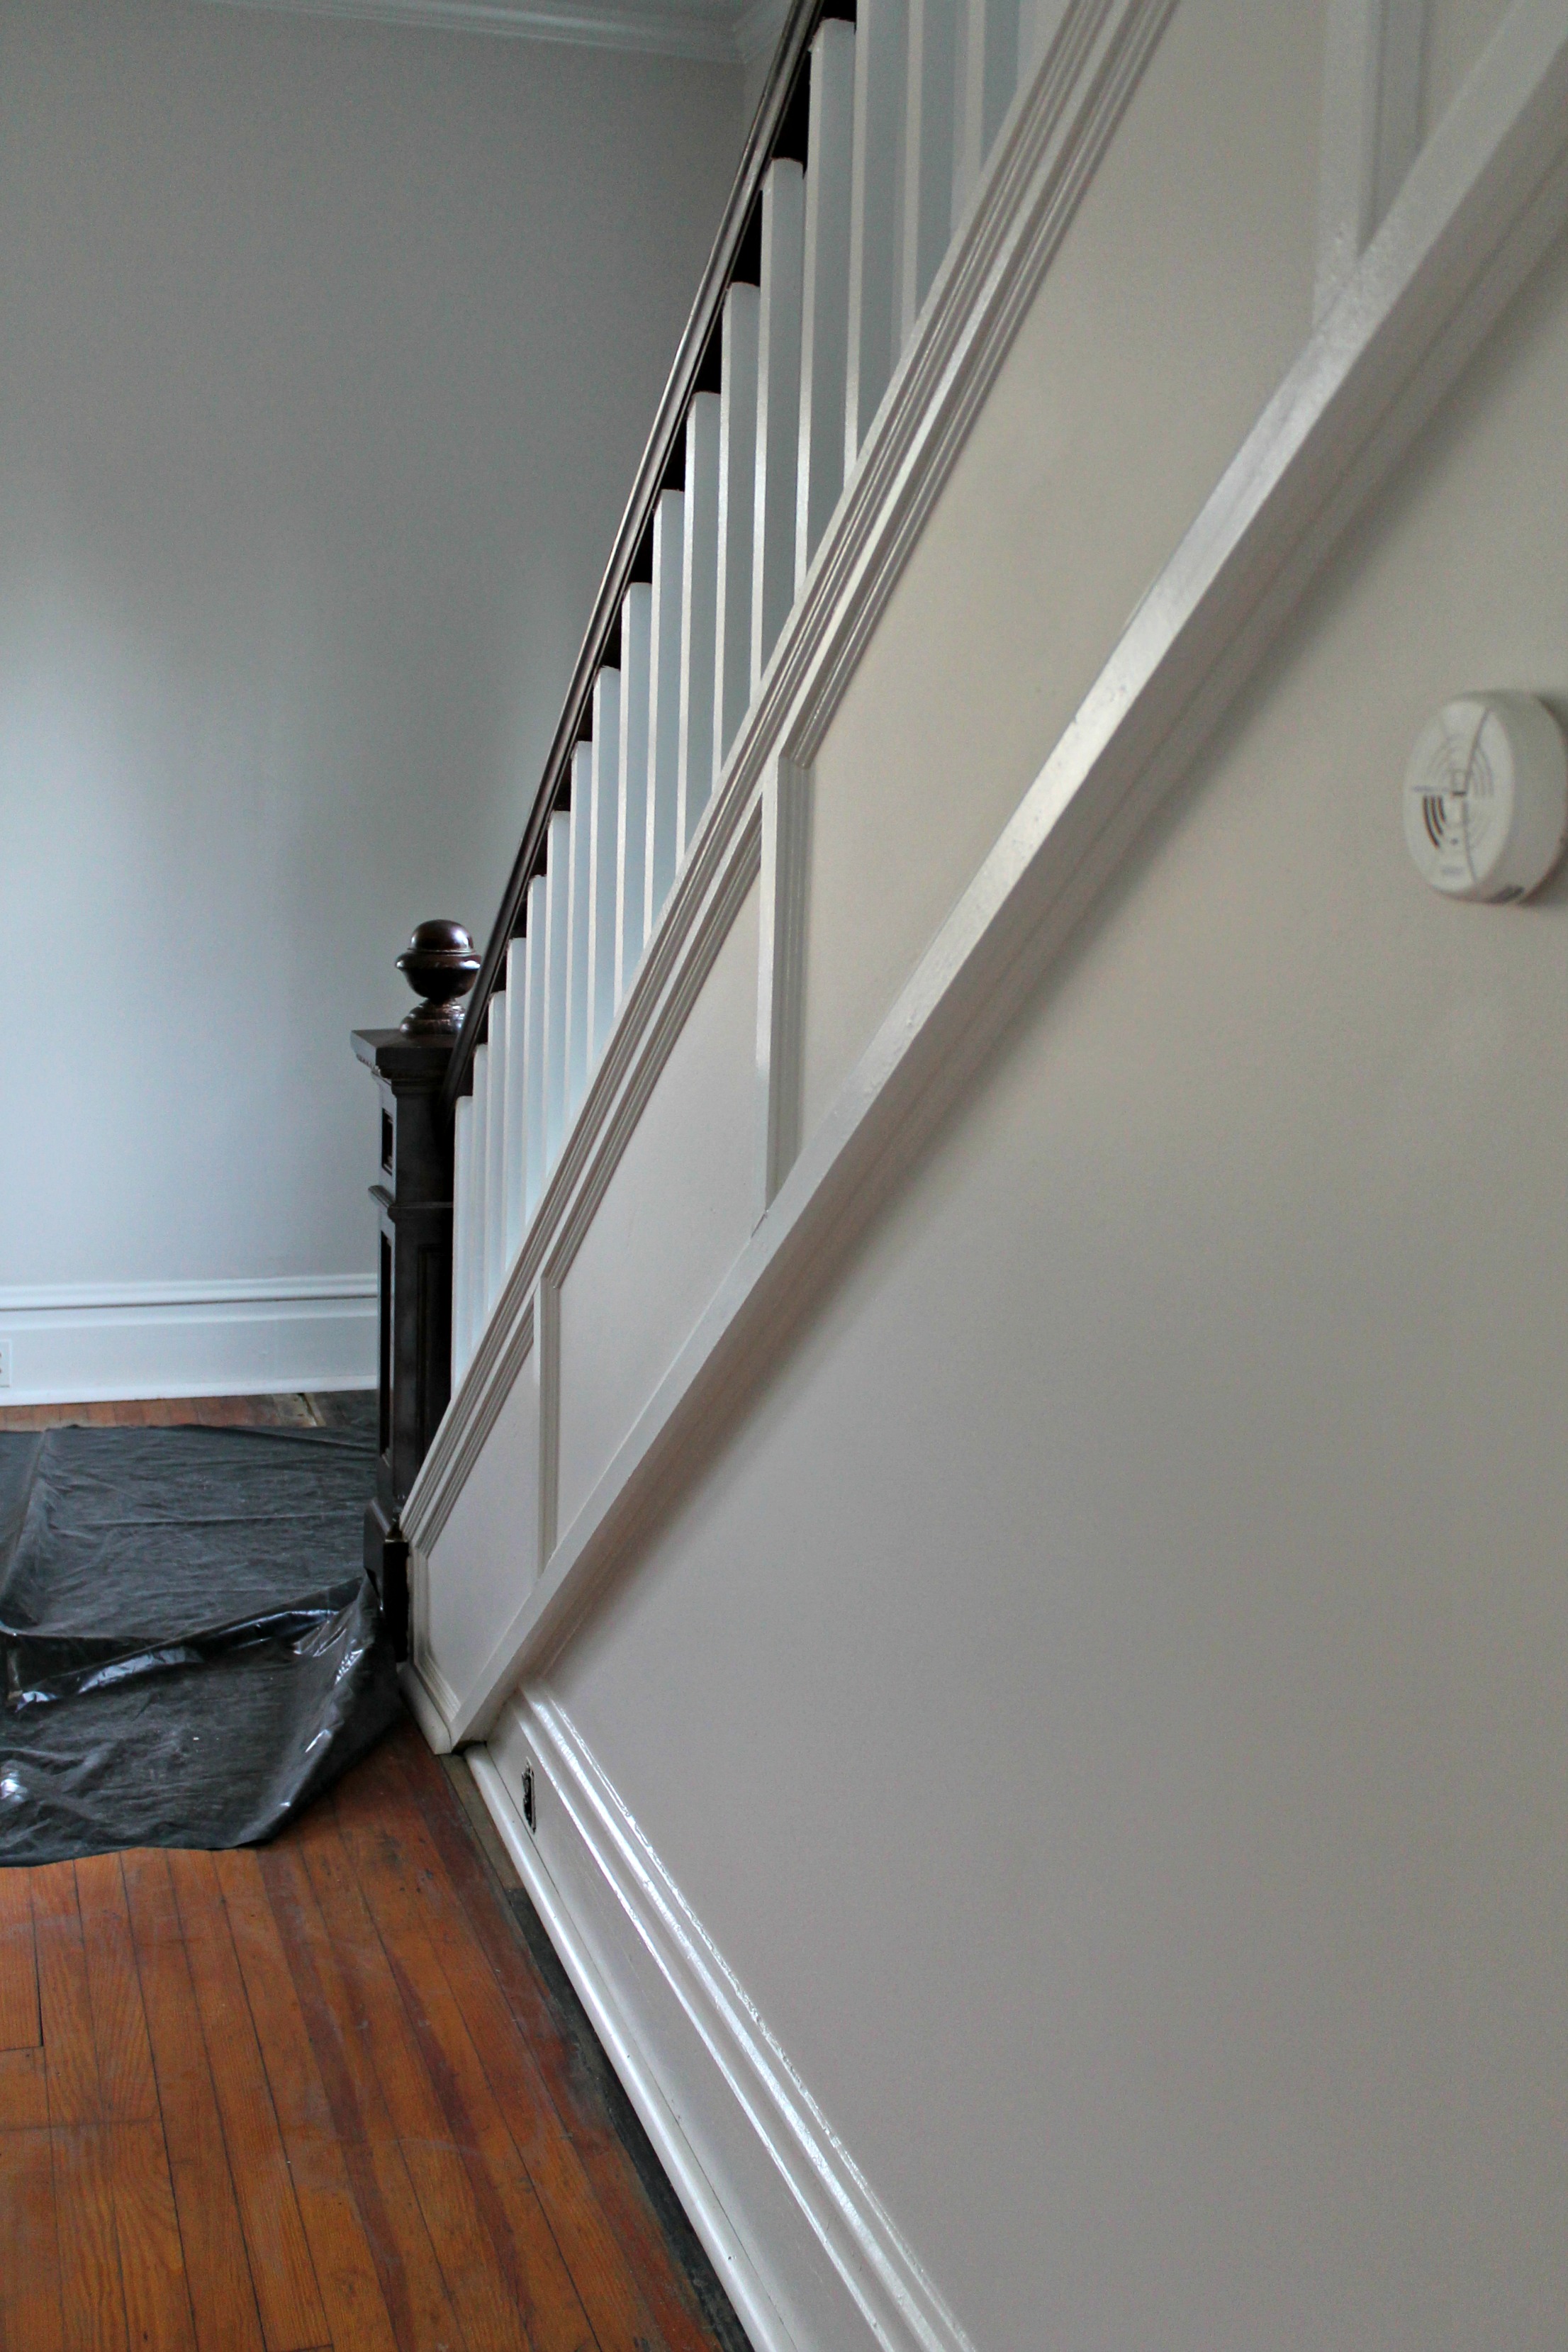
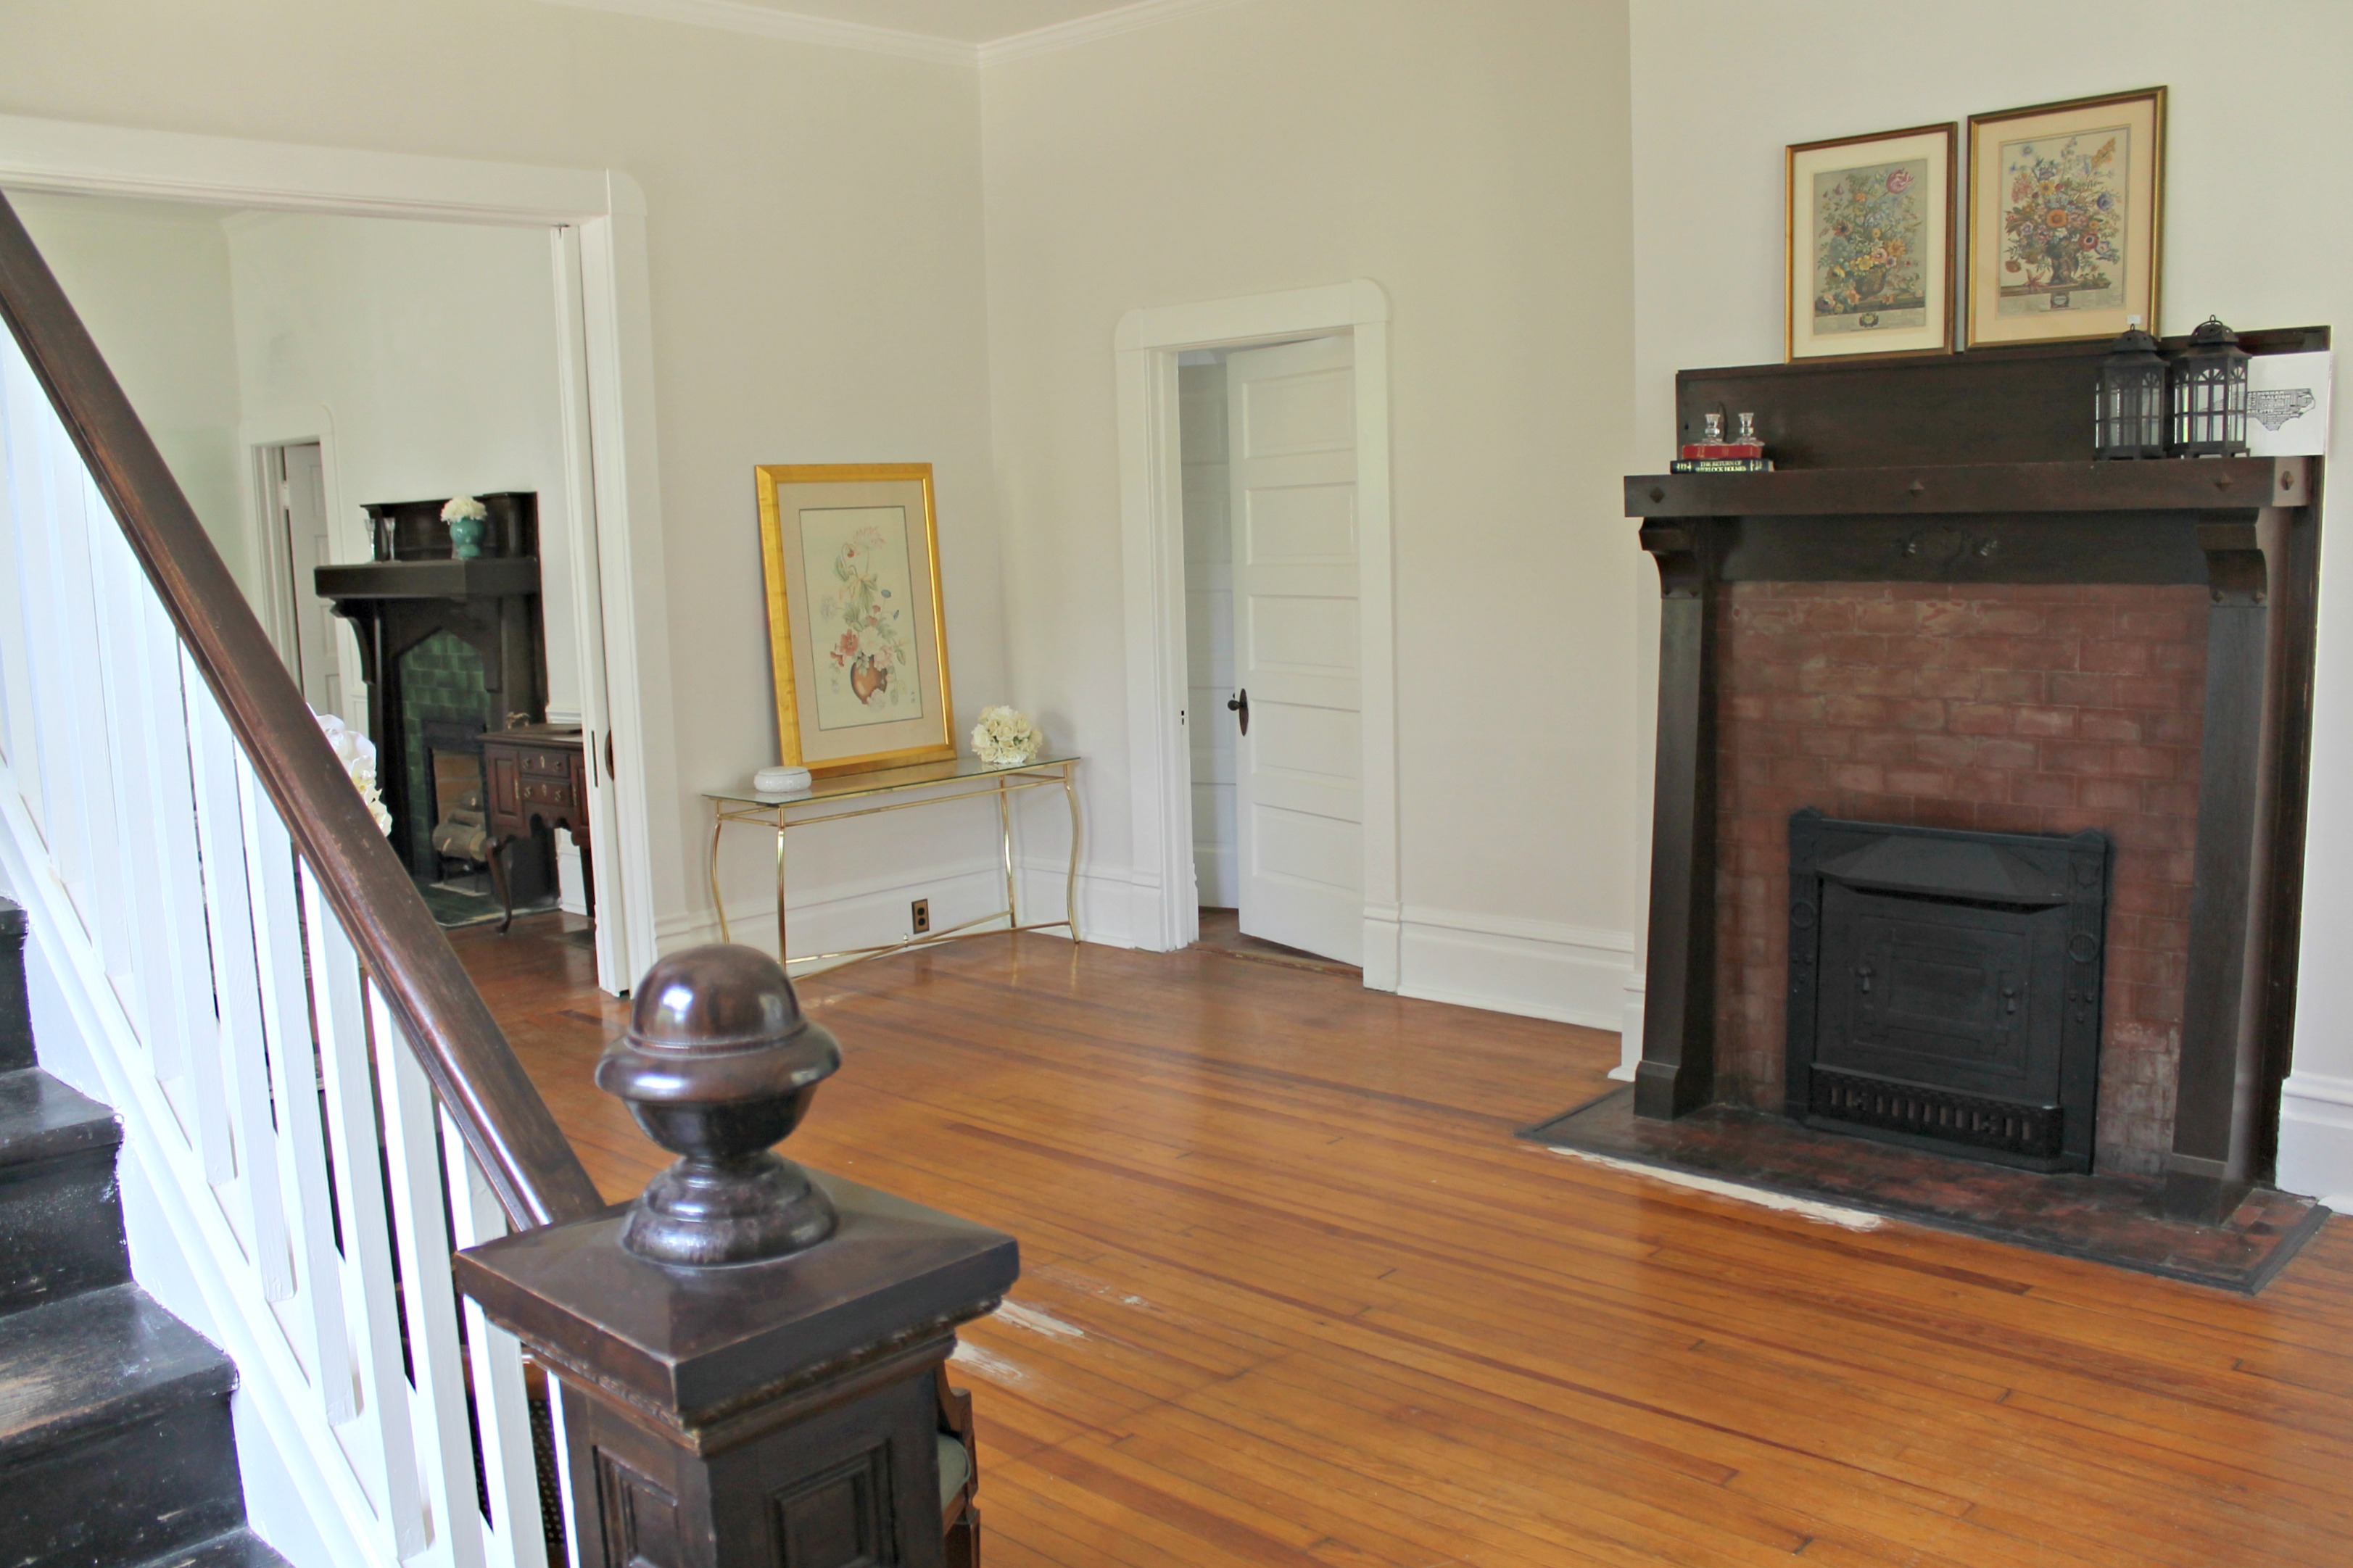
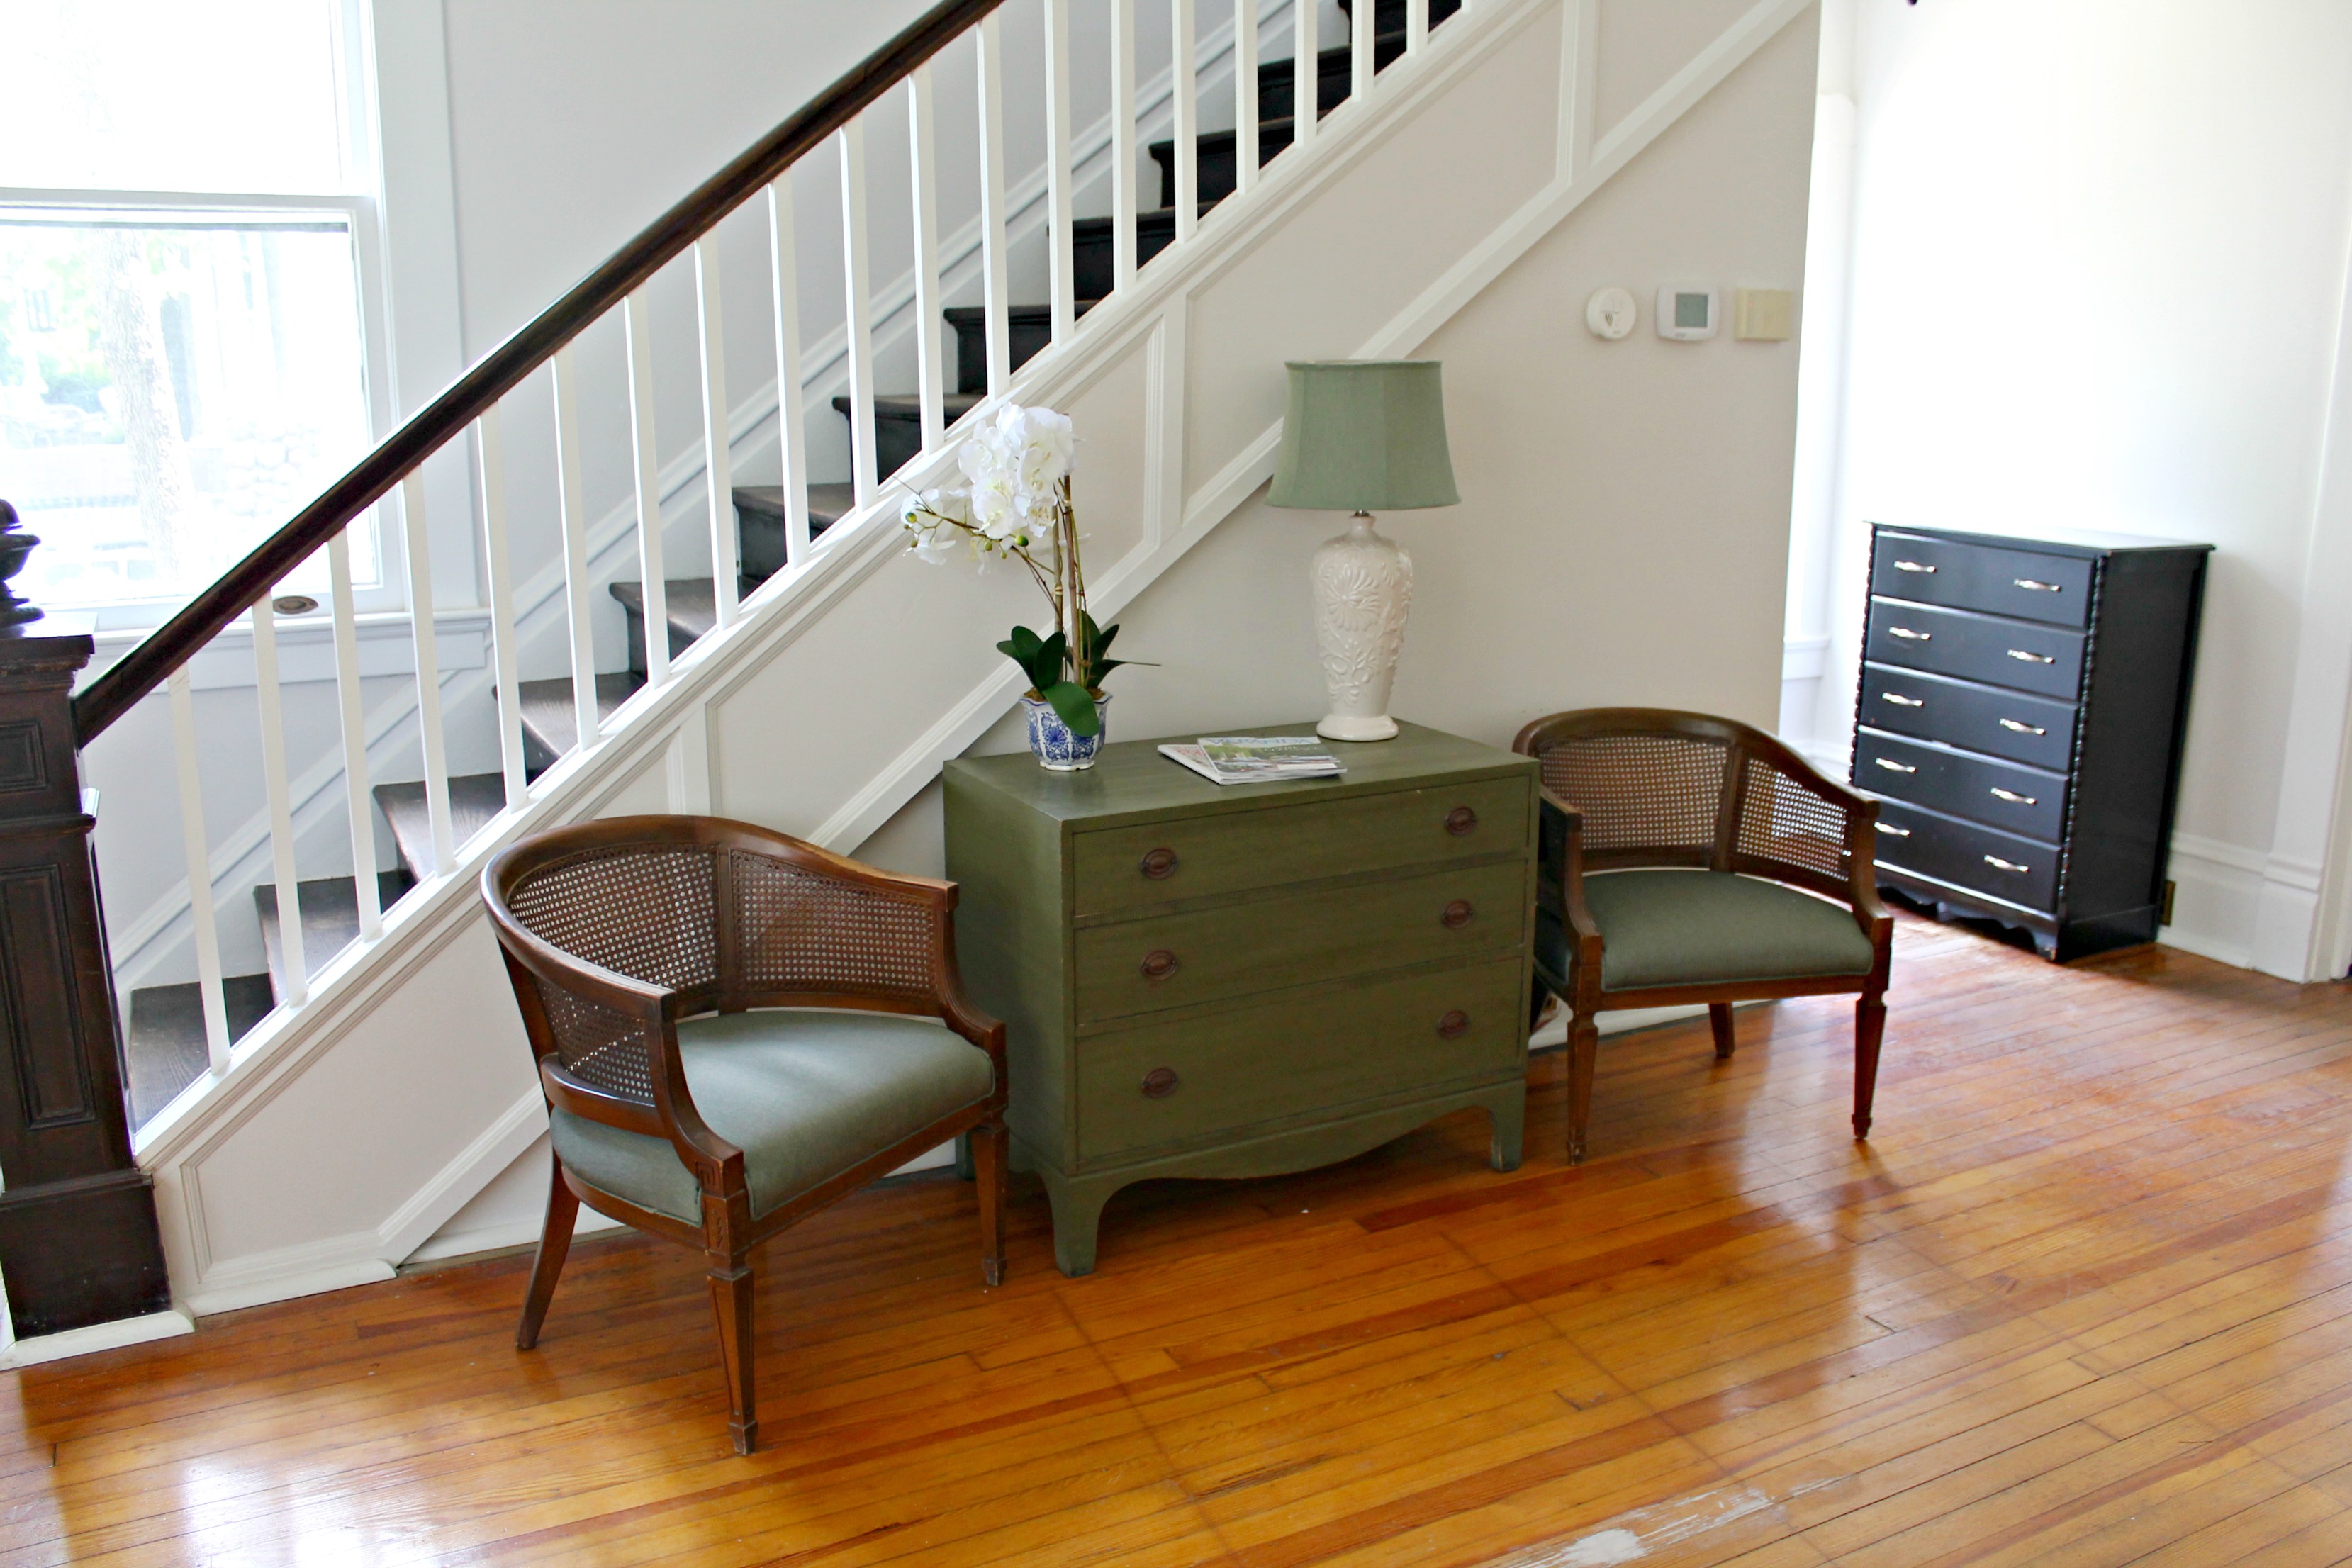
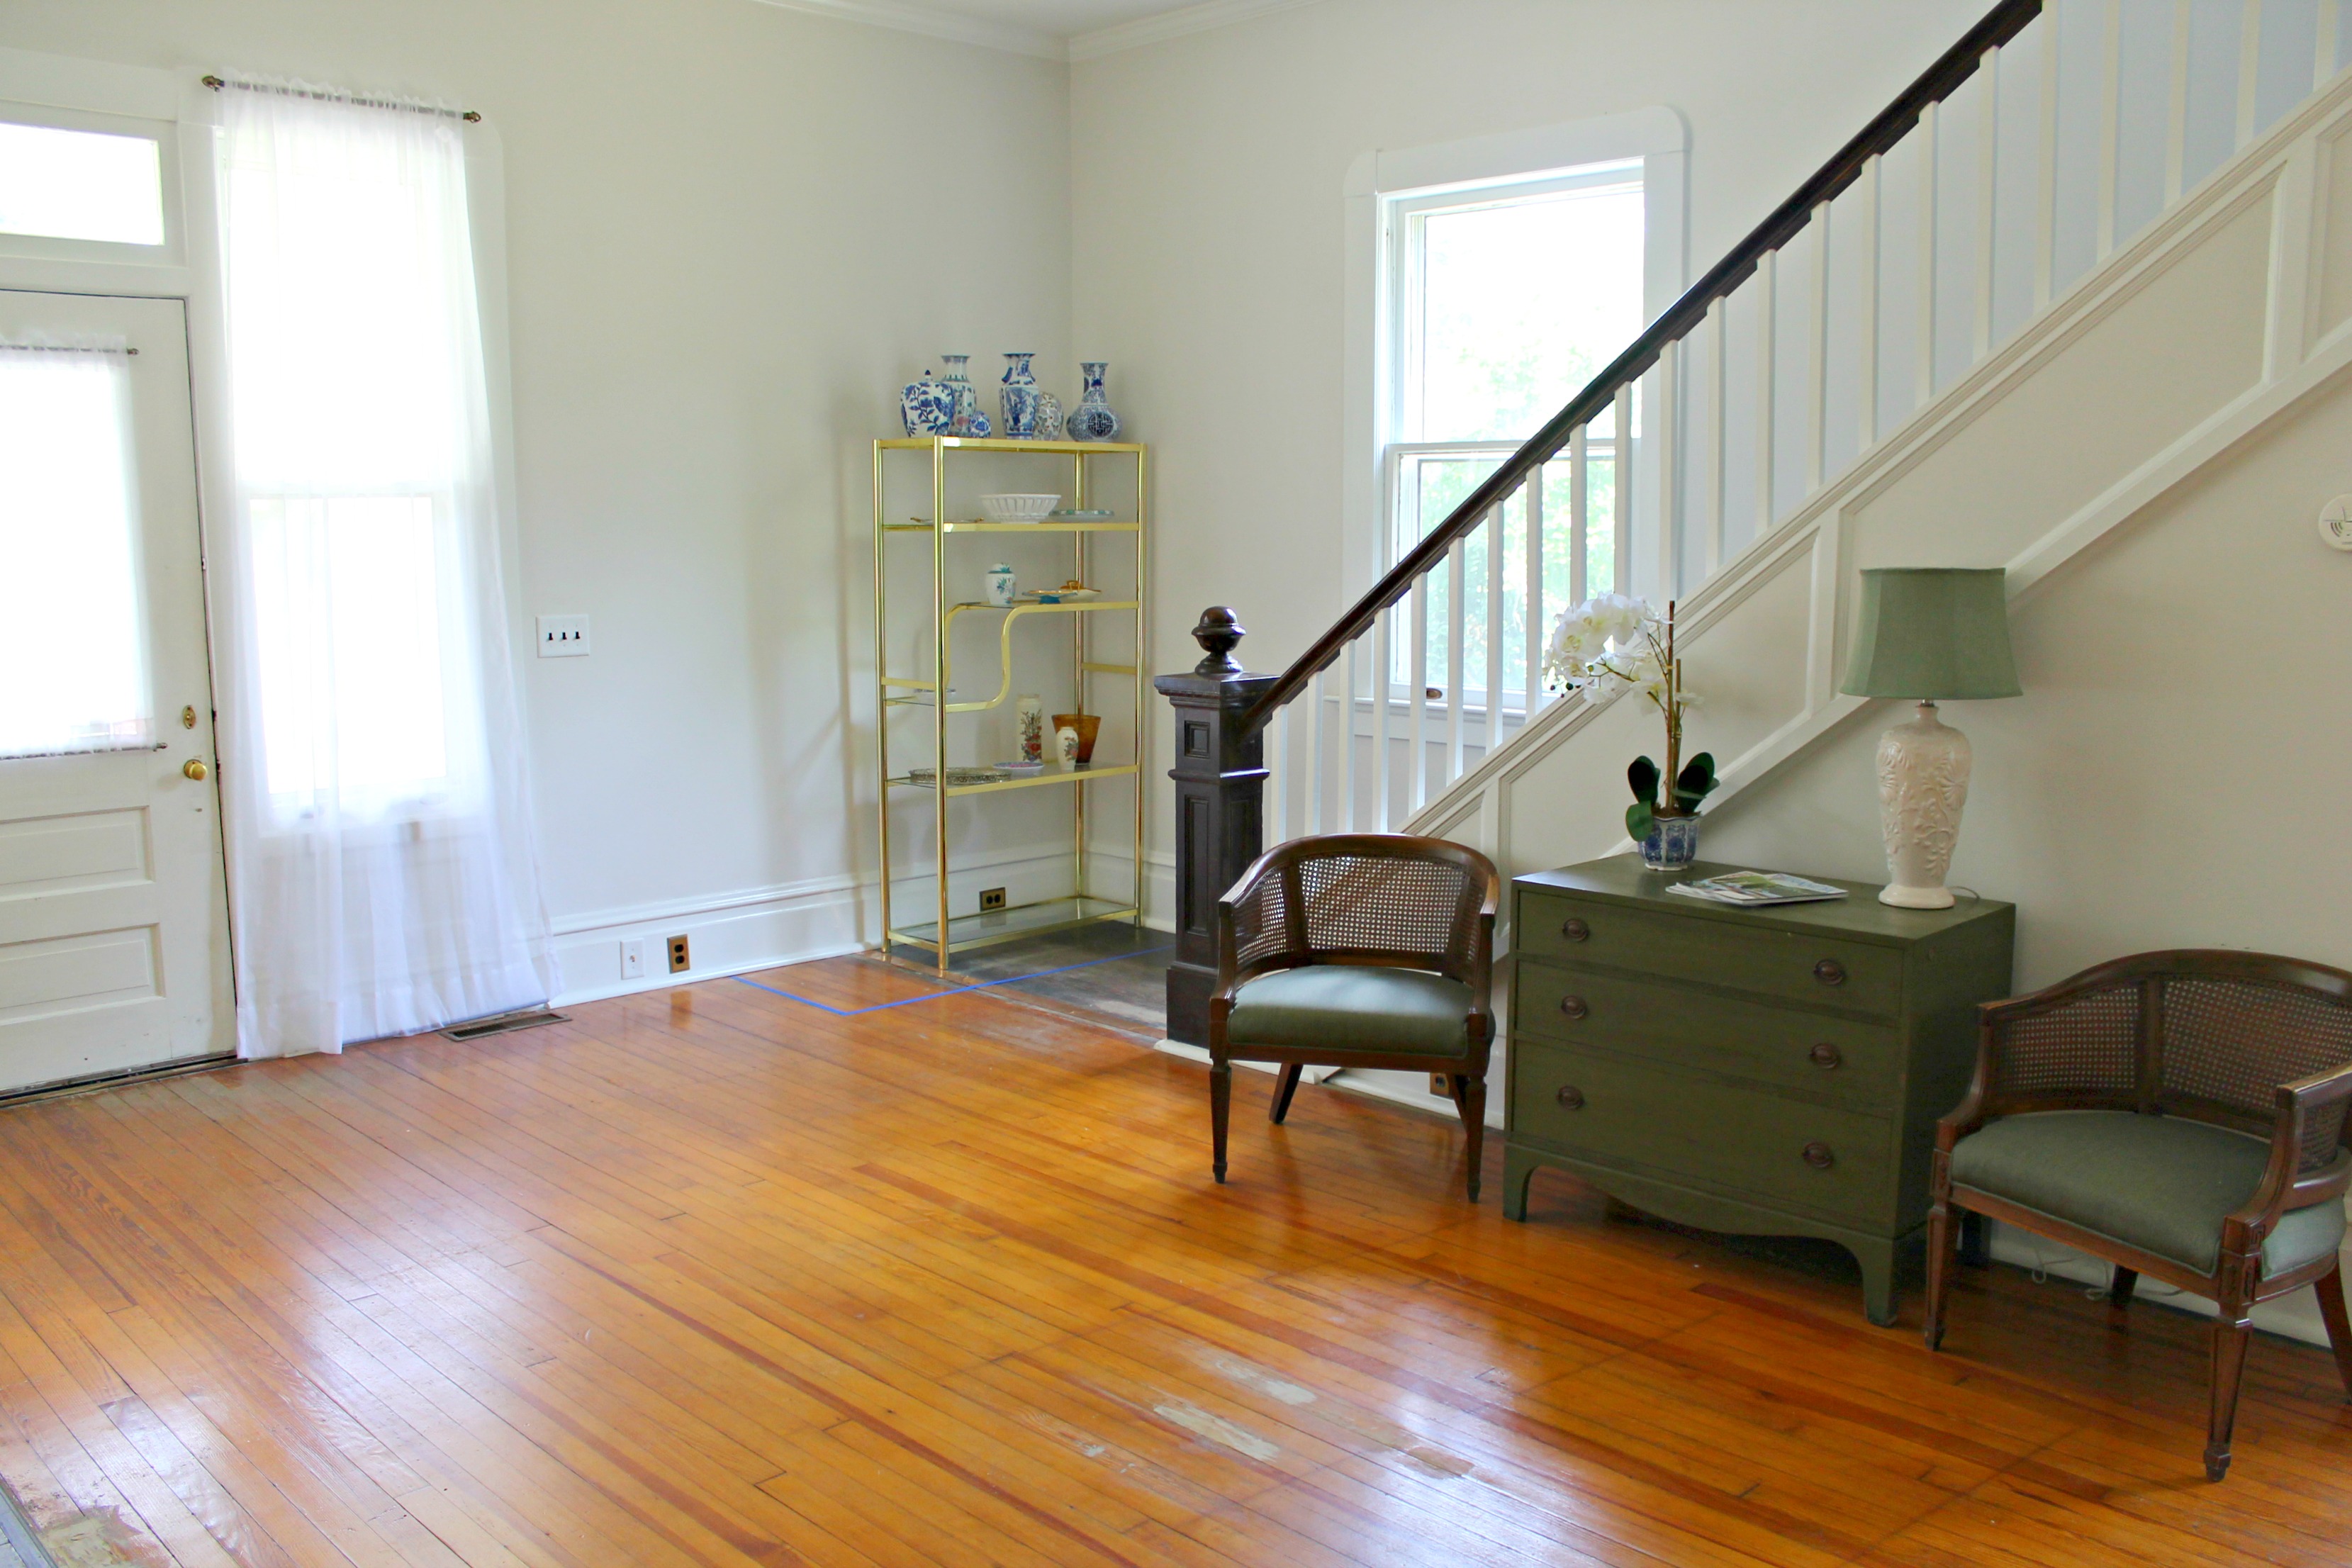
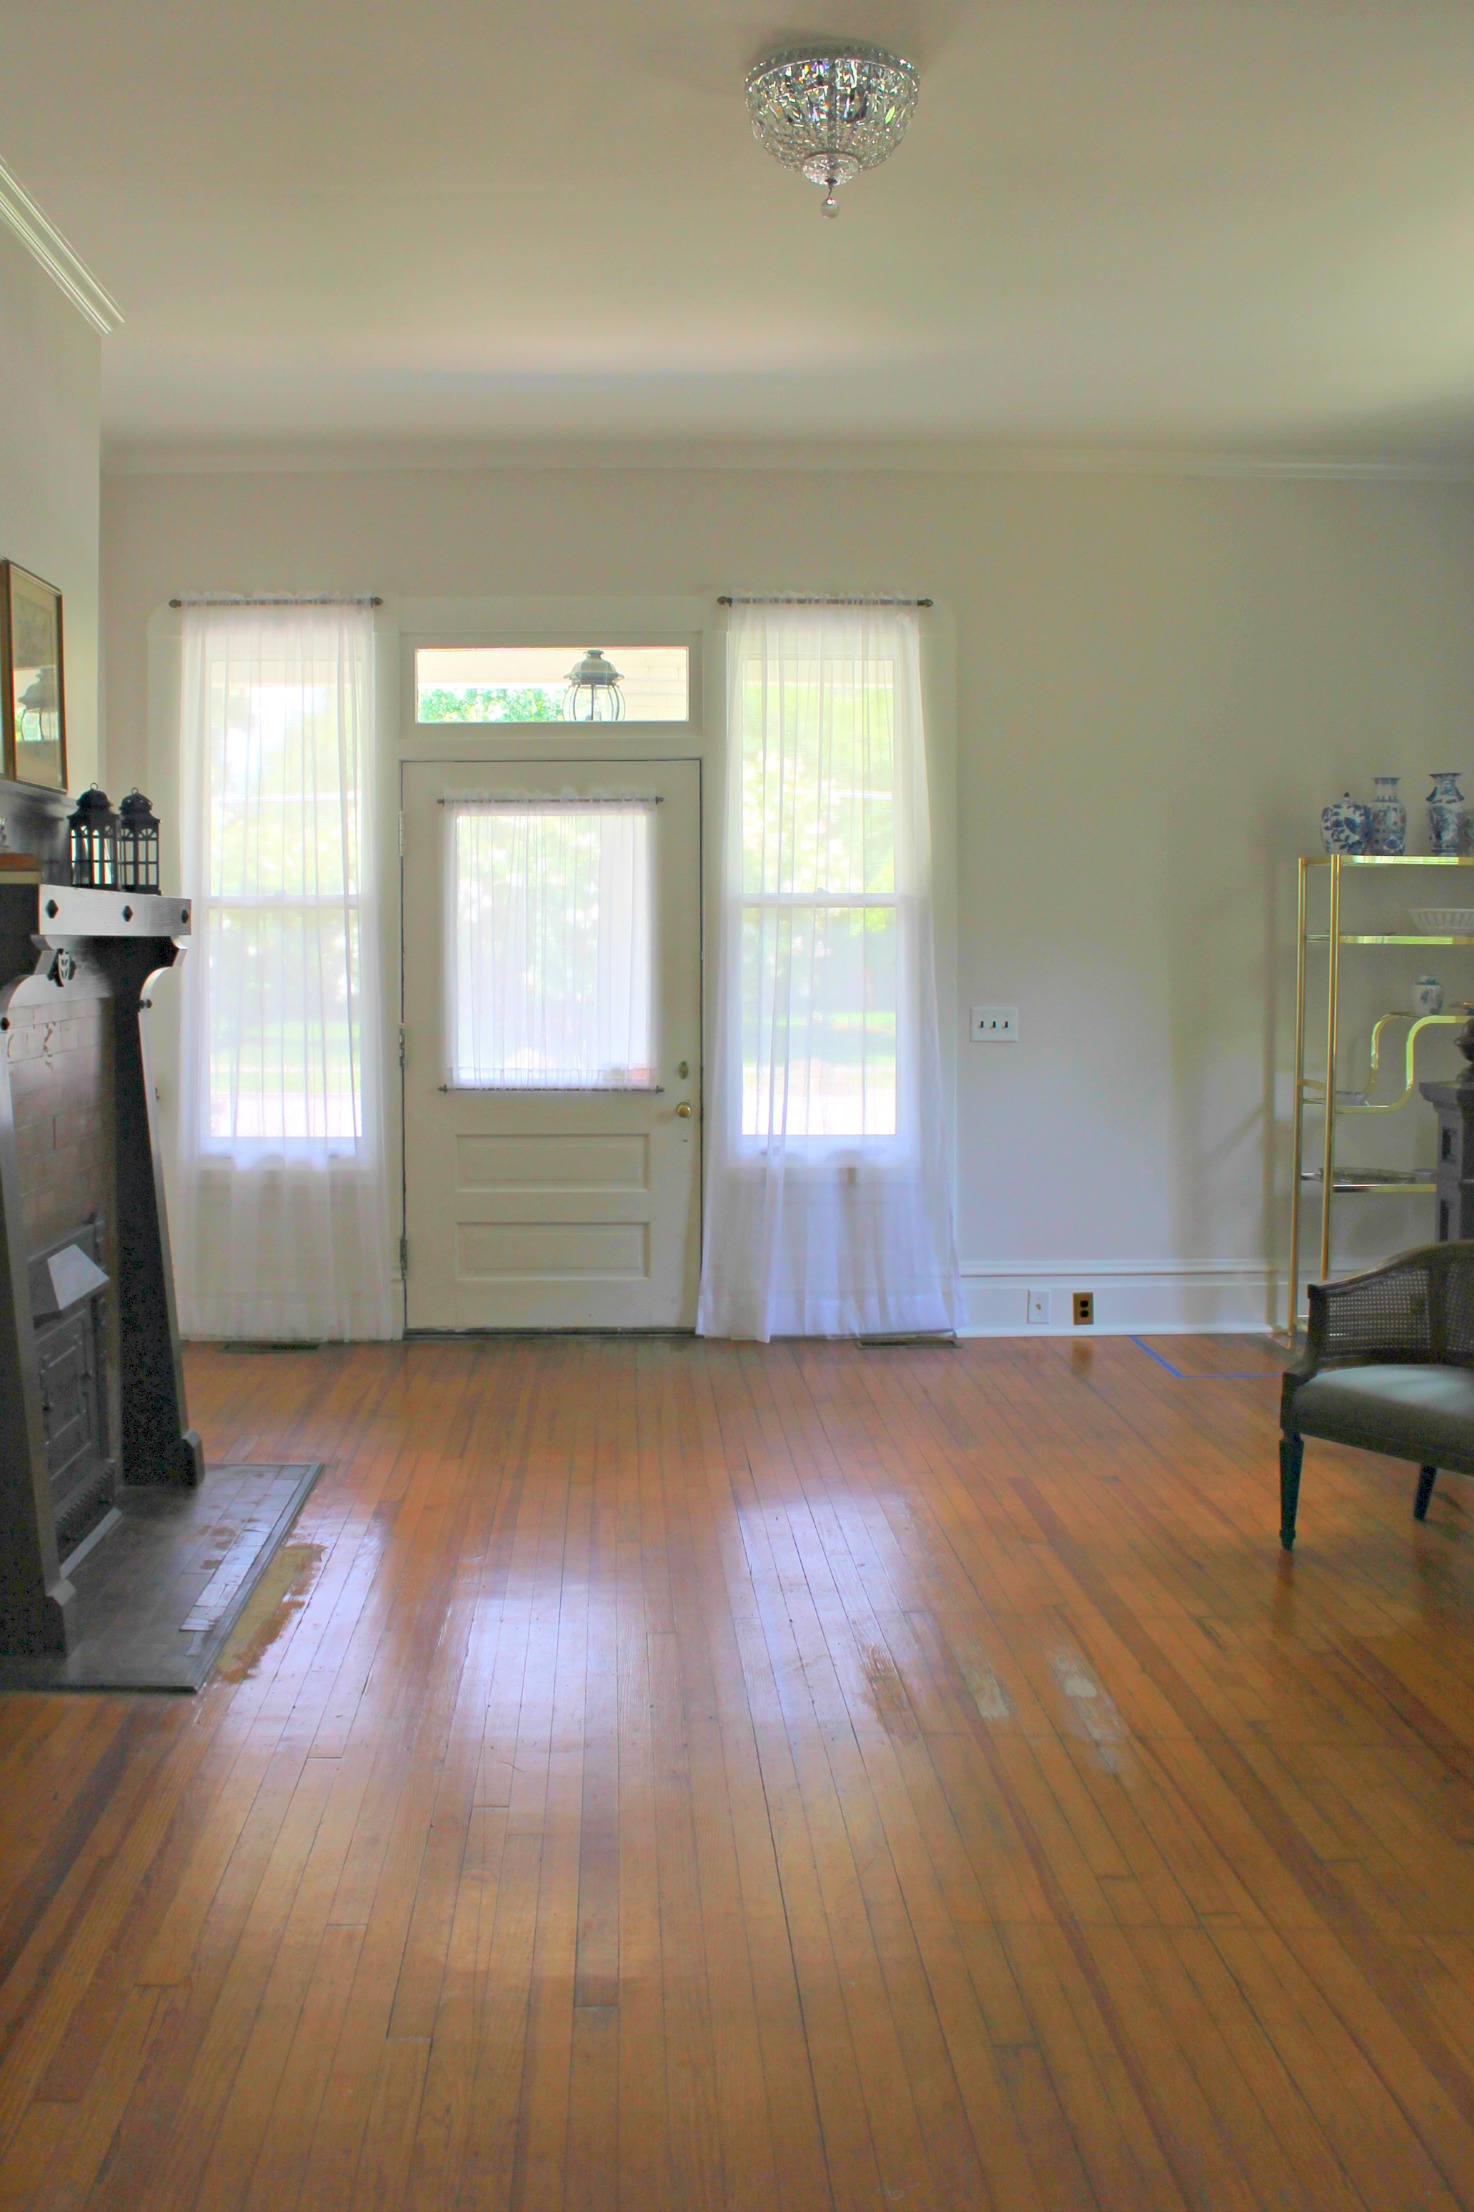
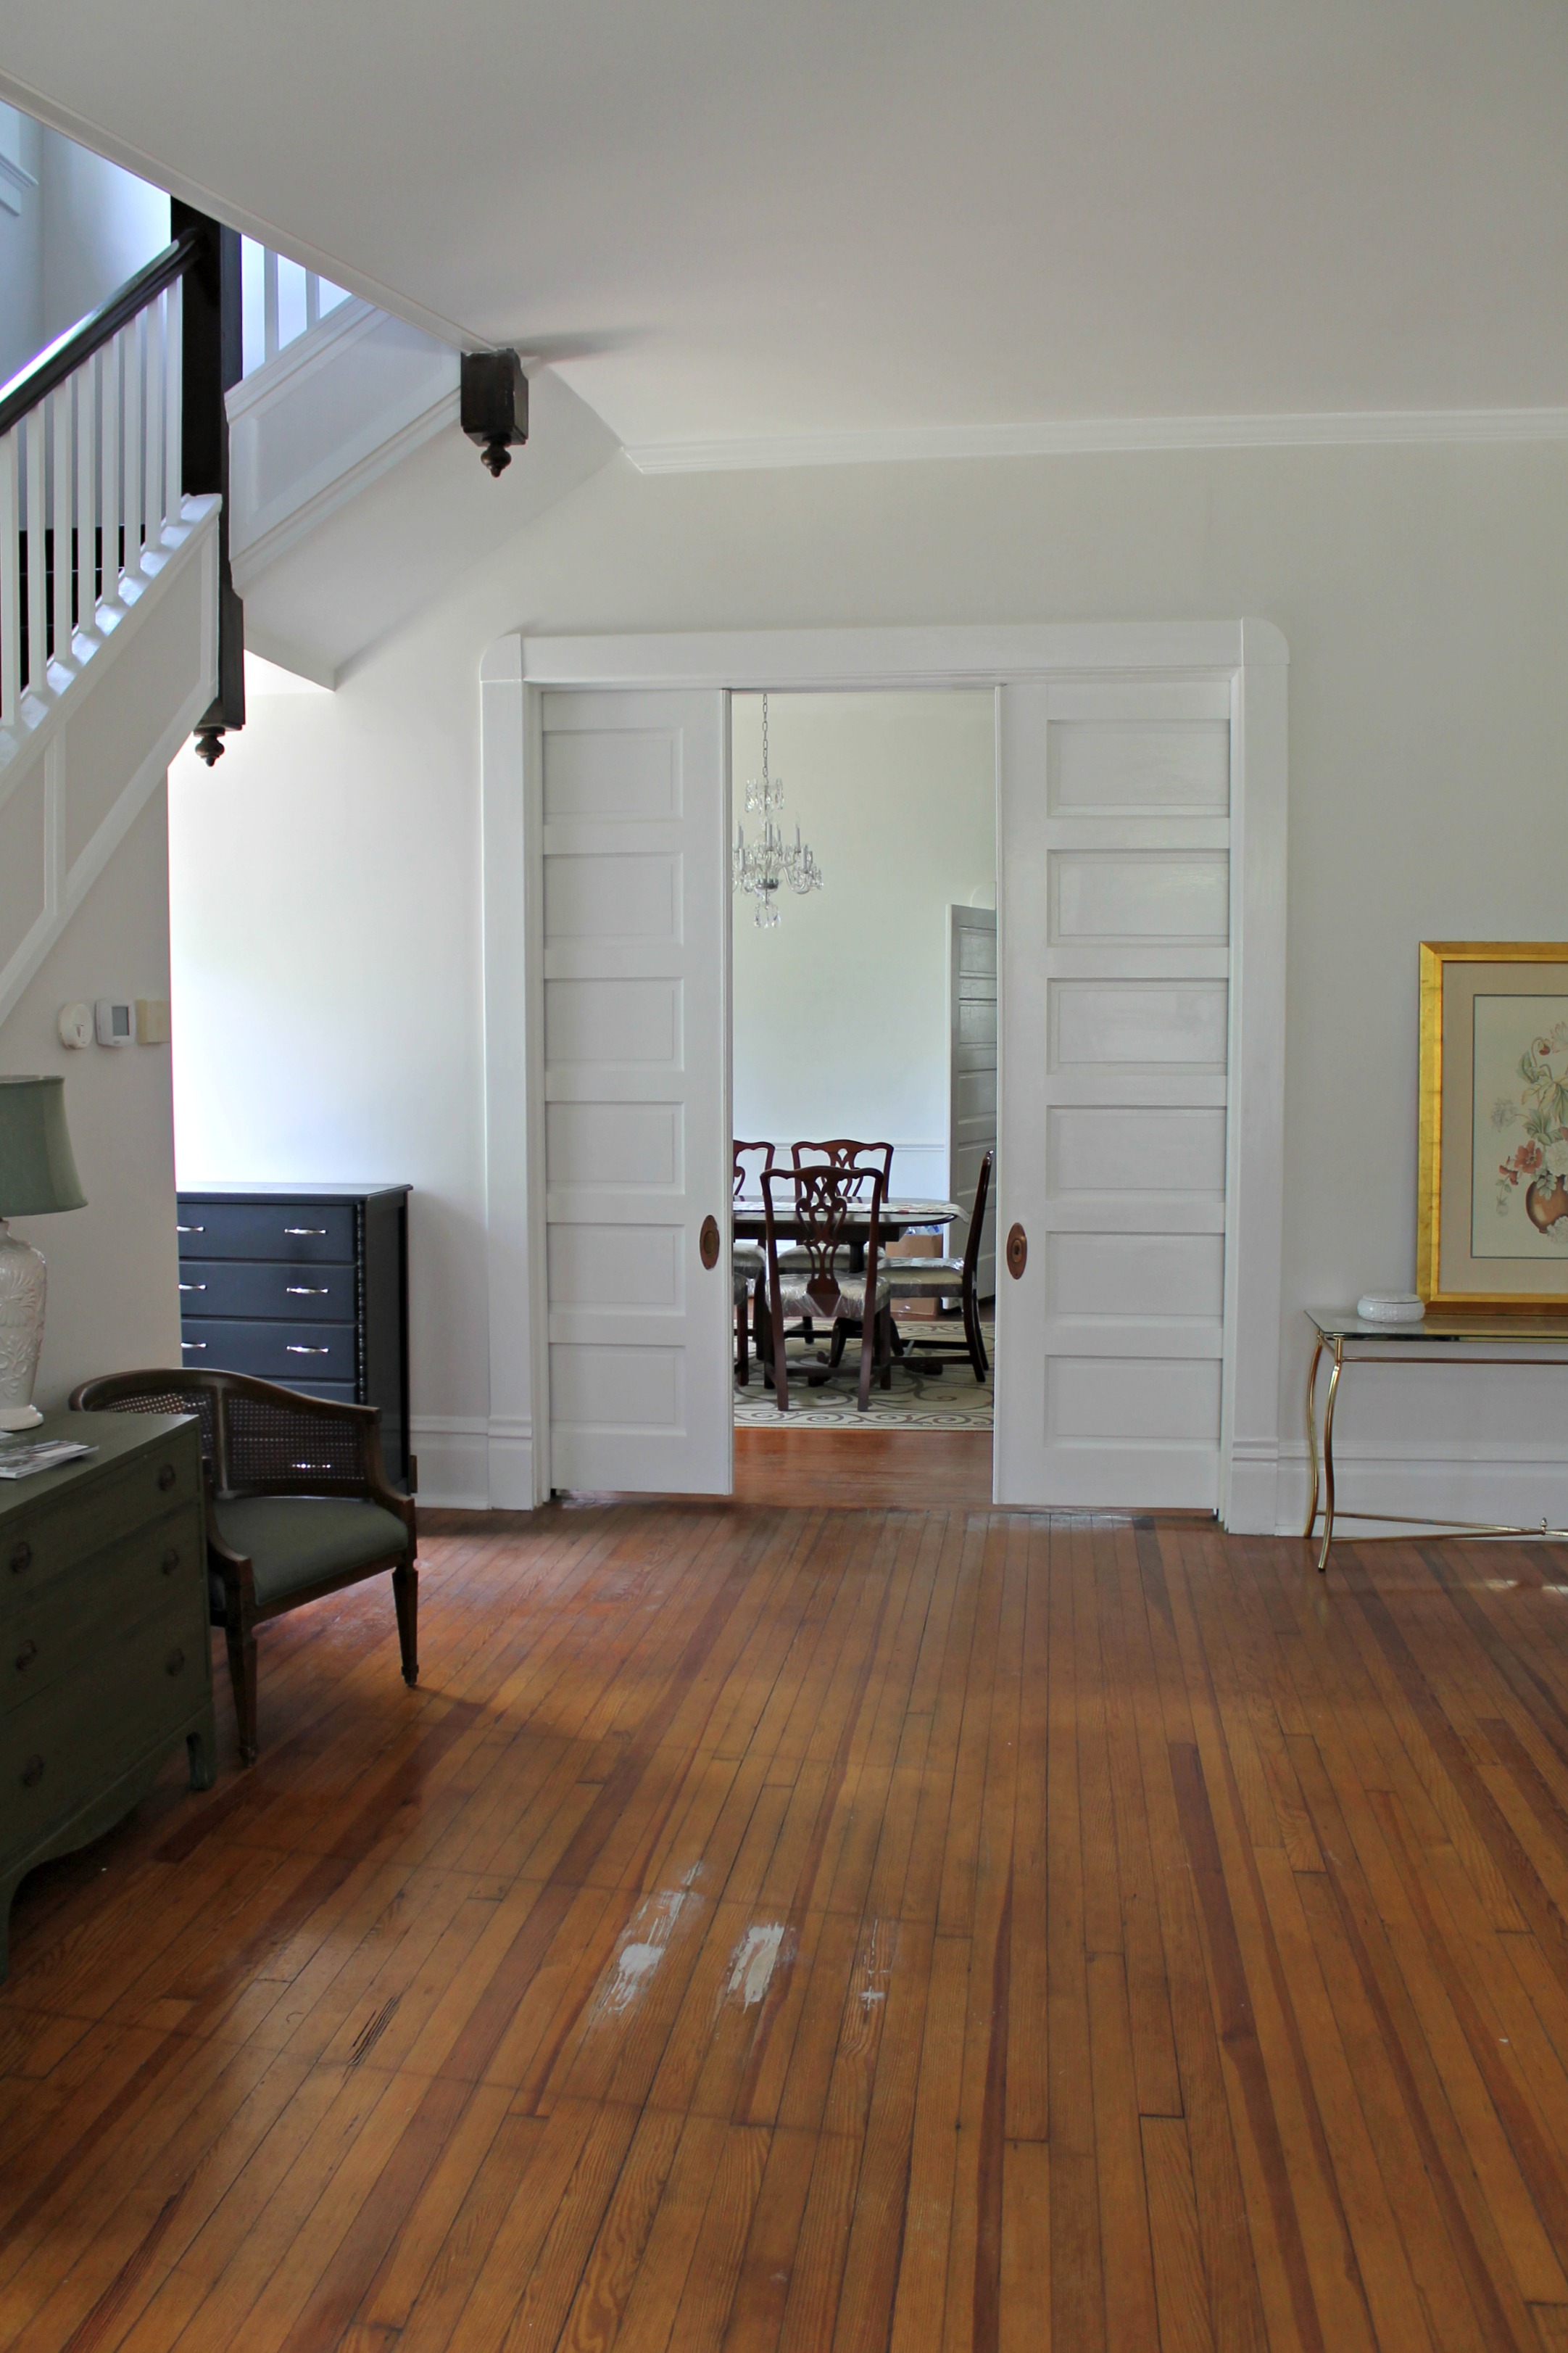
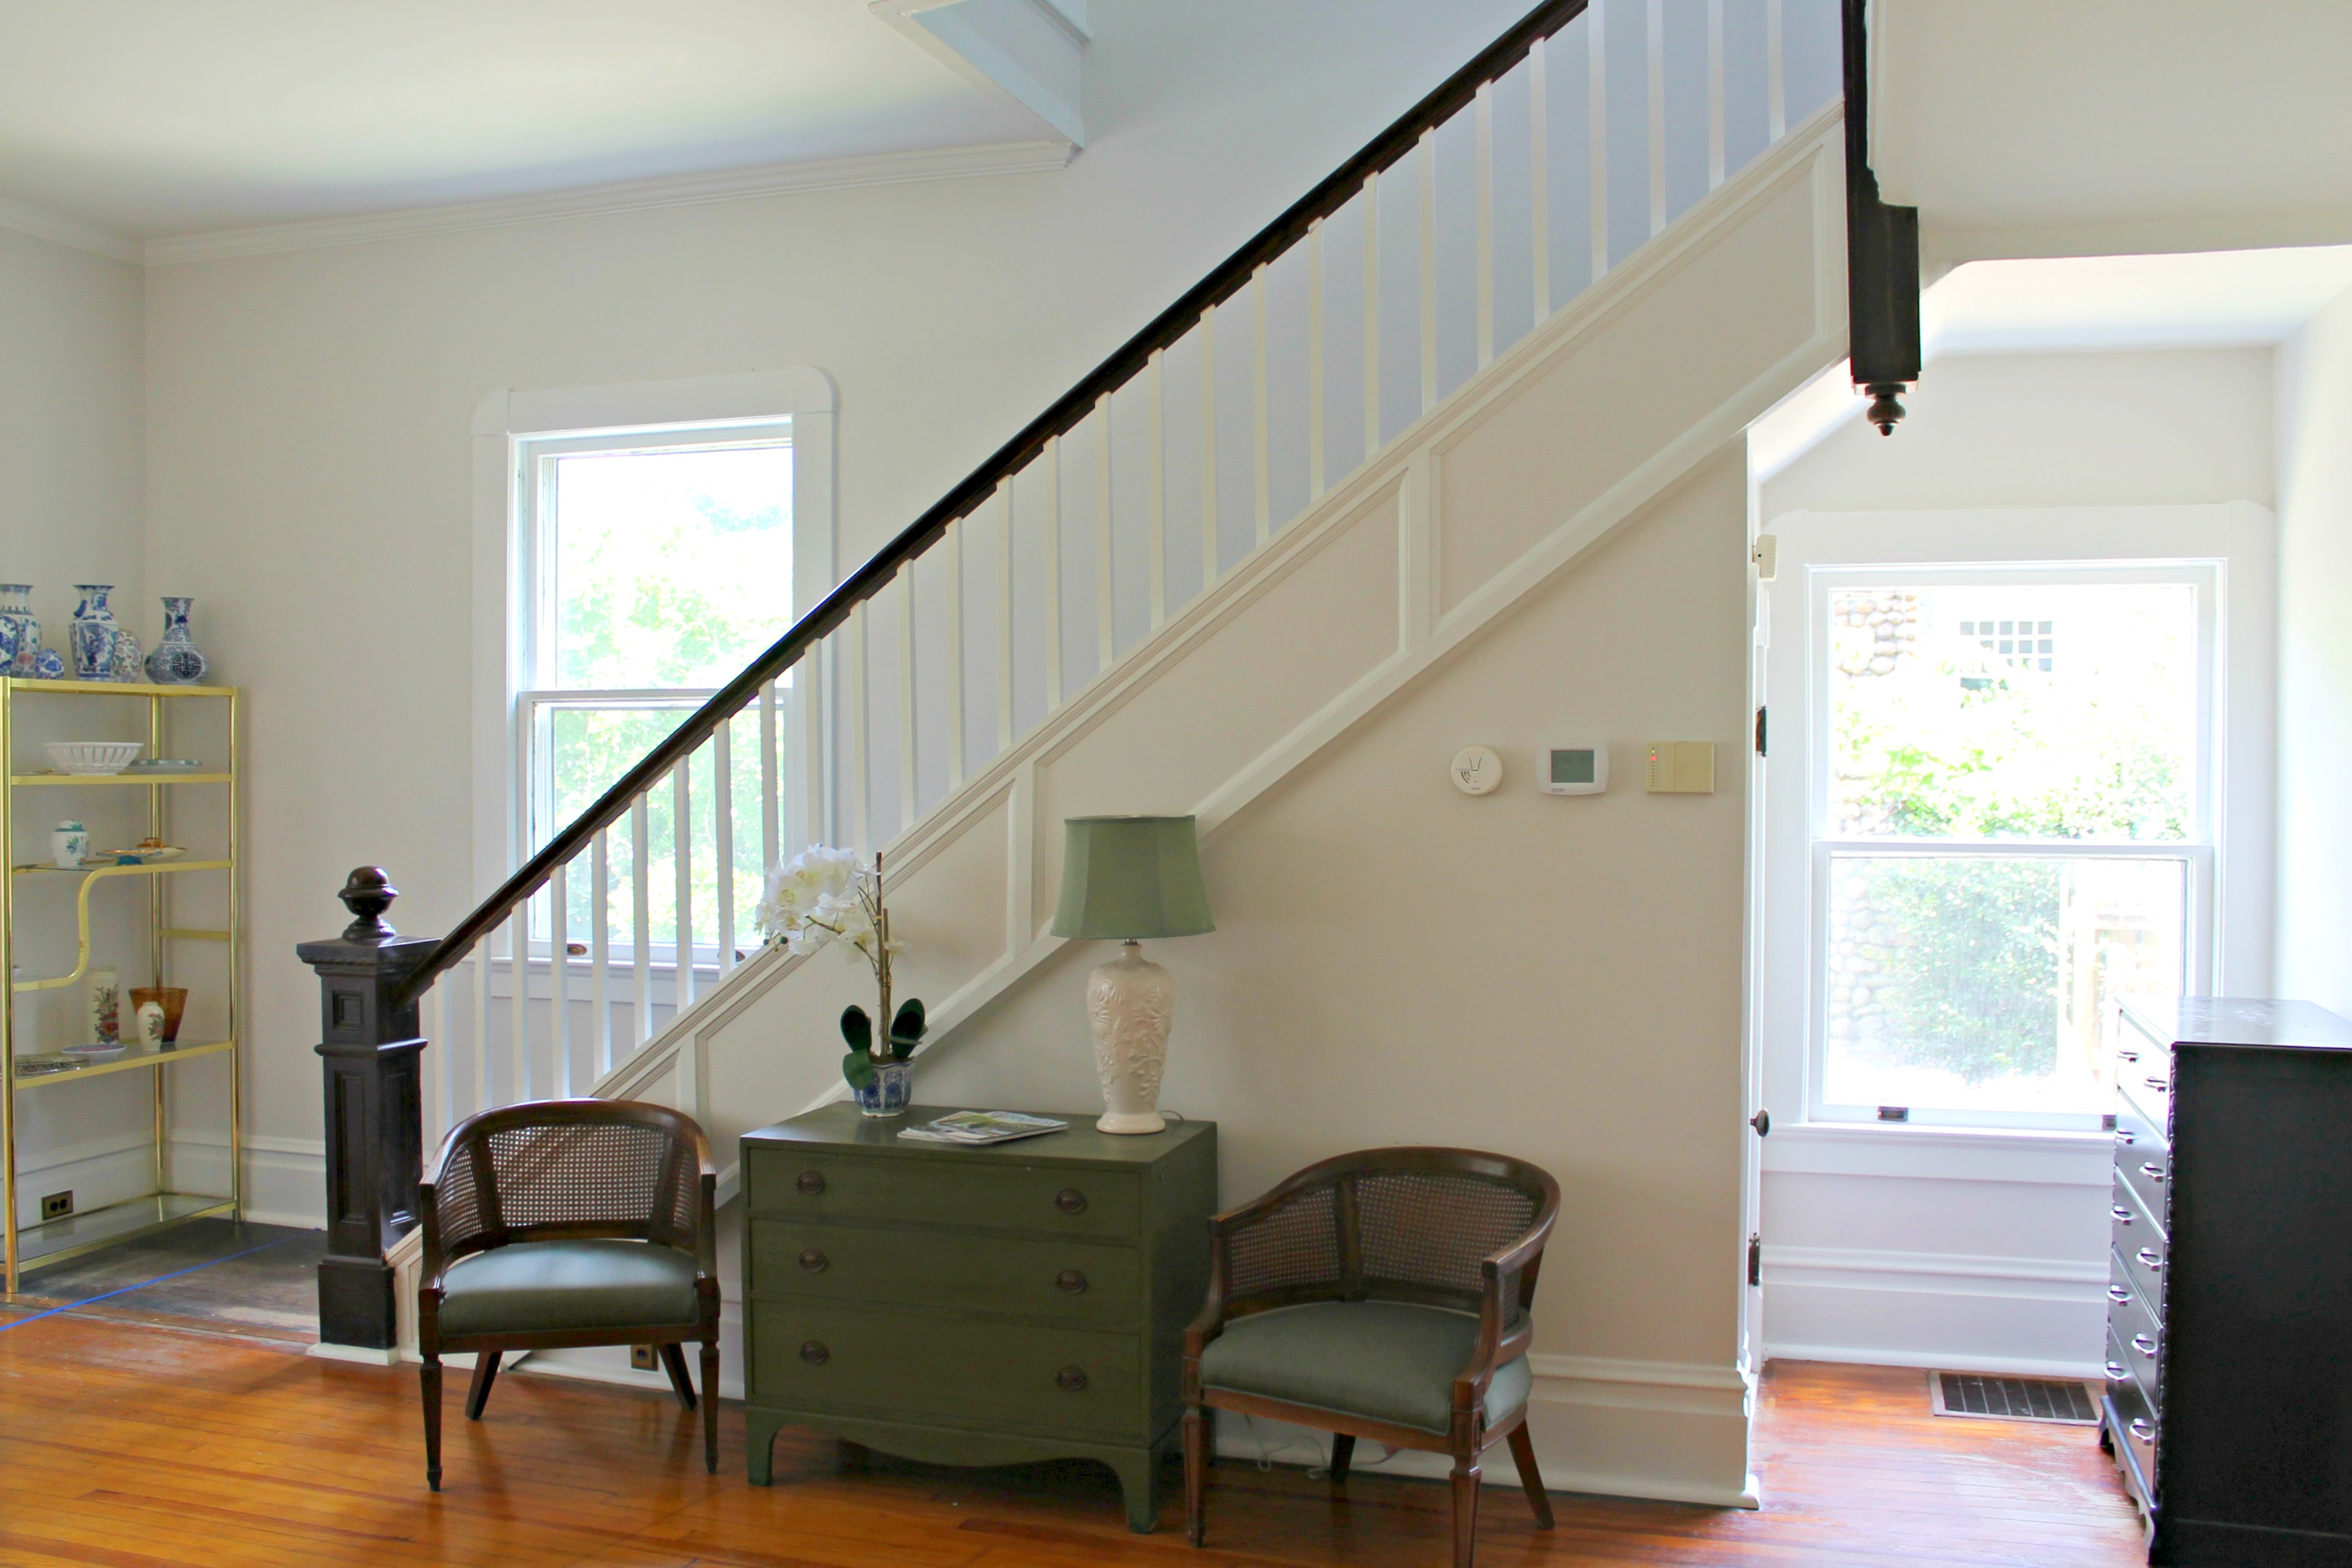
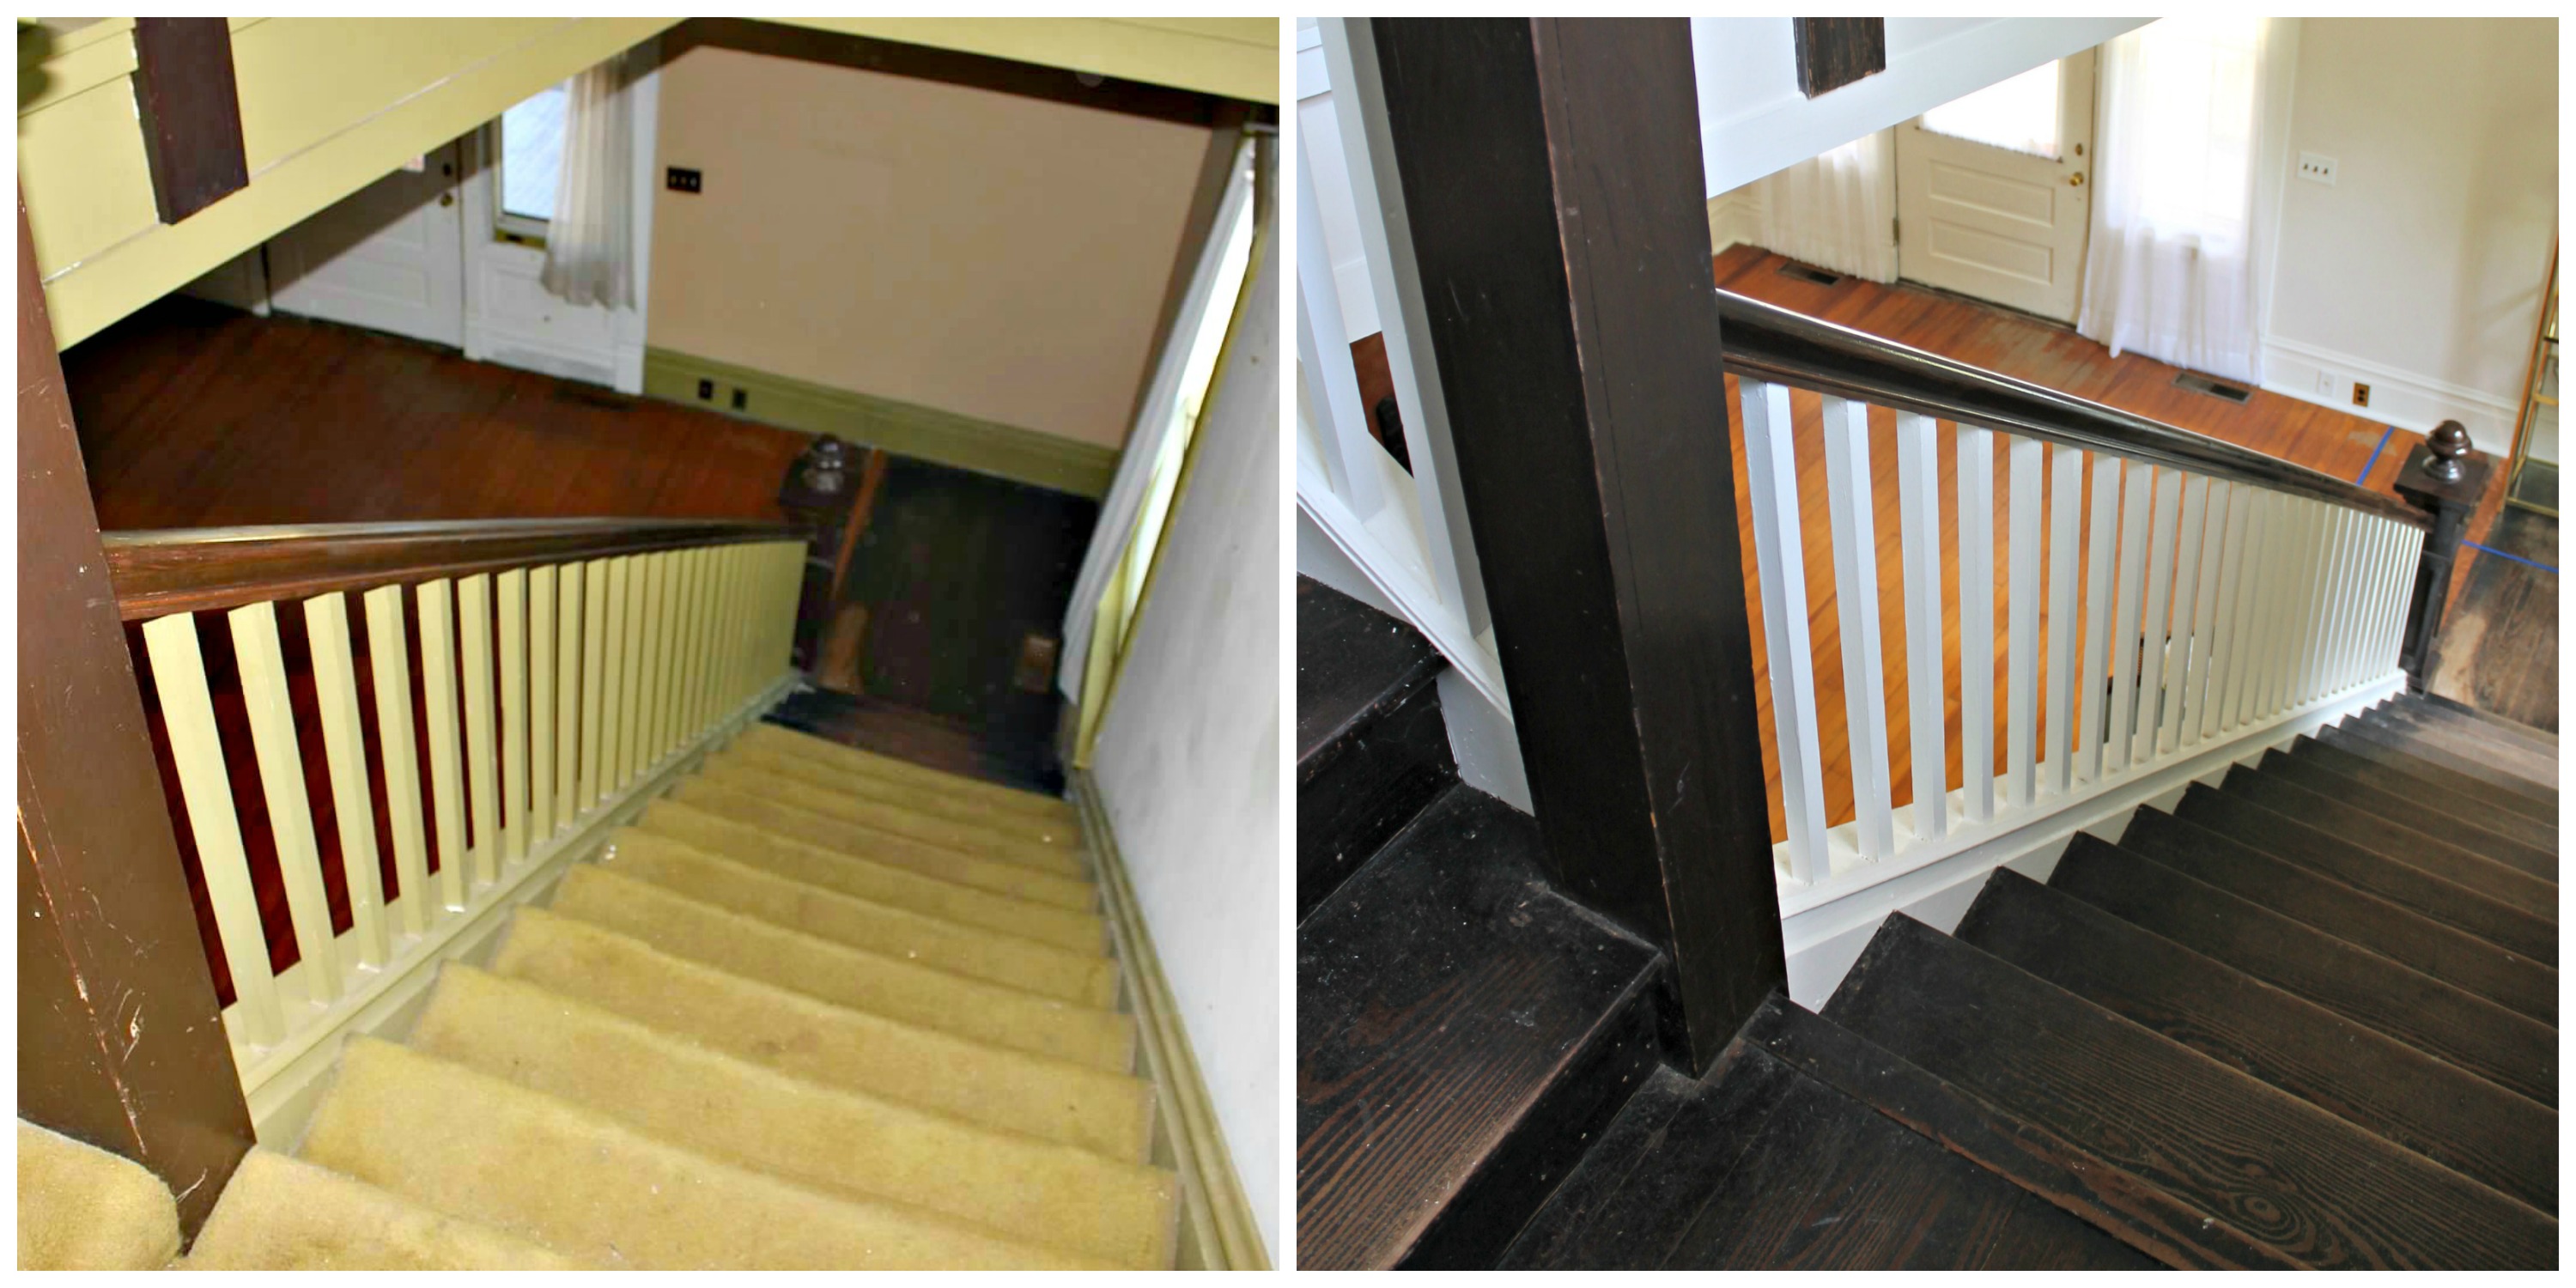
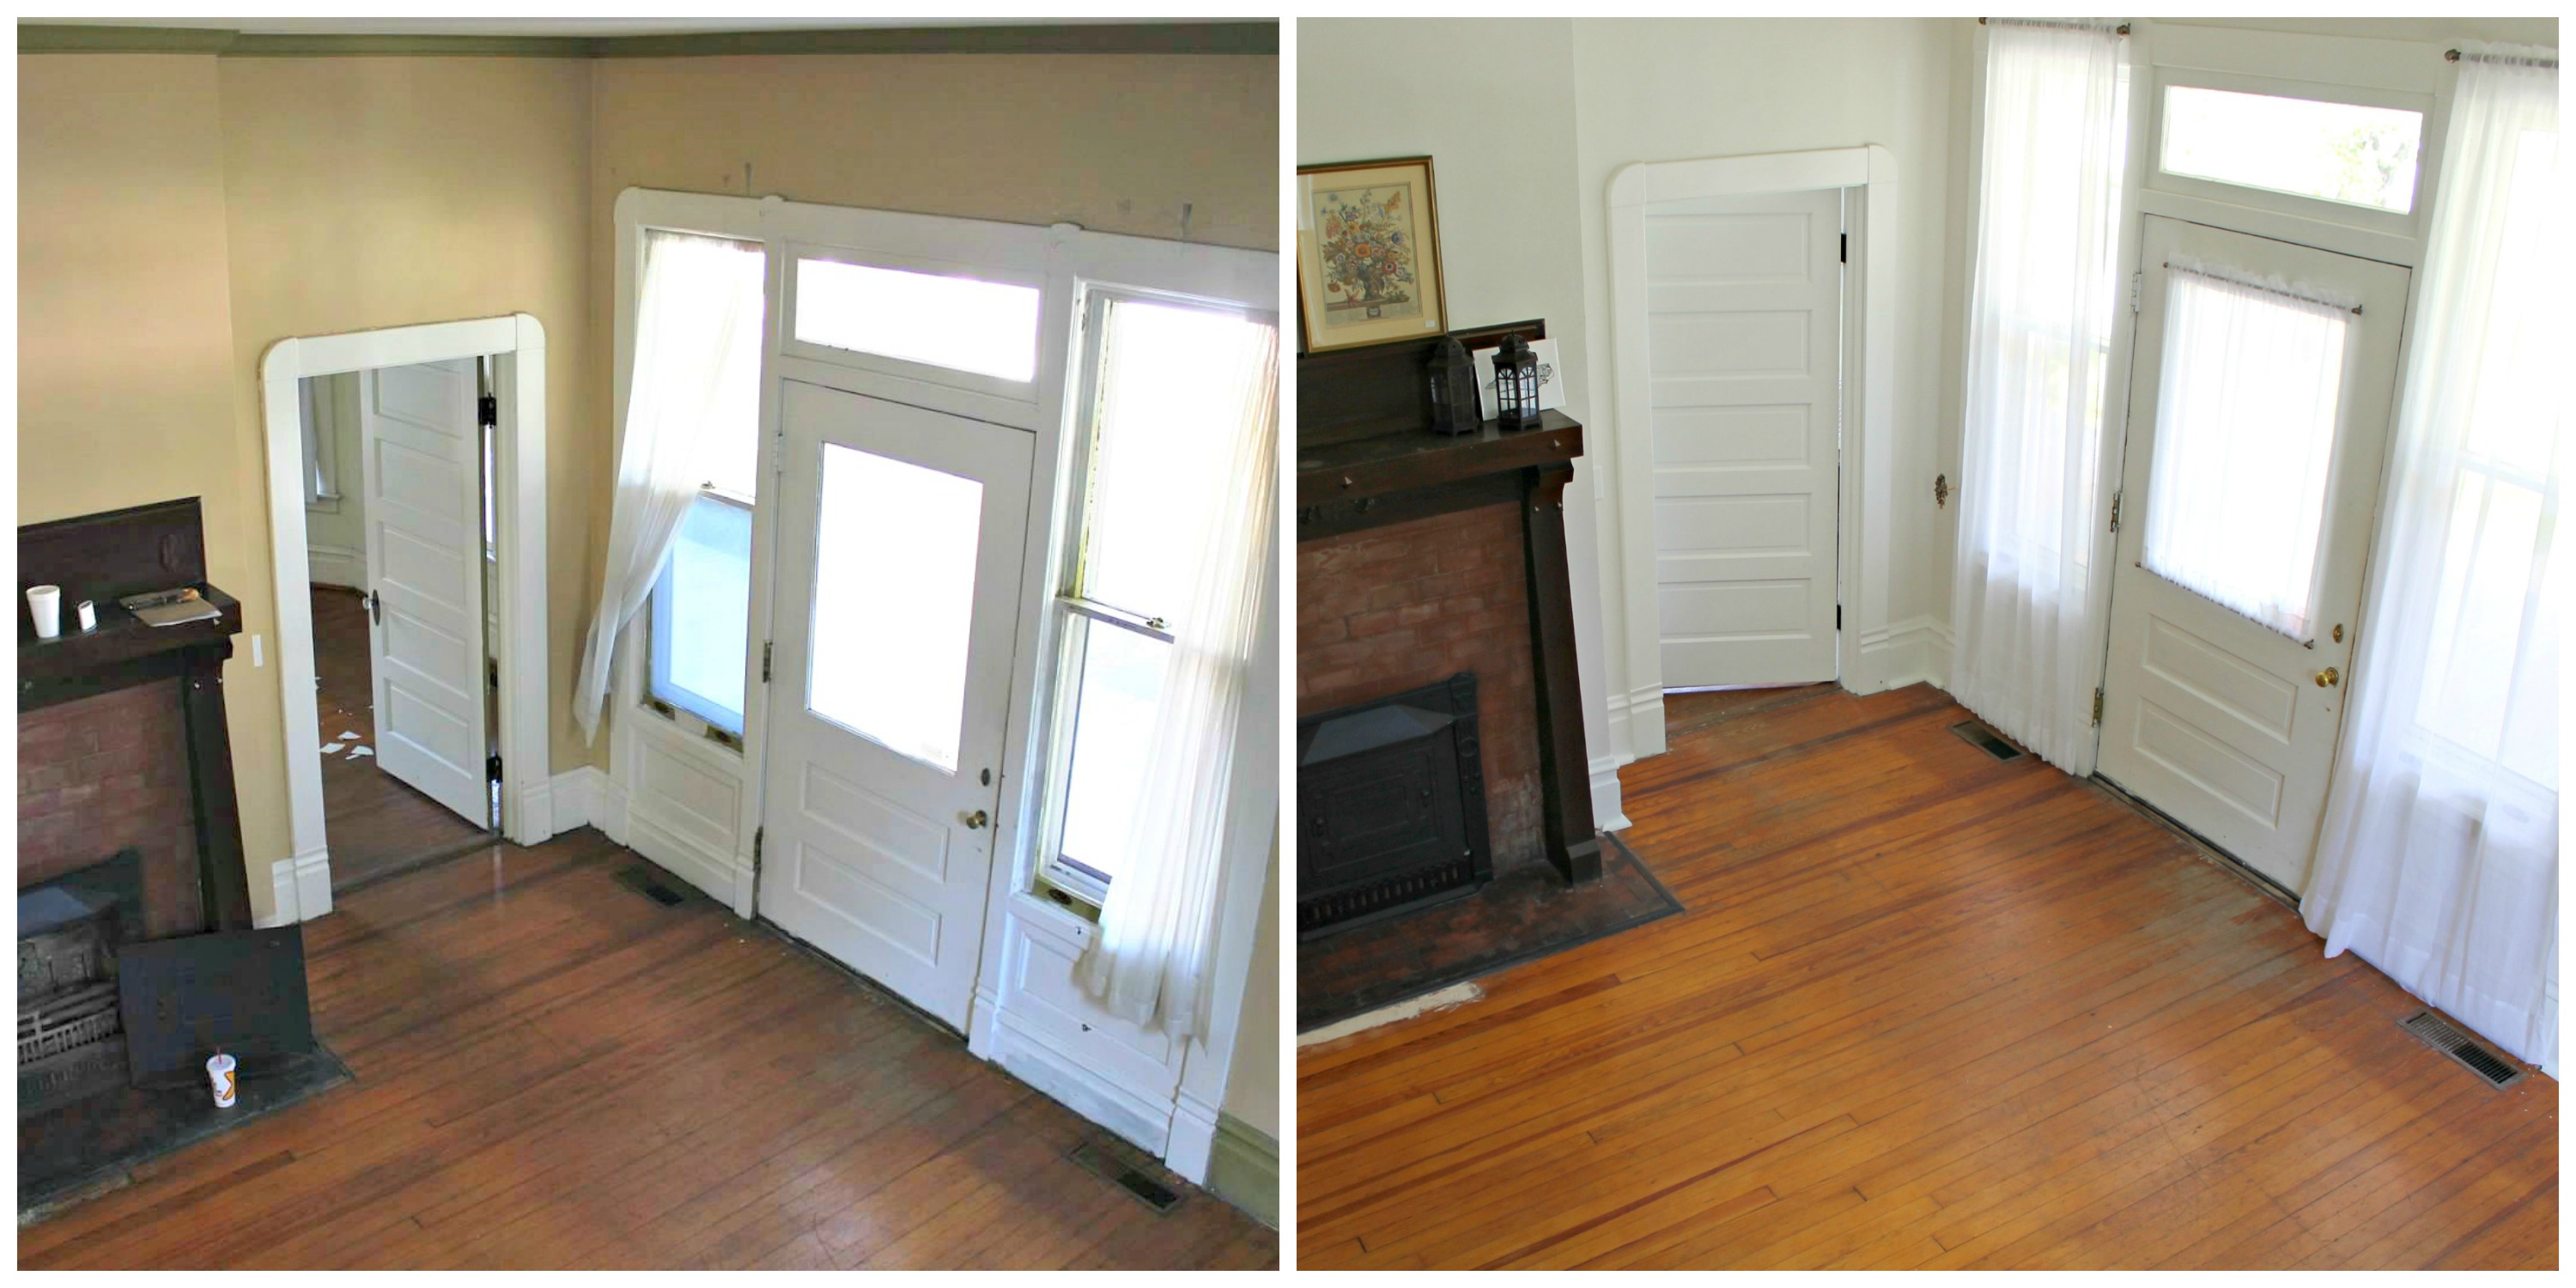
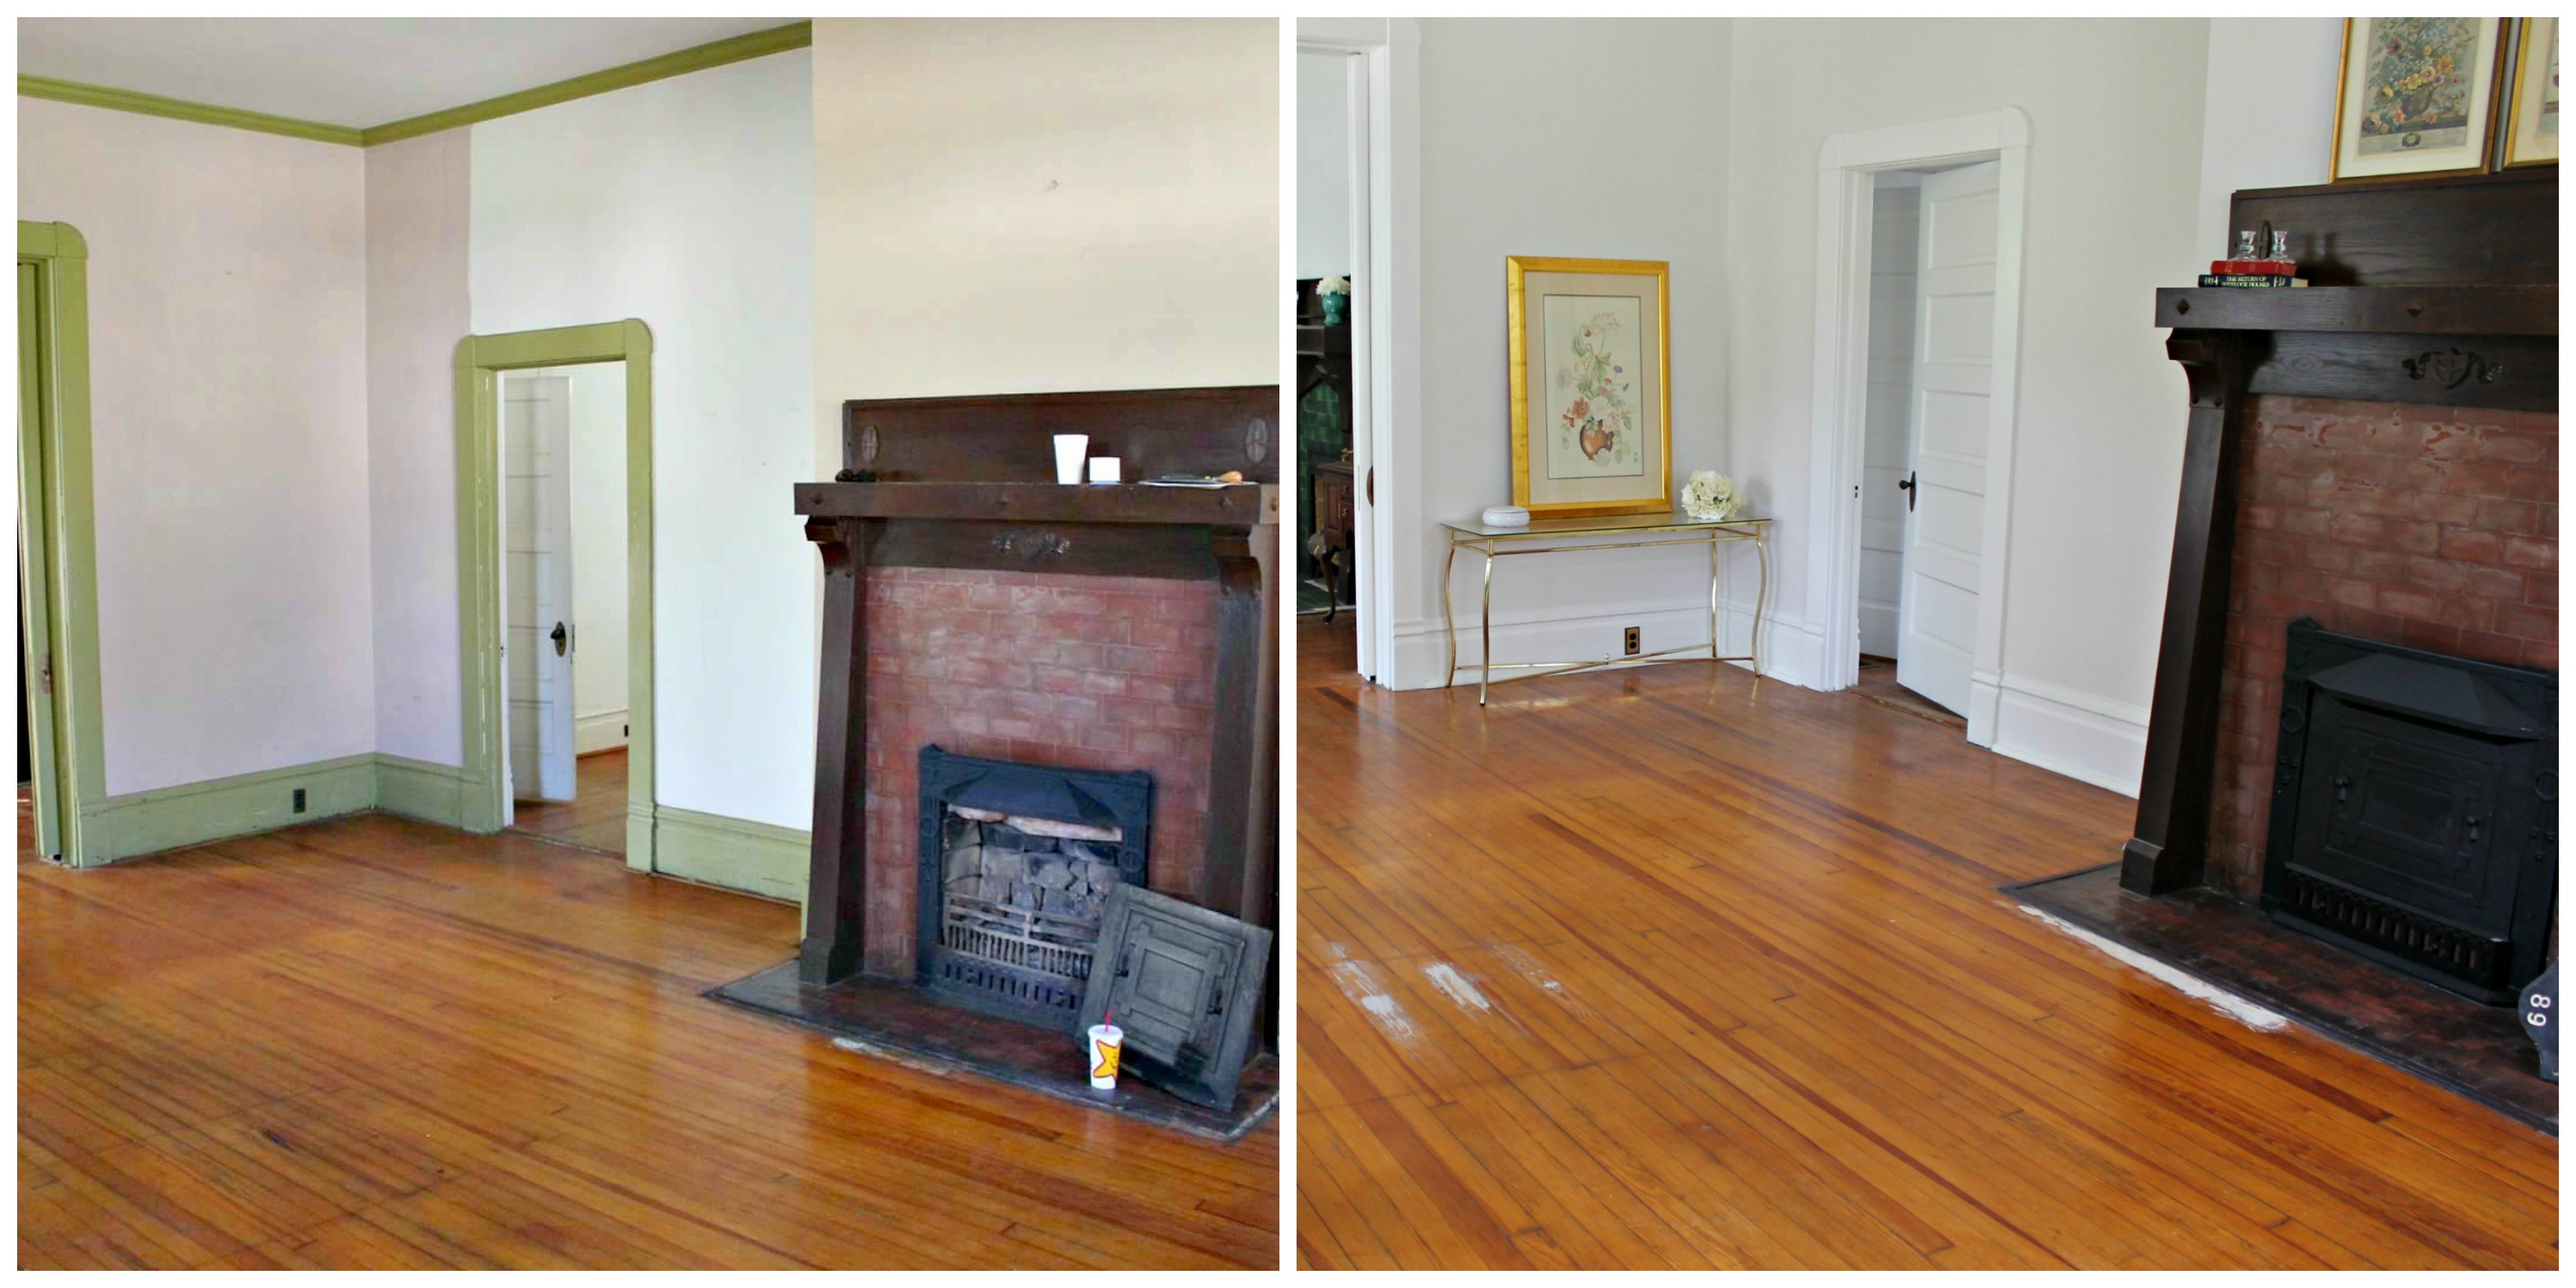
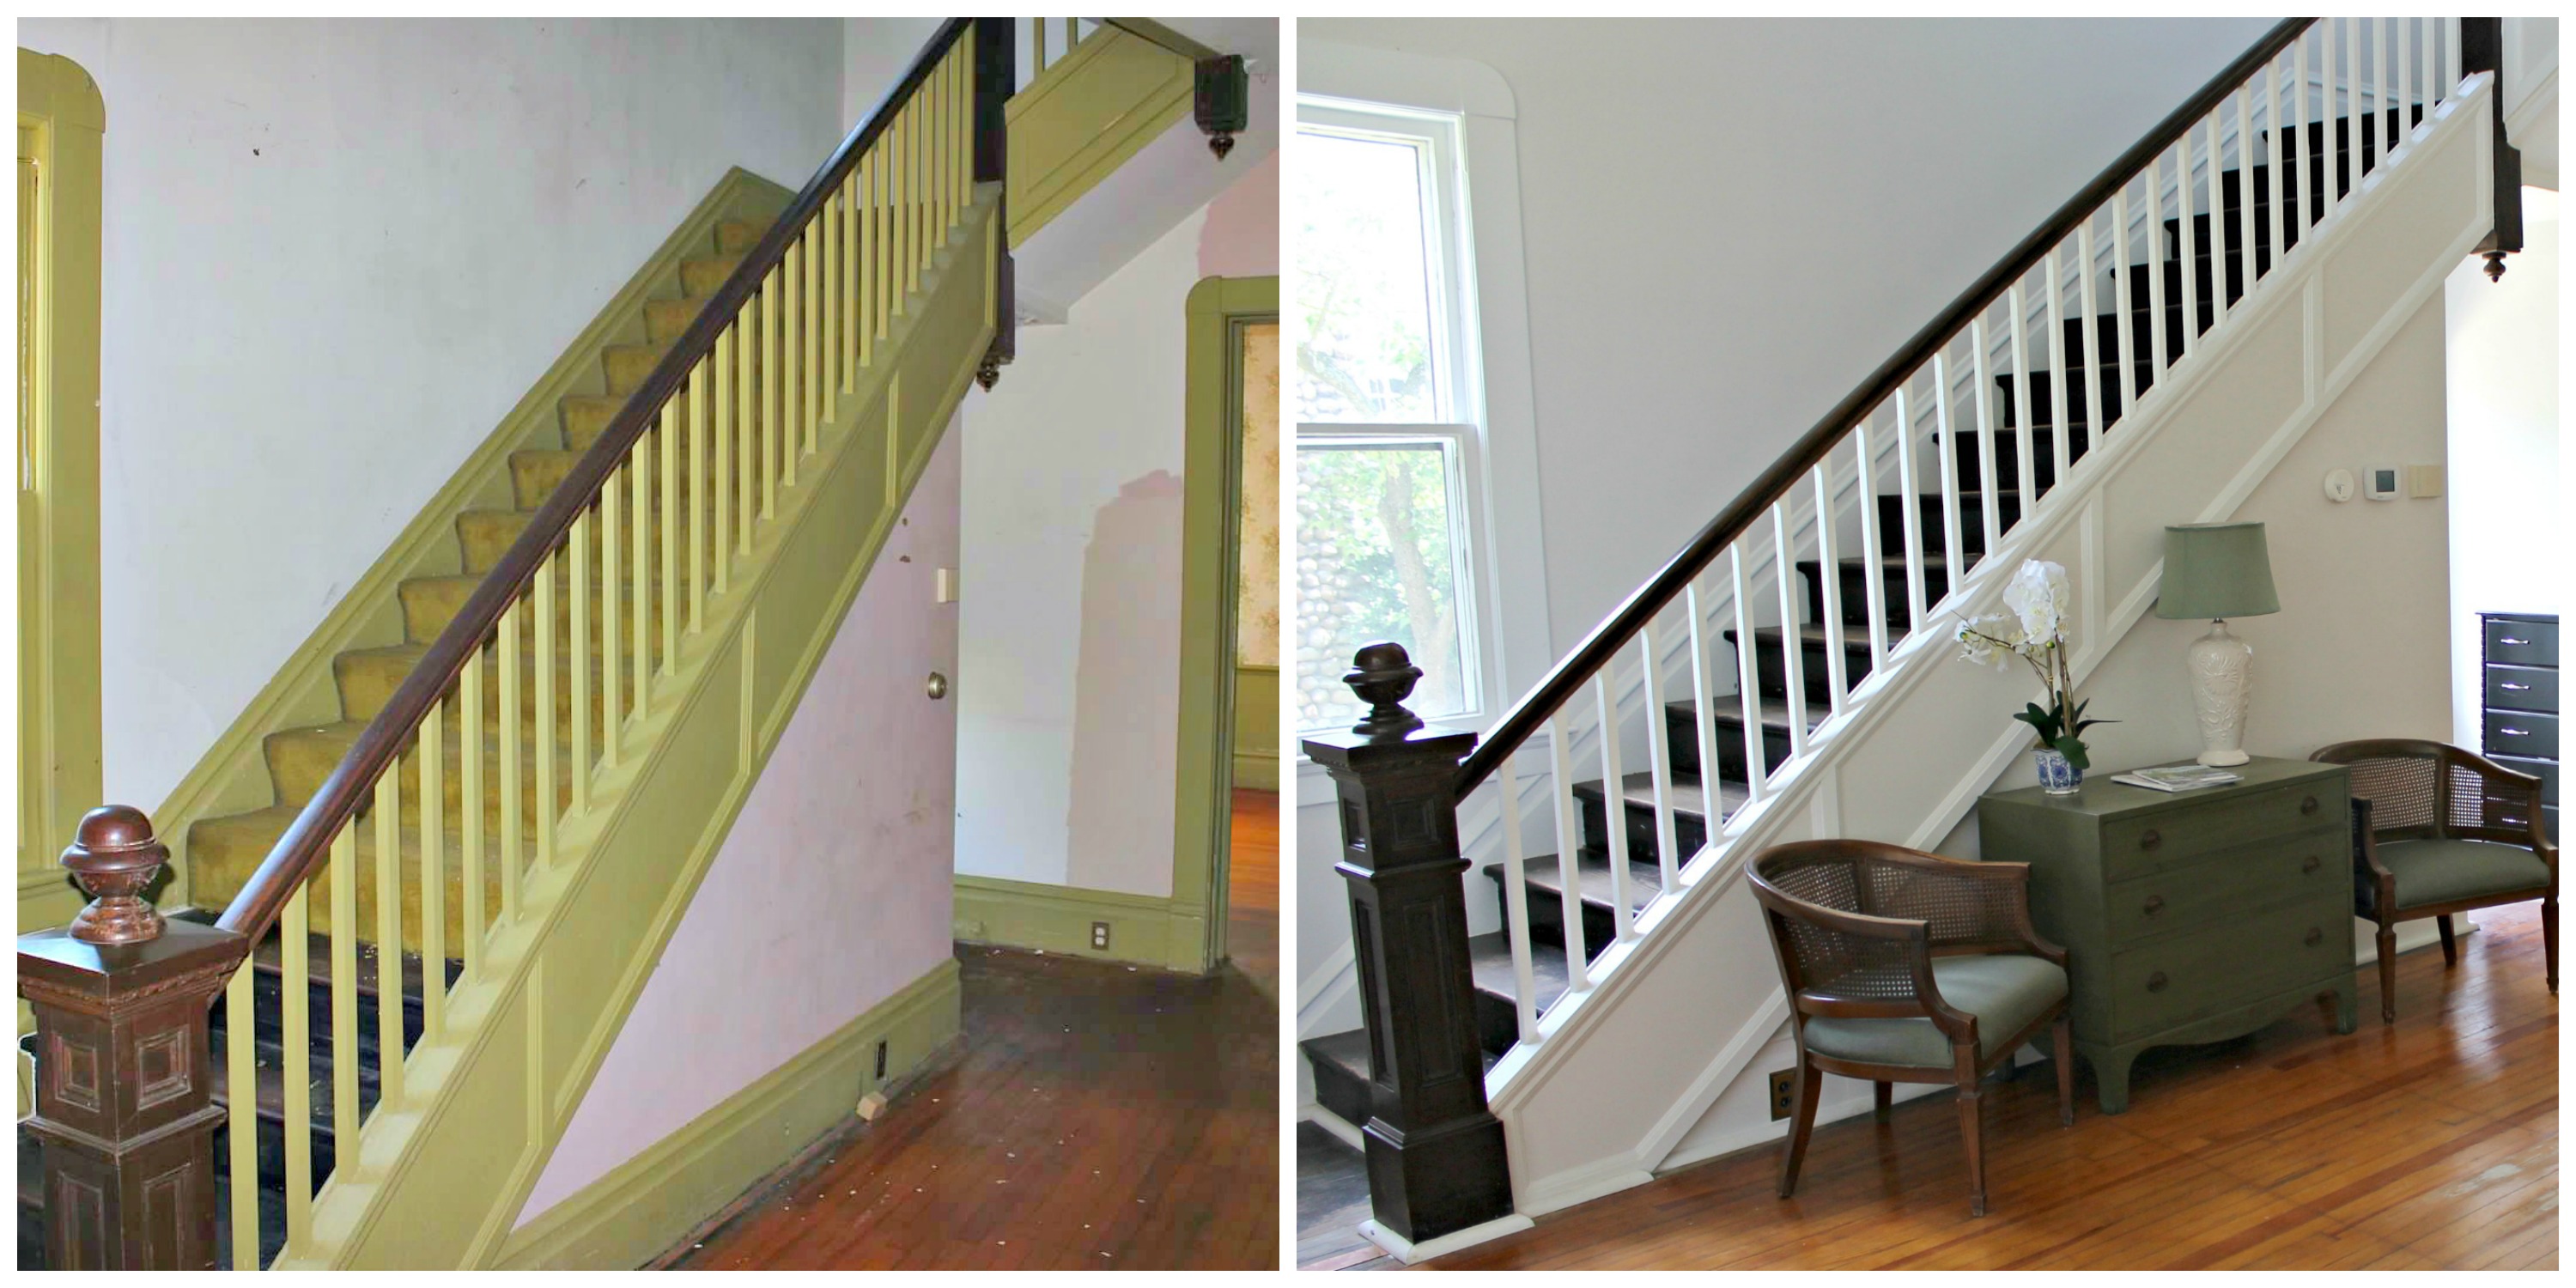
This room is so large that it has traditionally been used as a living room rather than a foyer. But with a formal living room and a den downstairs, we didn’t see the point in that, so we decided we’d just have a grand entry instead. So we took it from dated with green trim, multi-colored walls, and gold carpeting on the stairs to clean and crisp. Check it out!
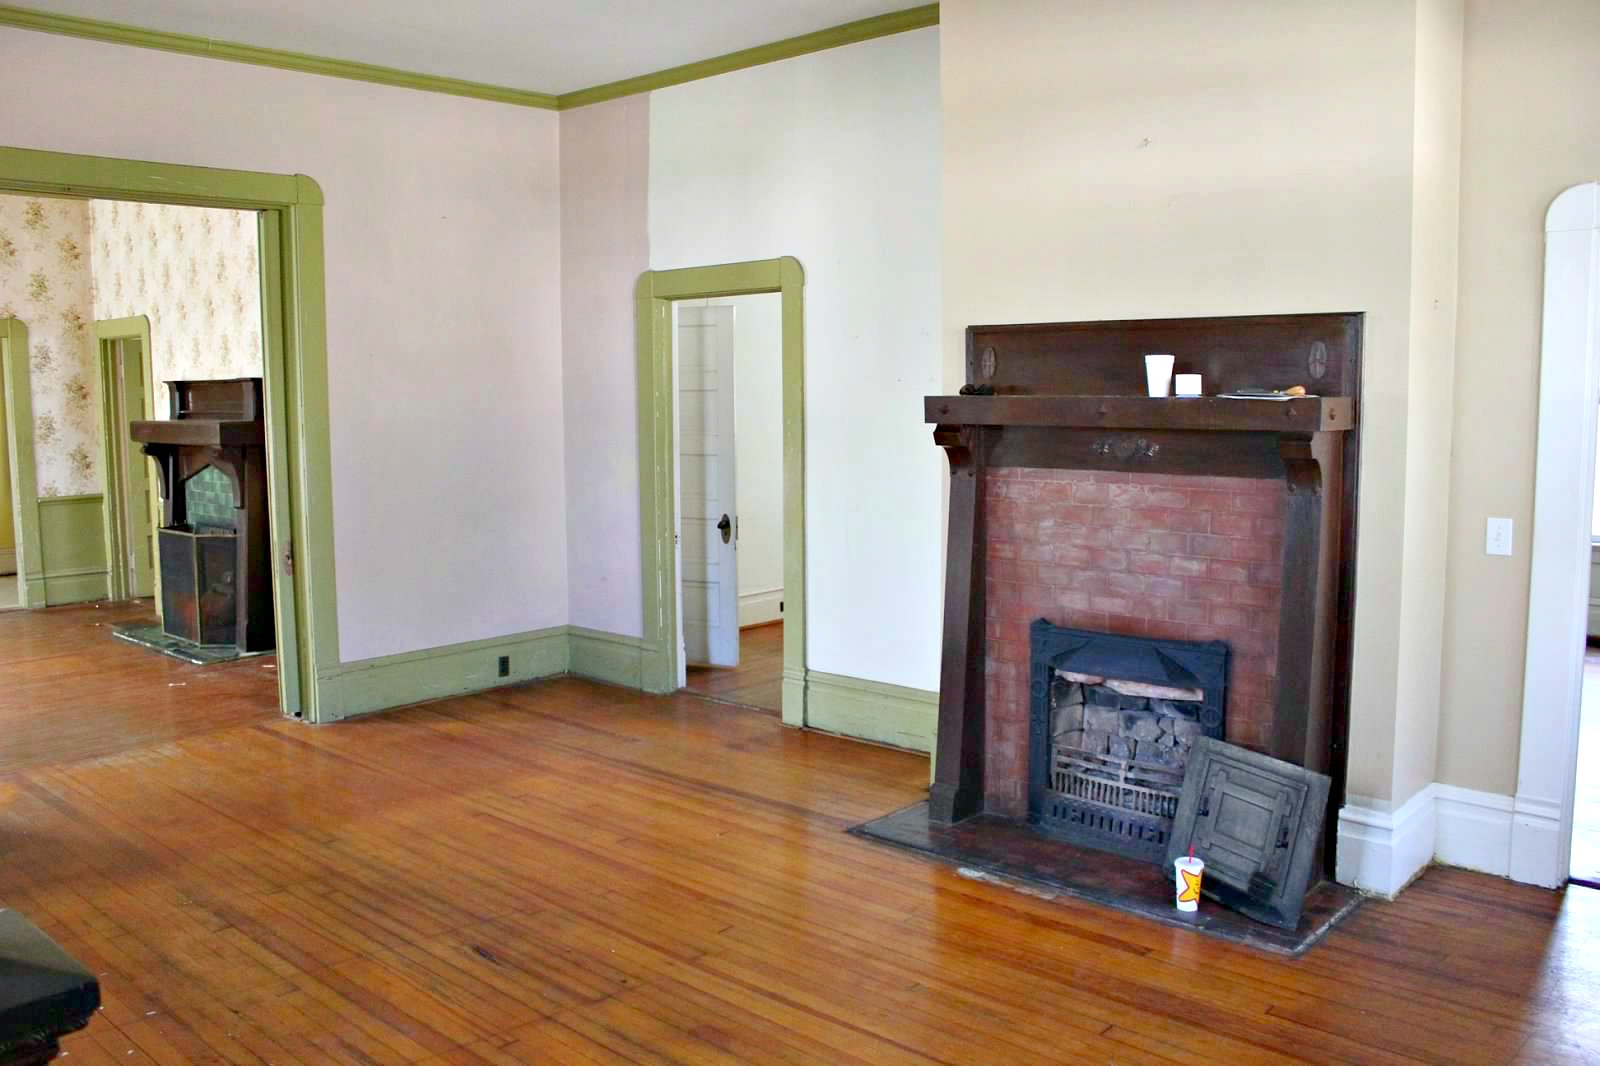
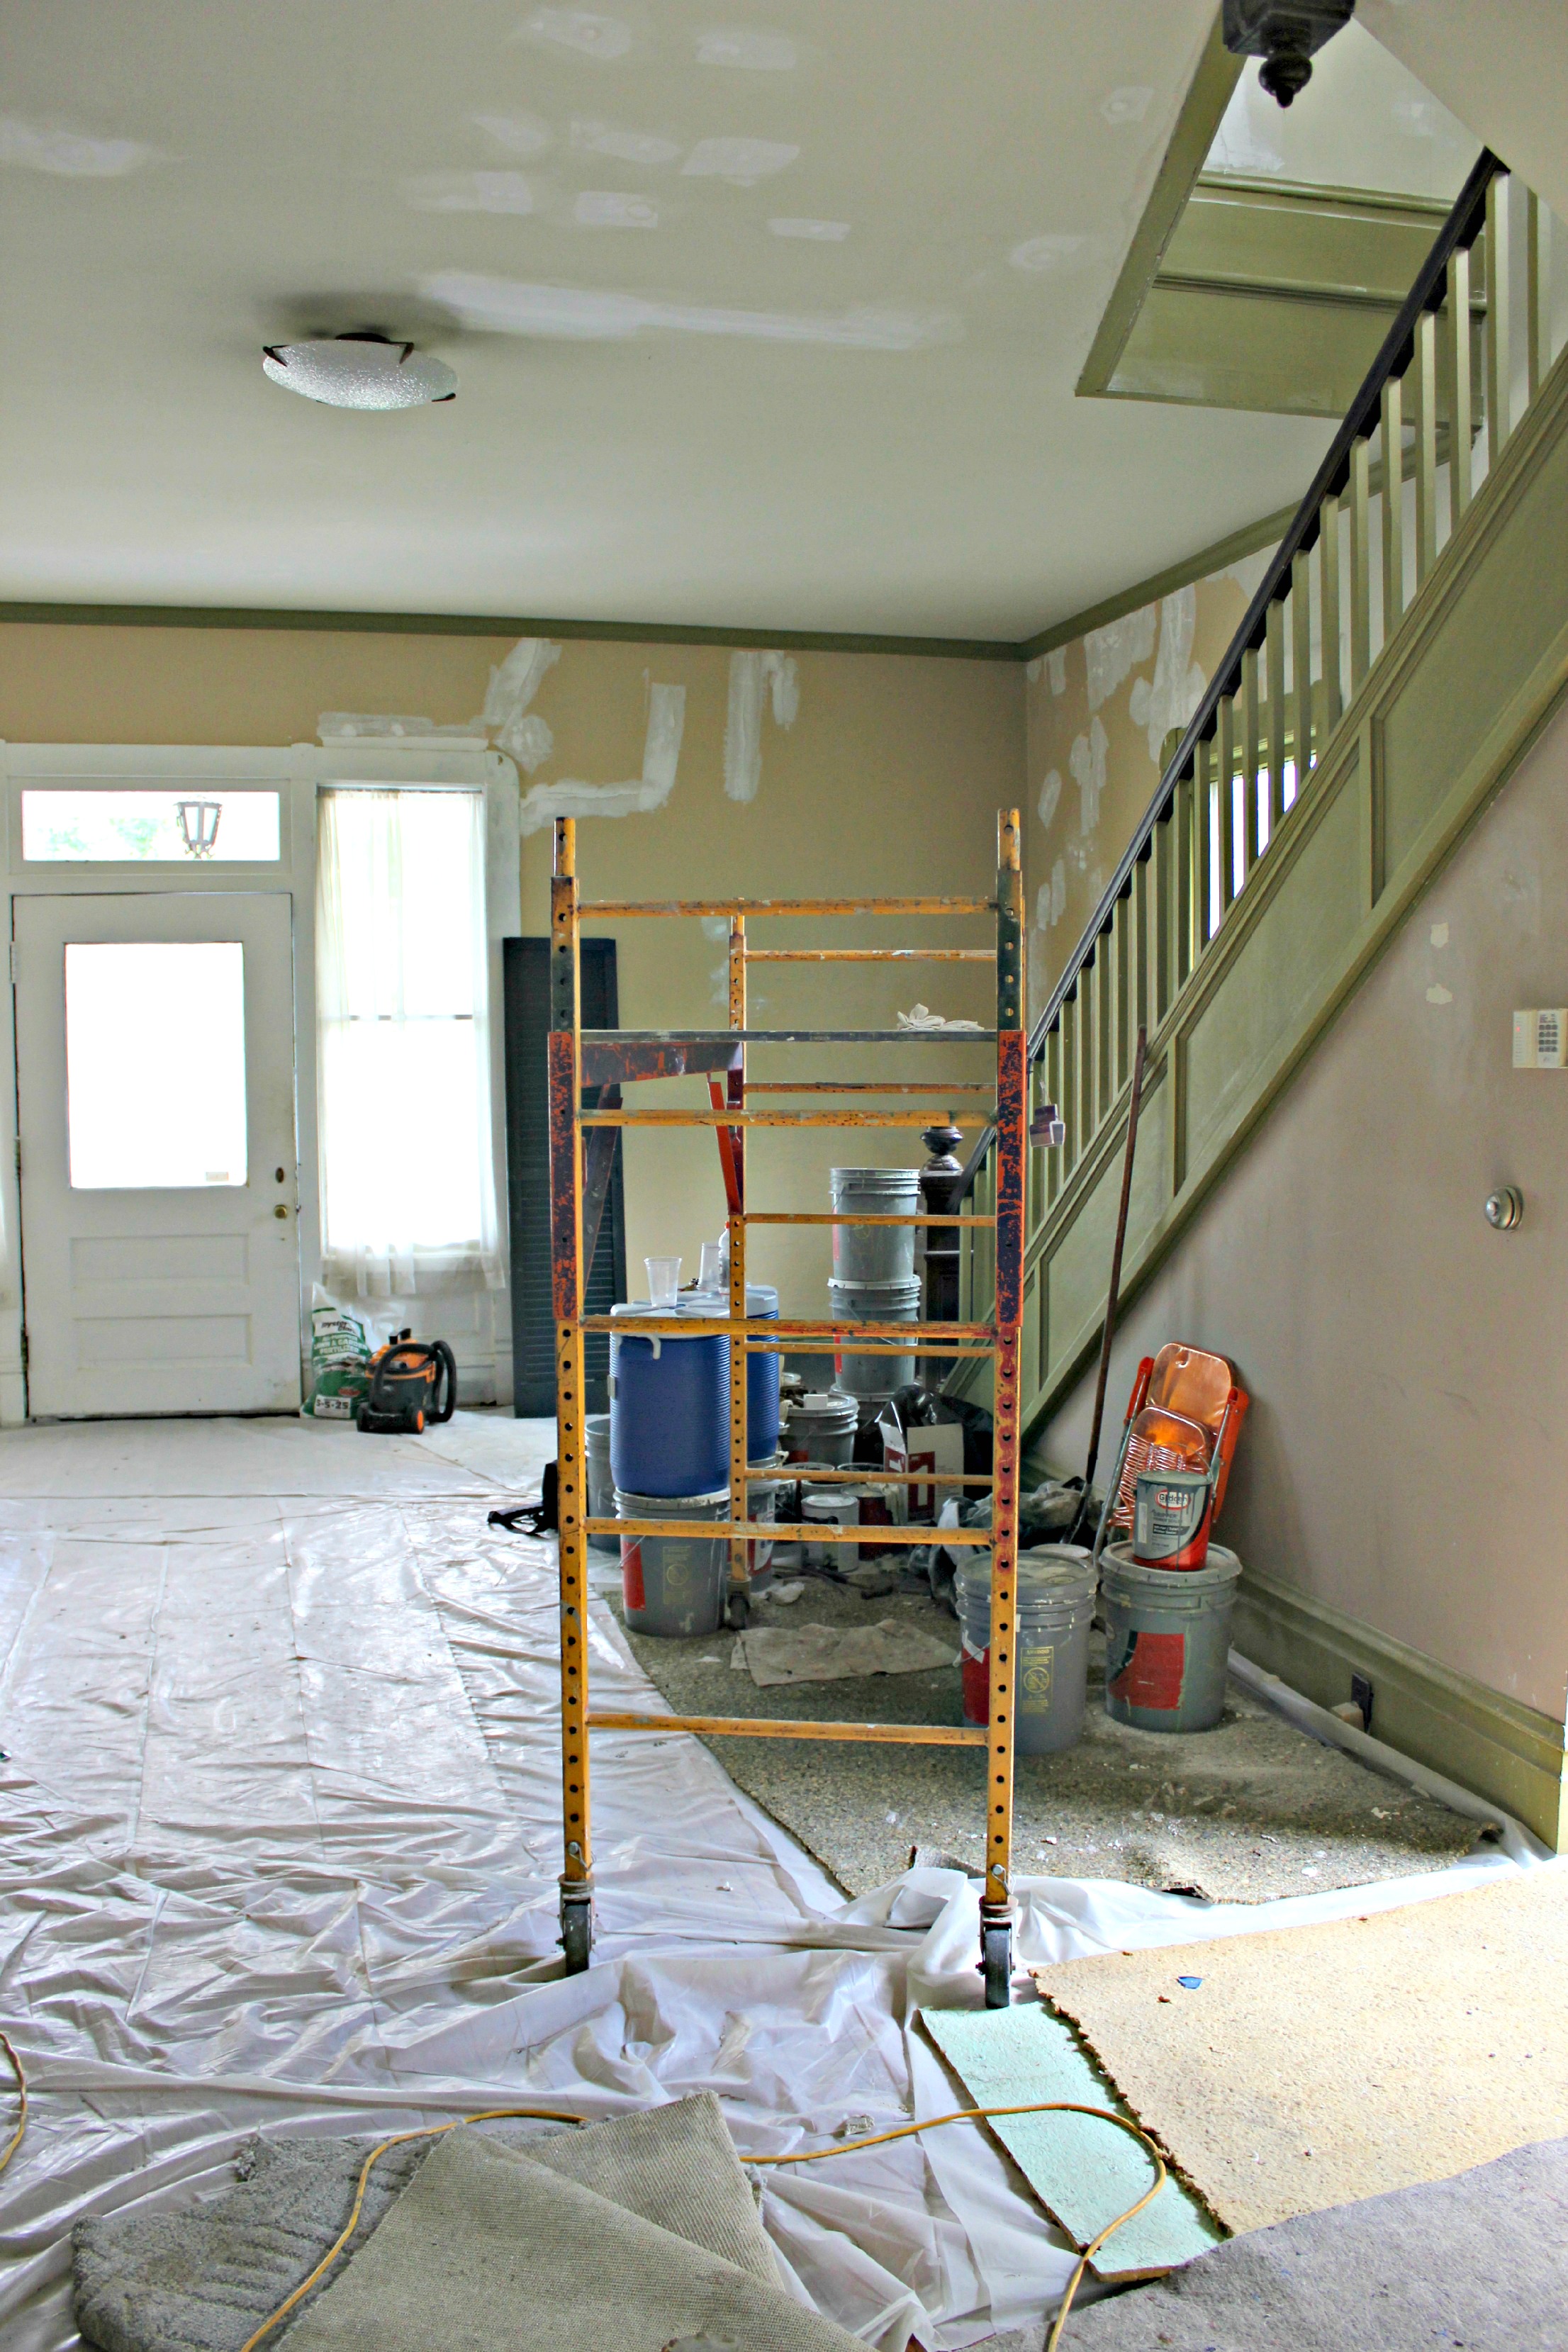
What we’ve finished
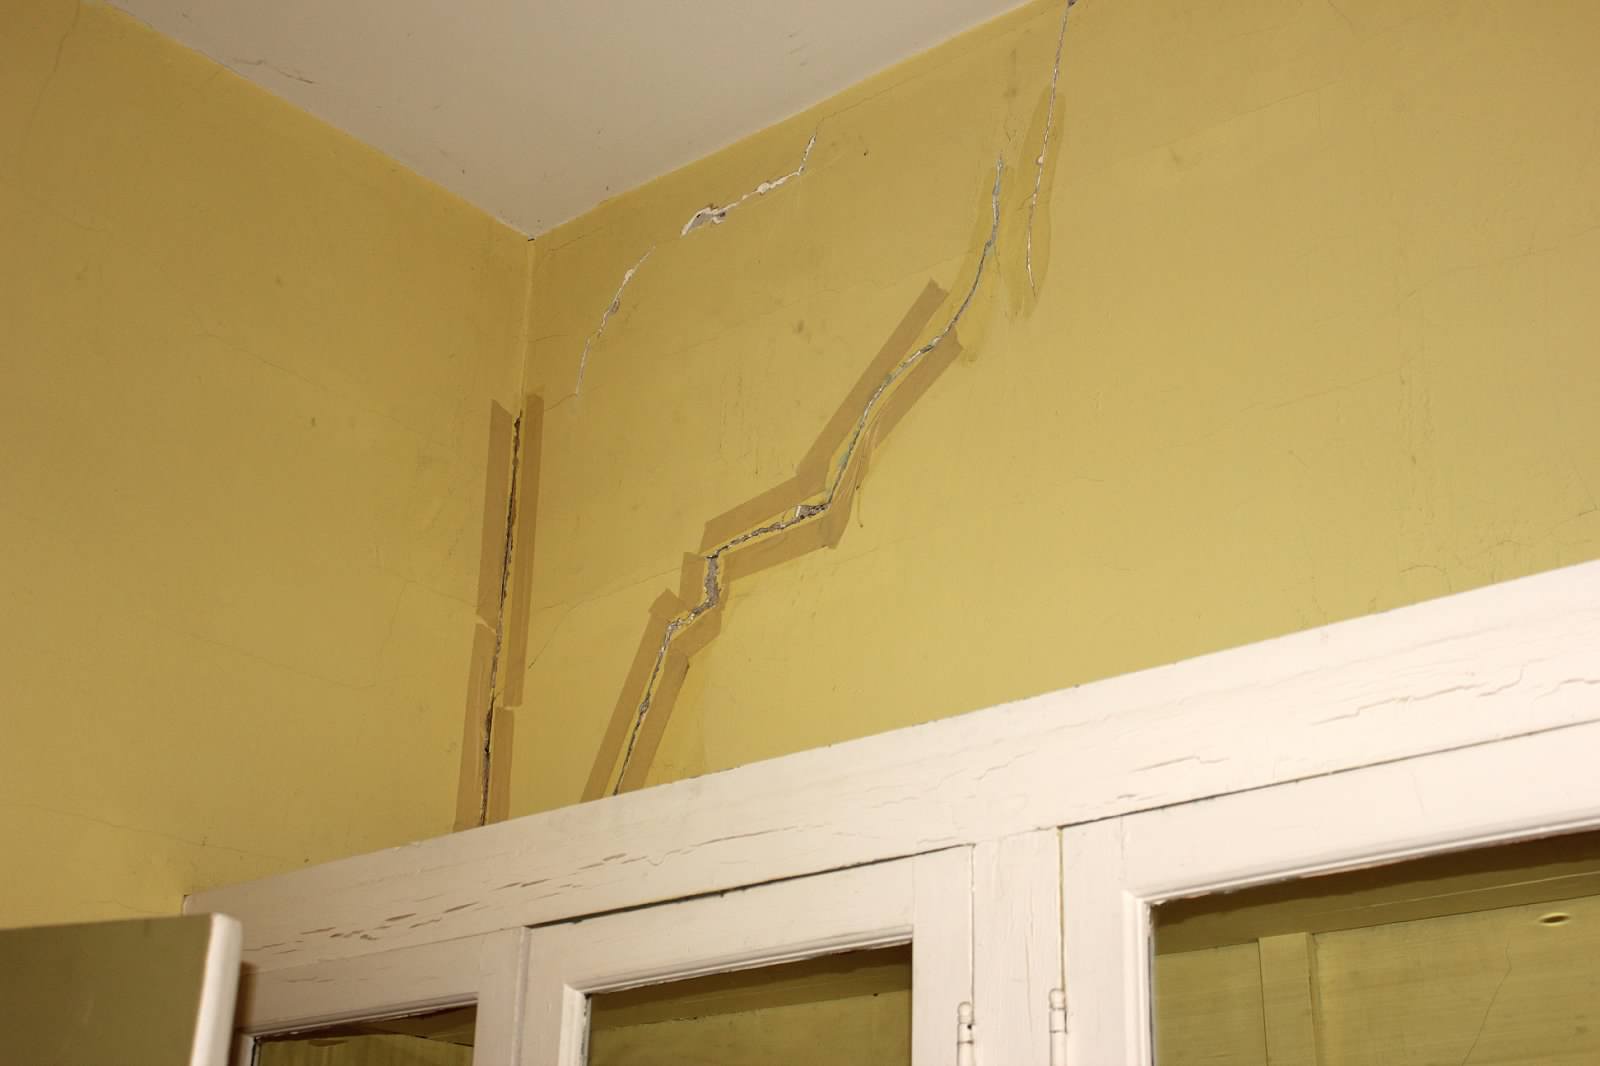
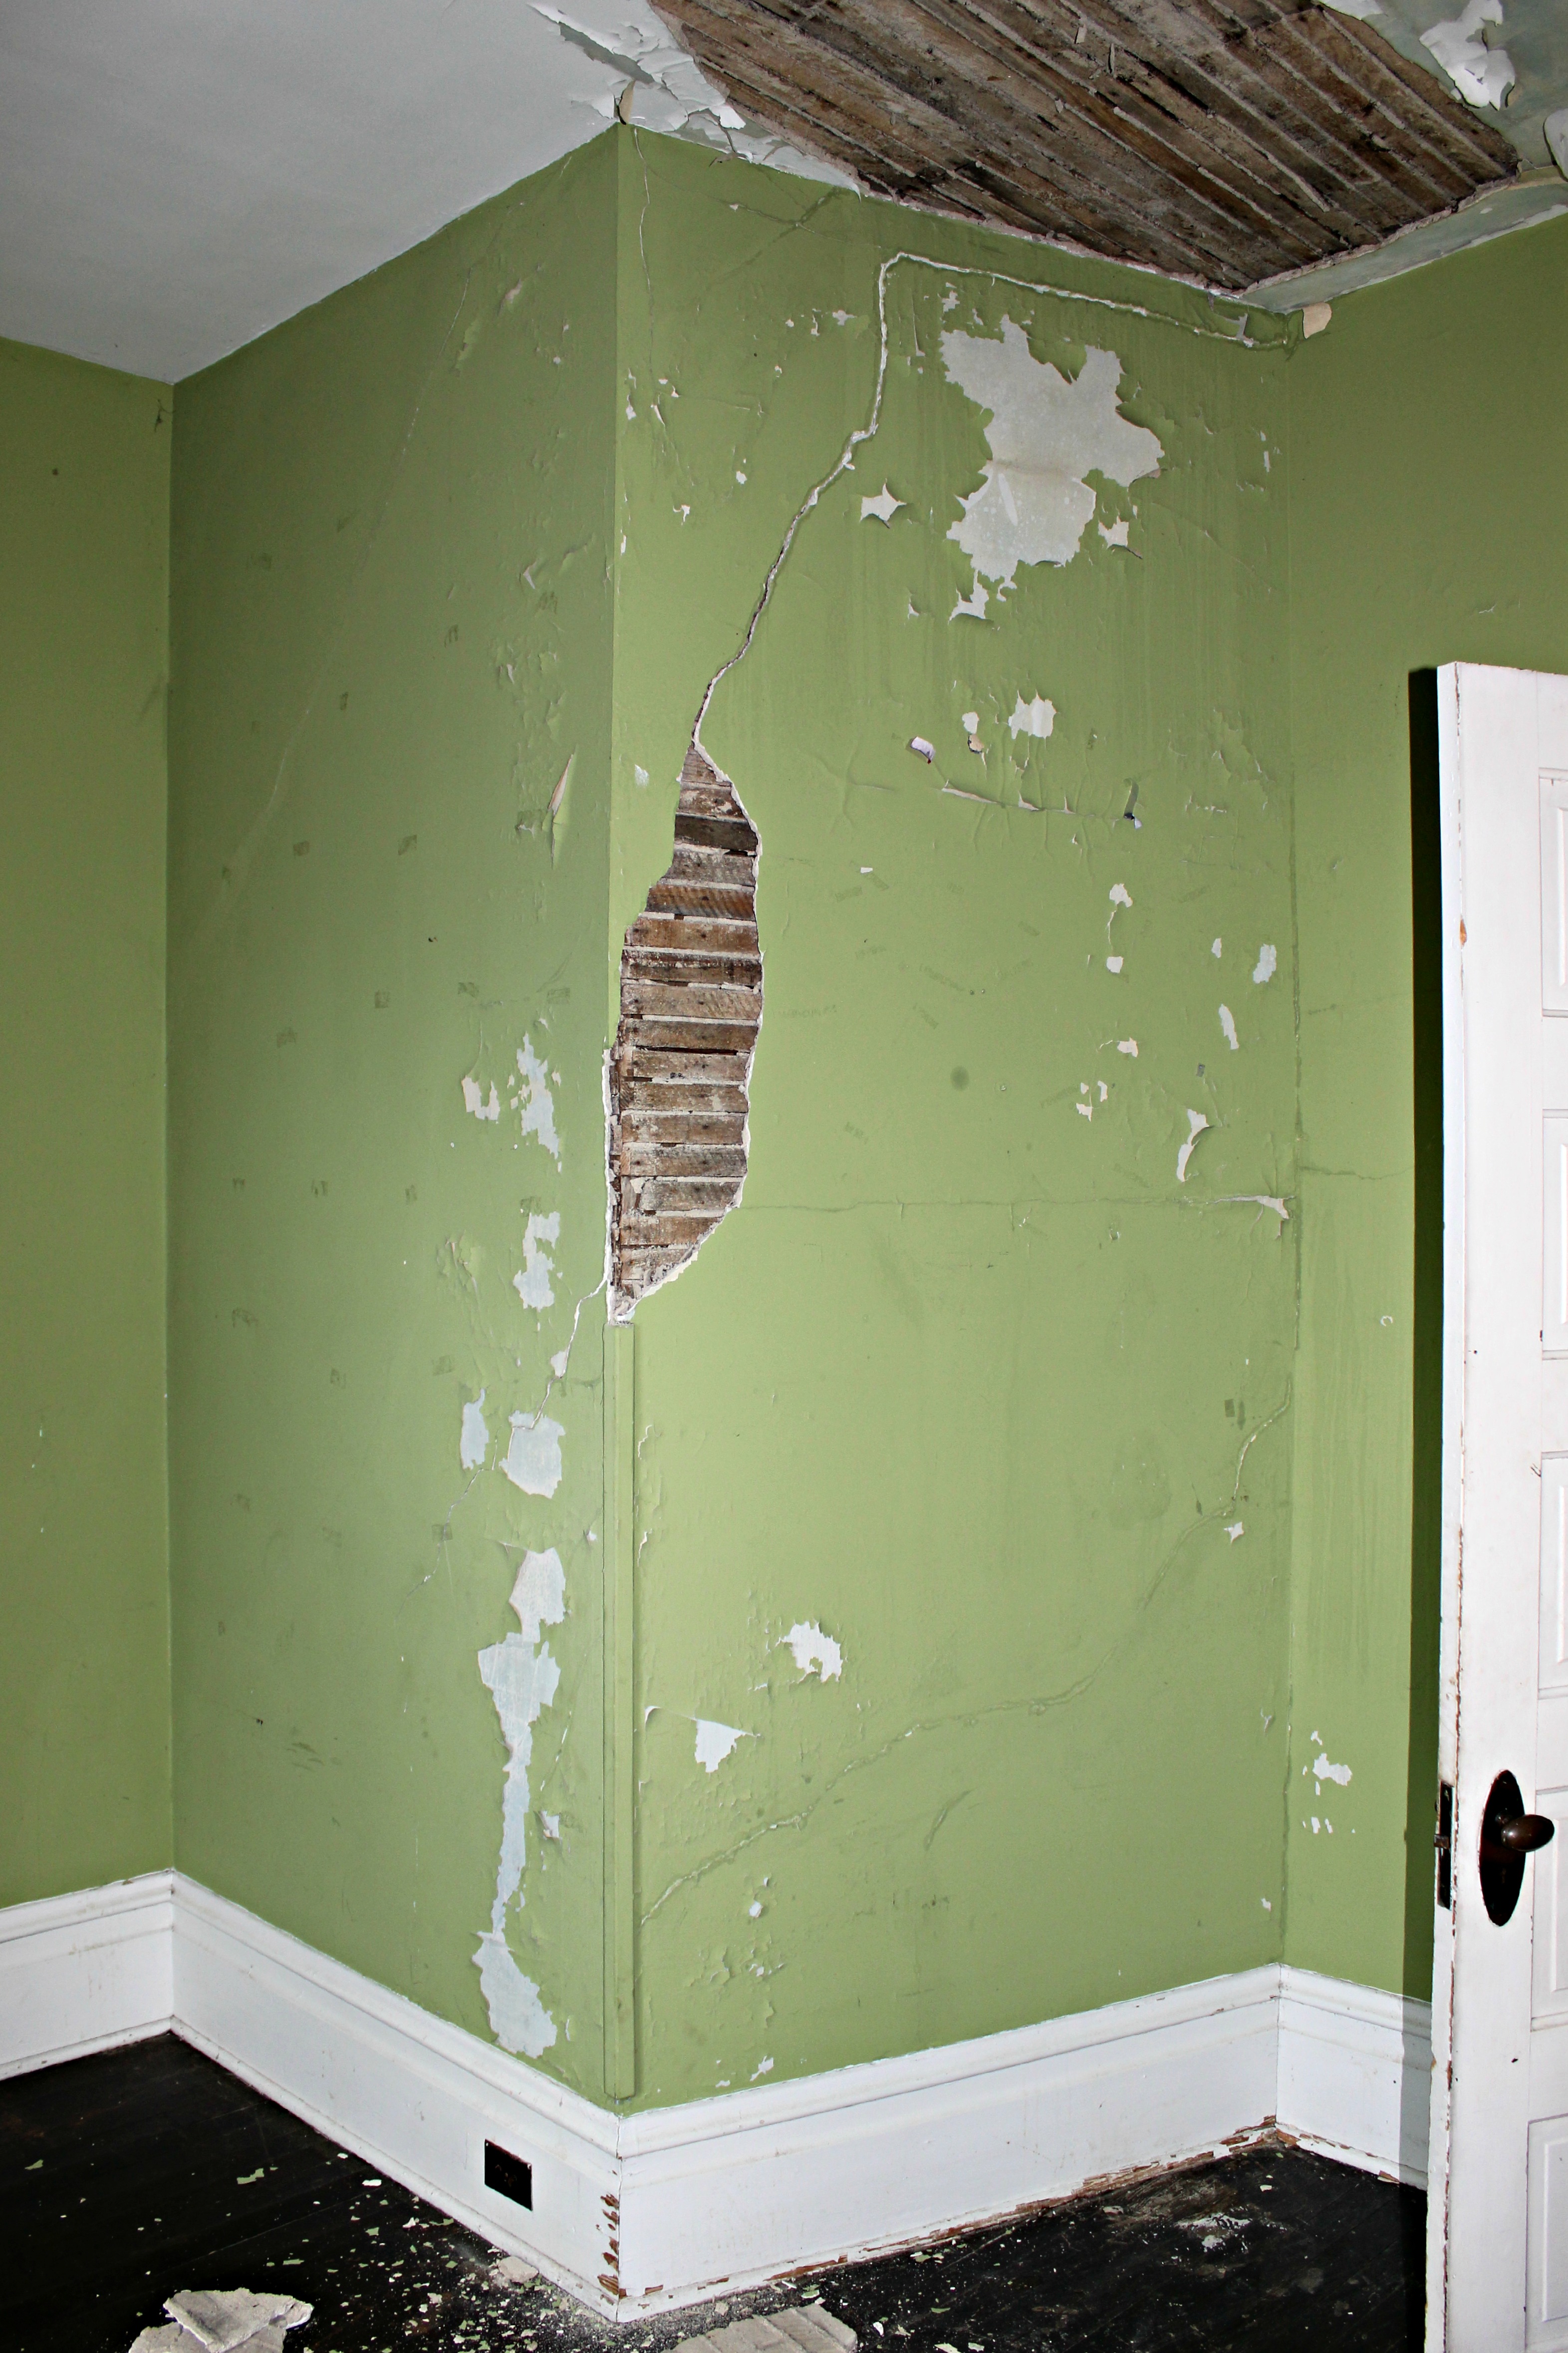
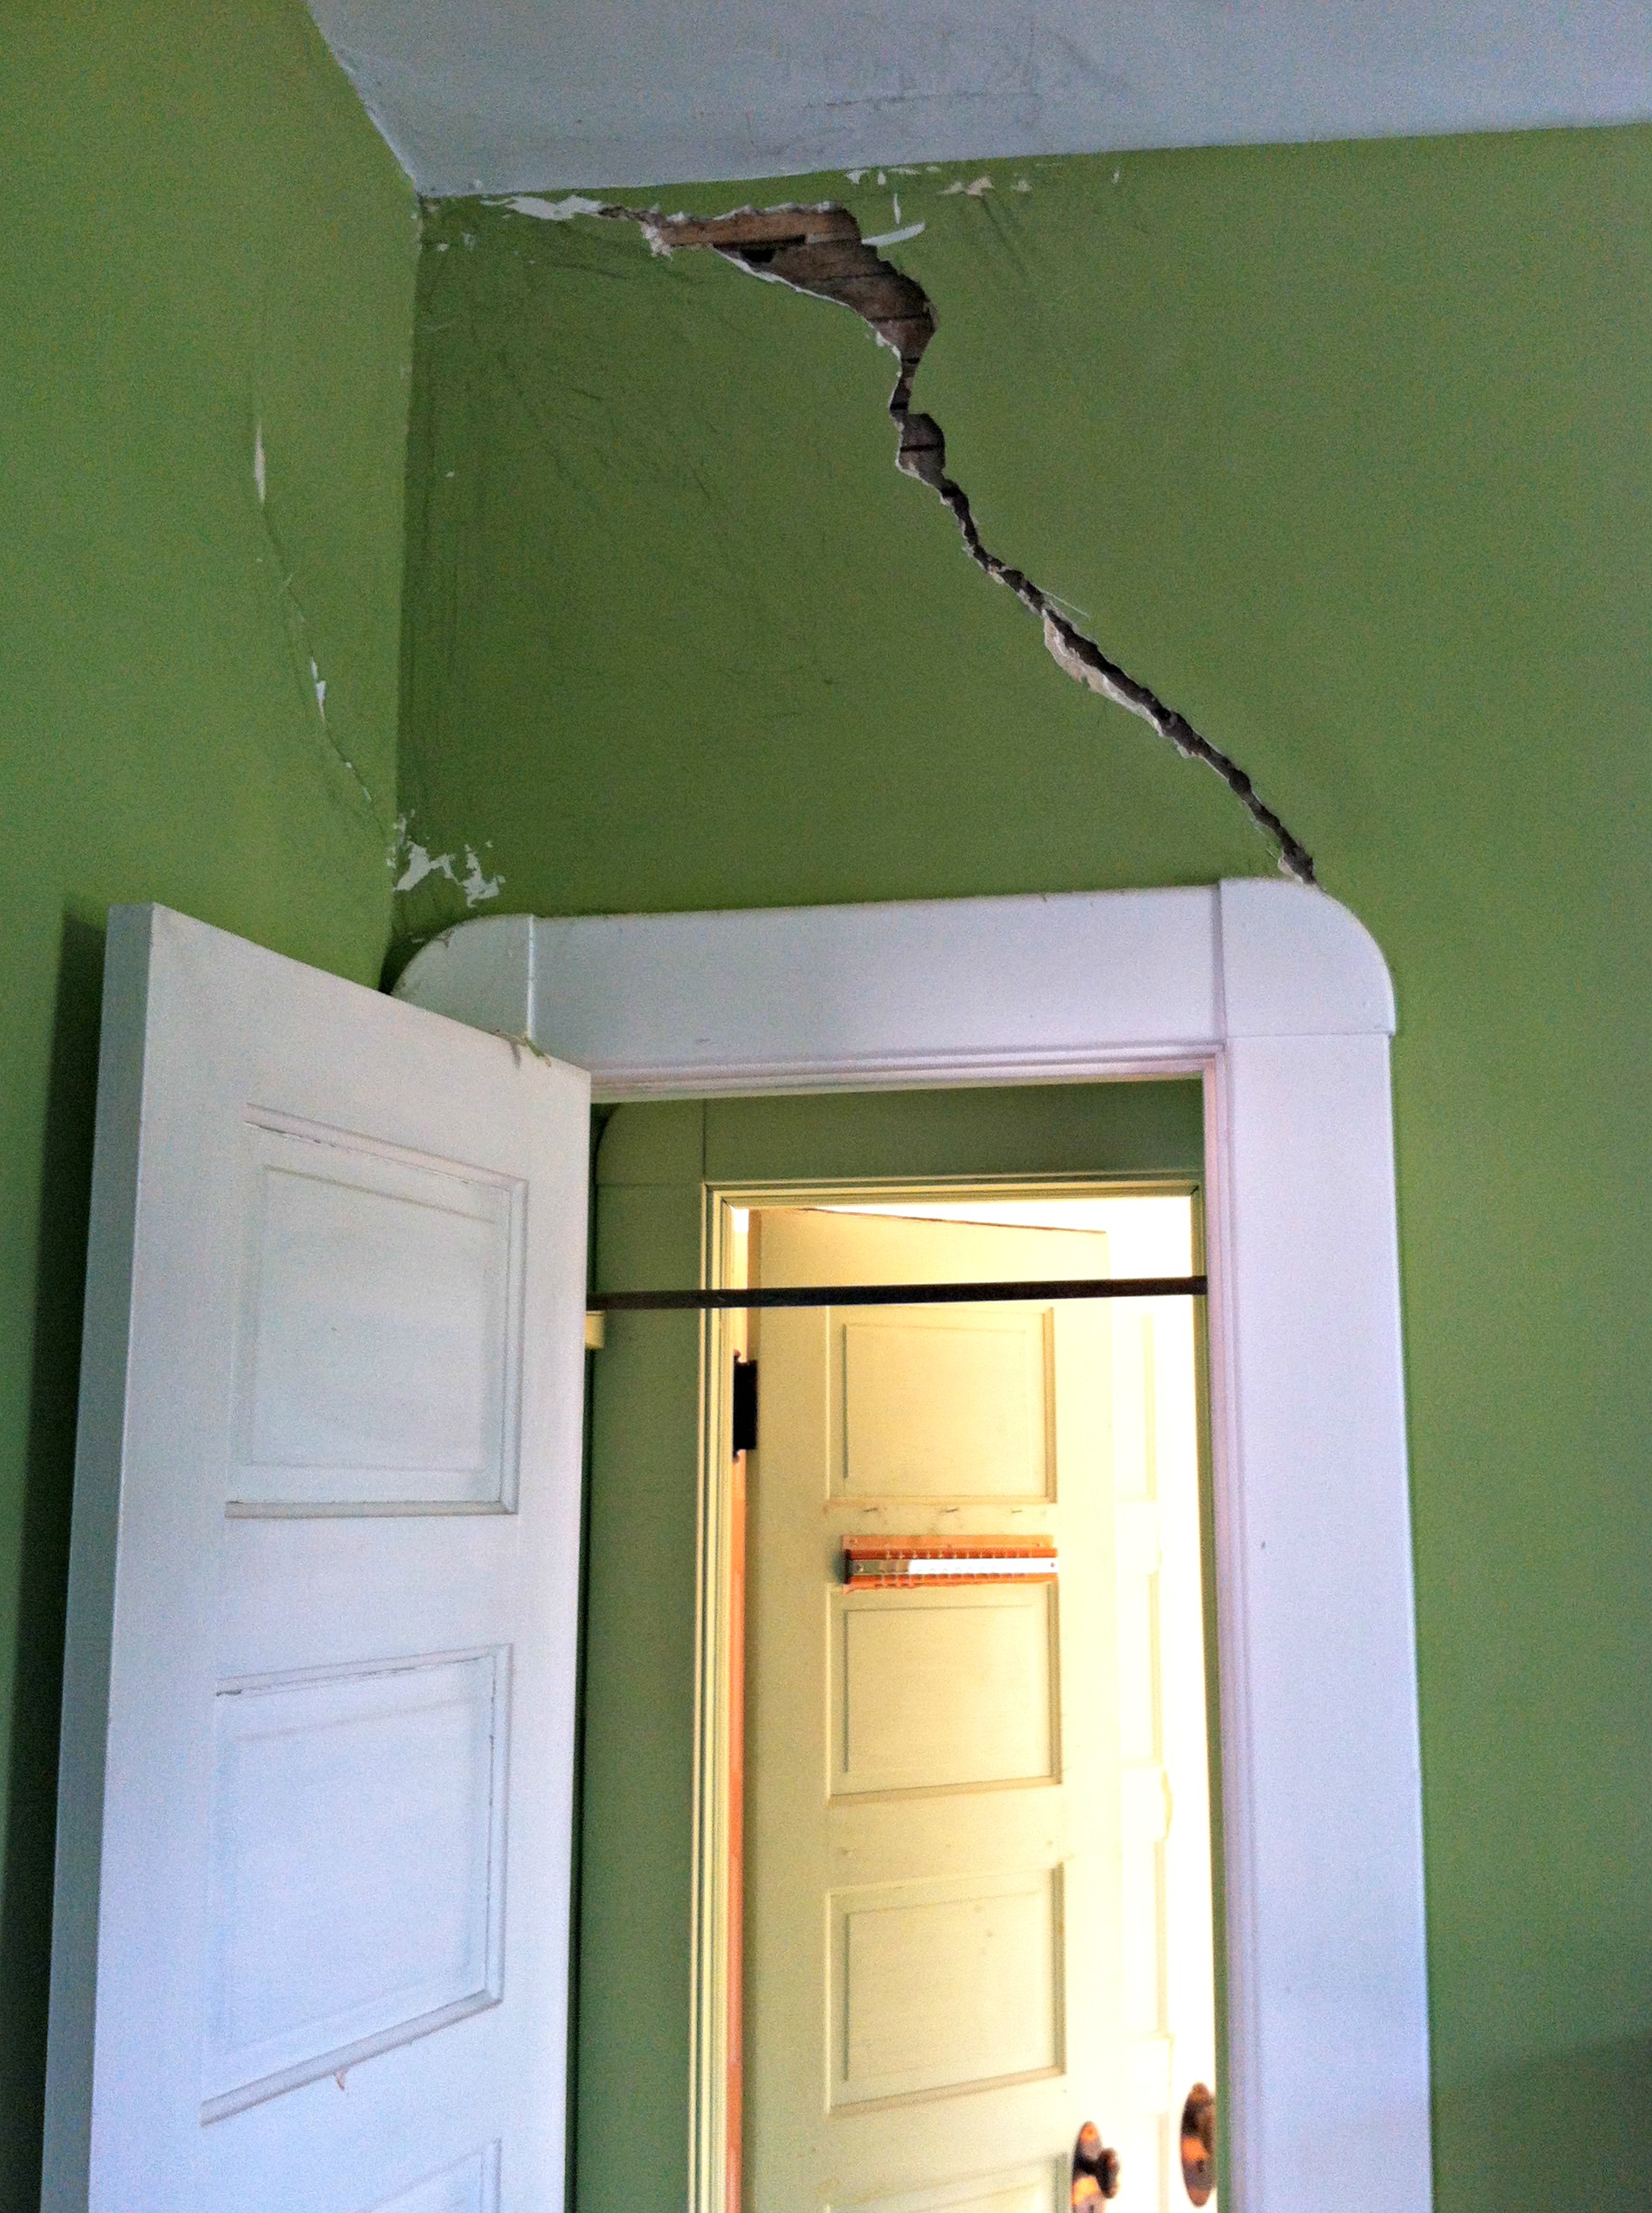
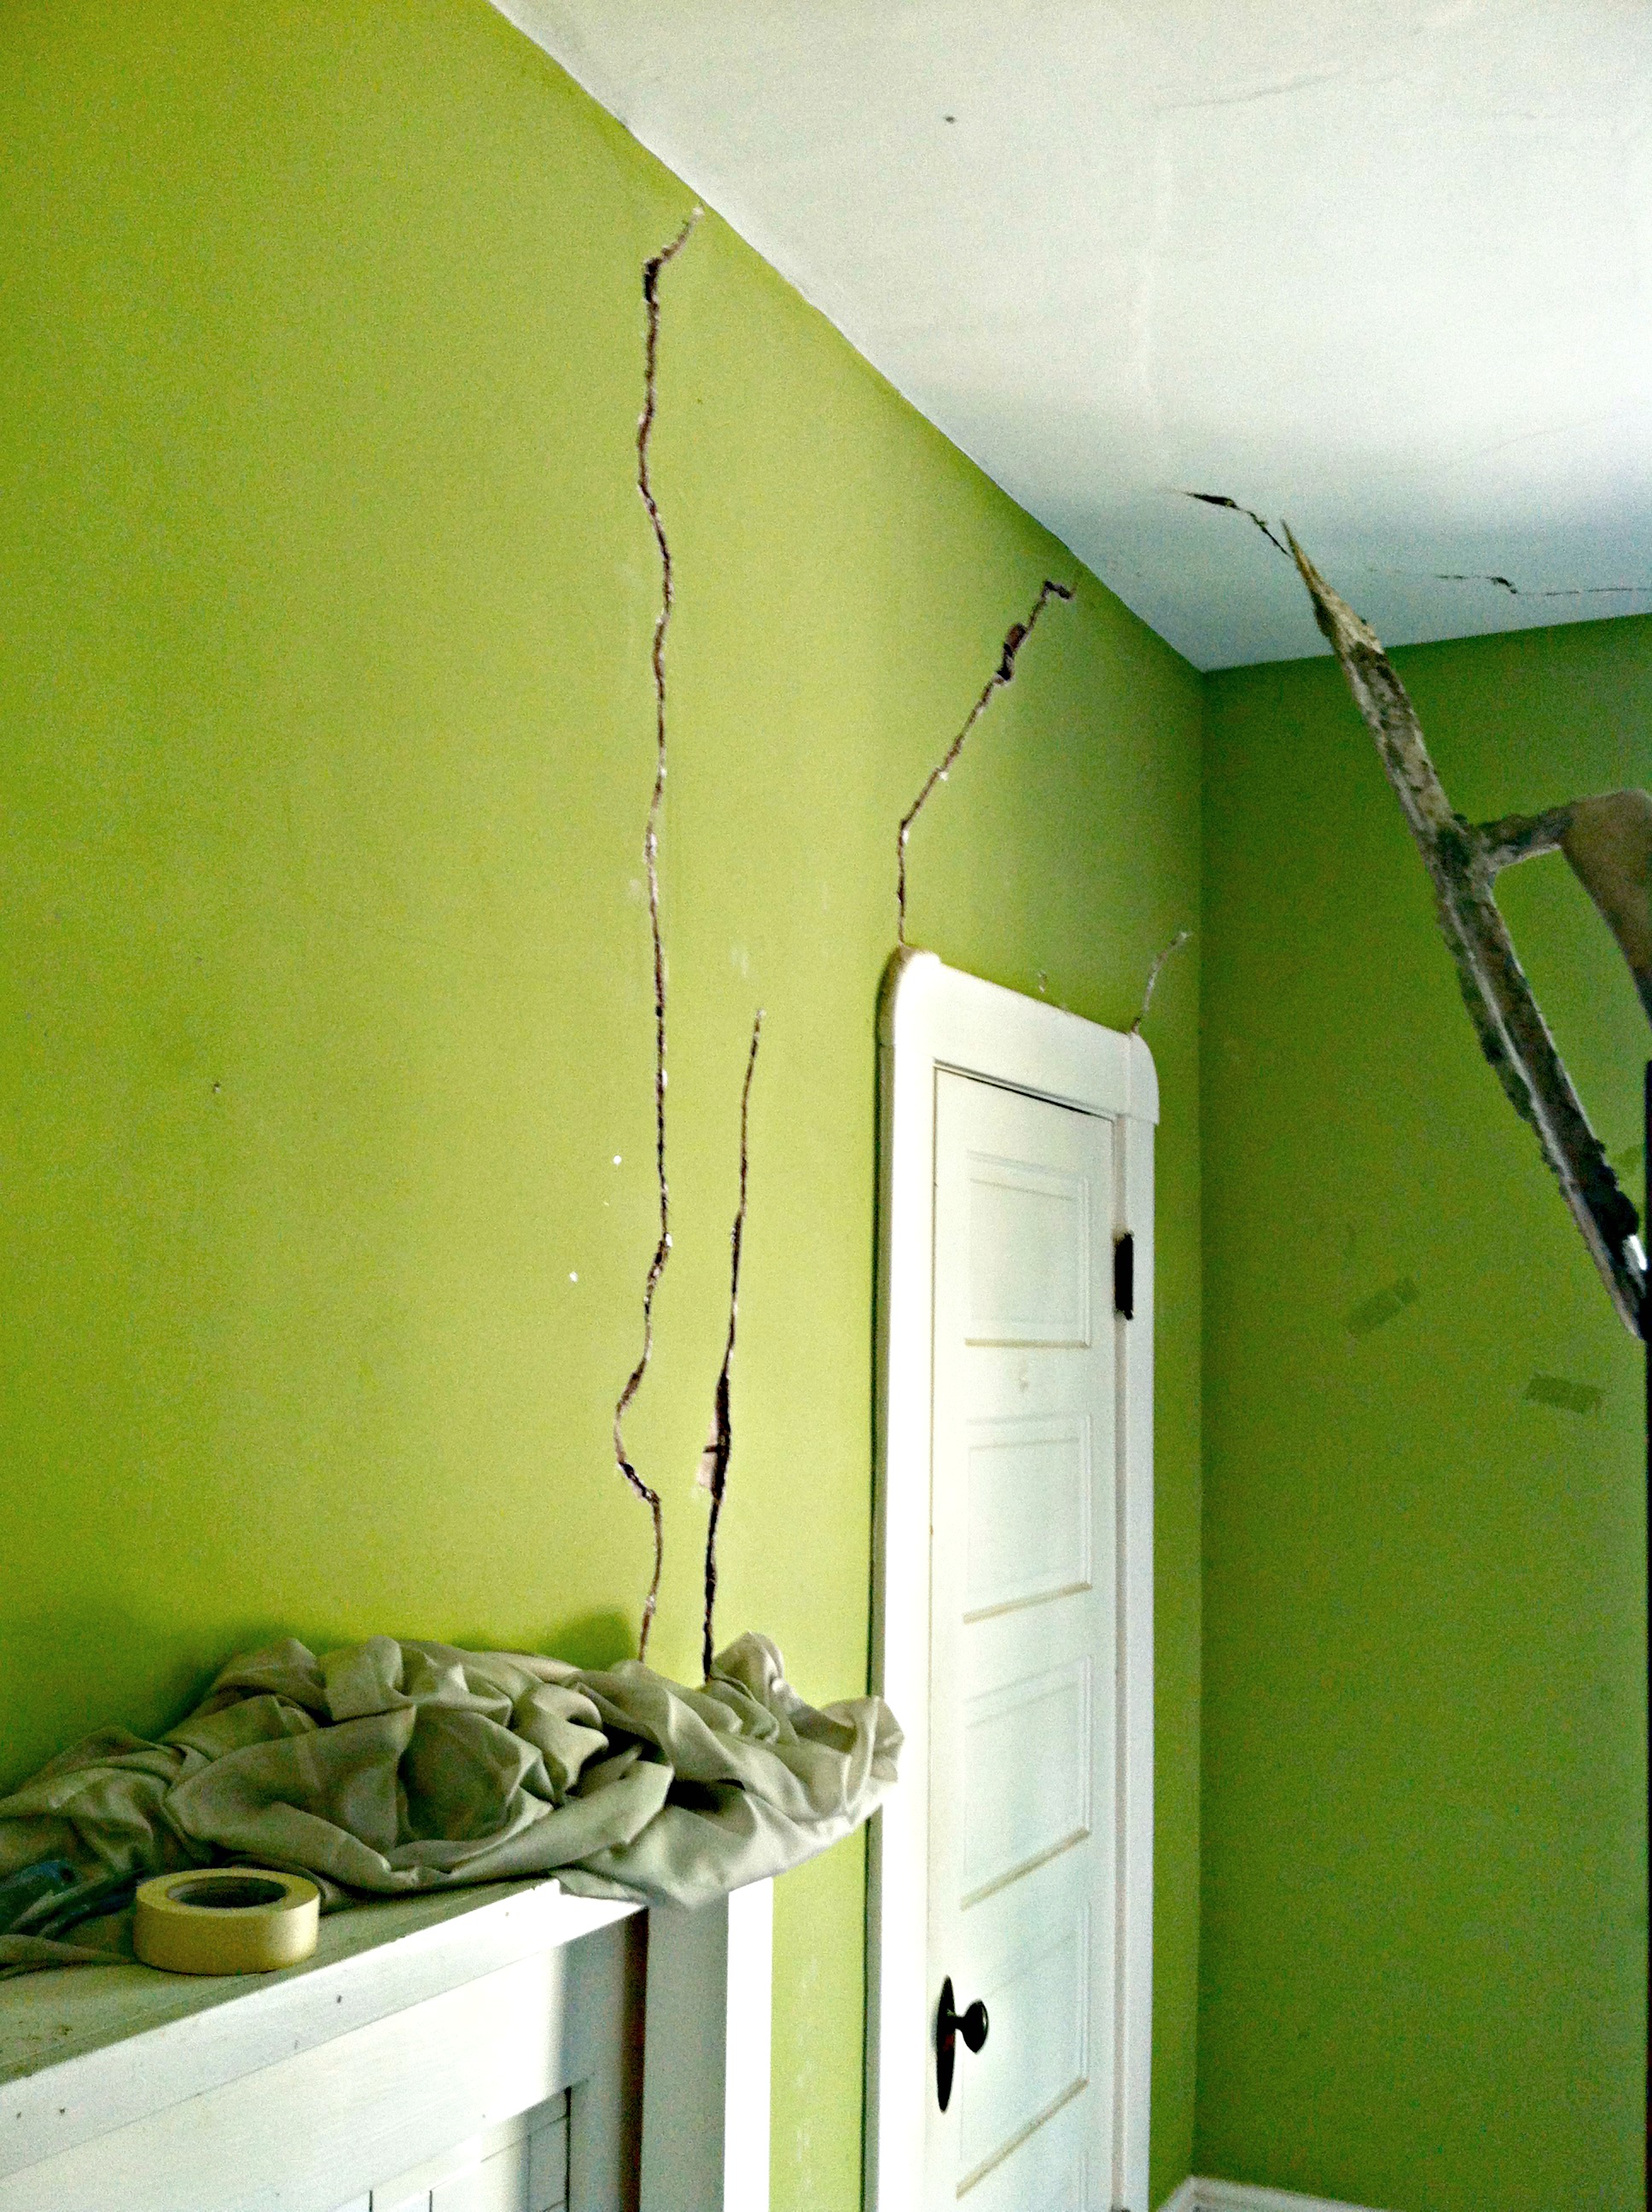
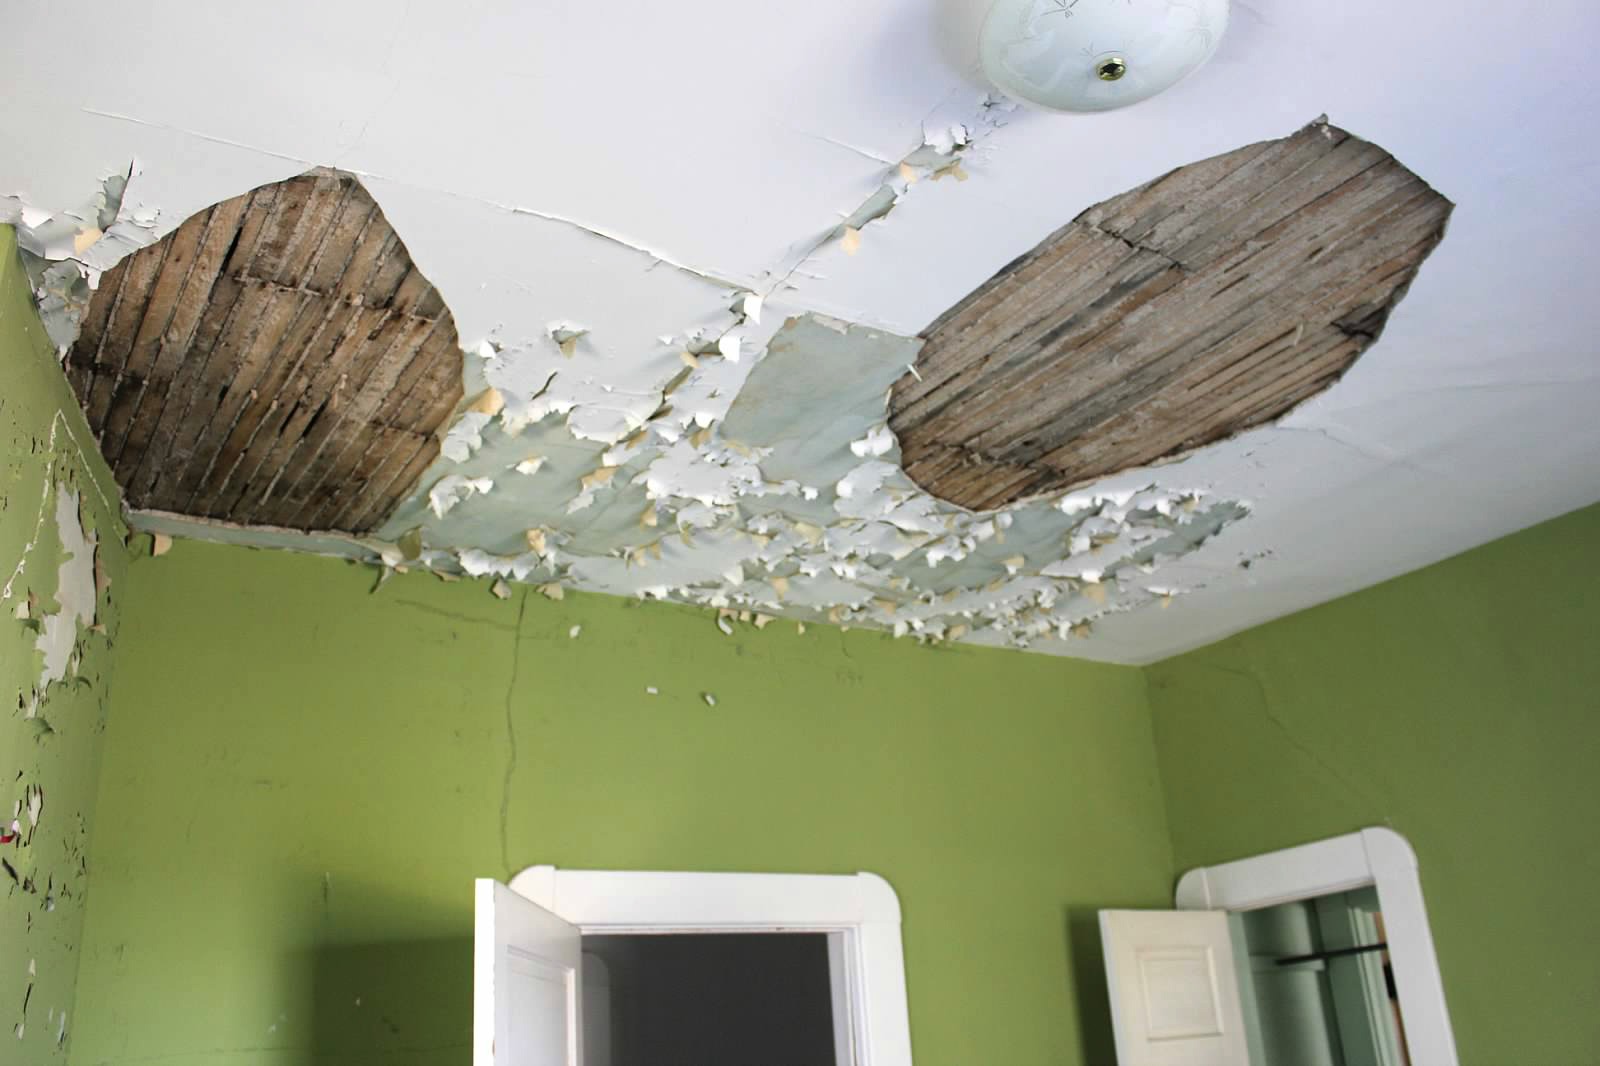
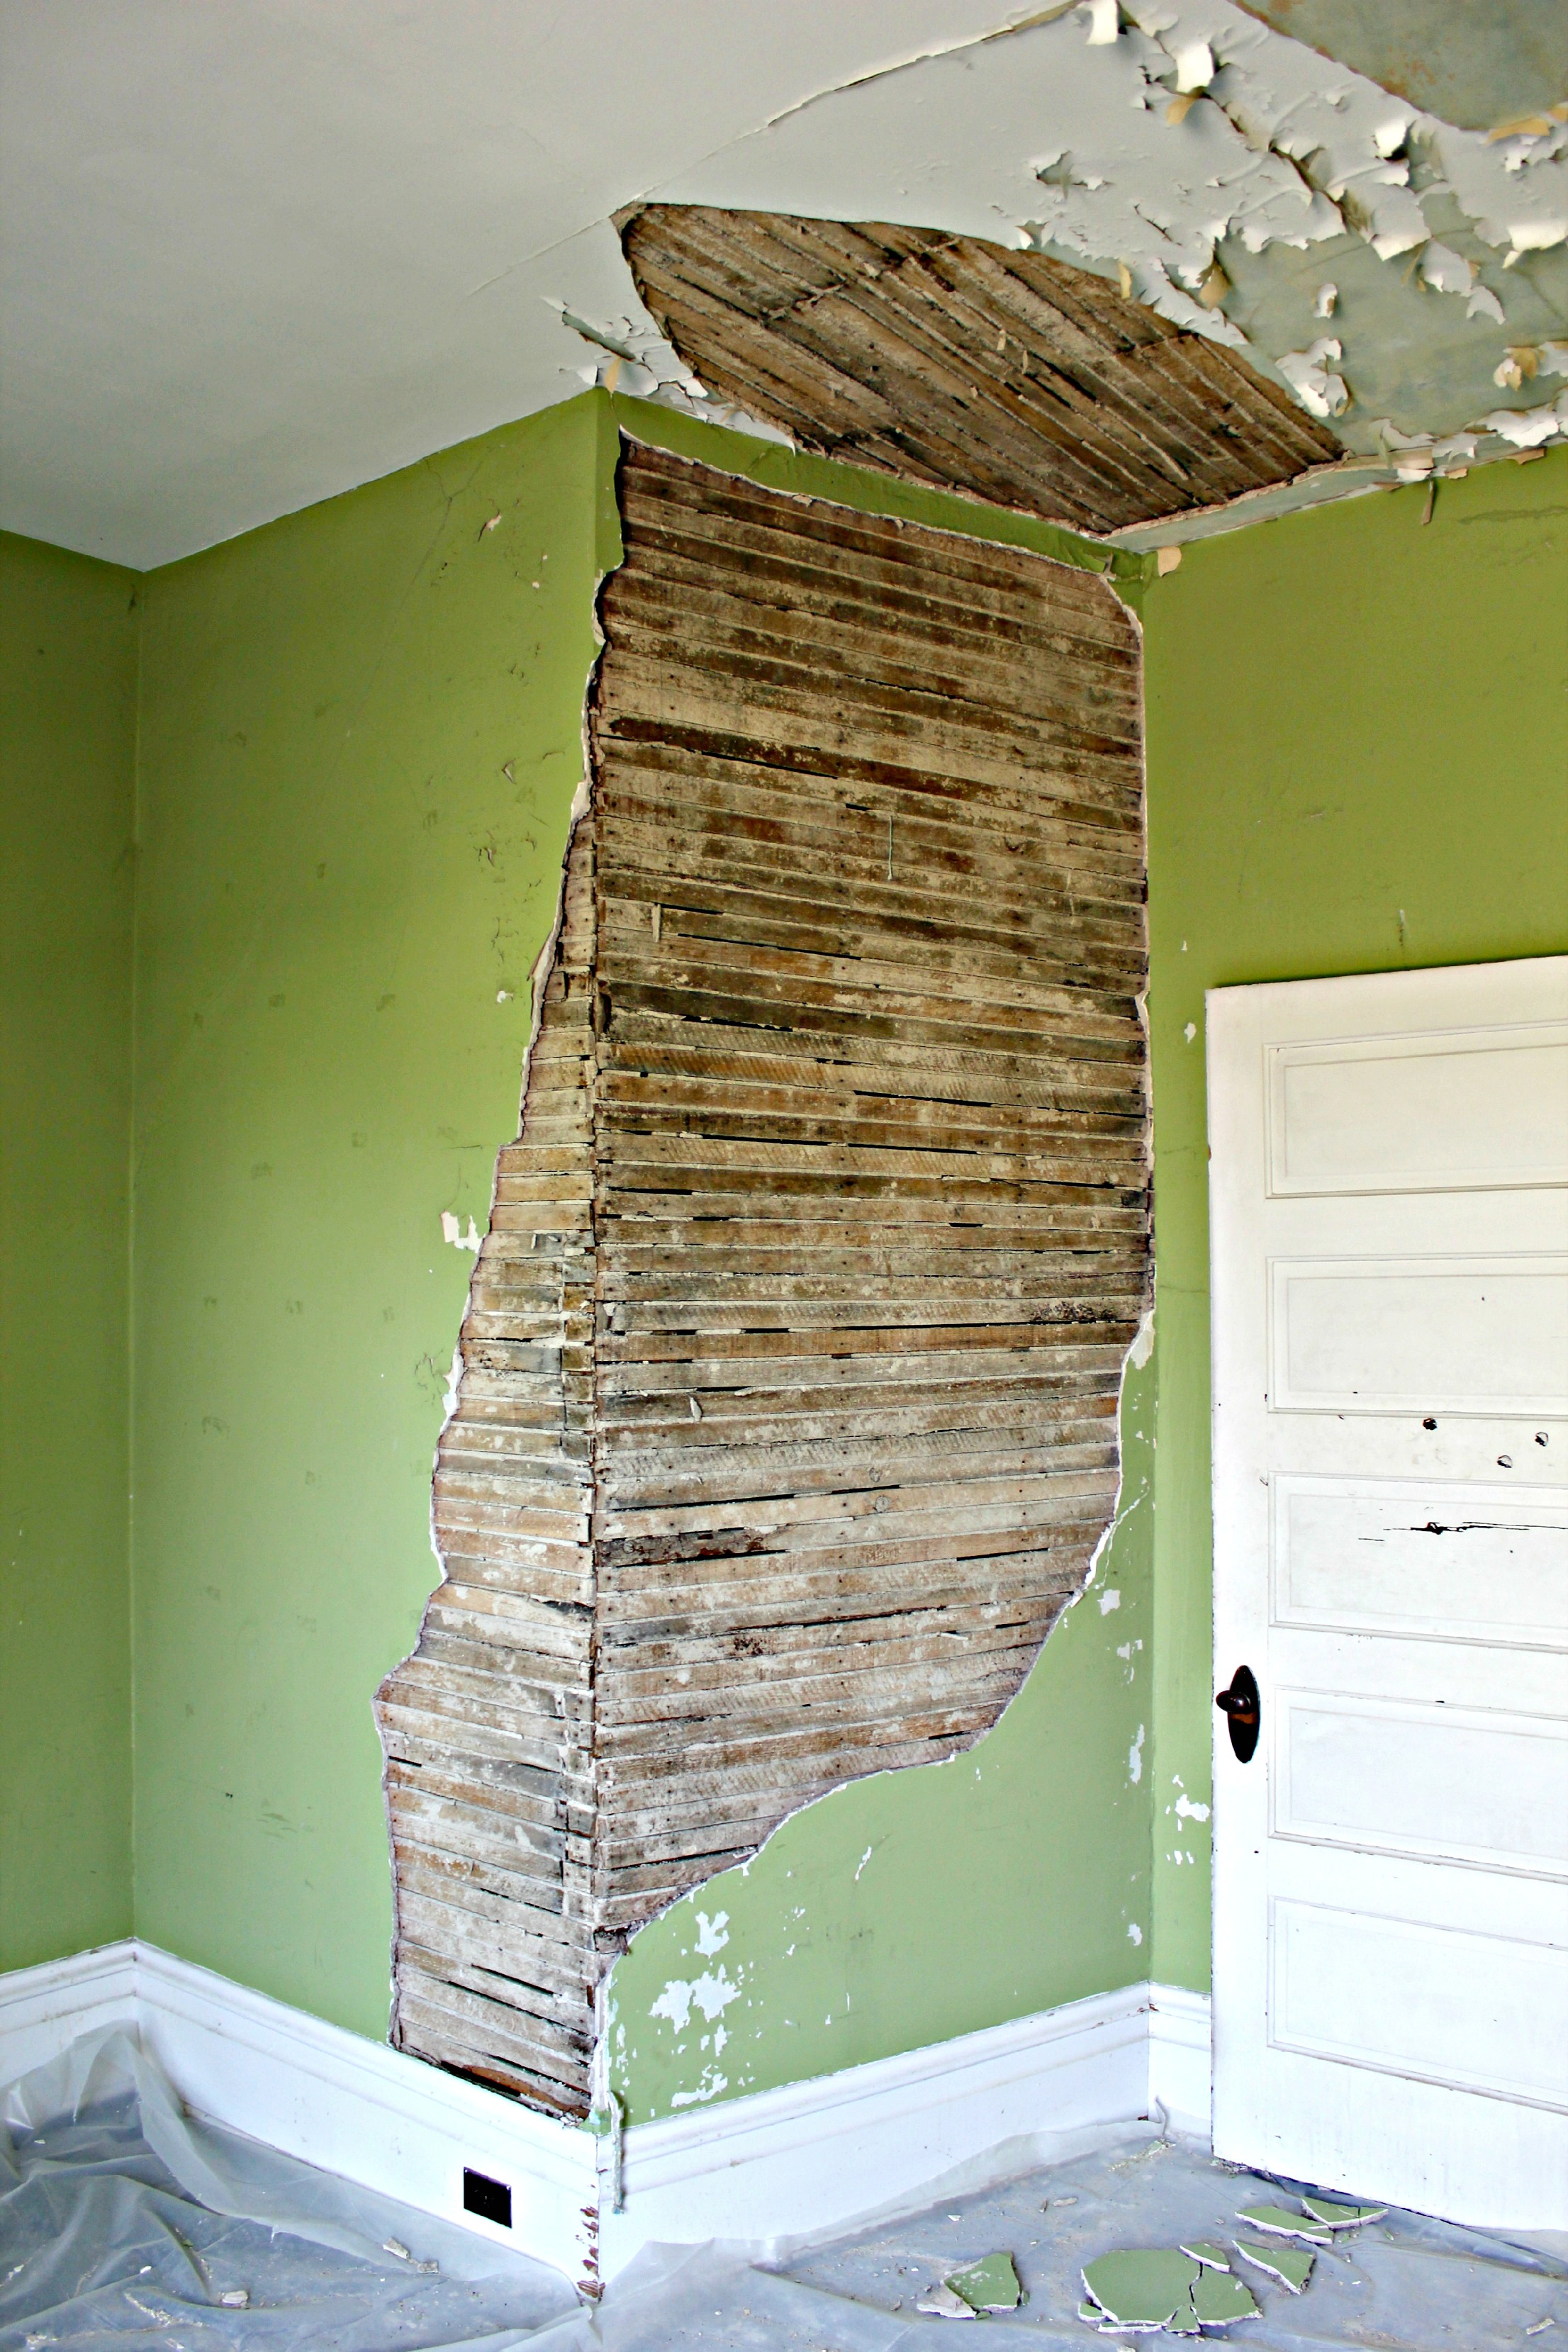
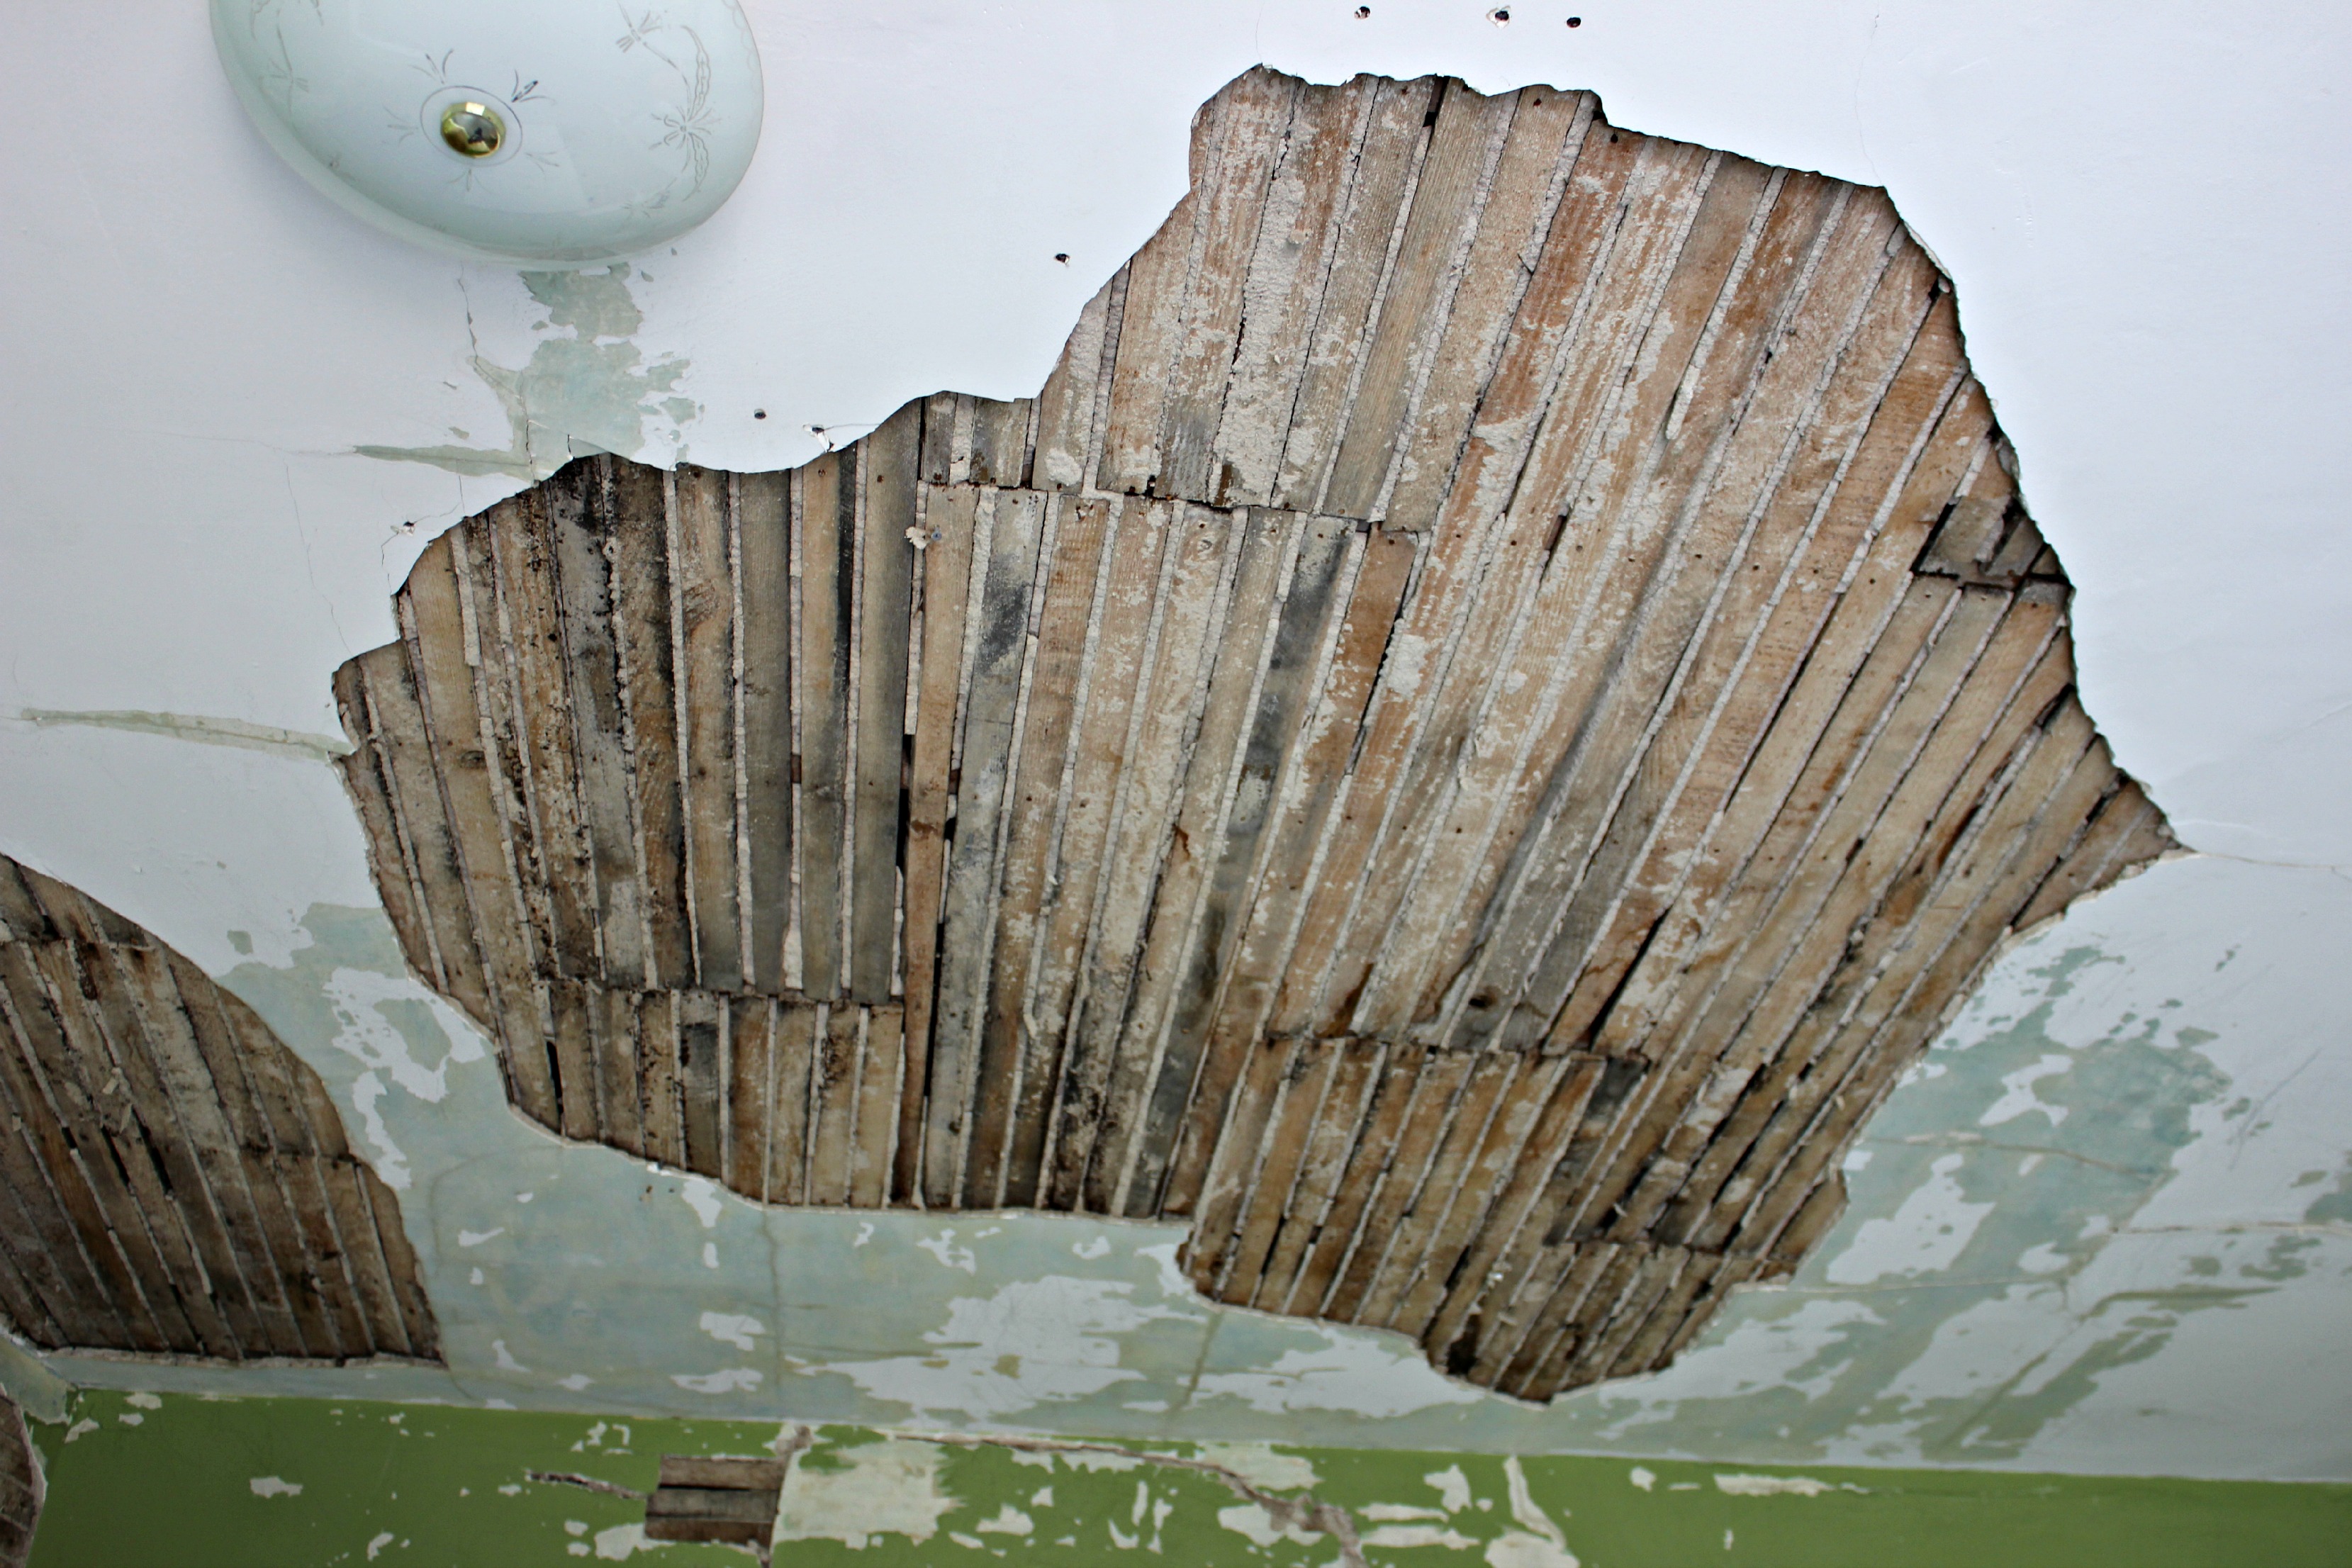
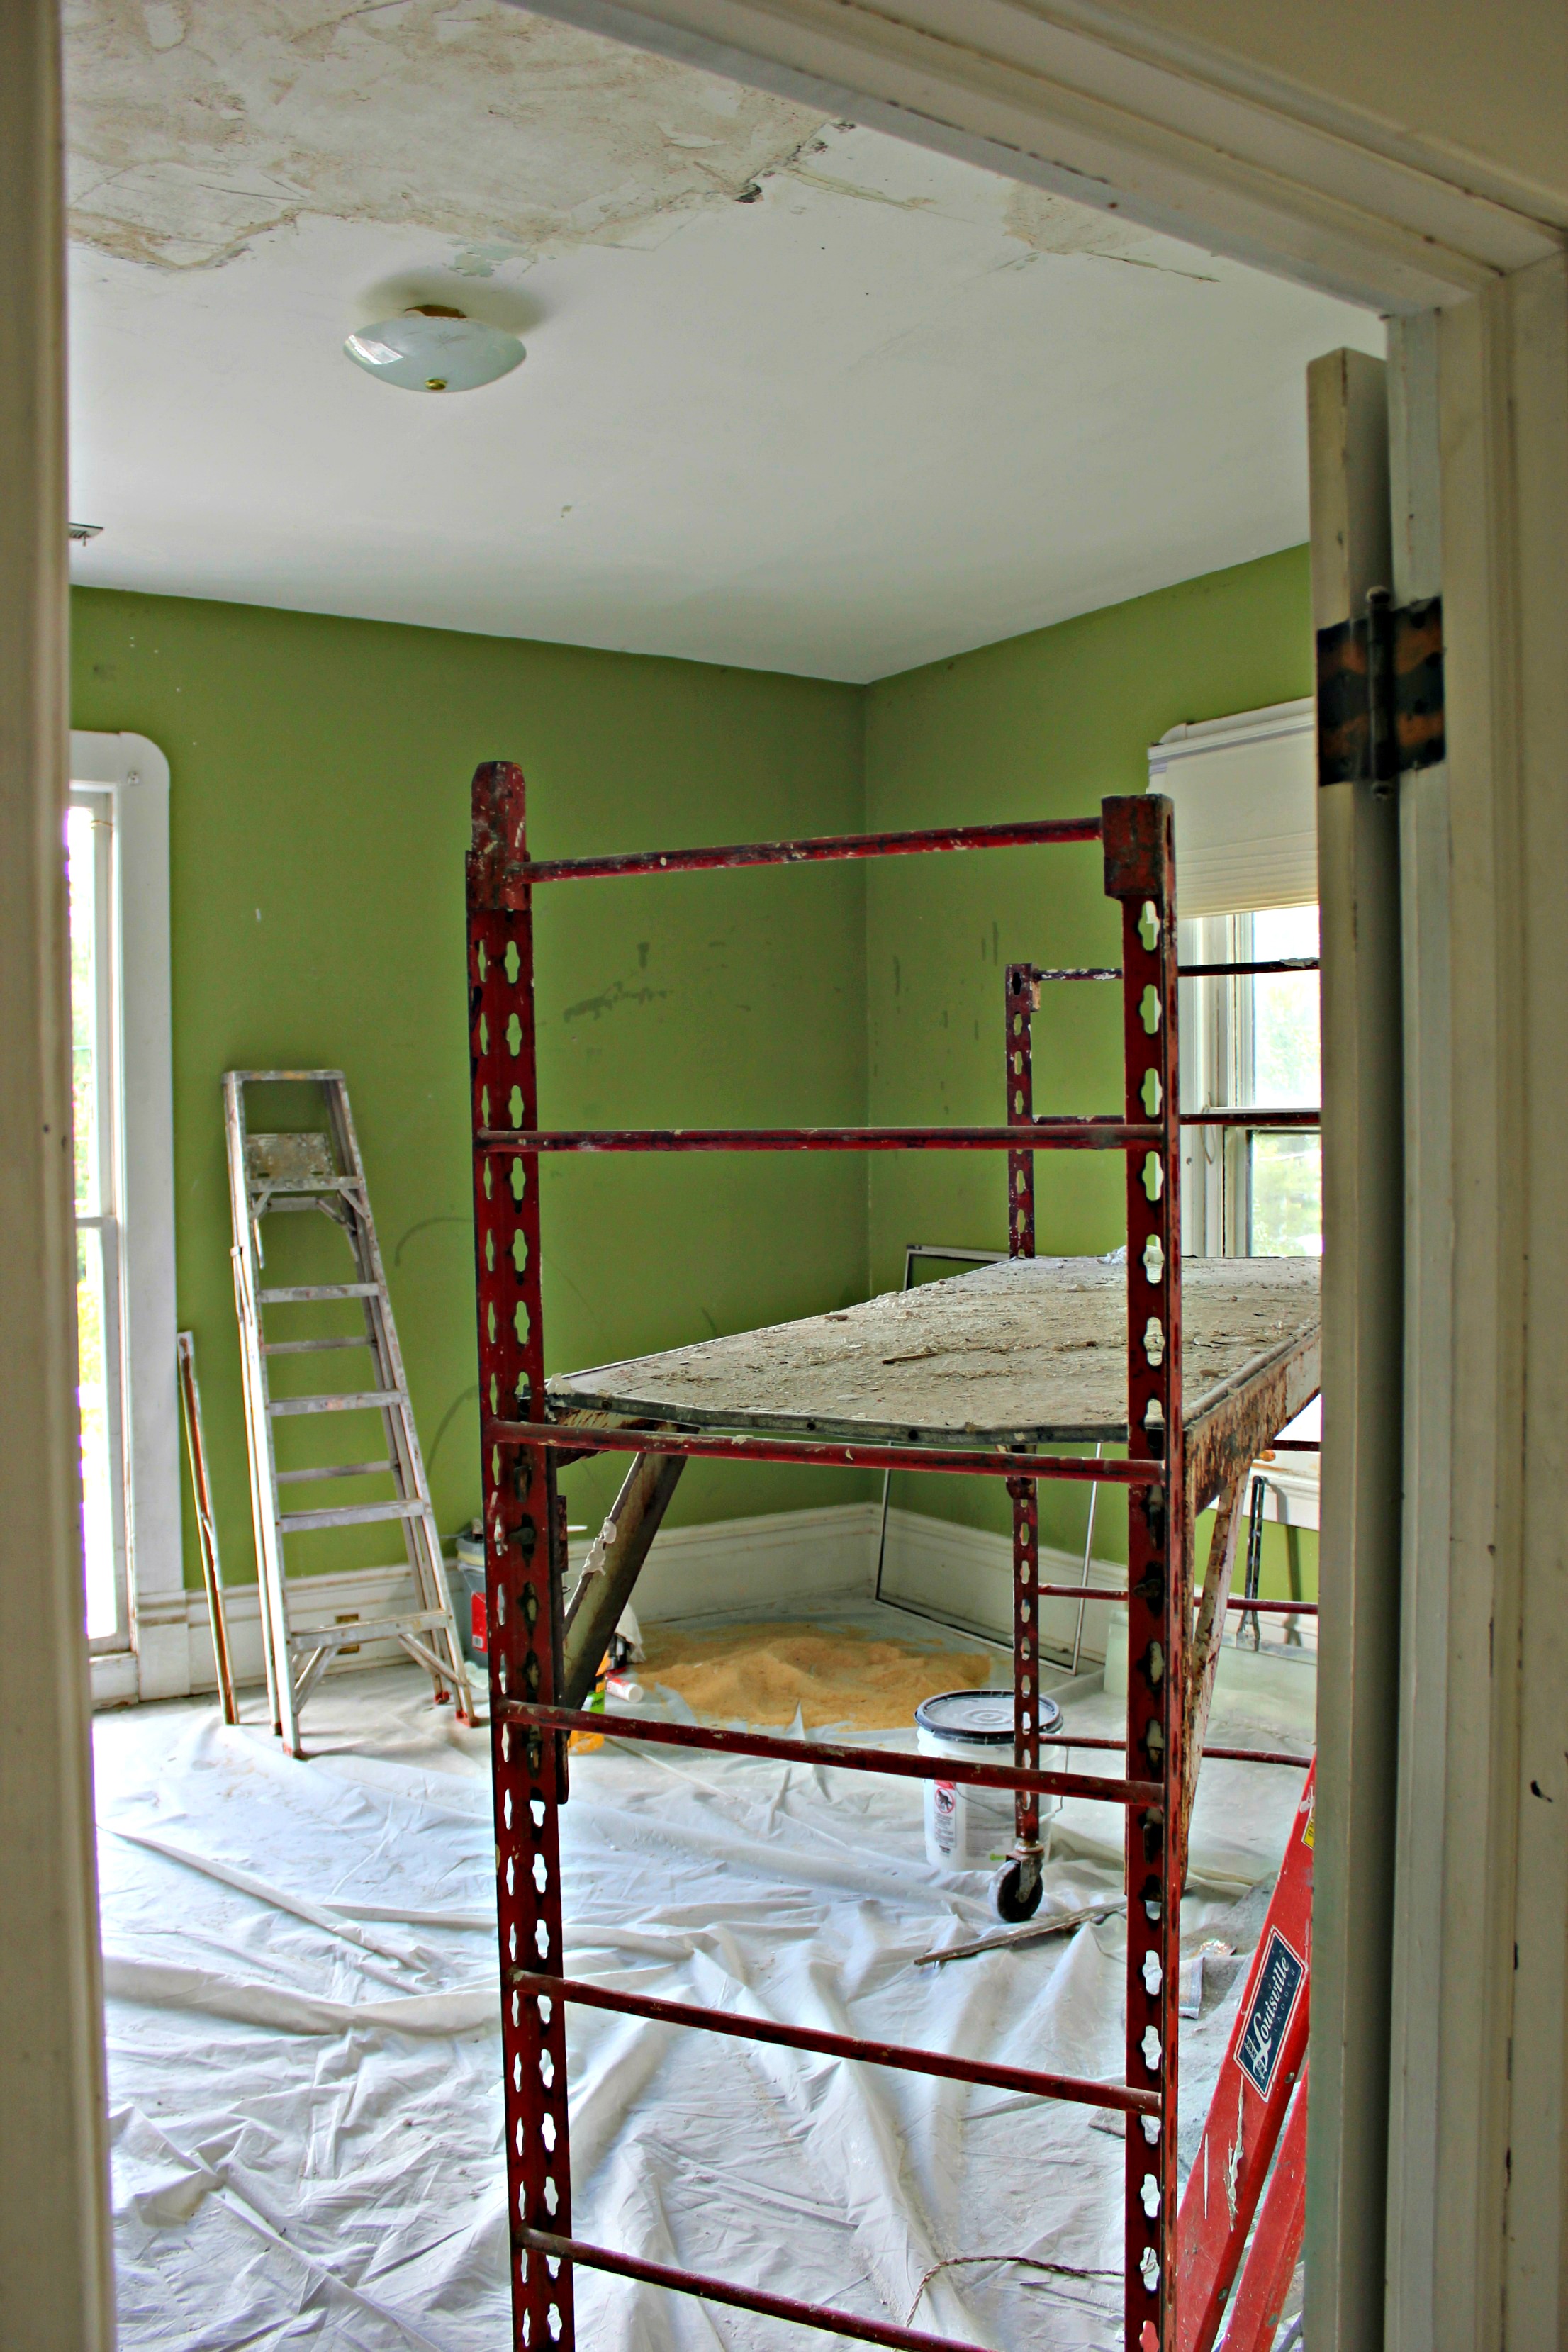
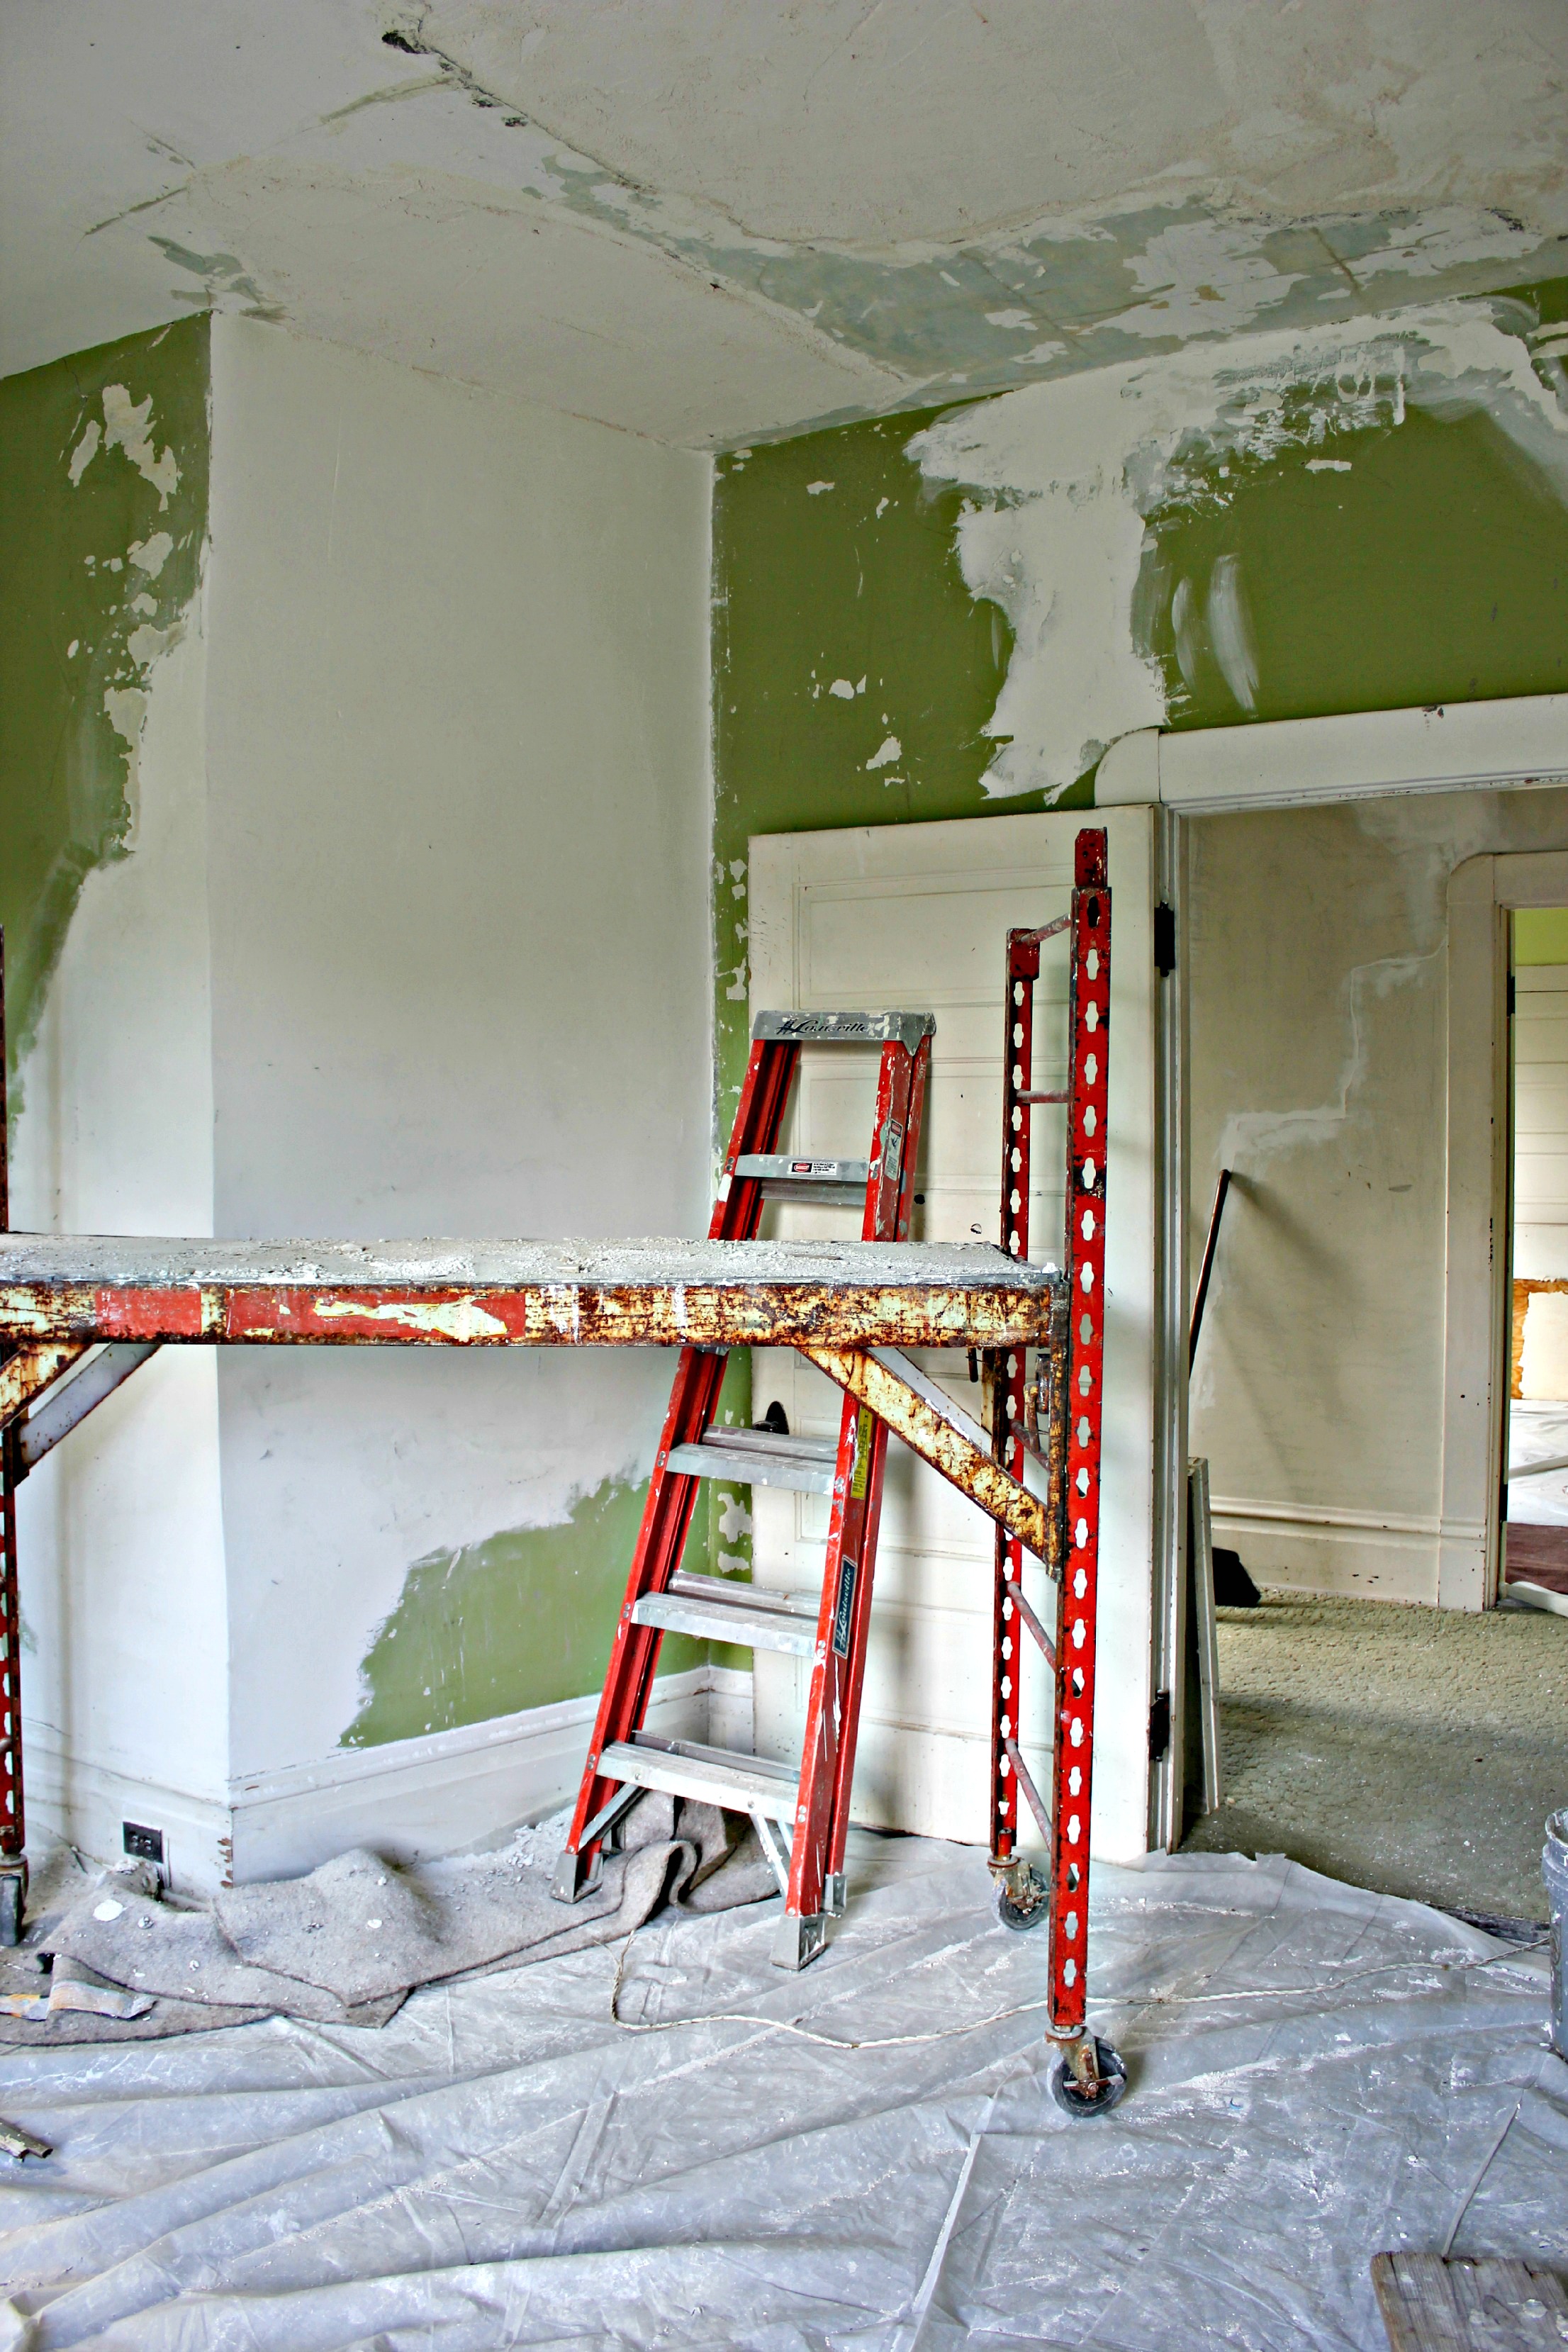
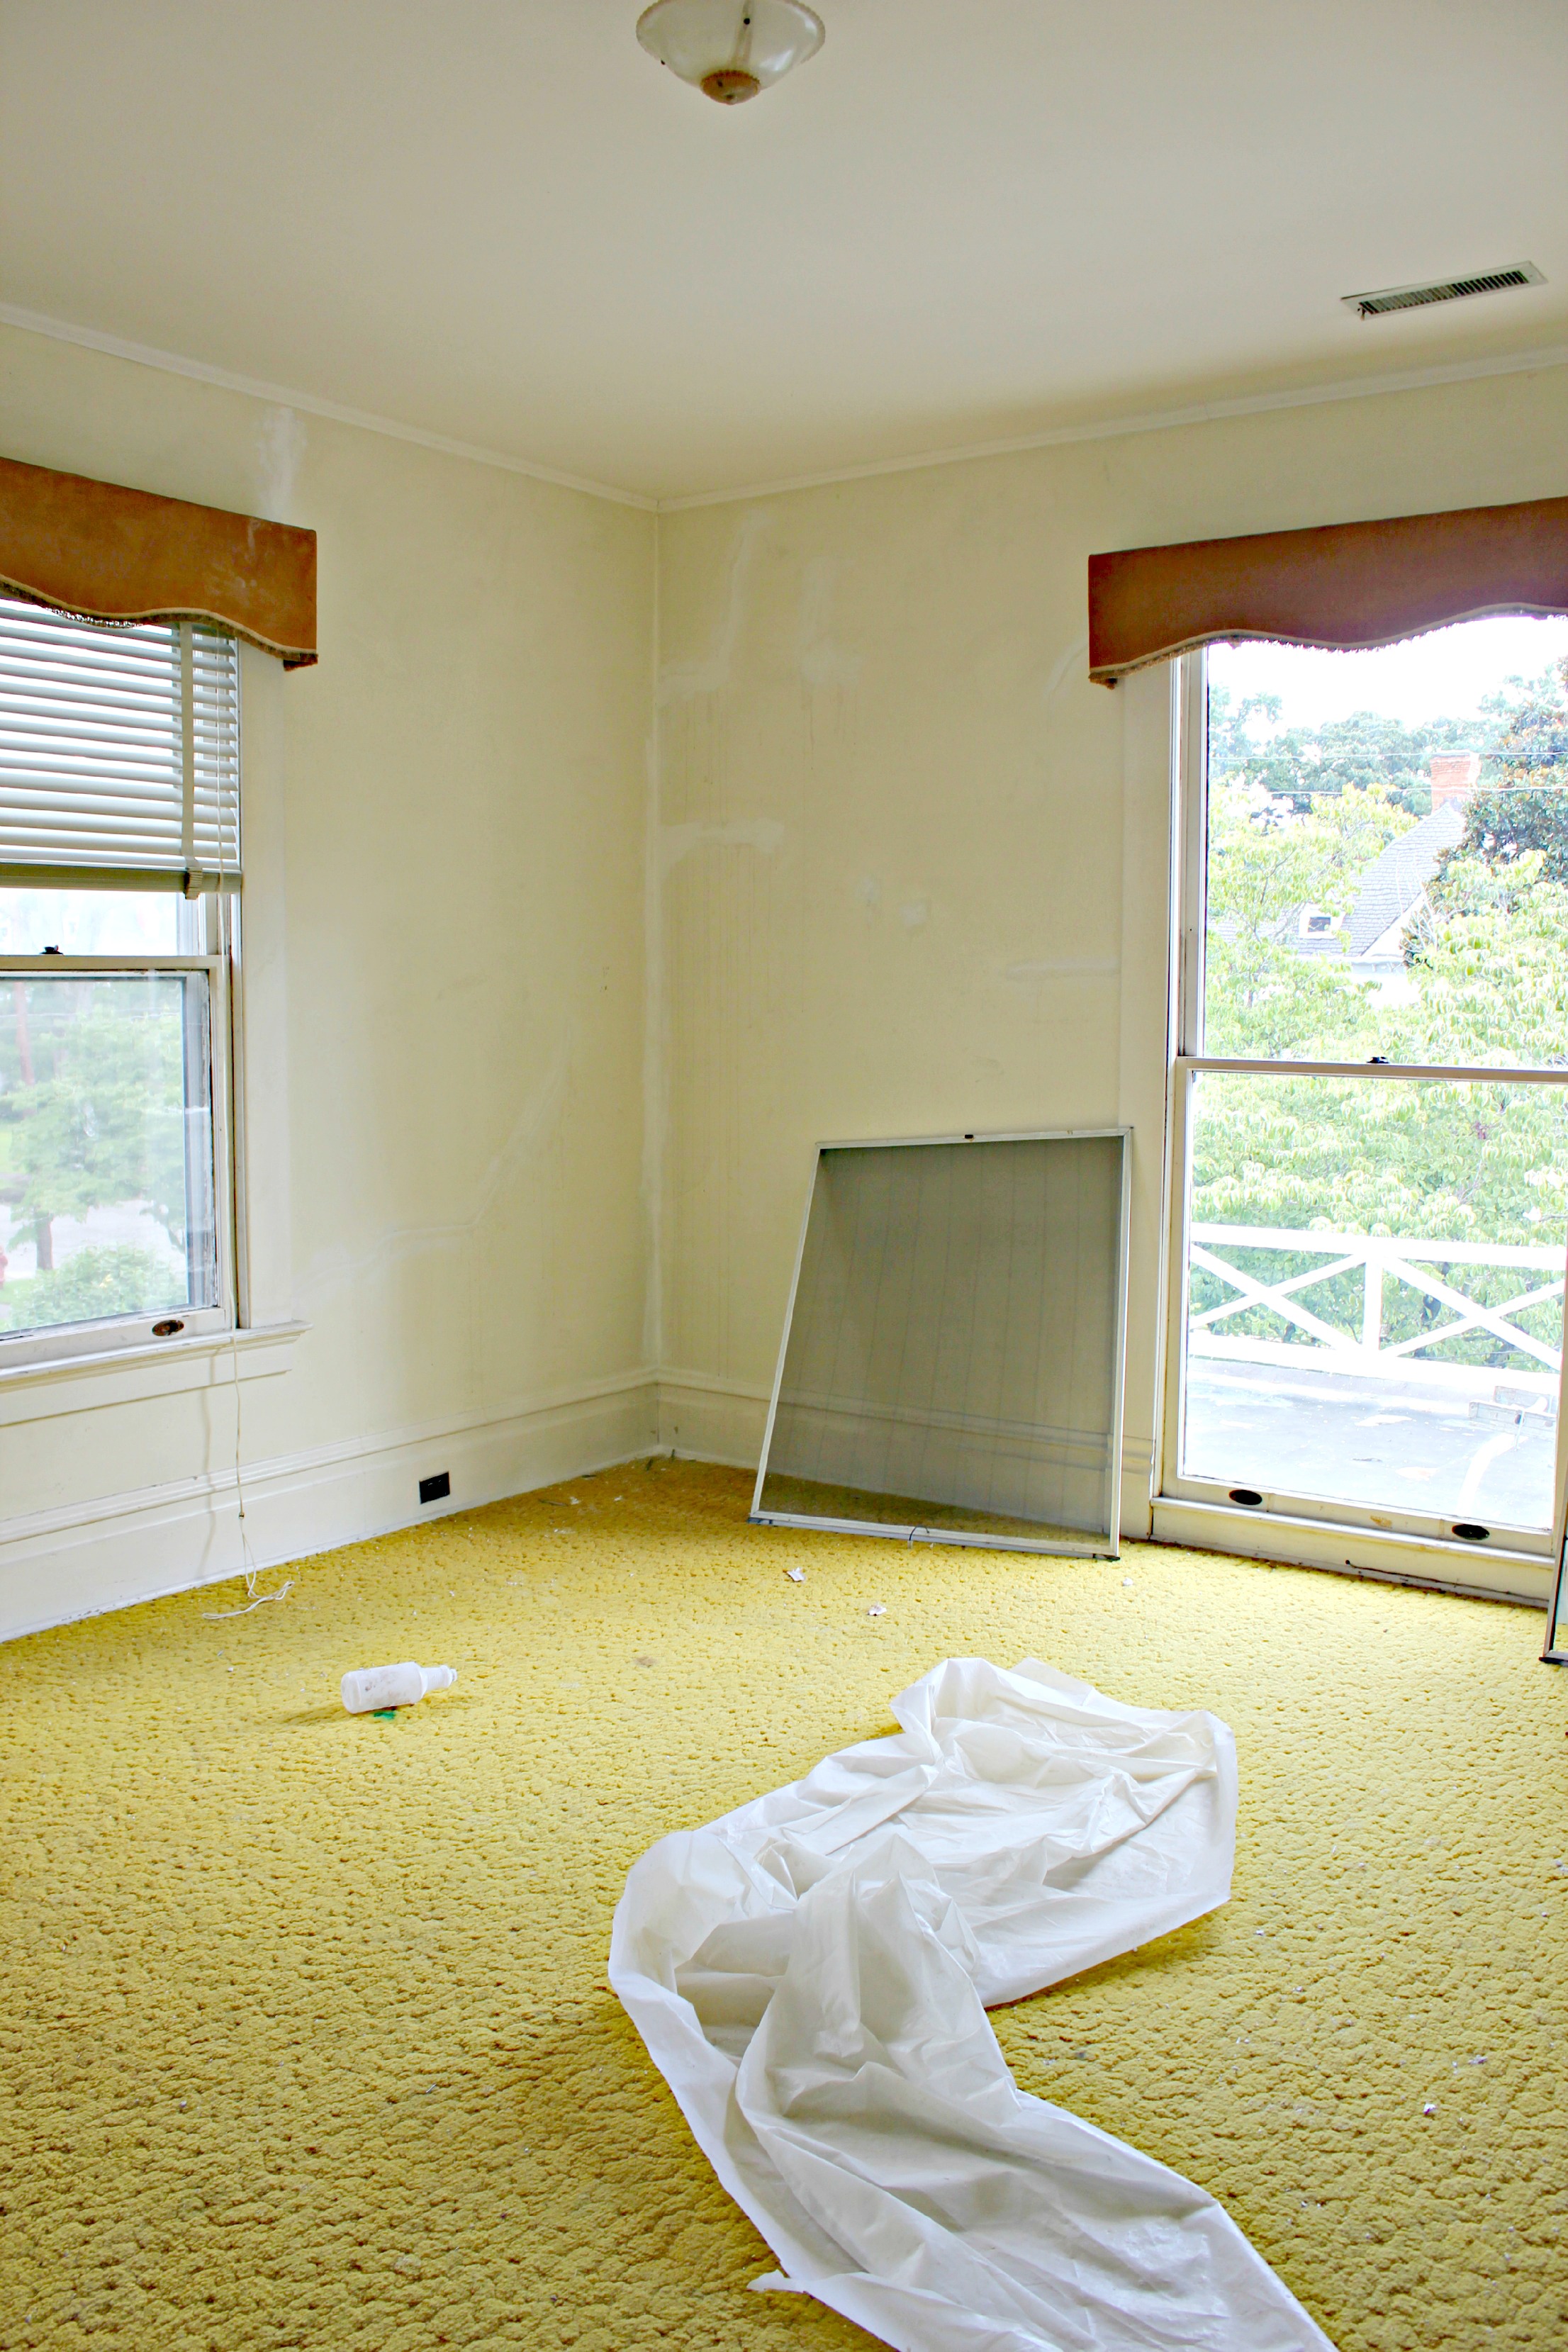
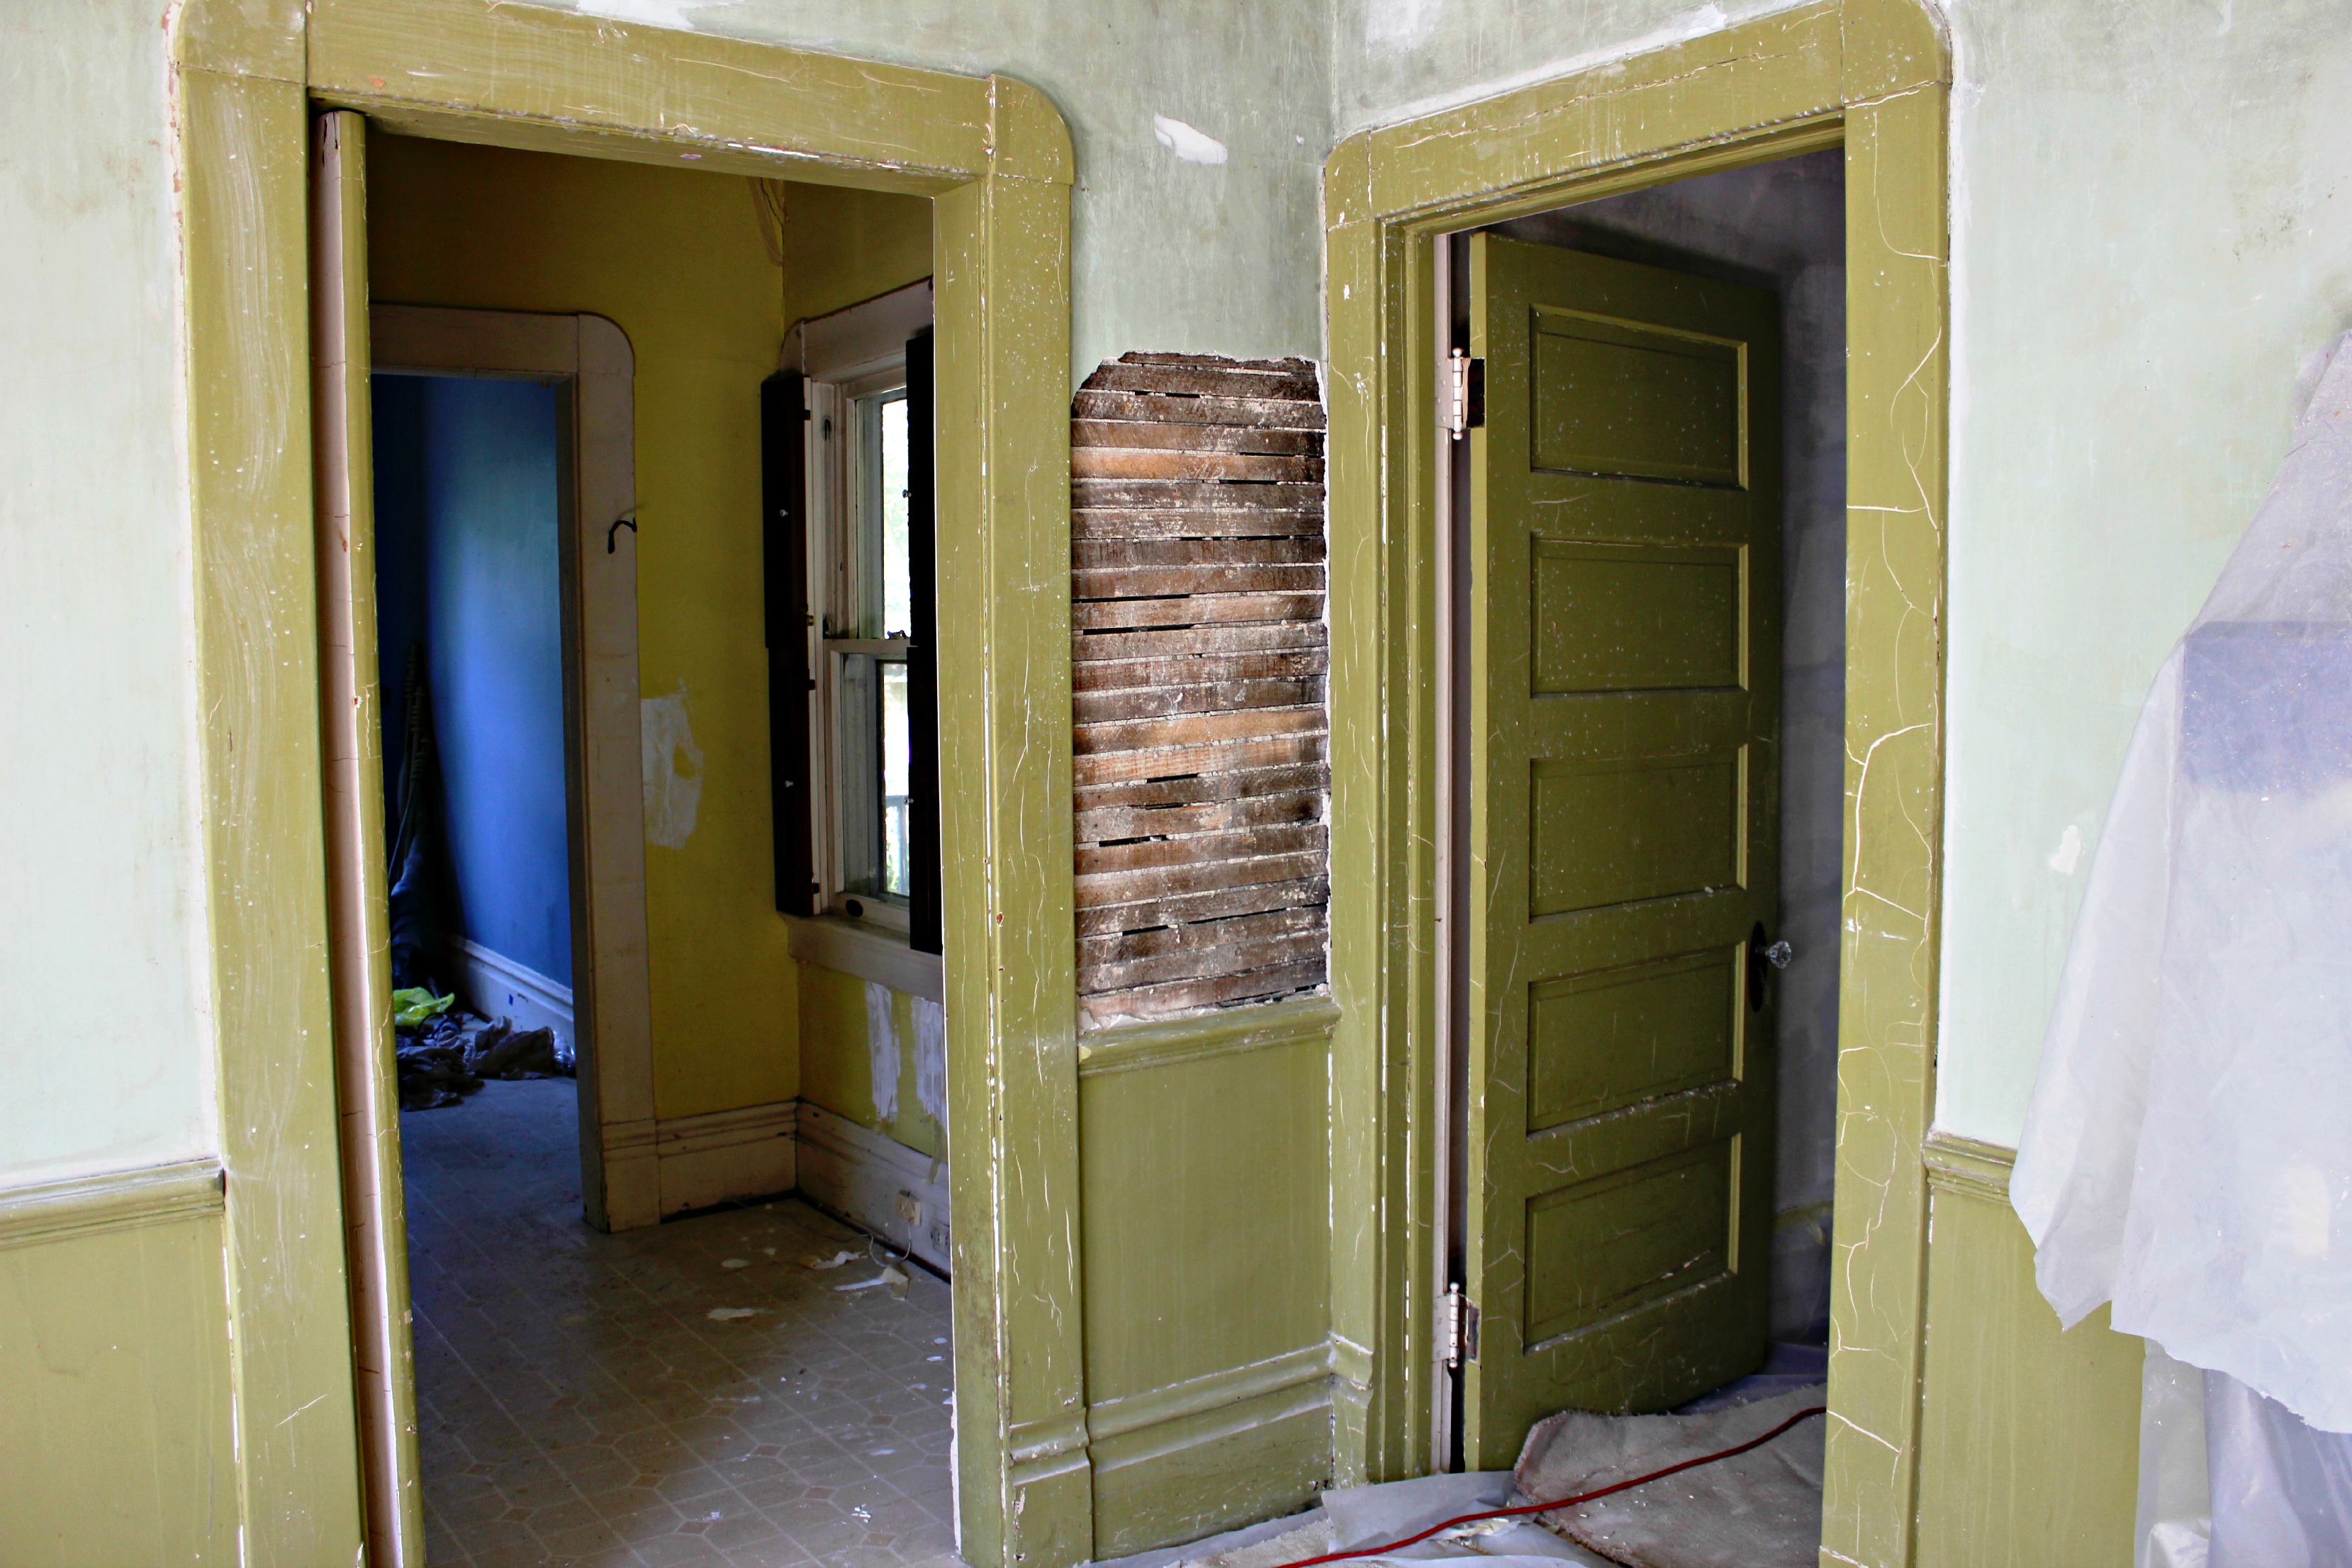
- Repair plaster walls and ceiling
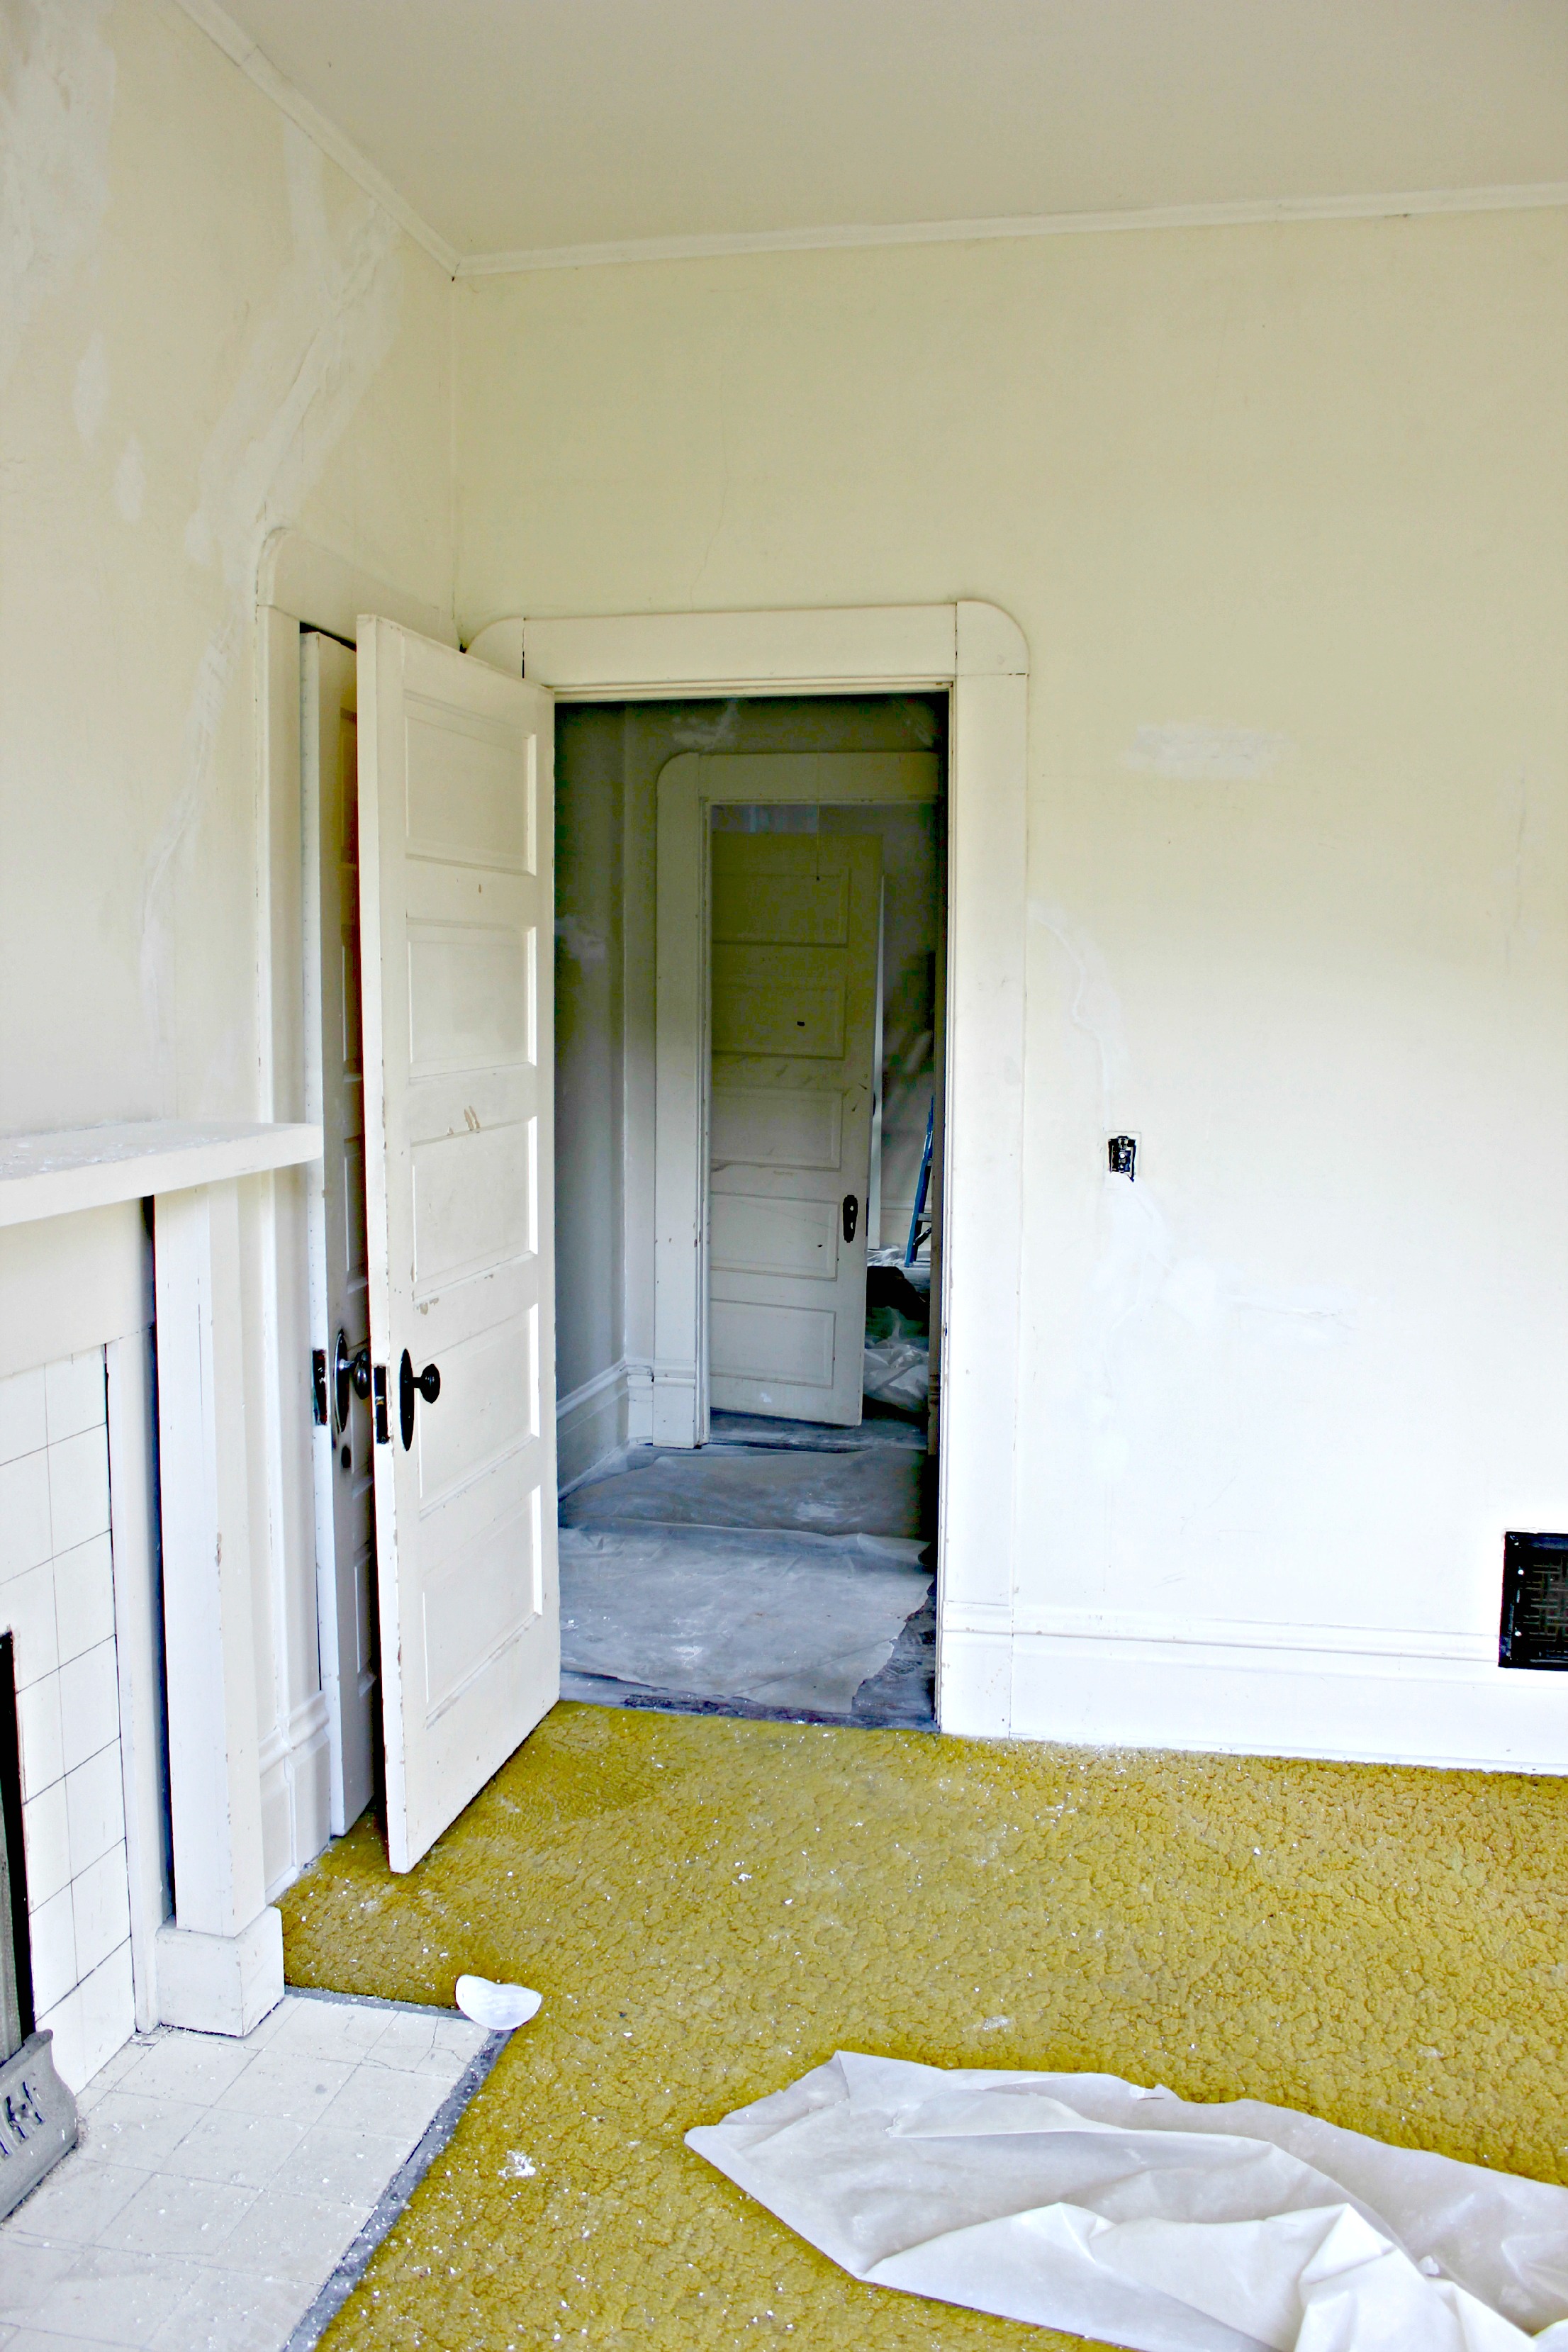
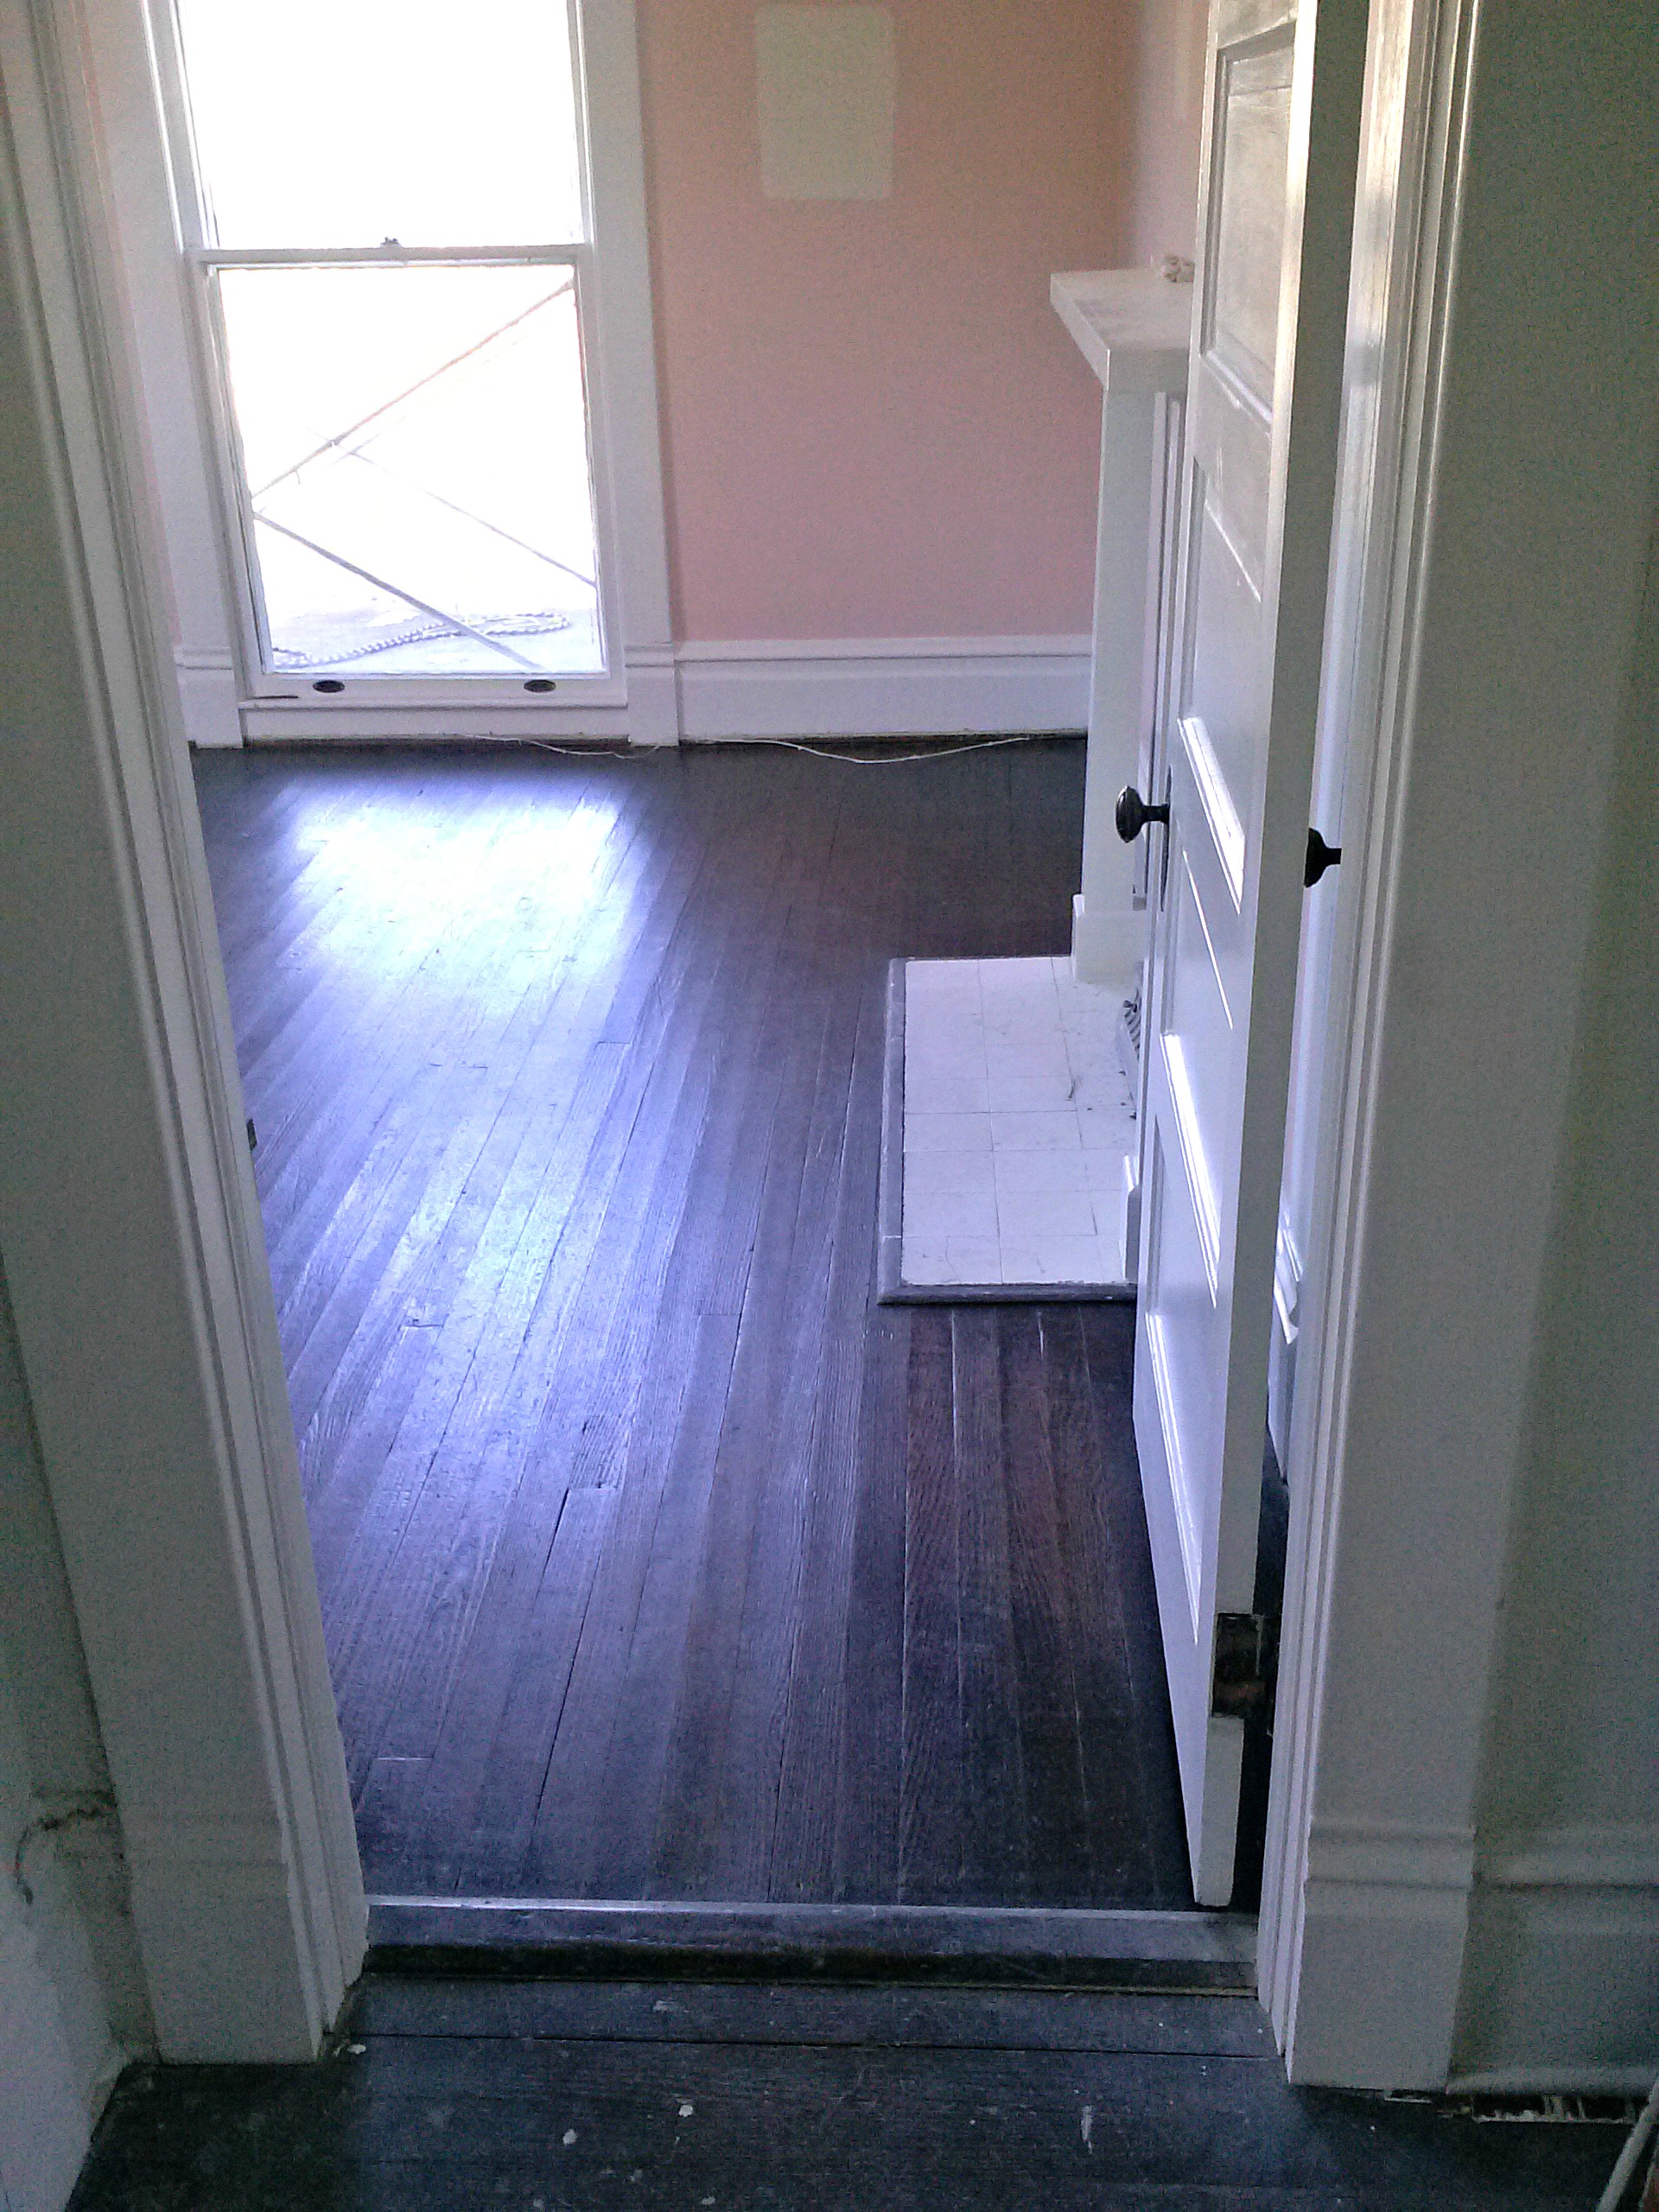
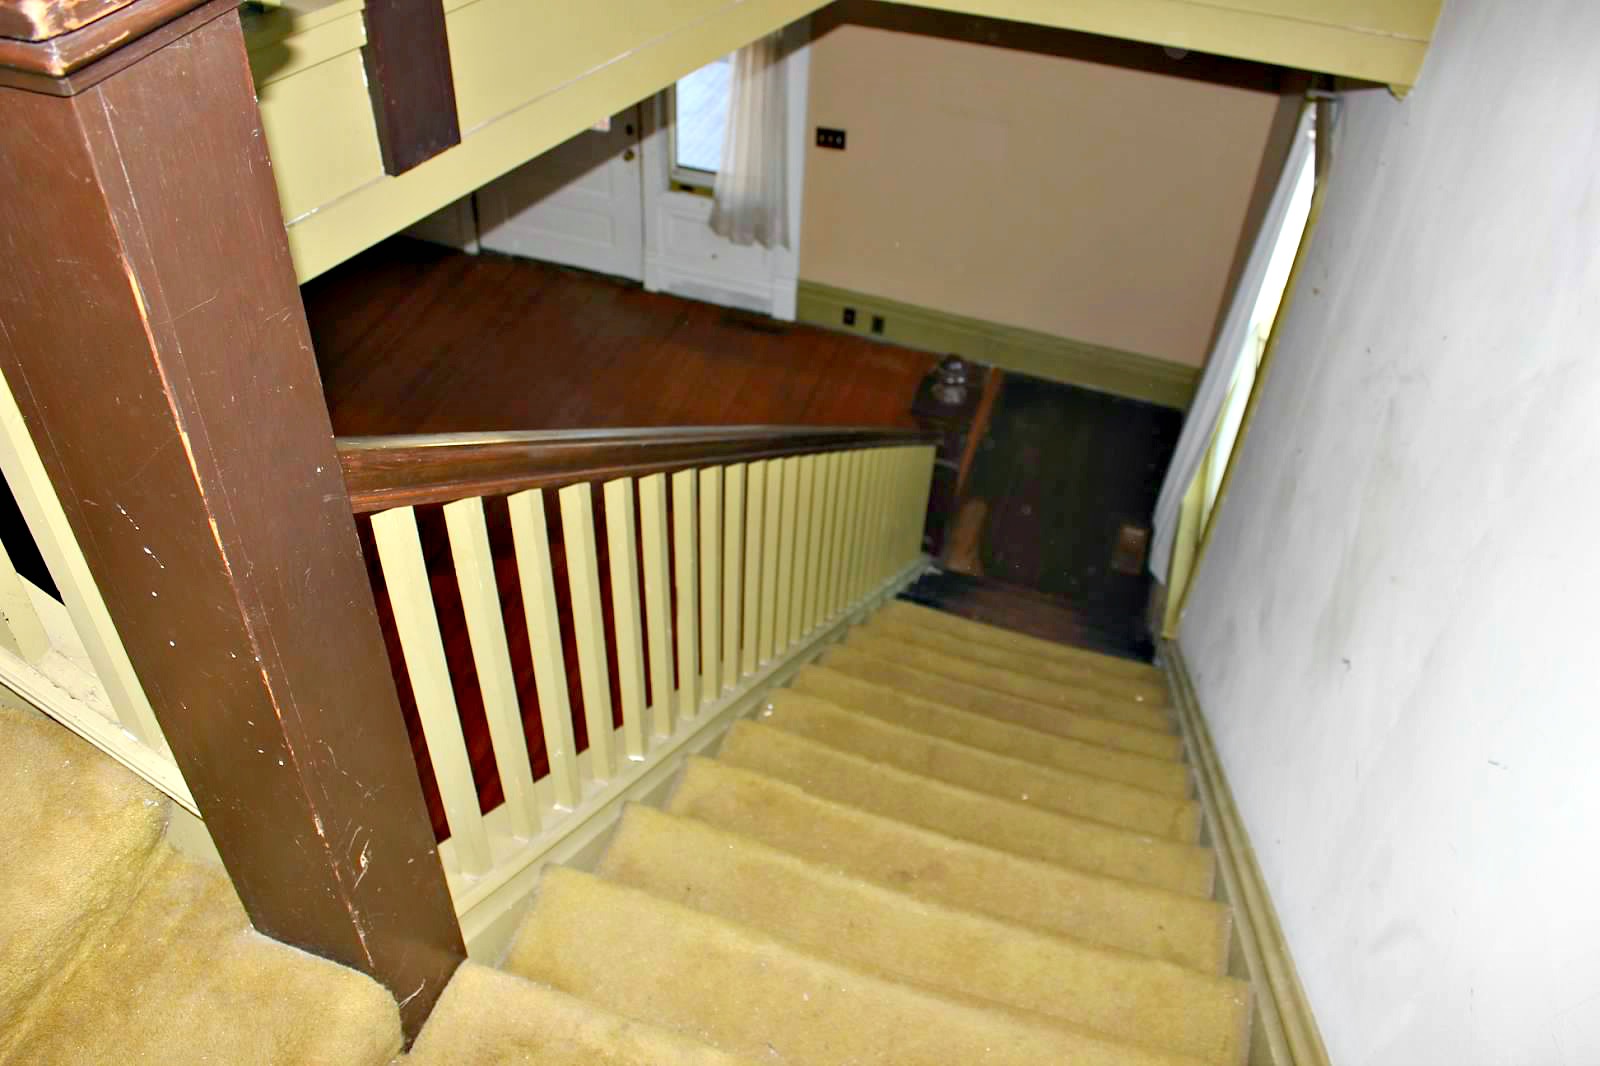
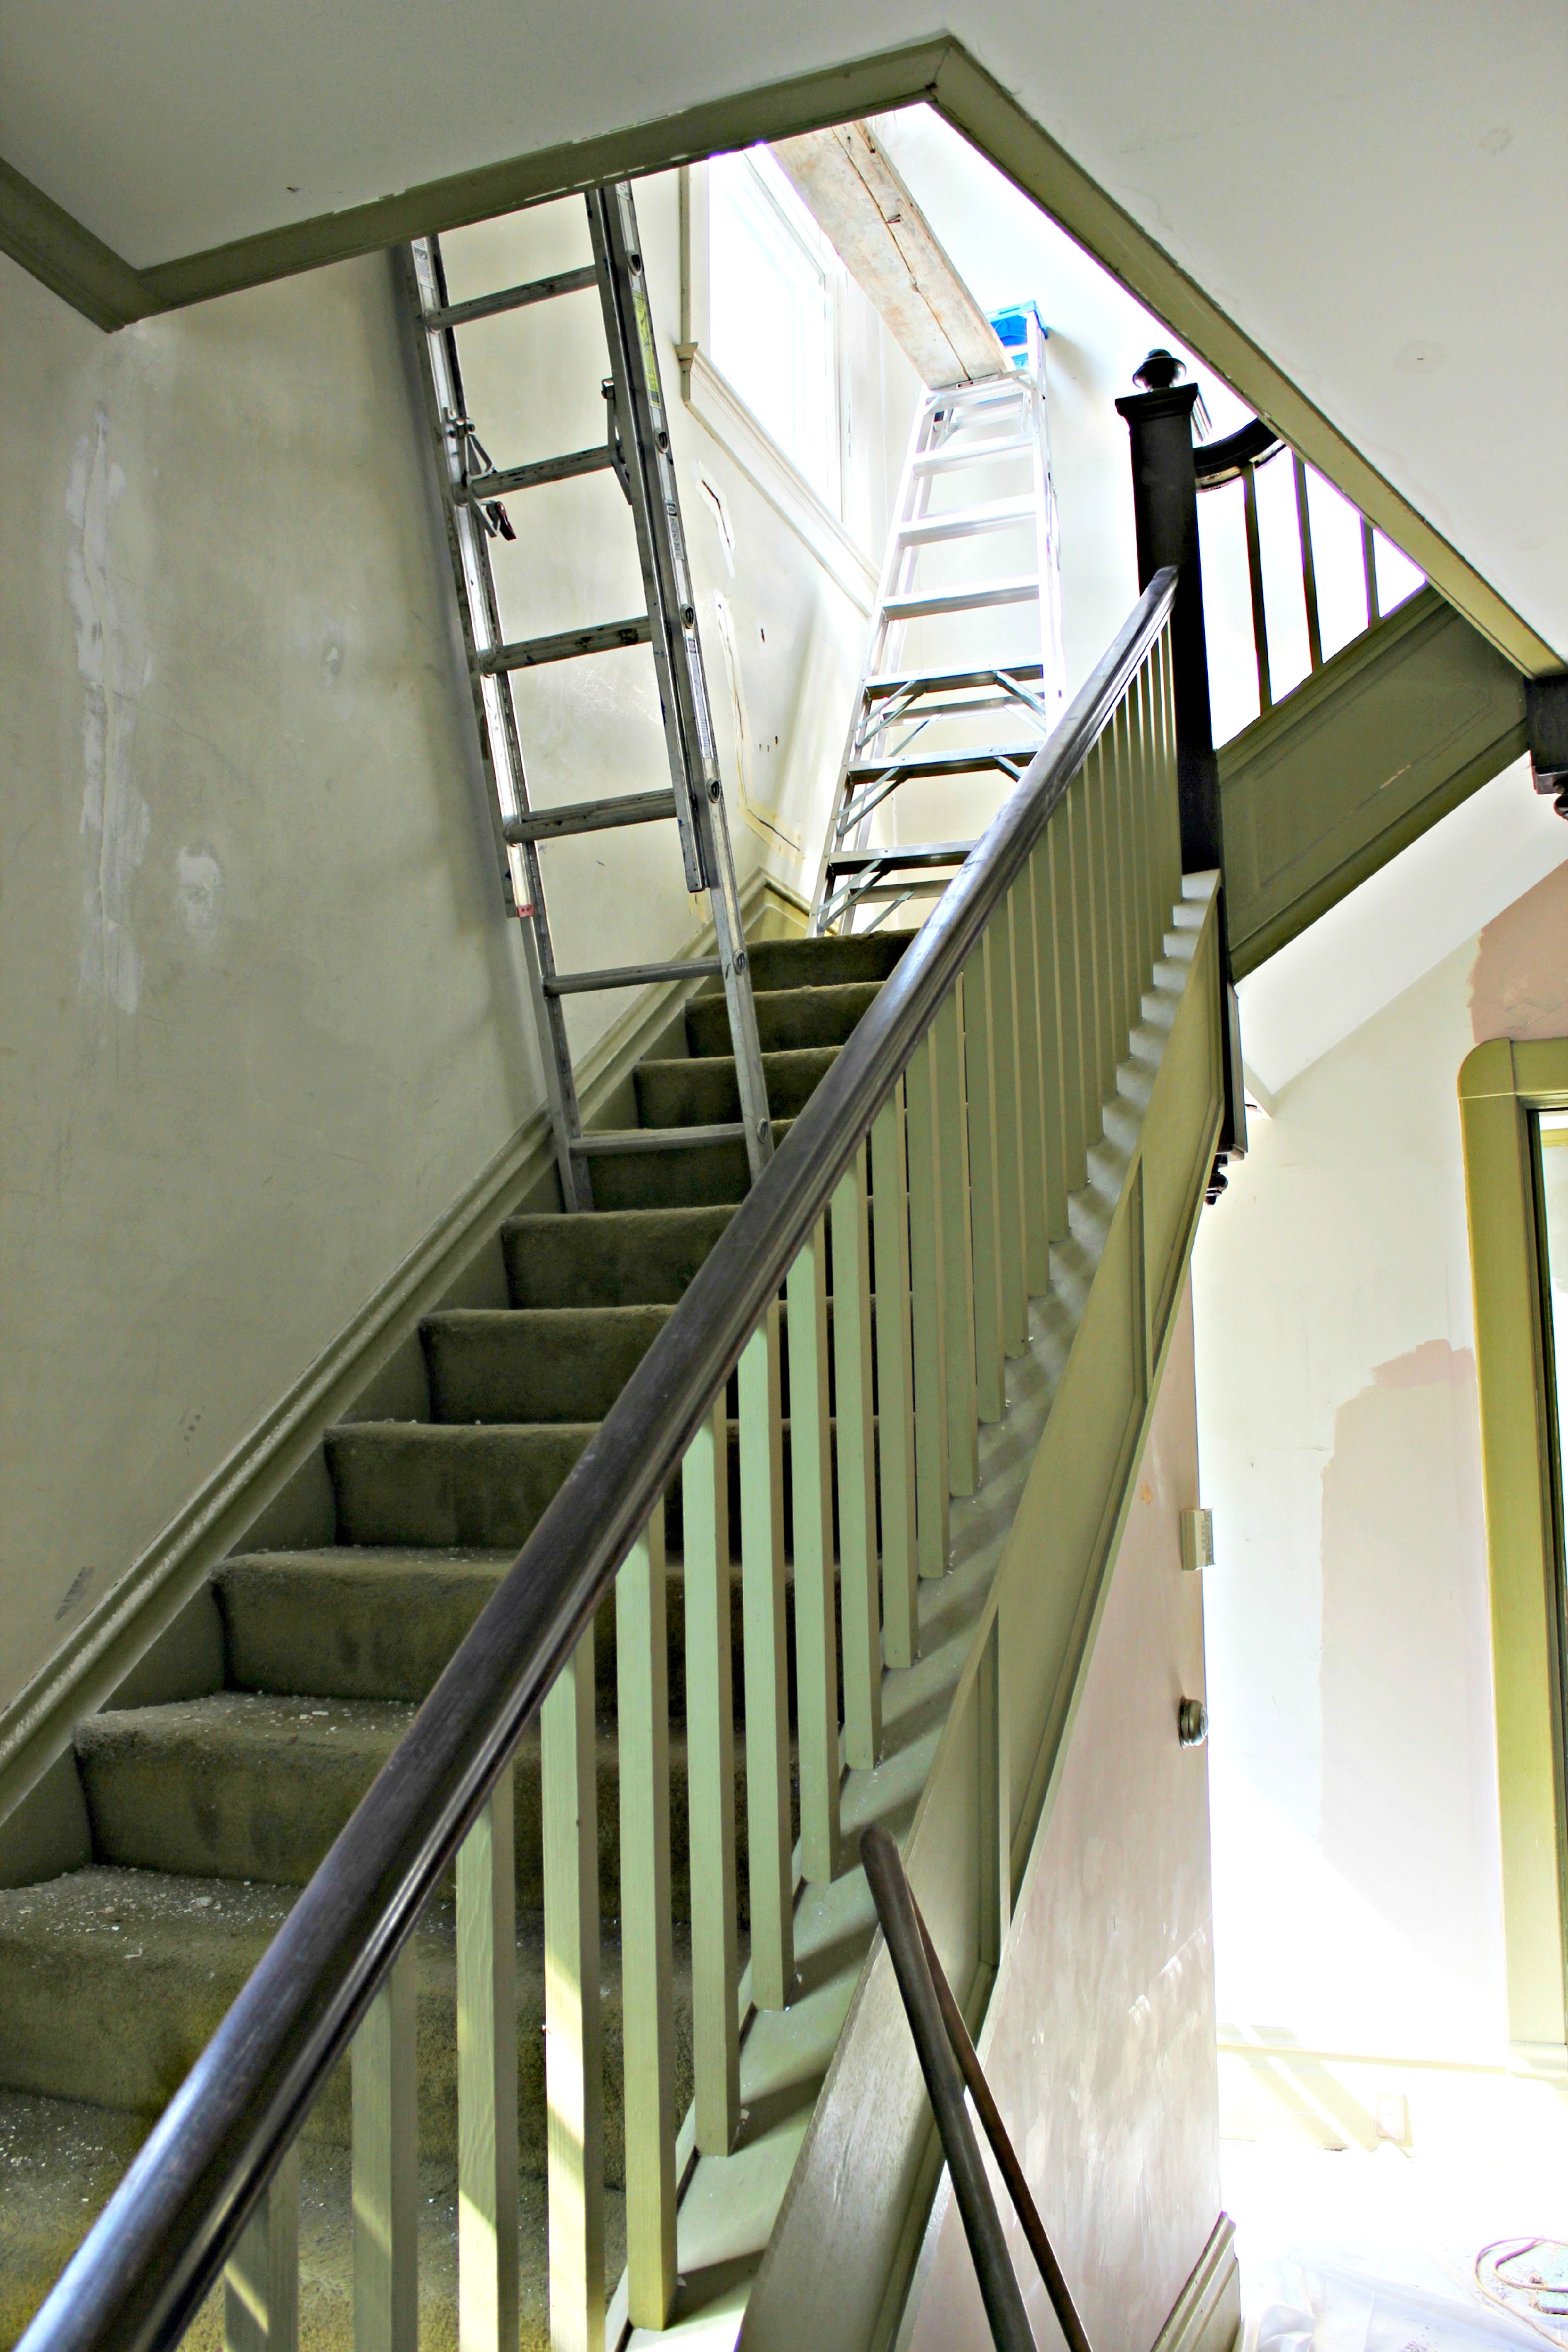
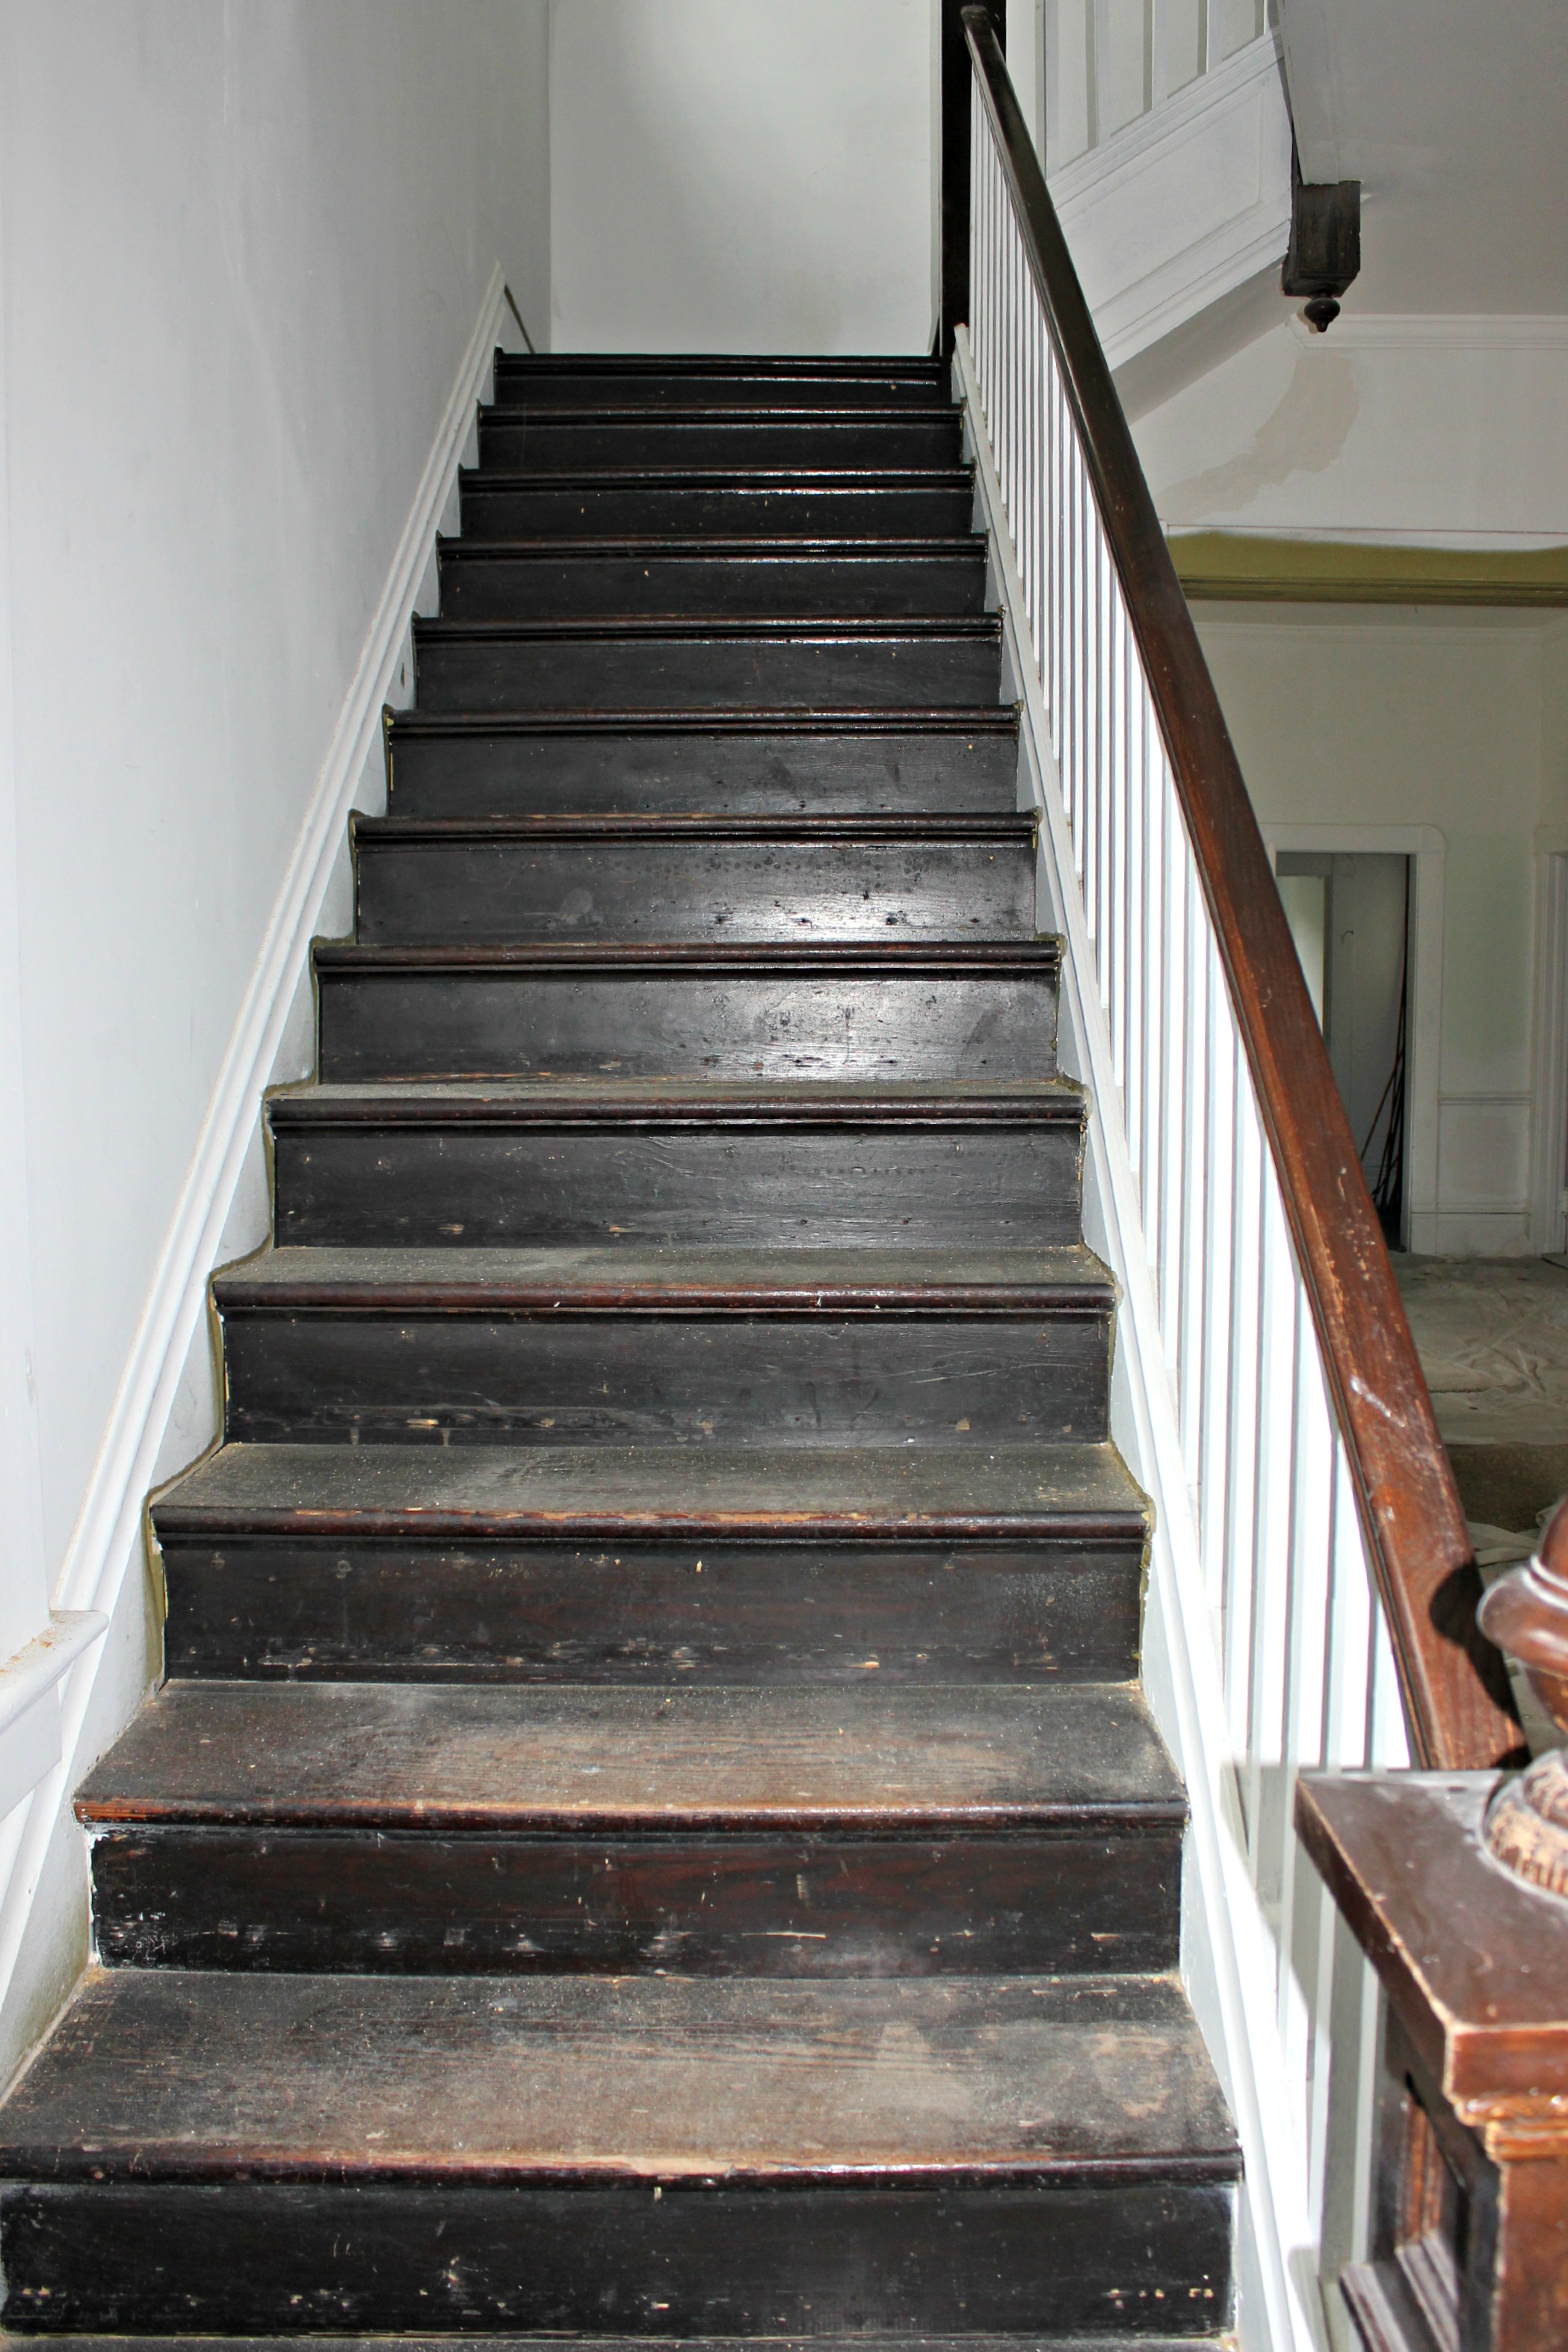
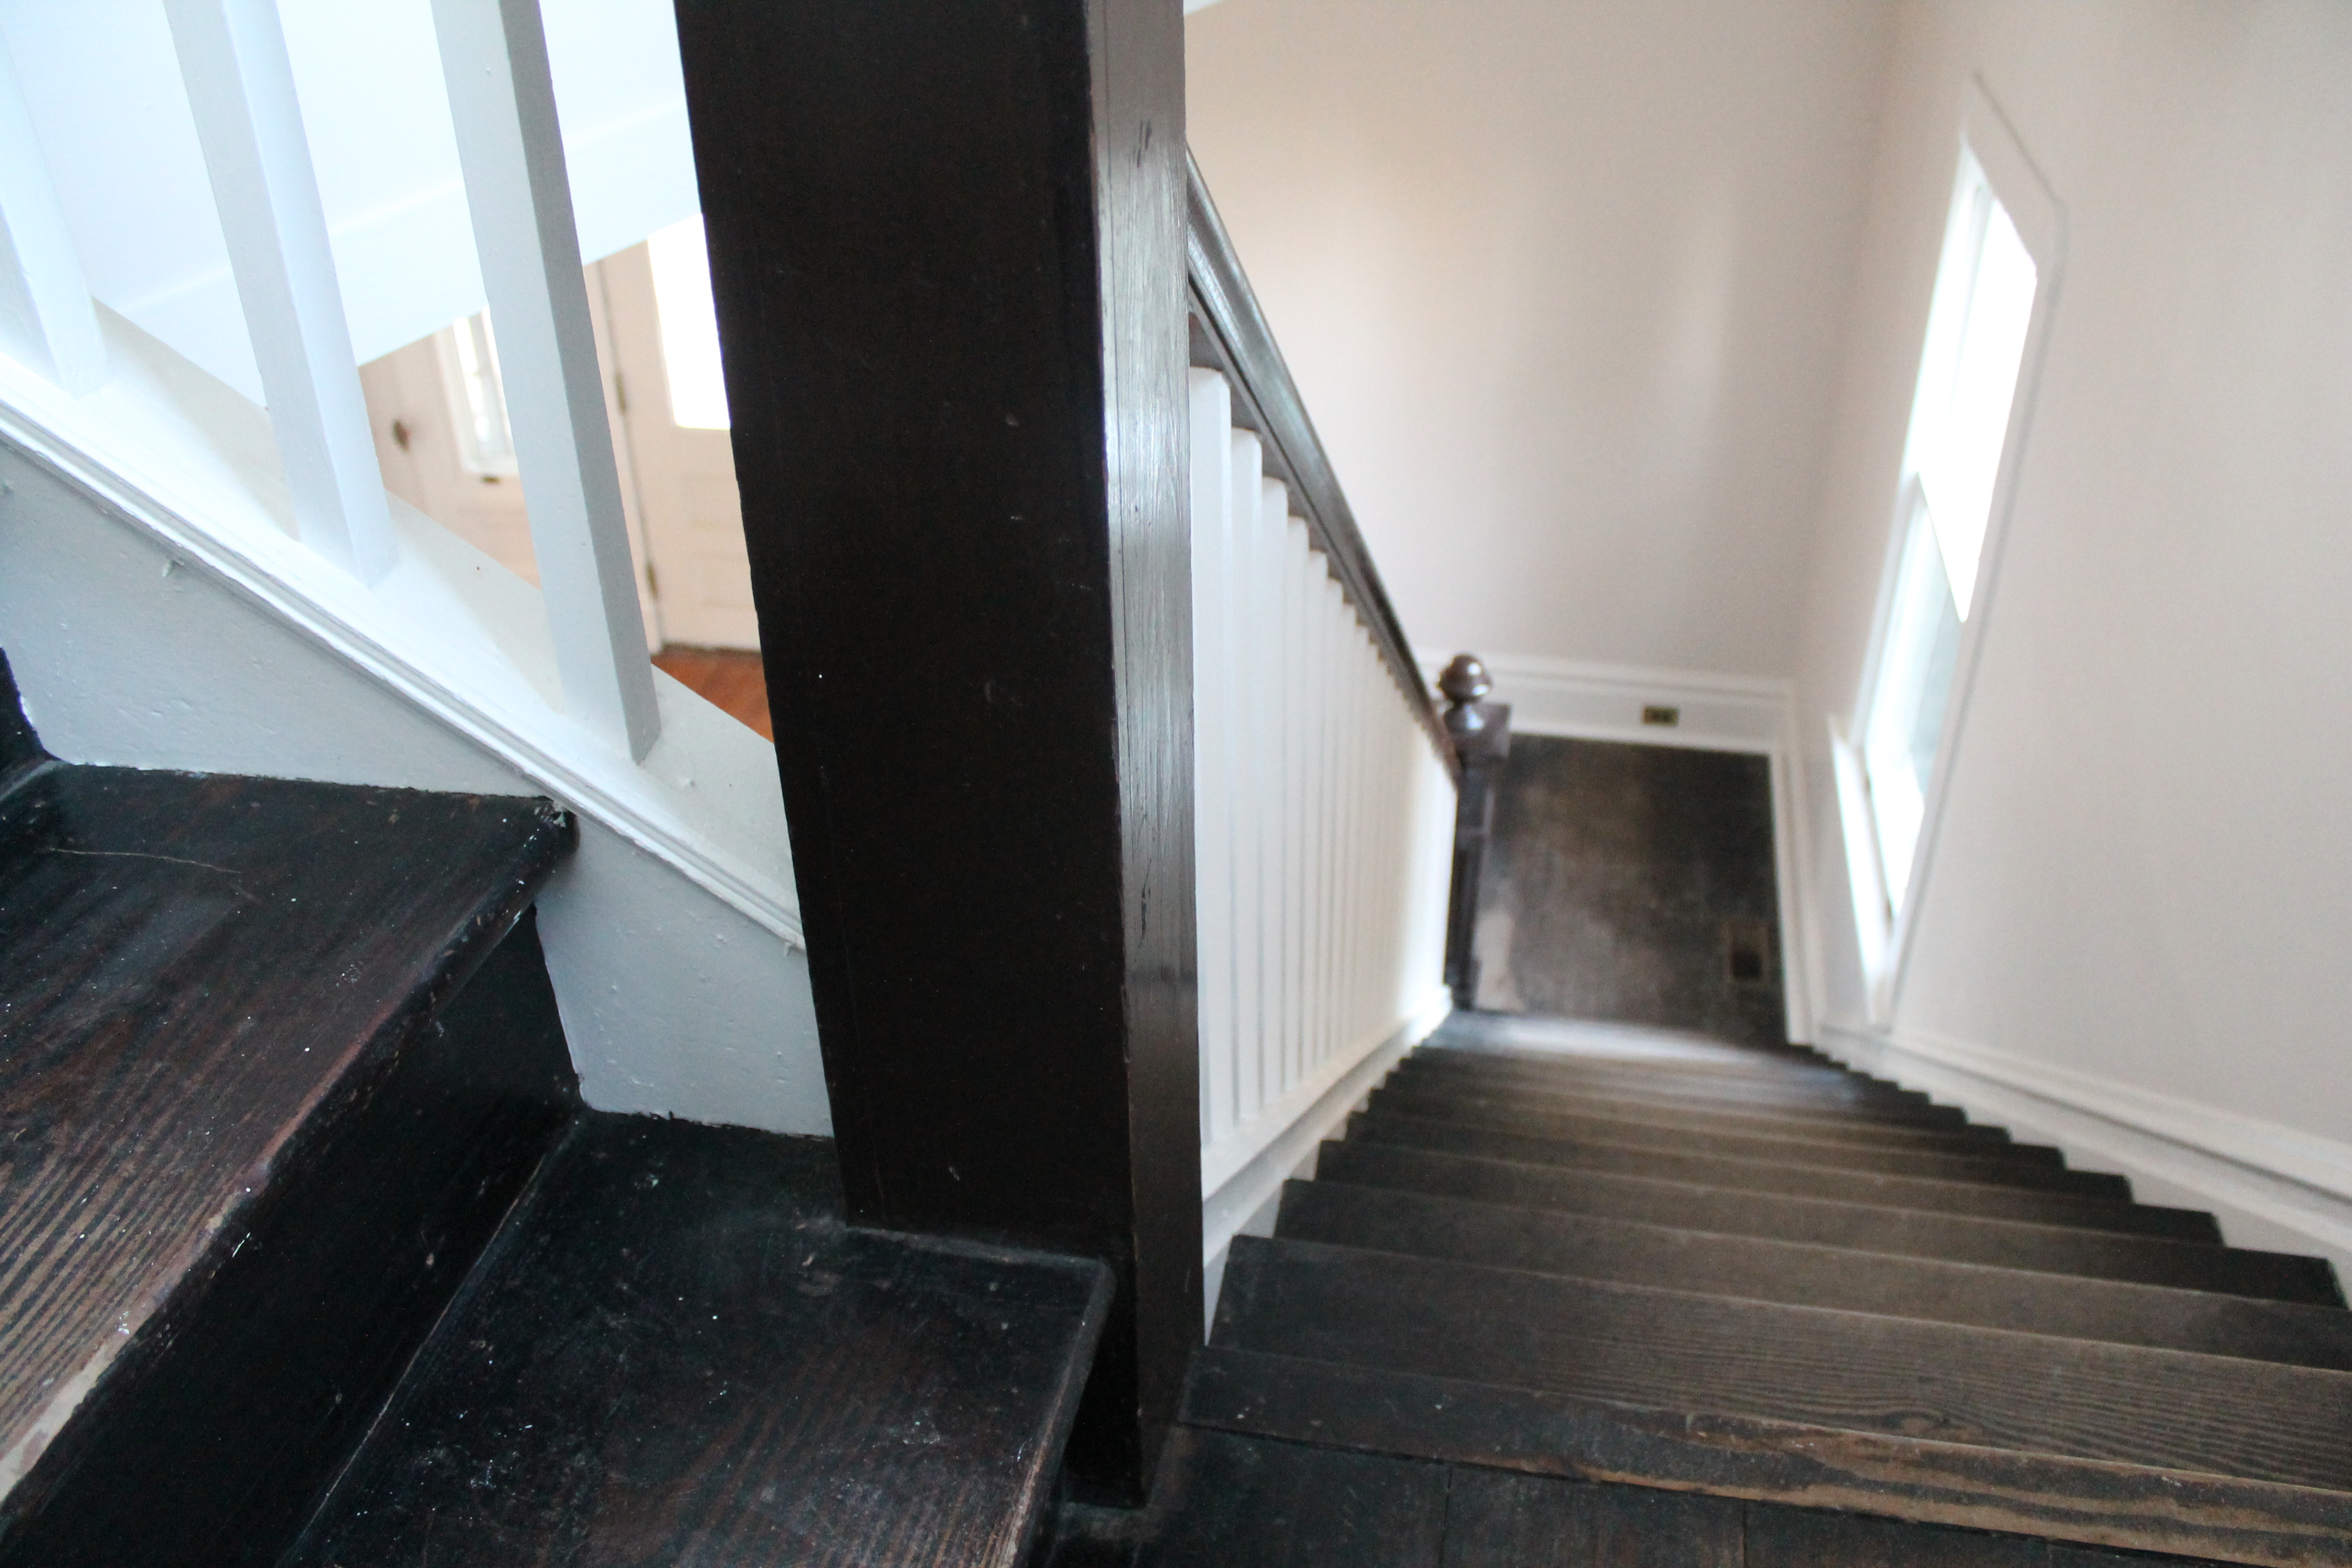
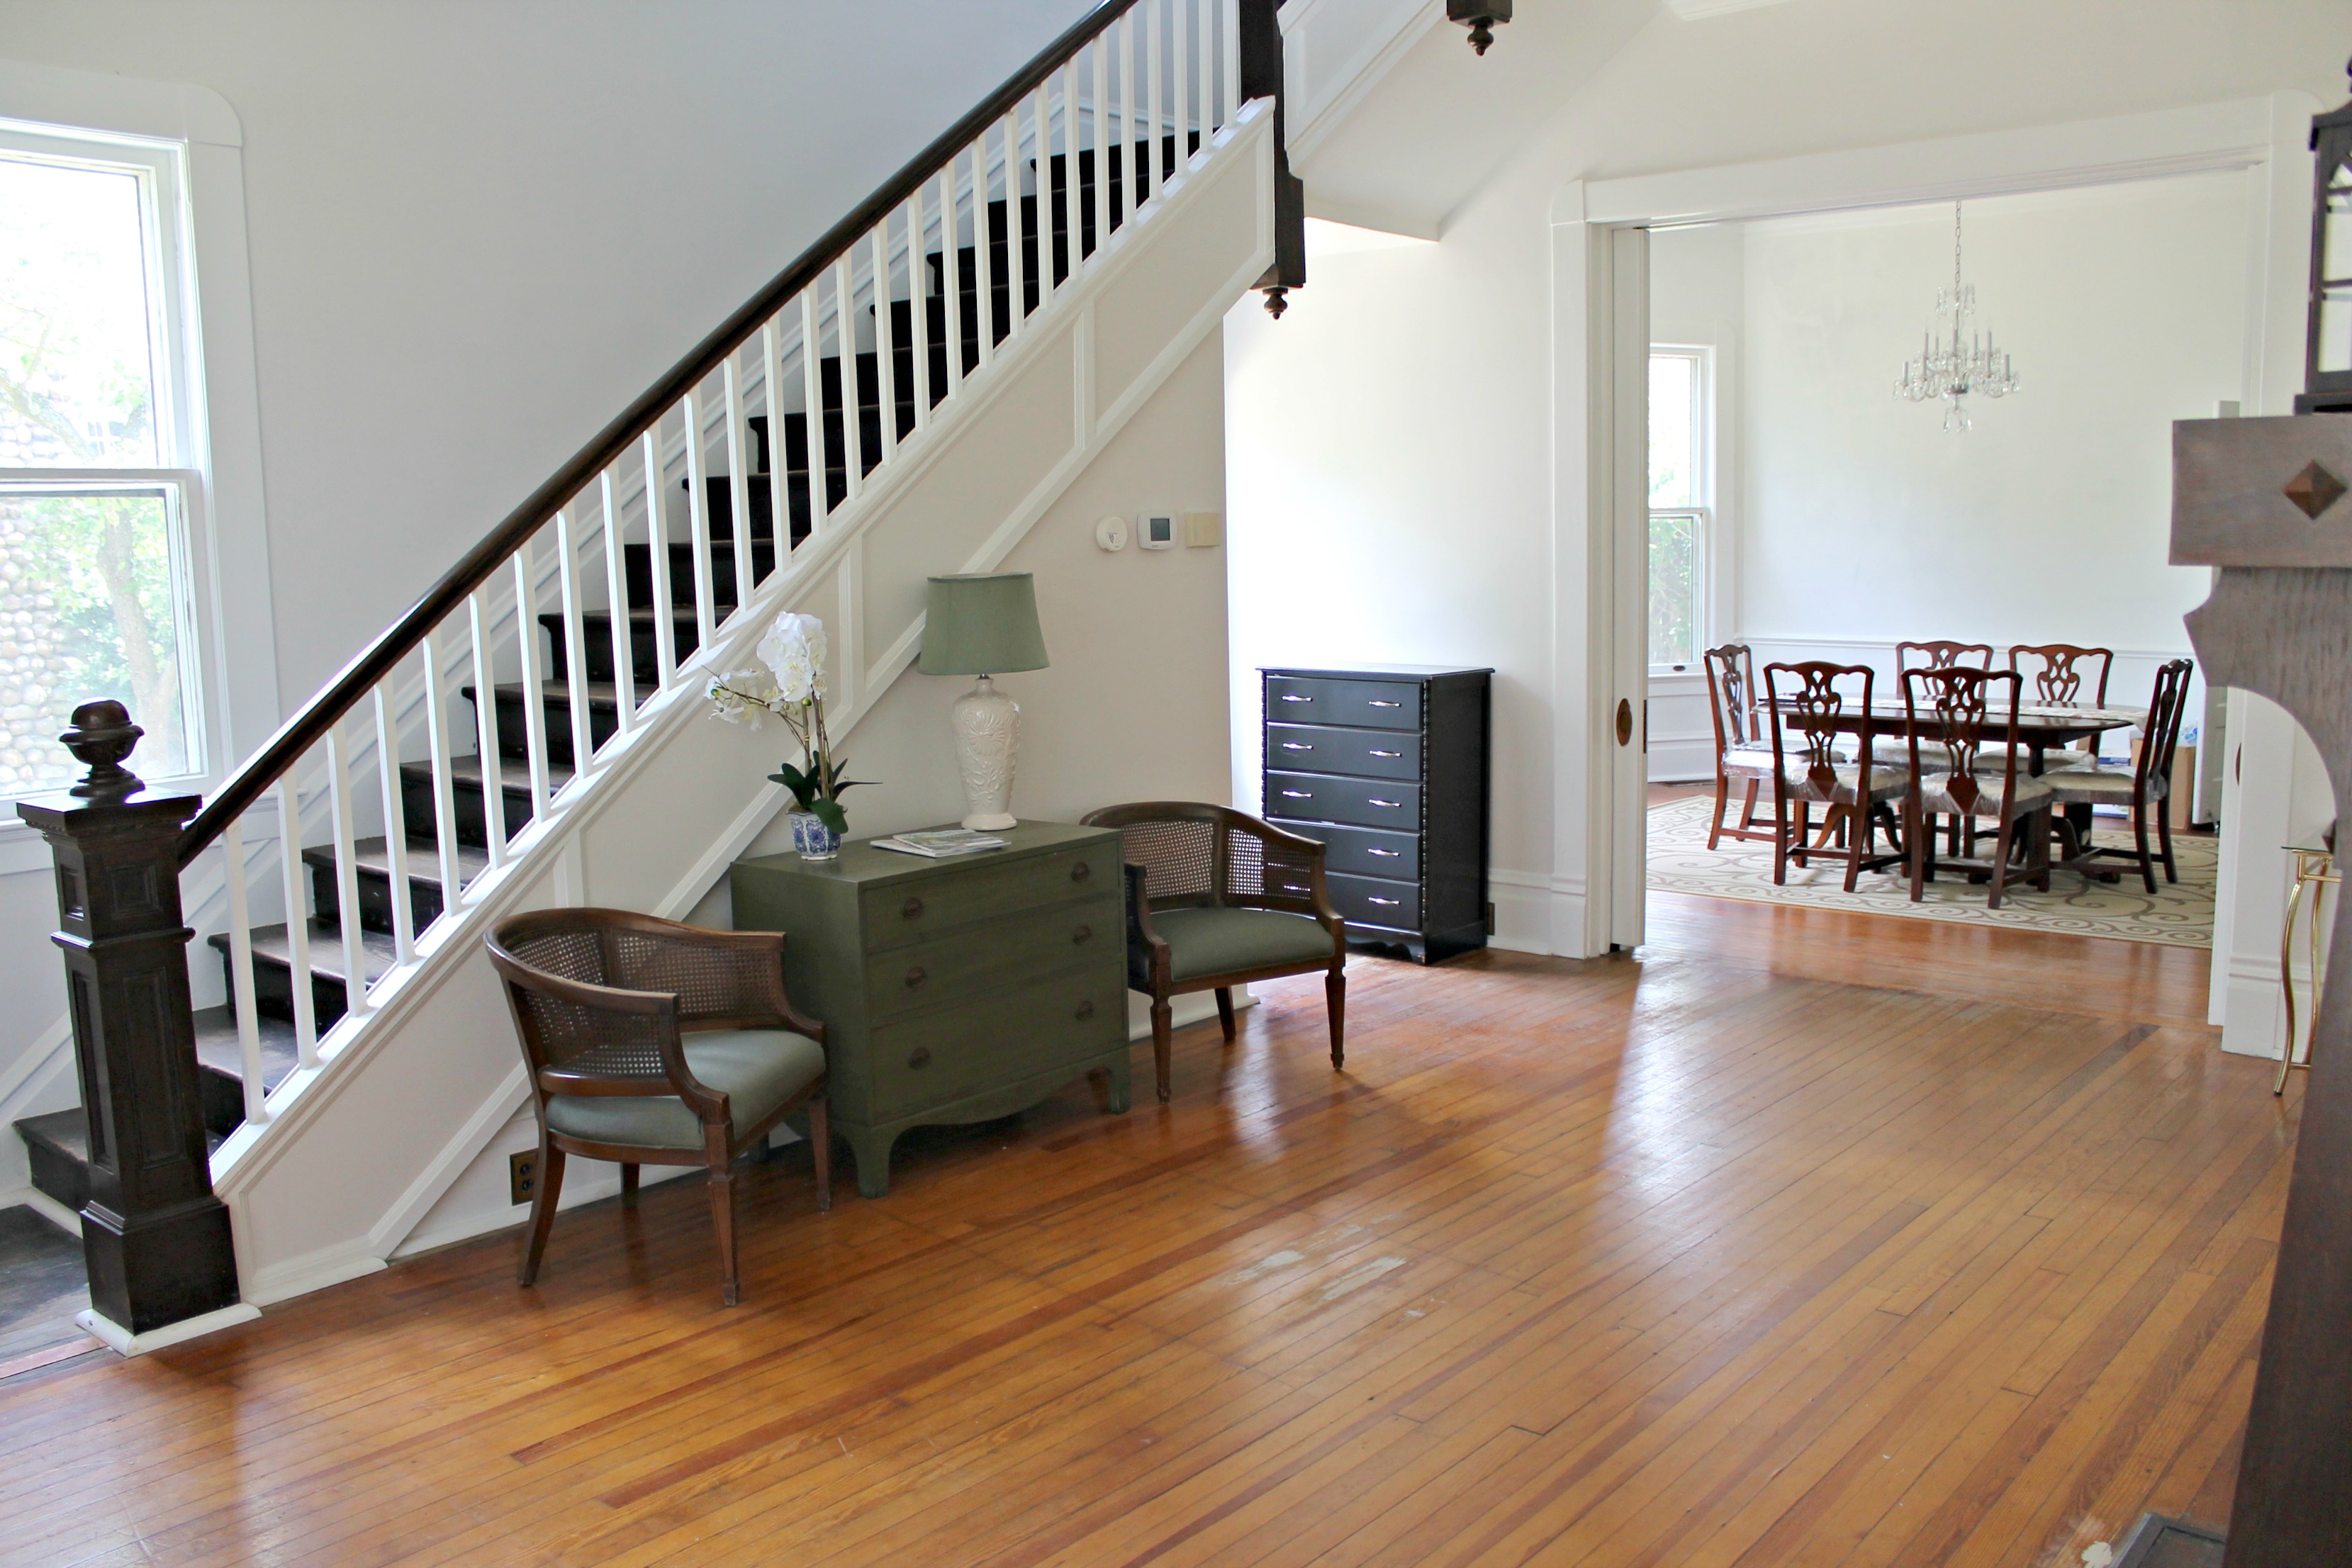
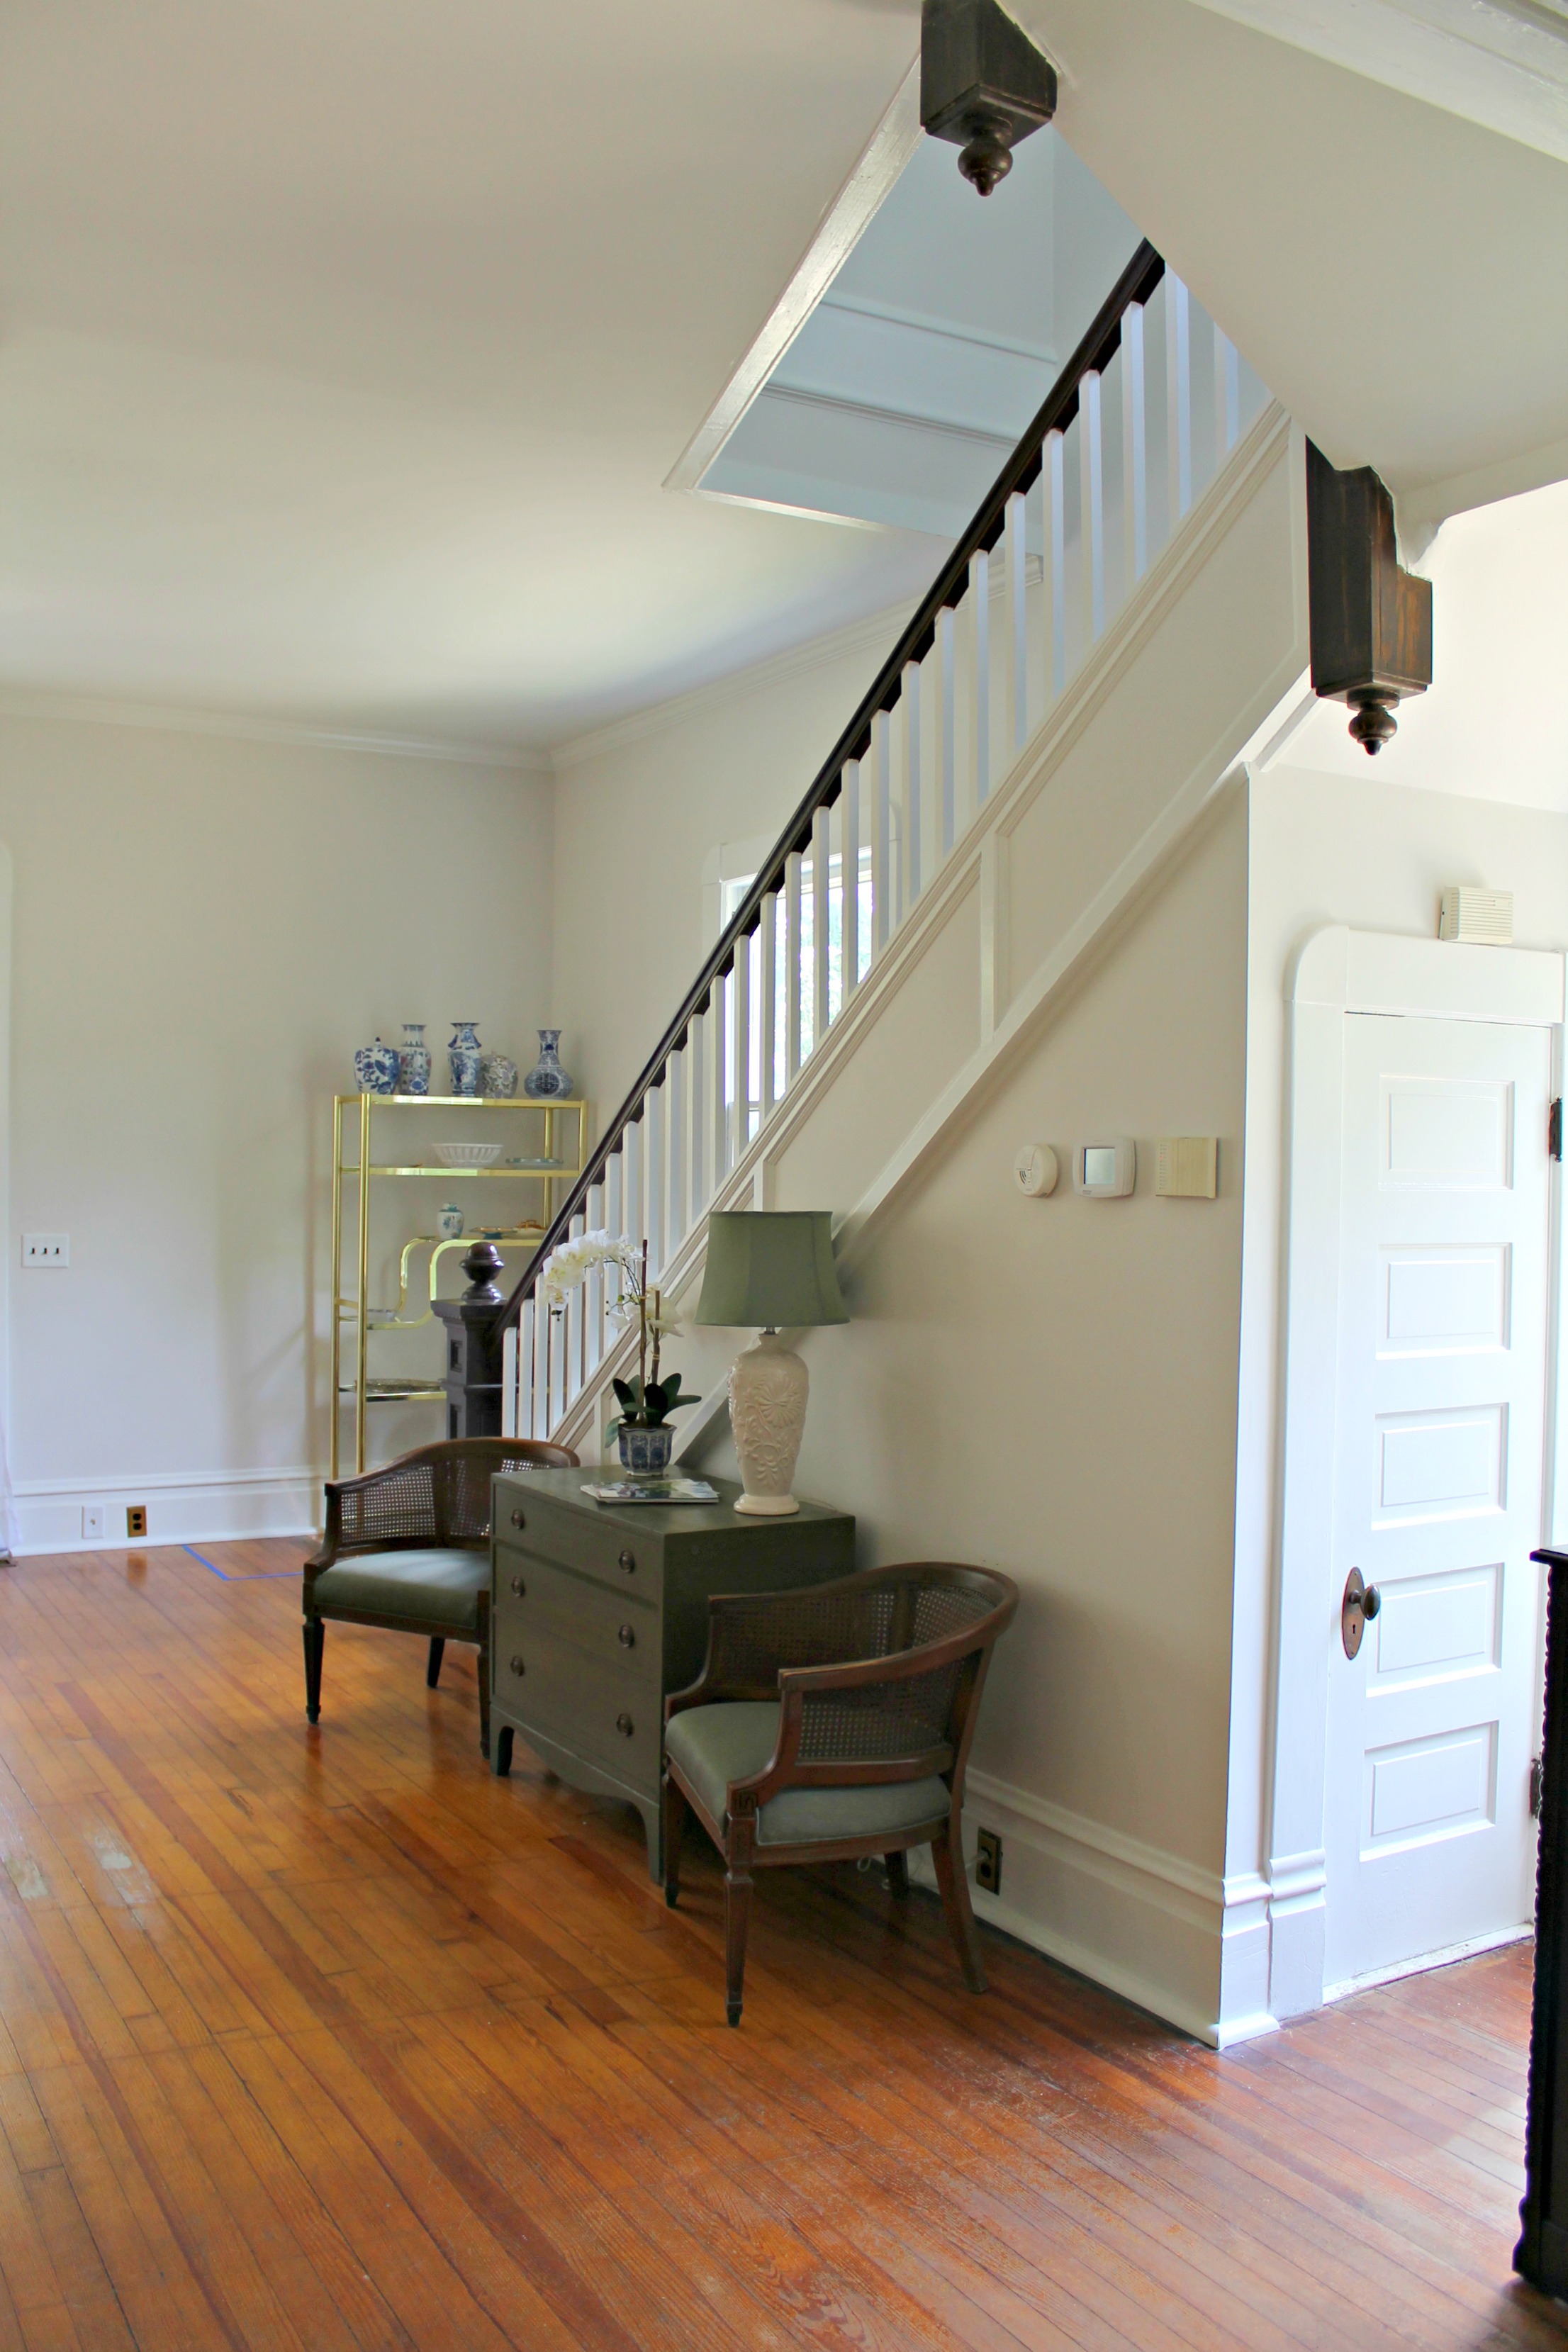
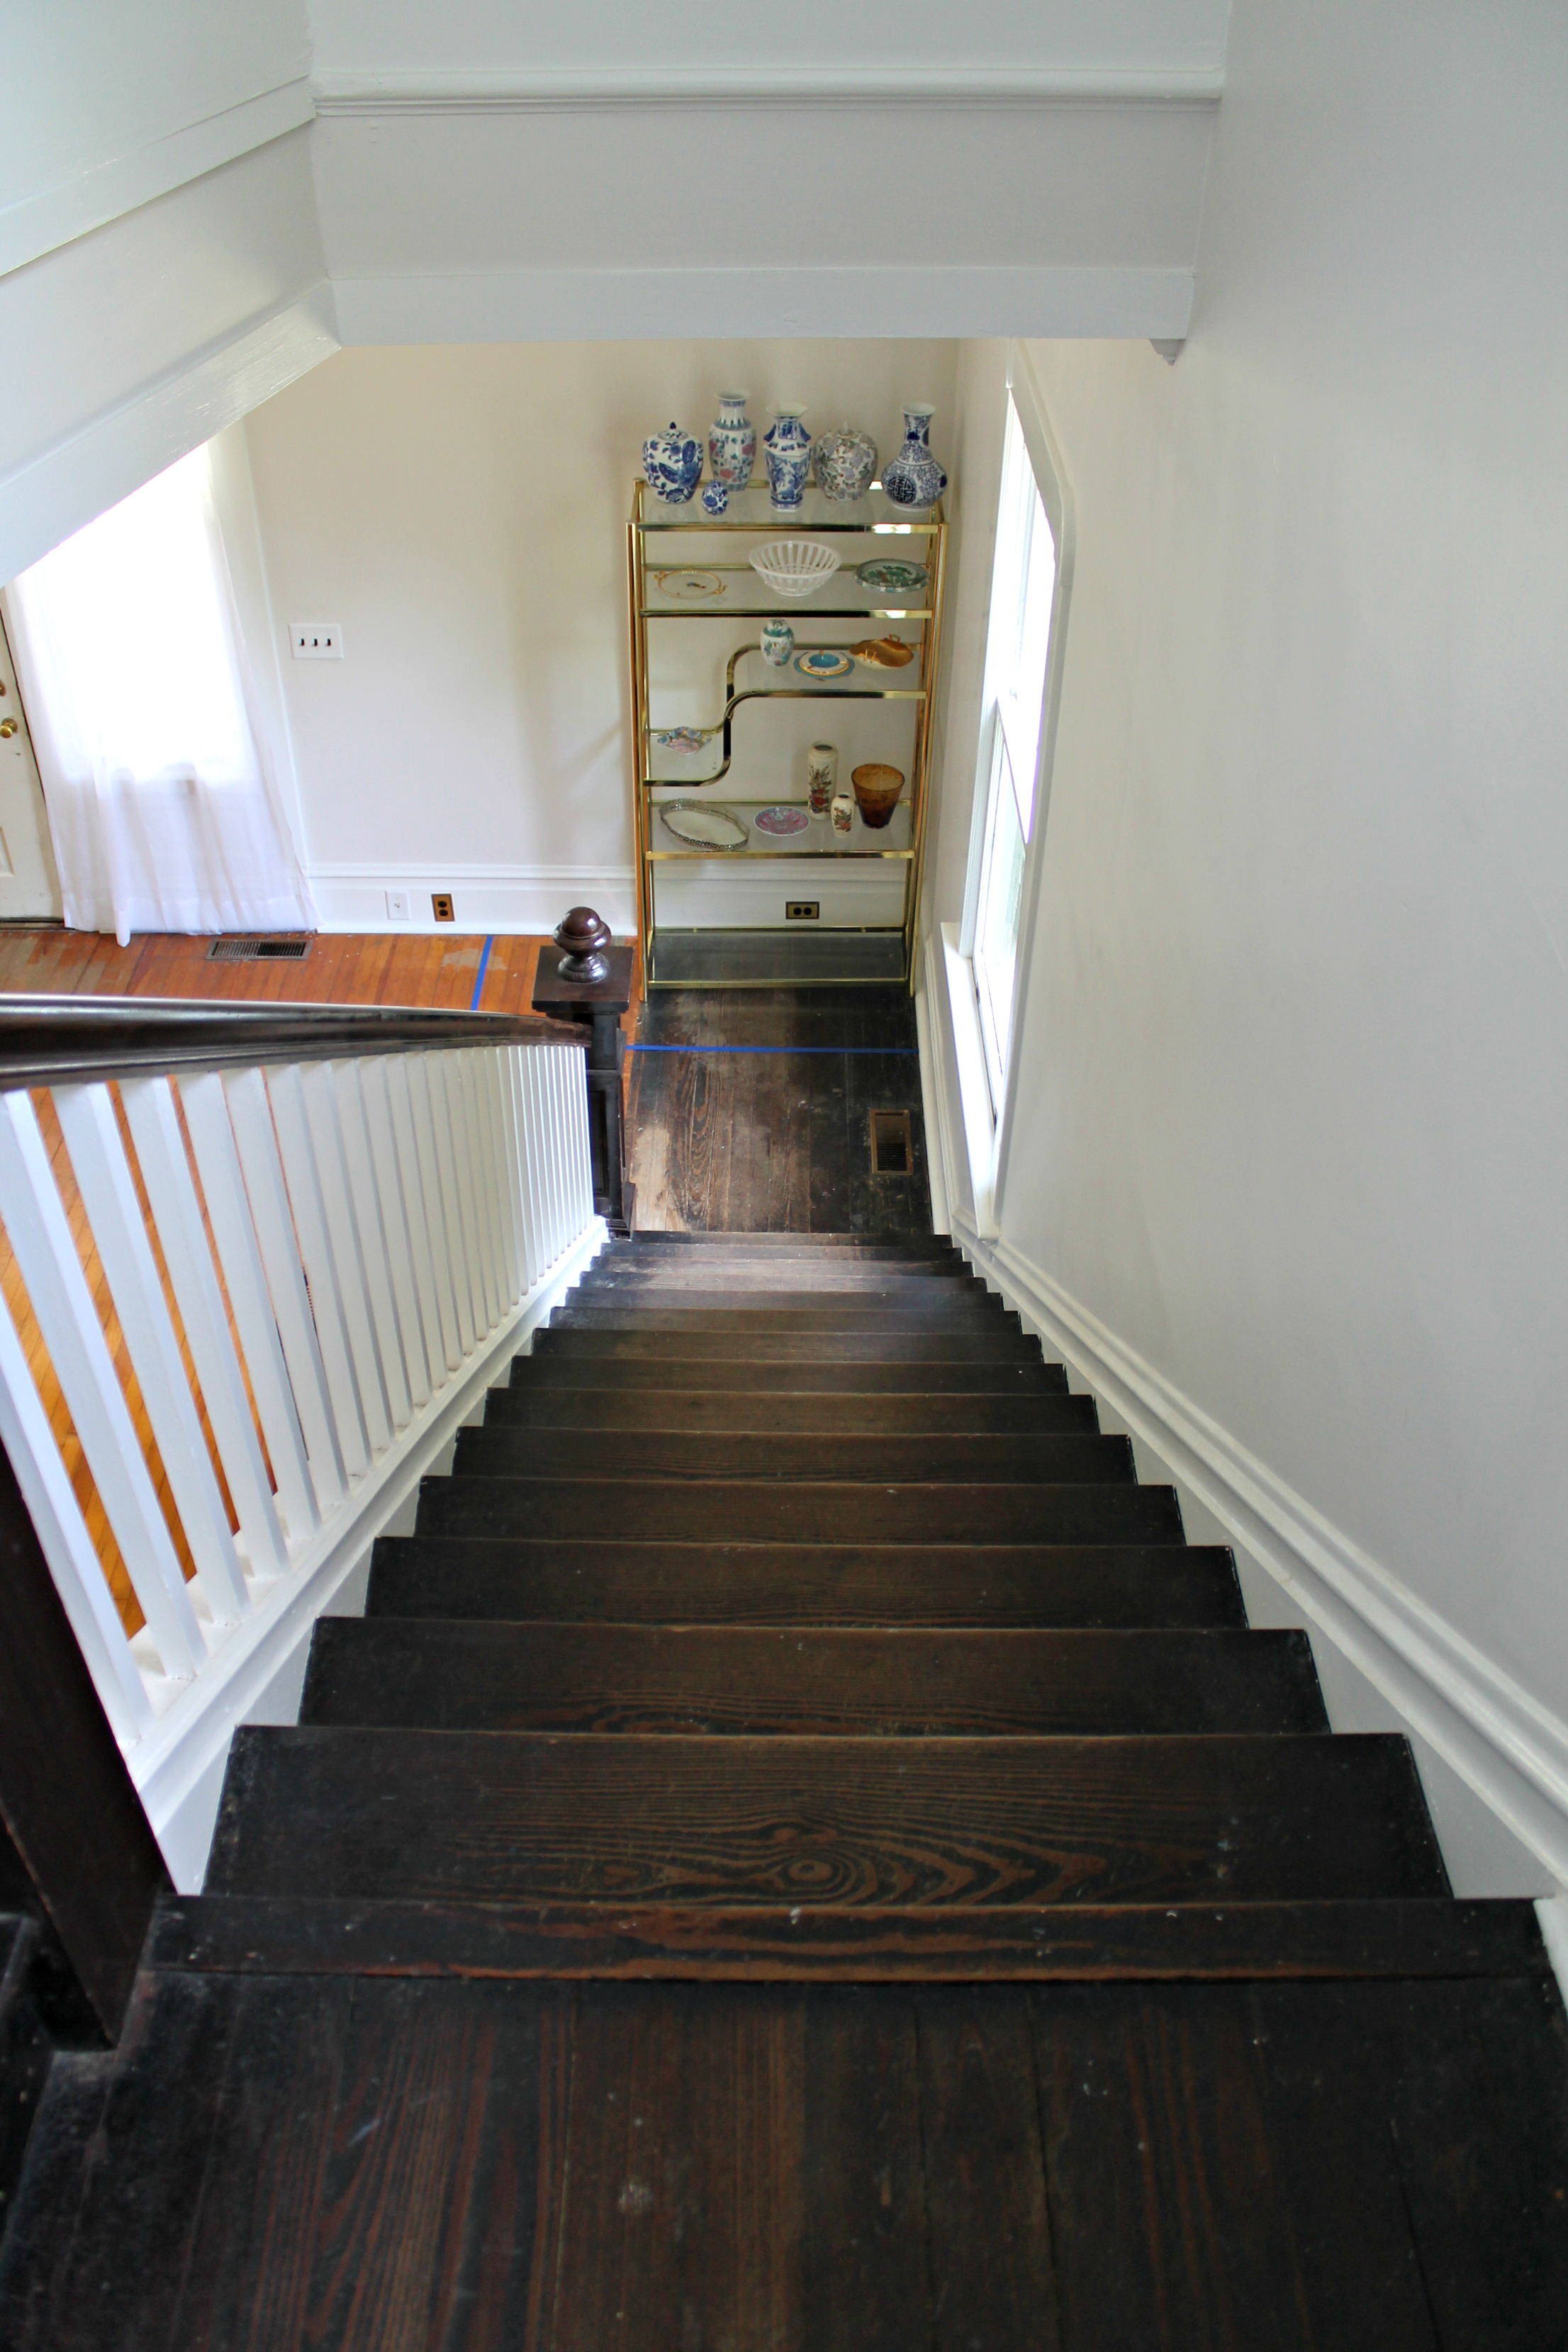
- Remove carpet from stairs
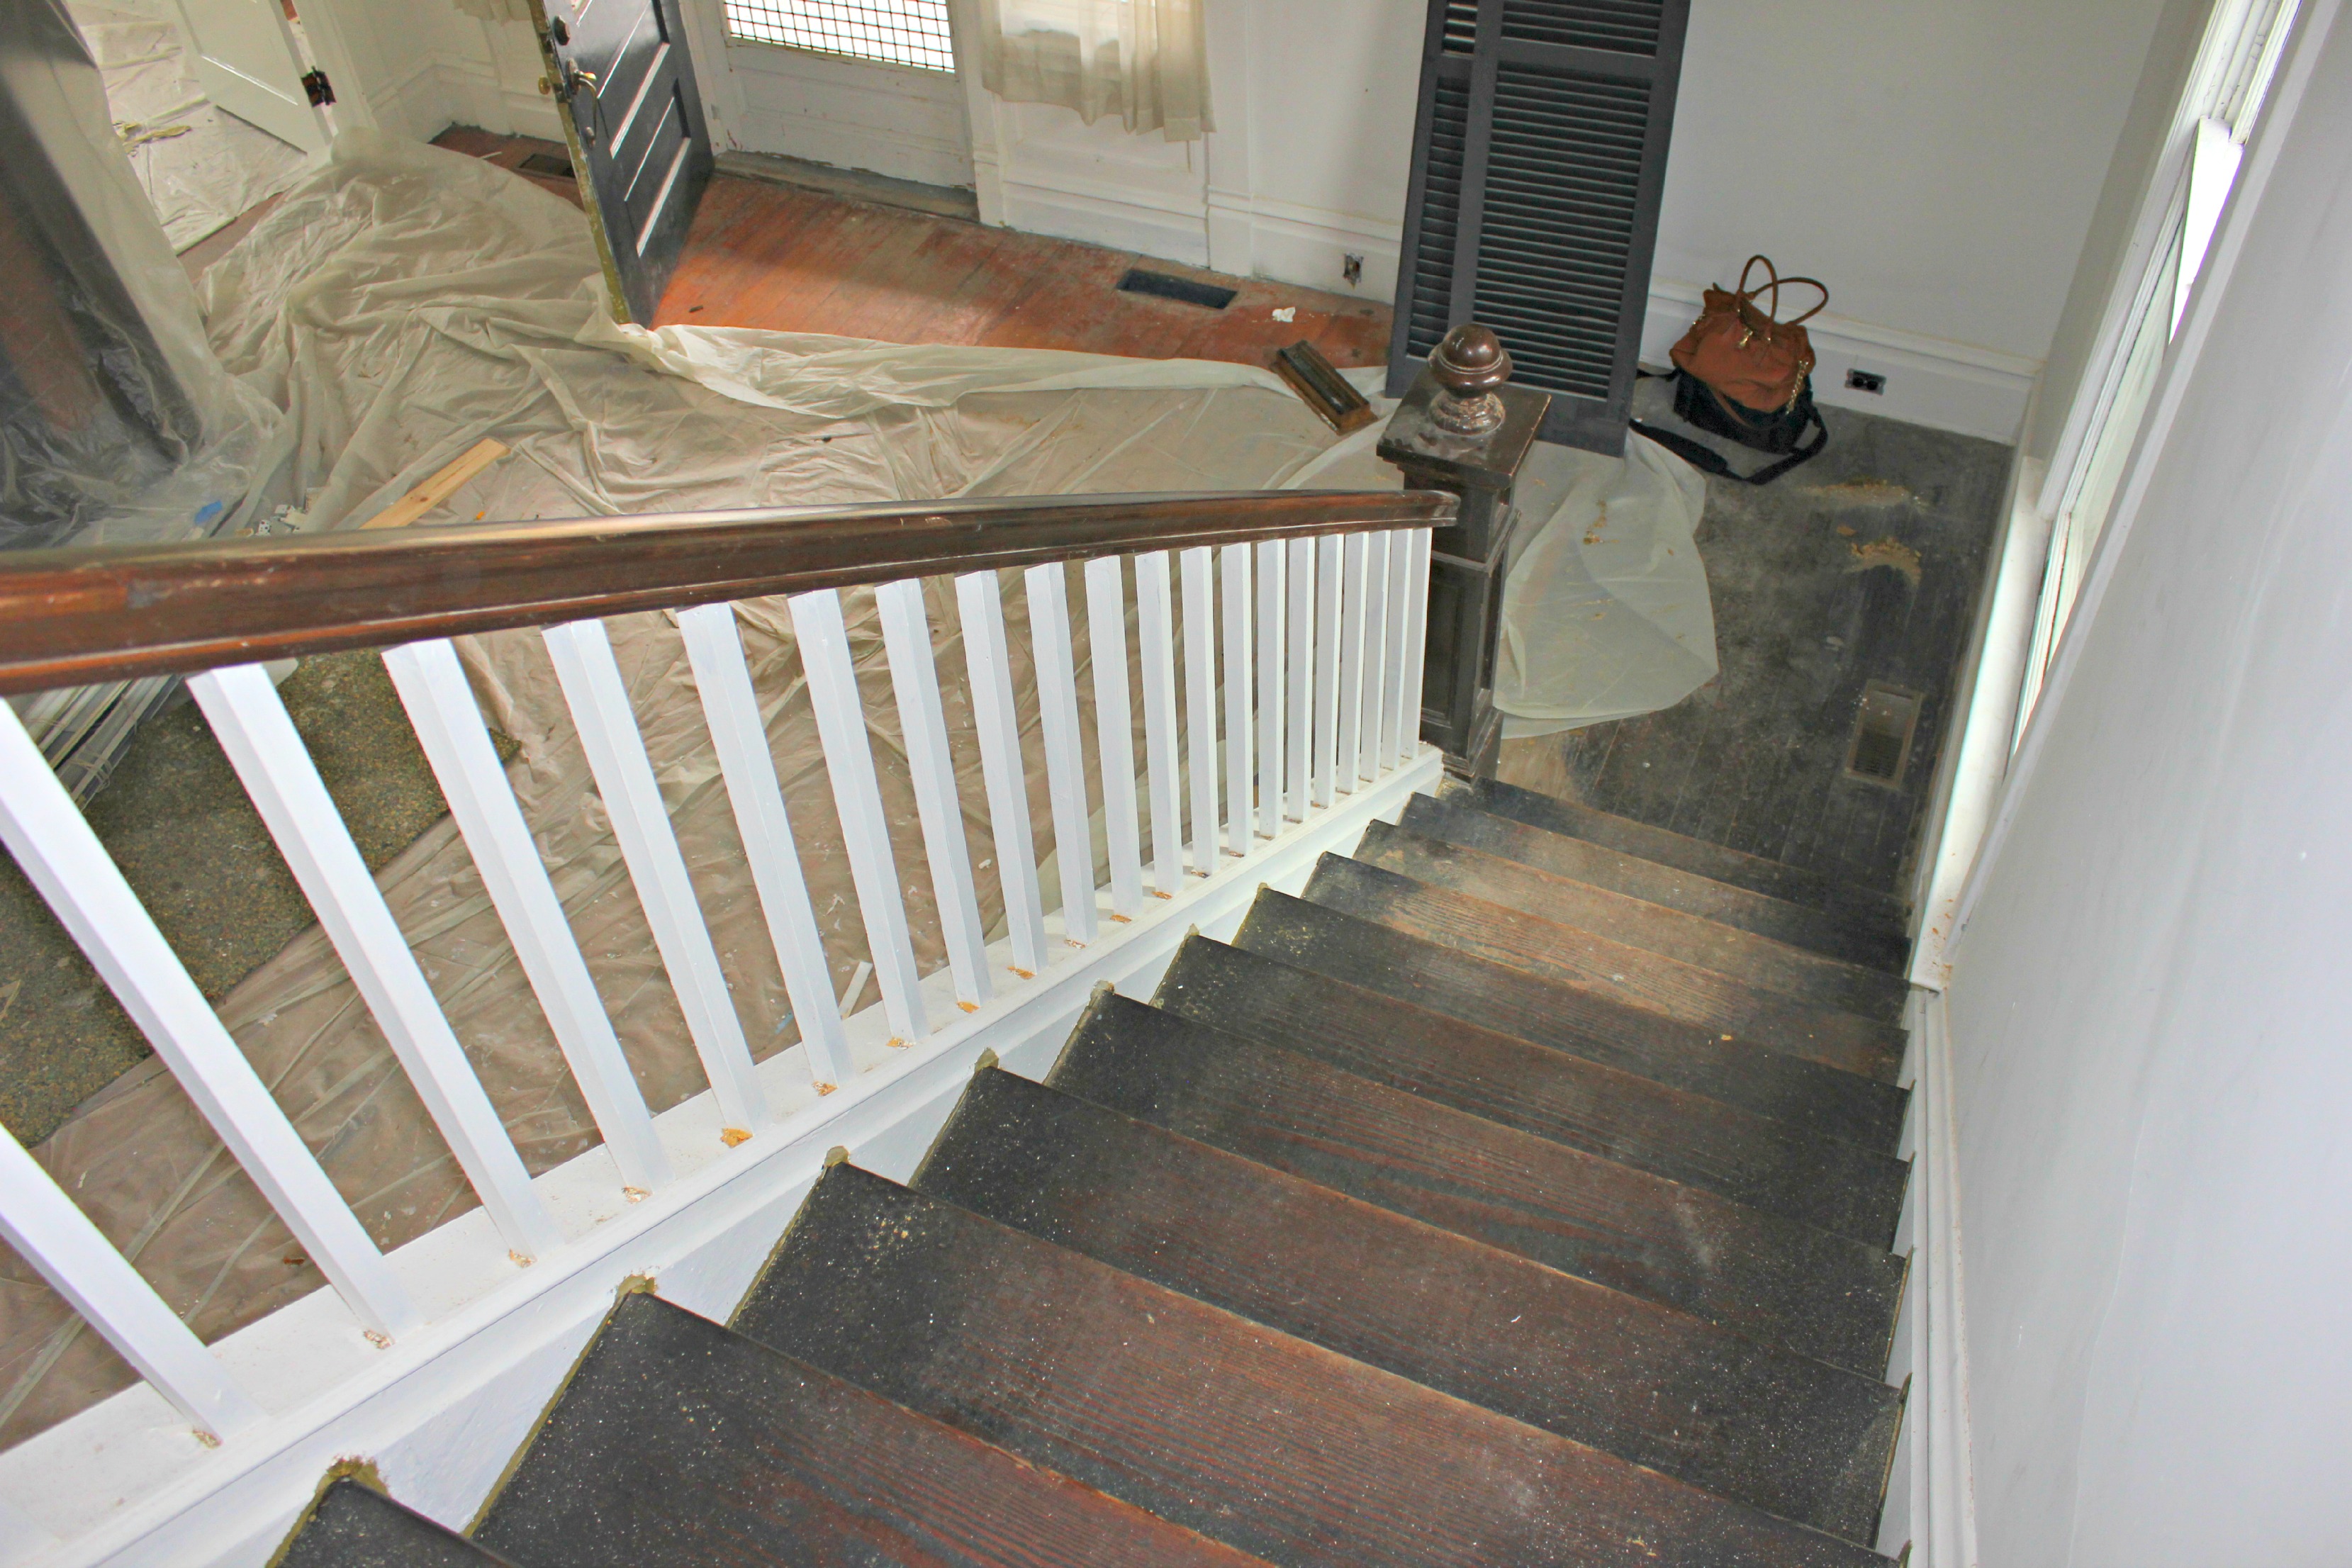
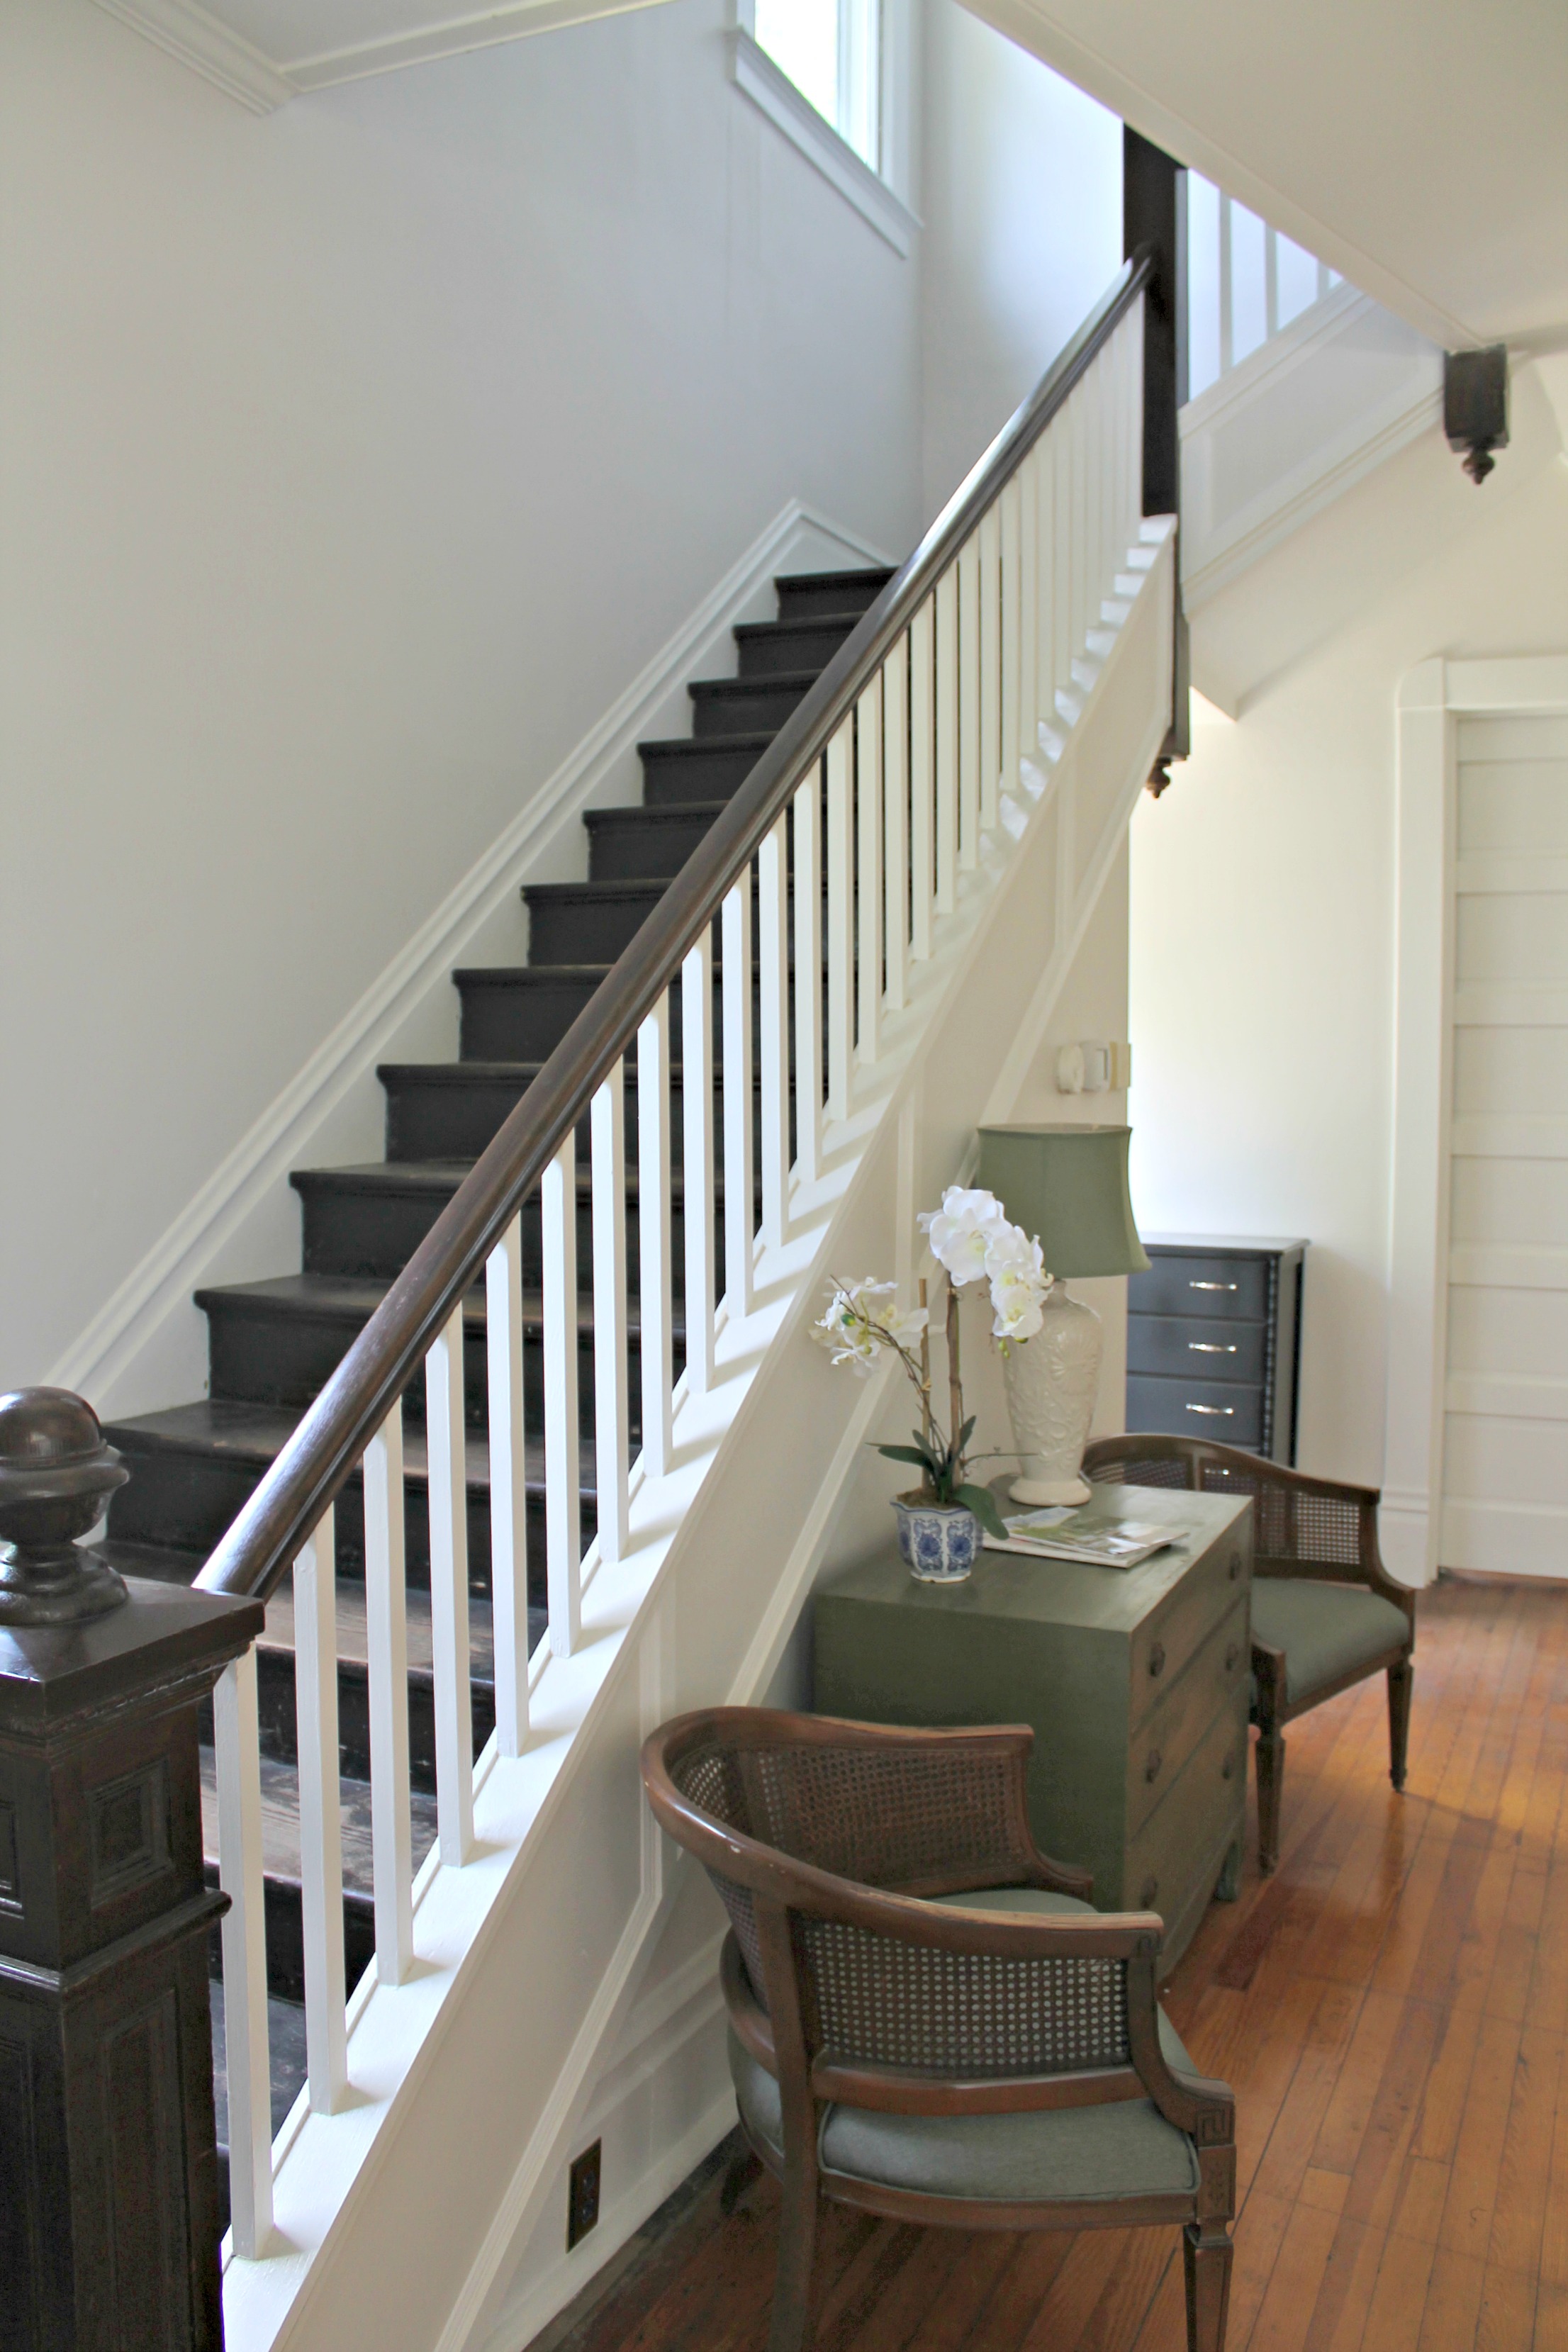
- Repair and secure stair railing
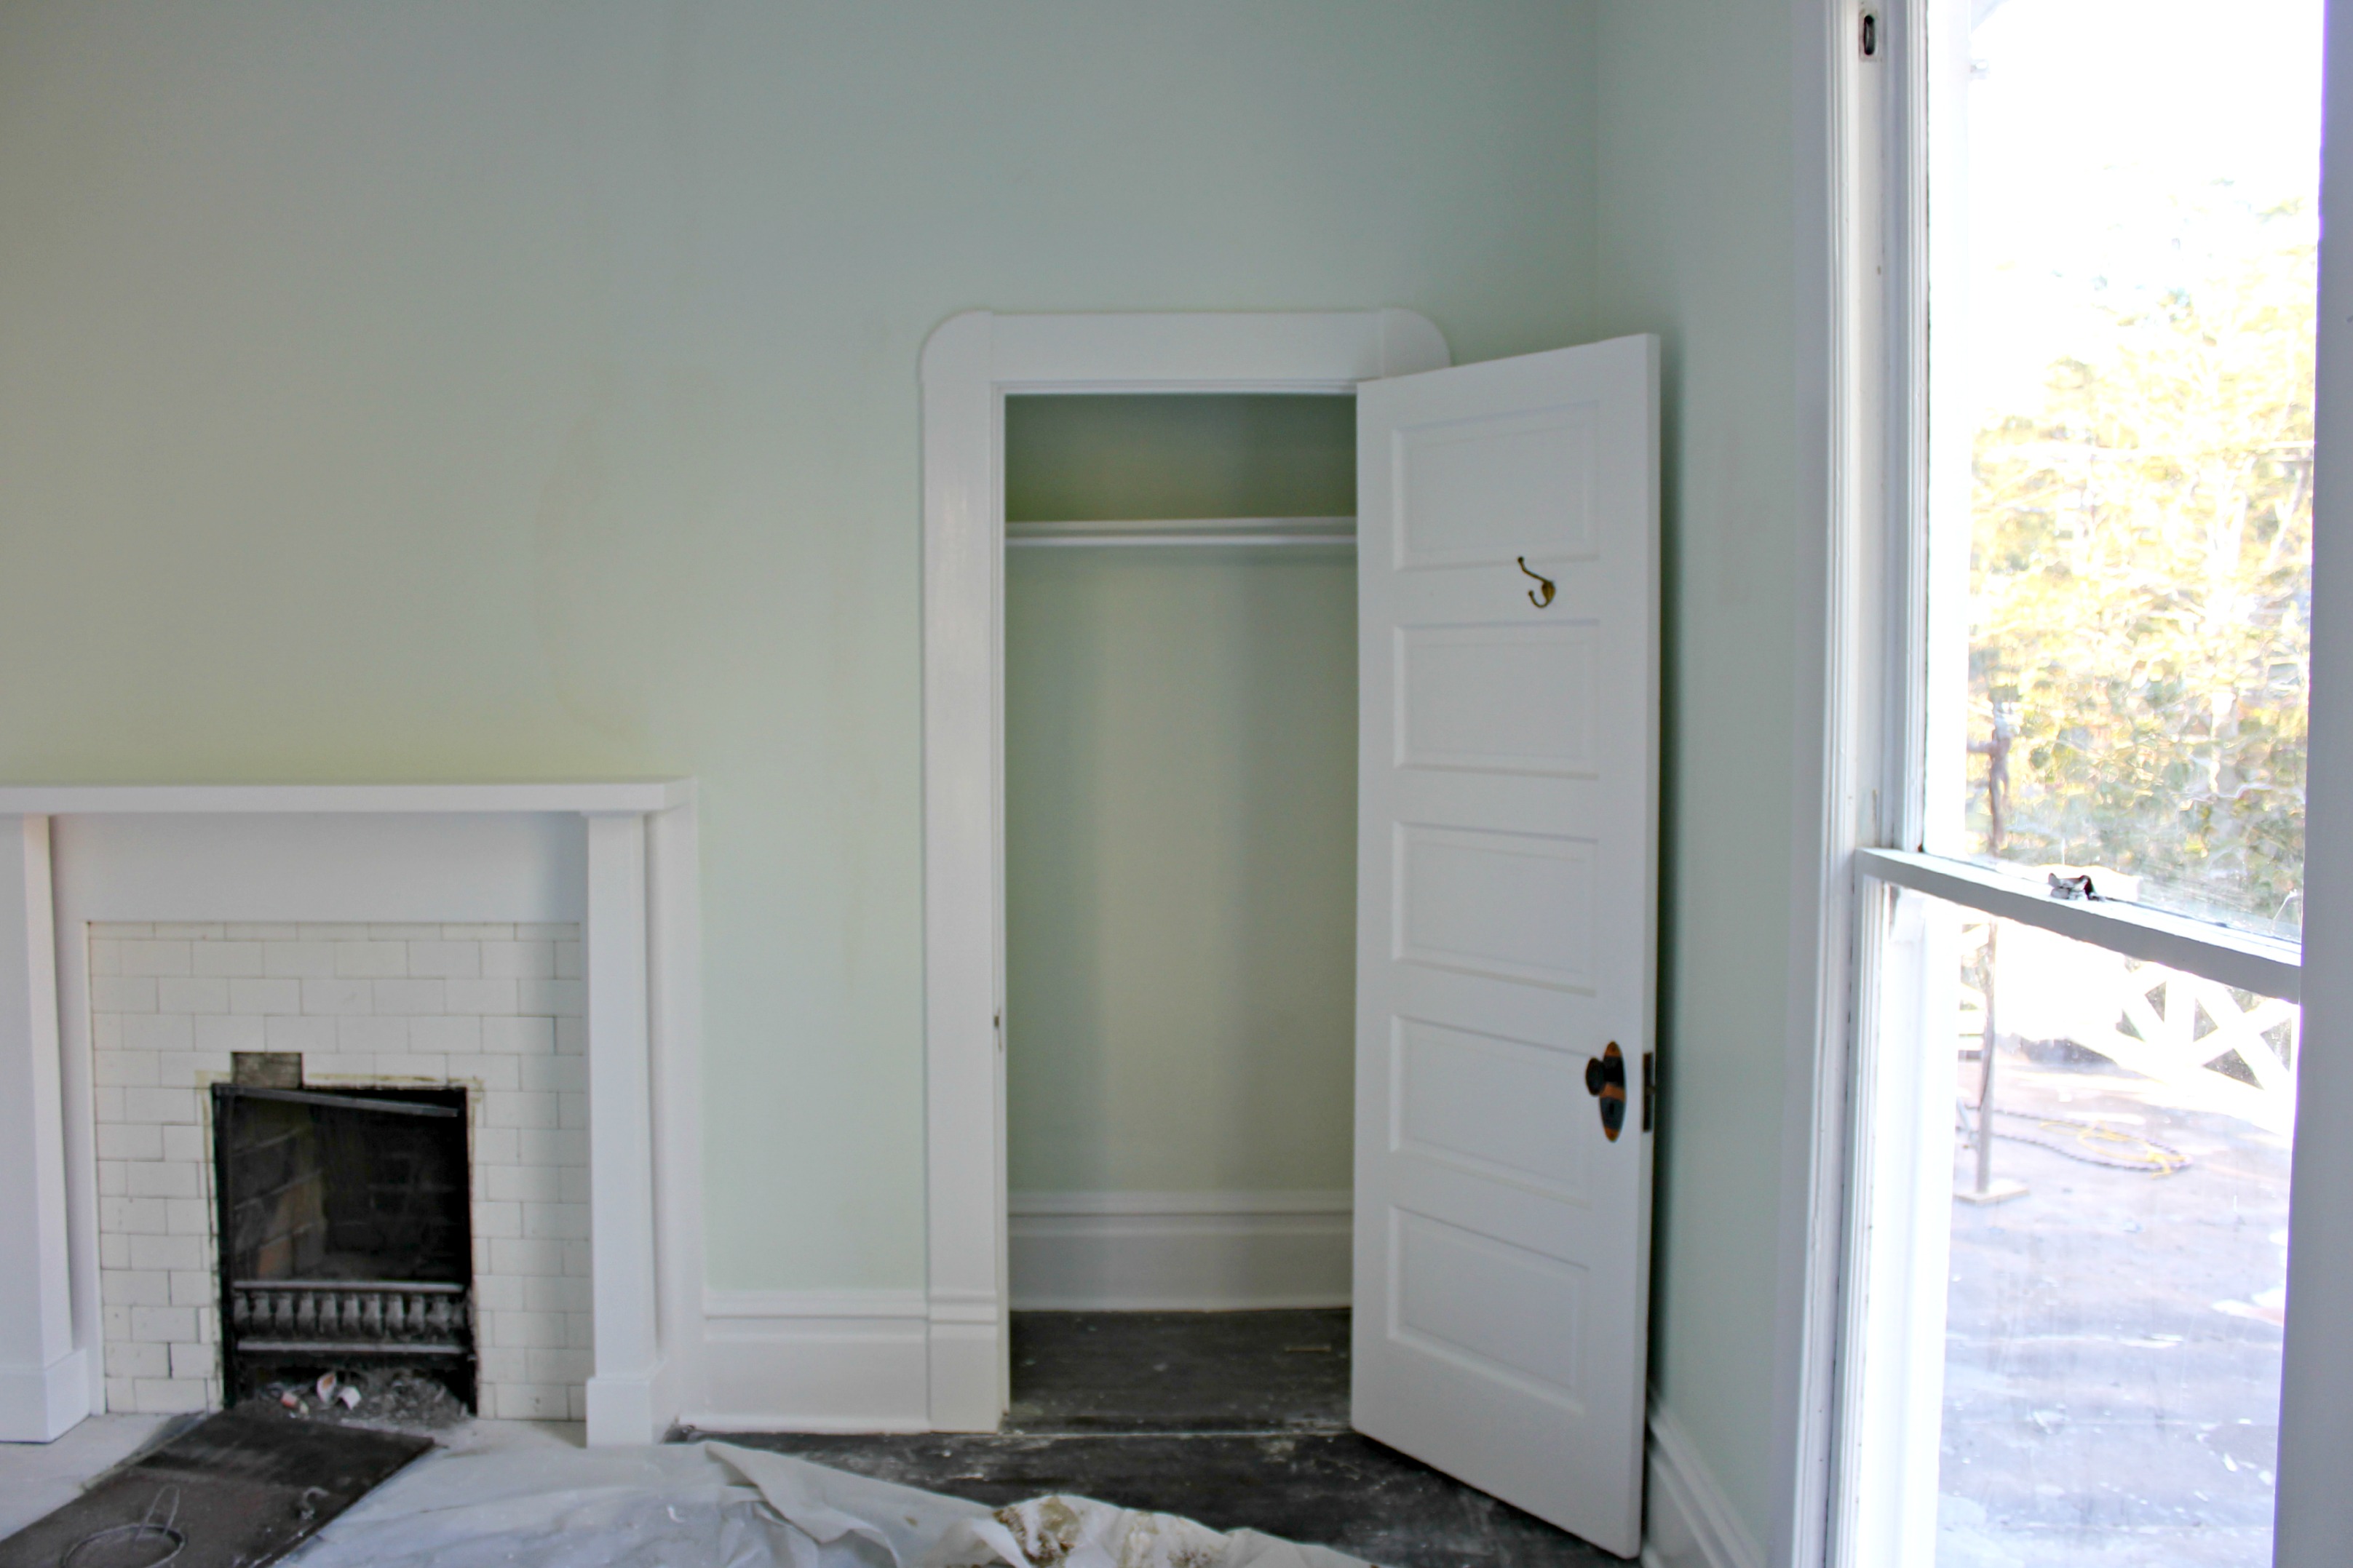
- Prep, prime, and paint walls, trim, and ceiling
- Stain stair railing with varnish
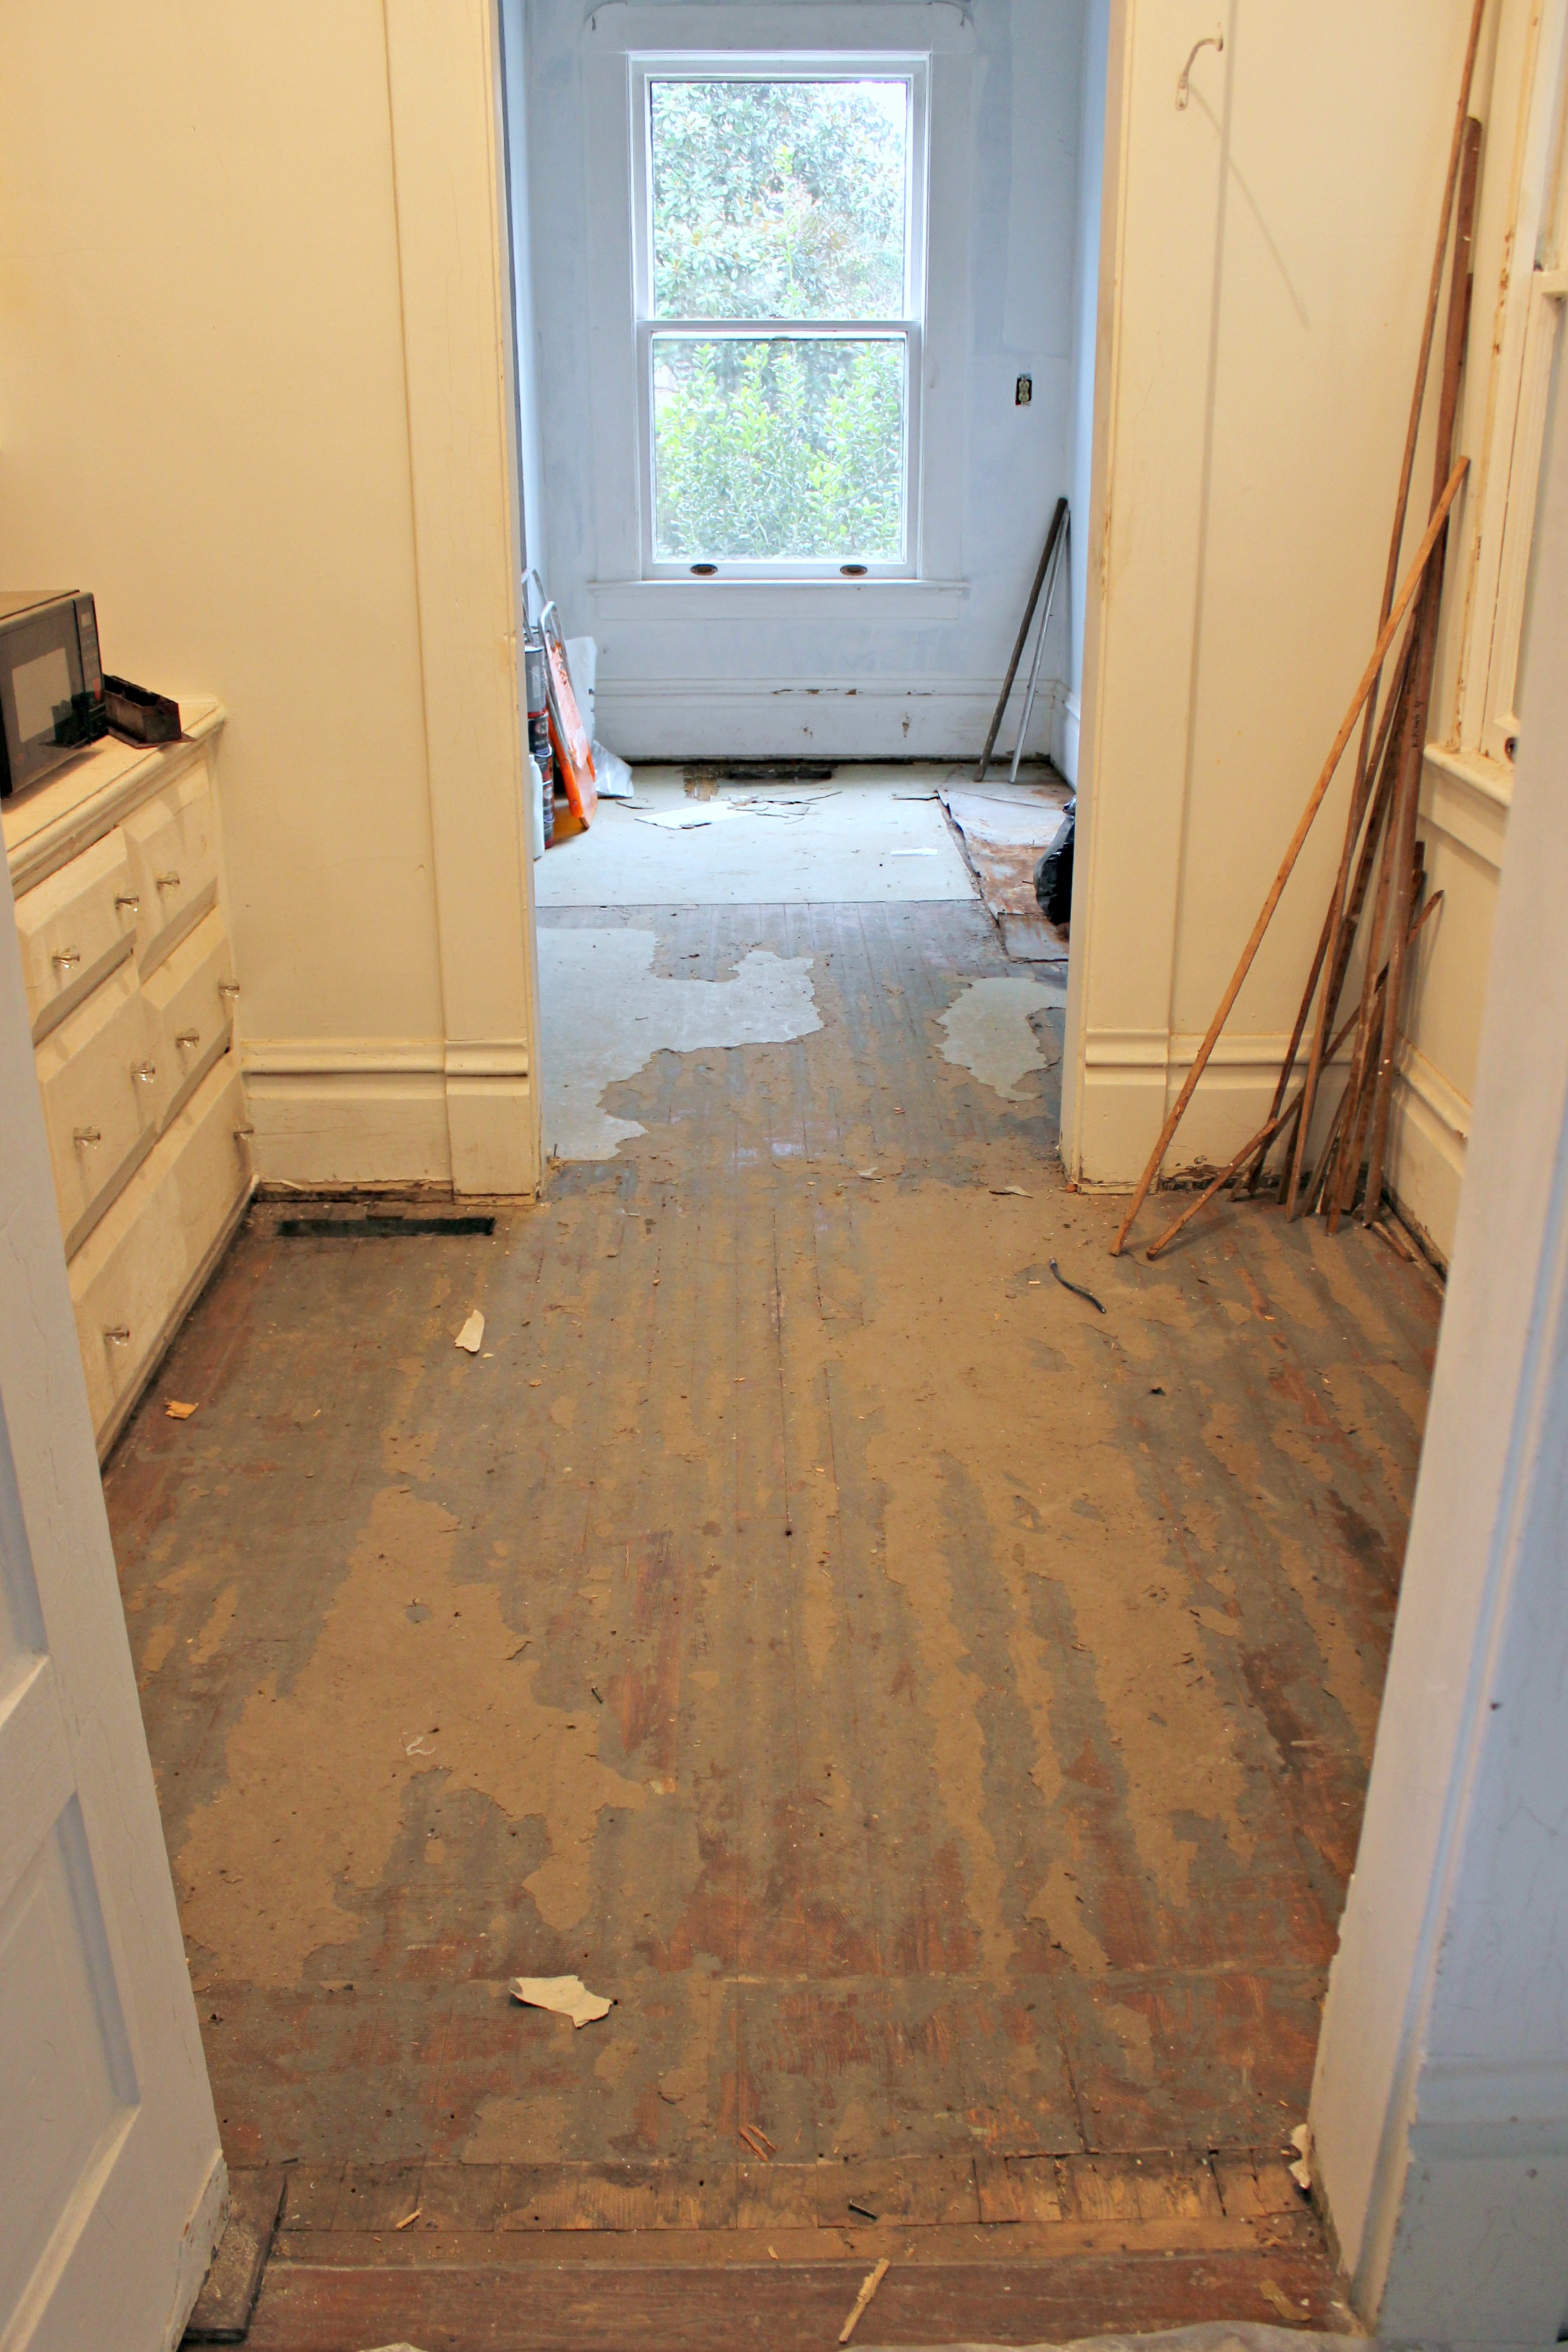
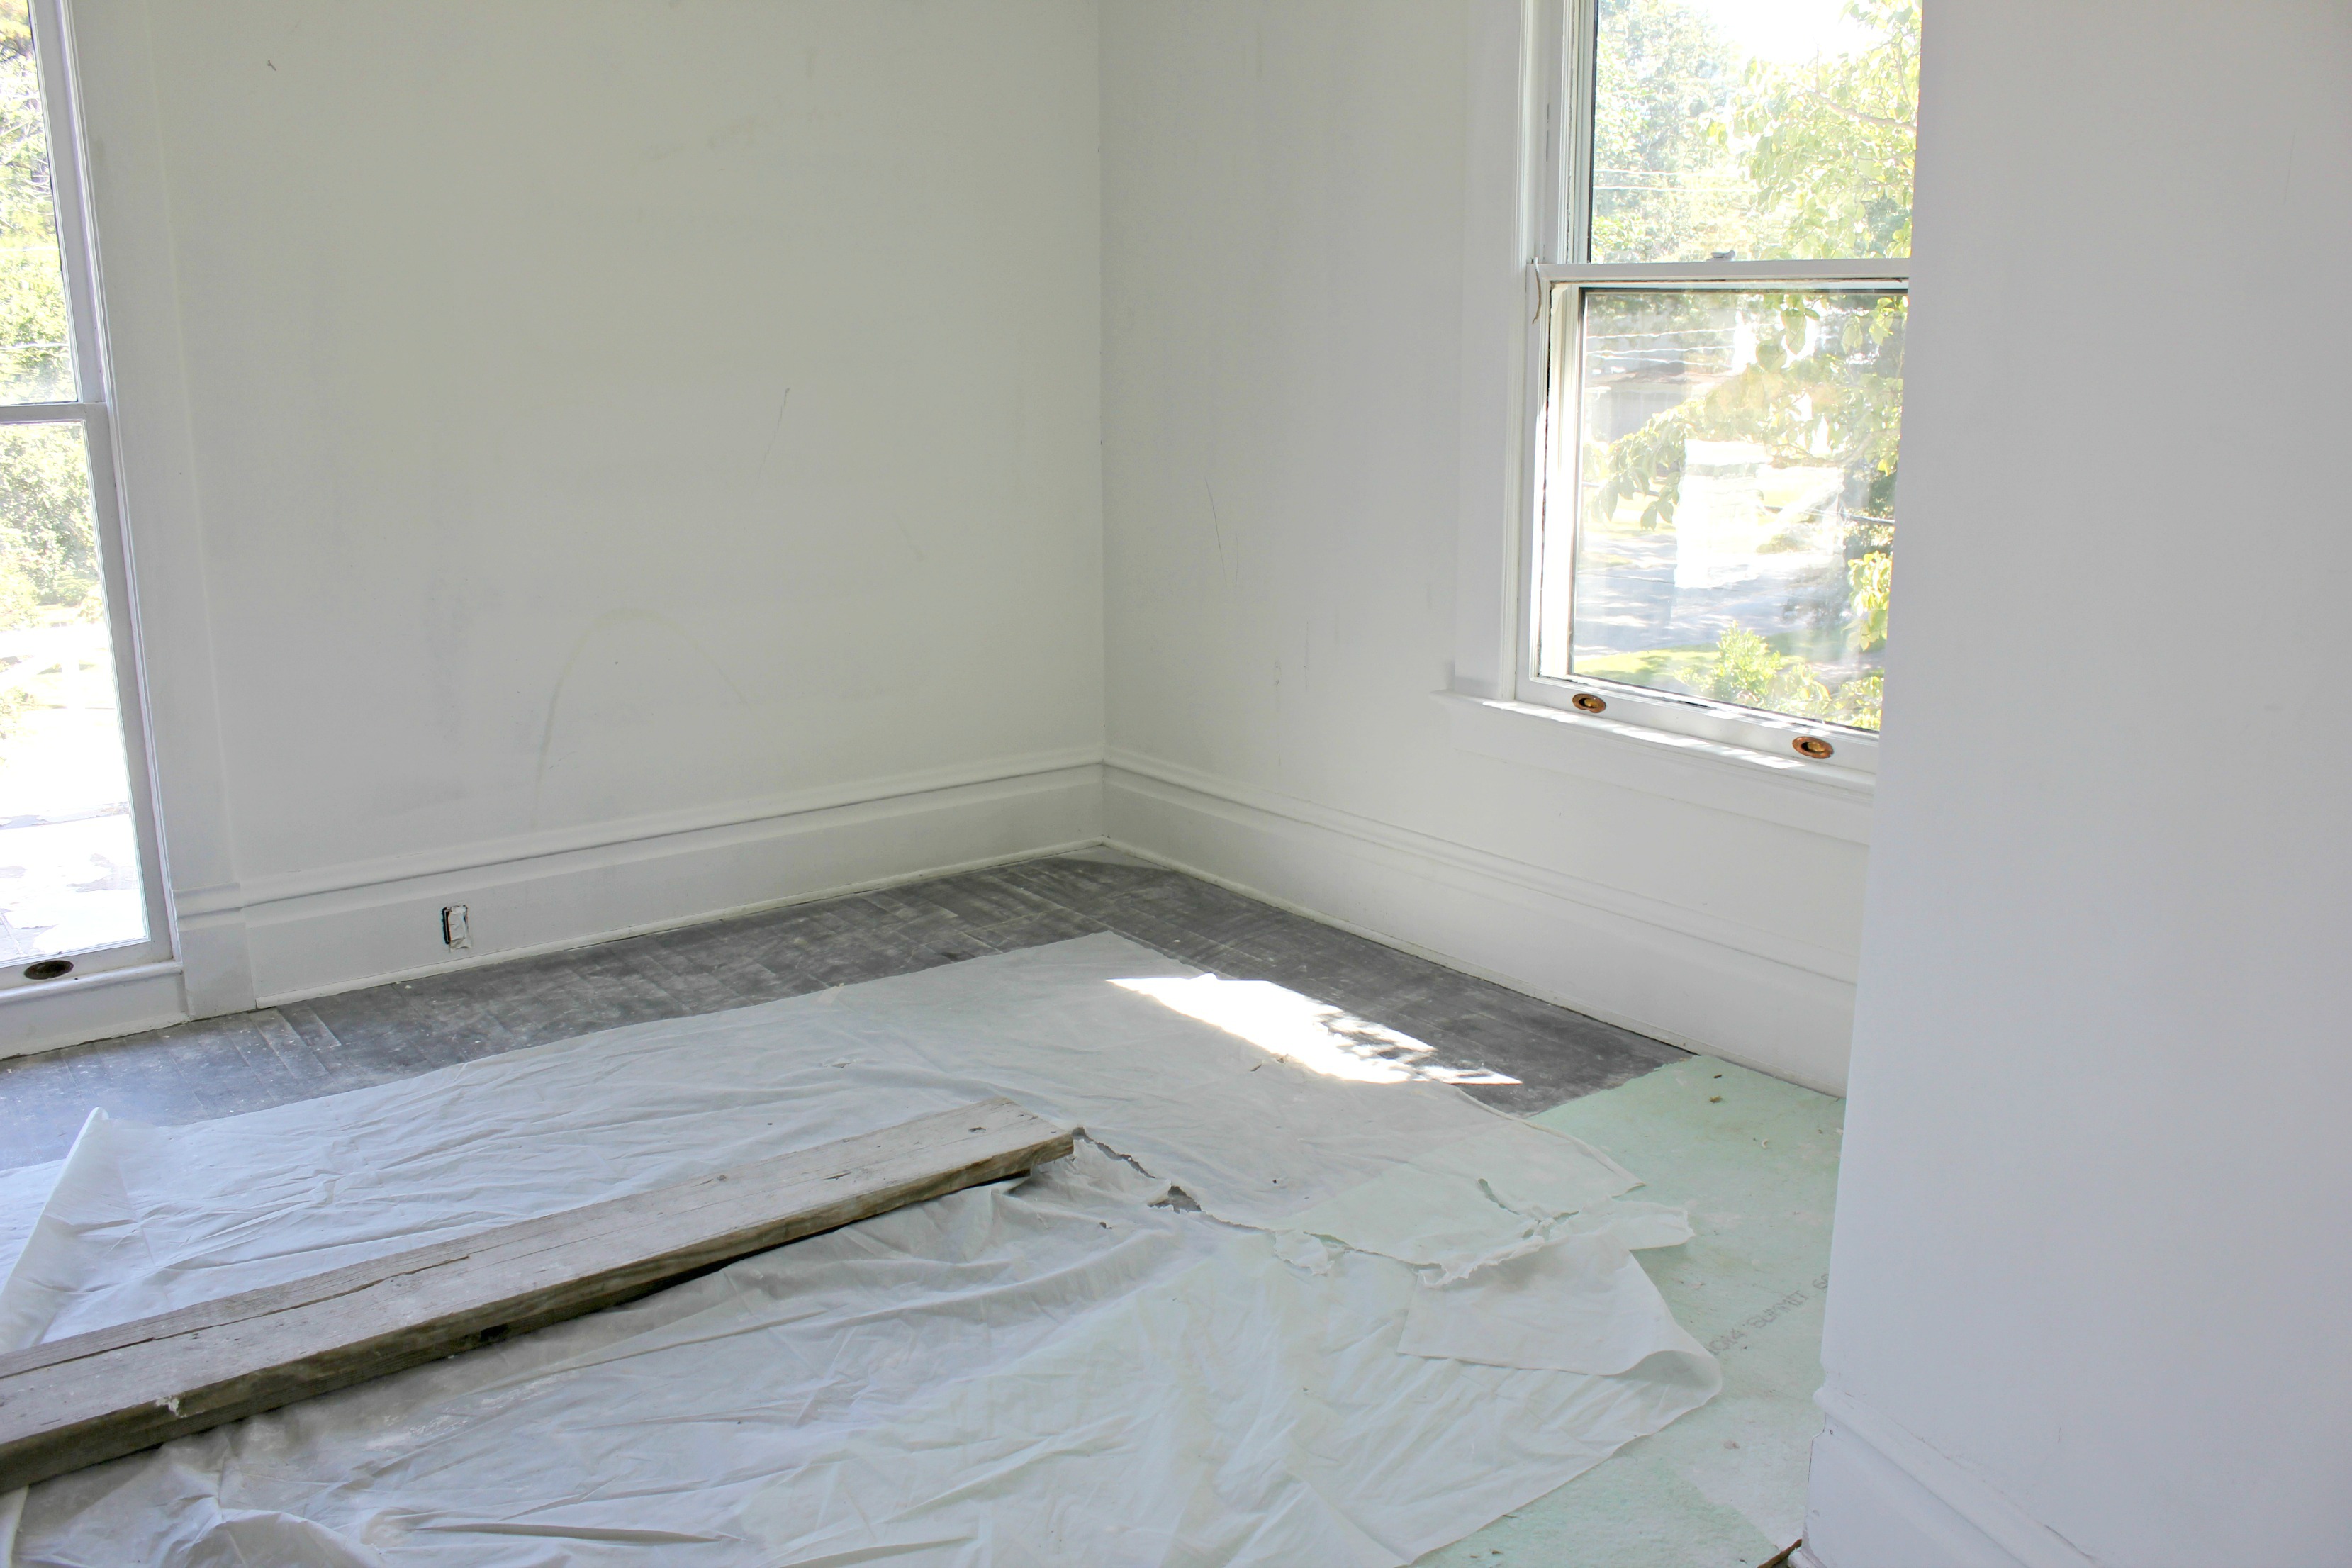
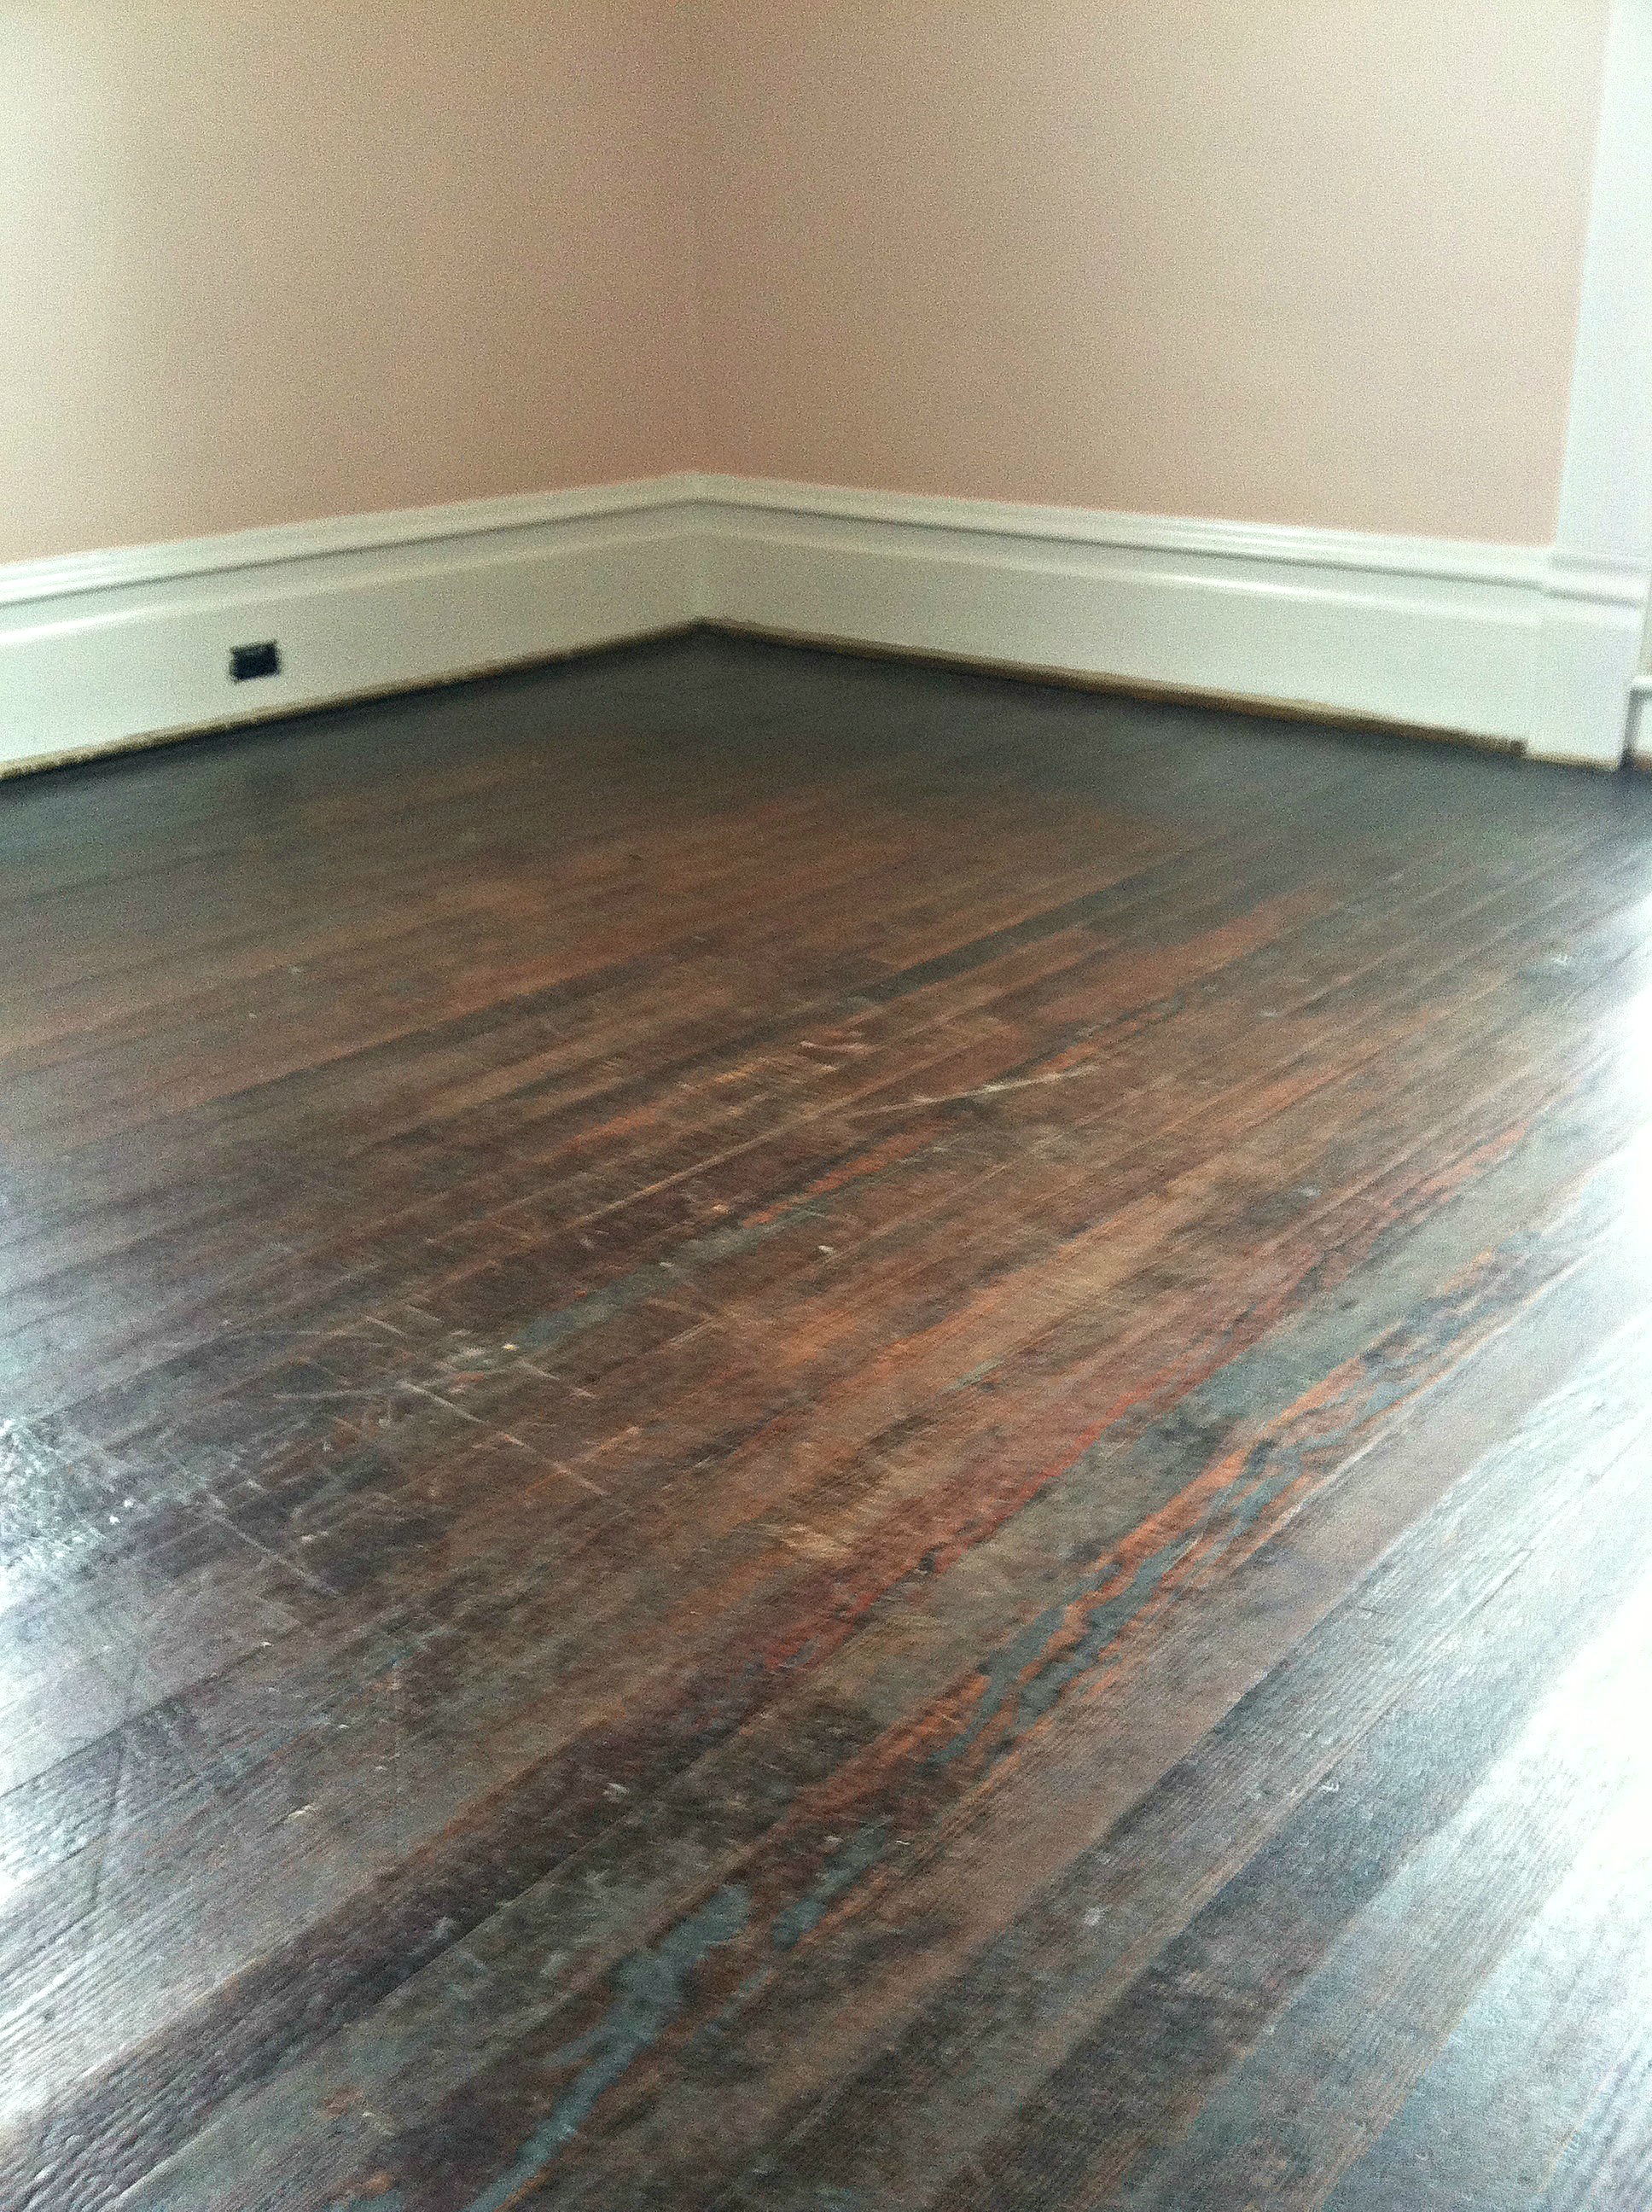
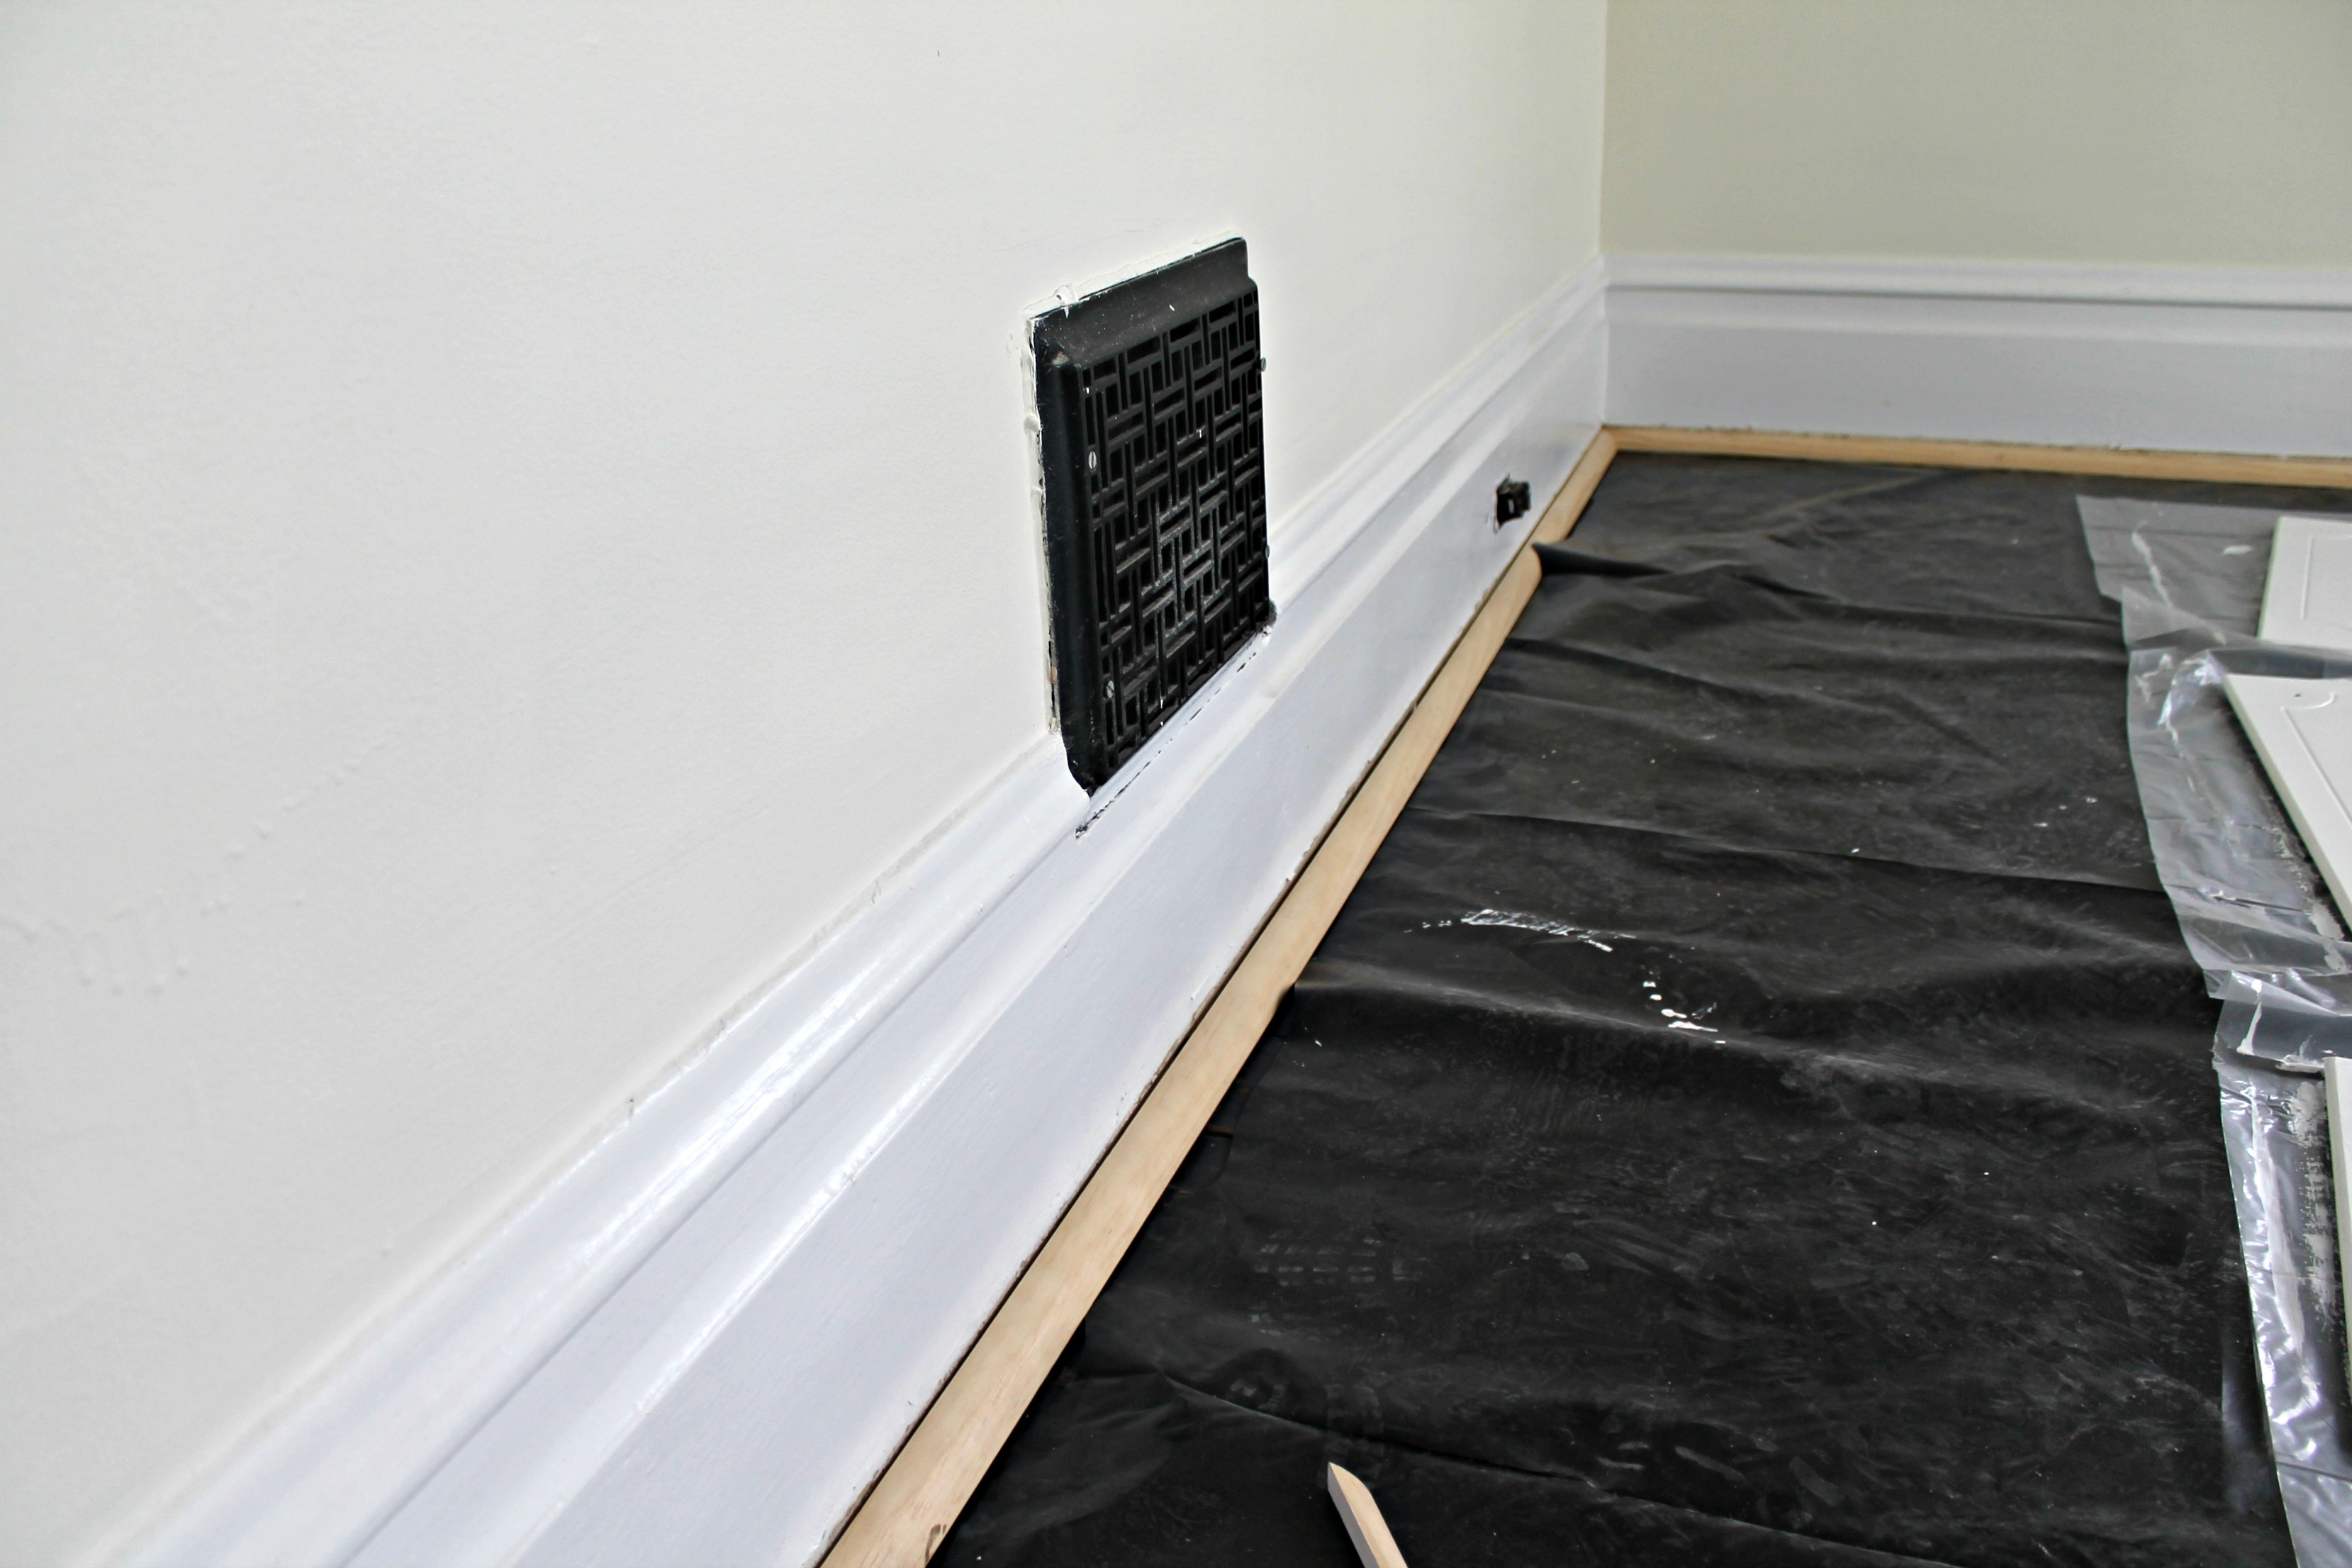
- Repair minor termite damage in the floor
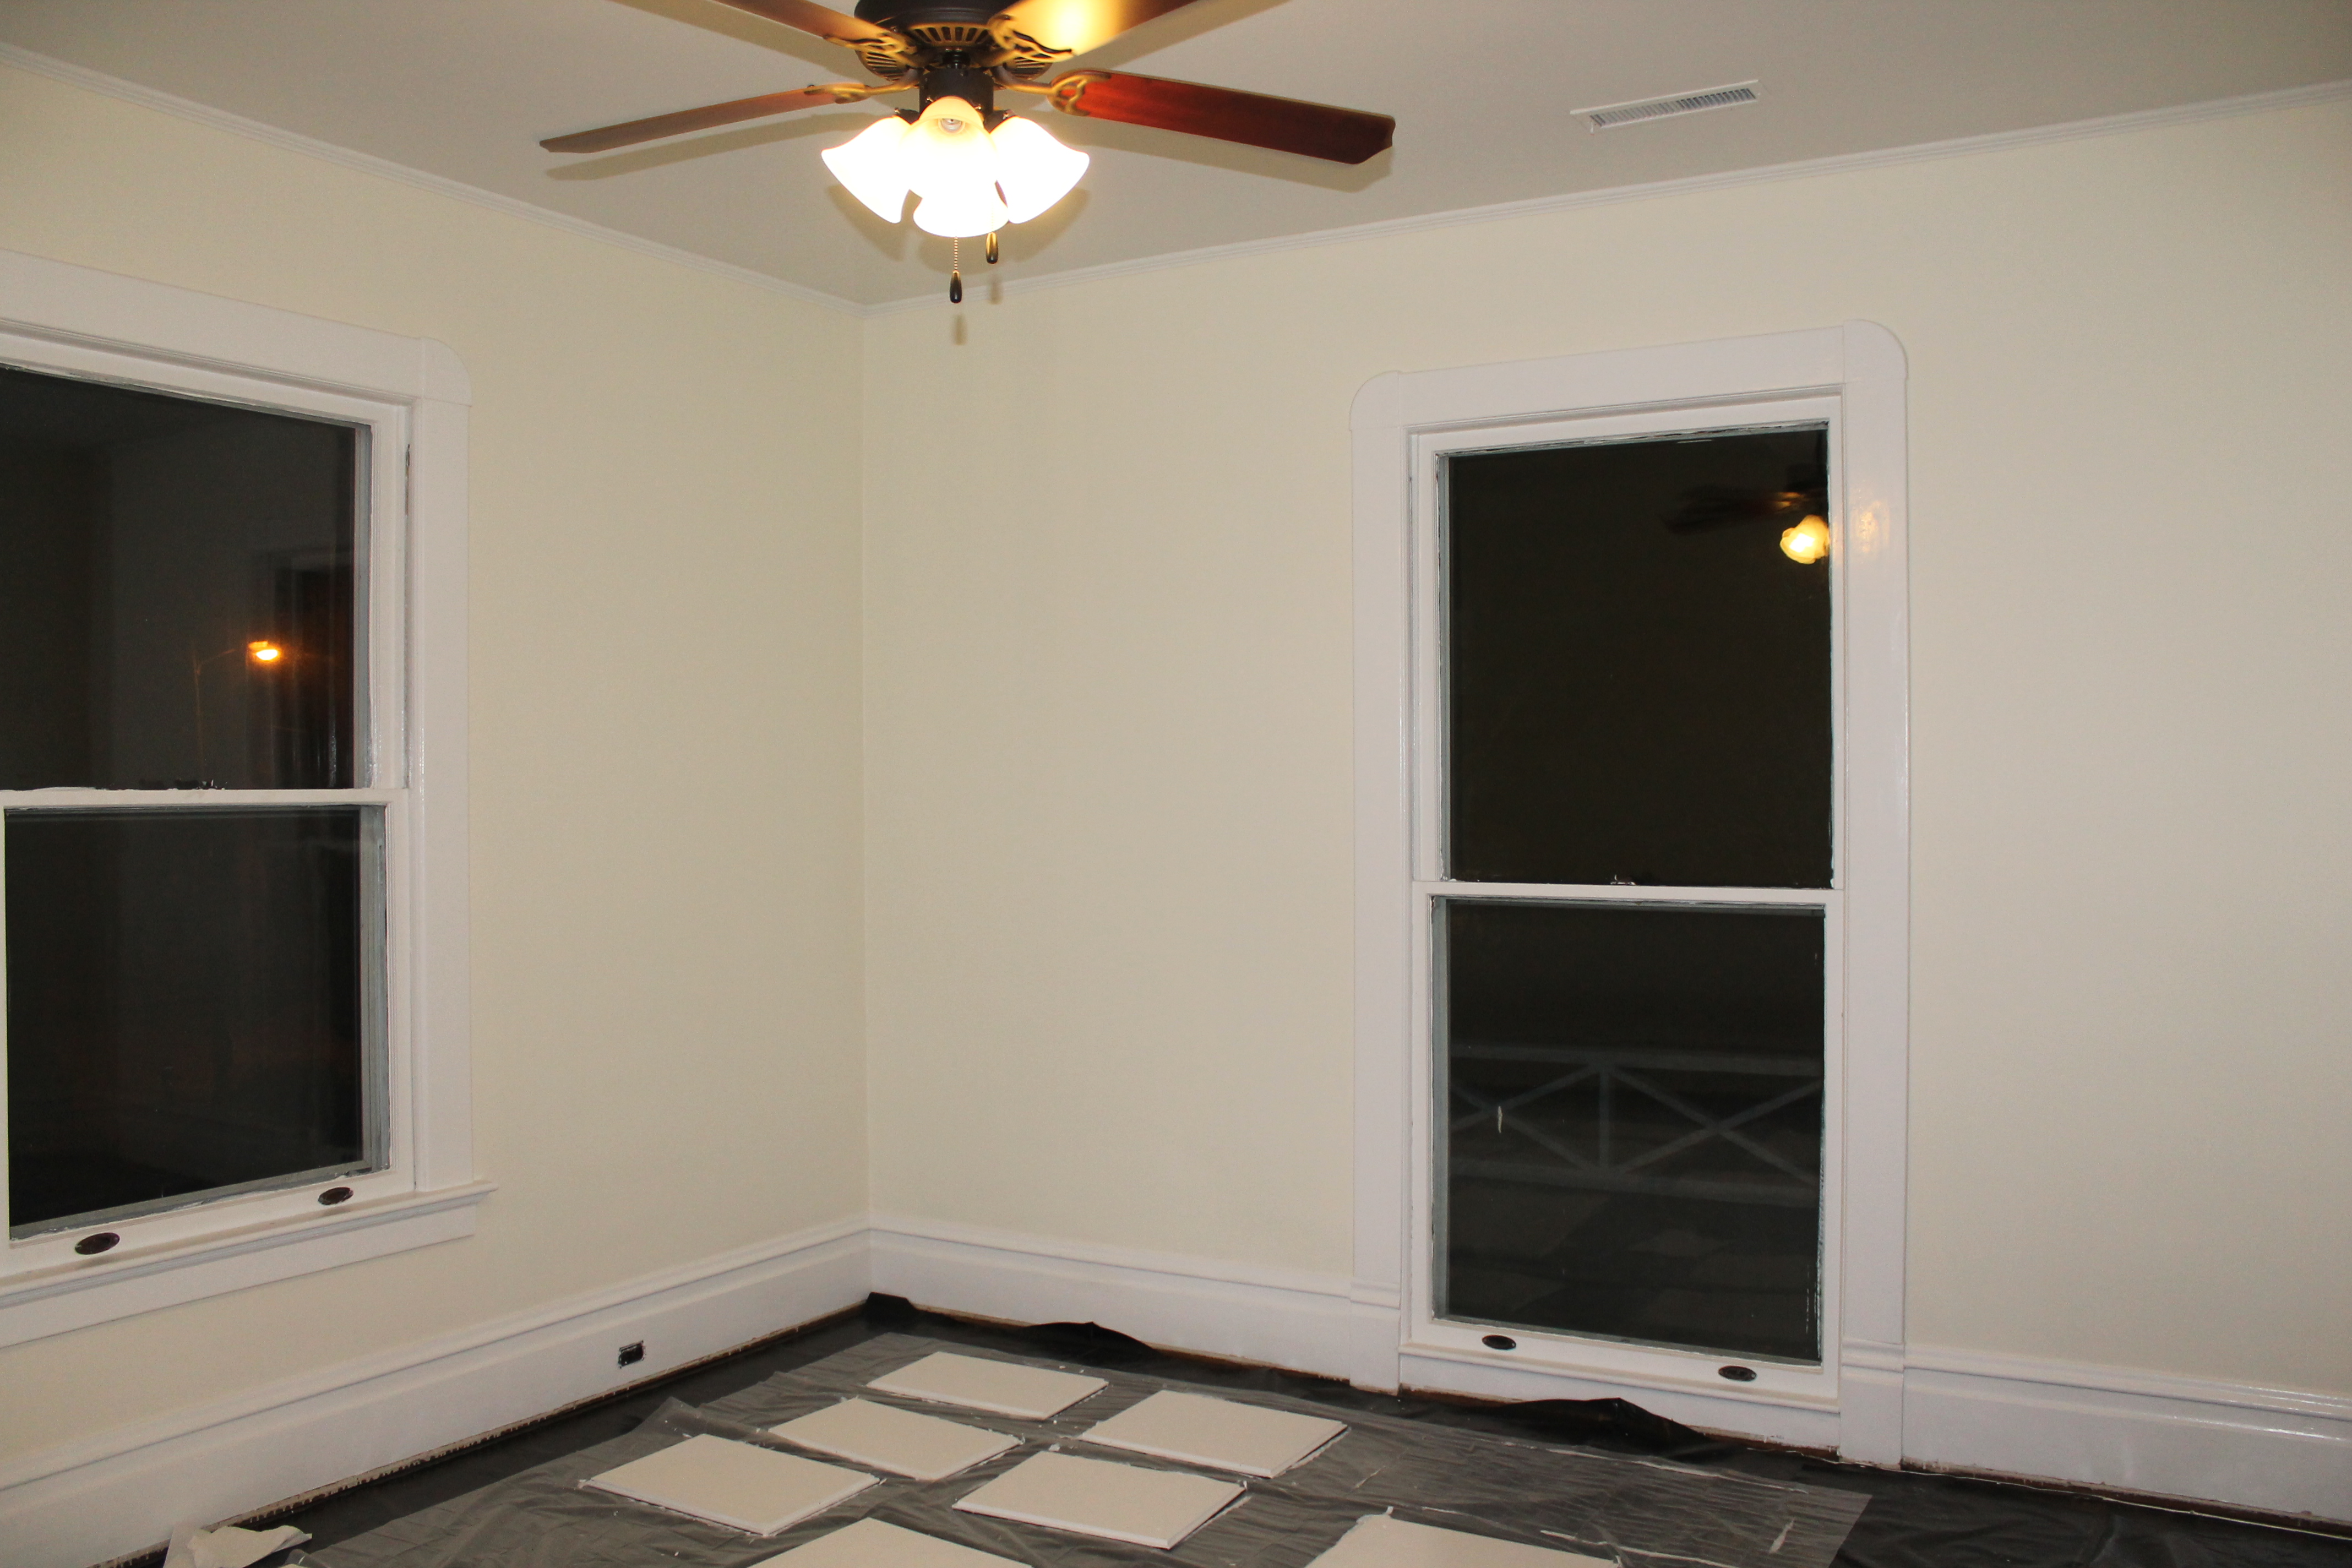
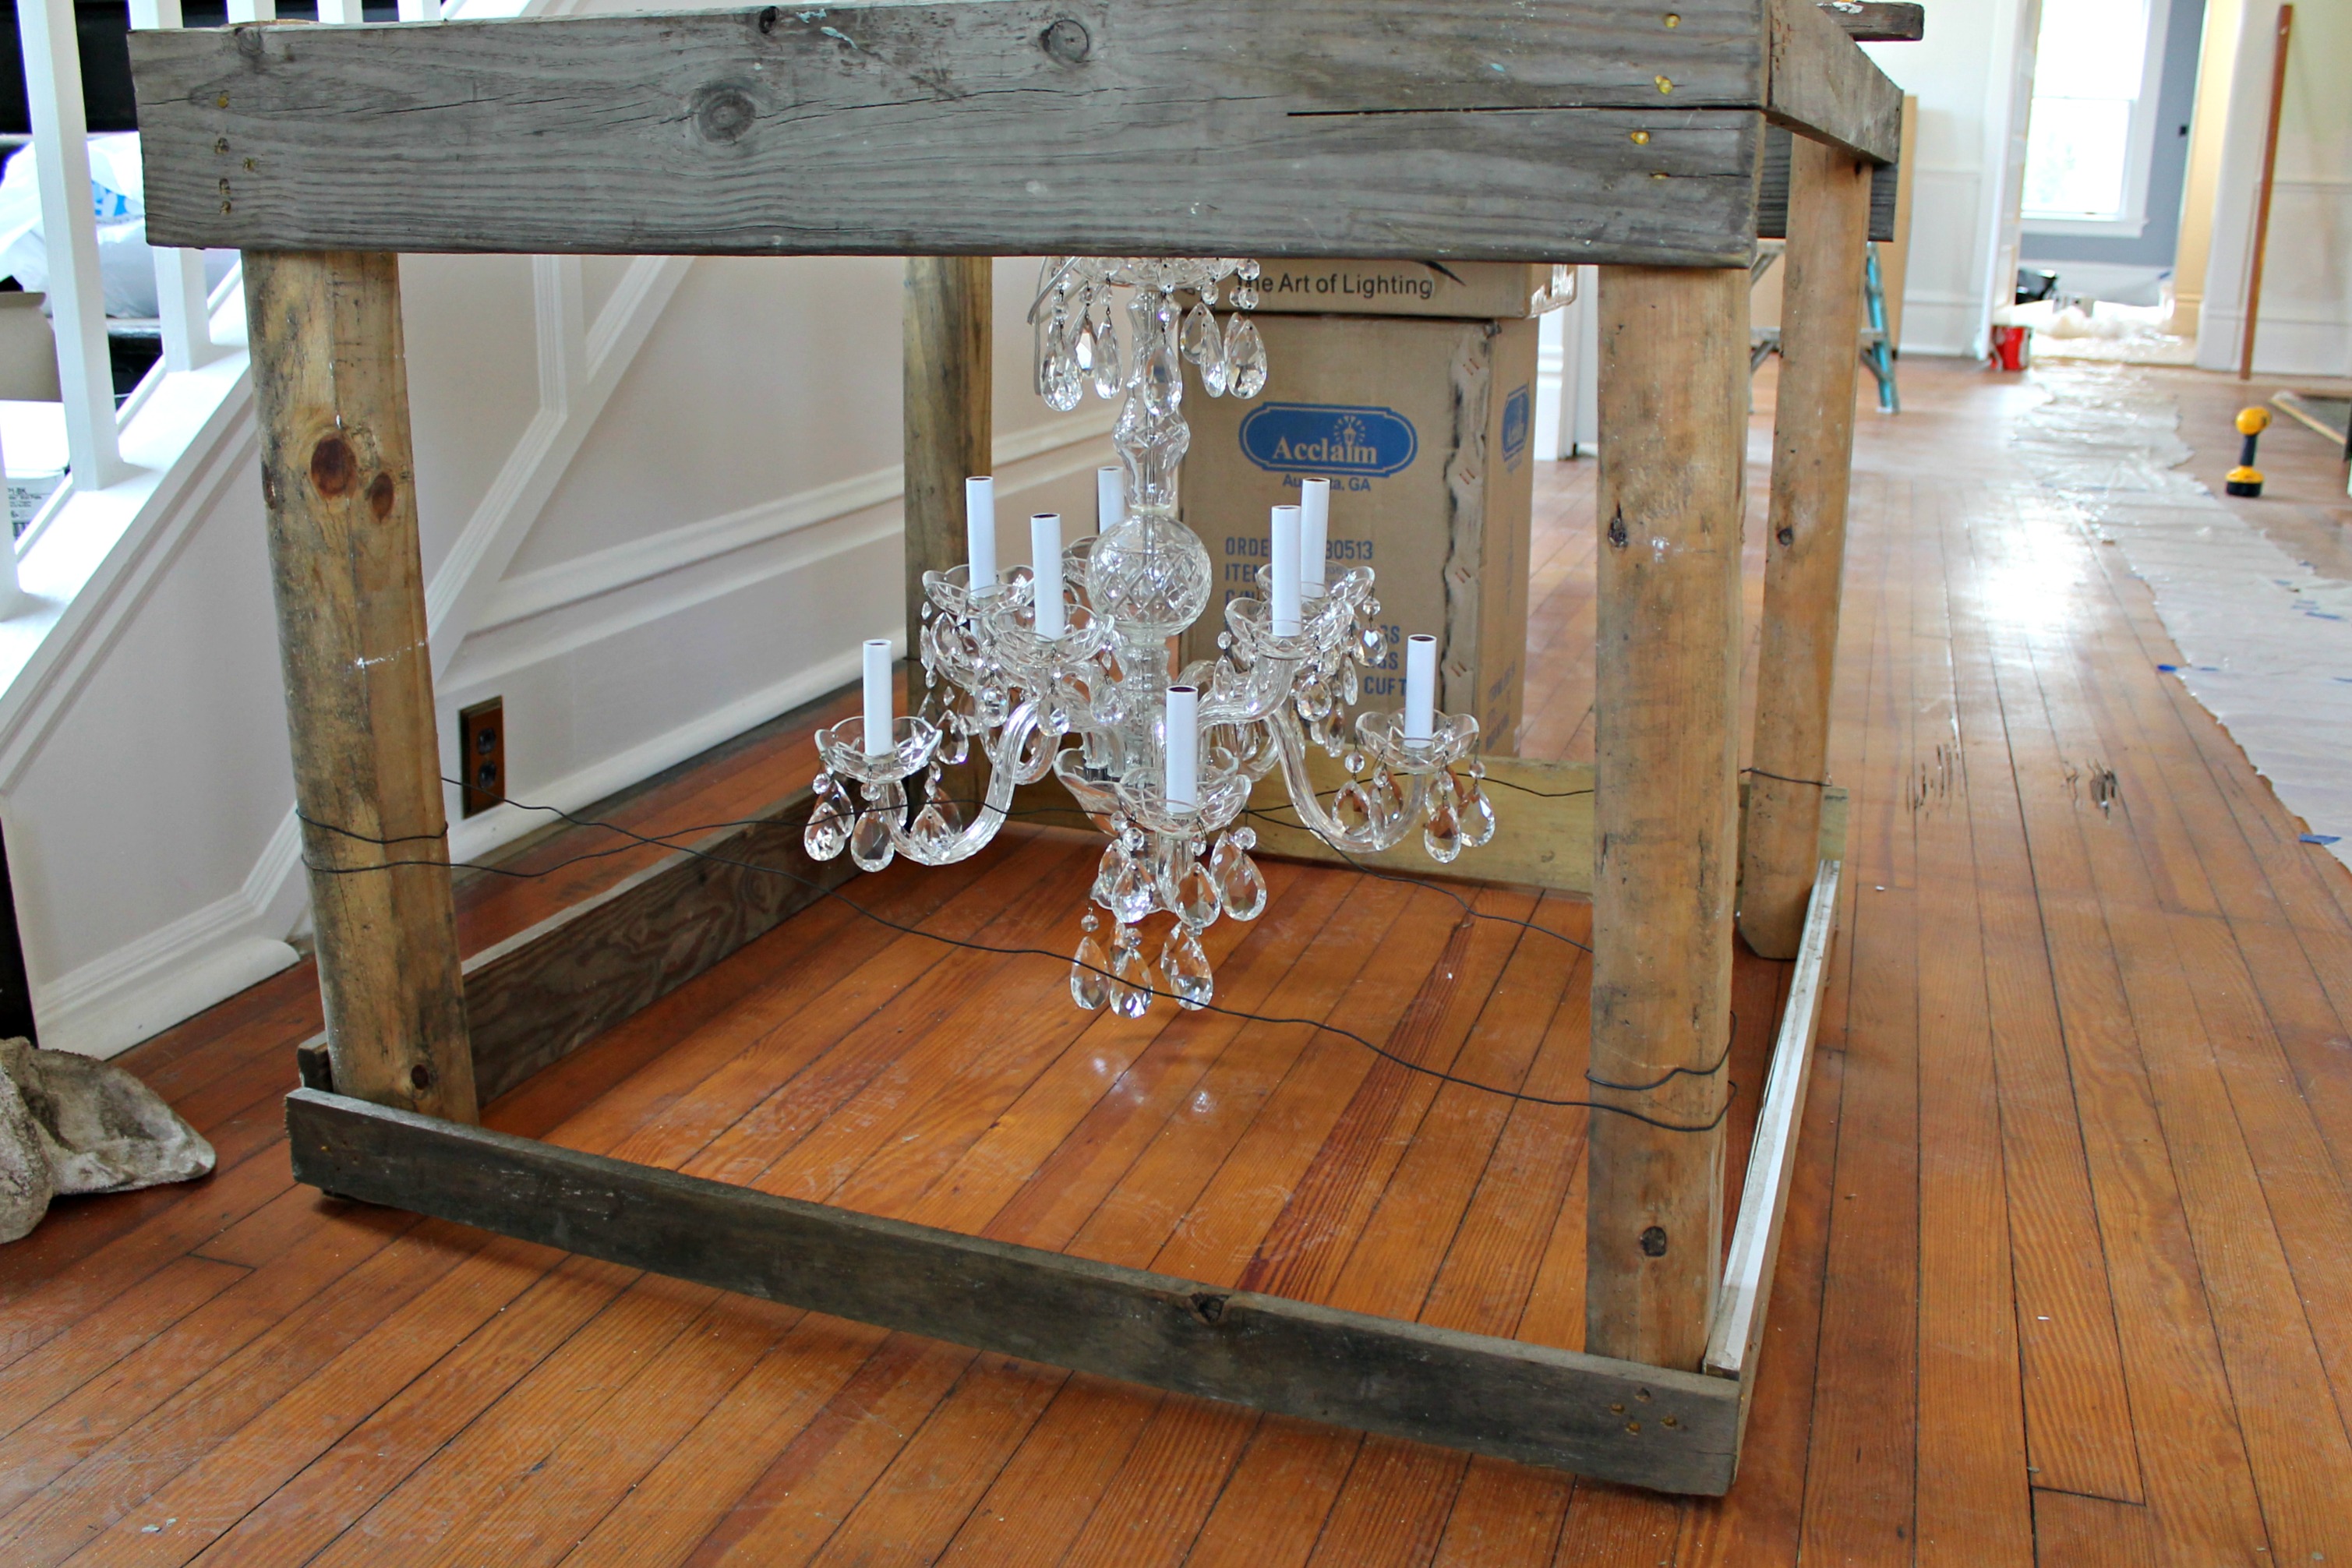
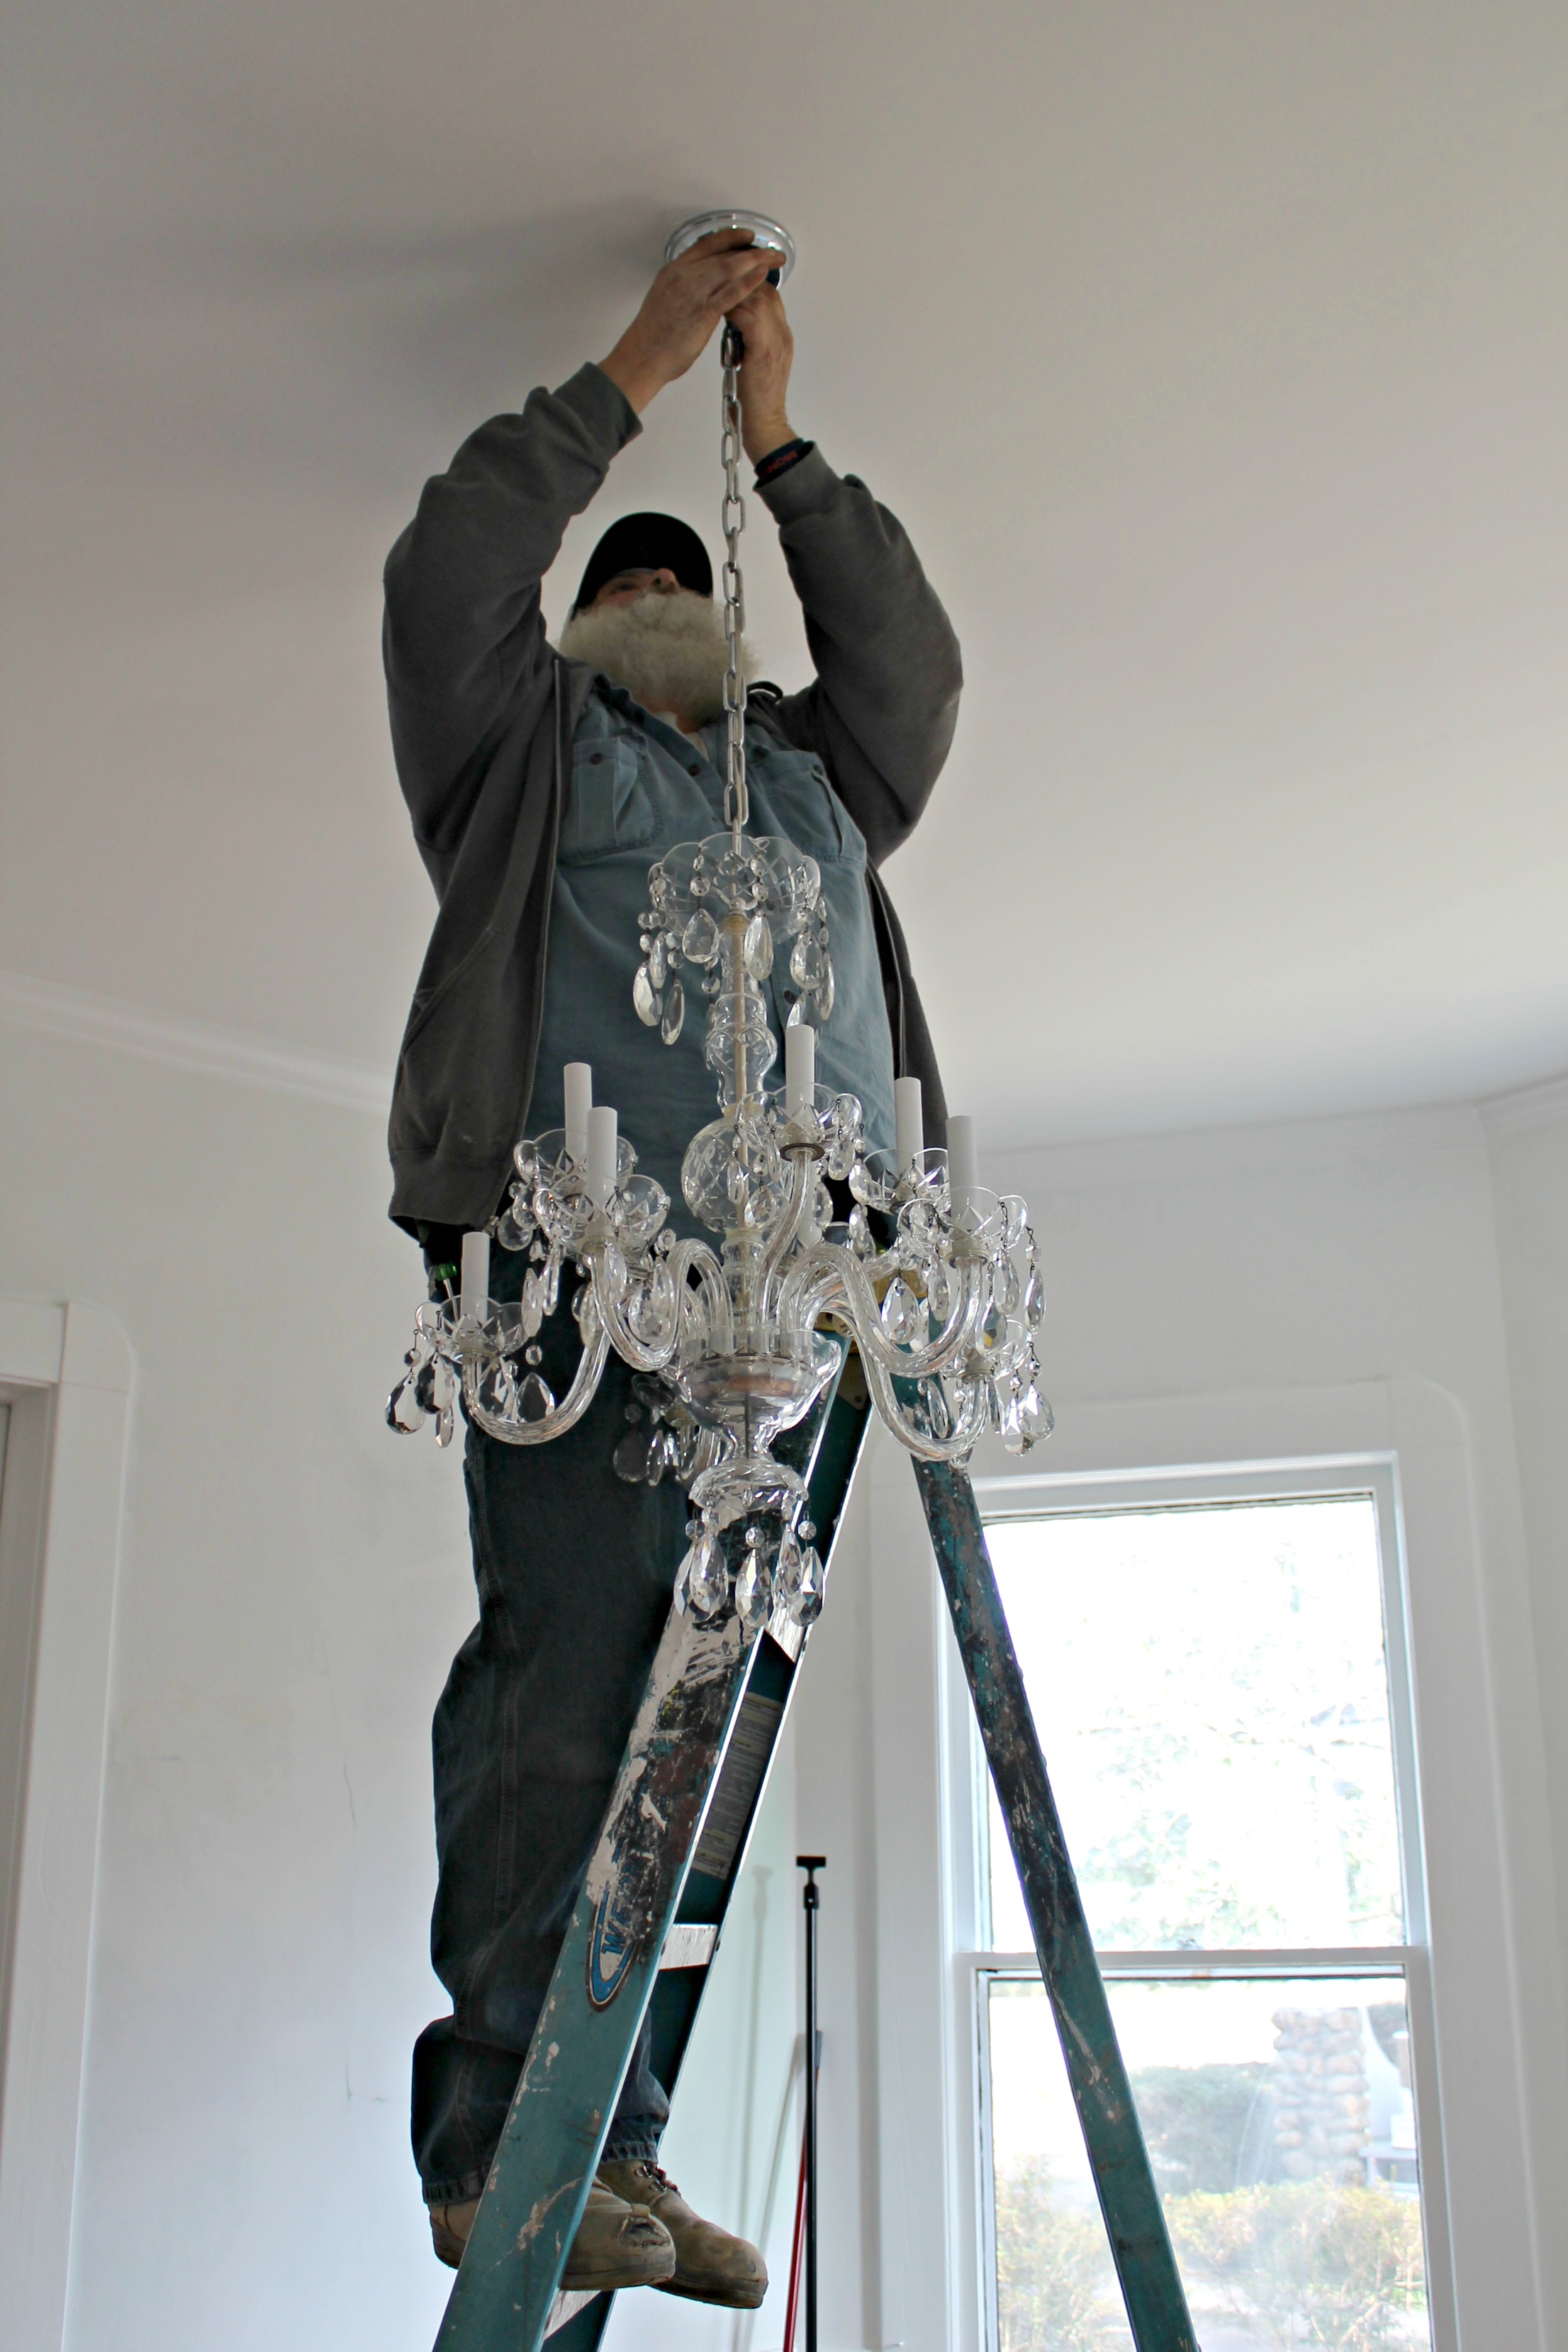
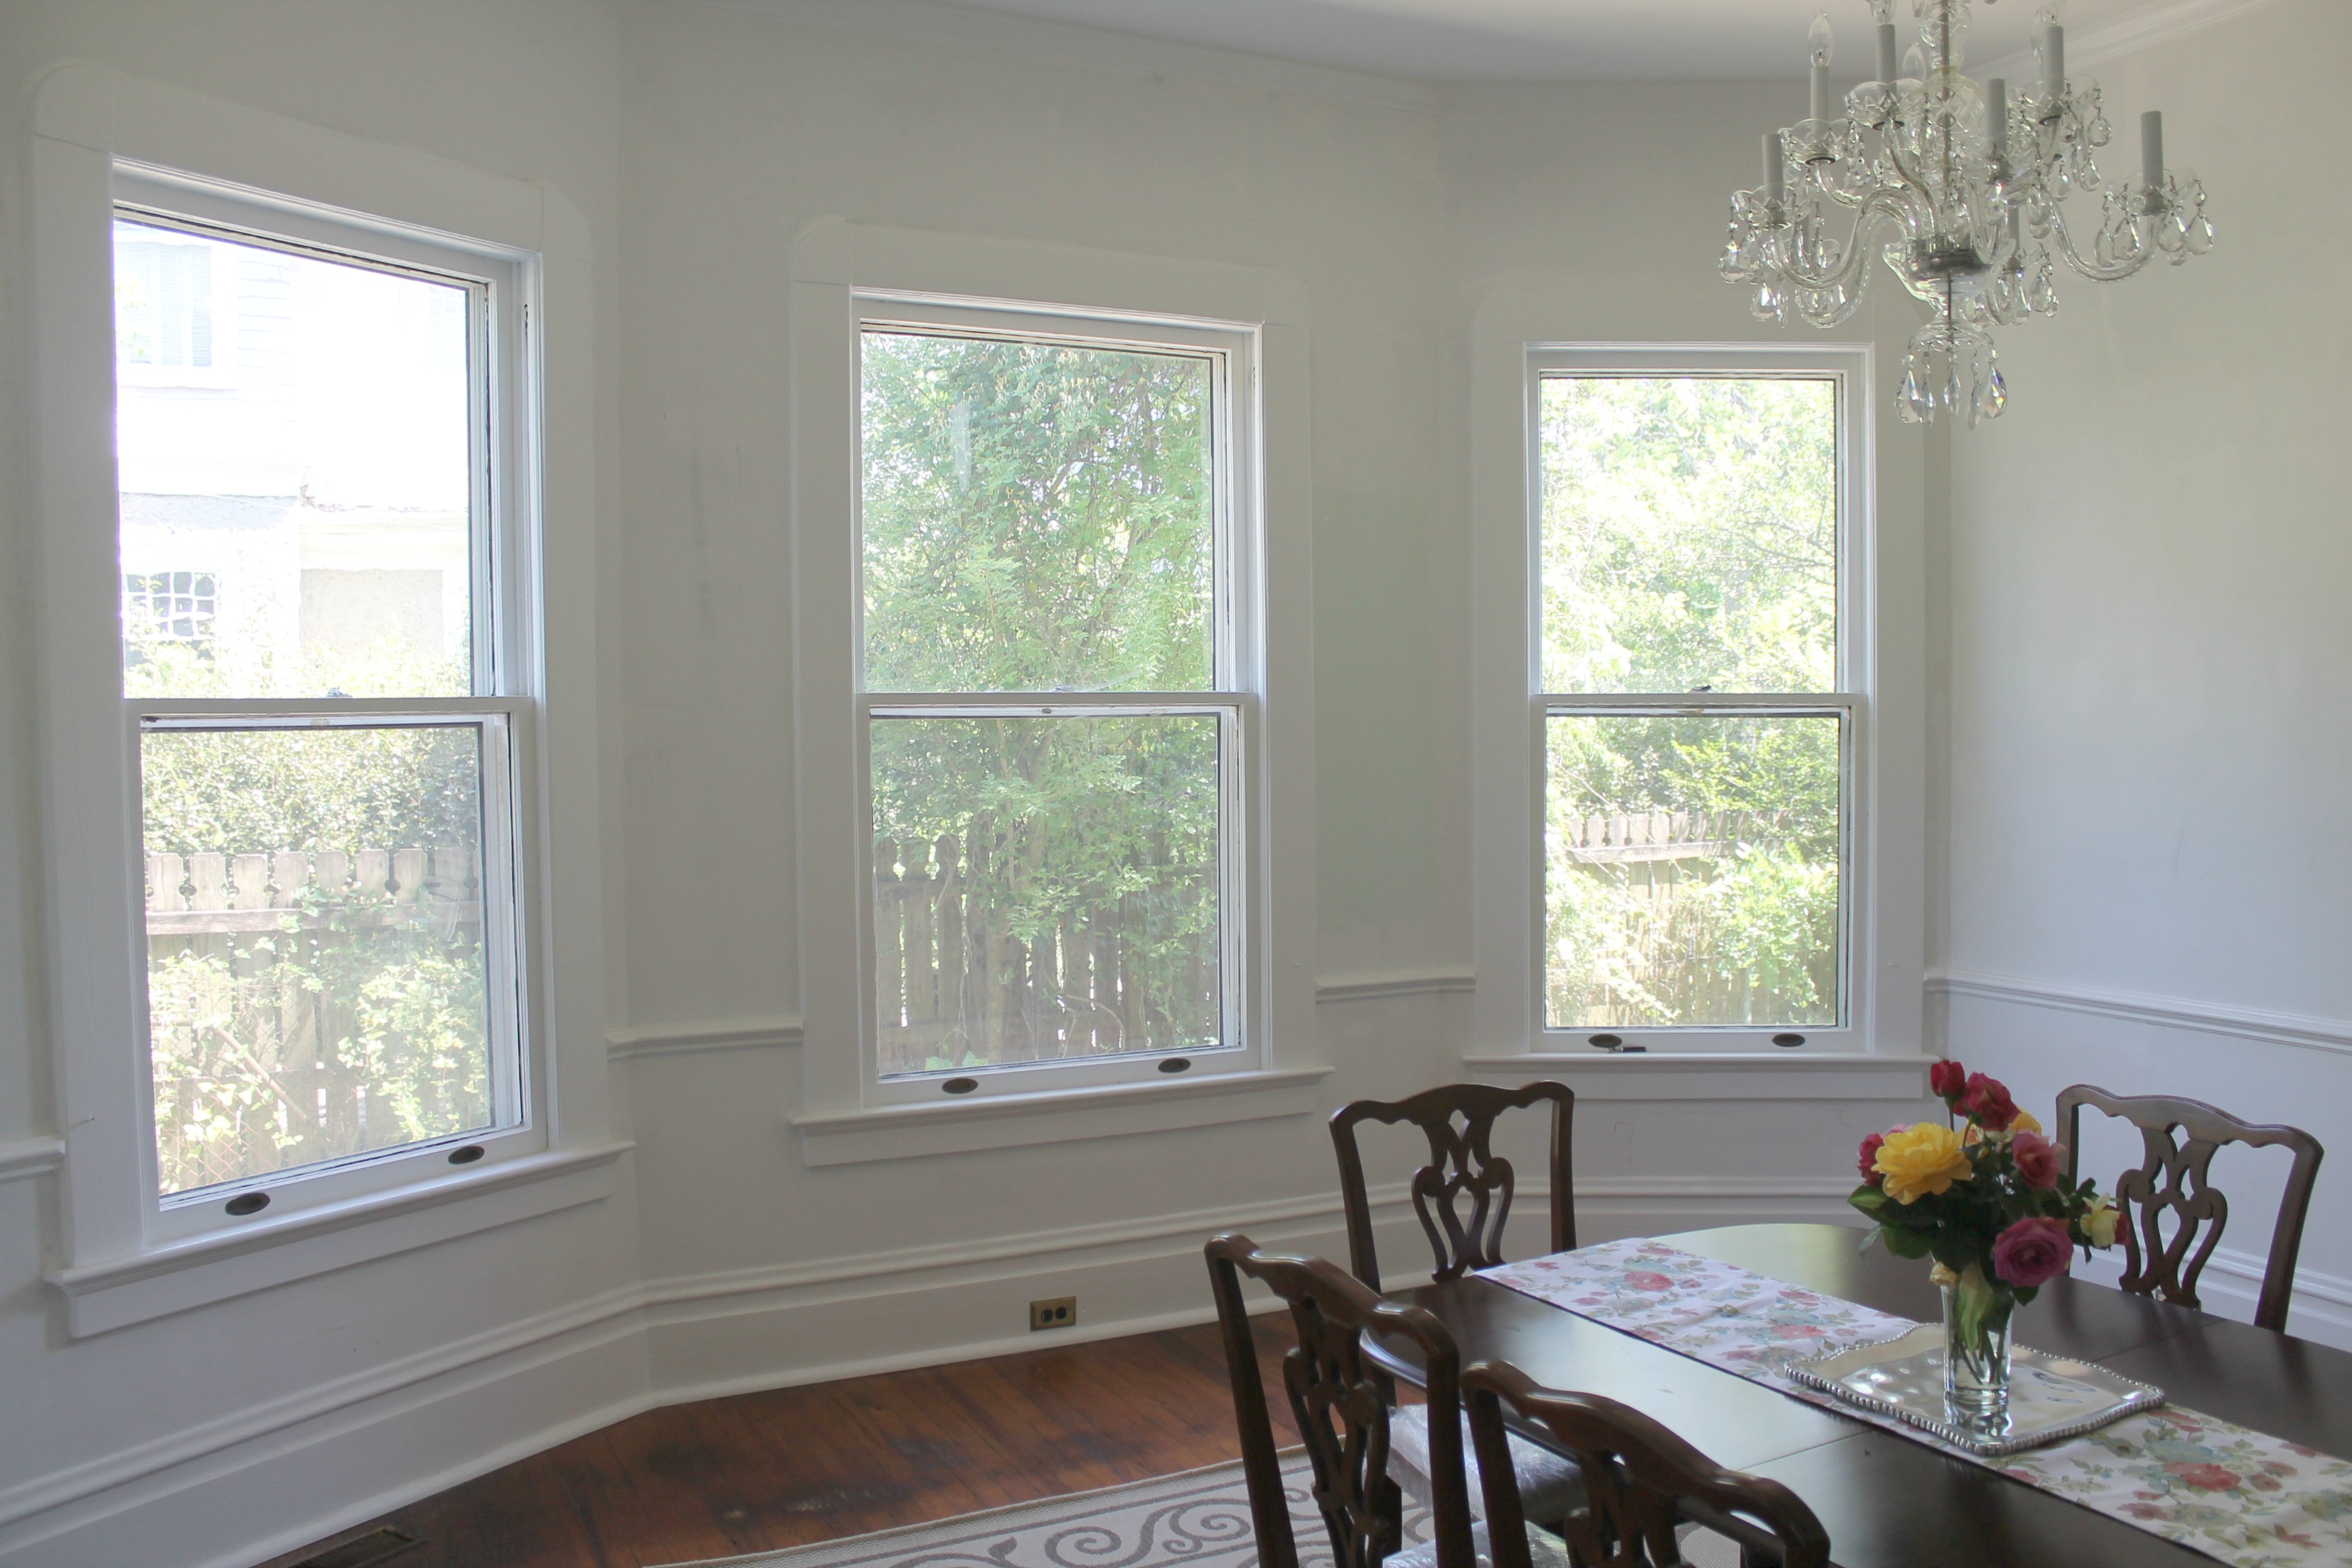
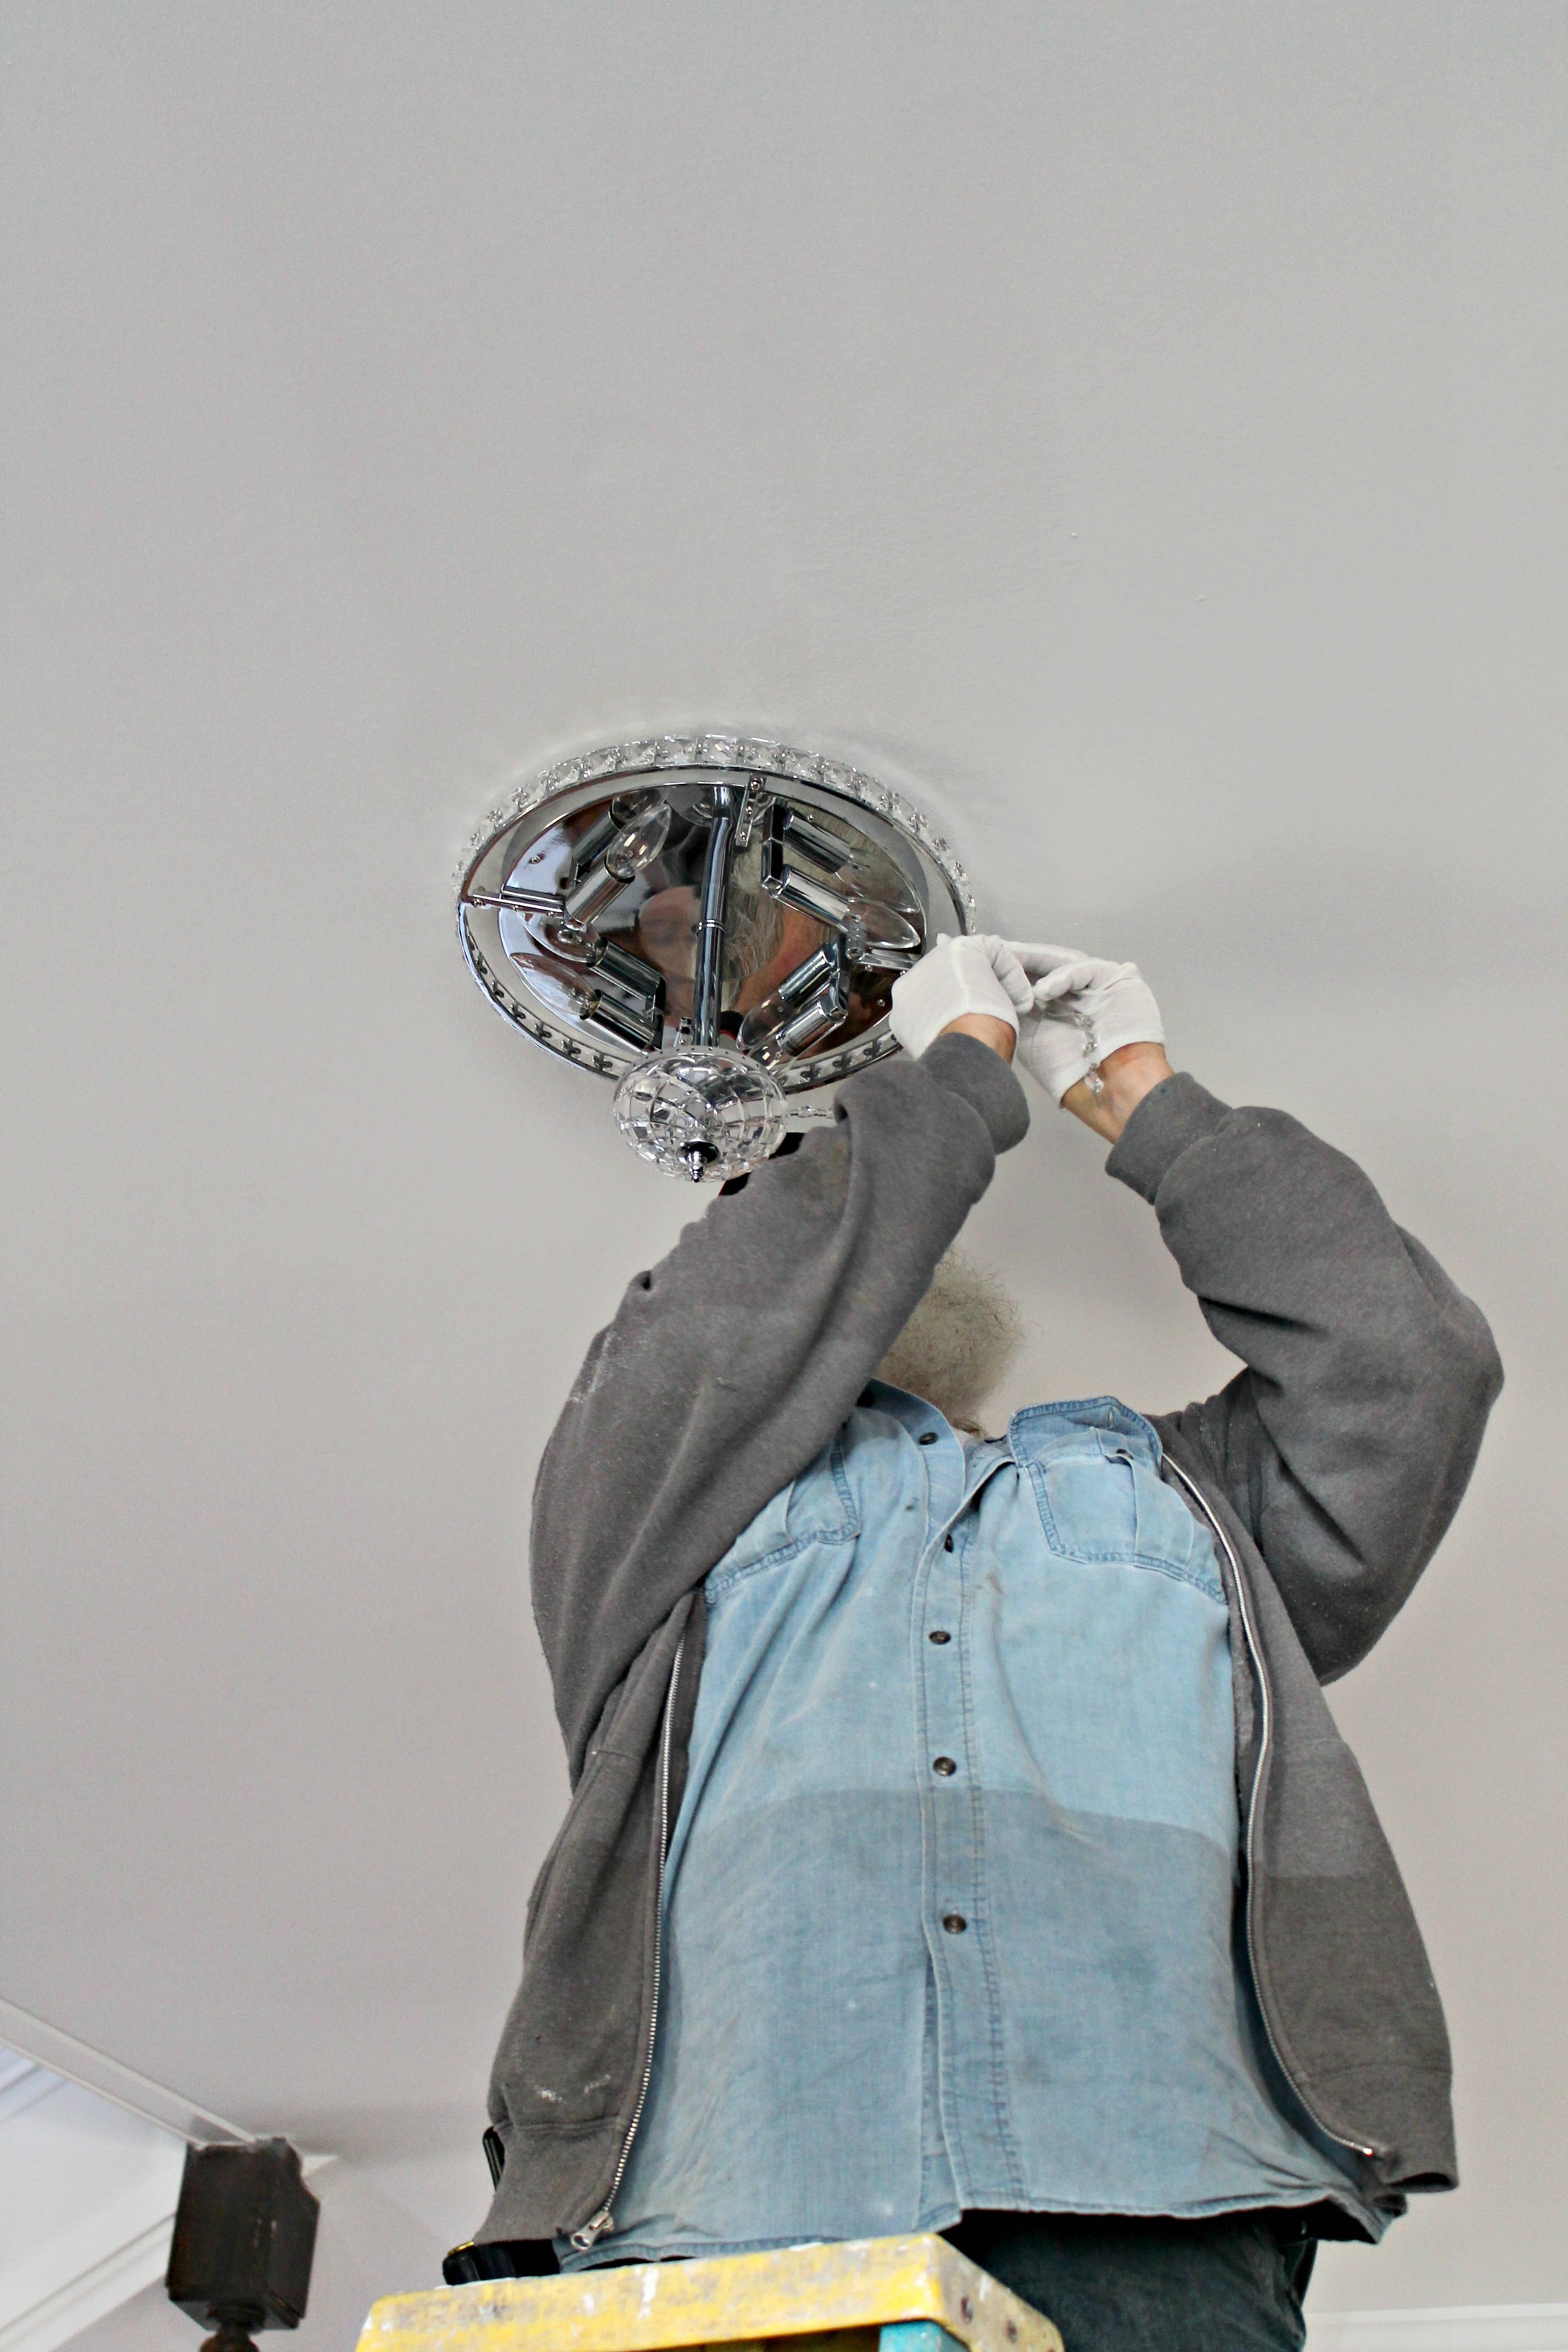
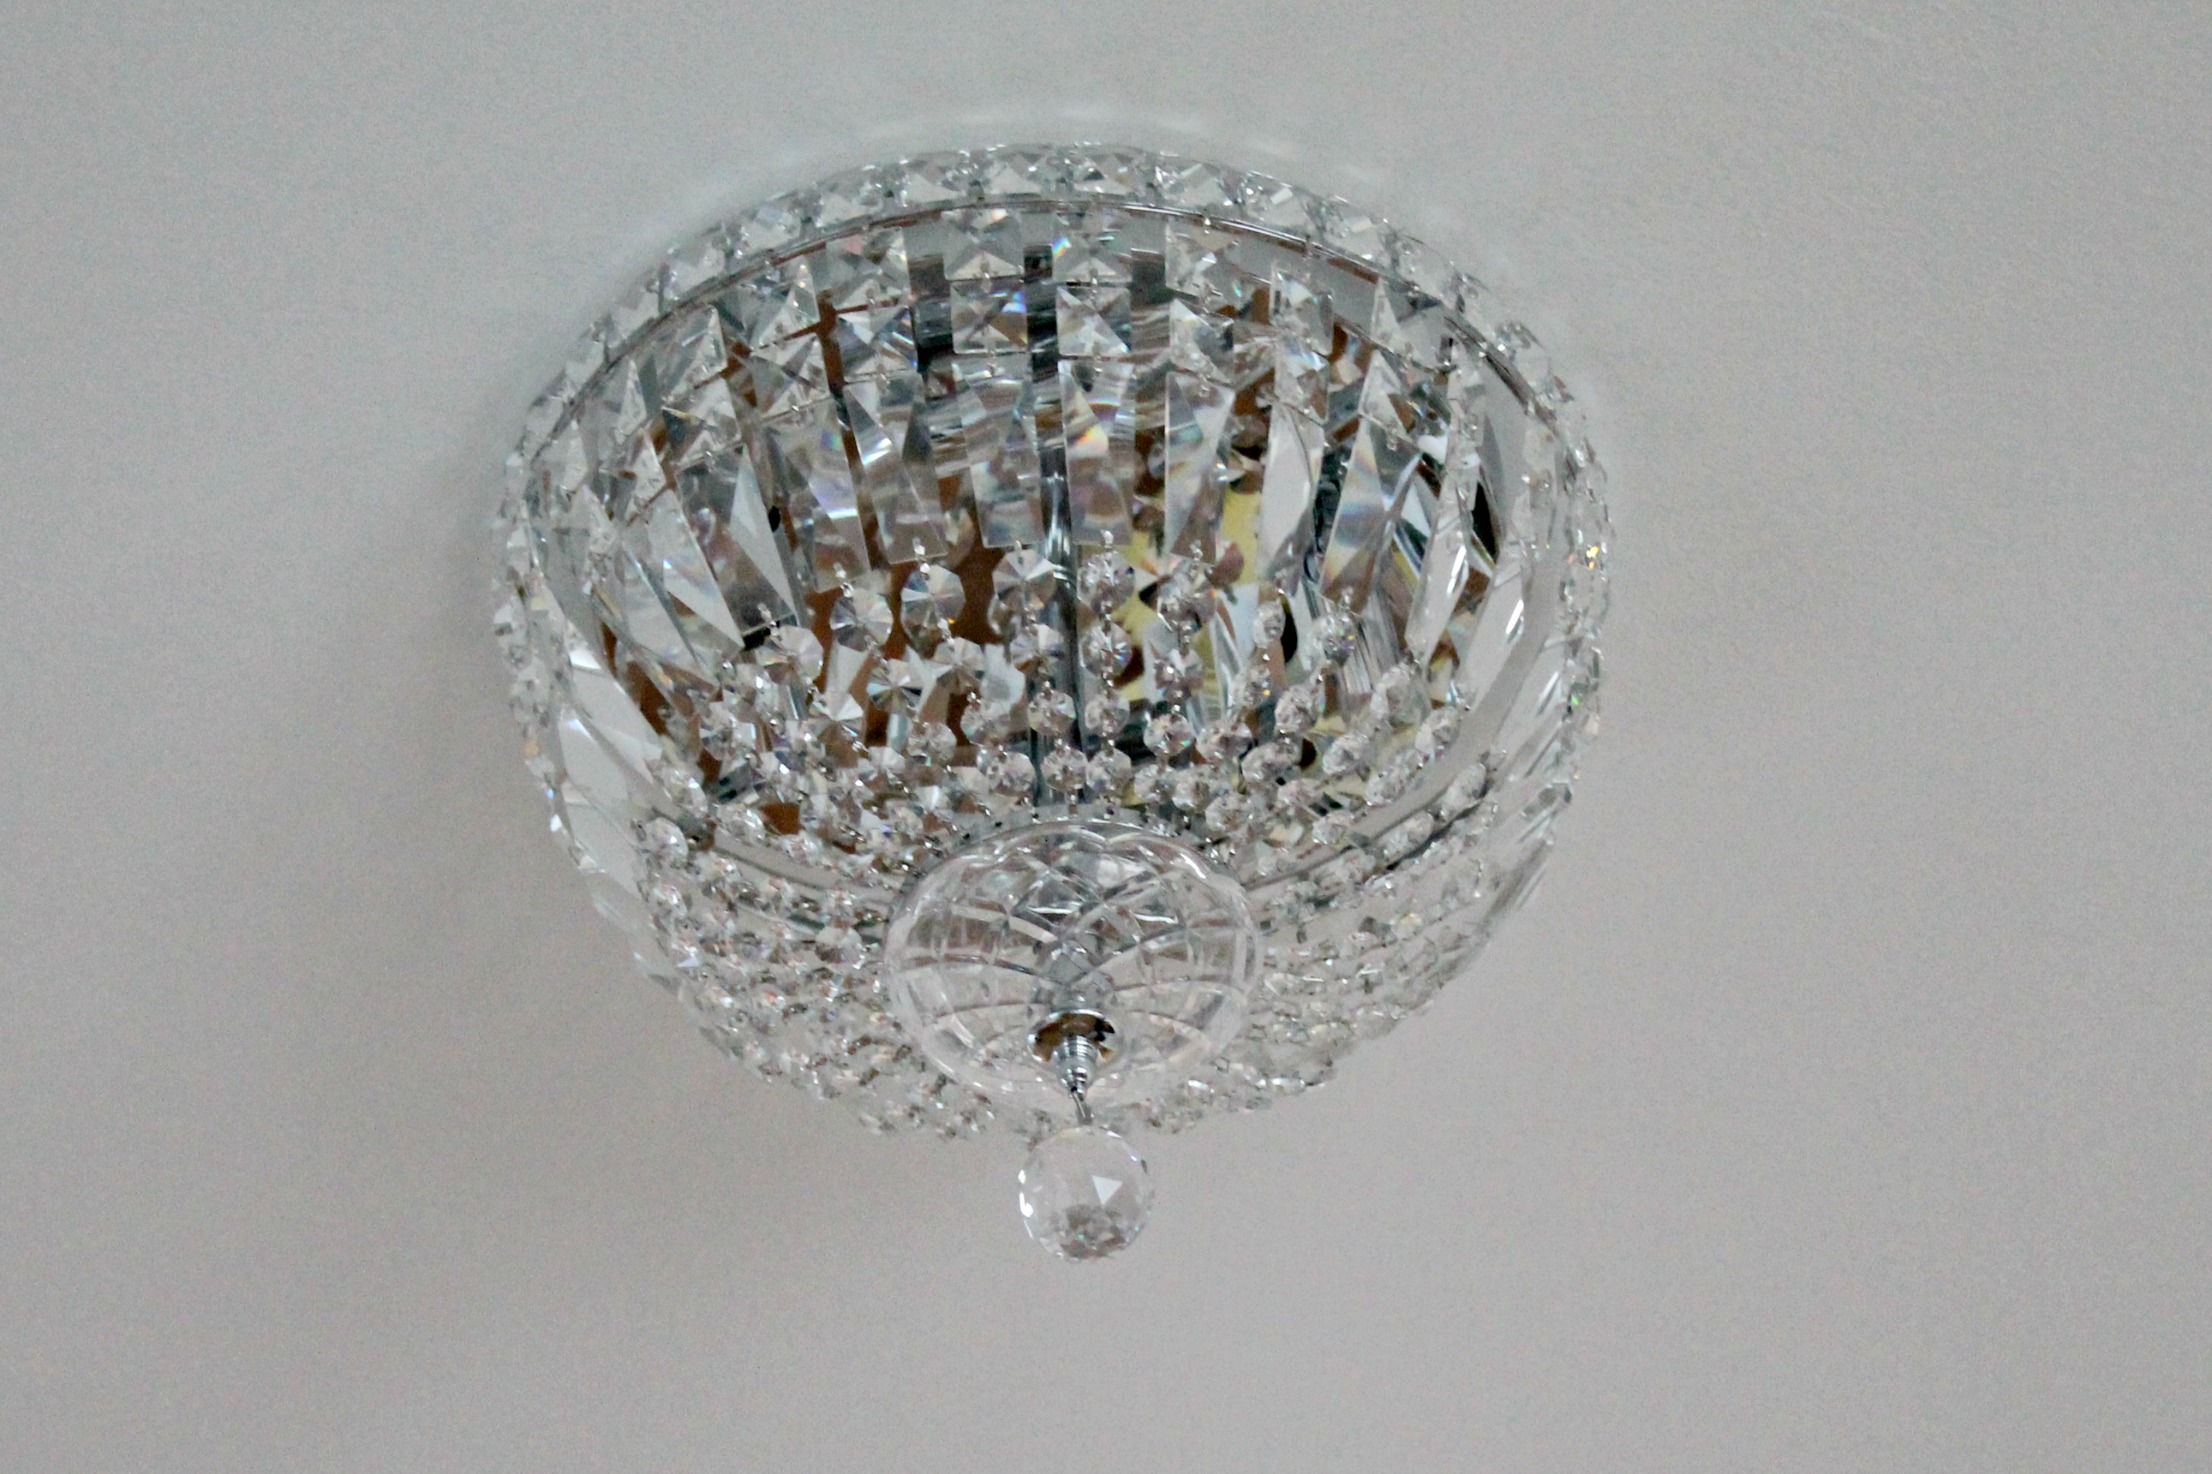
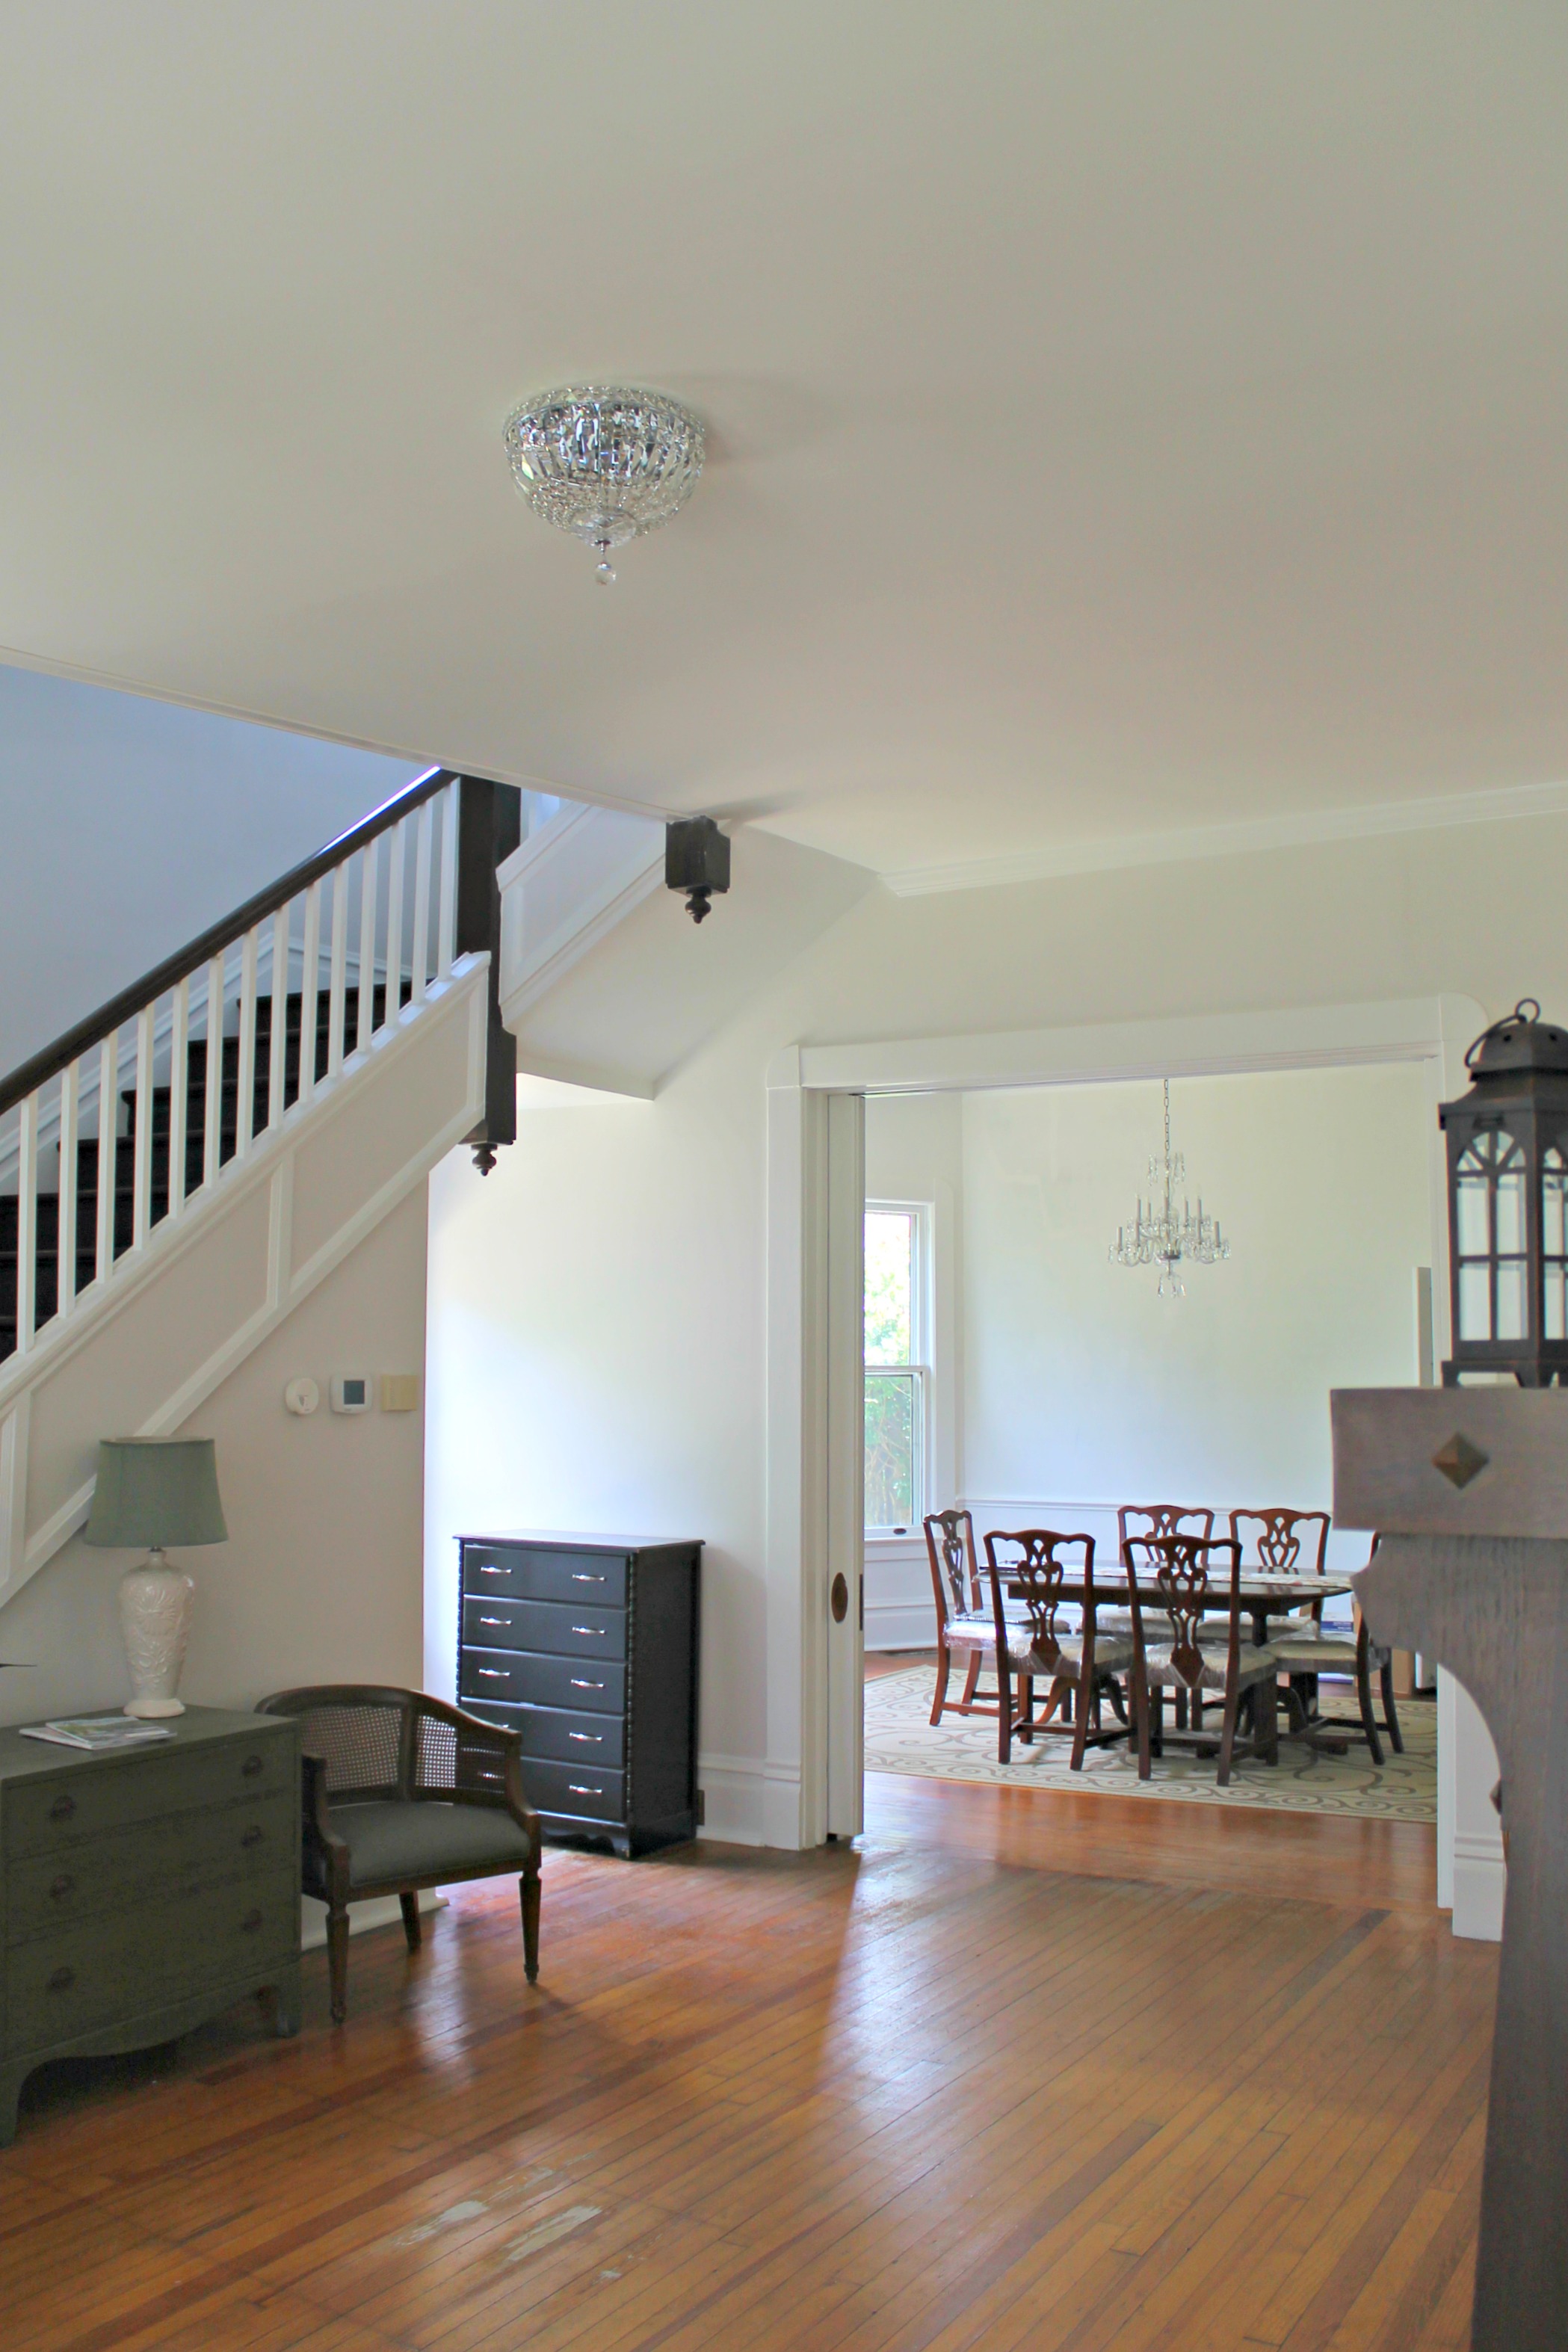
- Install new light fixture in the foyer
- Clean and lubricate pocket door tracks
- Install alarm system
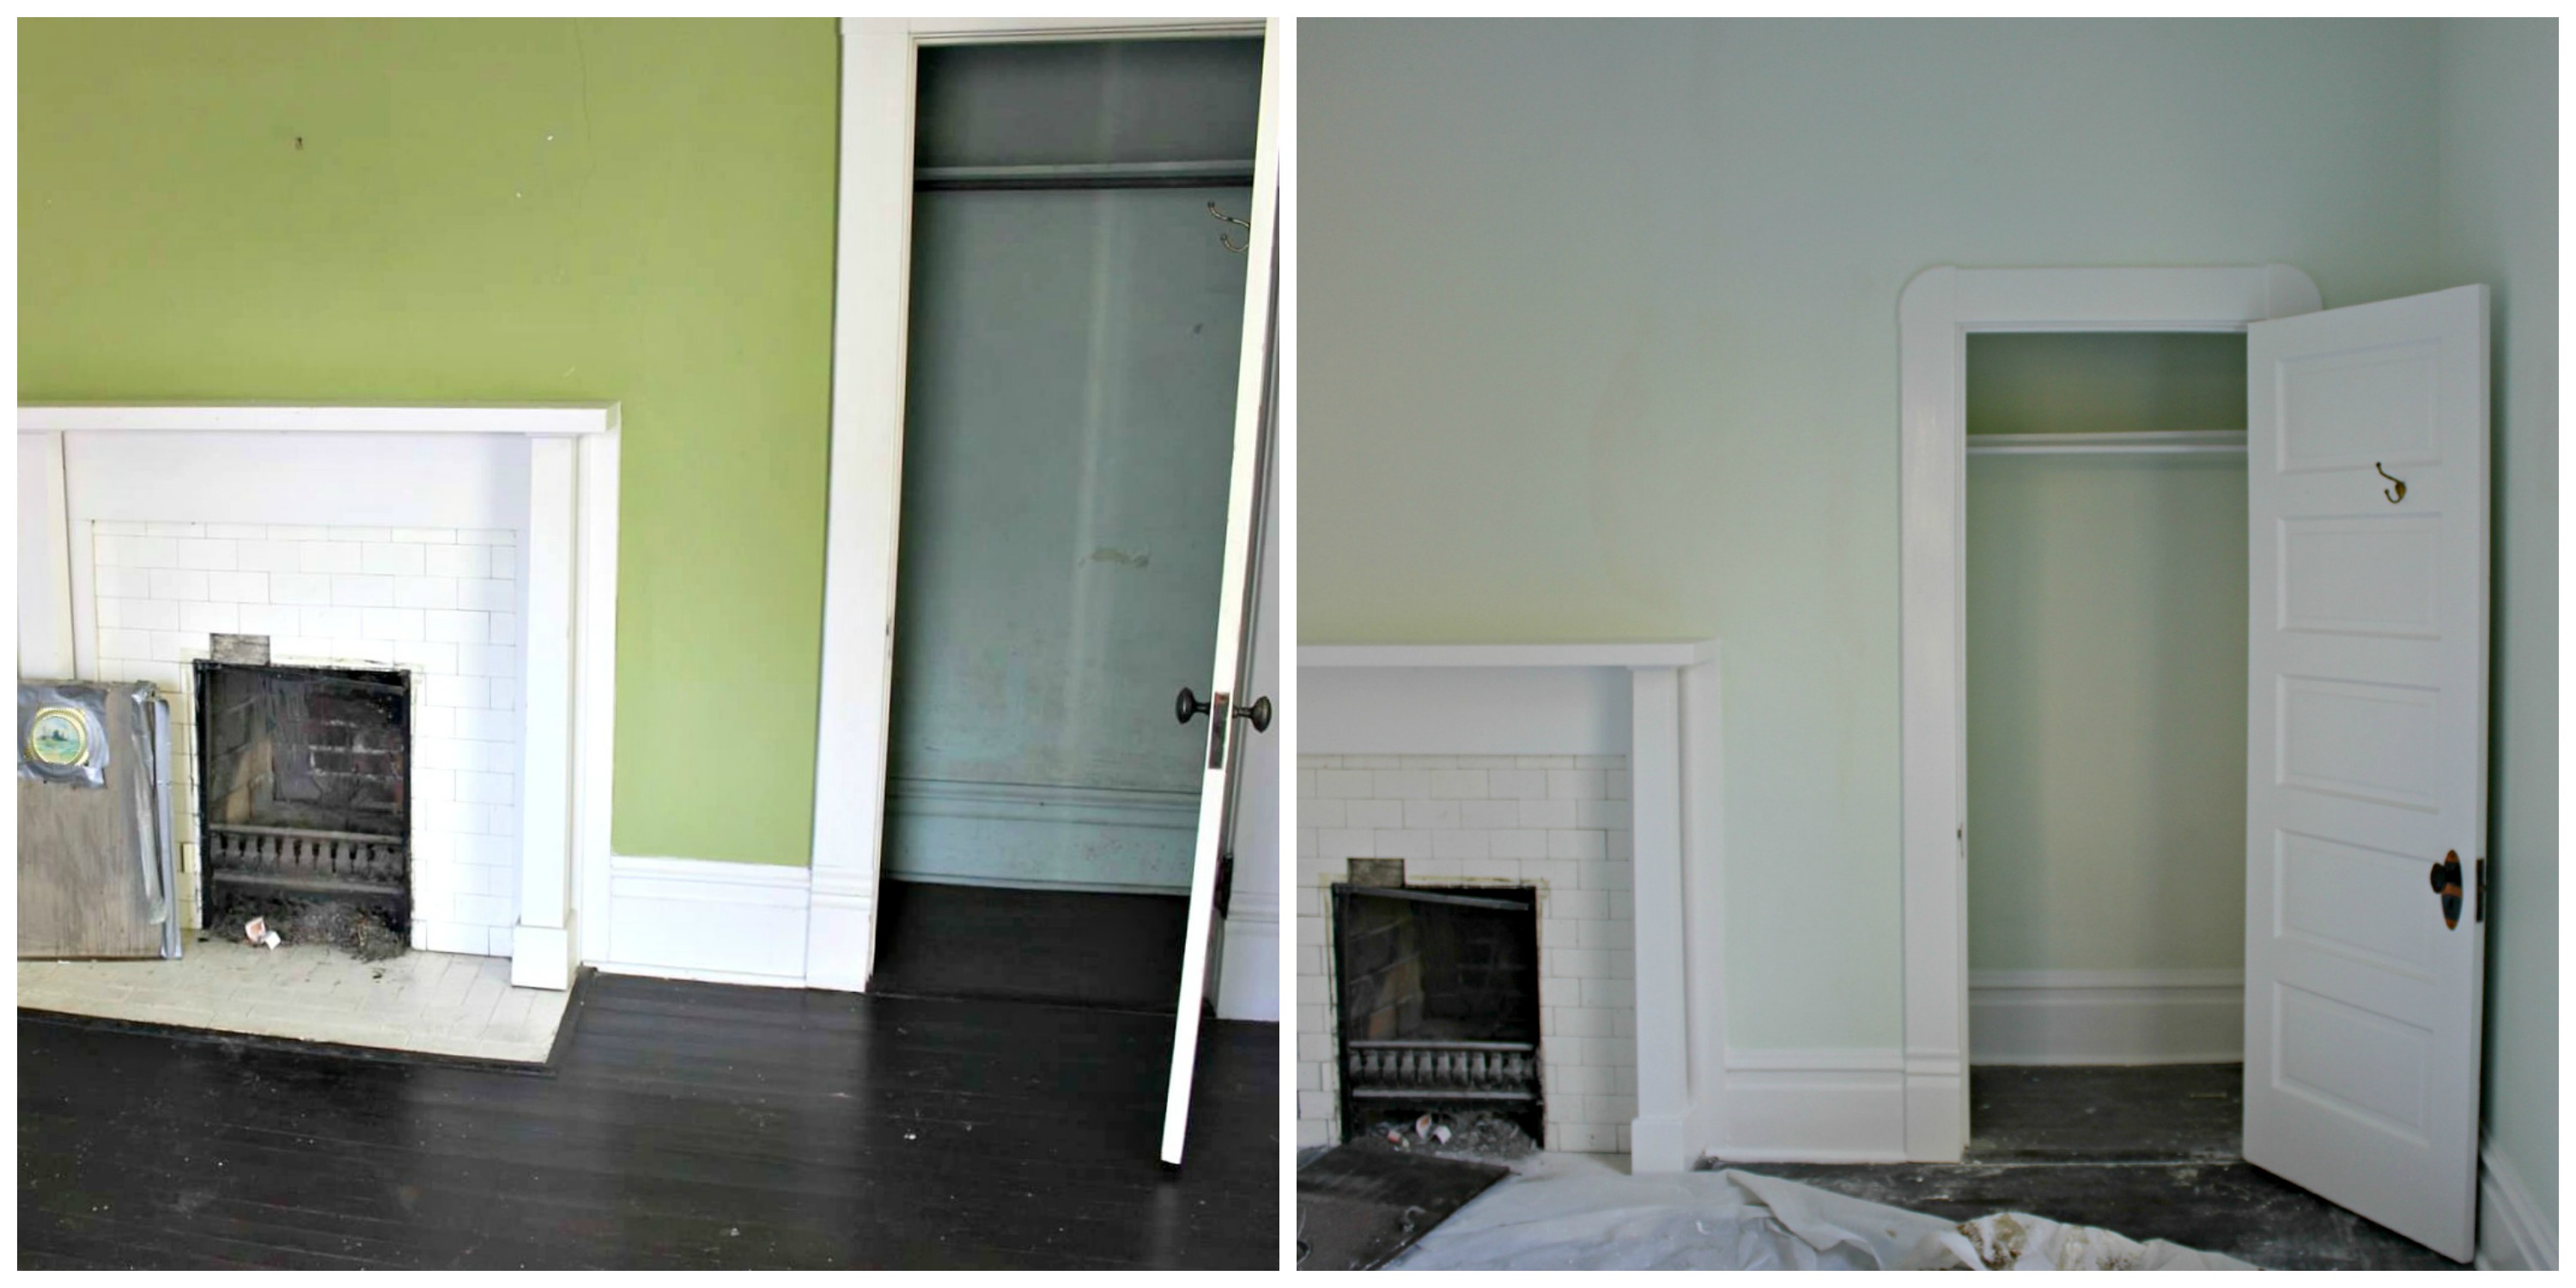
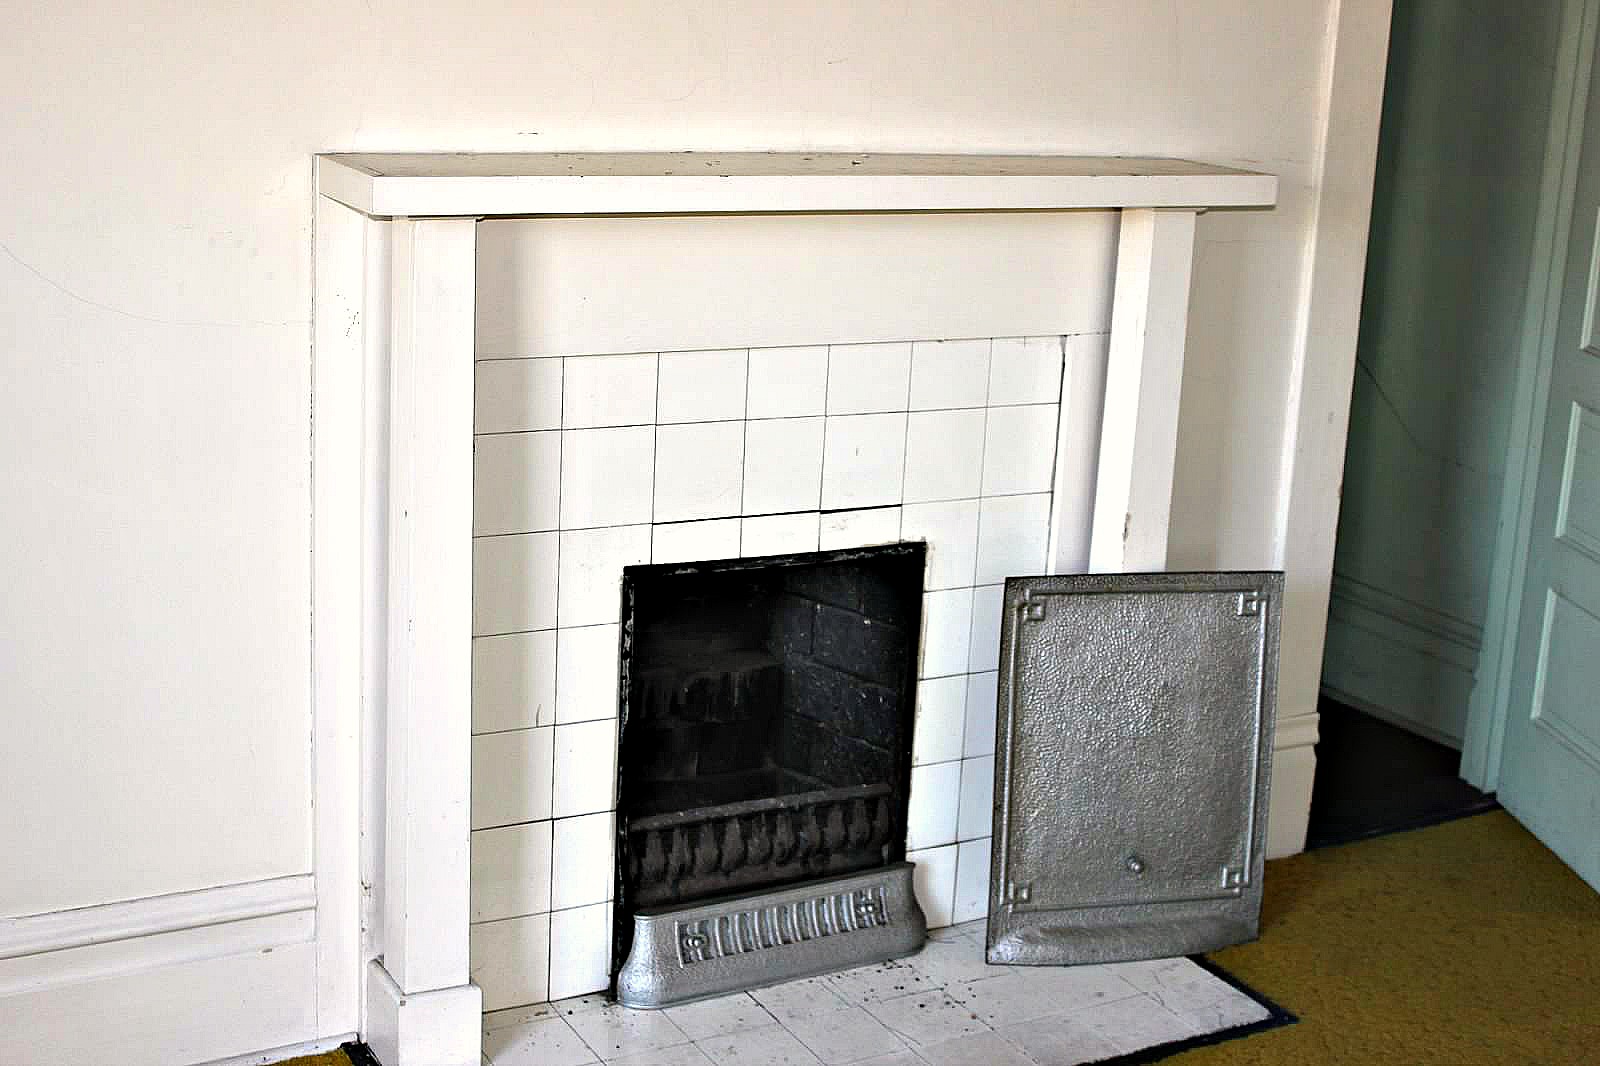
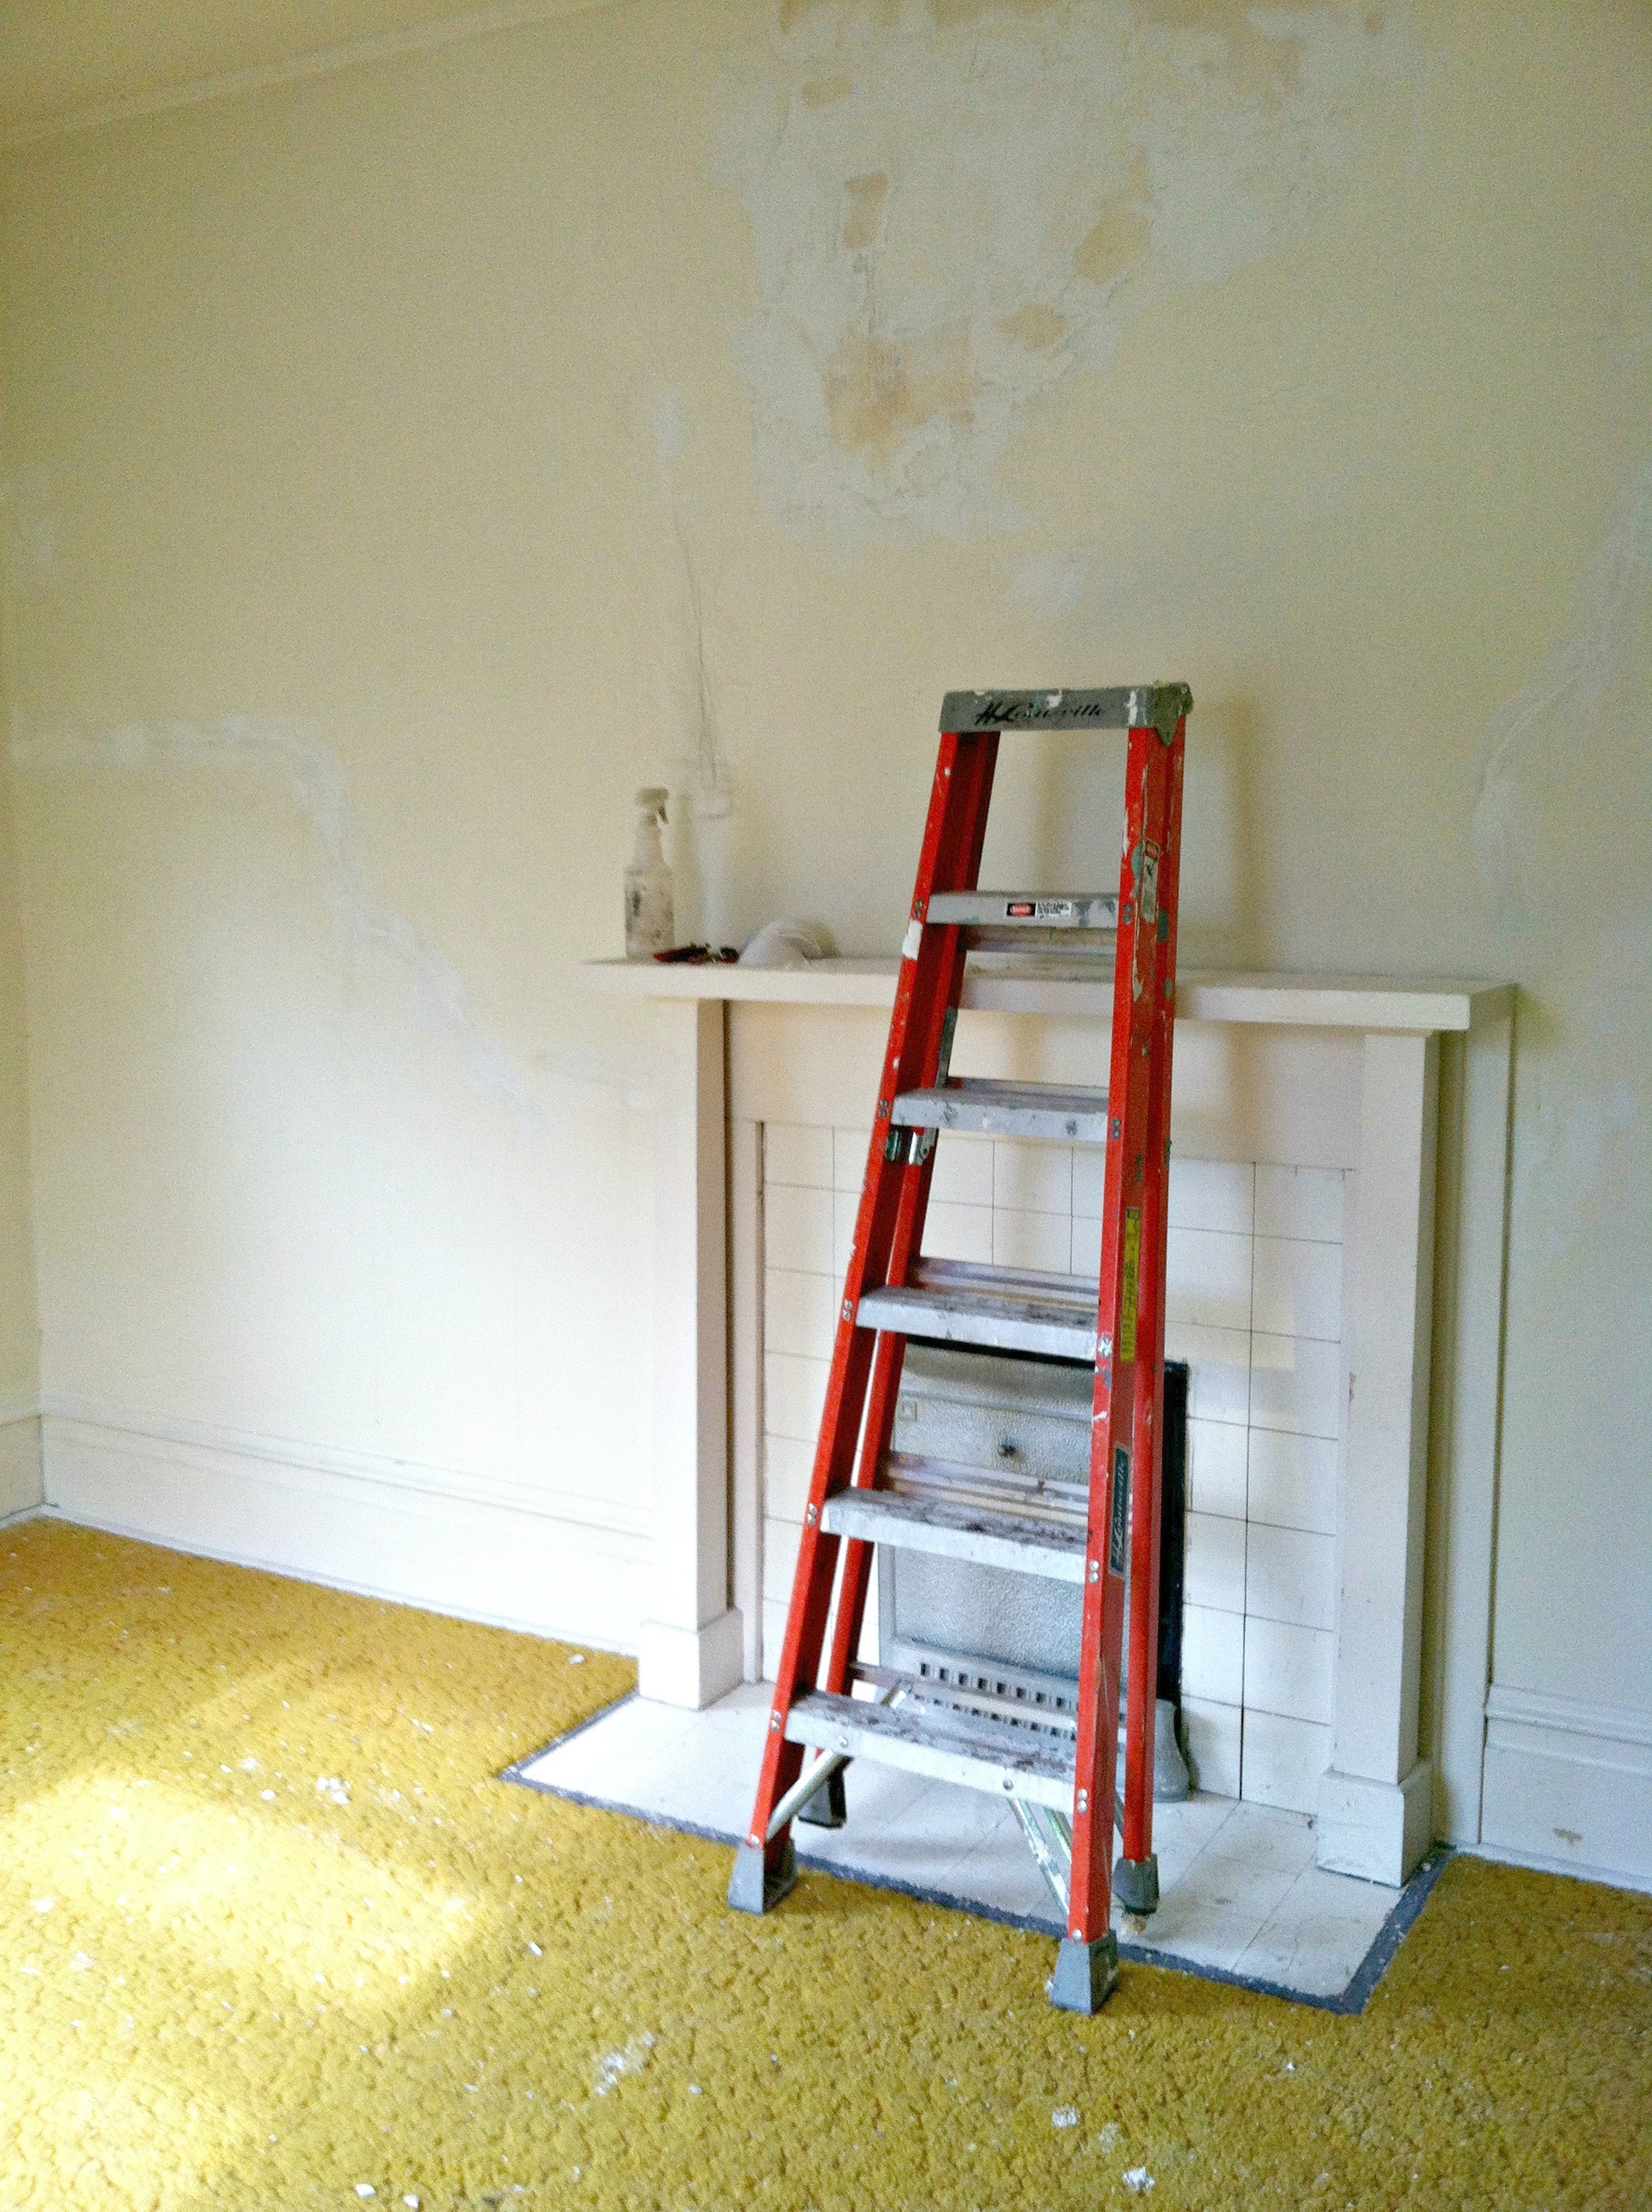
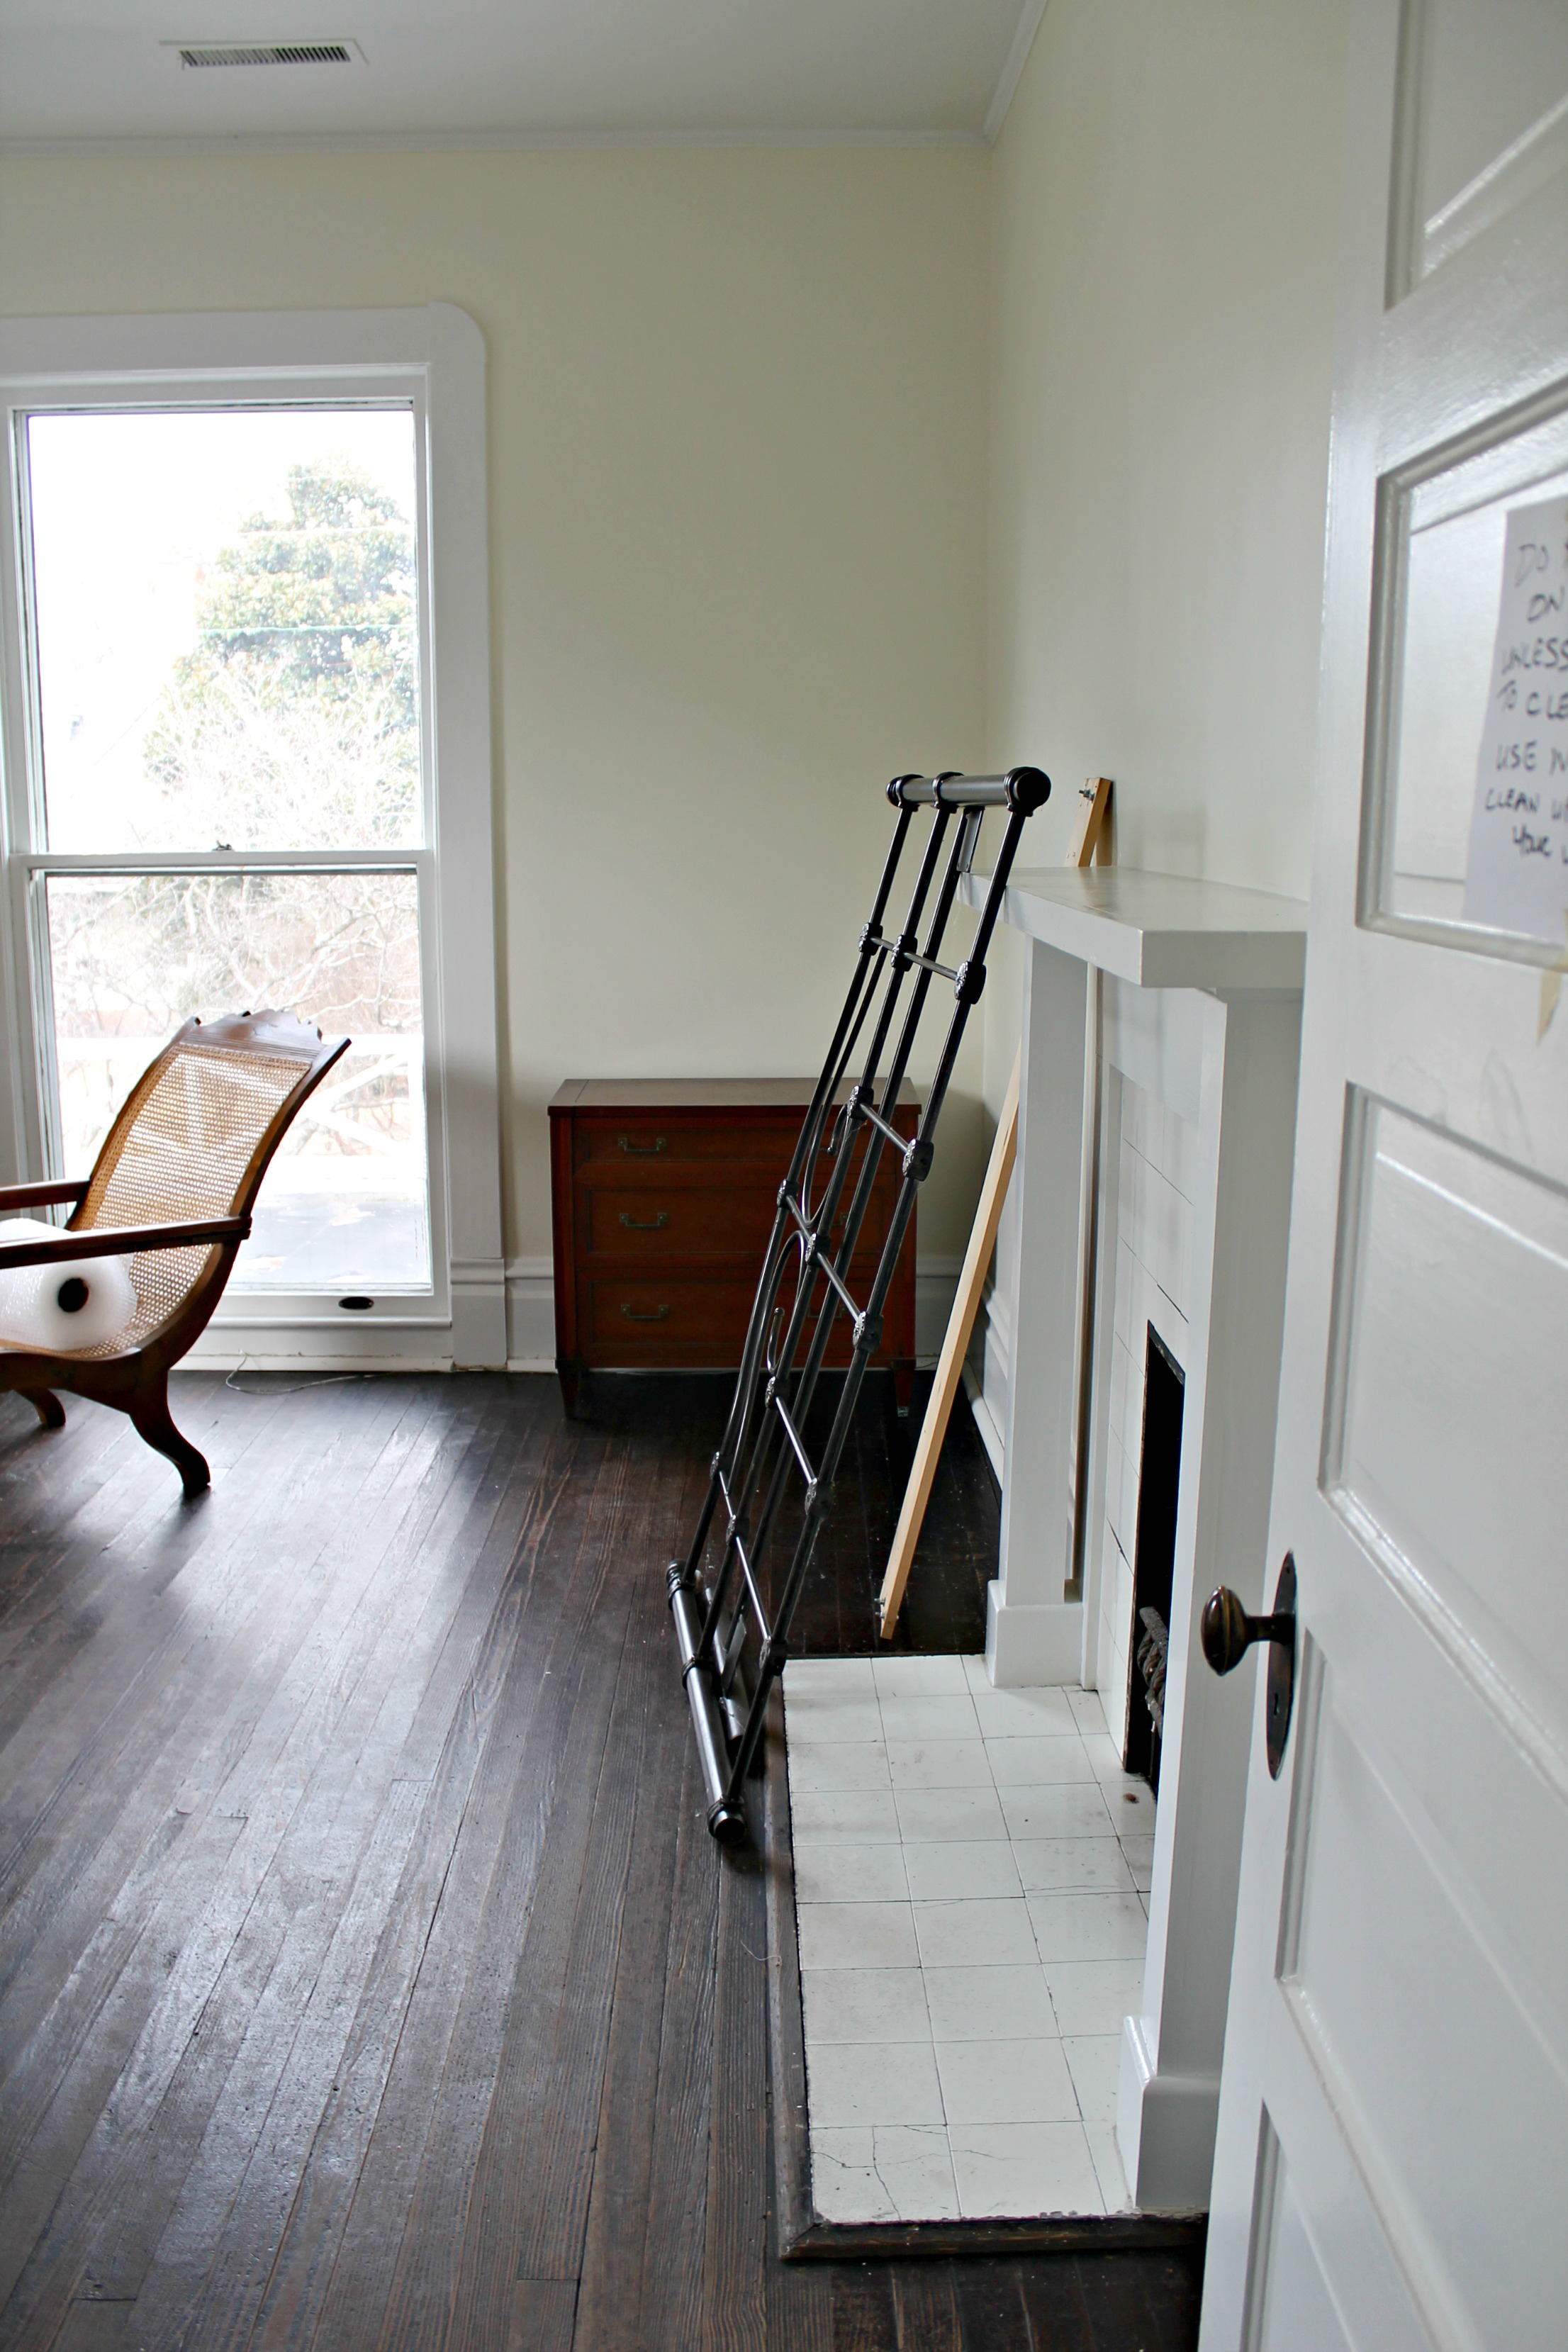
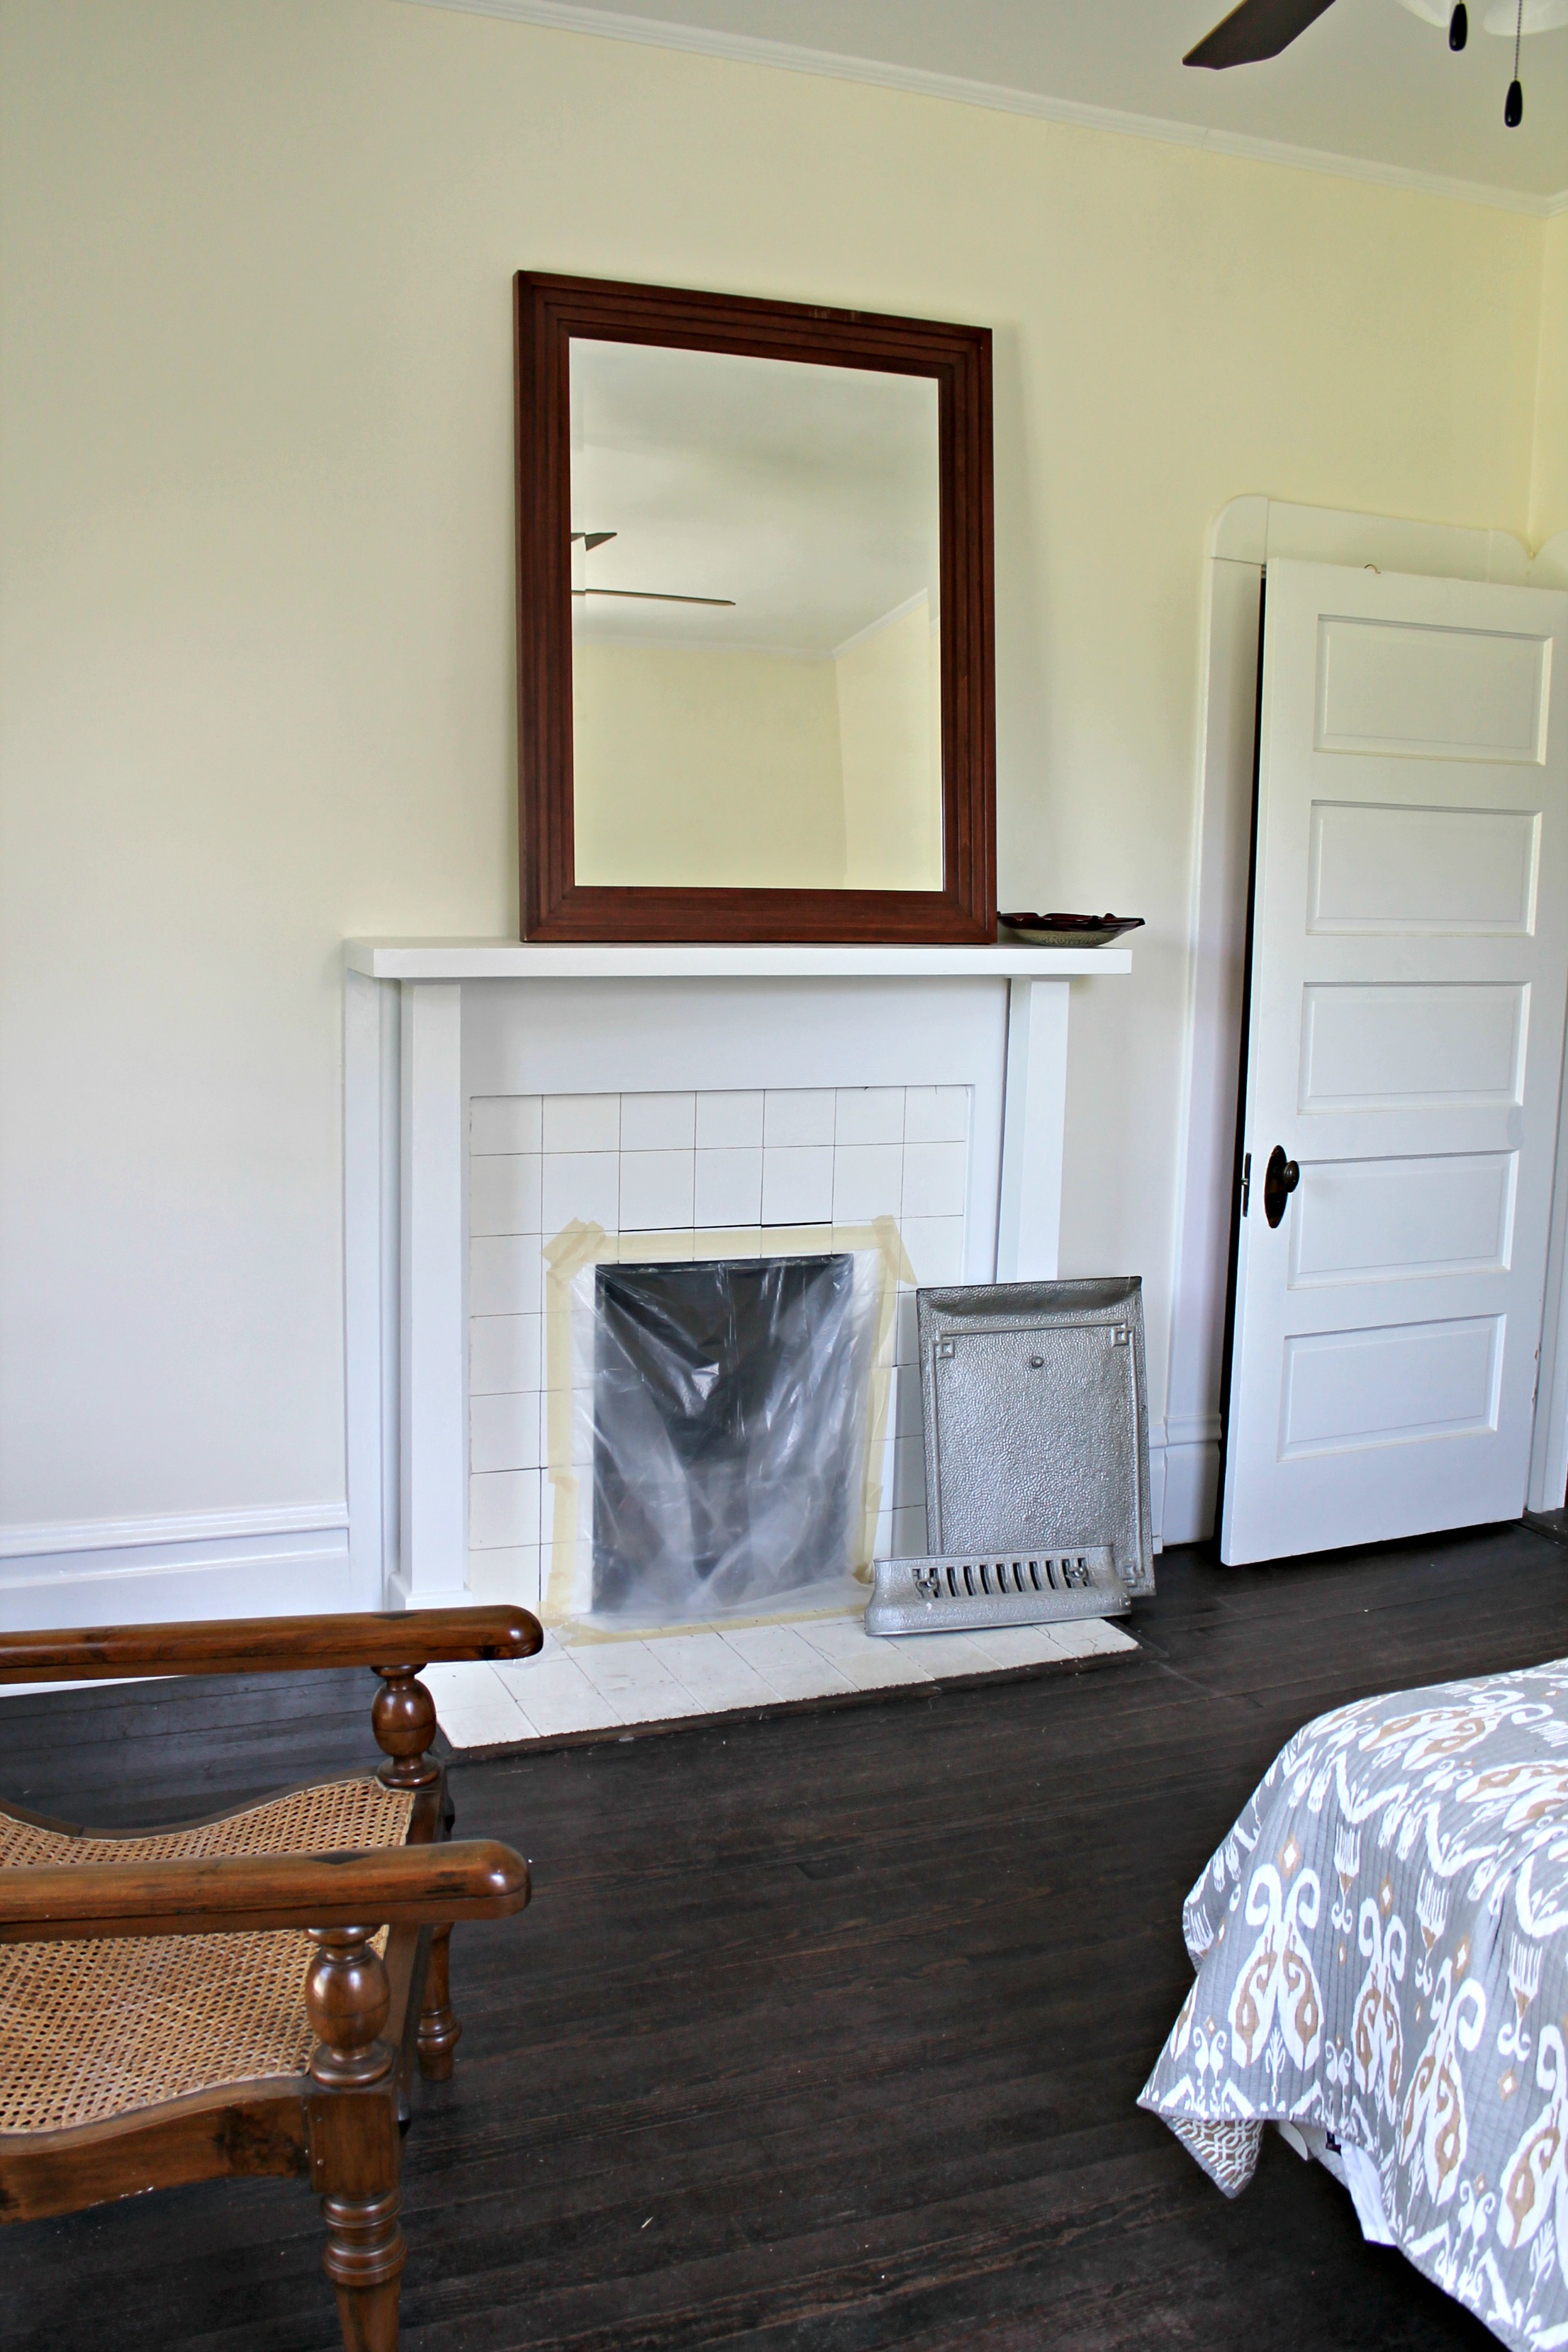
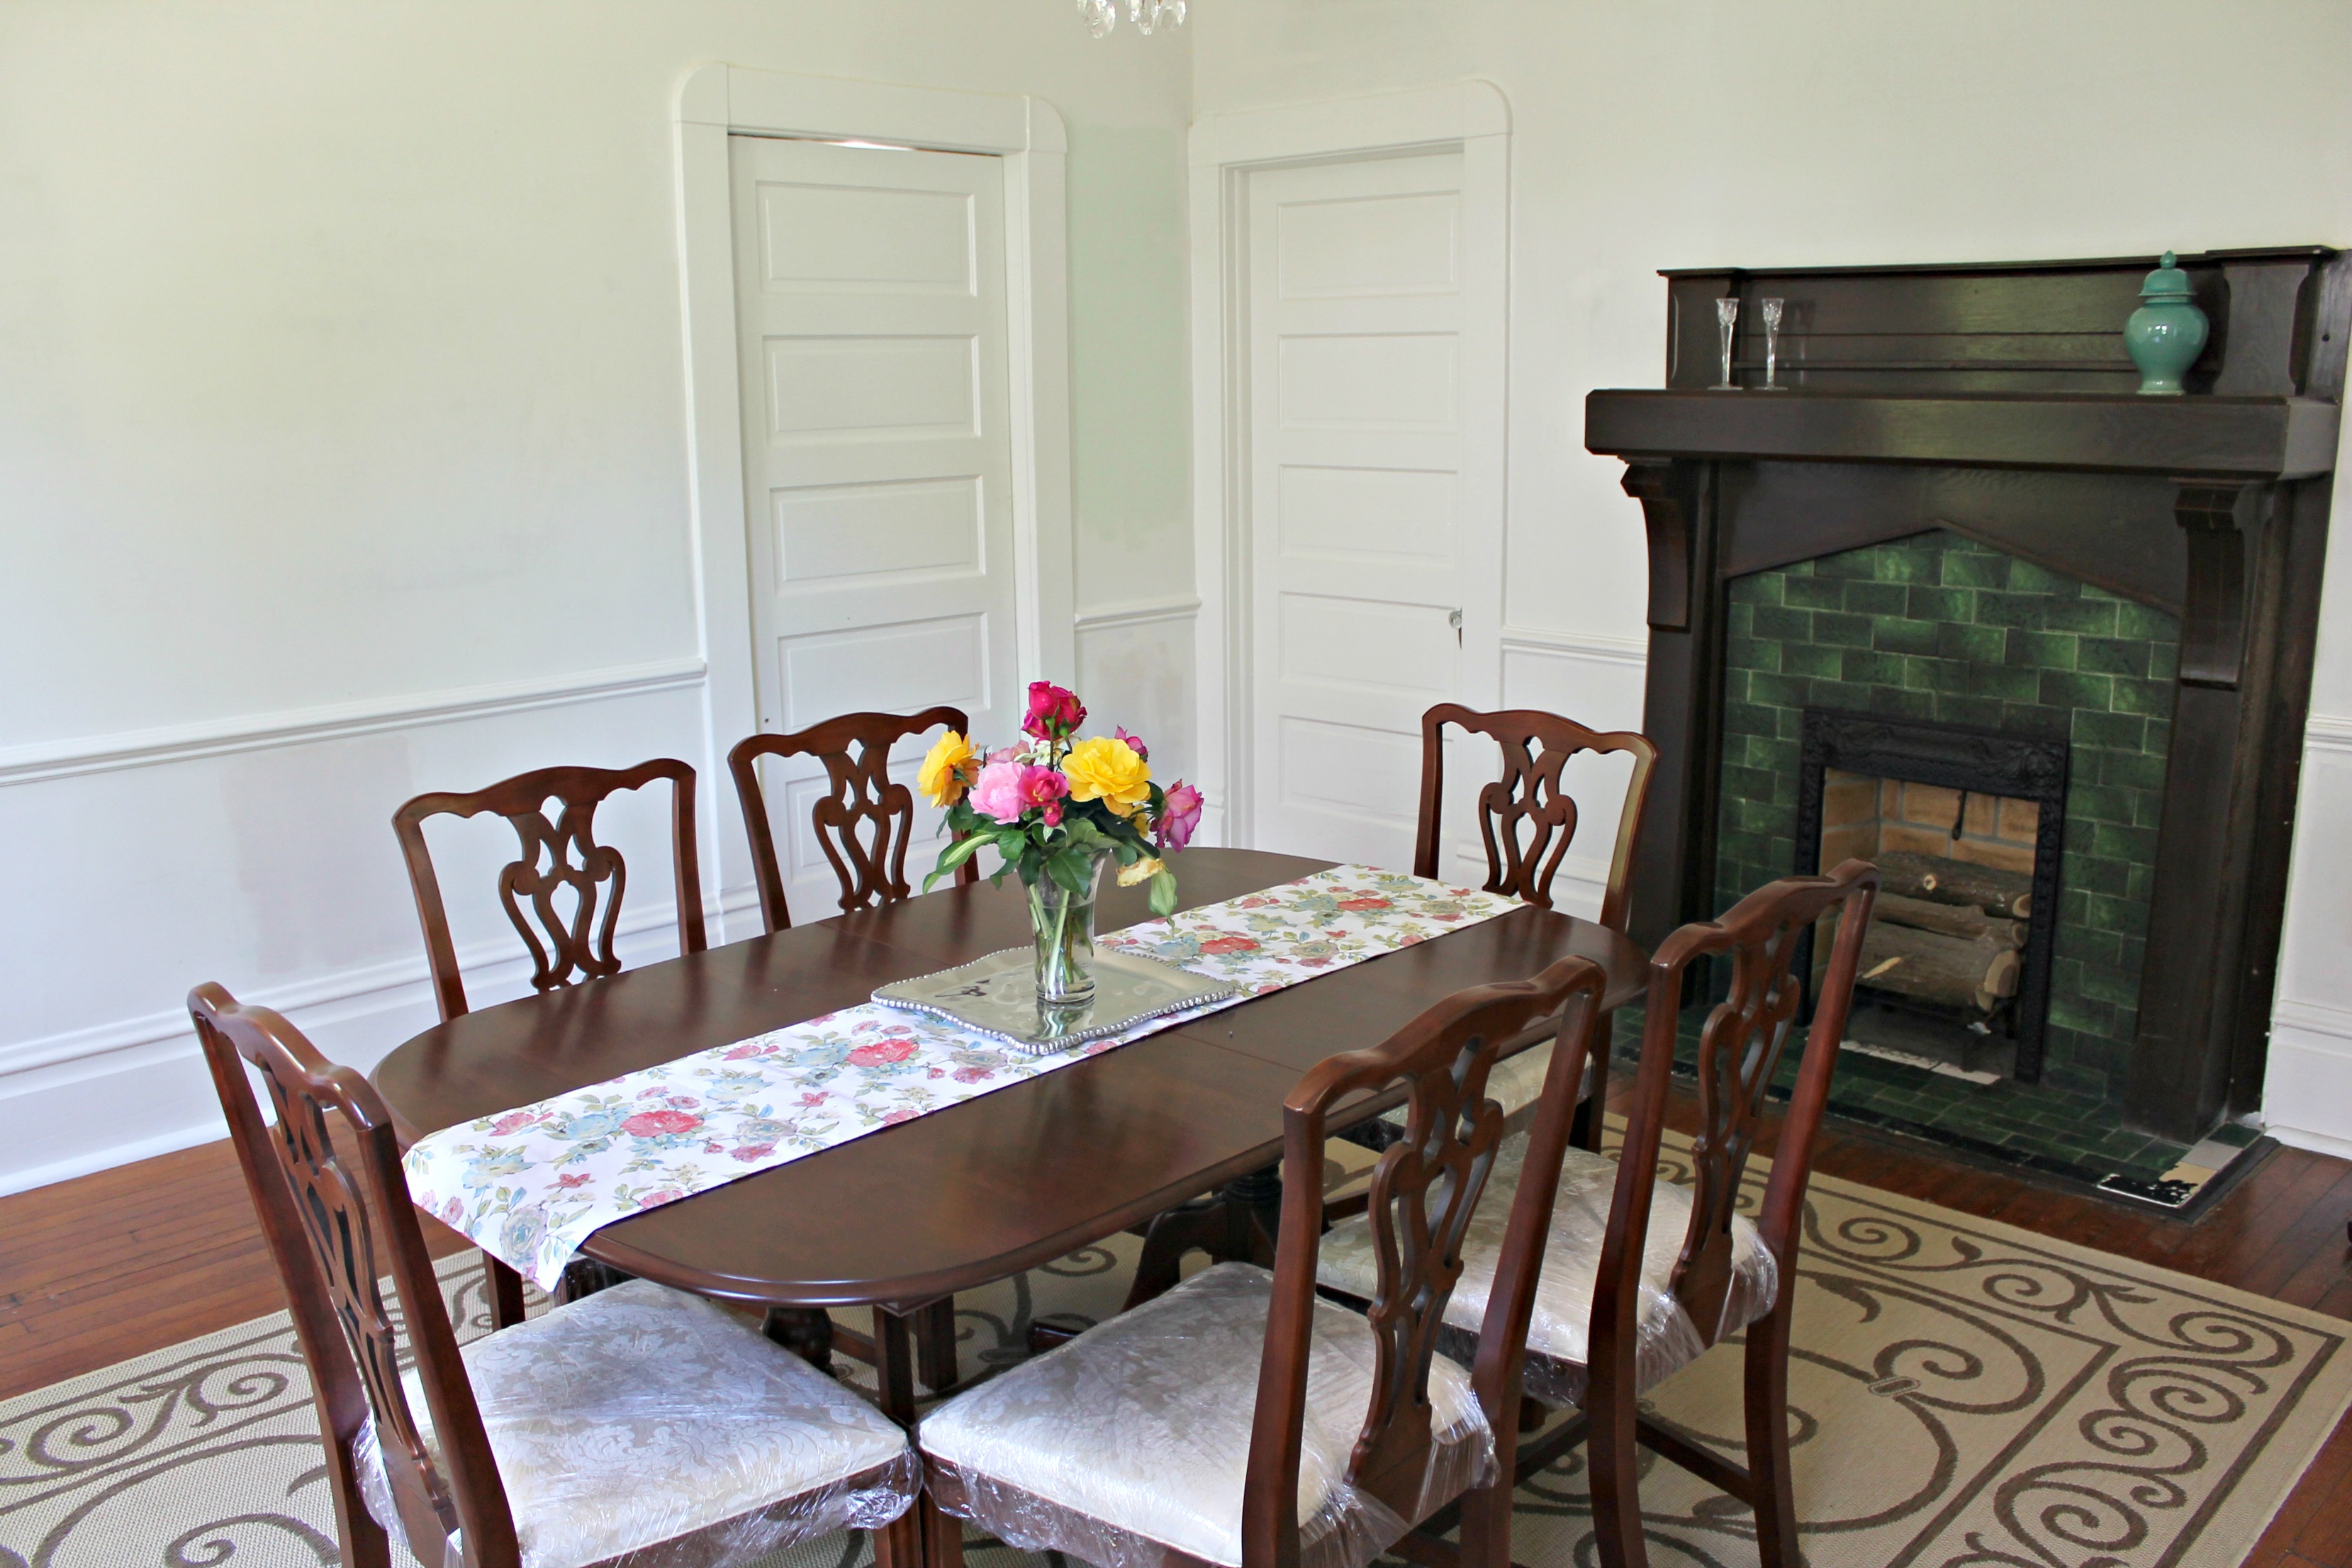
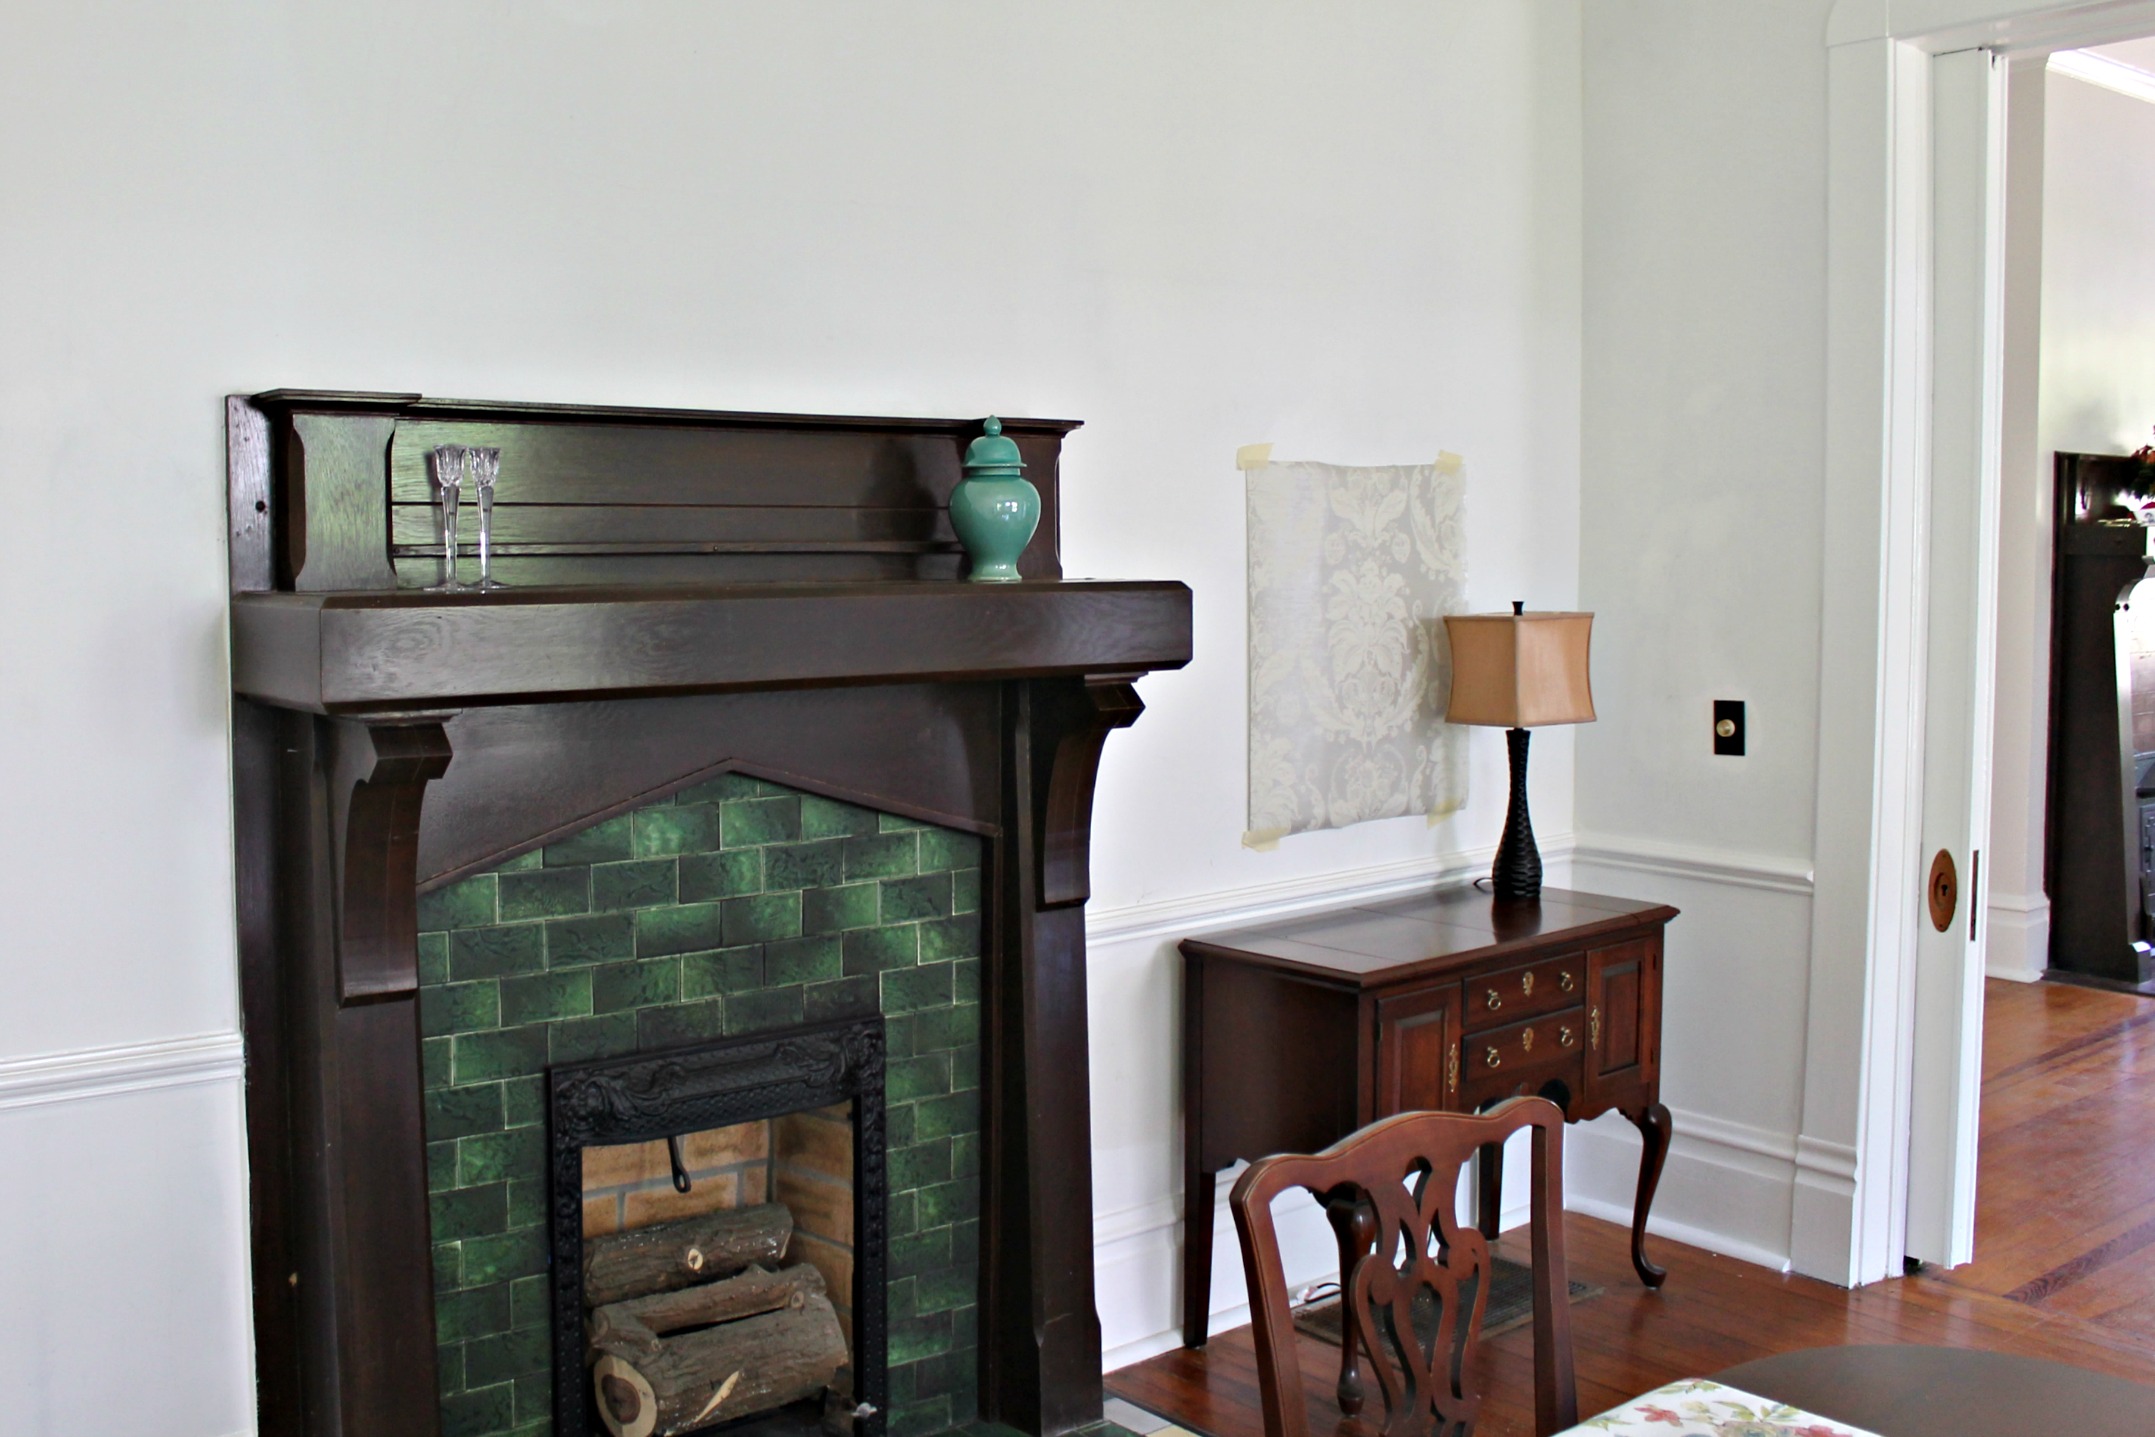
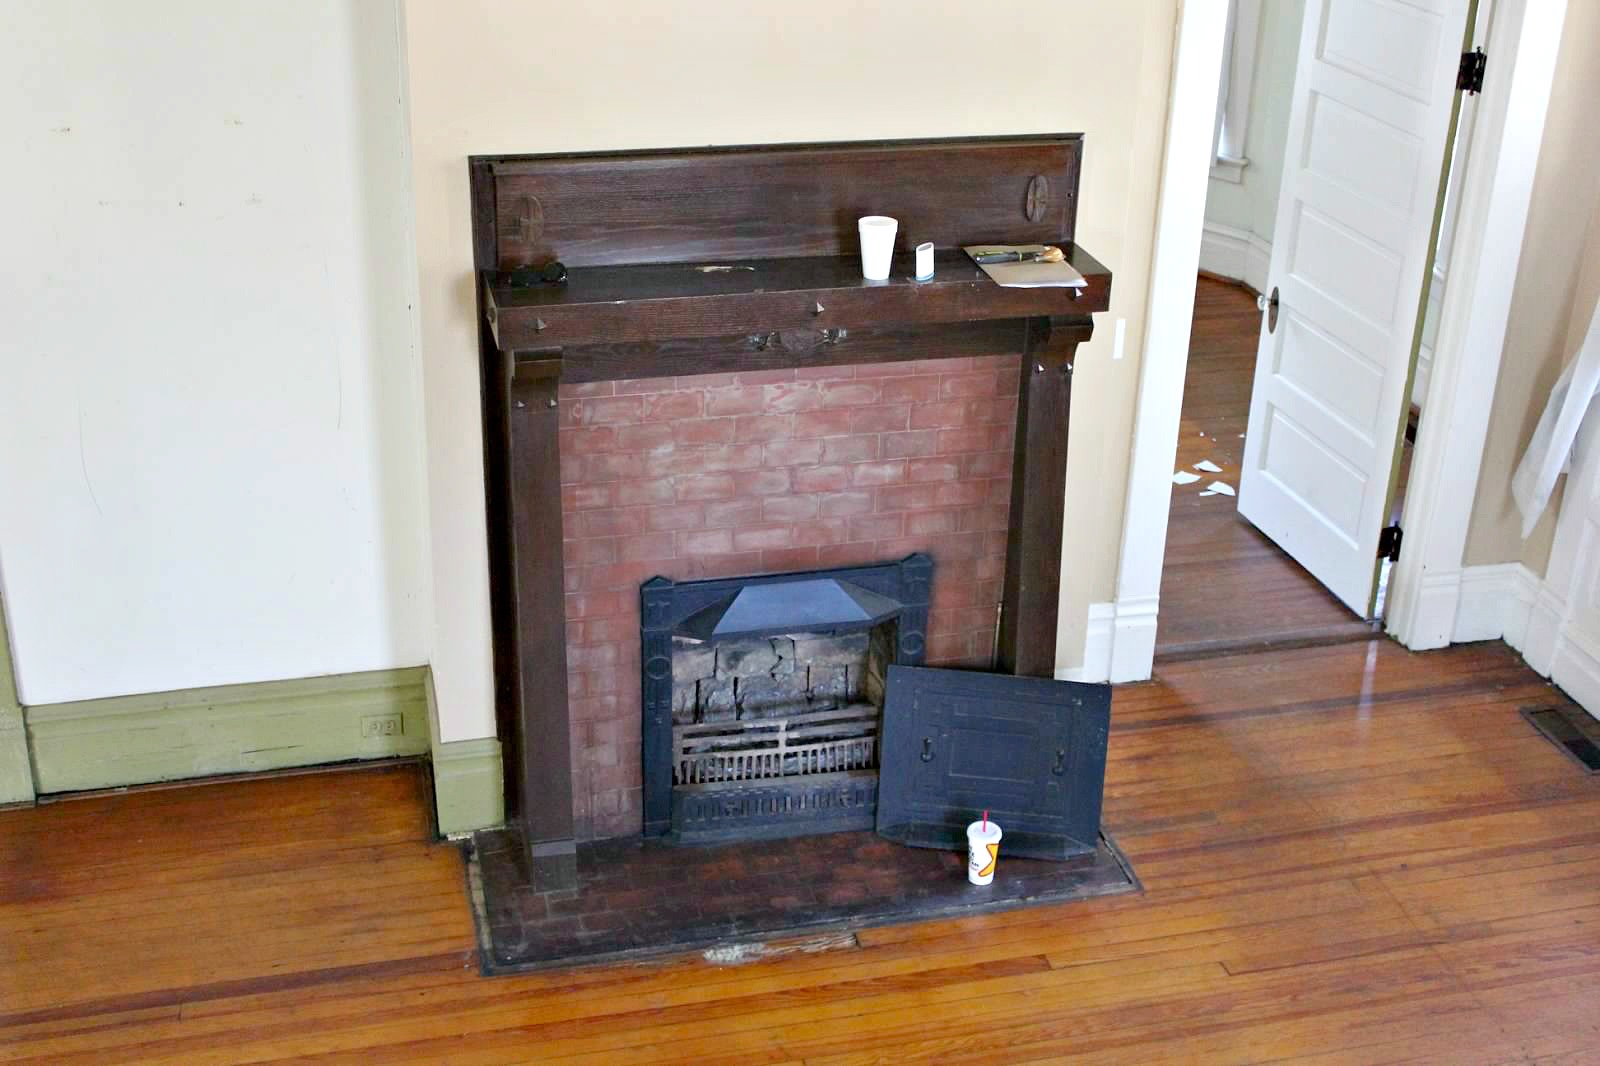
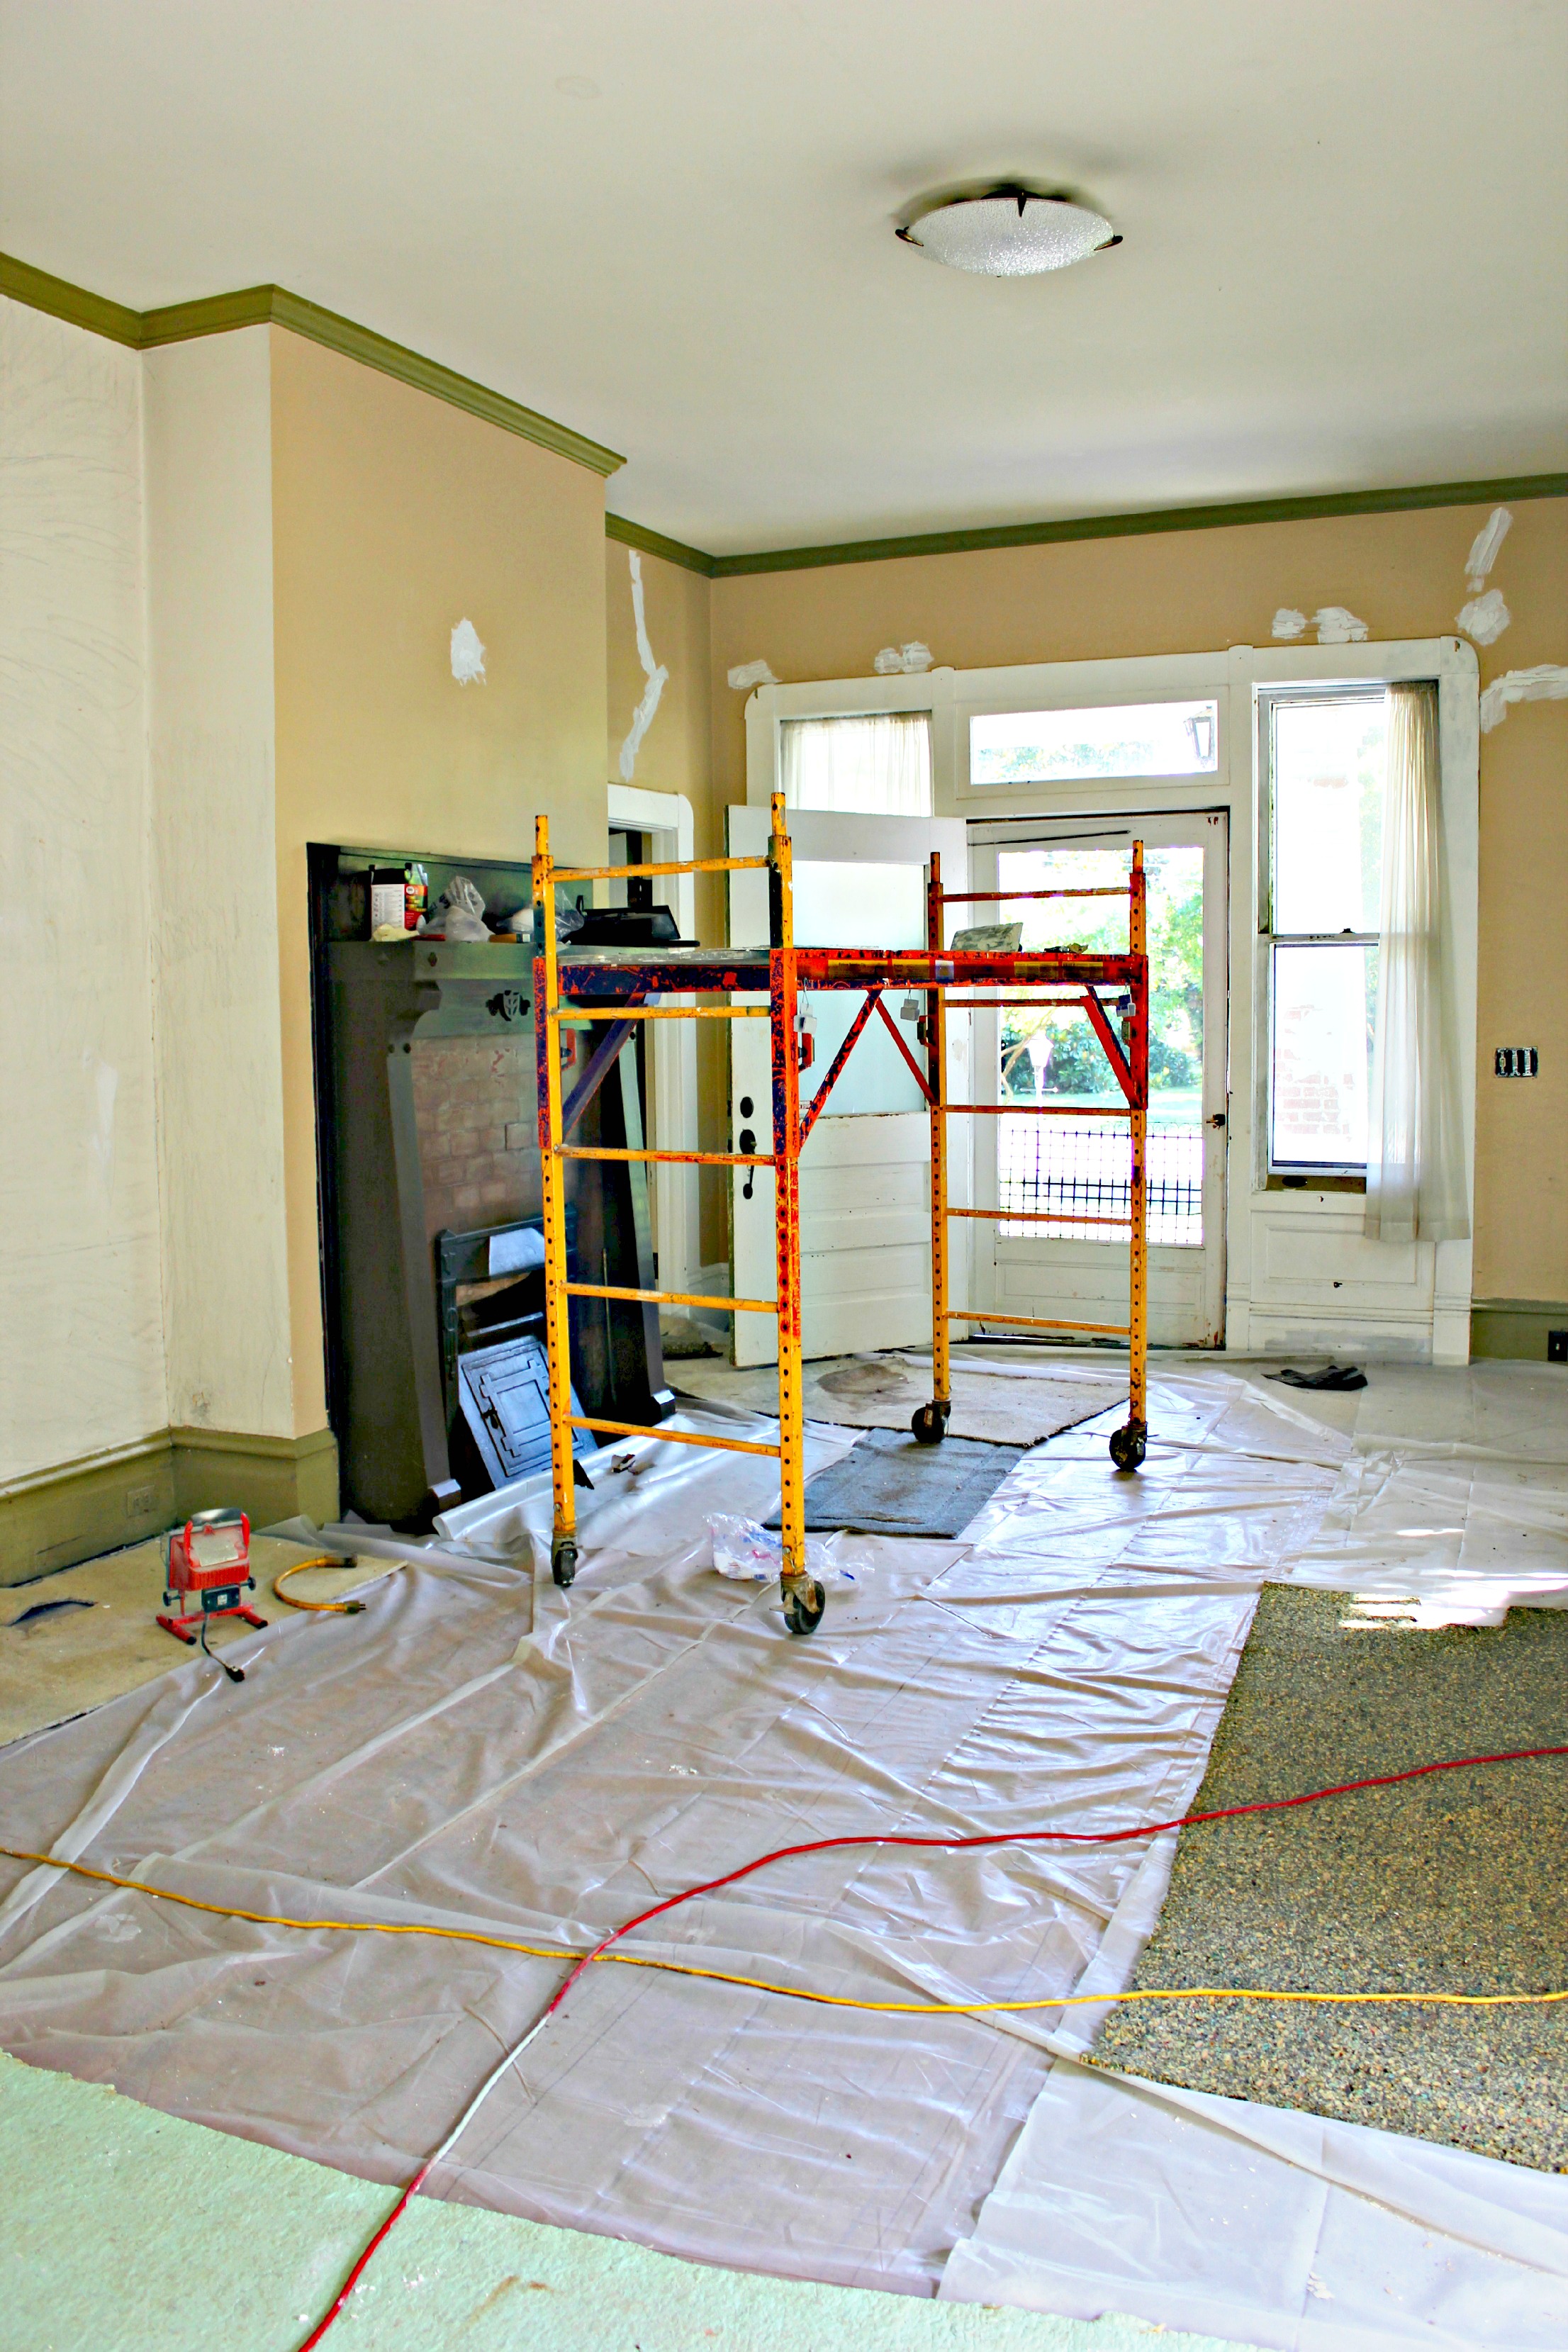
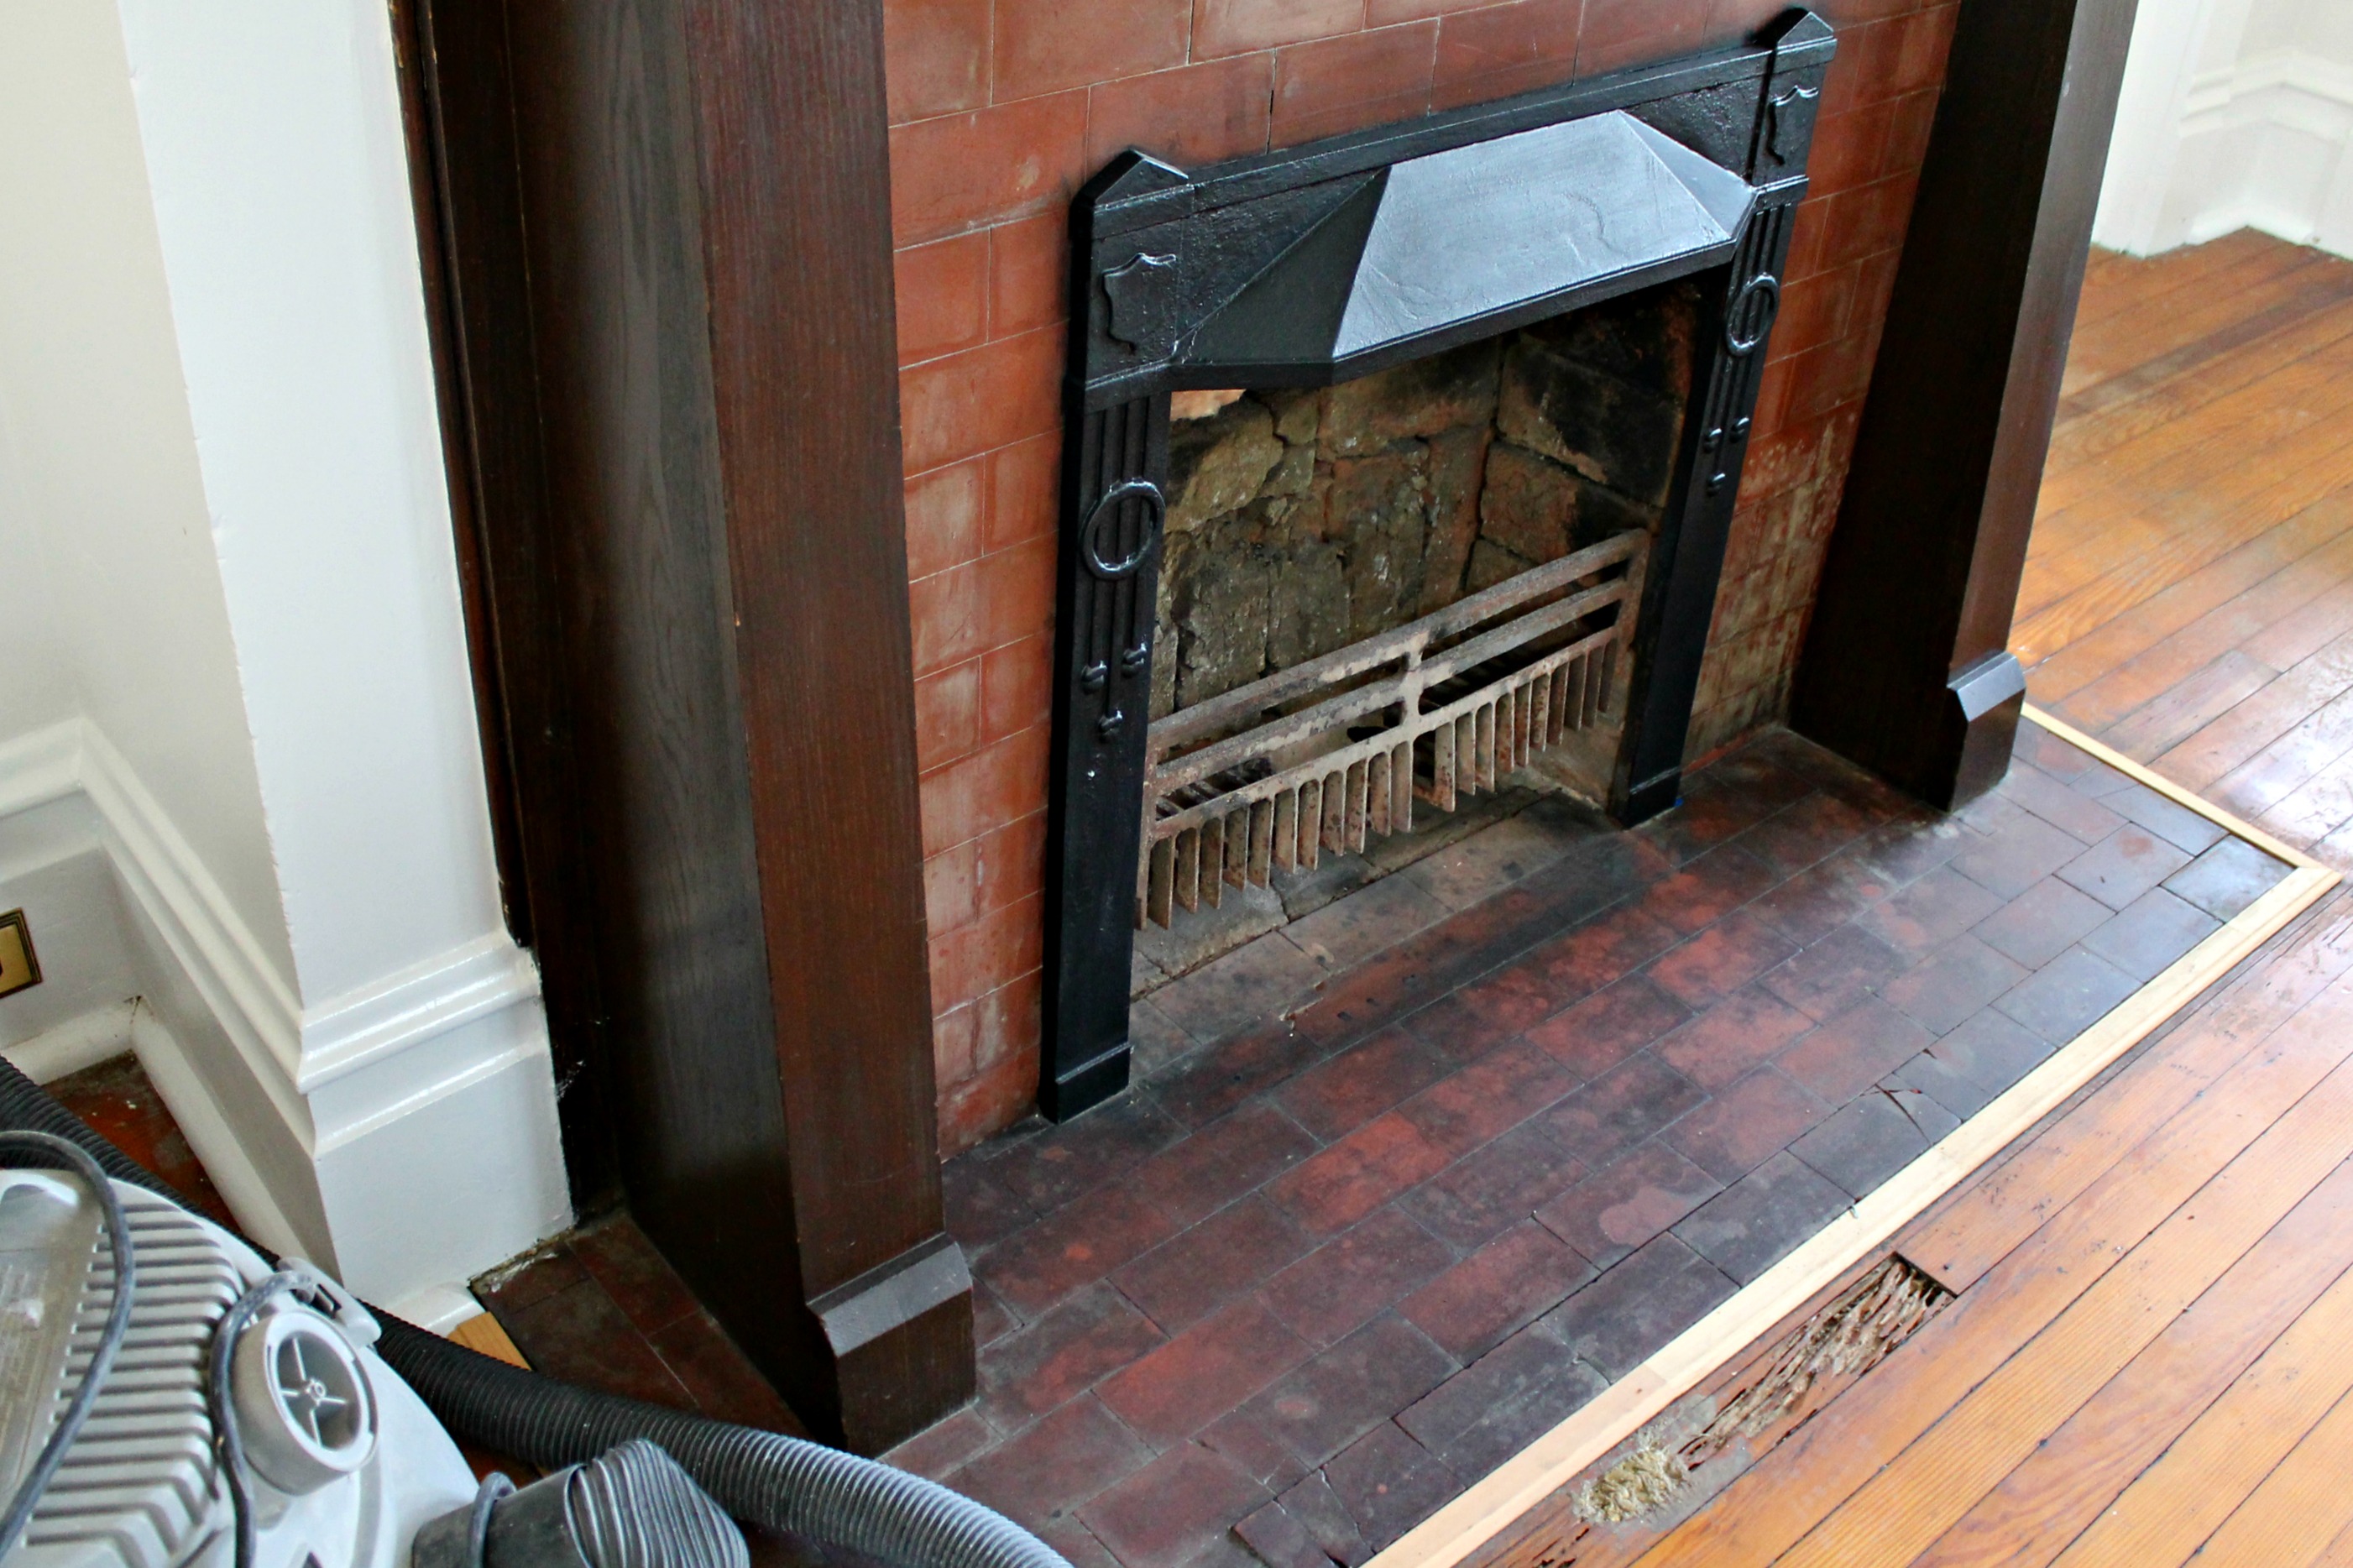
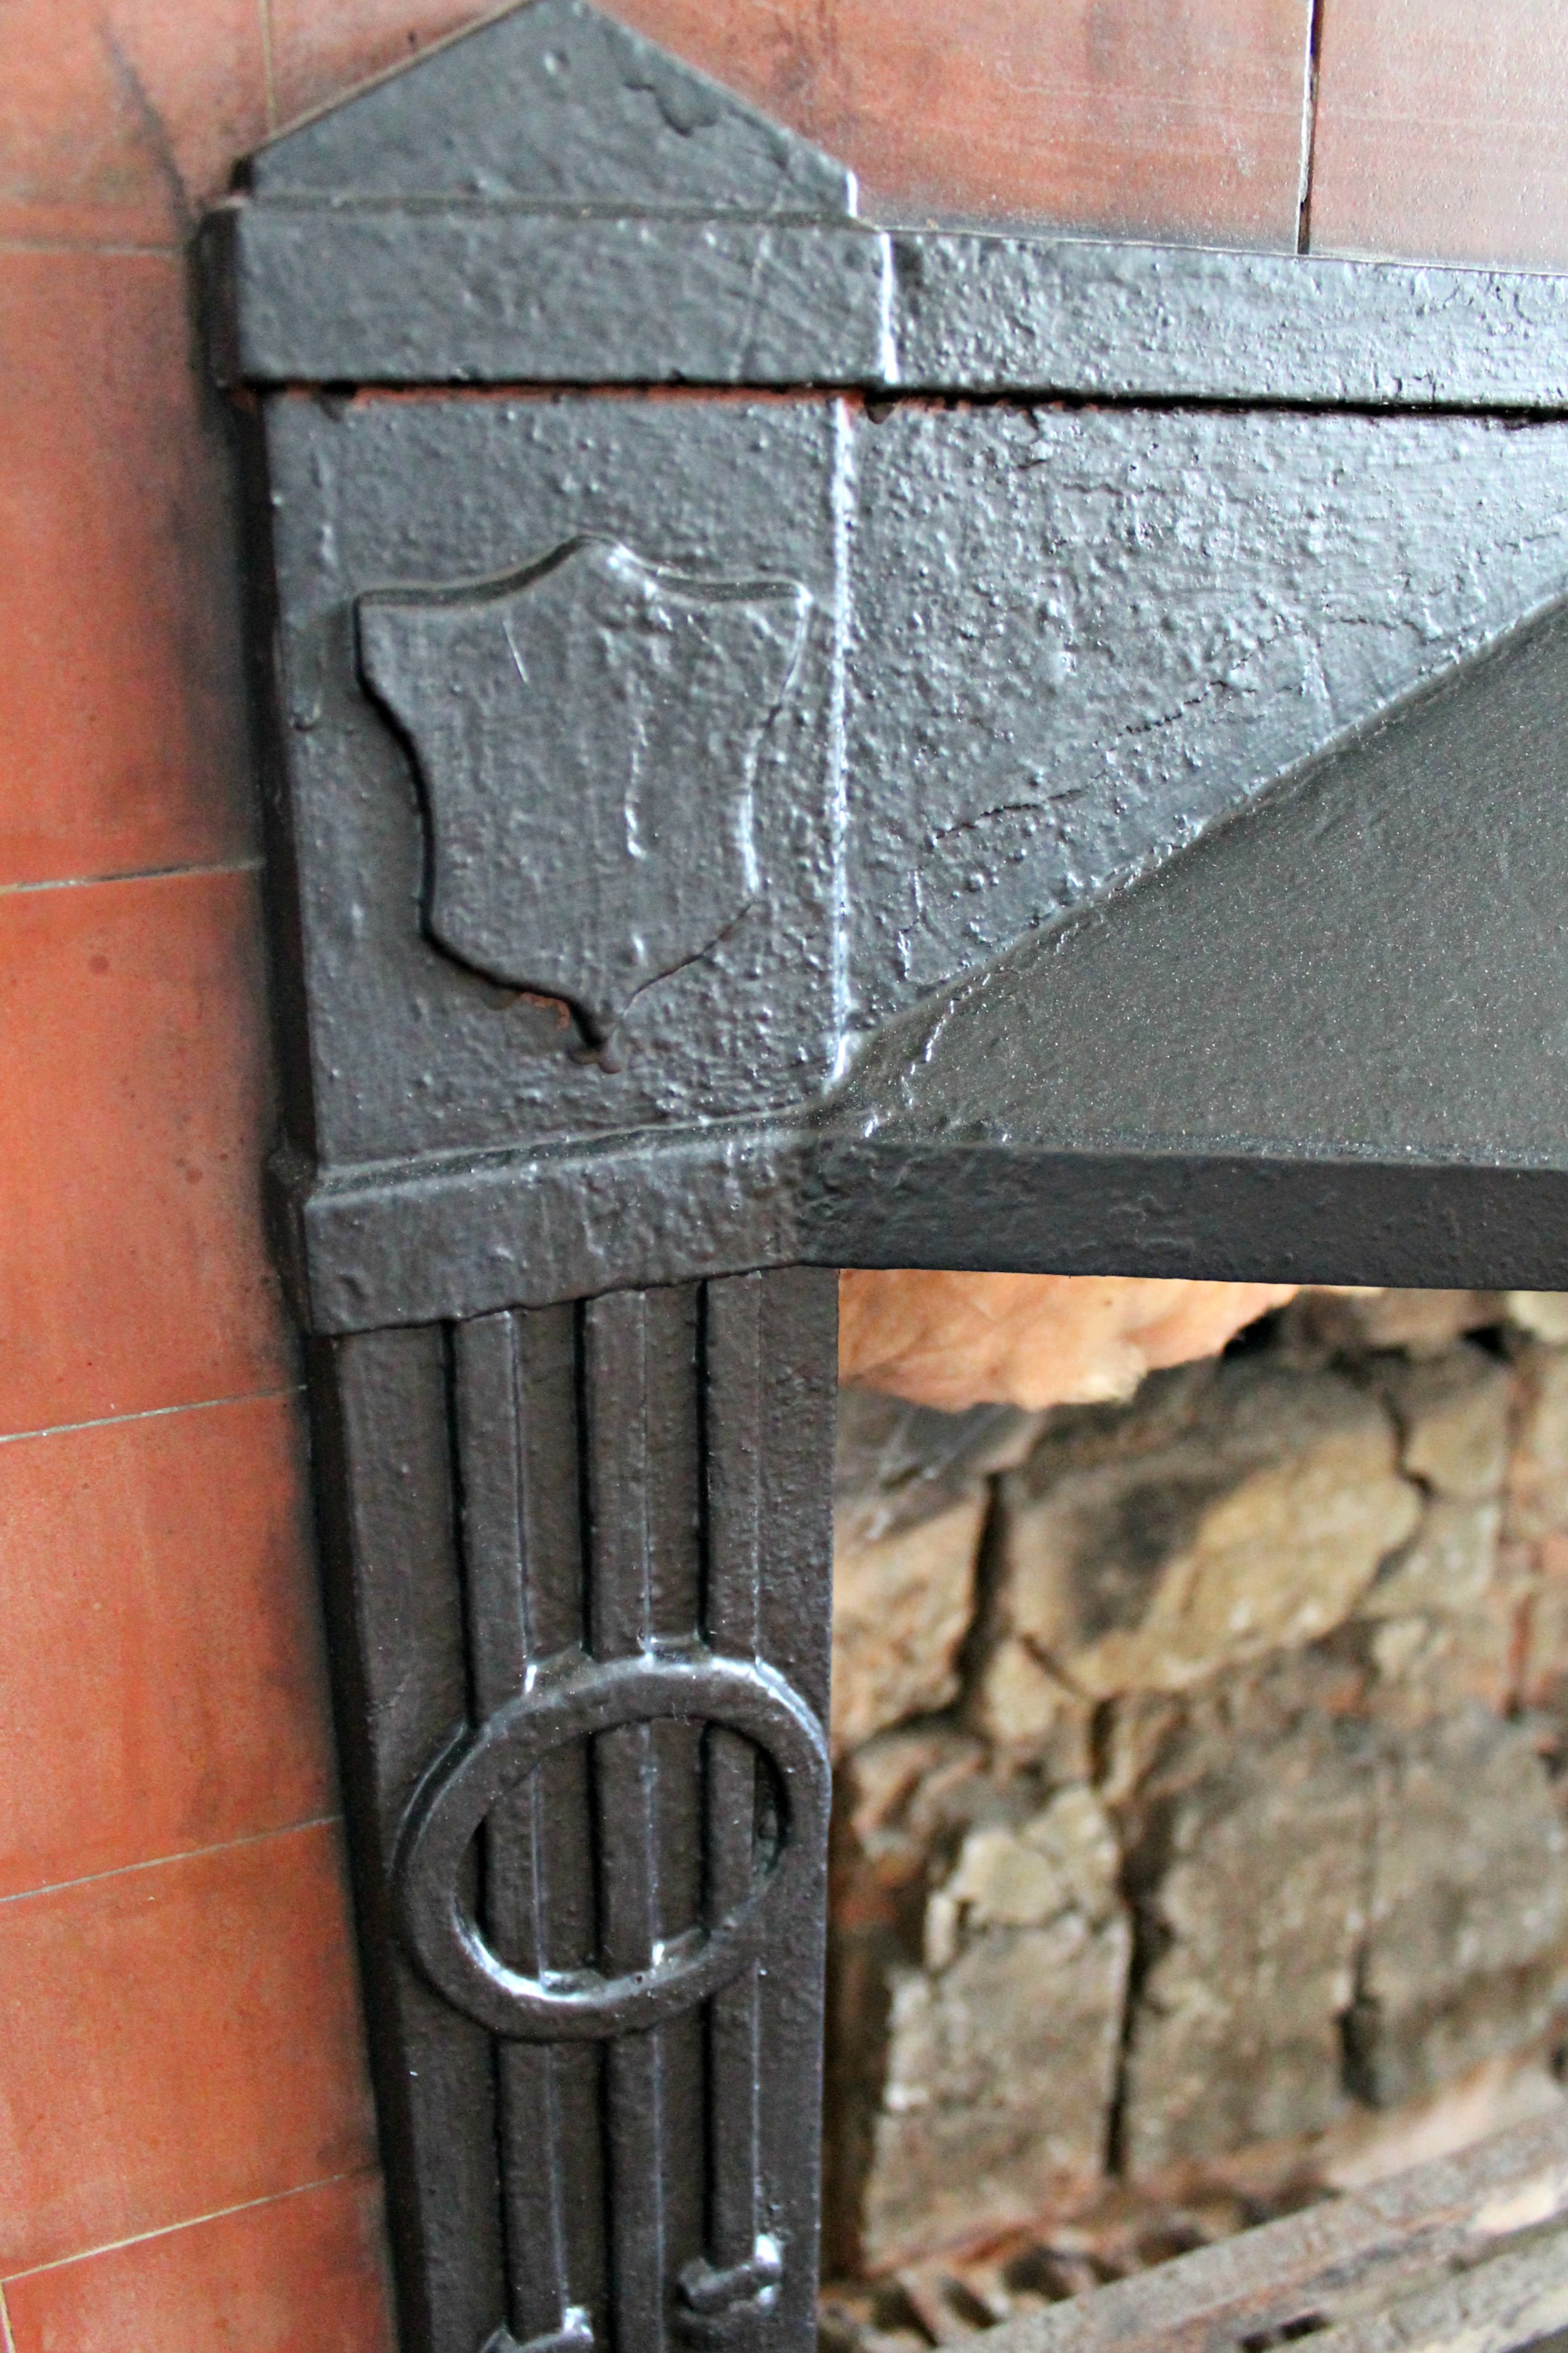
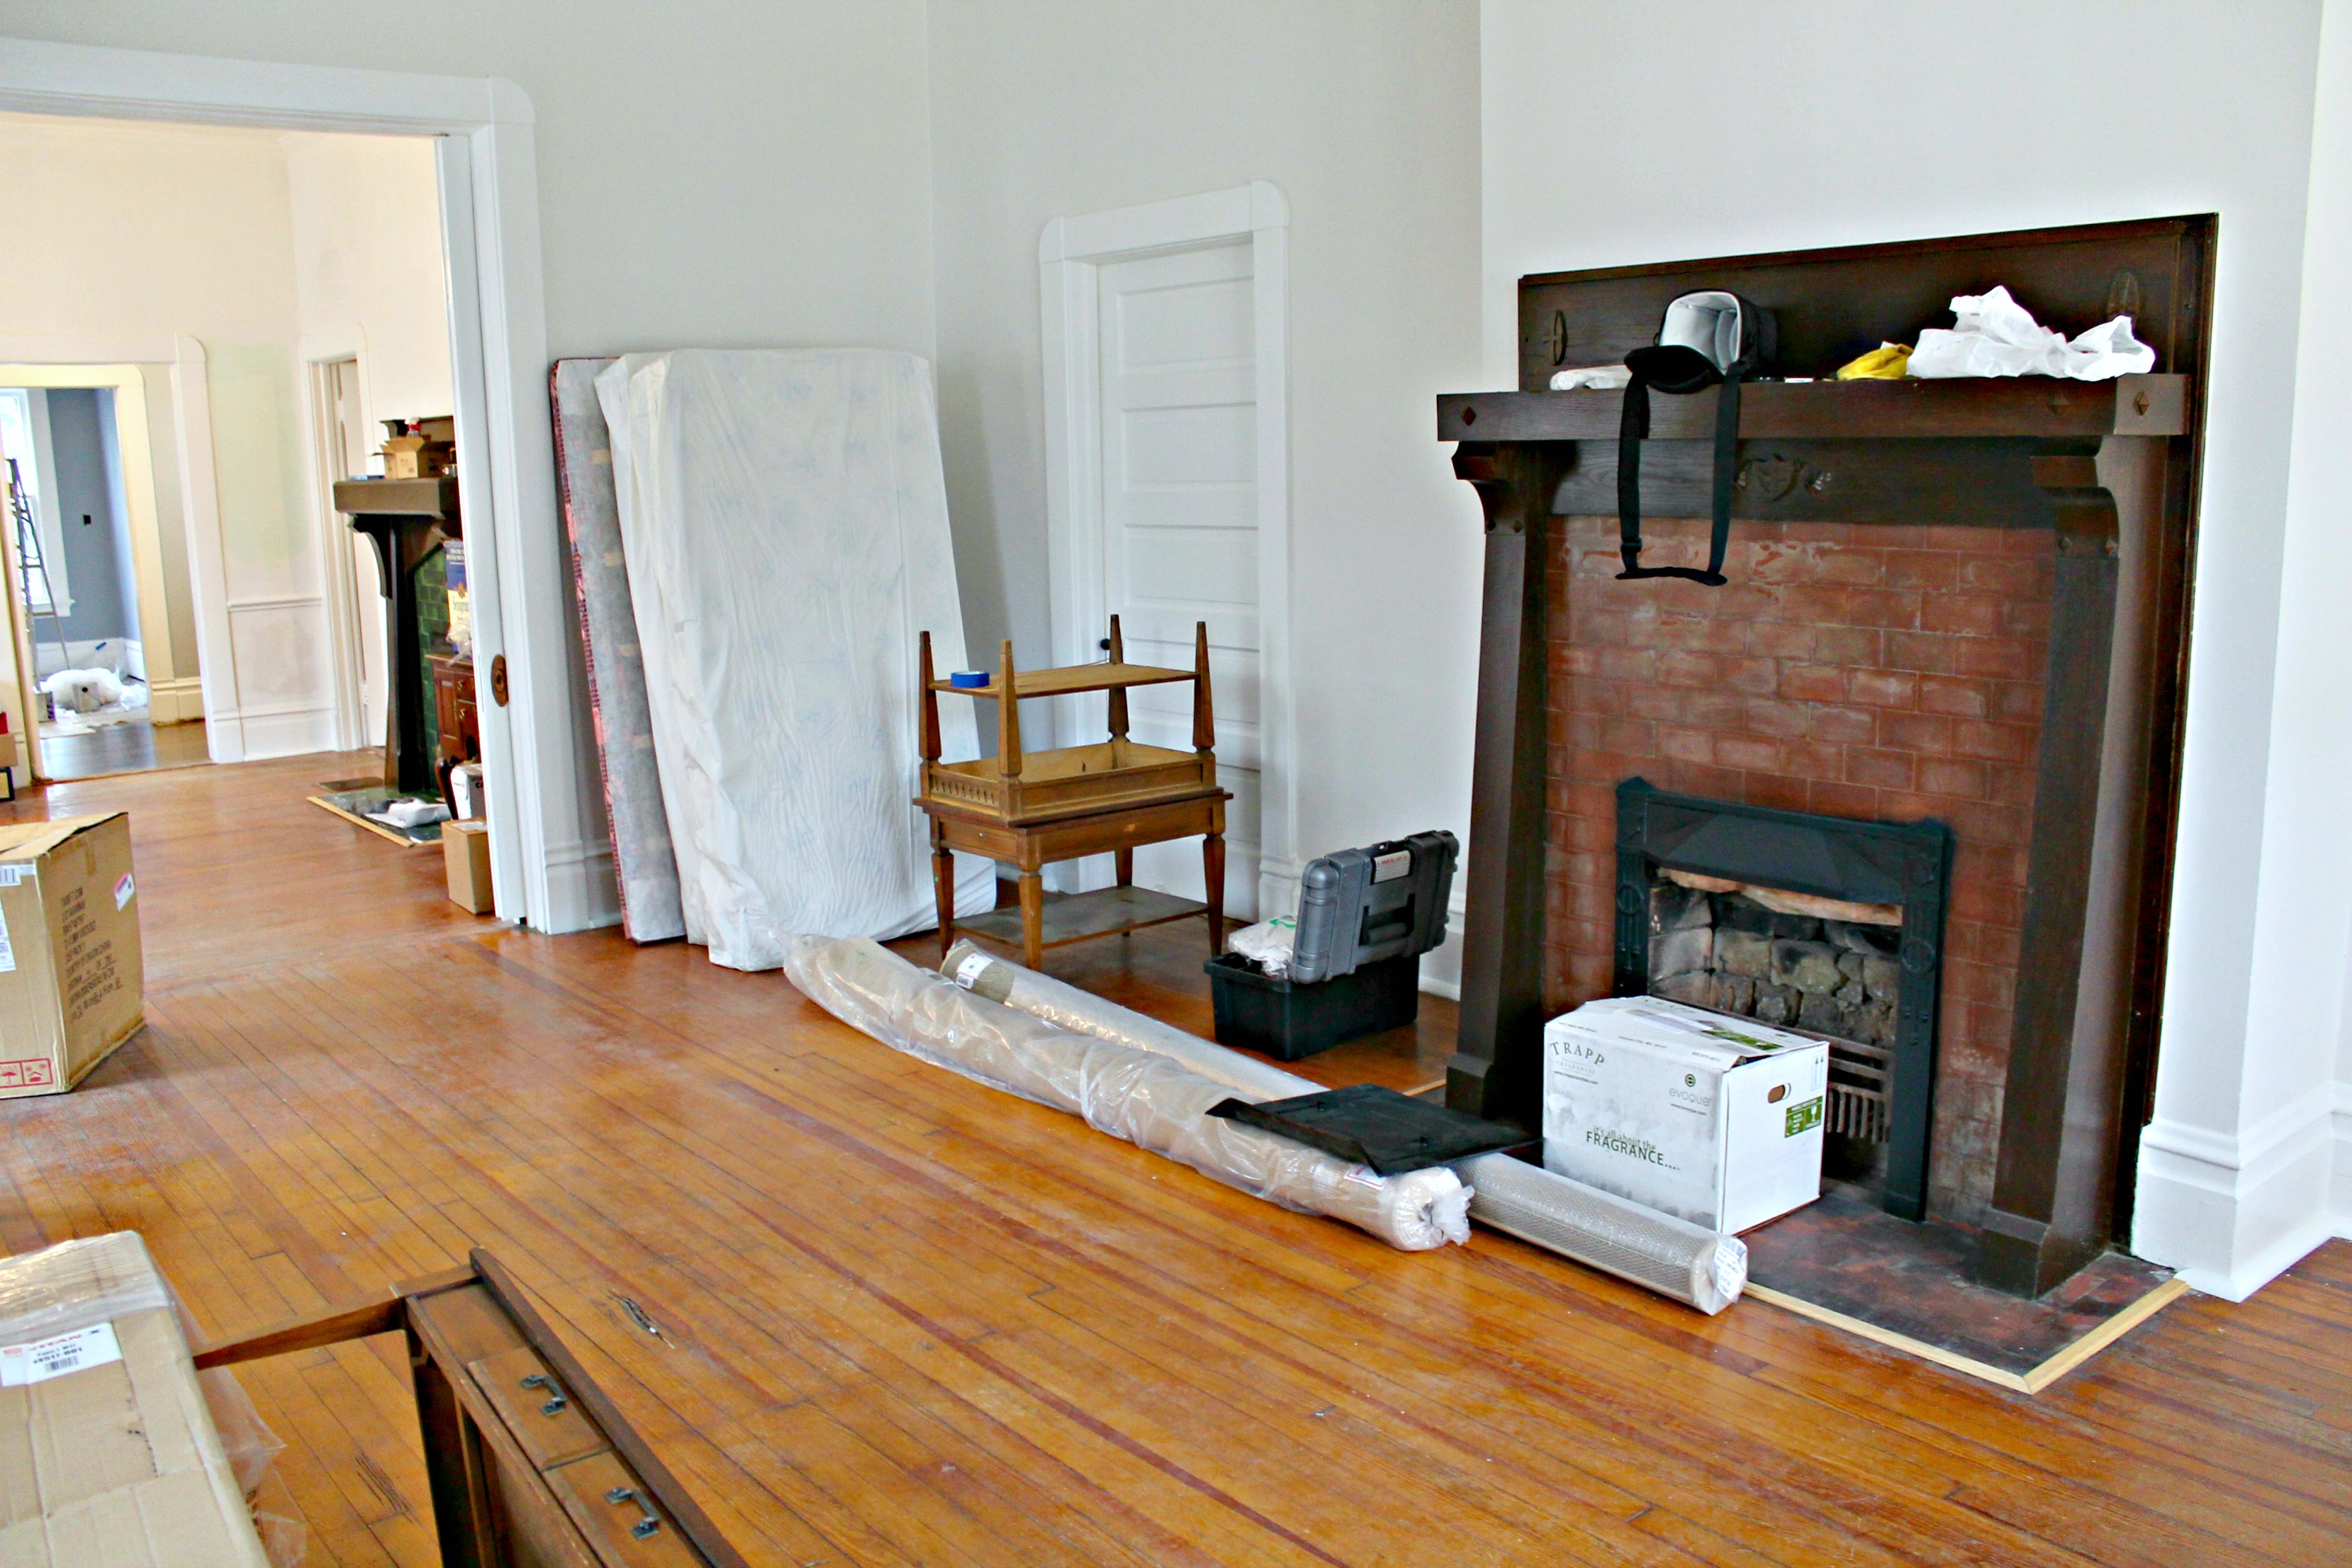
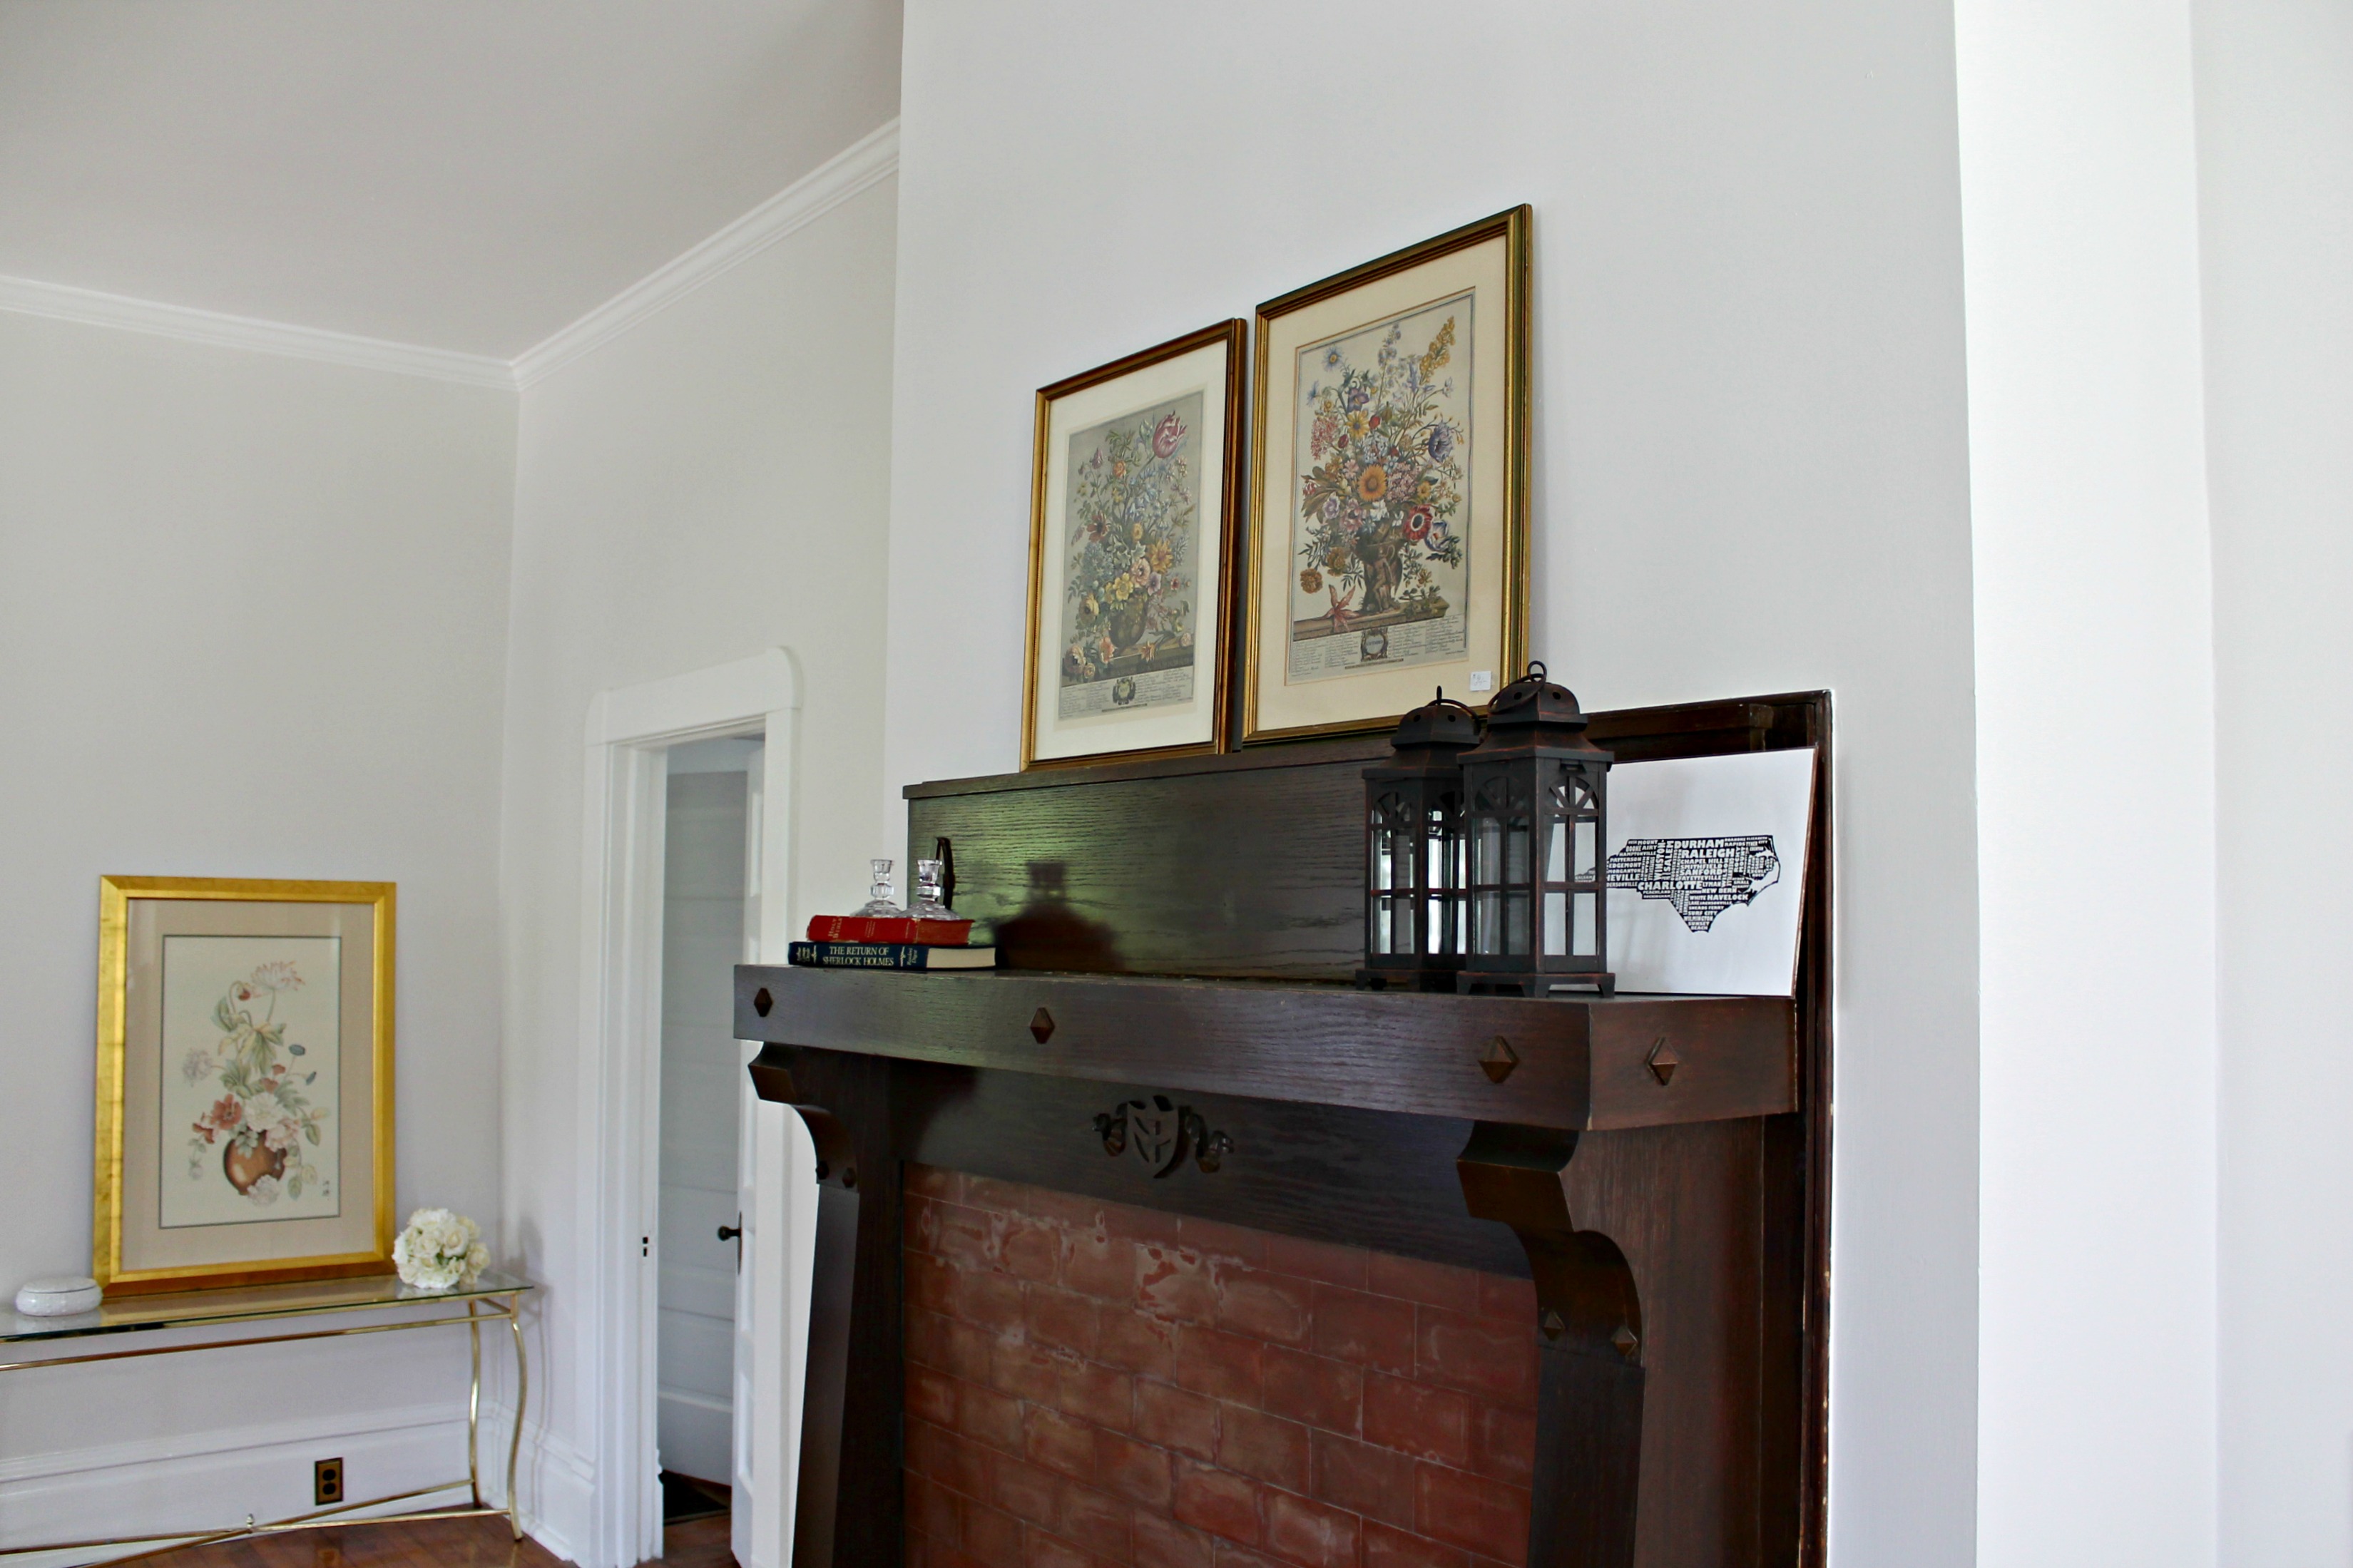
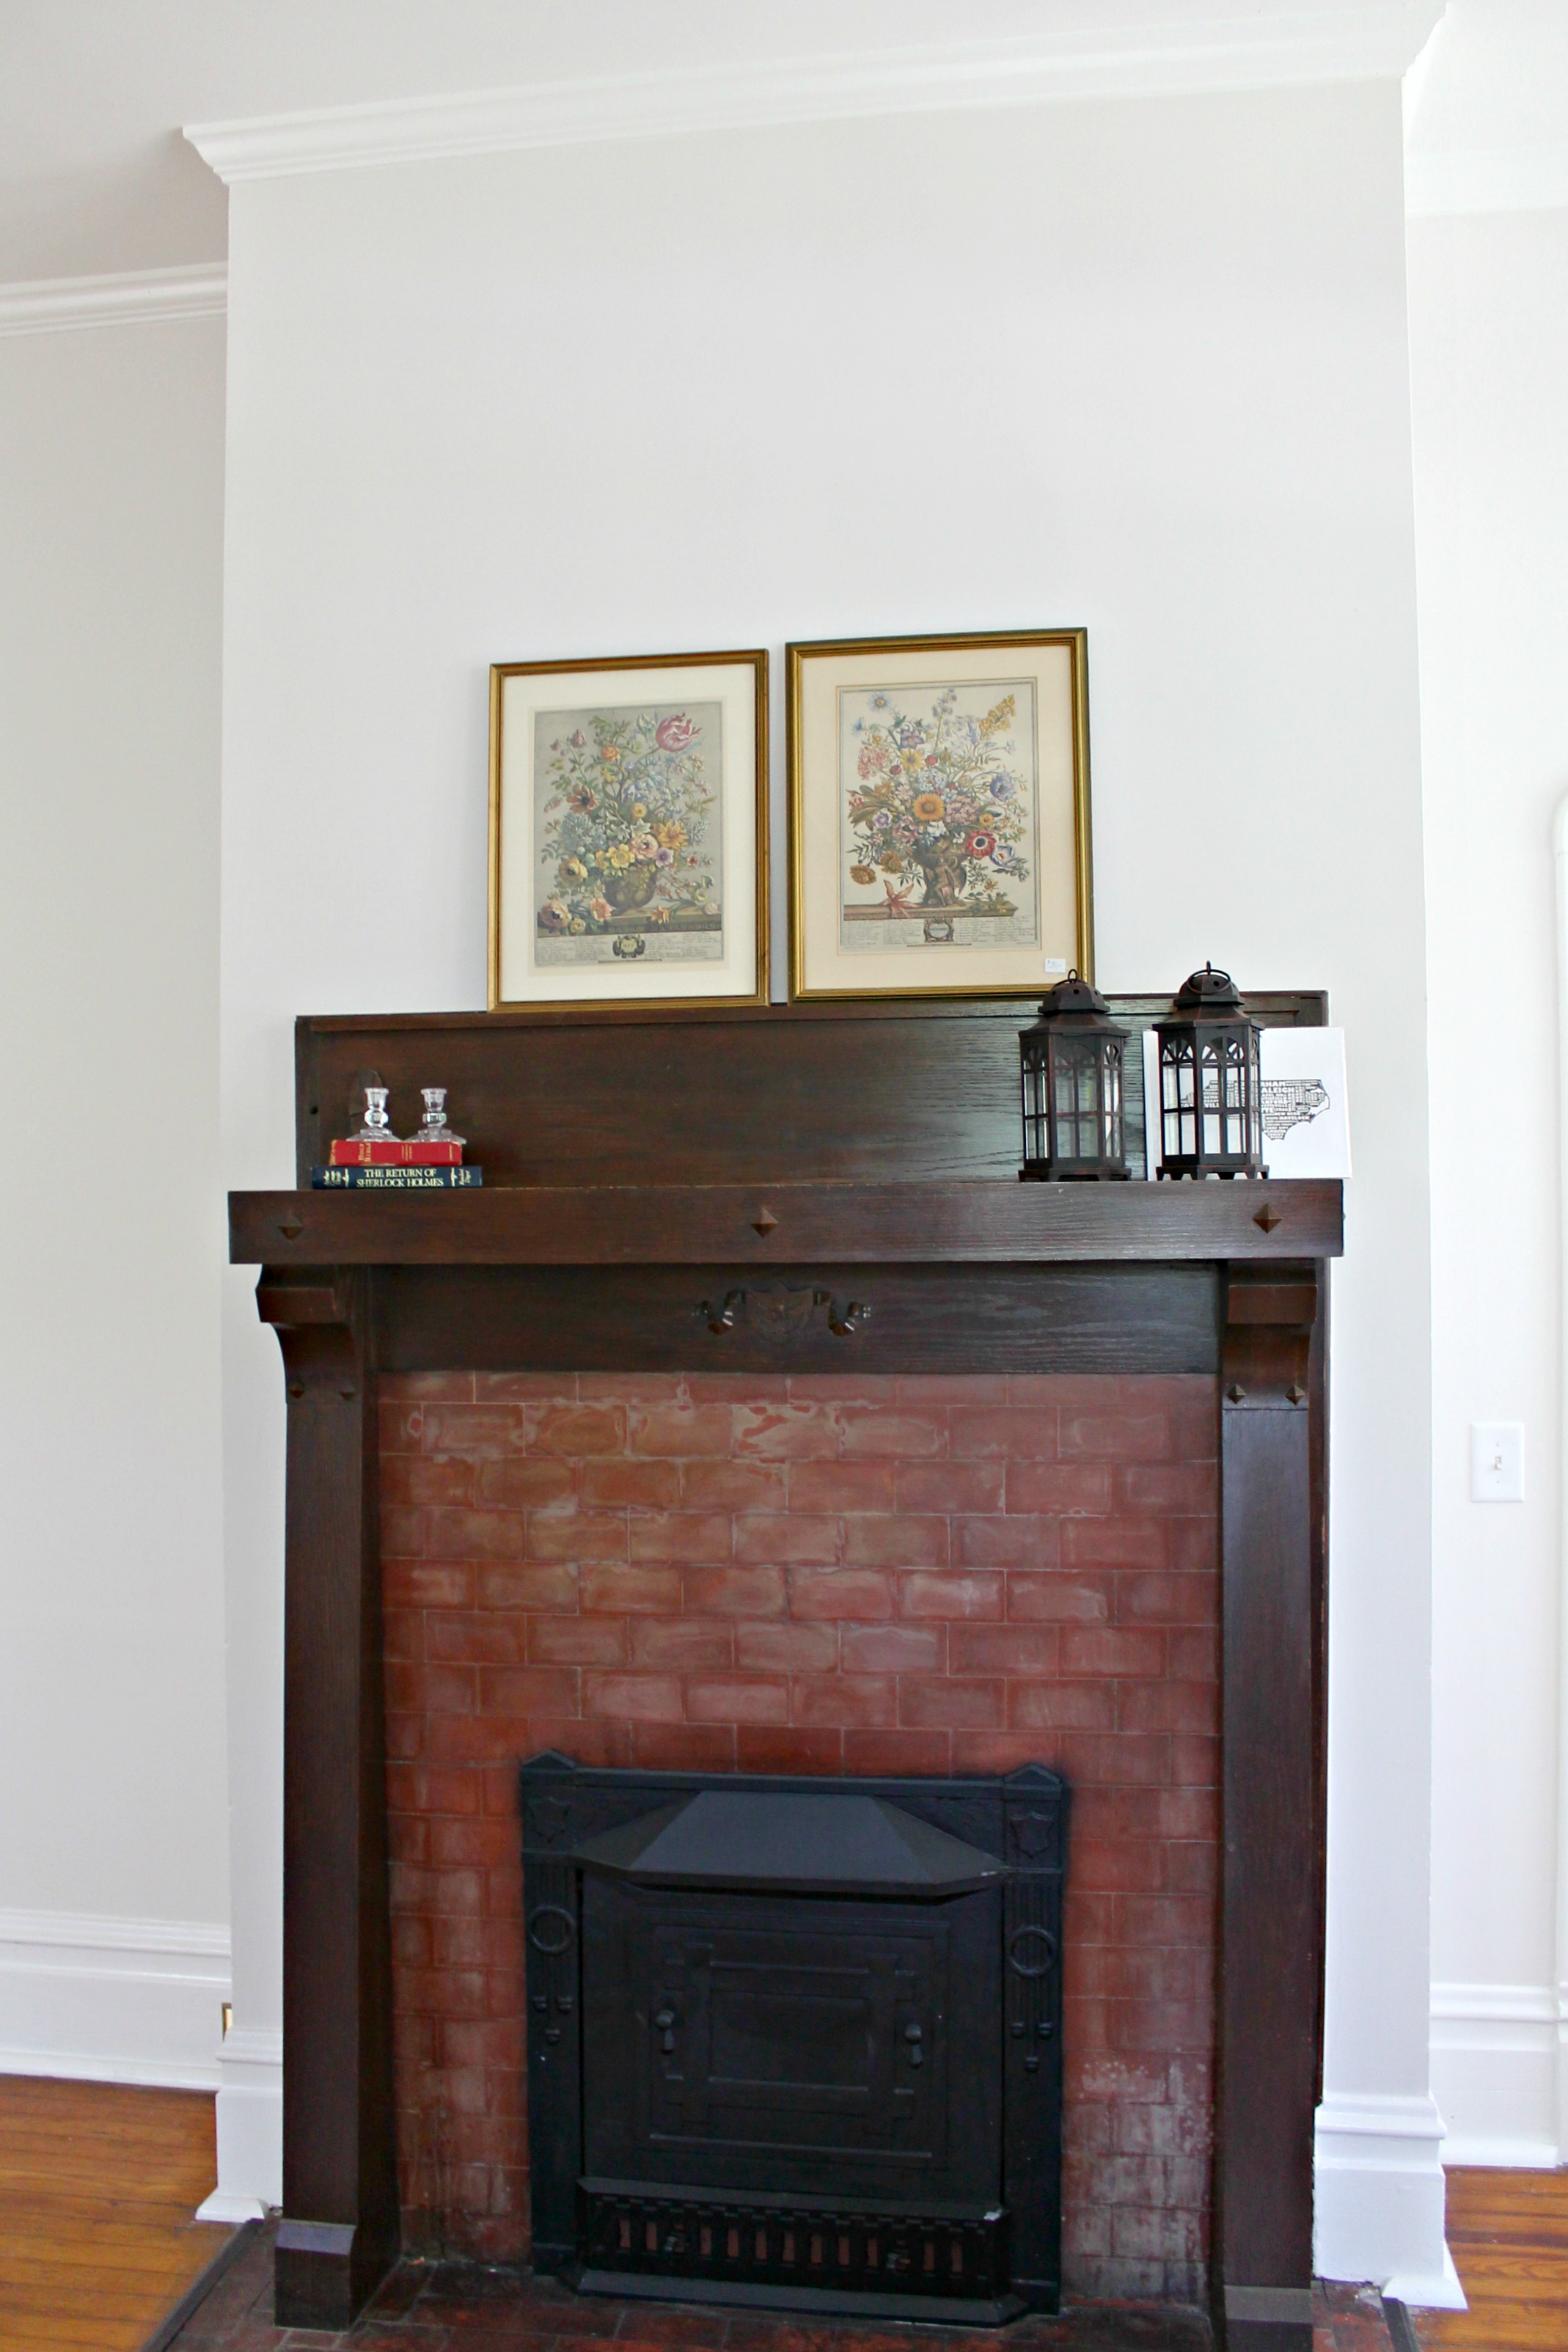
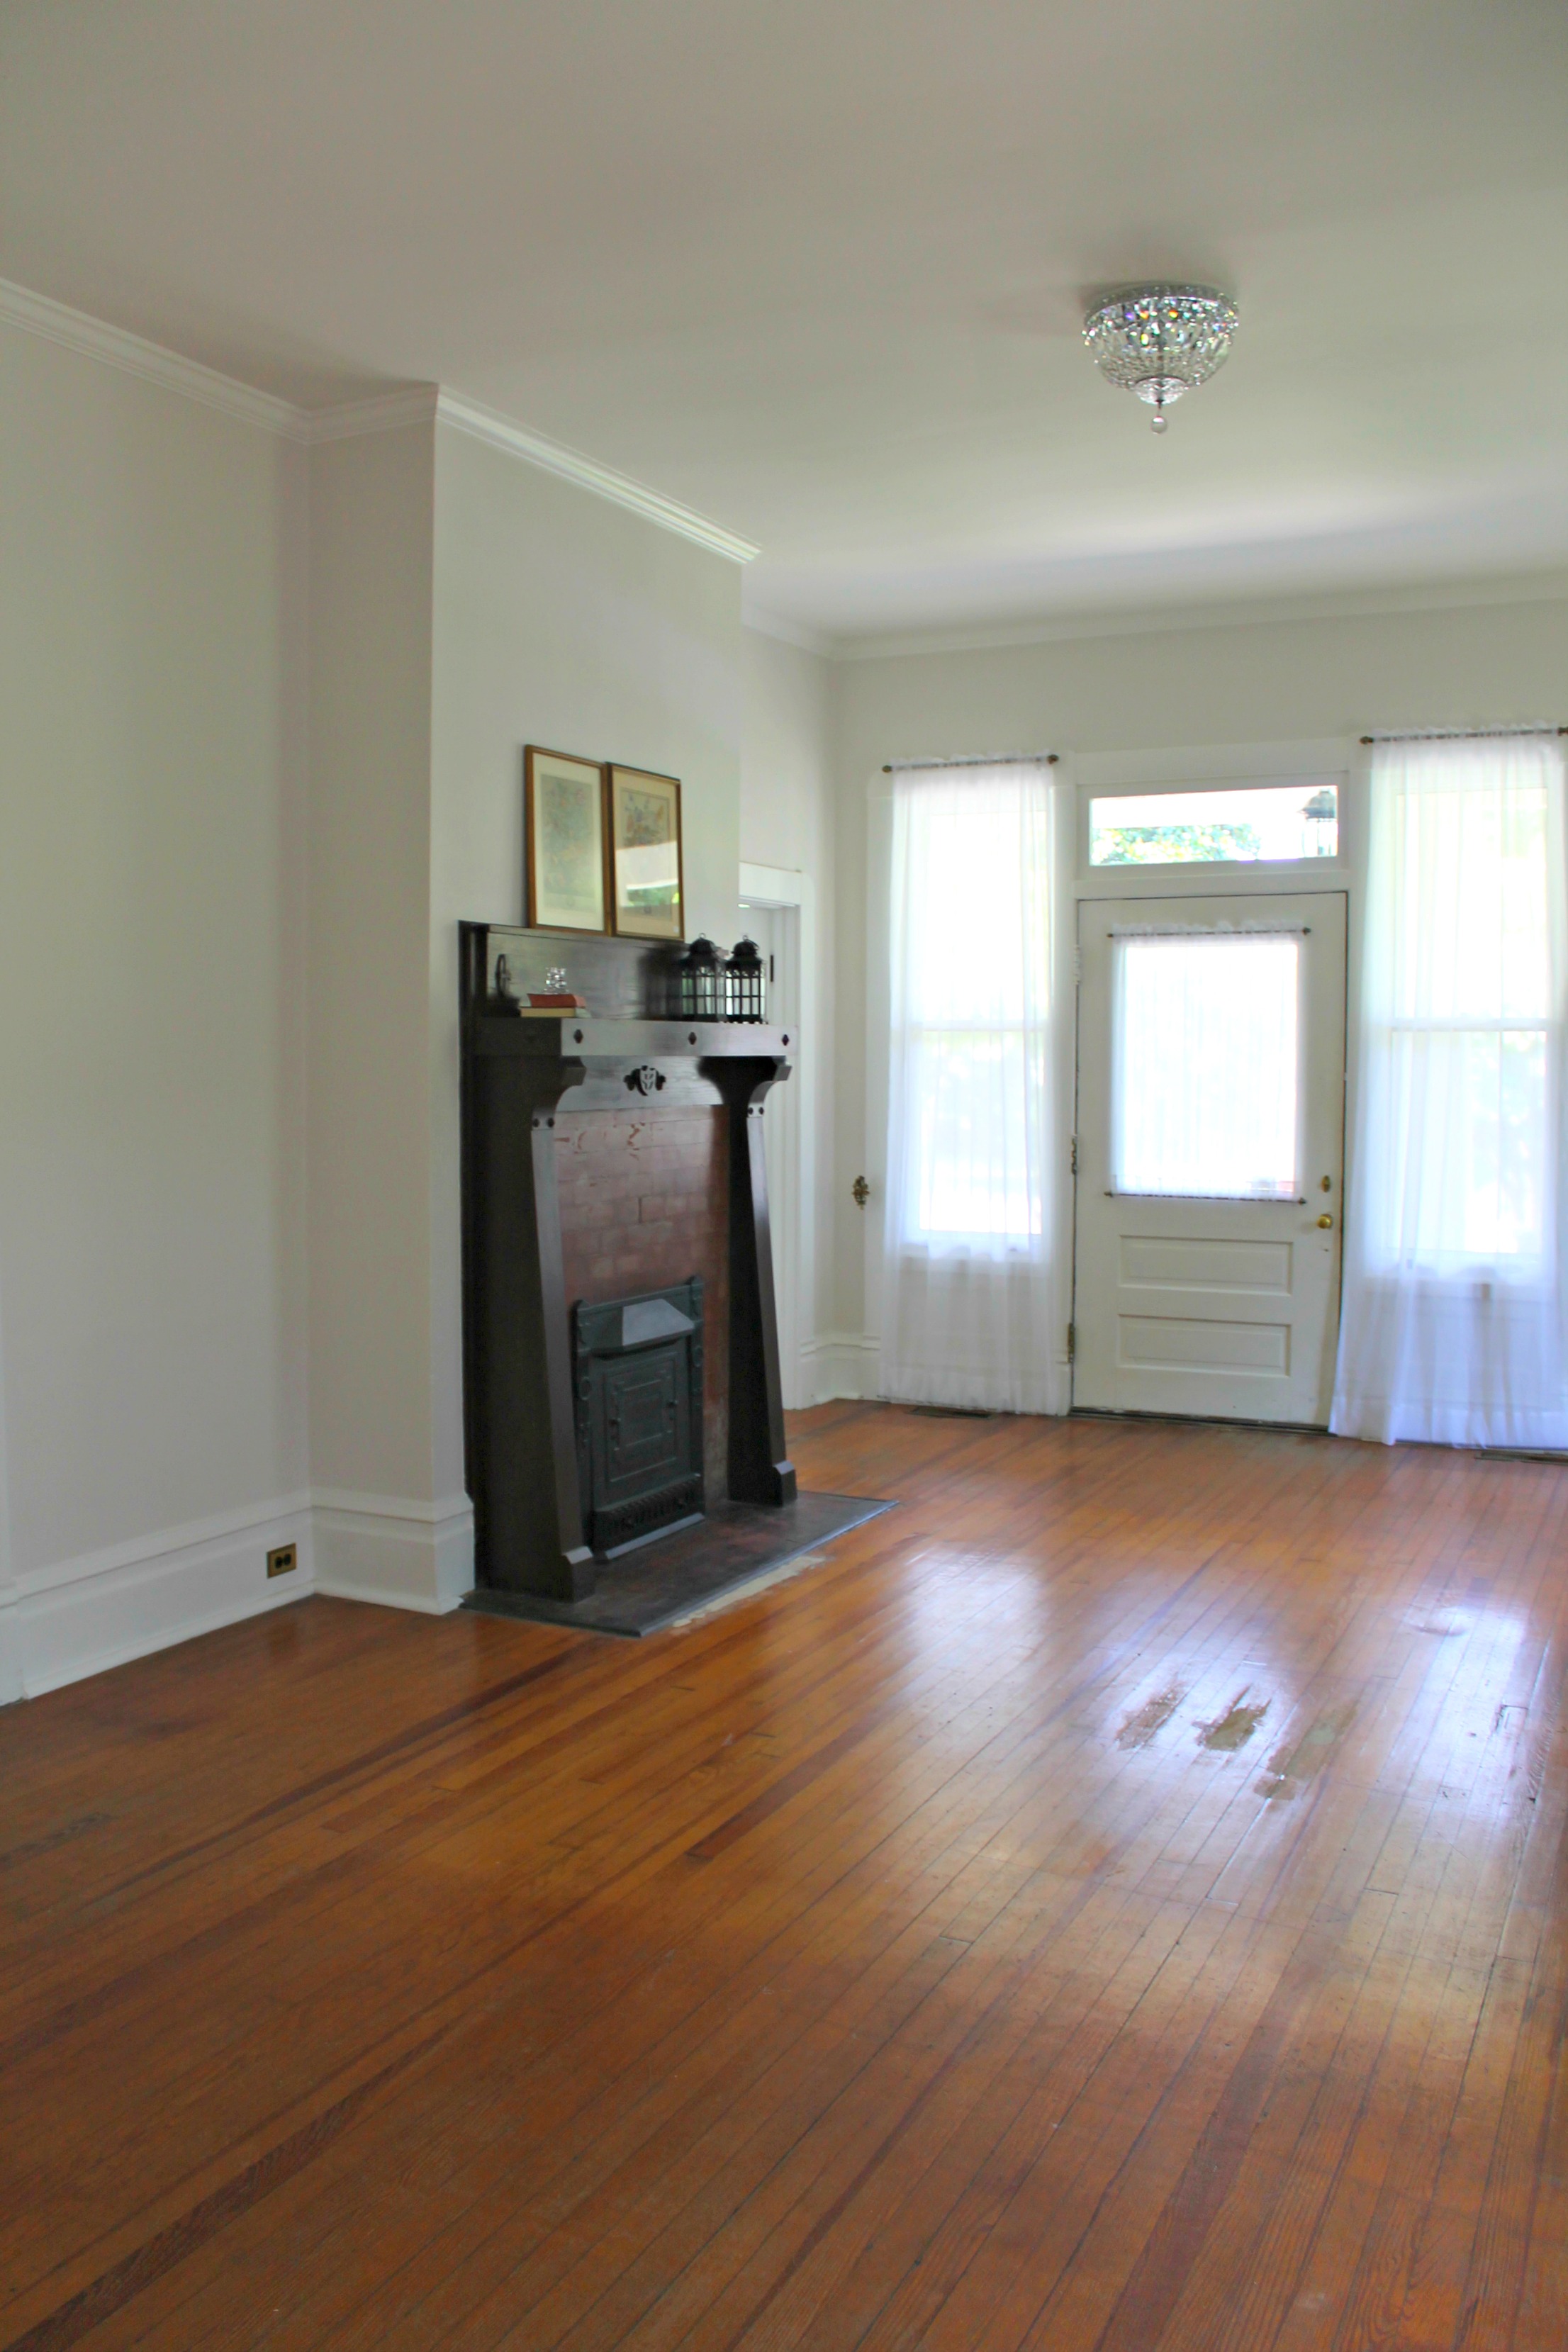
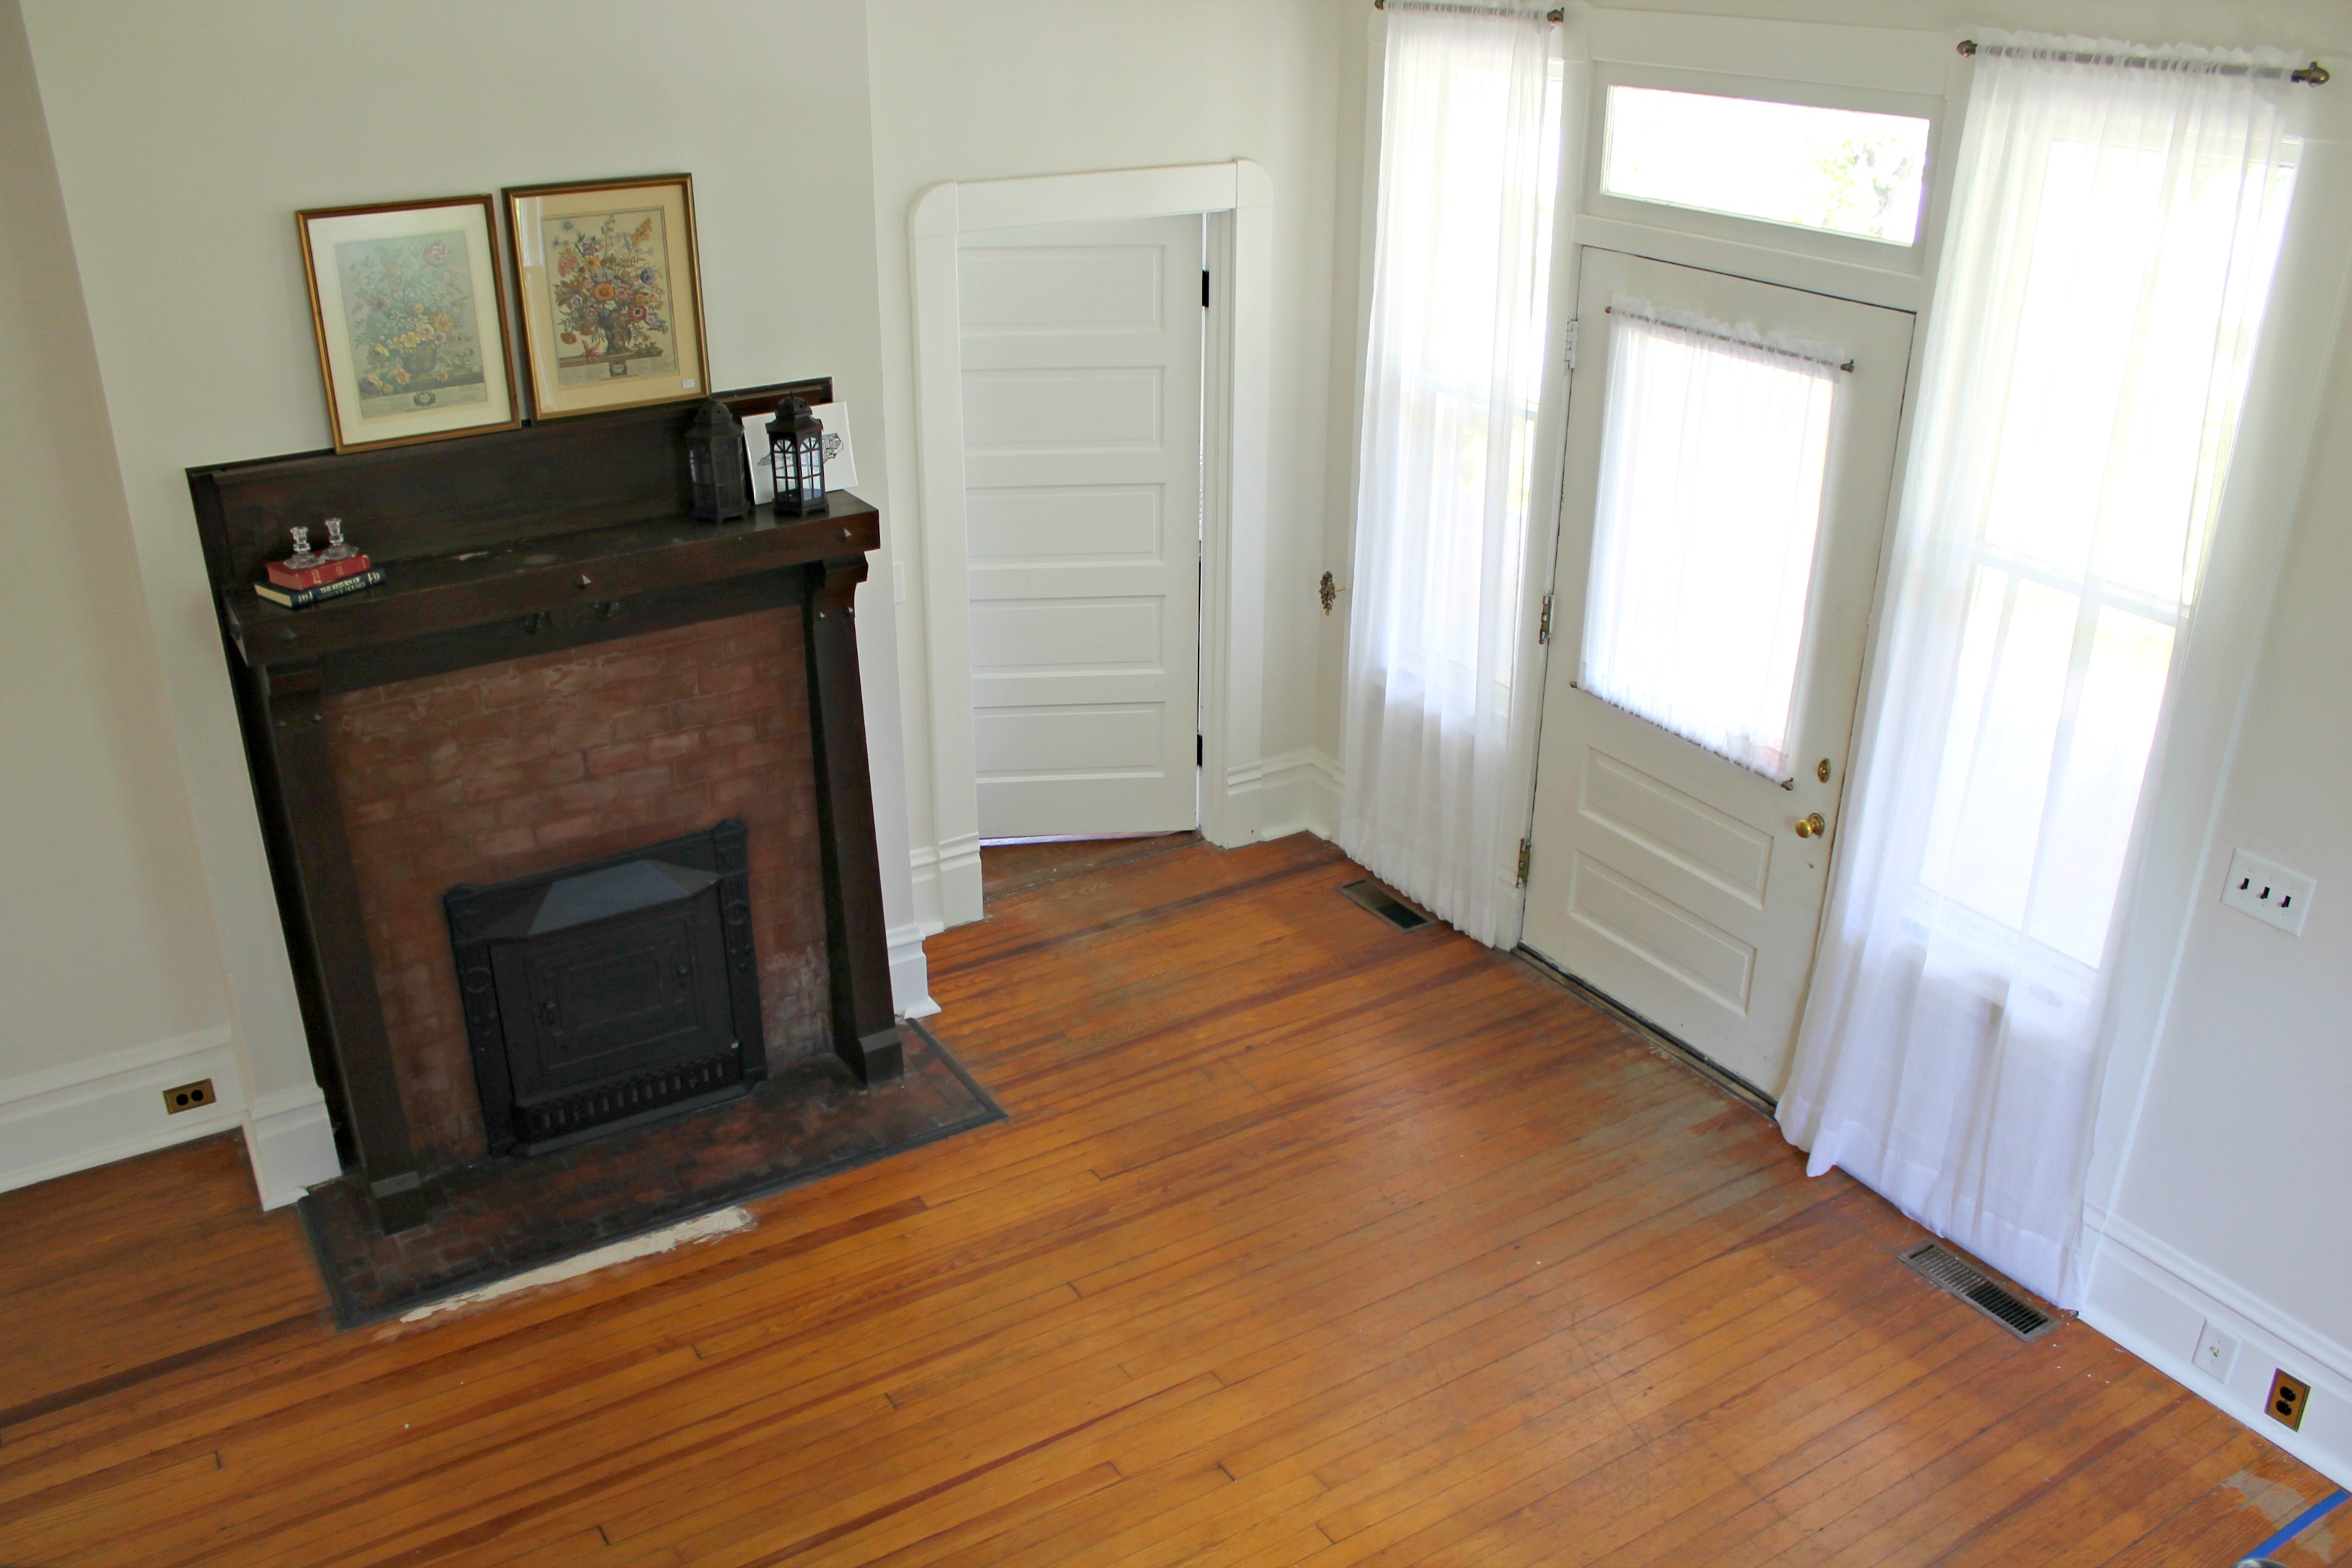
- Paint fireplace inlays
- Install new fireplace trim + stain
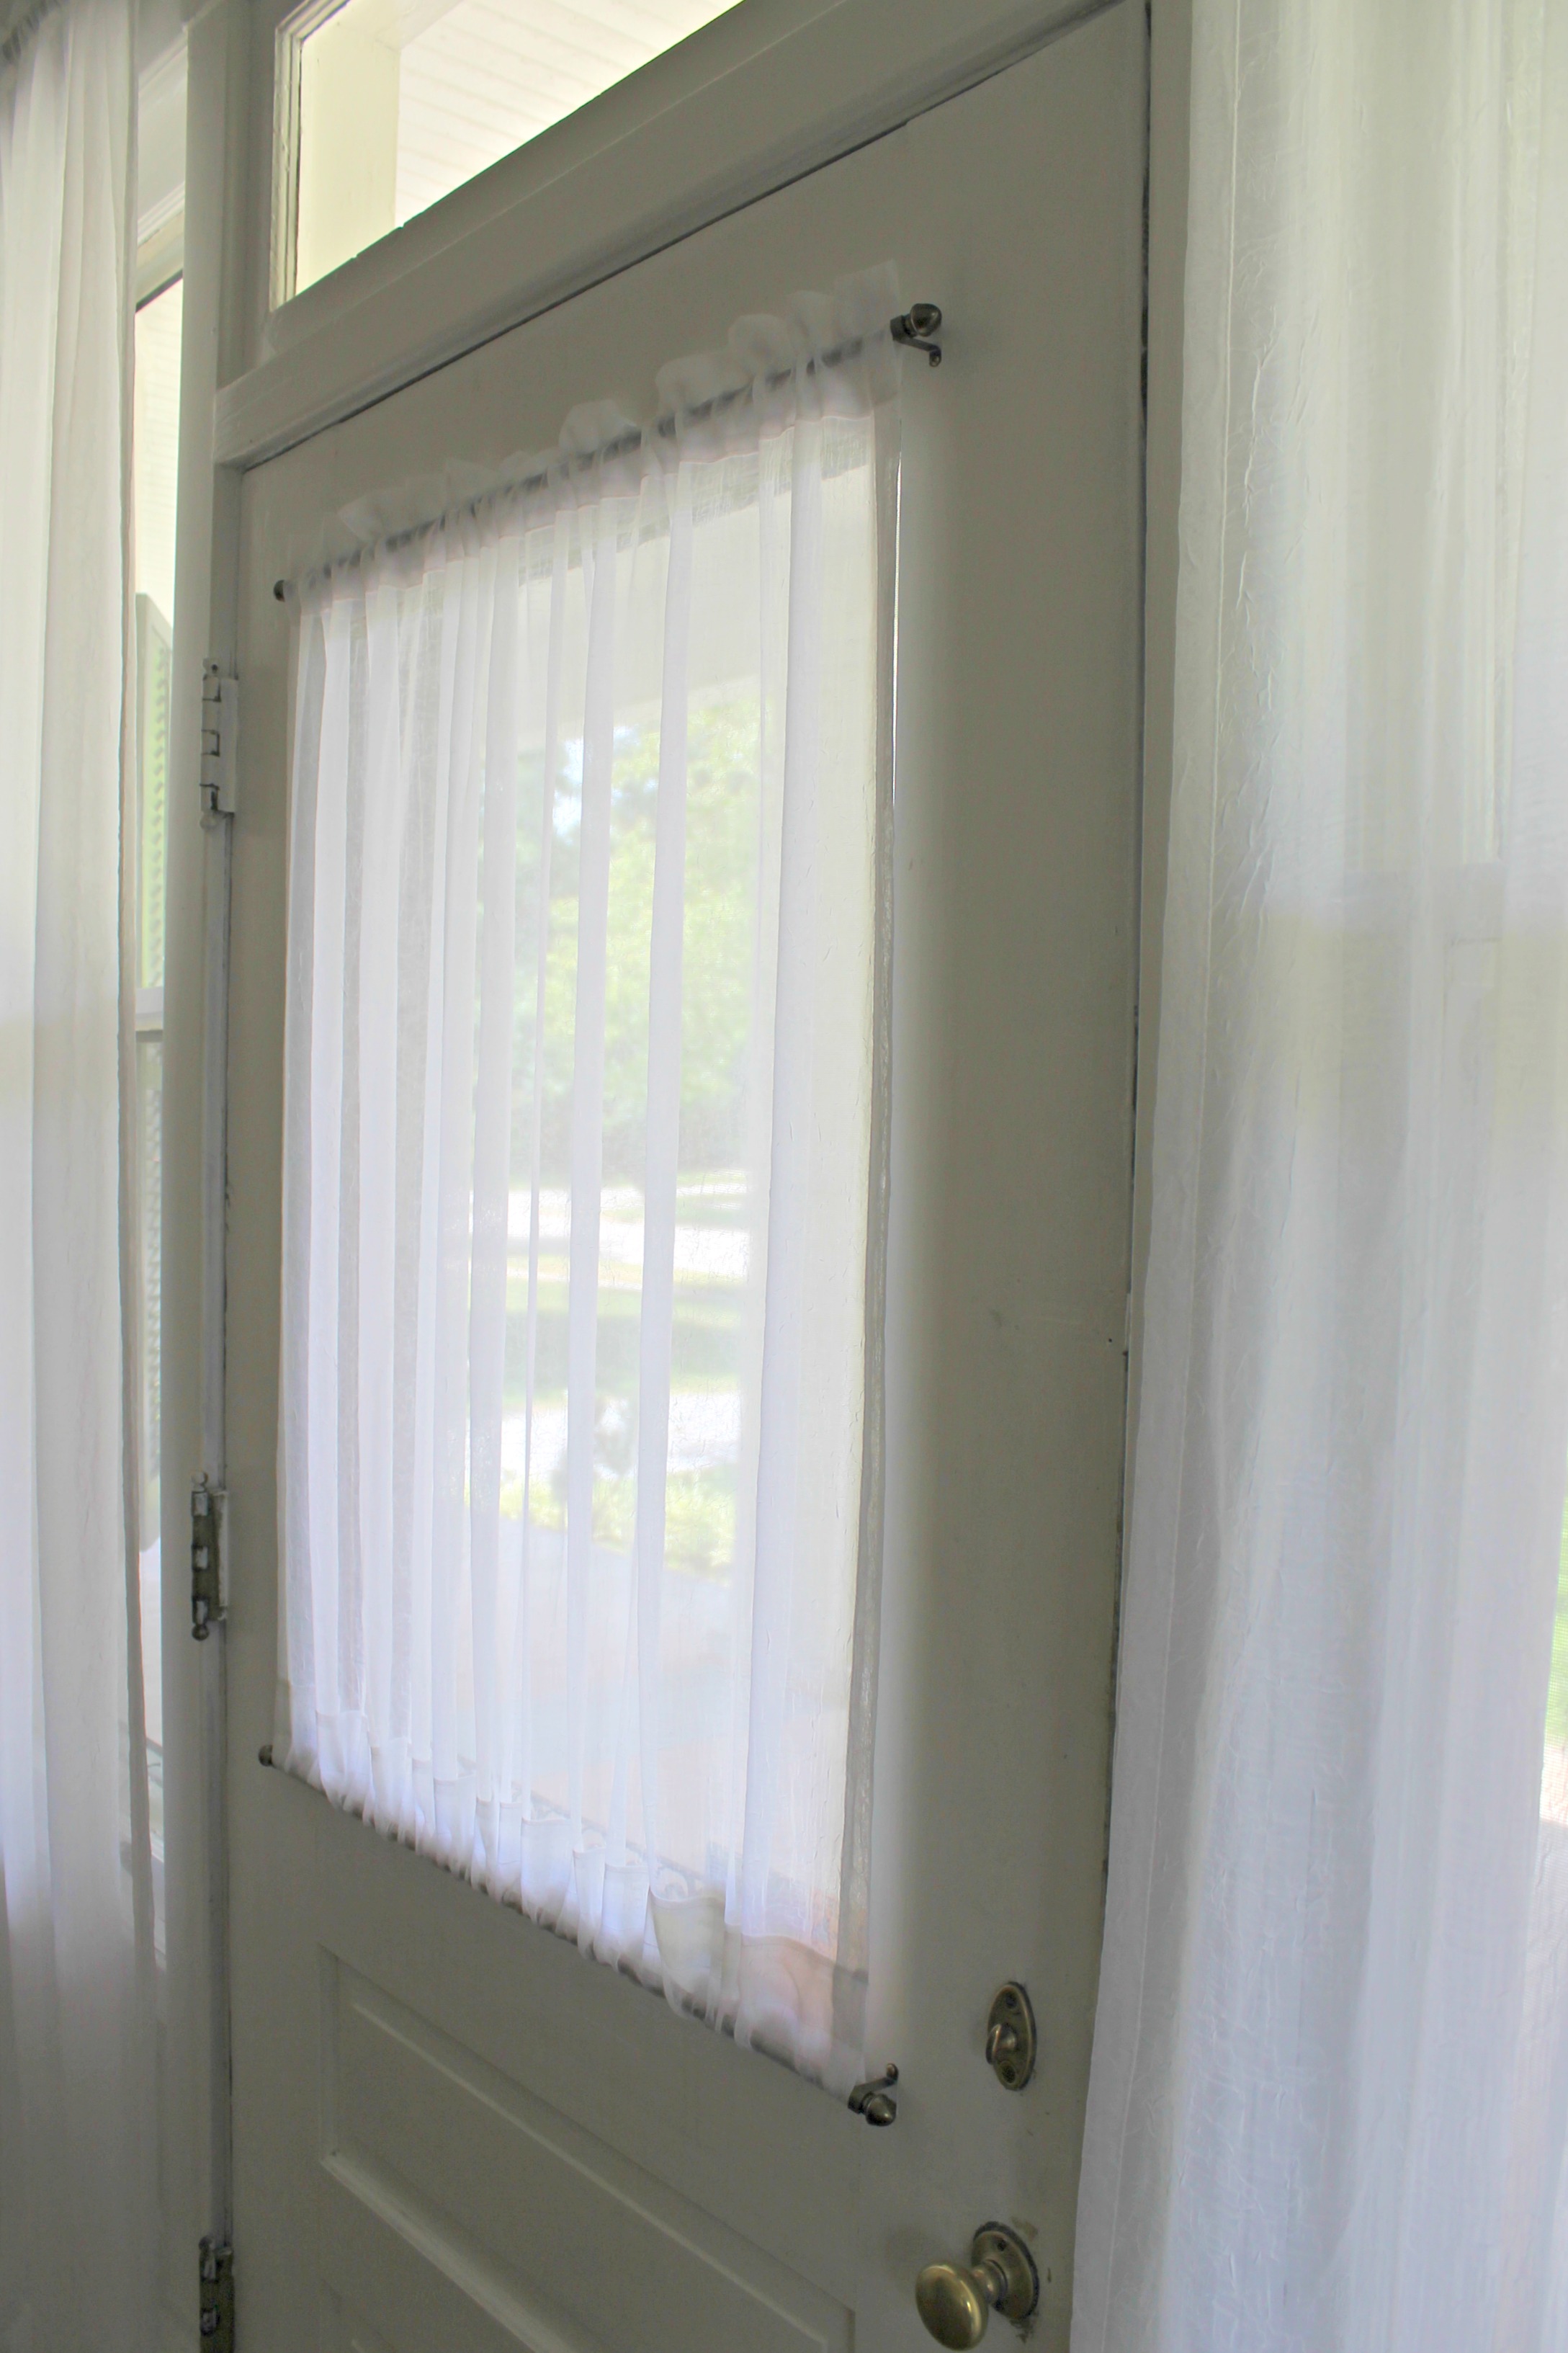
- Hang privacy sheers on the front door and windows
What’s left
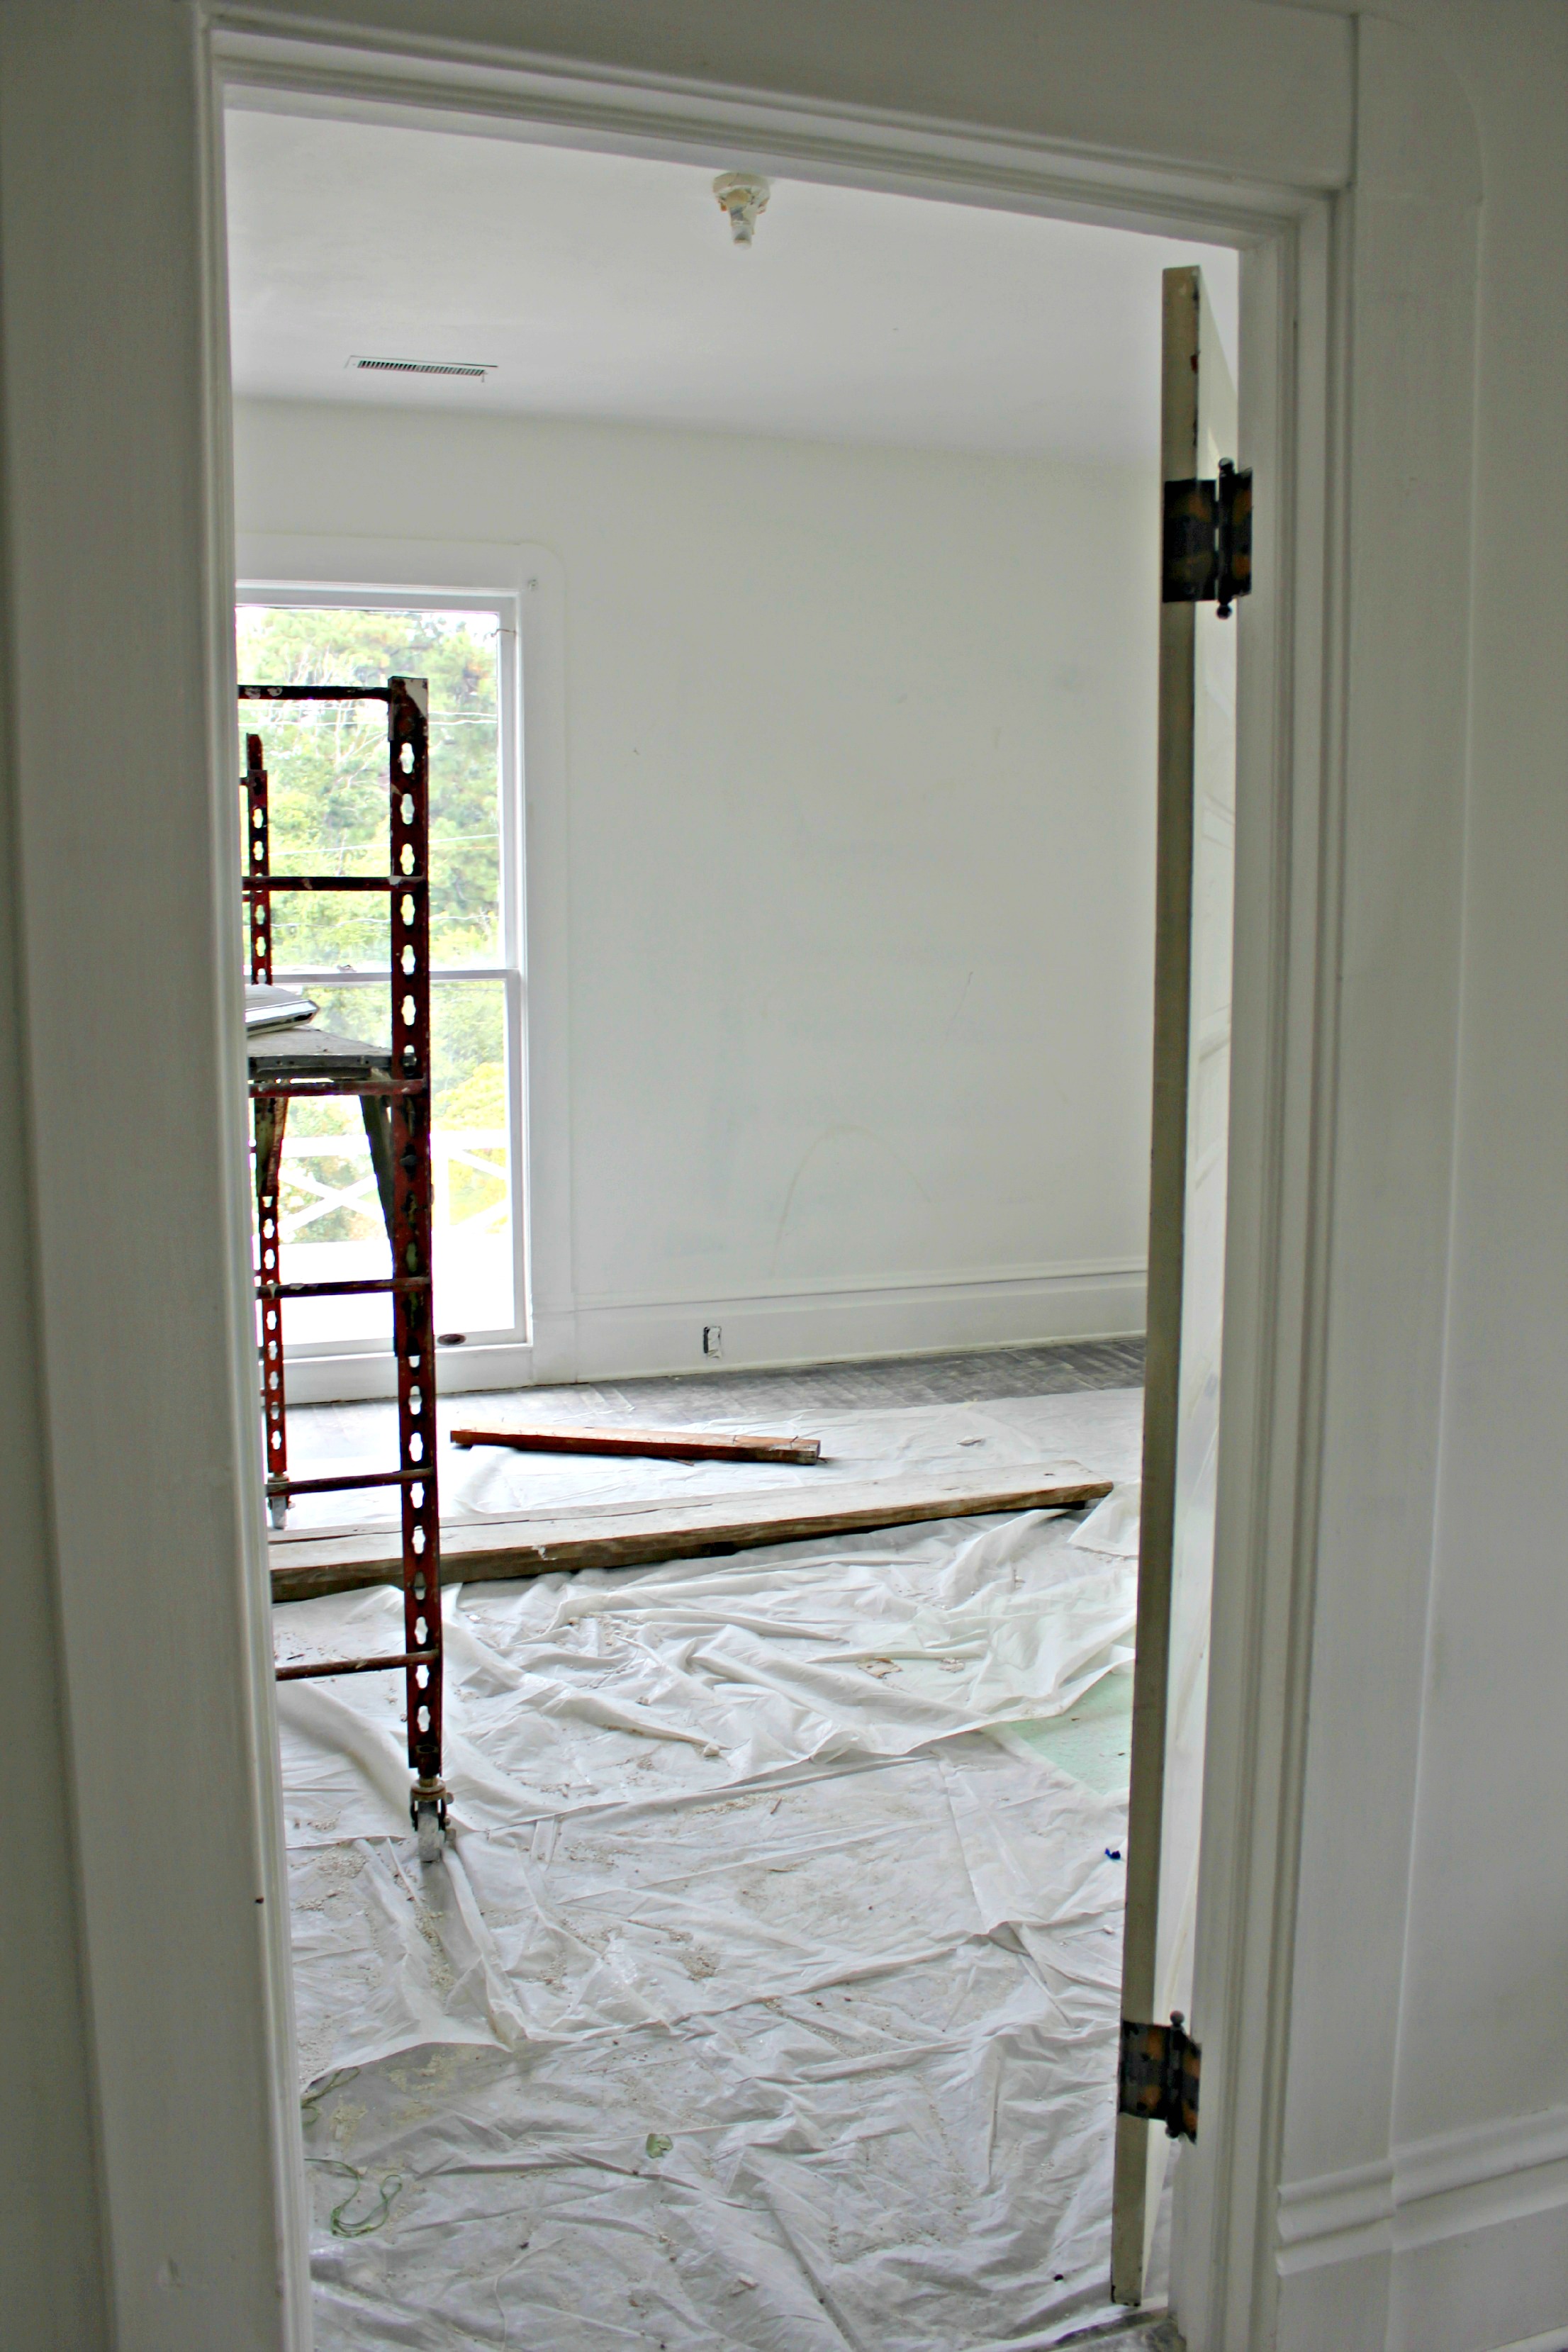
- Oil and/or refinish the floors
- Stain the stairs
- Install a stair runner
Install a Nest thermostat (we already have one installed upstairs)Decorate
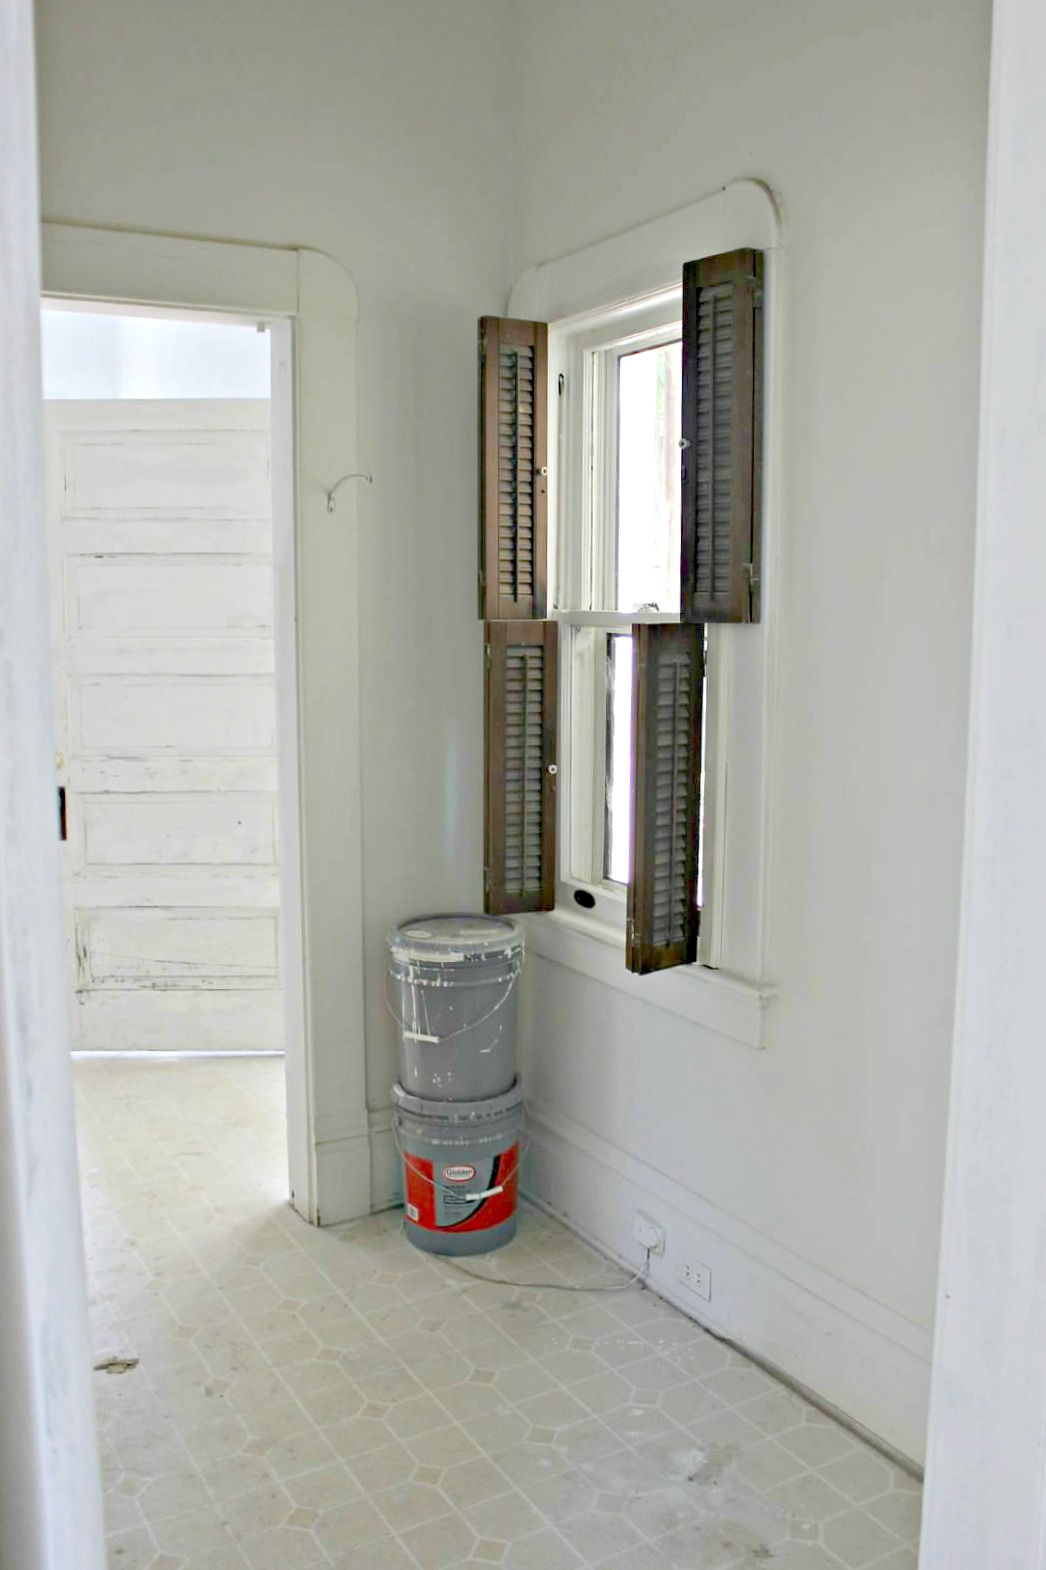
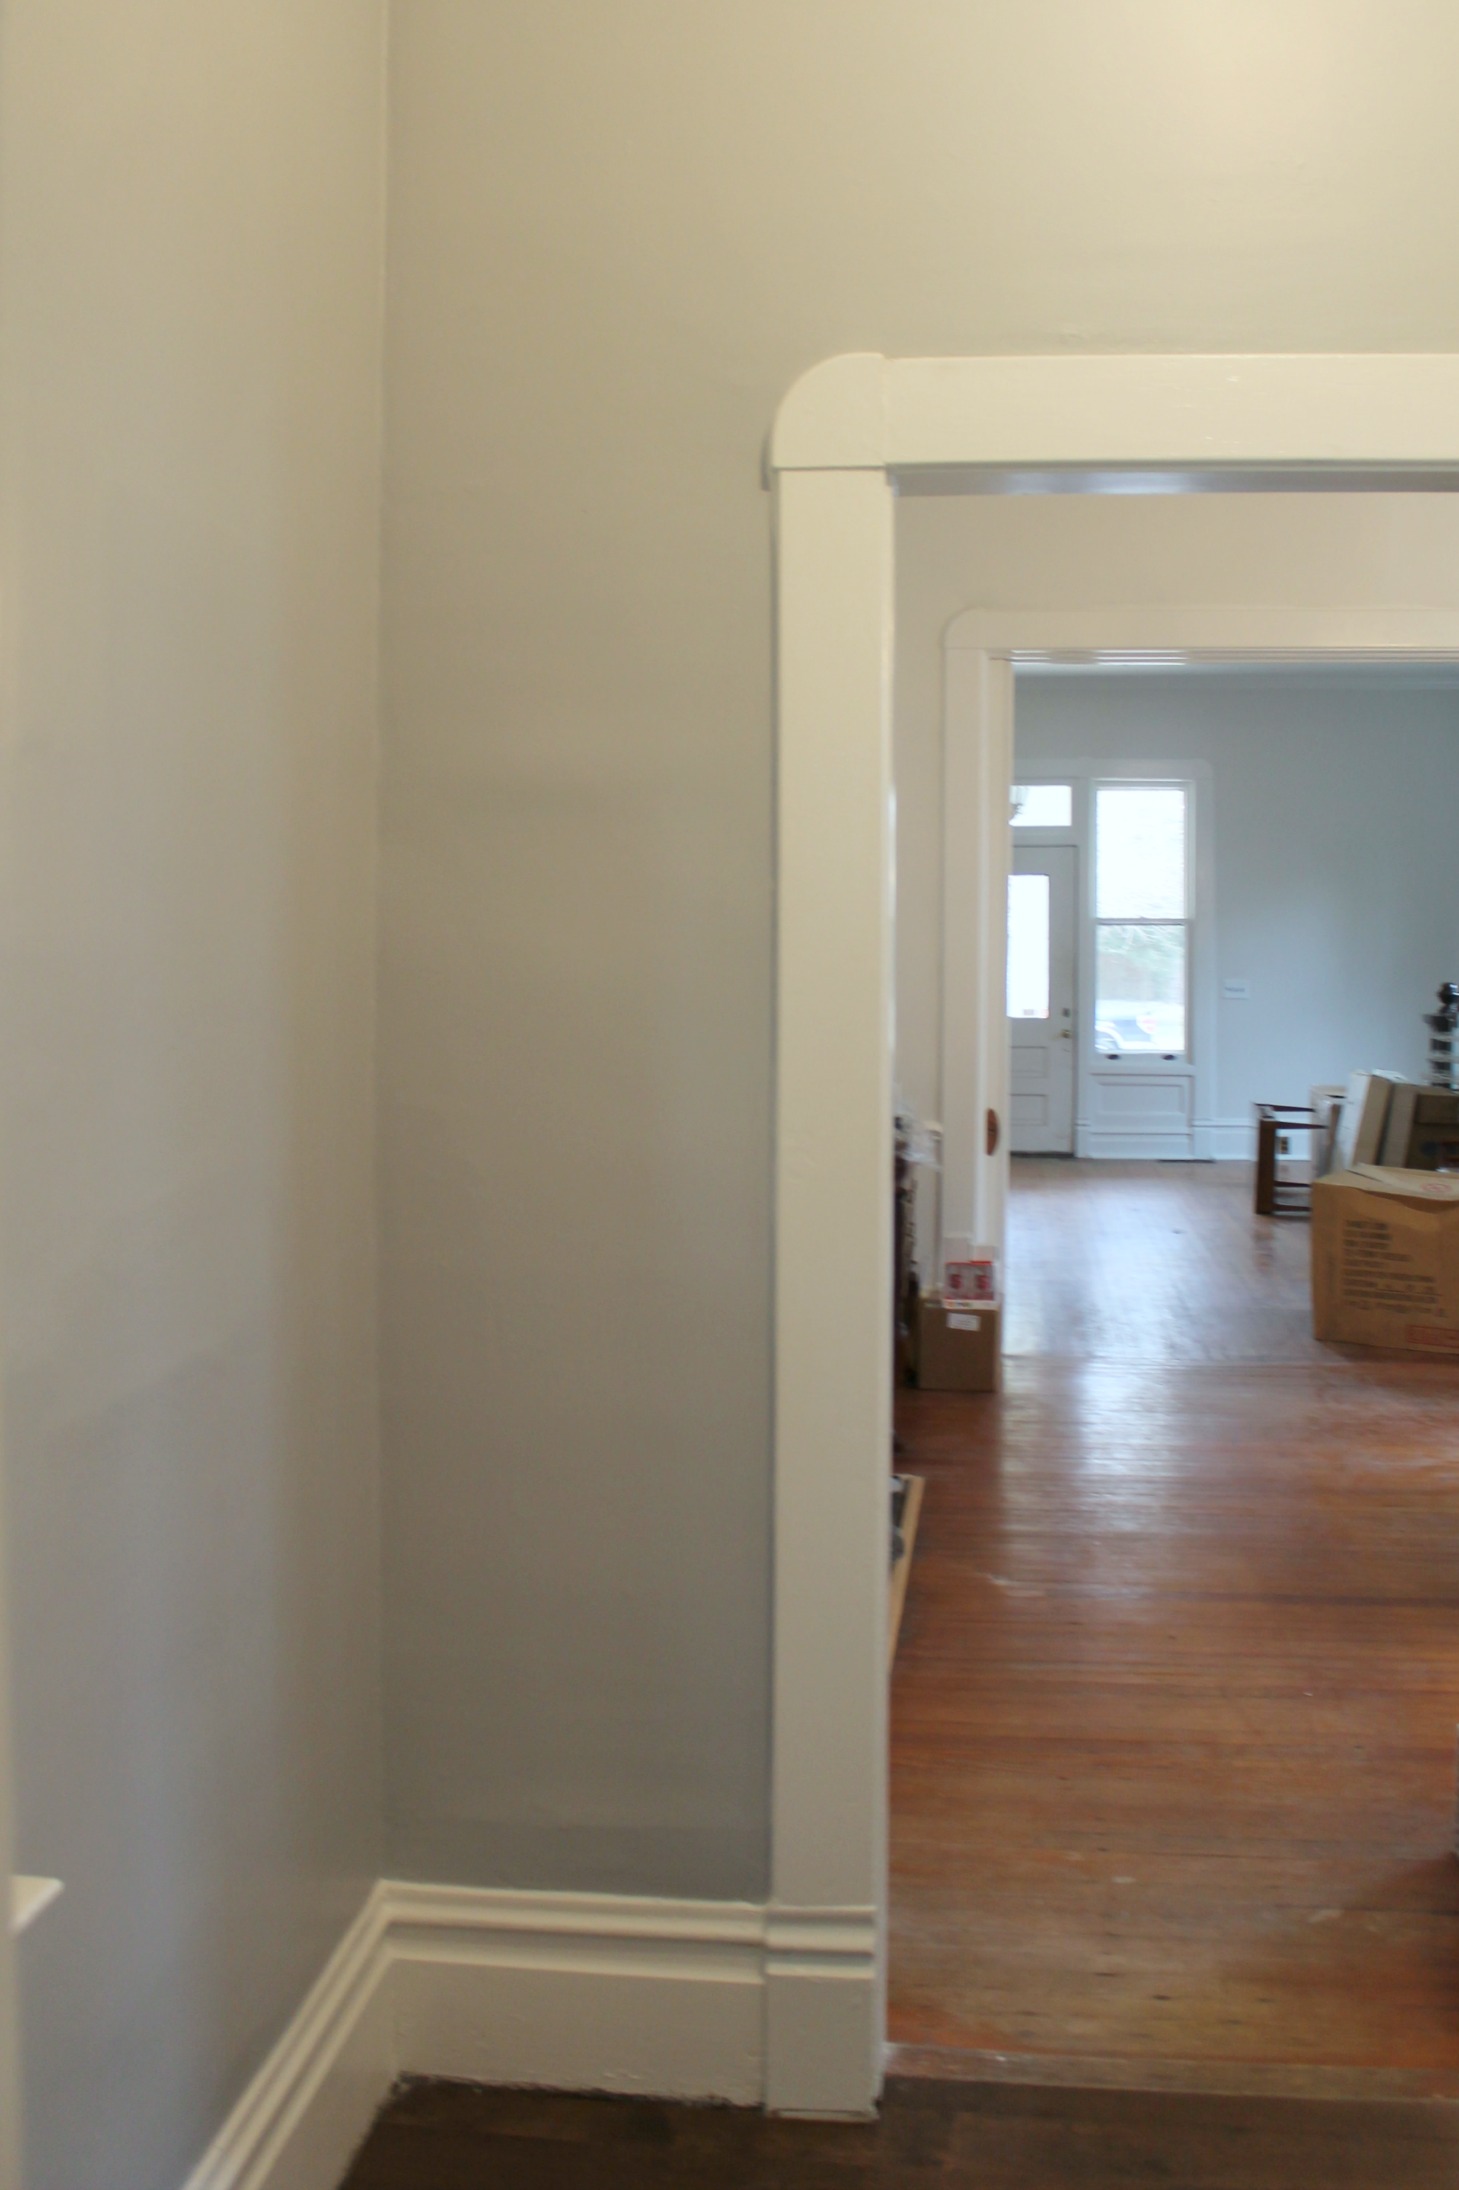
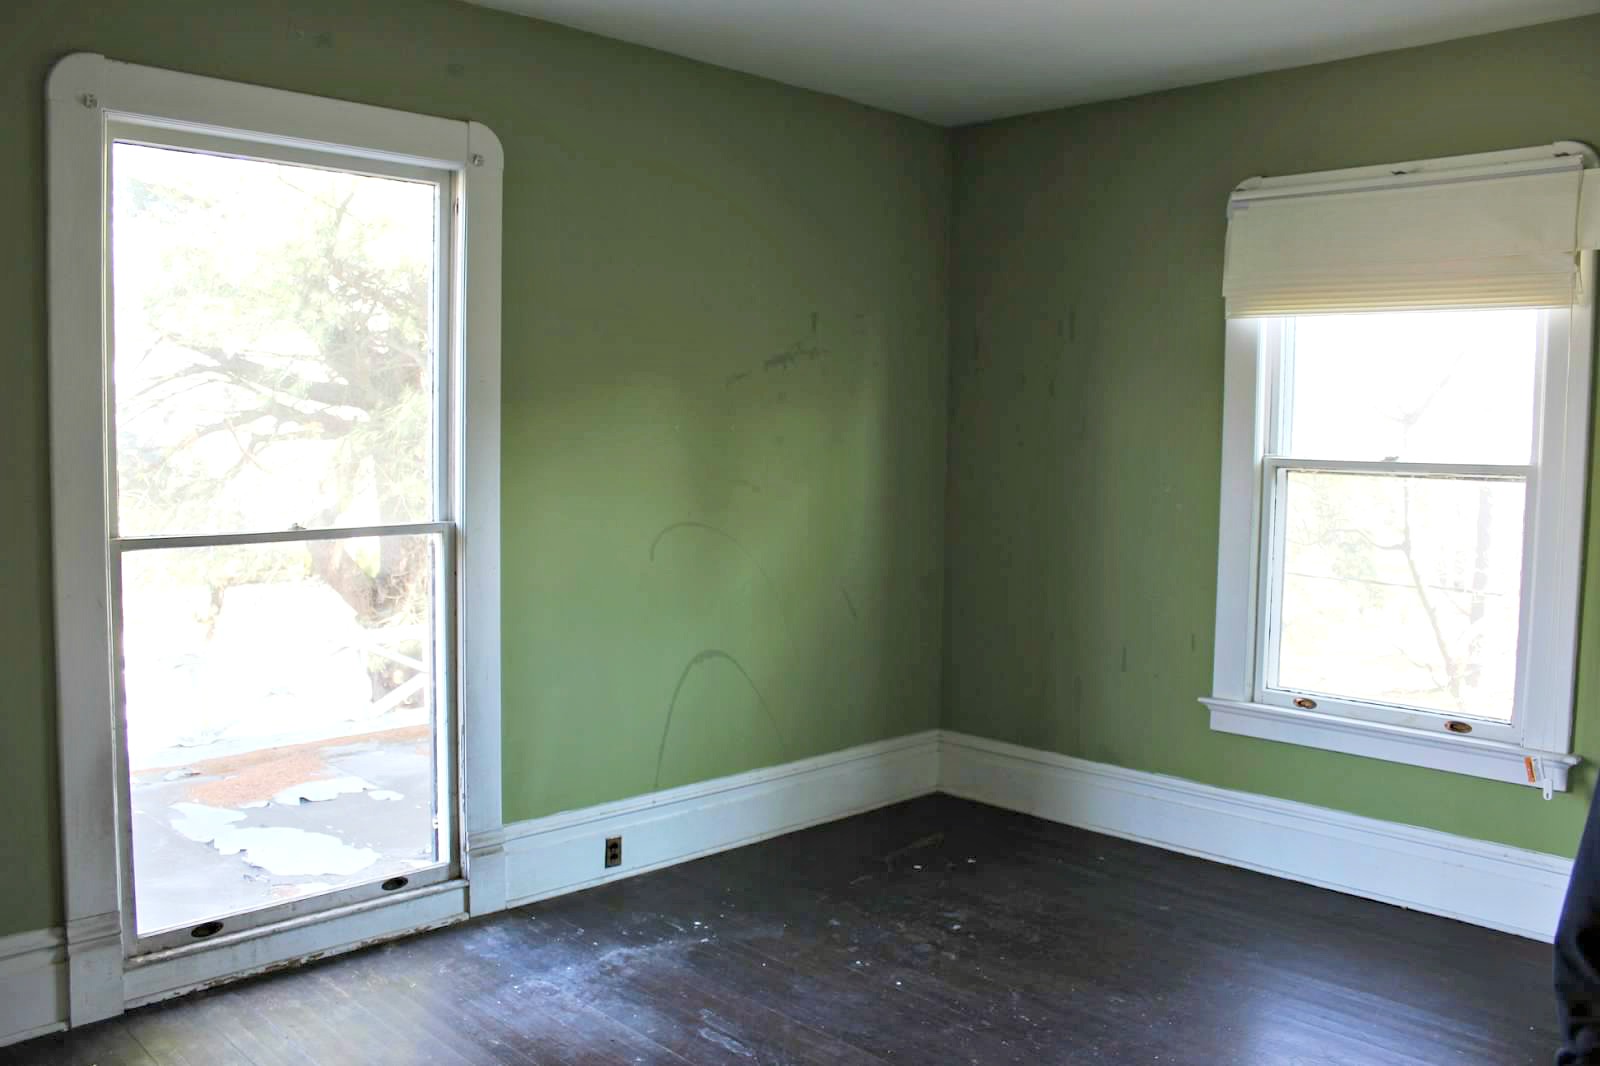
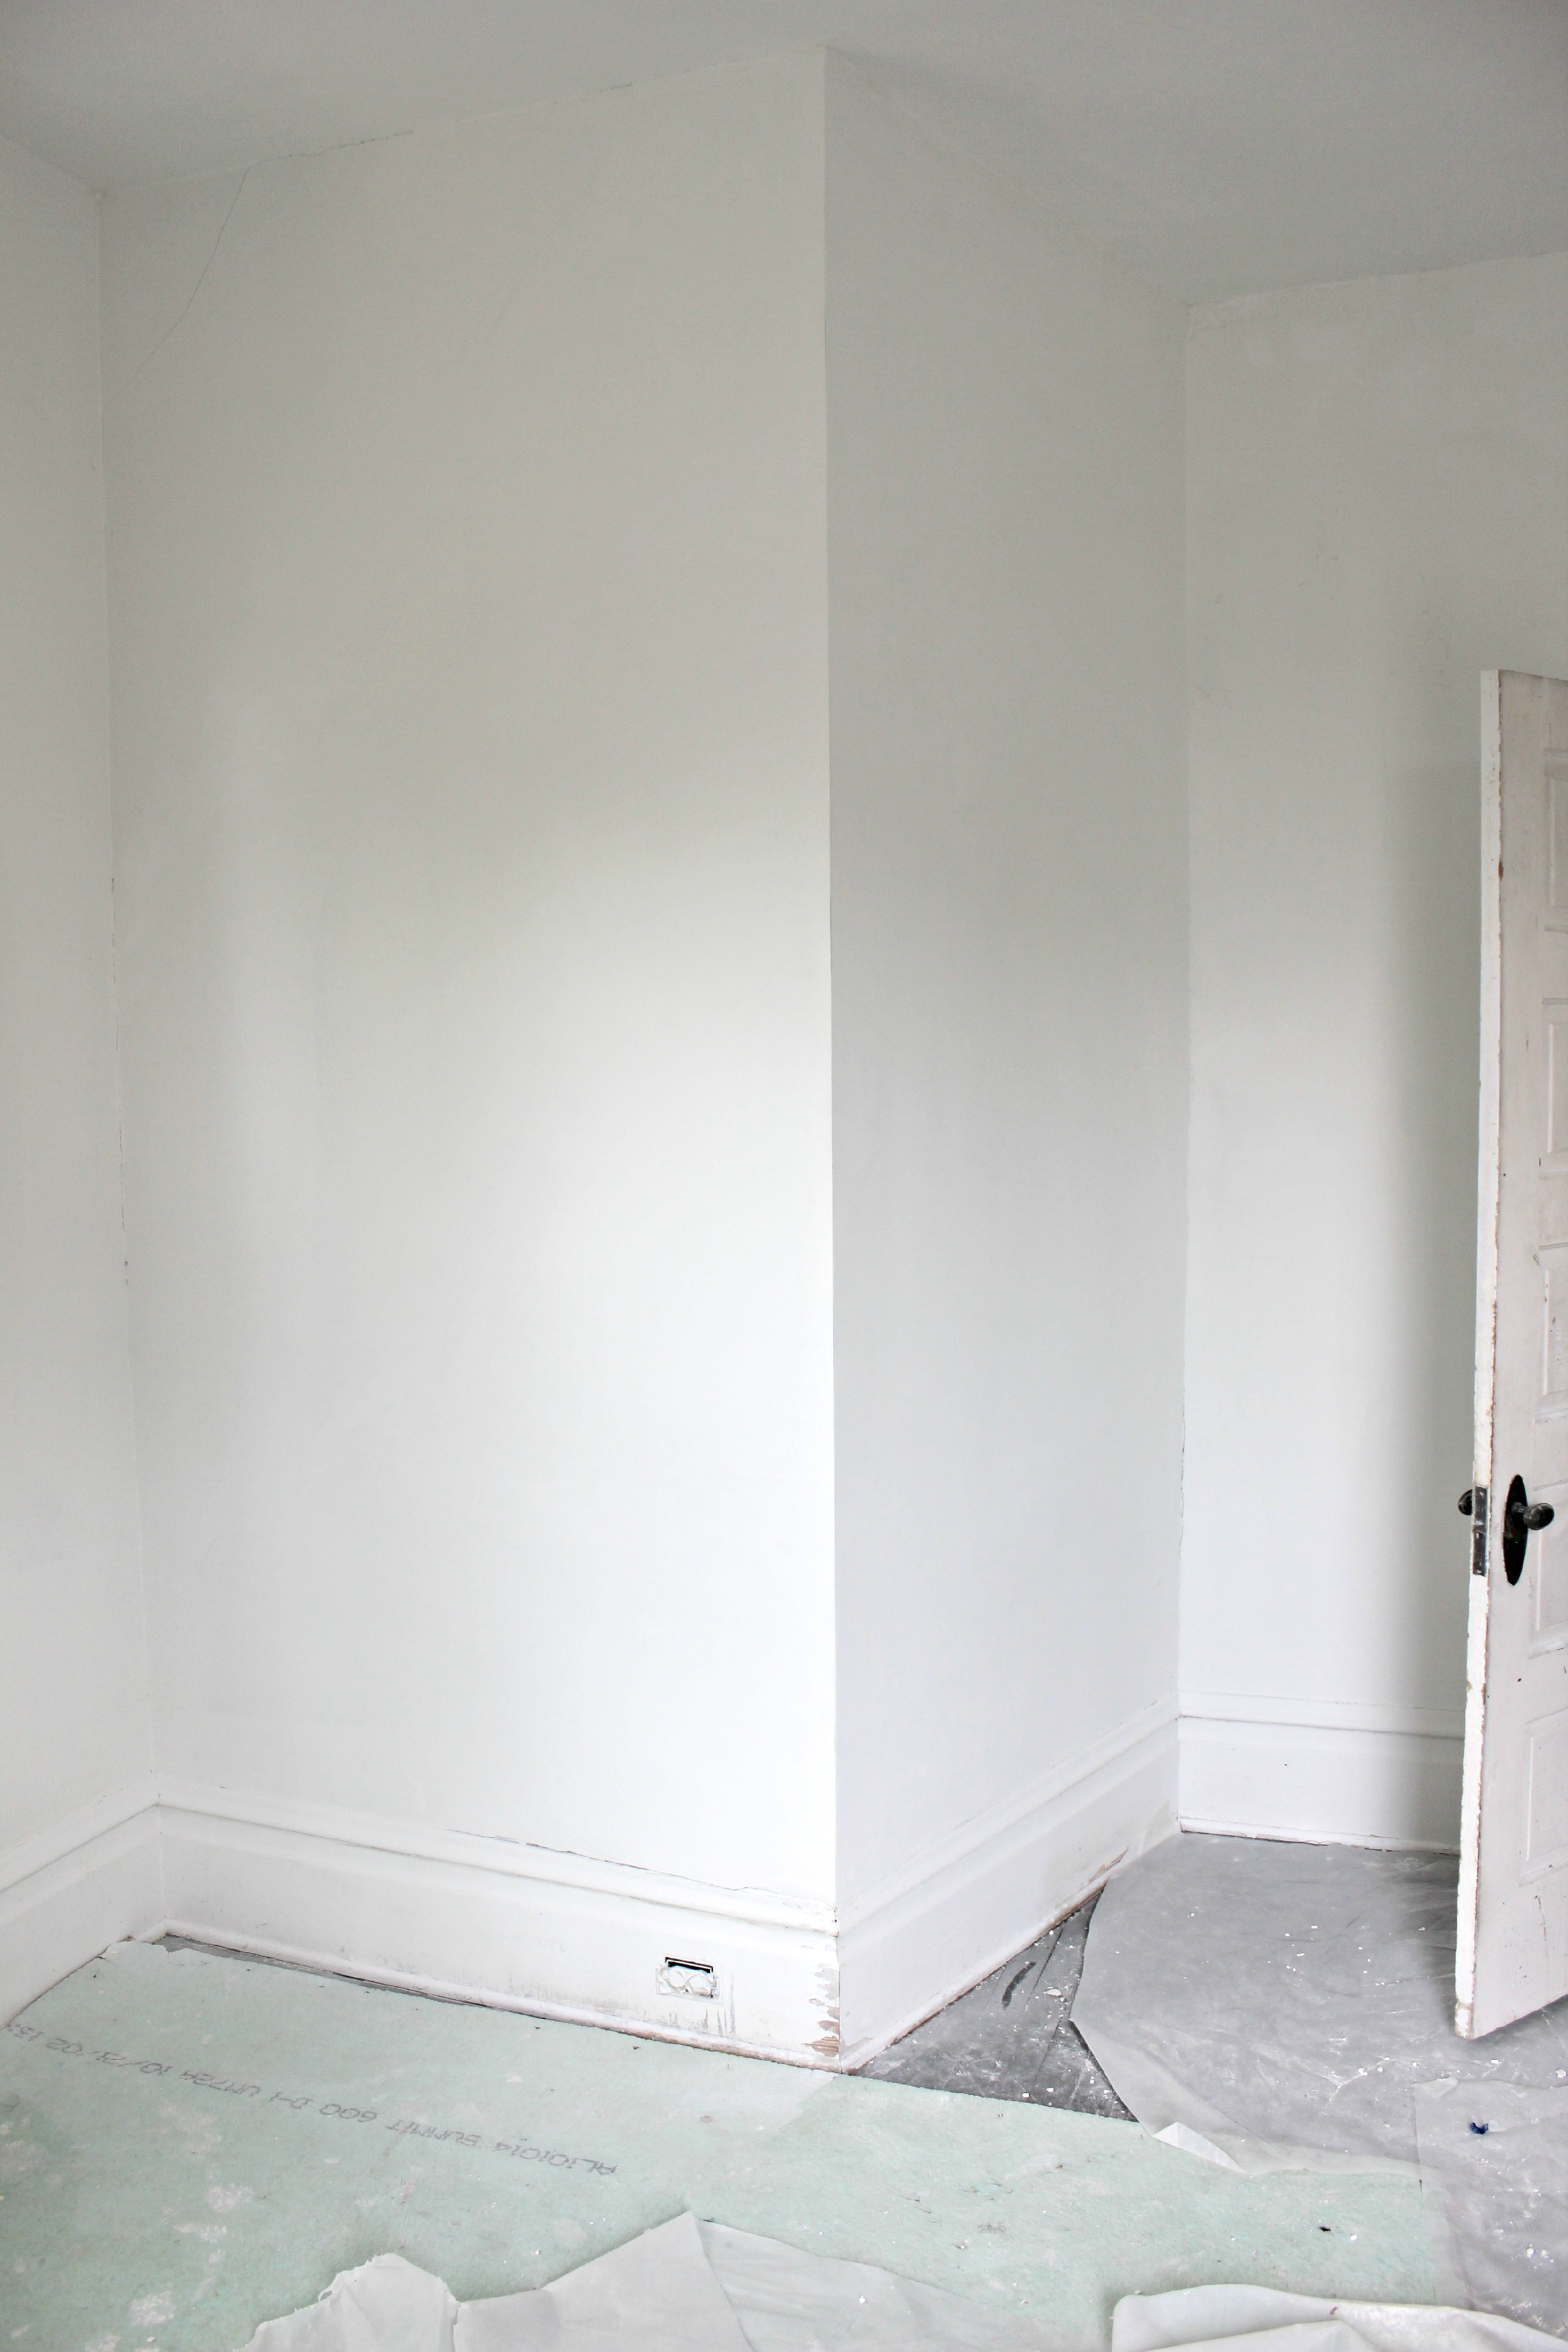
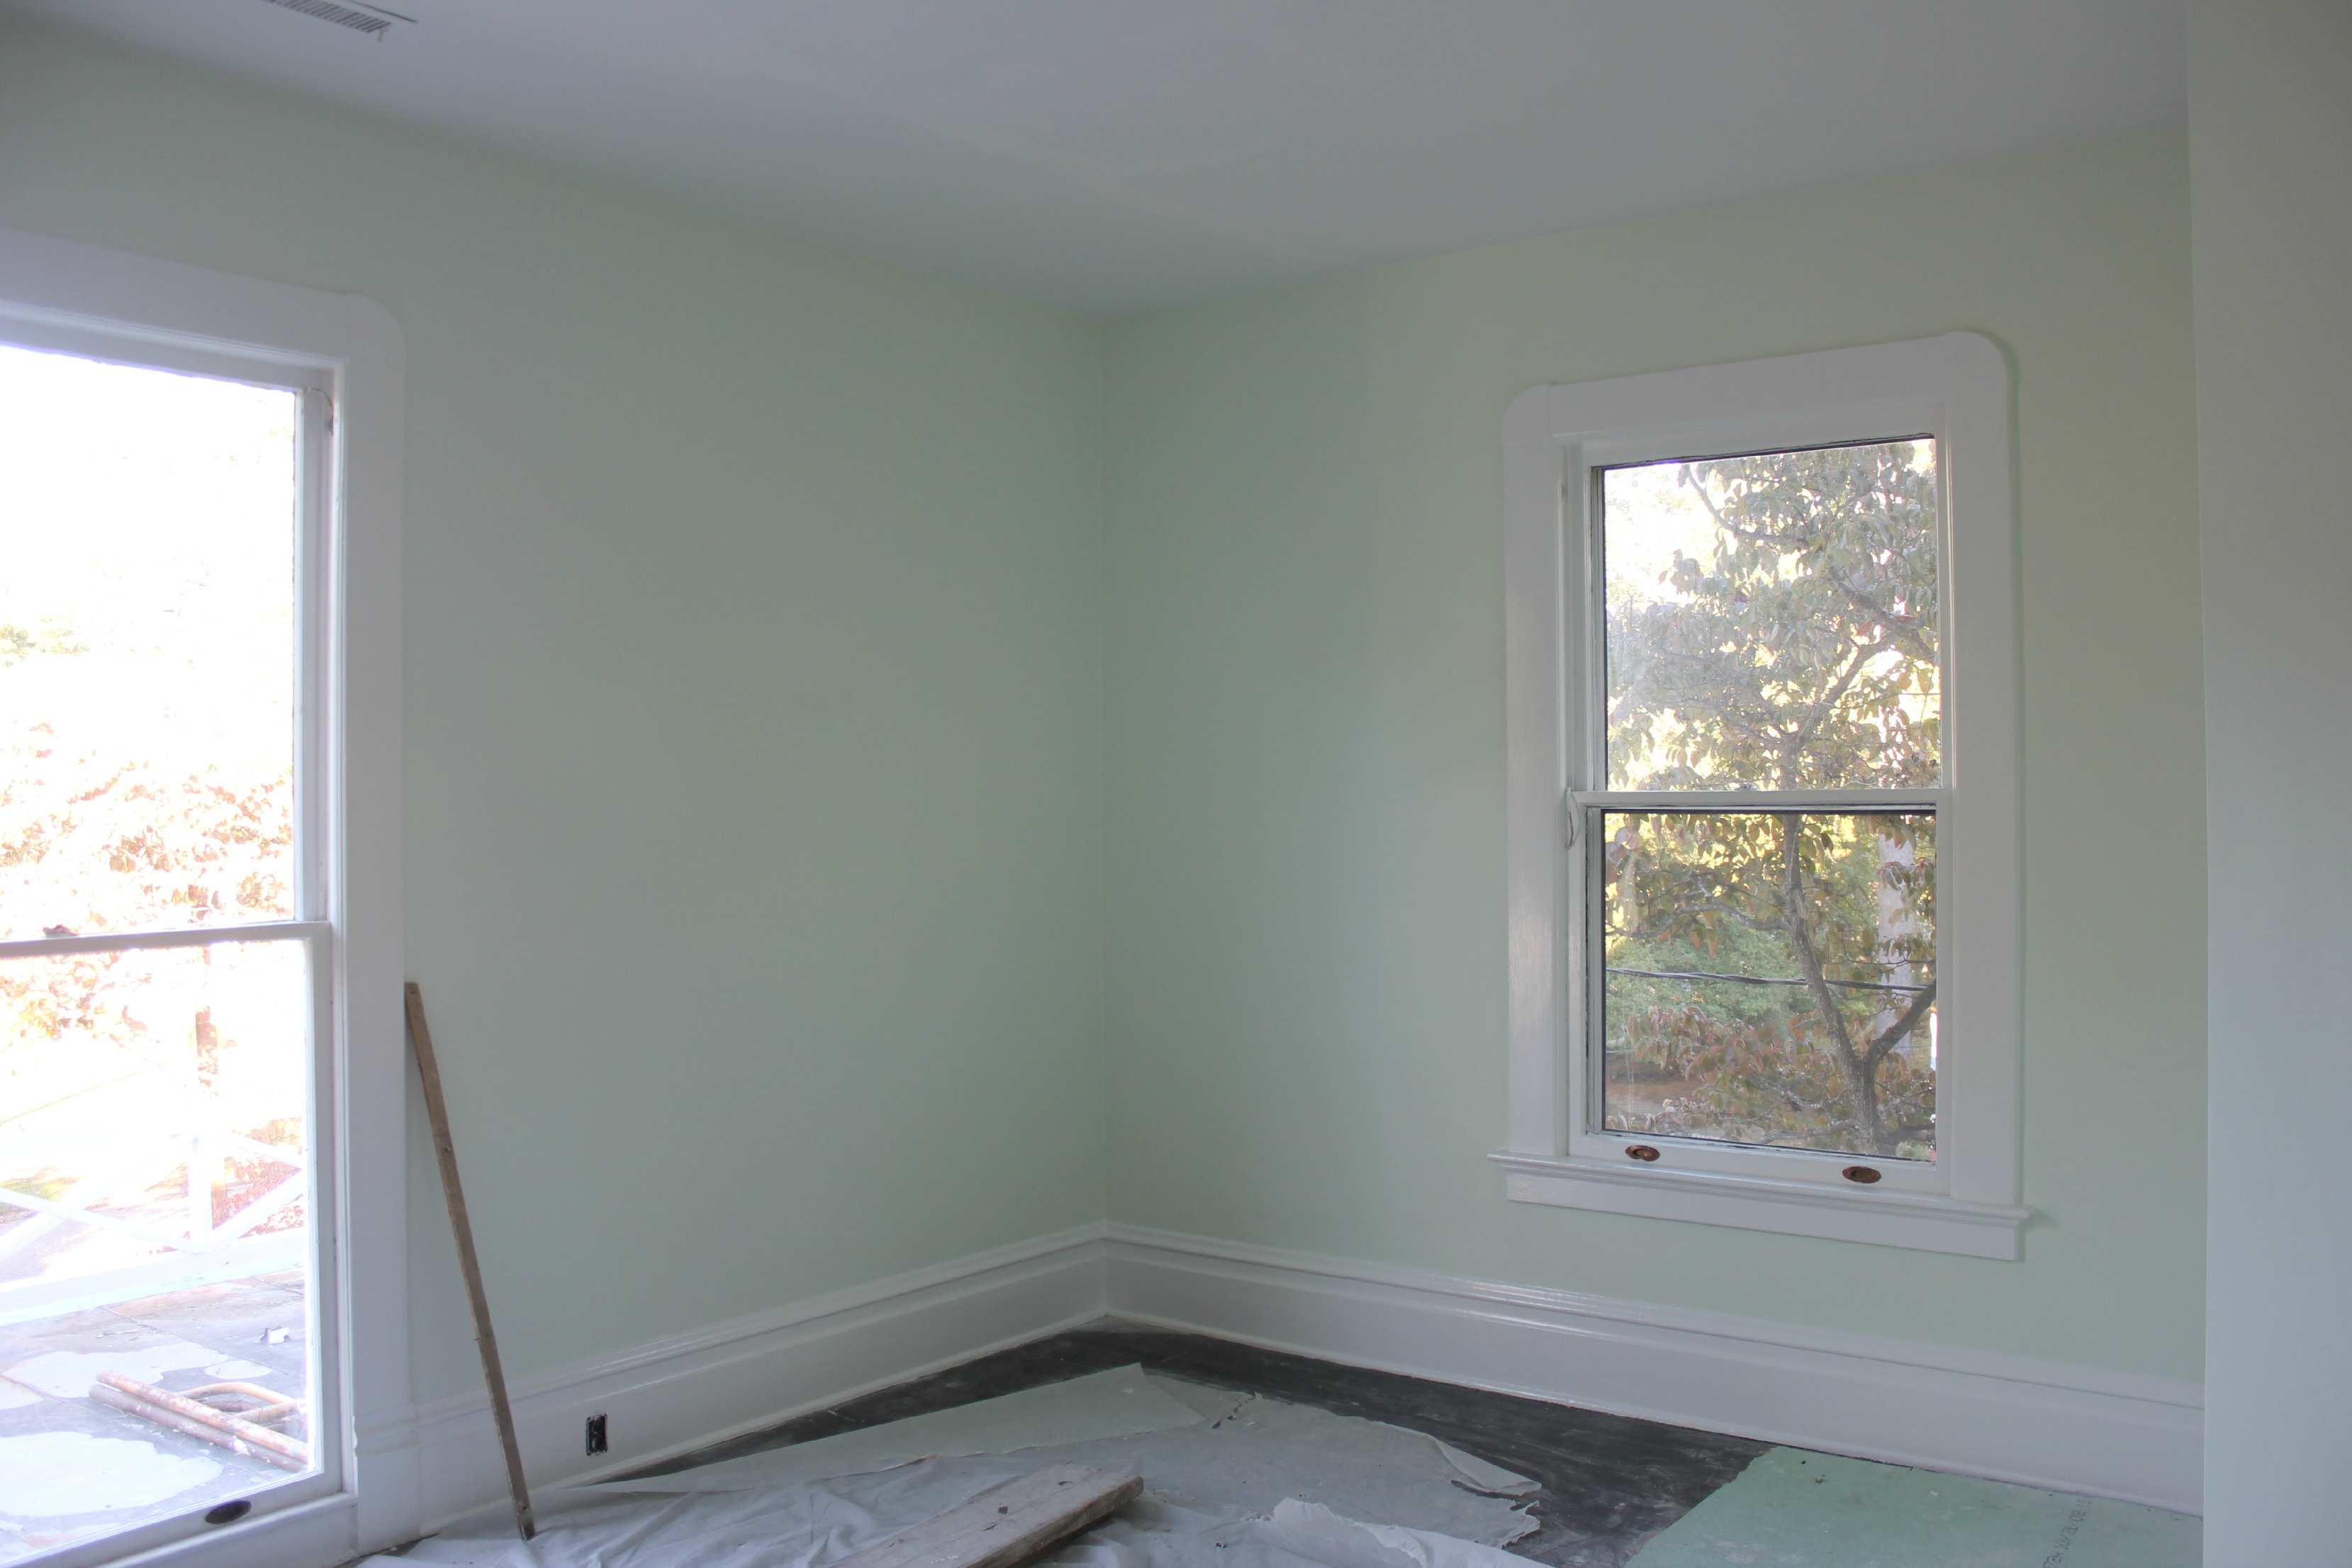
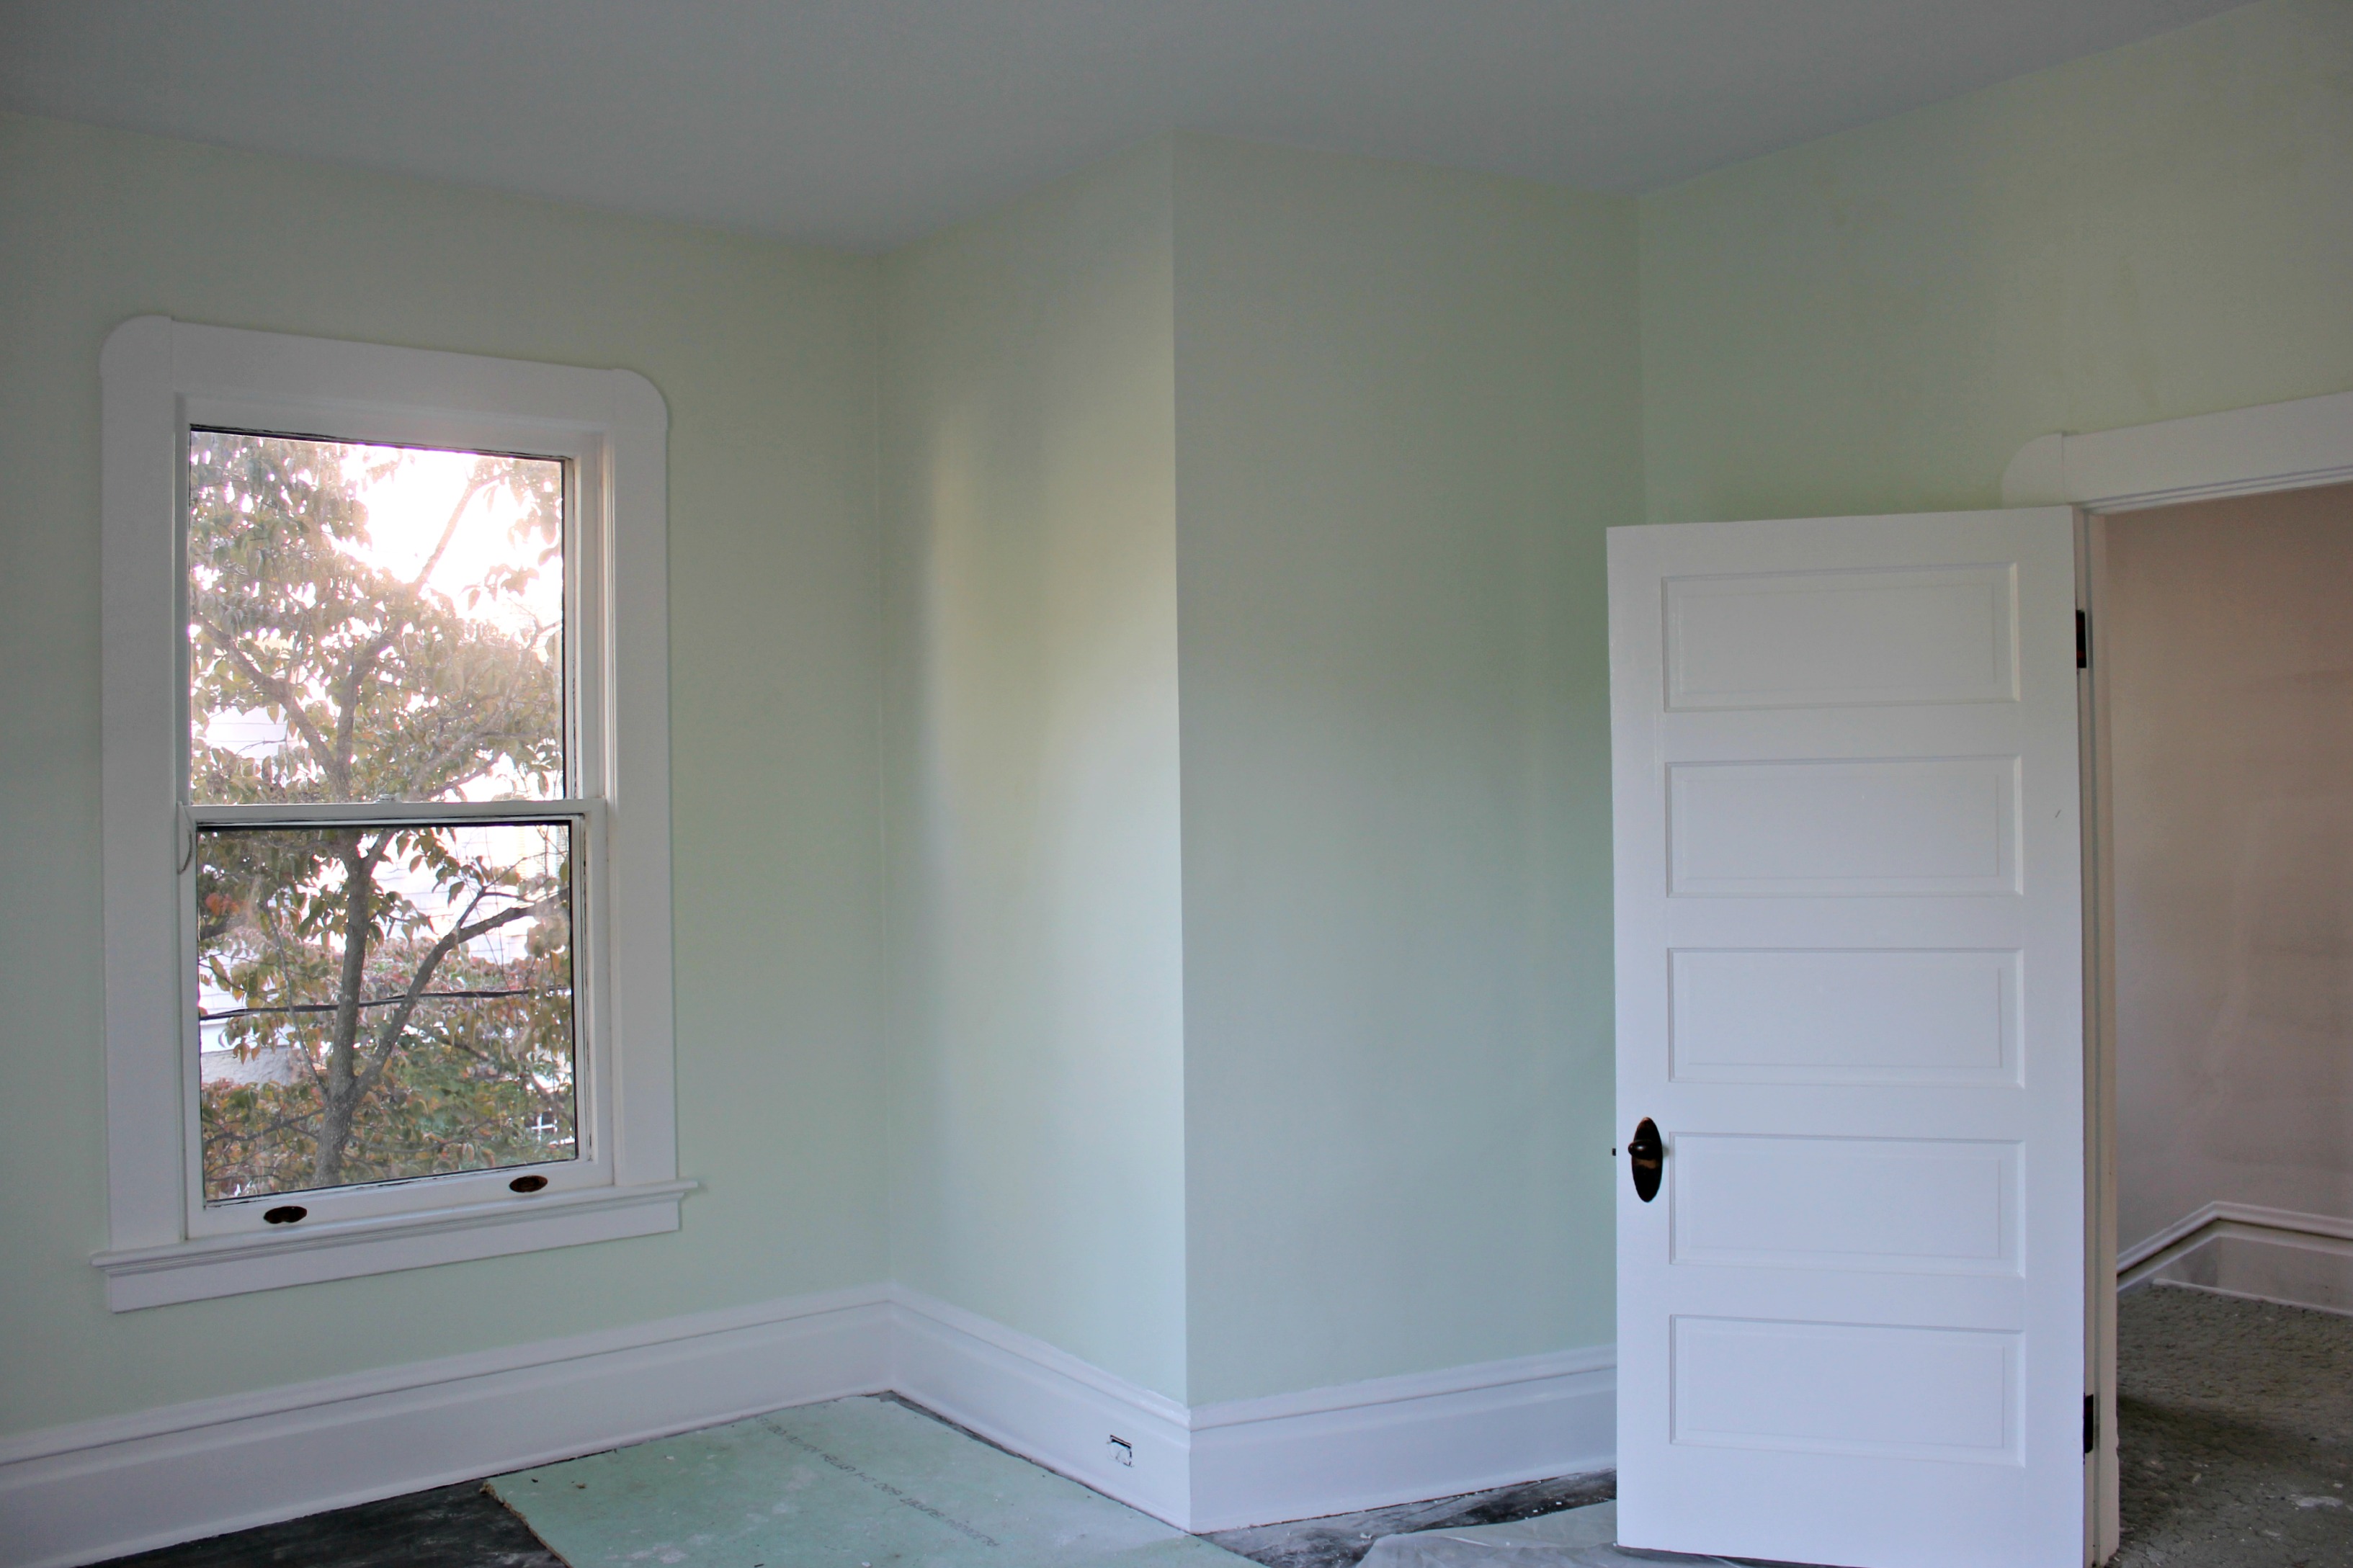
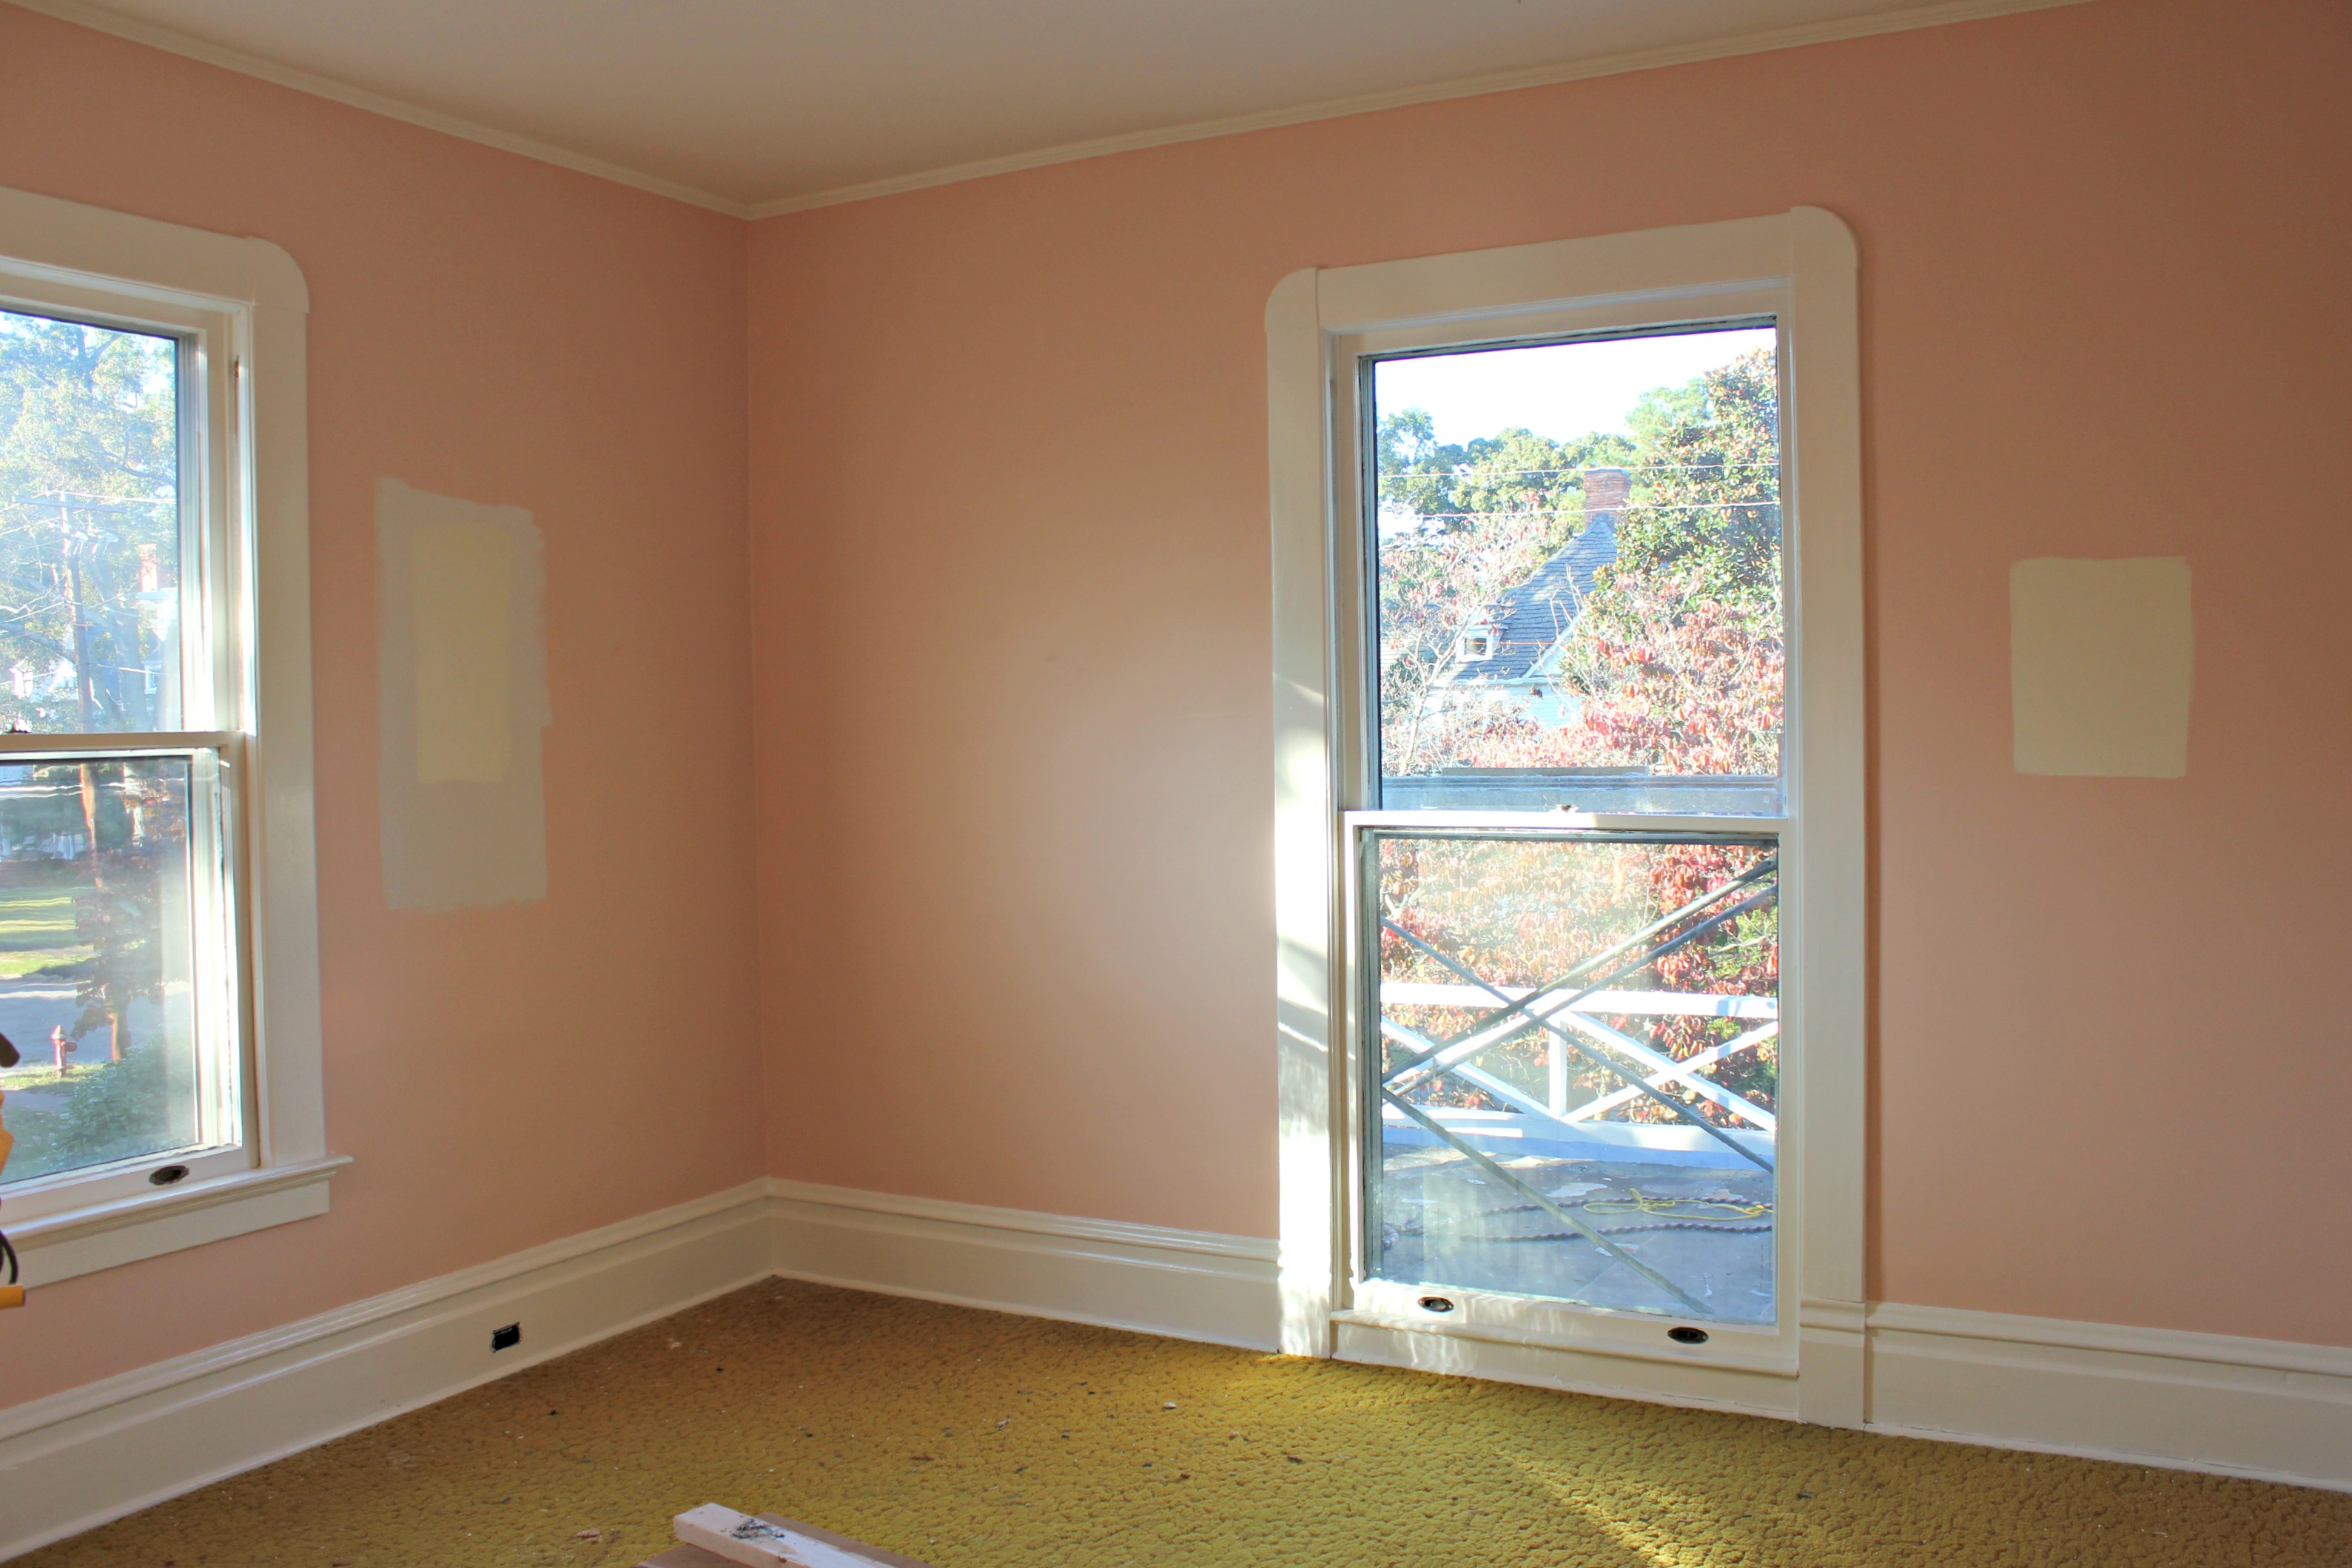
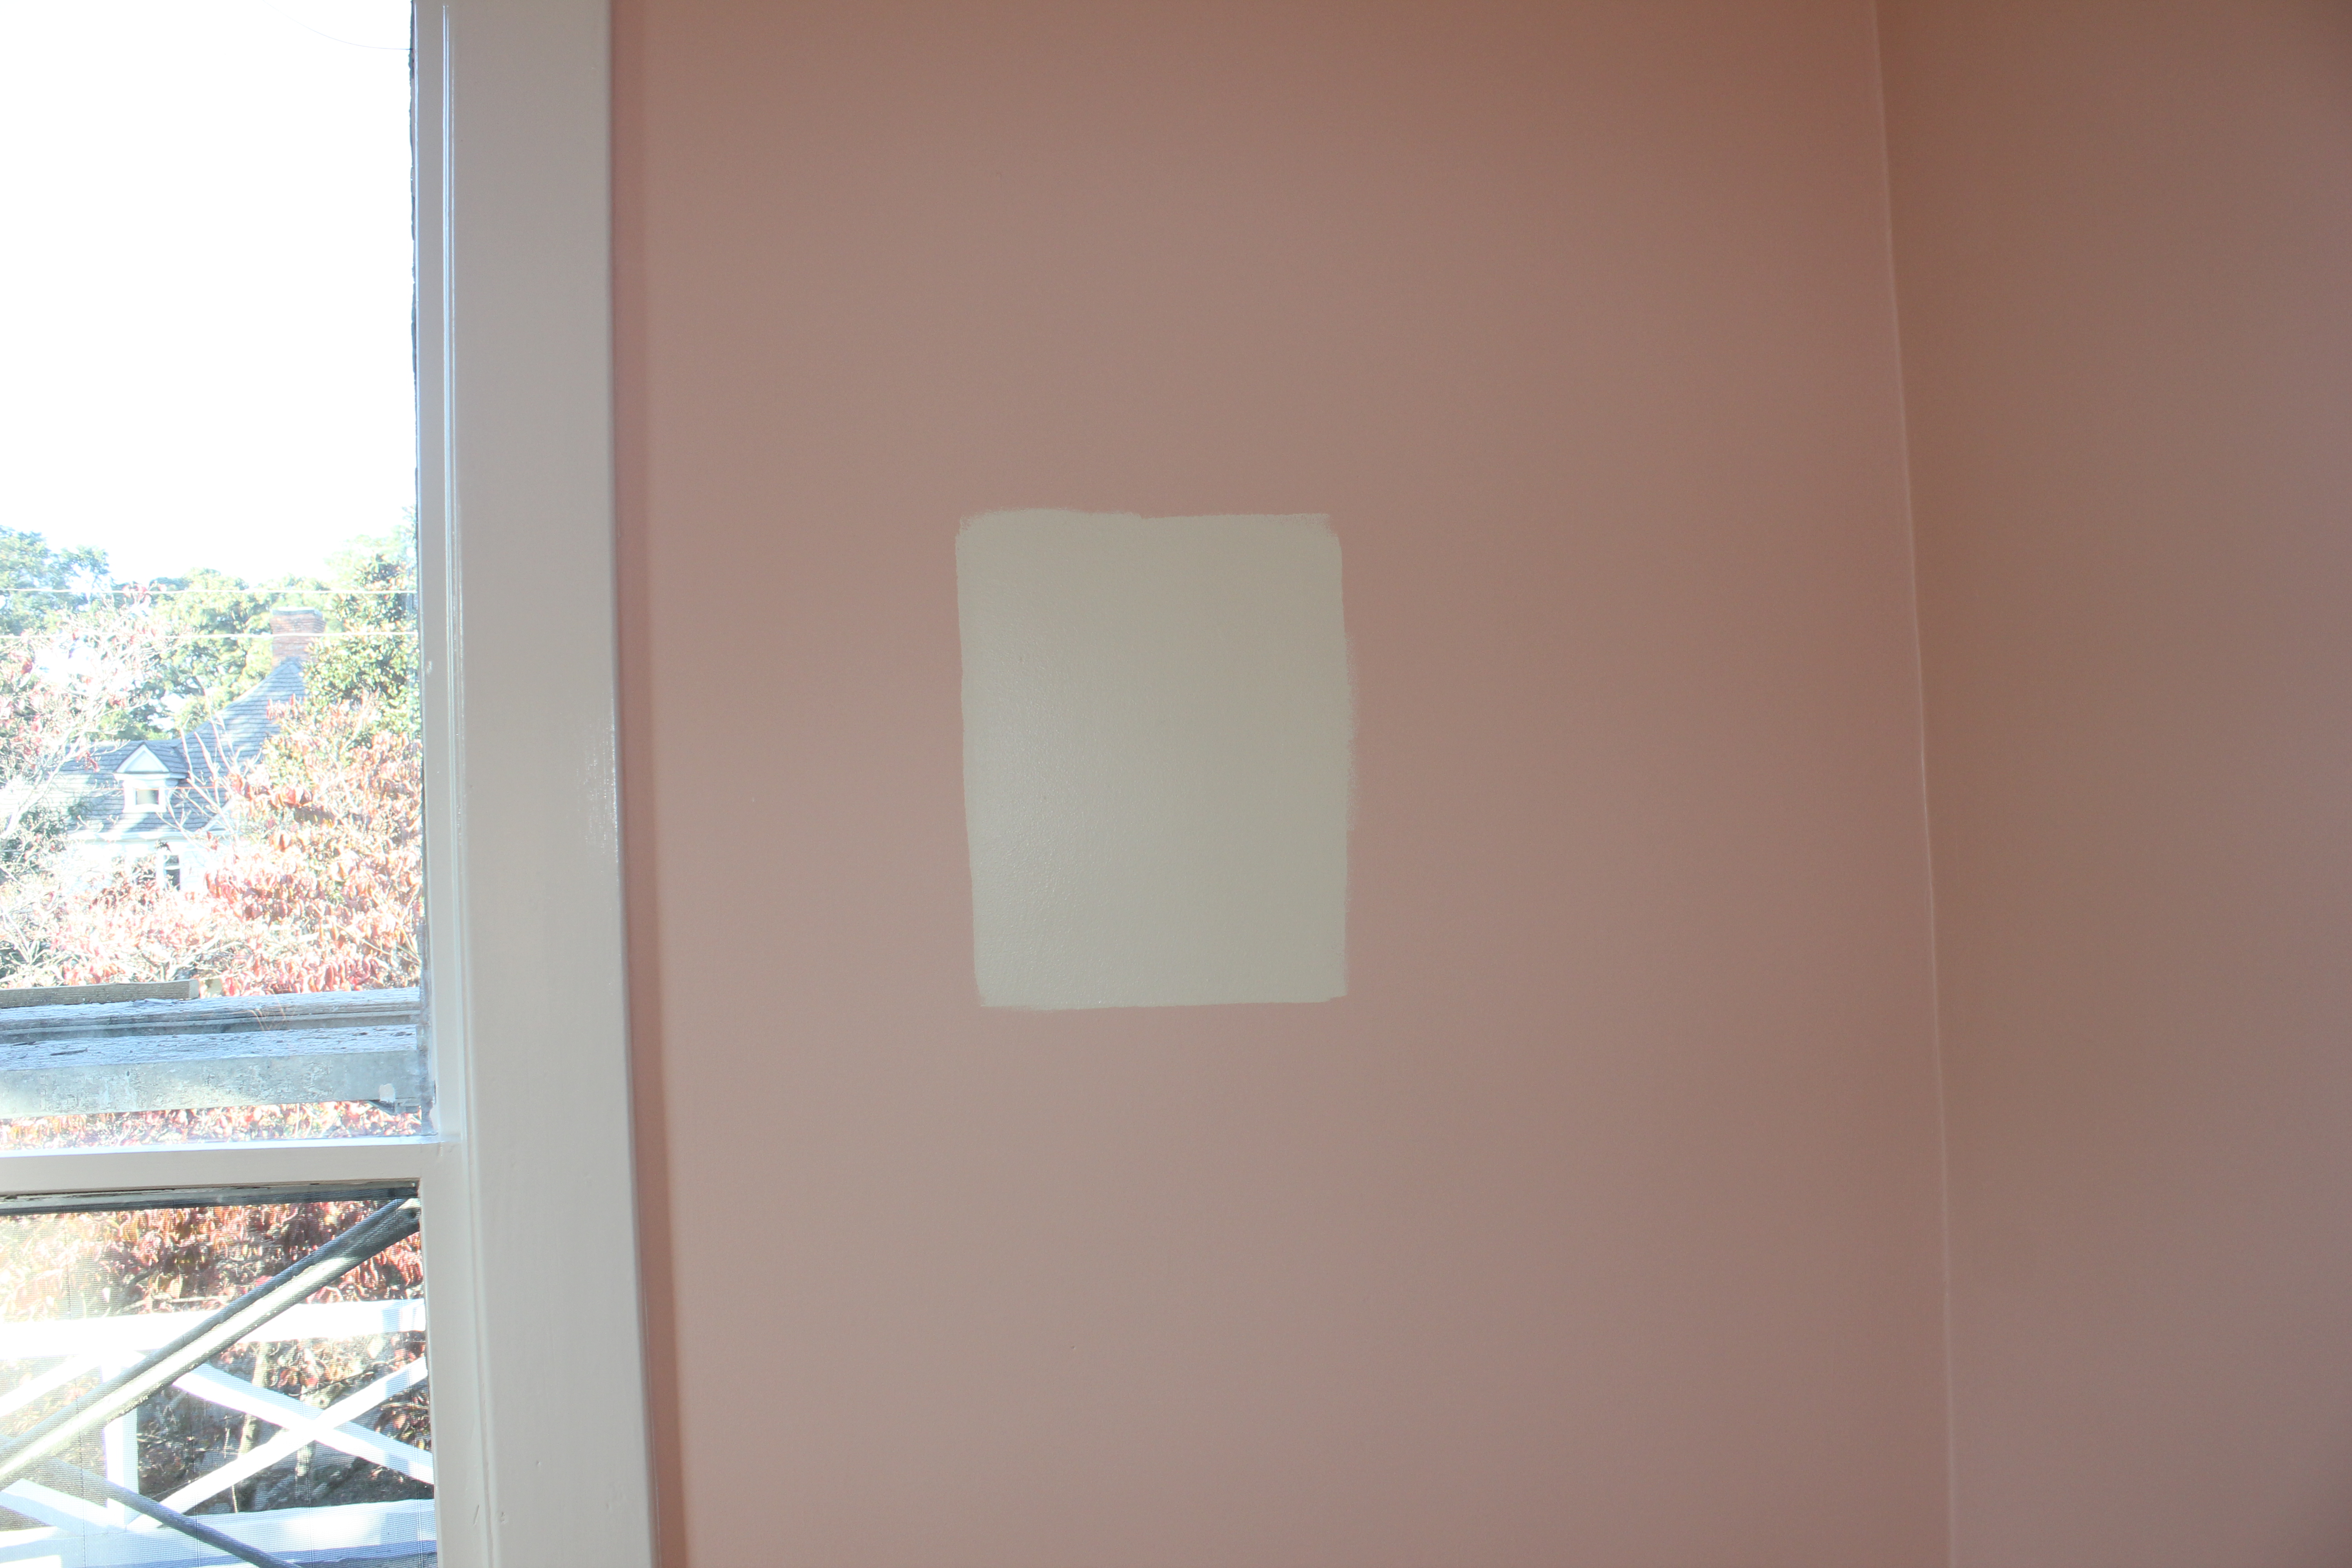
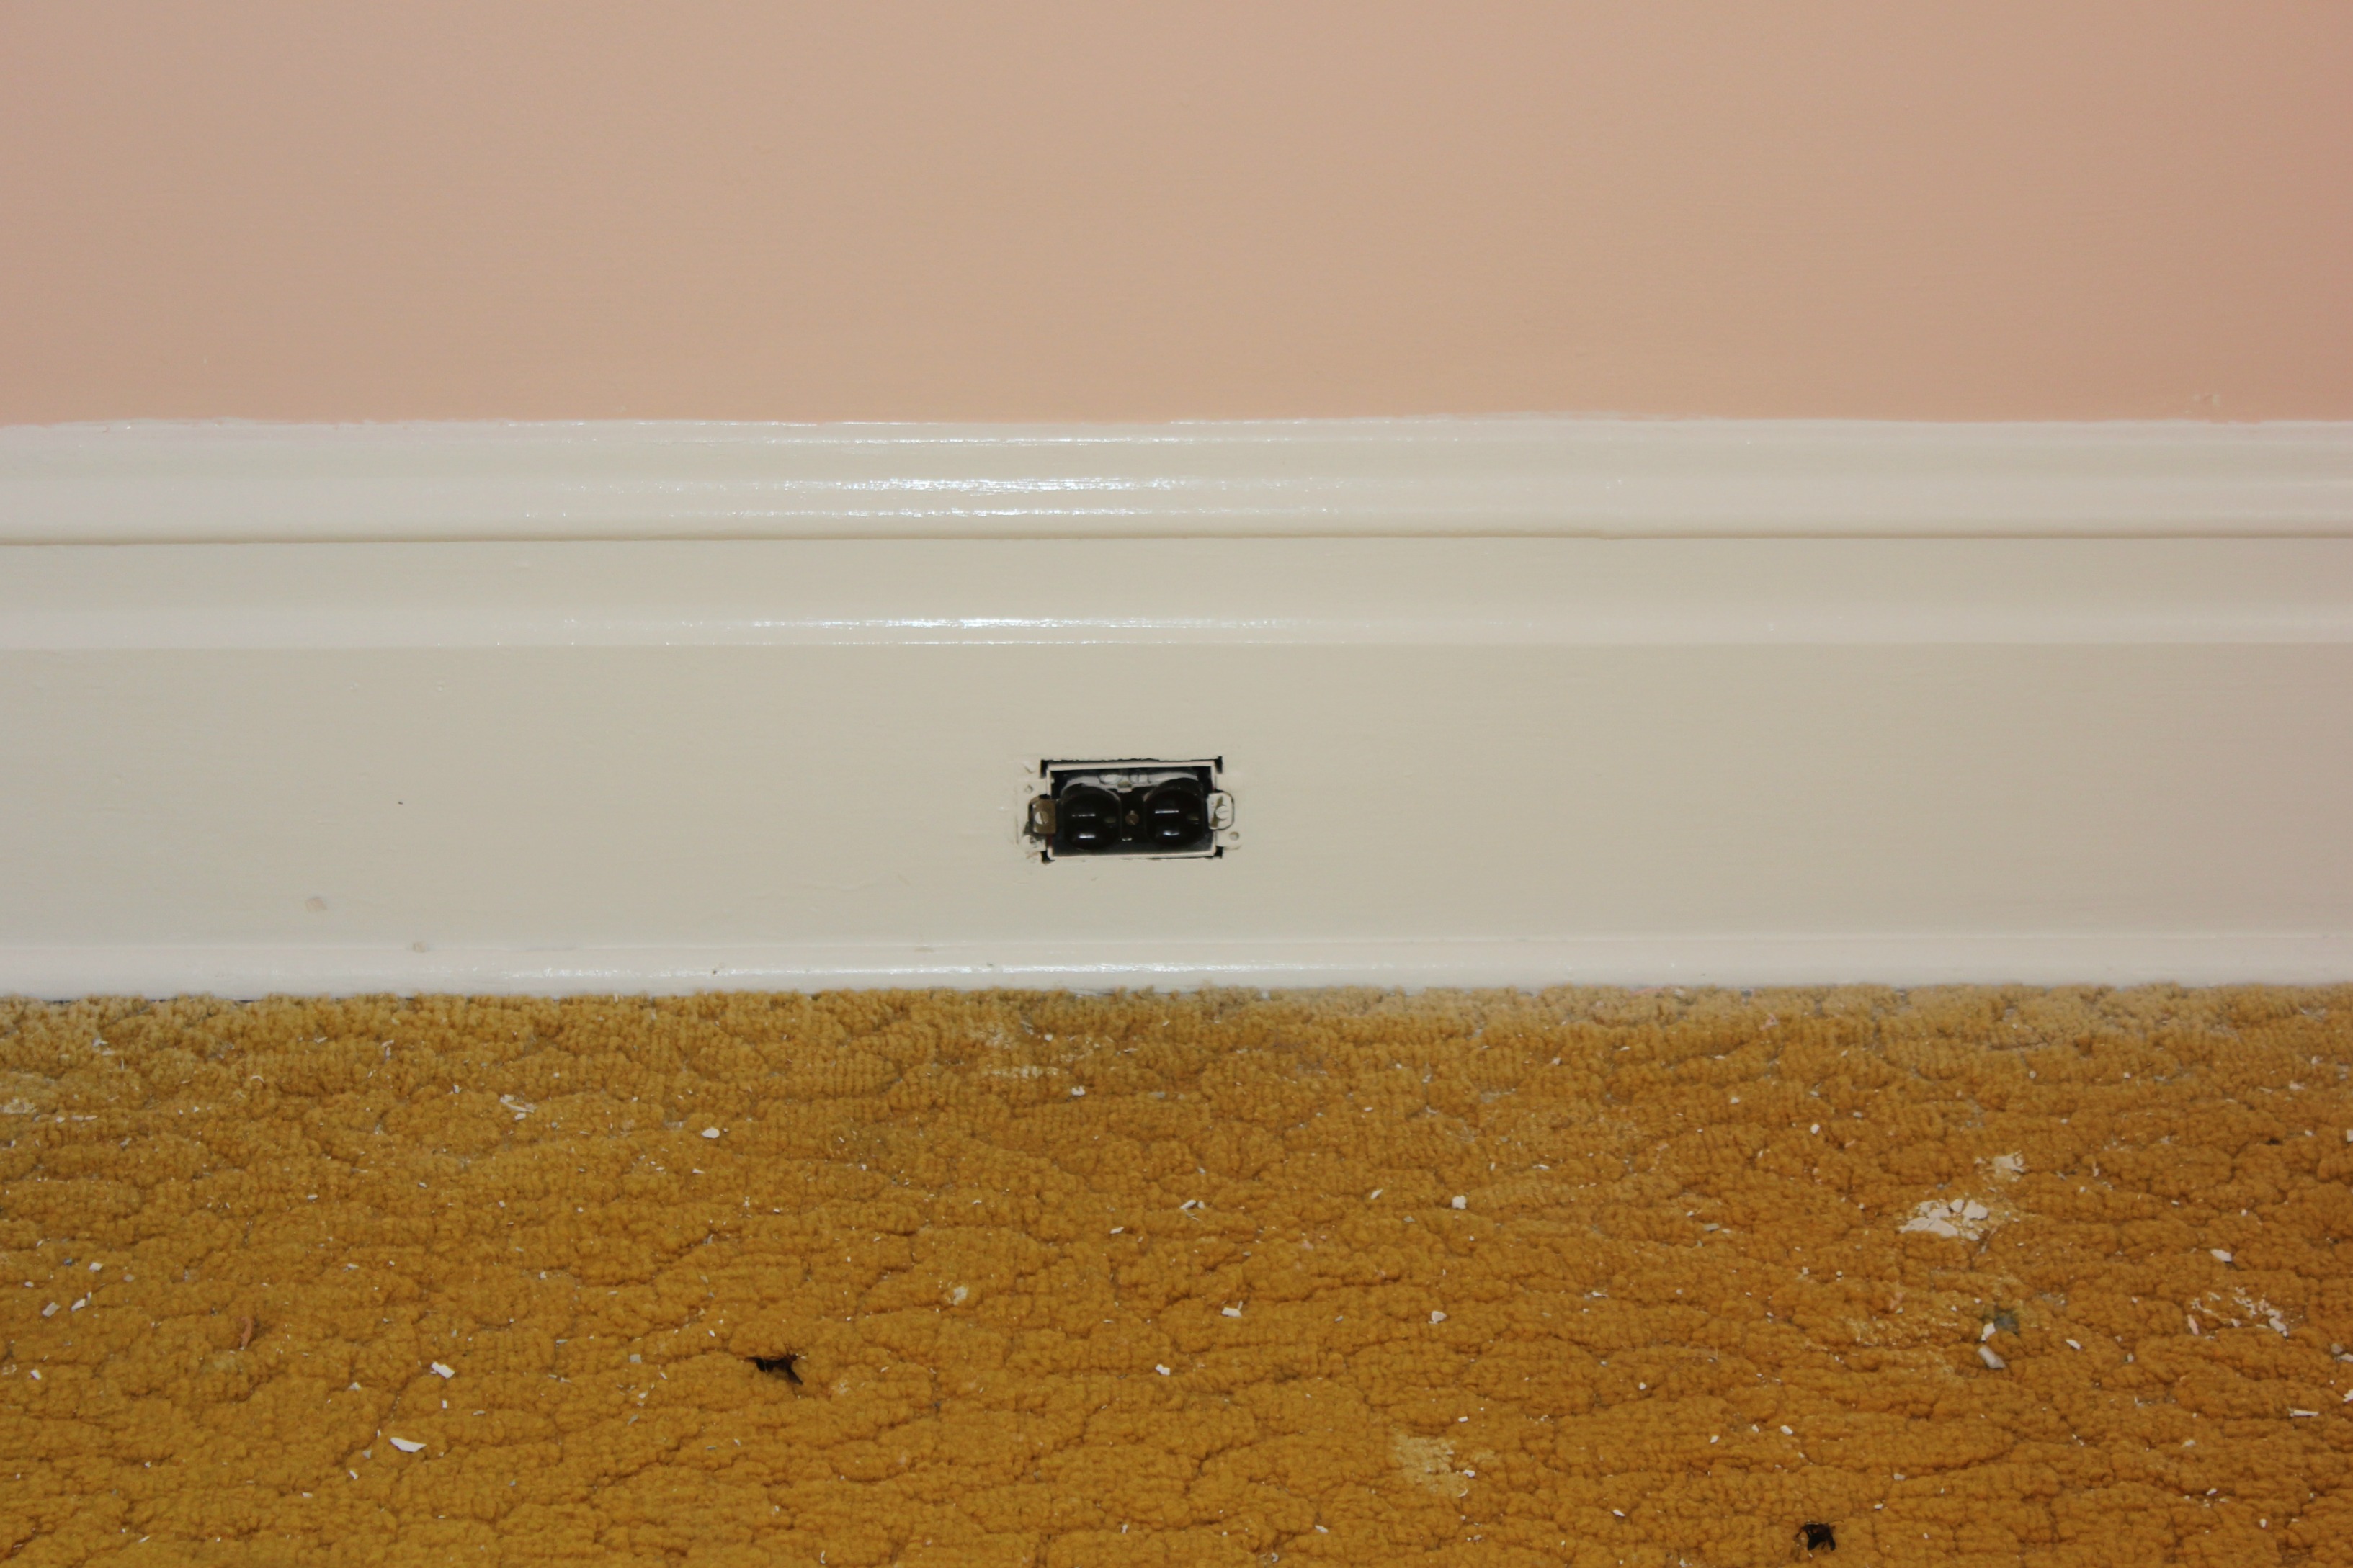
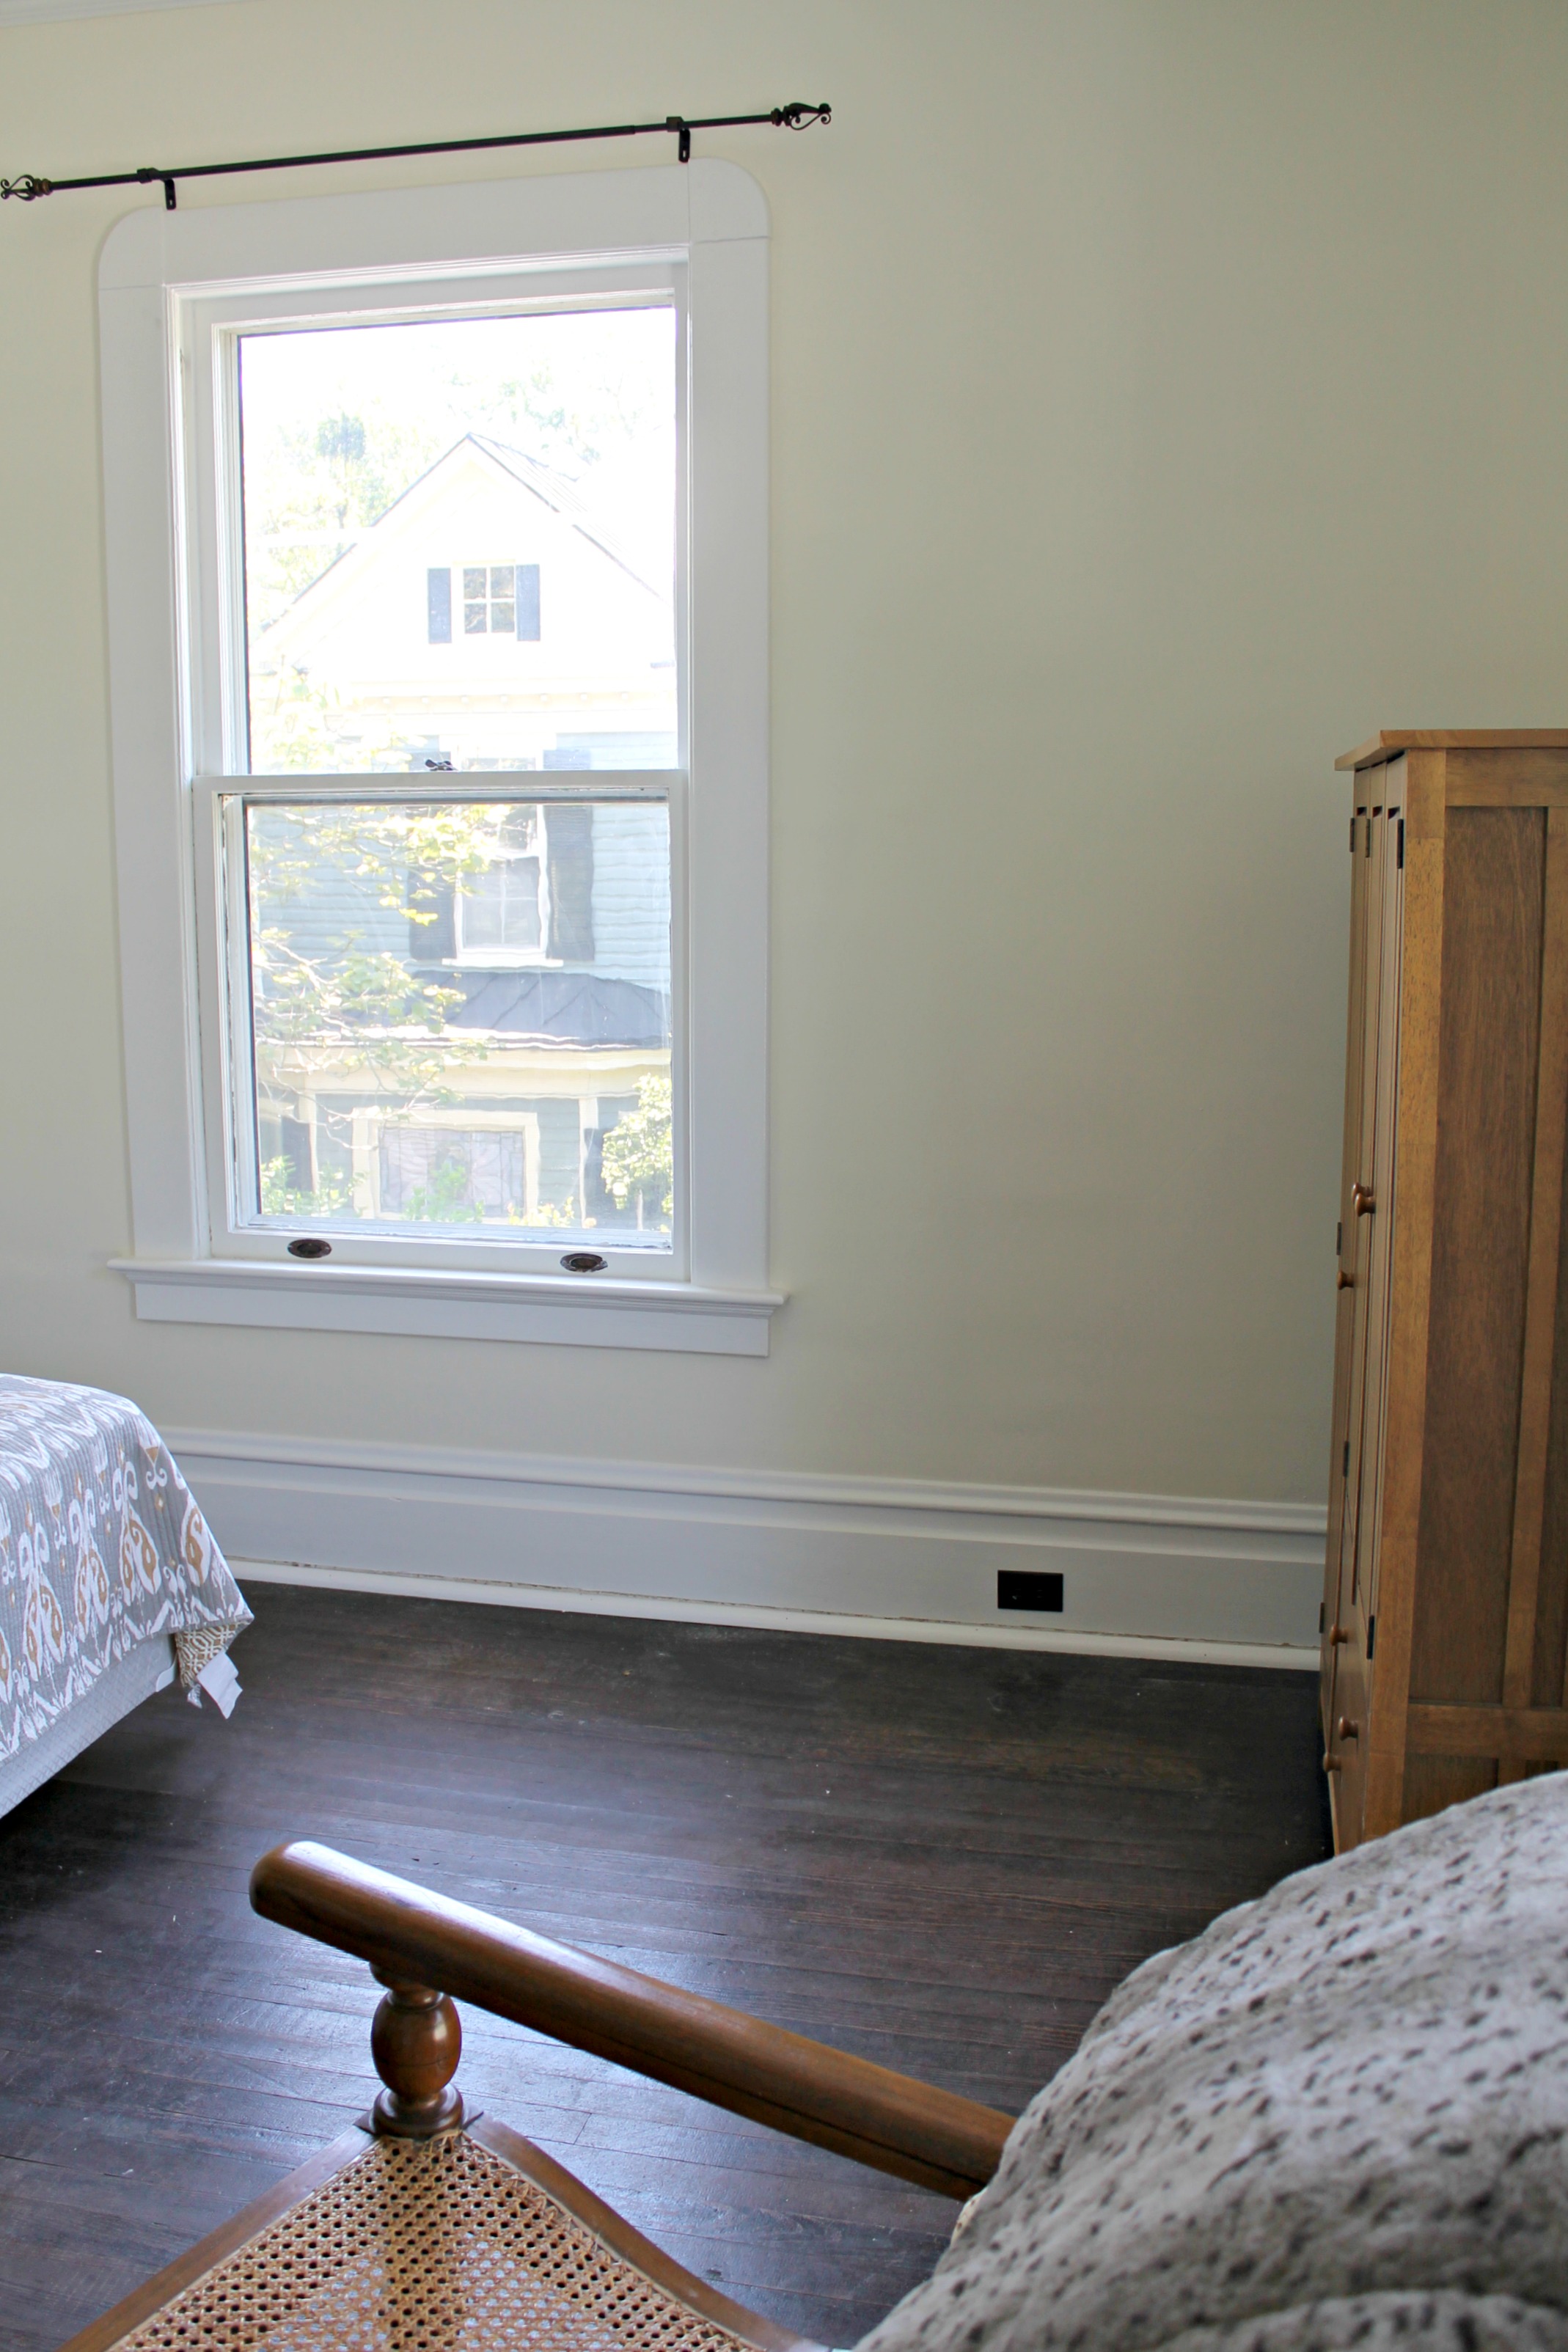
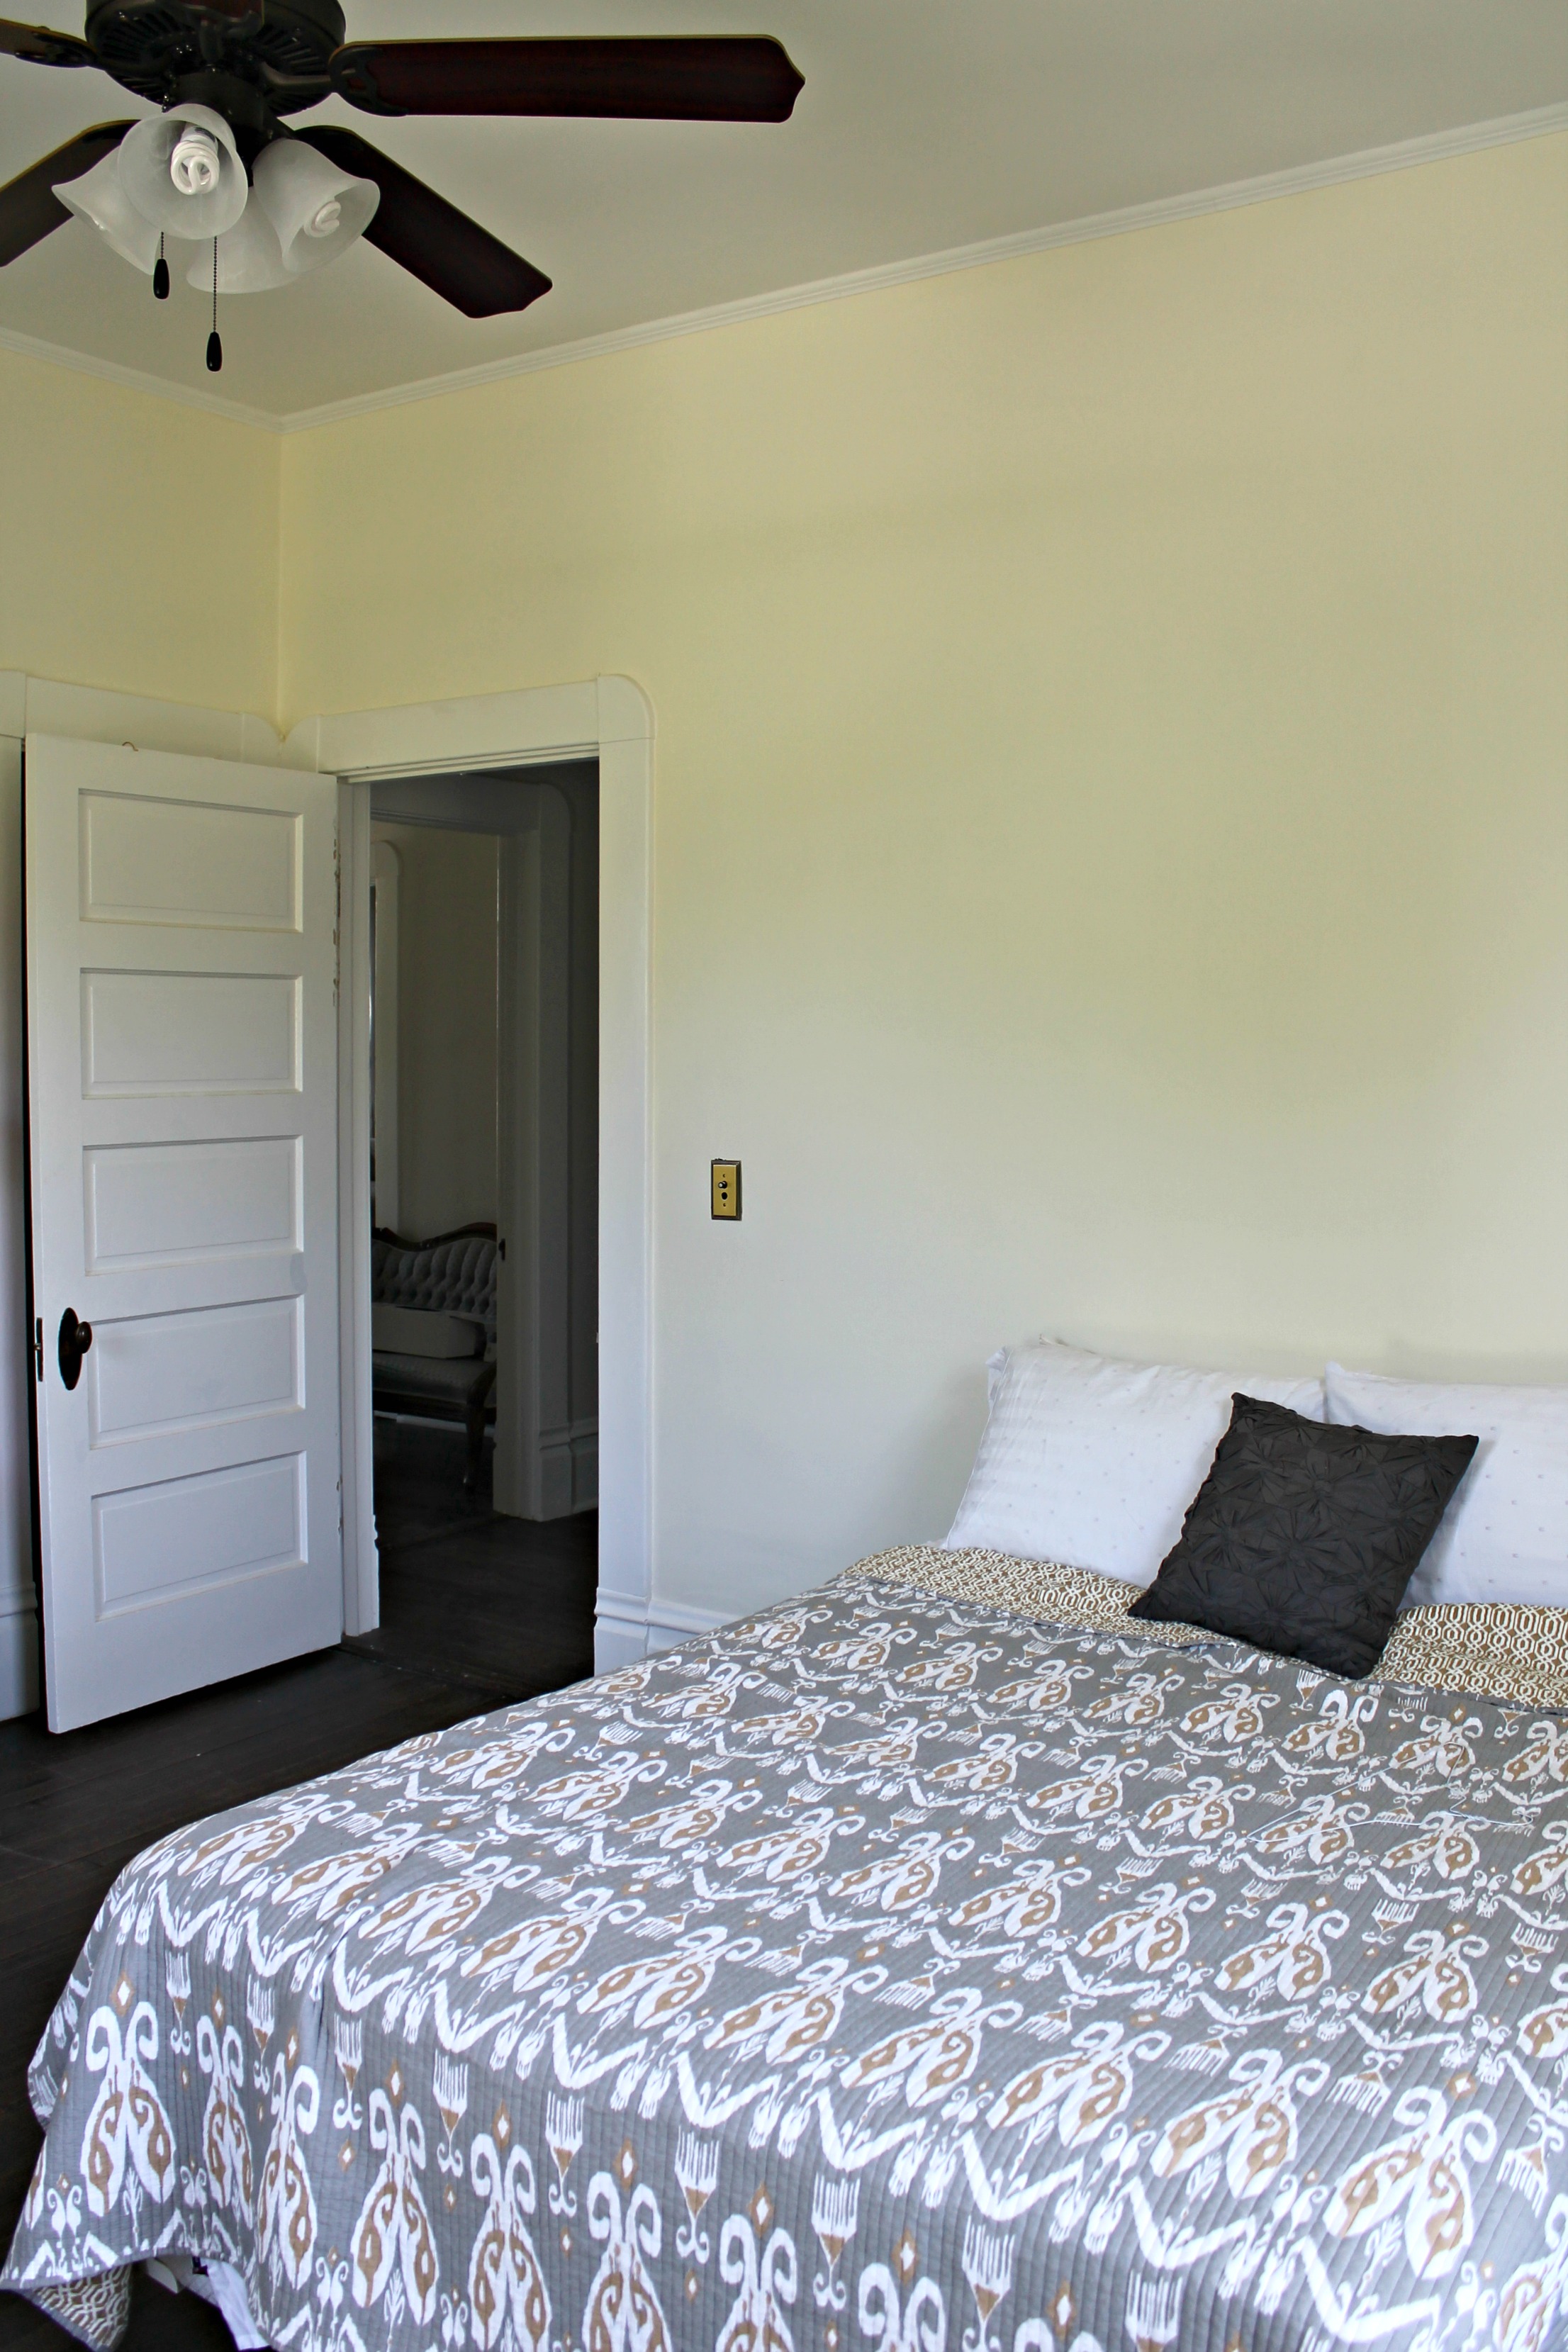
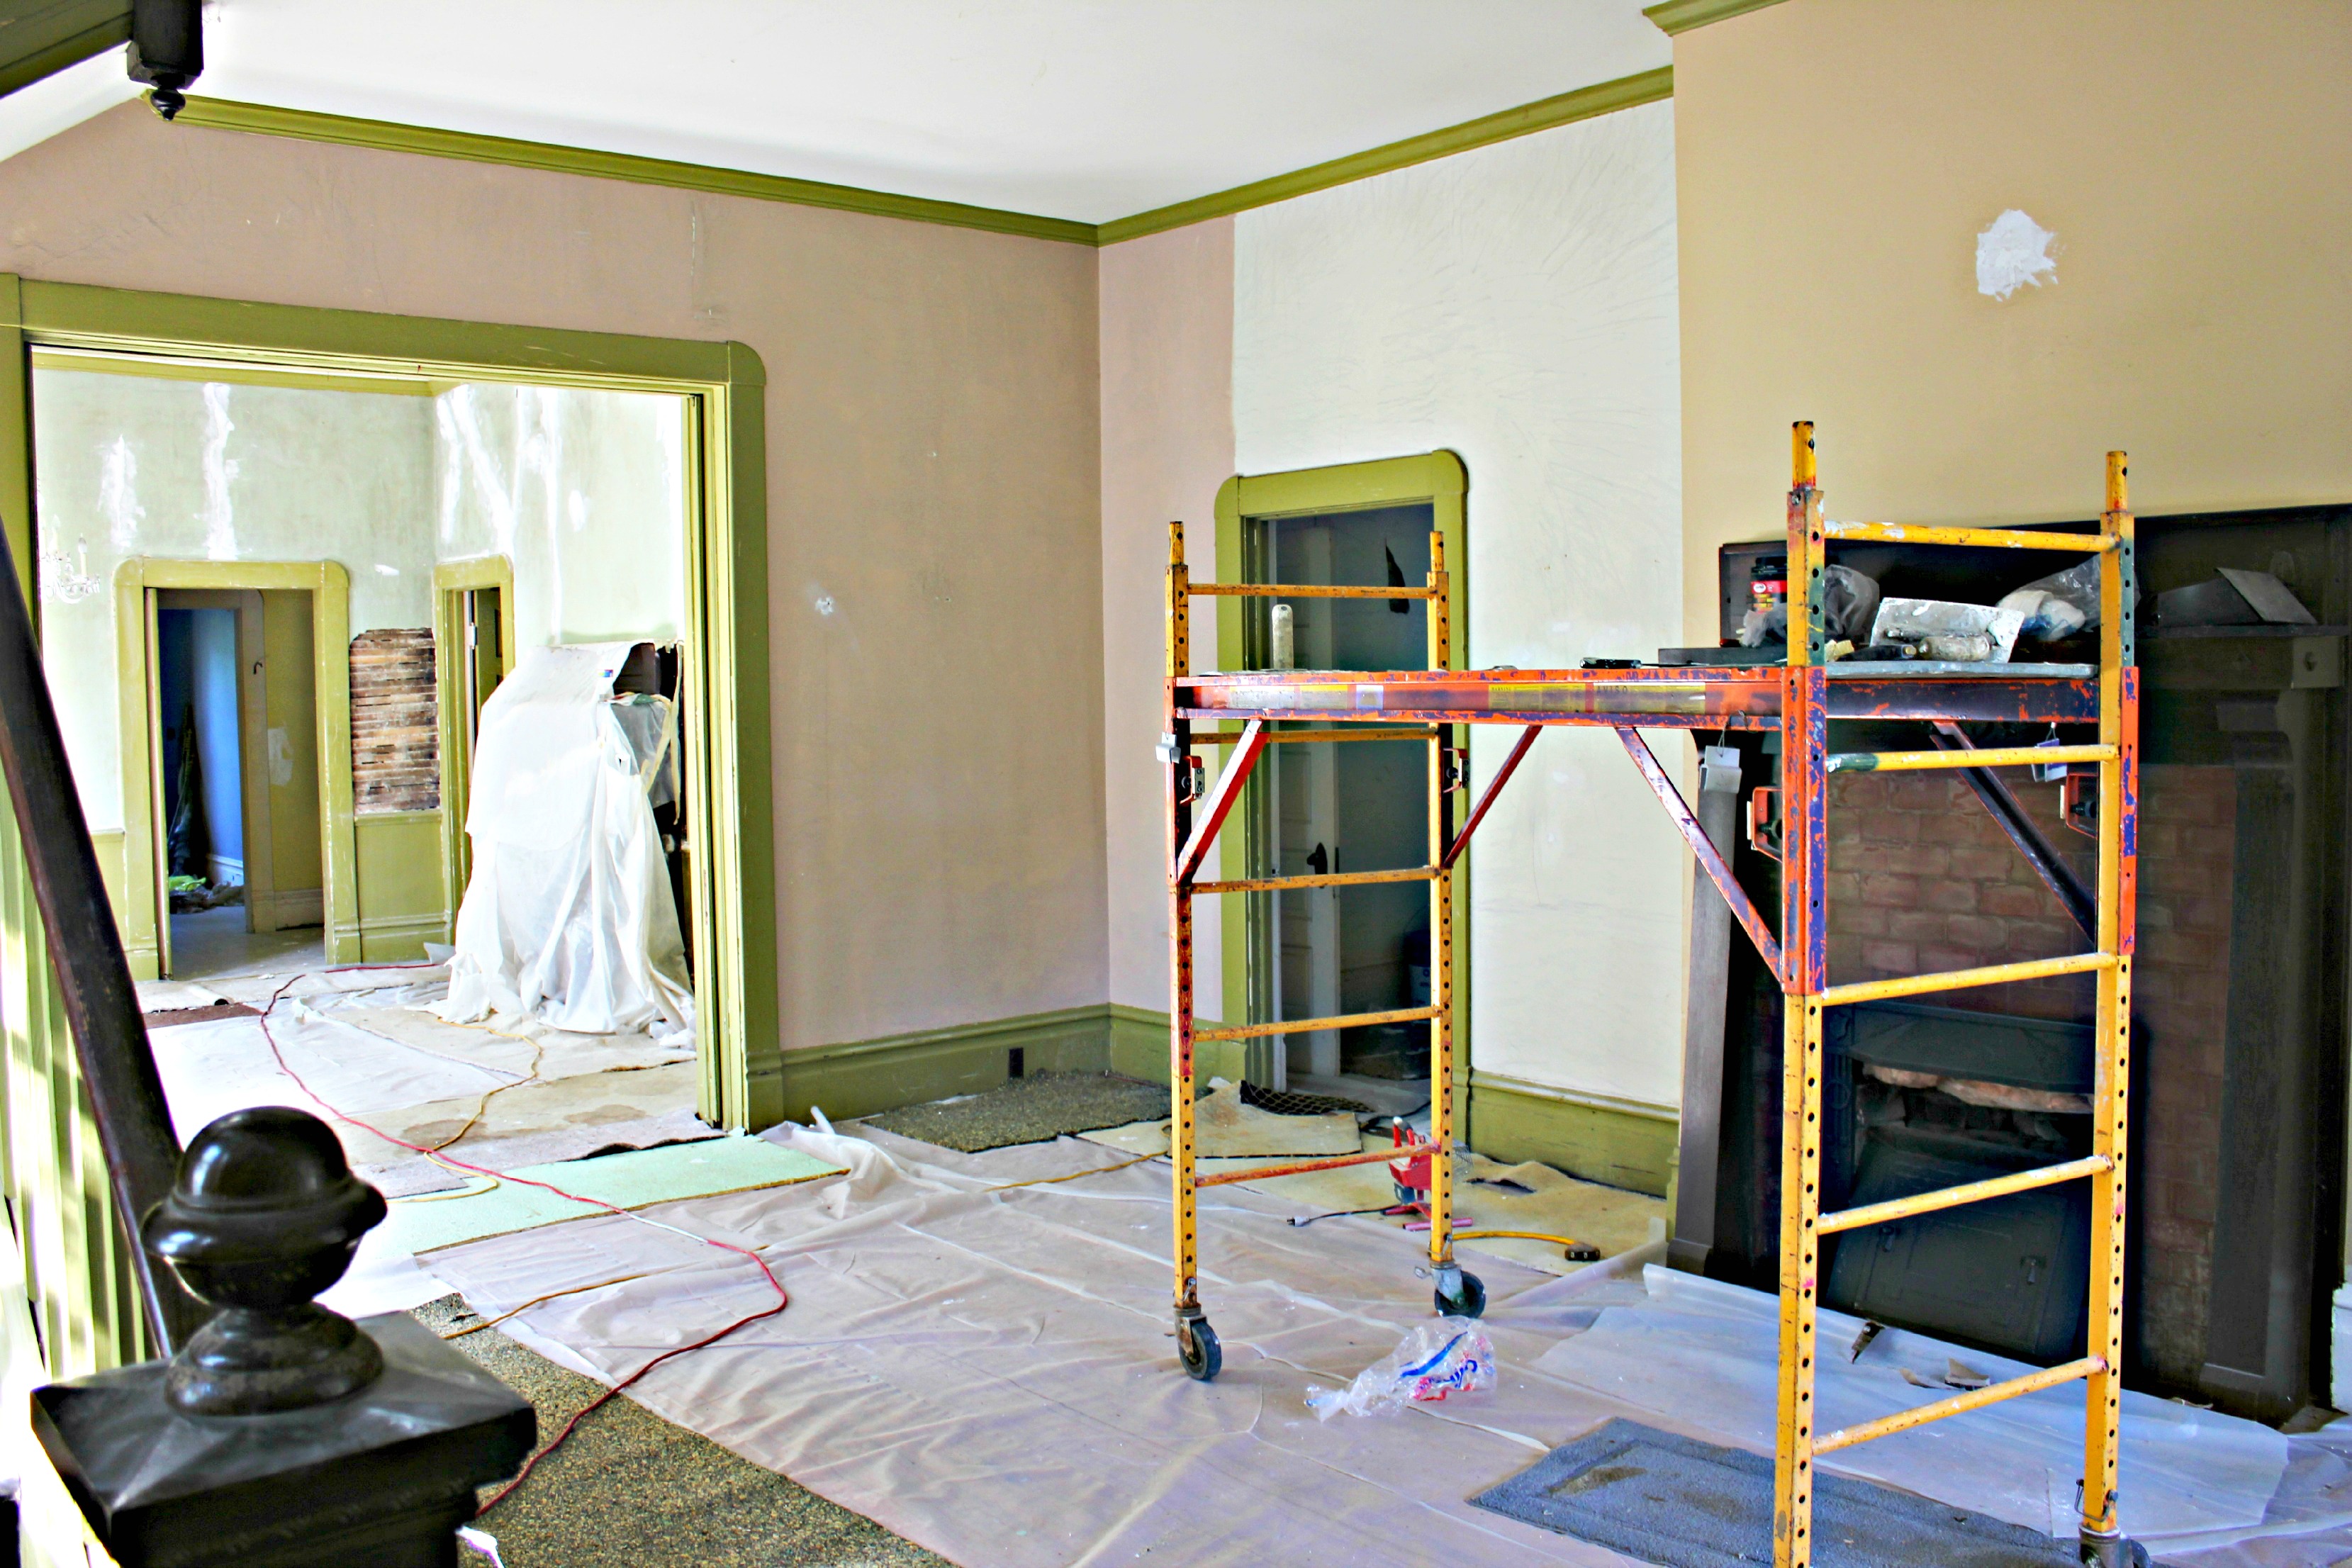
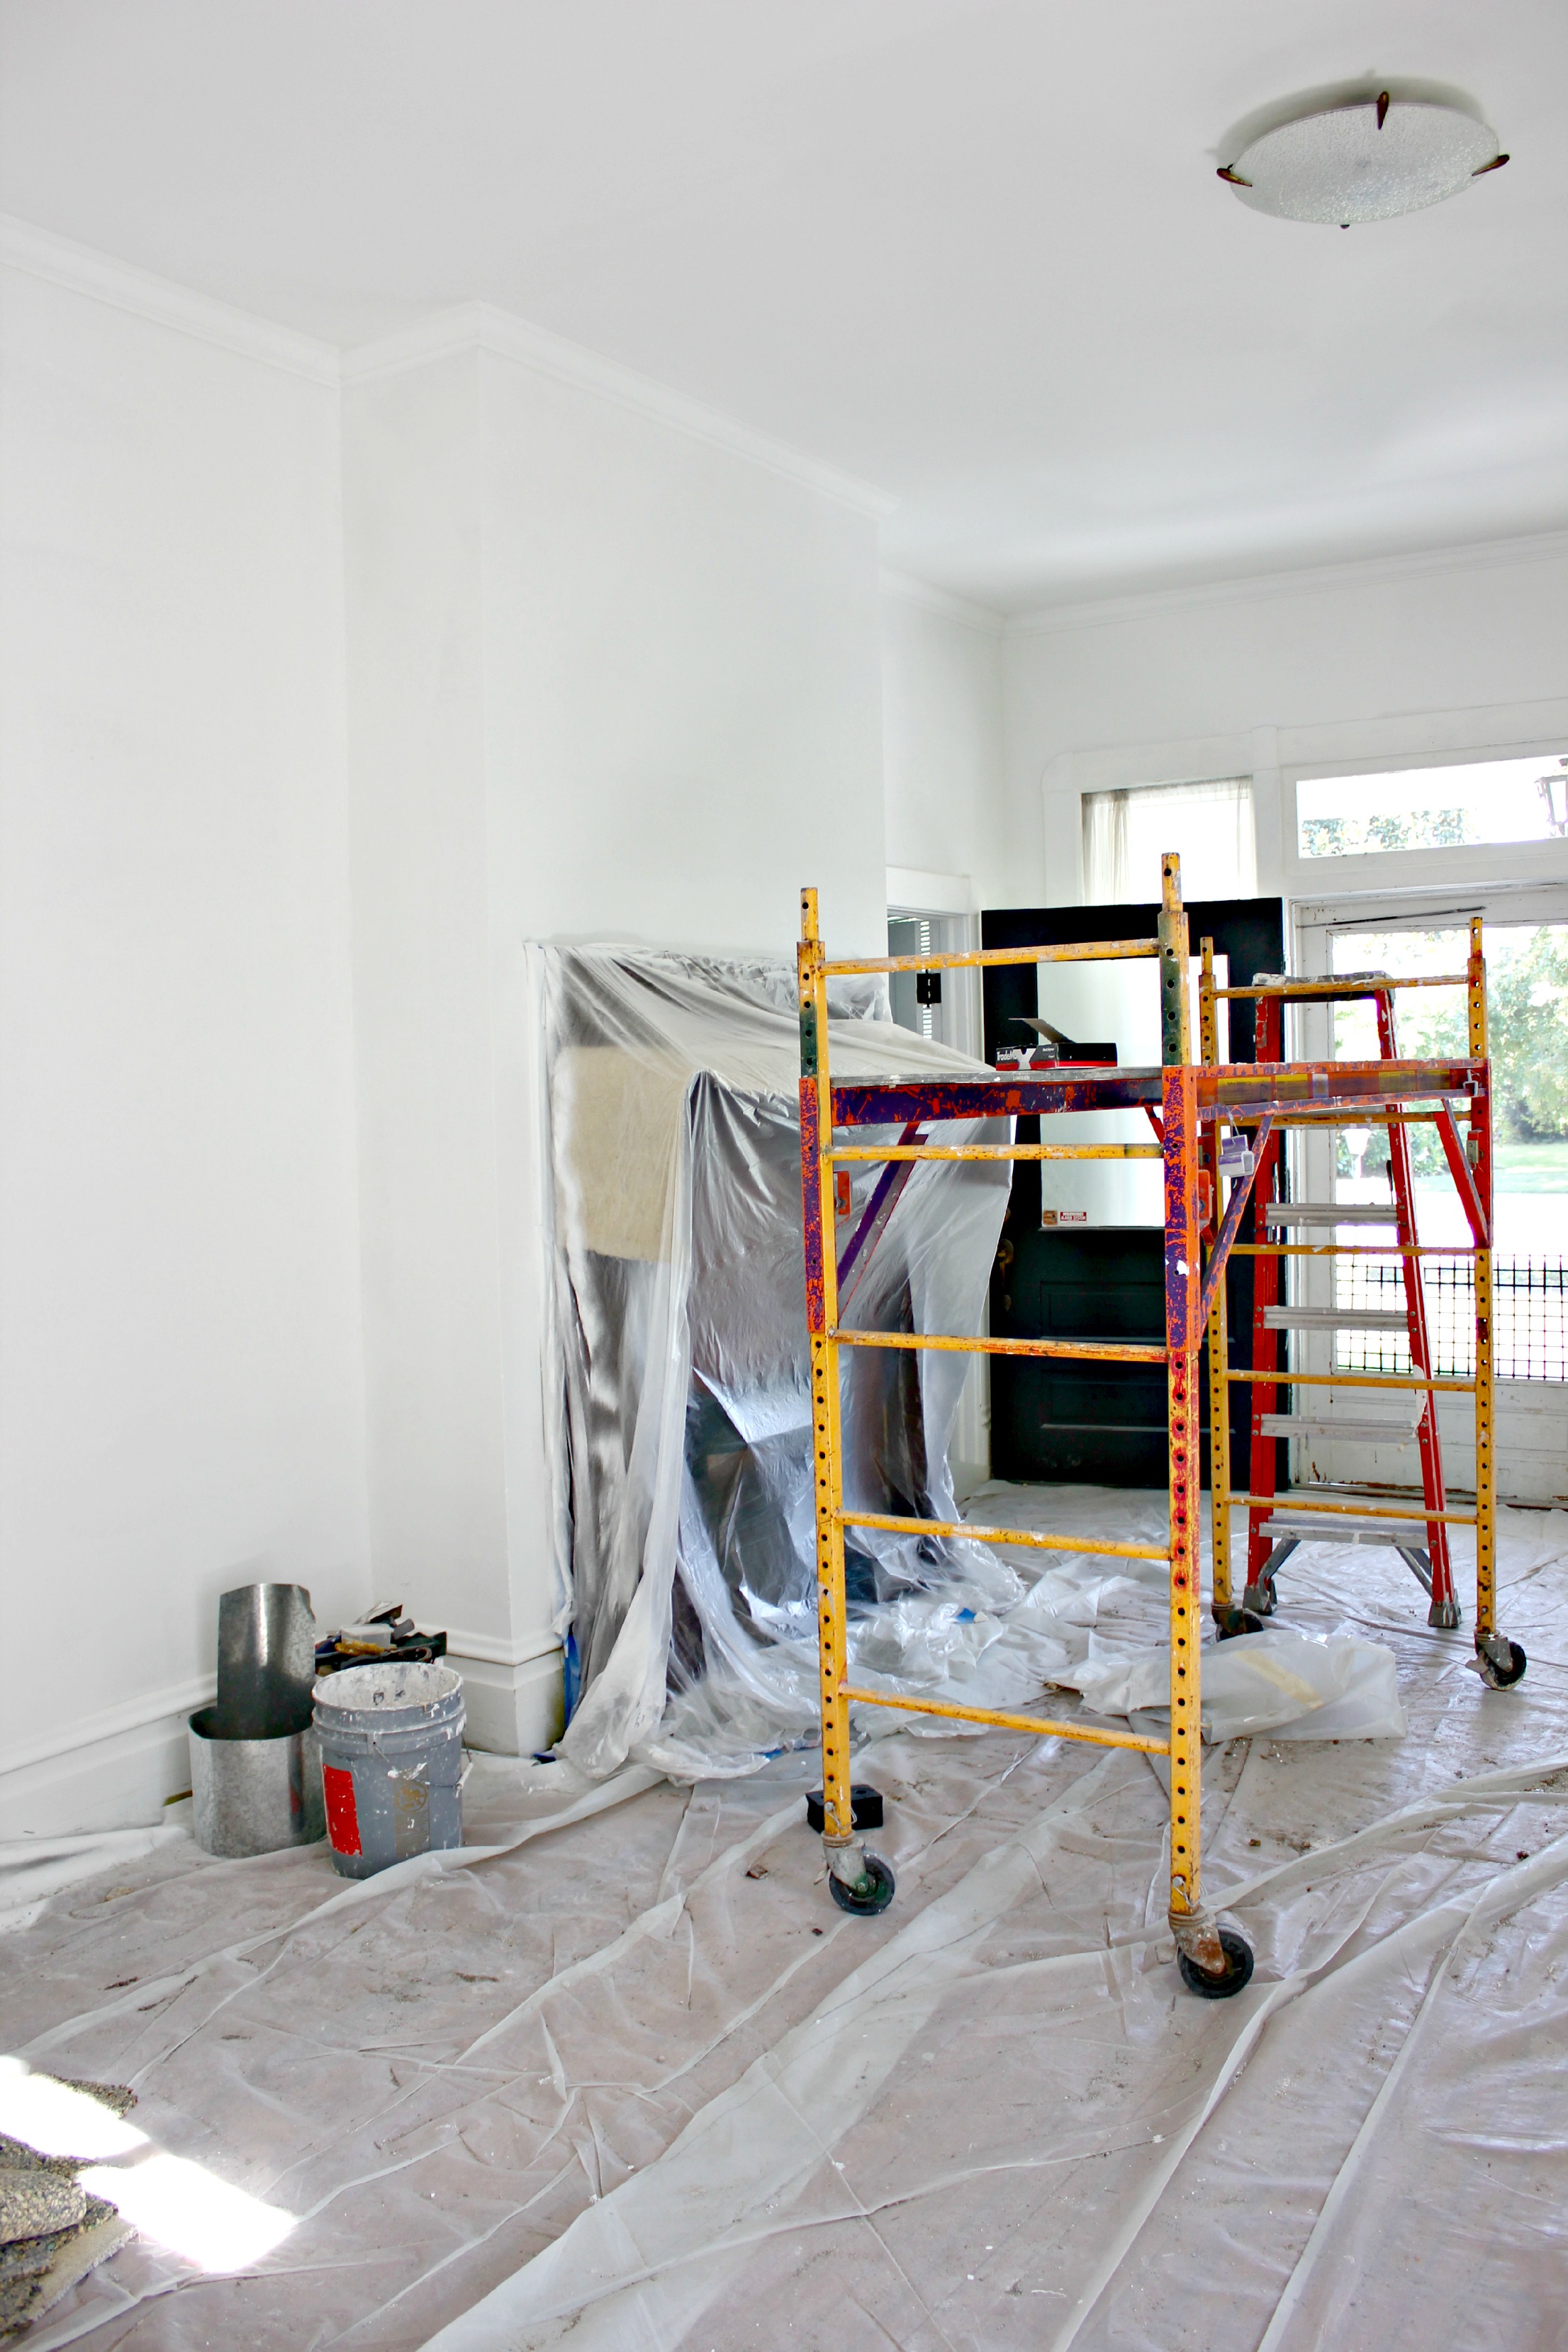
We painted the walls in Kitten White and the trim in a high gloss white. We had minor termite damage (no active termites – yay!!) in the floor, so we went ahead and filled that in to prevent further cracking. We will eventually get around to oiling and refinishing the floors.
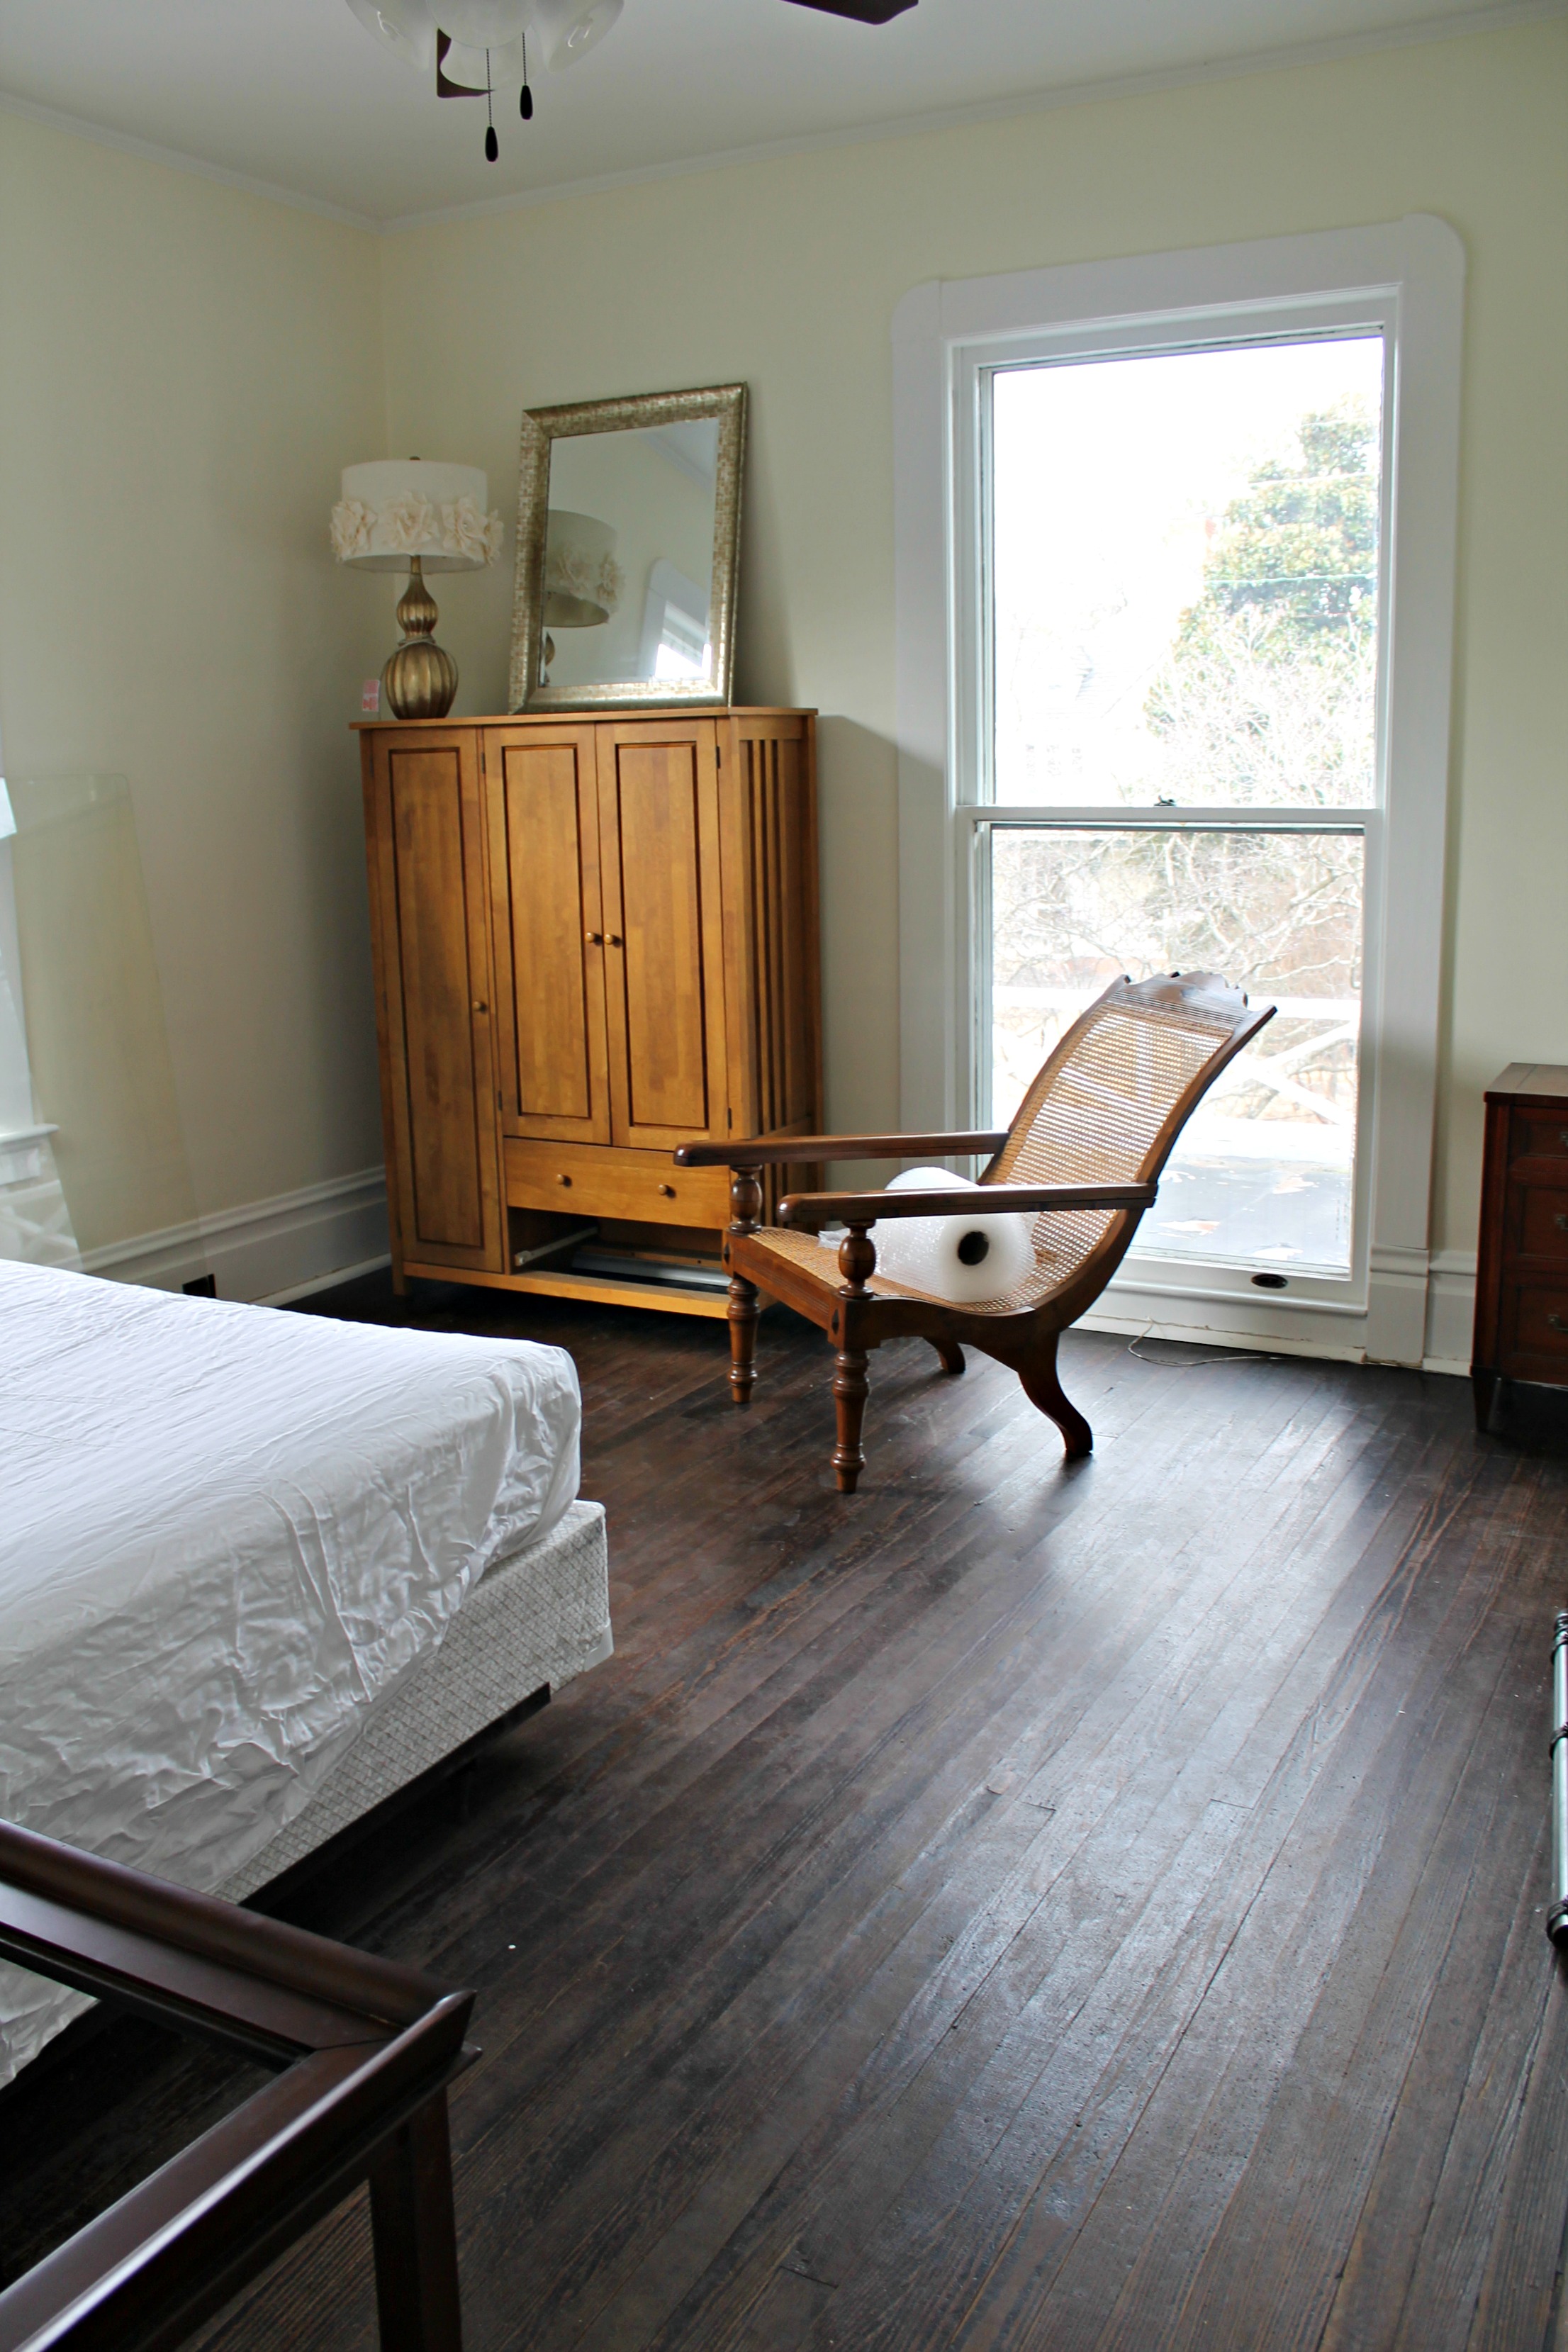
Since you can see all the way through our house and out our back kitchen window when you look through the front door, we definitely needed some privacy added to the front door and windows. We decided to hang sheers on the outside windows, and my mom made us the perfect taut sheer to cover our door. They still let plenty of light in, but provide enough privacy that we no longer feel uncomfortable.
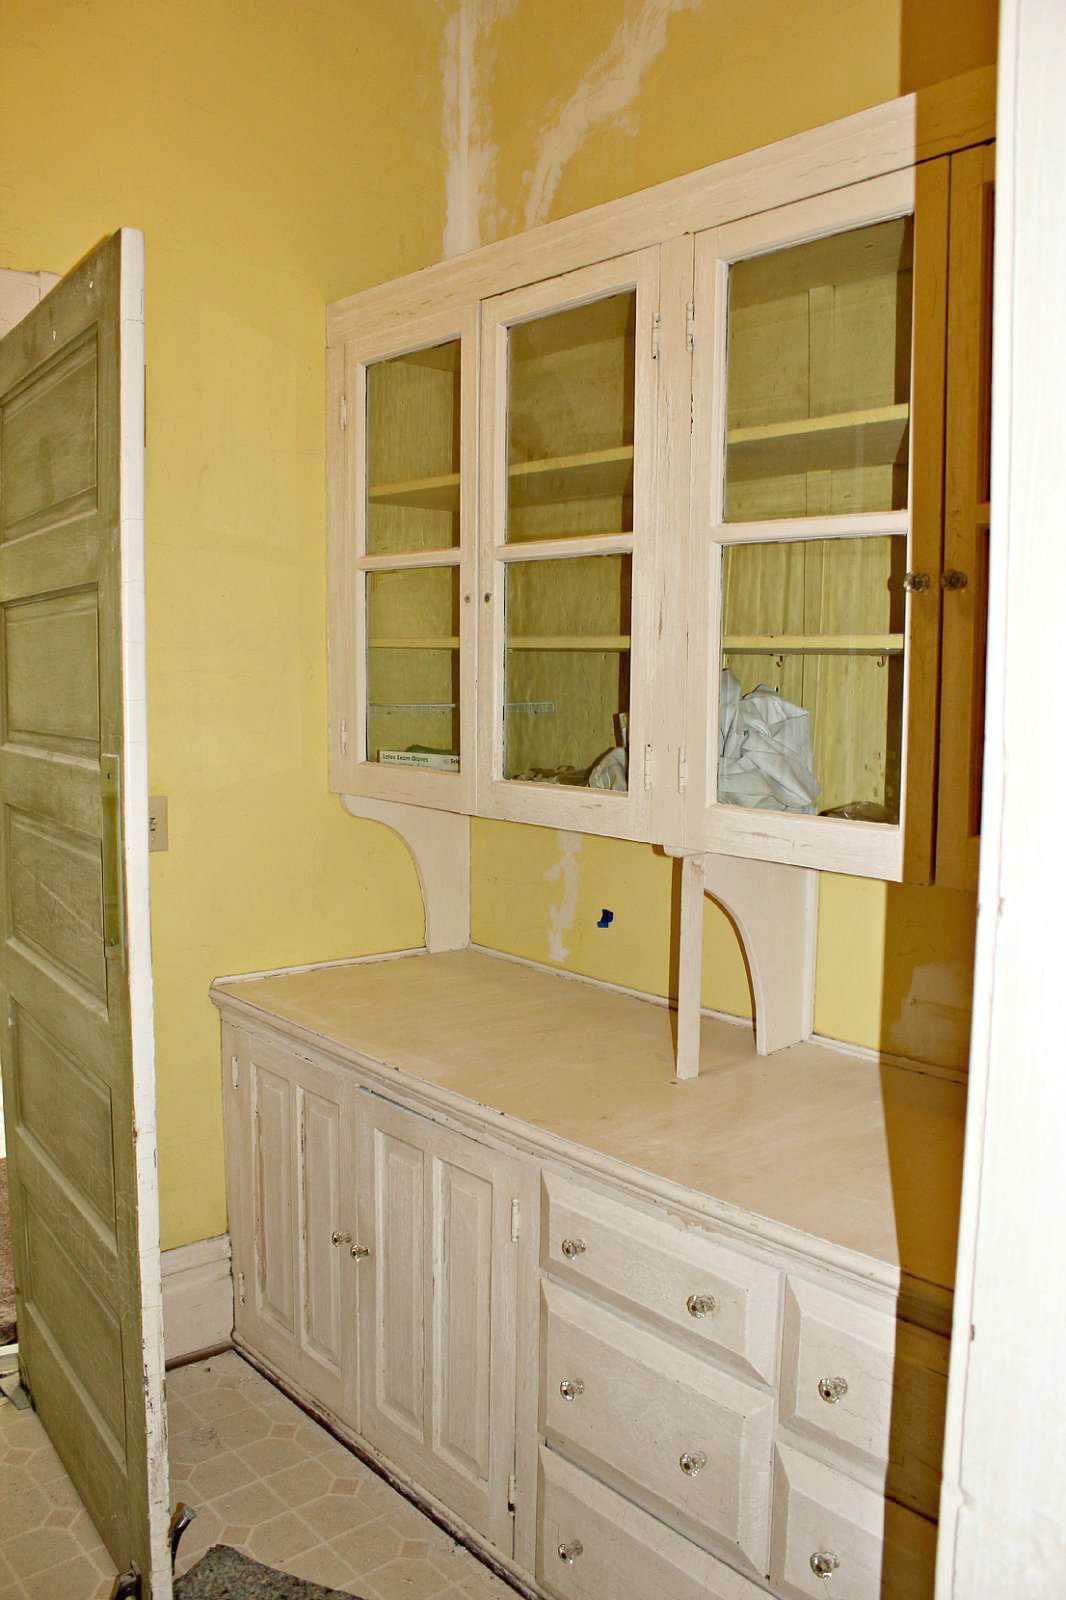
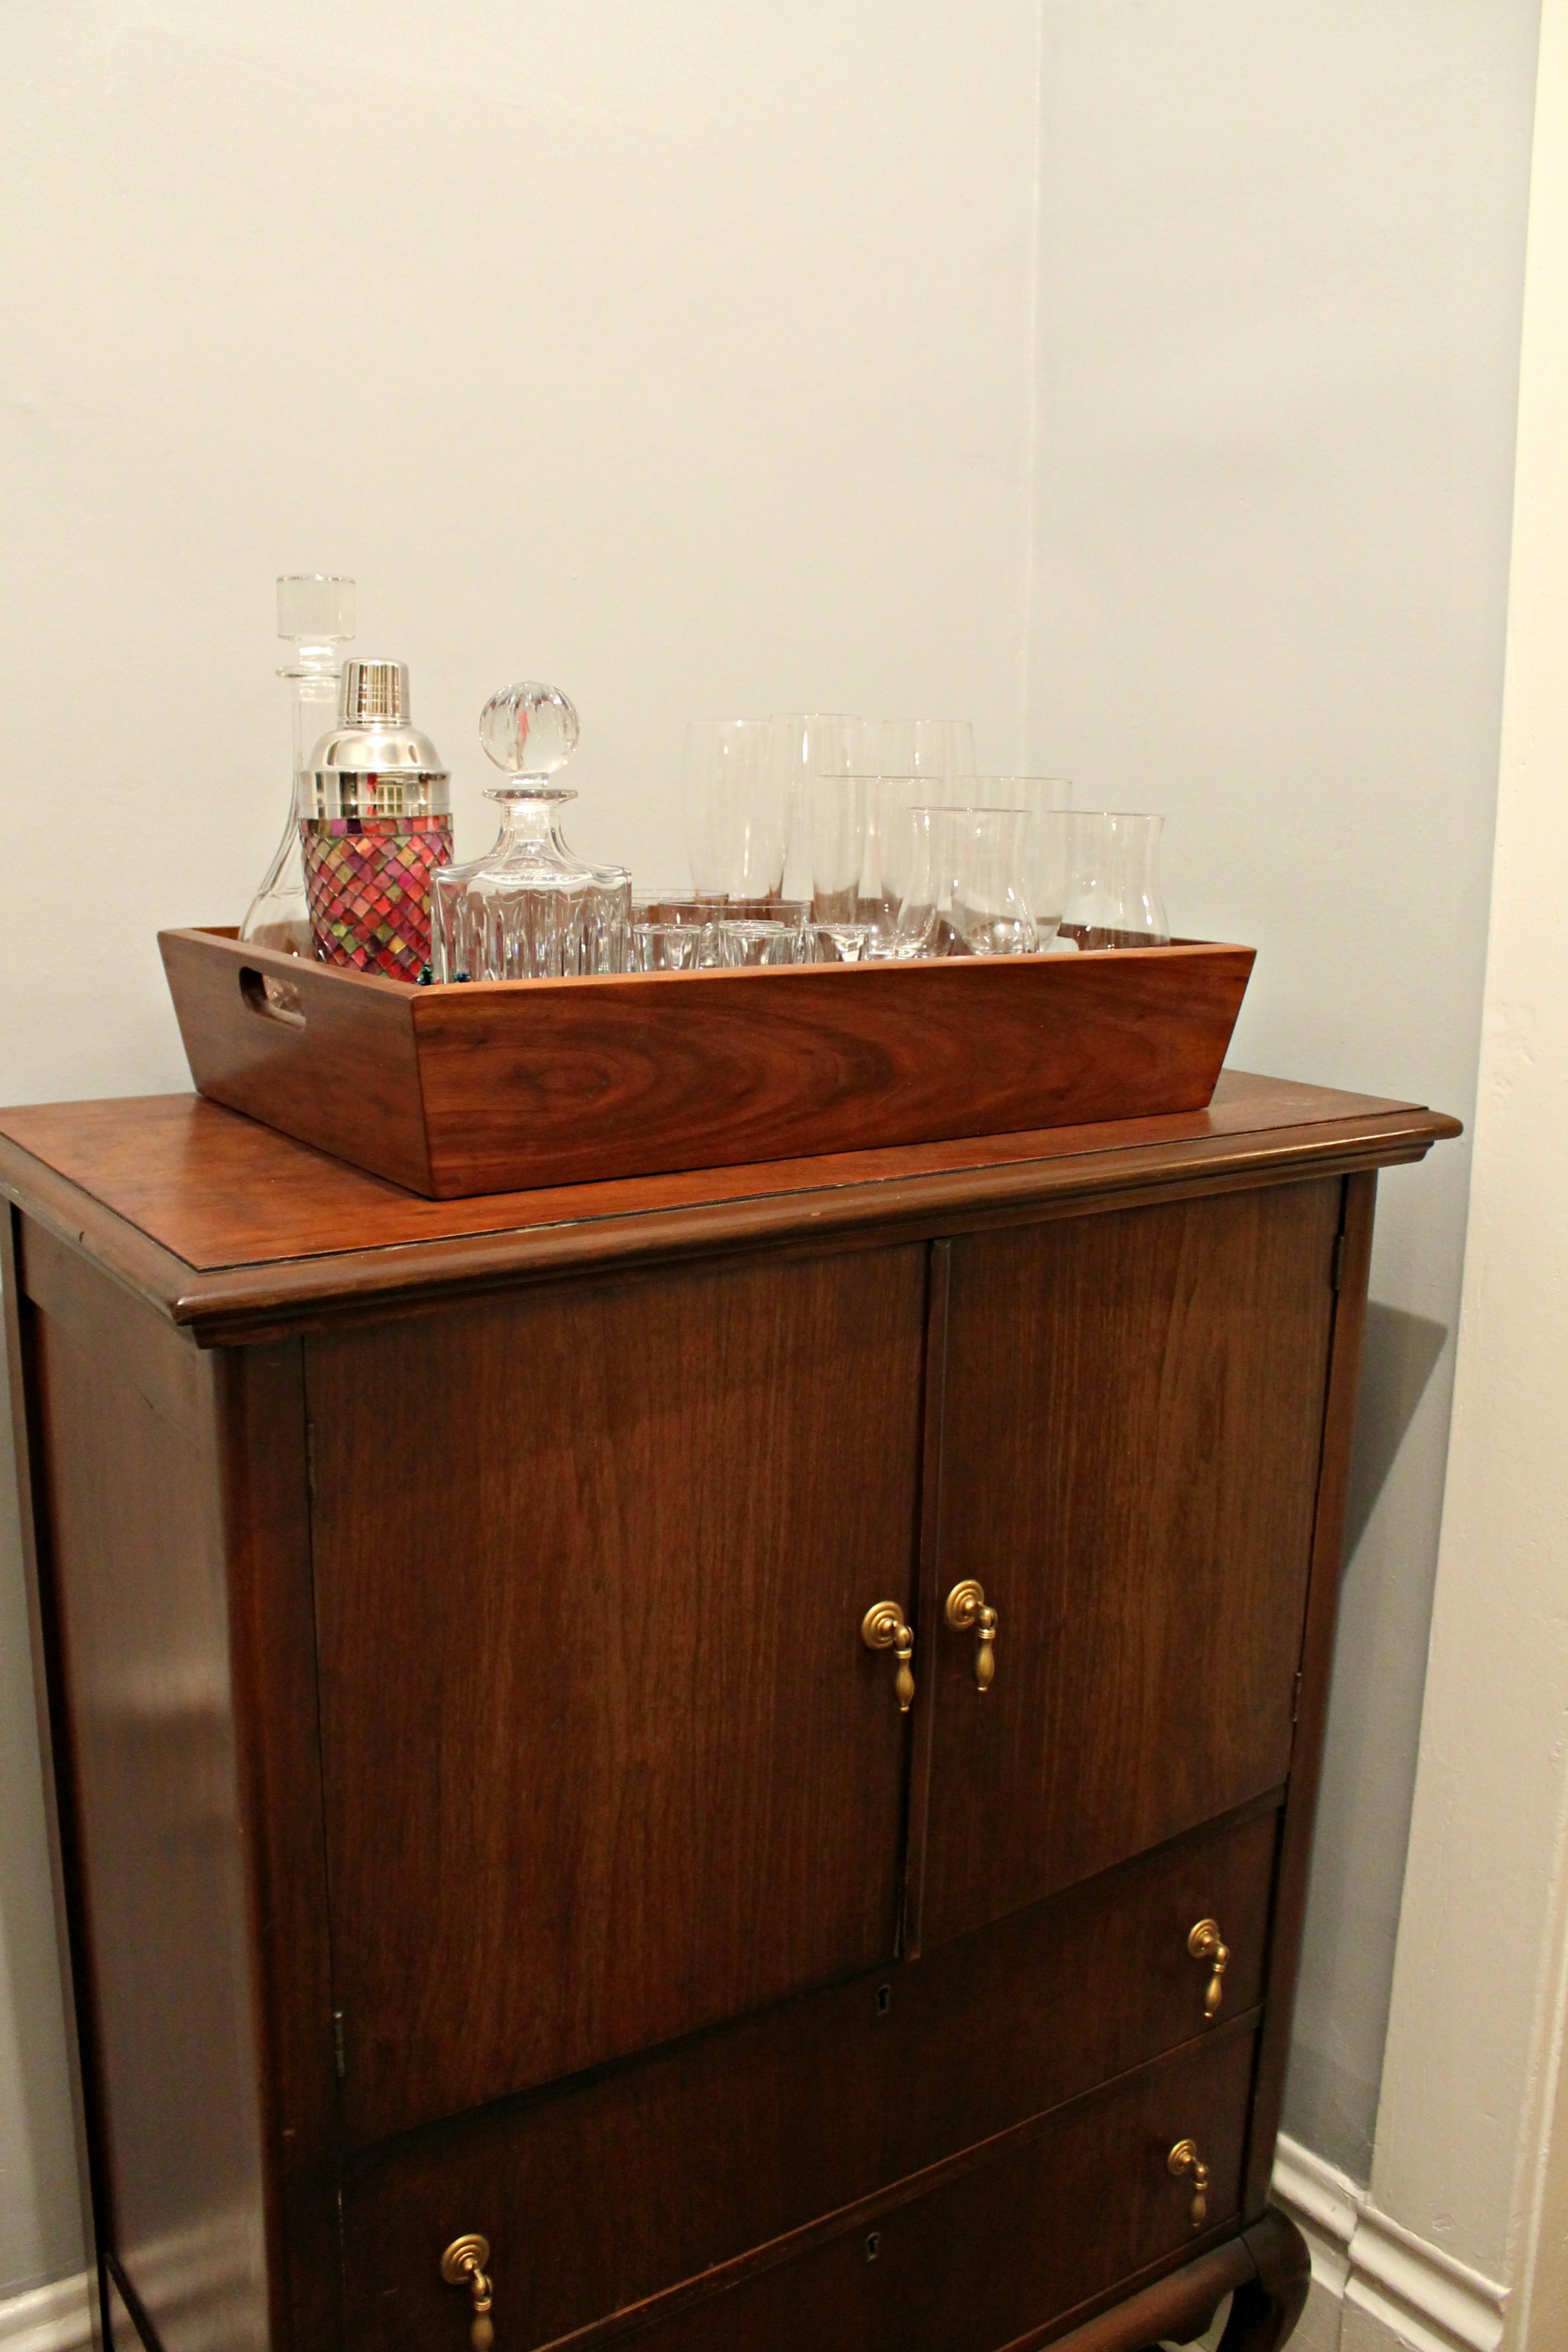
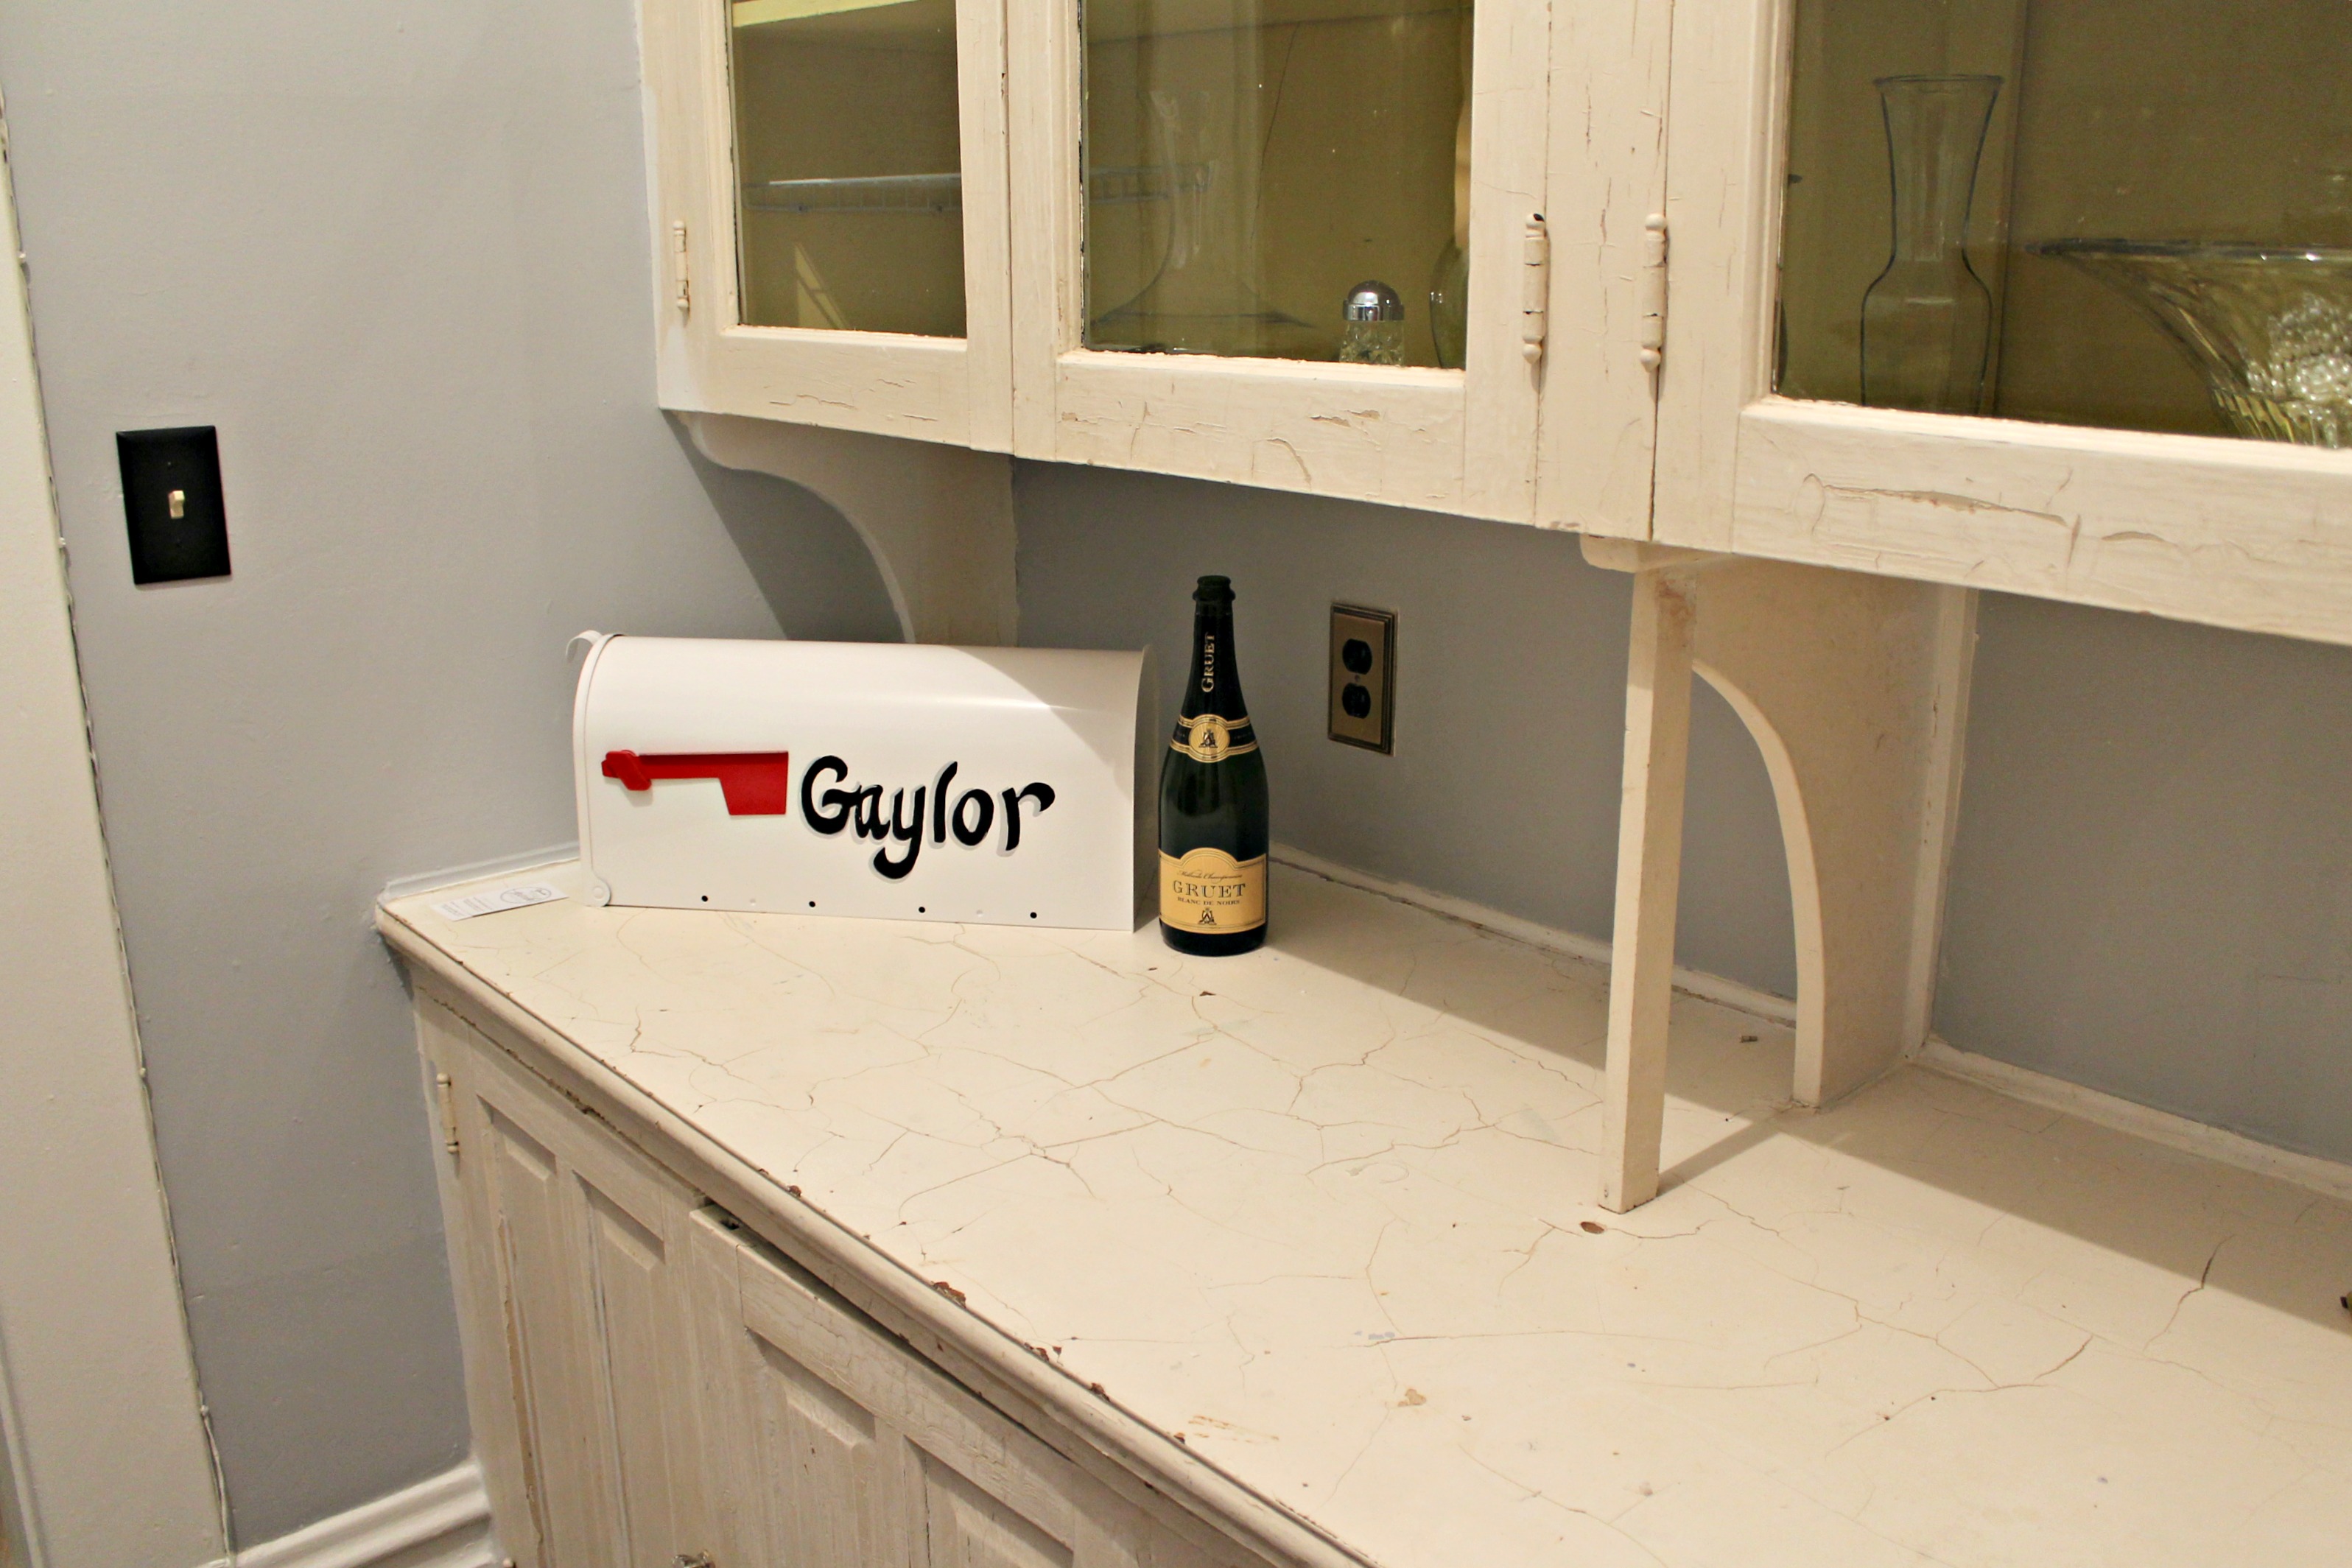
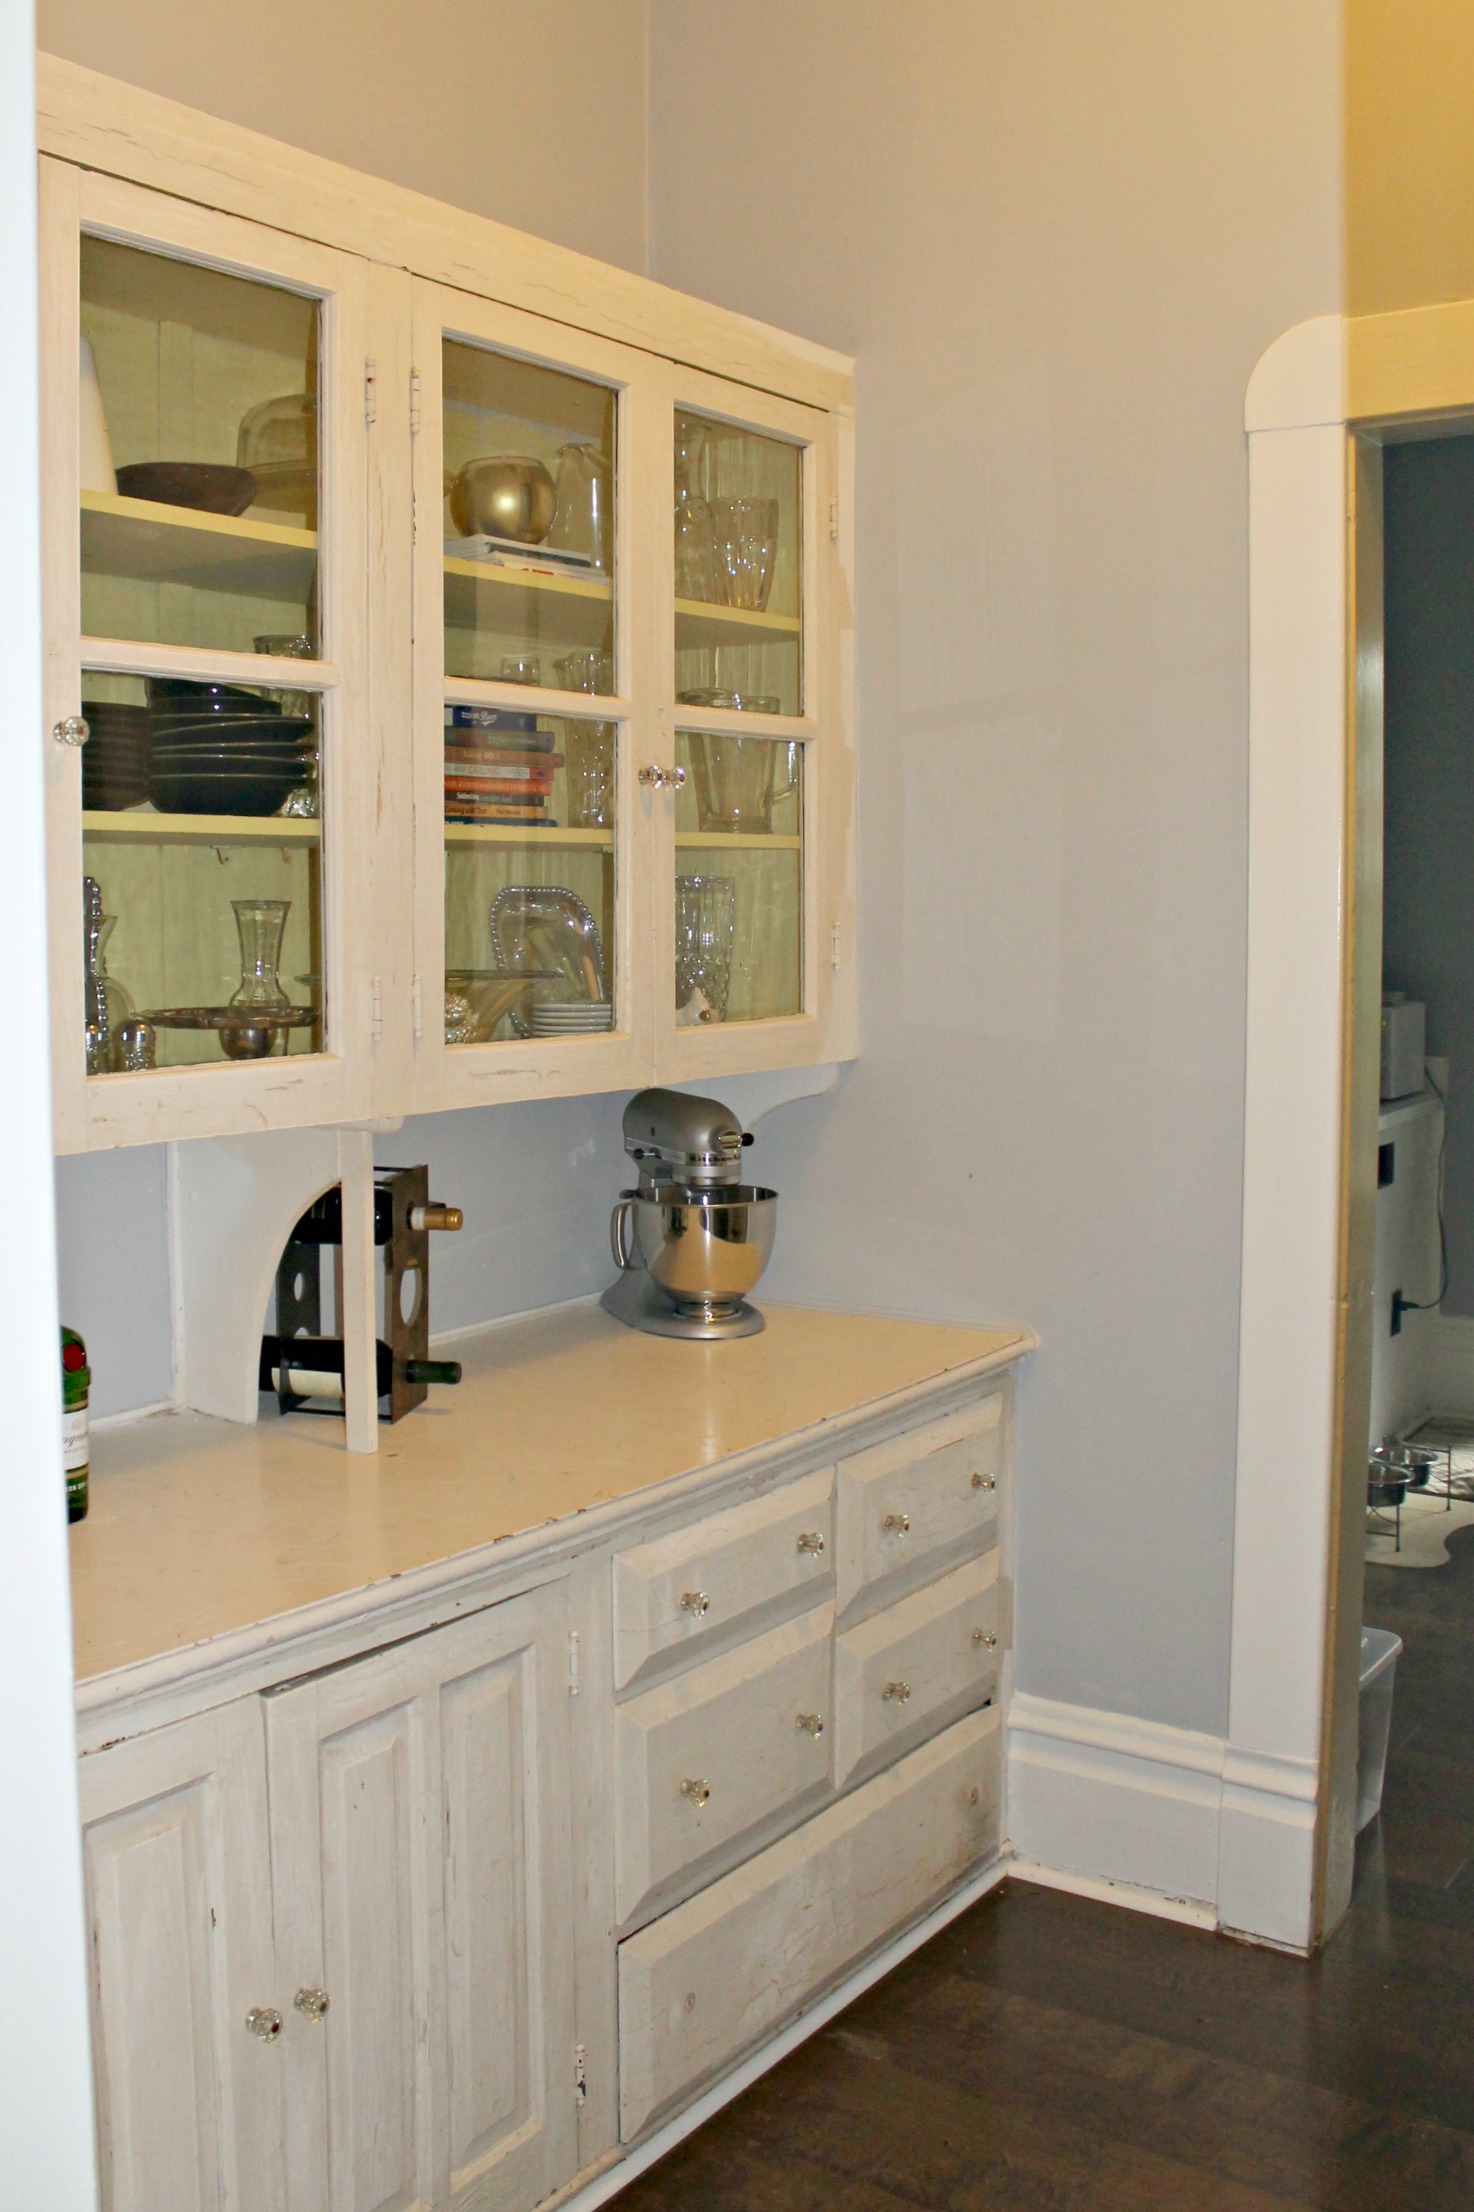
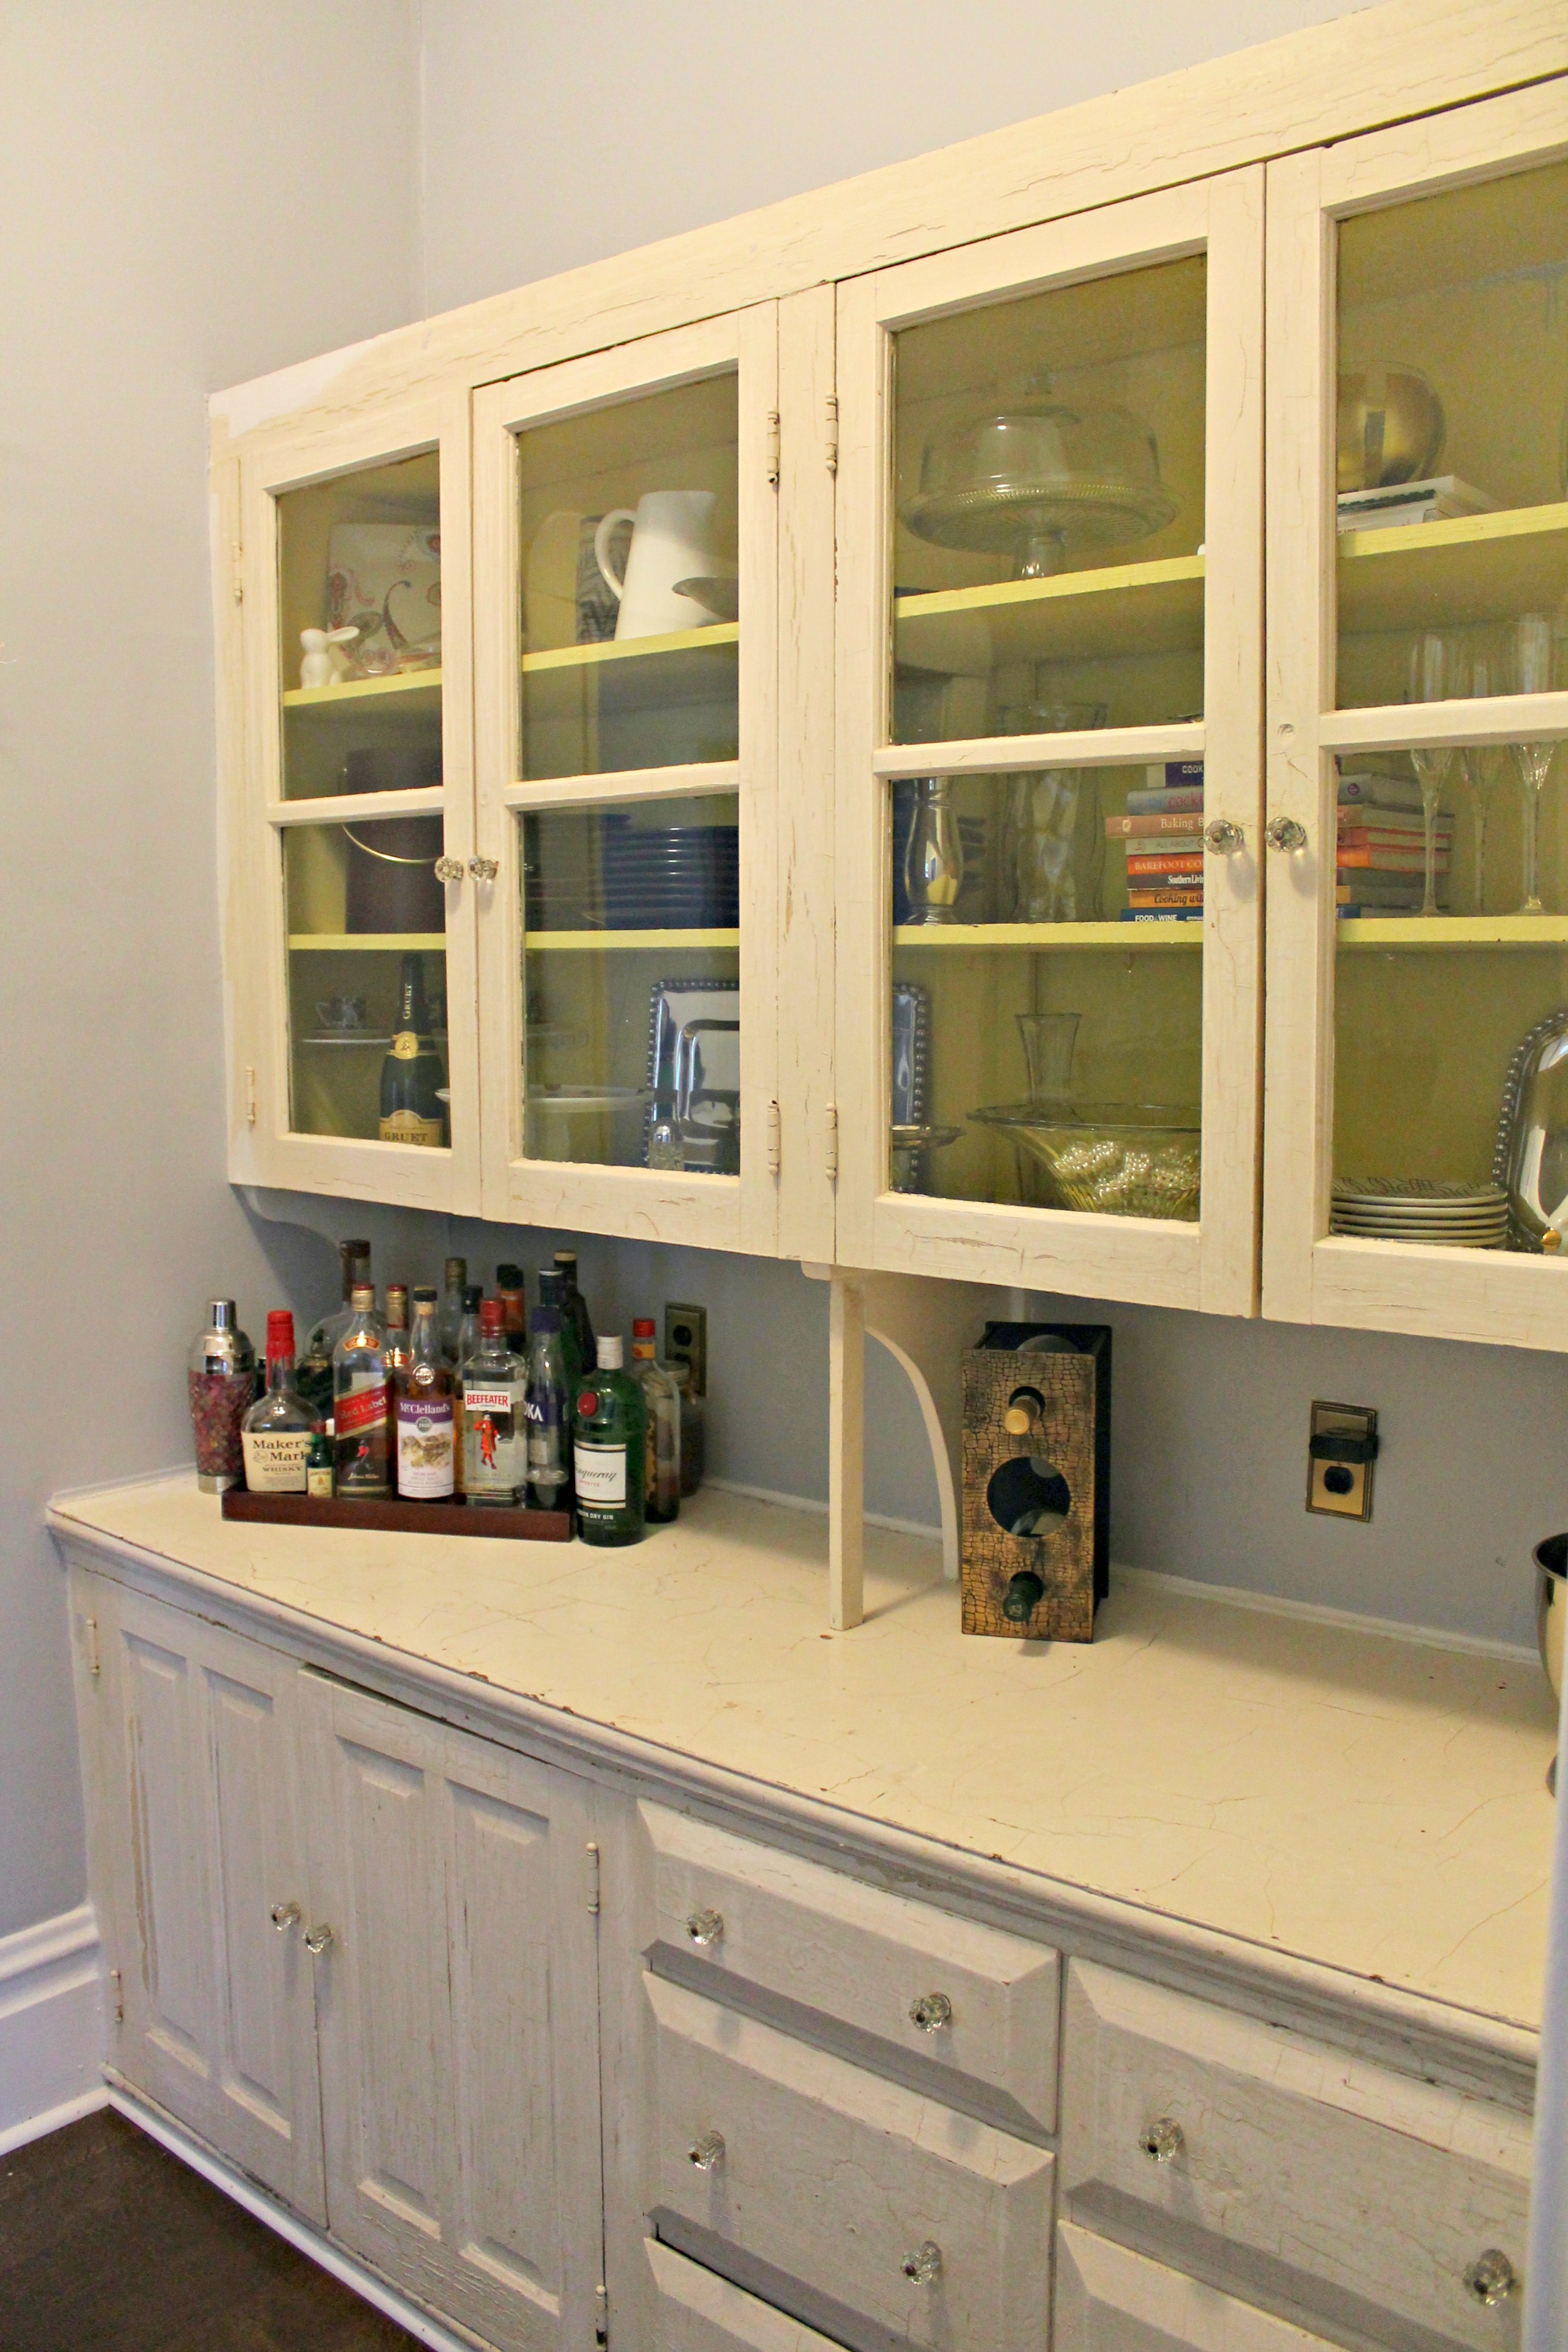
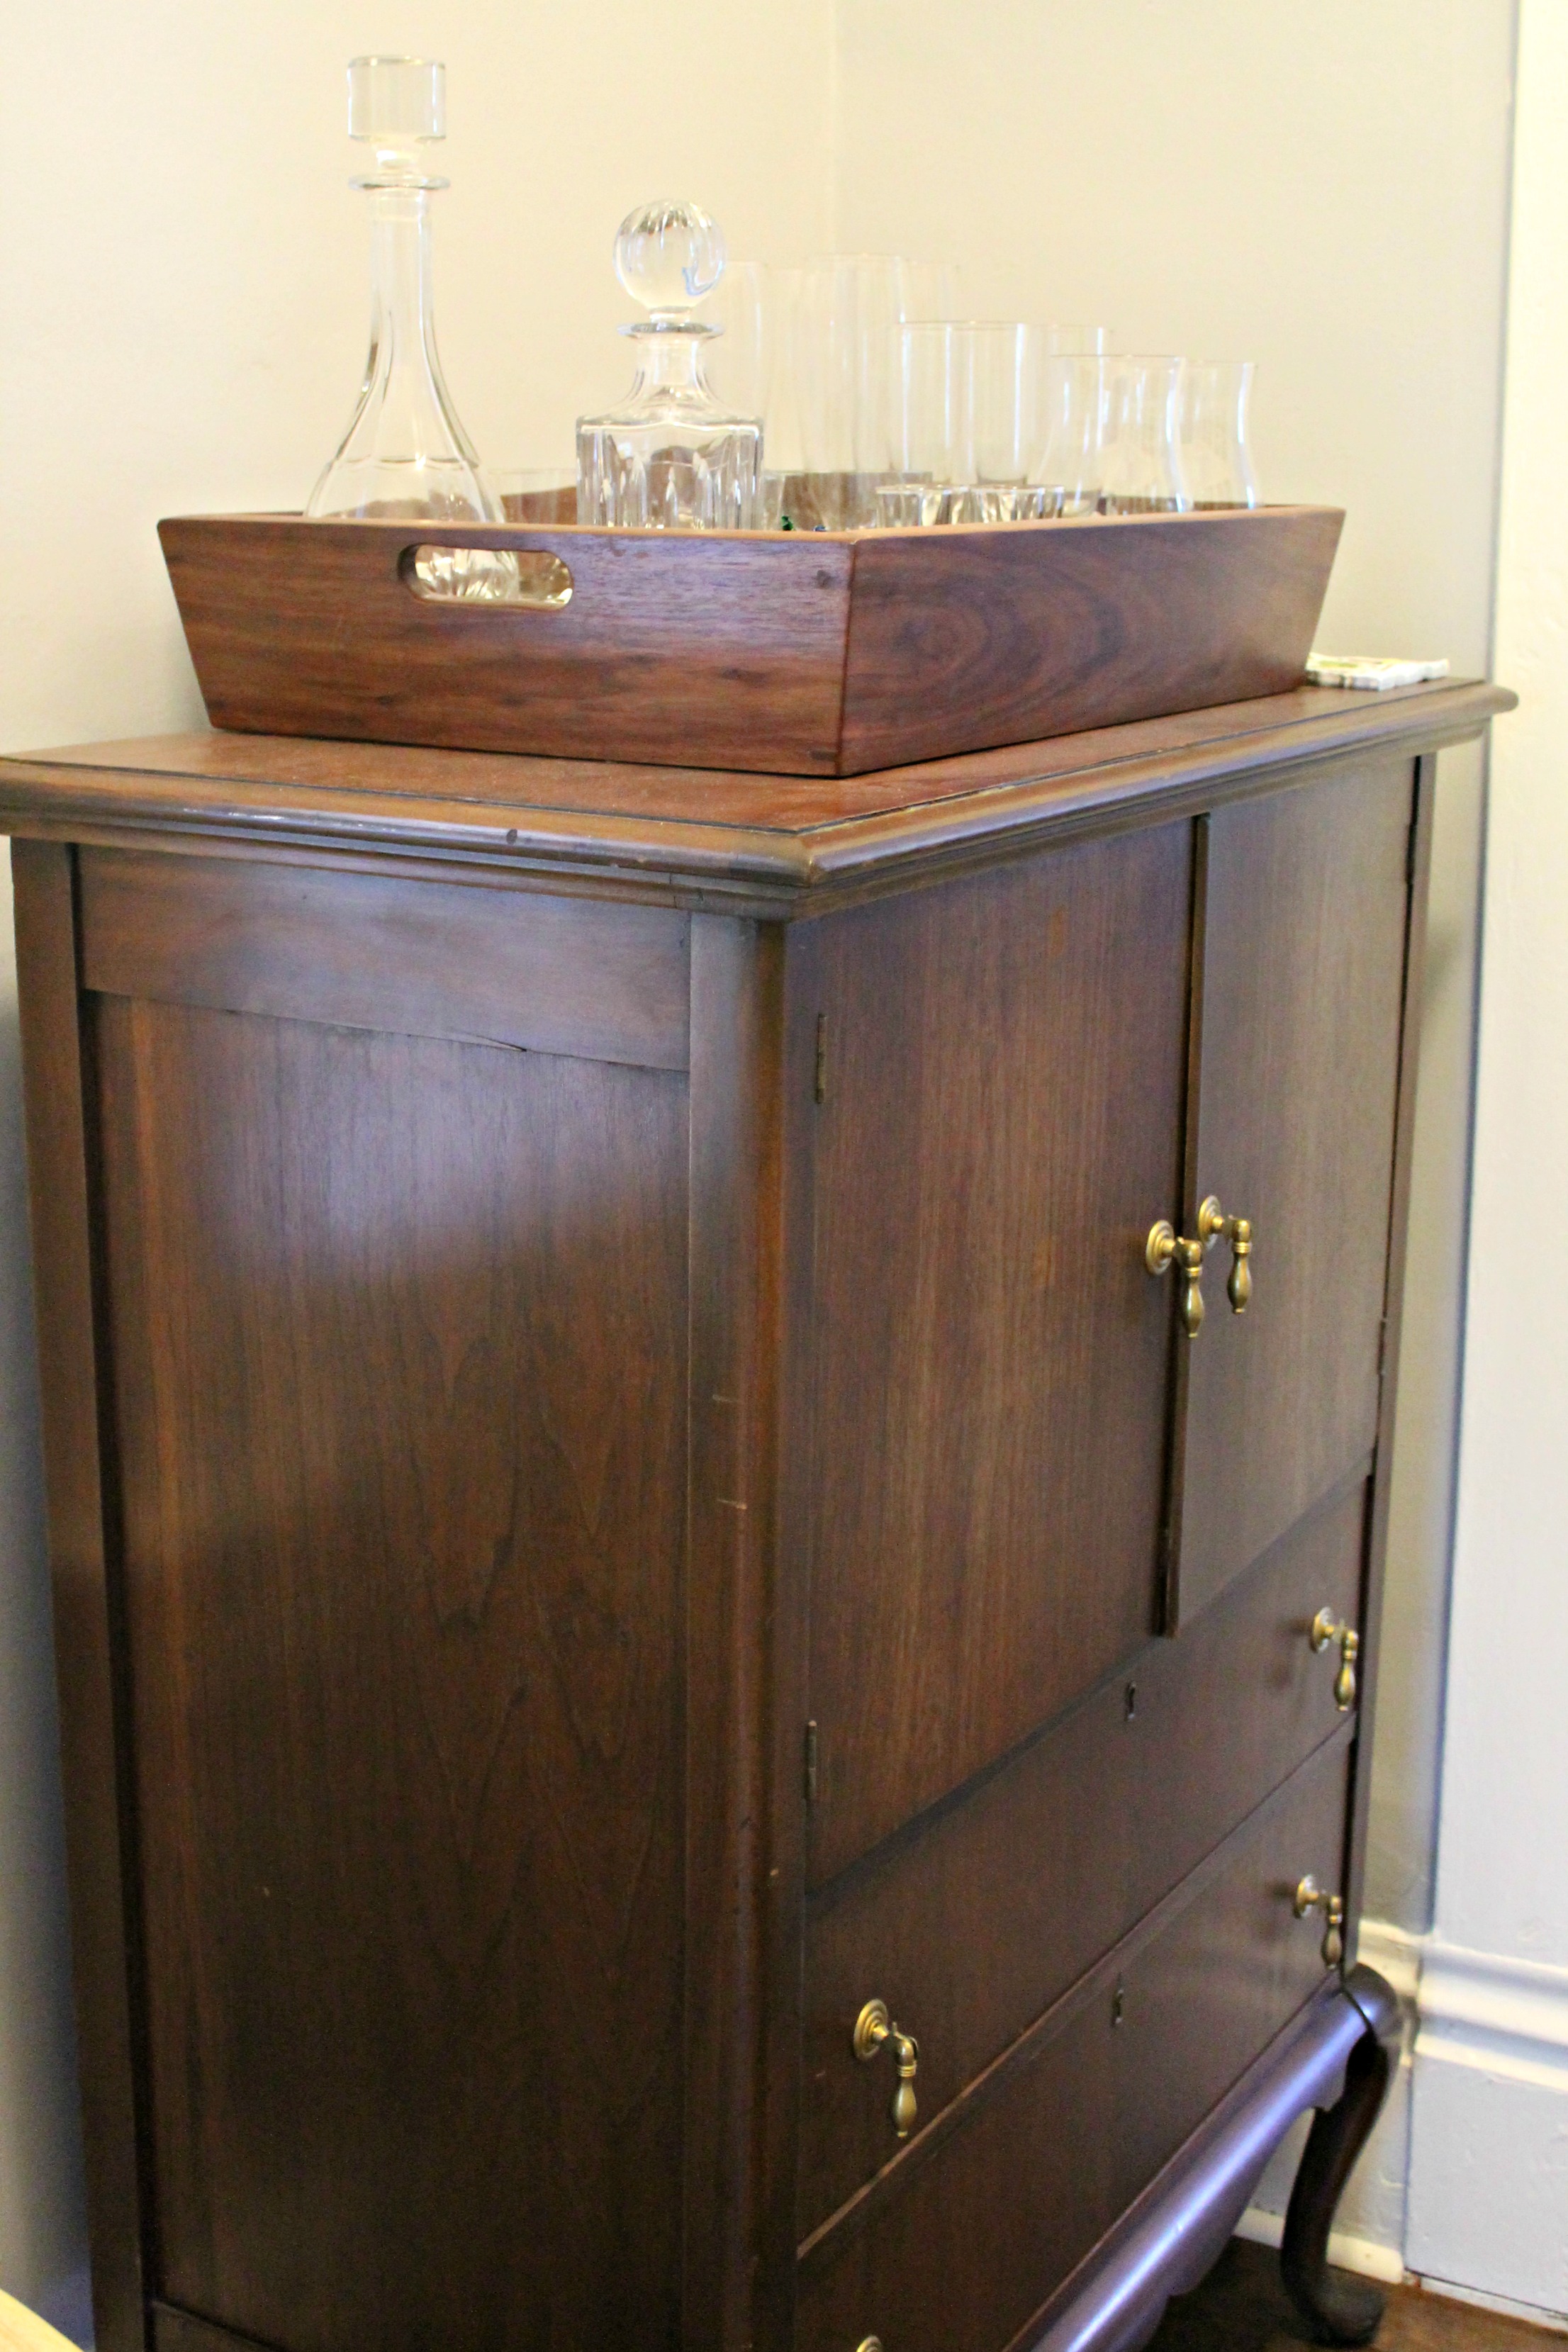
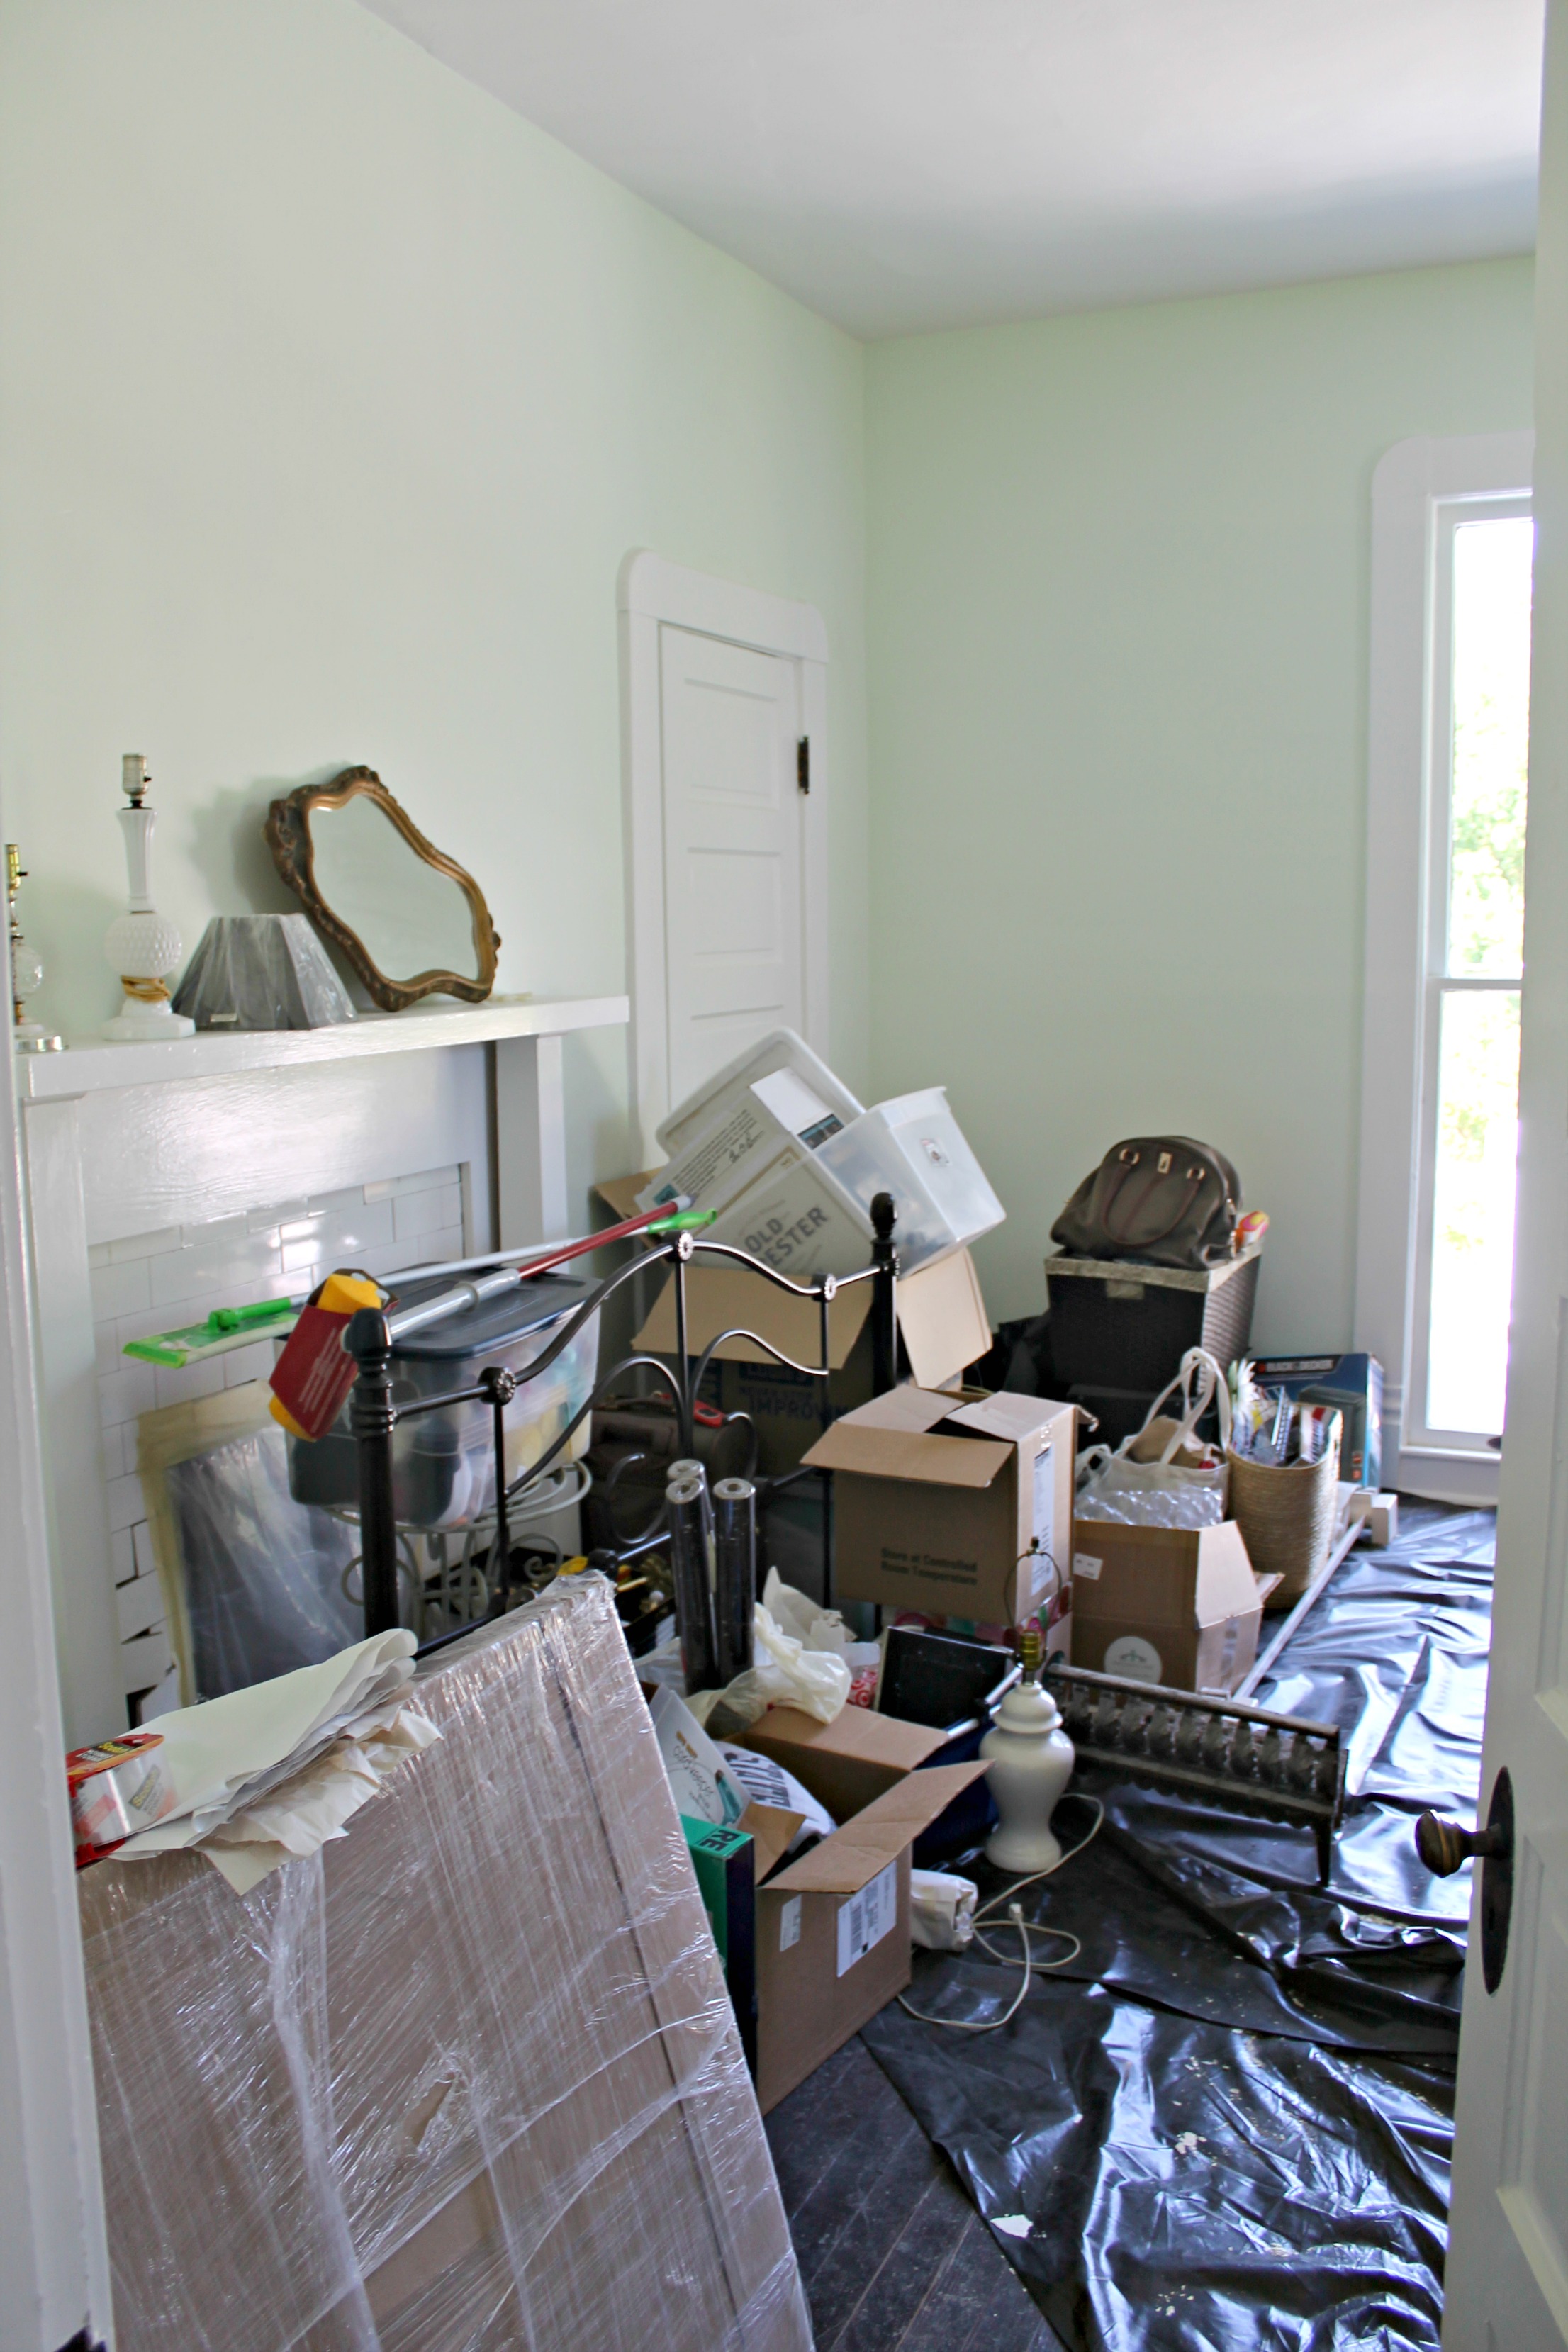
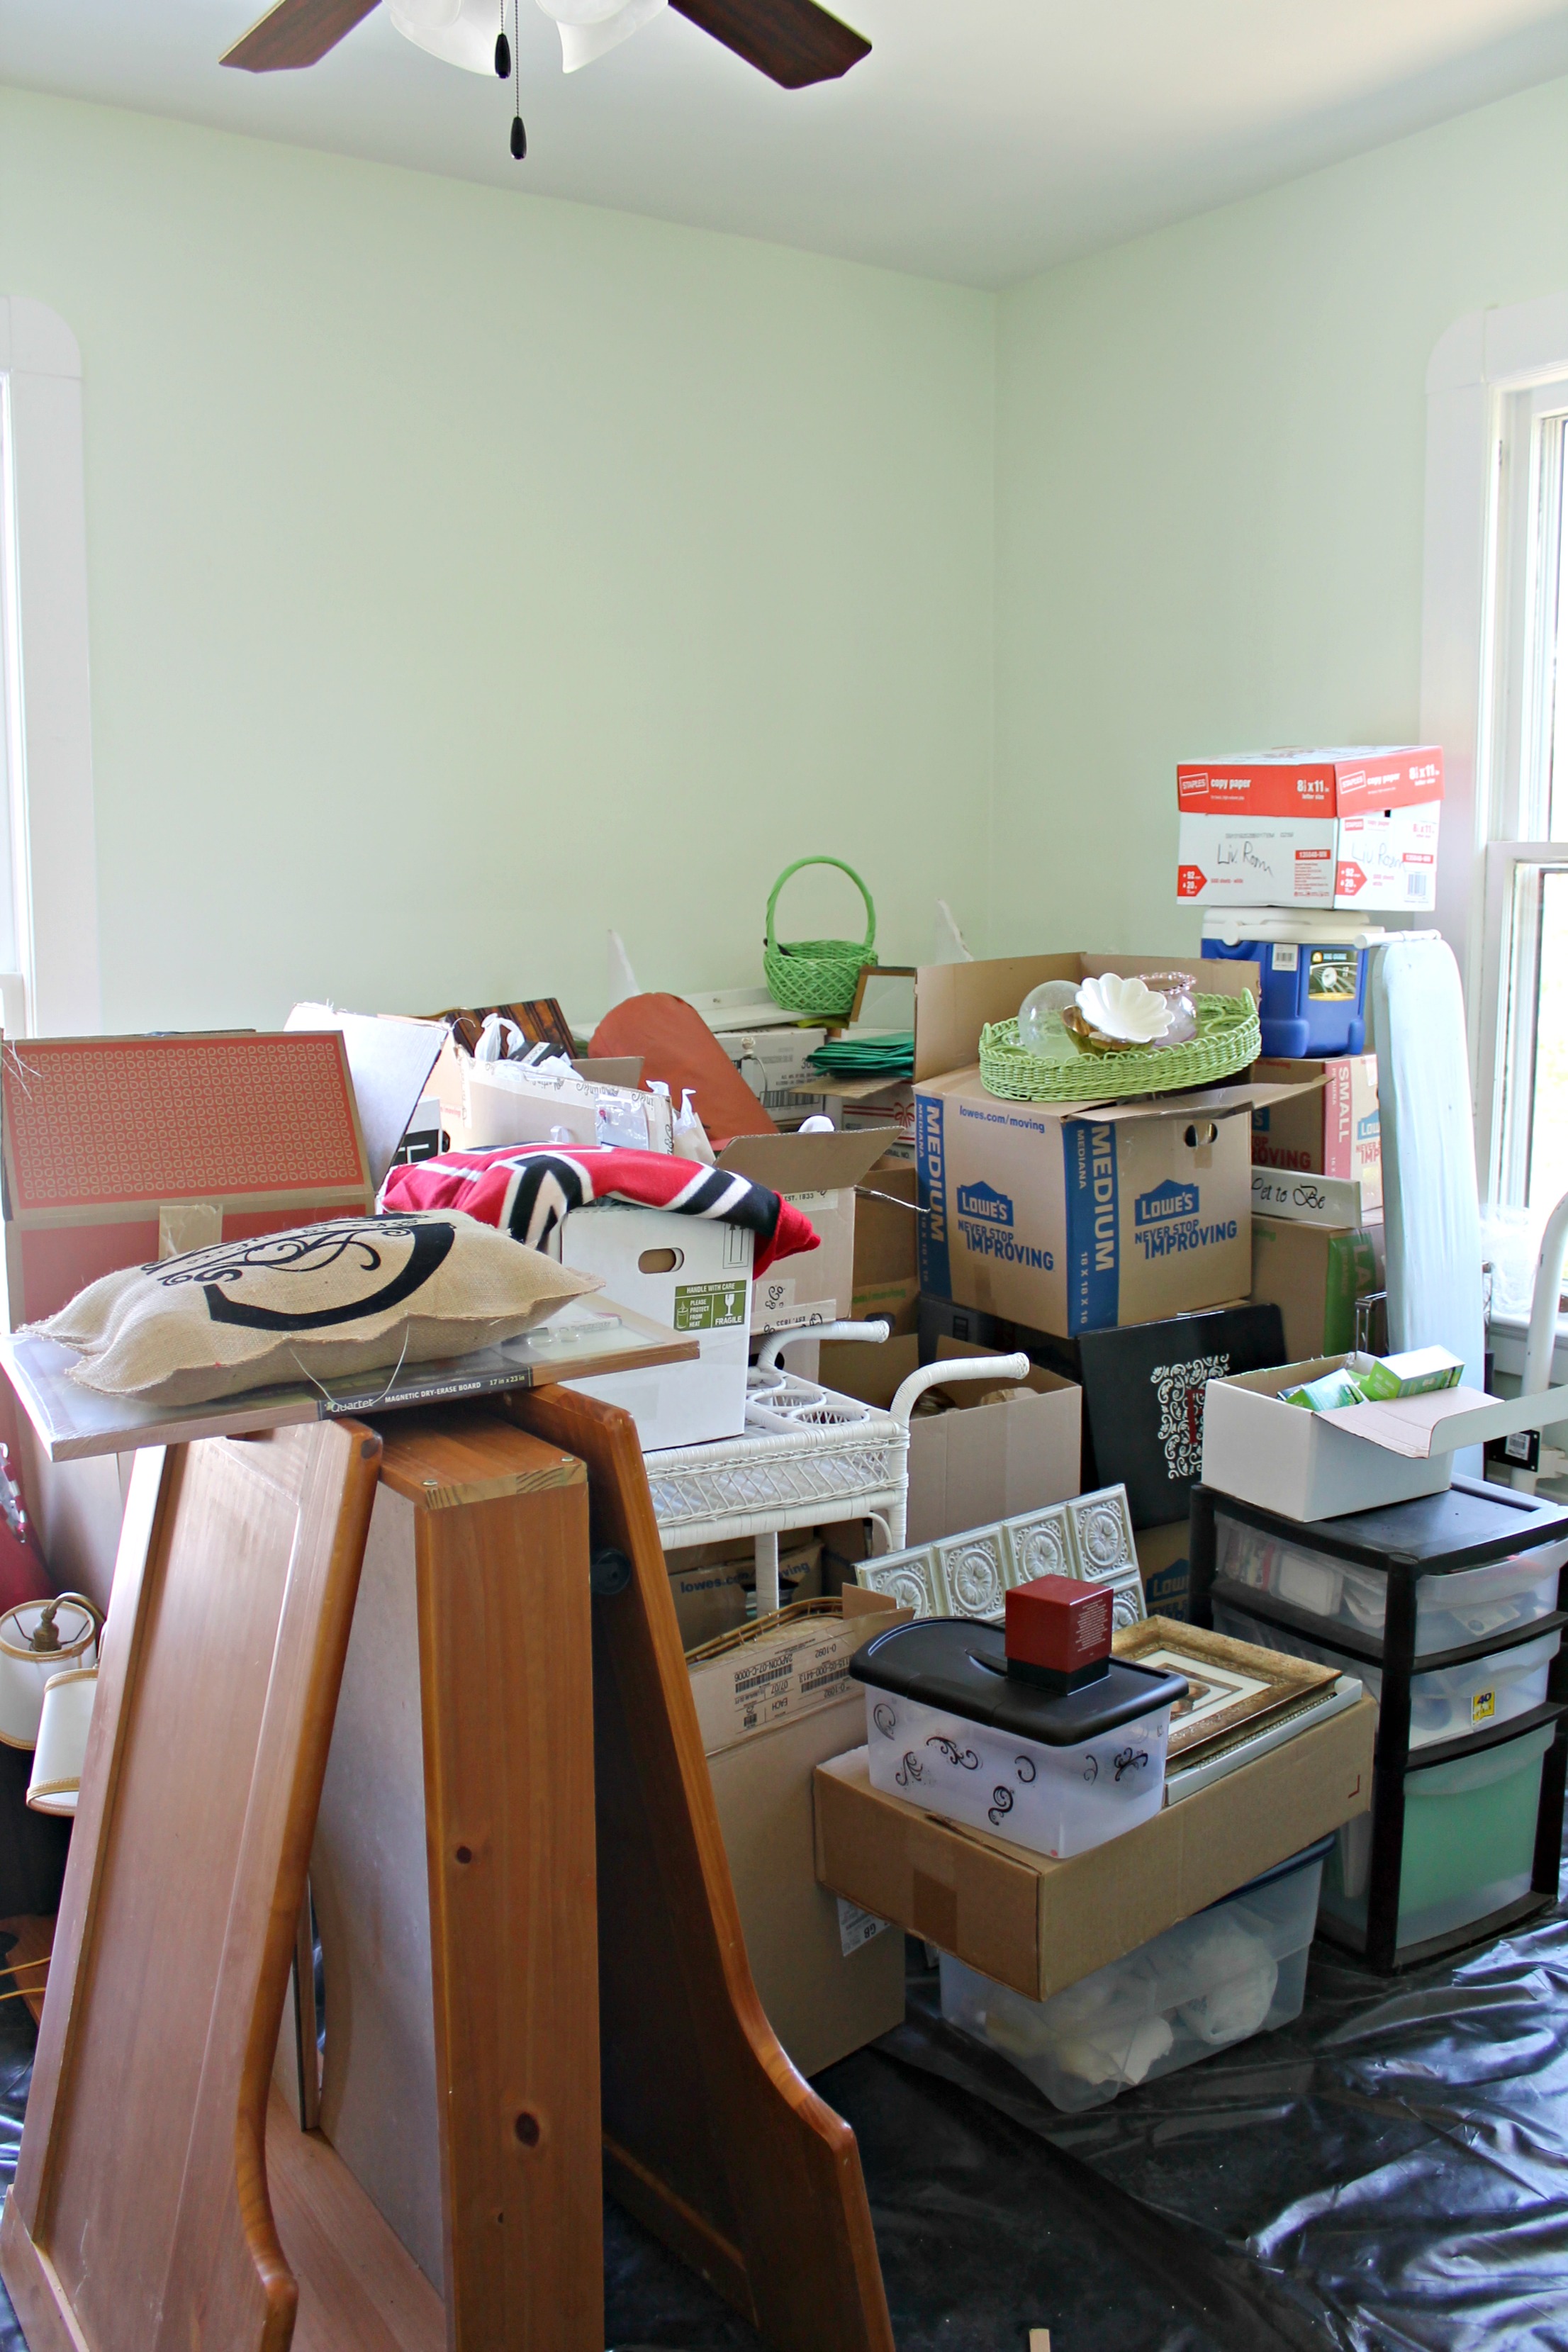
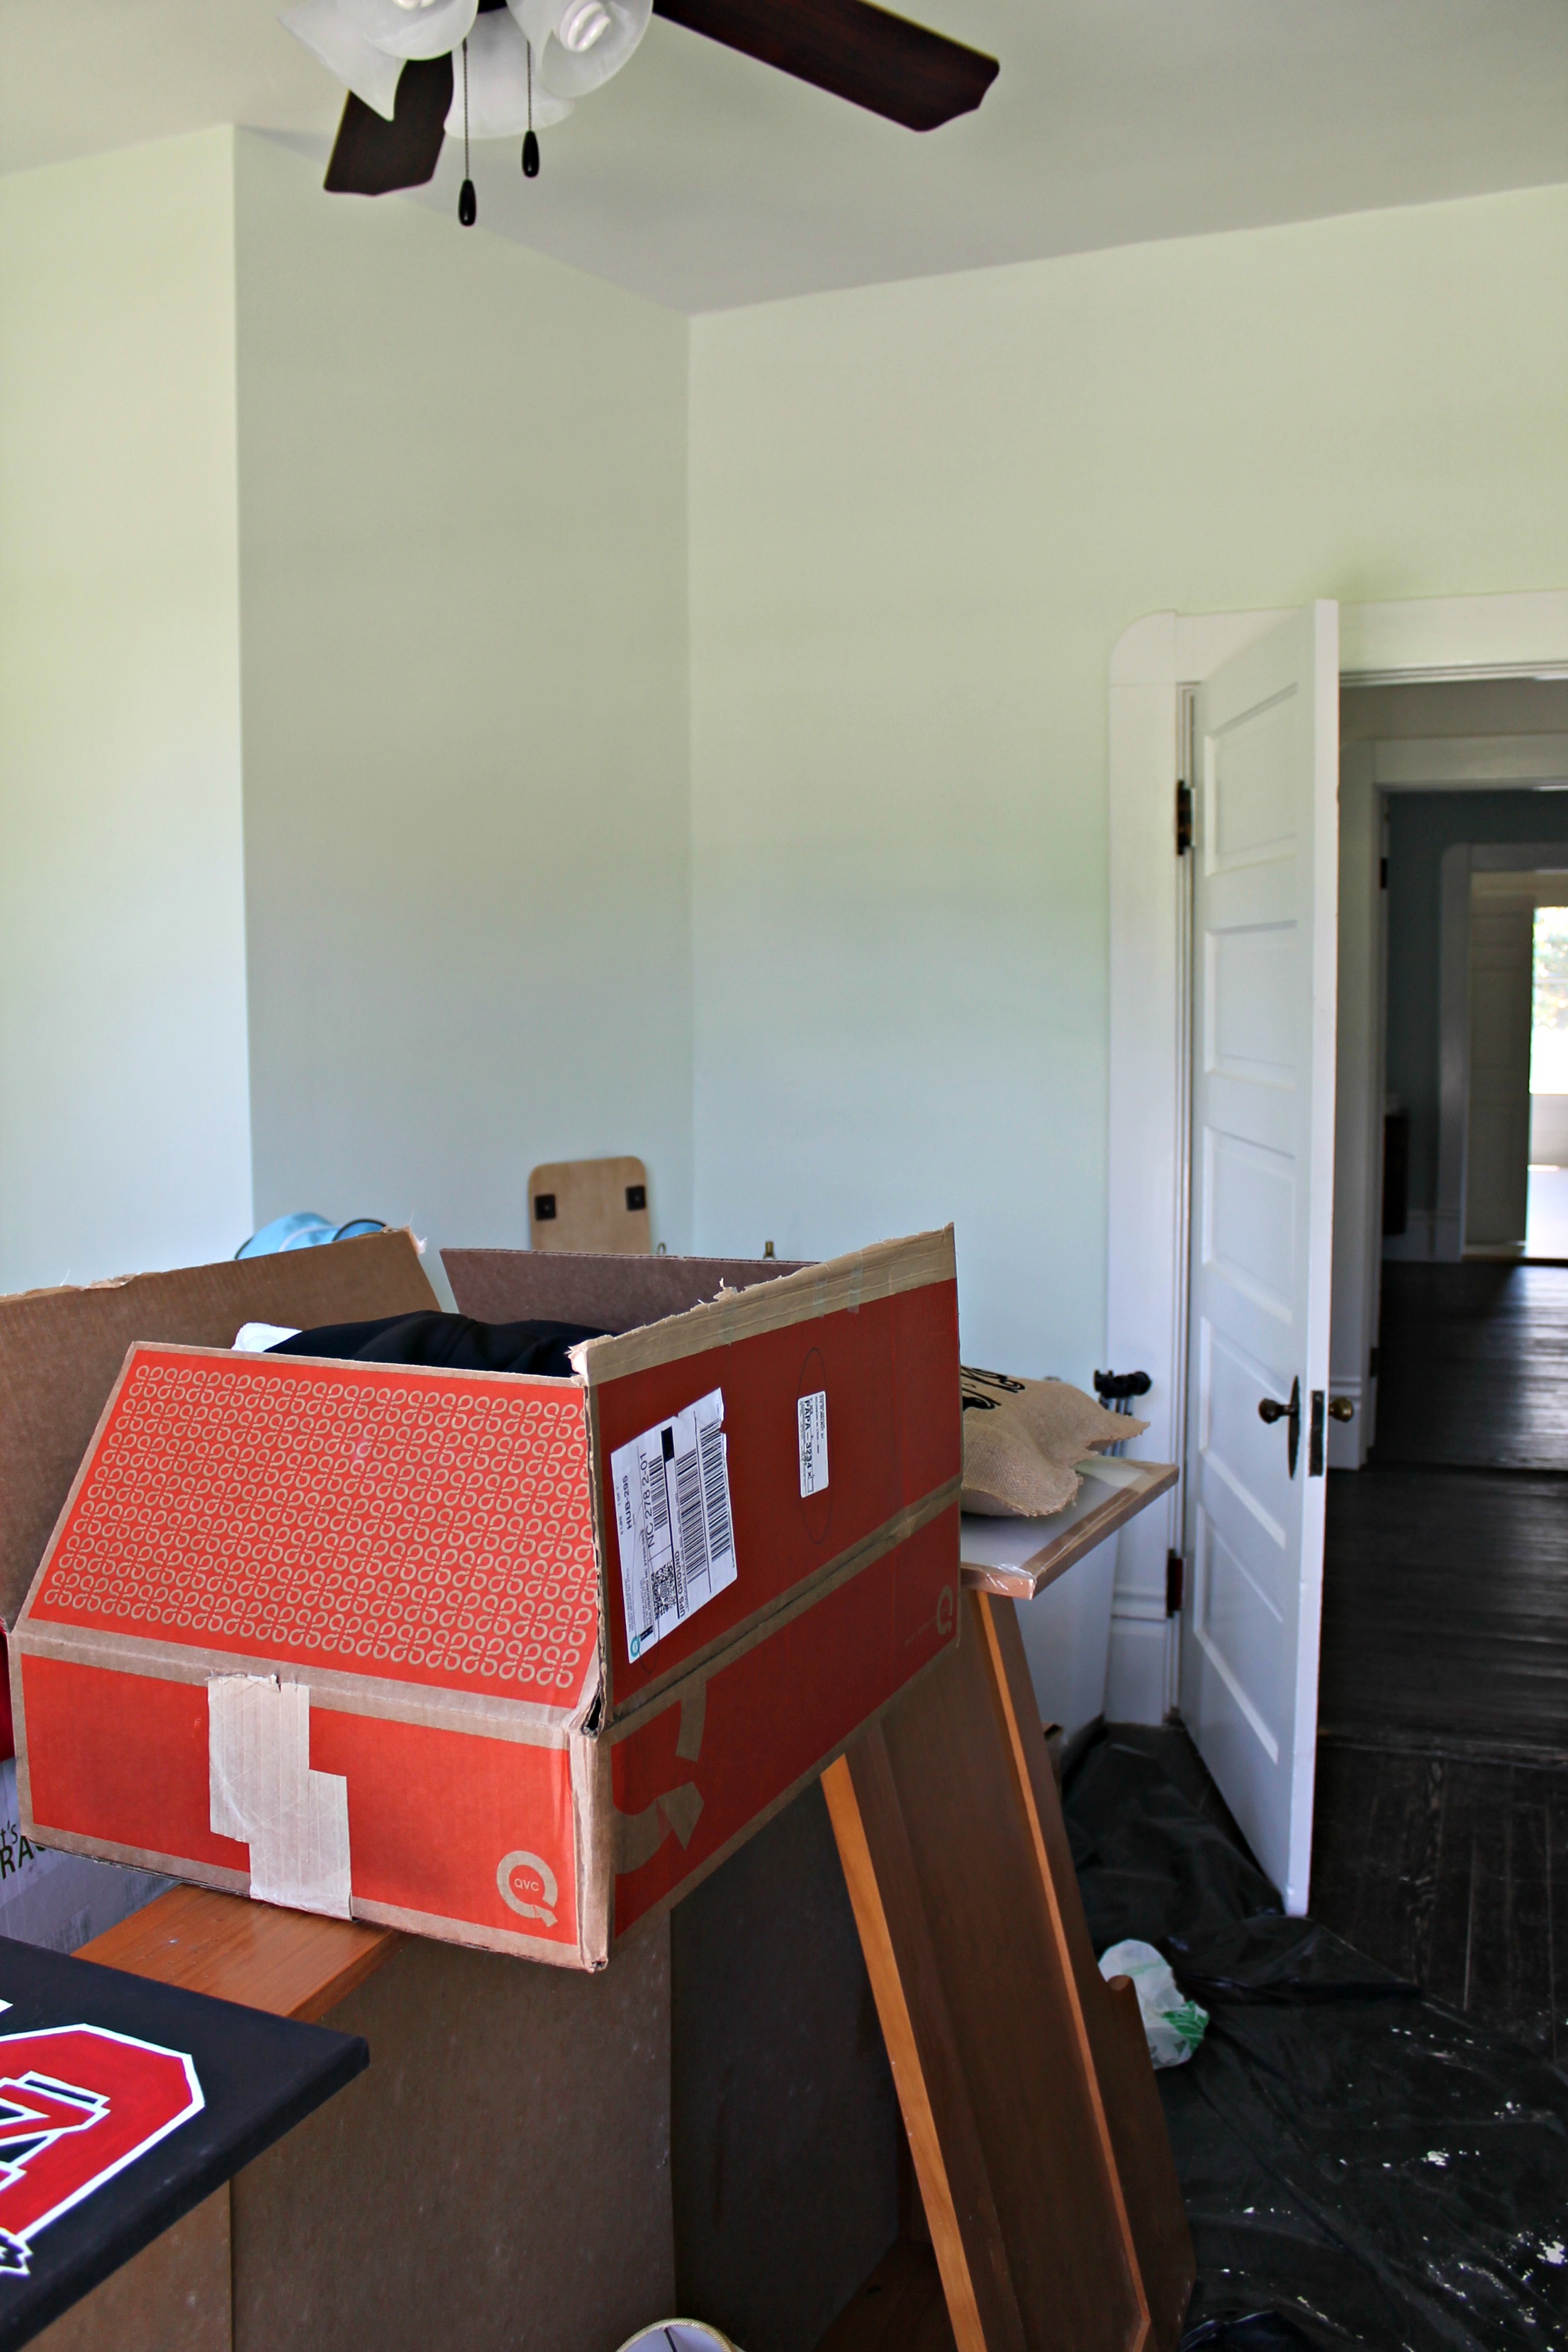
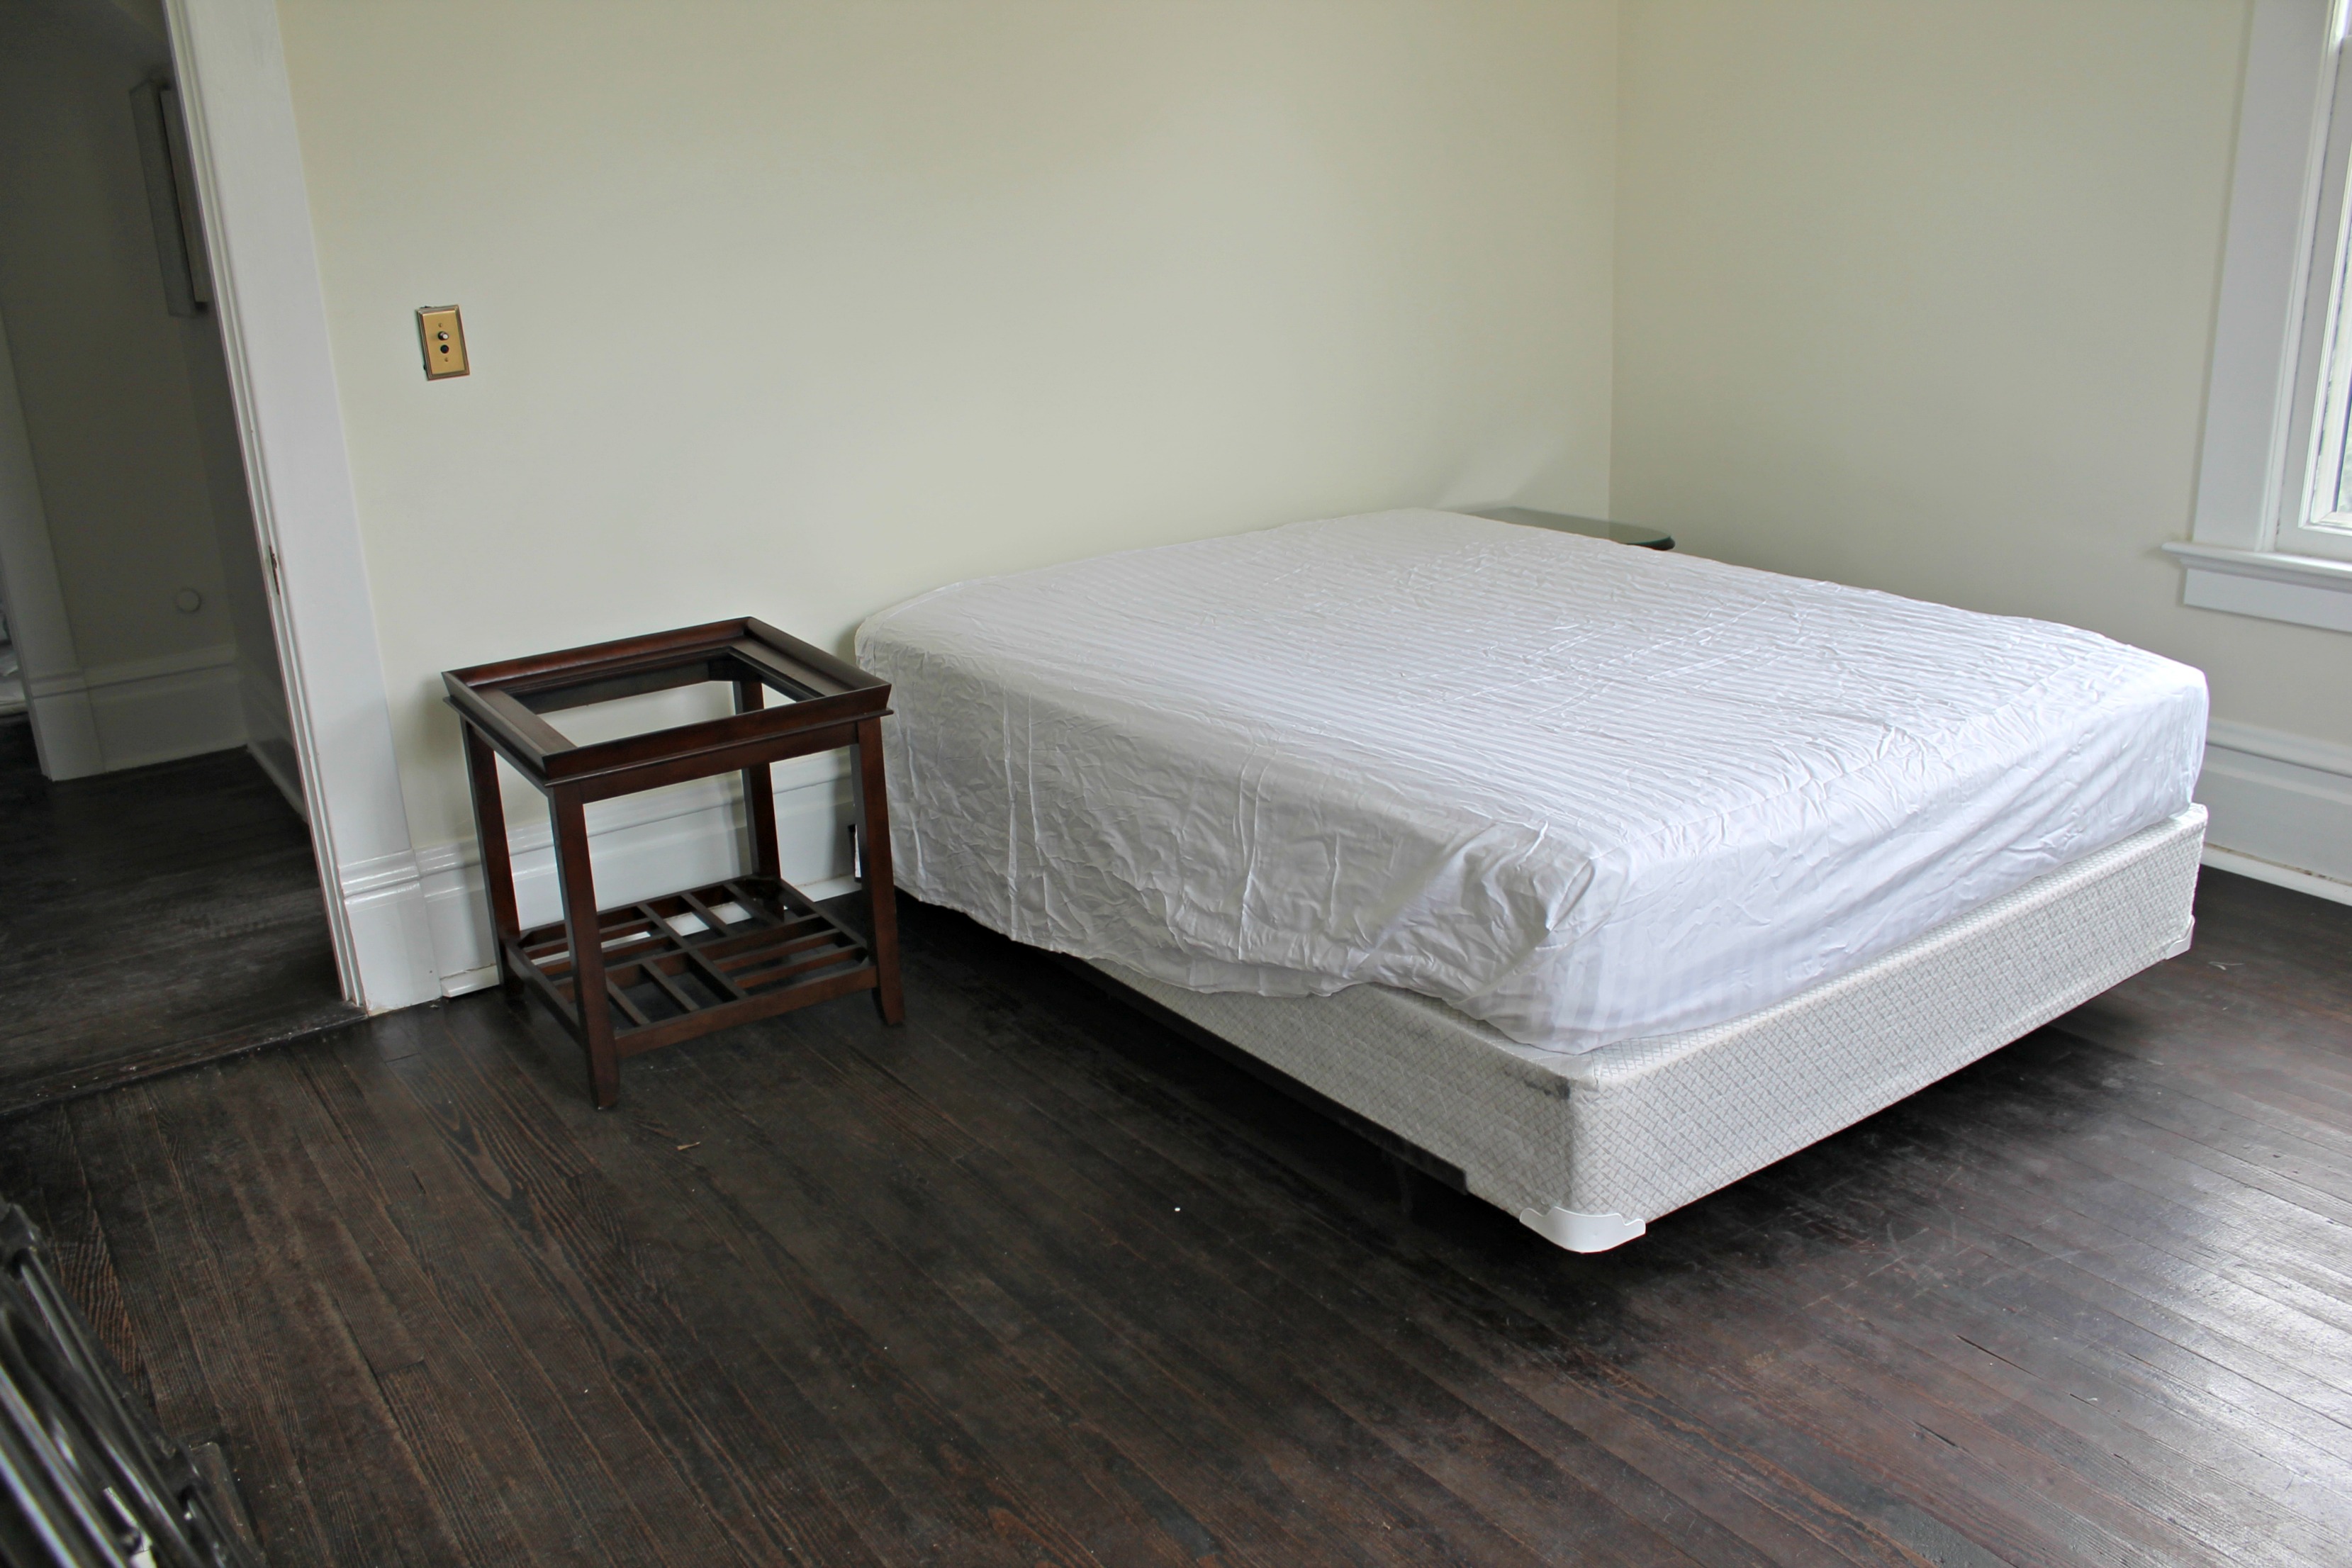
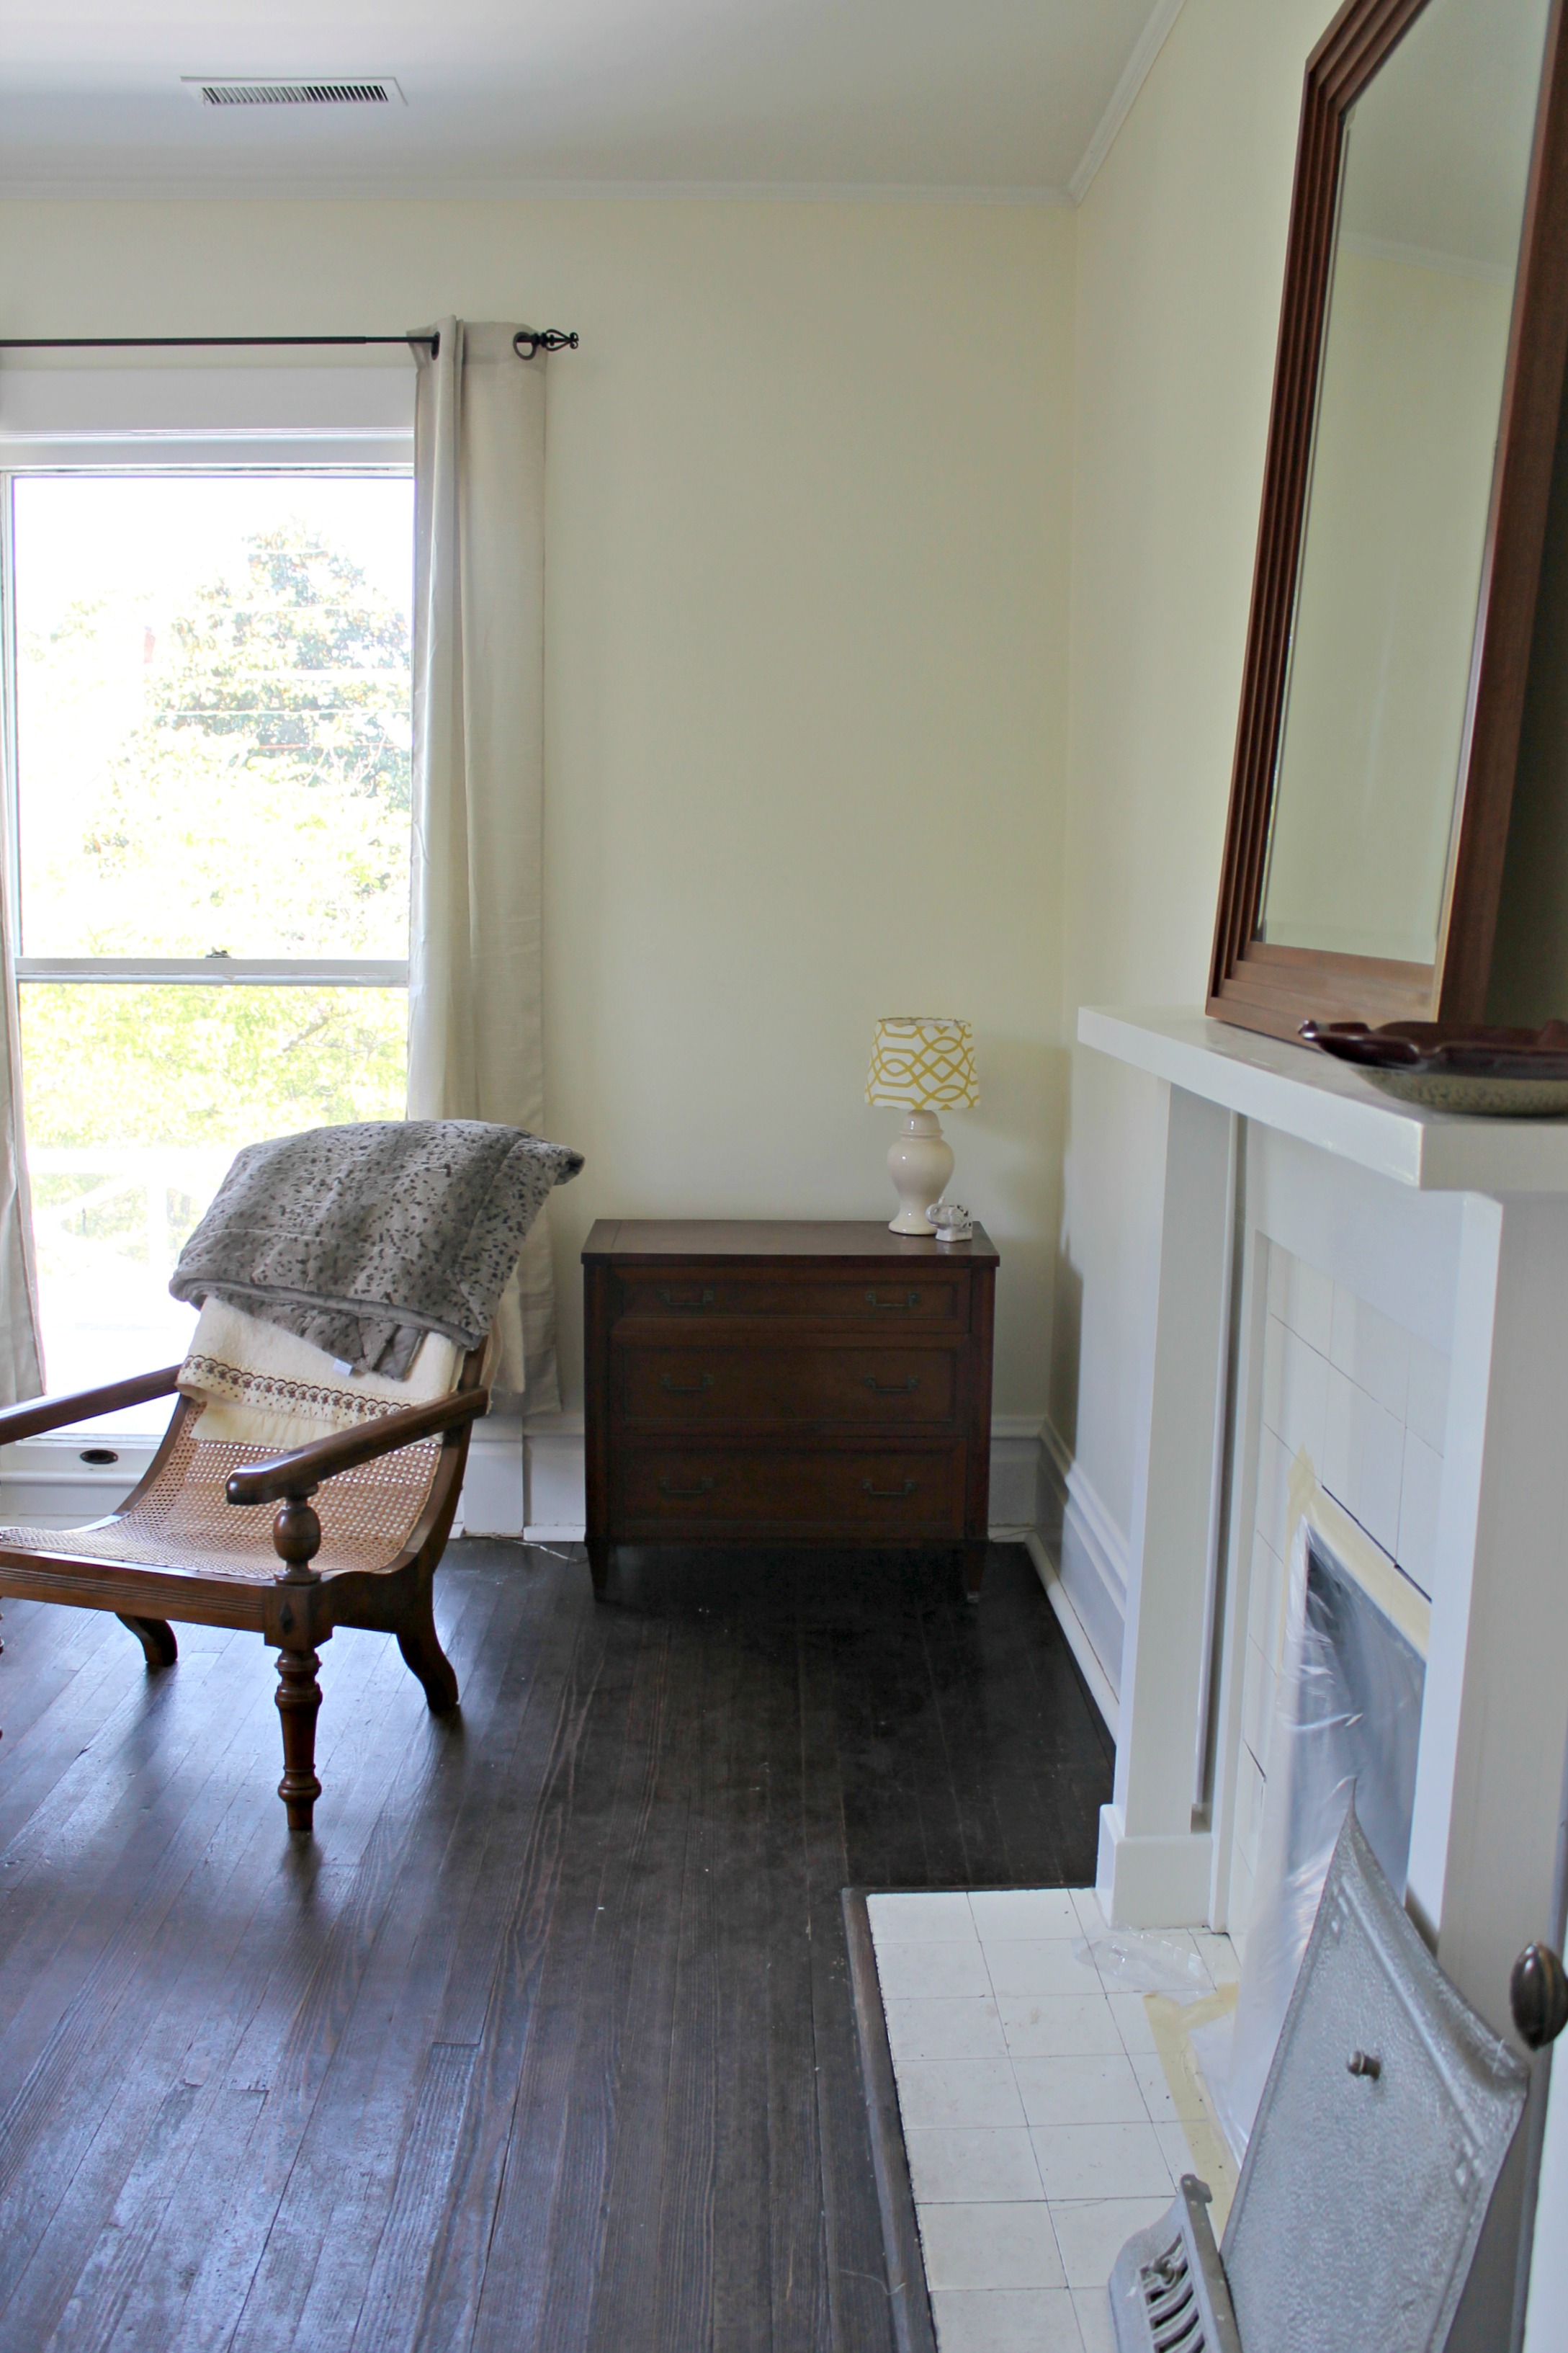
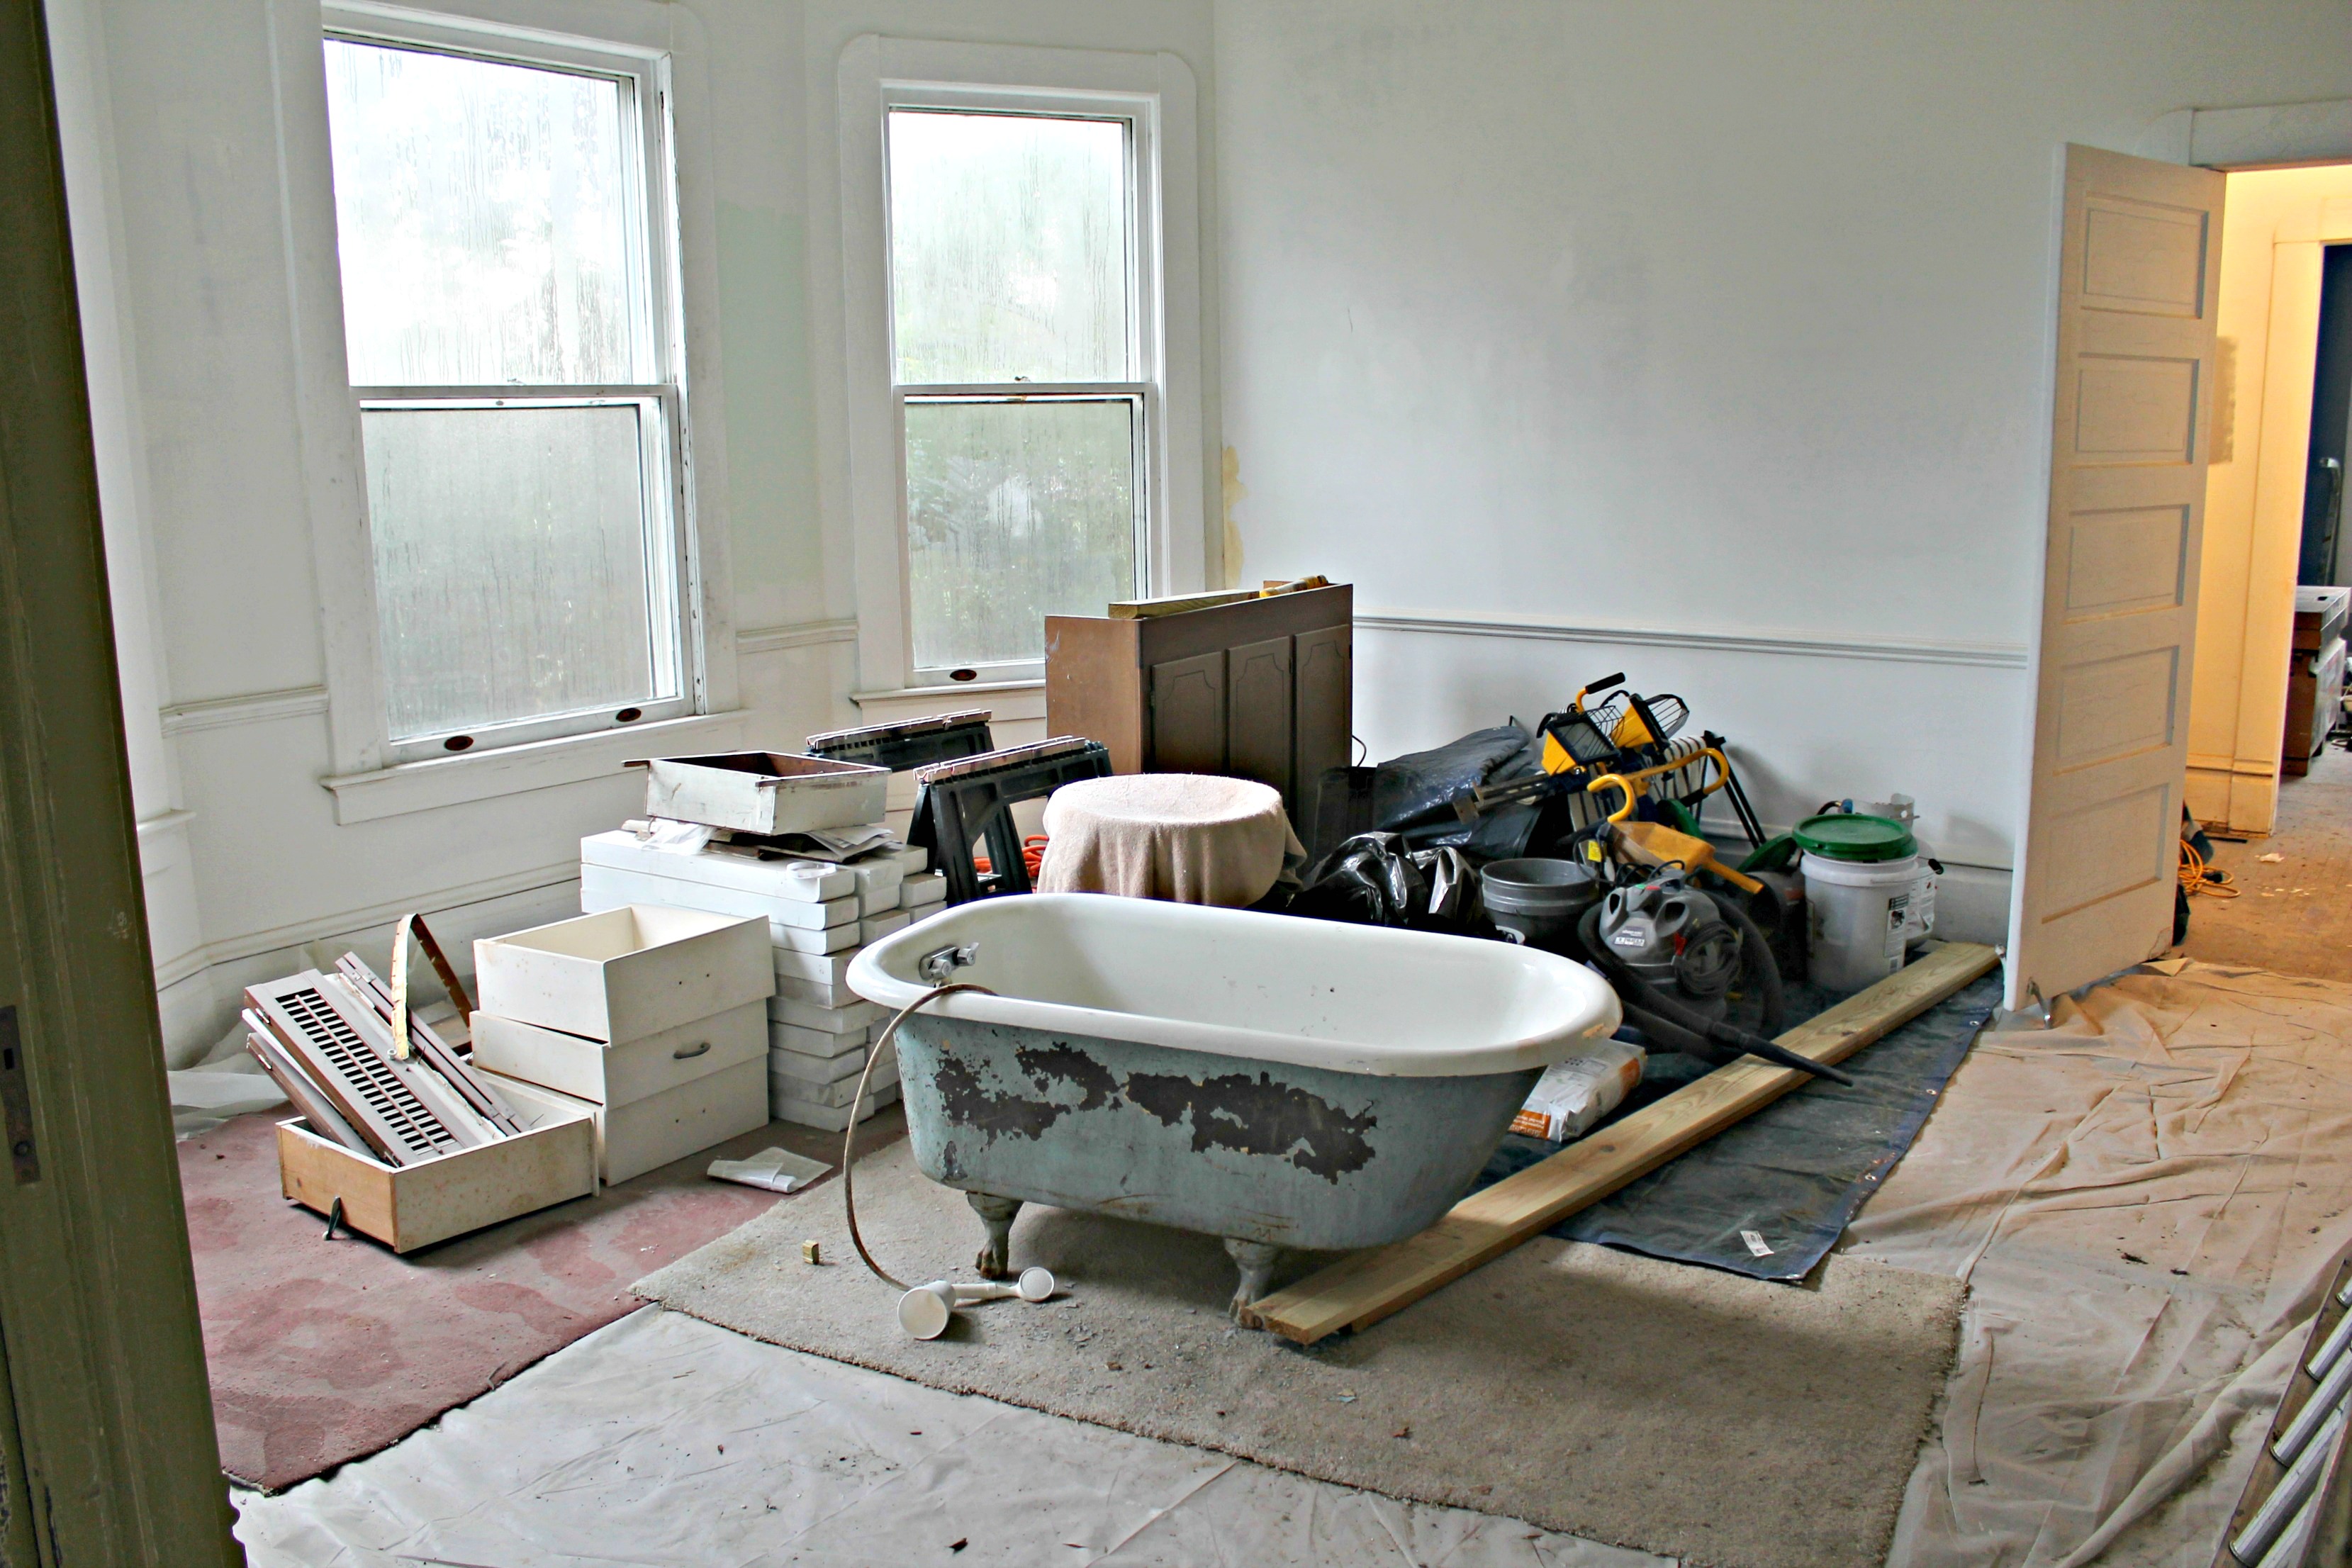
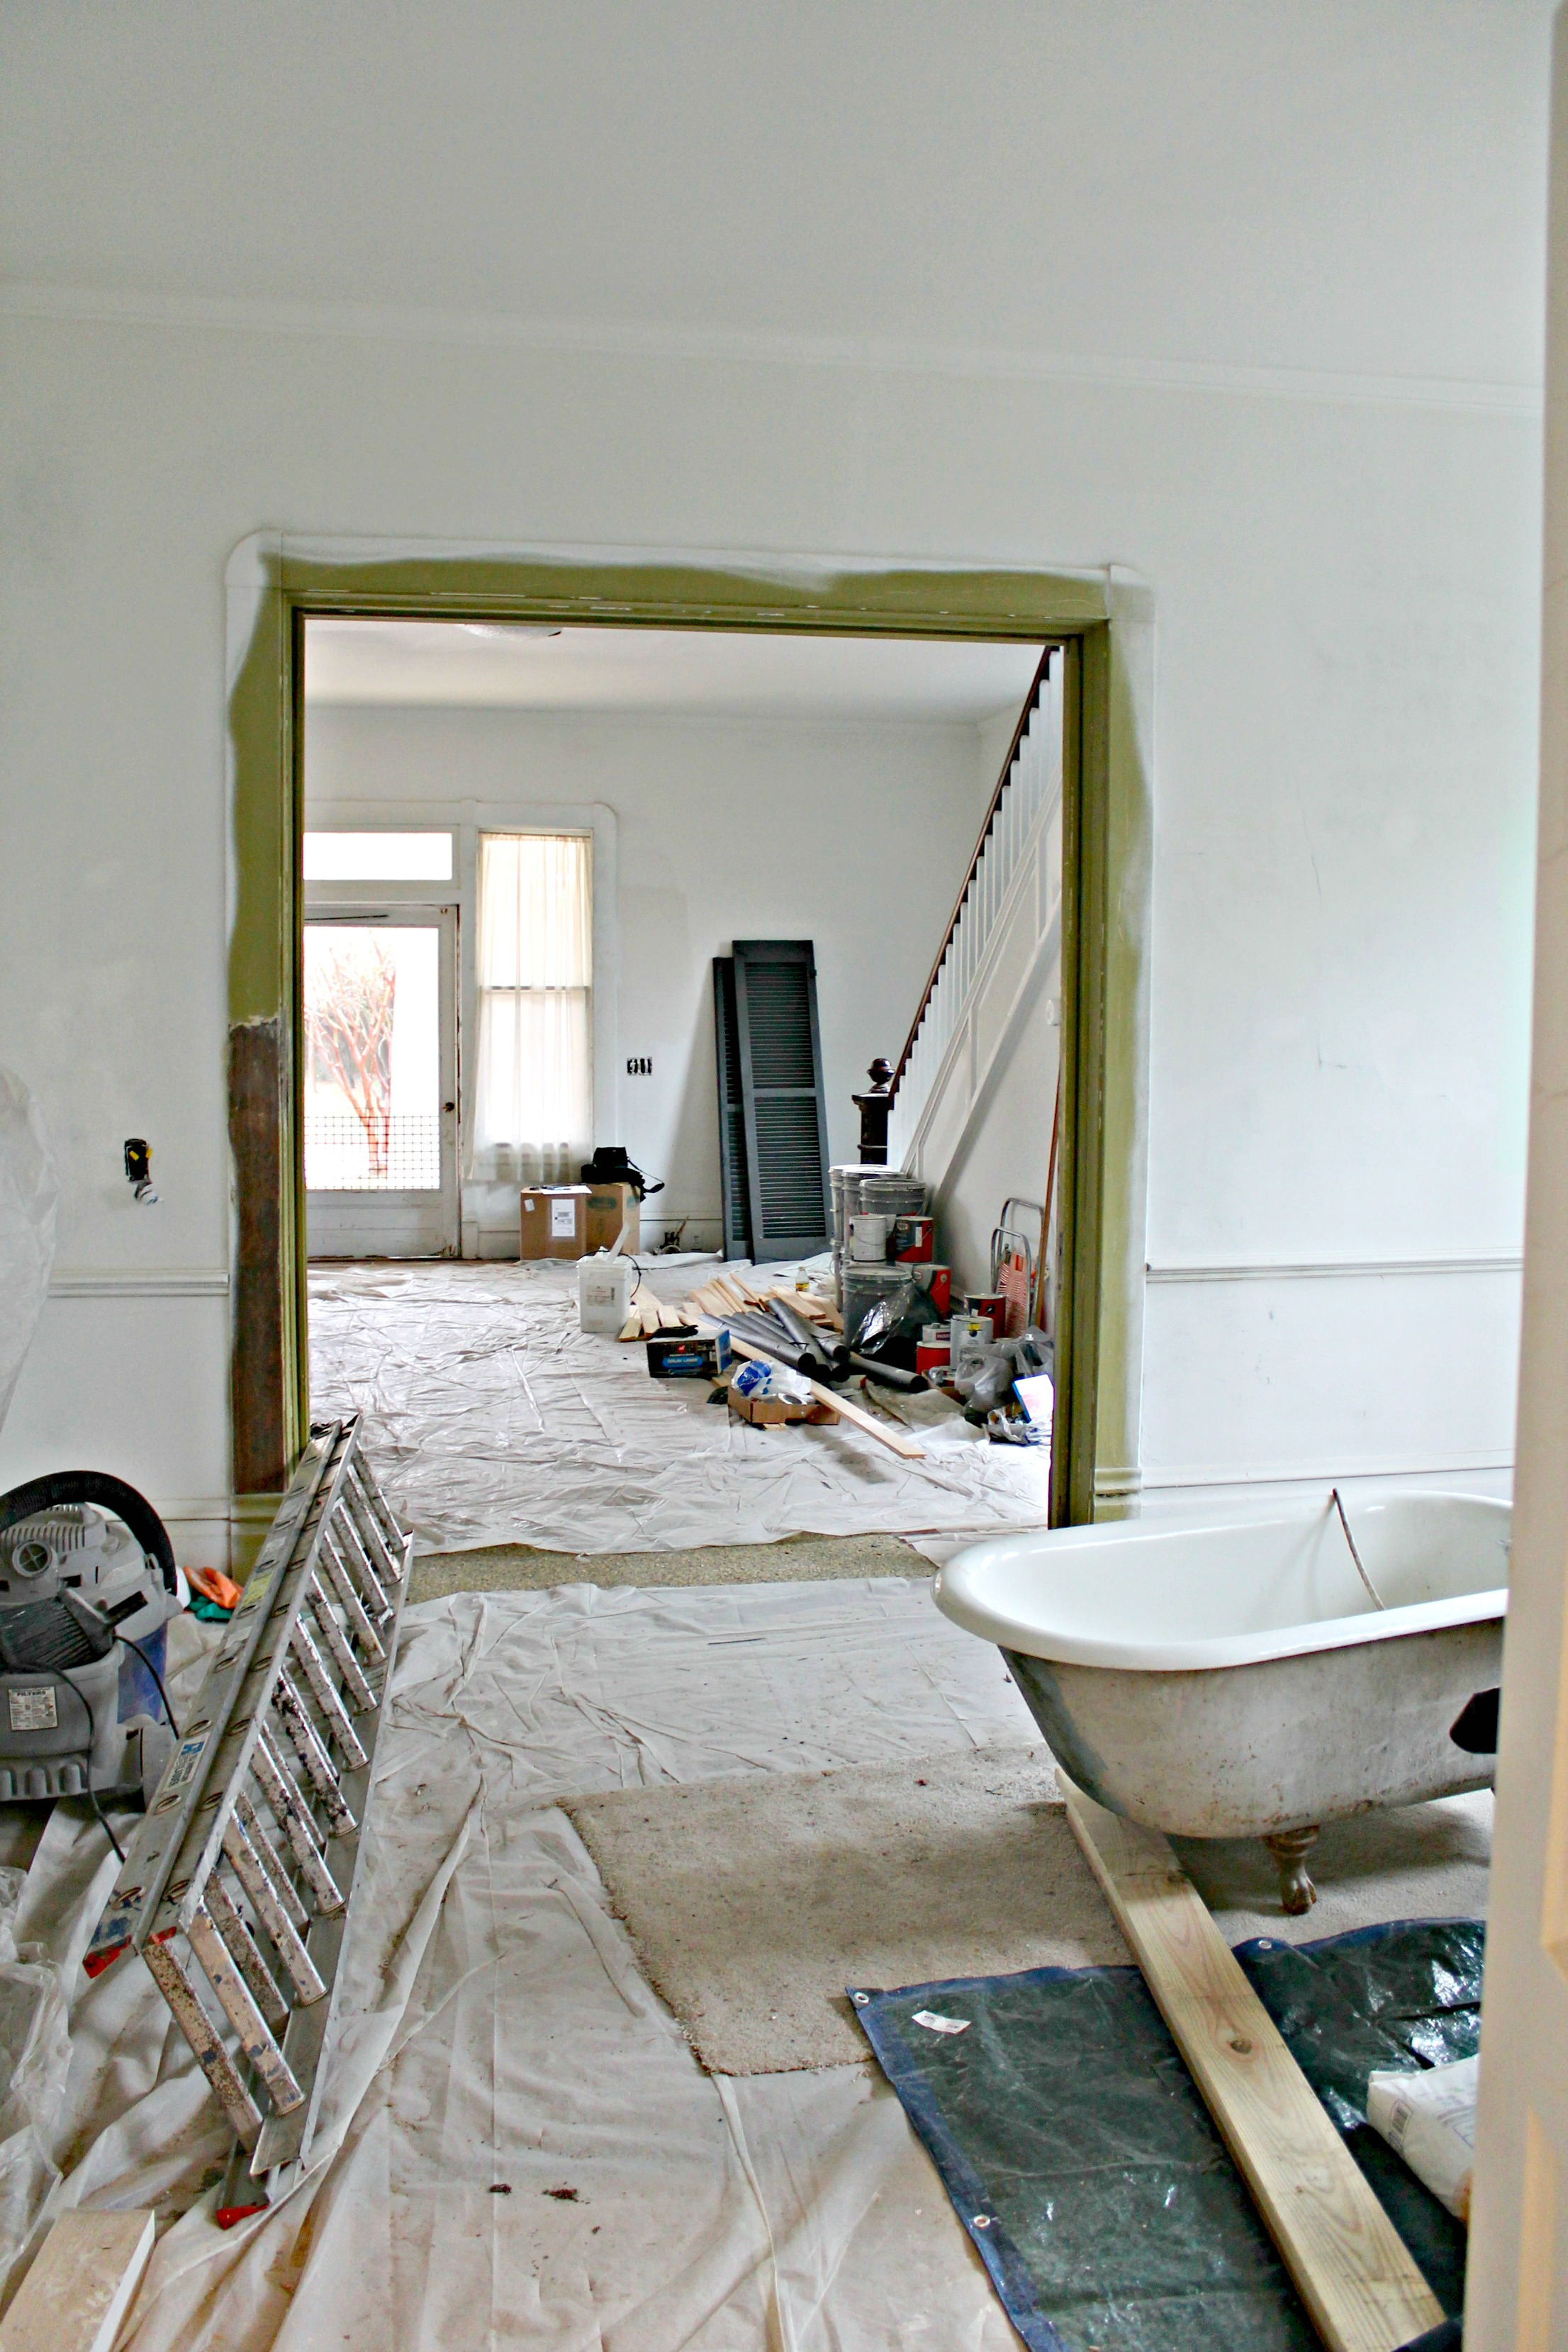
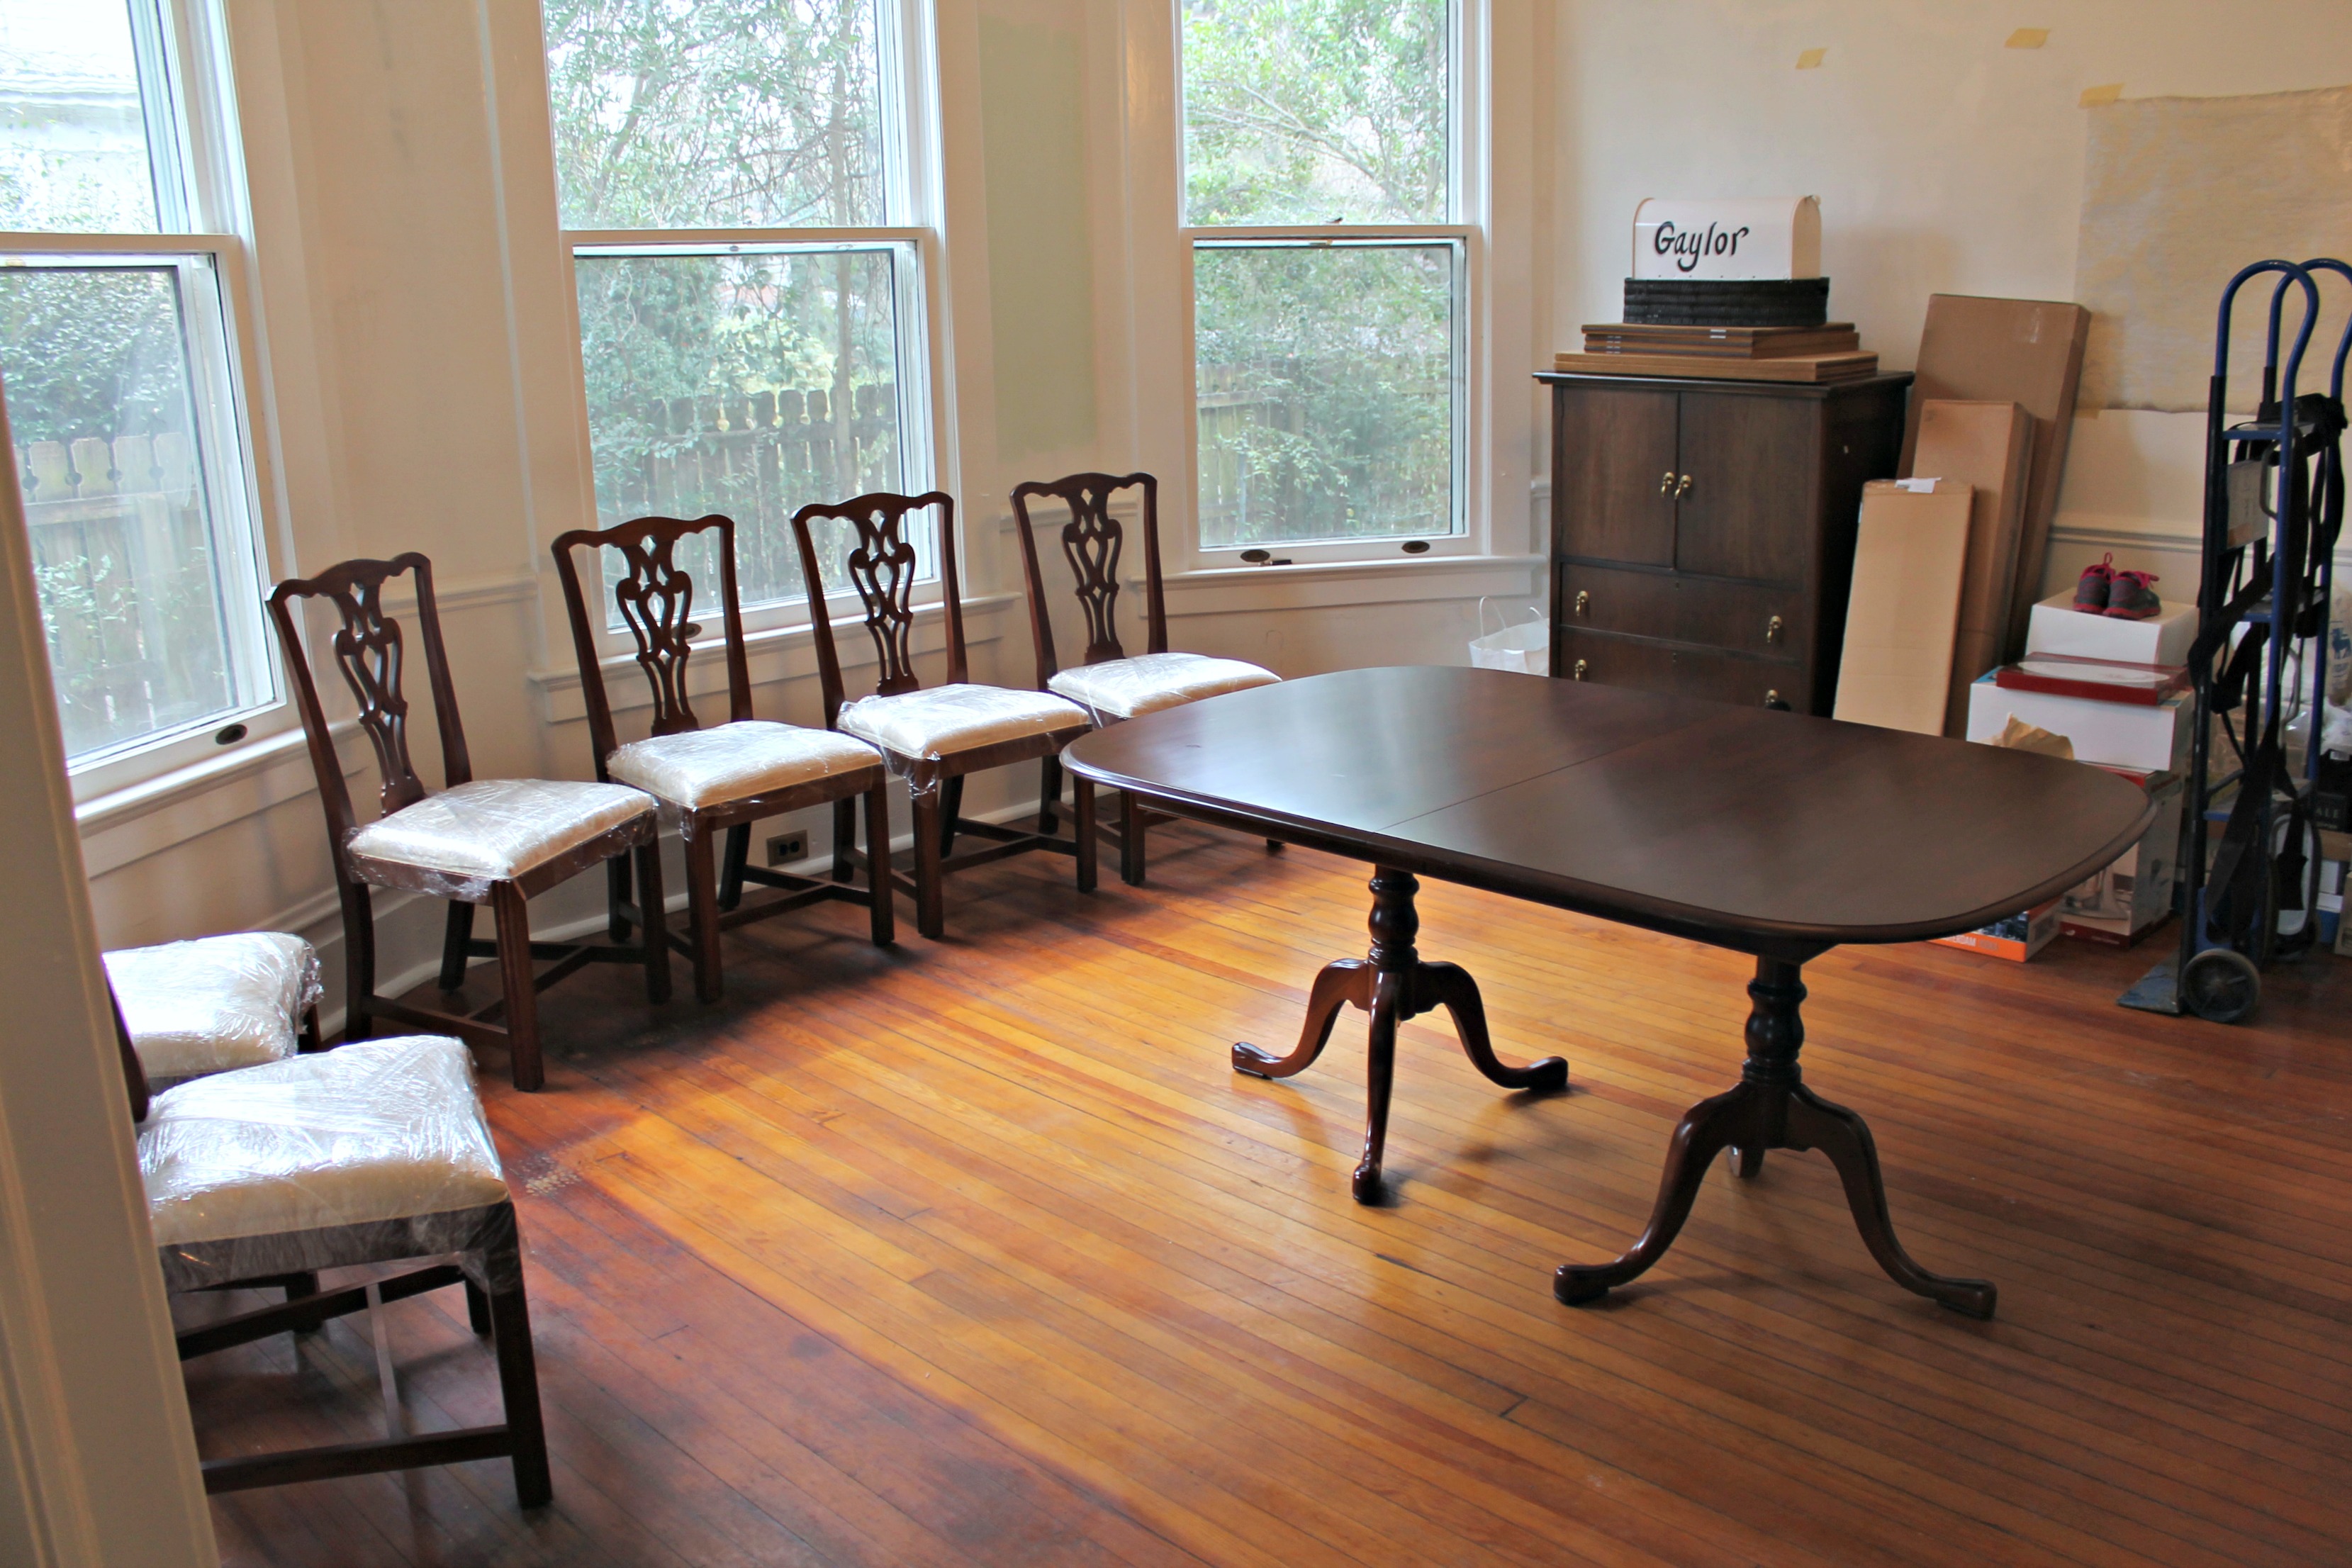
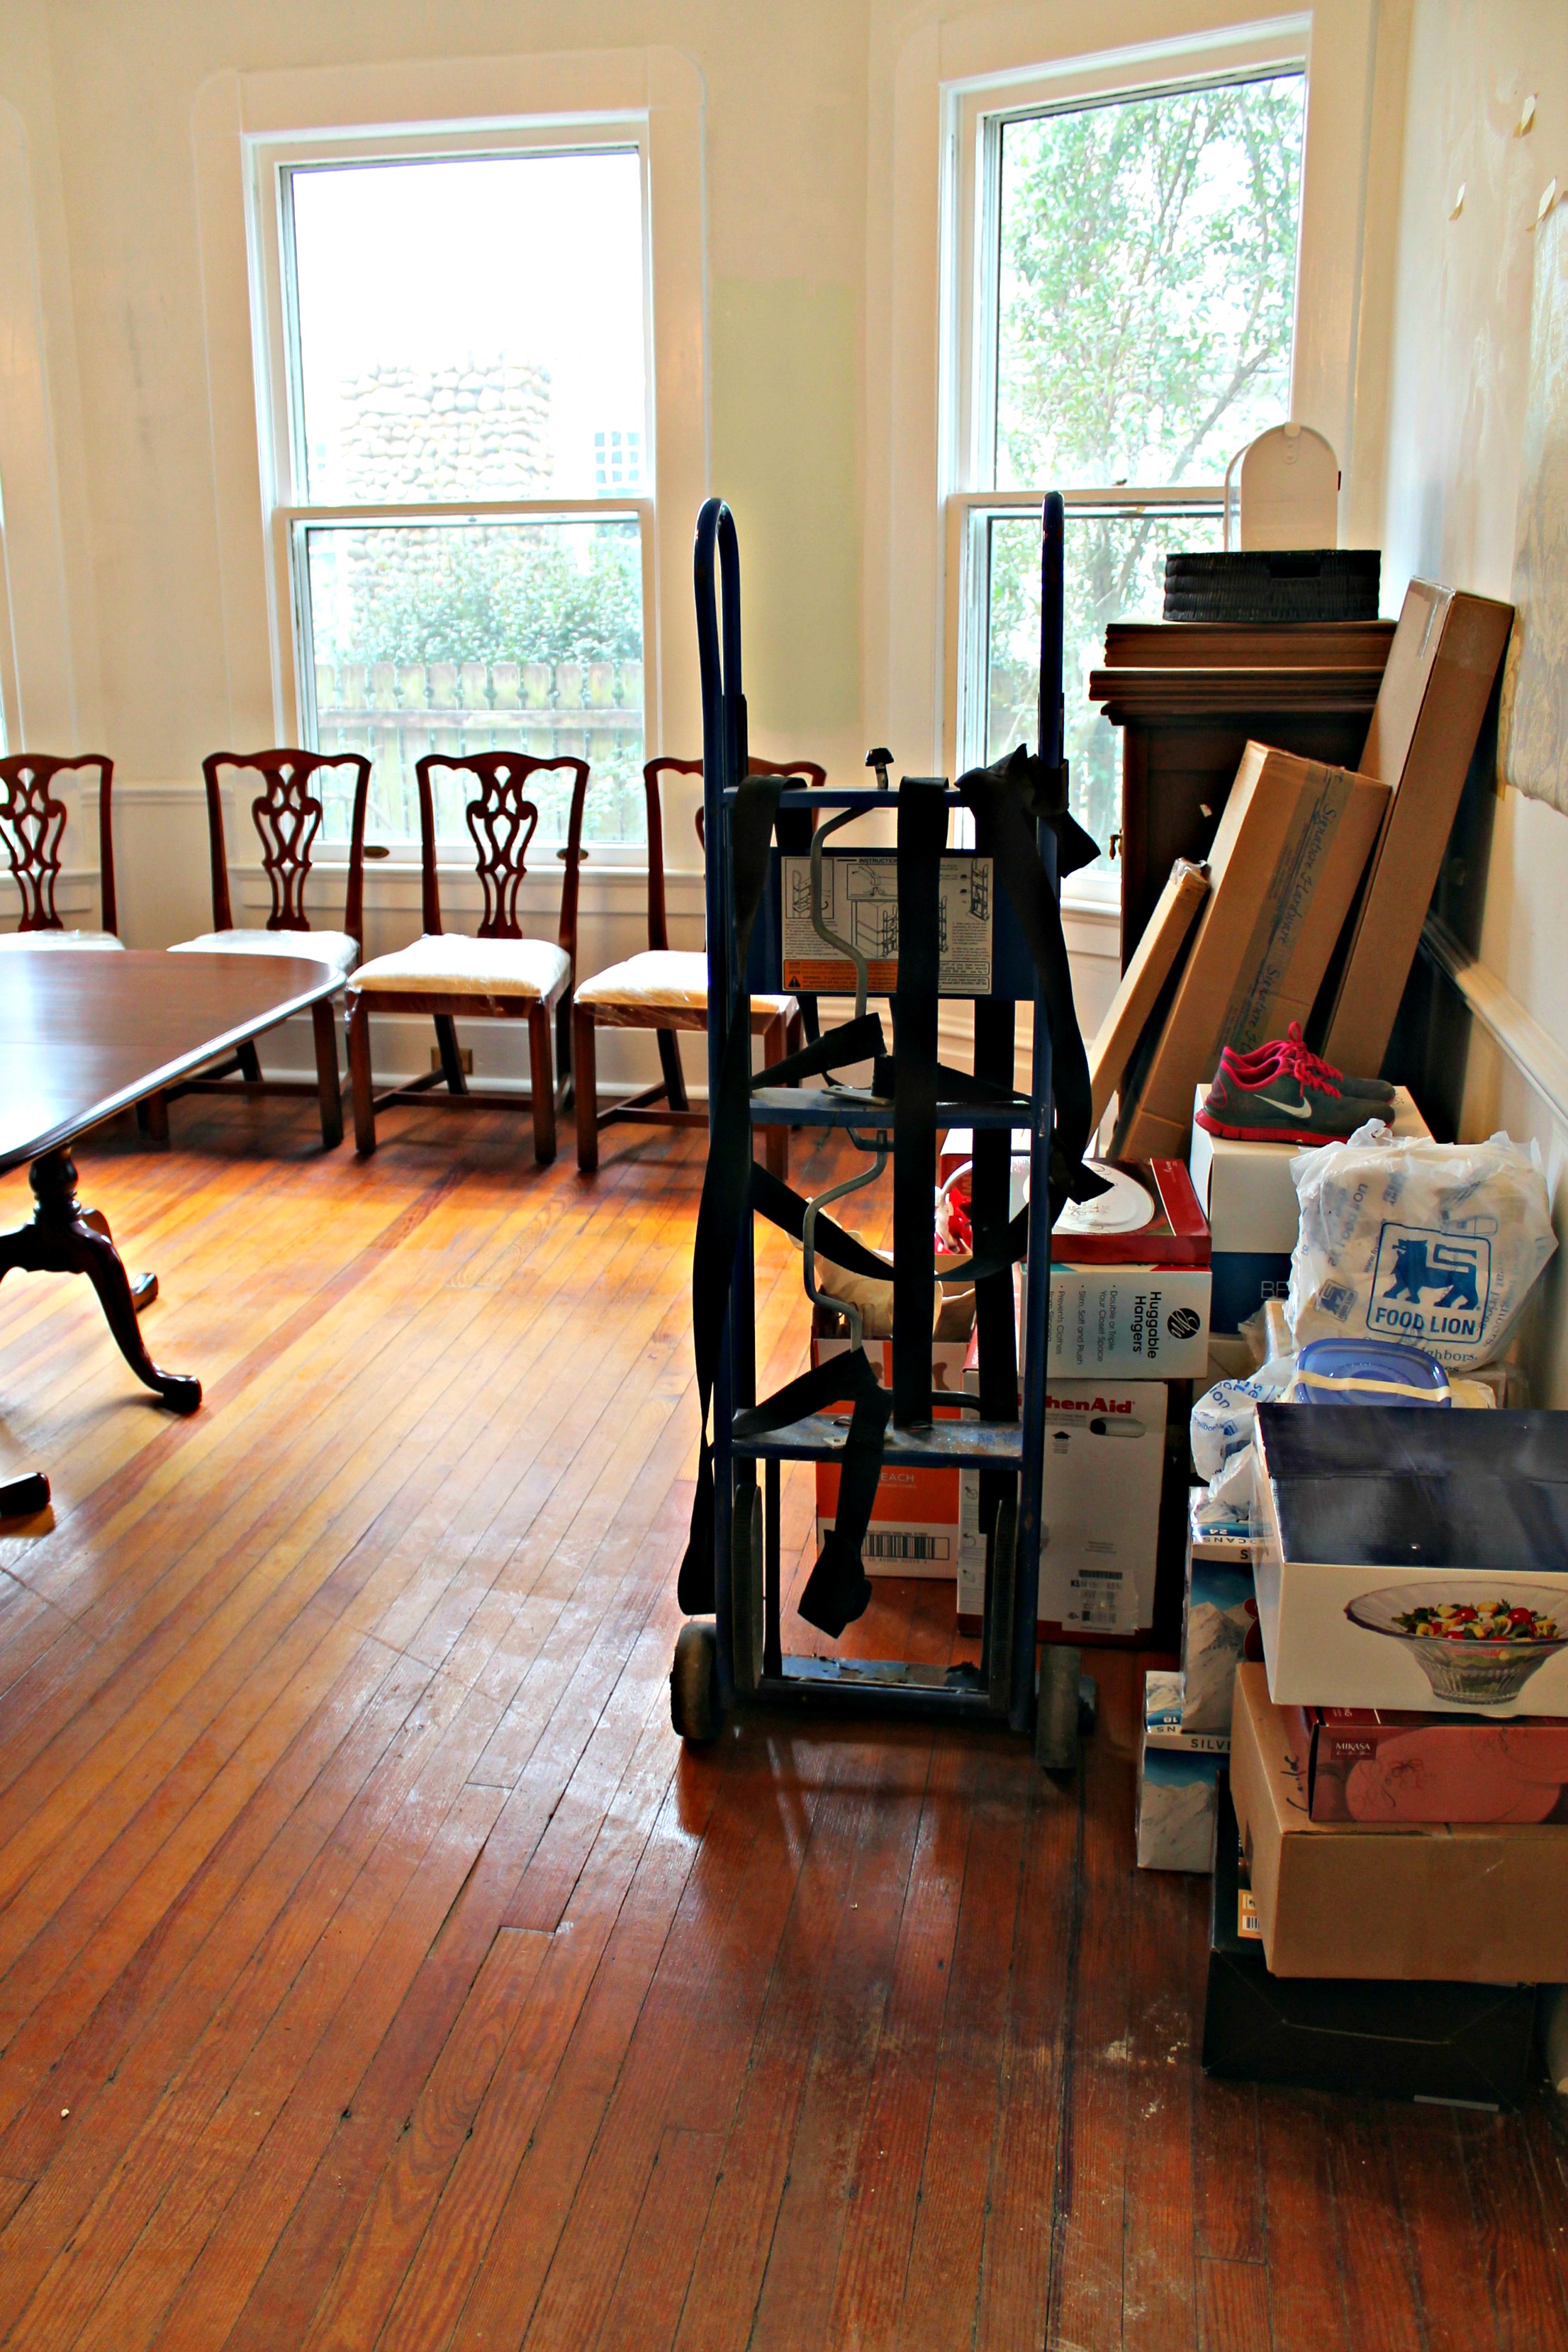
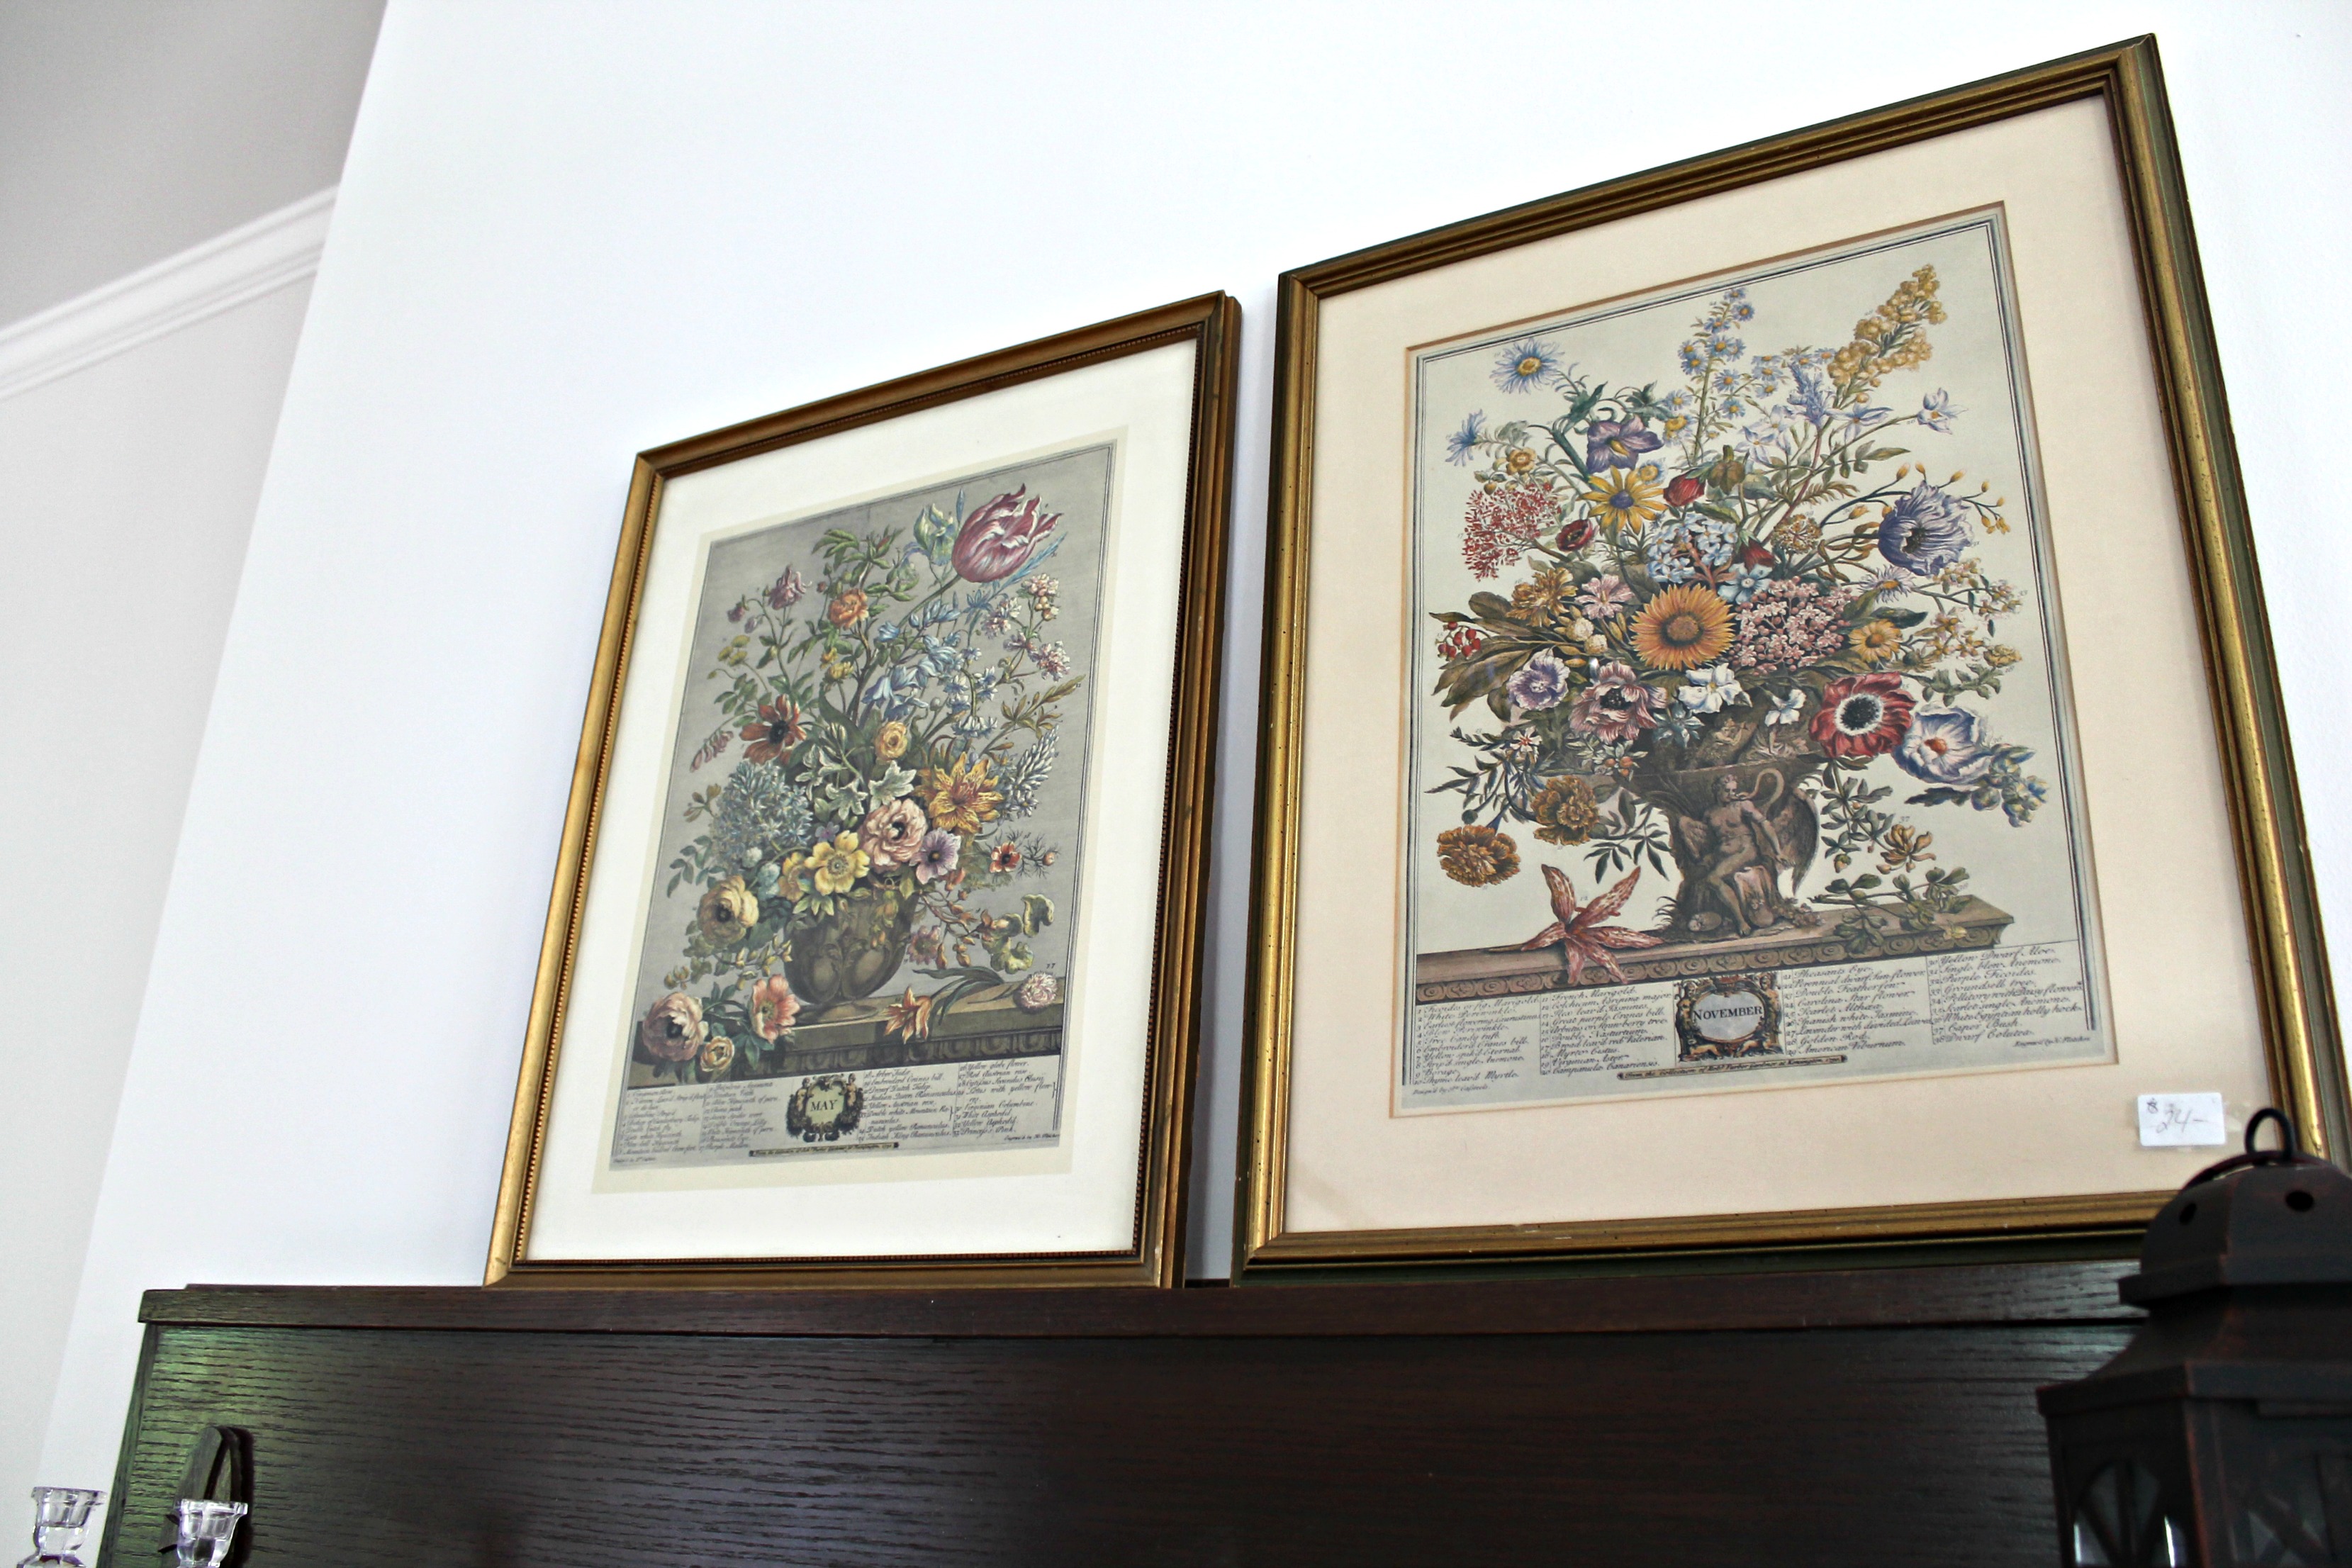
This room is in serious need of some decorating. Right now, it’s kind of serving as a catch-all for furniture and accents that we aren’t sure where to put yet. You may have noticed the blue painter’s tape in the corner around the brass etagere…we are planning to move the piano into that space and the etagere into the formal living room. The black dresser is just waiting to be moved upstairs, and we are in serious need of a rug. But those things will have to wait for now.
You can read more about our plans for the foyer here, and see my inspiration here.
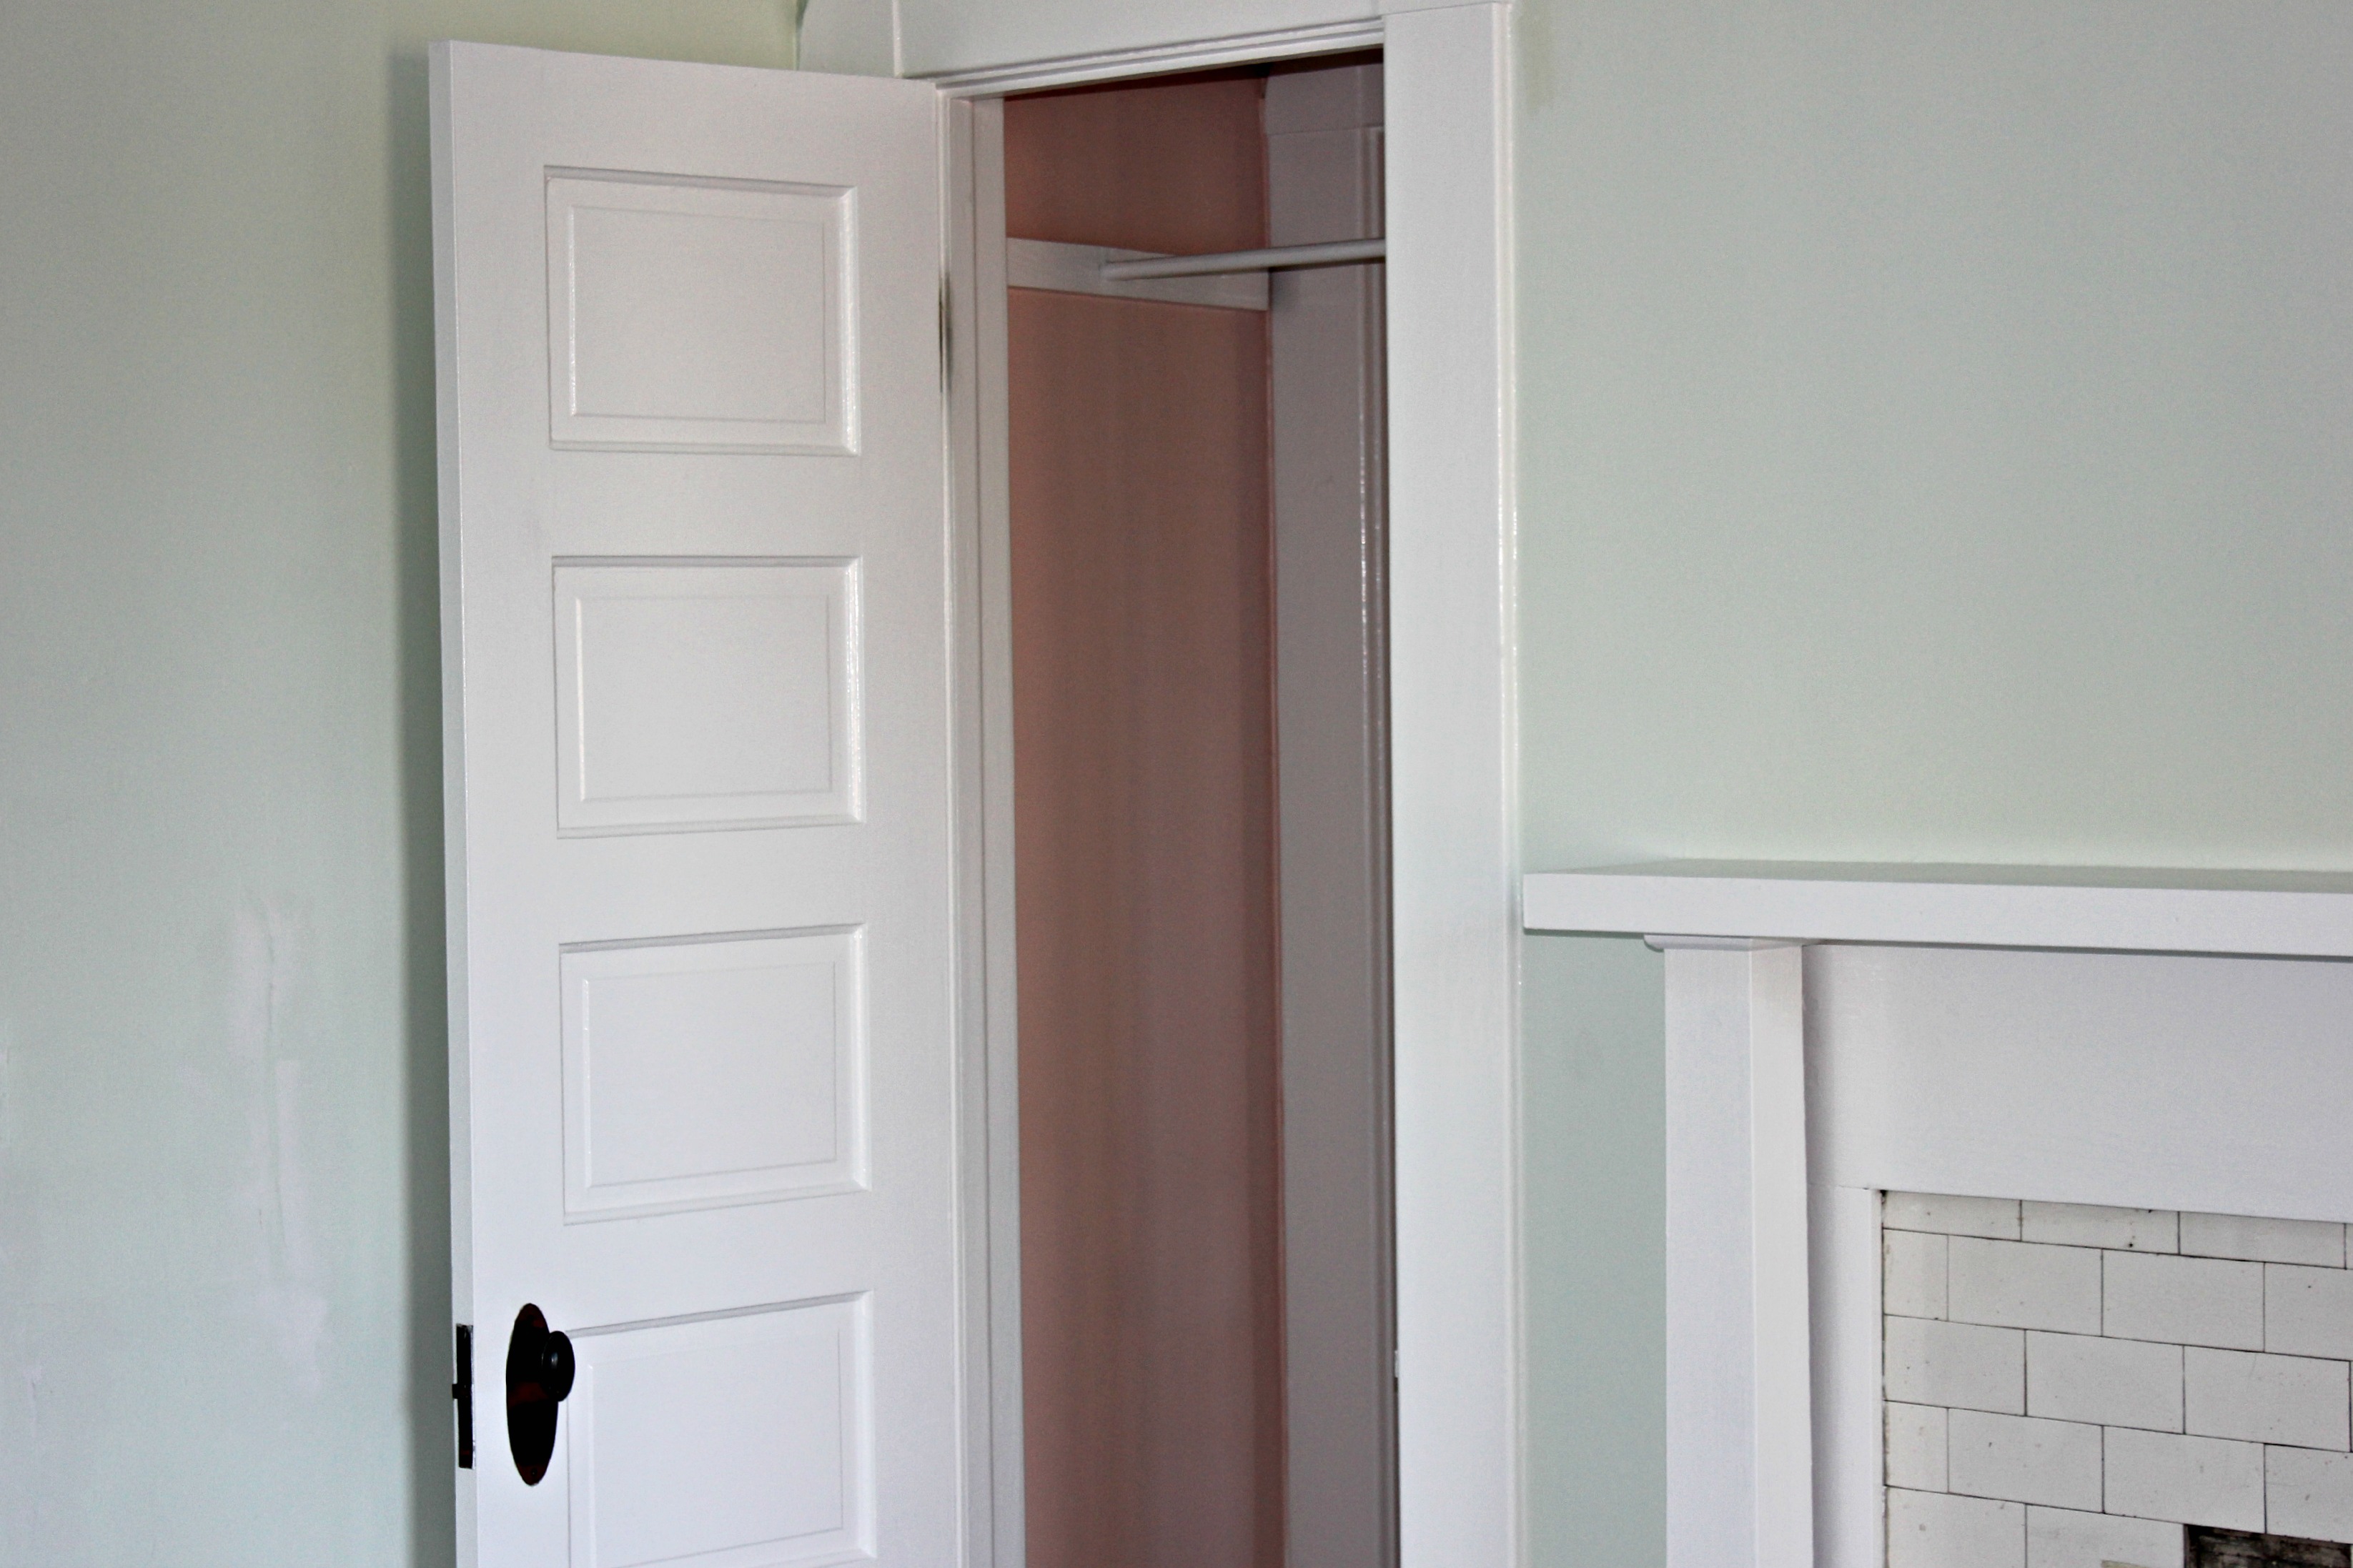
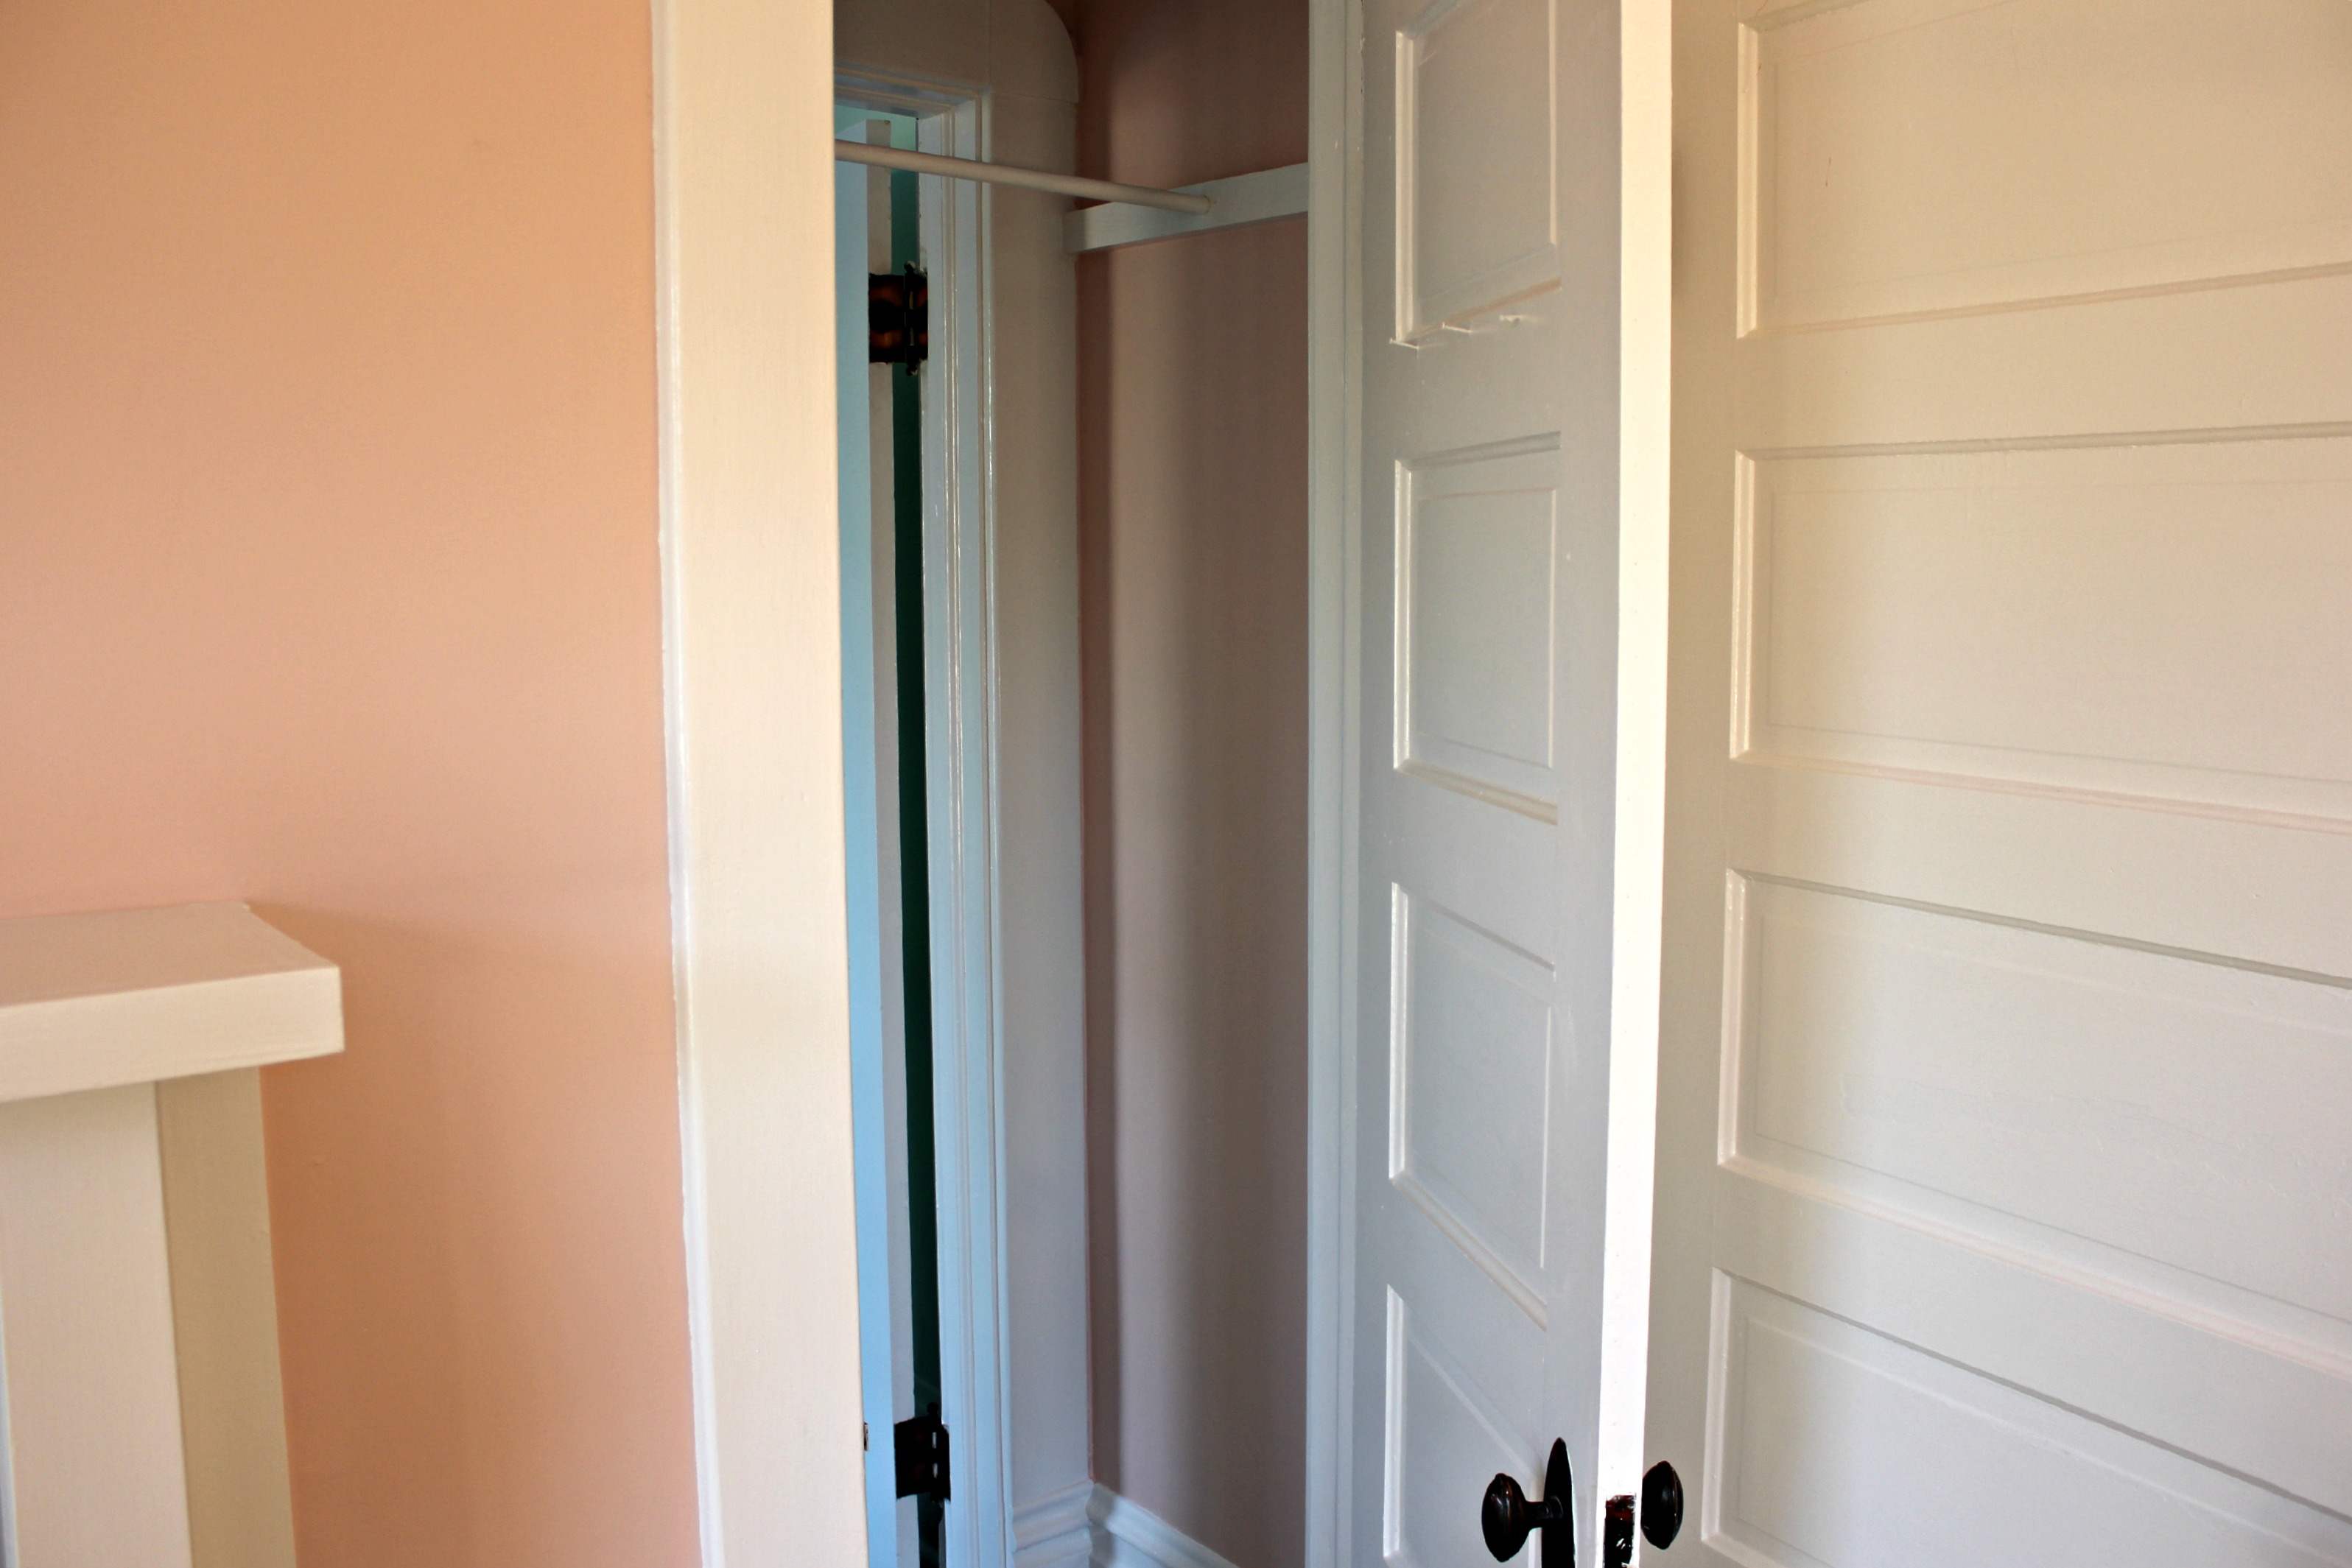
The figures…this room is 13′ x 21′ 6″ with 11′ ceilings. There are 4 windows, 1 fireplace, 1 exterior door, 5 interior doors, and 1 closet.
Be sure to check out these other Room by Room Recaps:
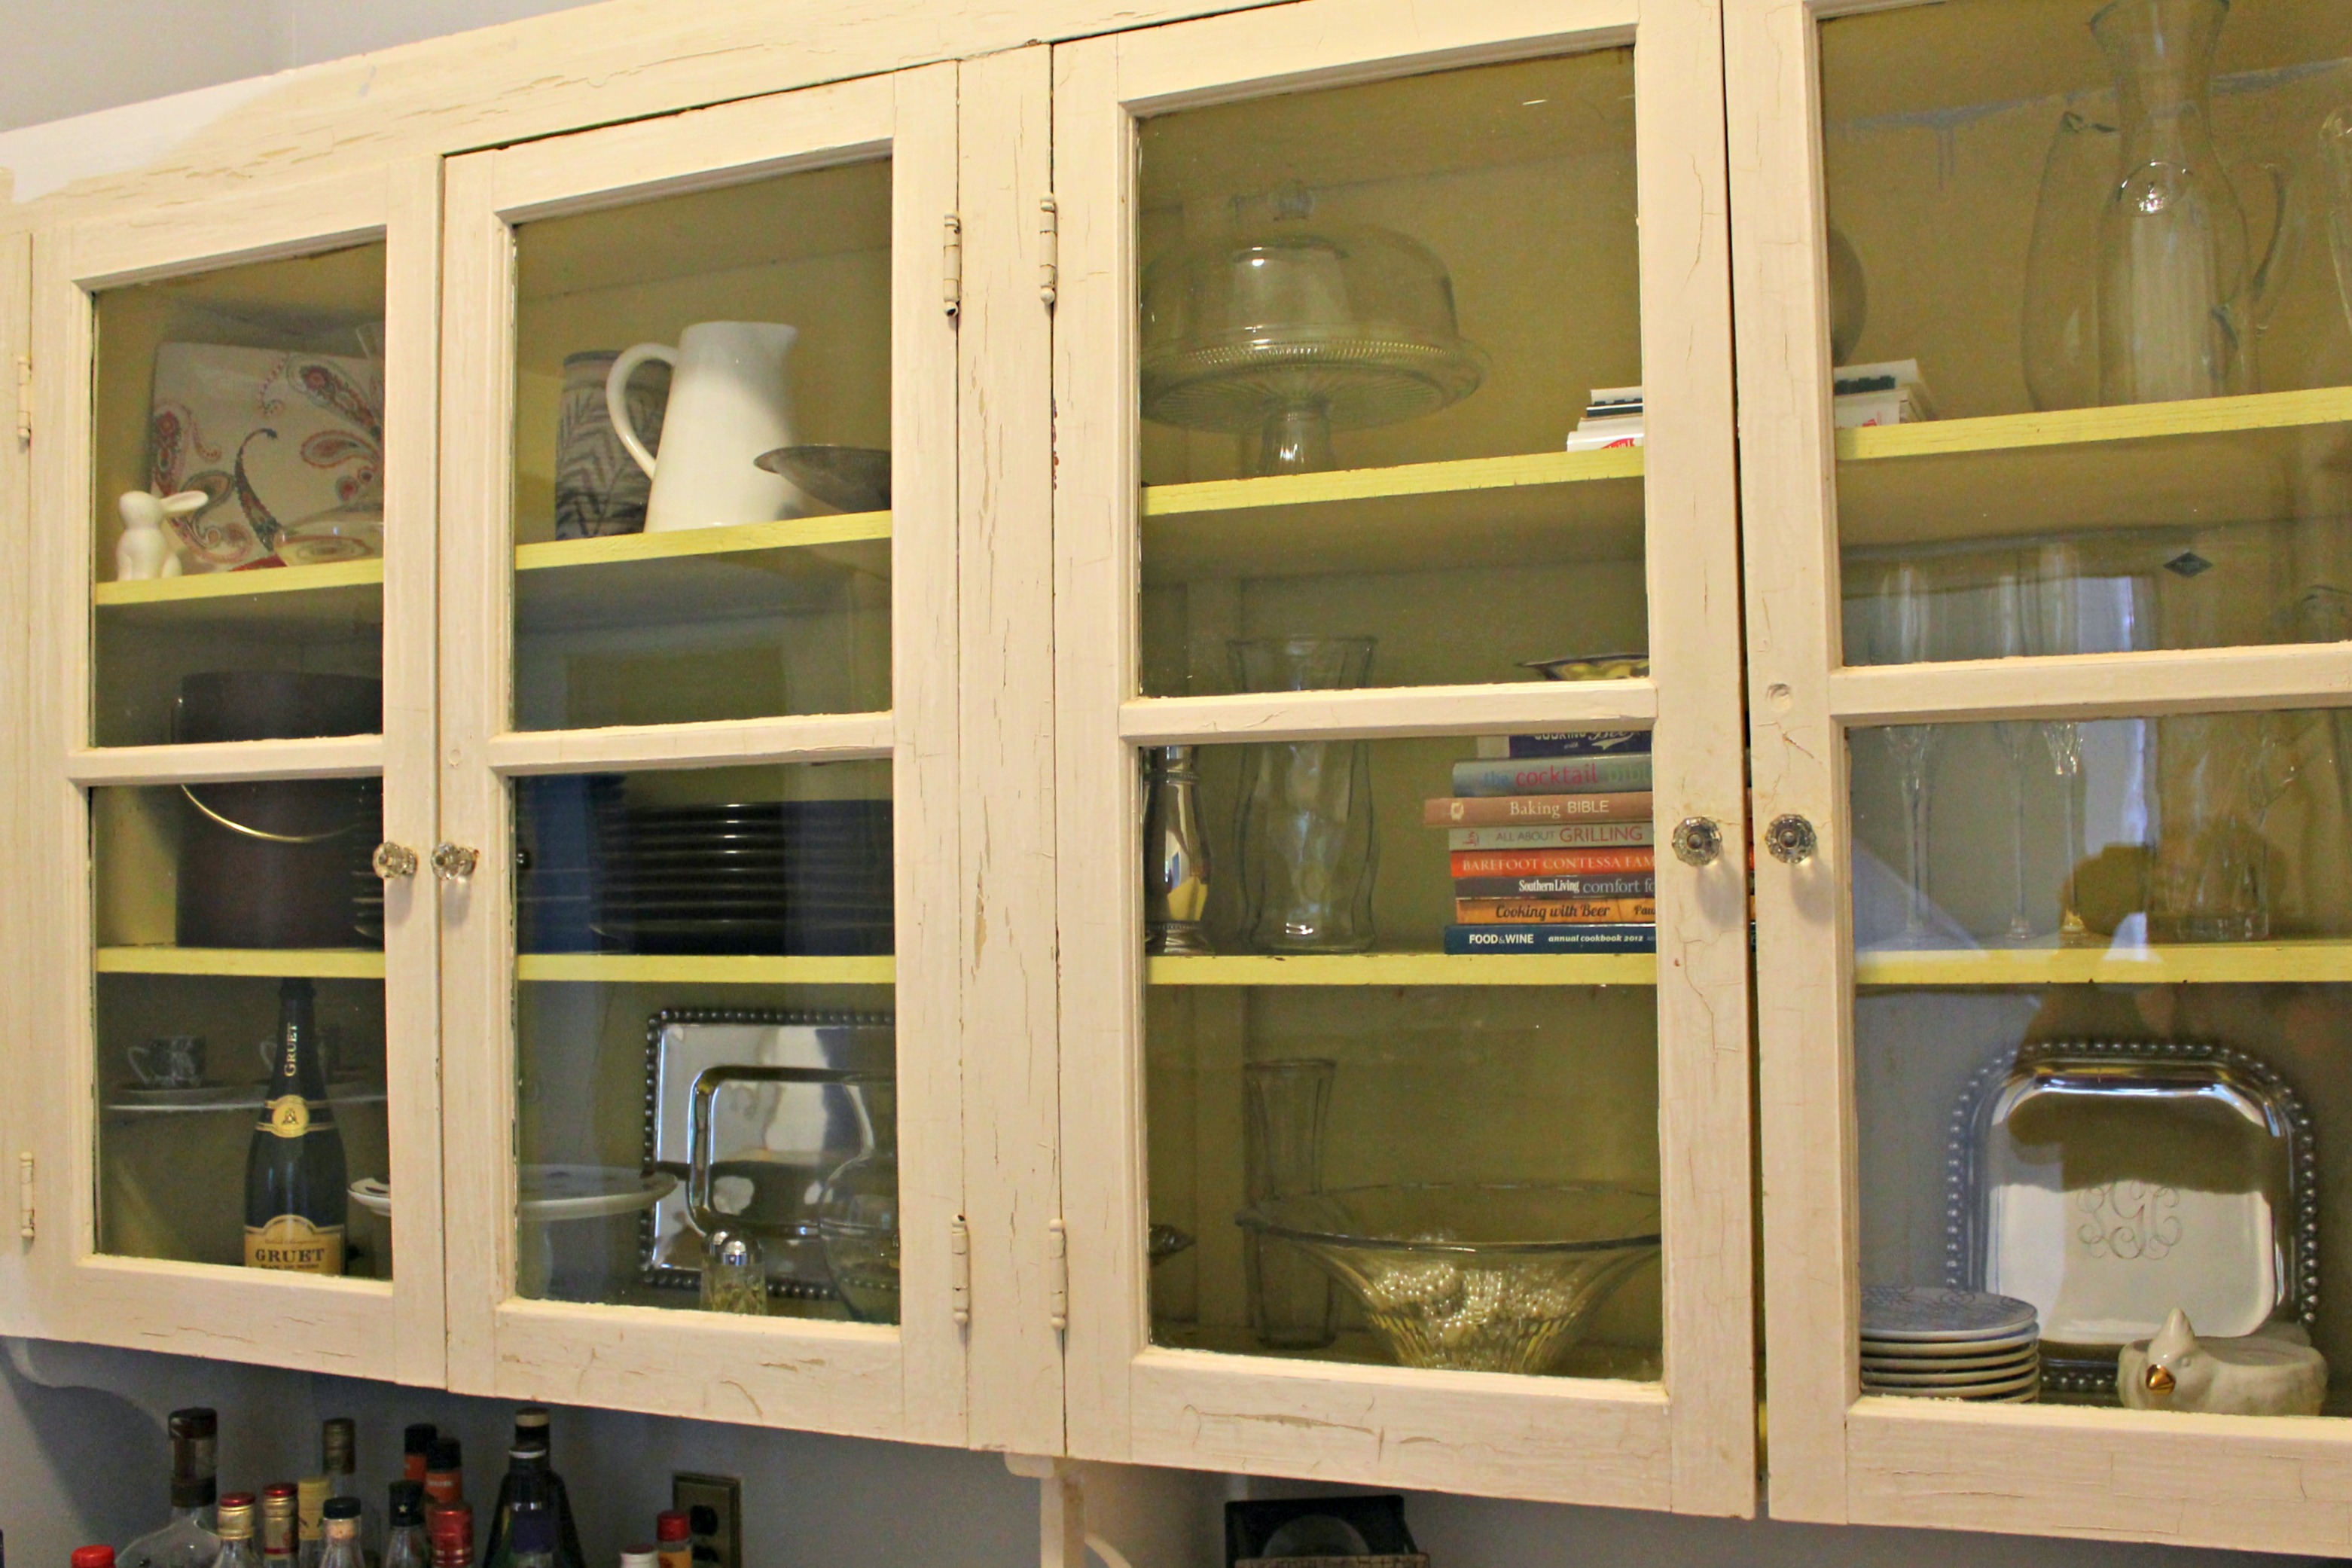
PS- all of the items on the brass etagere are for sale here. I’m still trying to decide if I want to sell the etagere or not…it’s pretty fabulous! ;)