Category Archives: Reno

5 Tips For Buying a Foreclosure

buying a foreclosure

Foreclosures can be messy and difficult, and they are sure to test your patience.  But the end result could be all worth it.  For us, the house being in foreclosure was what made the deal. Simply put, we could never afford the house had it not gone into foreclosure.

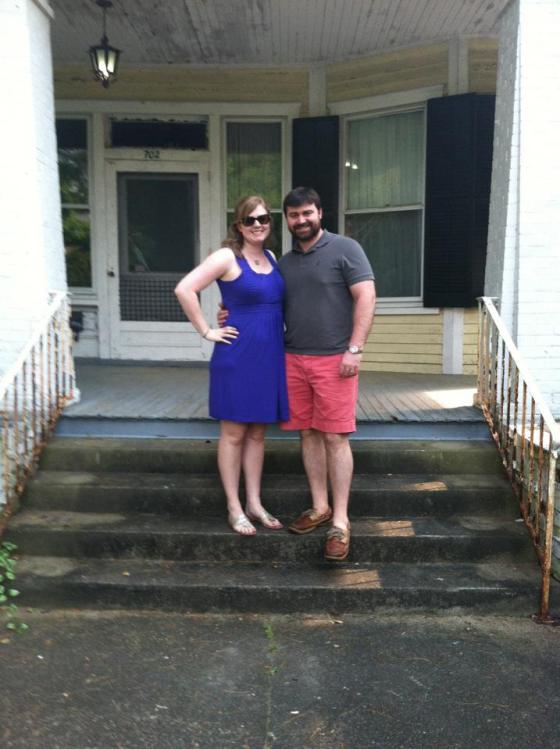
Here’s our home-buying process in a nutshell:  in November 2012 we looked at the house but weren’t sure if we were ready for that commitment, or if we would even live in that town (we lived 3 hours away at the time). In early December, someone else put in an offer and it was accepted, and we were surprisingly devastated.  We knew we wanted the house.  That offer fell through and we submitted our offer on a Monday in early February 2013. We low-balled at $35,000 below asking price, argued with the bank all week long, and finally settled right in the middle that Friday.  We closed May 10, 2013 and work began May 20.  So that’s our story.

house champ-2

Every house and every purchase is different, but these are a few of the lessons we’ve learned.  Some were easy lessons, and some we learned the hard way.

1. Be patient.  This is without a doubt #1 on the list.  To you, it’s the one home that you’re trying to buy. For the bank, it’s not personal at all. It’s one of many on their books, and it has to go through a certain process. And those guys are NOT in a hurry. Ever.

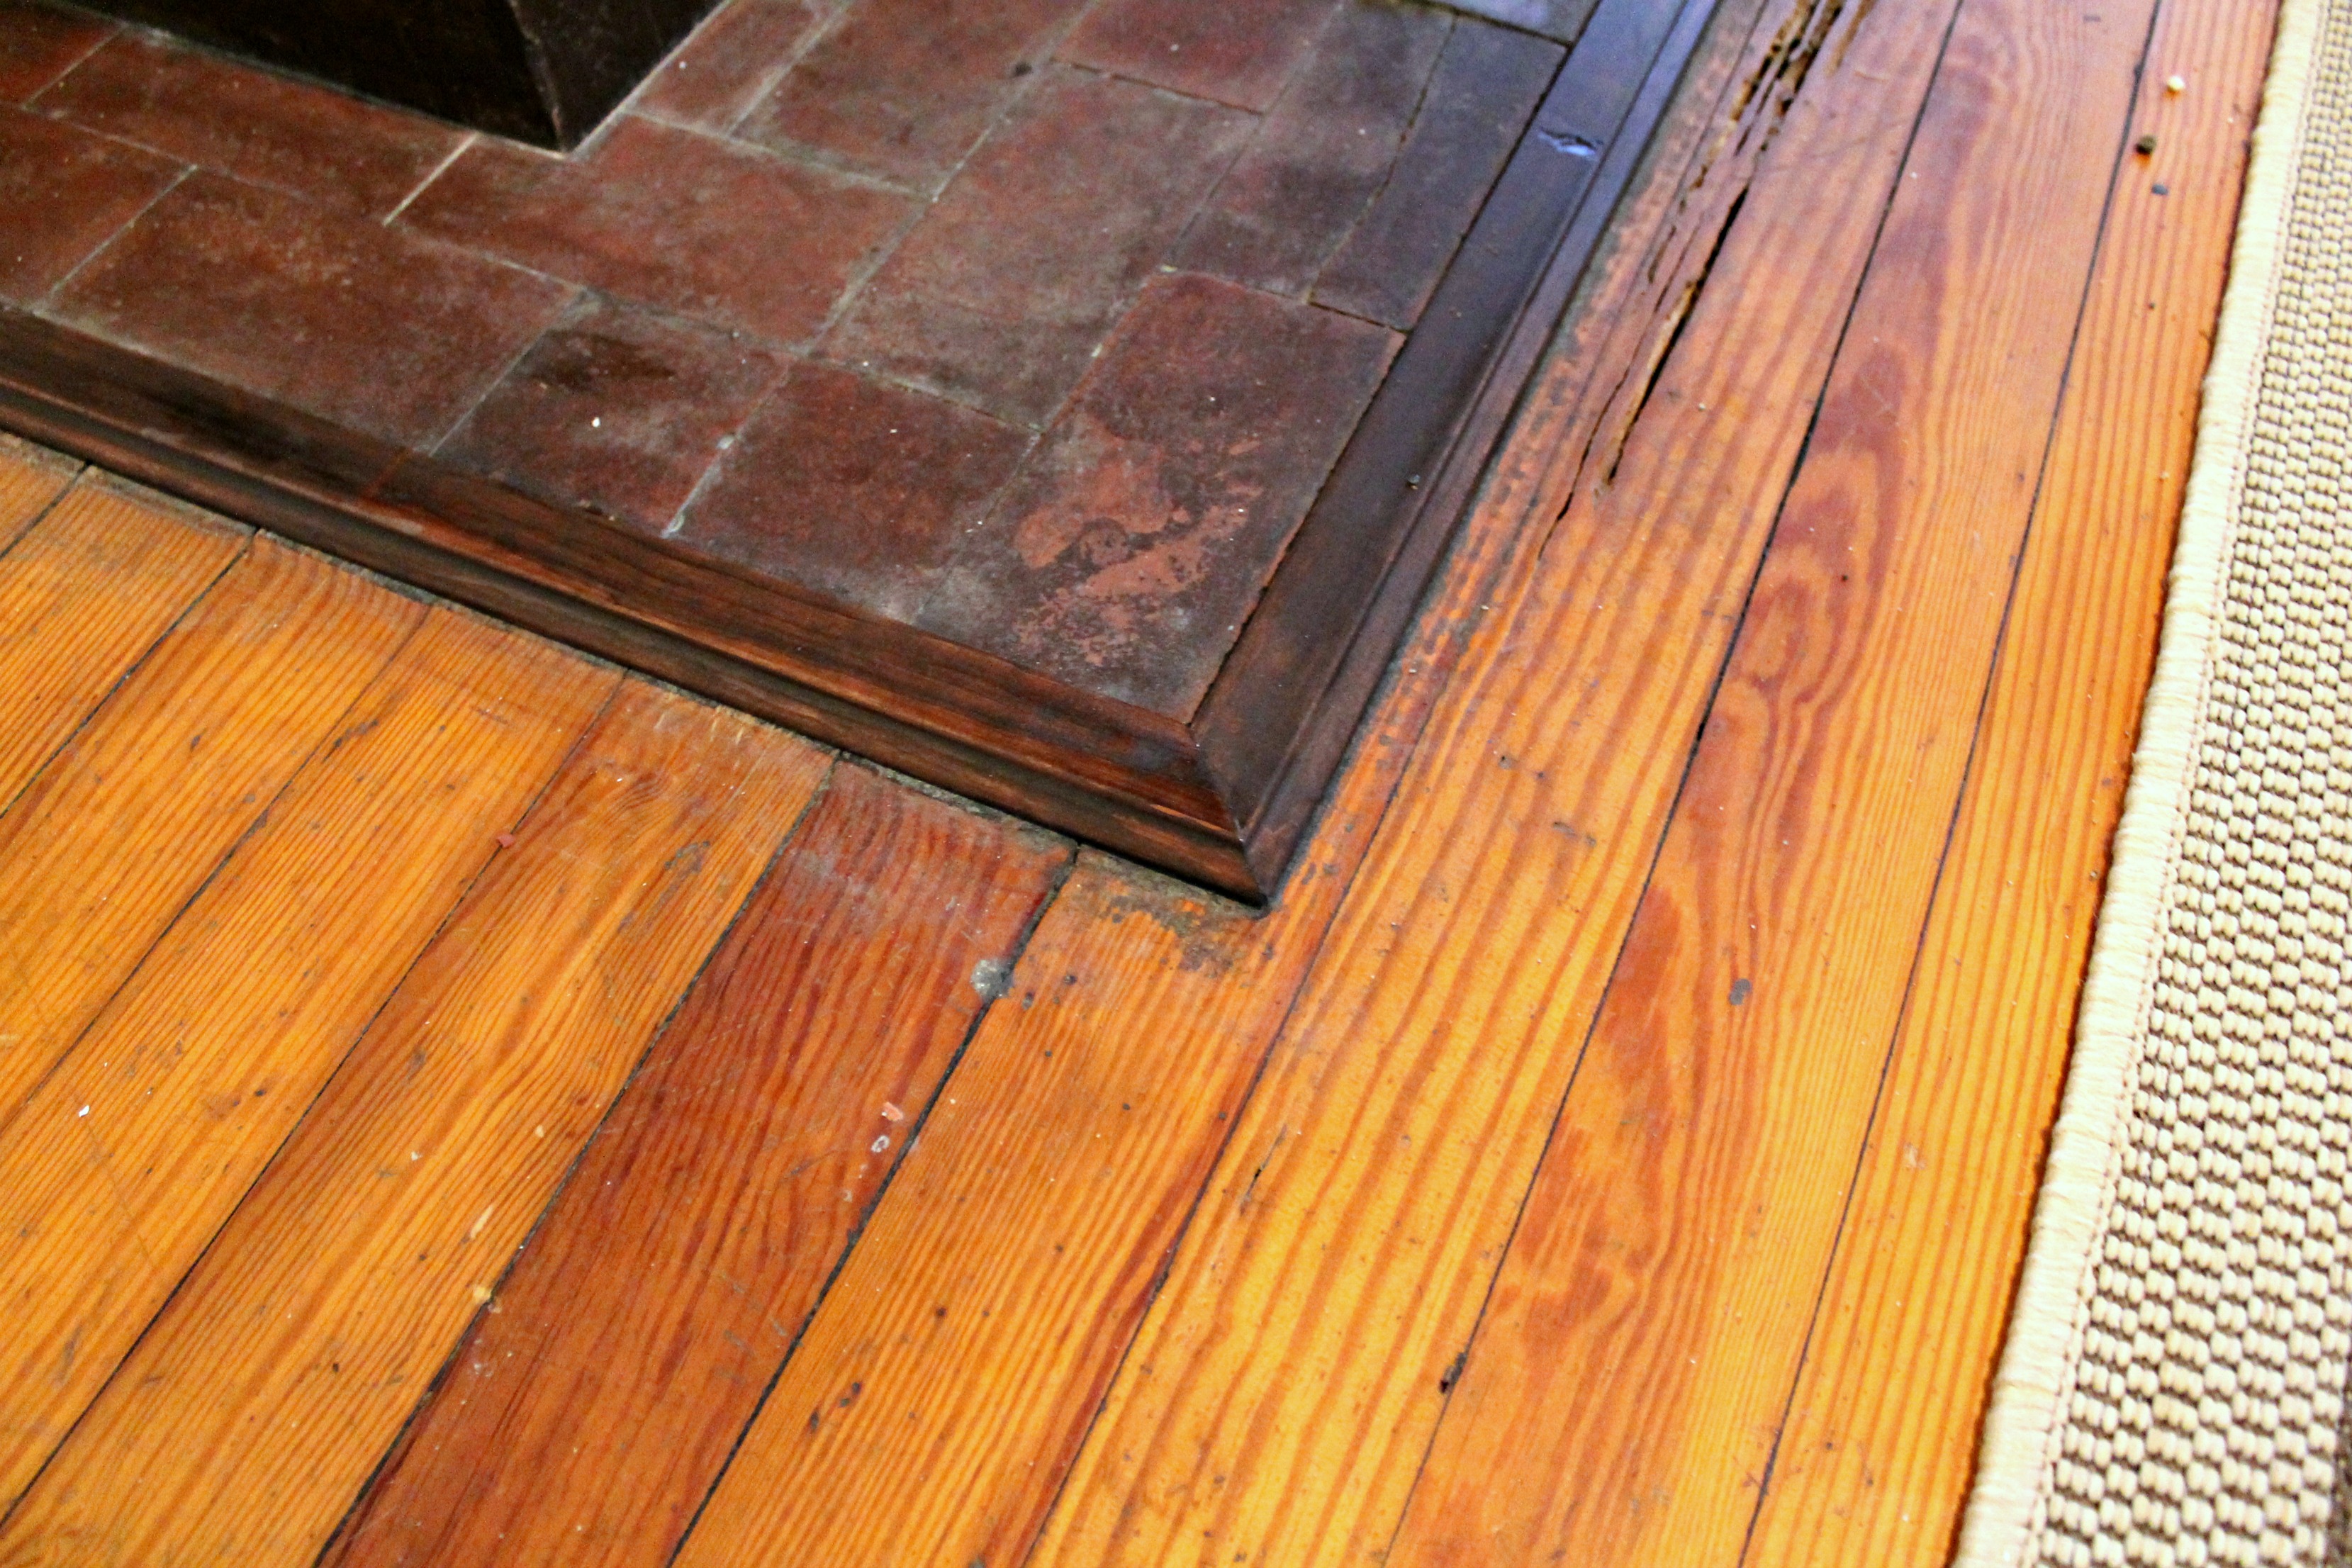
2. Find out how long the home has been vacant. The longer a house has been uninhabited, the greater the chance for major problems.  Some of the biggest issues include plumbing issues, leaks, heating/air problems, and pests. When checking out the house, be sure to test the faucets and toilets, as these generally have trouble working after not being used for extended periods of time. These hidden costs can turn a bargain house into a money pit very quickly.

3. Get a full inspection.  I don’t mean just the “walk around and look at stuff” kind.  I mean the prodding and poking and crawling under the house kind. Many foreclosures will not include disclosures, meaning you have no way of knowing what may have gone wrong in the past. Hire a pest inspector, hire a heating and cooling inspector, hire an engineer.  Whatever it takes. Trust me, an inspection is the best money you will spend on the front end.  Keep in mind that not all foreclosures are good buys once you add up what will be needed to renovate.

4. Make sure the house is insurable.  Because we could not live in the house as-is when we bought it, we had to take out a builder’s risk policy, which was way expensive. You need to take those expenses into account when figuring purchase price and what you plan to spend renovating.

5. Be flexible with your closing date, or be firm from the very start.  Our closing was extended several times, but that was fine with us. We were still in a lease with our apartment, so pushing it back only helped us.  But if you’re in a time crunch, it’s going to be very difficult to get the bank to stick to a set date unless you make that completely clear from the beginning.

Closet On A Budget

It’s no secret that when you’re doing any renovation you have to pick and choose where to spend your money.  If you’re like most of us, the budget is NOT endless and some things must be put on hold.

Title

For us, one of those things was our master closet.  We took our closet from a 2′ x 3′ reach in to a 7′ x 13′ walk in, and we absolutely love it!  But when it came to installing an organization system, we chose to go the inexpensive route.

We started with two of the Seville Classics expandable closet organizers from casa.com (on sale now!). These expanded to about 7 feet long, and gave each of us two hanging racks and eight shelves.  I love that these come with shelf liners so you don’t have to worry about anything falling through.

IMG_5676

I had a couple of old canvas cubes from Target, but I decided to pick up 8 small rugby stripe bins from The Container Store.  On my side, I’ve stored scarves, hats, swimwear, and sweats in mine. Charles’ hold his t-shirts. These bins are a nice way to keep everything looking uniform, even if what’s inside gets messy.

IMG_5678

We each had old shoe racks that we decided to keep, and the laundry basket was a wedding gift.  I also picked up this cute striped bin from TJ Maxx to nestle in the corner for our dry cleaning pile.

IMG_5684

Lastly, we needed a little color in the closet, so I hung two of my sun hats on the wall.  It’s a really cute, inexpensive way to add a little “art” to a small space.  All you need are a couple of 3M hooks!

IMG_5677

Eventually we’d love to have gorgeous built ins, but for now, we’re really happy with the way this closet came together…under budget!

Dining Room Drama

The other night I decided to play around with a few different “virtual paint” applications on the web.  I’ve always gone with Sherwin-William’s Paint Visualizer (especially for our front door), but I have to say that I’ve officially converted to Benjamin Moore’s Personal Color Viewer.  It really is the best if you have a picture that isn’t absolutely clear on where you want to paint.  A few minutes hours later, I had about 29,837,876 options for our dining room. (Warning: this site is totally addicting!)

I’m just gonna put this out there:  I want drama!  Our house is pretty mellow for the most part, but the dining room is what you really see when you walk in the front door with the crystal chandelier, extra large windows, and massive pocket doors, and I want it to be a show stopper!

IMG_5512 IMG_5514 IMG_5515 IMG_5654 IMG_5663

Here’s what we know:

  1. We have already decided that we want to do a stencil above the chair rail to add a little excitement in the room.  We’ve chosen the Antoinette damask stencil and the Smoked Oyster stencil creme from Royal Design Studio, which we think will give a similar look to the wallpaper that we picked out and then realized we’d be crazy to spend that money right now!
  2. We want two different colors above and below the chair rail.
  3. The trim is staying glossy white to match the rest of the house.
  4. We don’t want anything too pastel.

Here’s what we’re undecided on:

  1. The wall color in general.
  2. We know we want two different colors above and below the chair rail, but haven’t decided if we want to do two colors that are a shade or two off of each other, or keep below the chair rail Kitten White to tie in to the foyer and mud room.

I chose to use a picture with the fireplace since that’s really the only non-changeable thing in the room.  Below the chair rail is stark white primer, which we will certainly be changing.

There are lots of blues that I like, but Charles really isn’t a fan of blue, and since we’ve used it in several other rooms, I thought I’d skip the blue in here.  So here are a few greens I like, in no particular order.

1. Mystic Lake

Mystic Lake

2. Yorktowne Green

Yorktowne Green

3. Webster Green

Webster Green

4. Antiqued Aqua

Antiqued Aqua

5. Tropical Oasis

Tropical Oasis

When I was playing around, out of nowhere, I decided that I really love purple with the green tiles and dark fireplace trim too.  A couple of favorites:

1. Wild Mulberry

Wild Mulberry

2. Carter Plum

Carter Plum

So yeah, the possibilities really are endless.

Which one is your favorite?

Paint It Red

UPDATE: The front screen door was painted too!

Some of you may know that Charles and I have gone back and forth on the color for our front door since the project started.  He has been firmly set on white and I have been firmly set on black.

black white

Since we couldn’t decide between black or white, we decided to look into a few other non-traditional, non-neutral colors. We discovered that a company called Modern Masters makes a paint specially designed for front doors.  It’s called…wait for it…front door paint!  There’s actually a Front Door Paint app (for iPhone and Android) that you can download to test out colors. After trying all 24 (yes, I may have gone overboard) of the colors, the paint color we chose was “Passionate.”

IMG_5633

First, we sanded the front door with an electric sheet sander to smooth everything out and knock off any shine.  Then we used sponge sanding blocks to get into the more detailed areas.  (Isn’t my hubs the best model?!)

IMG_5631 IMG_5630 IMG_5629

Pretty soon, our door was looking like this:

IMG_5625 IMG_5627

We decided to take the antique hardware off so that we could paint underneath it.  This was actually a bigger decision that it sounds…with antiques, you never have any assurances that things will go back together properly after you disassemble them.  Lucky for us, it all worked out.

IMG_5635 IMG_5636

After we finished sanding, we wiped down the entire door with a warm, slightly soapy rag.  Just a couple minutes of dry time, and we were ready to paint!

IMG_5632

We decided not to prime the door because we wanted the color as dark as possible.  I was a little concerned that it would come out too “fire engine red,” so we just left the base black.  Here’s a shot of the door after the first coat.

1 coat

To be honest, I was a little skeptical about the claims for this paint: you only need 2 coats, it dries super quick, and it never fades.  But we were pleasantly surprised! We started painting at the top of the door, and by the time we got to the bottom, the top was pretty much dry already.  So we just gave it a few more minutes, then started with our second coat.

2 coats

Amazingly, that was all we needed.  And we still have well over half of the quart of paint left!  We polished the hardware with a bit of brasso, and it made a truly remarkable difference!

IMG_5645

Overall, we are so so happy with our new front door!

IMG_5646 IMG_5647 IMG_5648

Next up, we plan to paint the screen door red as well.  Because our front door has such a large window, you really can’t see the red from the street with the screen door closed, so we think that painting the screen door will really make the house pop.  (Side note: the porch floor will be painted a dark gray to match the paint color of the roof…which is going on this week!)  And since we have so much paint left over, maybe we’ll hit the side door and back door as well.

Modern Masters claims that the paint will never fade, so I can’t wait to see how it holds up!  Don’t worry…I’ll keep you posted! :)

This post was sponsored by Modern Masters.  All content and opinions, as always, are my own.  Front door paint is available at selected Lowe’s and Ace Hardwares as well as online via Amazon or the Modern Masters online shop.

DIY Discussion

DIY Discussion

Earlier this week I read Jackie’s post on why she quit DIY, and Kim and Scott’s post on hiring out, and both really struck a cord with me.  I get so jealous when I see all these other bloggers working away on their homes.  But for us, it simply wasn’t an option.

One, the project was just too big to take on ourselves, and two, we each have full time jobs that keep us away from home for about 10-11 hours a day.  (And now for some reason I can’t get “Know when to hold ’em, know when to fold ’em” out of my head. Hopefully it’s in your head now too.  You’re welcome.)

But then I watch Money Pit and suddenly DIY-free doesn’t seem so bad!

santiago de compostela animated GIF

We did decide to tackle a few things ourselves:

  1. Painting – We had a few rooms professionally painted early on, but we quickly realized that our money could be better spent in other areas.  We also did a lot of wall prep in certain areas, which seemed to take forever! You can see all of our paint colors and which rooms we painted ourselves here.  Now all that’s left is our master bathroom and dining room!
  2. Floors – At this point, the only floor we’ve sanded and oiled is in the mud room, but we have plans to refinish all of the floors in the house ourselves.  This will be a loooong process.
  3. Porches – We have plans to paint all 3 porches ourselves.  It’s at the top of our list, and we’re hoping to knock it out in the next few weekends so we can enjoy them this summer!
  4. Tubs – We completely refinished two vintage tubs for the house, which was a huge money-saver.  You can see the tutorial here, and the finished products here and here.
  5. The little things – These are probably the things that no one will ever notice, but make a big difference to us.  I stained all of the trim around the floor tiles in front of our fireplaces, and painted our metal fireplace inlays and doors with Rustoleum.  They look a lot sleeker now.
  6. The upstairs hall bathroom – This room has gotten basically NO love other than removing the really gross shower.  Eventually we’d like to bump out the wall and make this into a full bathroom again, but for now we just plan to paint the floors, paint the walls, and keep the door closed 90% of the time.

Lately it seems like there has been more and more for us to do, and I have no doubt that we are in for a lifetime of DIY’s, so I’m not too upset that we haven’t gotten our hands all that dirty on the front end.

Where do you draw the line? Are there things you wish you had done yourself? Or things you wish you had hired out?

The Little Things

I’ve learned from this project of ours that sometimes the little things make the biggest difference.  A few weeks ago we did some minor work to our downstairs fireplaces, and I’m very happy with the results!  A touch of varnish and a bit of paint goes a long way!

I thought about giving you a full tutorial post on applying varnish, but that would just be silly.  It’s so so simple.  For the new trim pieces that weren’t nailed down yet (in the dining room and foyer), I just set them up outside and rubbed them down with a paper towel with several coats of wood varnish.  They dry so quickly that I was able to start the next coat as soon as I got finished with the one before.

IMG_5219 IMG_5220

In the den, I just stained the original trim pieces by taping them off and using the same process.  Most people probably wouldn’t even notice the difference, but the trim looks much more cohesive now.

IMG_5260 IMG_5261 IMG_5263

Each of our 4 downstairs fireplaces have metal inlays and 3 have fireplace covers, and they were all looking a little sad.

IMG_4786 IMG_2743

So we took the Rustoleum to them just like we did the tubs.  We took off the doors and sanded, primed, and painted them in a glossy black Rustoleum paint. We also painted the inlays right where they were by taping them off and using the same method.

IMG_5244 IMG_5246 IMG_4872

It’s amazing what a coat of paint can do! Now these fireplaces look so fresh!

IMG_5518 IMG_5262 den fireplace IMG_5411

What little things have you done in your home that had a big impact?


Linked:  4 5 14 15 16 17

CarrieThisHome.com