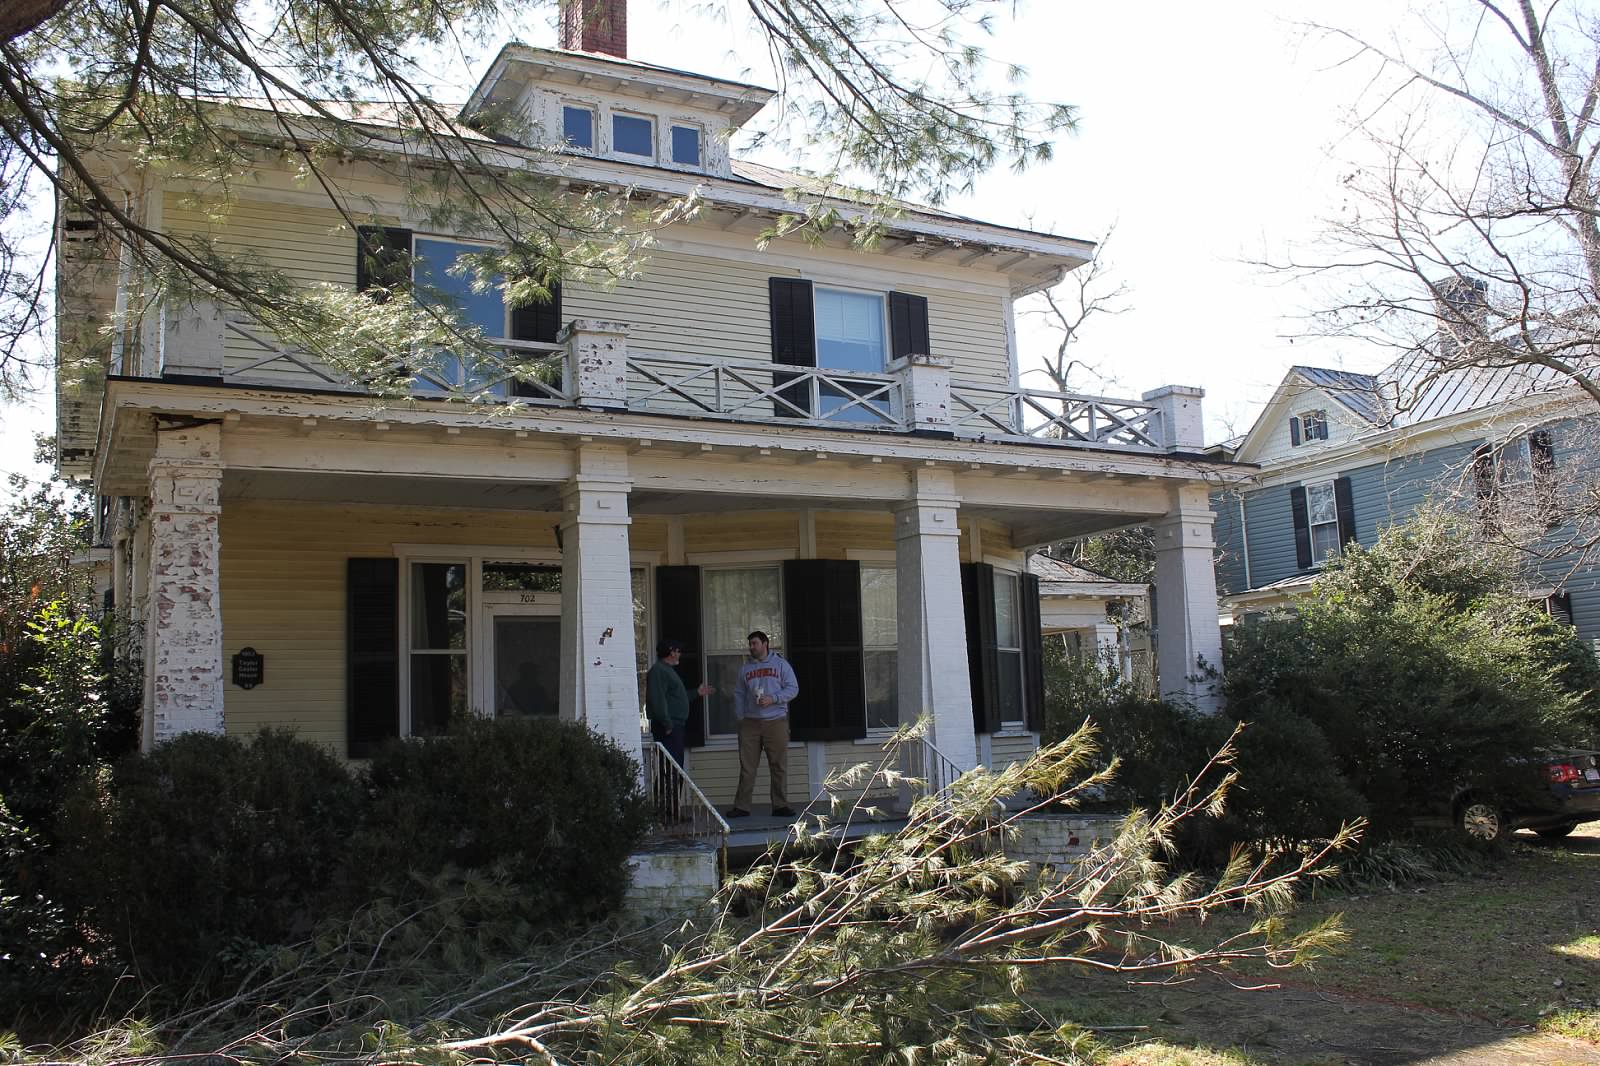
Last week I showed you the transformation of the front of our house. Today, I’m sharing the back, minus the porches (I’ll show those next week).
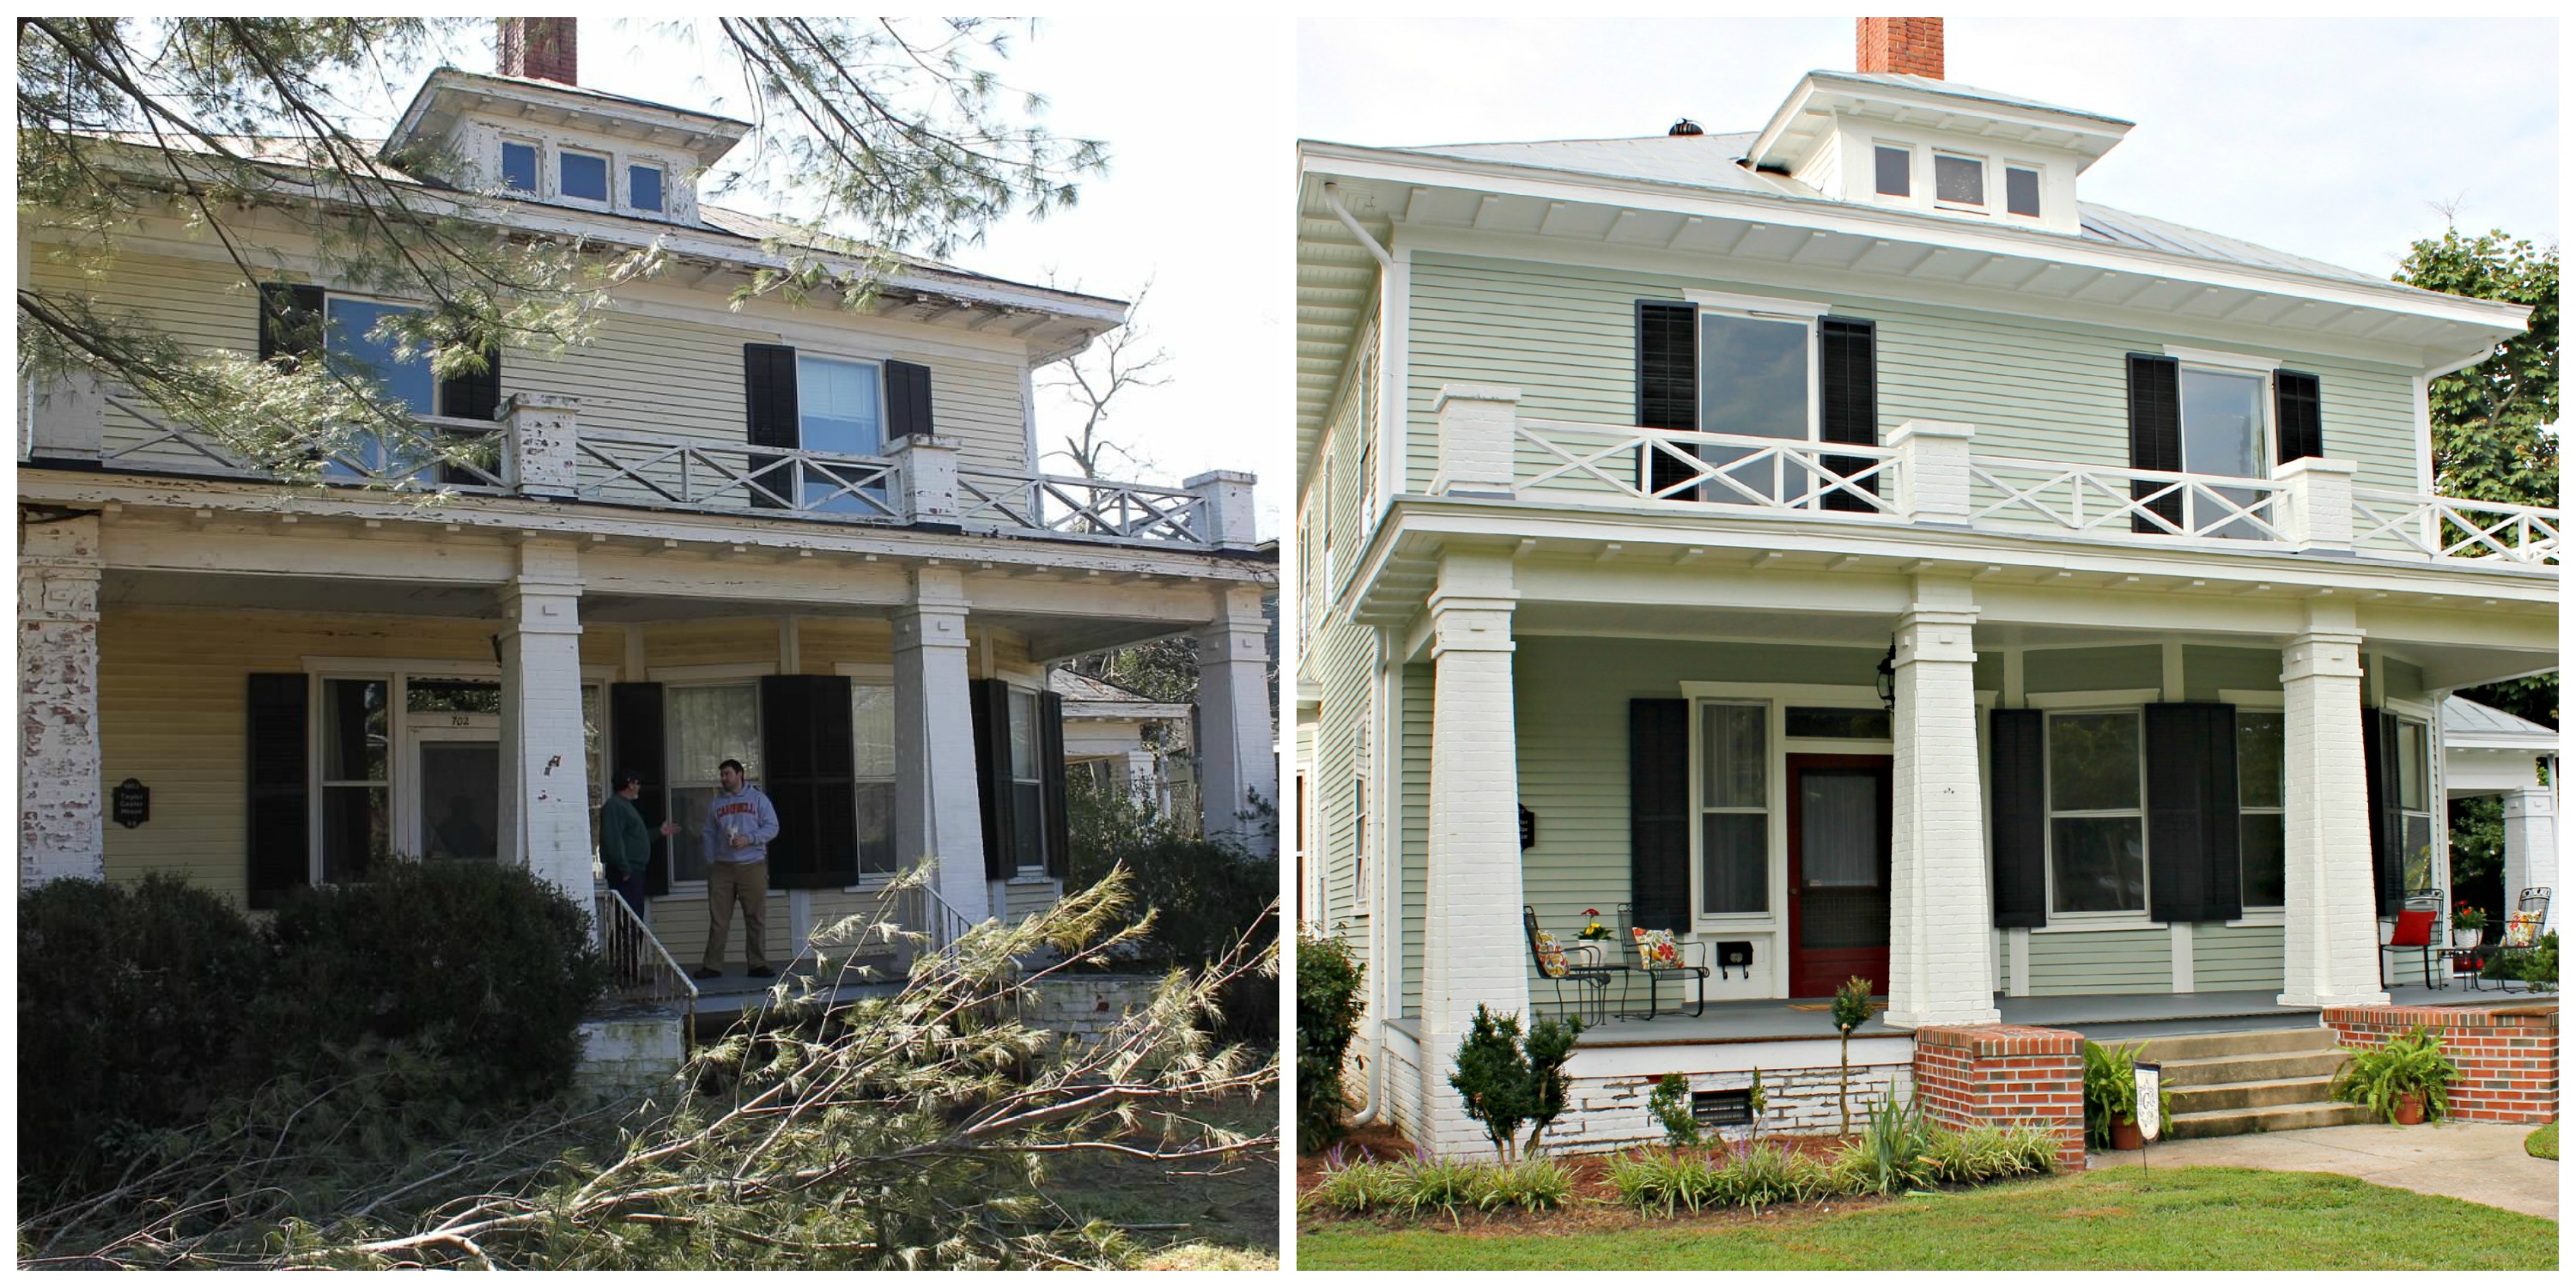
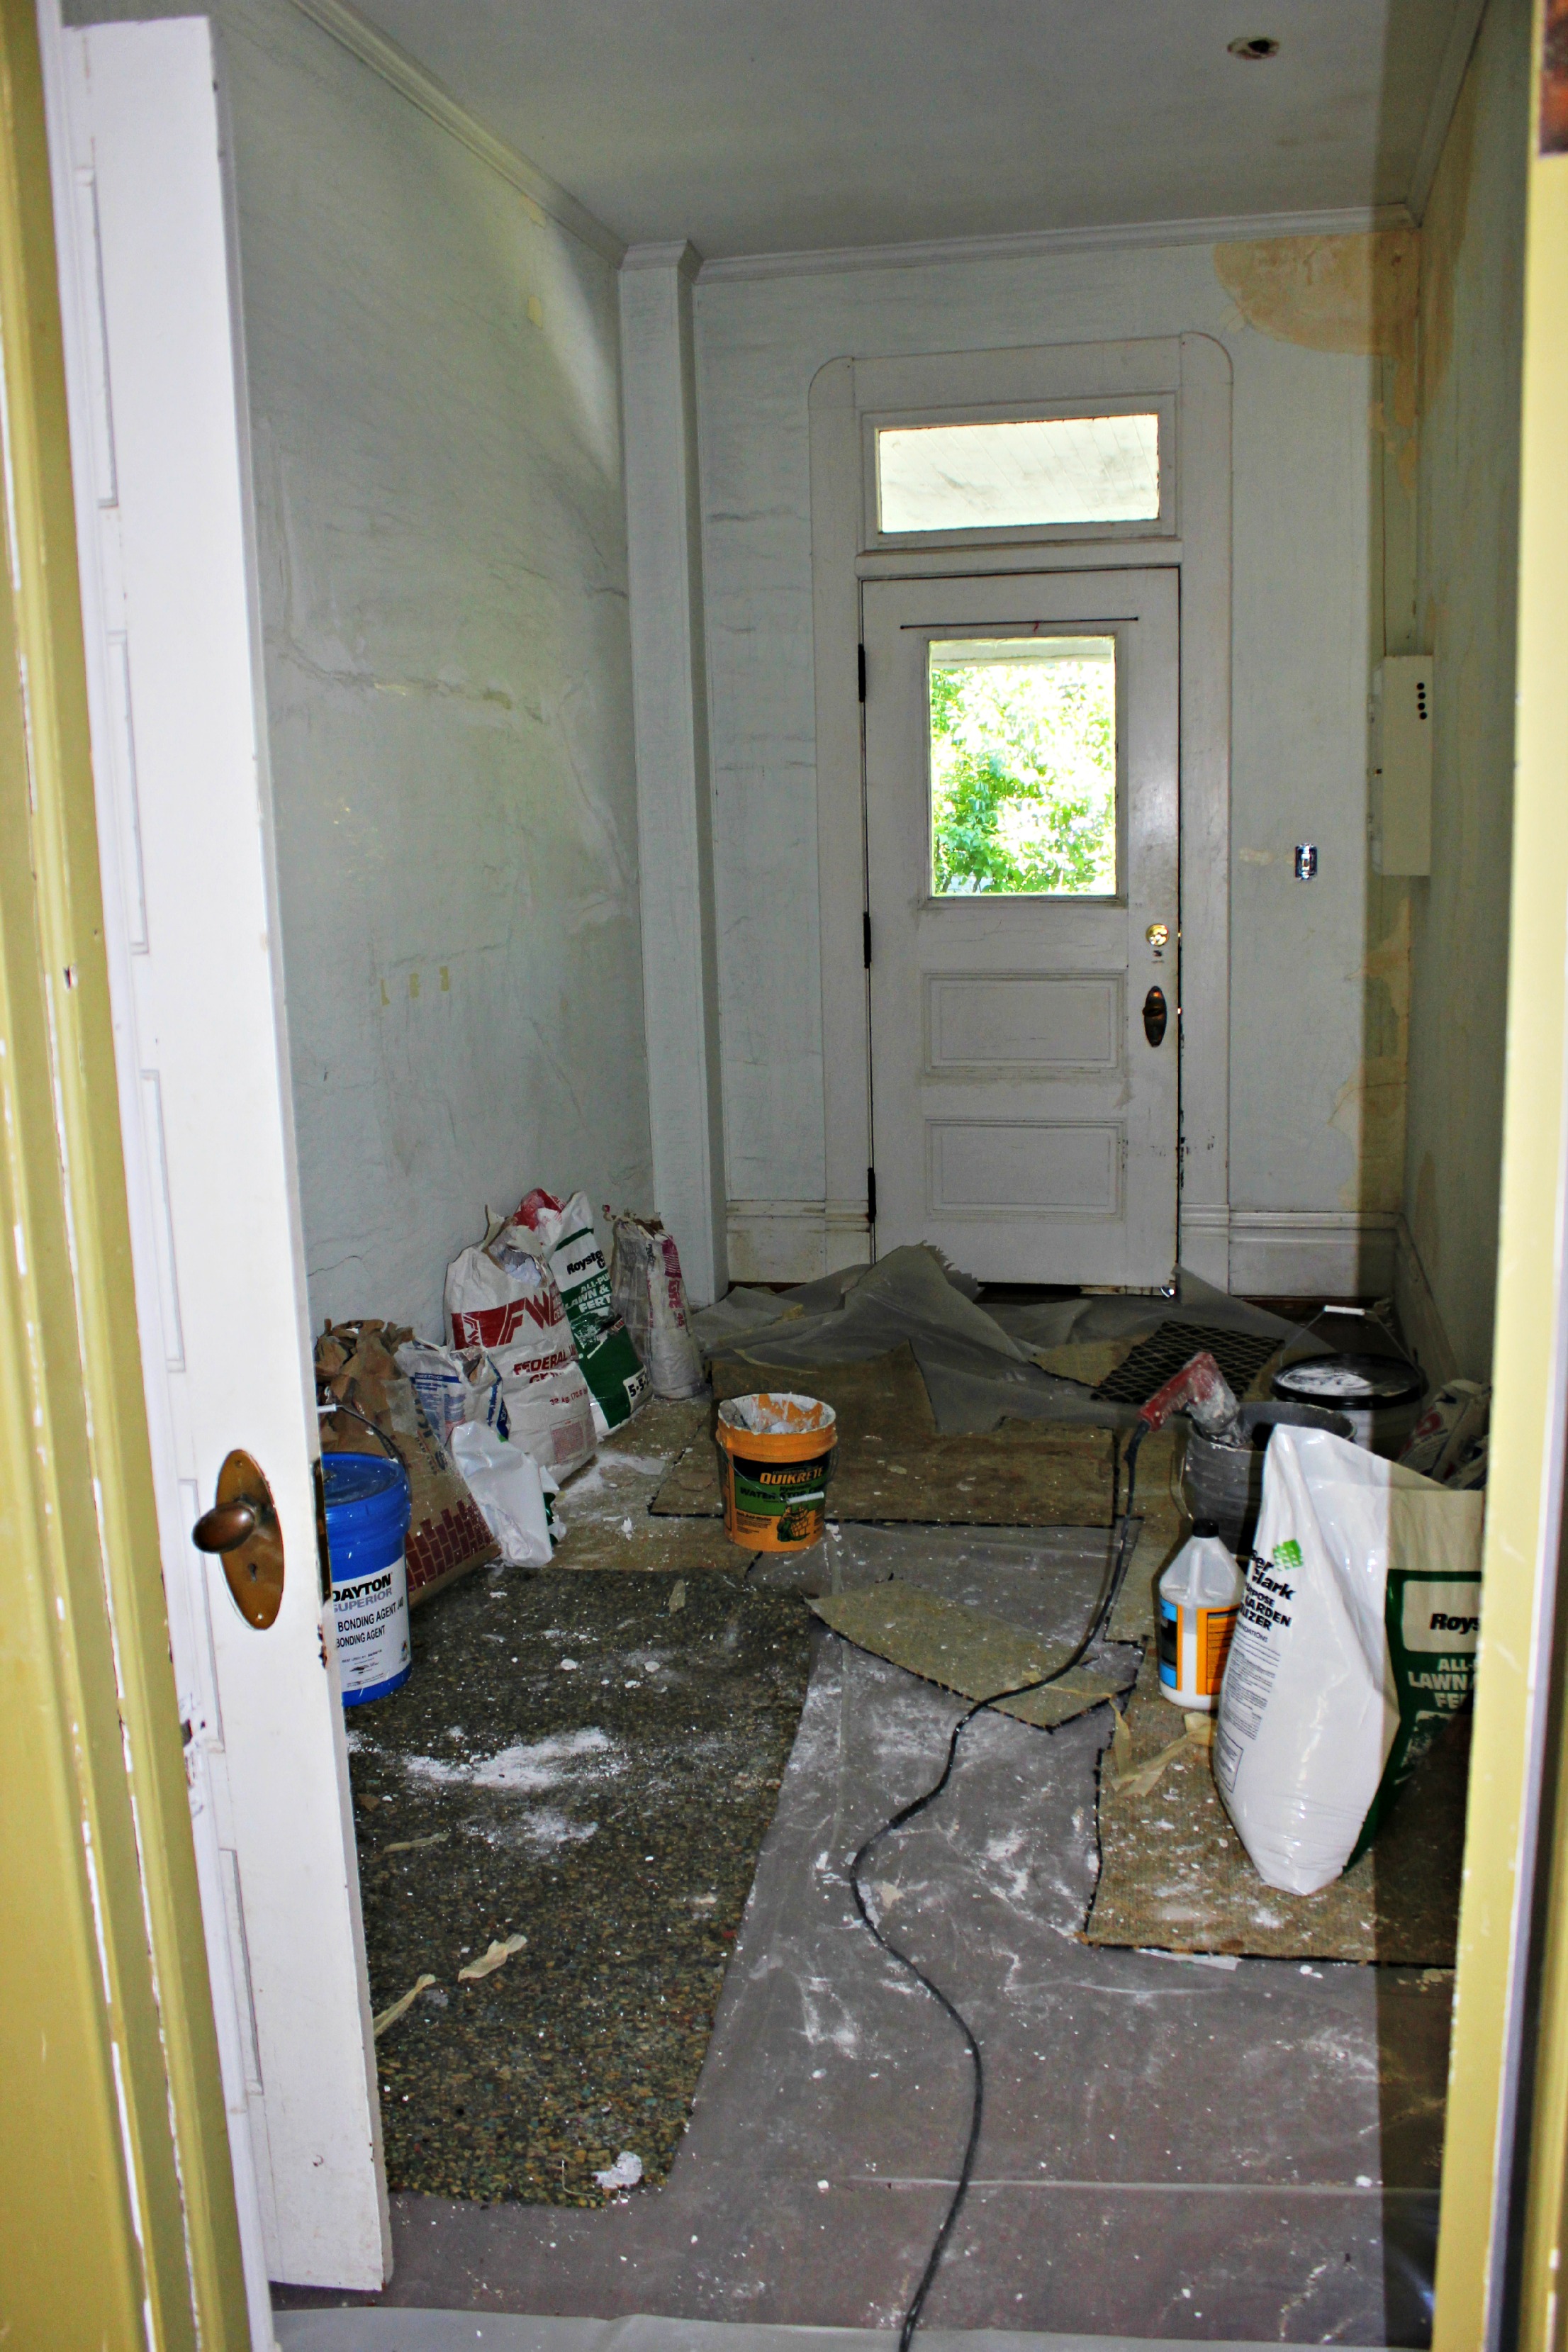
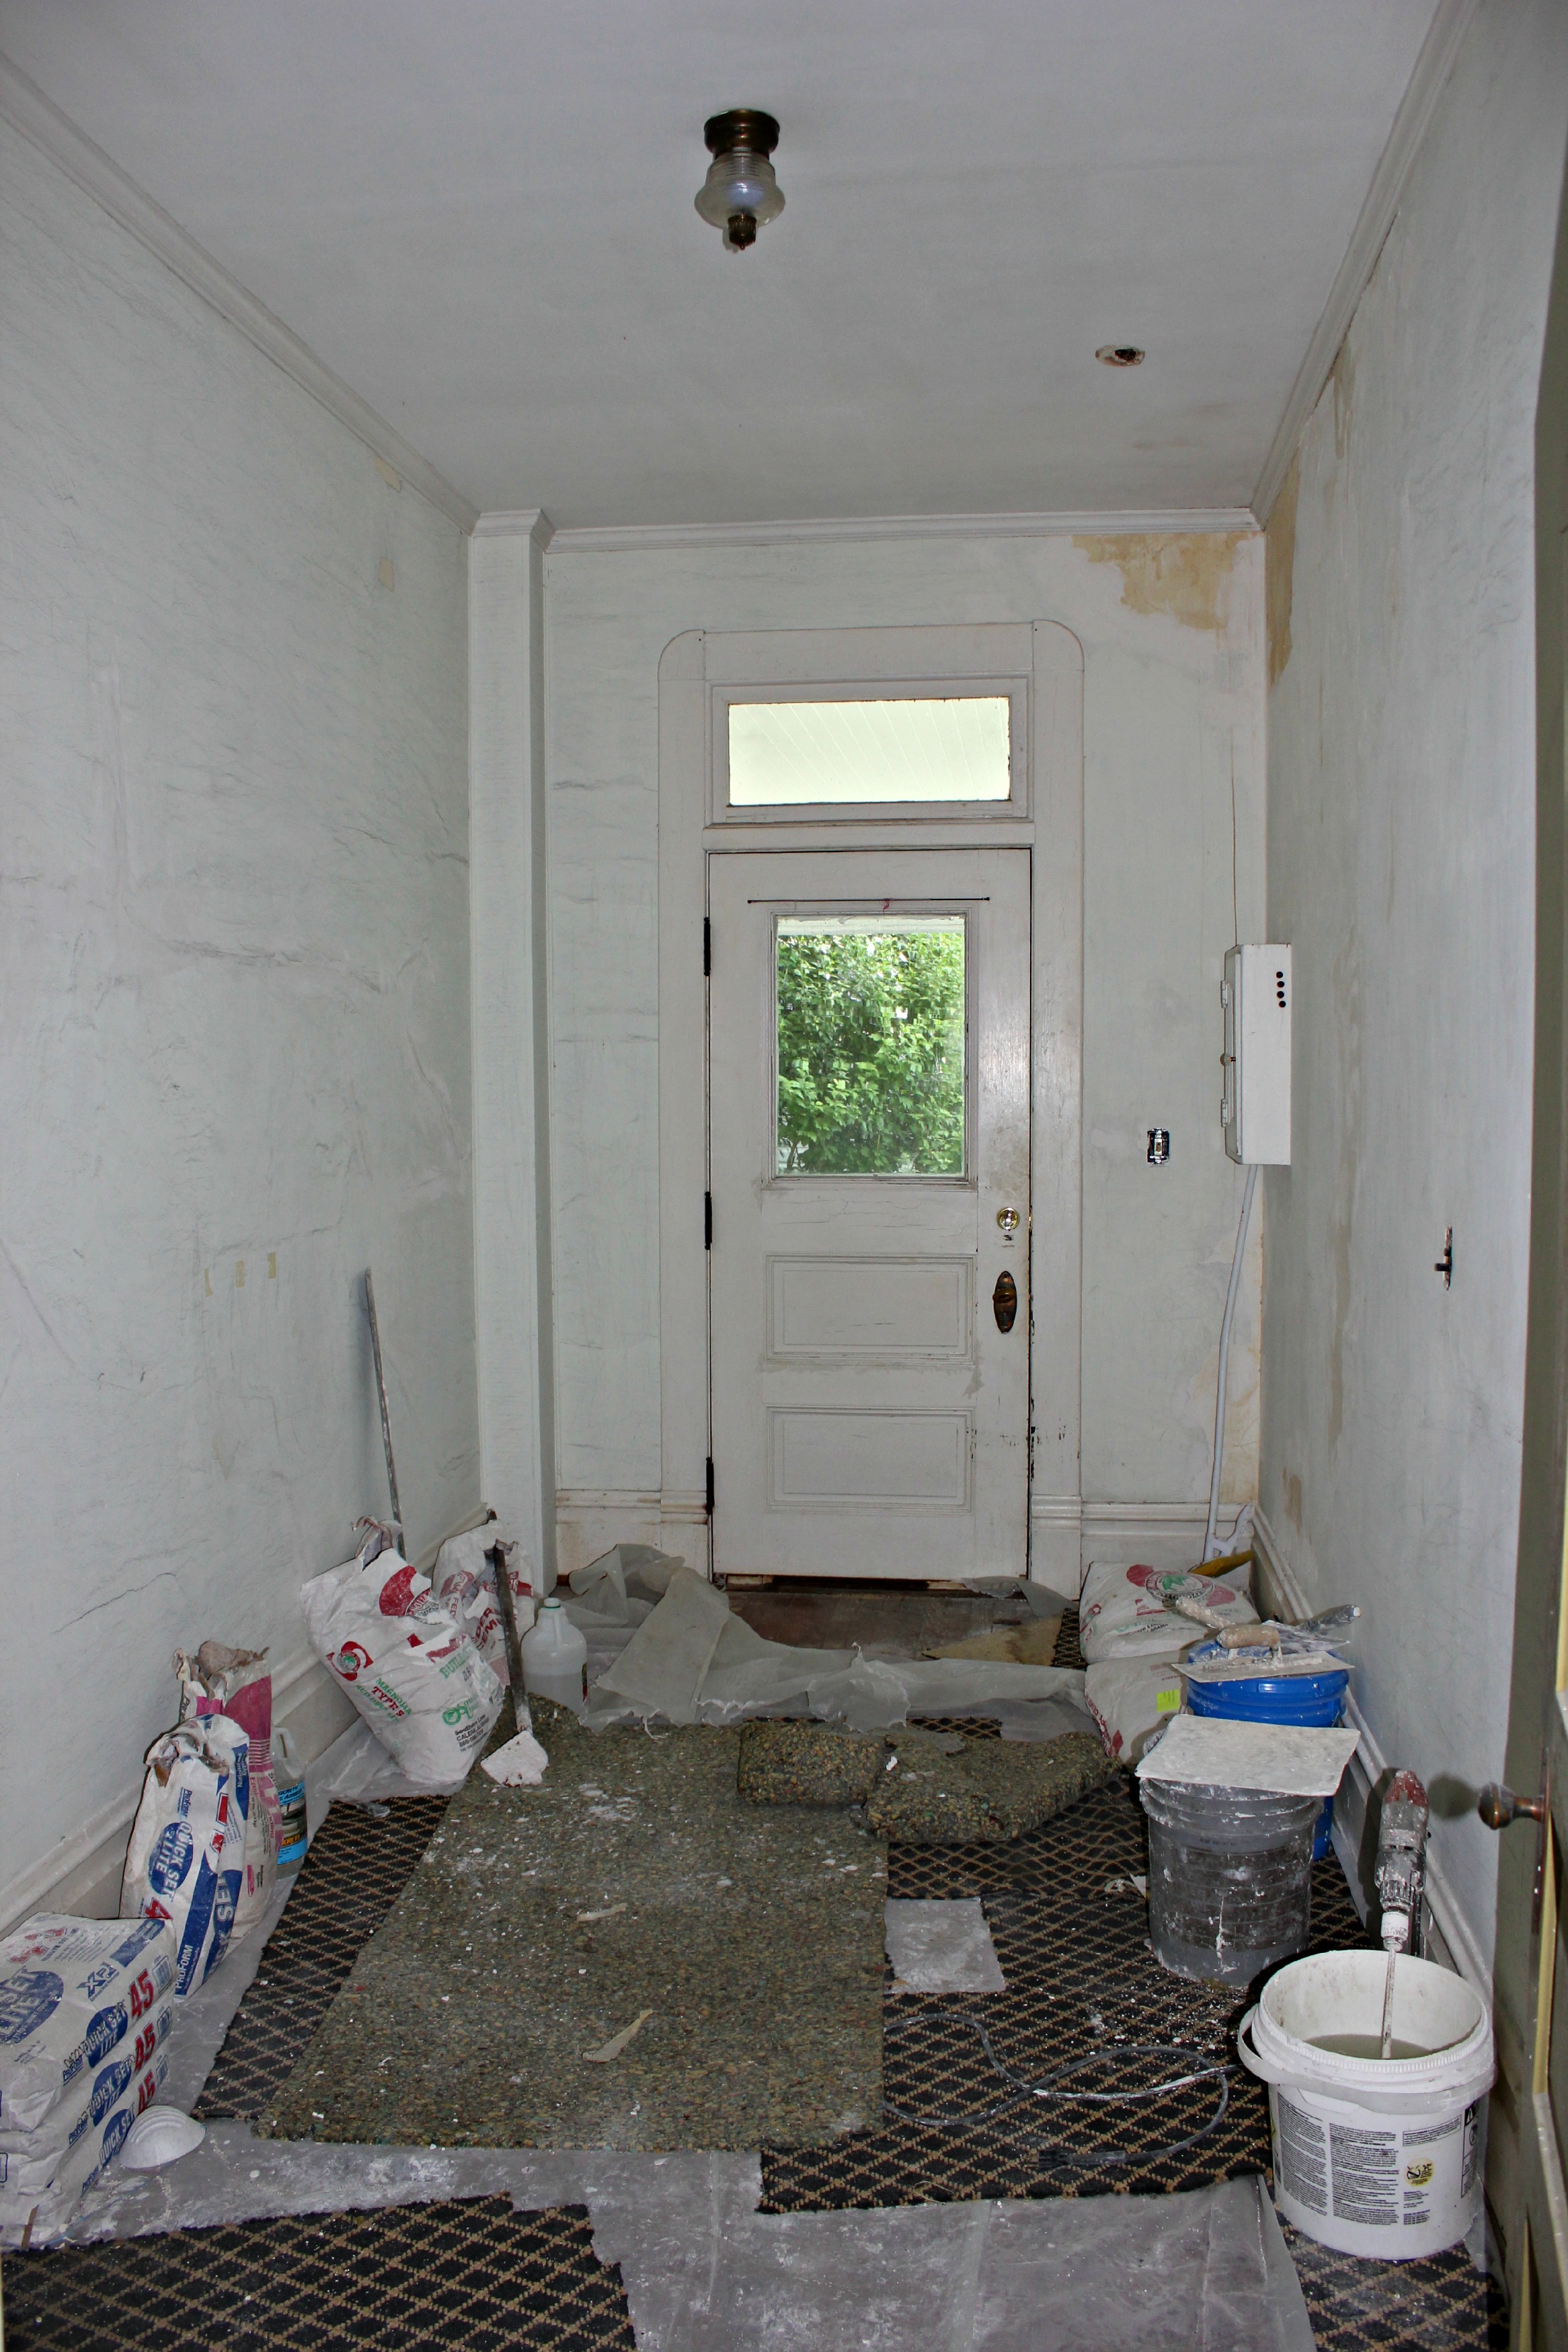
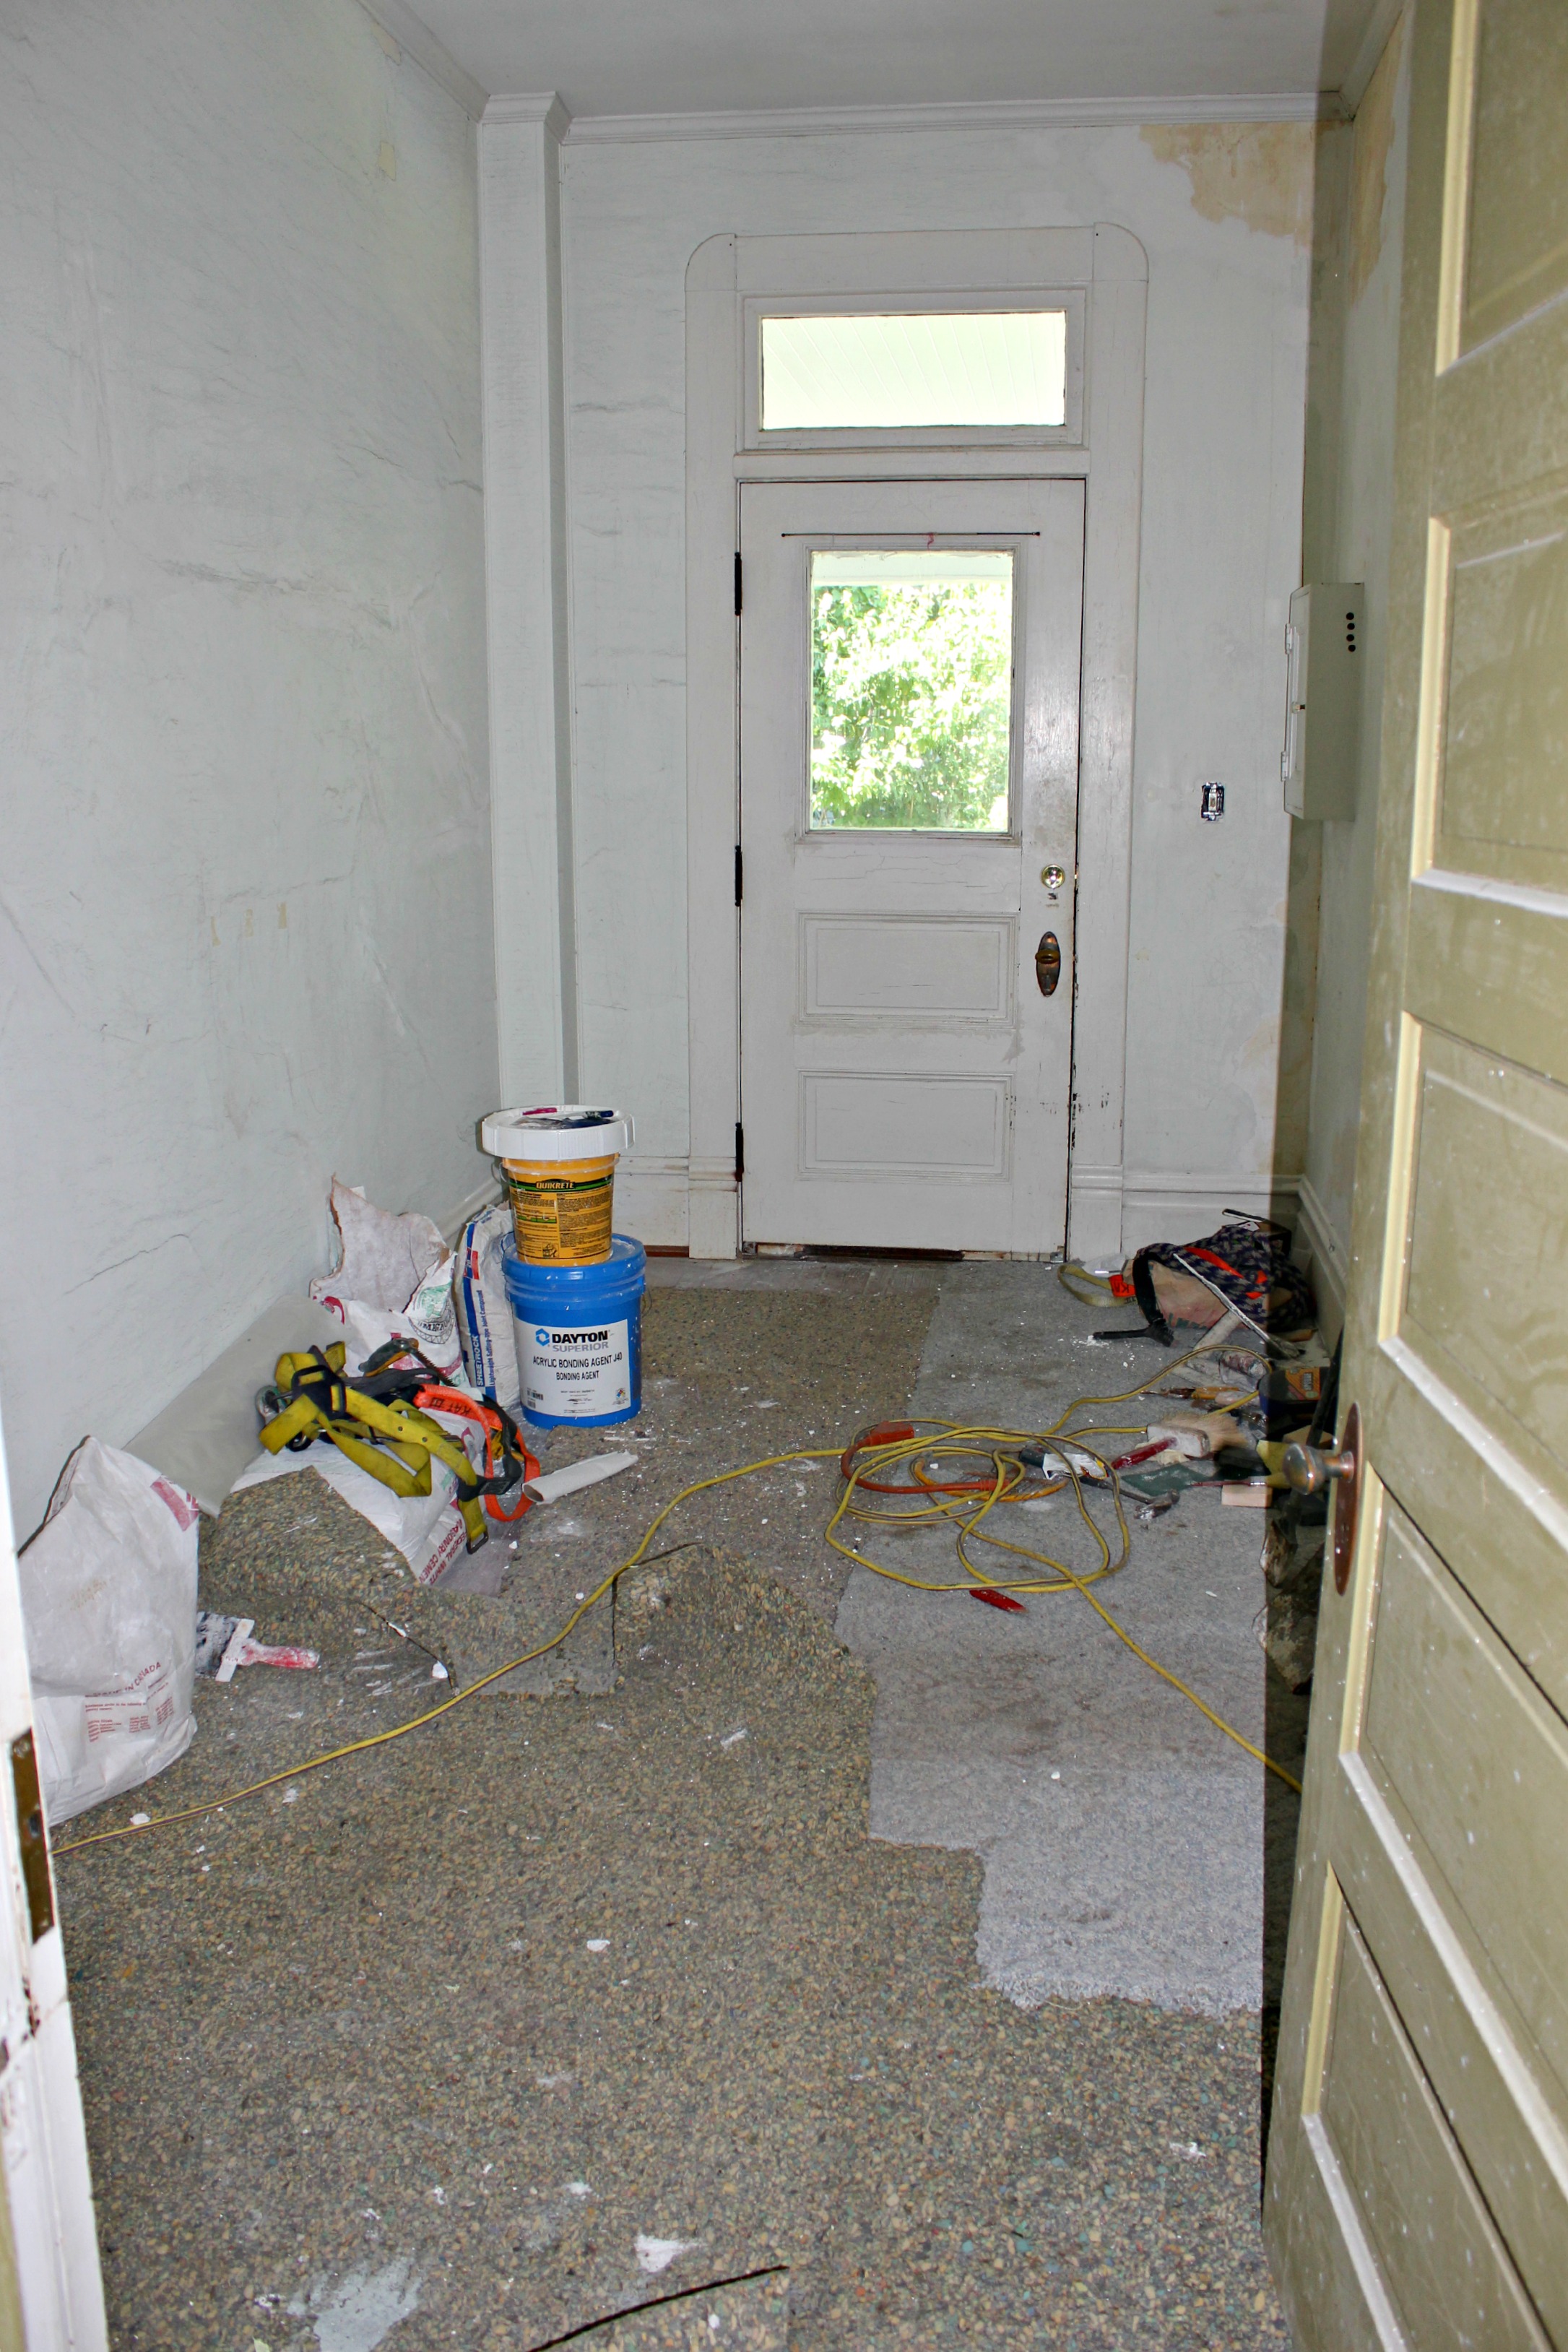
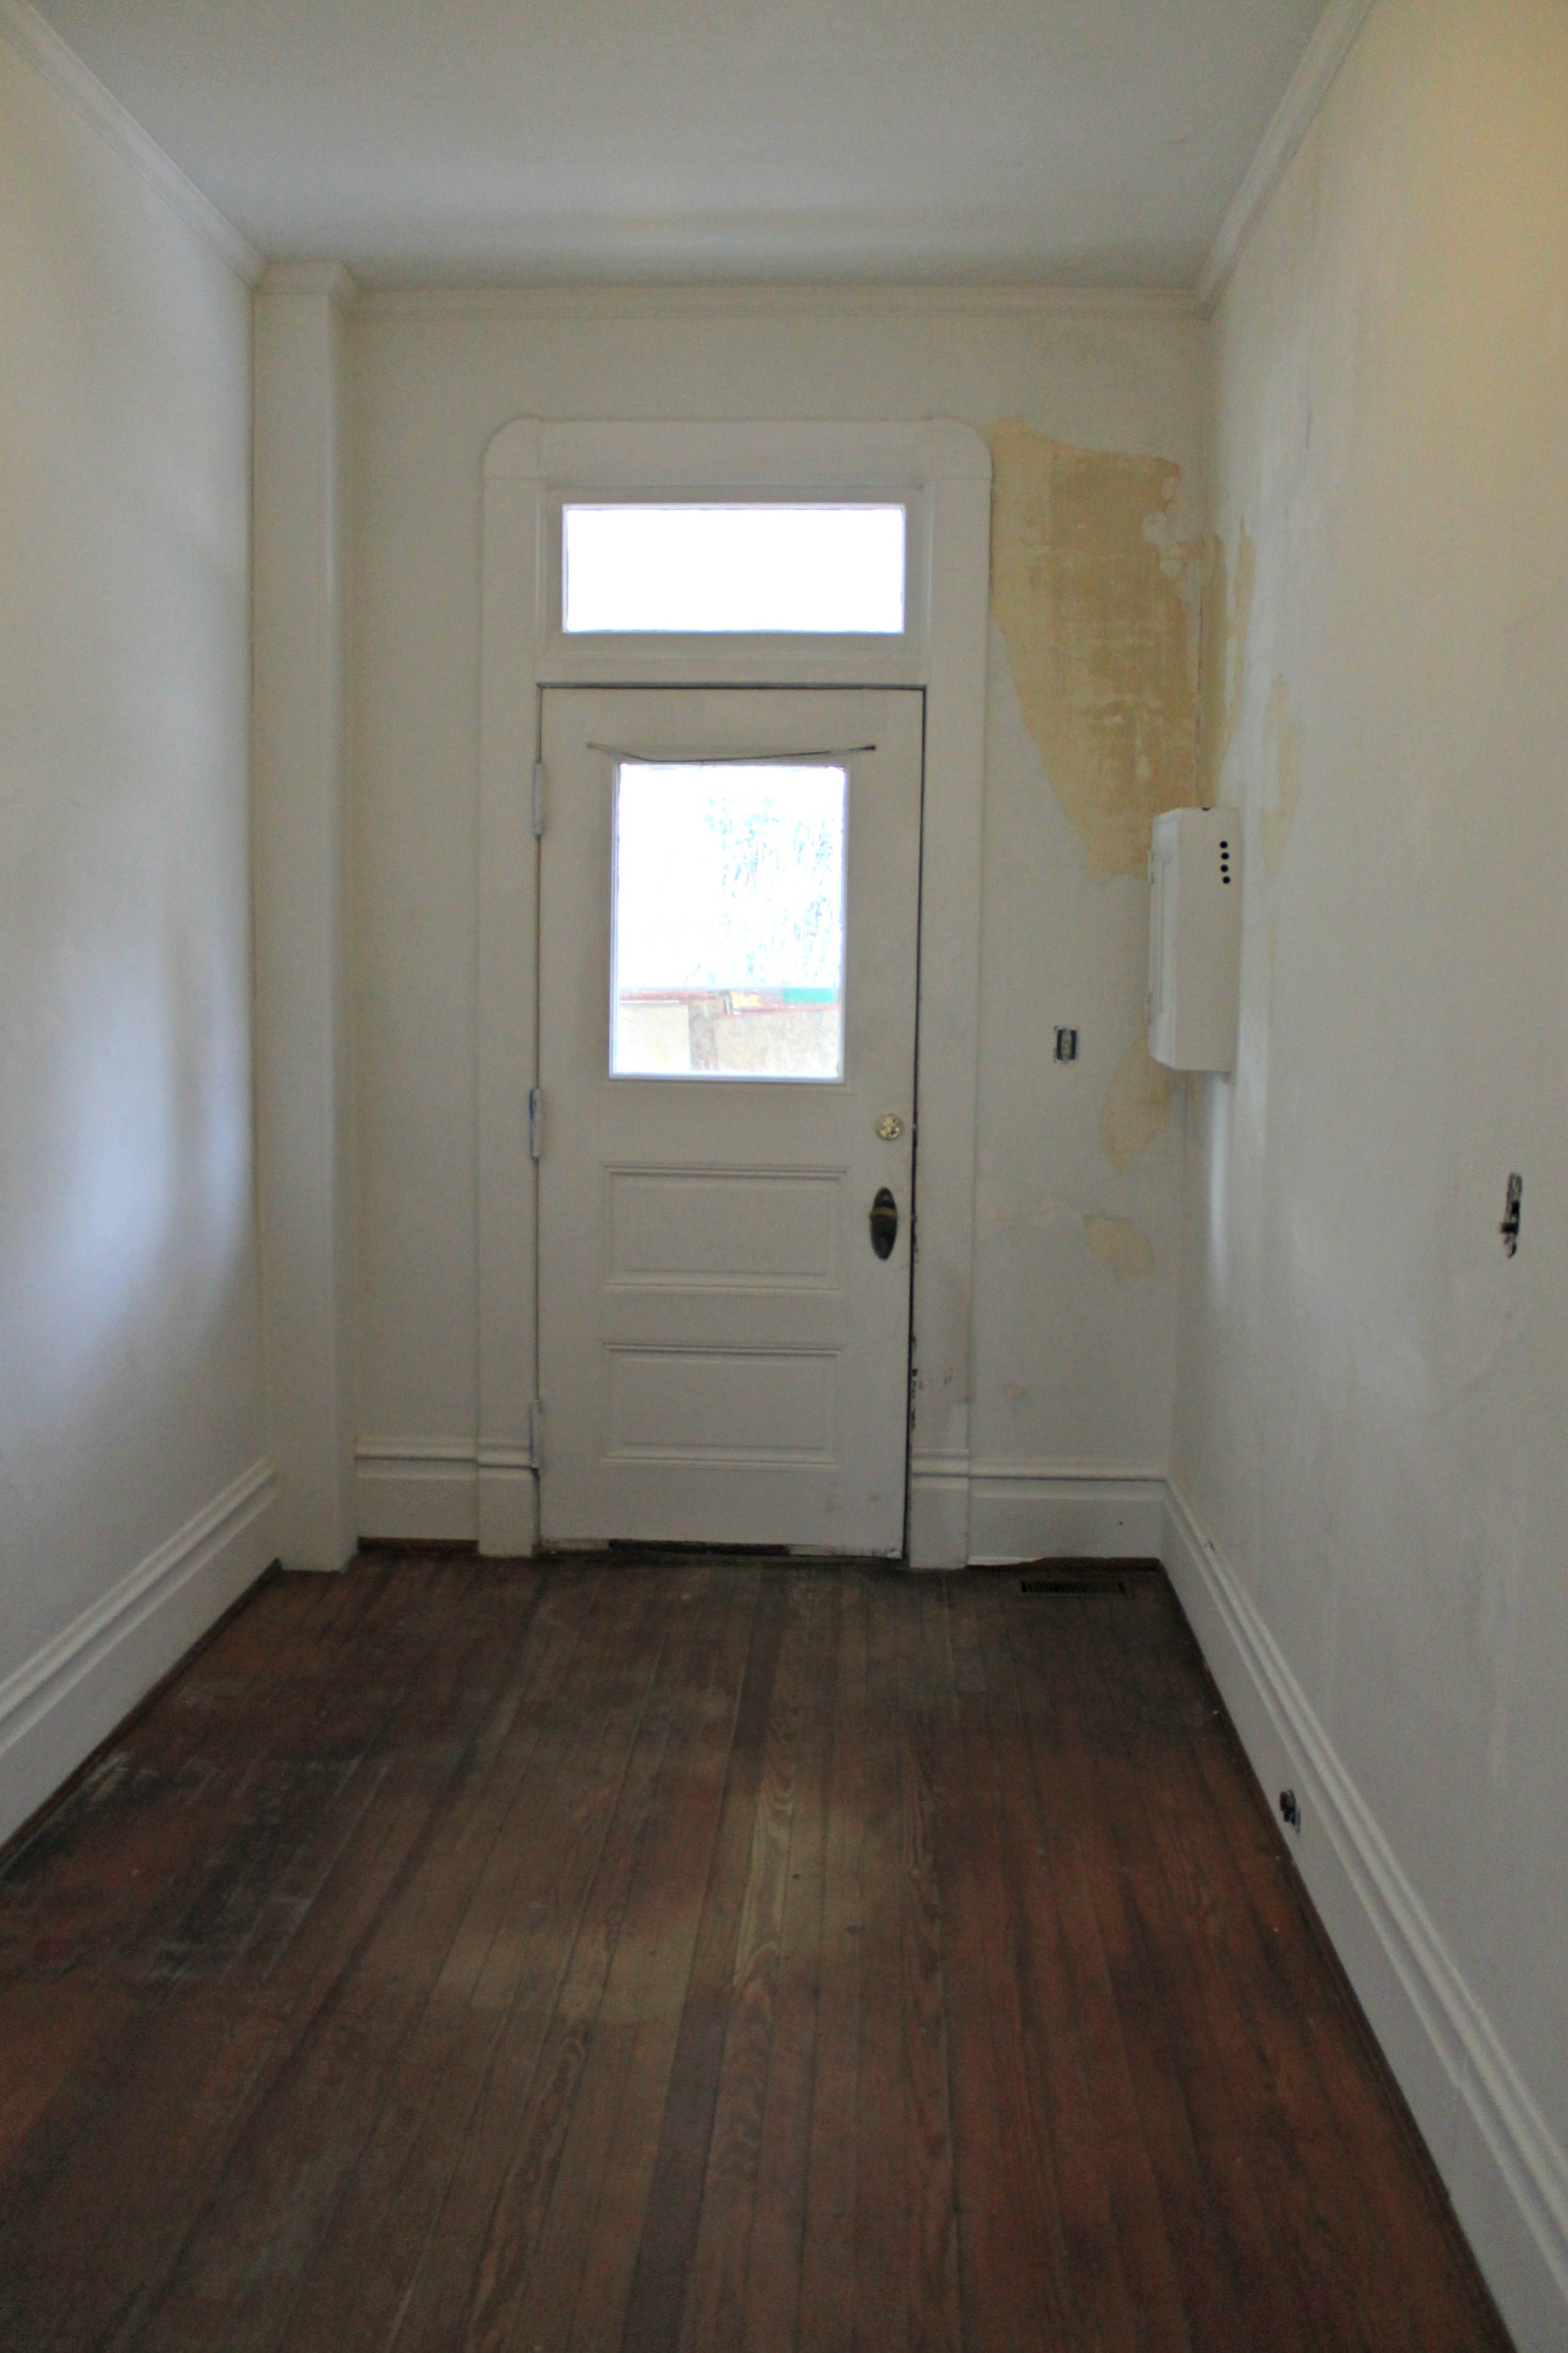
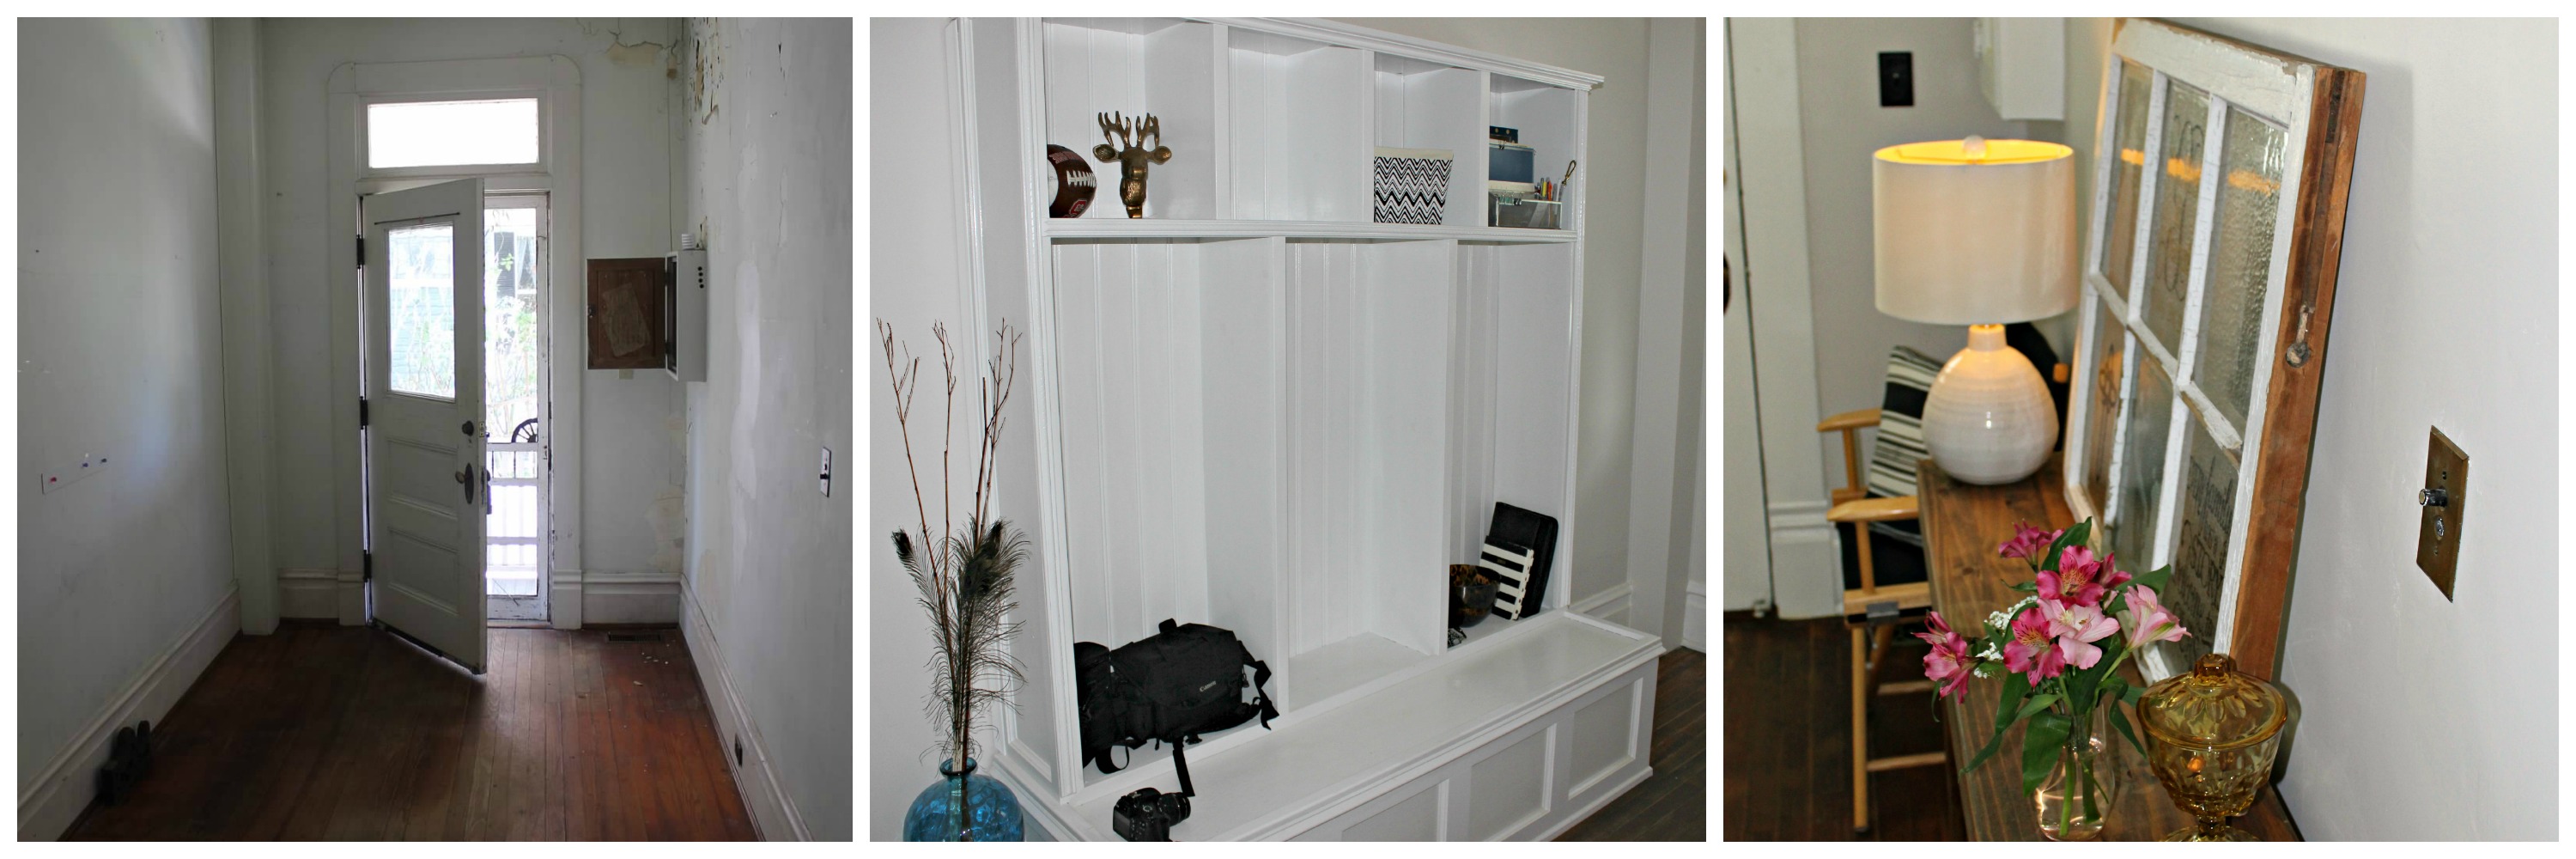
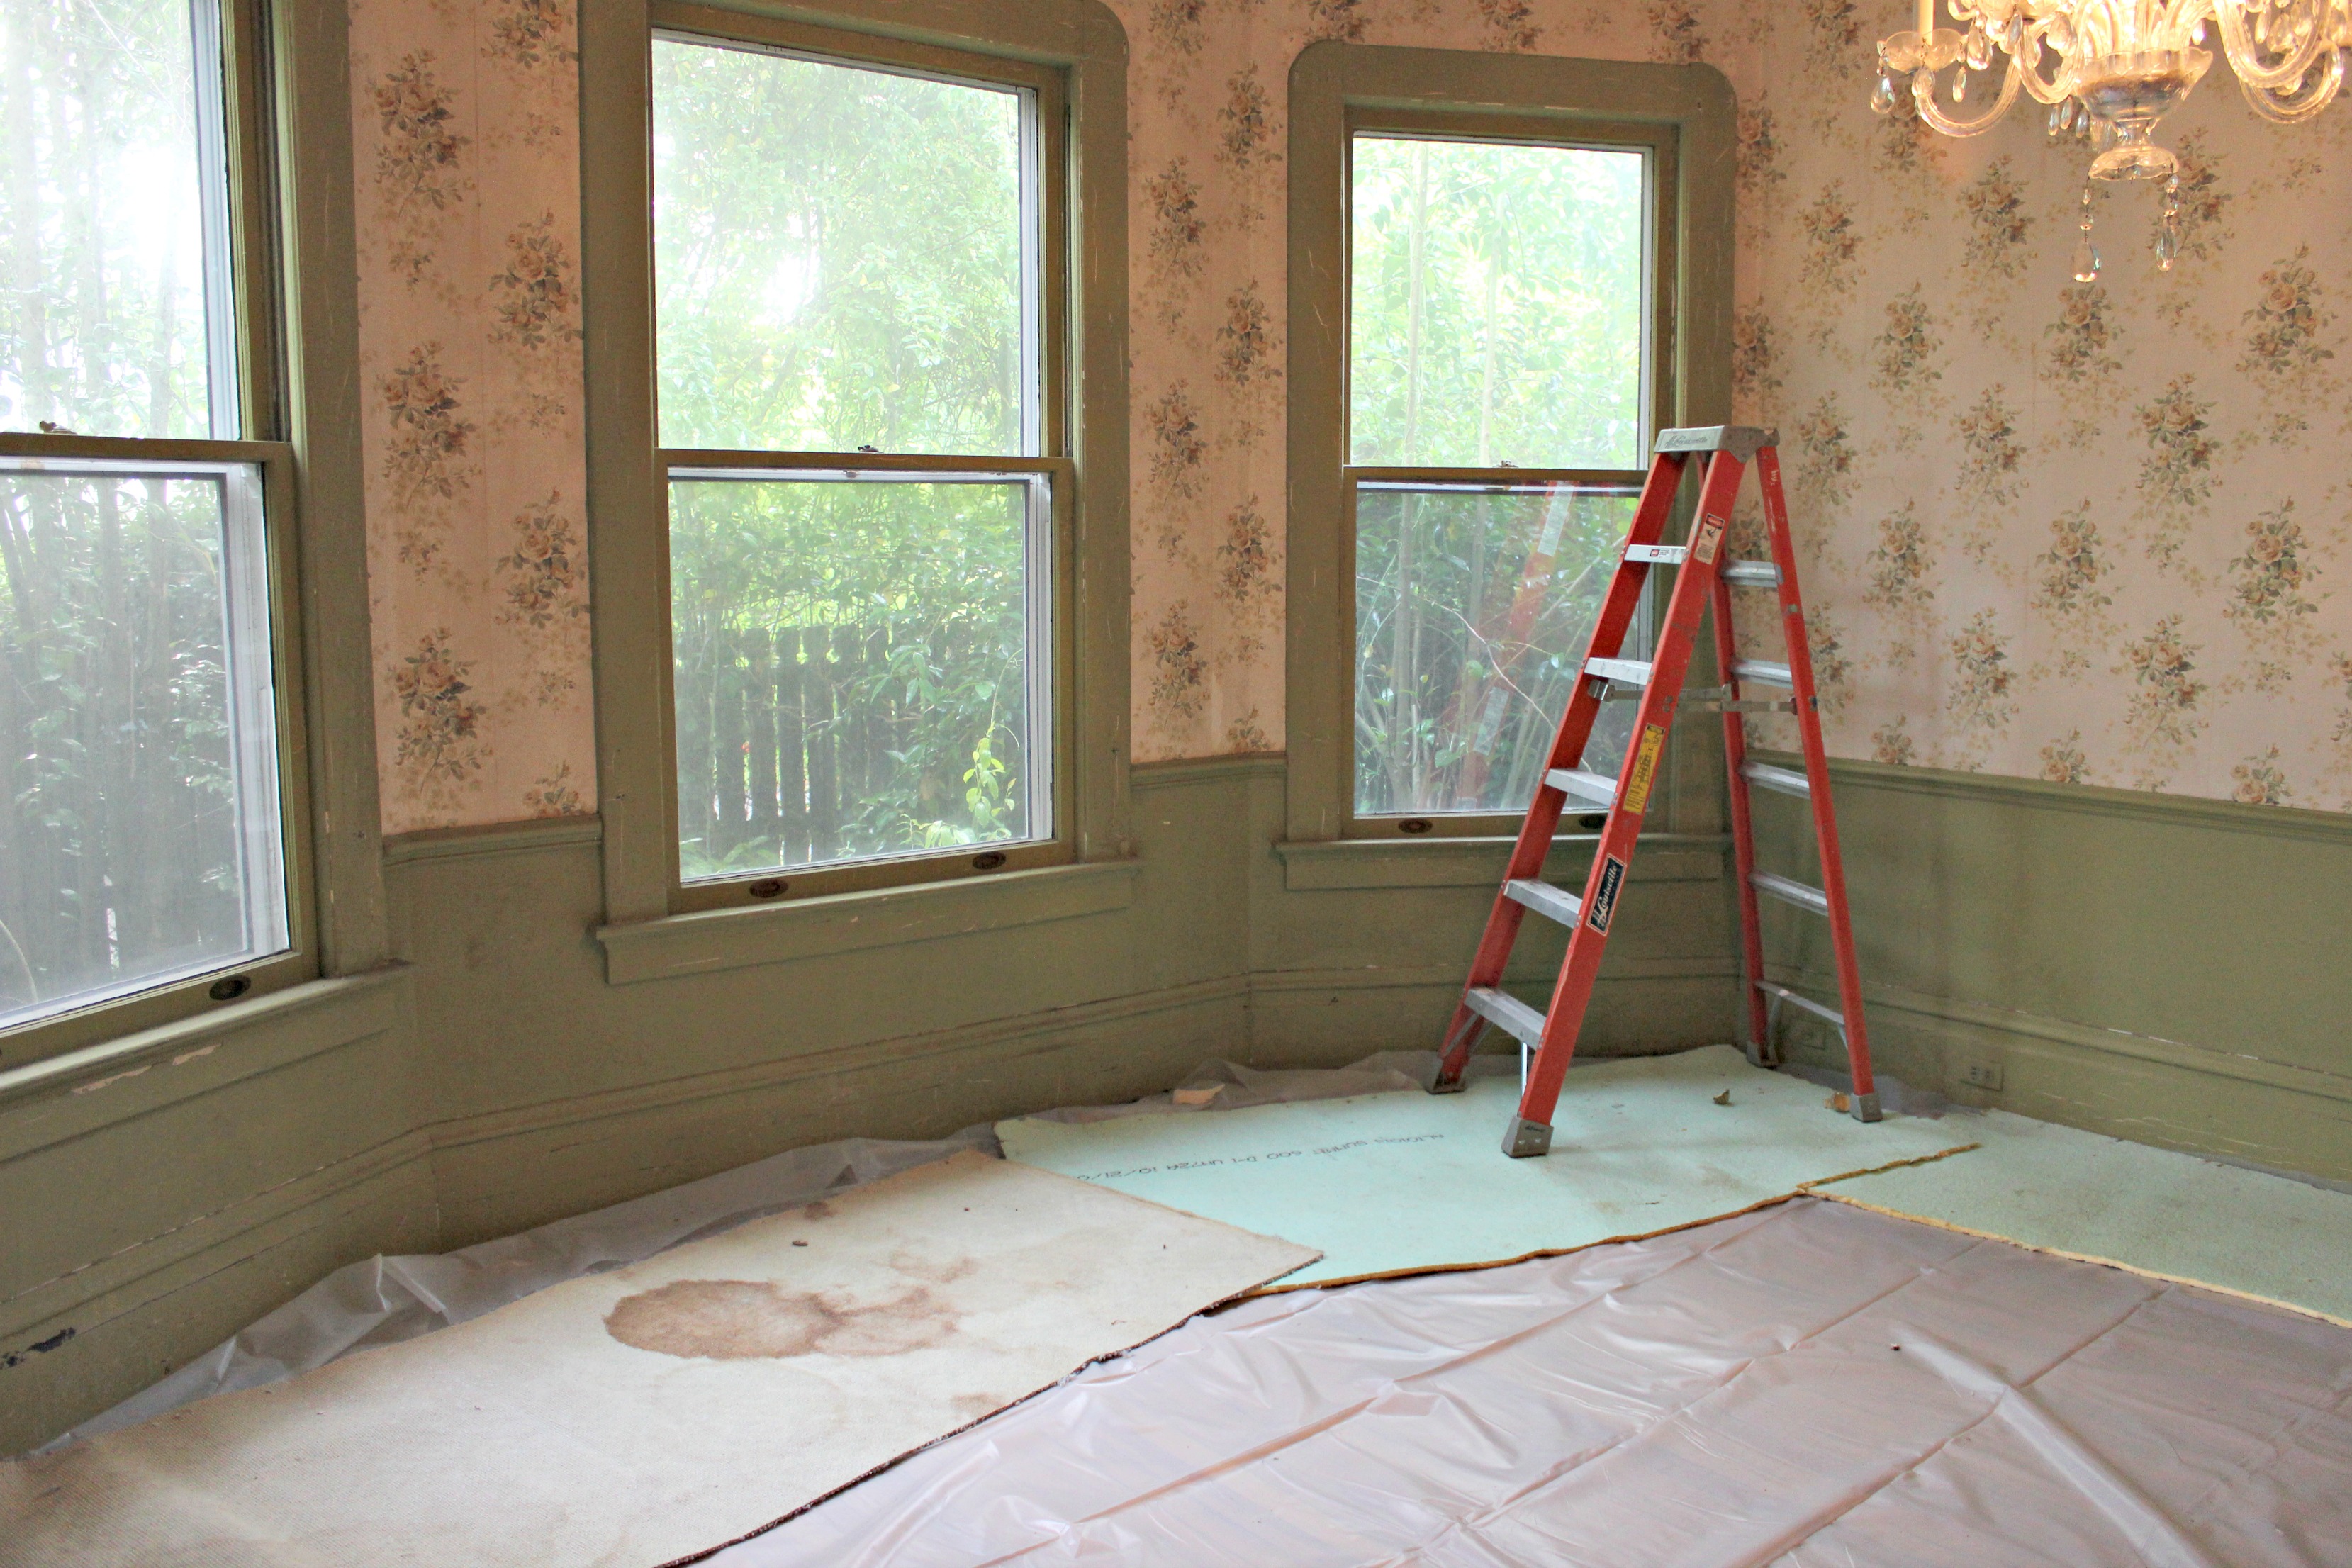
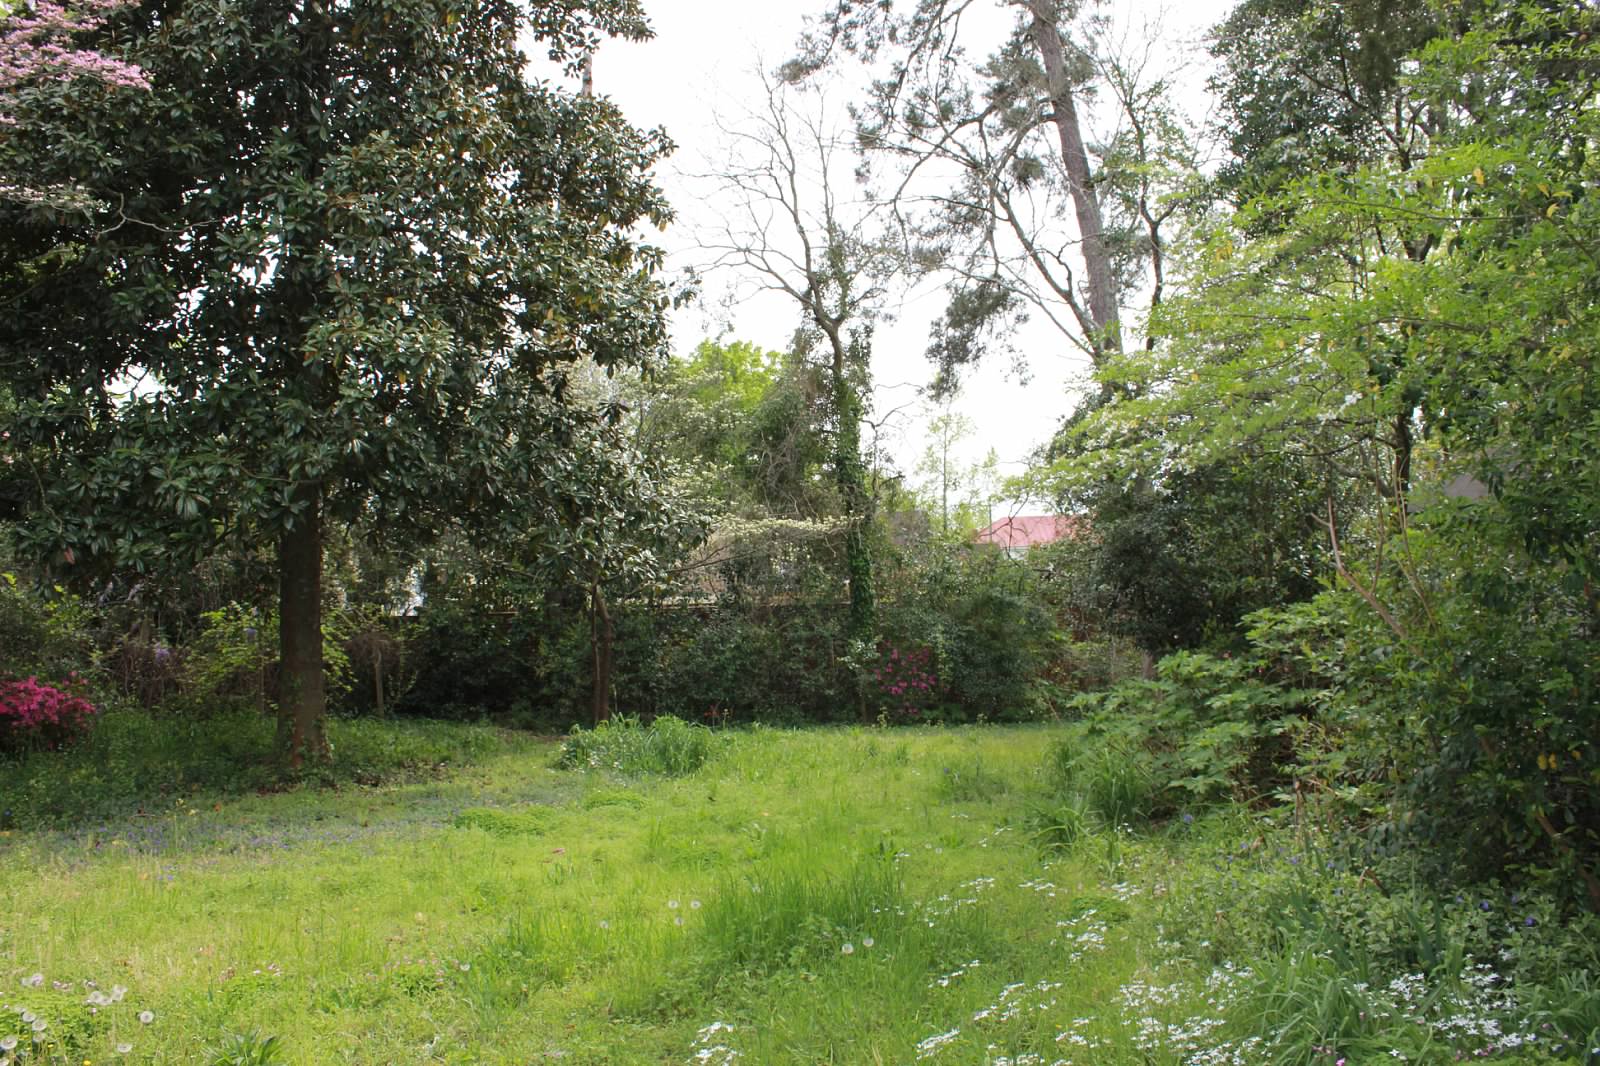
Let’s start with a before shot.
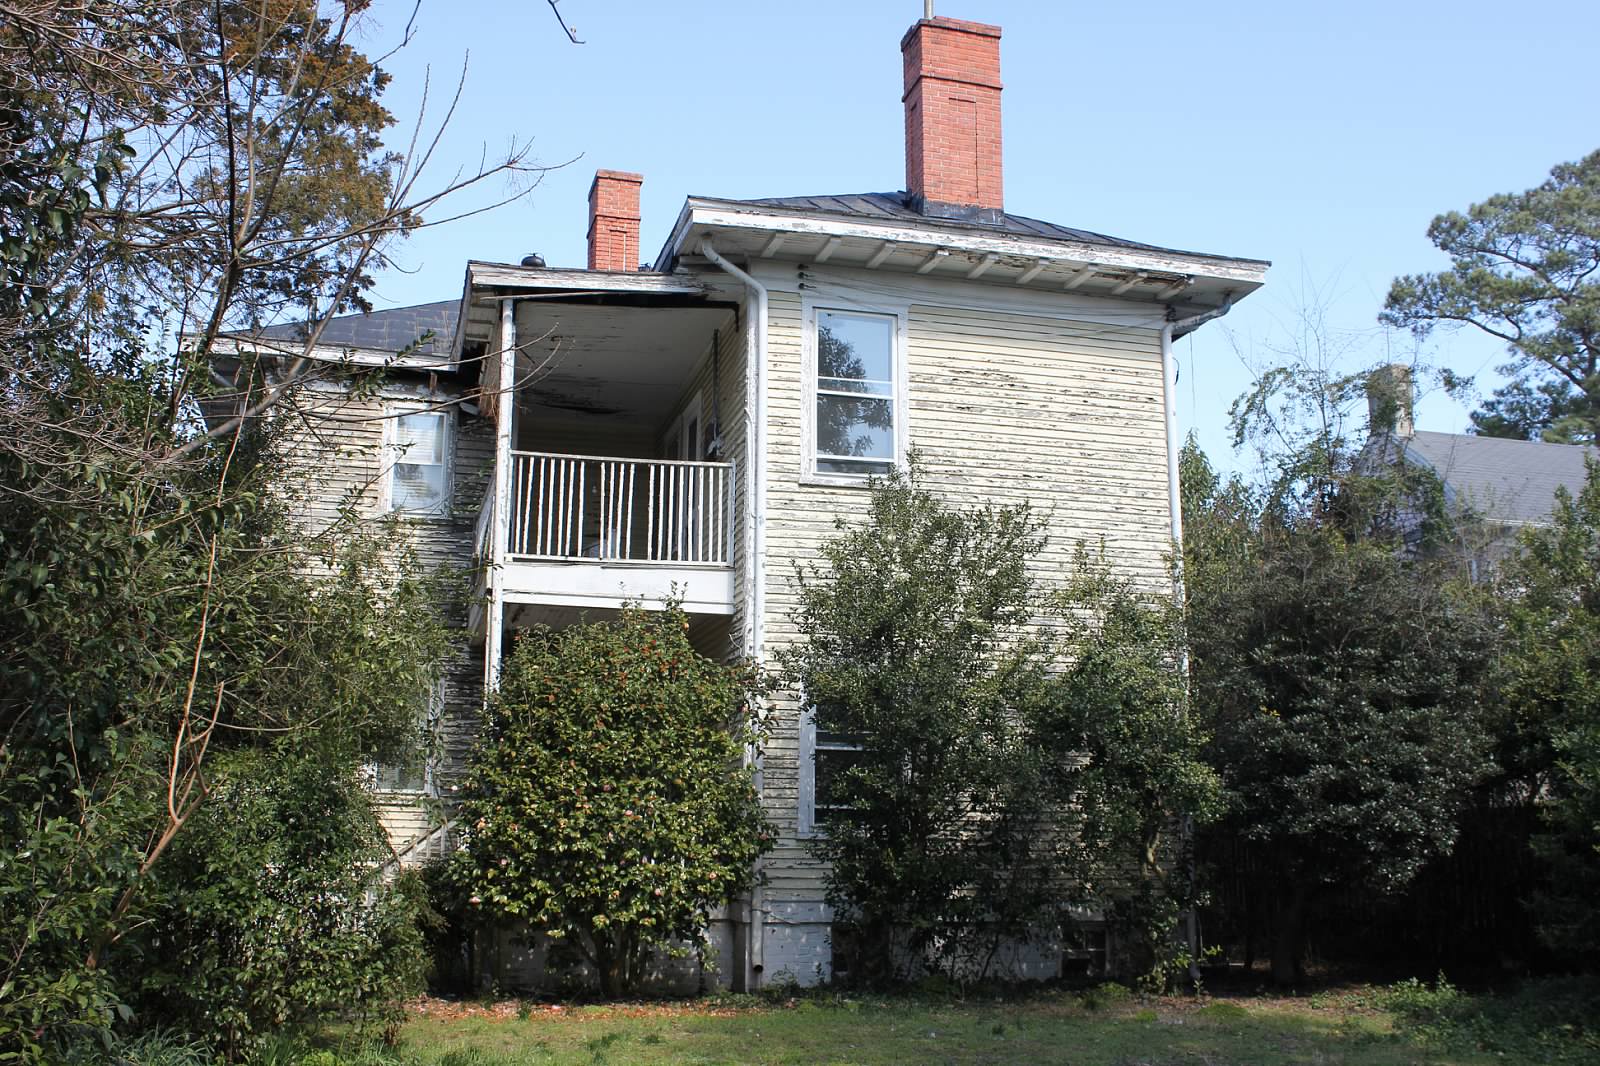
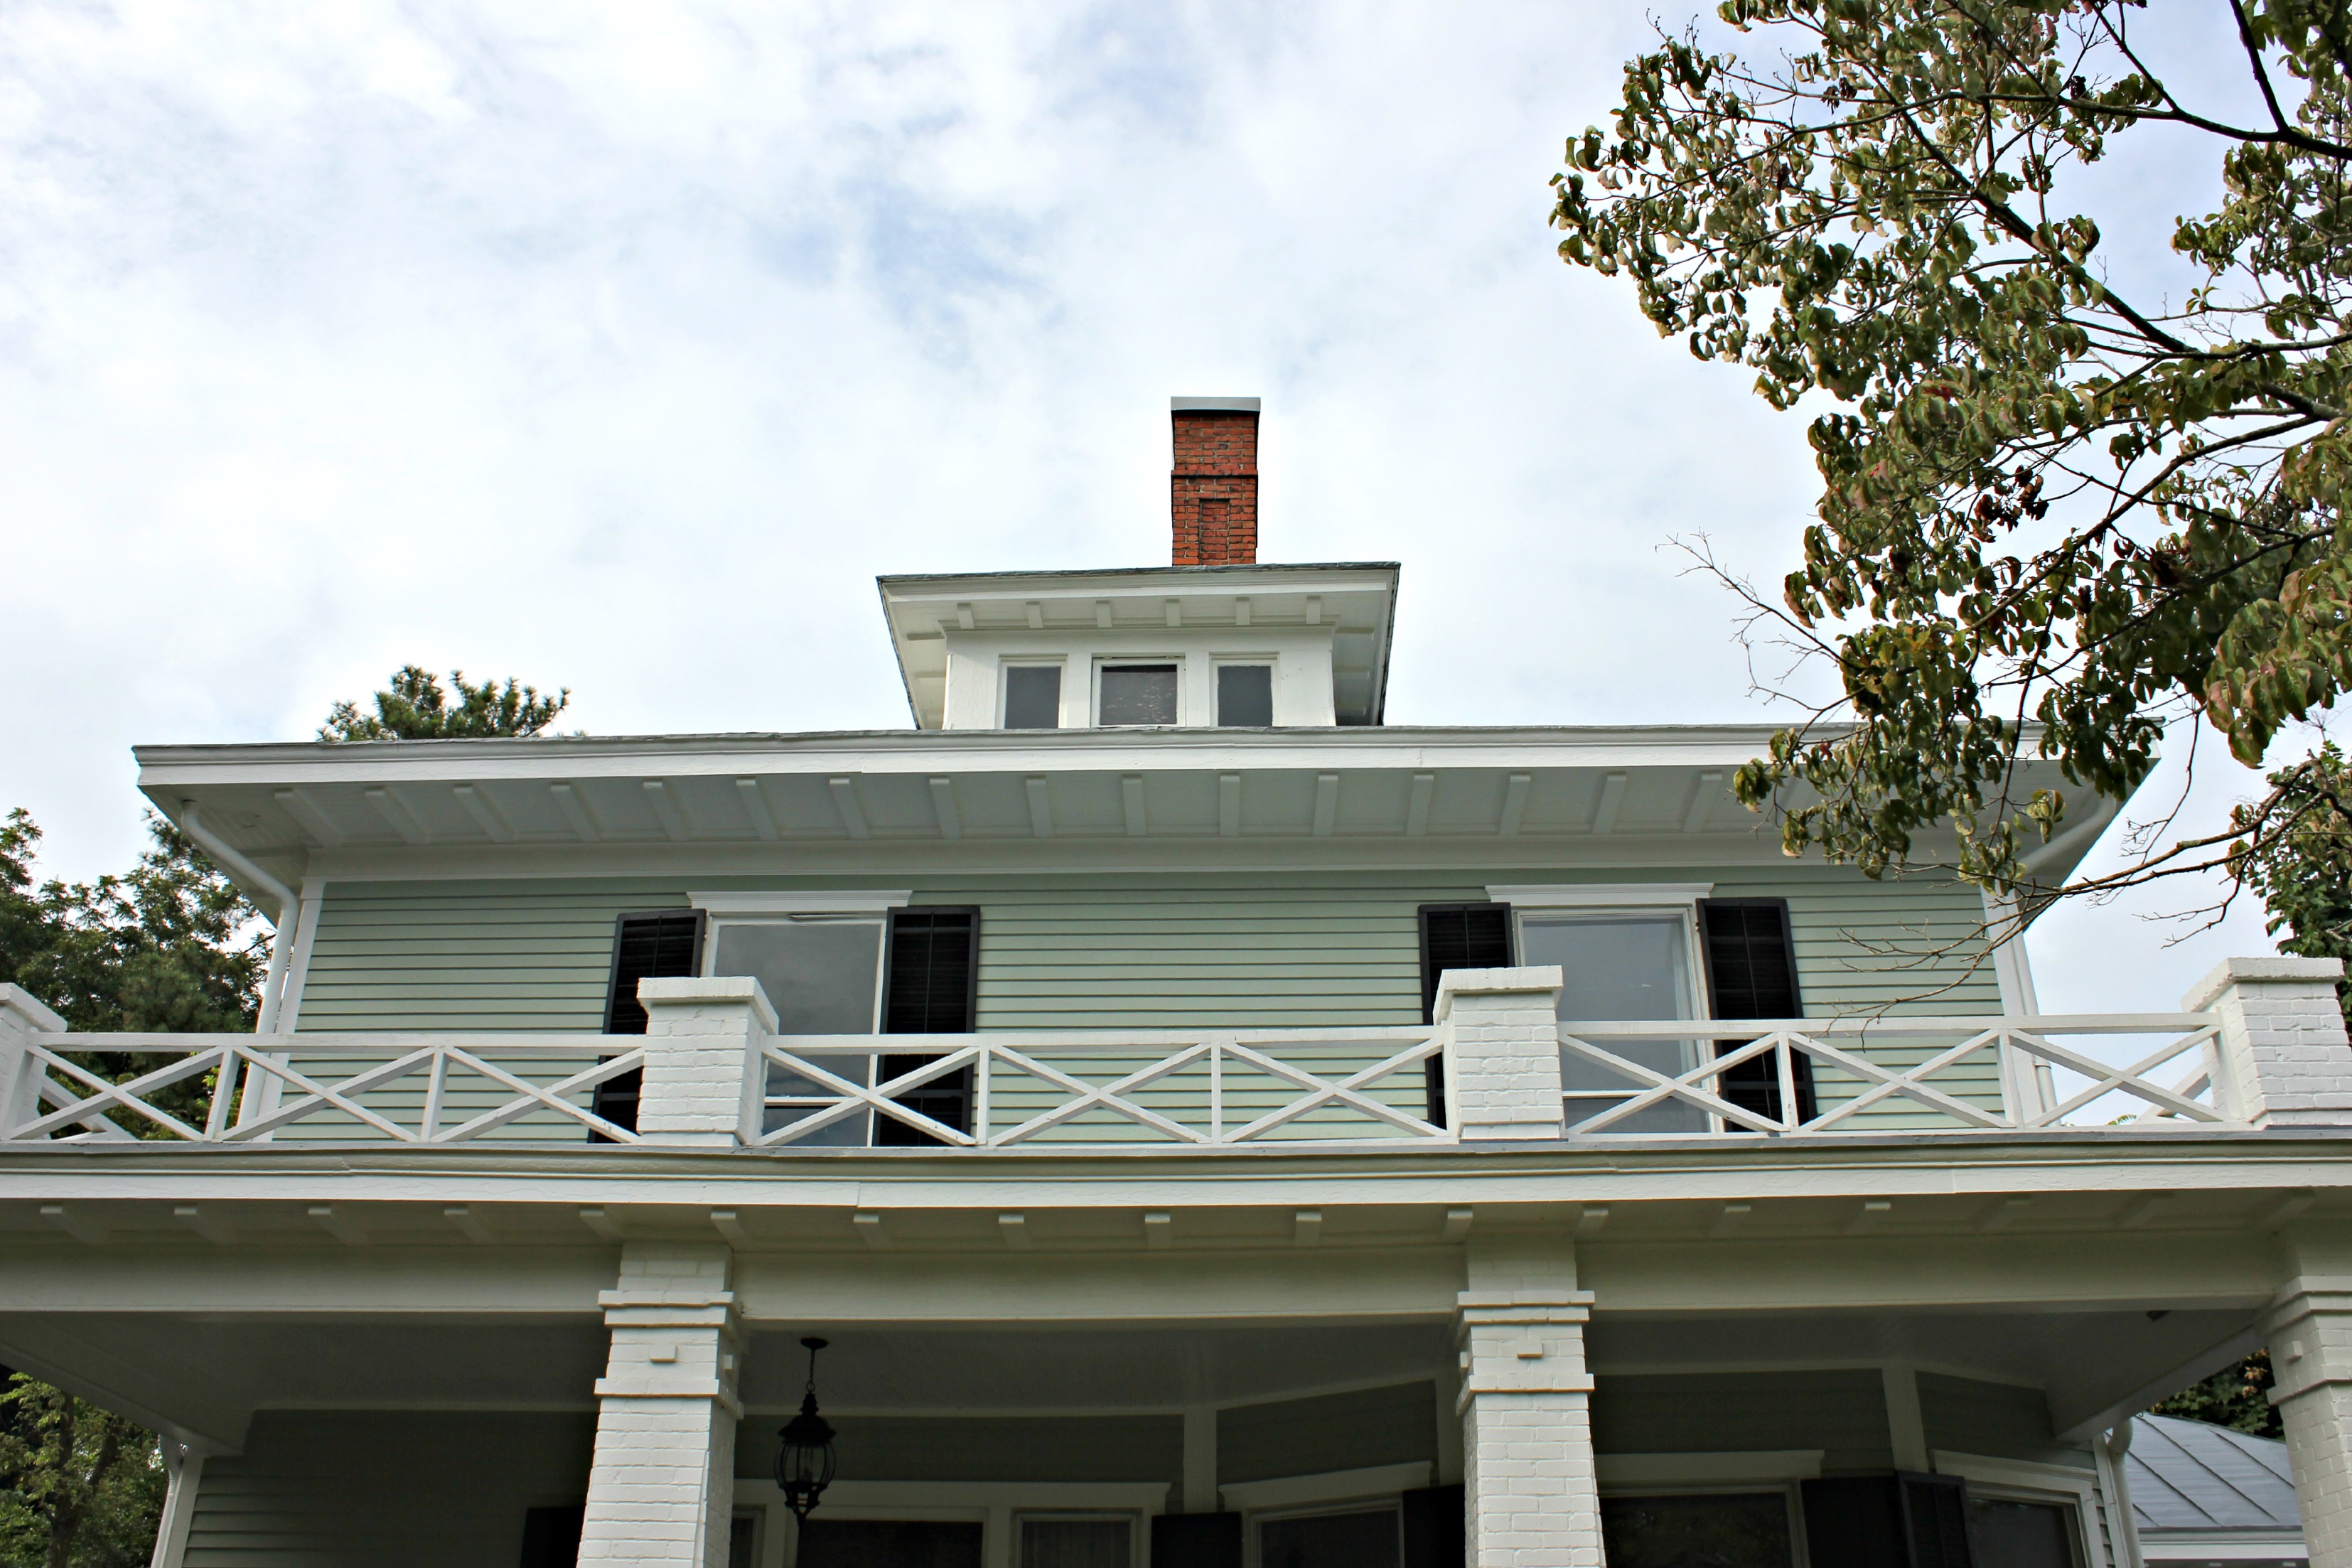
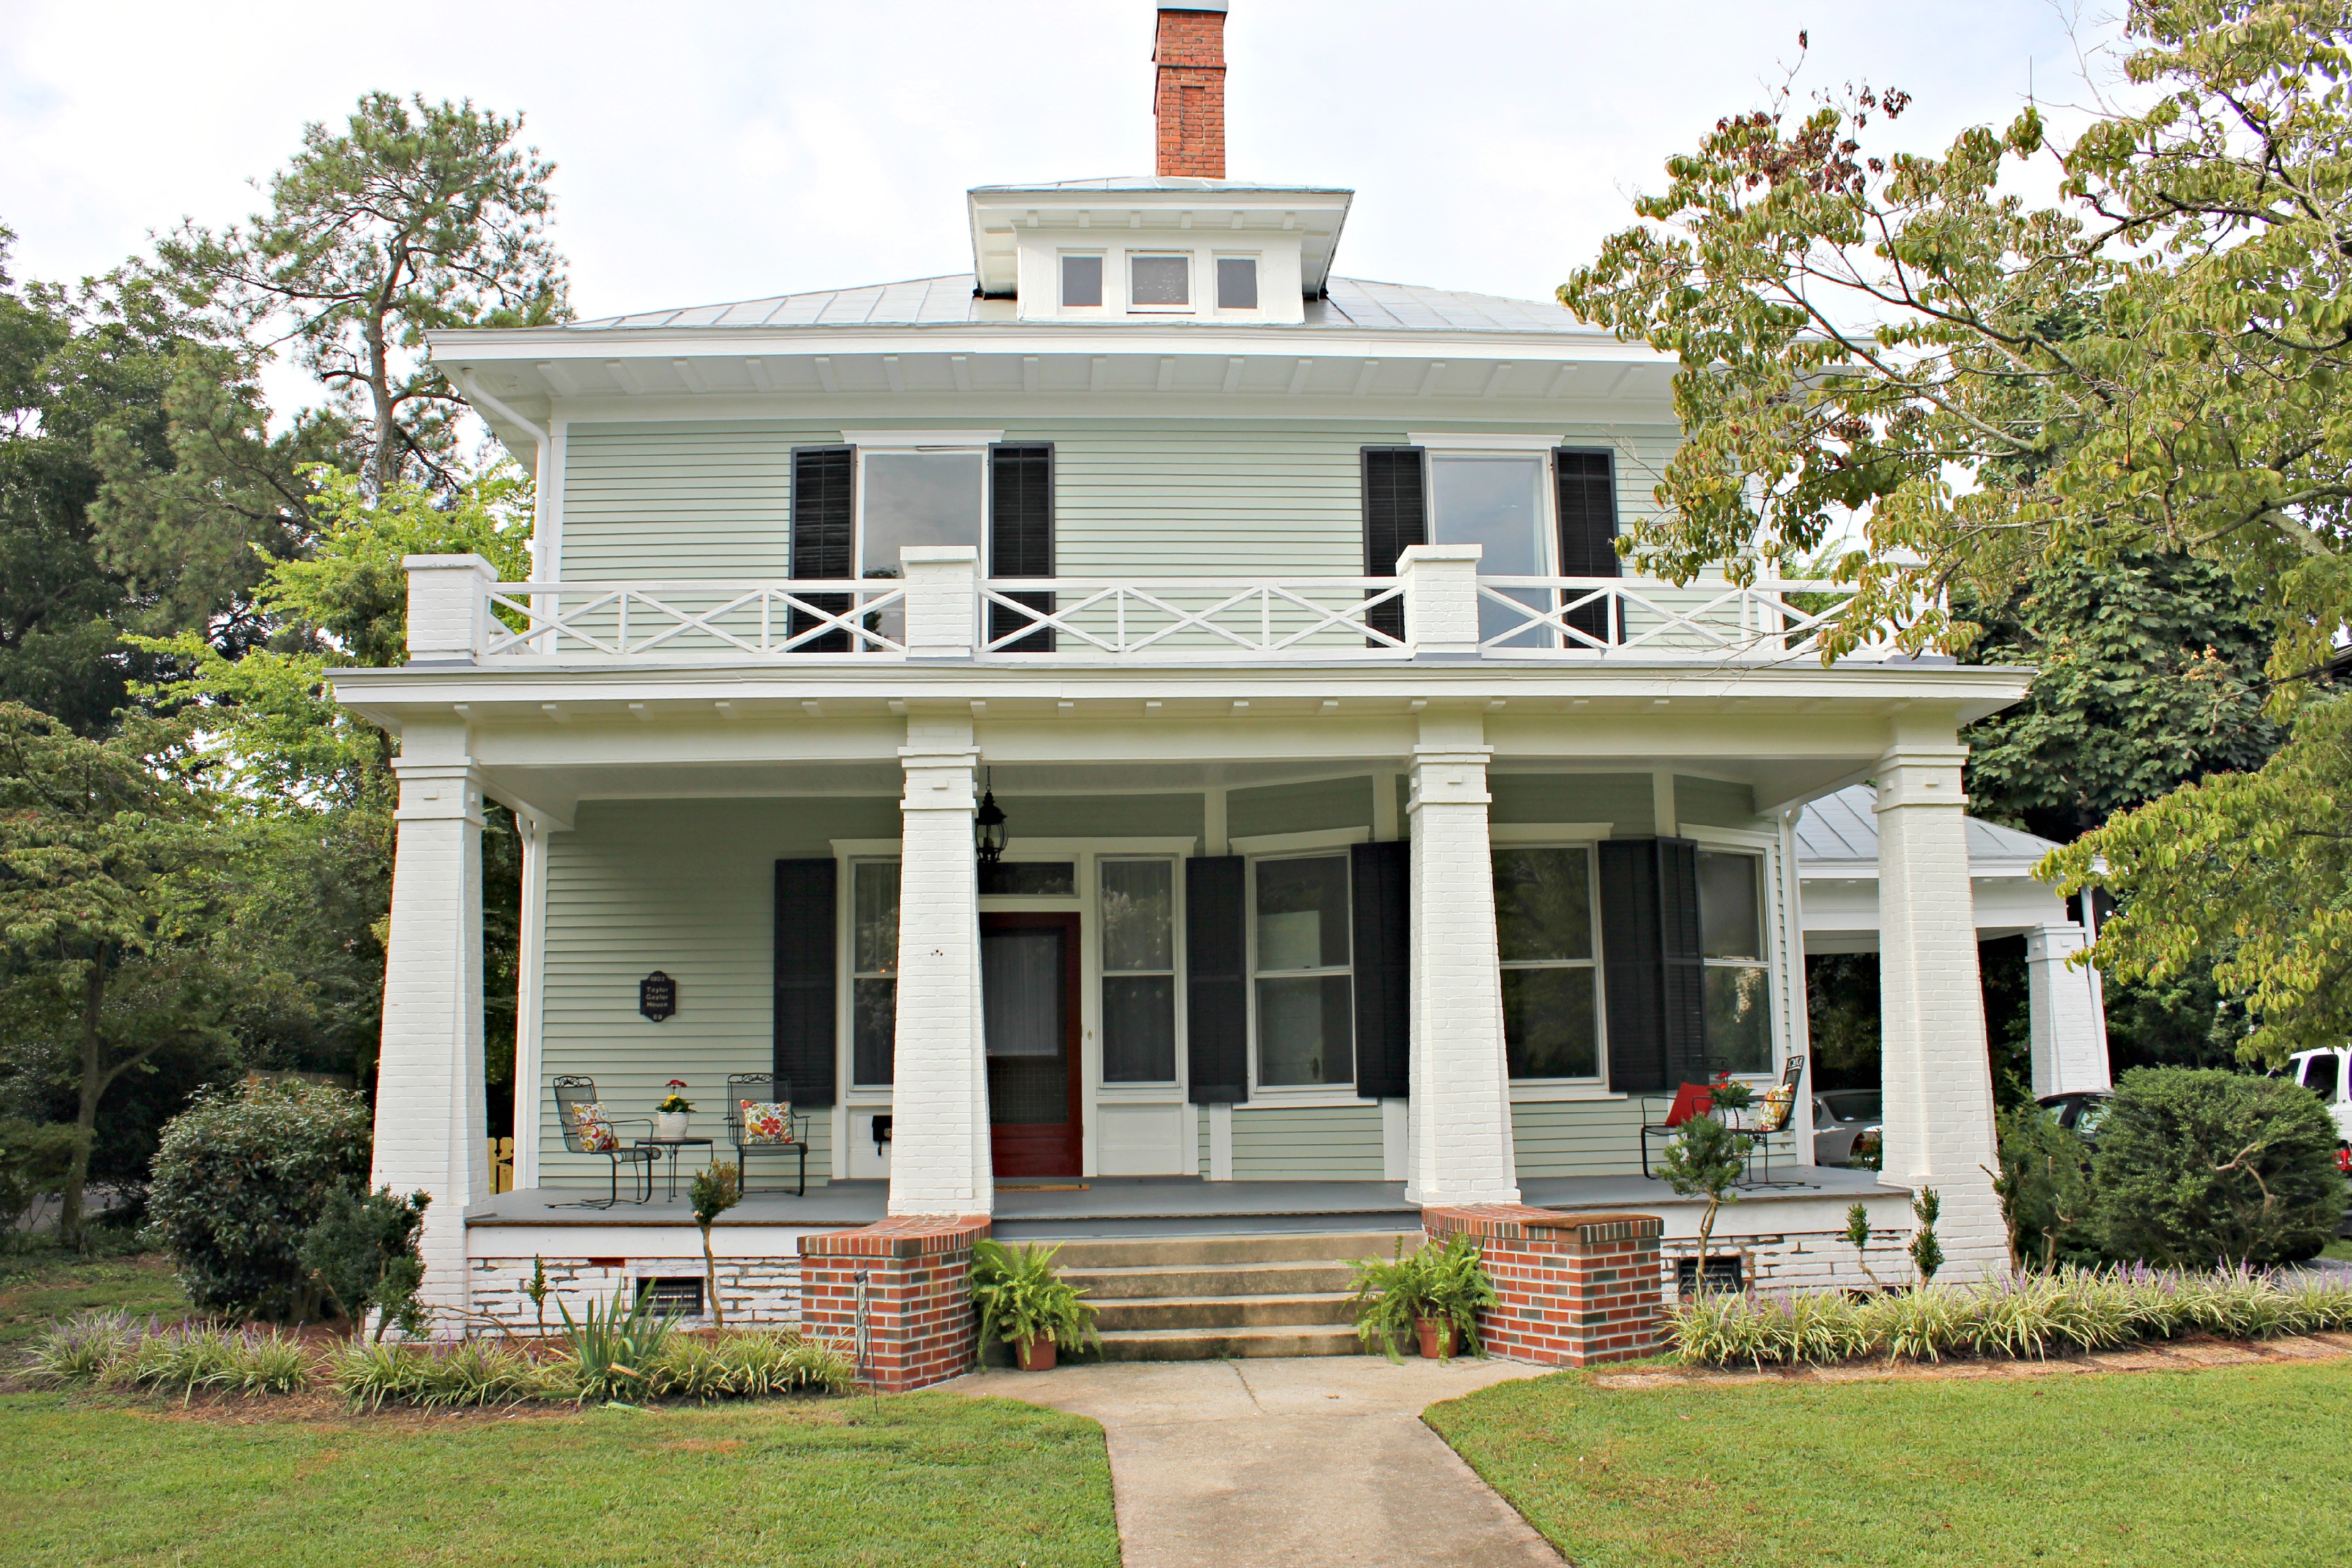
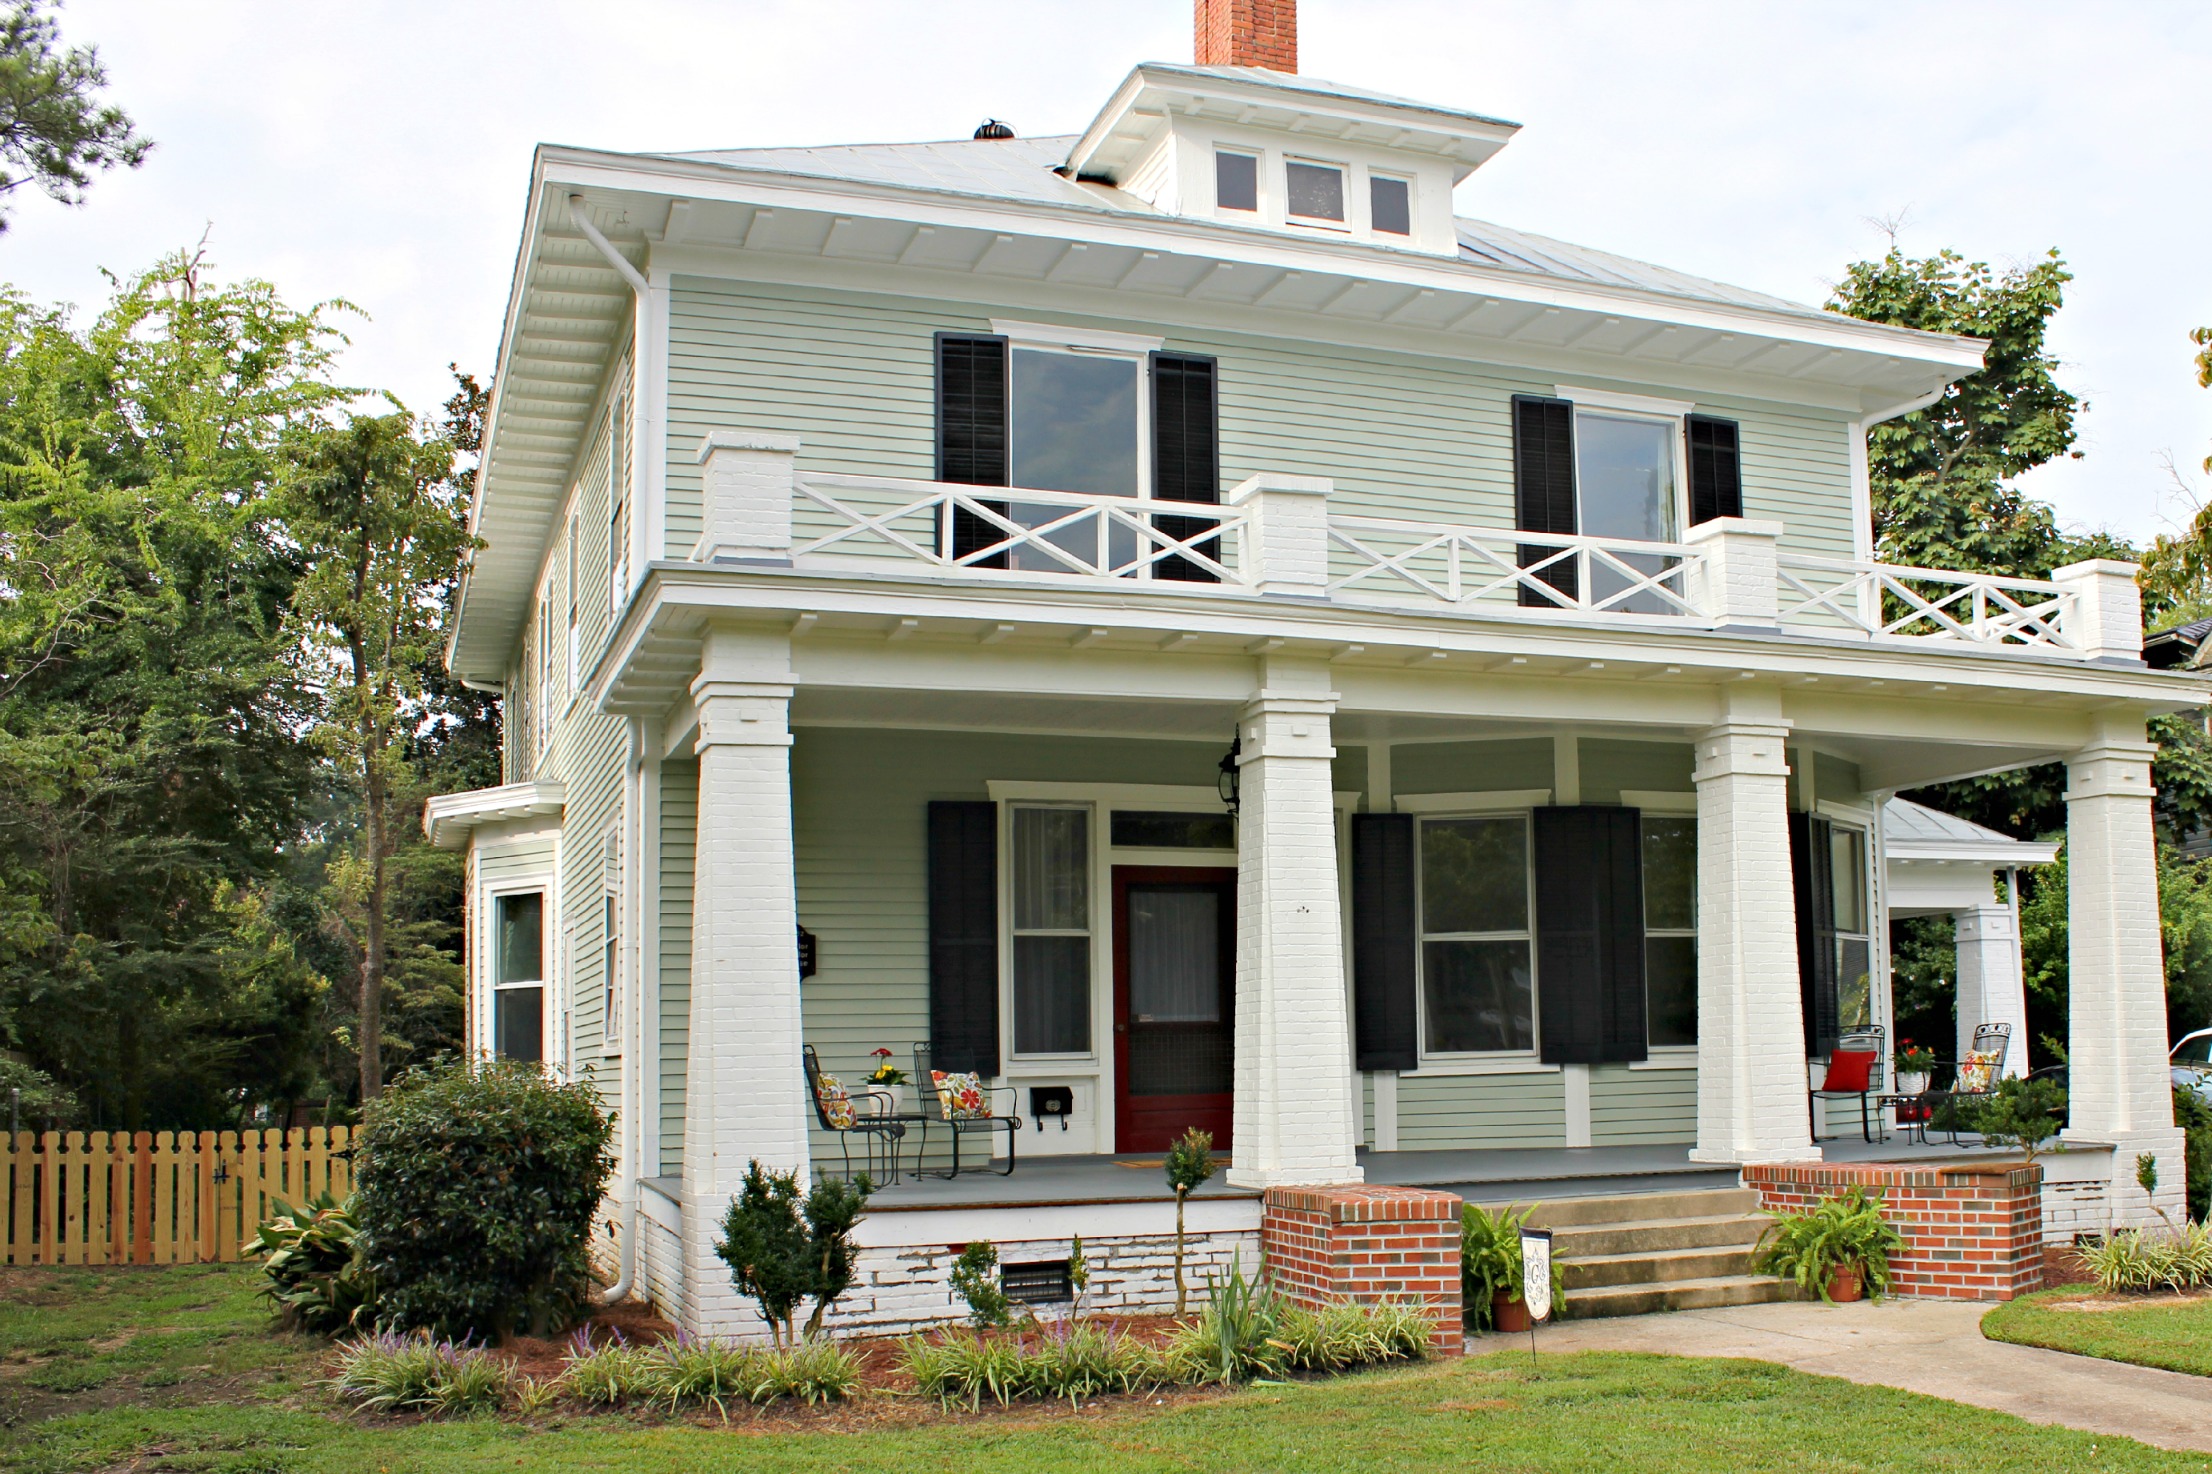
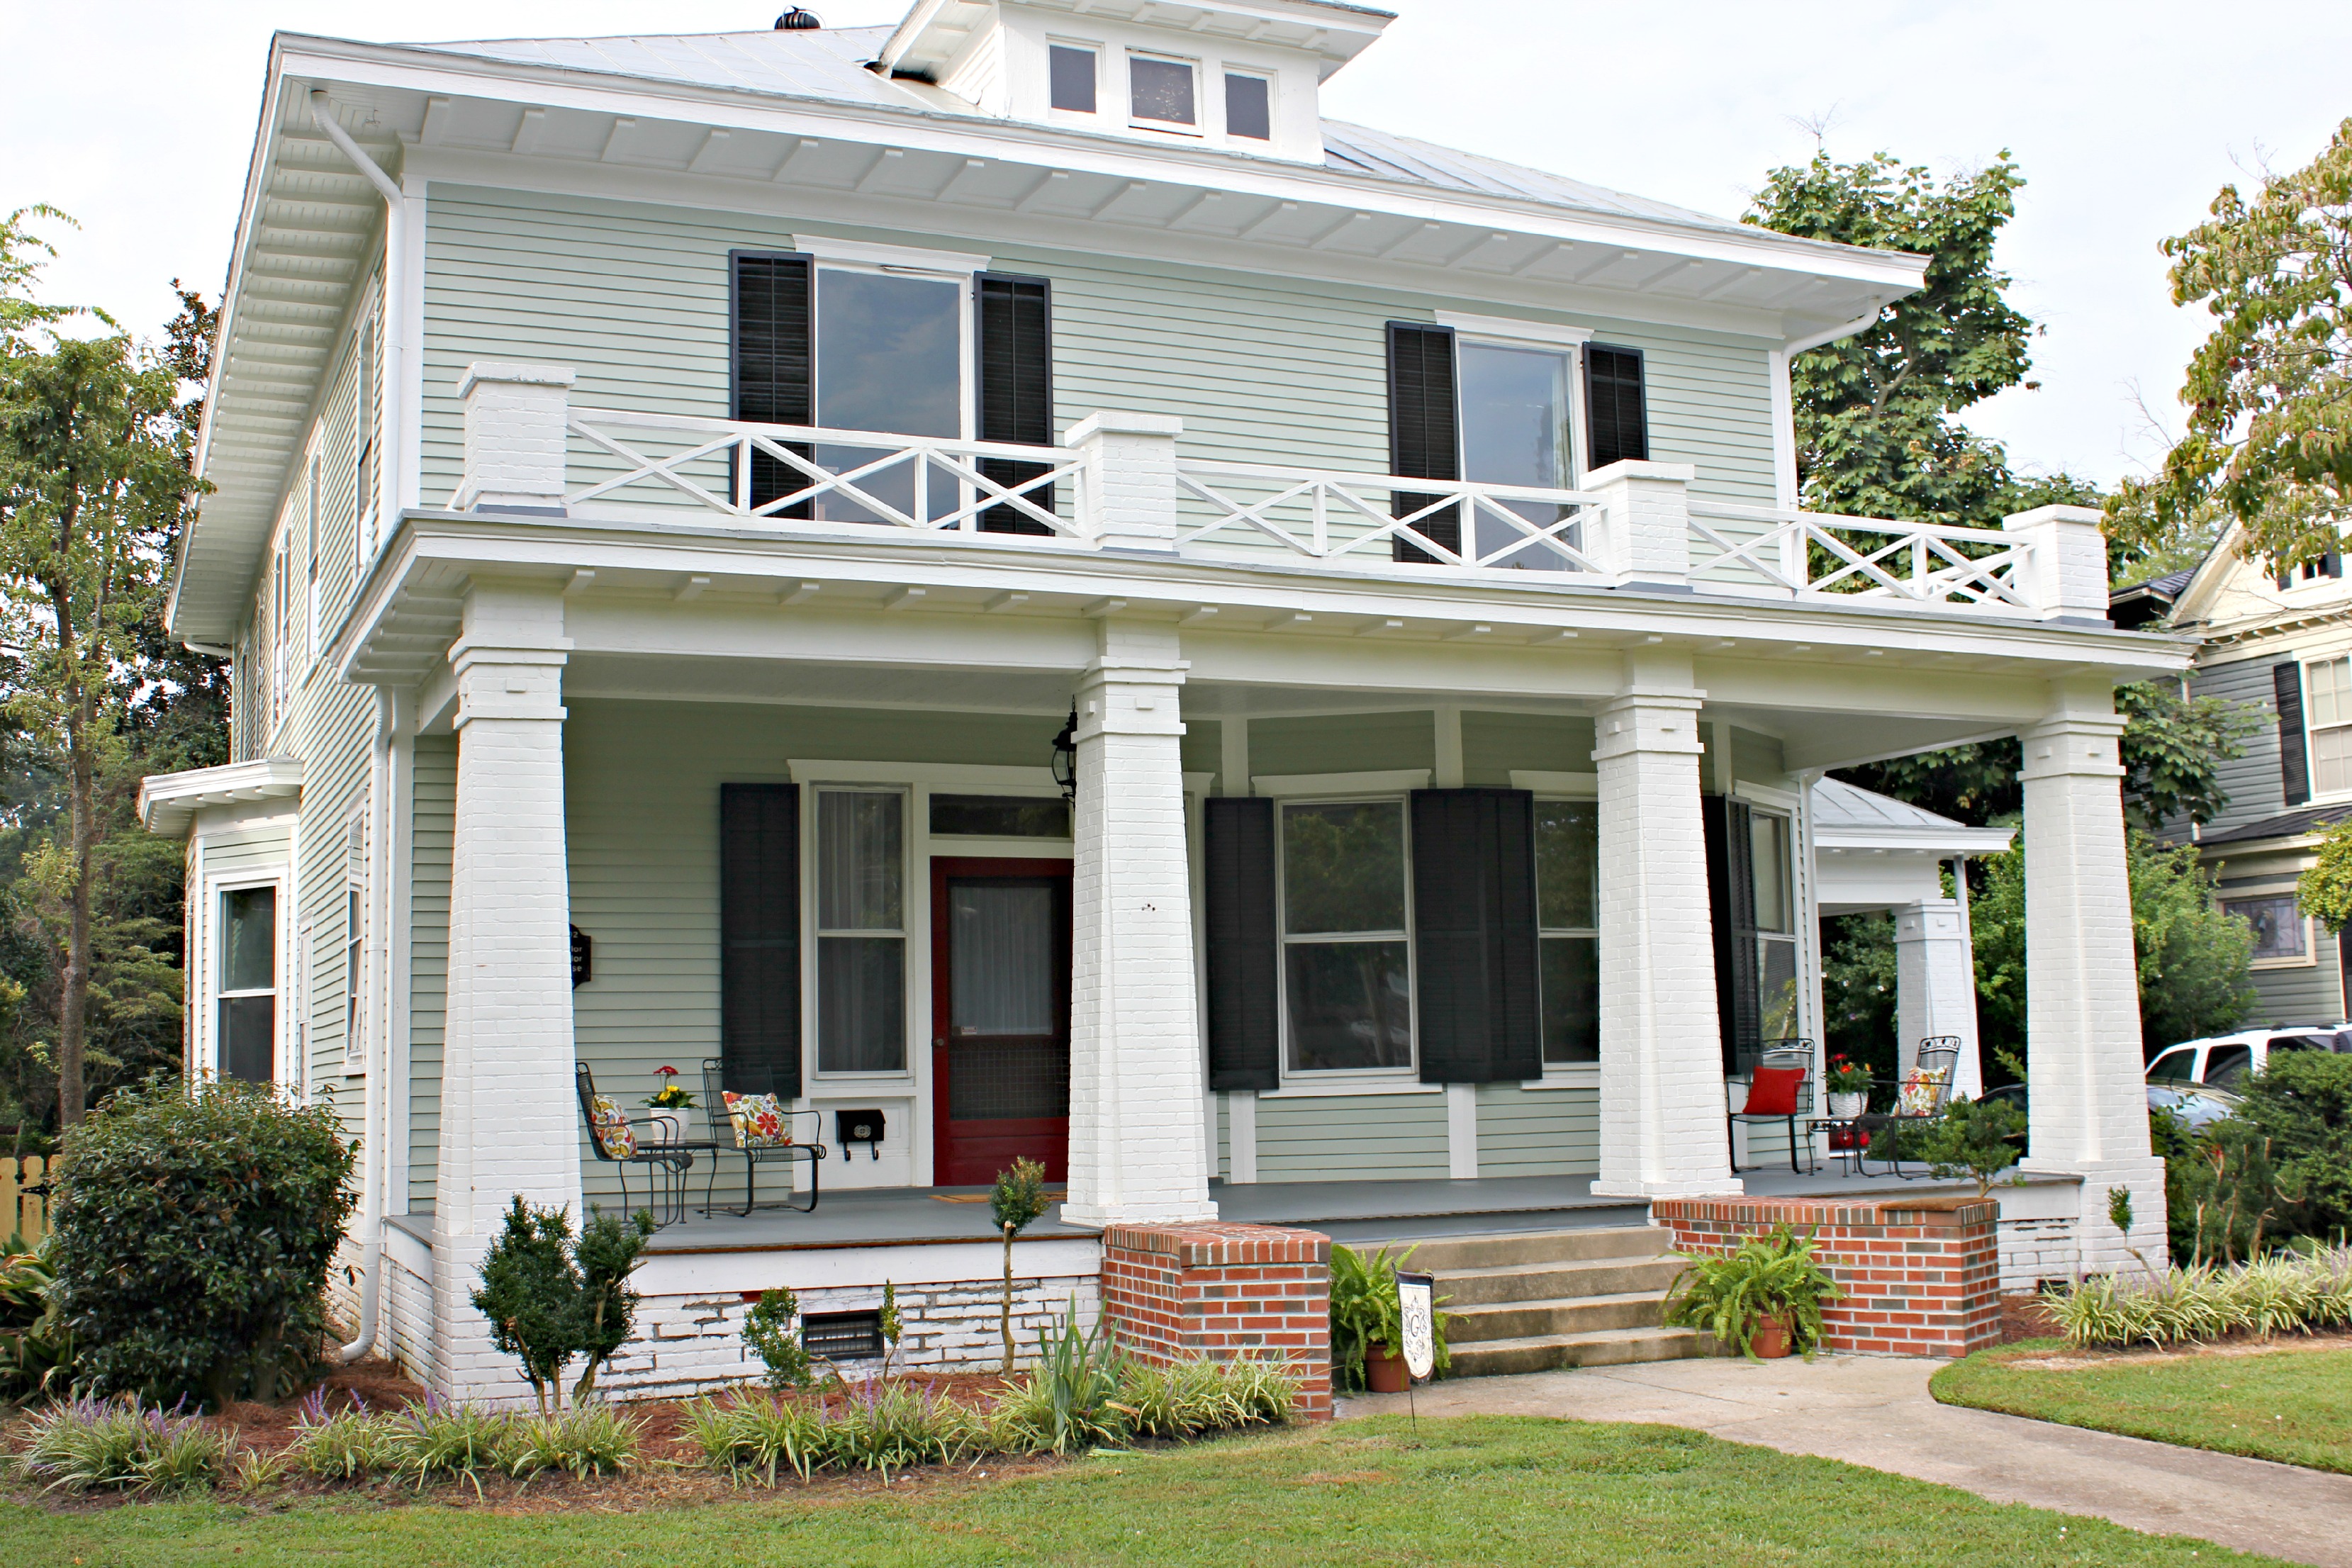
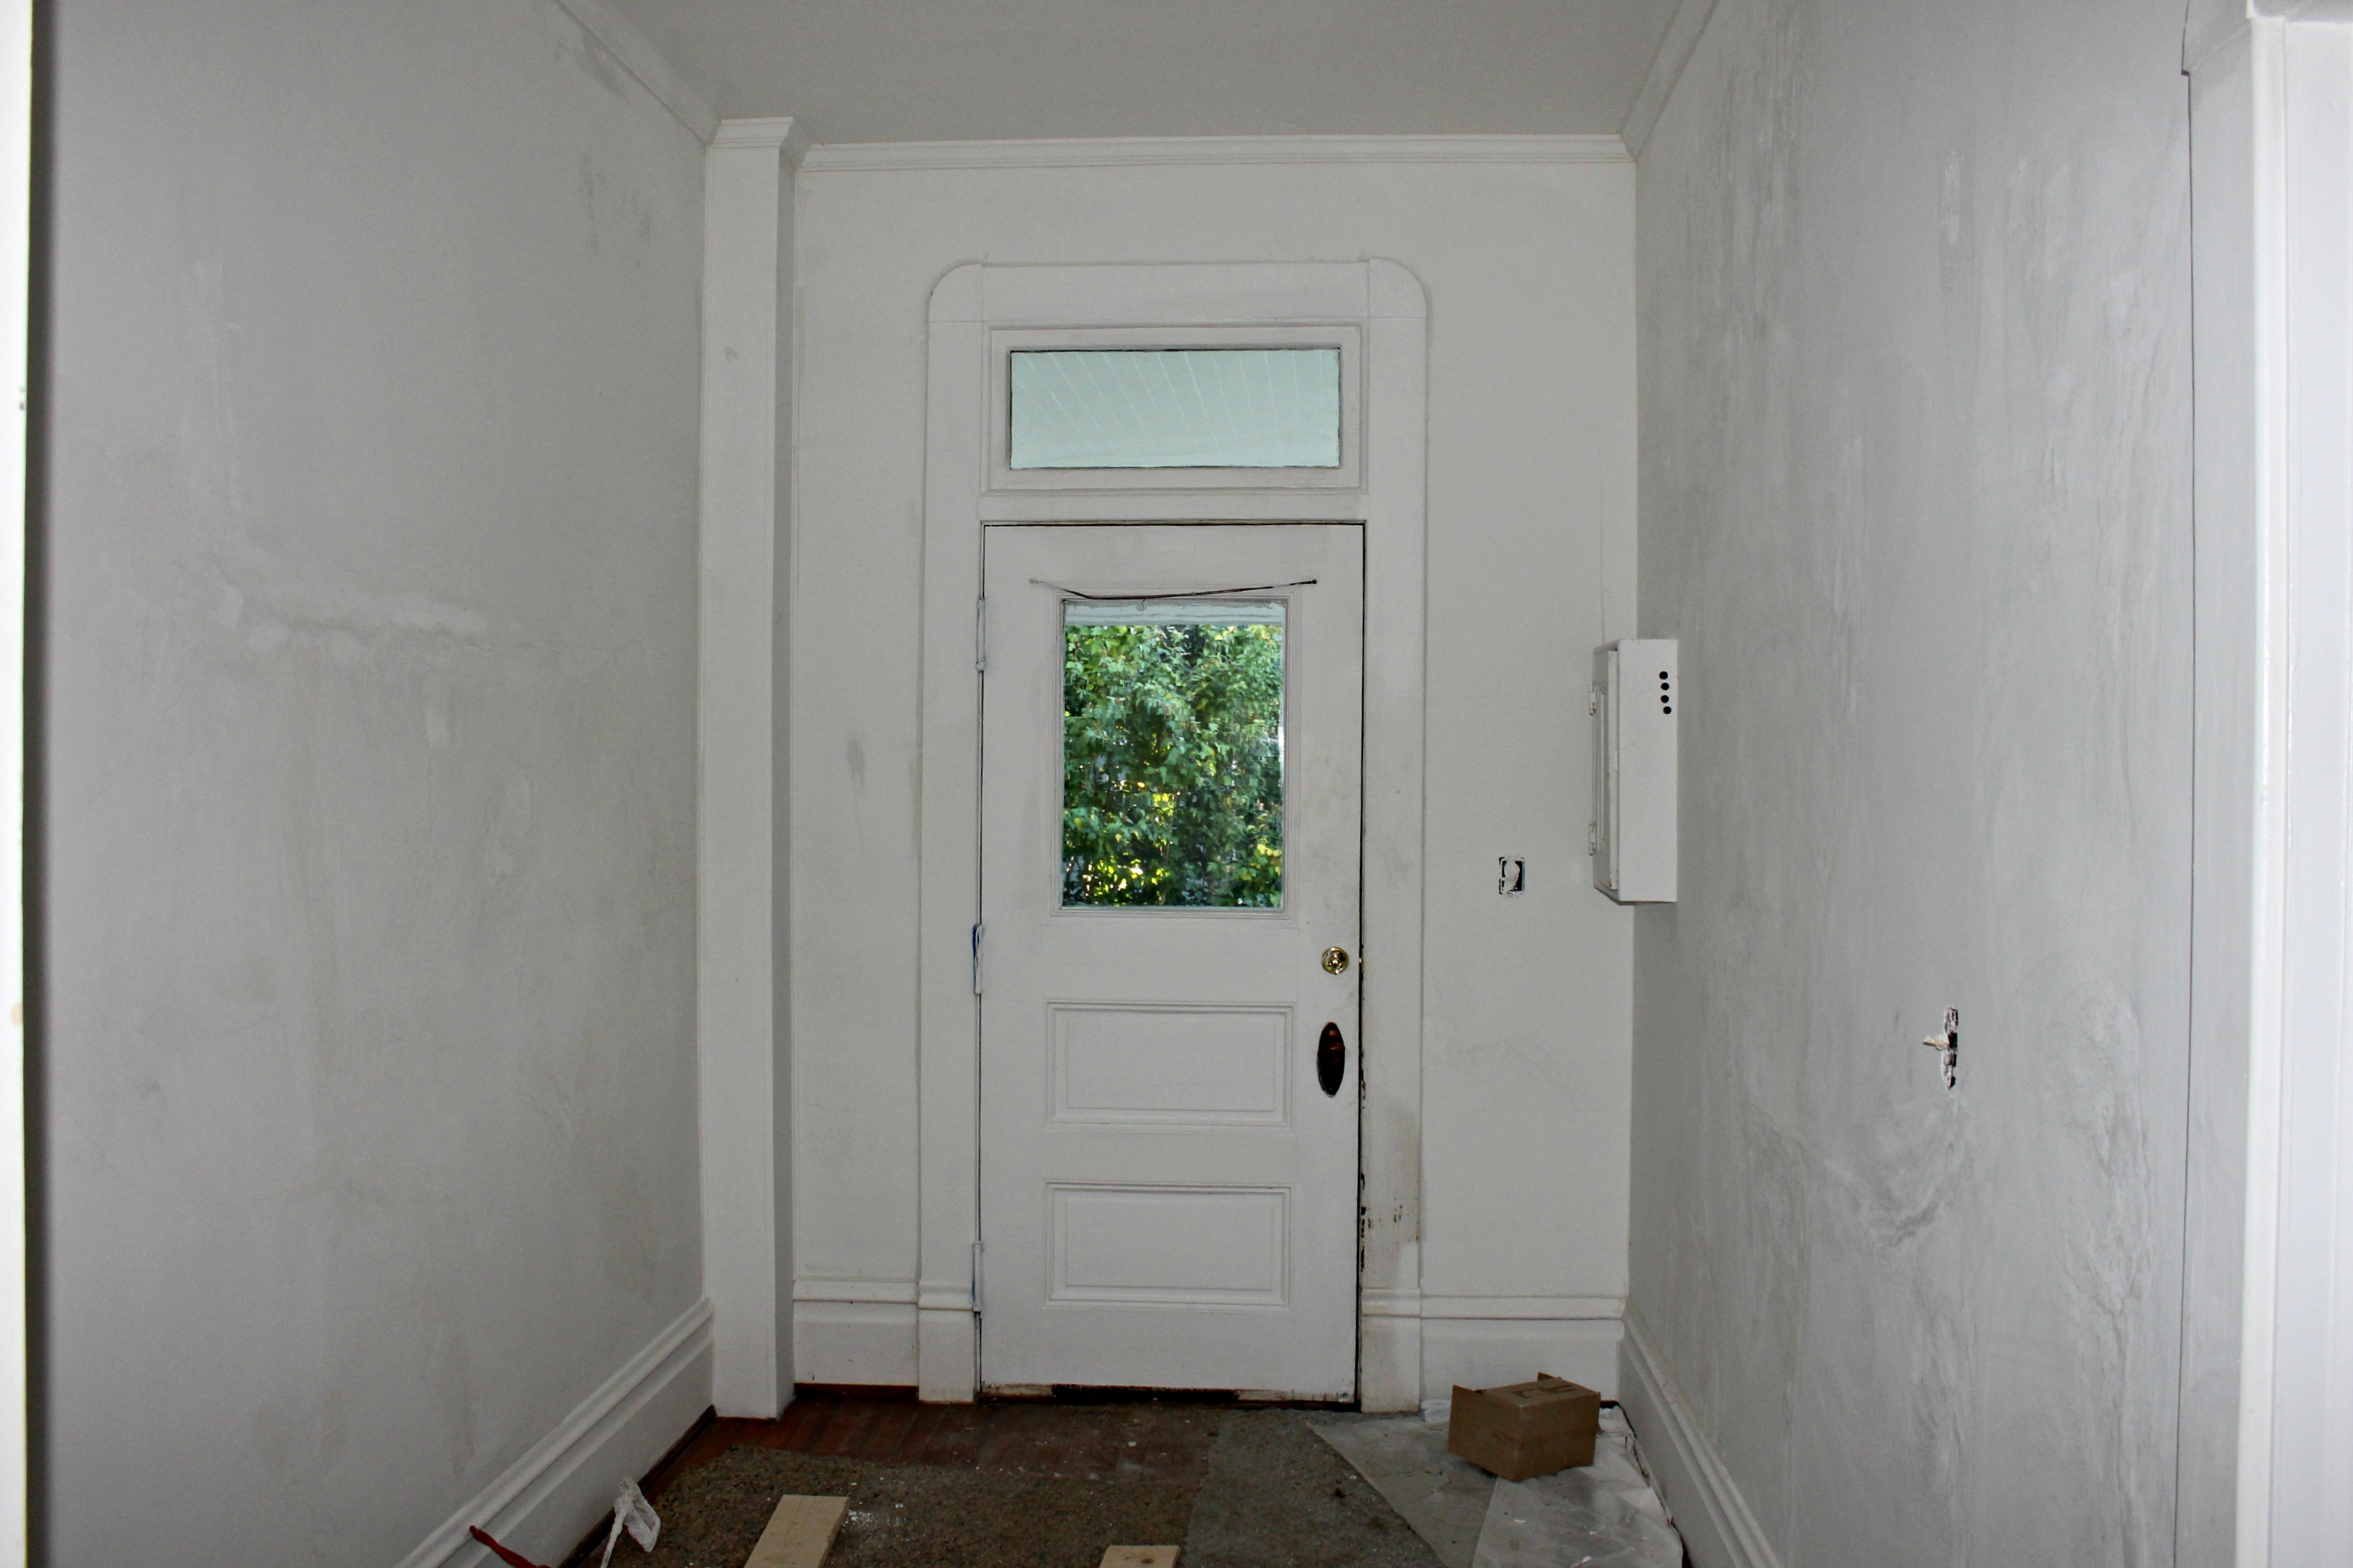
Pretty gross, huh? Take a look at it now.
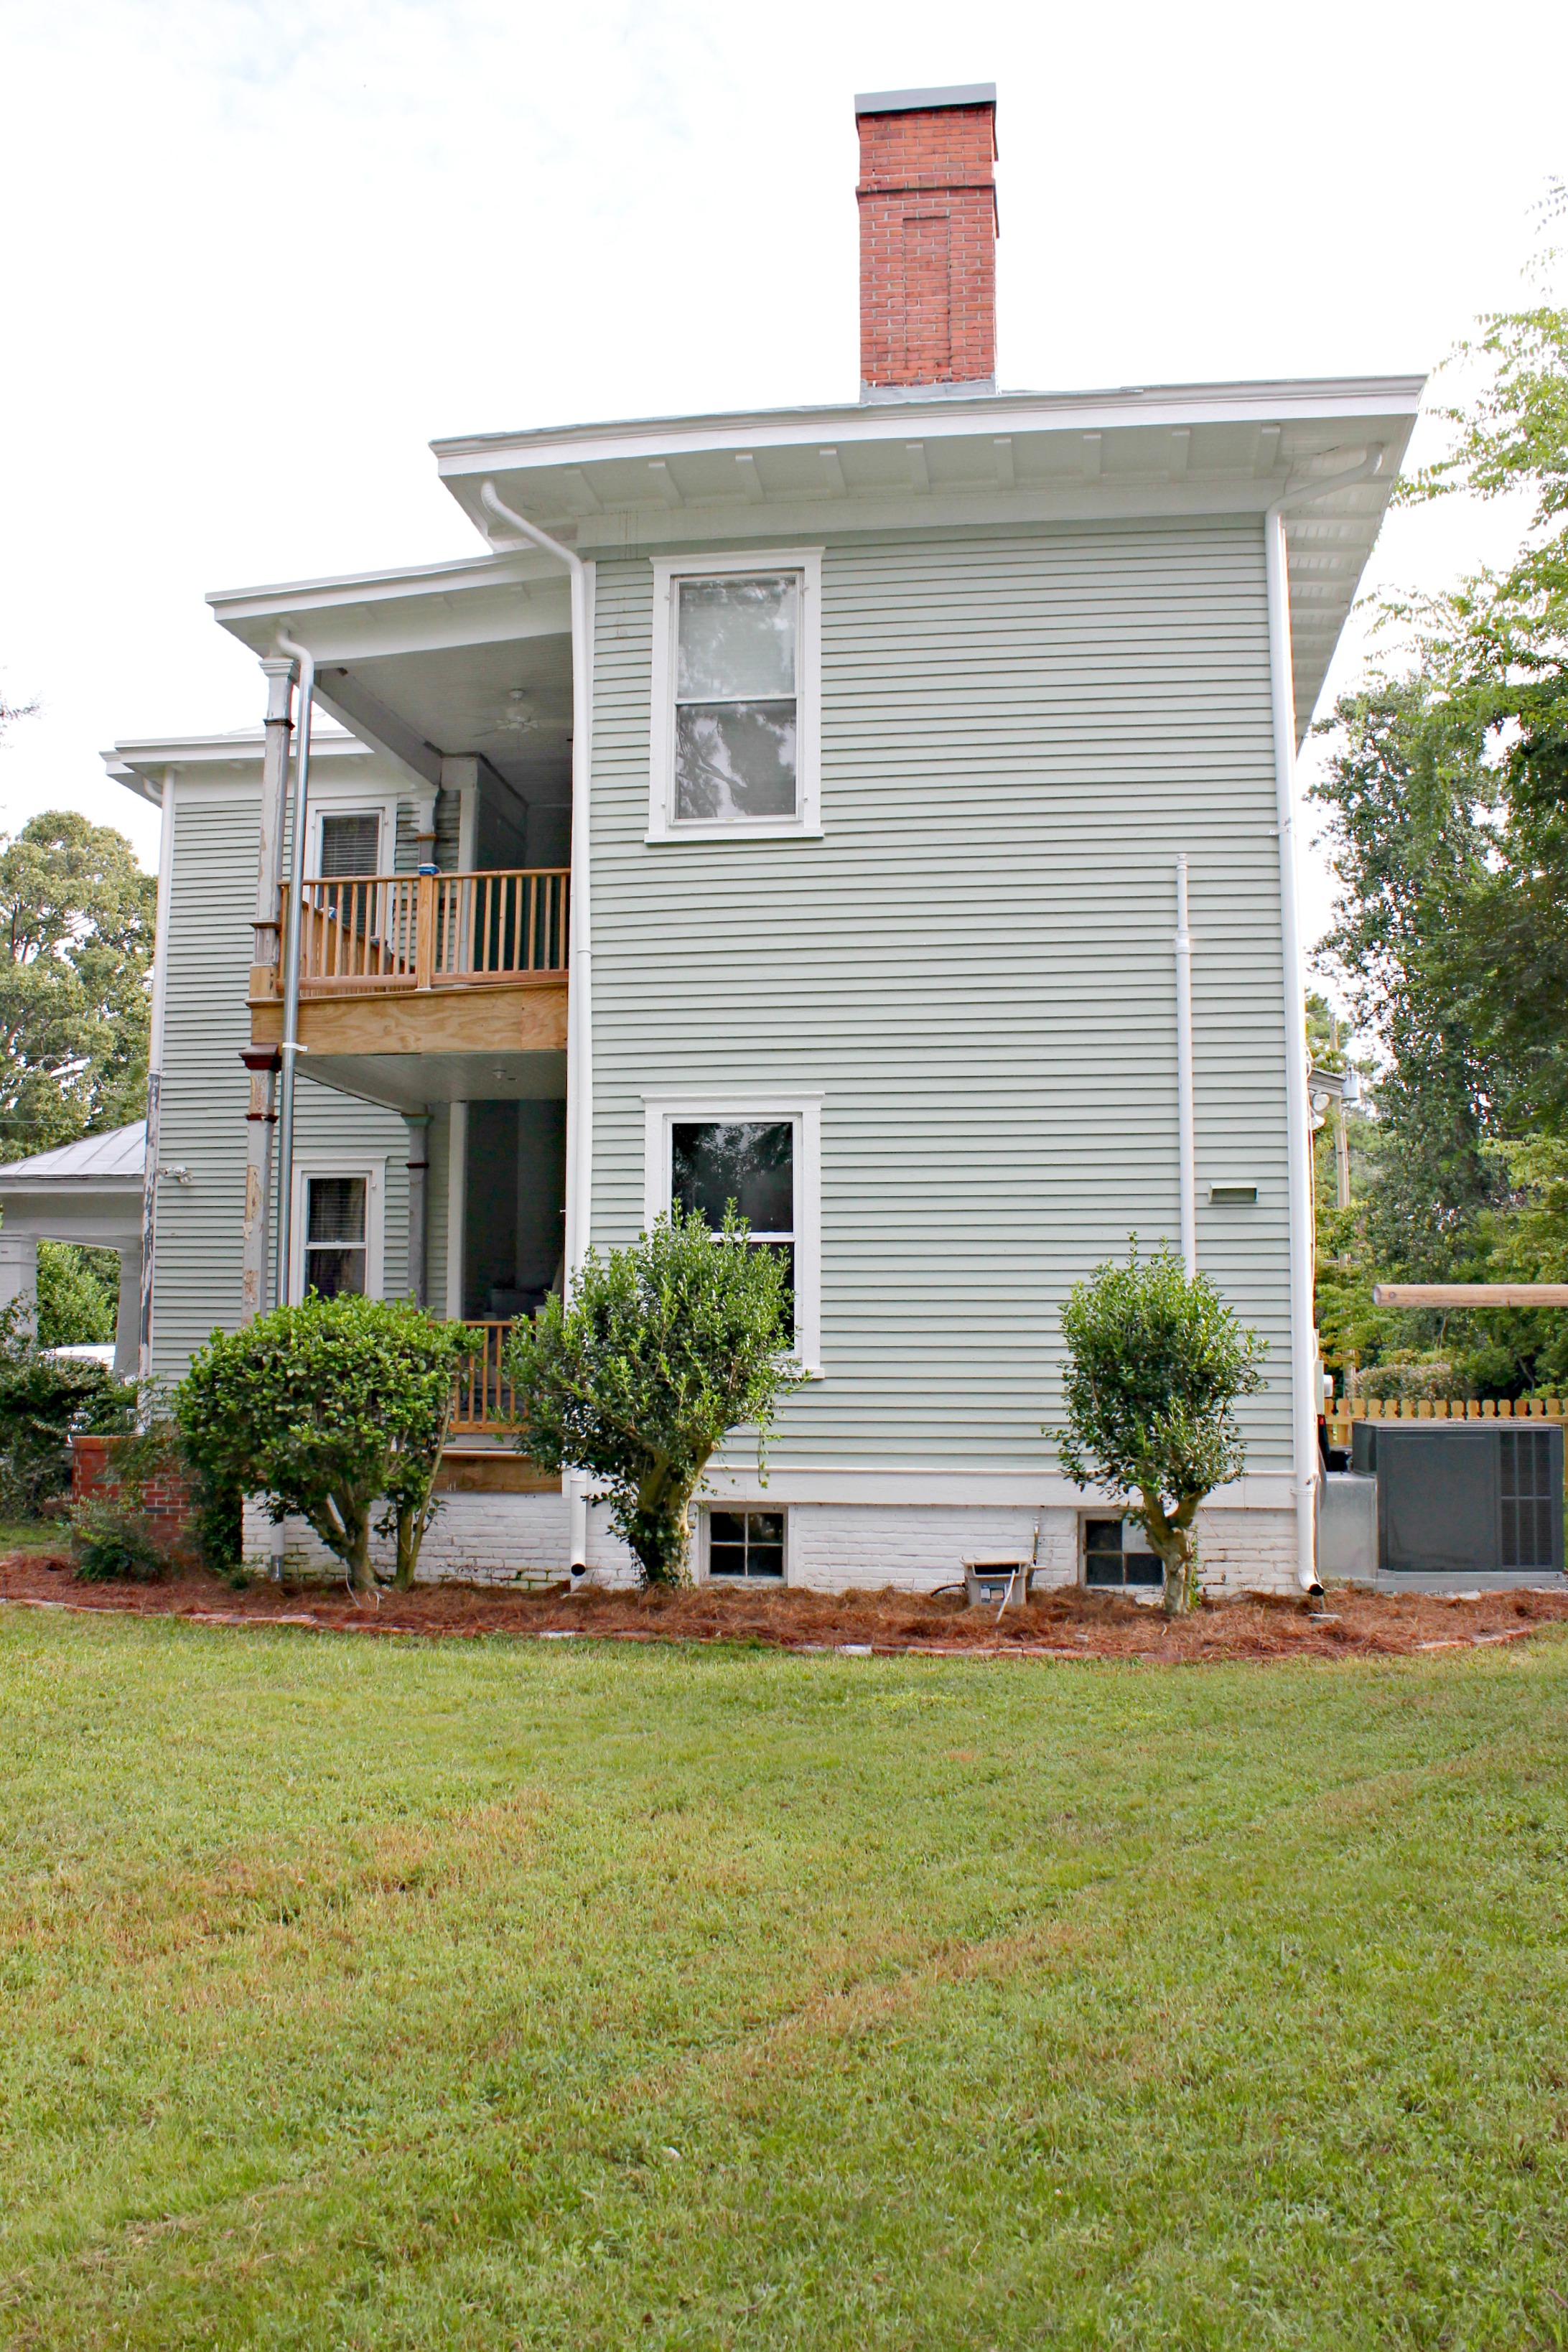

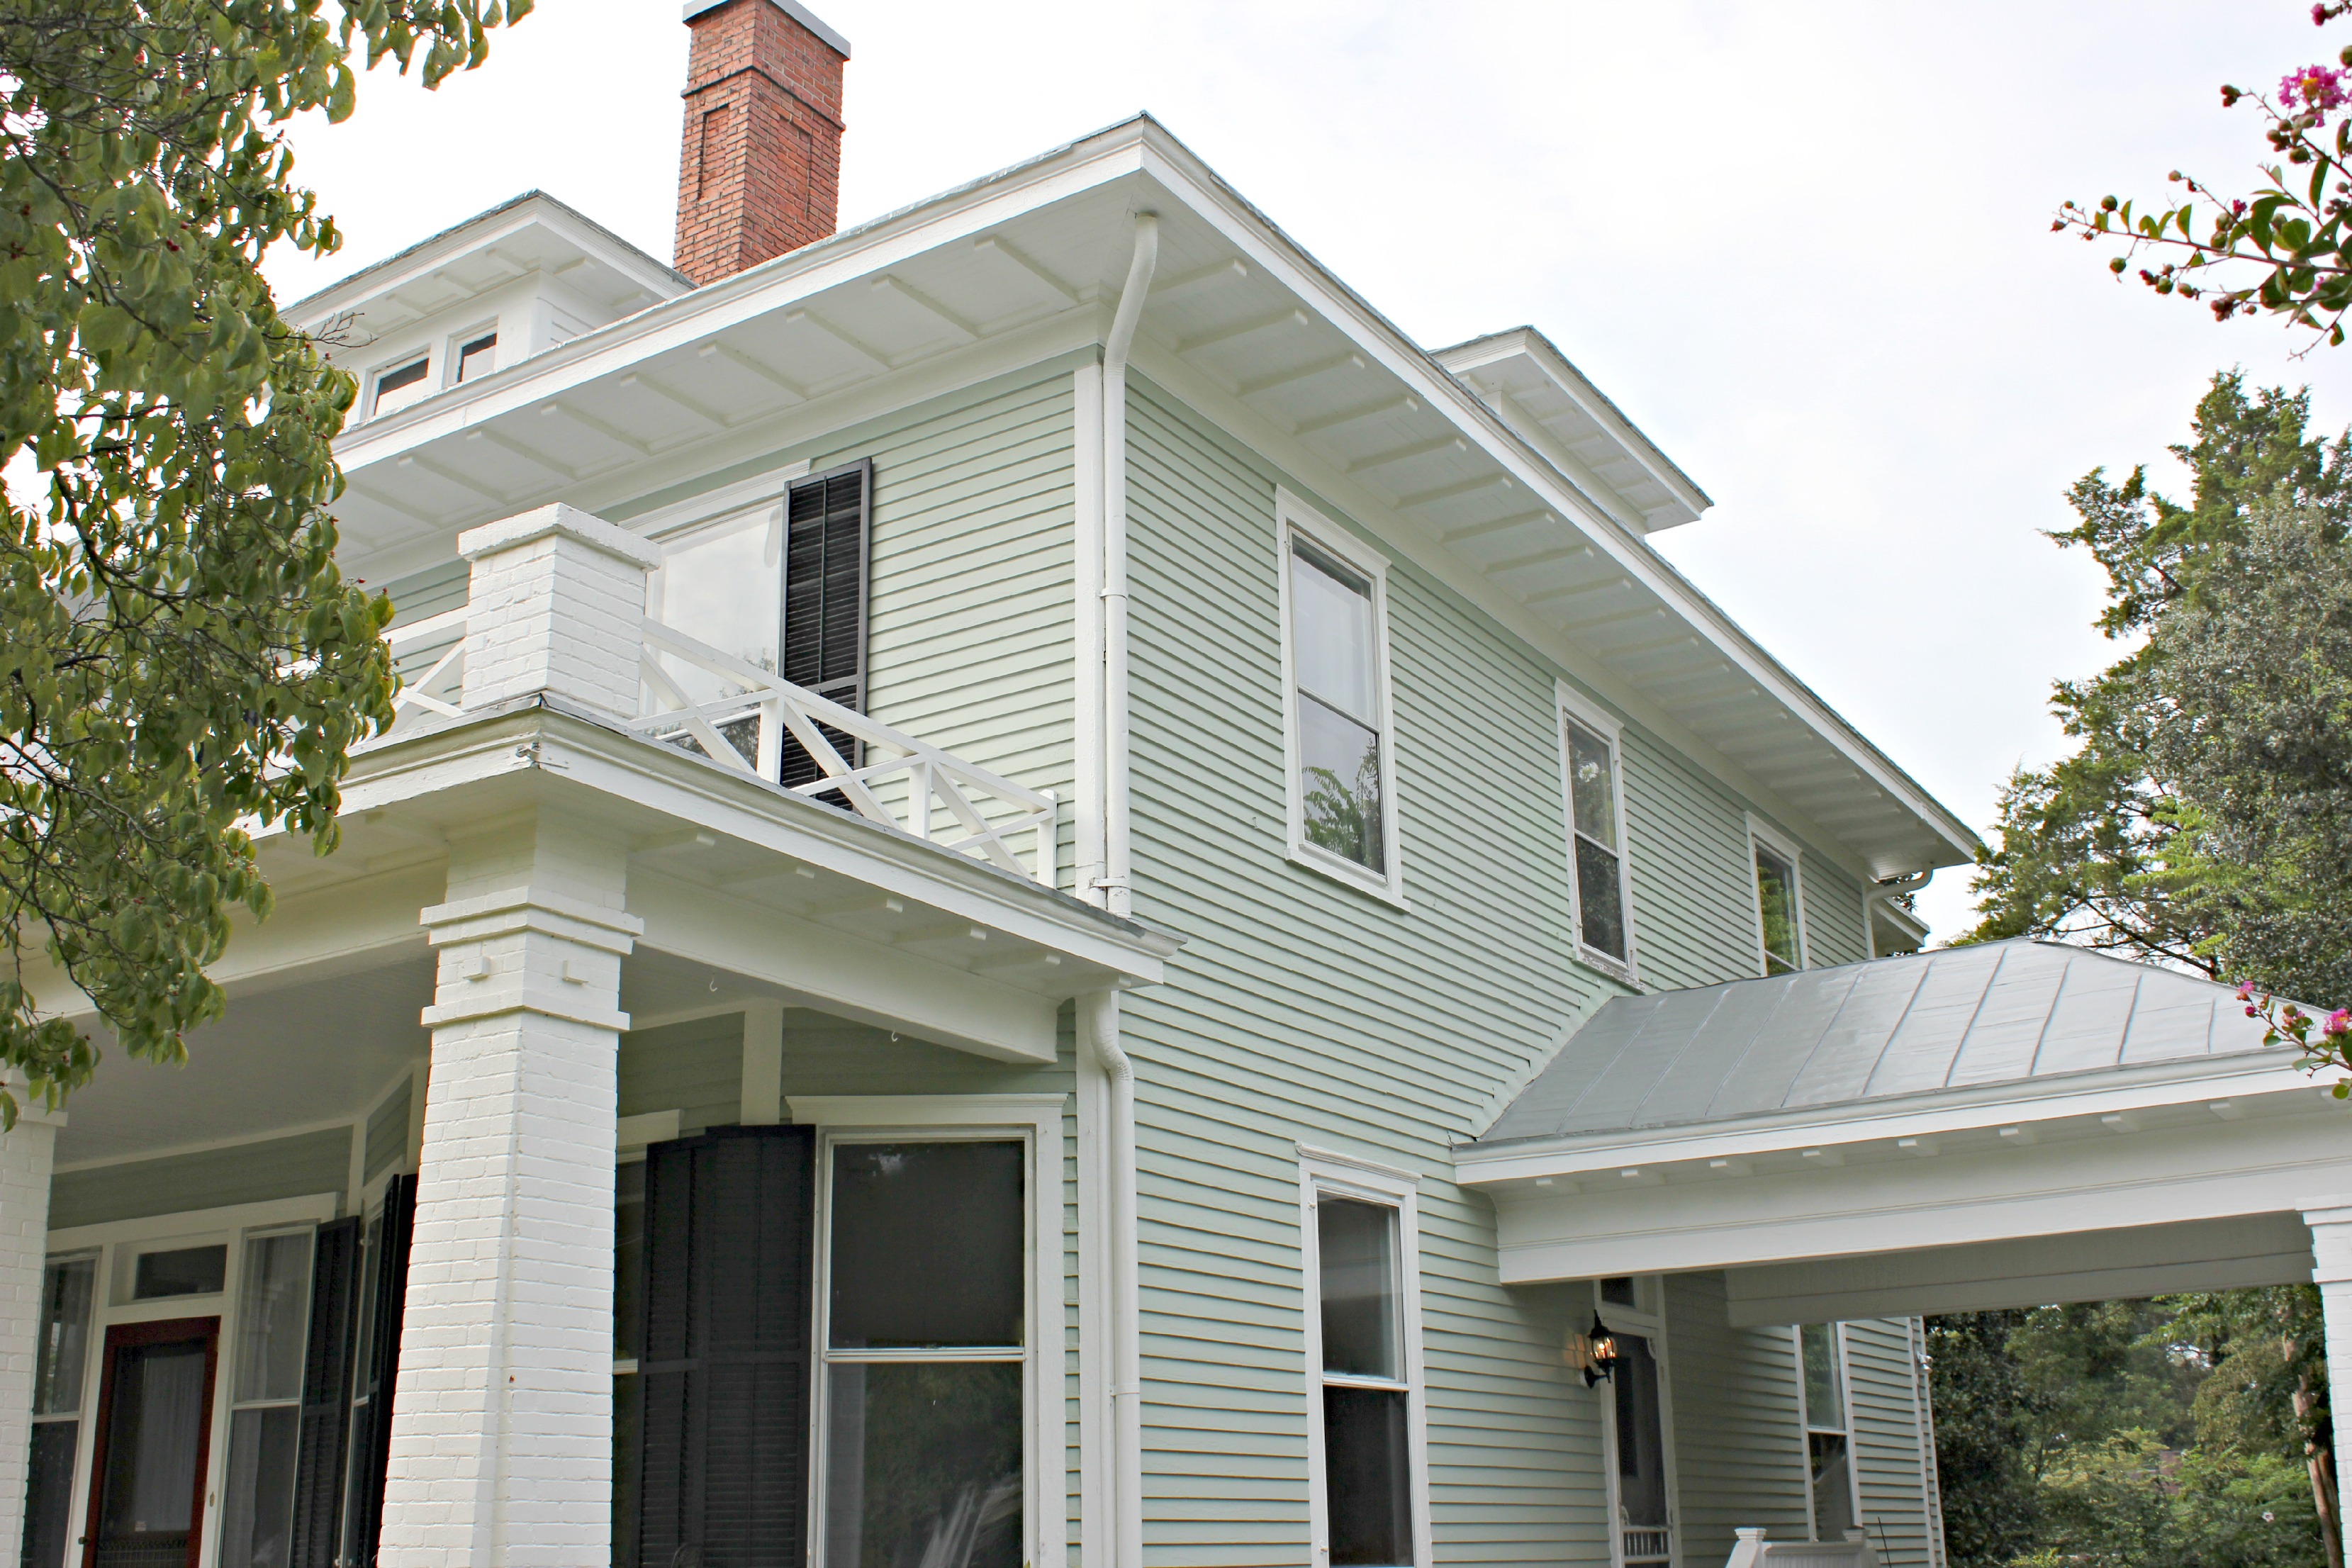
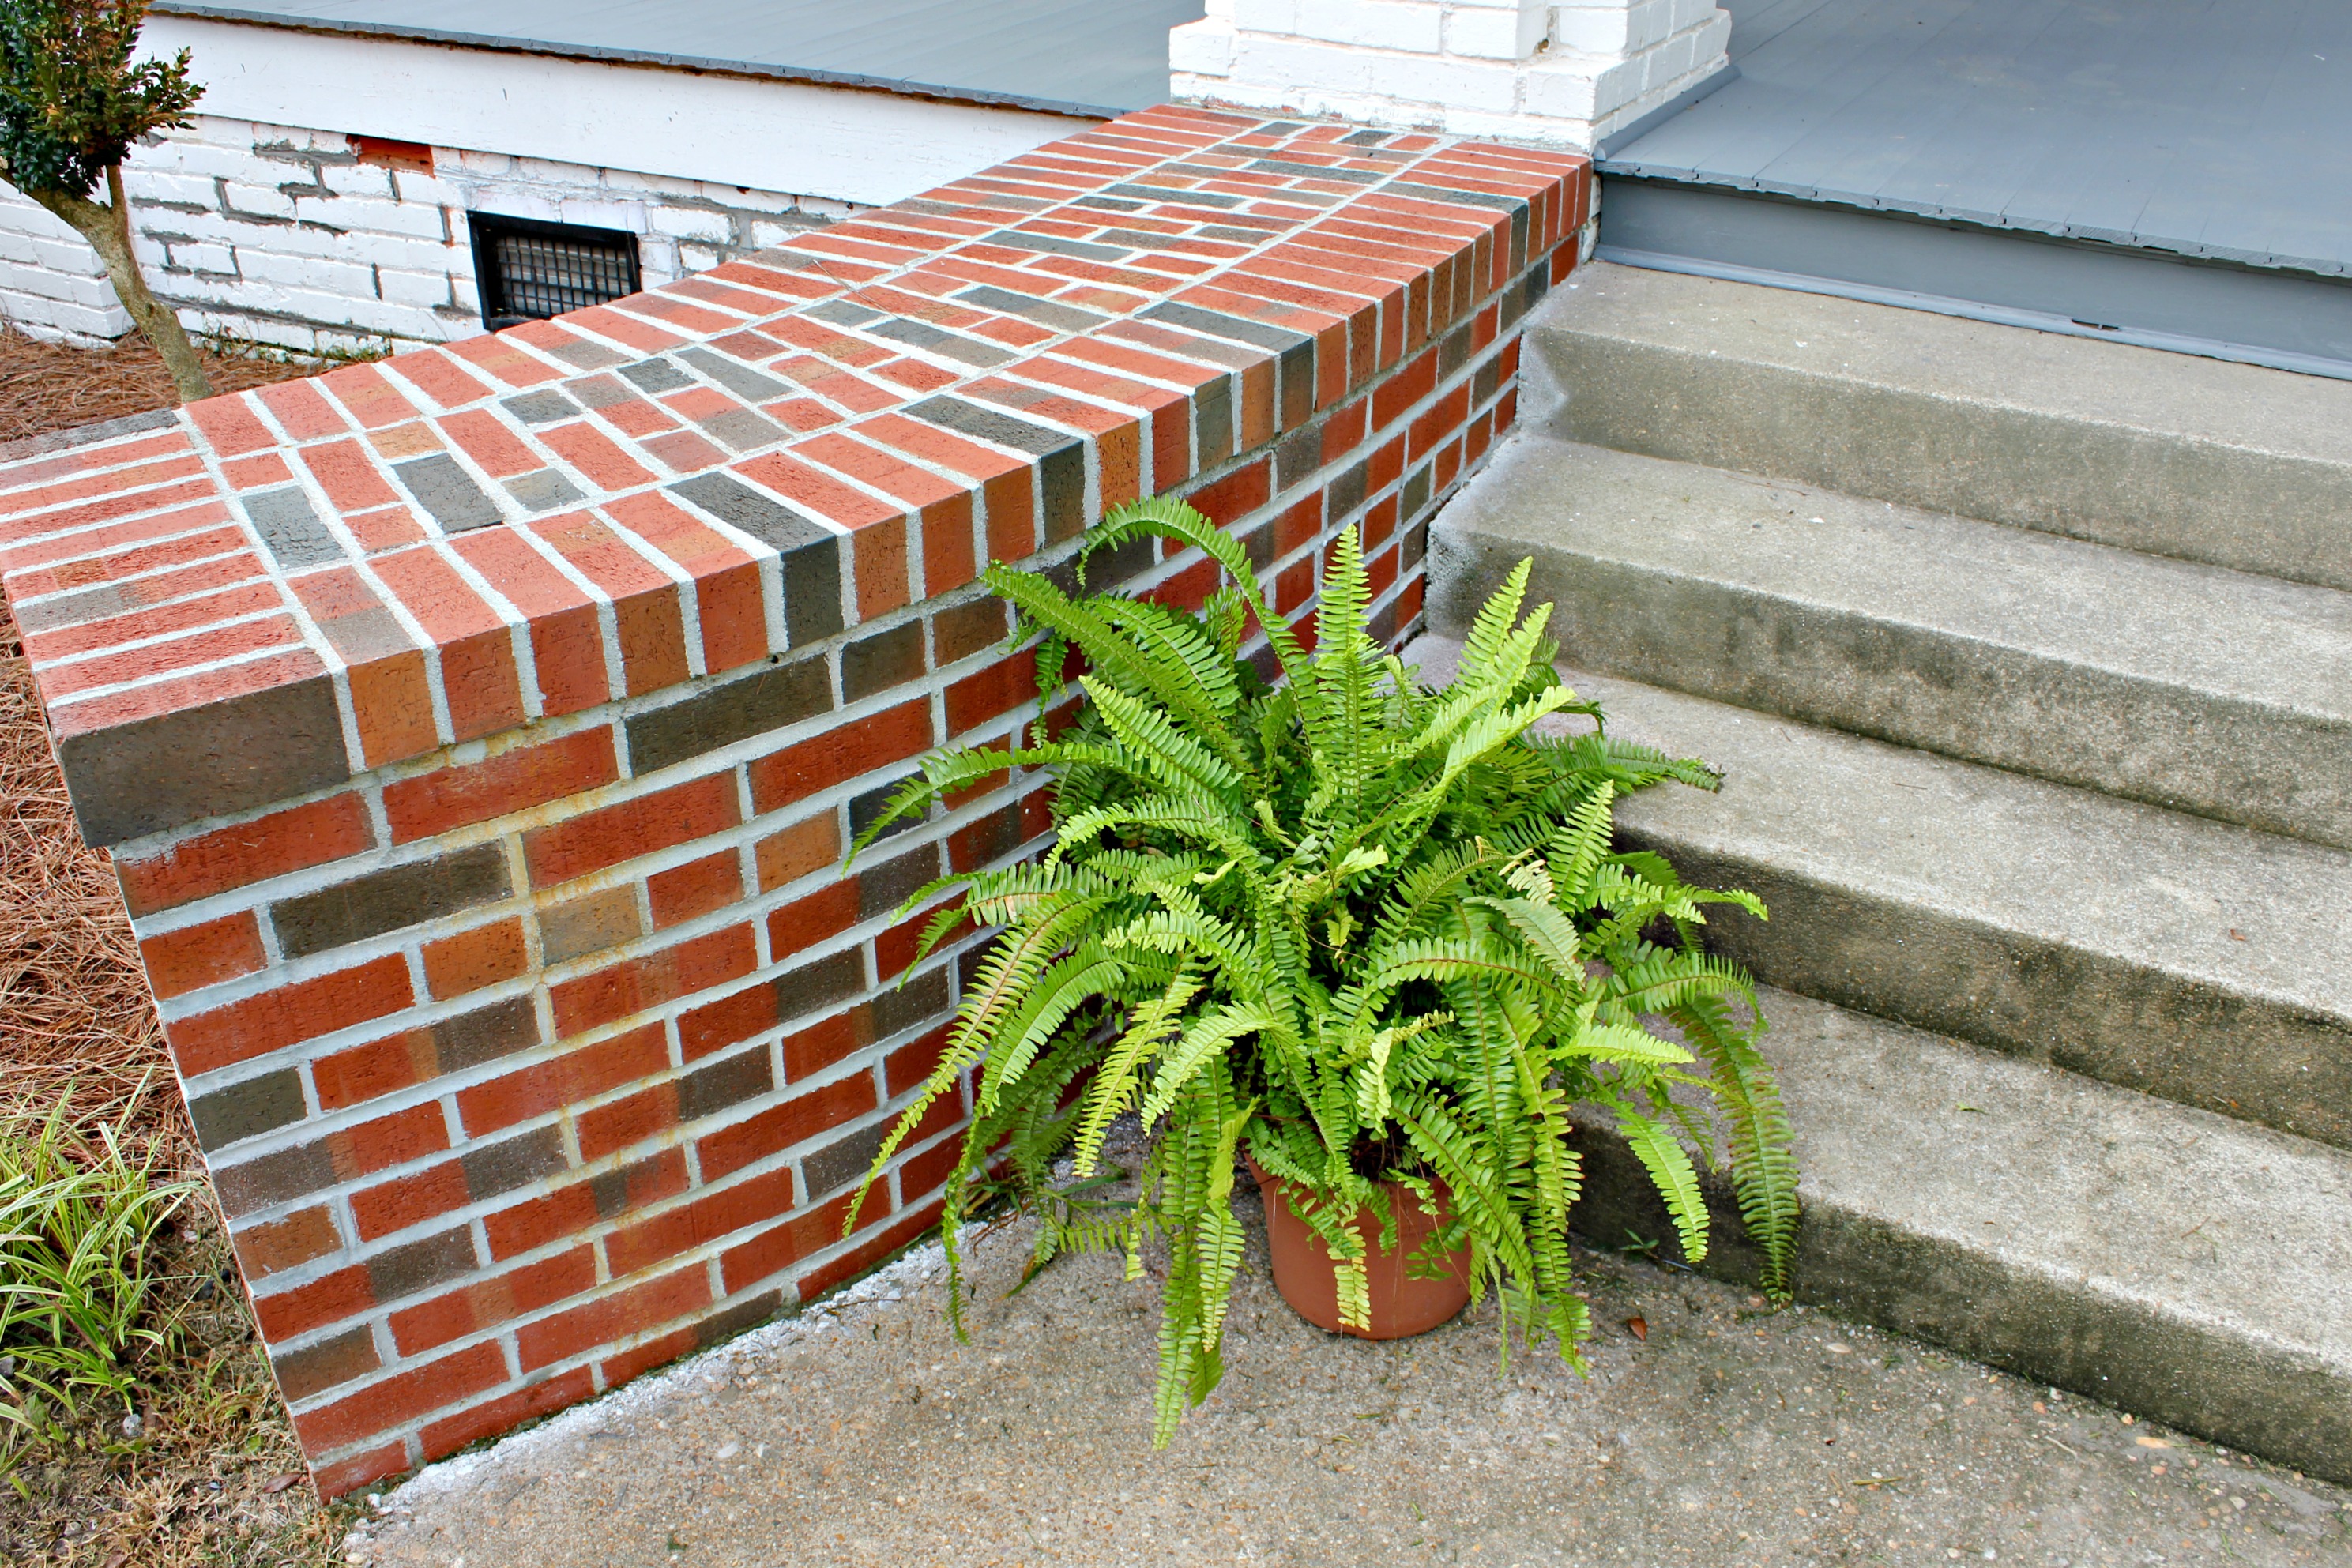
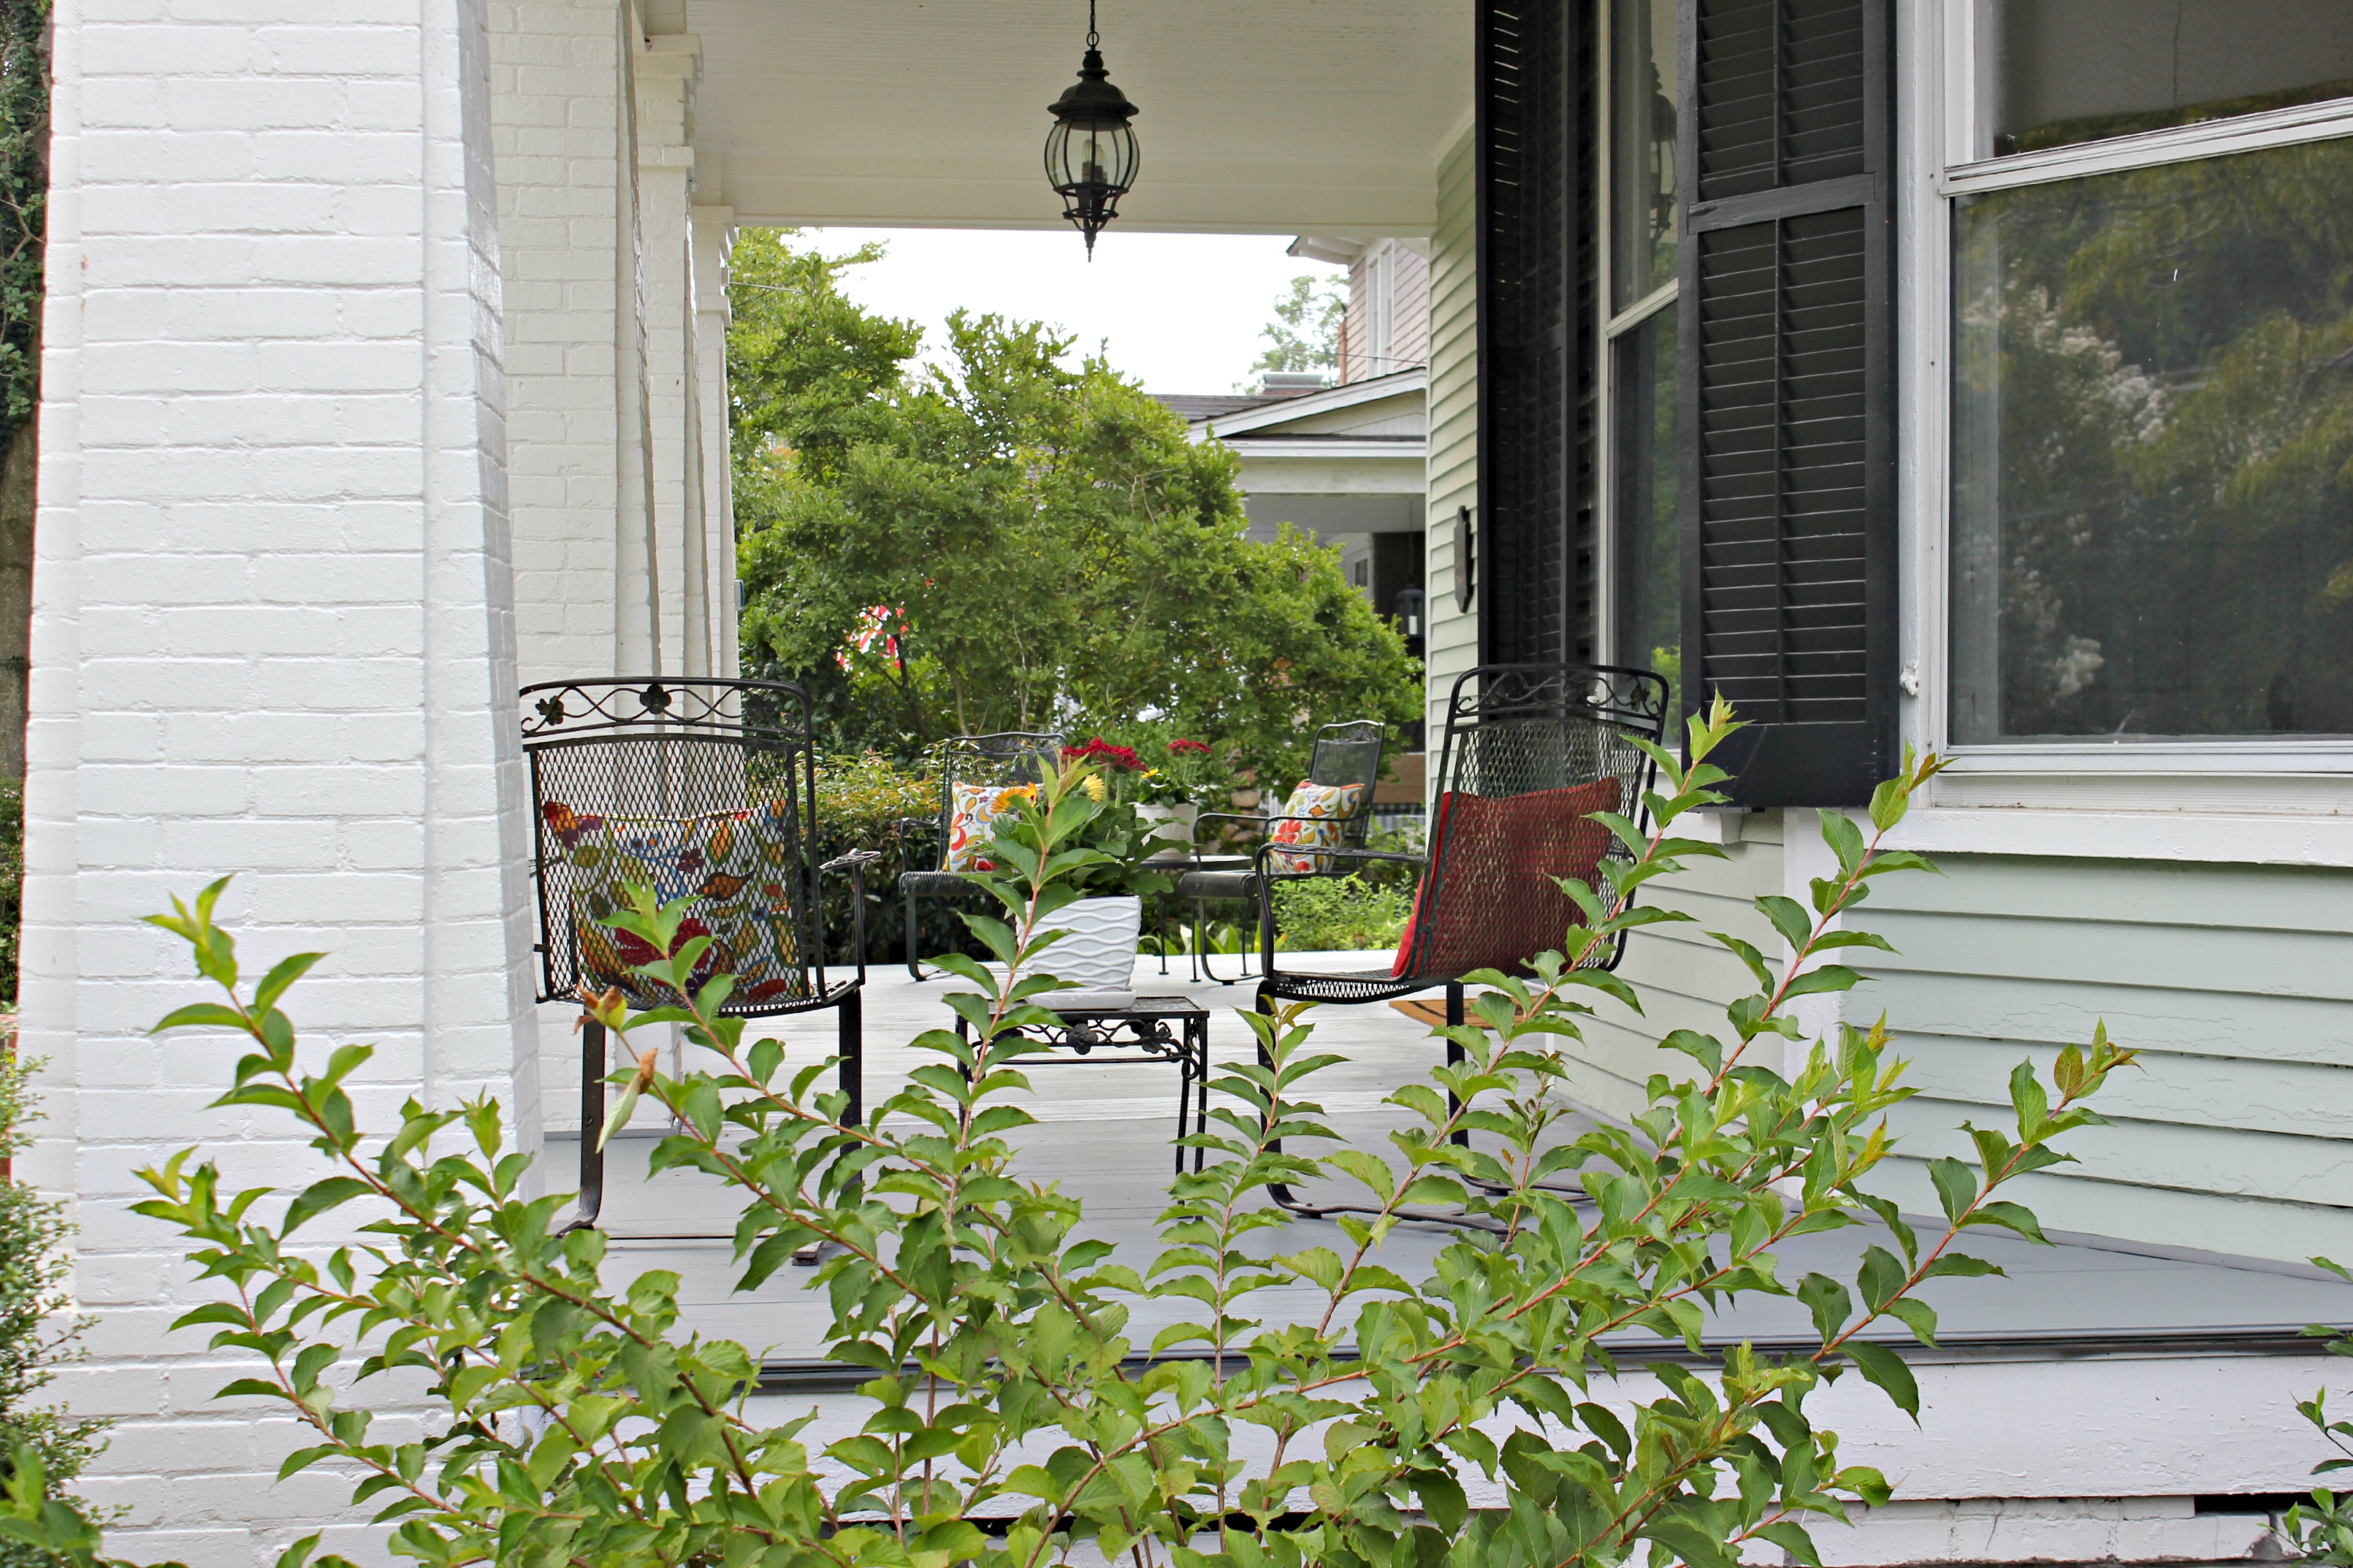
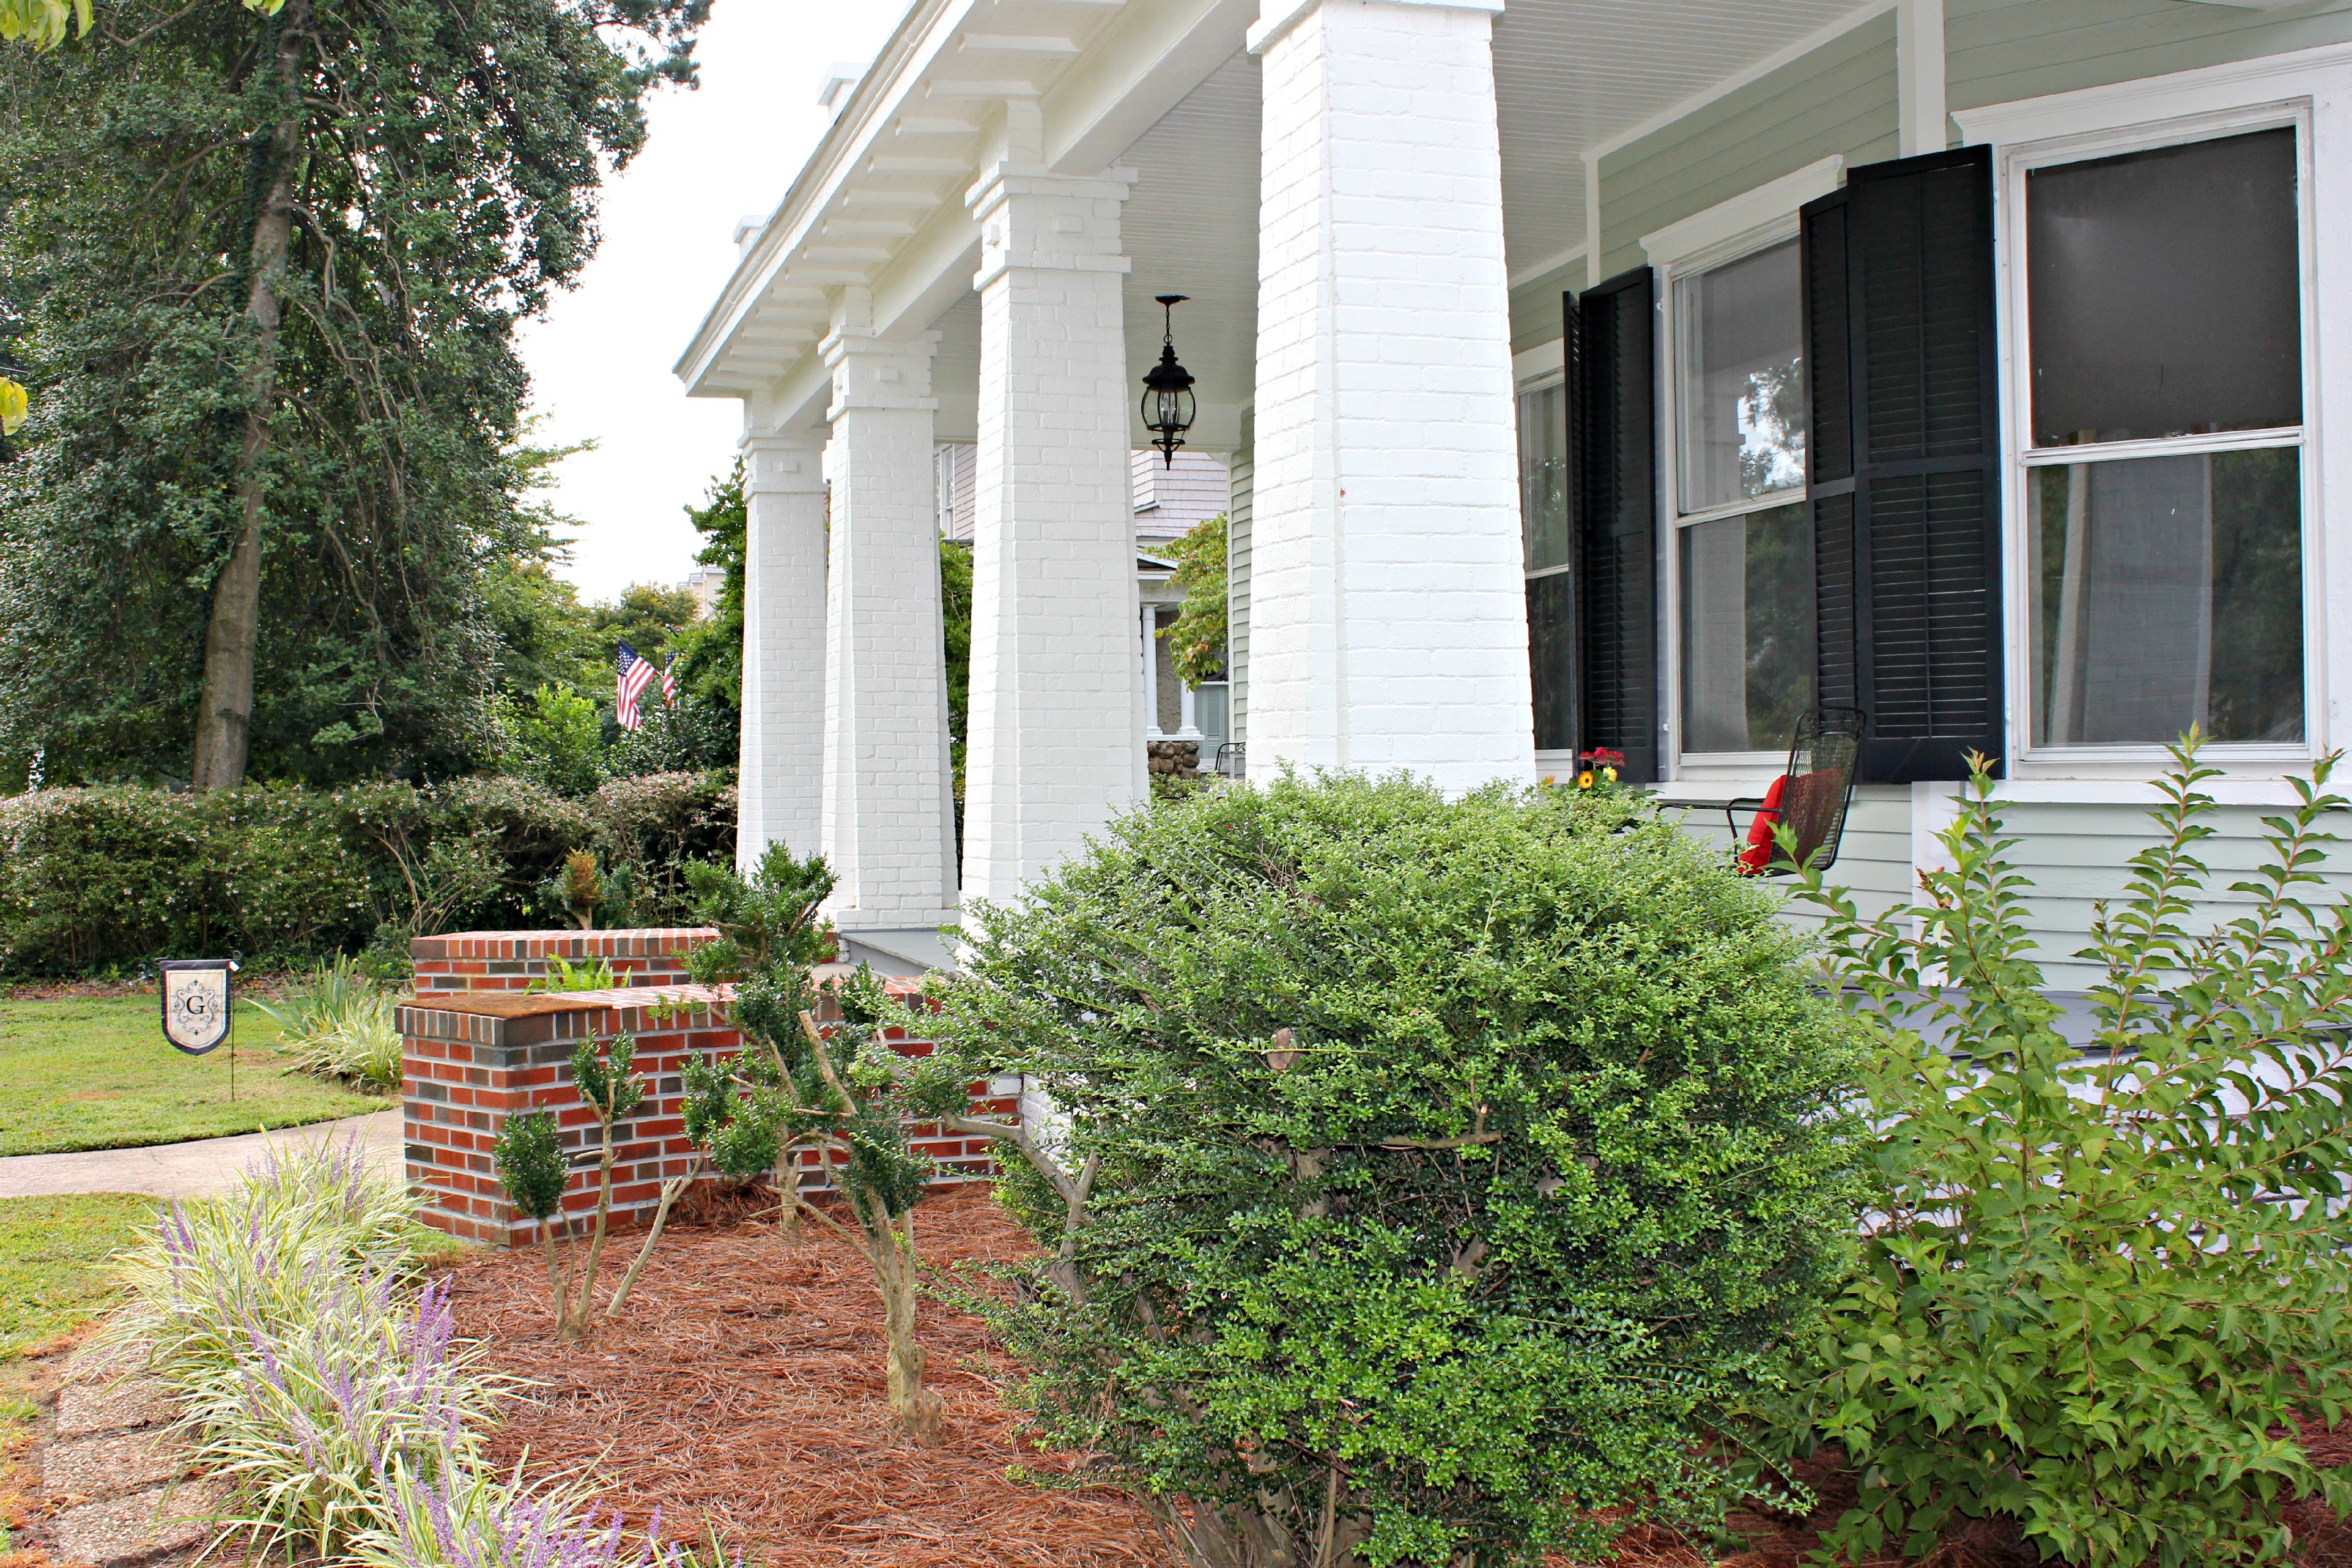
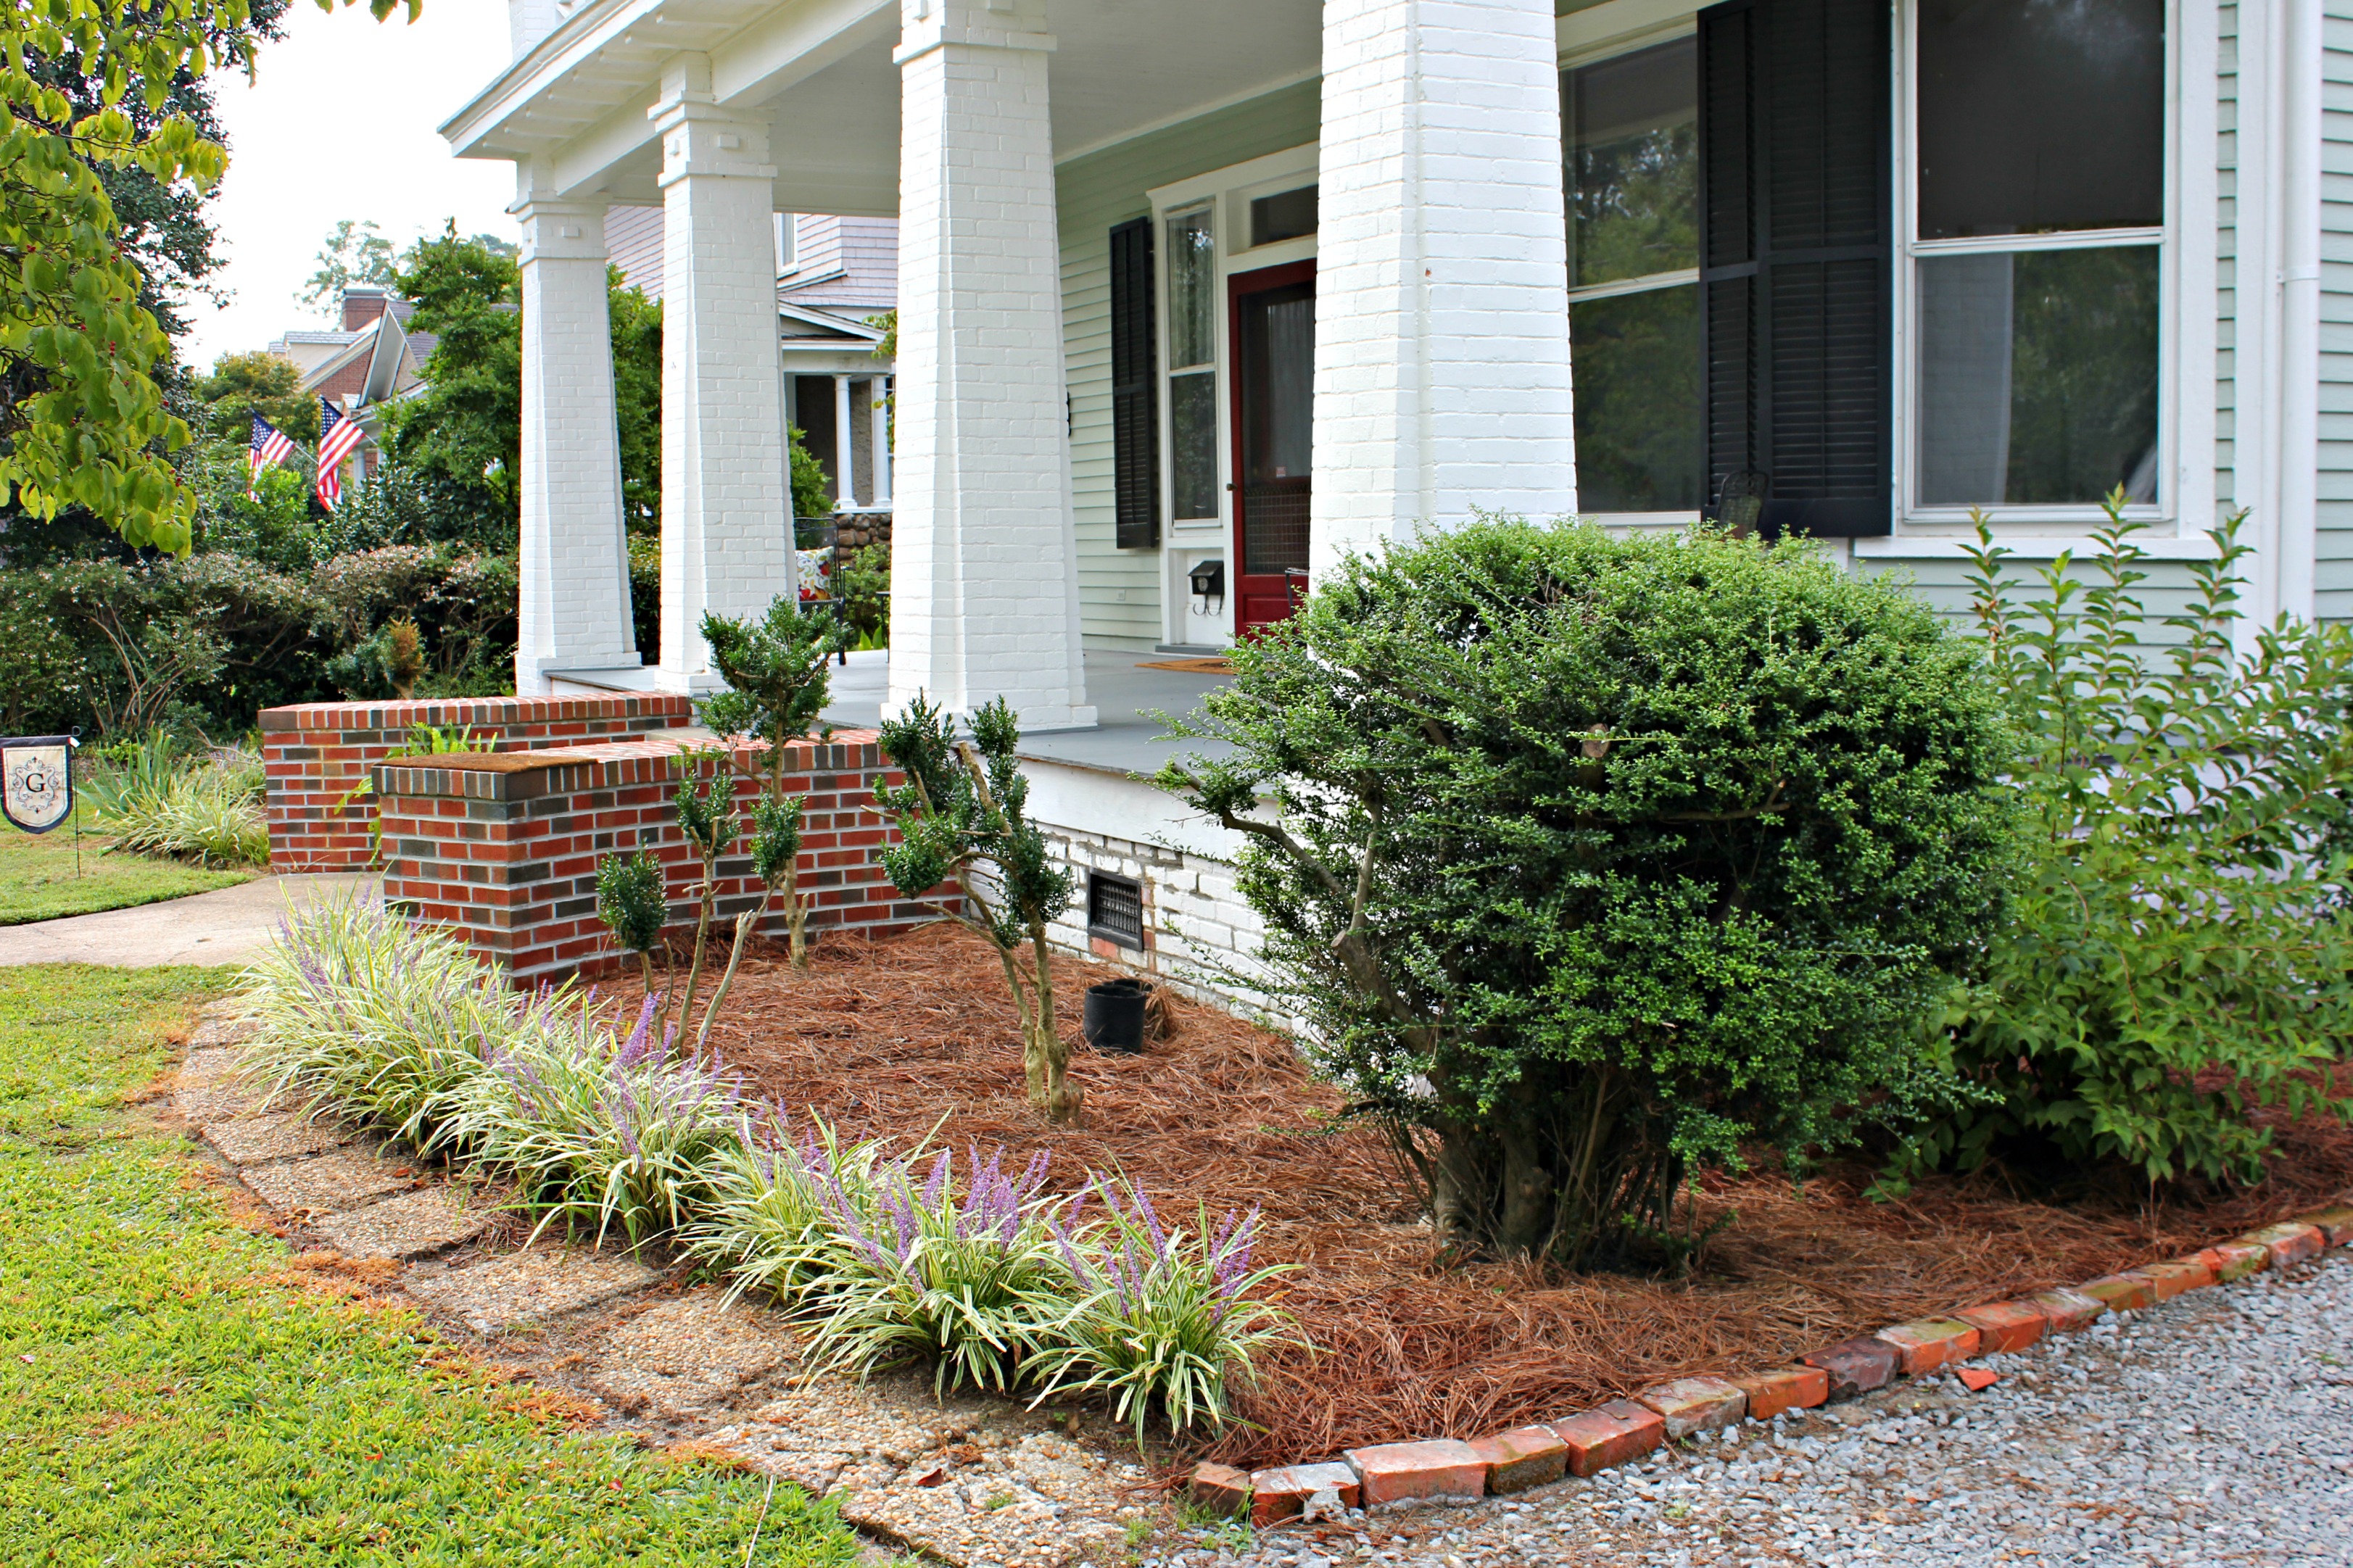
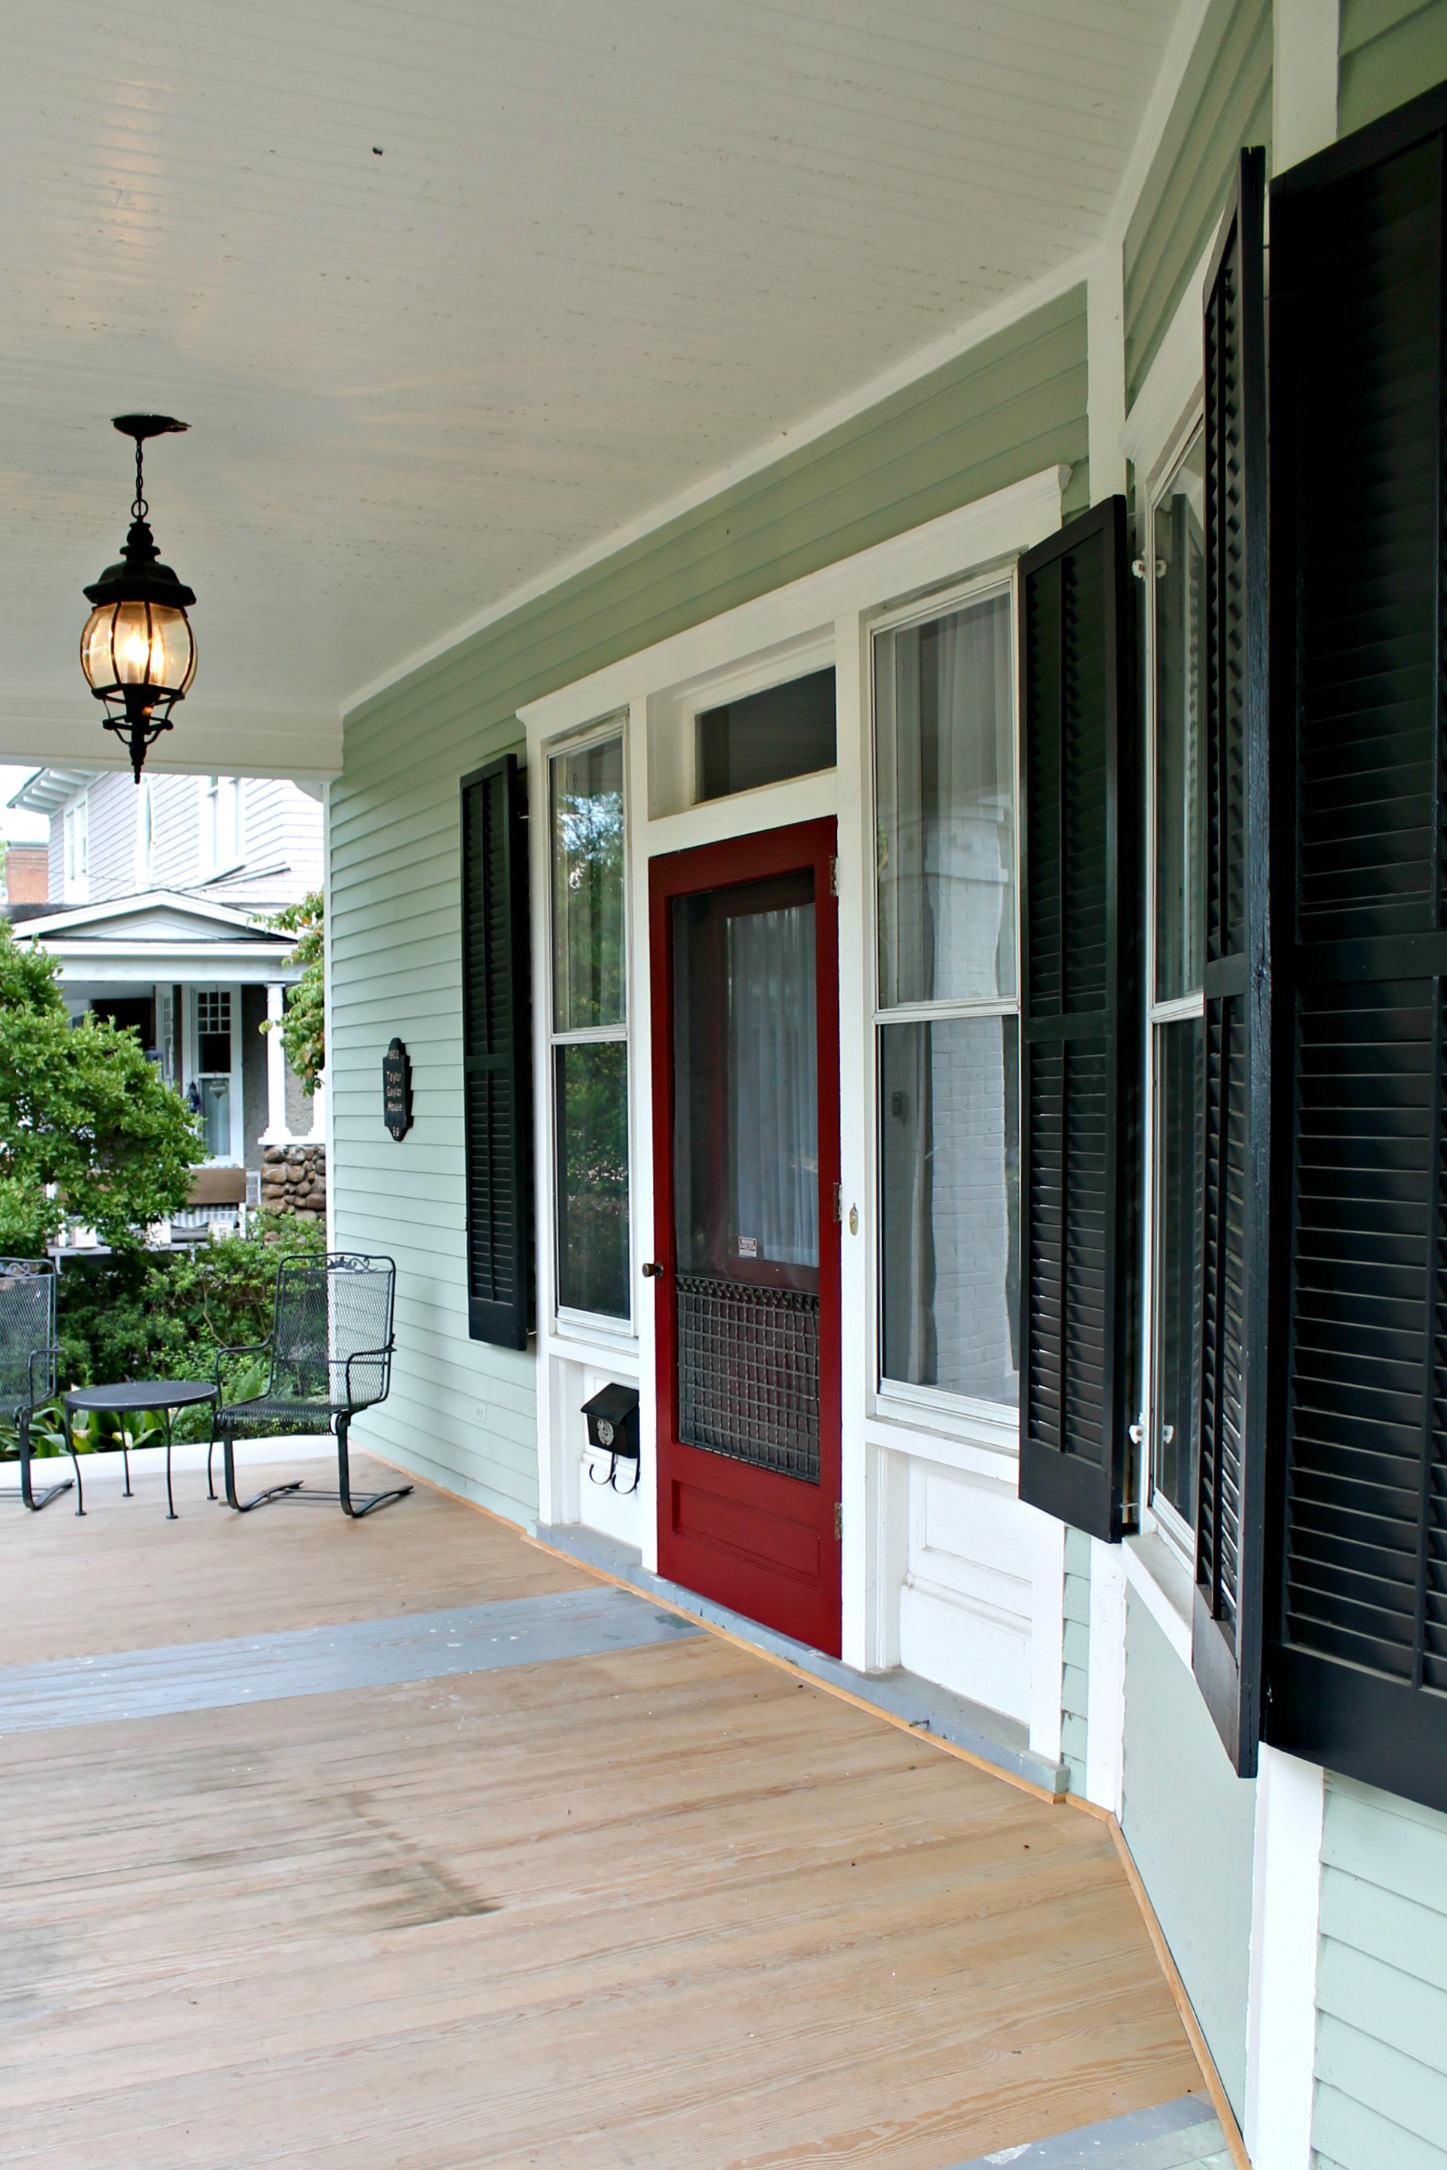
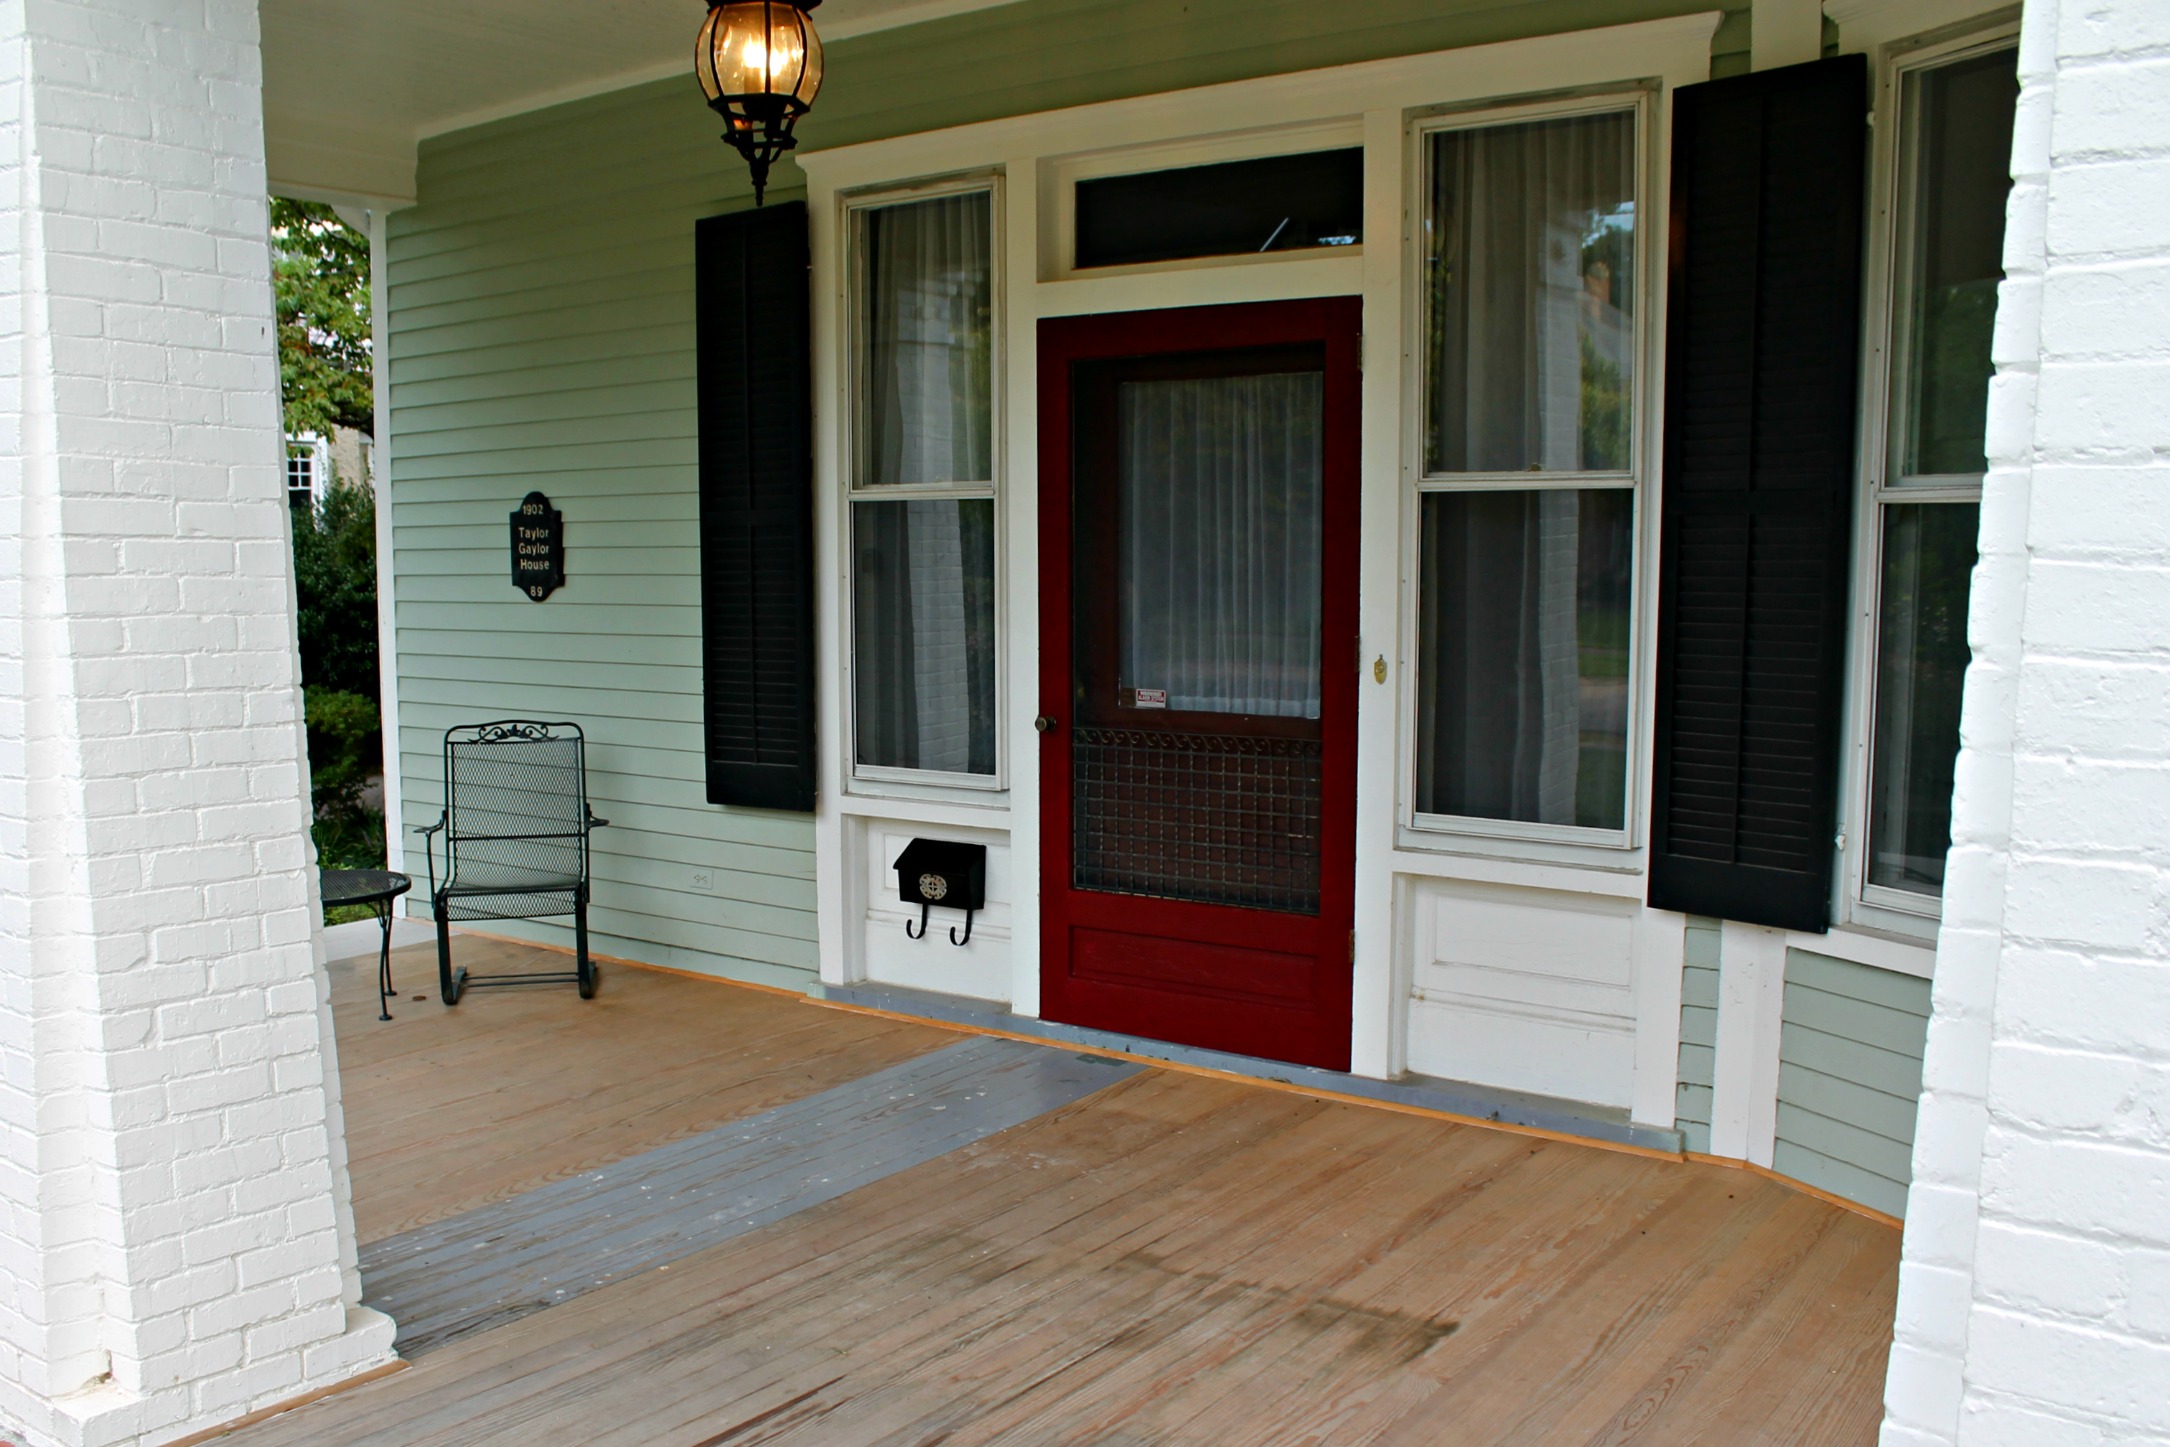
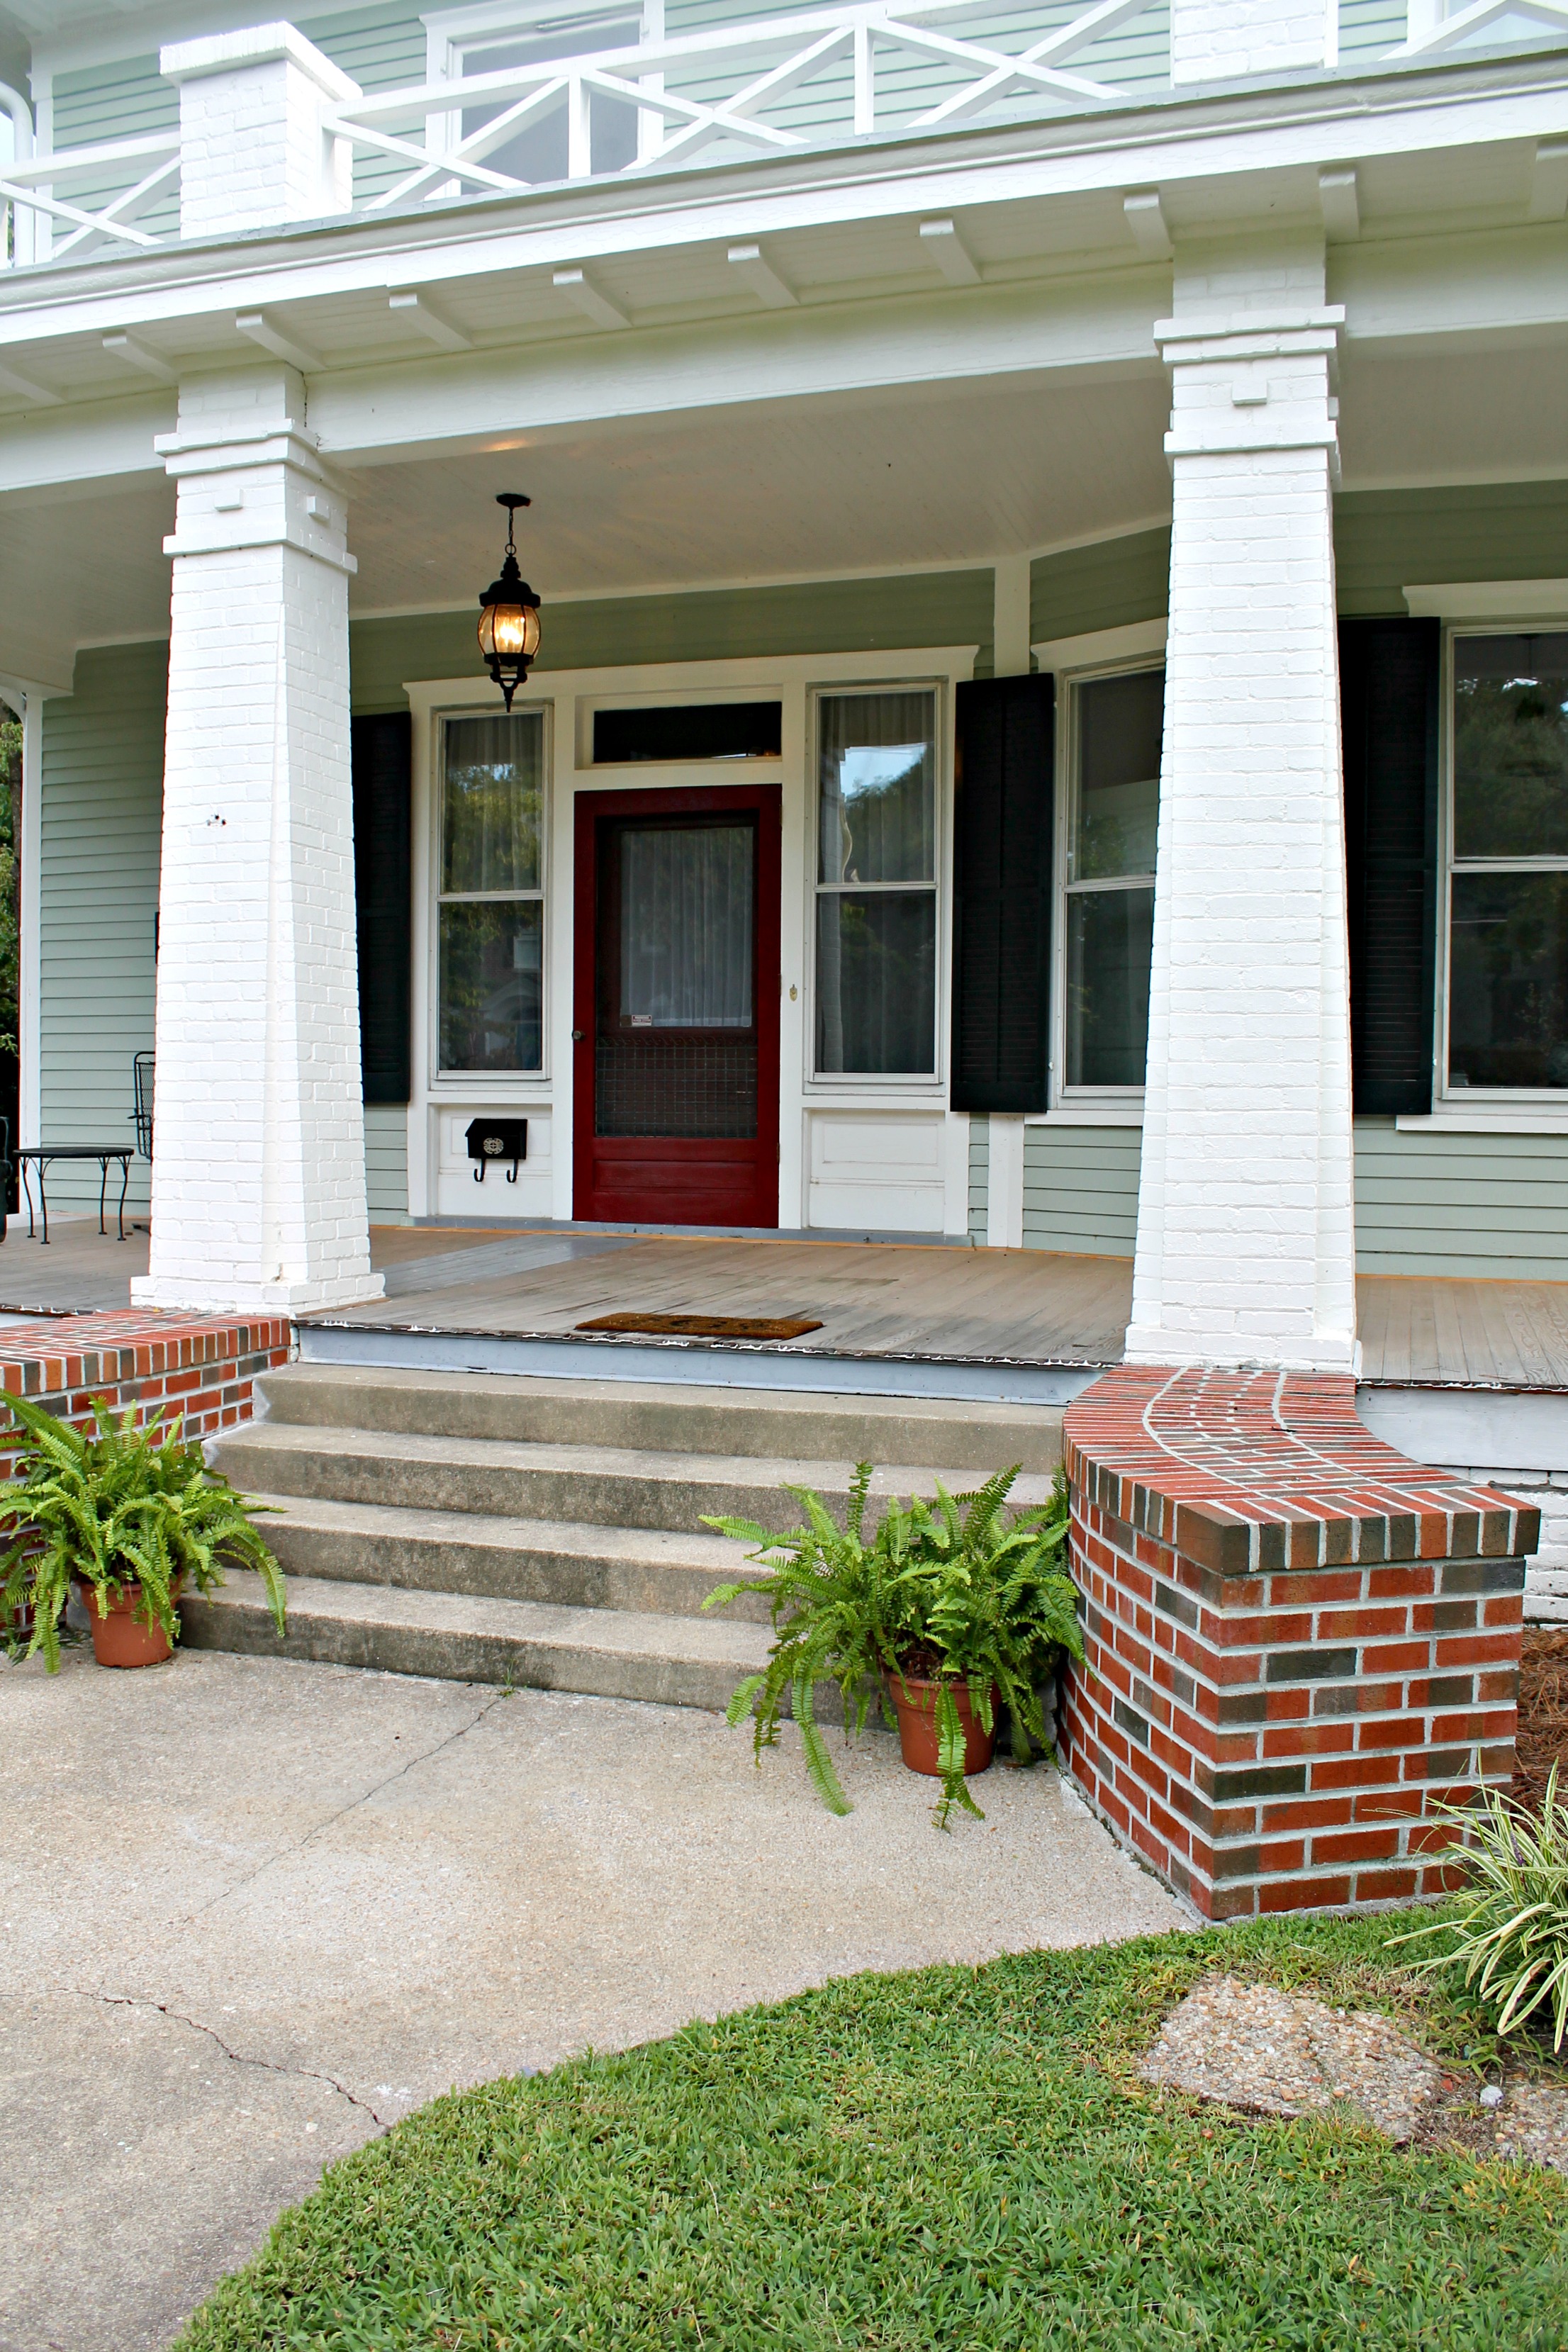
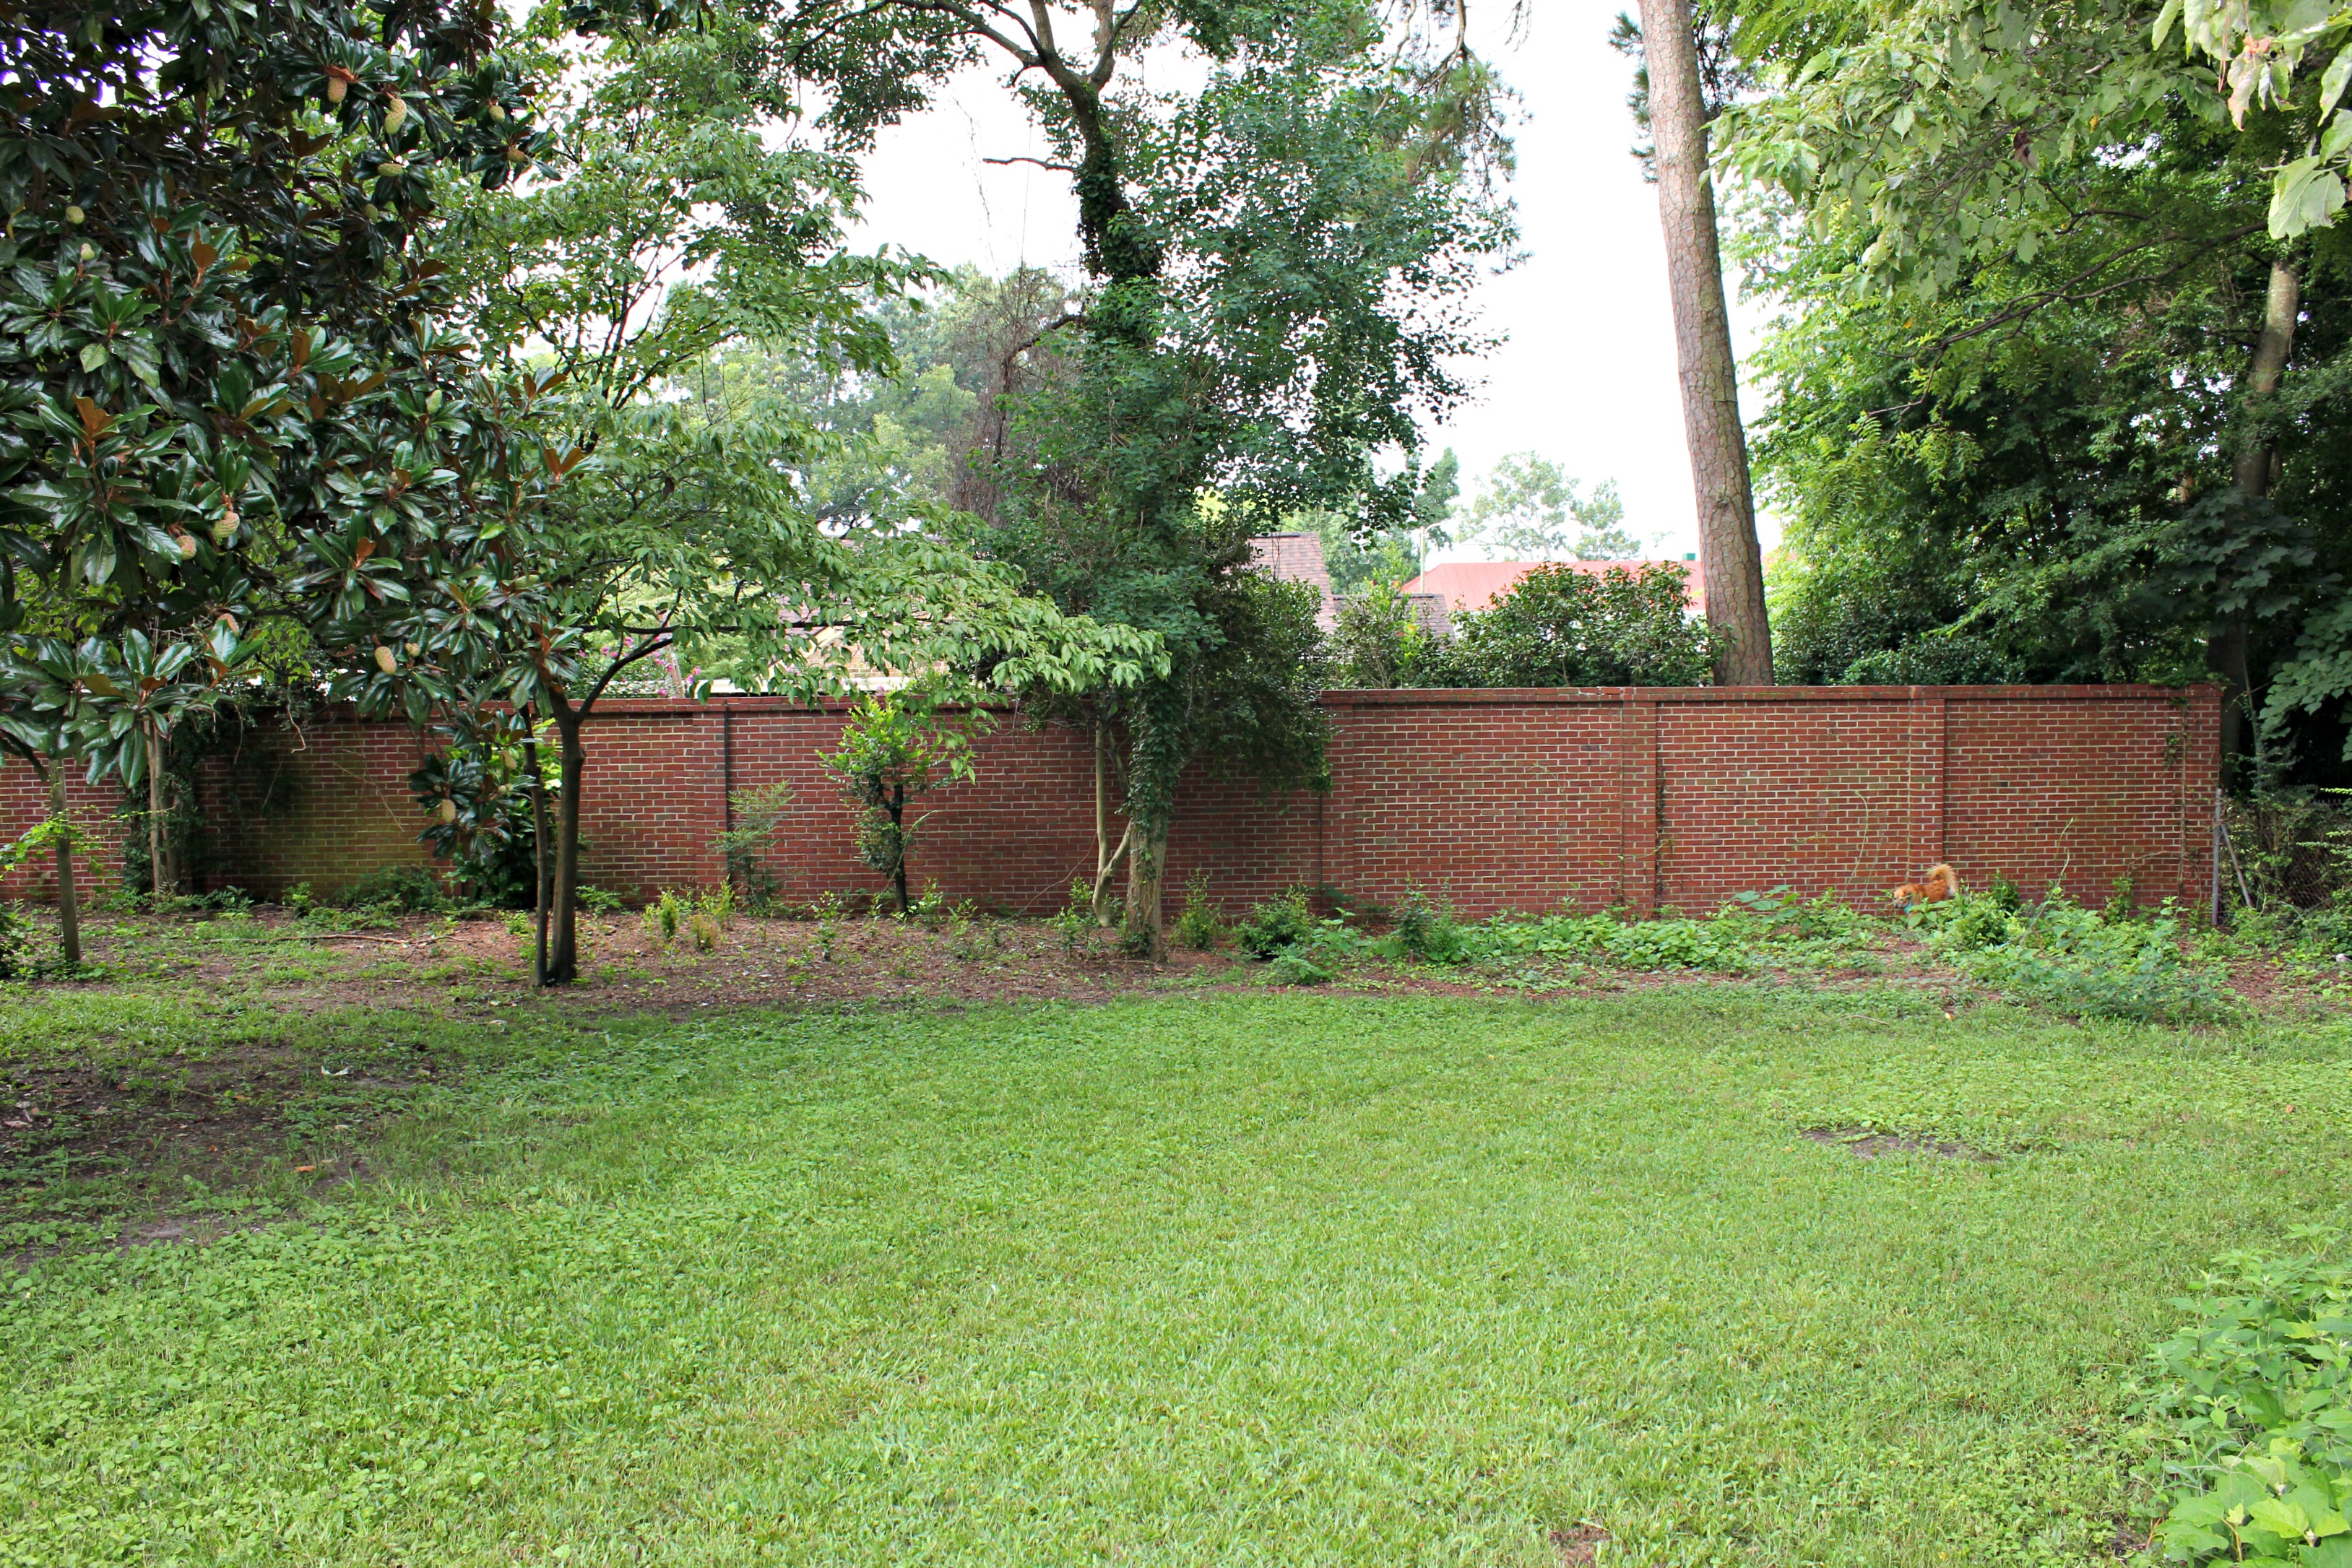
The house was painted and the porches were stabilized, plus we trimmed the trees and added a flower bed using bricks (similar to the front of the house). The porches still need to be painted and we need to rehang our black shutters, but it already looks a gazillion times better.
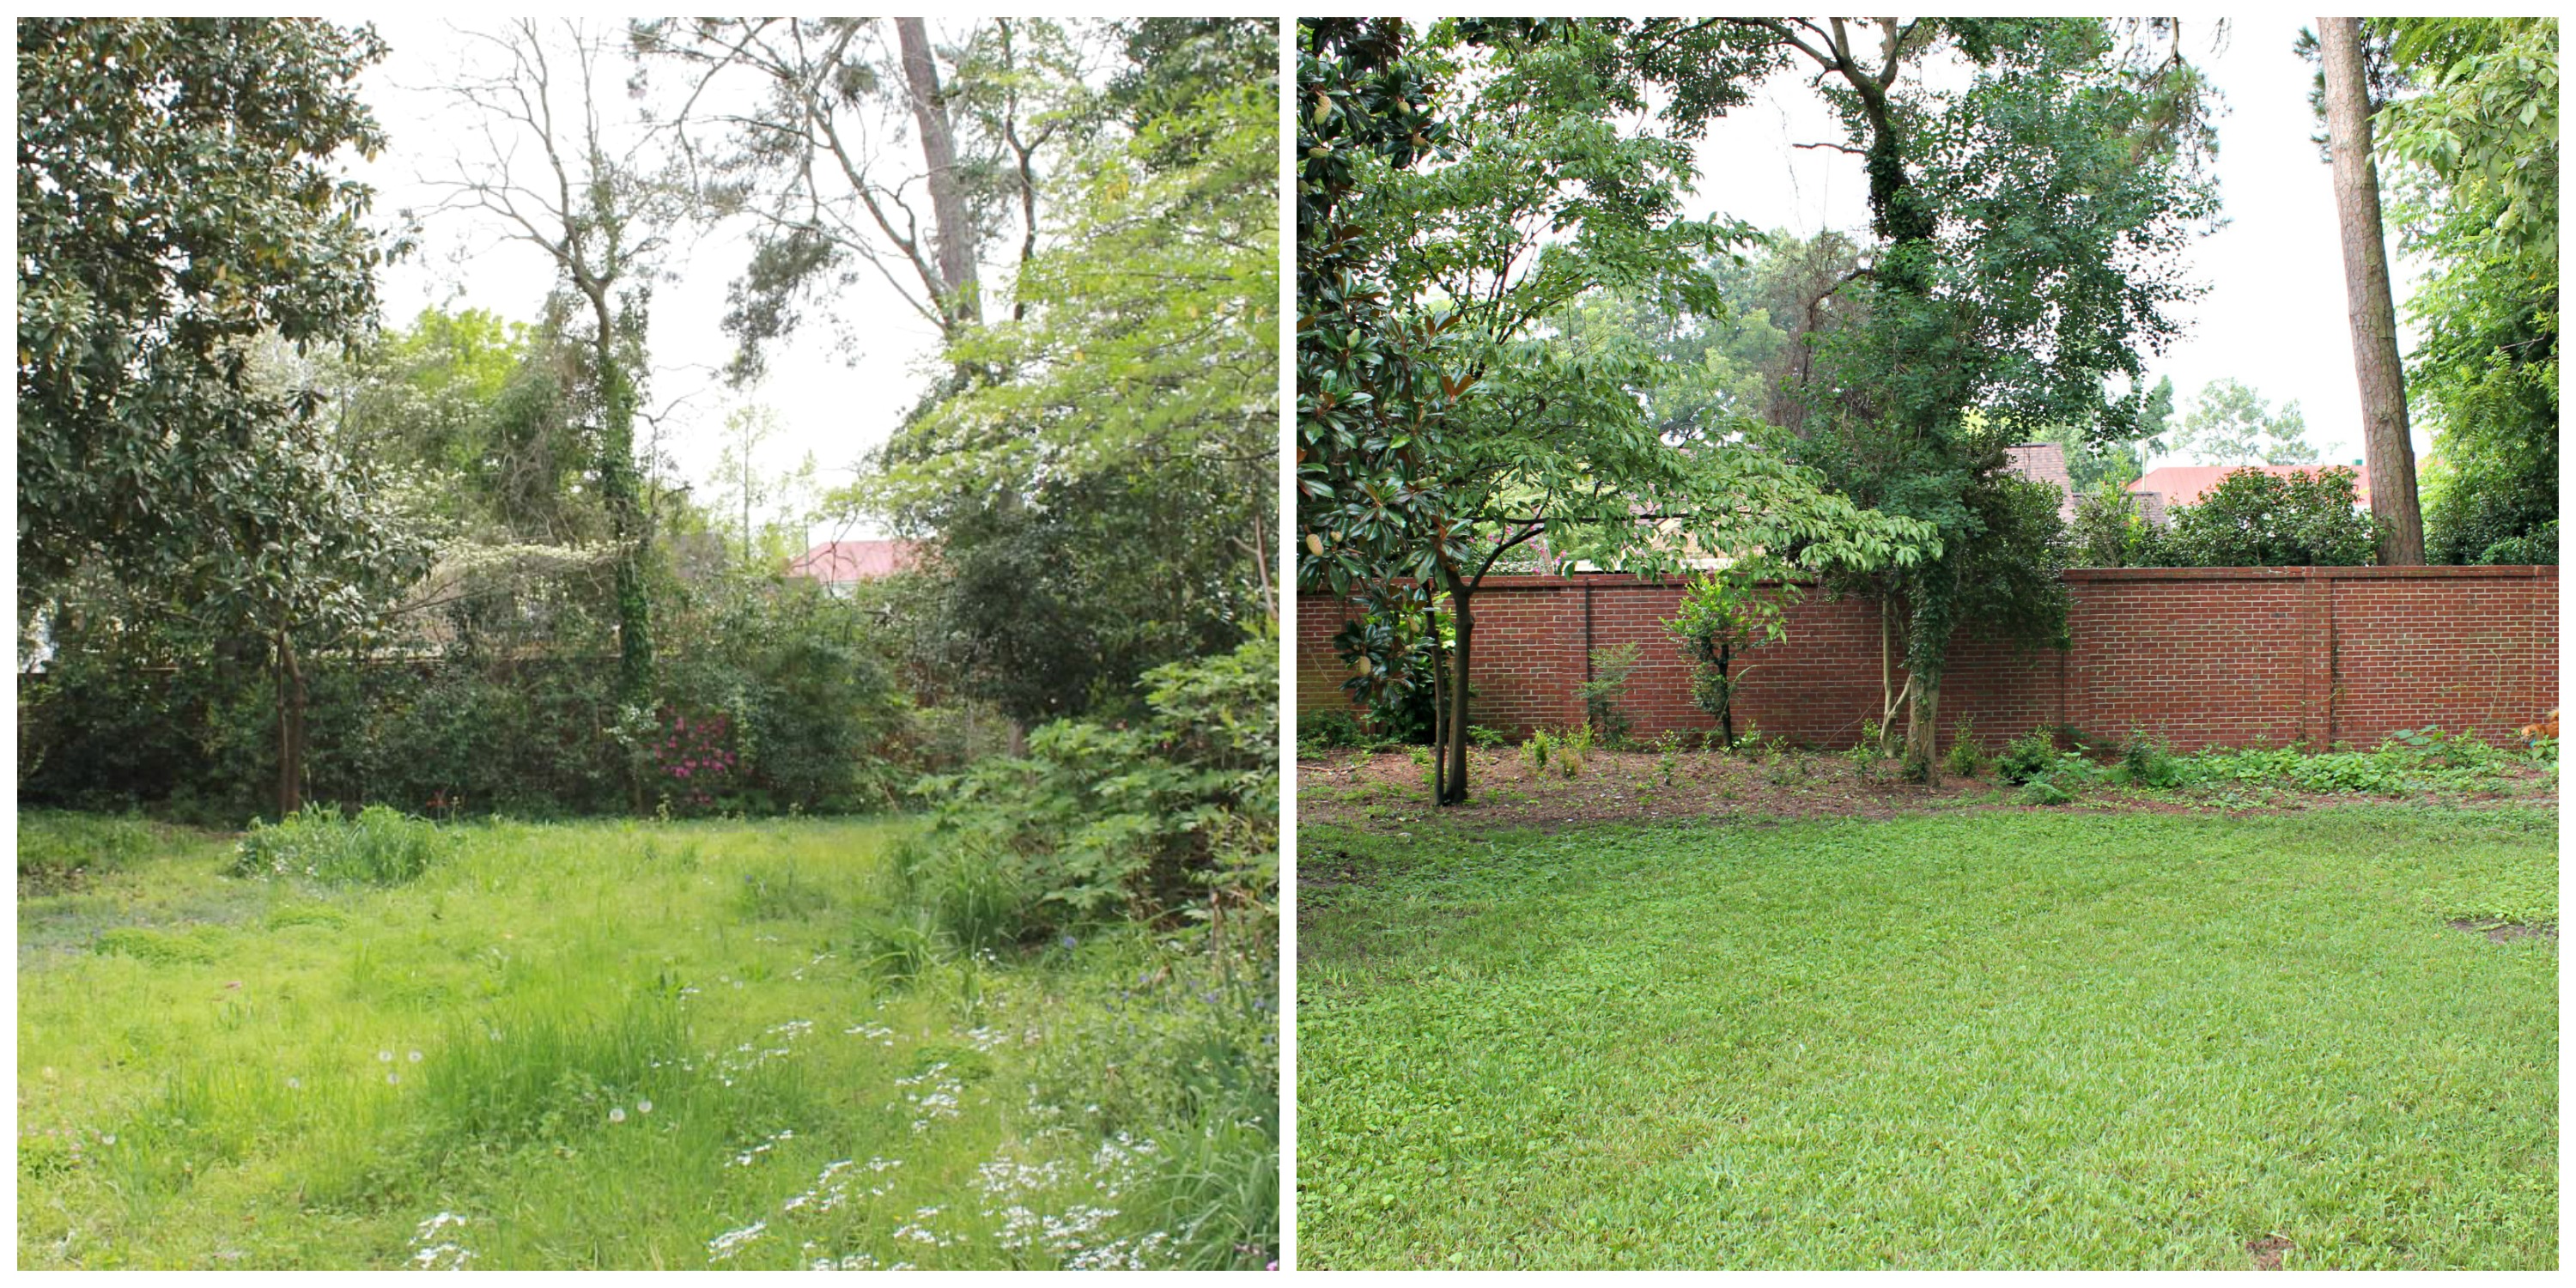
We also ripped out most of the overgrowth in our backyard and realized that we had at least 10 feet of yard on every side that was being covered up. We even discovered a brick wall that runs along the back of the yard!
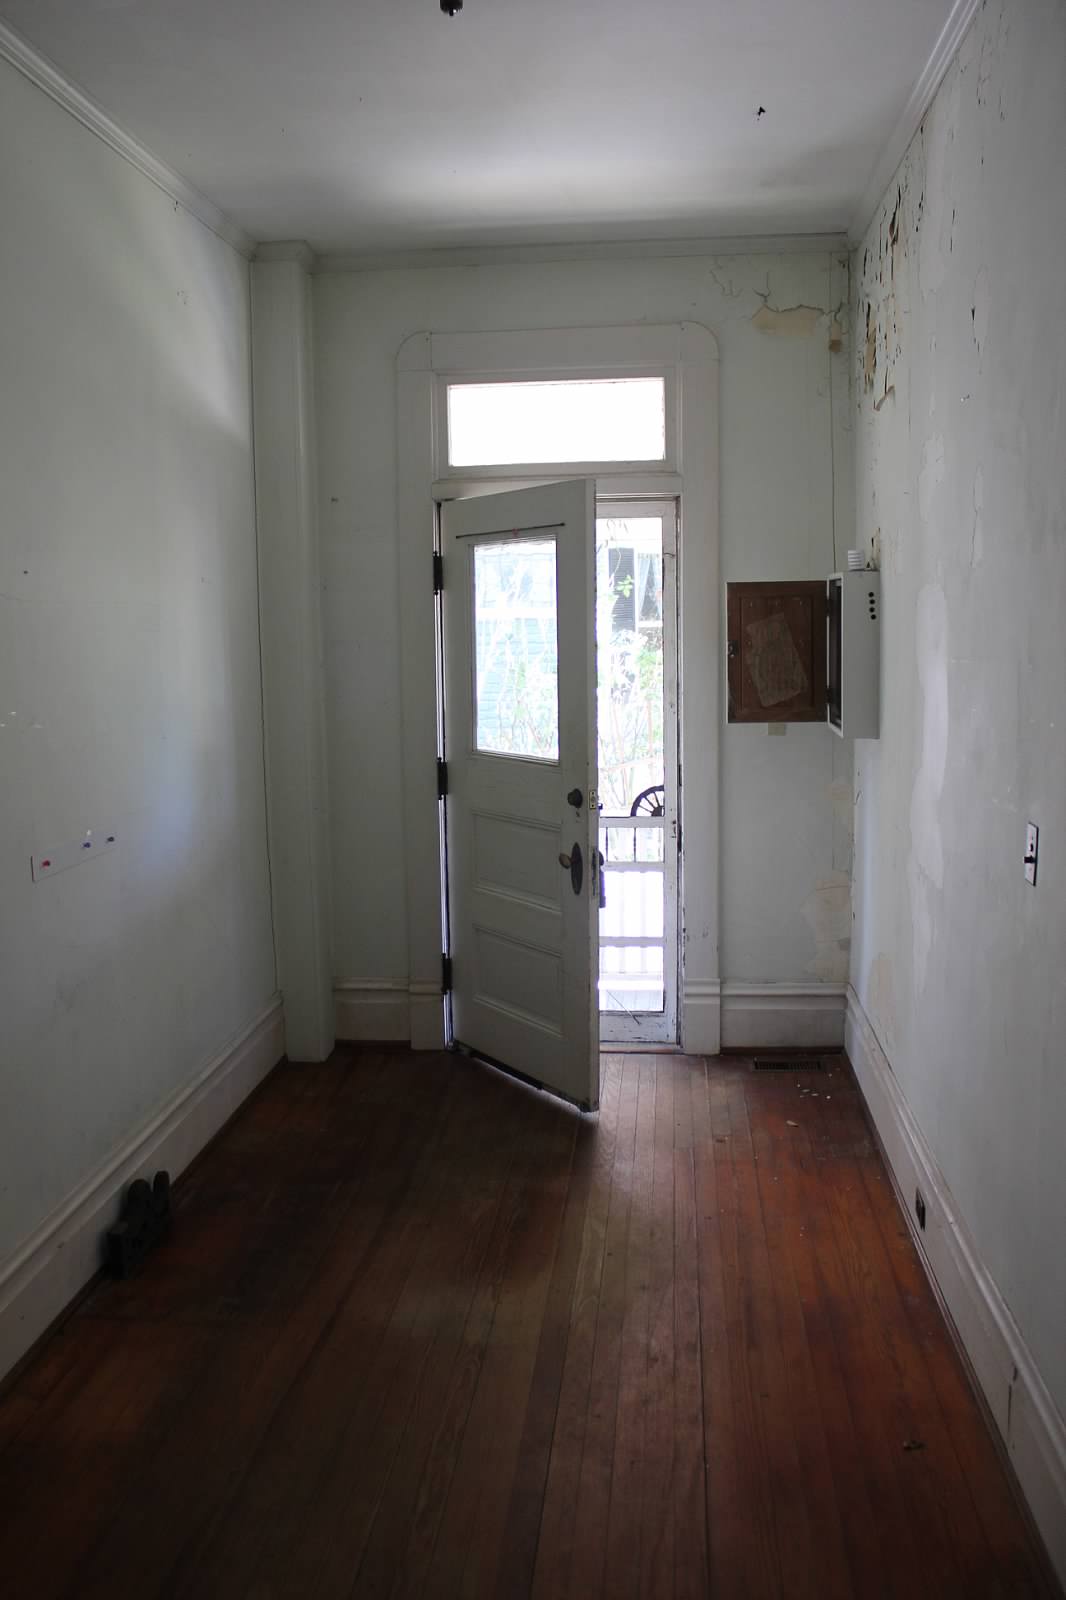
Here’s the before.
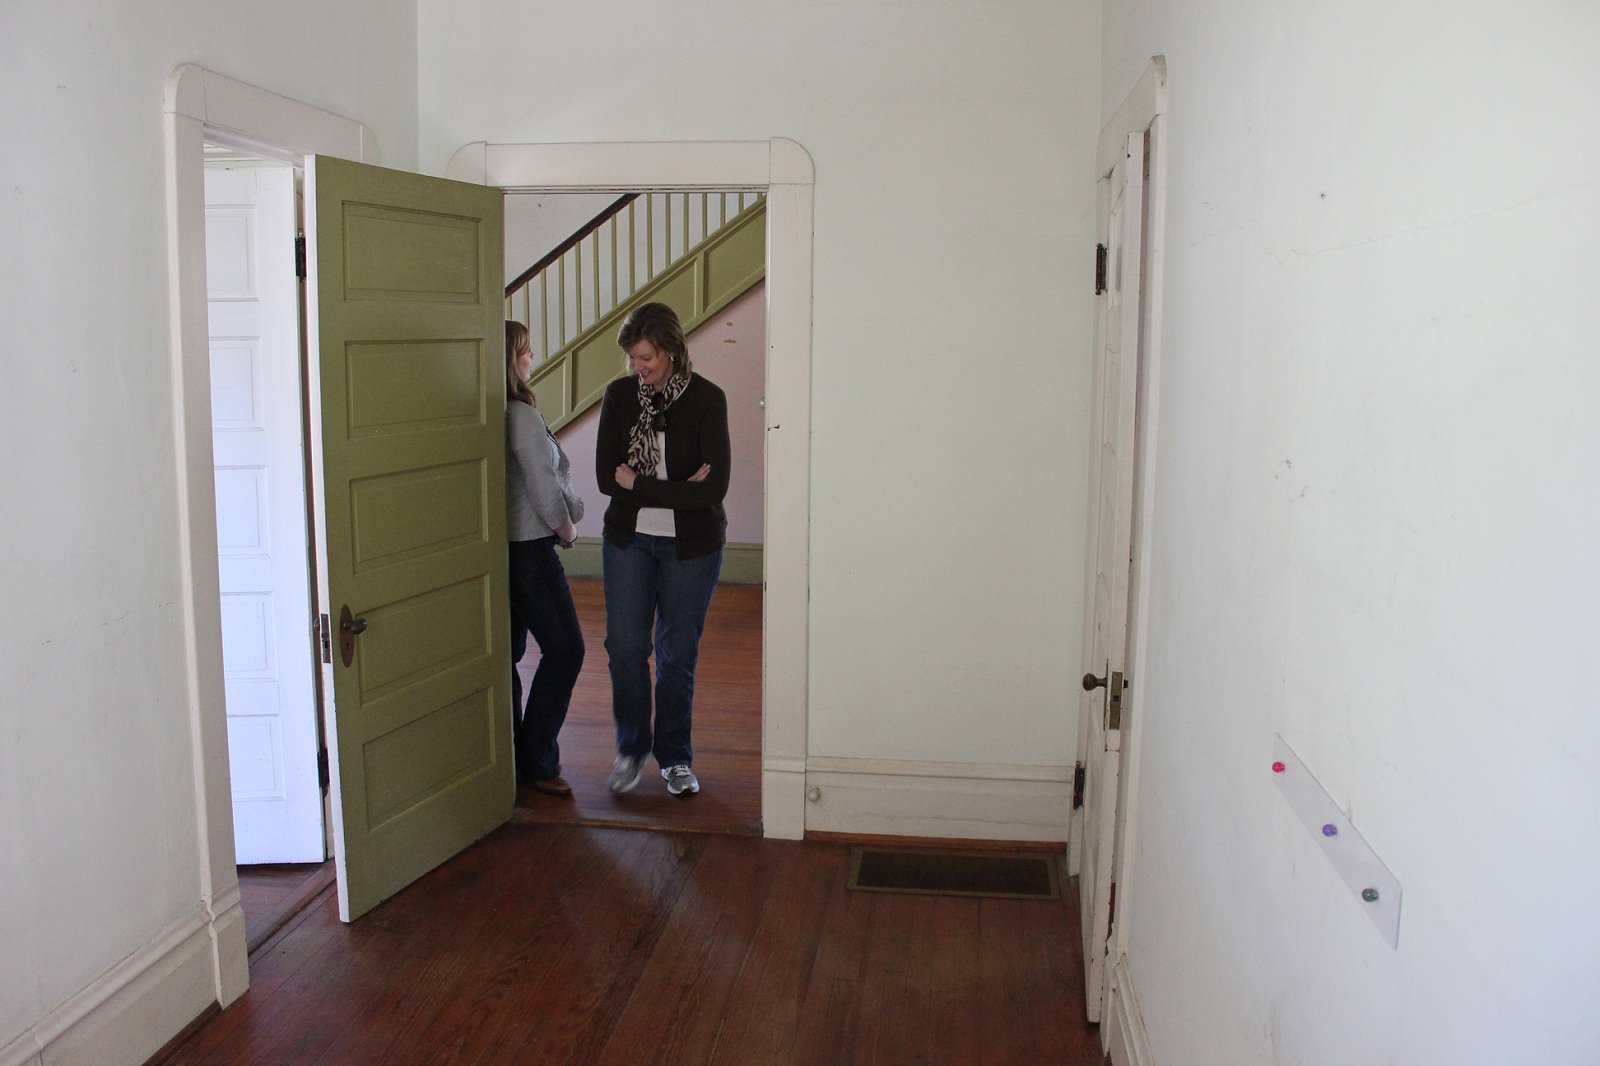
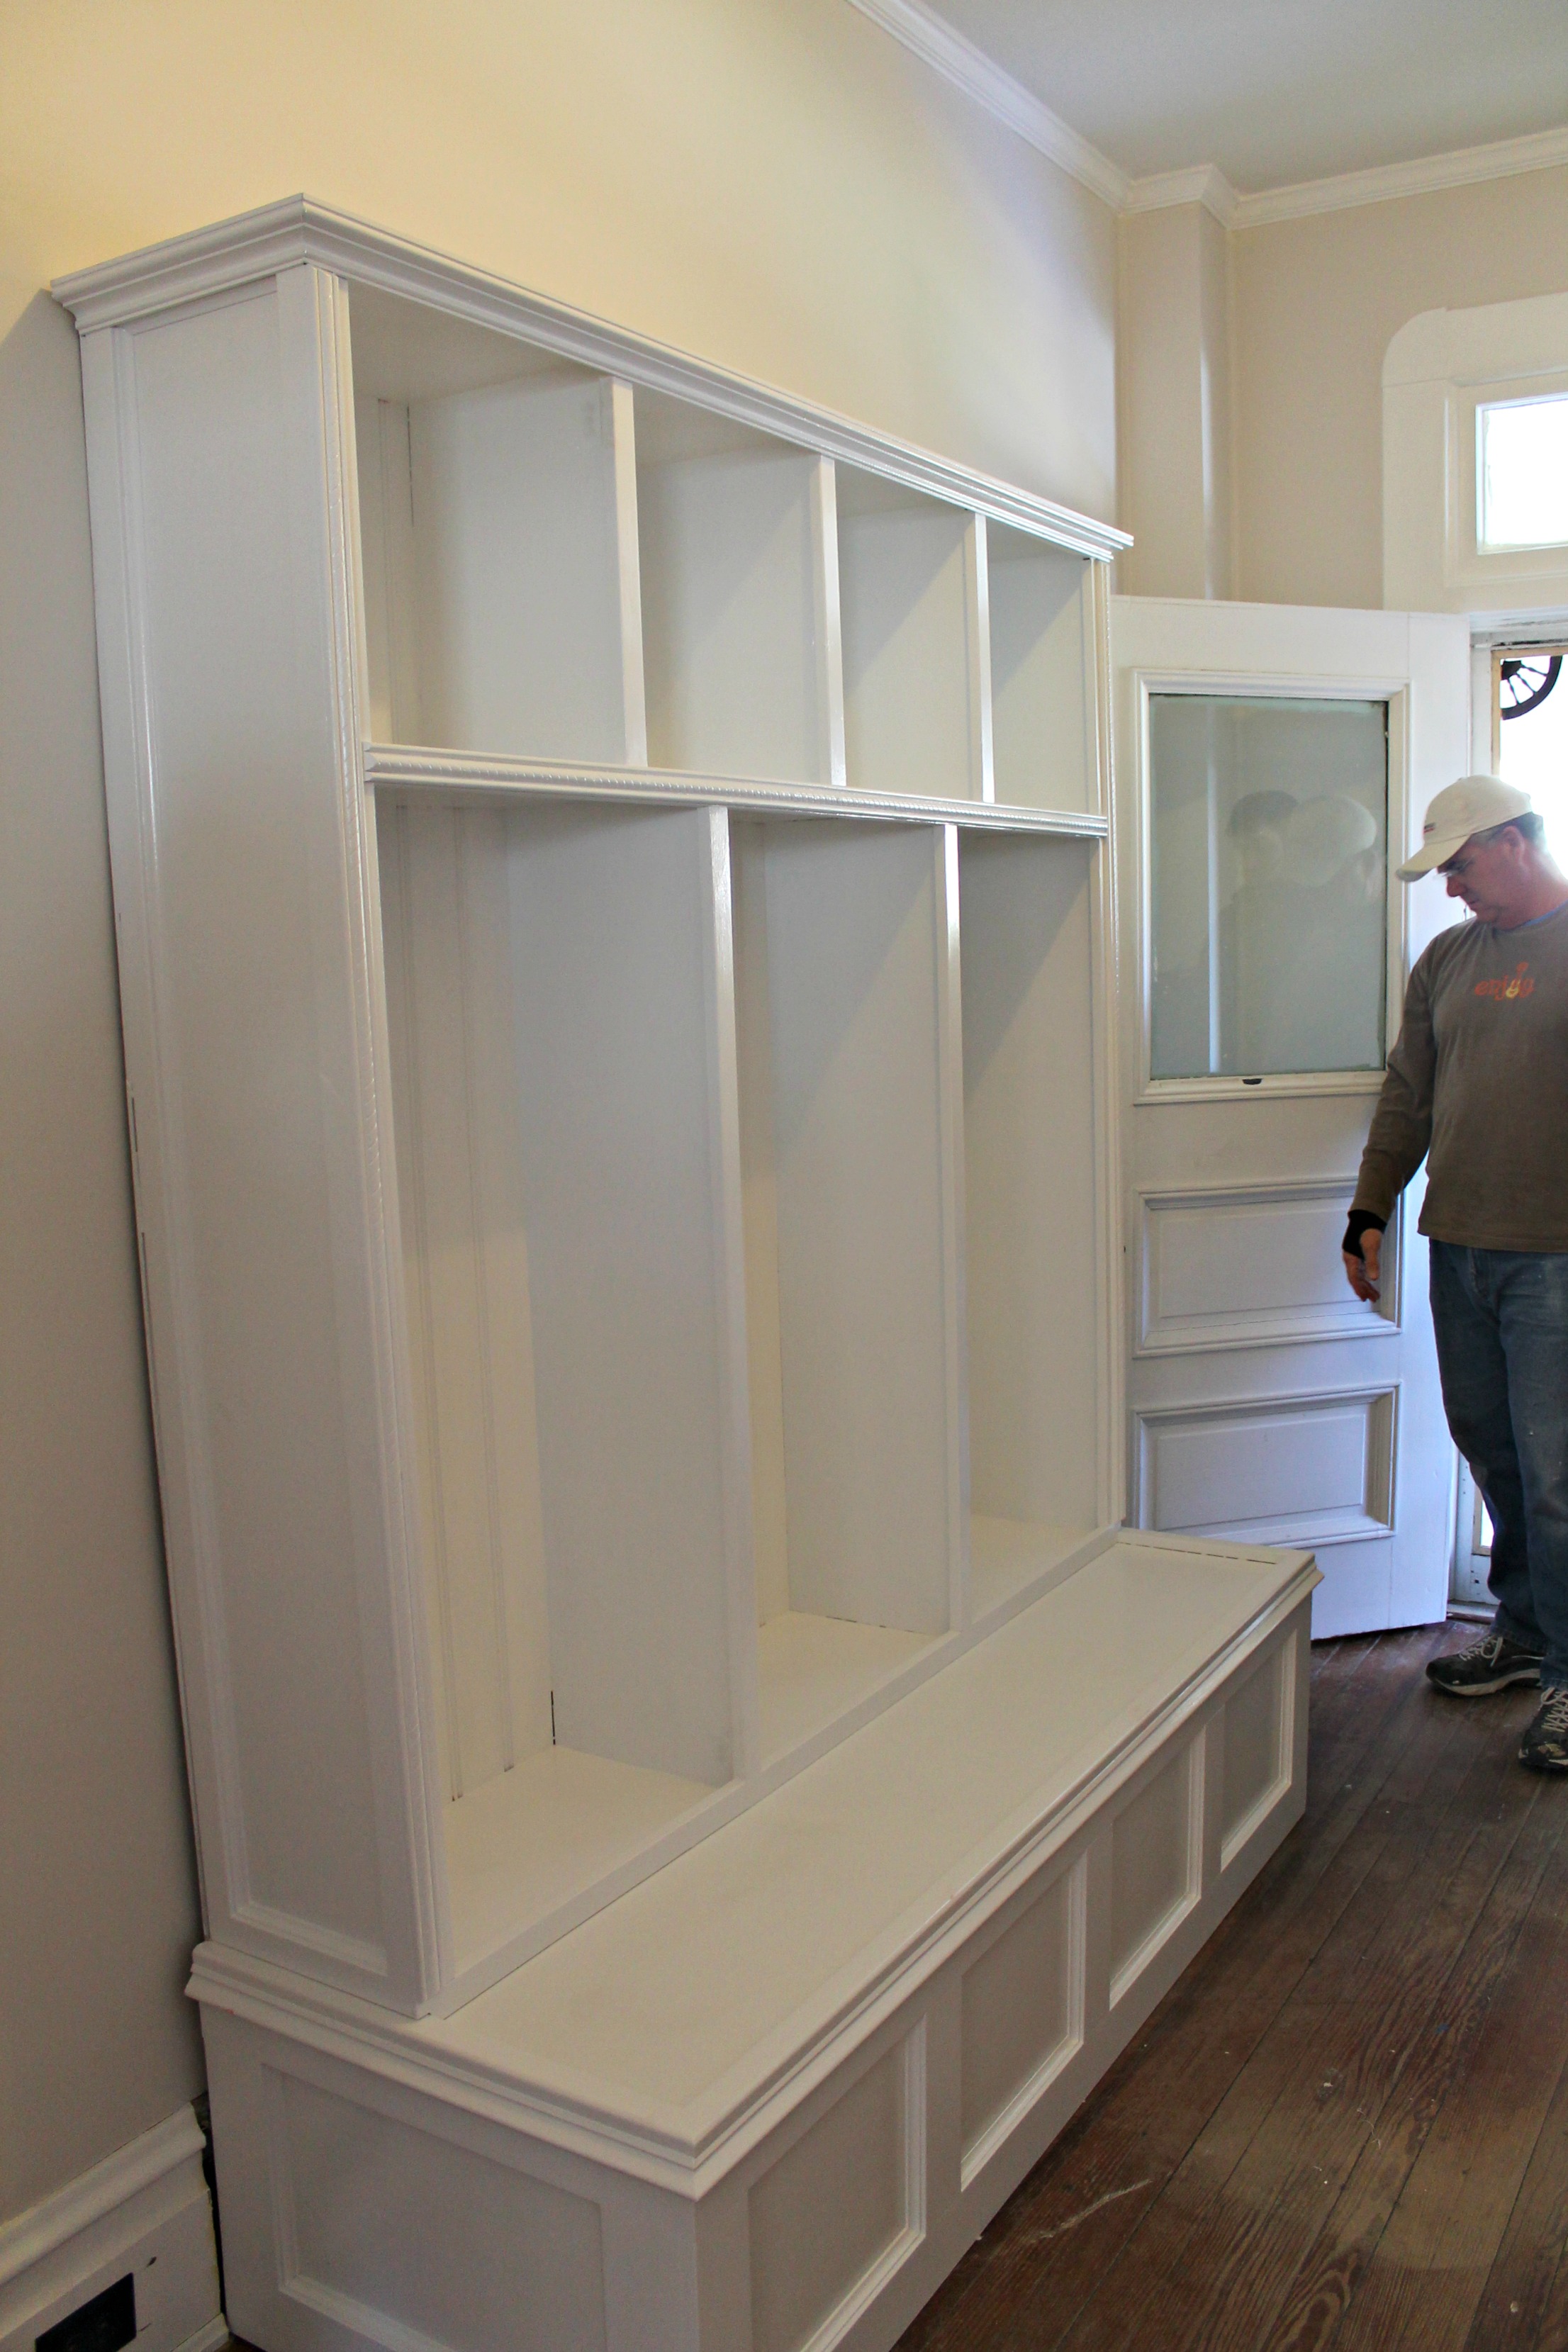
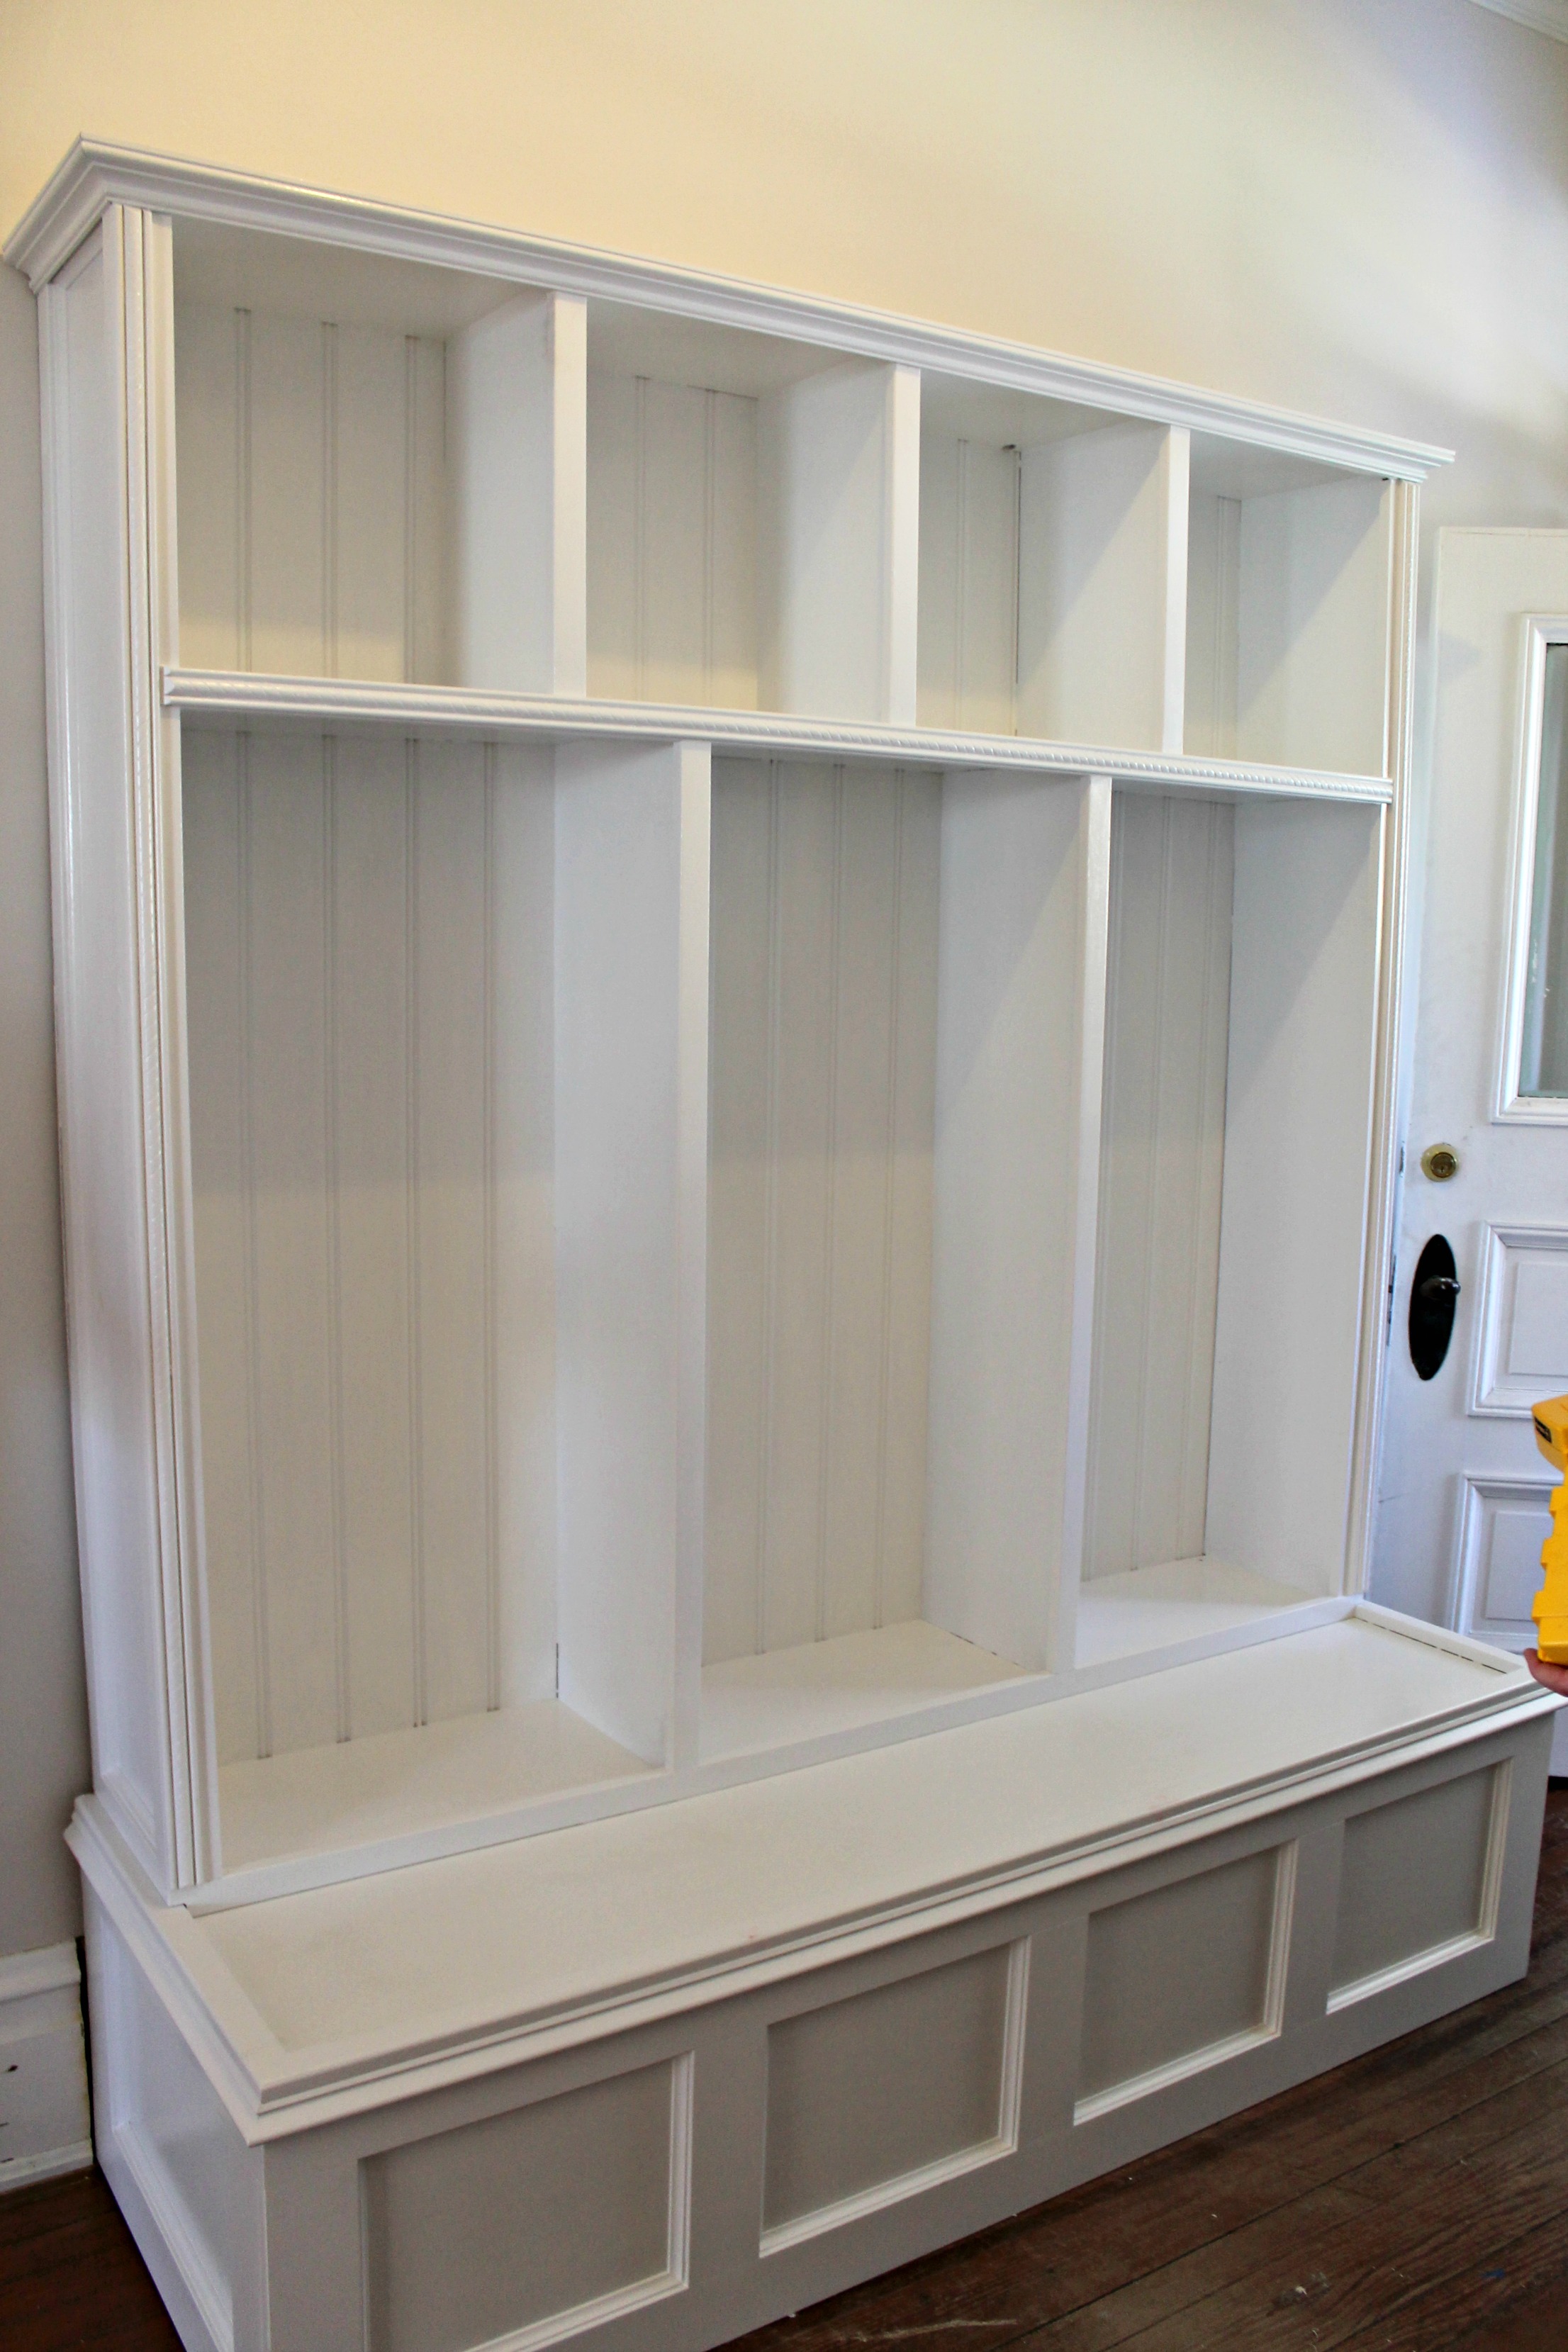
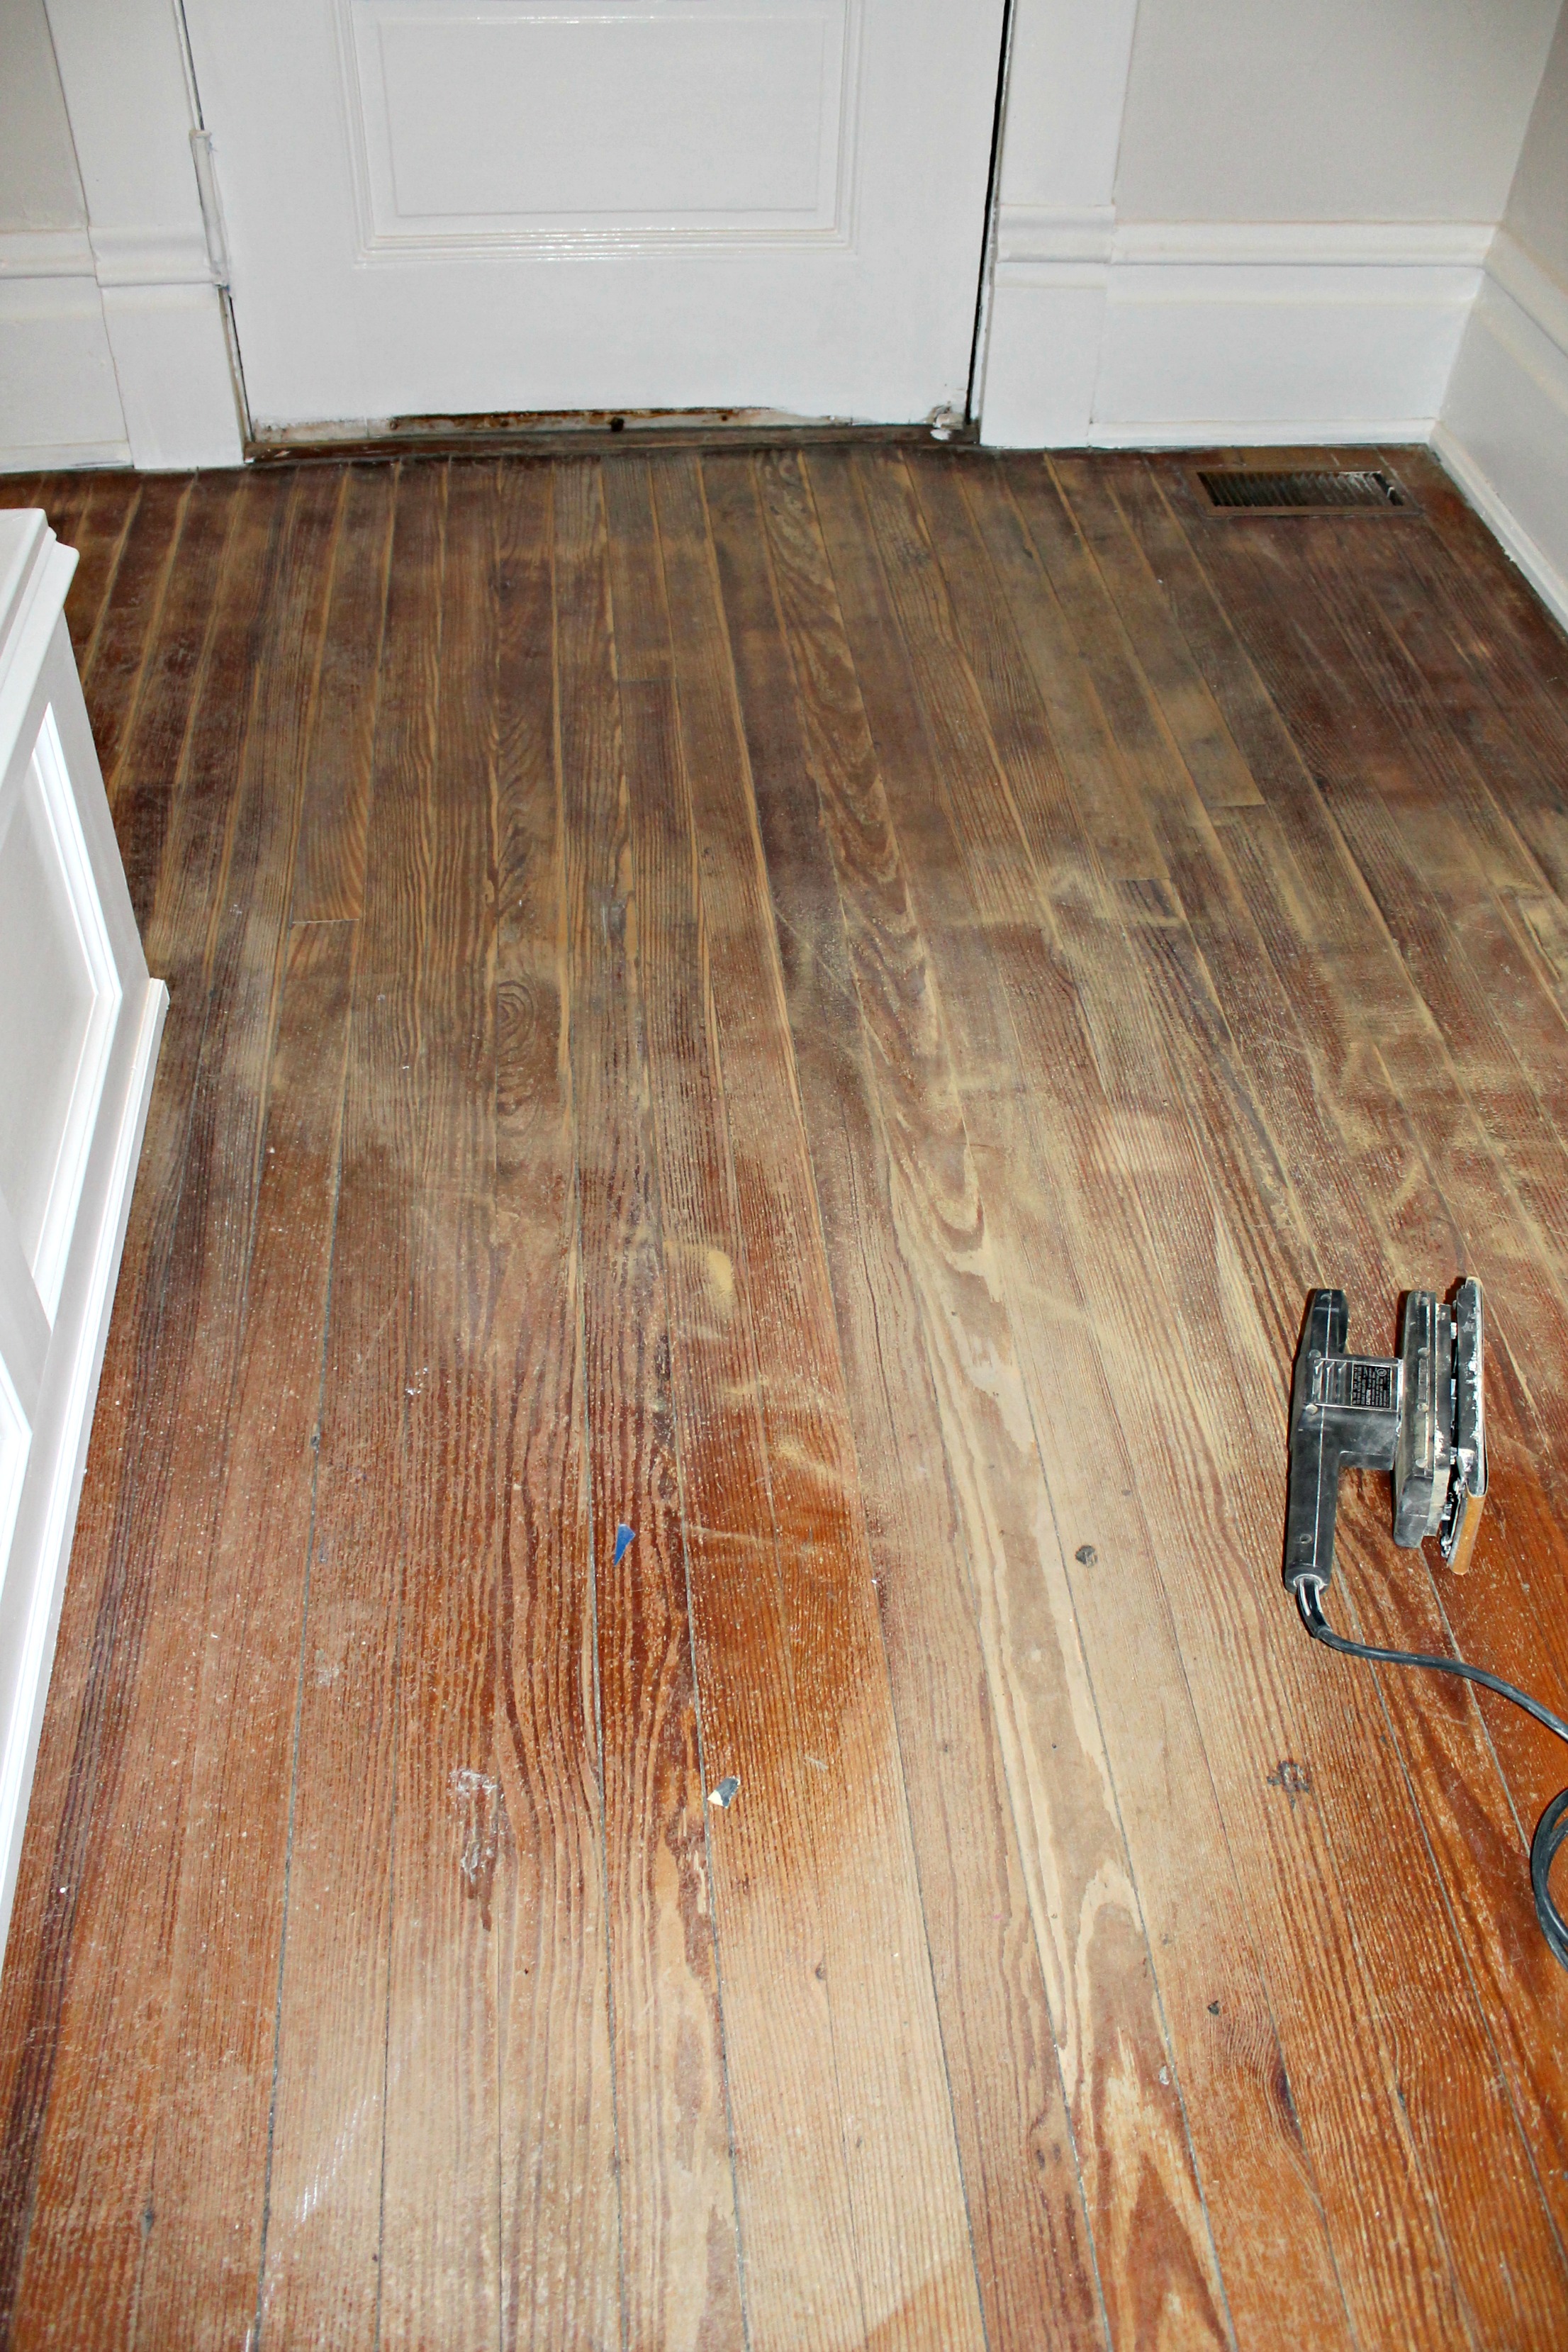
And the after.
And because I know how much y’all love before and after pictures…

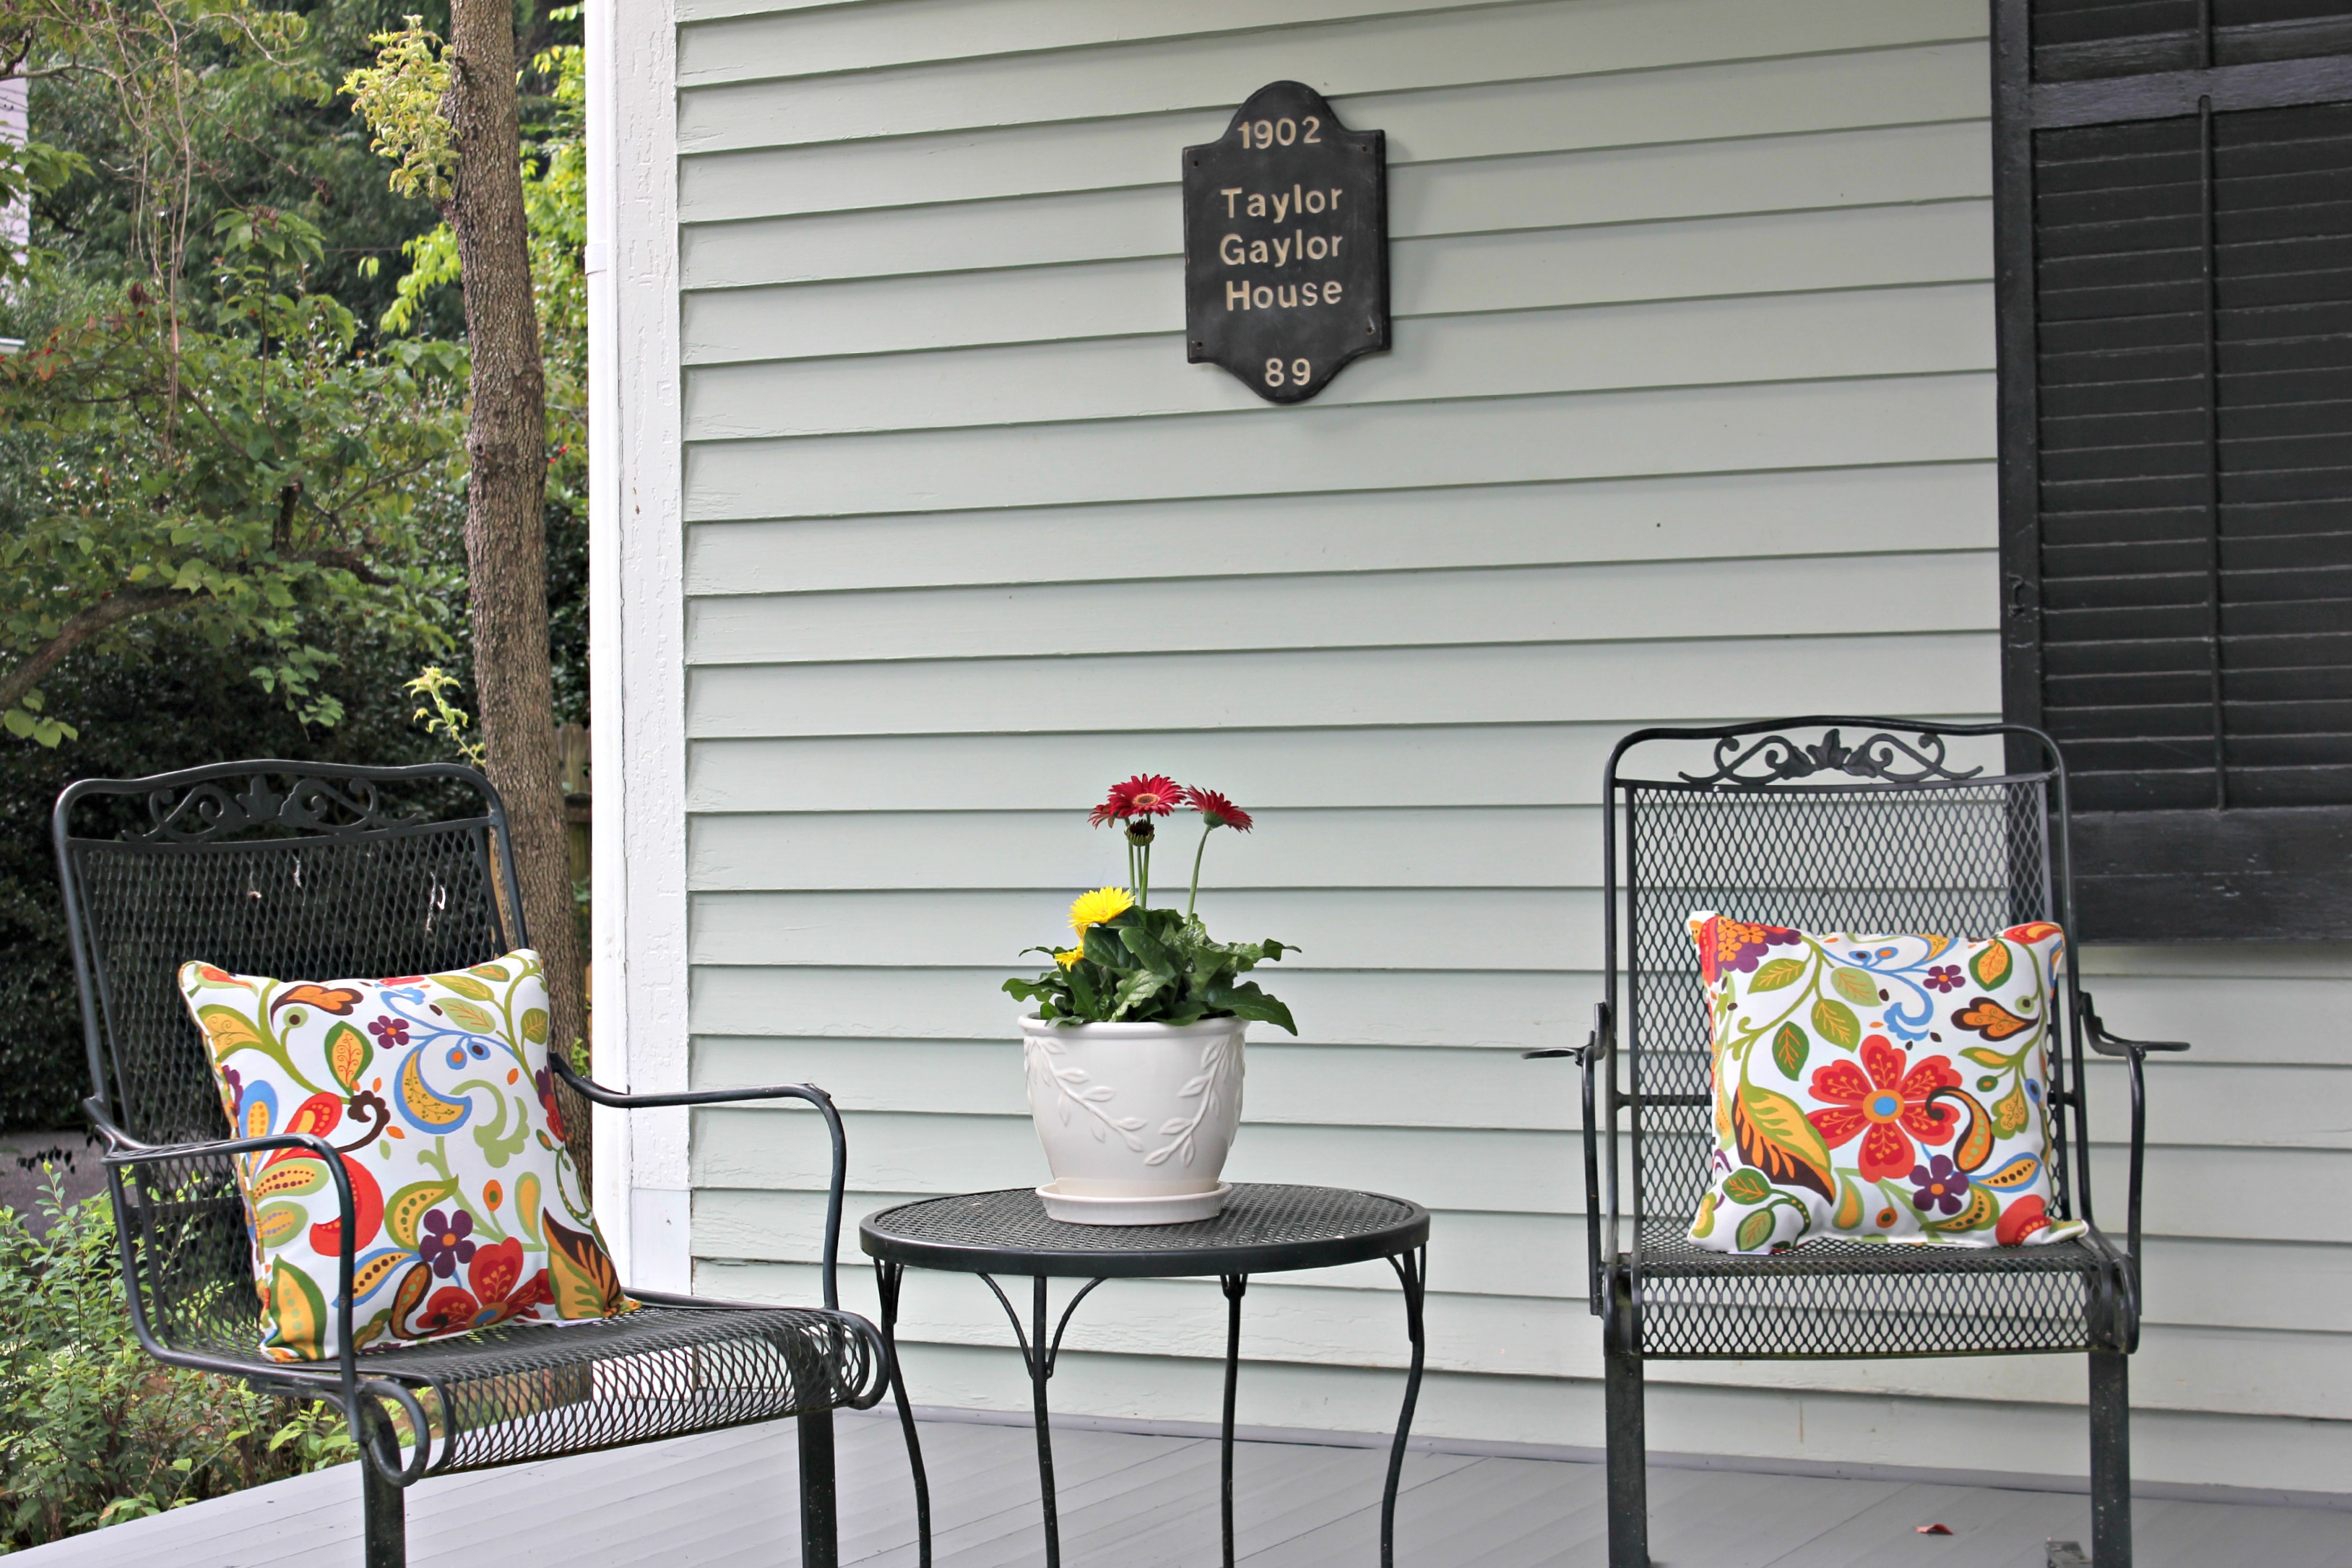
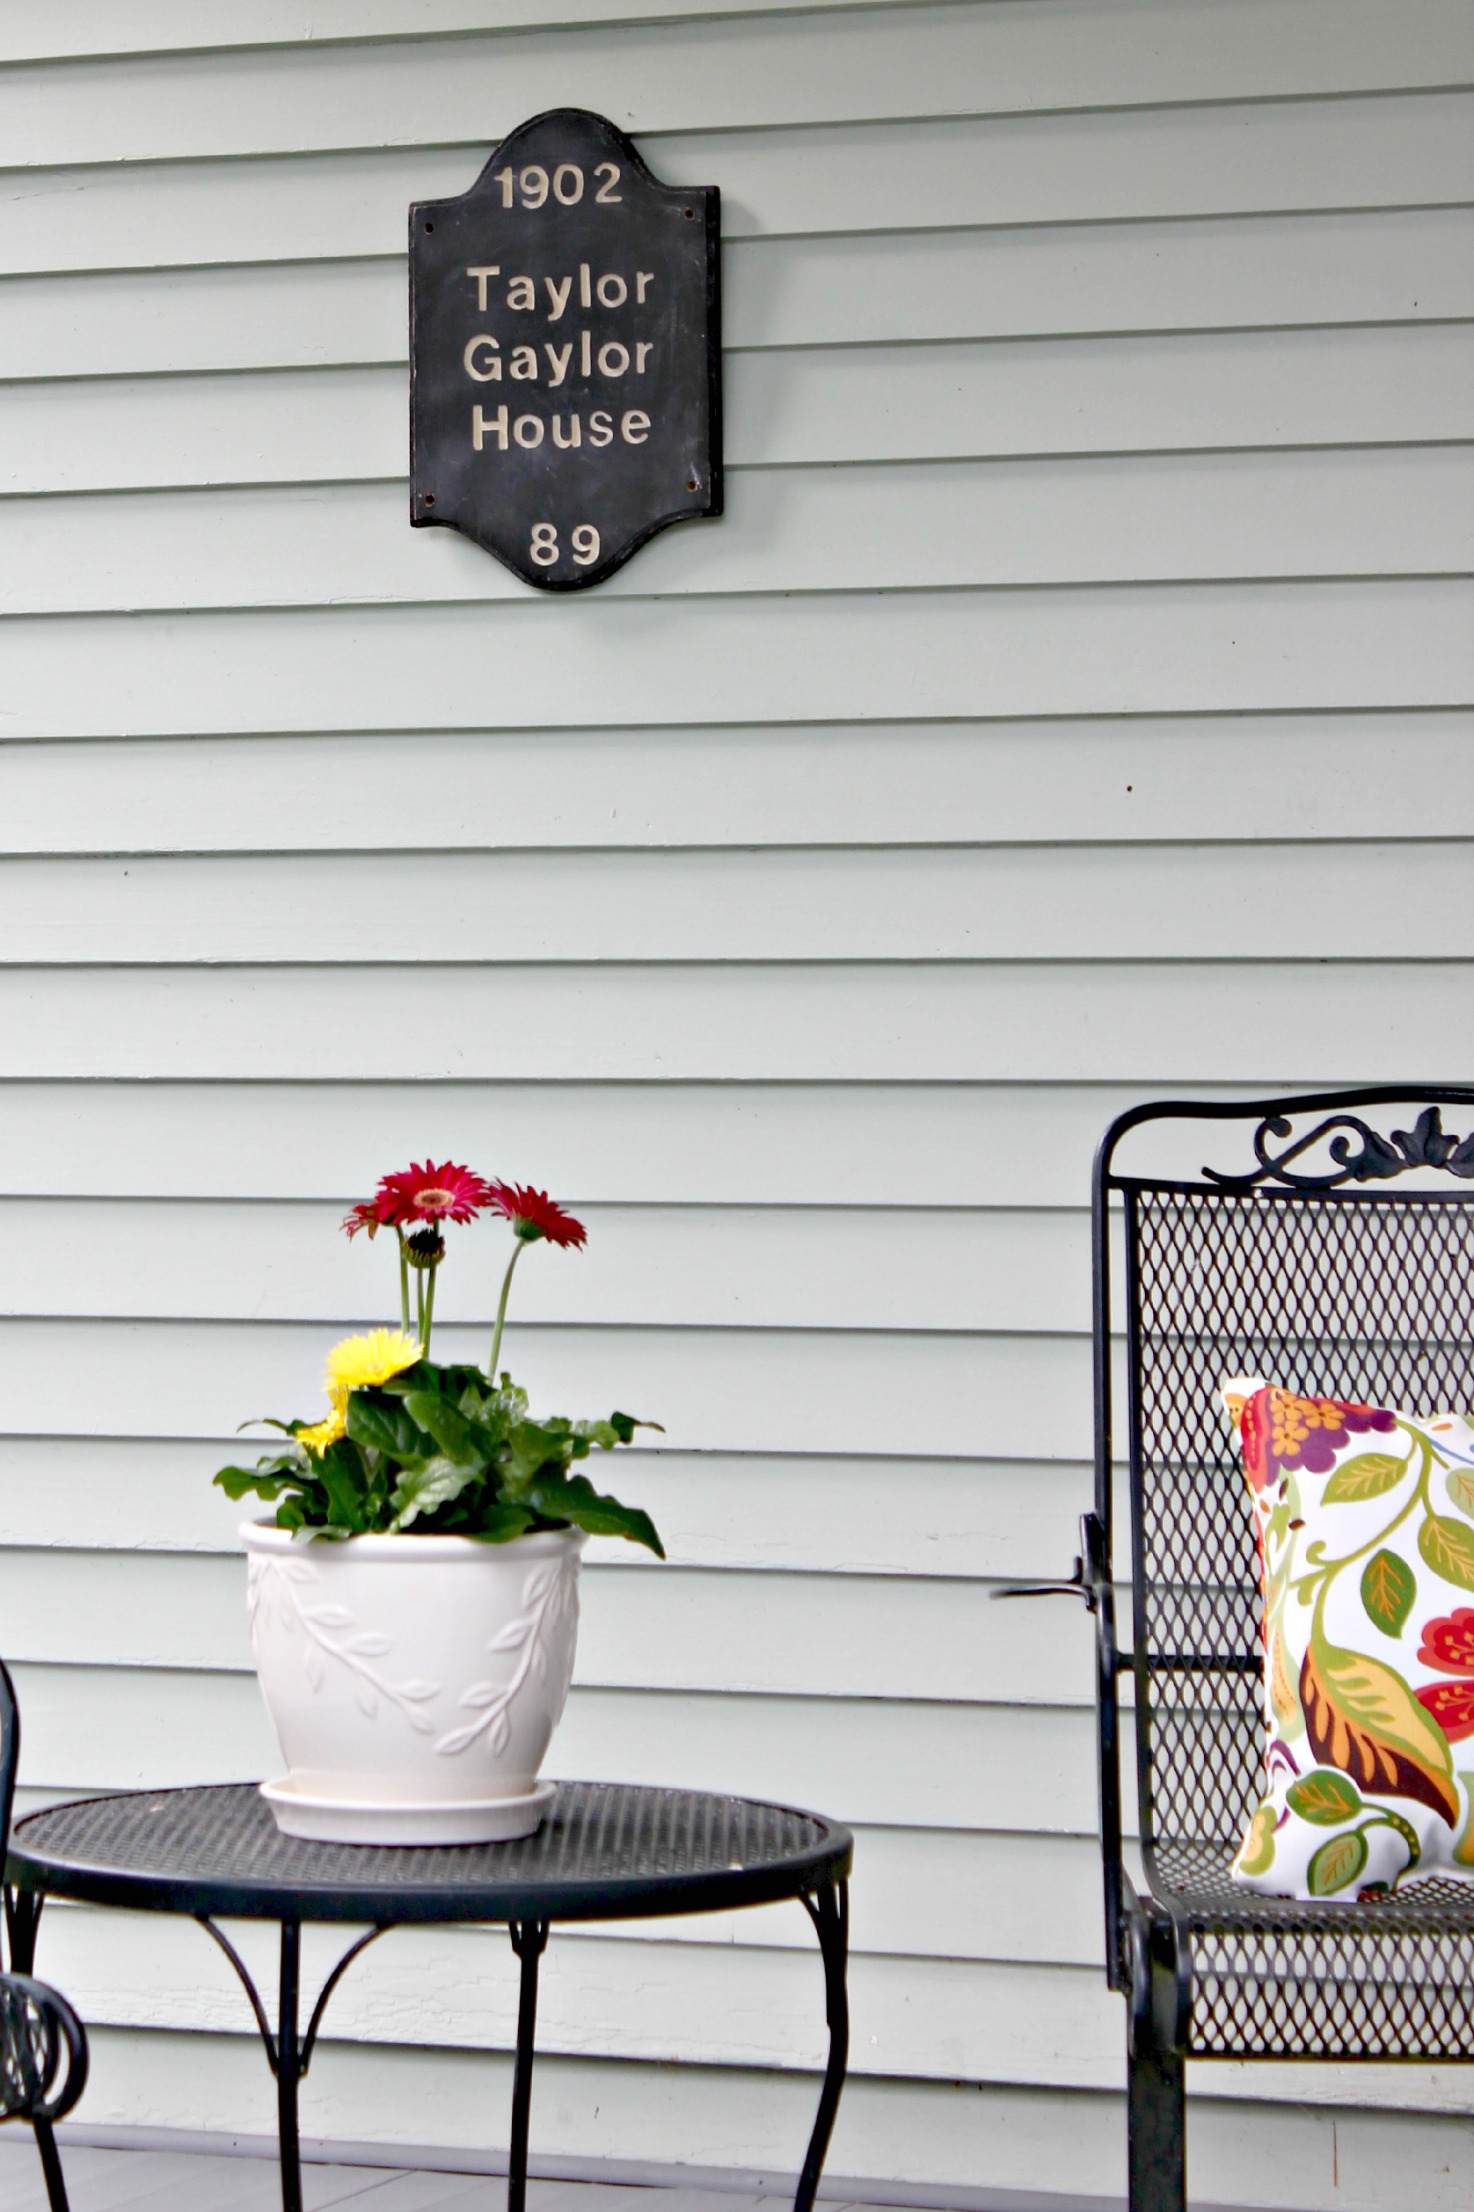
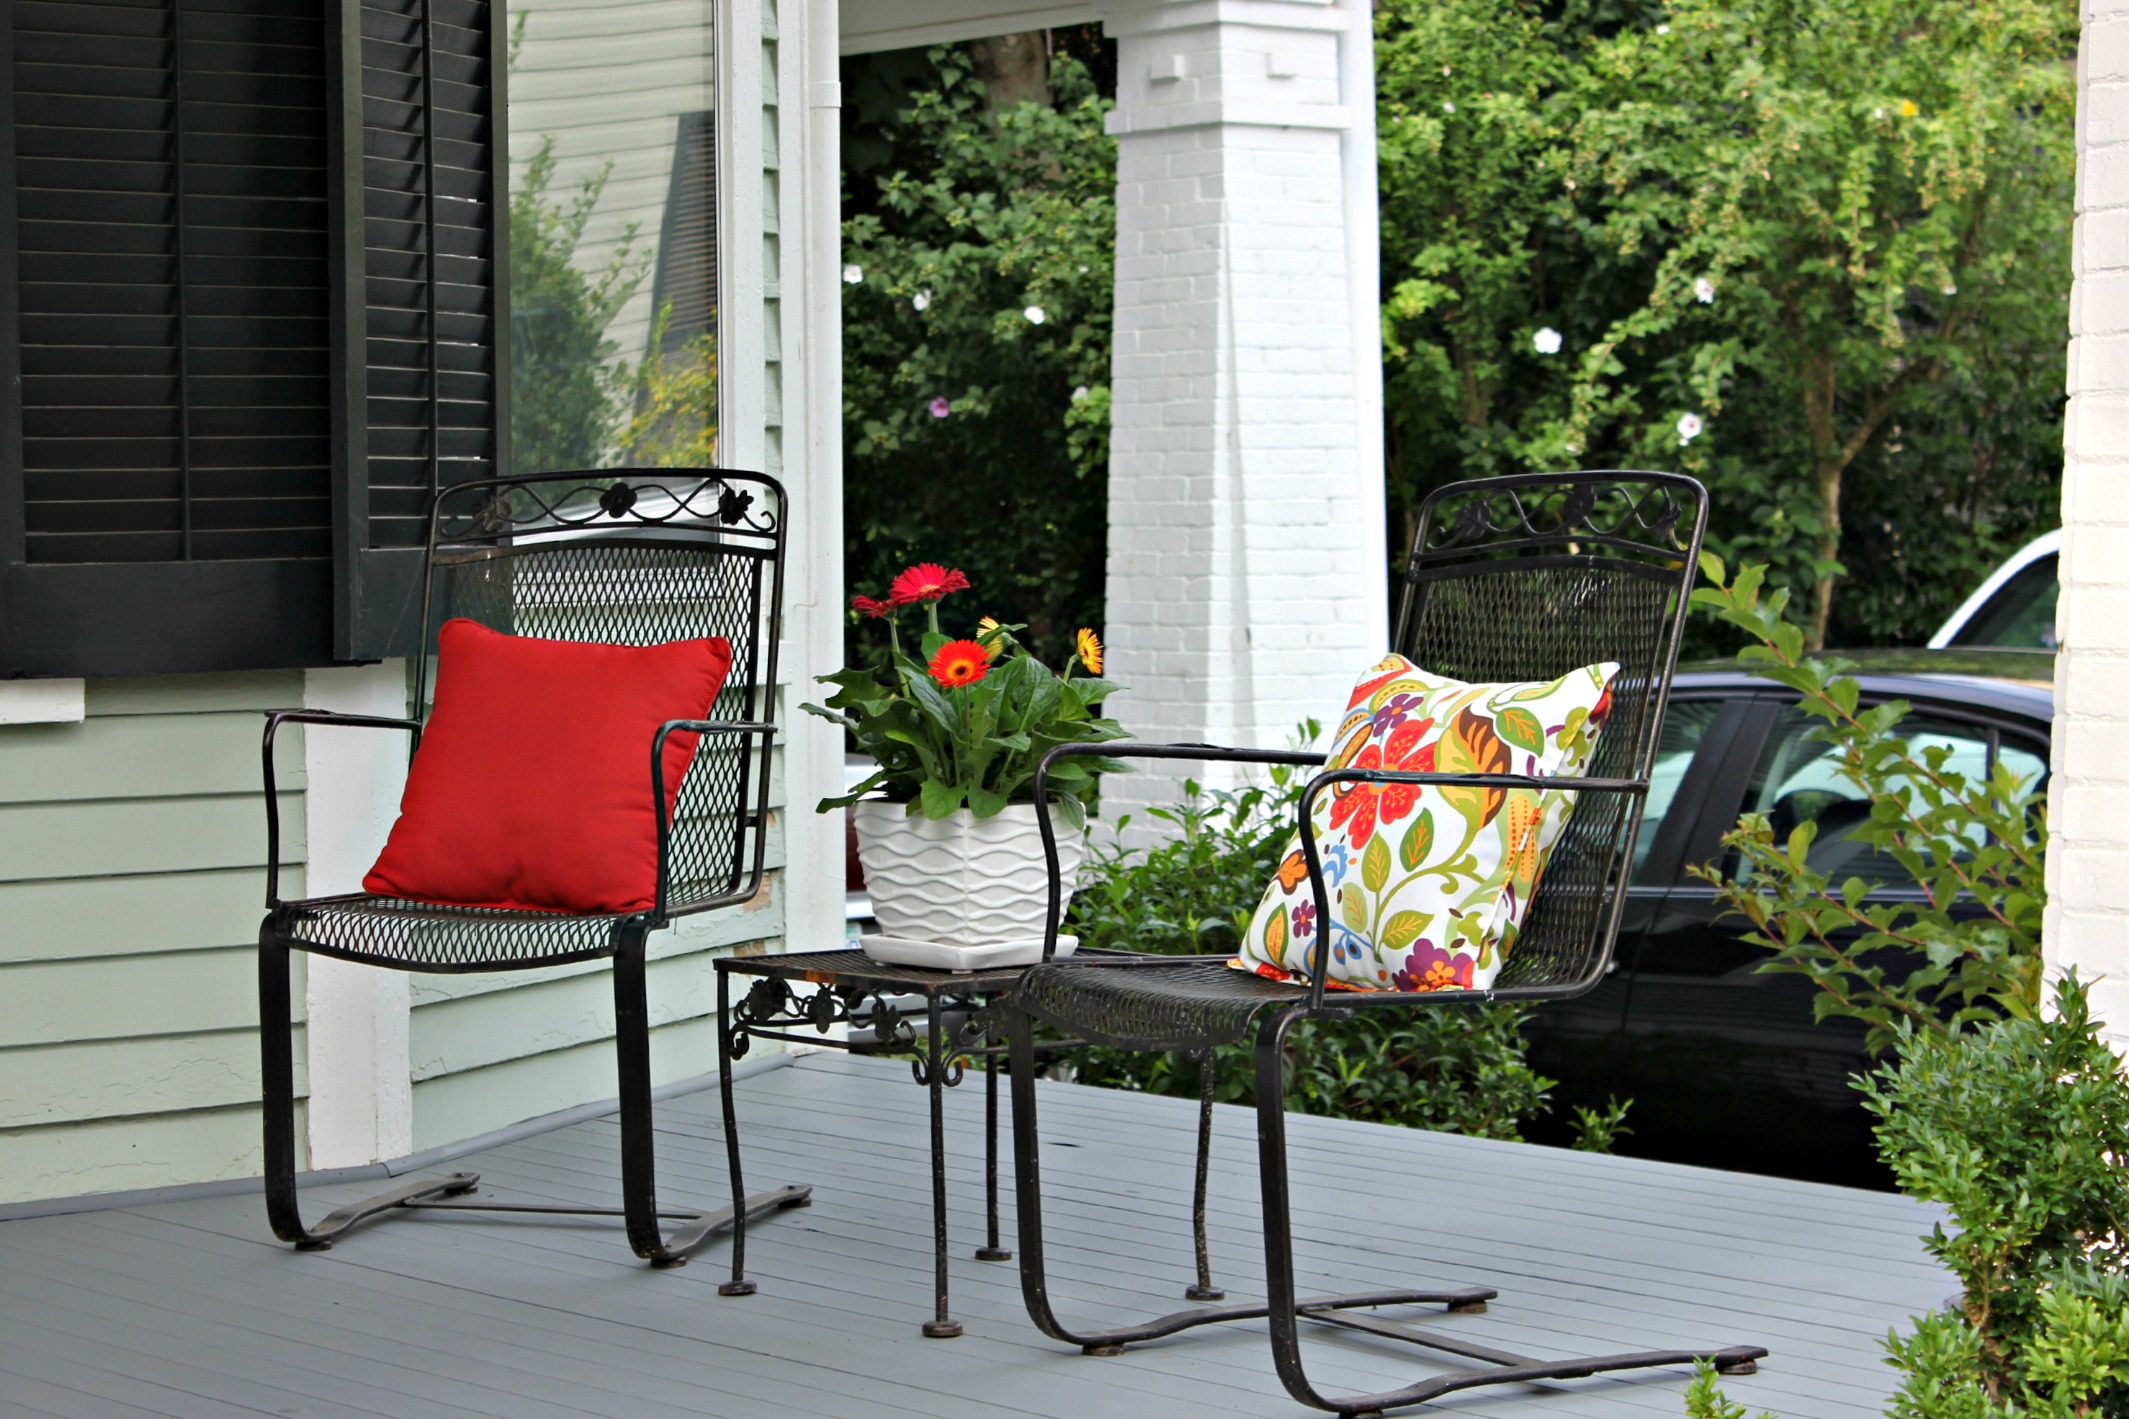
Come back next week to see what we’ve done to the porches and sides of the house! In the meantime, you can follow me on Instagram, Twitter, and Facebook to keep up! :)