All posts by Sarah @ 702 Park Project

This Week’s Links

Happy Sunday, lovelies! How has your weekend been? Ours has (thankfully) been calm and relaxed, complete with the start up of college football.  I’m a happy girl!

This Week’s Links:

In case you’re up for a little Labor Day glamping.

The 20 best places to buy art online.

I wouldn’t mind staying here for a night or seven.

702 Park Project - Ocean House Hotel 702 Park Project - Ocean House Hotel2 702 Park Project - Ocean House Hotel3

You know you’re a grown up when…

Are you addicted to your smart phone? My result: your relationship to portable technology seems (mostly) healthy. What’s yours?

A bucket list of 10 US buildings every architecture lover should see.

I’m seriously so excited about fall nail colors! What are your favorites?

Check out these pretty awesome exterior before and afters.

702 Park Project - BHG B&A2

This is a pretty cool spin on an indoor garden.

I’d love to save this old home. Help spread the word!

And in case you missed it this week…

  1. Labor Day DIY Blog Hop
  2. Layout Love
  3. Room By Room Recap – Mud Room
  4. The Exterior Gets Some Love, Part 1
  5. Room By Room Recap – Home Office
  6. Quotable Friday

Don’t forget to come back tomorrow and check out the DIY Labor Day blog hop!!

Guest Post: Wallpaper In The Powder Room

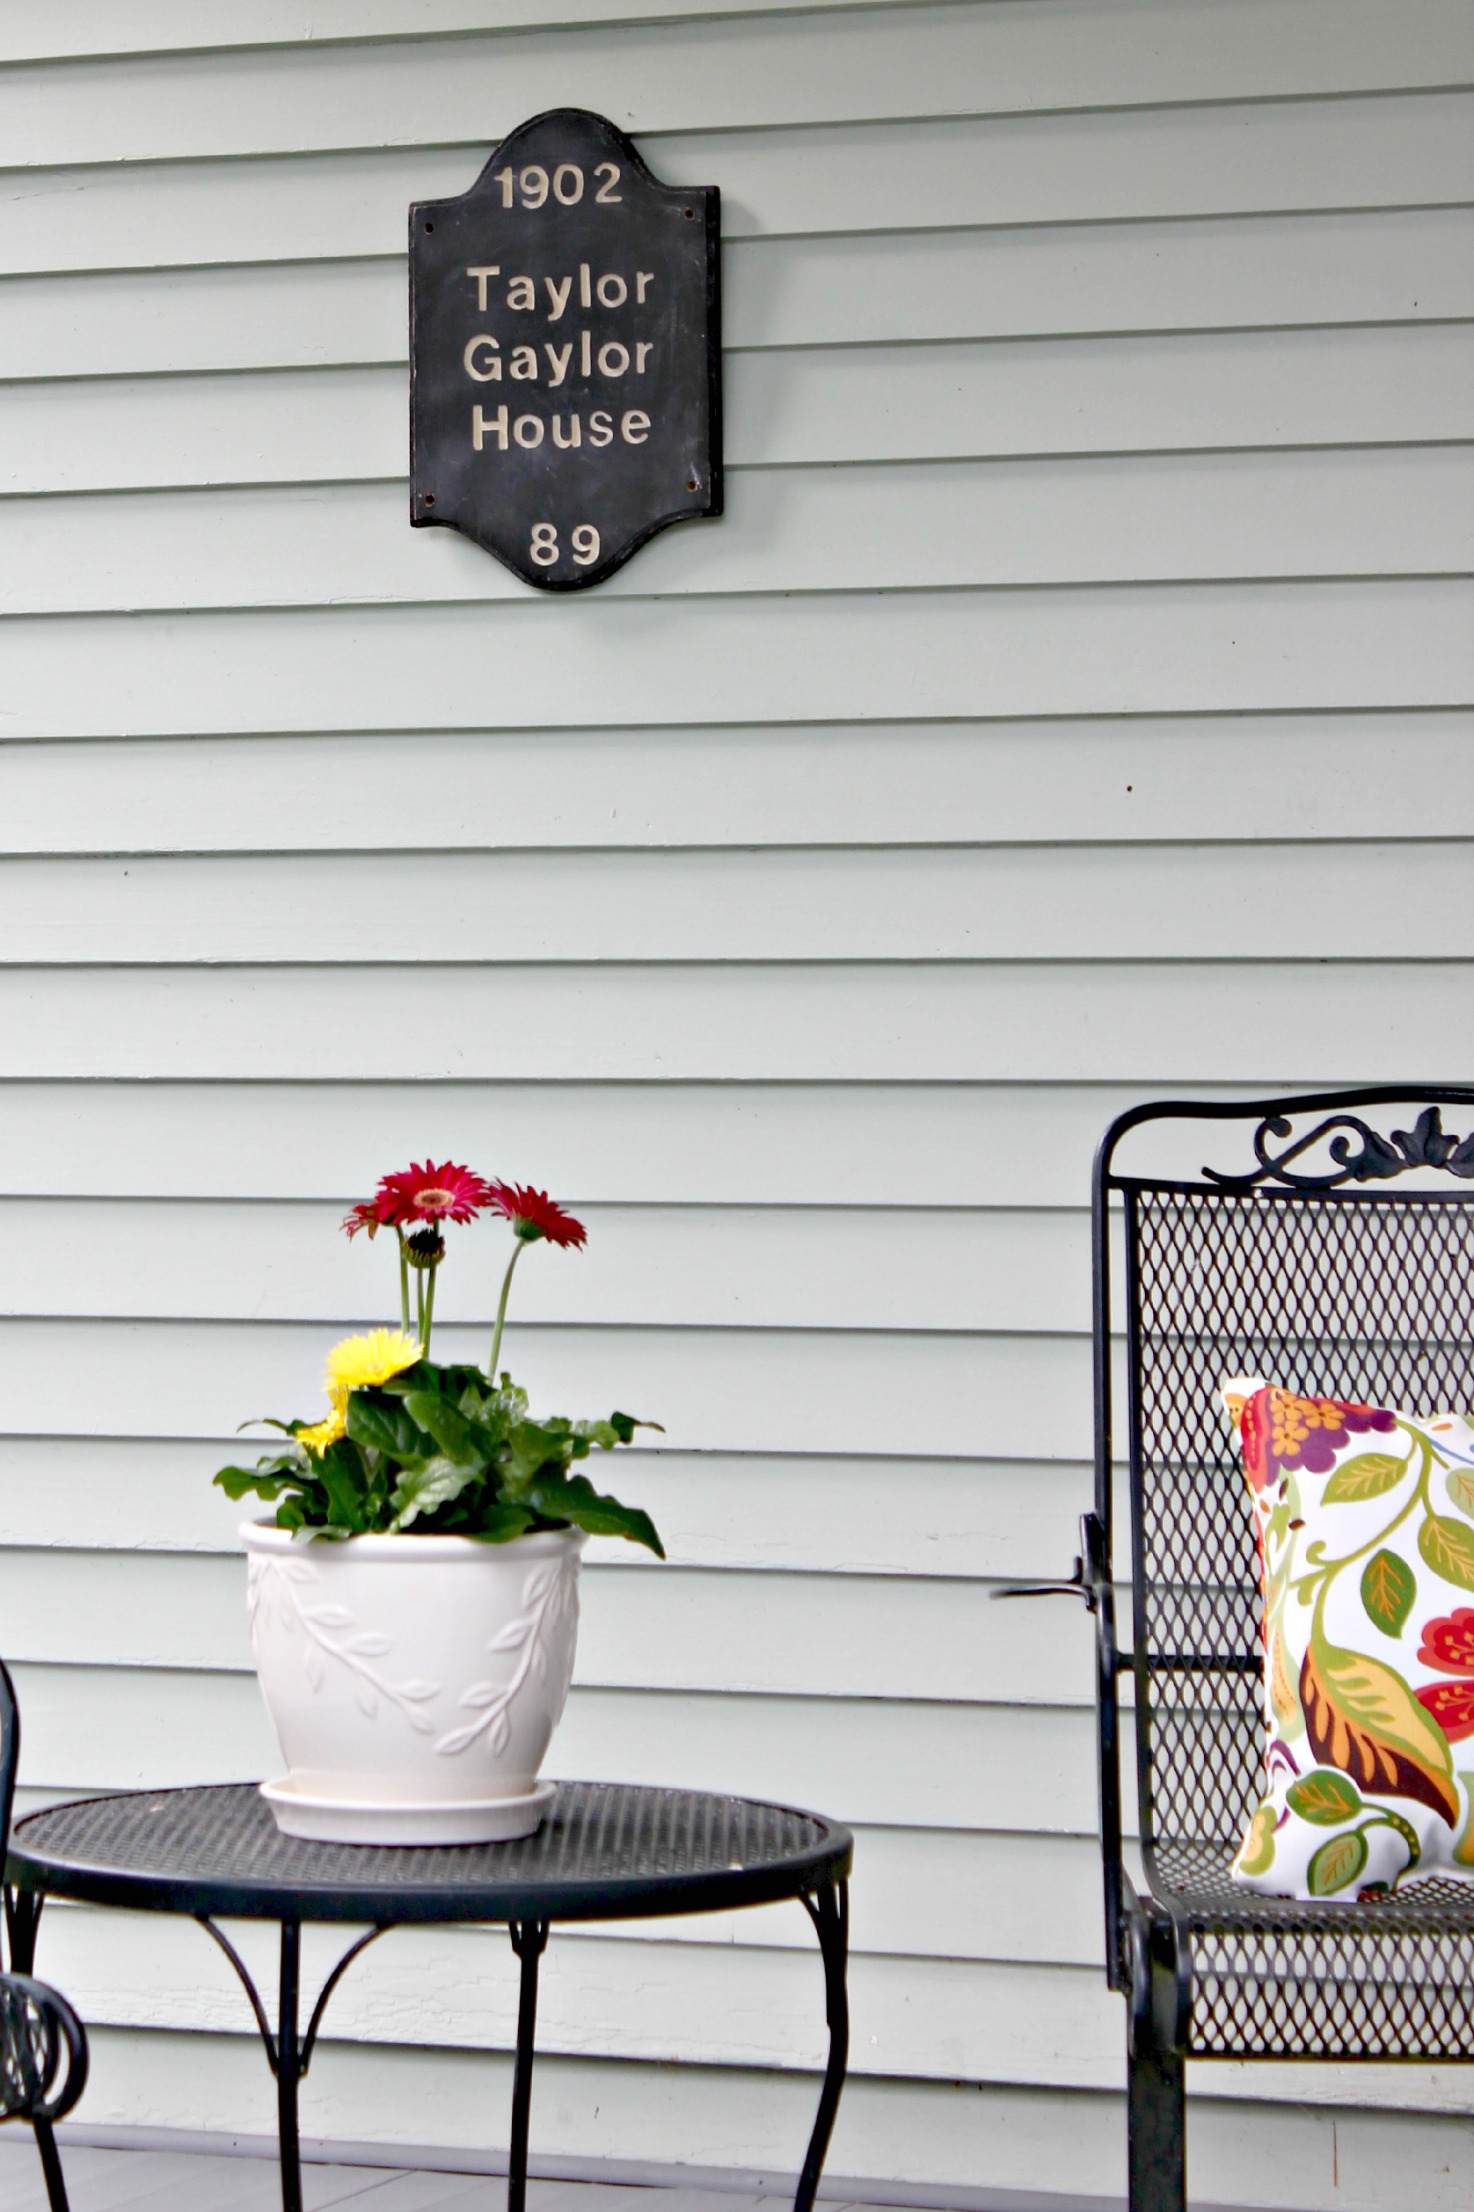
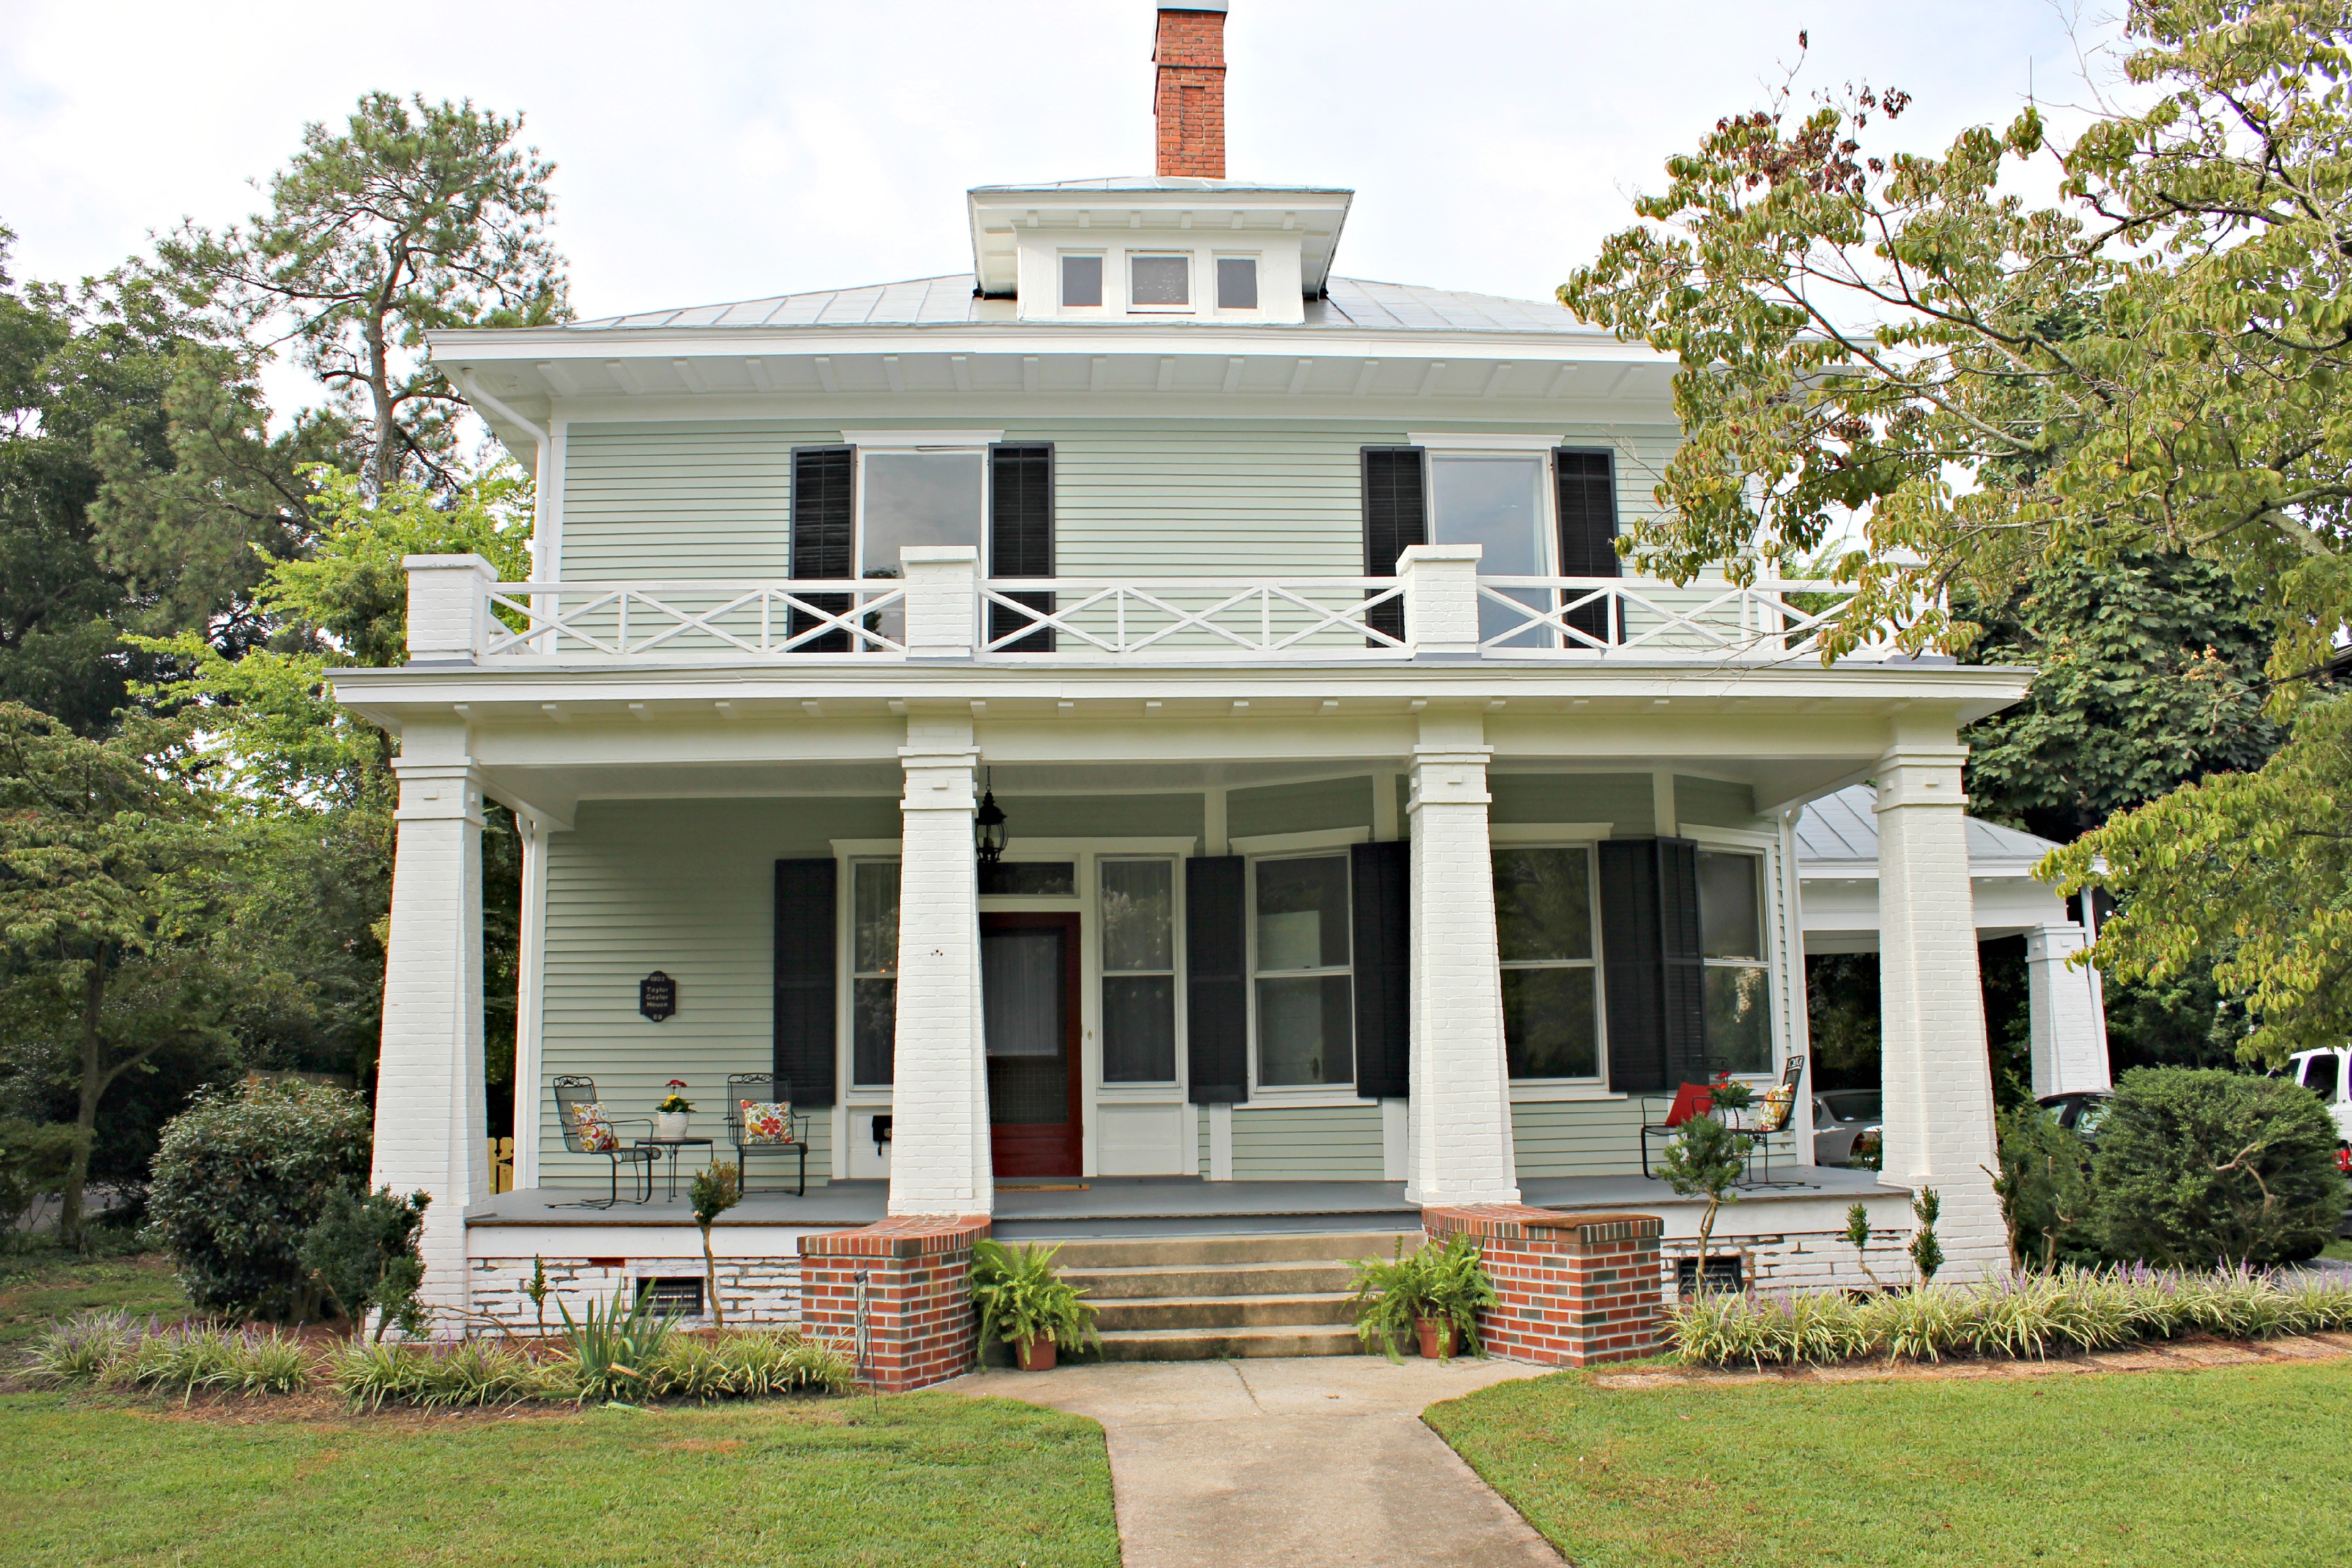
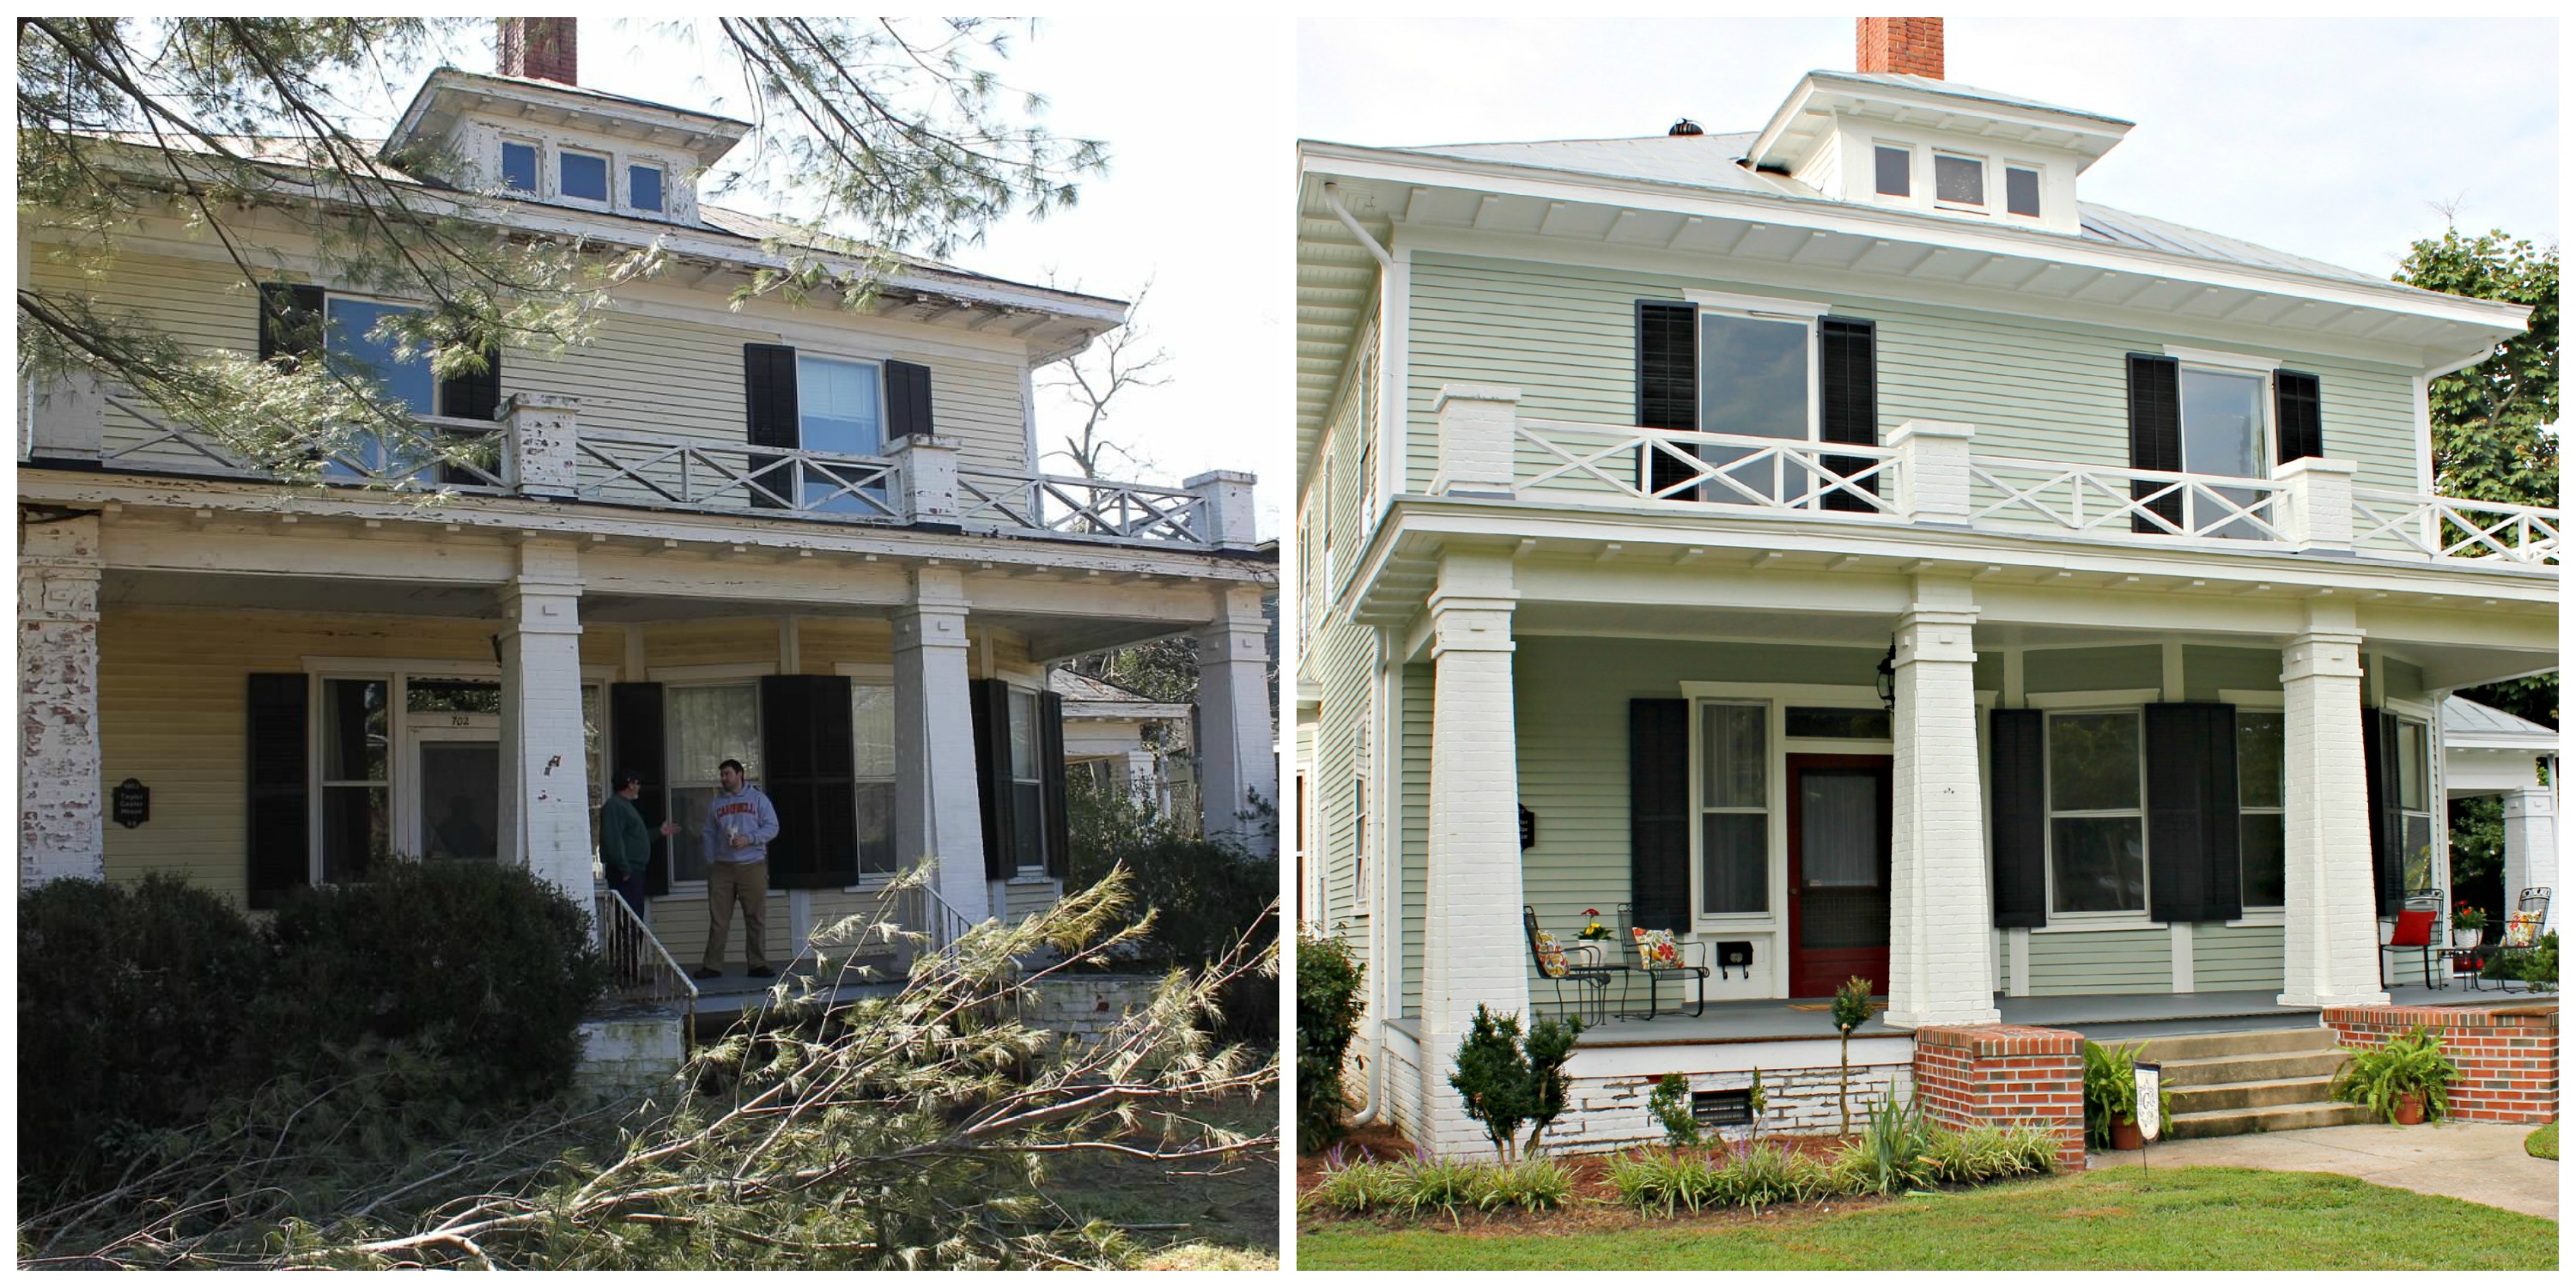
Are you constantly checking out Zillow to see what’s new in your area, even if you aren’t actually looking to buy? I can’t be the only one, right? That site is addicting! So when Jennifer asked if I would like to do a collaborative post, I hopped right on board!  Today she’s bringing you the how-to on wallpapered powder rooms.

——————————–

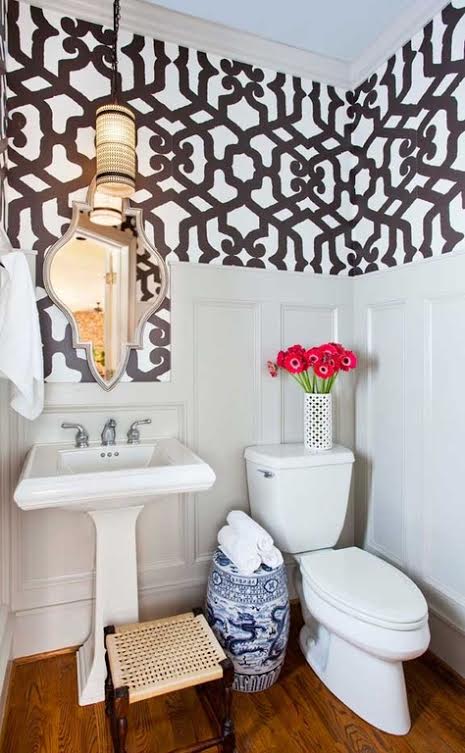
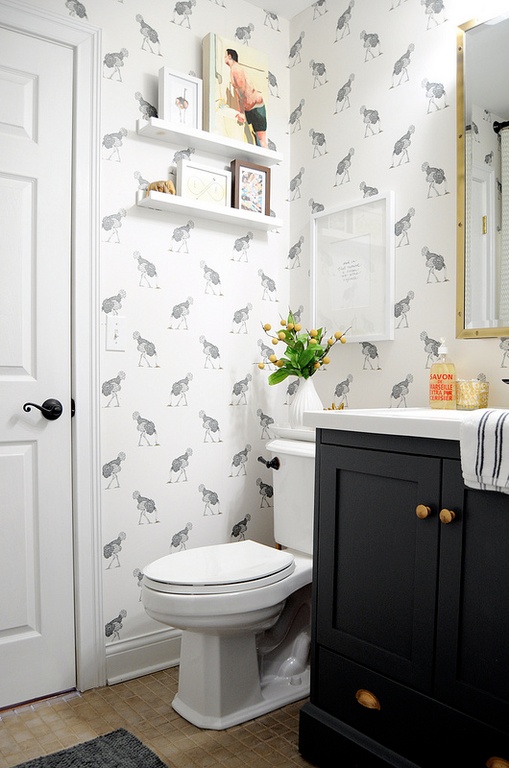
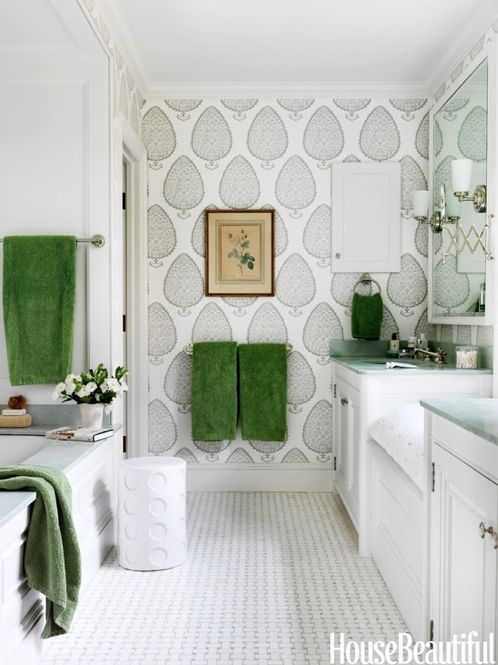
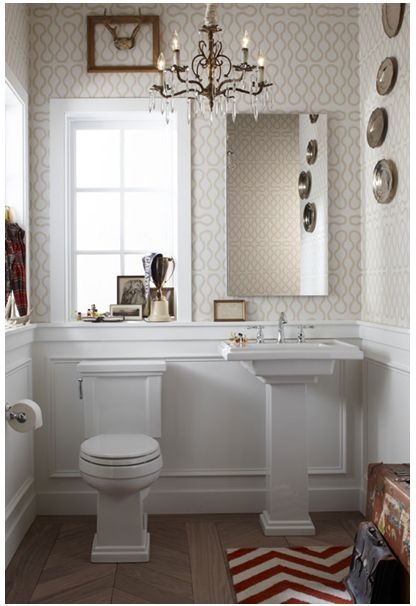
Wallpaper is a beautiful alternative to plain paint. However, over-abundant patterns can appear cluttered and close off interiors. To limit overly-strong wall designs, apply wallpaper in small spaces, such as powder rooms and bathrooms where alternative accessories are limited and the confined dimensions are undisguisable. Although the space is right, constant moisture and humidity might lead to blistering and peeling throughout time, so it’s vital for homeowners to use the proper materials and follow the best application procedures.

702 Park Project - Zillow

To best apply wallpaper in bathrooms, use the following steps.

Prep

Spread wallpaper across a flat workspace and cut to fit designated wall dimensions. Decide the proper layout of the pattern, aligning sheets to fit like a puzzle and evaluating where designs should hit the ceiling. Then, cut about six inches longer than the desired top line. Add 1⁄2 an inch for each corner to create lap seams.

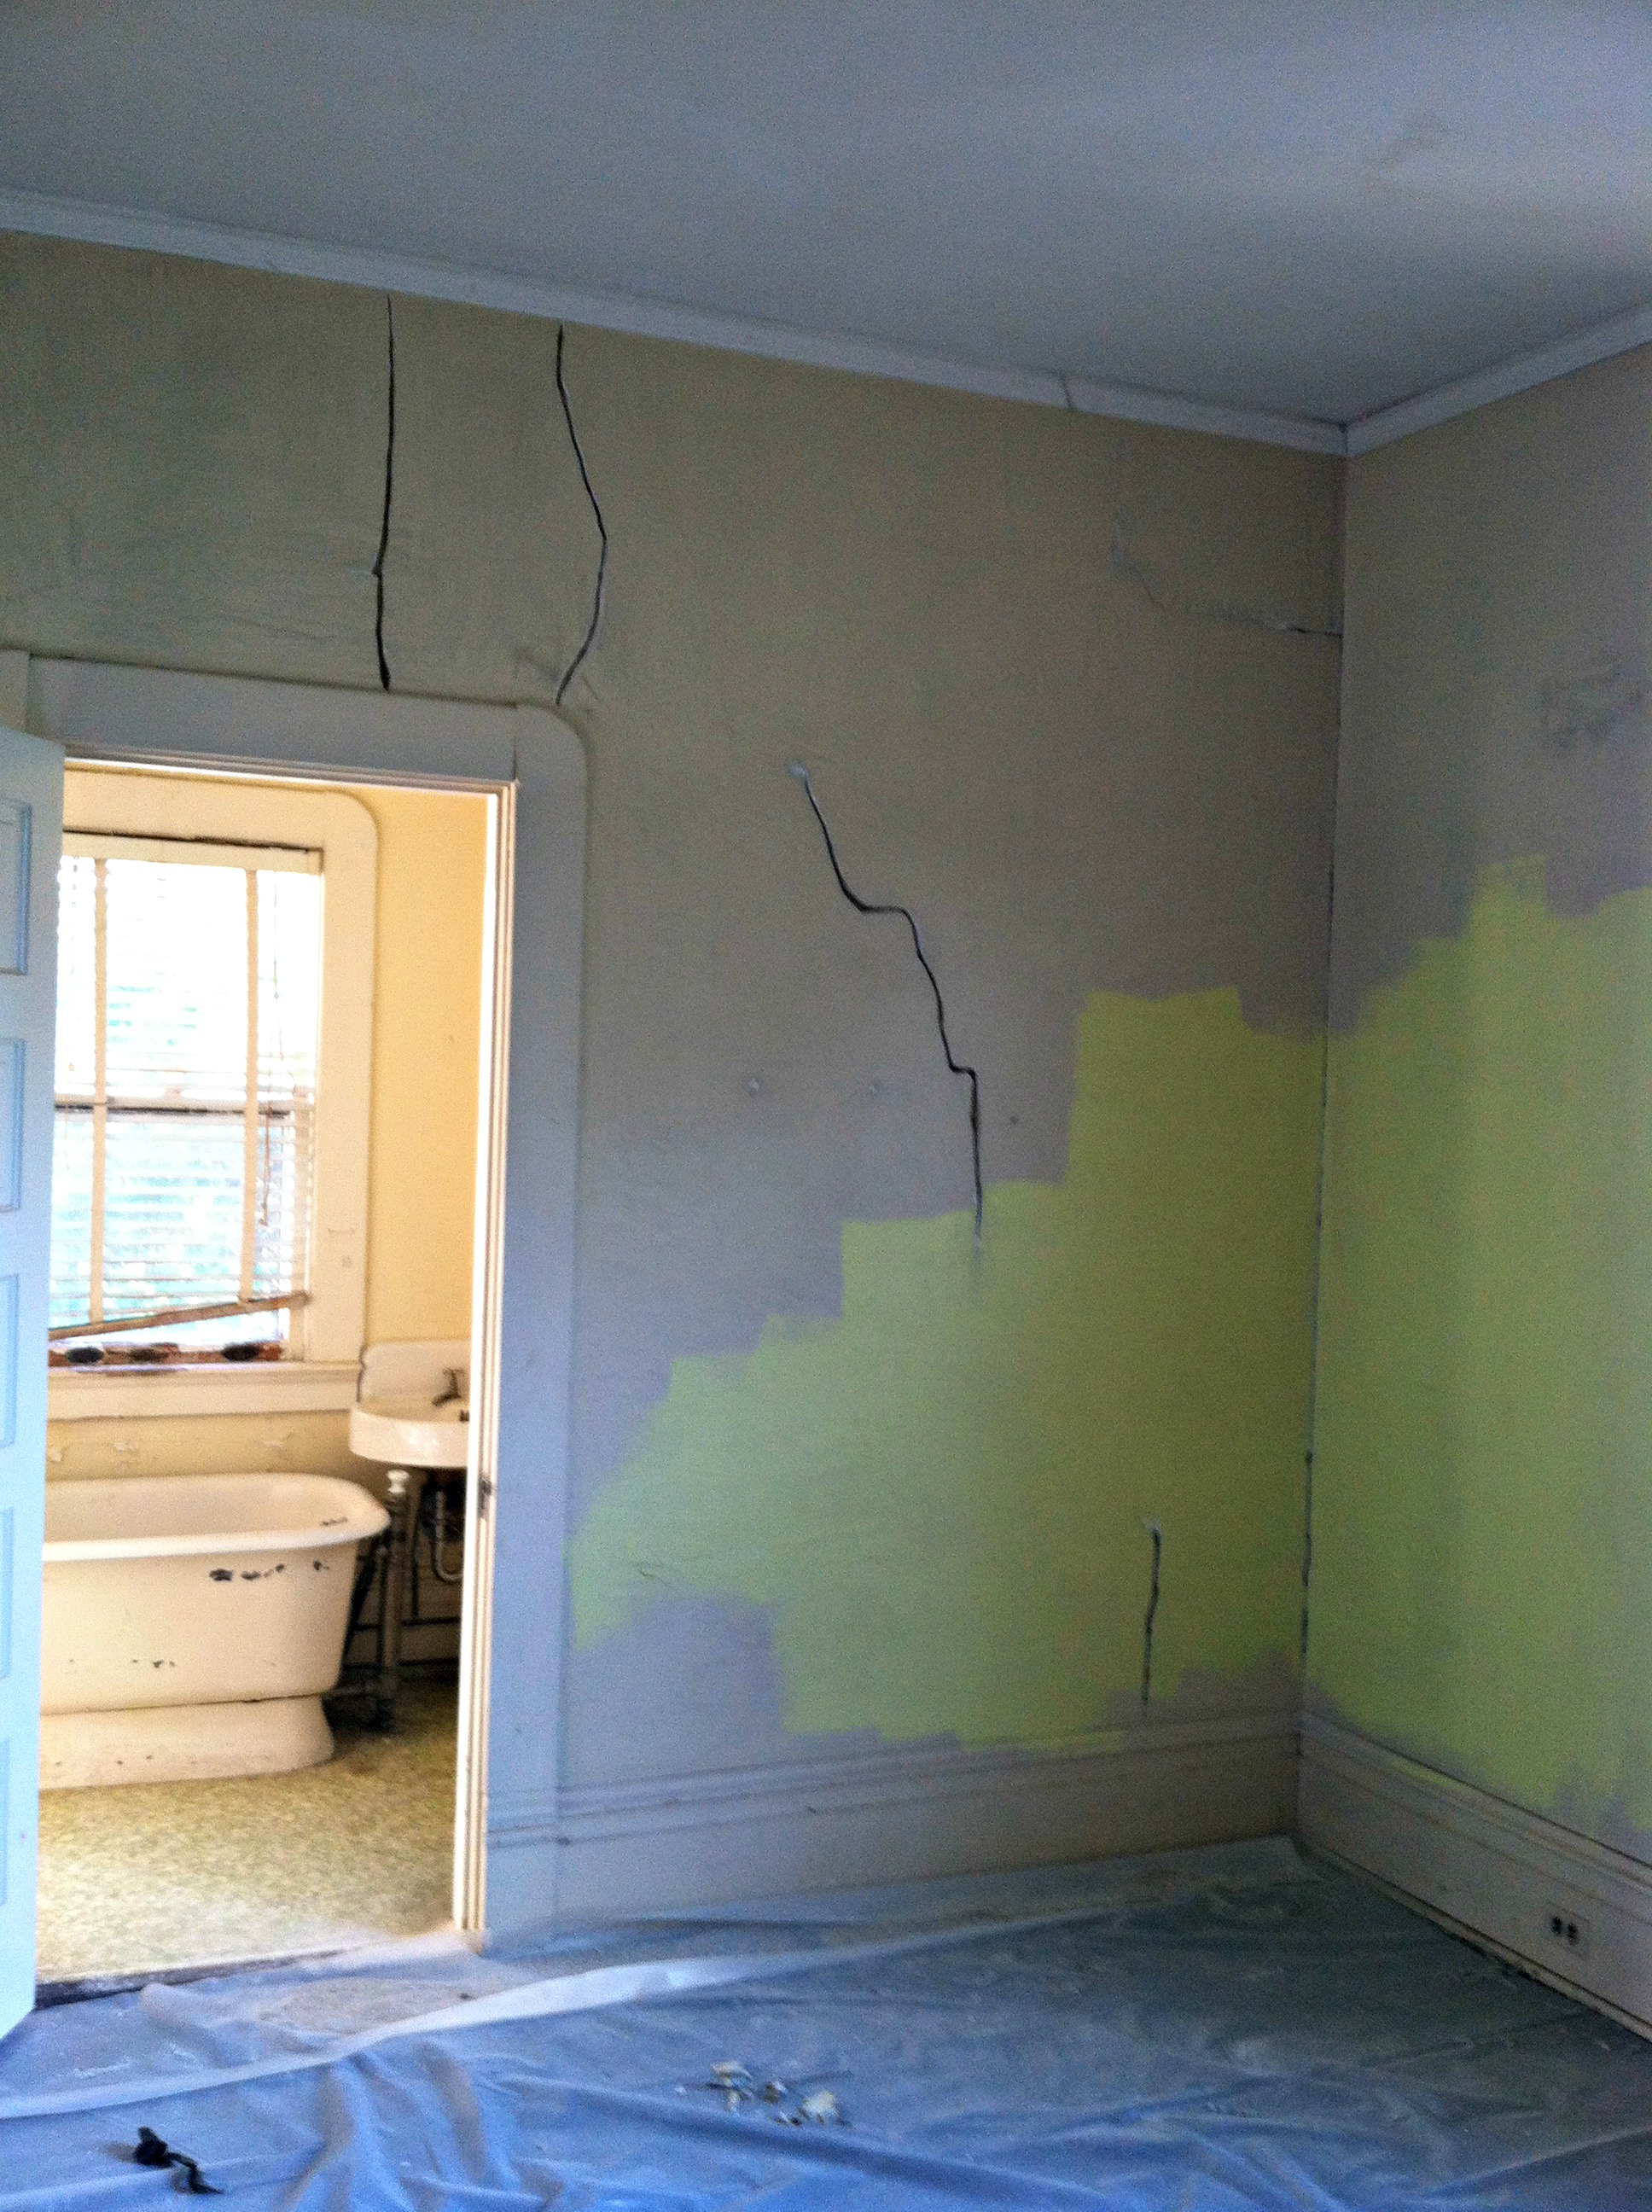
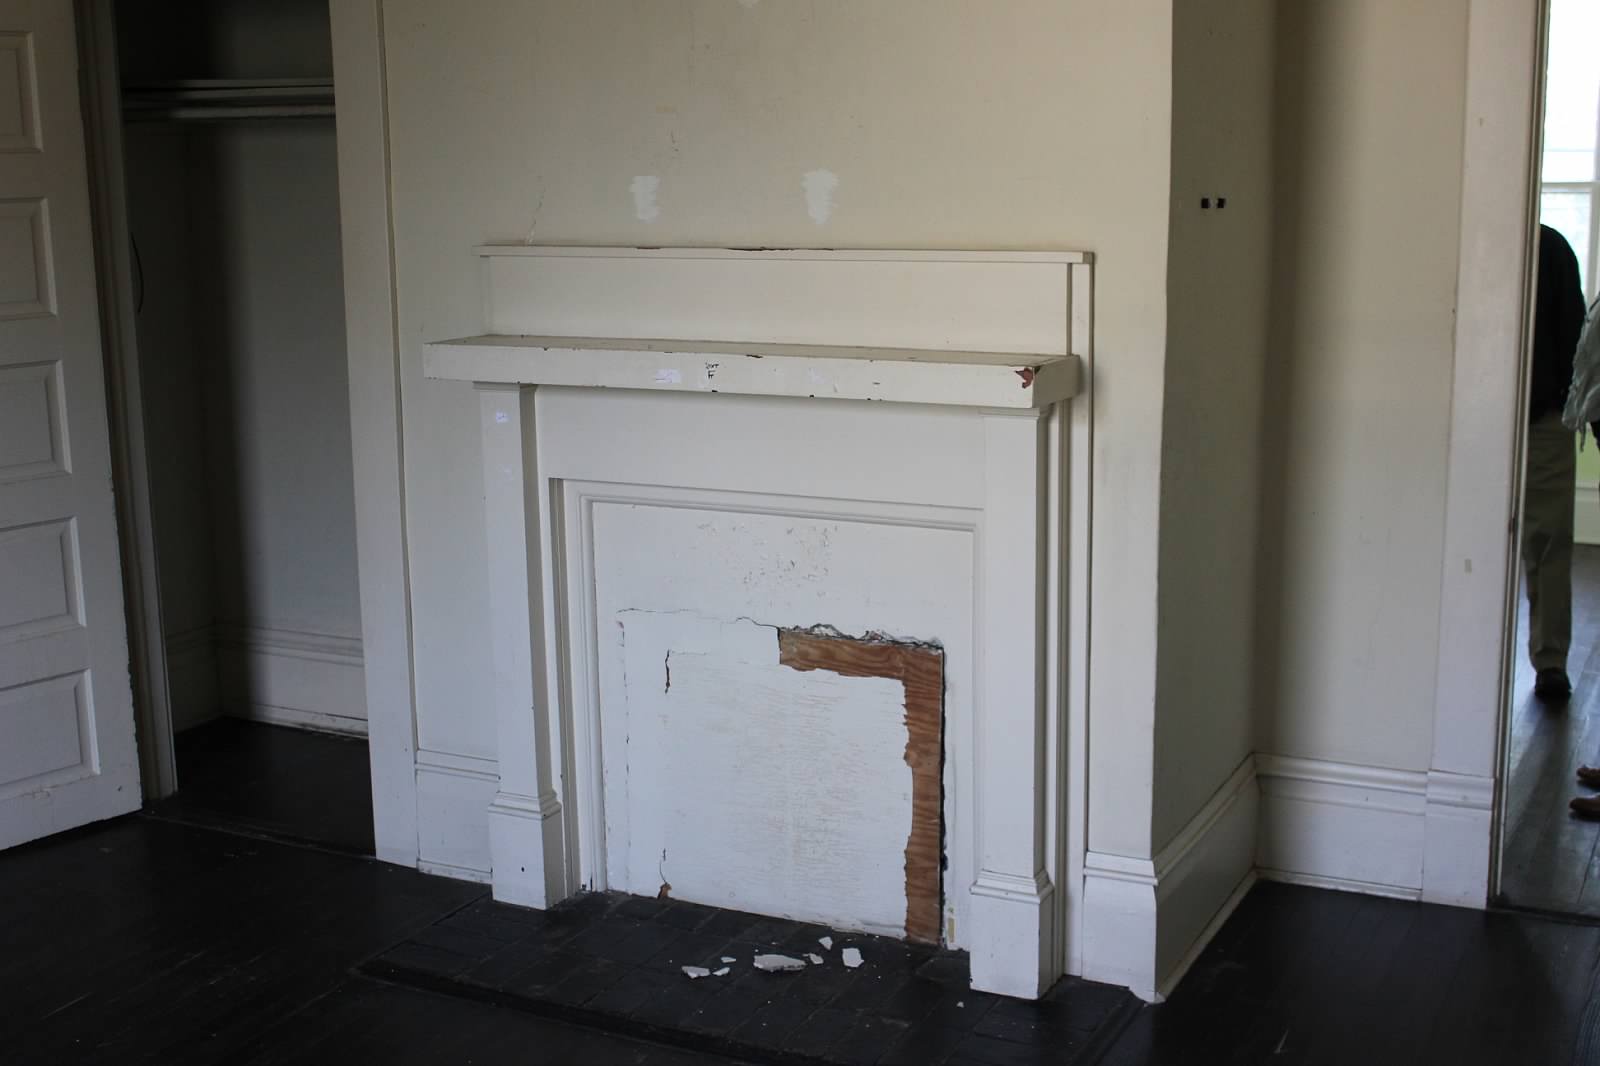
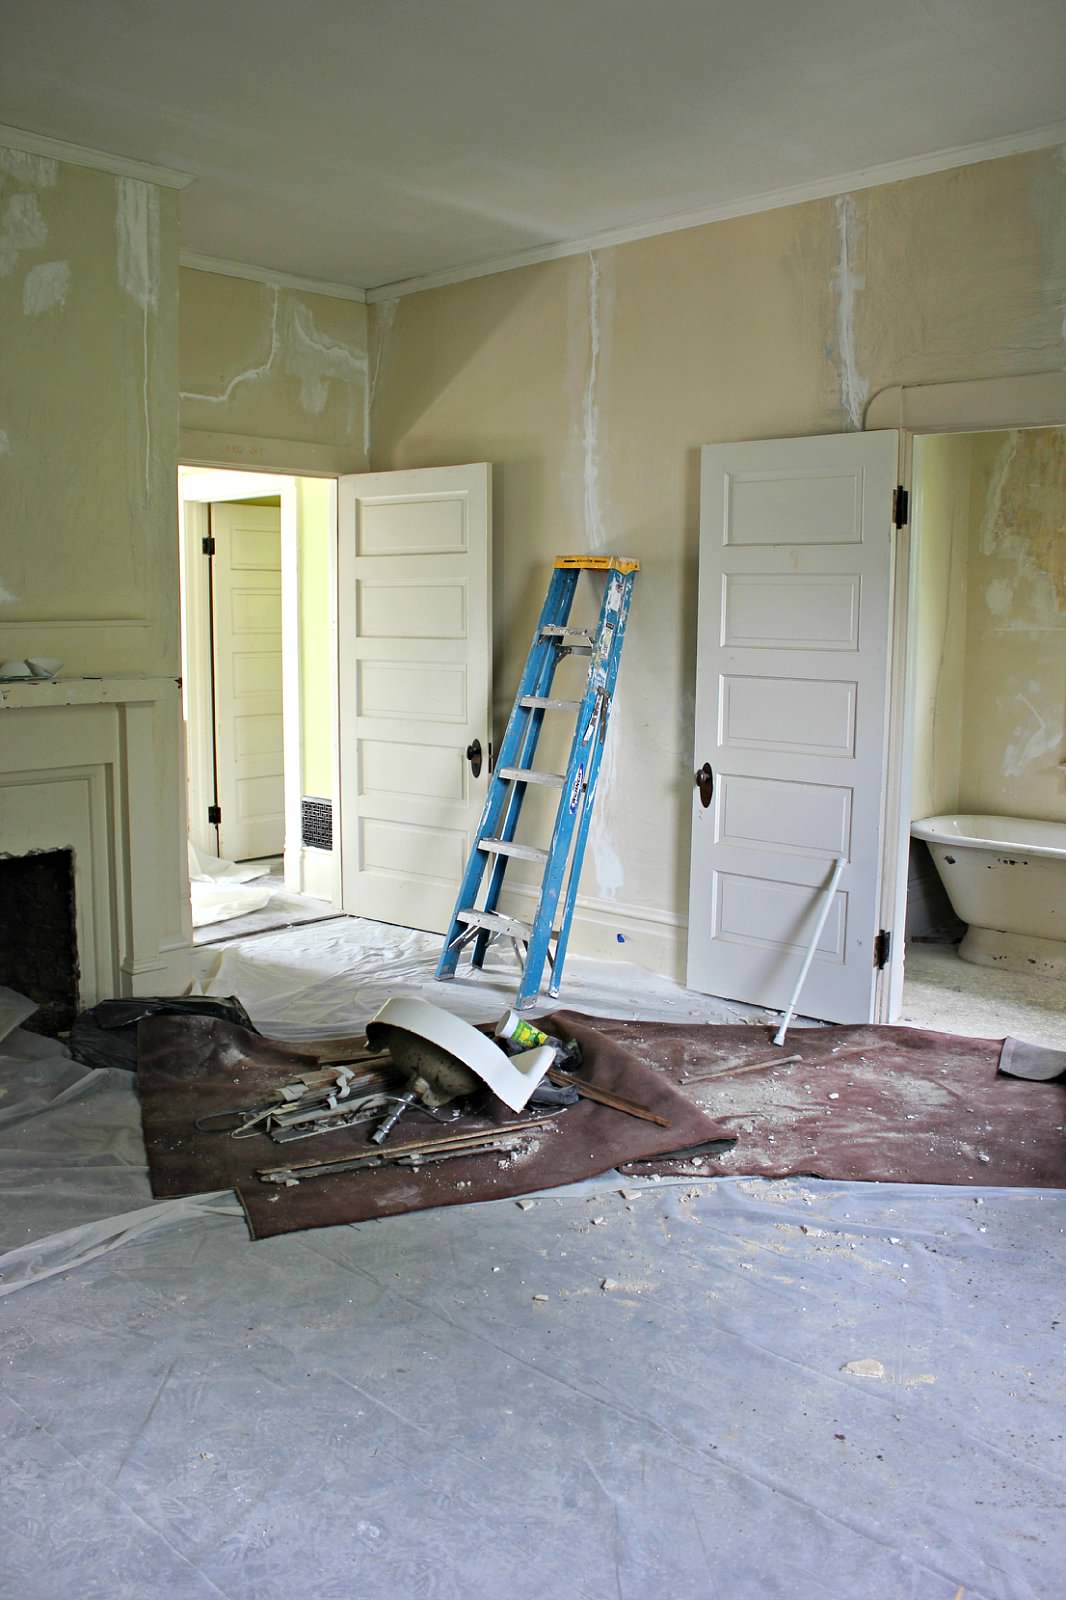
Remove nails and outlet covers from walls and cover floors with drop cloths or alternative protective sheets to avoid drips of adhesive. Sand down any previous paint blemishes and use drywall to fill divots. Applying wallpaper over damages may save time, but becomes apparent after drying. While it may not bother the current homeowners, shortcuts can potentially deter homebuyers in the future.

702 Park Project - Zillow4

Prime

Purchase a high-quality, oil-based primer so wallpaper glue doesn’t desiccate too quickly. Then, roll up wallpaper with adhesive facing outward. Submerge rolls into wallpaper trays filled with water for about 15 seconds and lay wet paper pattern side down on a dry table for even folding. Fold both sides of wallpaper sheets inward so they meet in the middle to activate wallpaper glue and keep glue from touching other surfaces. These can be folded or “booked” ahead of time for quicker application.  Mark the wall with a vertical line a 1⁄4 inch shorter than the width of a sheet of wallpaper.

702 Park Project - Zillow6

Apply

Begin wallpapering in discreet regions, including above and behind doors, in case of beginner errors. Unfold the first sheet and adhere to the wall from top to bottom, ensuring that the desired top edge (six inches lower than the actual edge) of the paper is lined up with the ceiling crease and the side hits the marked perpendicular line. Smooth the paper by rubbing a wallpaper brush vertically and clean surplus glue with a wallpaper sponge. Try to match patterns up as best as possible when continuing with adjacent walls. Finally, trim the tops and bottoms with a sharp utility knife. Use a seam roller to smooth joints and let dry for 48 hours.

Make sure bathroom wallpaper is washable and not in any direct contact with water. Further, avoid Mylar, foil and solid-Type II vinyl, as these materials tend to harvest mold. Instead, opt for vapor-permeable wallpaper varieties for stunning, withstanding wallpaper designs.

702 Park Project - Zillow5

Note: This is not a sponsored post, but simply a collaboration with Zillow.

linked here.

Room By Room Recap – Home Office

First of all, happy 32nd anniversary to my parents!!  I’ll spare you the mushy stuff this year, but you can get the full dose here! I love y’all! :)

702 park - anniversary

Alright, back to our regular programming…

Next up in the Room By Room Recap series is the home office!  This room is connected to the master bedroom upstairs.  Although most of our house is pretty neutral, we decided to go with a bold color in this room: Filoli Dark Iris by Valspar.

office2 6.11.13 office Office fireplace Office IMG_3662 IMG_3663 IMG_3989 IMG_4168 Office color choices IMG_4686 IMG_4704 IMG_4715 IMG_4713 IMG_4714 IMG_4716 IMG_5468 IMG_5470 IMG_5819 IMG_5821 IMG_5824

What we’ve finished:

  1. Repair plaster walls and ceiling
  2. Prep, prime, and paint walls, trim, and ceiling
  3. Paint mantle and surrounding moldings
  4. Install ceiling fan/light
  5. Clean out the fireplace

What’s left:

  1. Sweep the chimney
  2. Install tile around the front of the fireplace
  3. Refinish the floors
  4. Decorate – new furniture, rugs, window treatments, etc.
  5. Install built in bookcases

I’ll be honest with you.  This room is a far cry from my vision.  But sometimes you just have to work with what you got for a while.  So that’s what we’re doing.  For now.

I’m in love with the navy in this room, but unfortunately it doesn’t 100% work for us.  All of our diplomas (we have 6 in total…it’s obnoxious) are framed in black, and Charles’ beloved leather love seat and ottoman is a dark blue.  (This love seat has been a huge point of tension in our relationship…girls, you get me right? College/bachelor furniture has got to go!)  So this room right now is basically black on blue on blue.  I mean, it’s ok, but not my dream office. Which reminds me…you can check out my dream office inspiration here.

Either way, the changes are still pretty drastic.

B&A1 B&A2 B&A3

The figures…this room is 15′ 5″ x 15′ 8″ with 10′ ceilings. There is 1 window, 4 interior doors, 1 closet, and 1 fireplace.

Be sure to check out these other Room By Room Recaps:

  1. Formal Living Room
  2. Den
  3. Den Bathroom
  4. Dining Room
  5. Gold Room
  6. Bear Room
  7. Butler’s Pantry
  8. Foyer & Stairs
  9. Master Closet
  10. Mud Room

The Exterior Gets Some Love, Part 1

We had a little open house last weekend, which really pushed us to wrap a few exterior things up that had been hanging over our heads for some time. Let’s start with the front!  First, here’s the “before” of the house when we bought it.

IMG_2804

We painted our front door red several months ago and LOVED it, but it’s taken us a while to find the time to get the screen door painted as well.  Now it’s finally finished!

We are still in the process of getting all of our shutters reconstructed (there are 2 for every window on the house), and that could take quite a while because they are so expensive.  So we decided to just put them up on the front, and it made a world of difference!! The house just looks so much more complete from the street now.

IMG_5402   IMG_5410

Next, we had the porch painted in a gray that’s slightly darker than the color we chose for the metal roof.  Charles picked it out, and it’s perfect!

IMG_5407 IMG_5413

Next, we hung the historic marker and mailbox, and added a couple sets of chairs with tables and potted flowers.  Eventually we’d like to have big rocking chairs on one side of the front porch and a porch swing on the other.  But thanks to Charles’ parents, we got to use these sets for free. :)

IMG_5400 IMG_5401 IMG_5404

A few weekends ago, Charles took all the bricks that we had left over from the front and back cheek walls and lined flower beds all around the house.  He threw in some pine straw and made everything look neat and tidy.

IMG_5412 IMG_5411

So here it is.  Our curb view!

IMG_5403 IMG_5408 IMG_5409

And just in case you need a before and after…

702 Park Project - B&A1

Come back next week to see what we’ve done to the back! In the meantime, you can follow me on Instagram, Twitter, and Facebook to keep up! :)

UPDATE: see the back of the house here!

Room By Room Recap – Mud Room

Next up in the Room By Room Recap series is the mud room! This small room off the entrance from the porte cochere has become our drop zone, and we love that it has doors that we can completely close off and hide the mess, if necessary.

This room was pretty basic before, but had some plaster and water damage issues. We decided to go with the same Kitten White that’s in the foyer for the mud room.

IMG_2736 IMG_2740 IMG_3393 IMG_3537 IMG_3594 IMG_4129 IMG_4792 IMG_5217 IMG_5218 IMG_5283 IMG_5285 IMG_5290 IMG_5292 IMG_5440 IMG_5442 IMG_5768 IMG_5769

What we’ve finished:

  1. Repair plaster walls and ceiling
  2. Prep, prime, and paint walls and ceiling
  3. Sand and oil the floors
  4. Install built in unit

What’s left:

  1. Paint the outside of the door red to match the front
  2. Add a seat cushion to the built ins (thanks Mom!)
  3. Add hooks and baskets to the built ins

B&A

The figures…this room is 7′ 2″ x 13′ with 11′ ceilings.  There are 3 interior doors and 1 exterior door.

You can check out more inspiration for our mud room here!

Now let’s talk about this custom built in for a minute.  I’m so in love with it because it was built by none other than my dad! He also built the console table in the mud room.  This was his first big piece, so I’d say he’s pretty talented!

IMG_5202 IMG_5205 IMG_5207 IMG_5213 IMG_5217

He also signed the back of the unit, and I stuck a little note in the wall behind where we cut out the trim. I have this idea of people finding it 100 years from now.  Is that silly?!

IMG_5210 IMG_5206 IMG_5208 IMG_5209

So there it is…our mud room. We are calling this one finished for the time being!

Be sure to check out these other Room By Room Recaps…

  1. Formal Living Room
  2. Den
  3. Den Bathroom
  4. Dining Room
  5. Gold Room
  6. Bear Room
  7. Butler’s Pantry
  8. Foyer & Stairs
  9. Master Closet