All posts by Sarah @ 702 Park Project

A New Colorful Fridge

Several months ago, we bought this GE Profile counter-depth refrigerator.  We actually ordered it from the Sears Outlet (it’s no longer available there) and got well over half off for a “ding” in the side that we honestly can’t even find. (PS- I would totally recommend shopping online for appliances at the Sears Outlet…we had a fantastic experience!)

We have been absolutely in love with the fridge since we got it, but like any fridge, it requires a lot of cleaning to avoid bad stains and smells.  Enter: the Fridge Coaster!

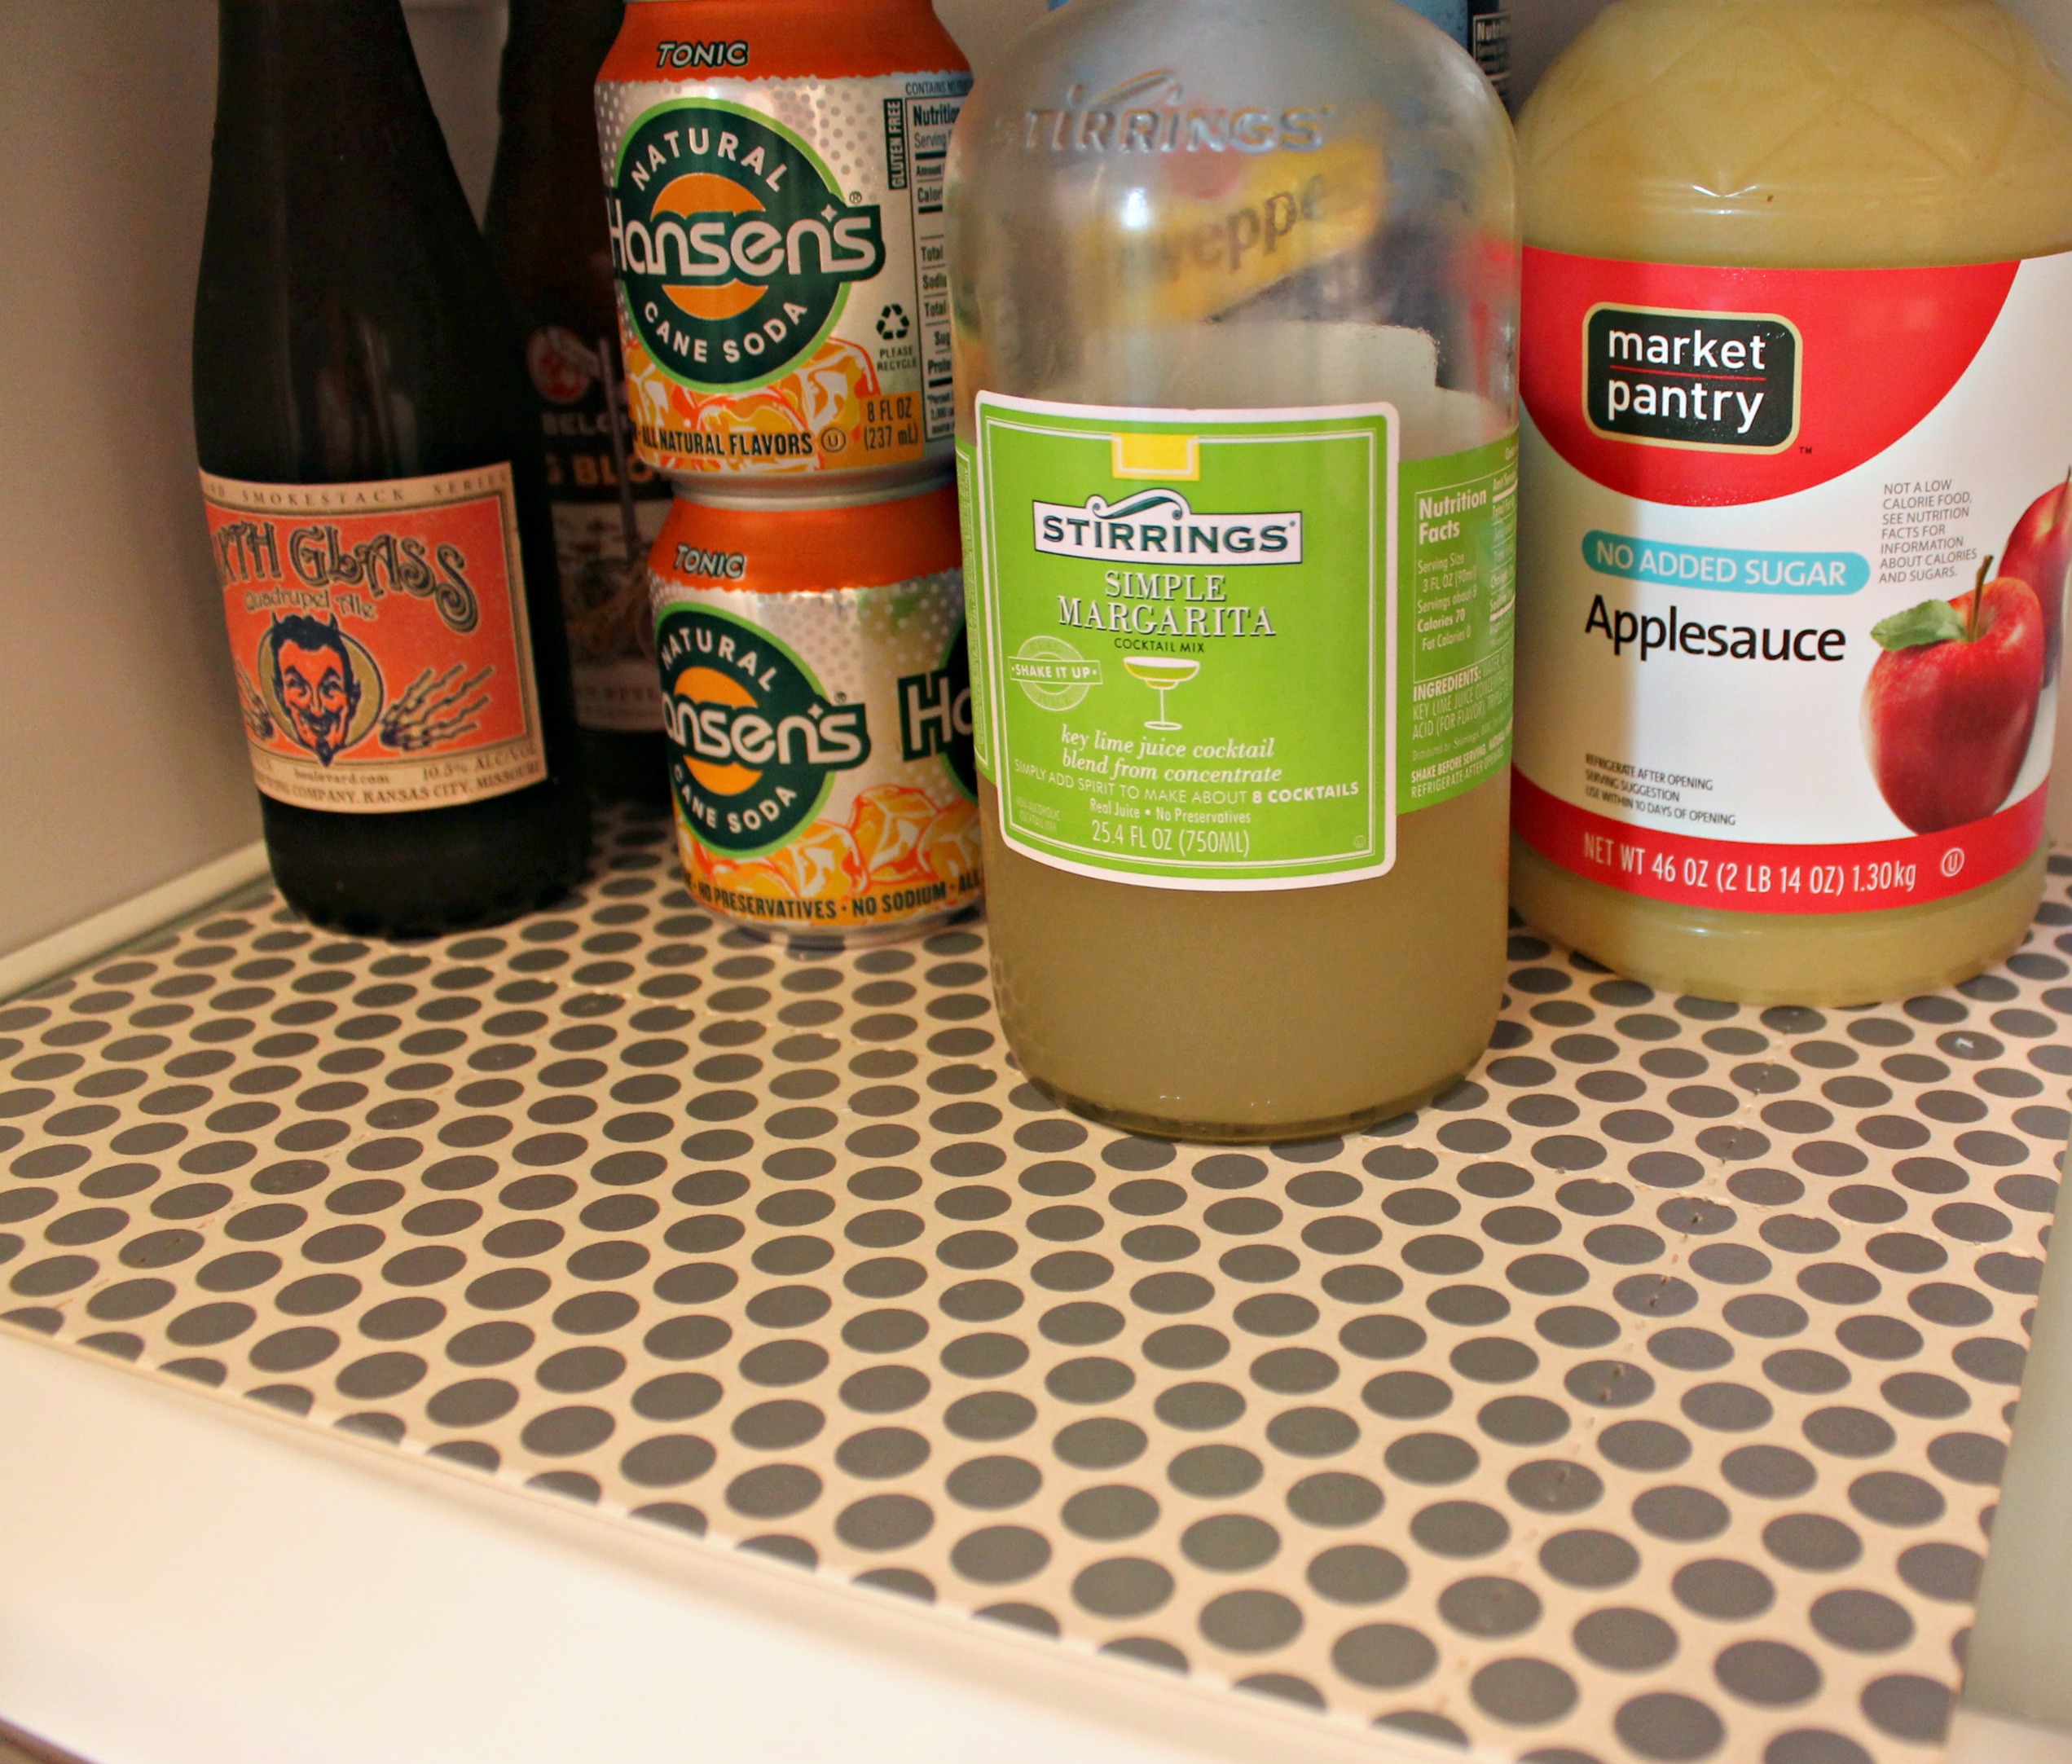
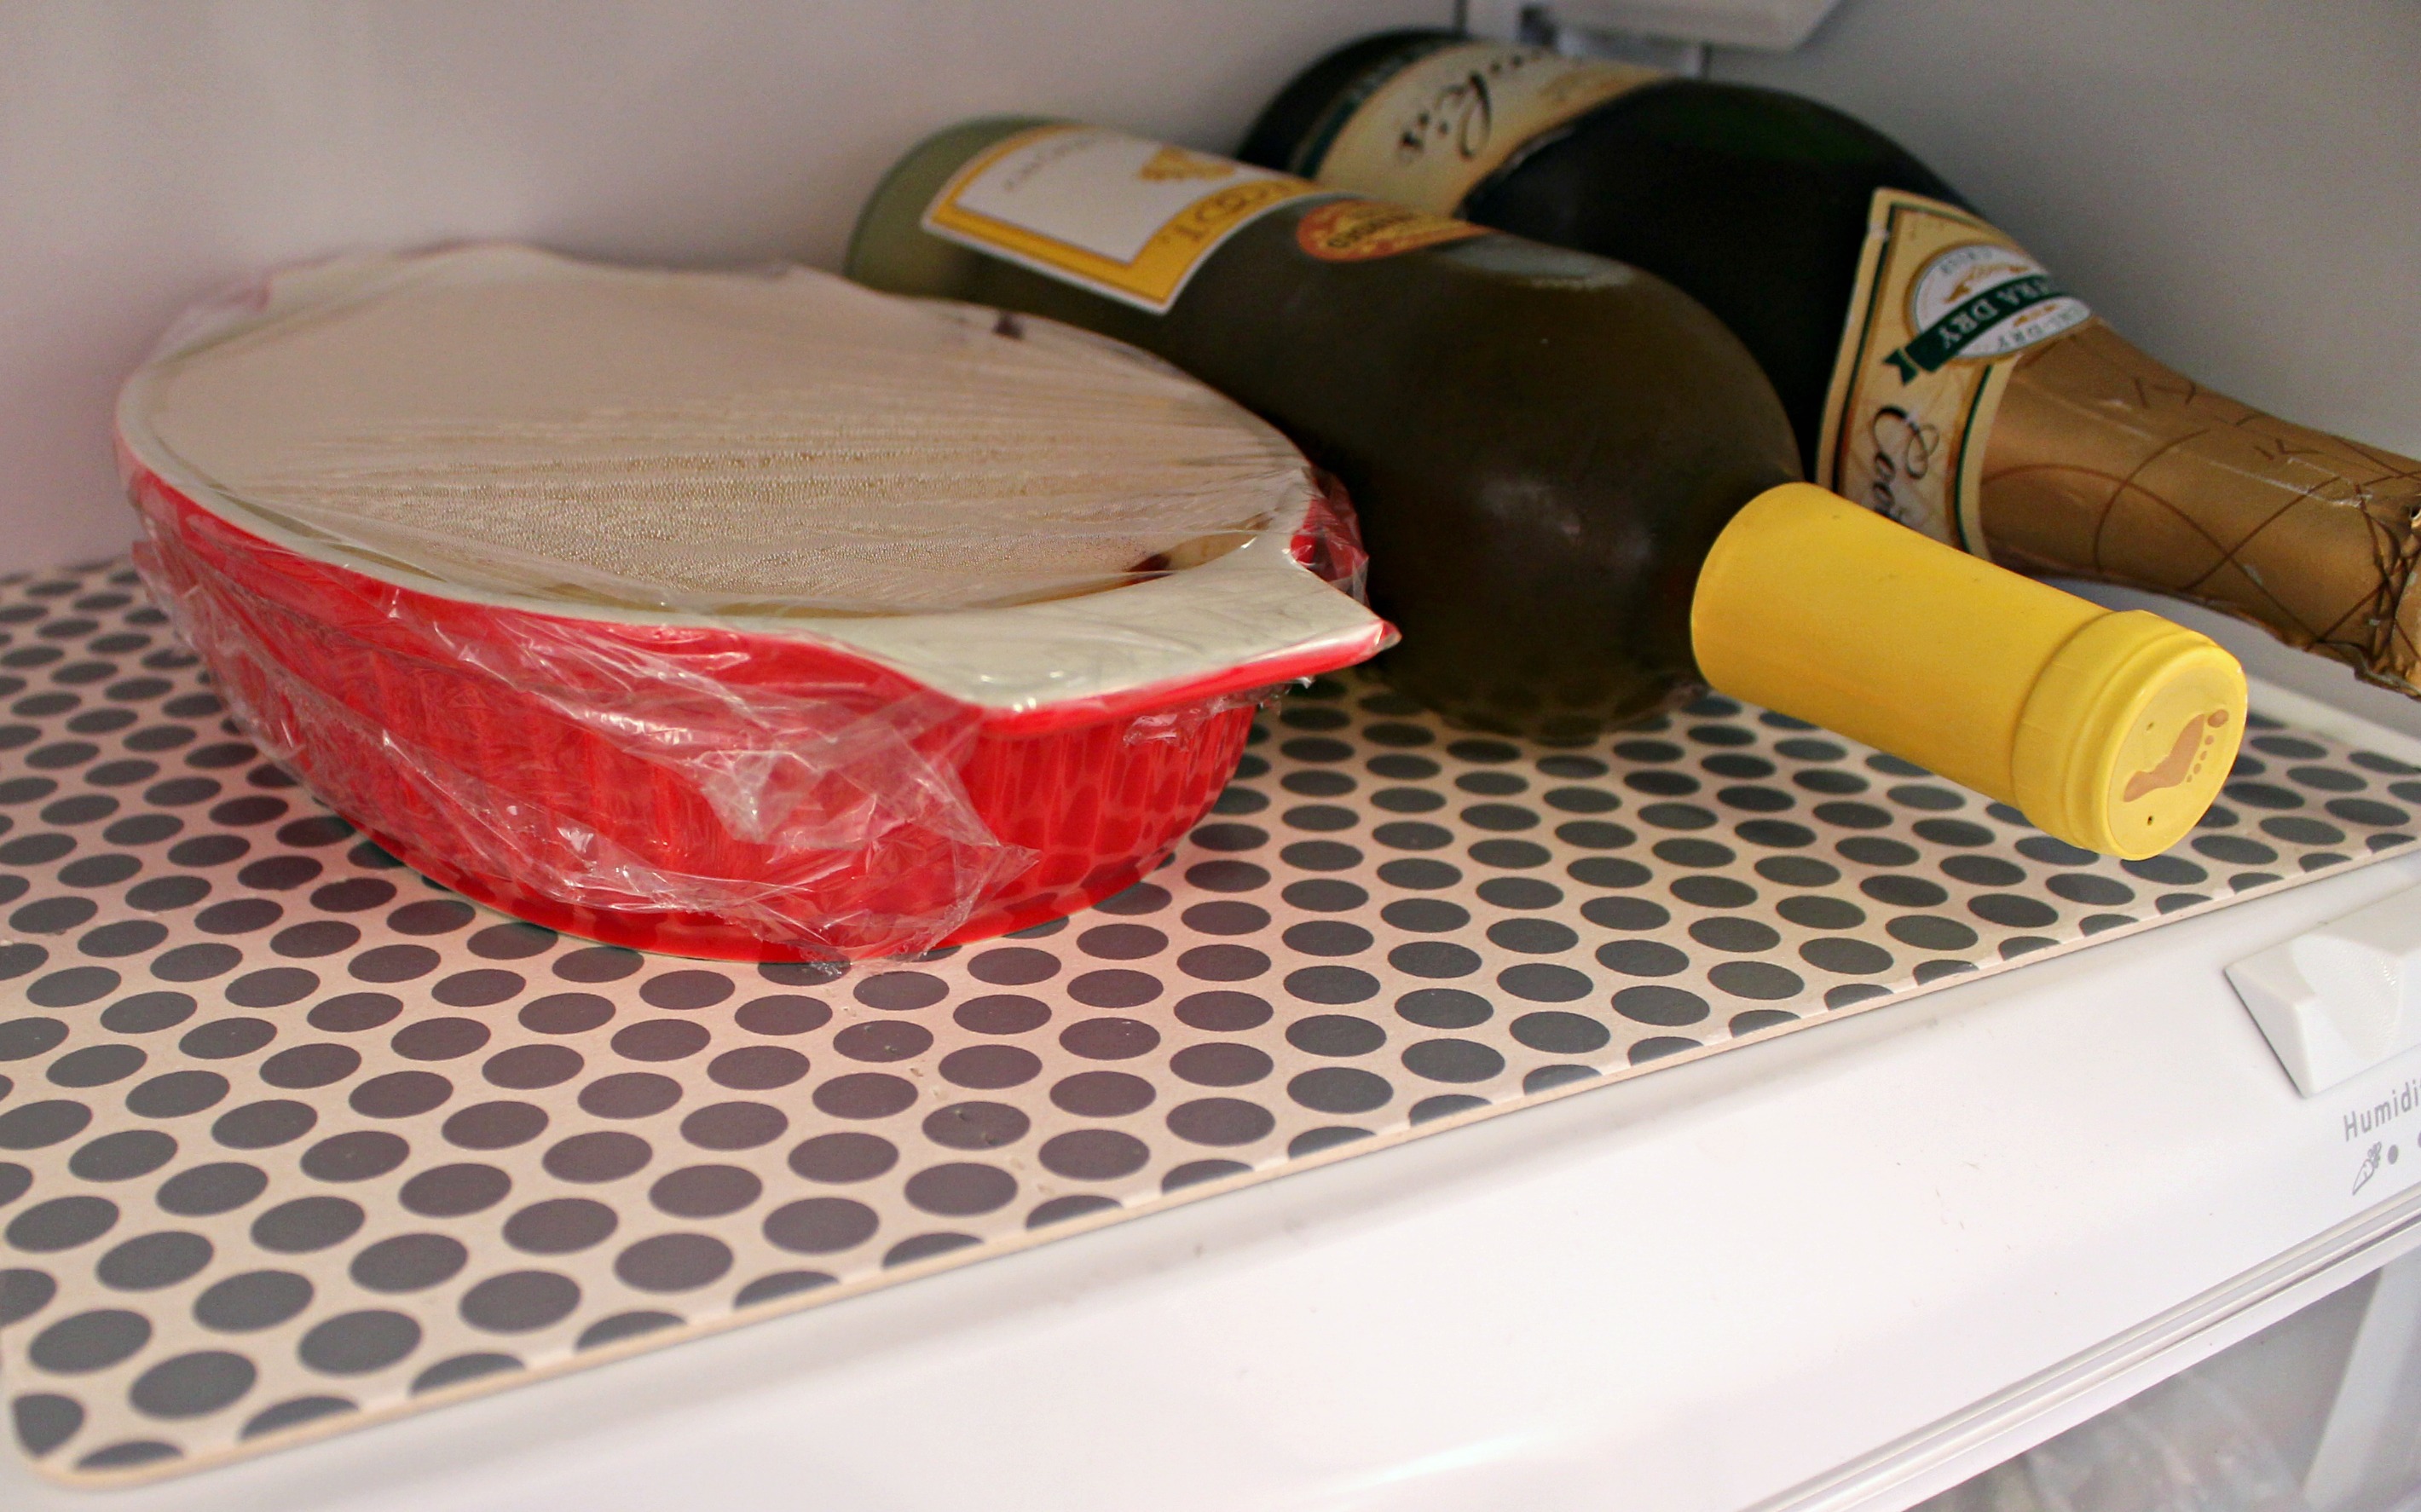
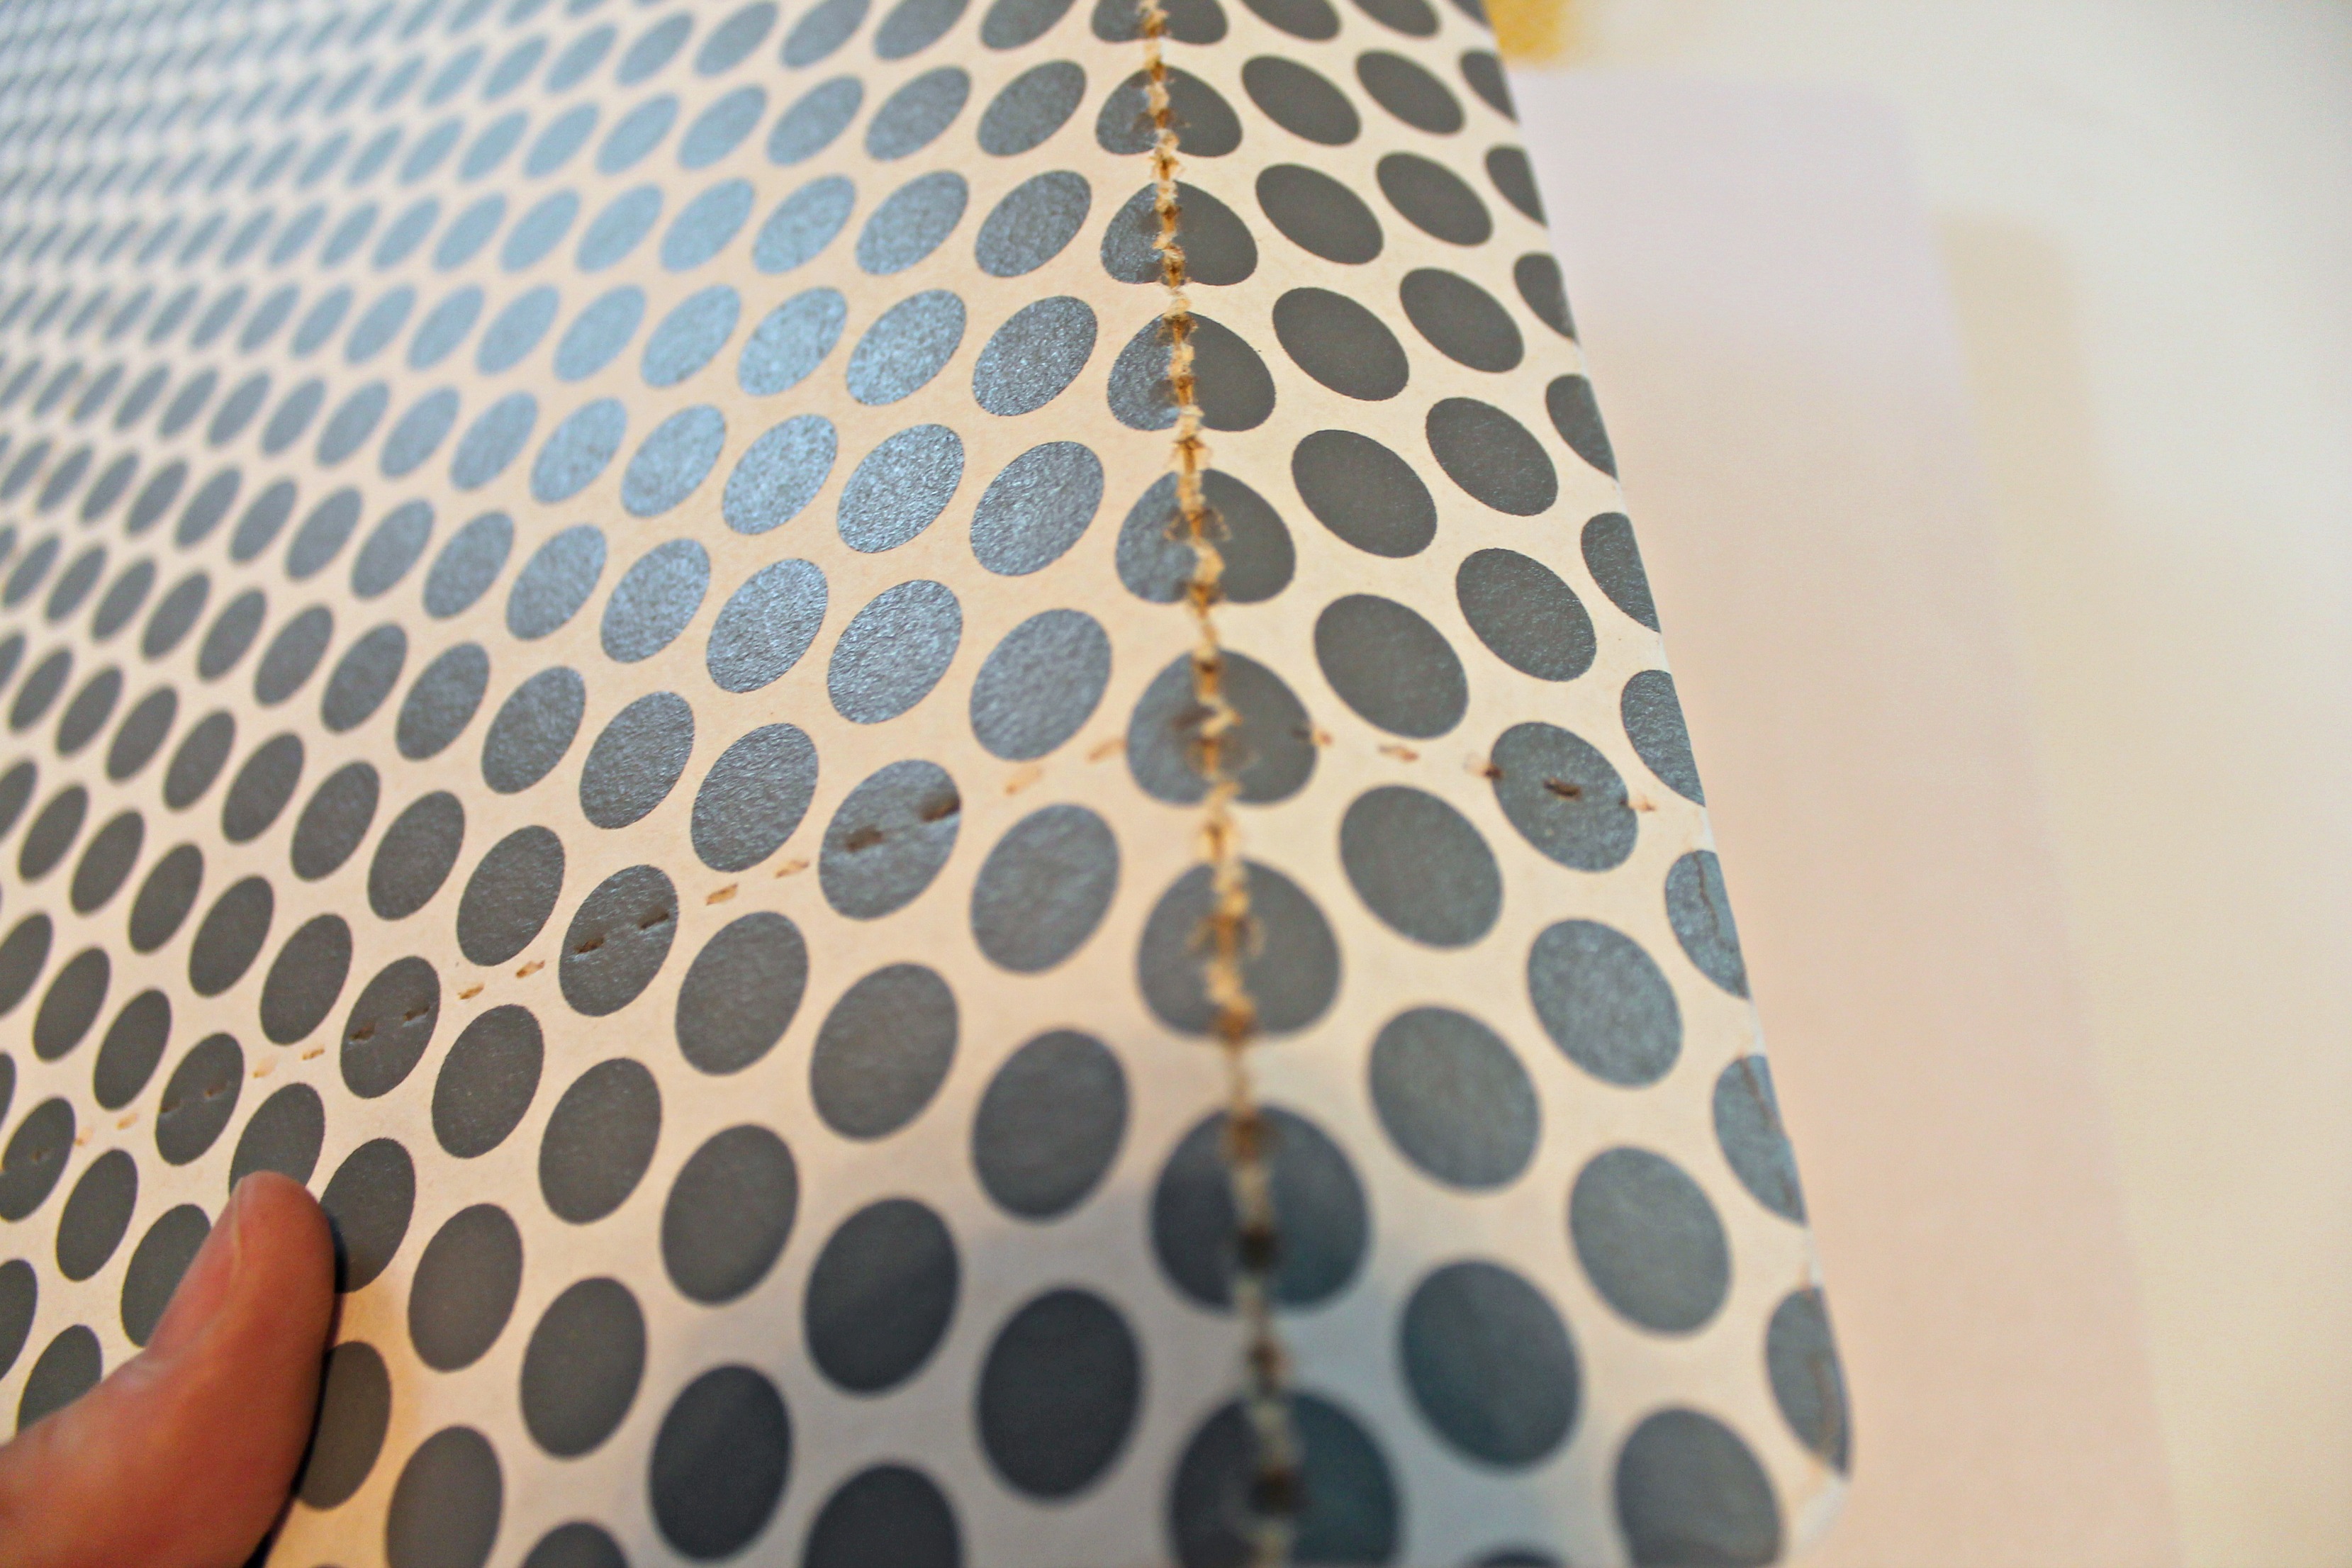
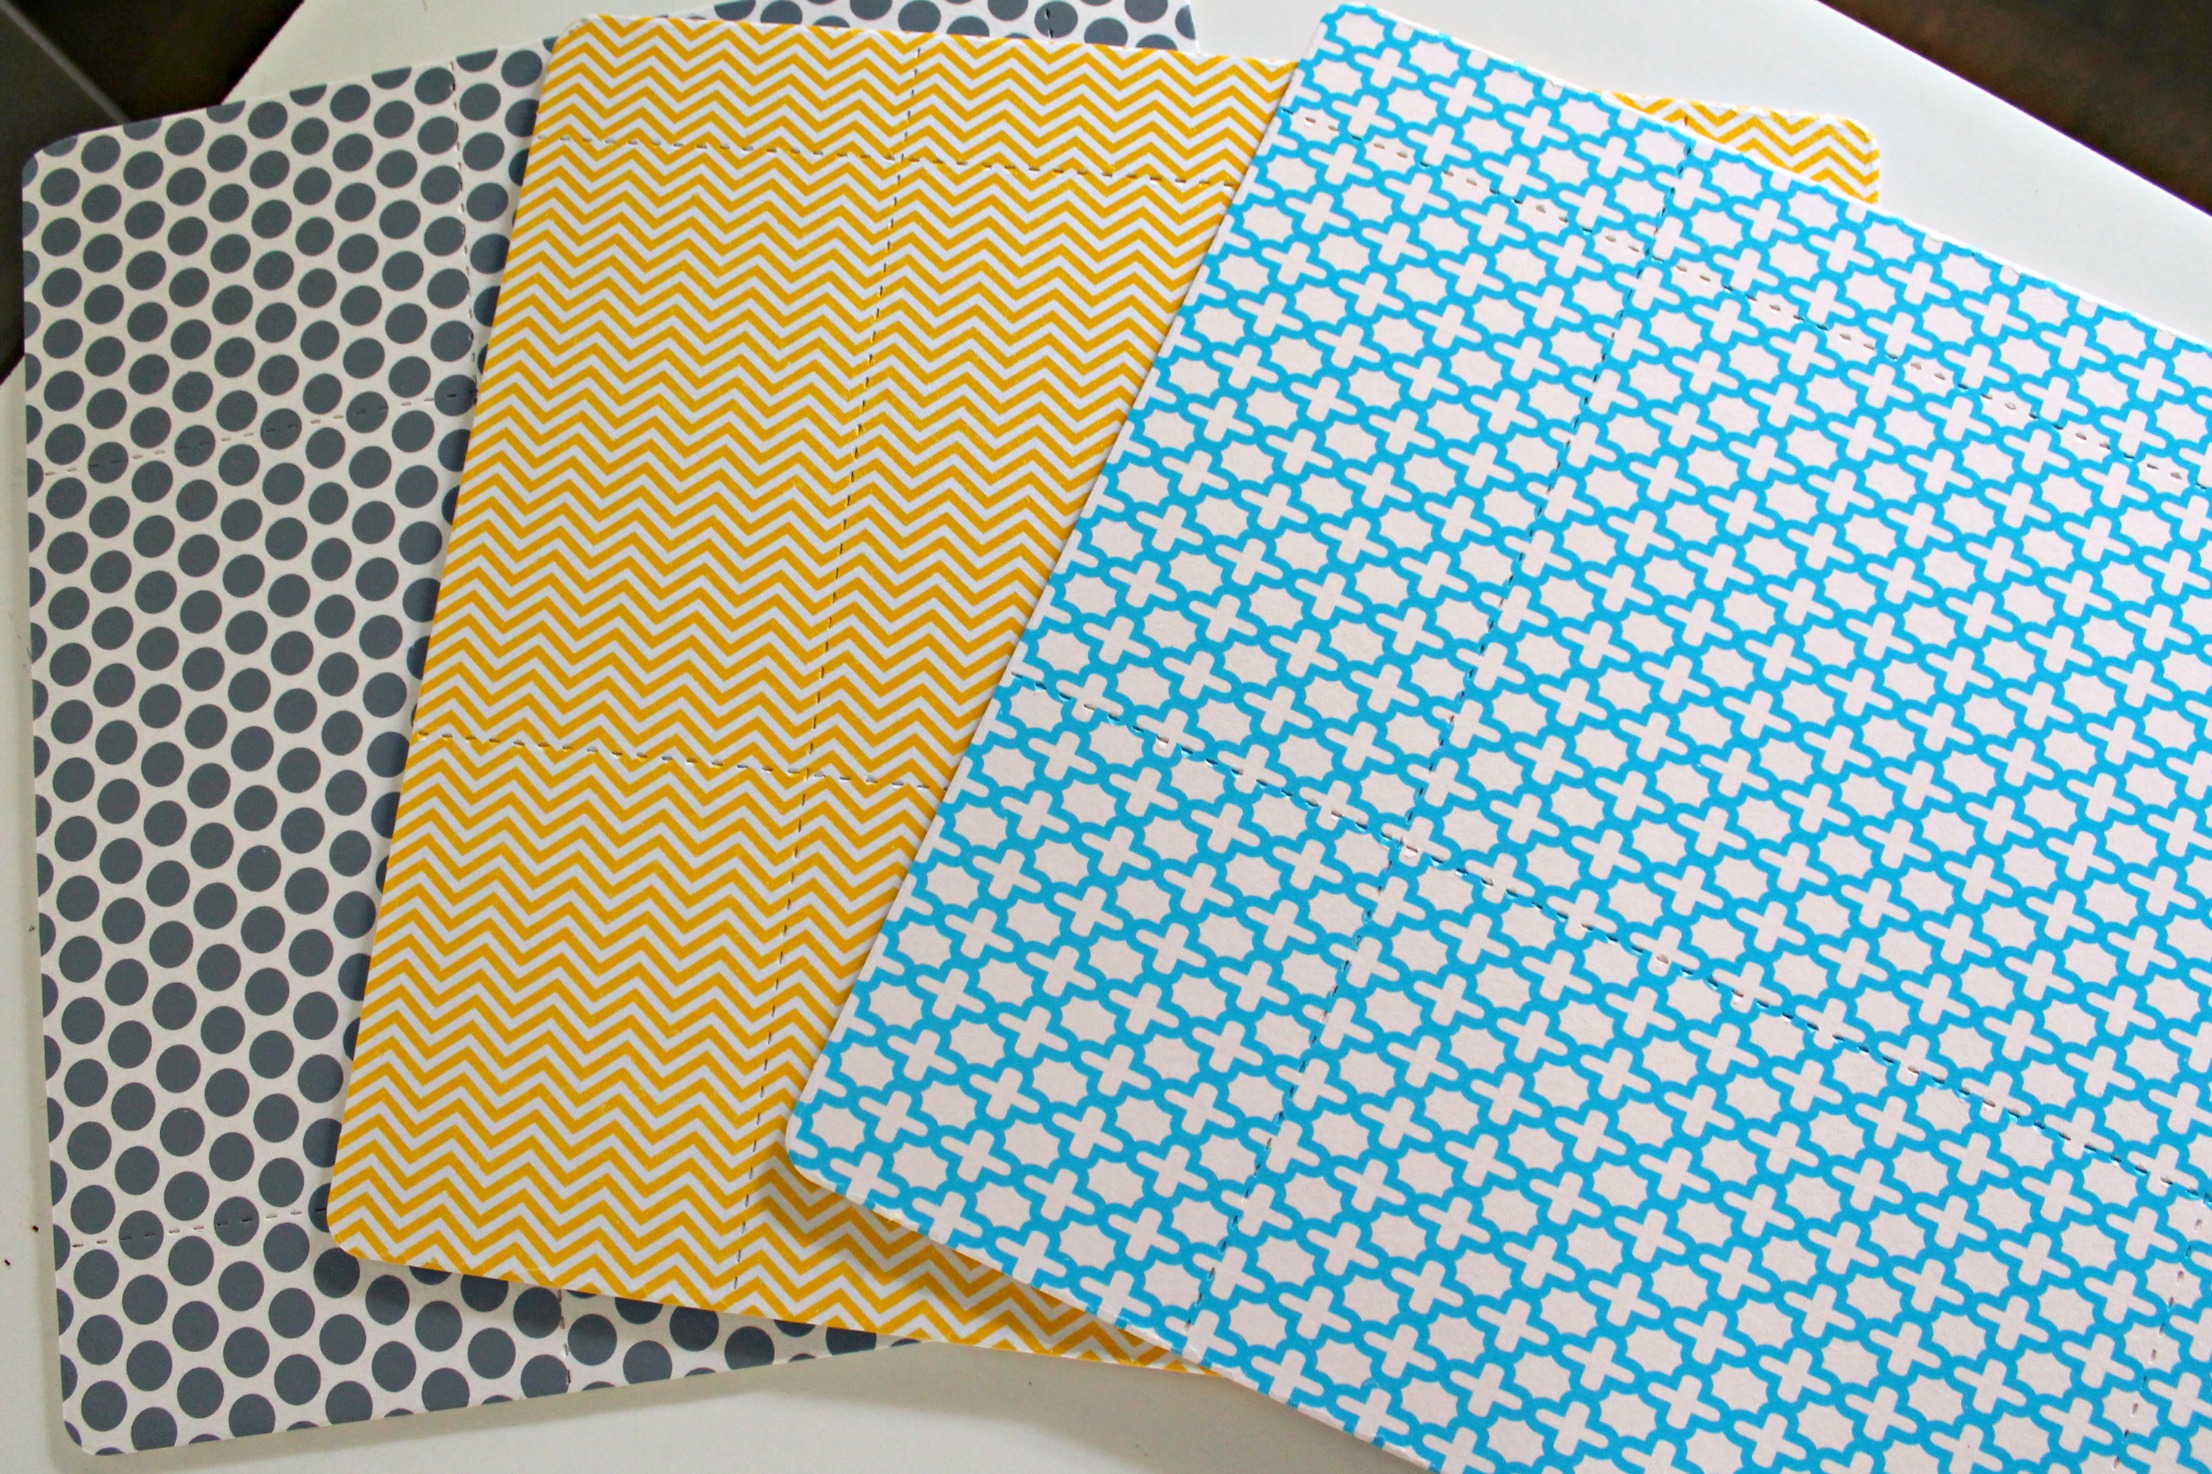
These adorable coasters come in lots of cute patterns, and make so much sense.  They are made of wood pulp and help to absorb drips, spills, and smells to keep your fridge looking and smelling fresh.

Here’s our pretty but boring fridge before.

IMG_5576 IMG_5584 IMG_5580 IMG_5582 IMG_5601 IMG_5579

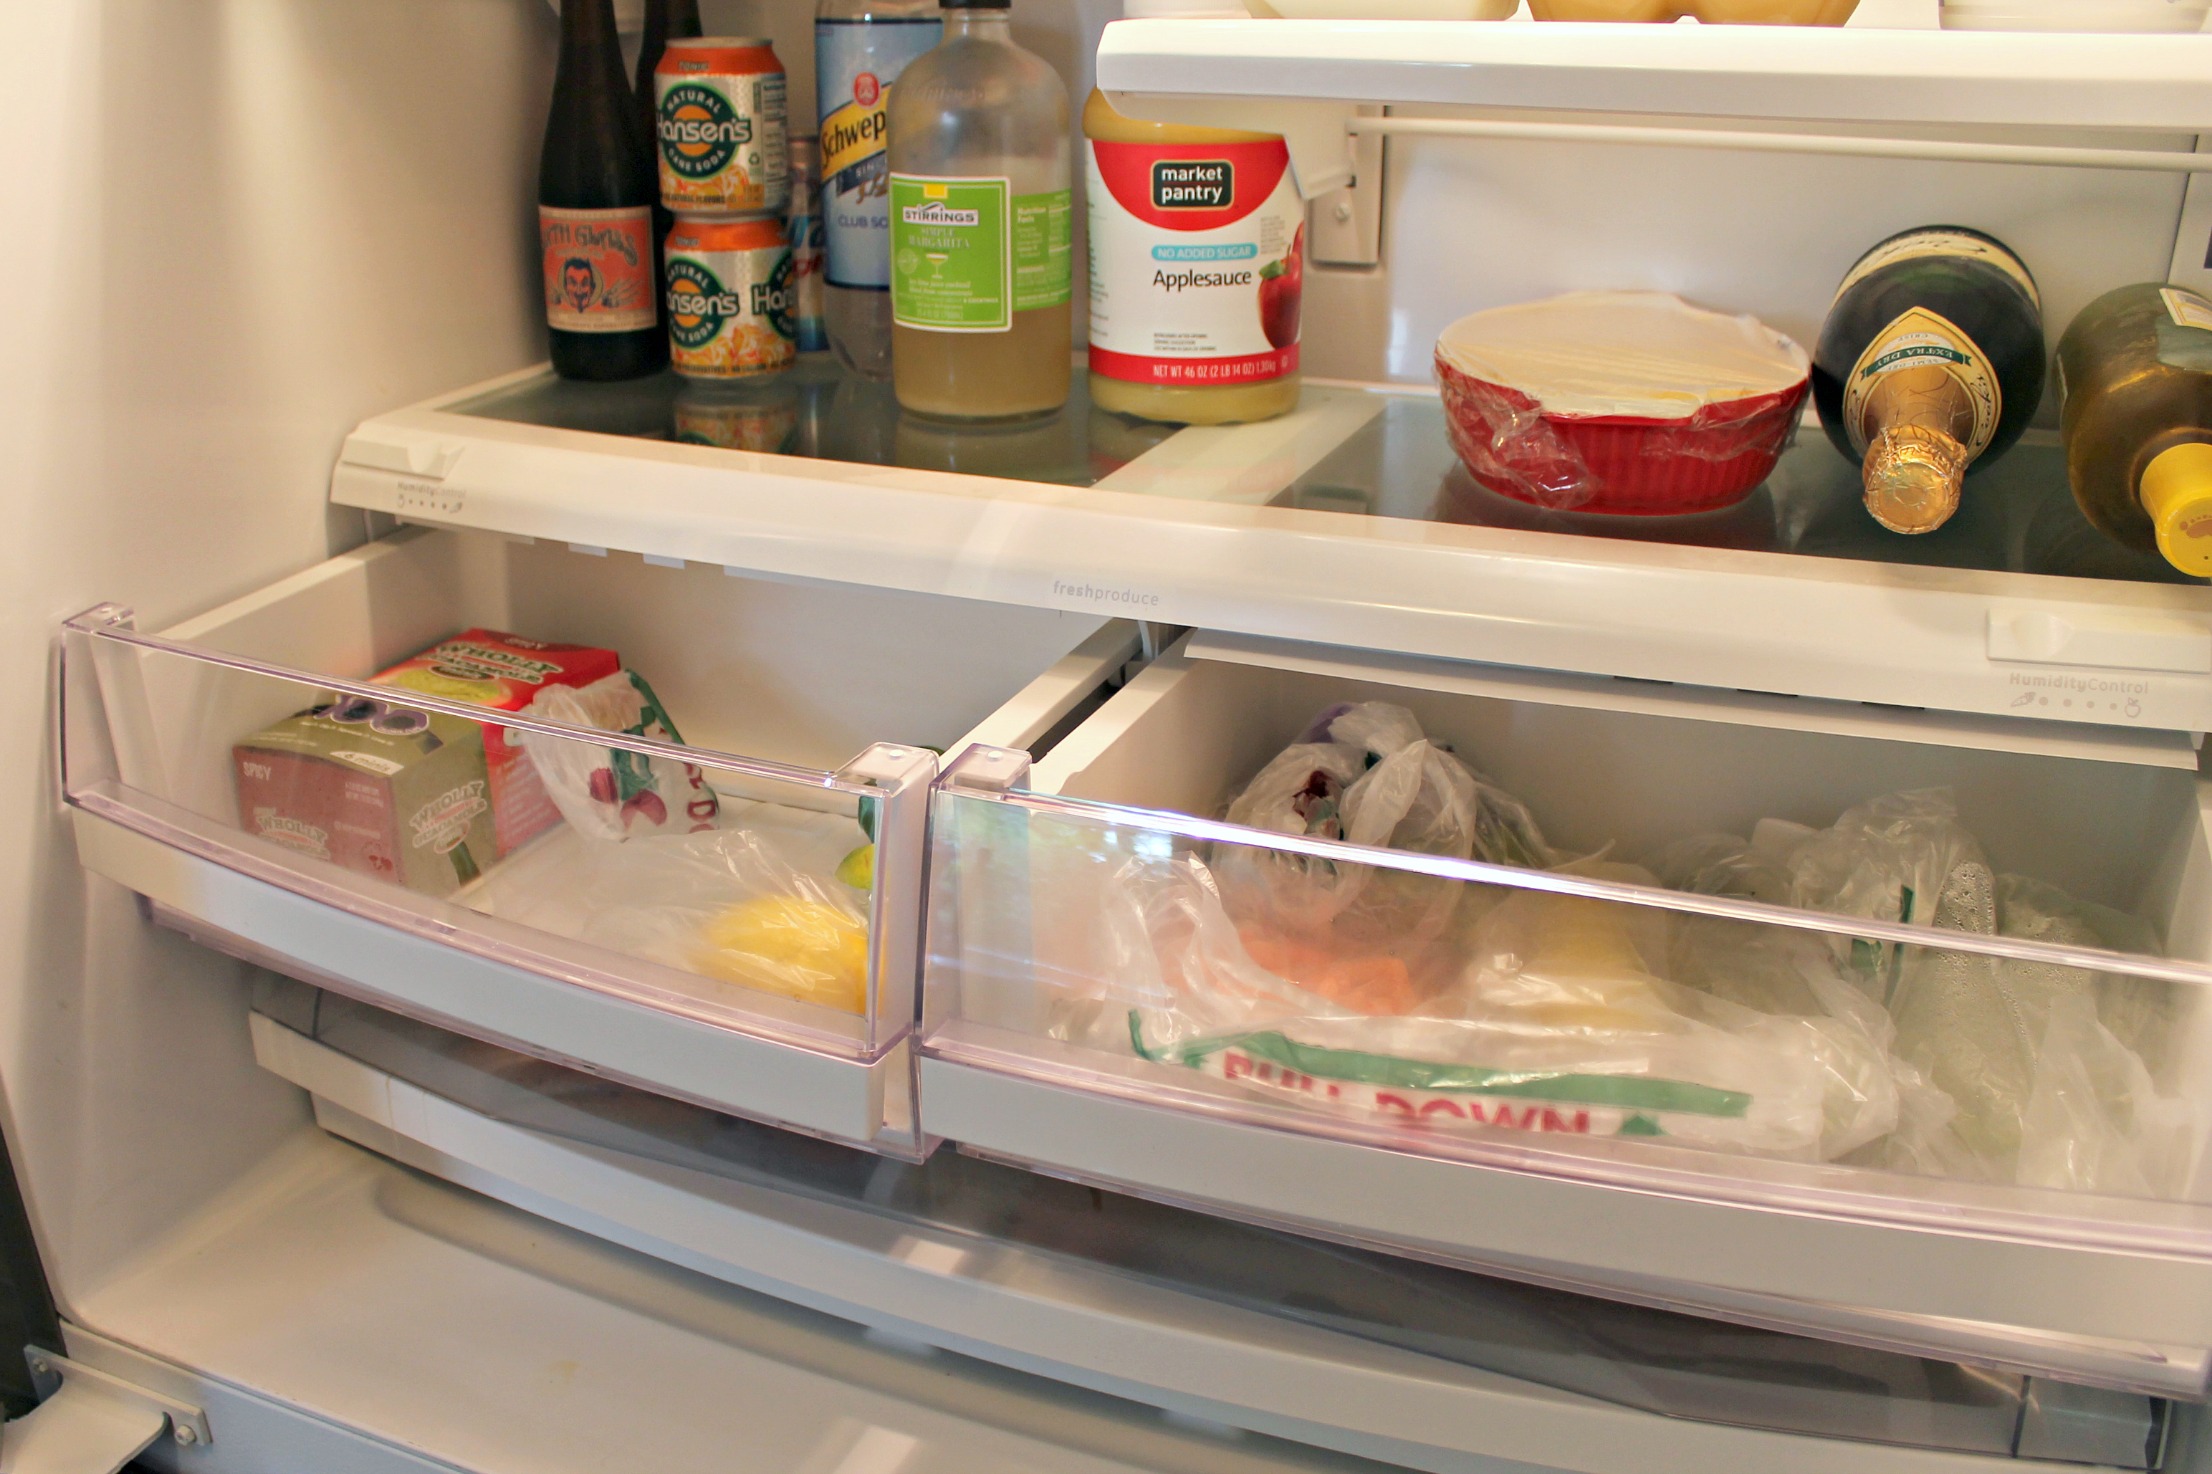
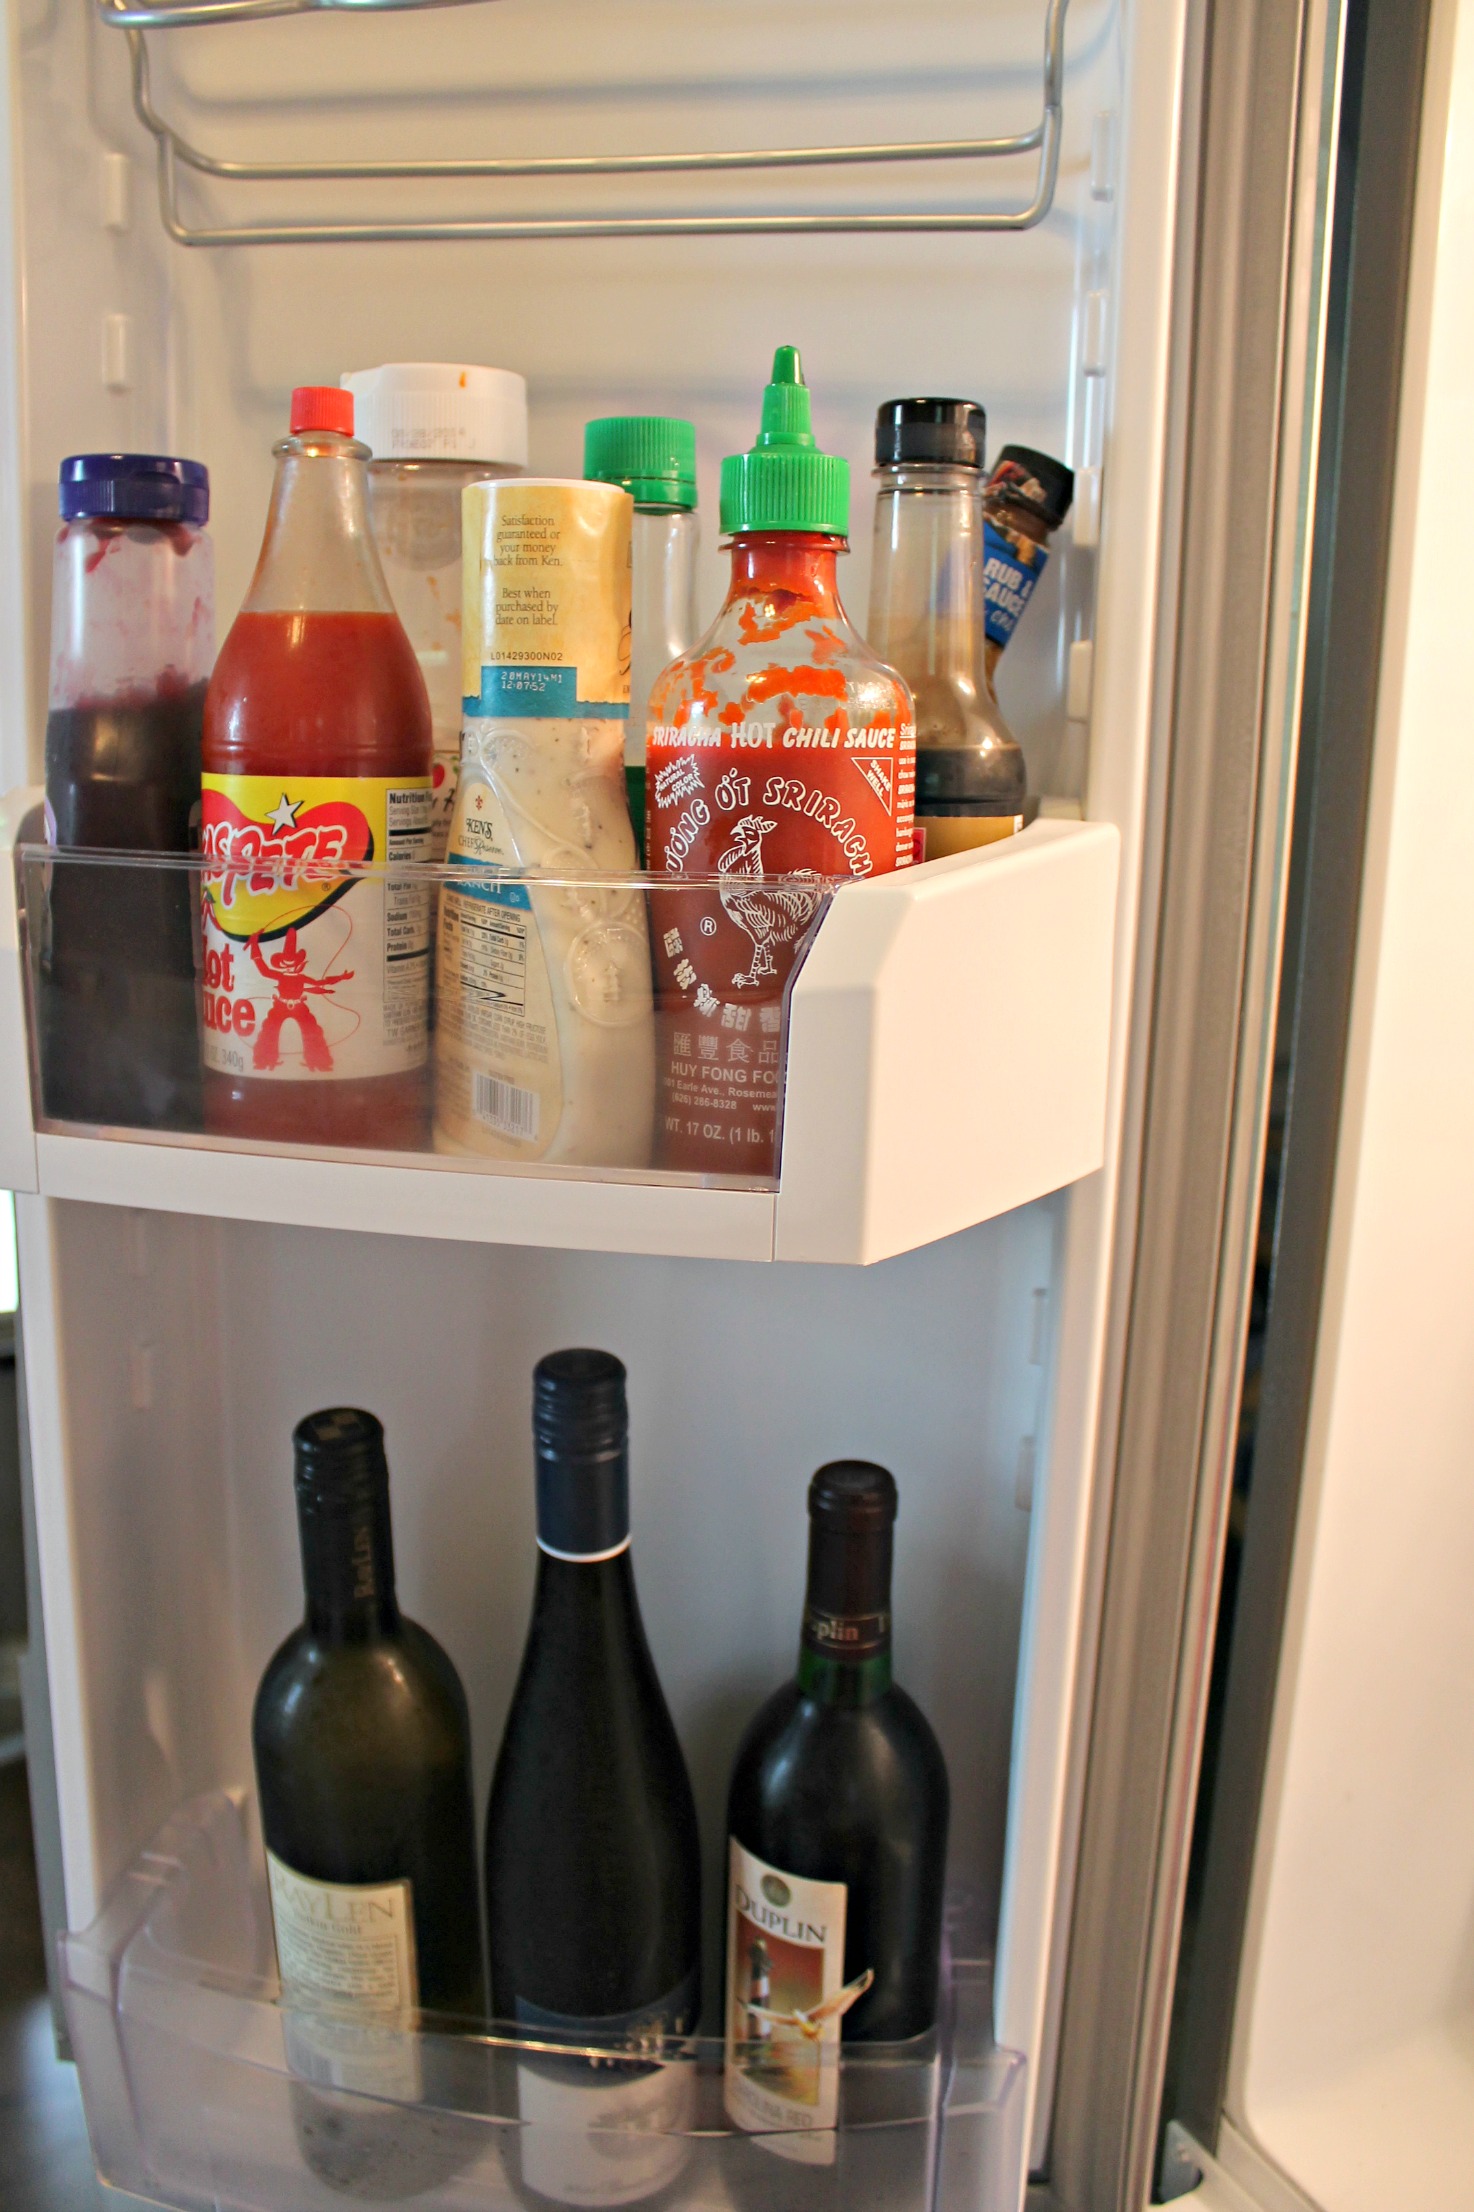
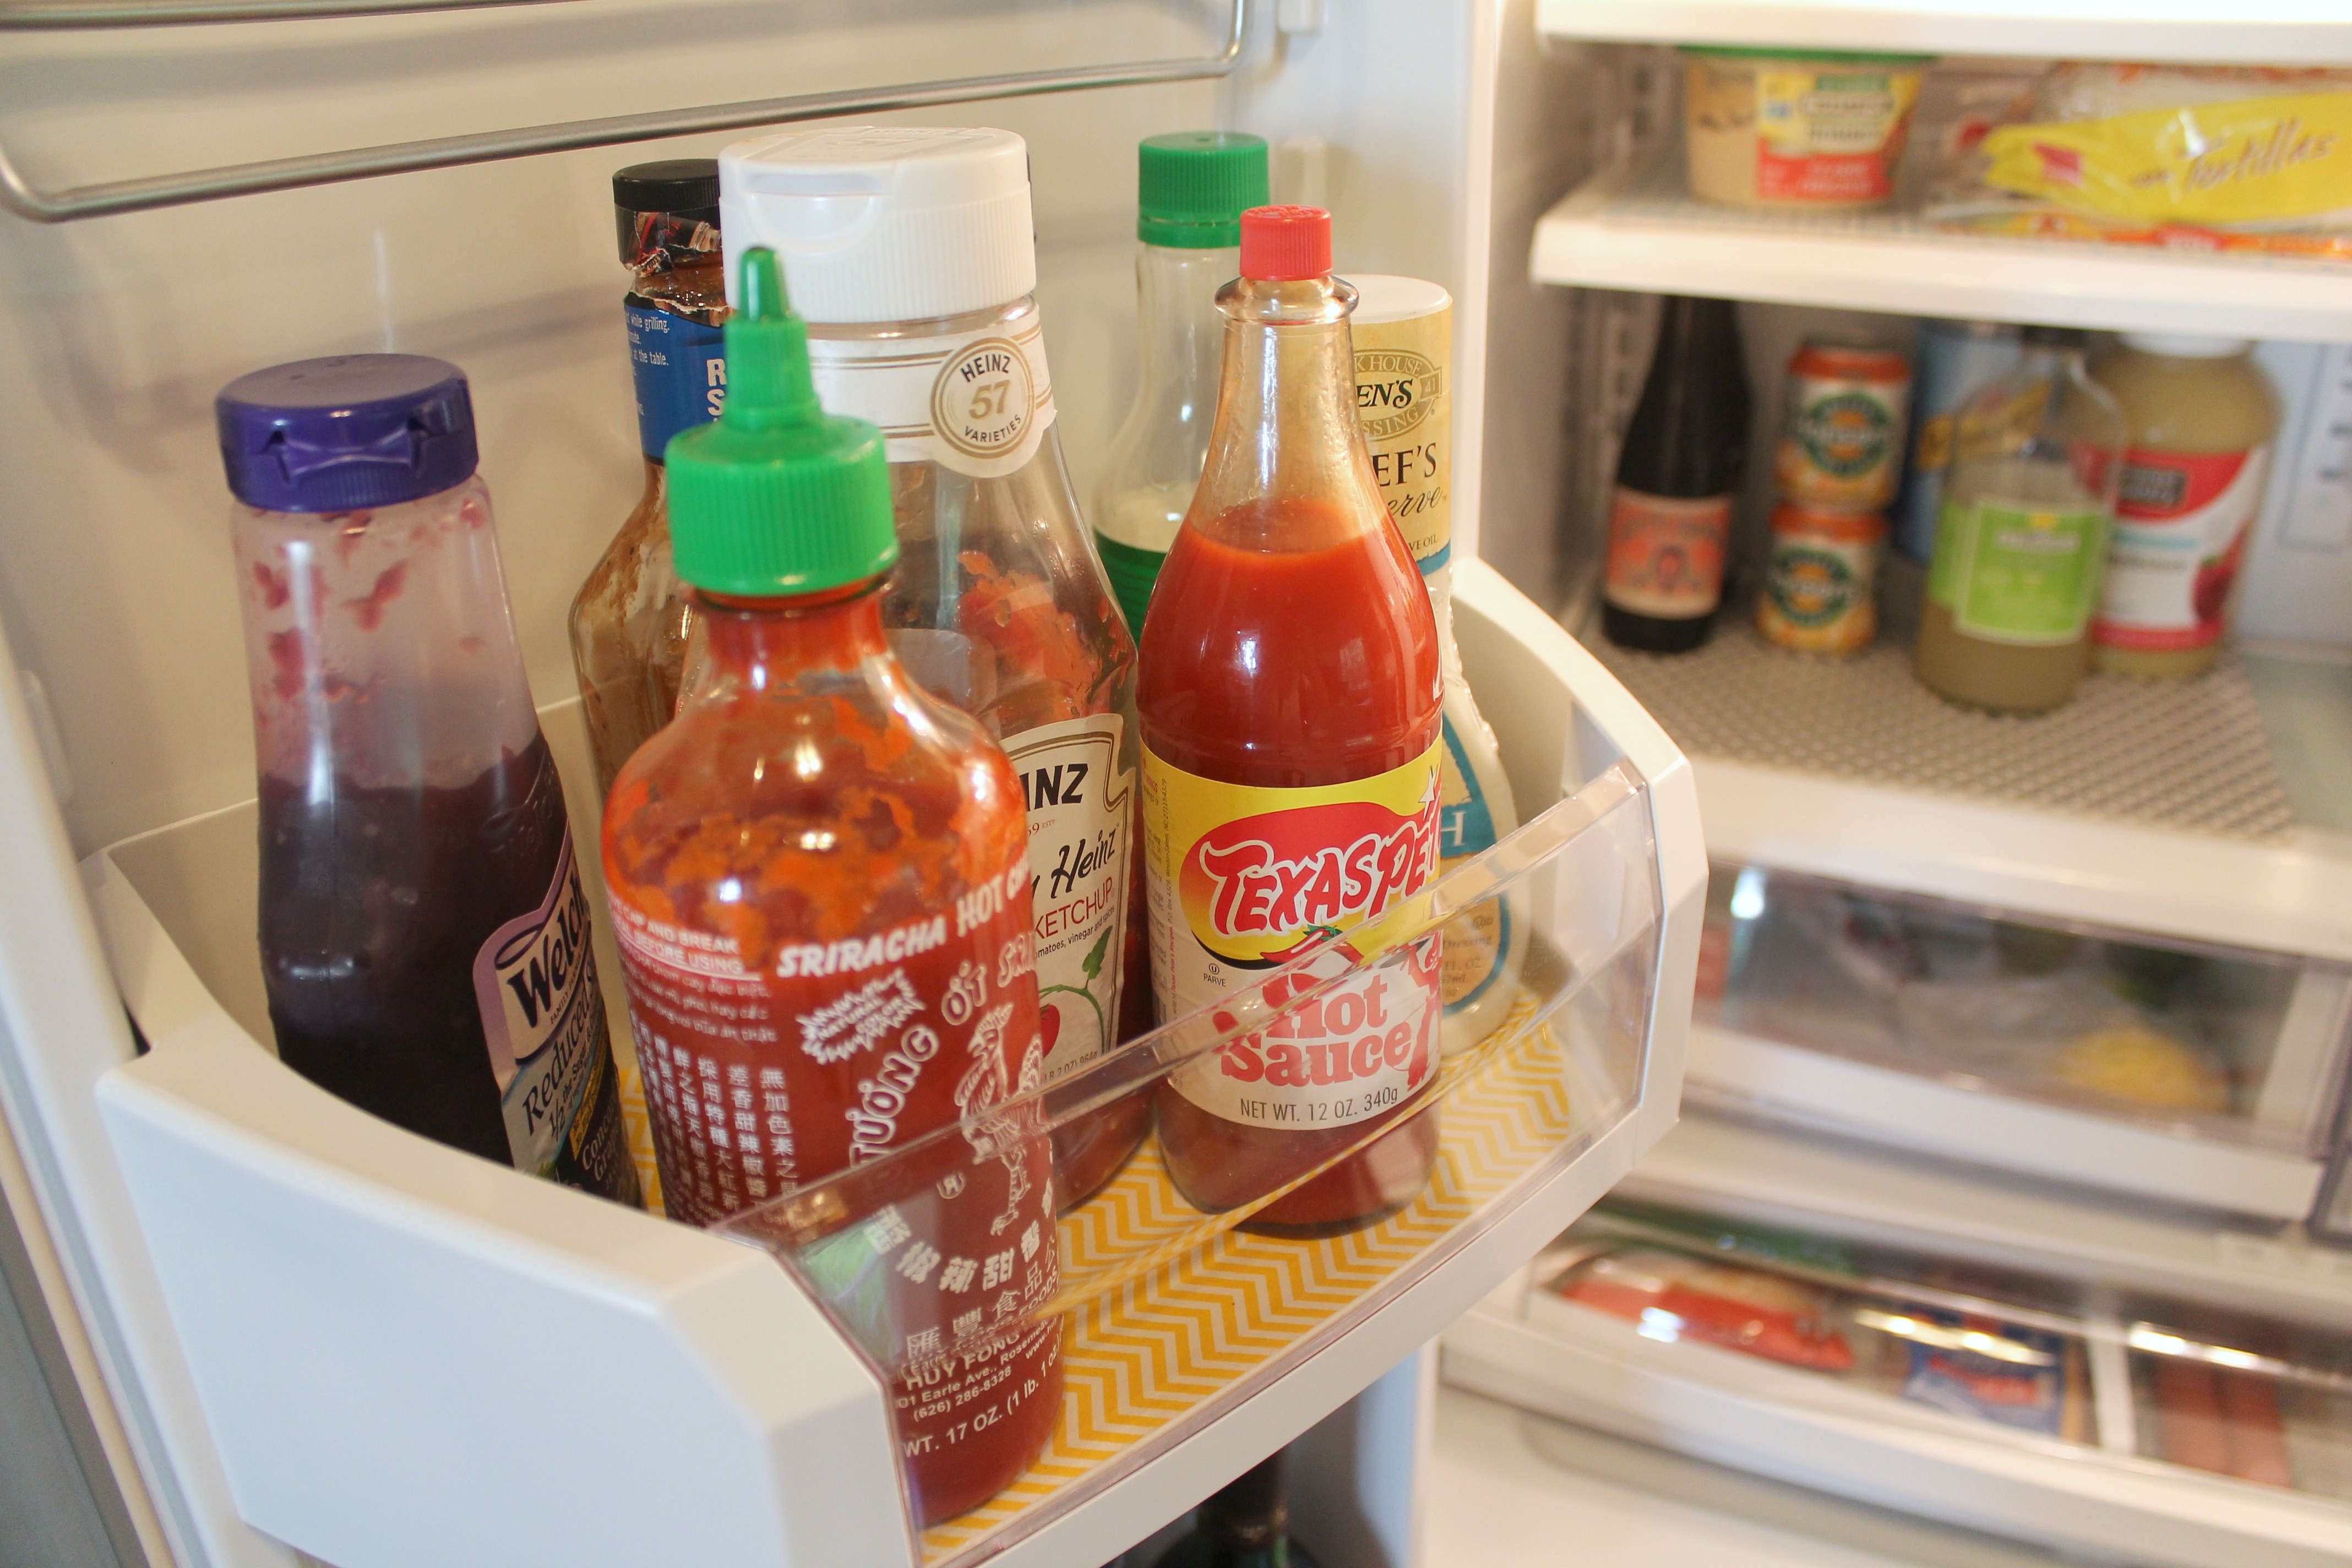
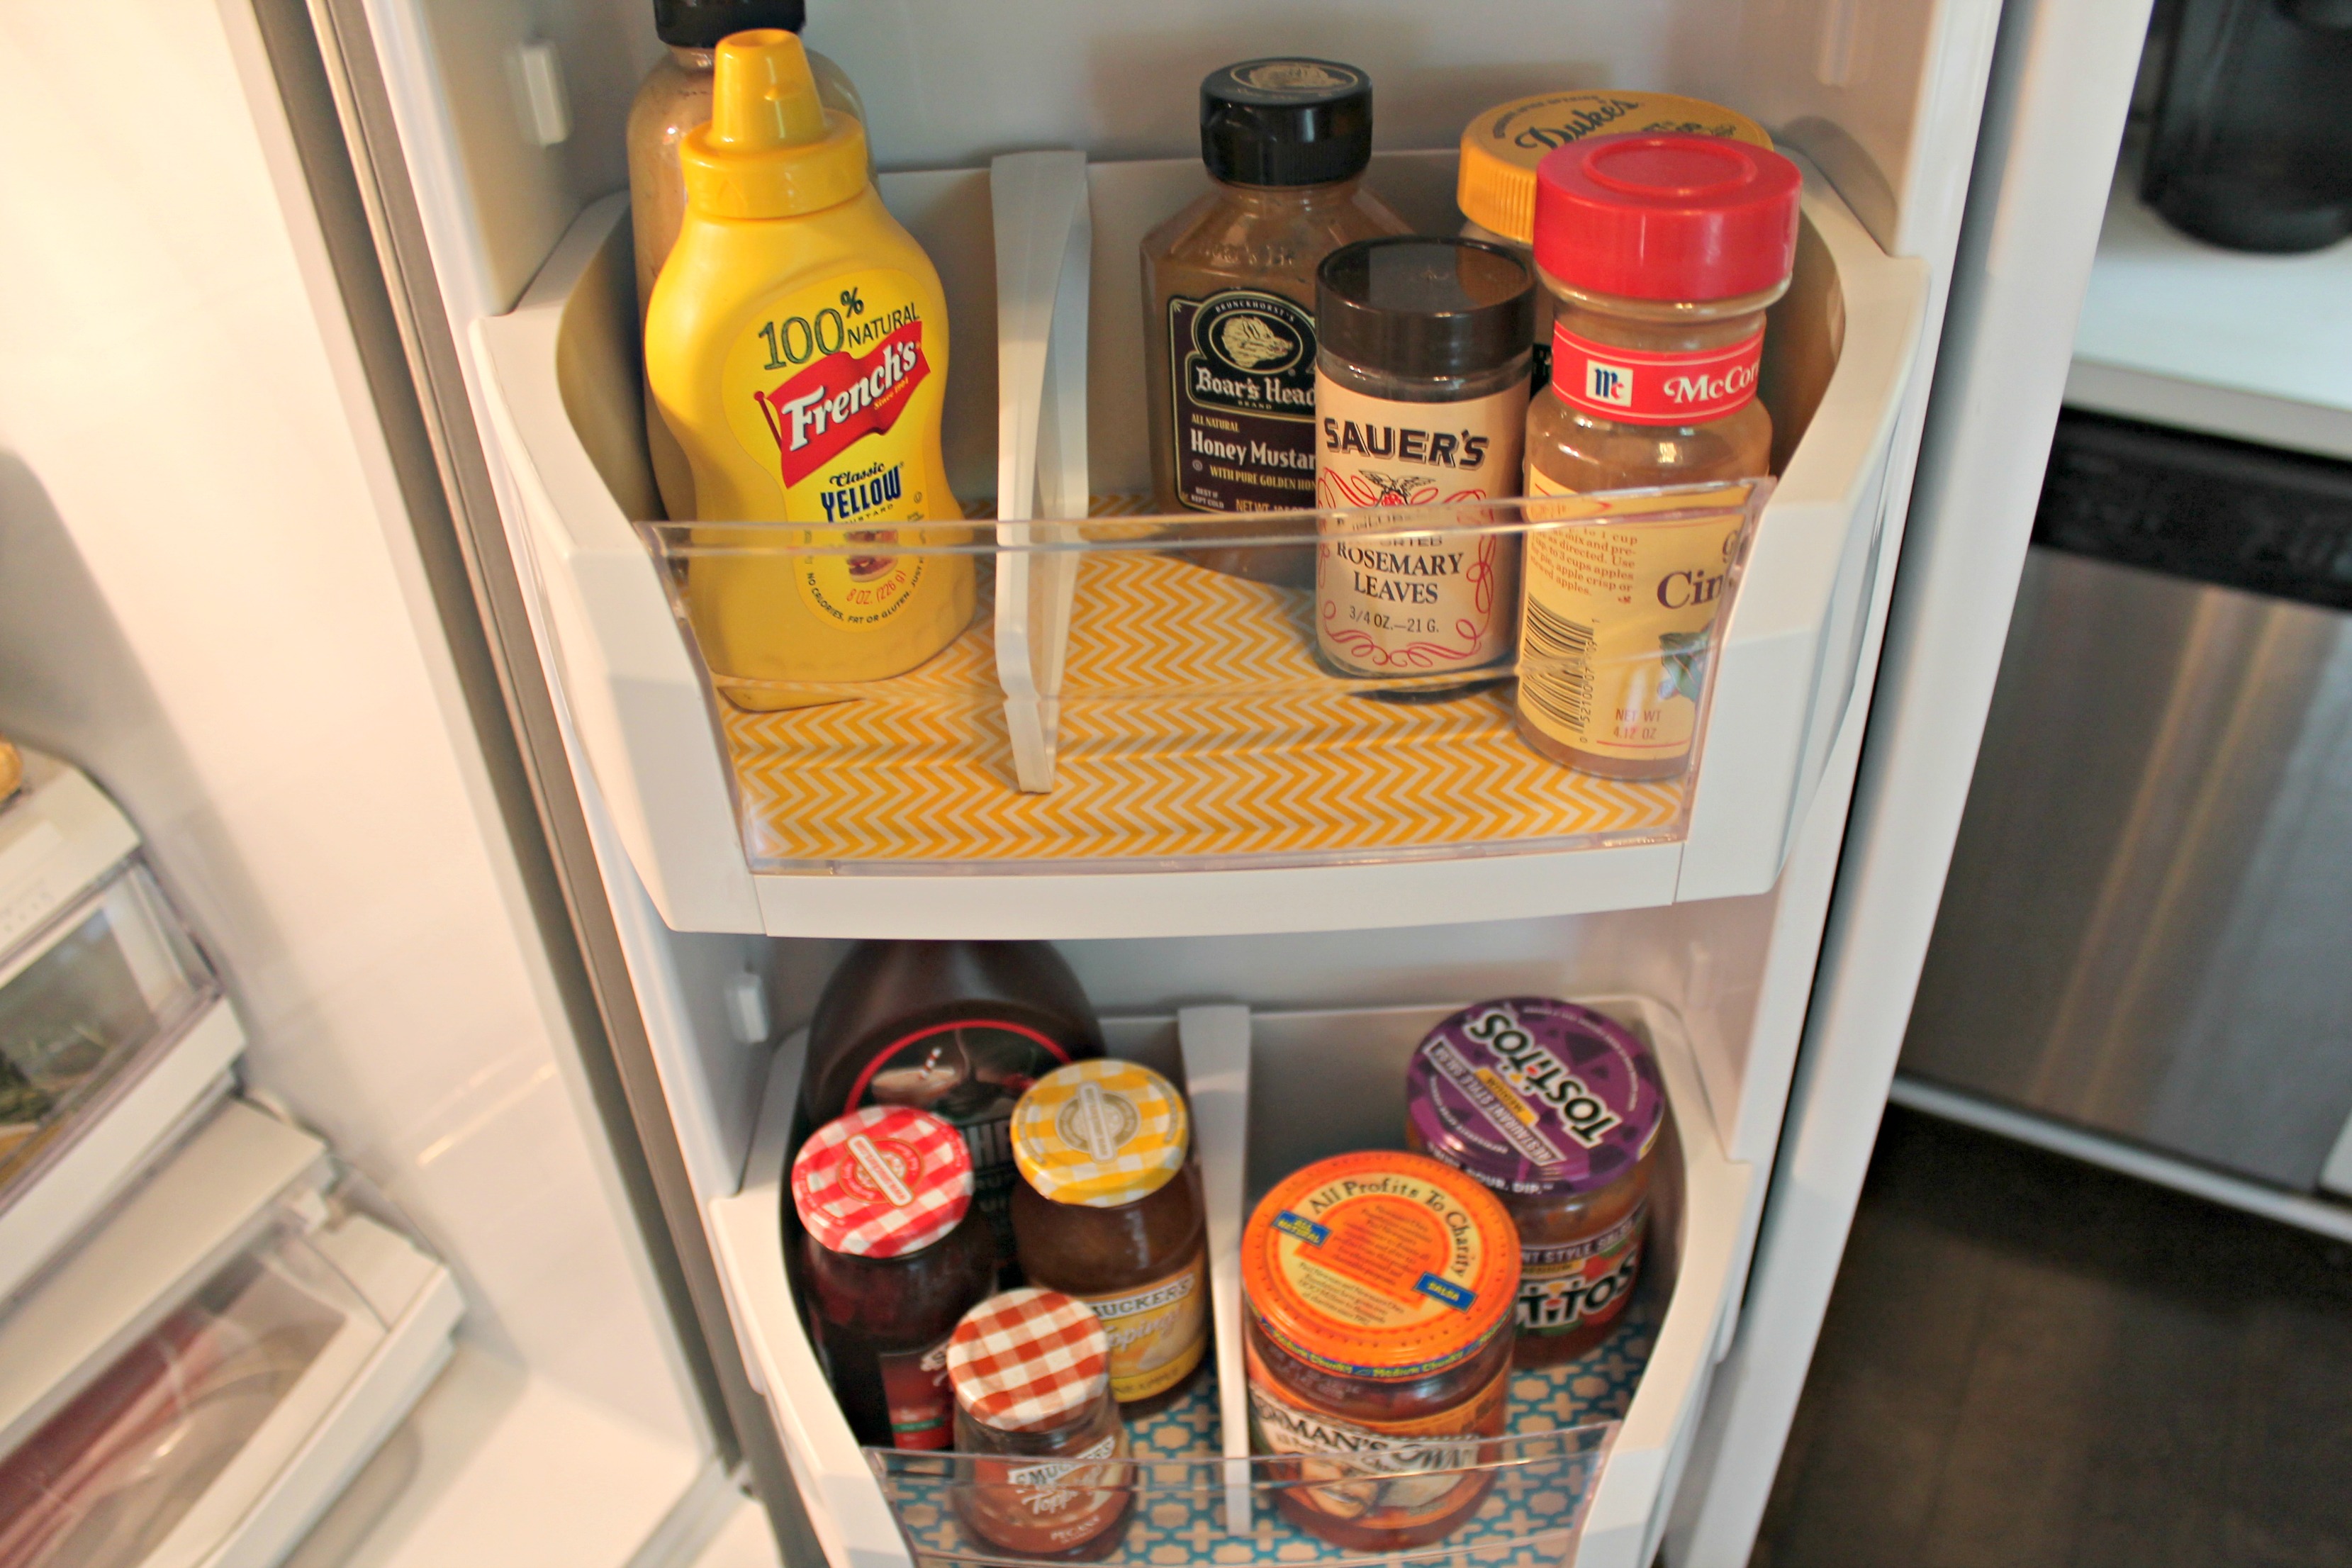
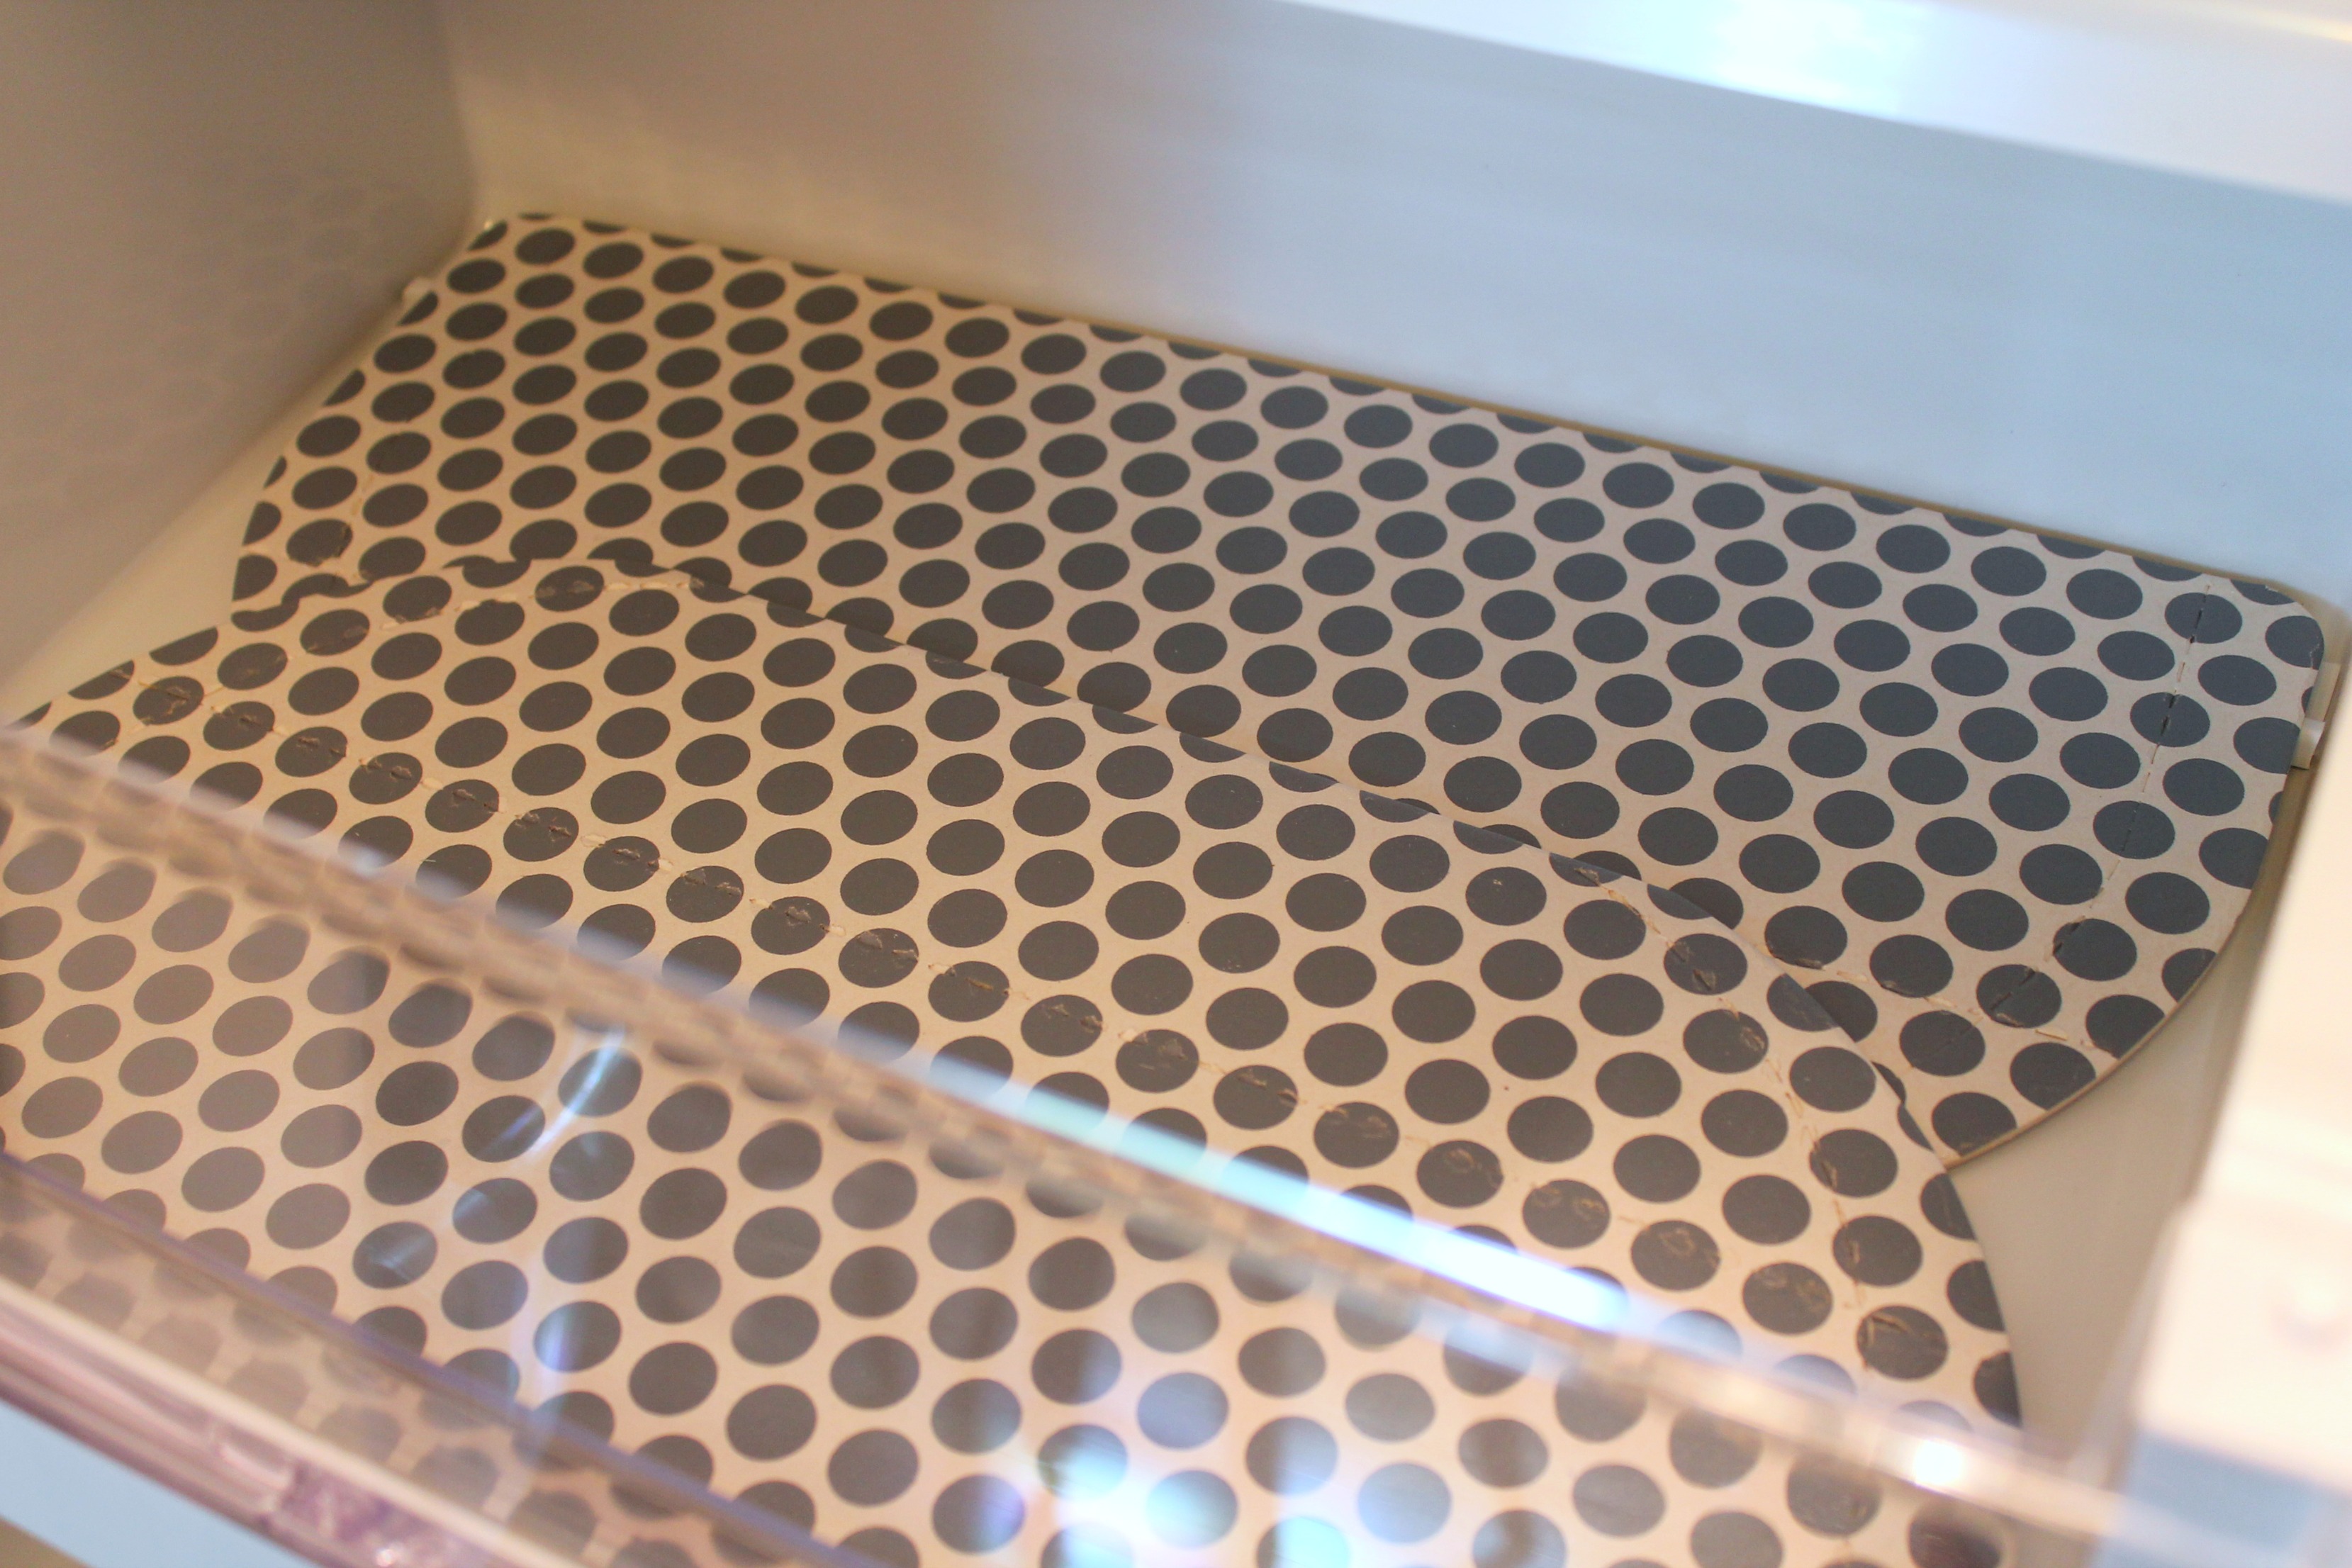
And now, it’s super fun and organized!

IMG_5606 IMG_5589 IMG_5588 IMG_5596 IMG_5597 IMG_5604 IMG_5608 IMG_5587 IMG_5590

My favorite things about the Fridge Coasters:

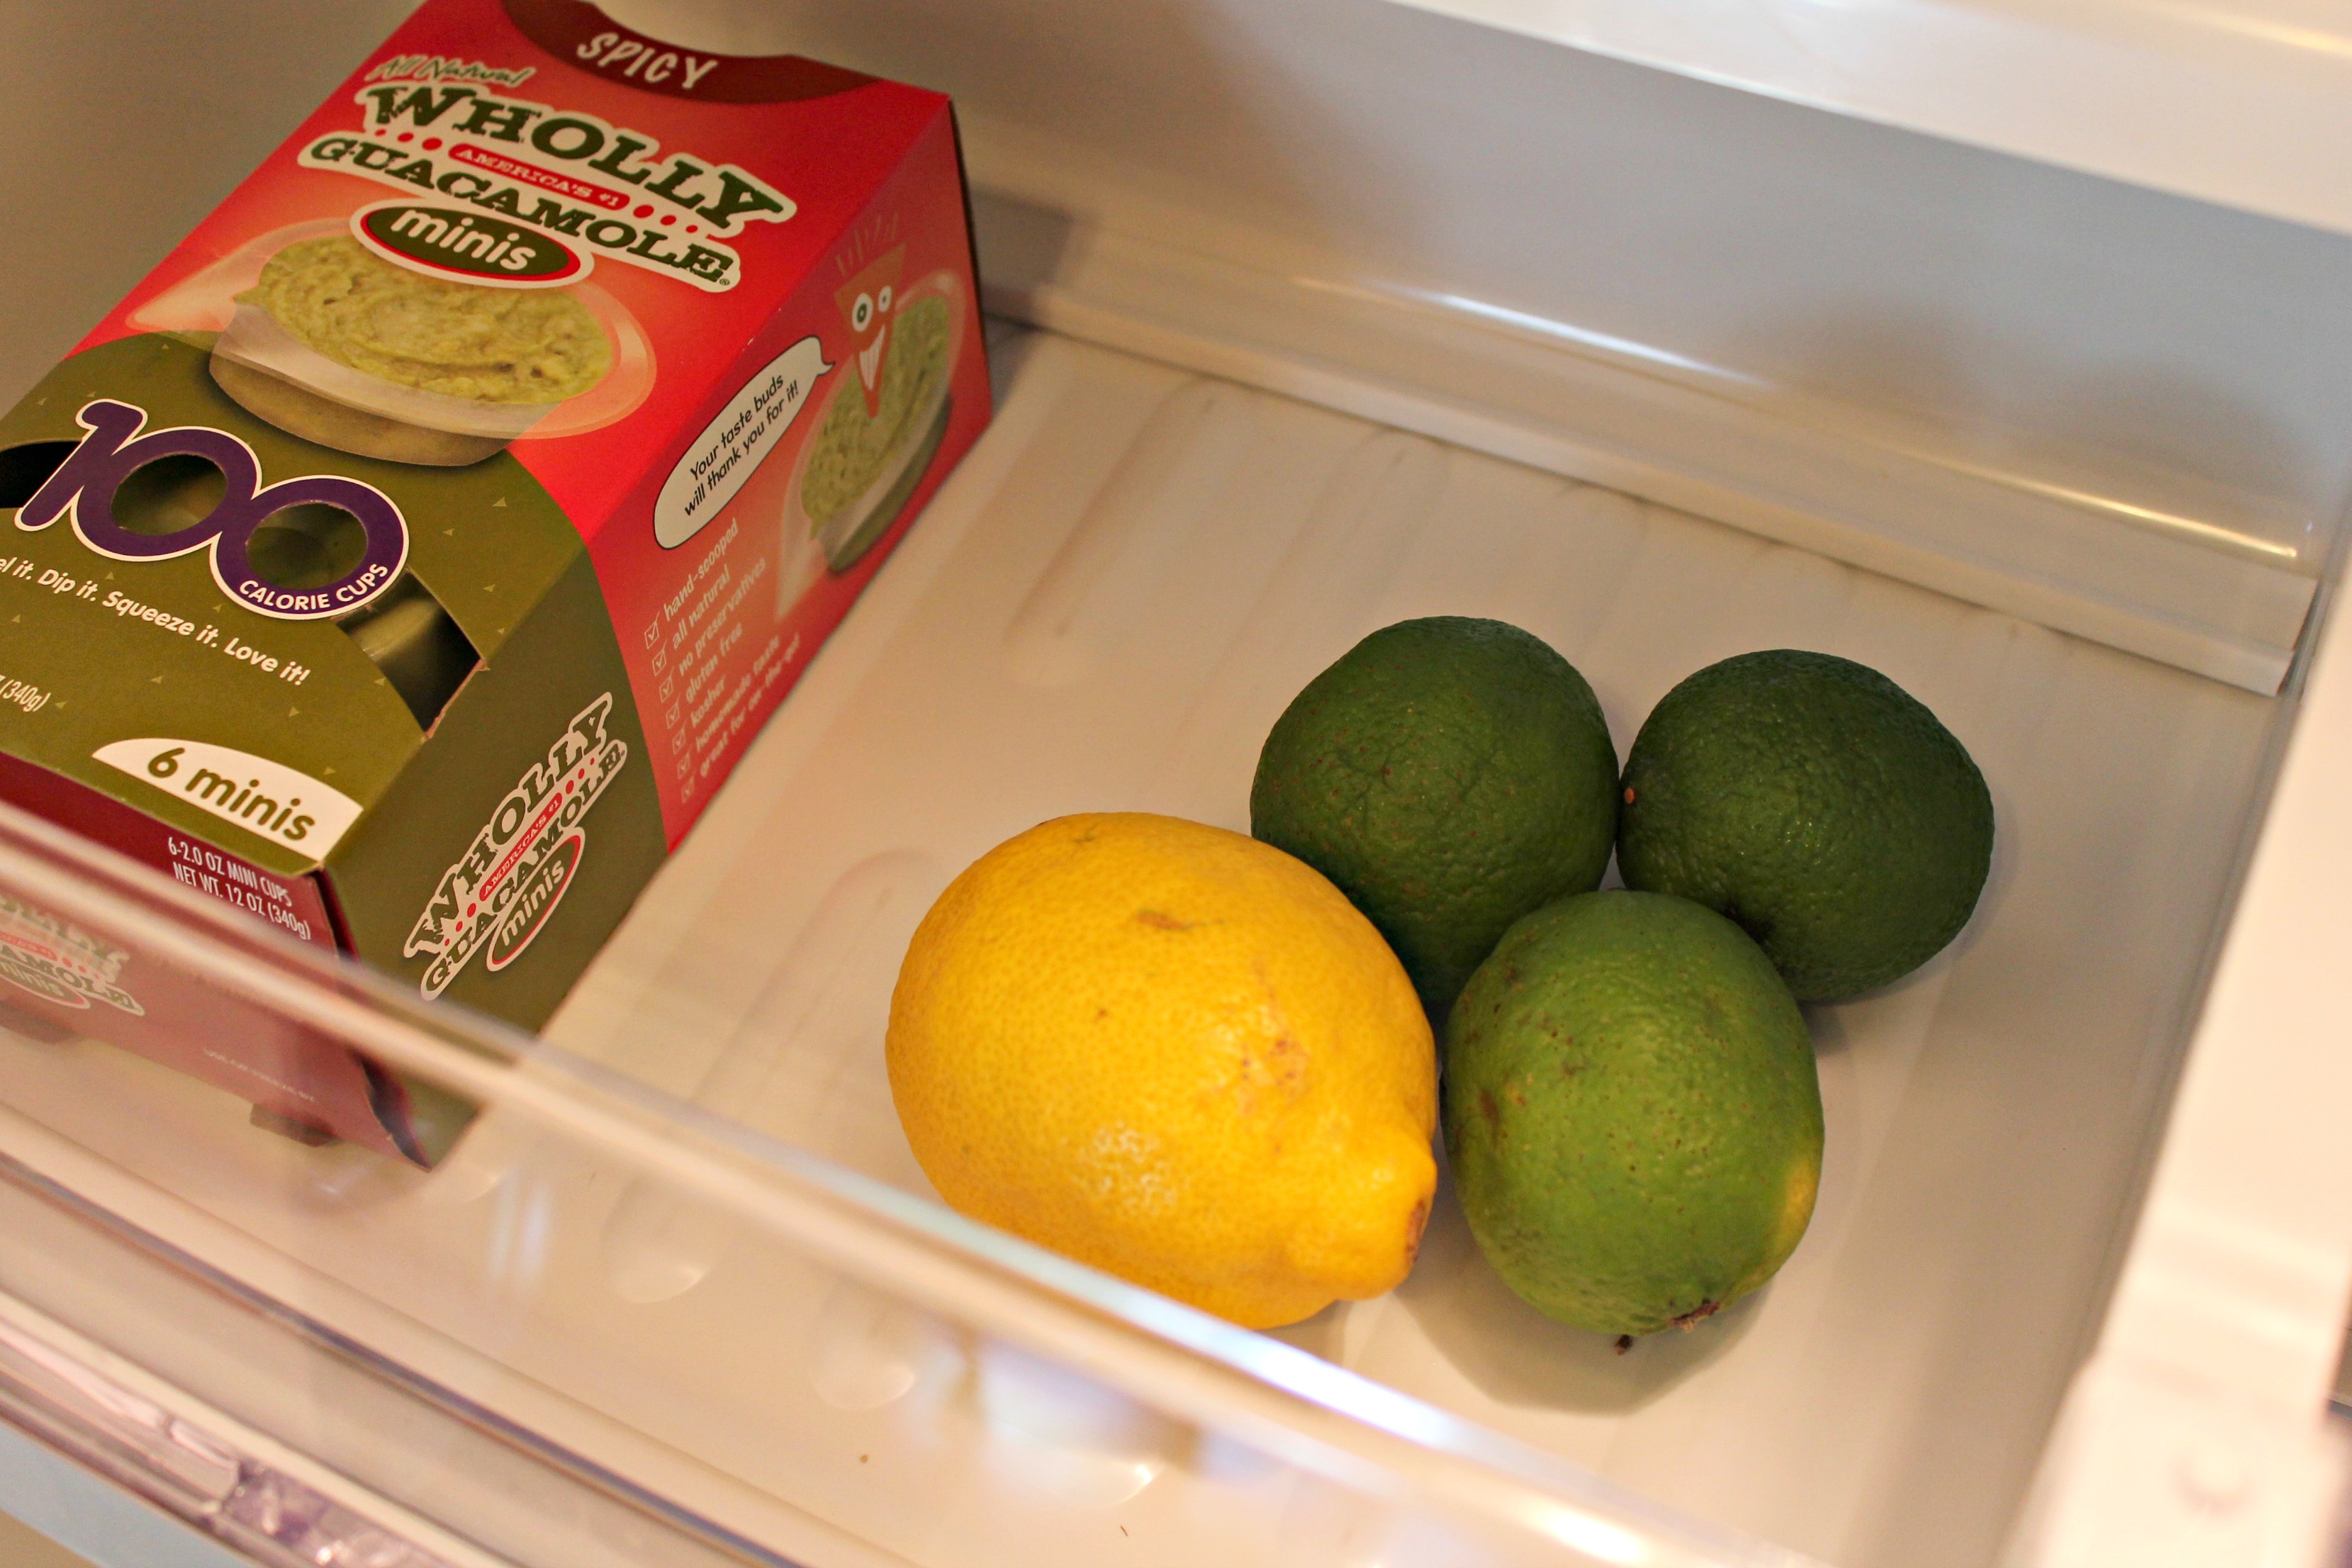
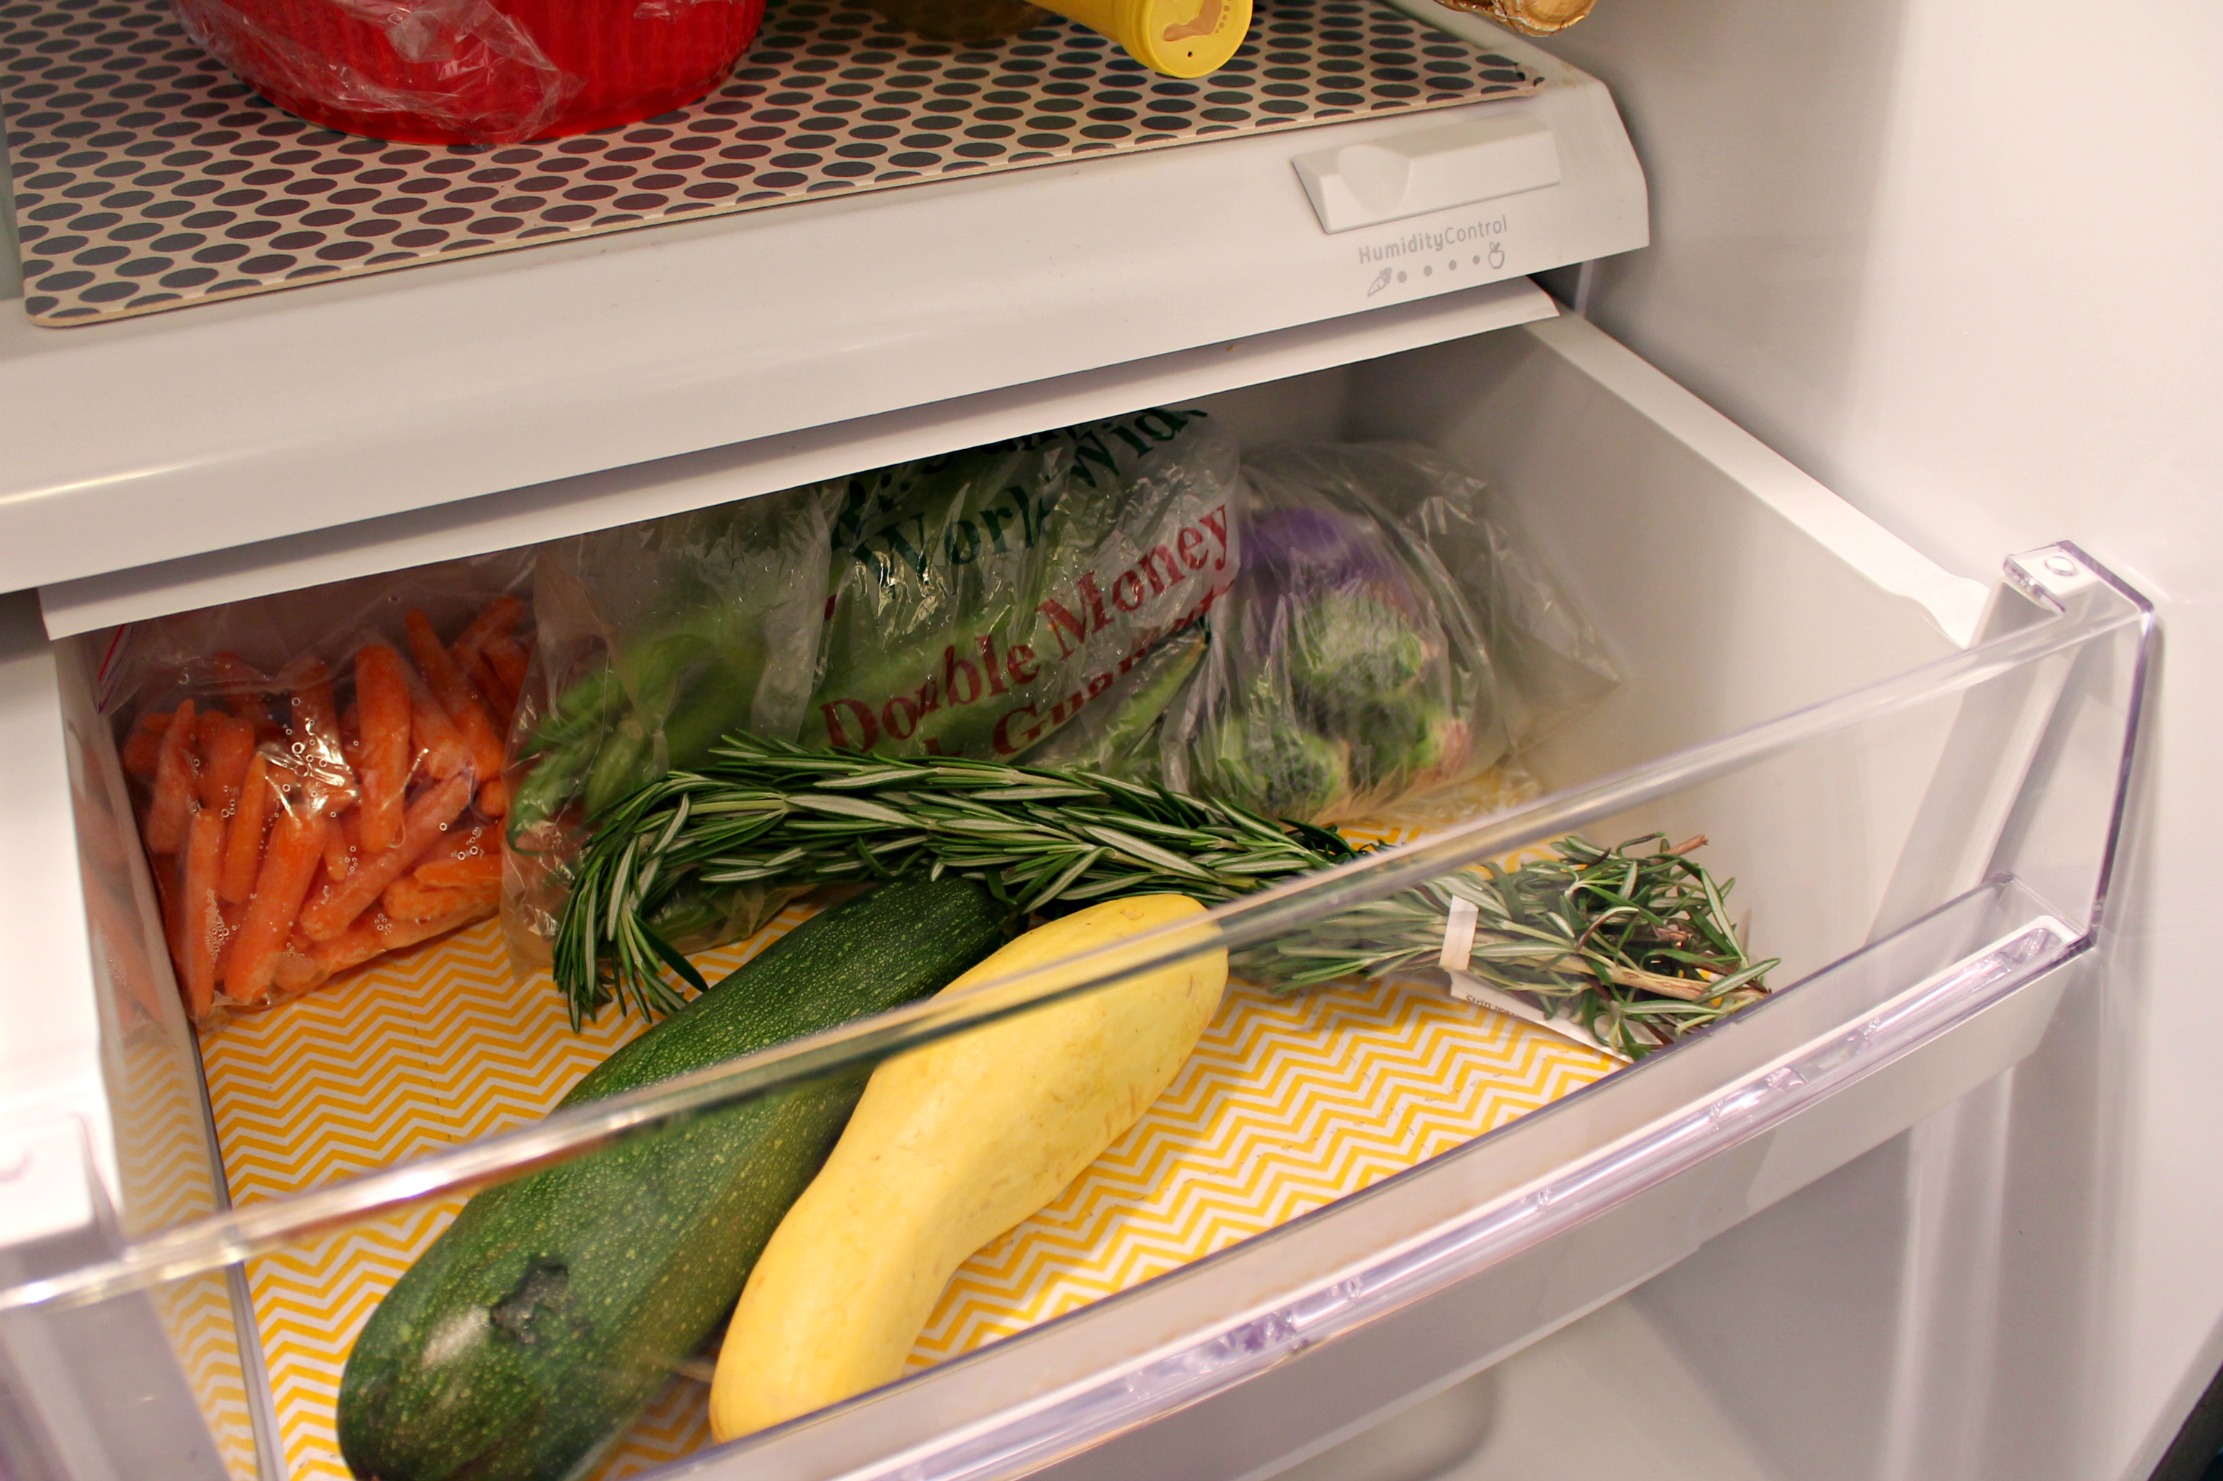
1.  They are eco-friendly (100% biodegradable) and can actually keep your produce fresher longer, thanks to the wood pulp that creates a breathable barrier.

IMG_5598

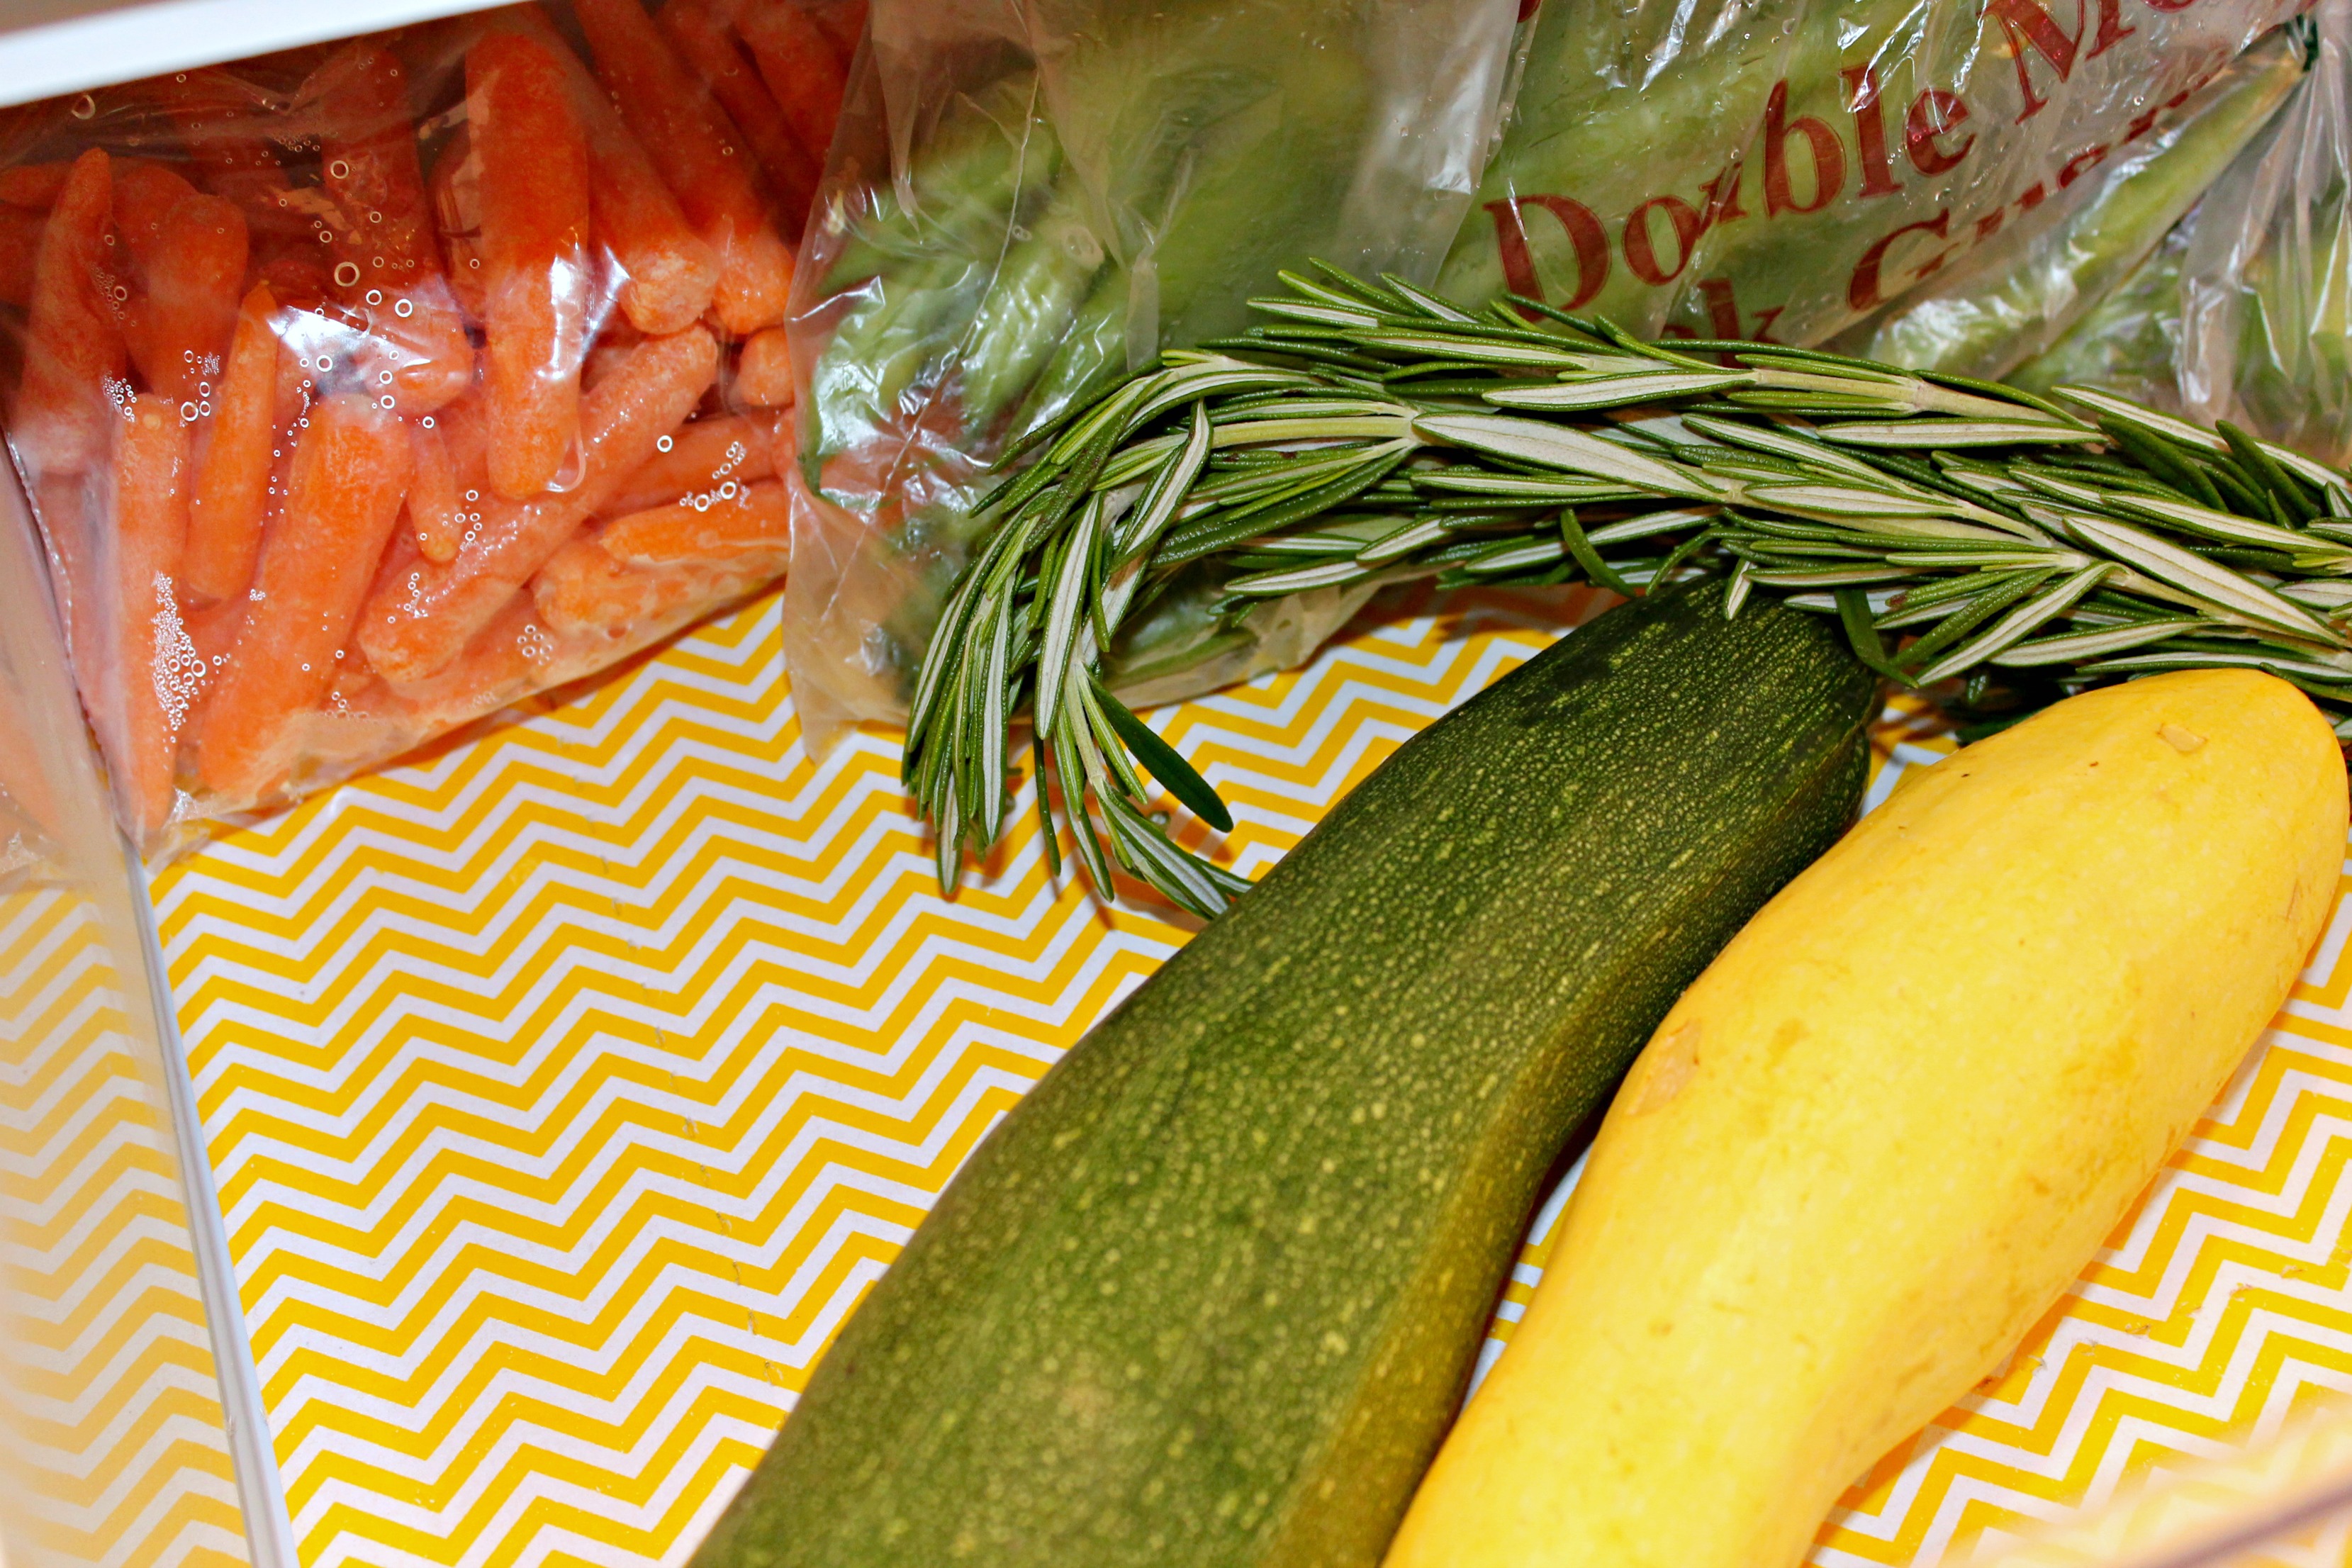
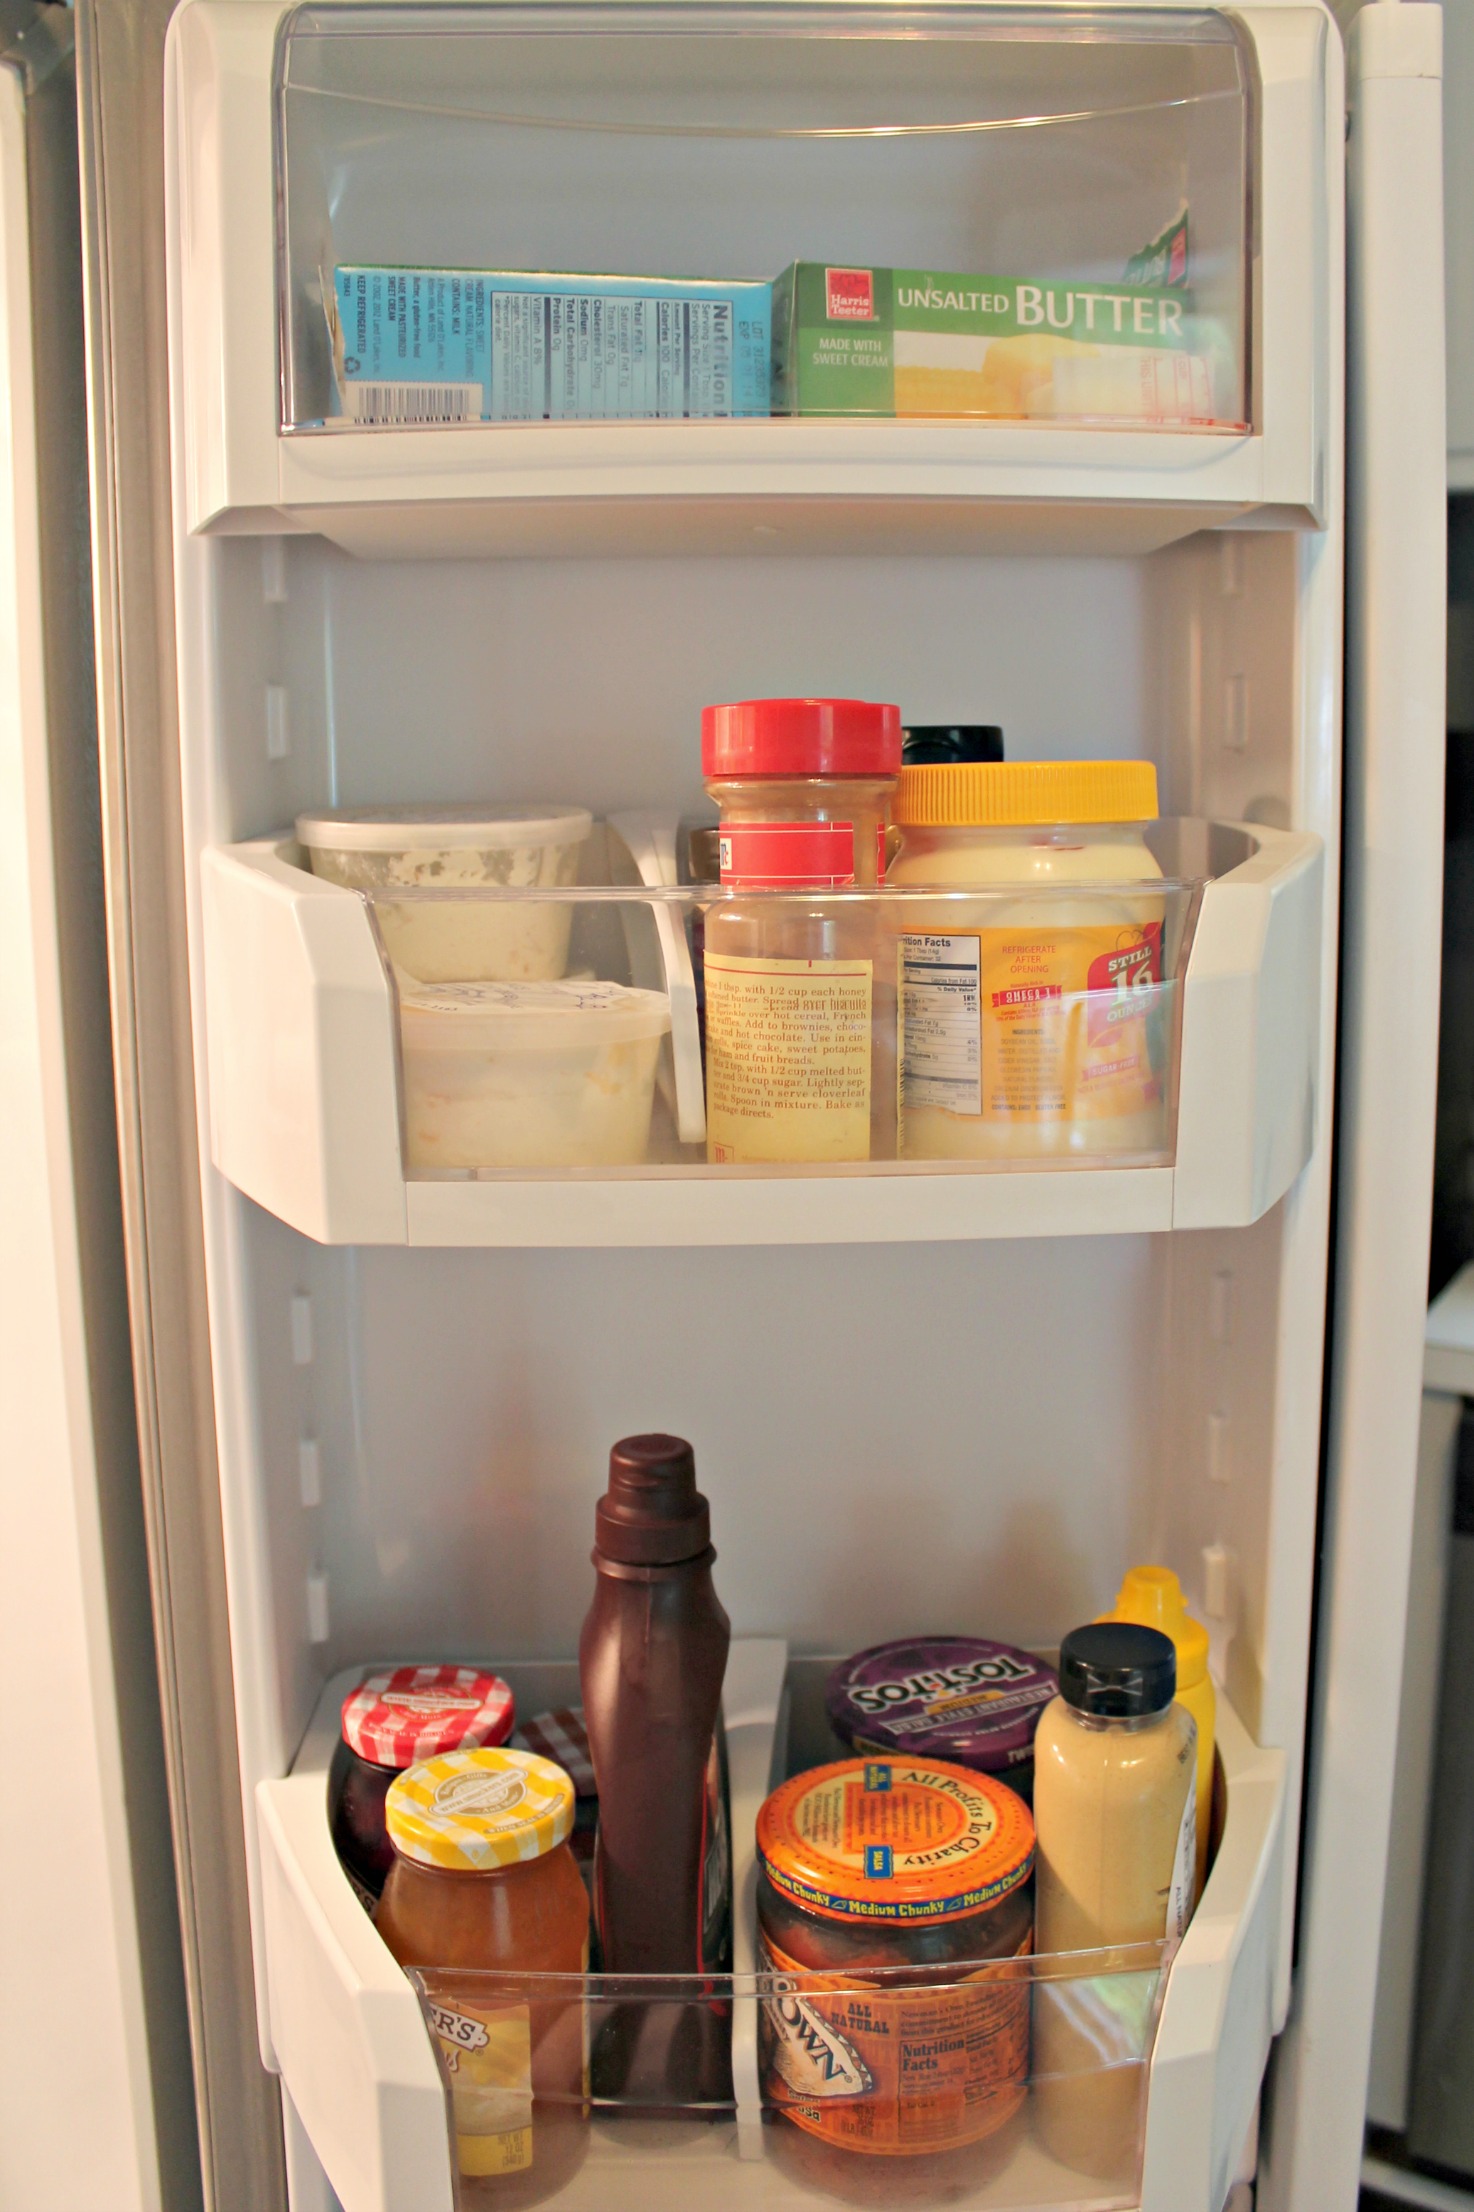
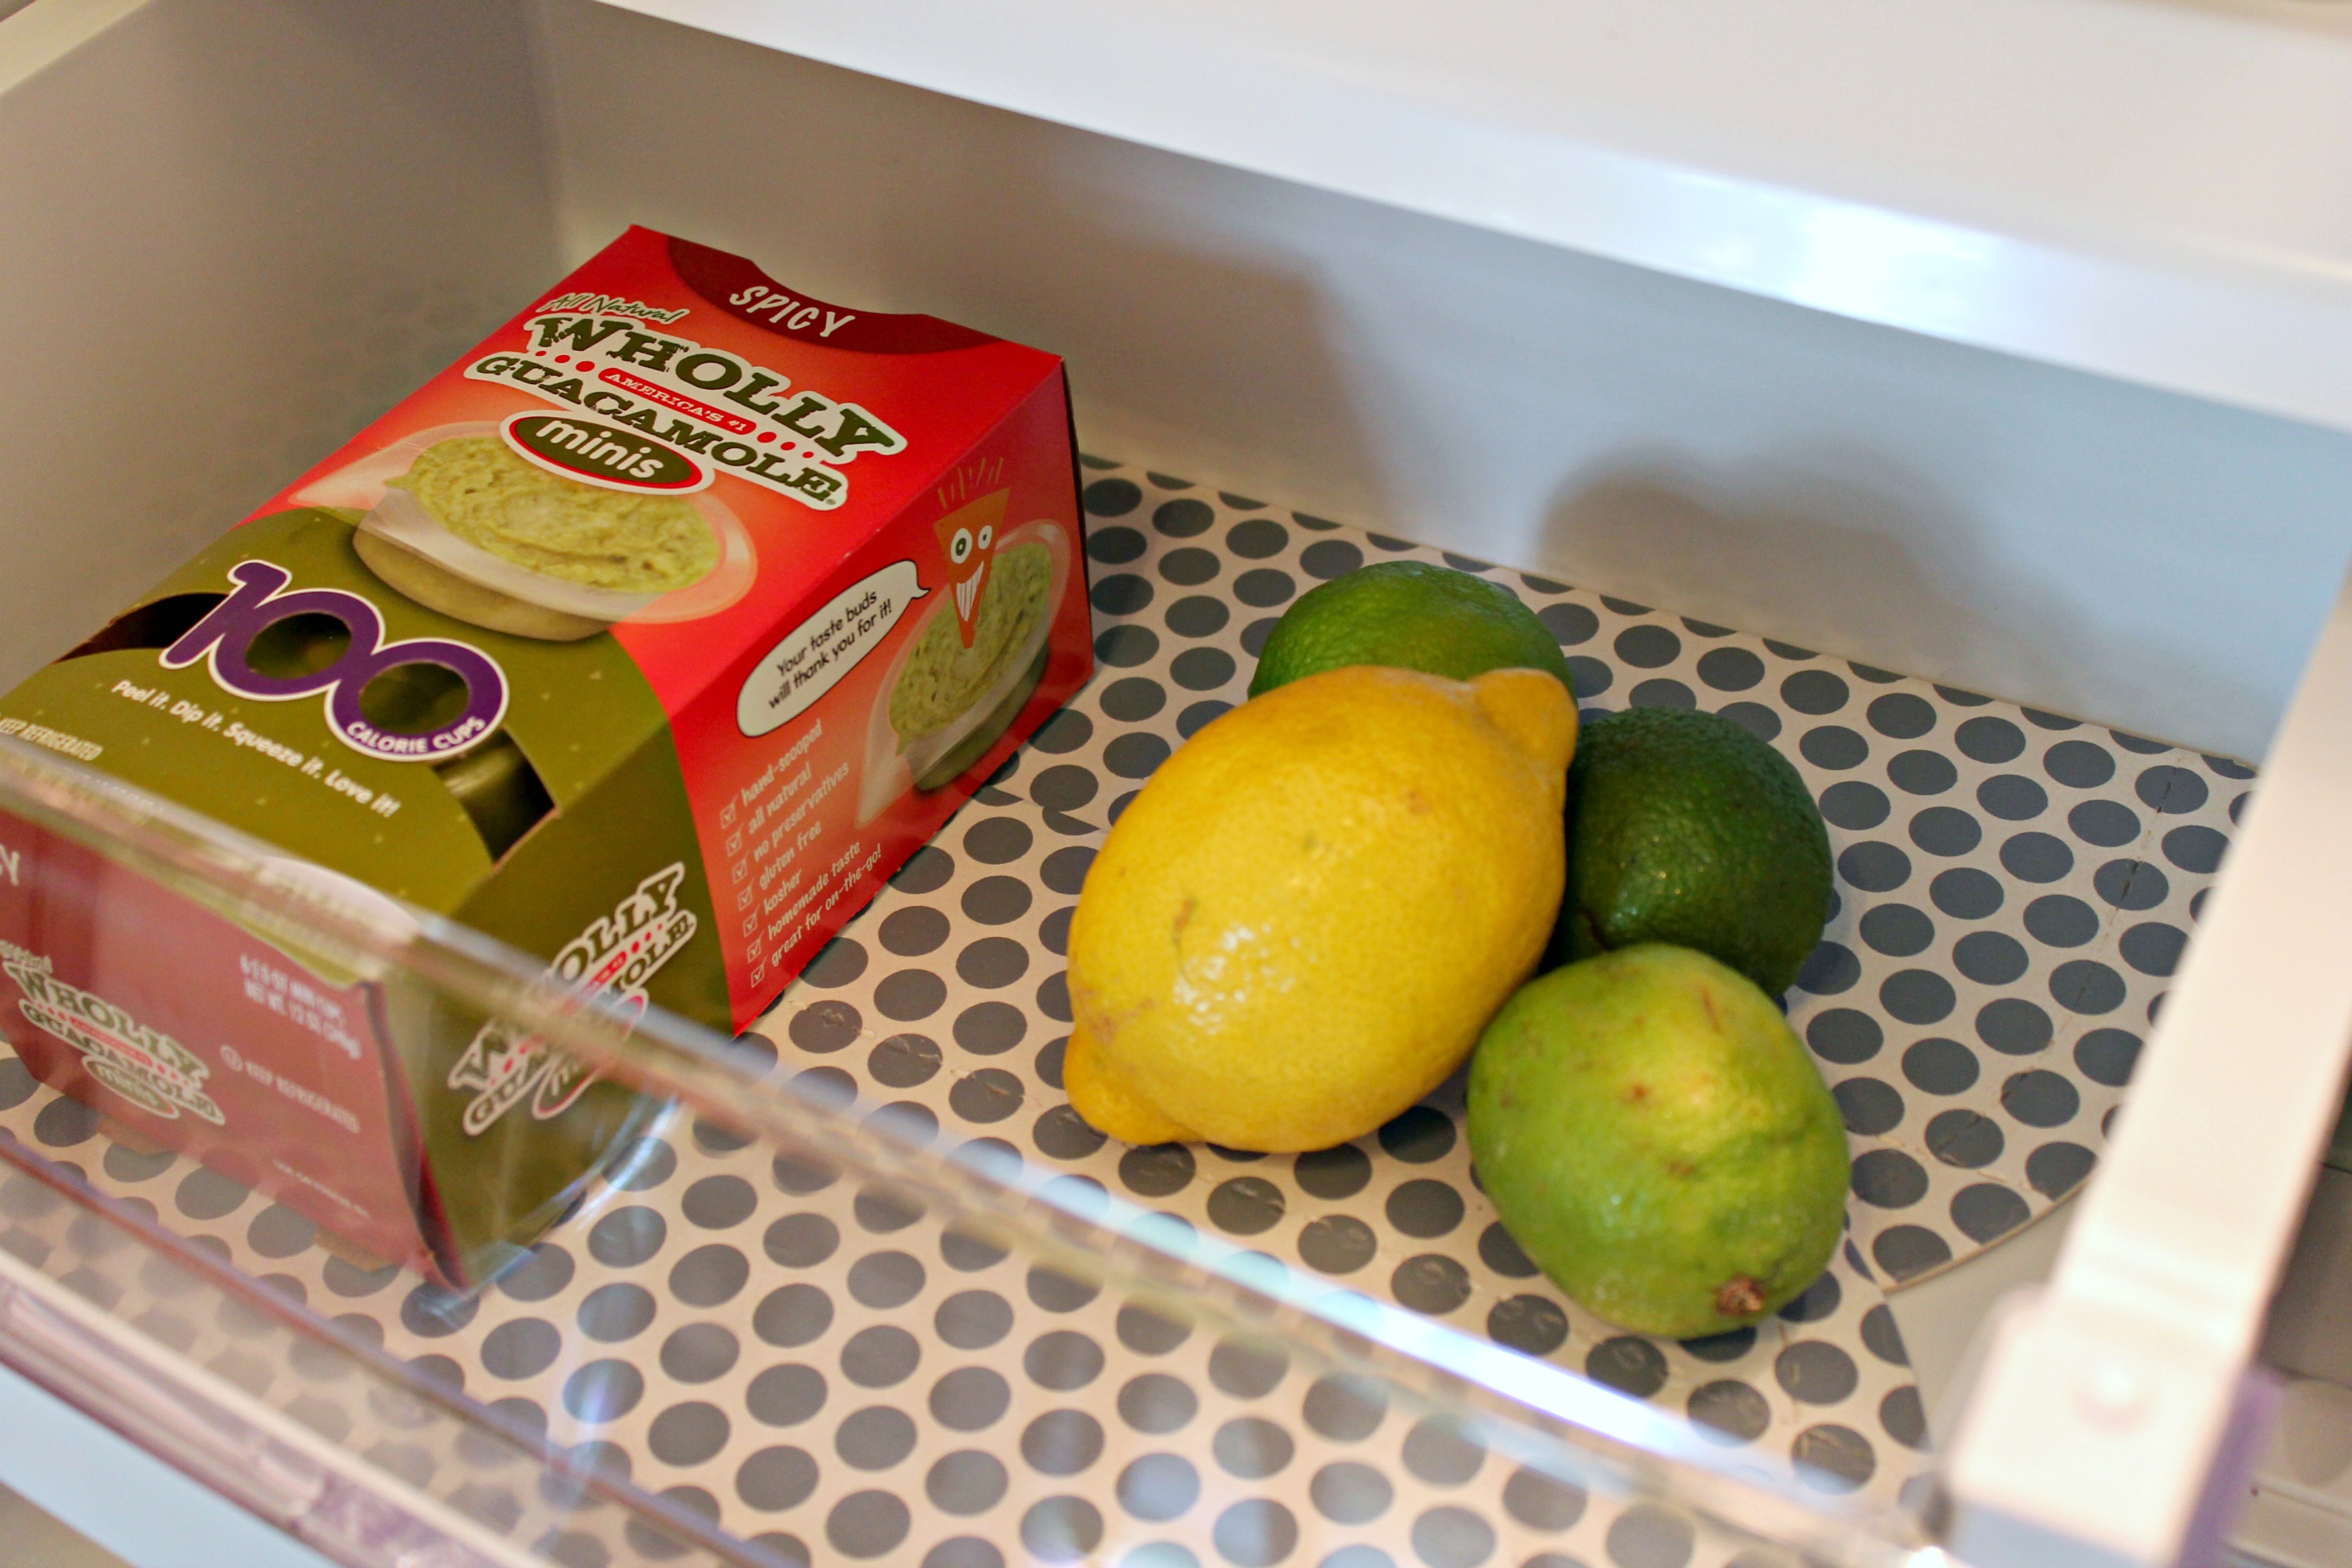
2.  You can customize them easily. Each coaster is perforated to allow you to fit it to your fridge. Since we have a counter-depth fridge, I was concerned that none of the coasters would fit, but they actually worked quite nicely.  I did have a little trouble fitting one door coaster in, but I just snipped away a couple of edges and it worked perfectly!  I even overlapped a couple to make them fit in the fruit drawer, and that works just fine too.

IMG_5585 IMG_5603

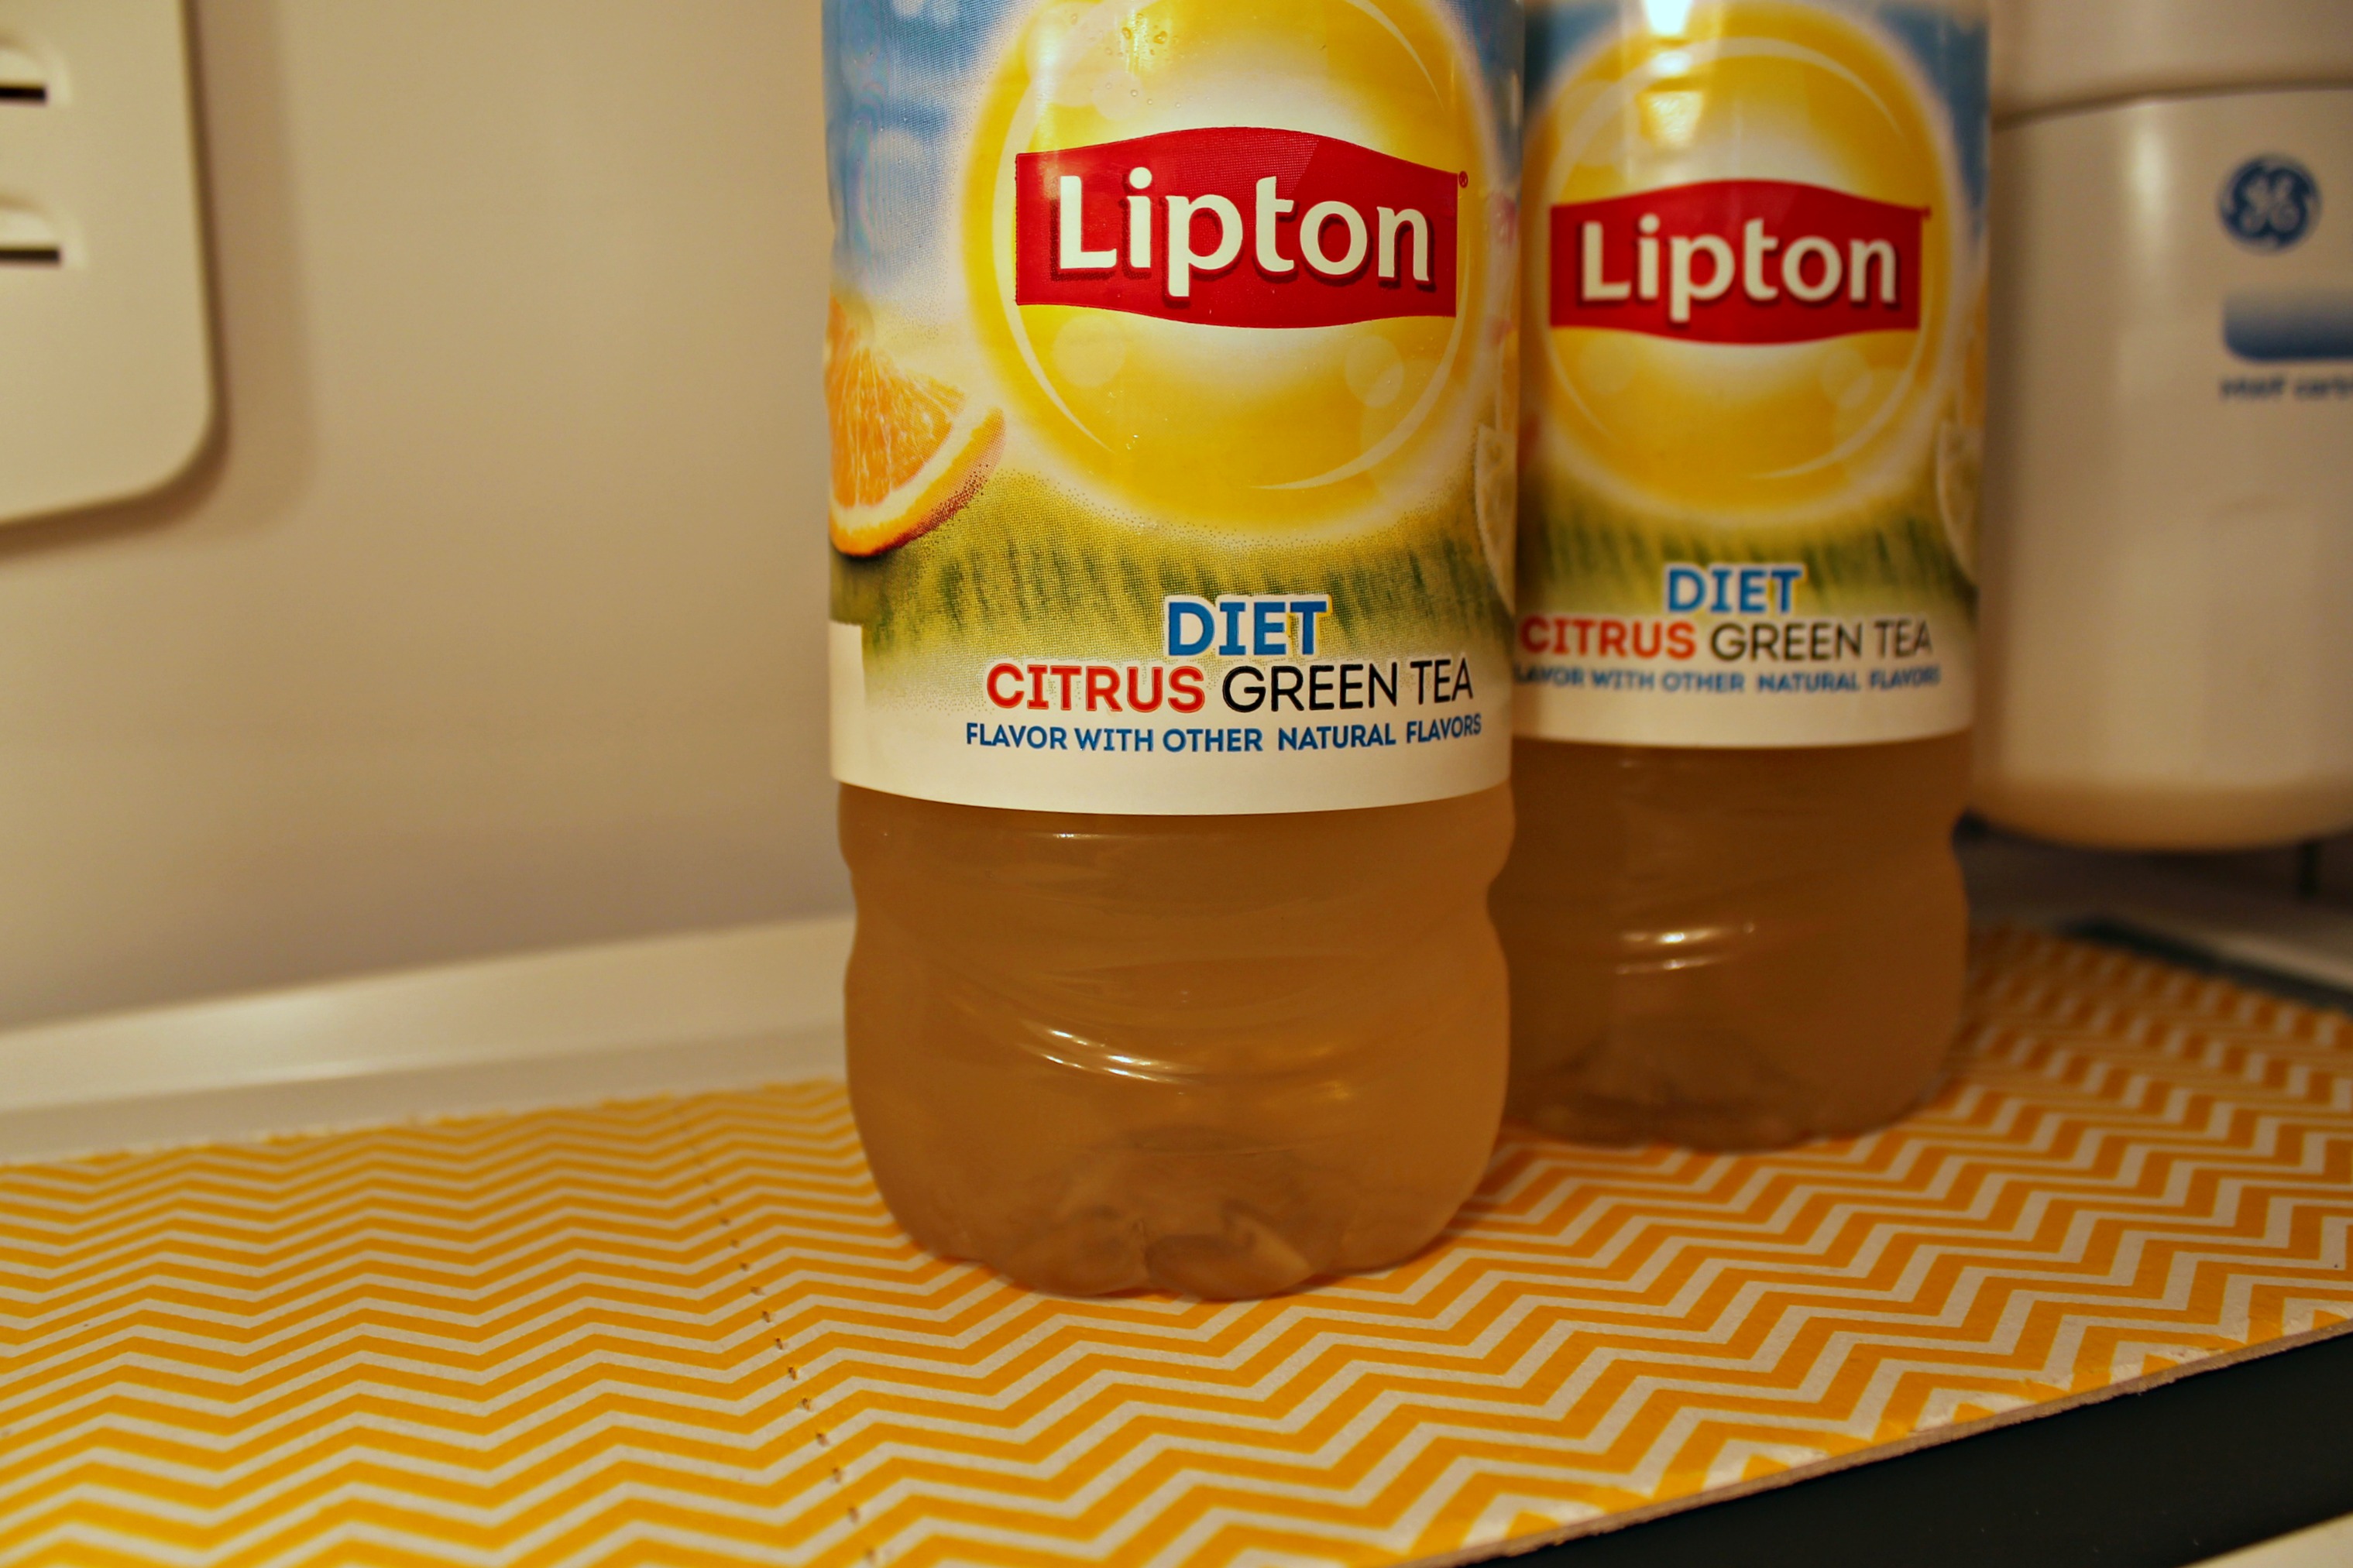
3.  They come in really fun colors! Who wouldn’t love to open their fridge and see a little pizazz?!

IMG_5574

4. And my absolute favorite part…no more cleaning! The coasters lock in drips and spills and dries extremely fast, so you don’t need to constantly wipe down your fridge and you can avoid nasty smells.  (Note: Fridge Coaster suggests that you change out the coasters every 4-6 months.)

Would you like to try the fridge coasters?  Come back Thursday and enter the giveaway for your chance to win a few fridge starter packs from Fridge Coaster!

This post was sponsored by Fridge Coaster.  All content and opinions, as always, are my own.

The Sunday Currently, #31

Happy Sunday, friends!

Currently:

Reading– These tips for haggling like a pro. I’m fairly introverted, but I actually LOVE to haggle!  Nothing feels better than walking away from a purchase feeling like you got a good deal. For me, haggling is fun!

Listening– To my favorite, Bruce Springsteen, because apparently it would cost a million dollars to actually have him play for me.

Thinking– About how much I love this post that takes a peek into a top designer’s home!  It’s seriously fabulous.

zhush1 zhush2 zhush3

Hoping– To try this cocktail very soon. It’s got 3 things I really love…grapefruit, spice, and tequila! (I also wouldn’t mind setting up one of these this summer!)

Loving– This cat rescue makeover by the oh-so-talented Emily Henderson. I’m not a cat person at all, but who wouldn’t love this sweet makeover?!

catter-redo

Wanting– This adorable *free* “Summer Essentials” watercolor printable.  (Also available: Autumn Essentials, Winter Essentials, and Spring Essentials.)

NeedingThis.

Feeling– A little unsure about the new Pippit app.  I joined last week to see what all the hype was about, and I’m still very much on the fence.  As so many others have said, I can’t decide if it’s a helpful tool, or if it’s just one more thing to try to keep up with.  What are your thoughts? Have you tried it?

Clicking– Father’s Day gift guides! Don’t forget Father’s Day is next Sunday! Here are a few of my favorite guides…

  1. Mandy’s list from Waiting on Martha
  2. Lauren Conrad’s gift guide
  3. Joanna’s favorite Father’s Day food gifts
  4. Father’s Day DIY gift ideas from Oh Happy Day!
  5. Albertina’s list from Mimosa Lane
siddathornton
And in case you missed it this week…

DIY Discussion

DIY Discussion

Earlier this week I read Jackie’s post on why she quit DIY, and Kim and Scott’s post on hiring out, and both really struck a cord with me.  I get so jealous when I see all these other bloggers working away on their homes.  But for us, it simply wasn’t an option.

One, the project was just too big to take on ourselves, and two, we each have full time jobs that keep us away from home for about 10-11 hours a day.  (And now for some reason I can’t get “Know when to hold ’em, know when to fold ’em” out of my head. Hopefully it’s in your head now too.  You’re welcome.)

But then I watch Money Pit and suddenly DIY-free doesn’t seem so bad!

santiago de compostela animated GIF

We did decide to tackle a few things ourselves:

  1. Painting – We had a few rooms professionally painted early on, but we quickly realized that our money could be better spent in other areas.  We also did a lot of wall prep in certain areas, which seemed to take forever! You can see all of our paint colors and which rooms we painted ourselves here.  Now all that’s left is our master bathroom and dining room!
  2. Floors – At this point, the only floor we’ve sanded and oiled is in the mud room, but we have plans to refinish all of the floors in the house ourselves.  This will be a loooong process.
  3. Porches – We have plans to paint all 3 porches ourselves.  It’s at the top of our list, and we’re hoping to knock it out in the next few weekends so we can enjoy them this summer!
  4. Tubs – We completely refinished two vintage tubs for the house, which was a huge money-saver.  You can see the tutorial here, and the finished products here and here.
  5. The little things – These are probably the things that no one will ever notice, but make a big difference to us.  I stained all of the trim around the floor tiles in front of our fireplaces, and painted our metal fireplace inlays and doors with Rustoleum.  They look a lot sleeker now.
  6. The upstairs hall bathroom – This room has gotten basically NO love other than removing the really gross shower.  Eventually we’d like to bump out the wall and make this into a full bathroom again, but for now we just plan to paint the floors, paint the walls, and keep the door closed 90% of the time.

Lately it seems like there has been more and more for us to do, and I have no doubt that we are in for a lifetime of DIY’s, so I’m not too upset that we haven’t gotten our hands all that dirty on the front end.

Where do you draw the line? Are there things you wish you had done yourself? Or things you wish you had hired out?

The Little Things

I’ve learned from this project of ours that sometimes the little things make the biggest difference.  A few weeks ago we did some minor work to our downstairs fireplaces, and I’m very happy with the results!  A touch of varnish and a bit of paint goes a long way!

I thought about giving you a full tutorial post on applying varnish, but that would just be silly.  It’s so so simple.  For the new trim pieces that weren’t nailed down yet (in the dining room and foyer), I just set them up outside and rubbed them down with a paper towel with several coats of wood varnish.  They dry so quickly that I was able to start the next coat as soon as I got finished with the one before.

IMG_5219 IMG_5220

In the den, I just stained the original trim pieces by taping them off and using the same process.  Most people probably wouldn’t even notice the difference, but the trim looks much more cohesive now.

IMG_5260 IMG_5261 IMG_5263

Each of our 4 downstairs fireplaces have metal inlays and 3 have fireplace covers, and they were all looking a little sad.

IMG_4786 IMG_2743

So we took the Rustoleum to them just like we did the tubs.  We took off the doors and sanded, primed, and painted them in a glossy black Rustoleum paint. We also painted the inlays right where they were by taping them off and using the same method.

IMG_5244 IMG_5246 IMG_4872

It’s amazing what a coat of paint can do! Now these fireplaces look so fresh!

IMG_5518 IMG_5262 den fireplace IMG_5411

What little things have you done in your home that had a big impact?


Linked:  4 5 14 15 16 17

CarrieThisHome.com