All posts by Sarah @ 702 Park Project

Our Summer Bucket List For The Home

Saturday was the first official day of summer.  How did that happen?! Where has this year gone?! It’s been pretty freaking hot here, but after the abysmal winter we had, I won’t complain…yet!

bucket list

Since we bought the house, Charles and I have become the masters of the “staycation” for two reasons: 1. We have no money left for vacations, and 2. We usually end up feeling pretty guilty when we don’t spend our time off work doing all the various projects around the house. So instead of the typical summer bucket list for ourselves, I’ve put together a little summer bucket list for our house.

  1. Paint the front porch
  2. Paint the back porches and stairs
  3. Paint the master bathroom
  4. Paint the master vanity and add hardware and a mirror
  5. Install glass in the master shower (today!)
  6. Install new overhead lights in the master bathroom and closet
  7. Paint the dining room
  8. Rearrange the formal living room furniture
  9. Paint the side door and back door red to match the front door
  10. Switch out the lights in the office bathroom to match the den bathroom
  11. Install blinds (at least in our master bathroom and in the front rooms)
  12. Unpack, unpack, unpack so we can have the bear room back
  13. Hang art, pictures, etc. on the walls (maybe add a little DIY like this or this)
  14. Install cabinets and/or shelves in the laundry room
  15. Set up the newly-stabilized garage to be a work space/studio
  16. Do some landscaping
  17. Repair/replace the back yard fence where necessary (this Thursday!)

So yeah…it’s quite the list. But we’ve got three months, right?!

What’s on your summer bucket list?

PS- Be sure to check back tomorrow for a fun giveaway! :)

The Sunday Currently, #33

Happy Sunday, lovelies!

Currently:

Reading– These quick and simple bookcase styling basics.

Writing– A summer bucket list for our house.  Come back tomorrow and check it out!

ThinkingThis is even cooler than a treehouse.

Hoping– I get a chance to use every single one of these new emojis.  I mean, how perfect would a Mantelpiece Clock or Black Down Pointing Backhand Index be in certain situations?!  Still waiting on a unicorn (because they are magic).


Wearing– Paint clothes…again.  The front screen door is getting painted today!

Loving– 500 years of women ignoring men in art.  Hilarious!

creeper2

Wanting– To tackle a few DIY projects before we get too far into summer, but where do I start?  I’m like a kid with ADD looking at all of these projects…they all look so fun!

Needing– To snap some pictures of my vintage finds lately…look for them here or here soon!

Feeling– Out of breath after laughing so hard at this article on baby names.  To each his own, I guess. (I apologize in advance if this offends anyone…it was just too good not to share.)

Clicking–  These bathroom makeovers for every budget.  This one and this one are my favorites.

siddathornton


And in case you missed it this week…

  1. How To Not Get Your Feelings Hurt When Blogging
  2. Paint It Red
  3. Fridge Coaster Giveaway Winner
  4. Lemon Grove Home Tour
  5. Quotable Friday

Be sure to follow along on Facebook, Twitter, Instagram, and Pinterest to get all the latest!

Lemon Grove Home Tour

Today’s guest post comes from the oh-so-talented Mary over at Lemon Grove Blog.  I’m so excited that she has just moved to NC and we are already planning a little meet up! She and her husband are now on their 3rd home, and have a real eye for DIYs and renovations.  Be sure to check out Mary’s blog and follow along!!

——————————————–

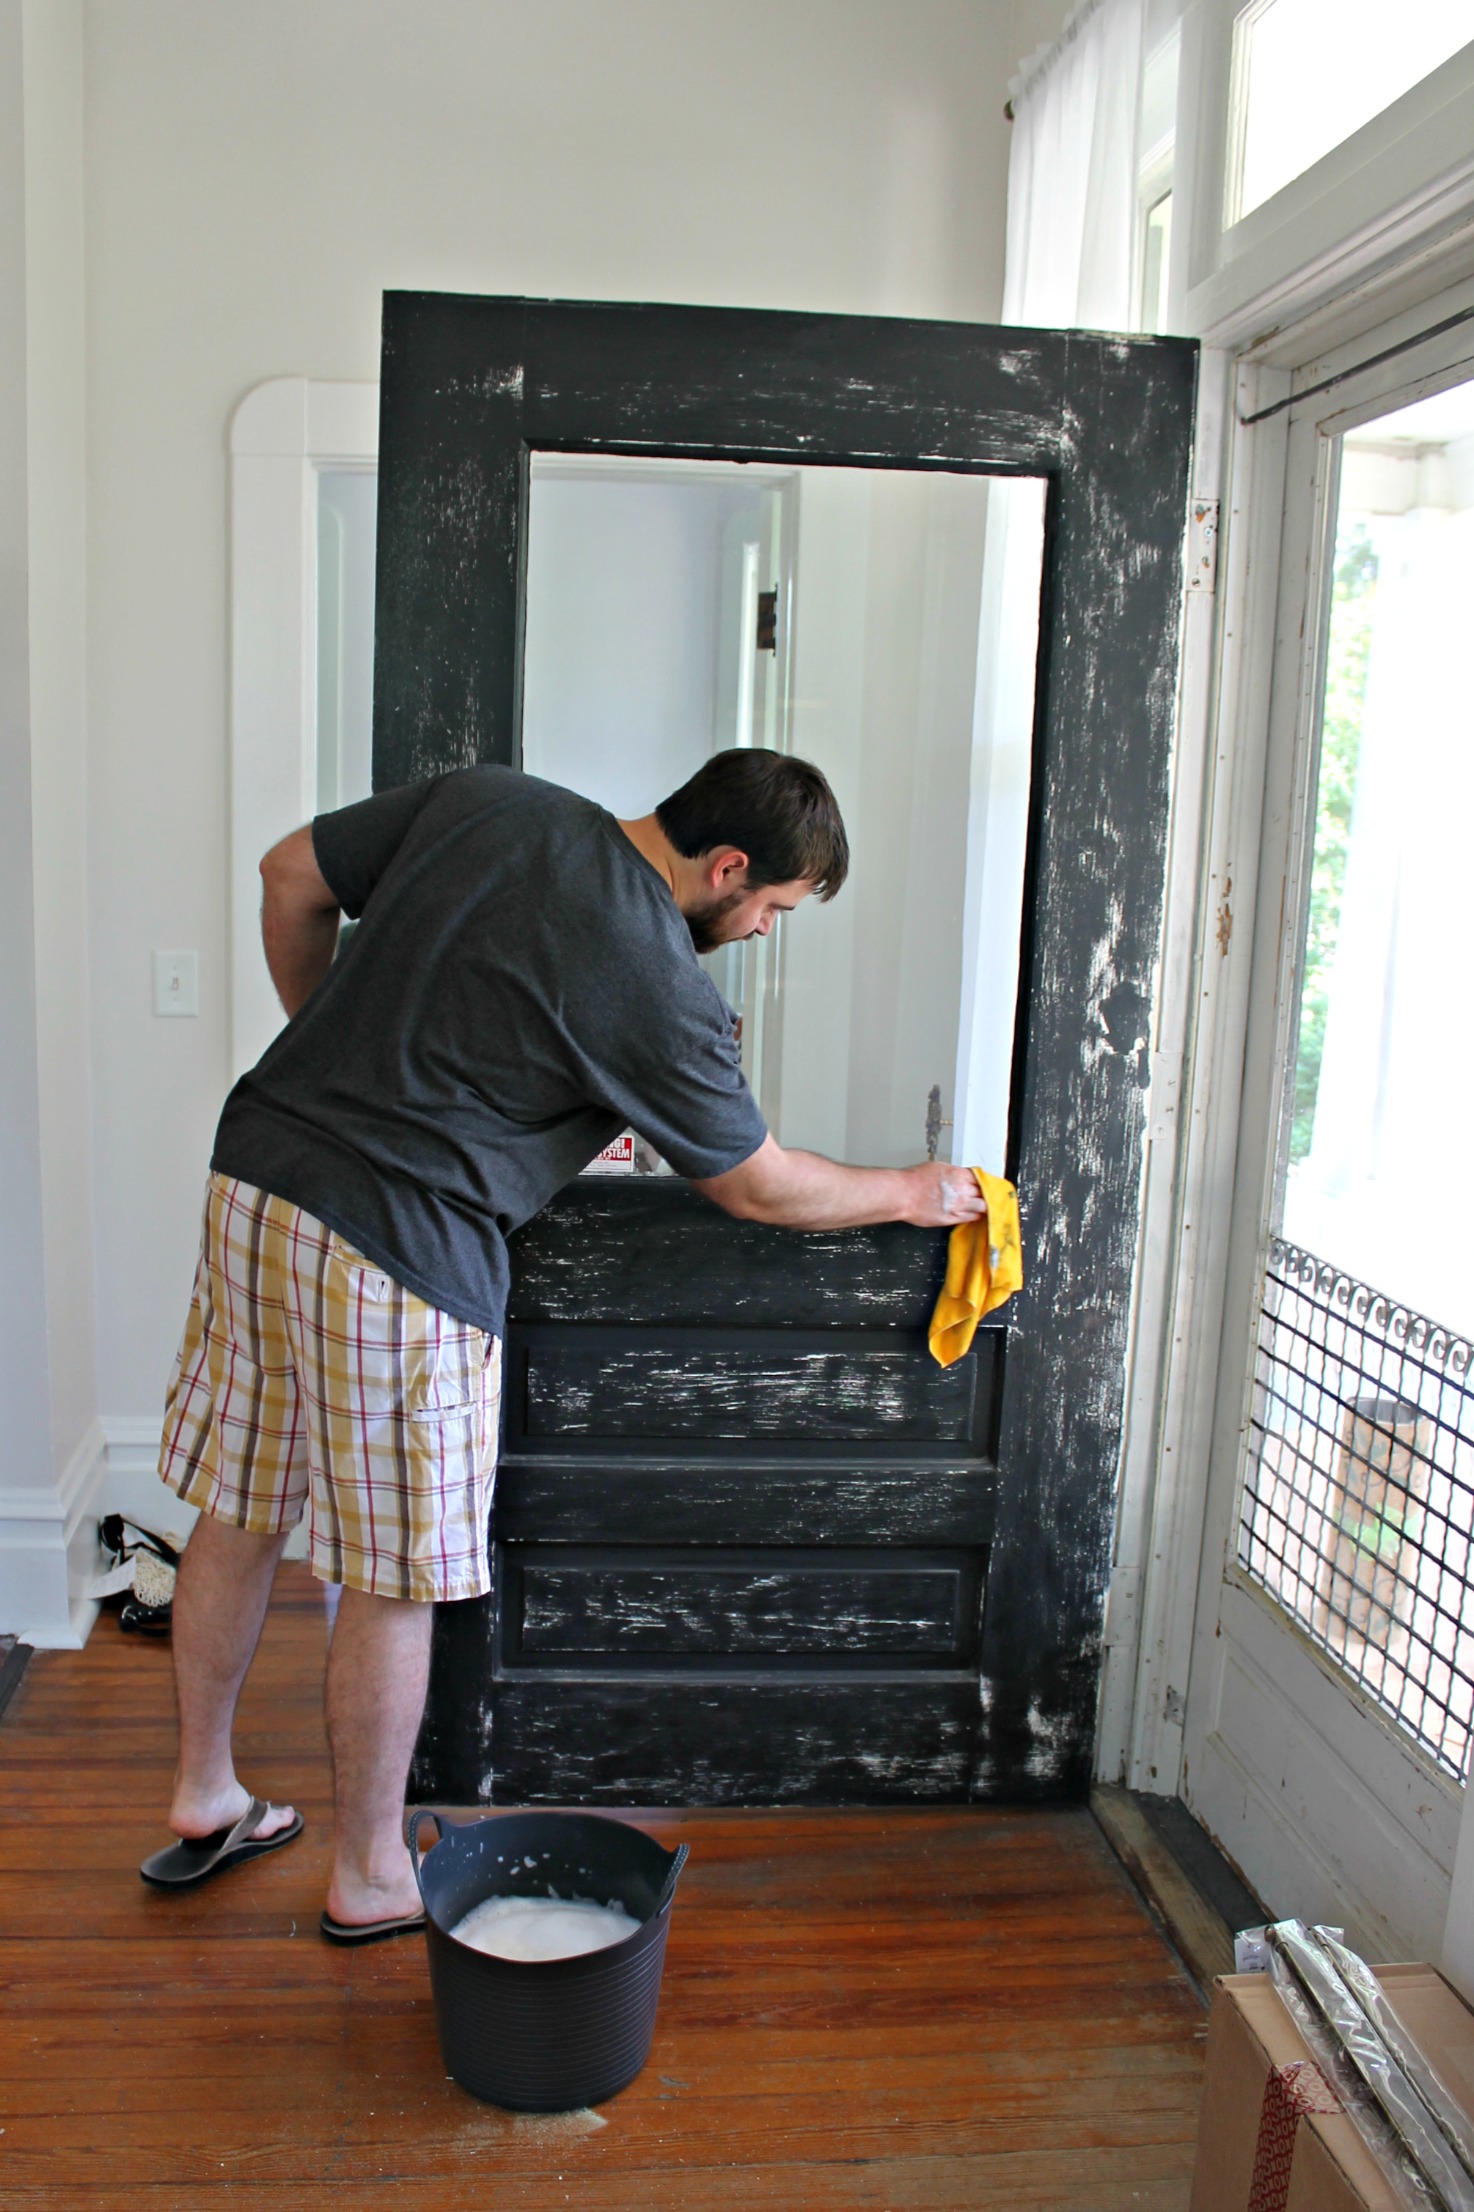
Well hello there! My name is Mary from Lemon Grove Blog, and I’m here today to give you a behind the scenes sneak peak at our last house renovation. I’m such a huge fan of Sarah’s, and I’ve been closely following her renovation journey via blogland for a while now. Something about rehabbing a big old historic house like that just had me at hello. Most likely, it’s because I too am a home renovating addict. Like, legit, certified, addict. :D

My husband and I just moved down to Sarah’s neck of the woods (North Carolina!) and we’re currently in the process of fixing up our 3rd home. Although I would love to show you some snapshots of before and after’s on our current abode, we’re most definitely in the “before” phase right now since we’re only 4-weeks in to owning it! ;) So, I thought I’d show y’all a tour of our last house, which we just sold up in Ann Arbor, Michigan this spring.

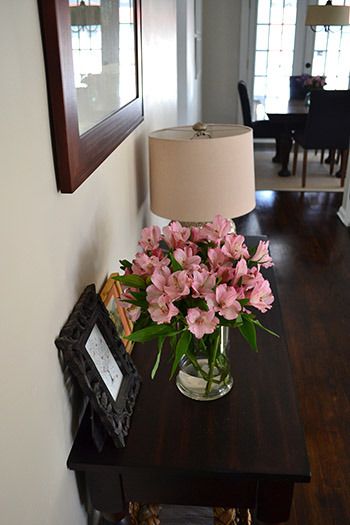
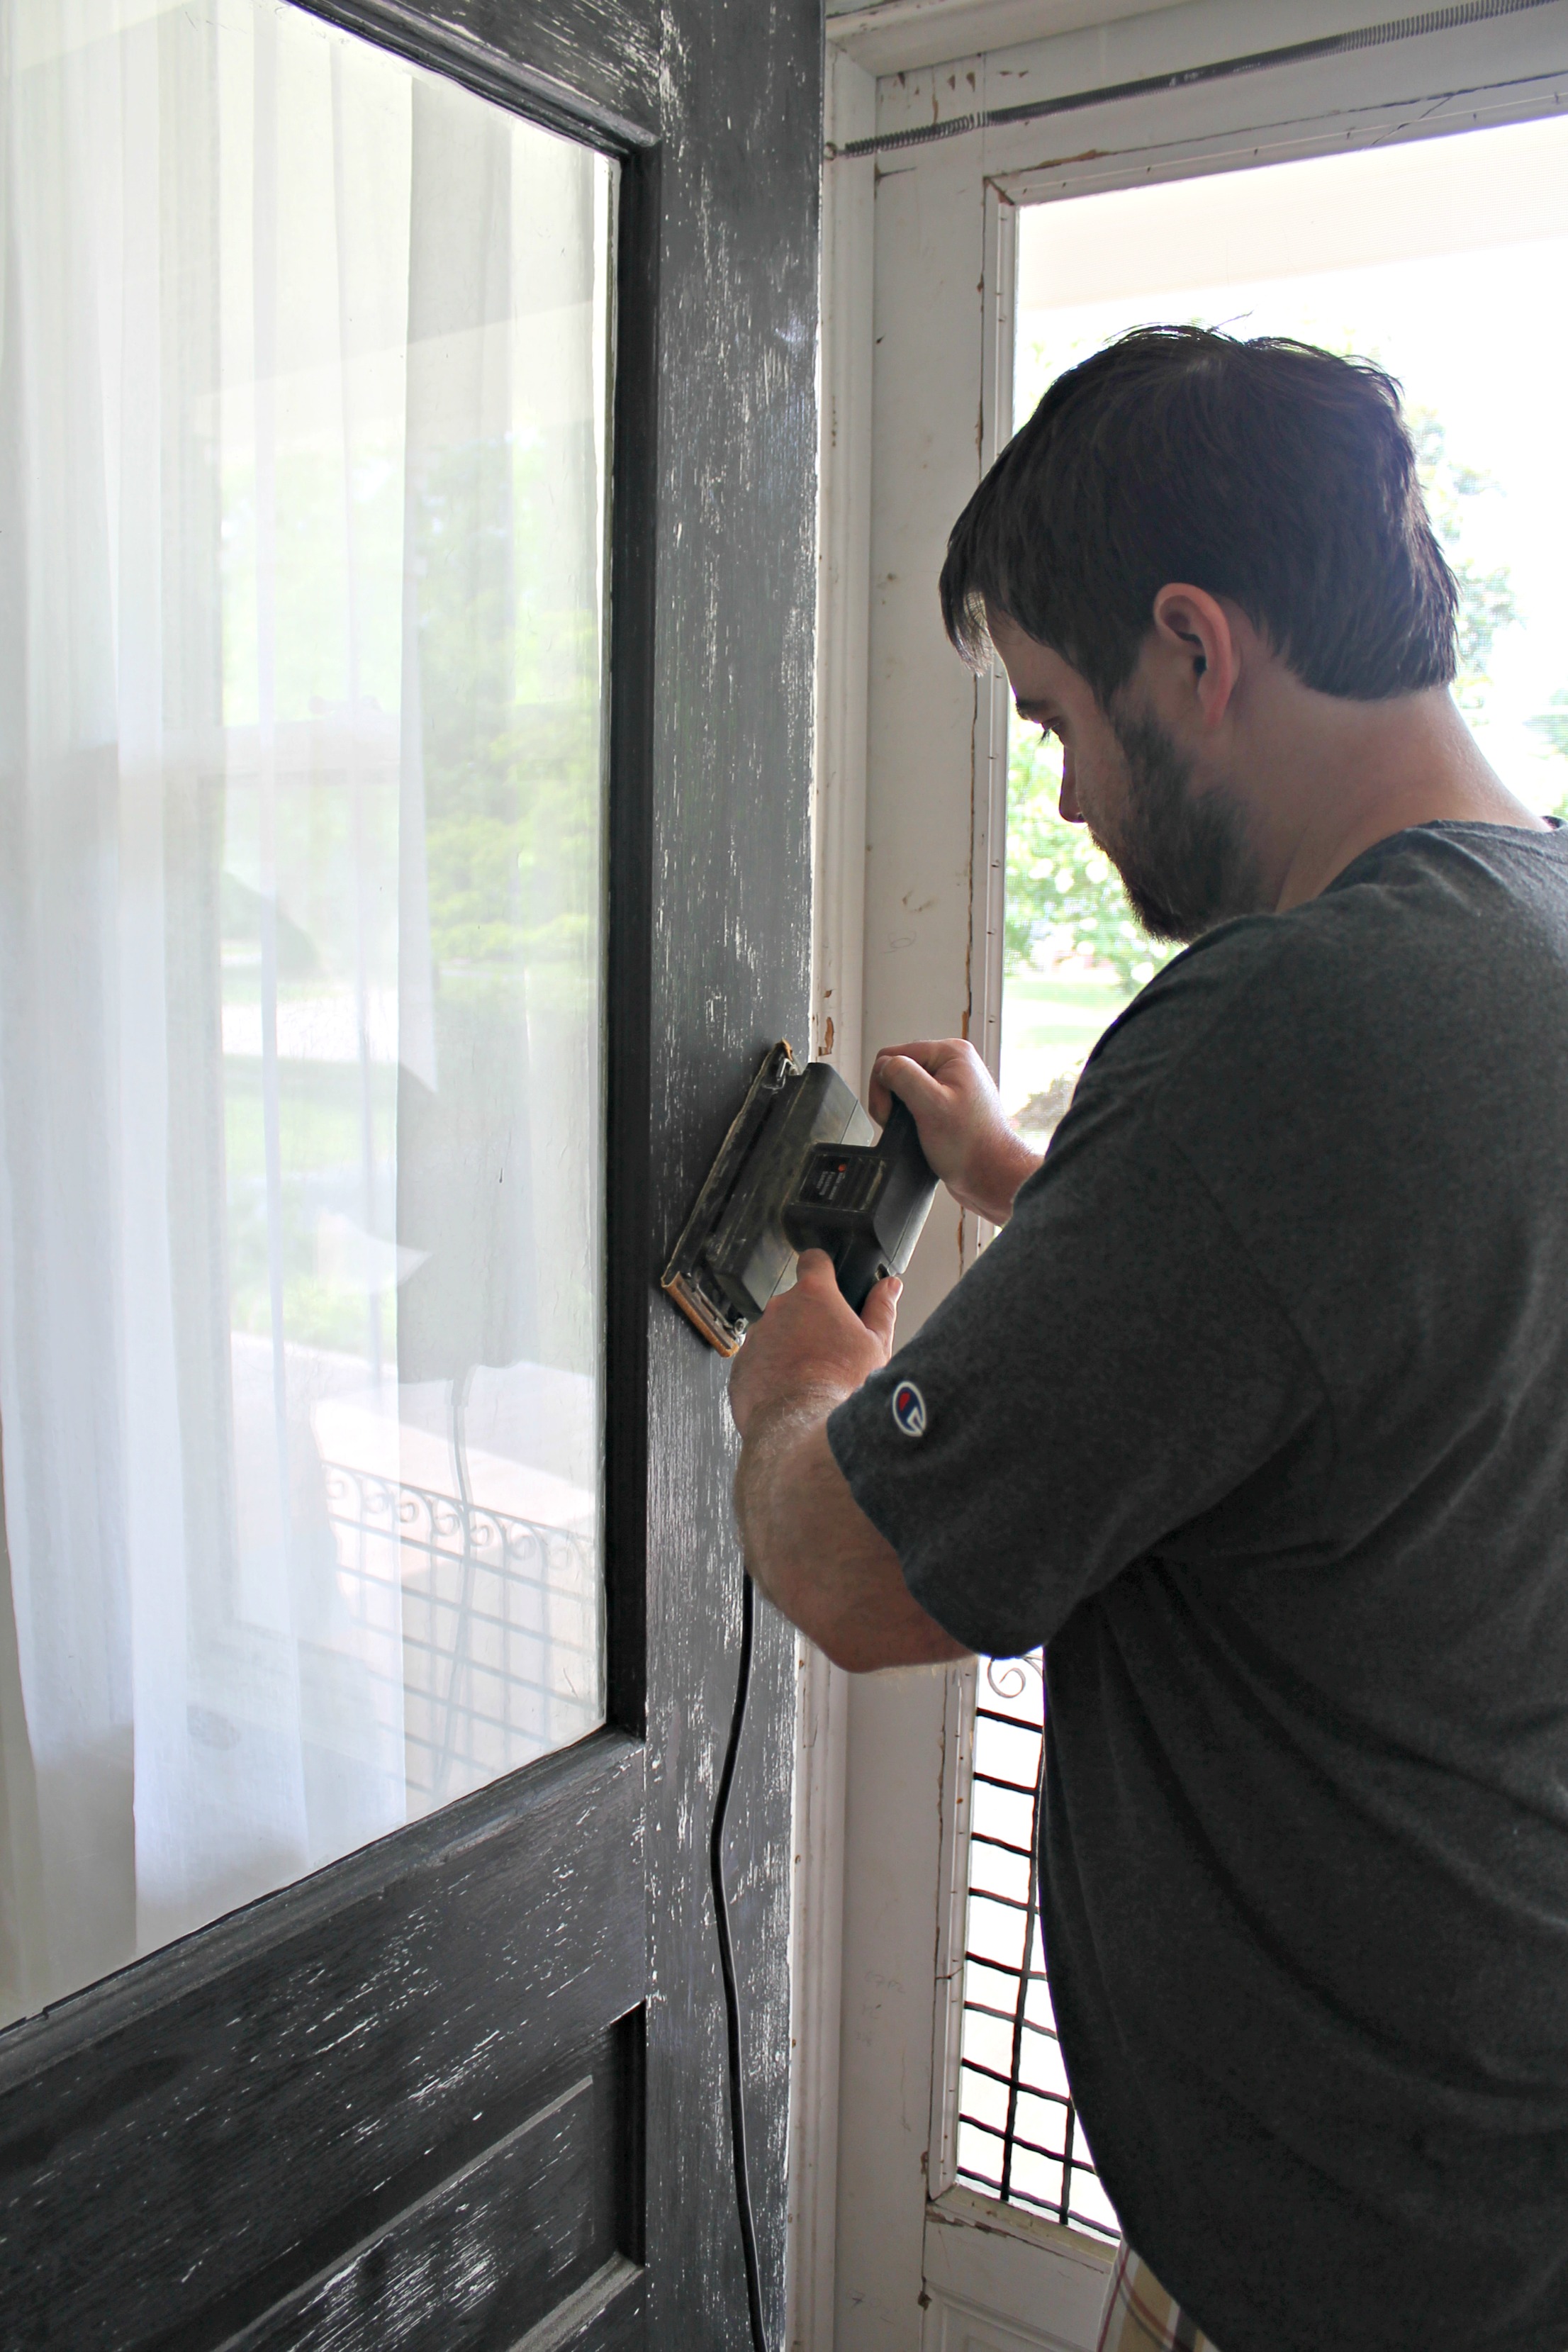
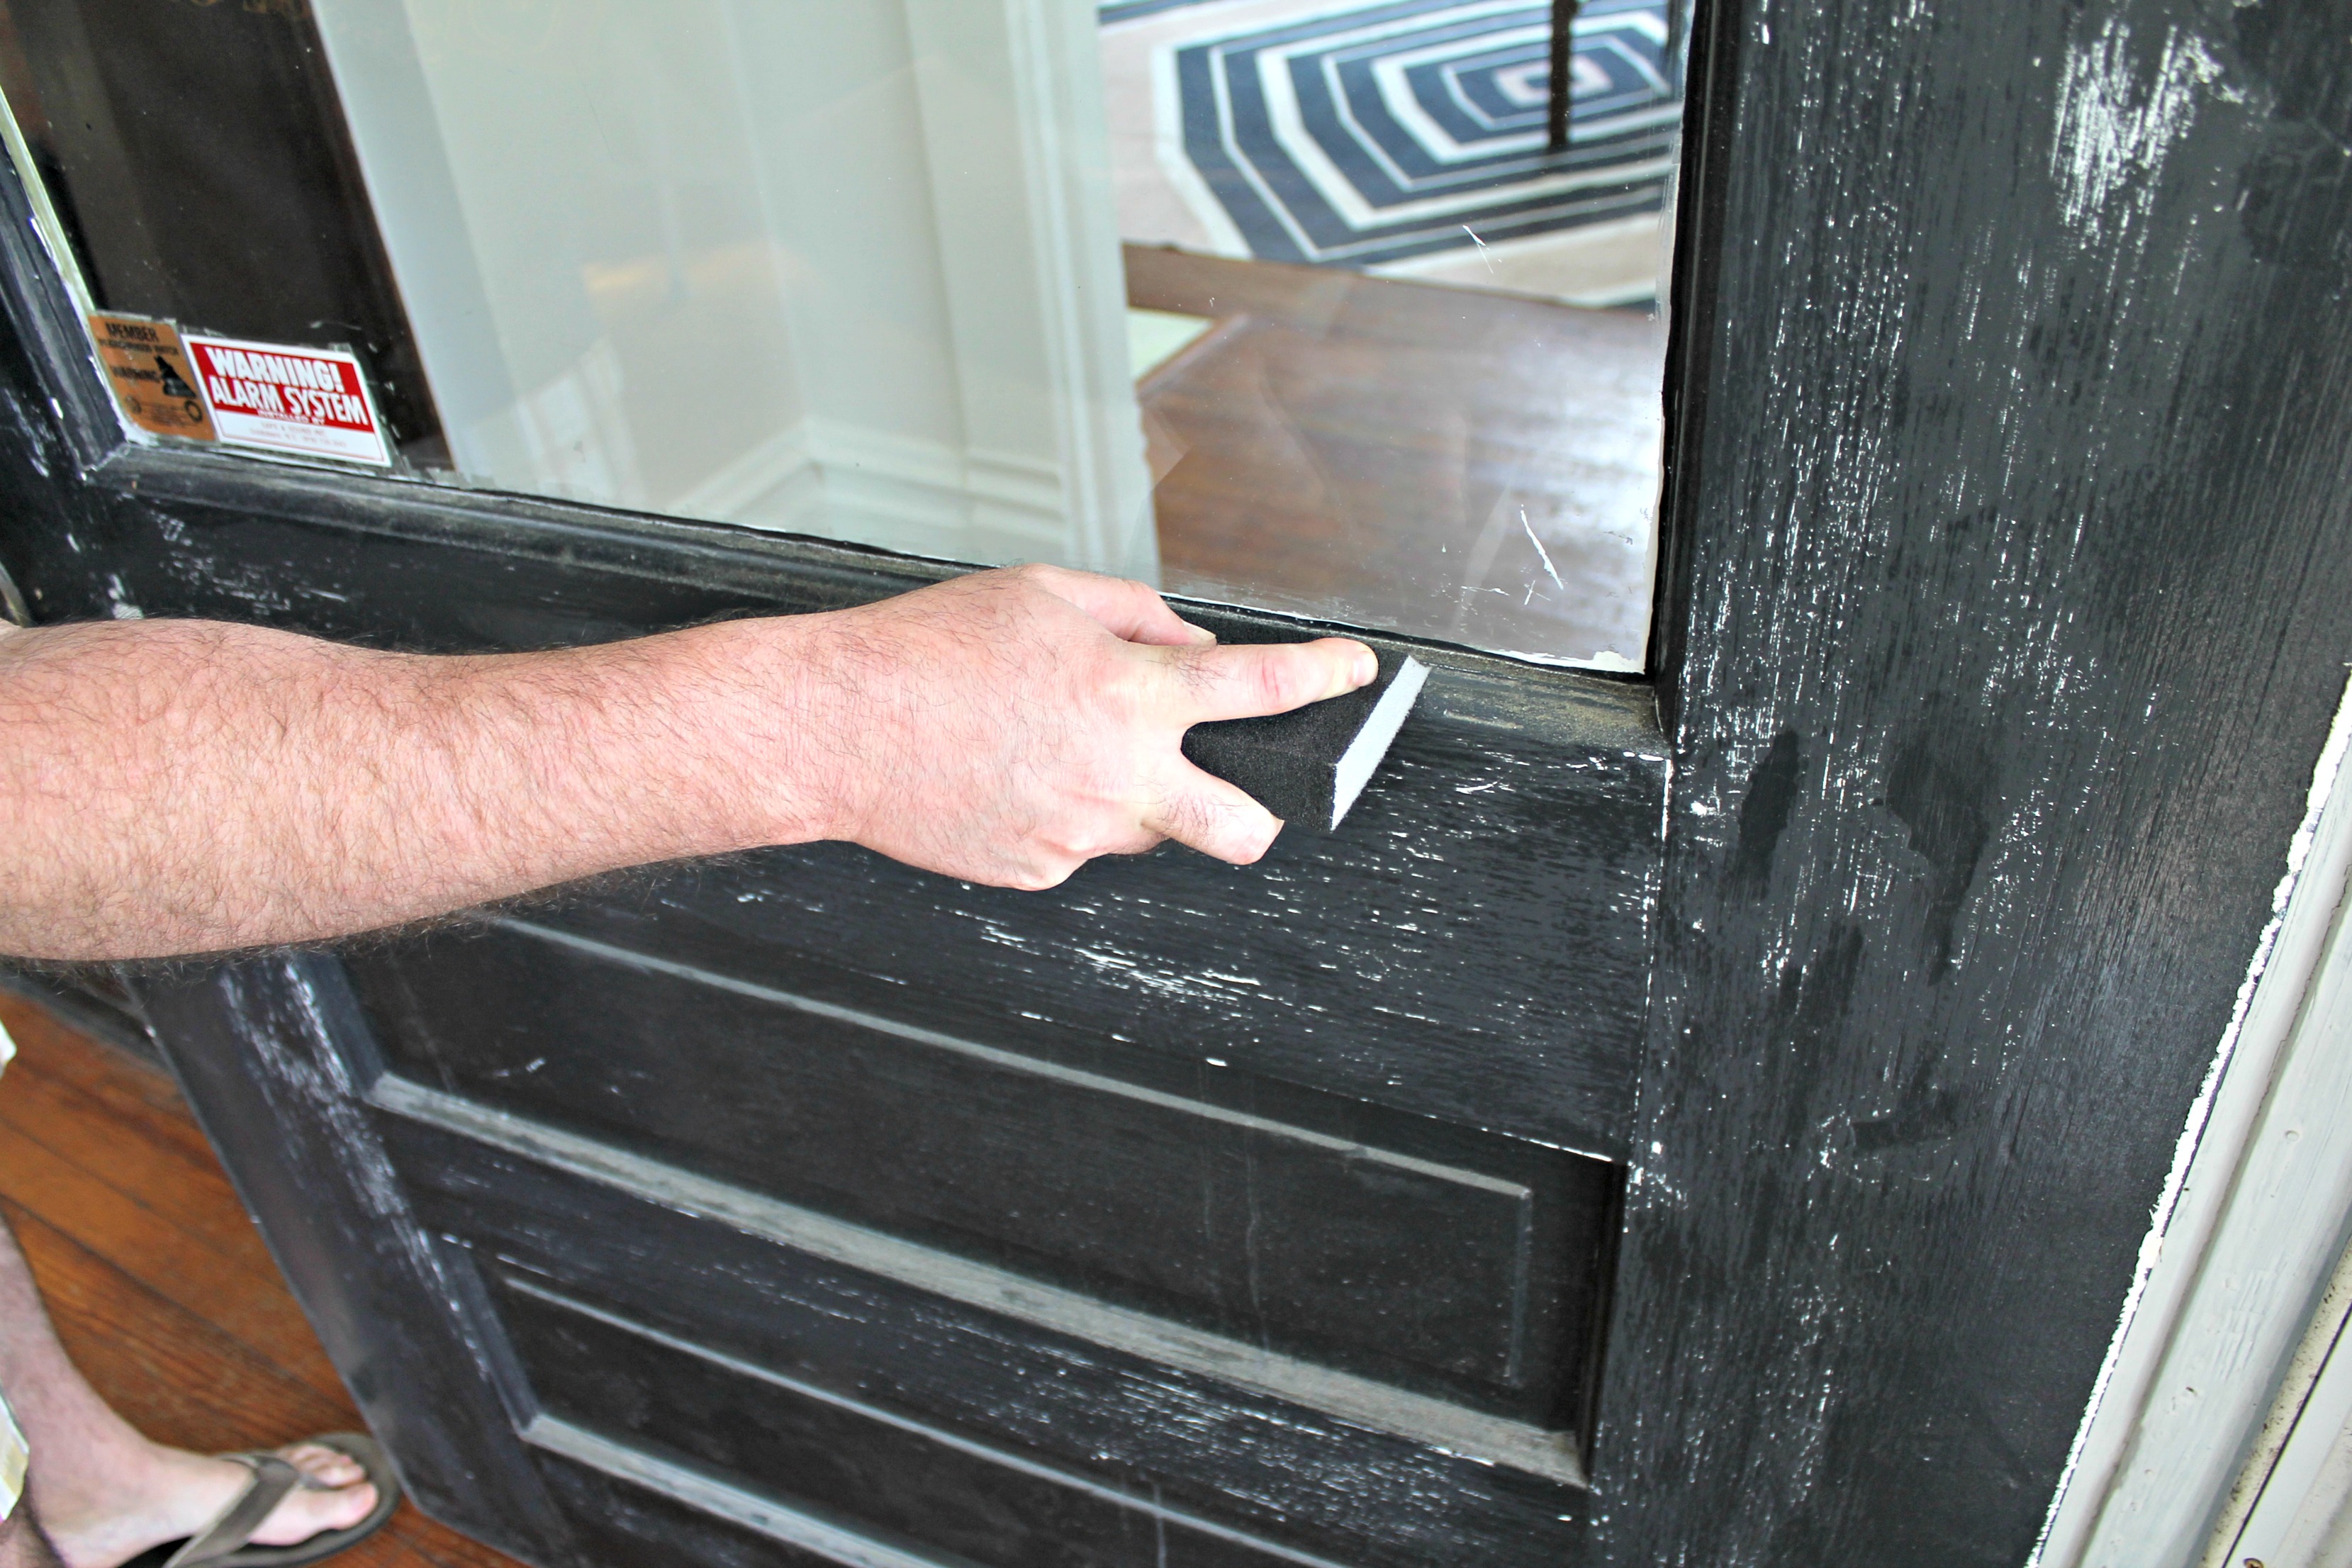
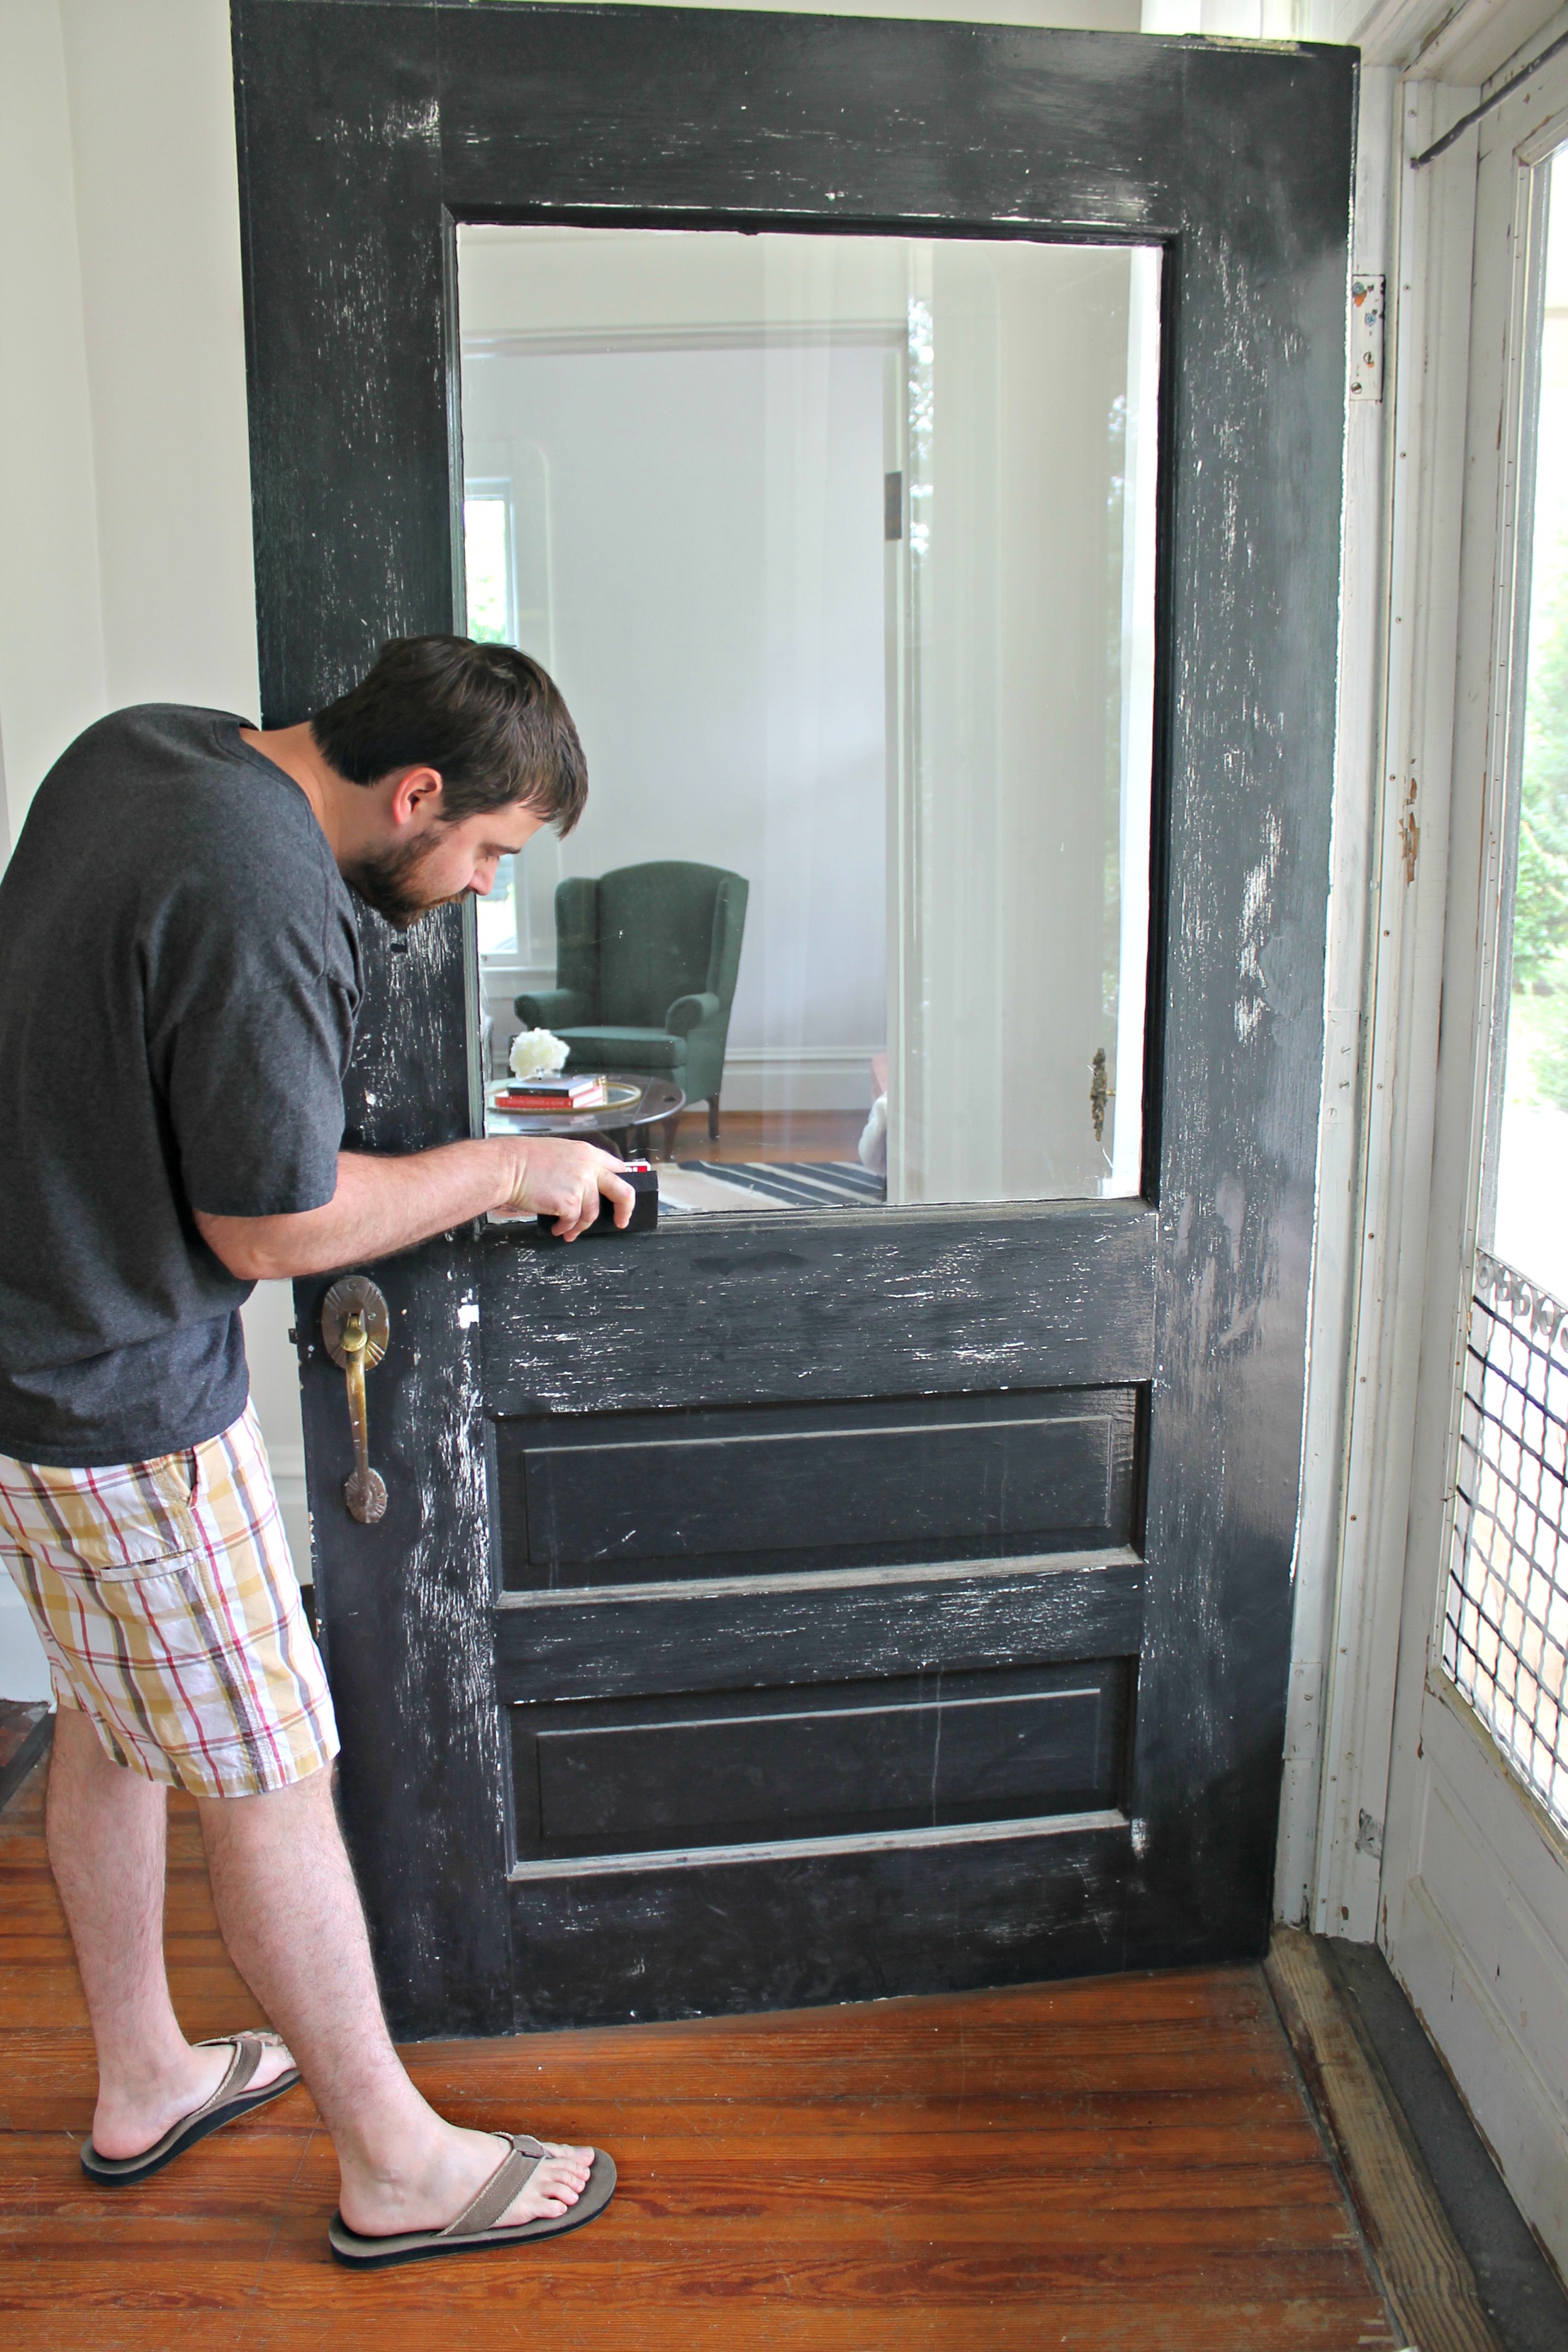
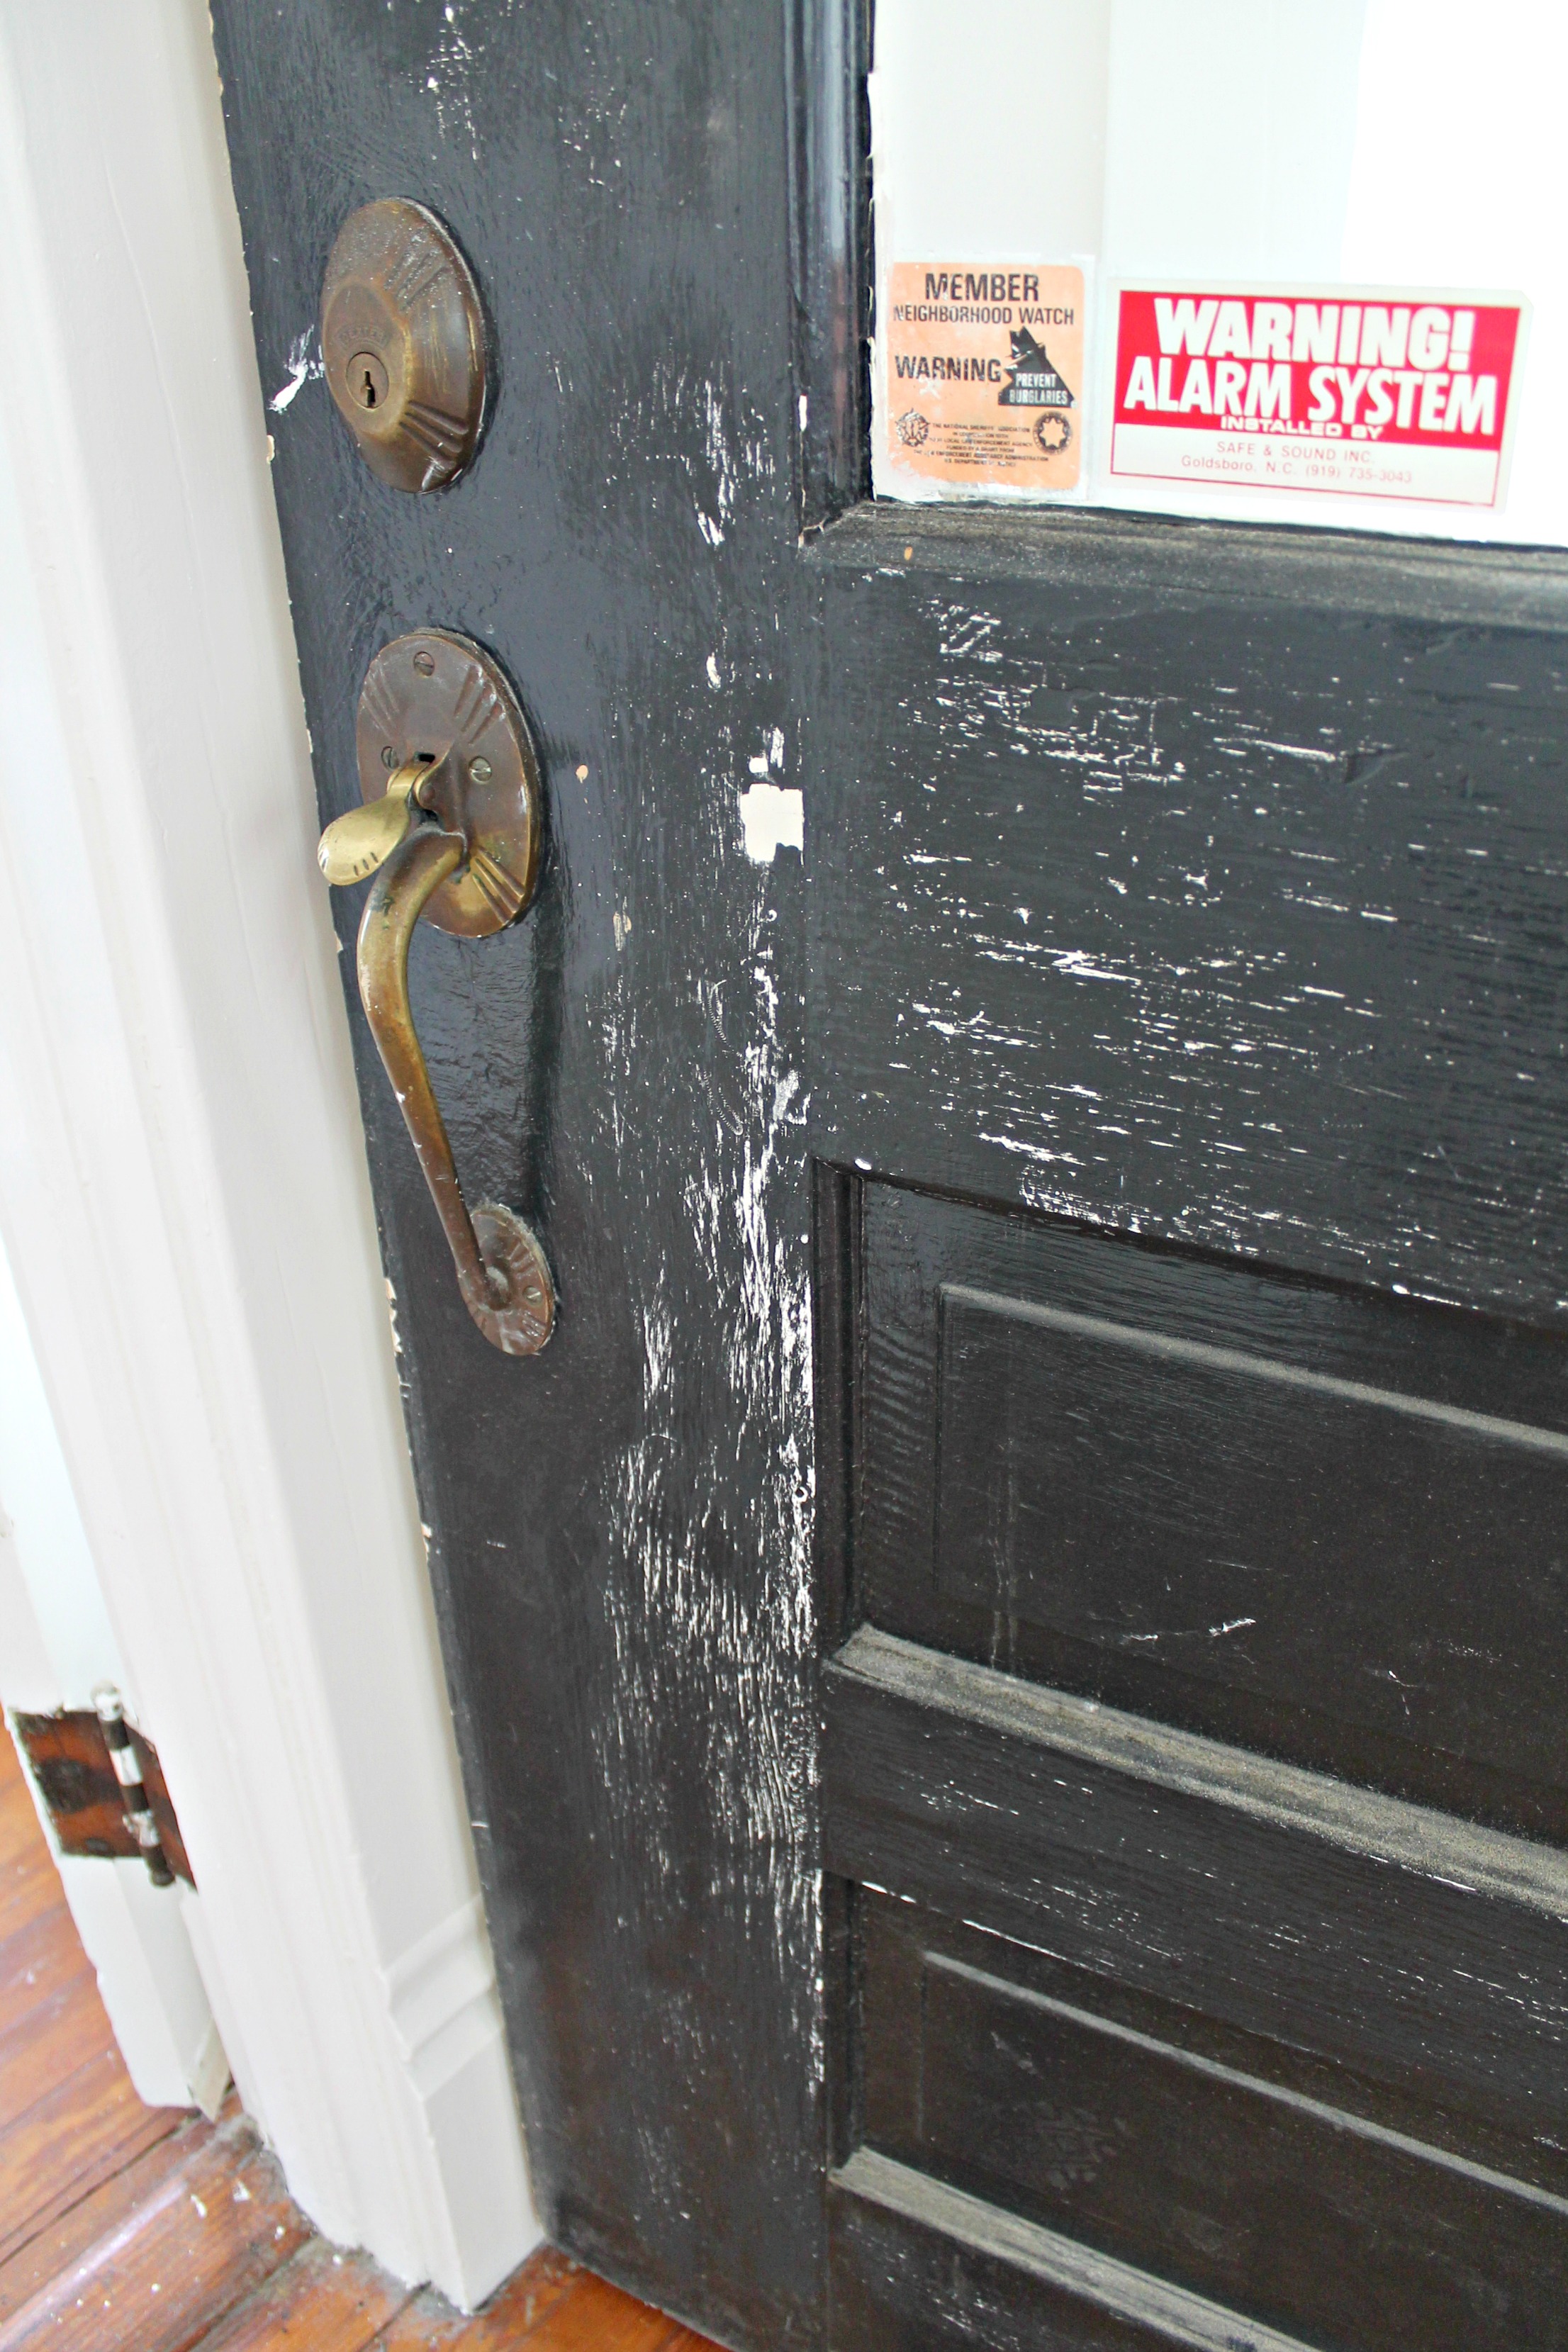
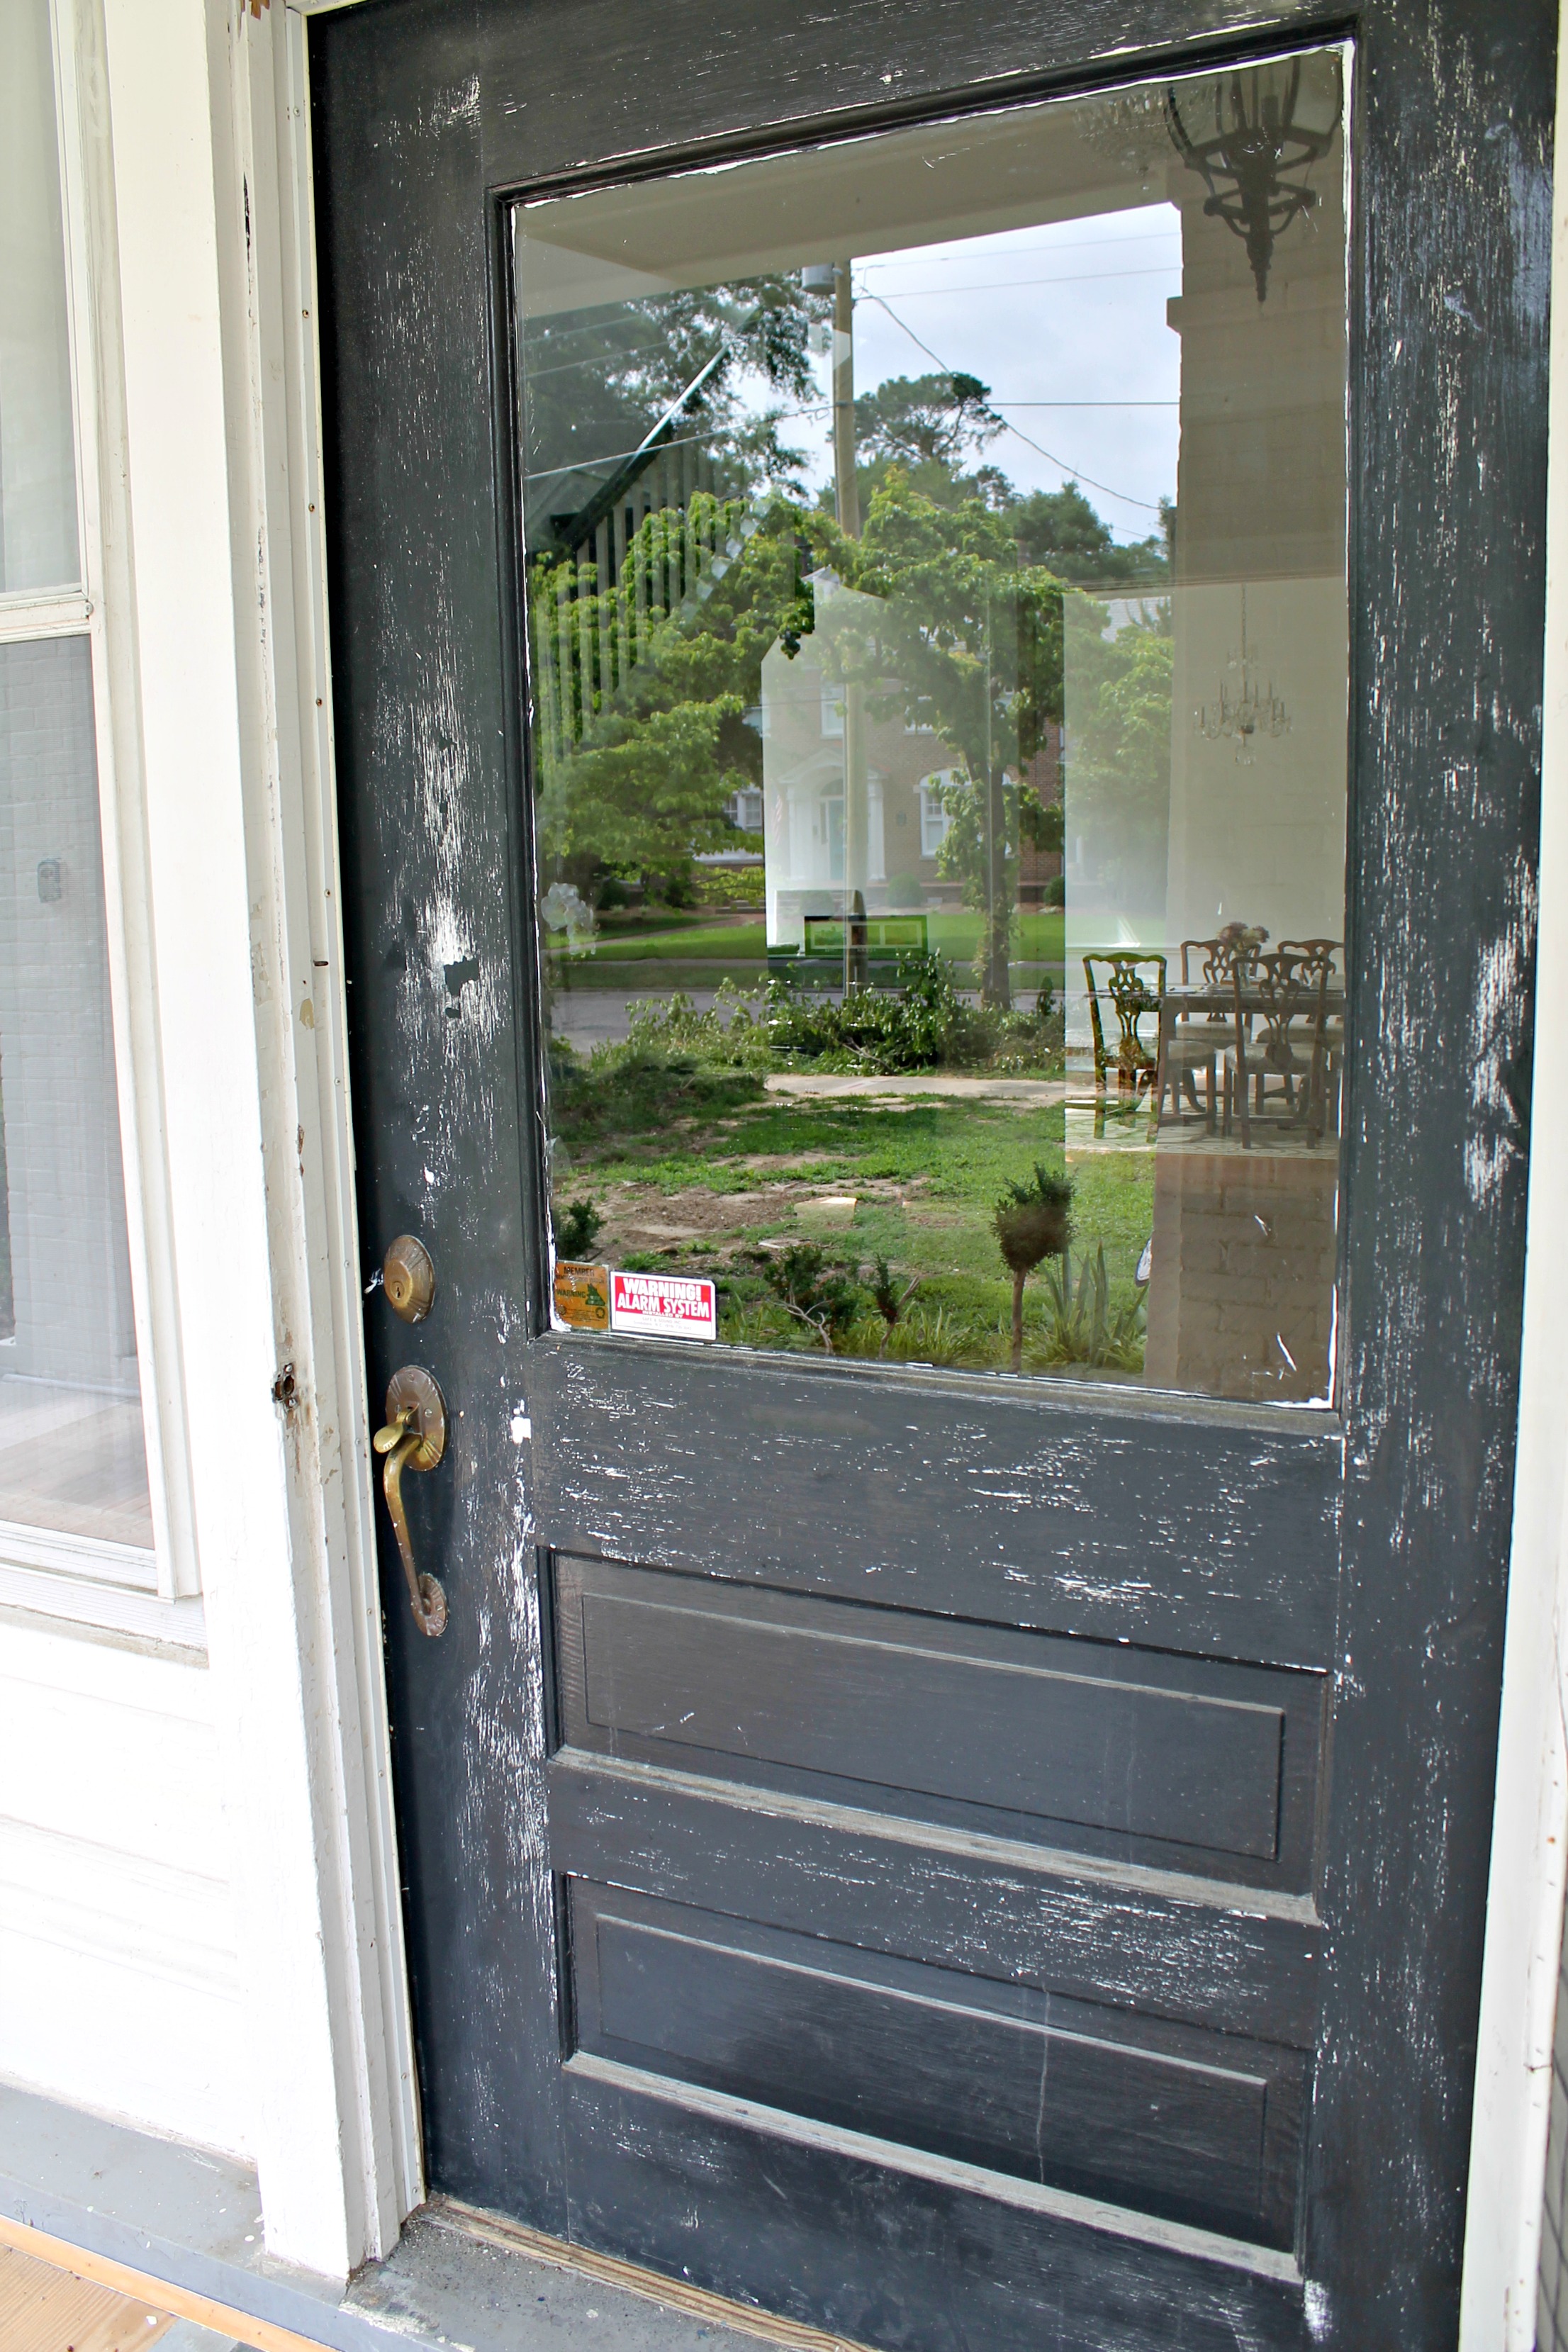
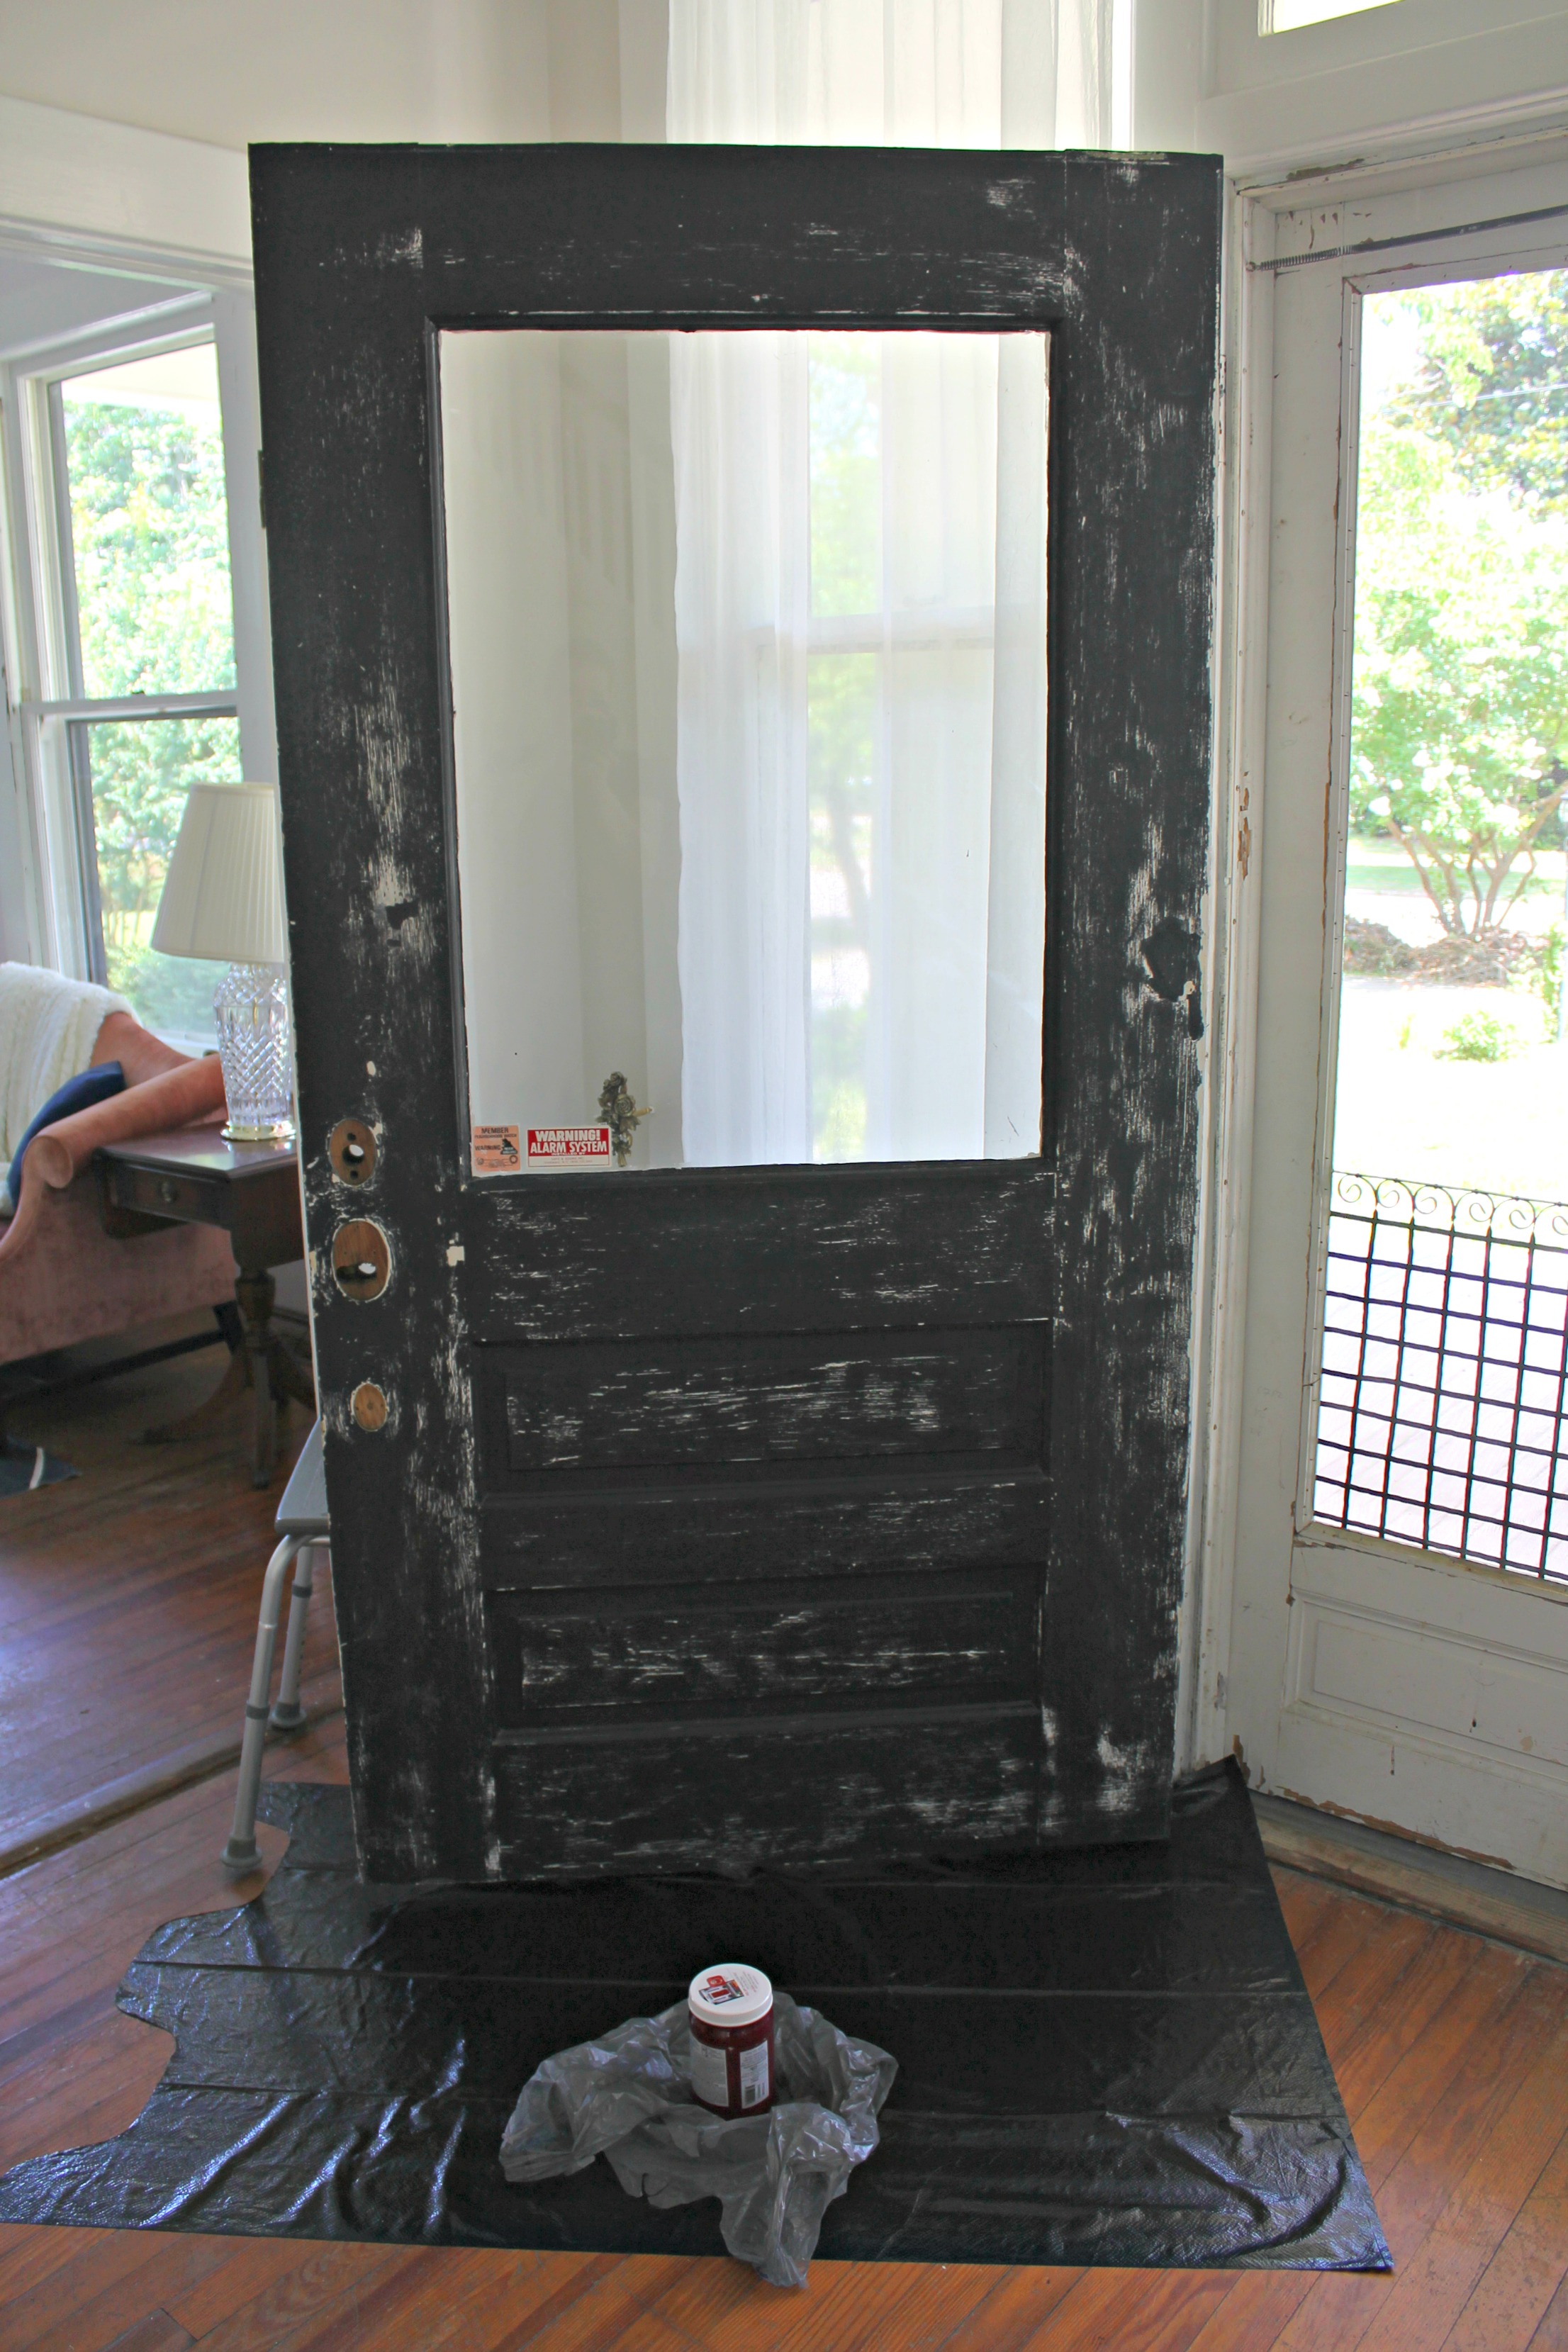
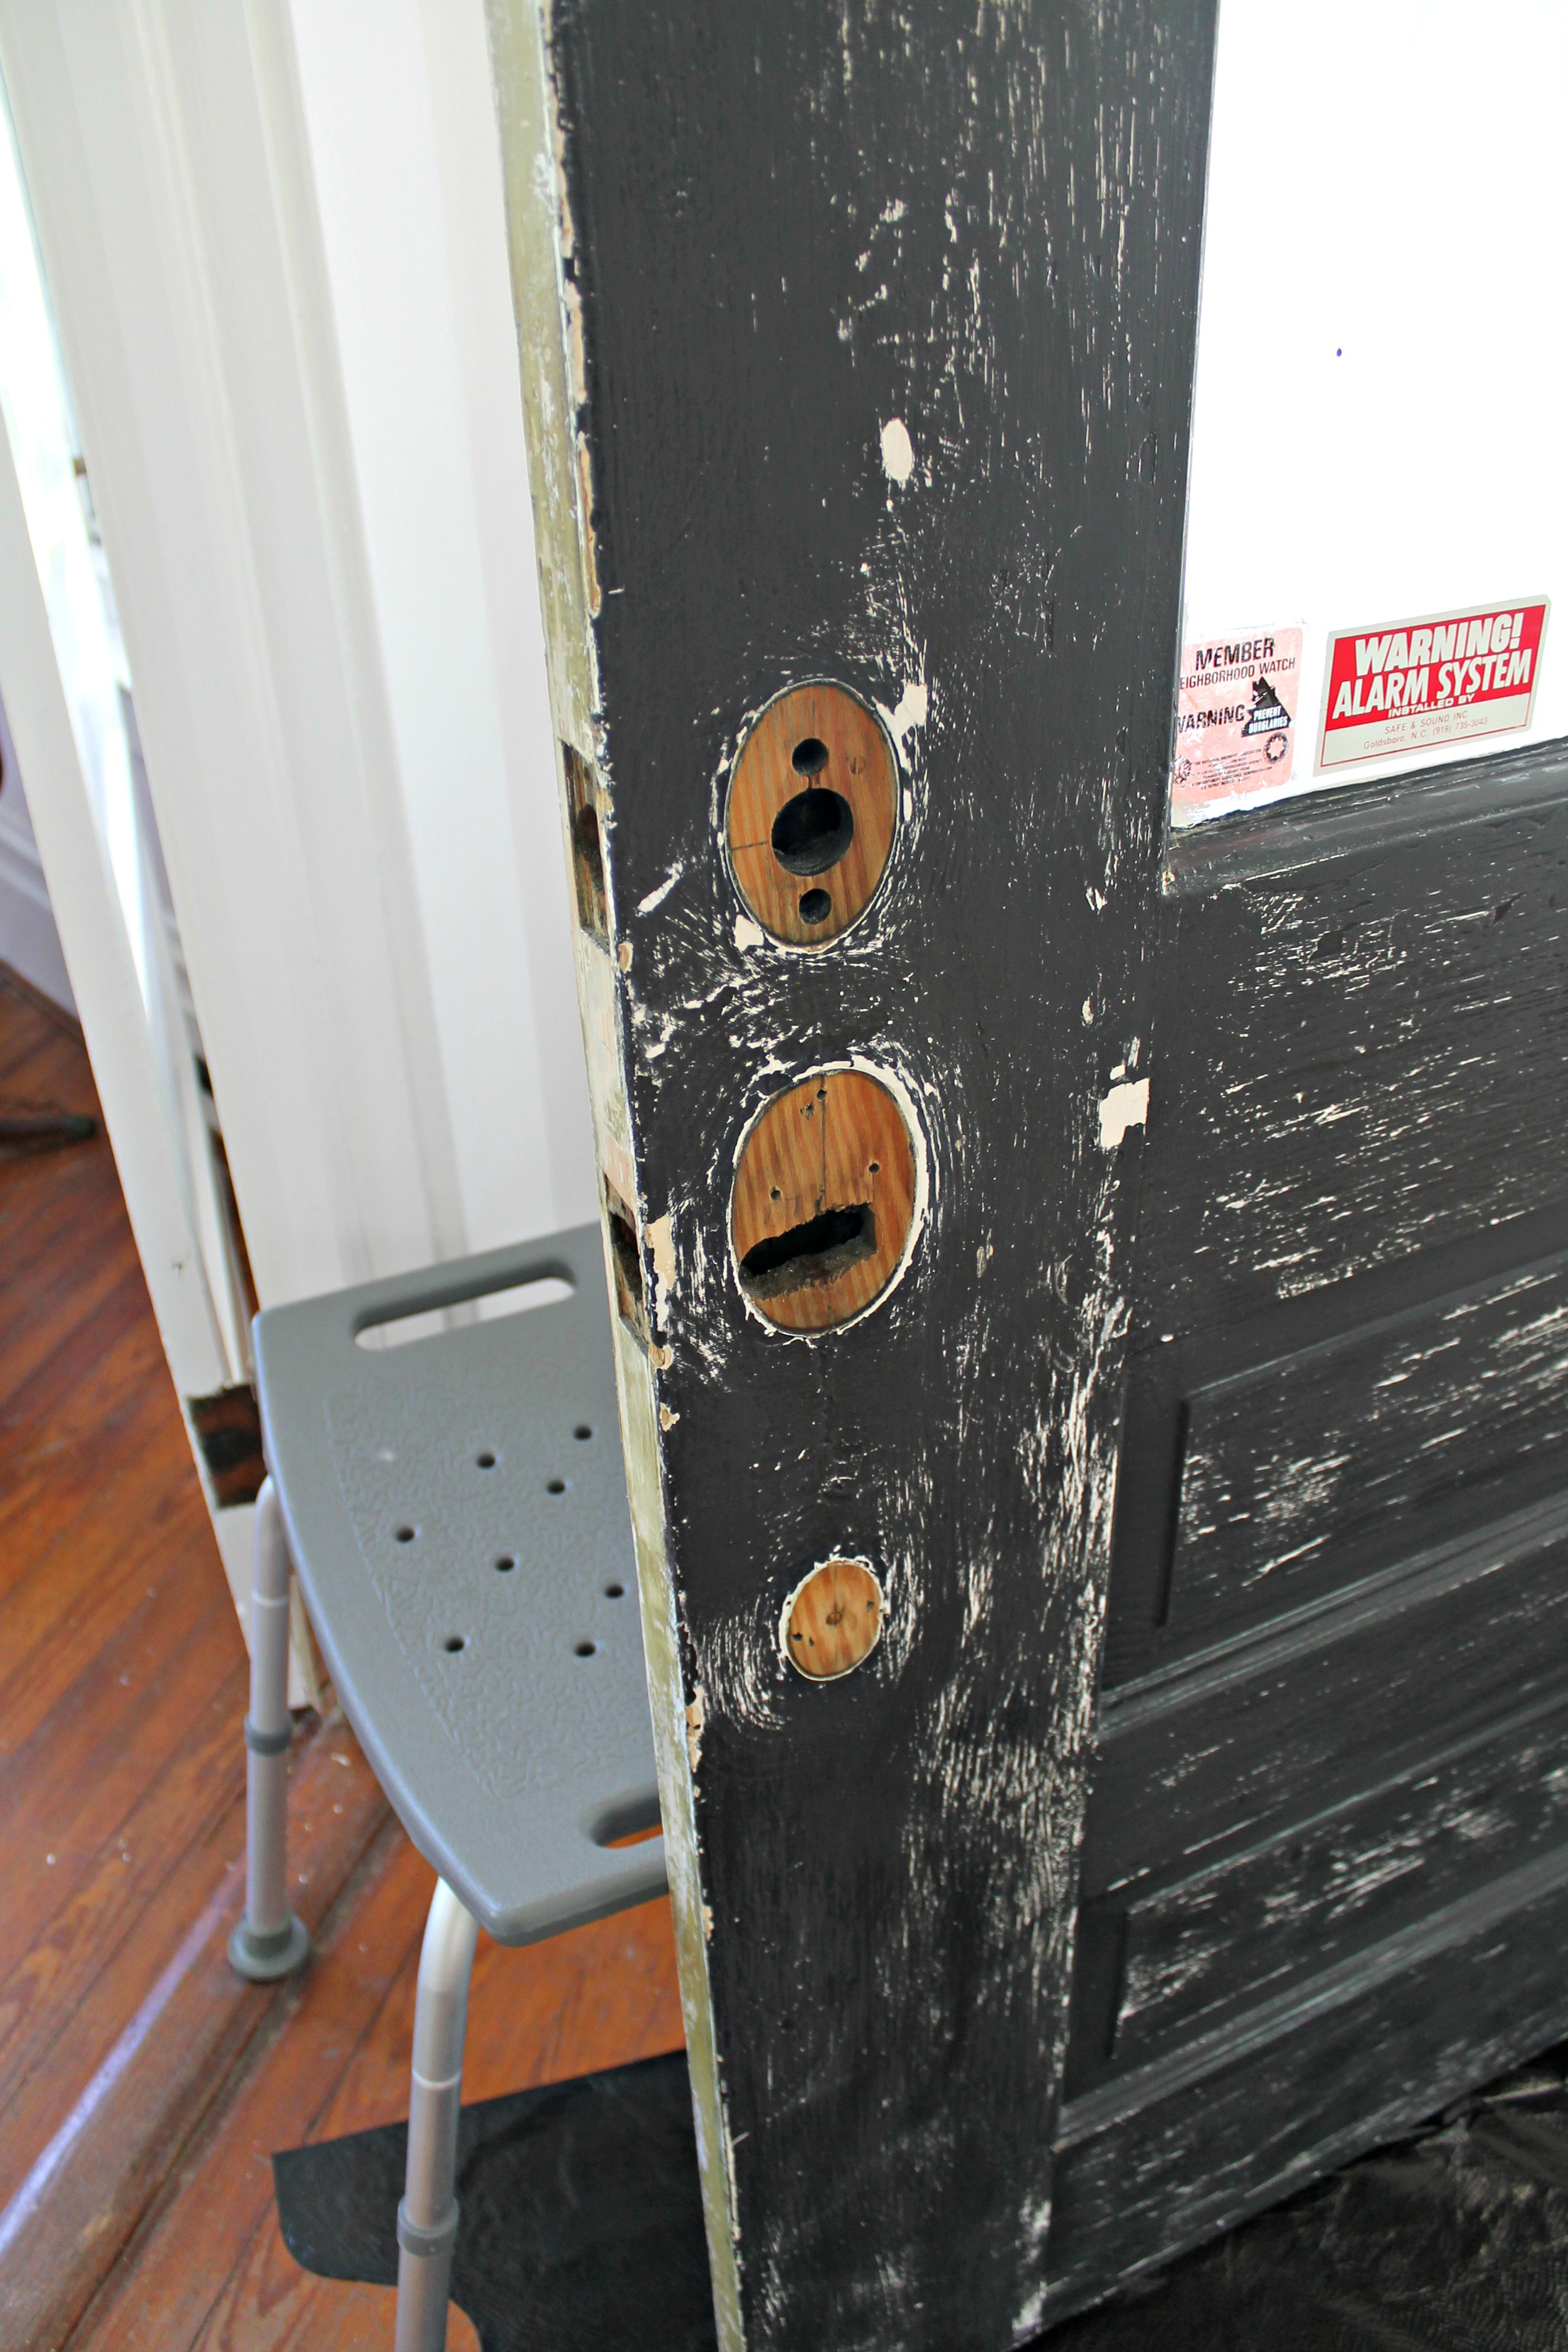
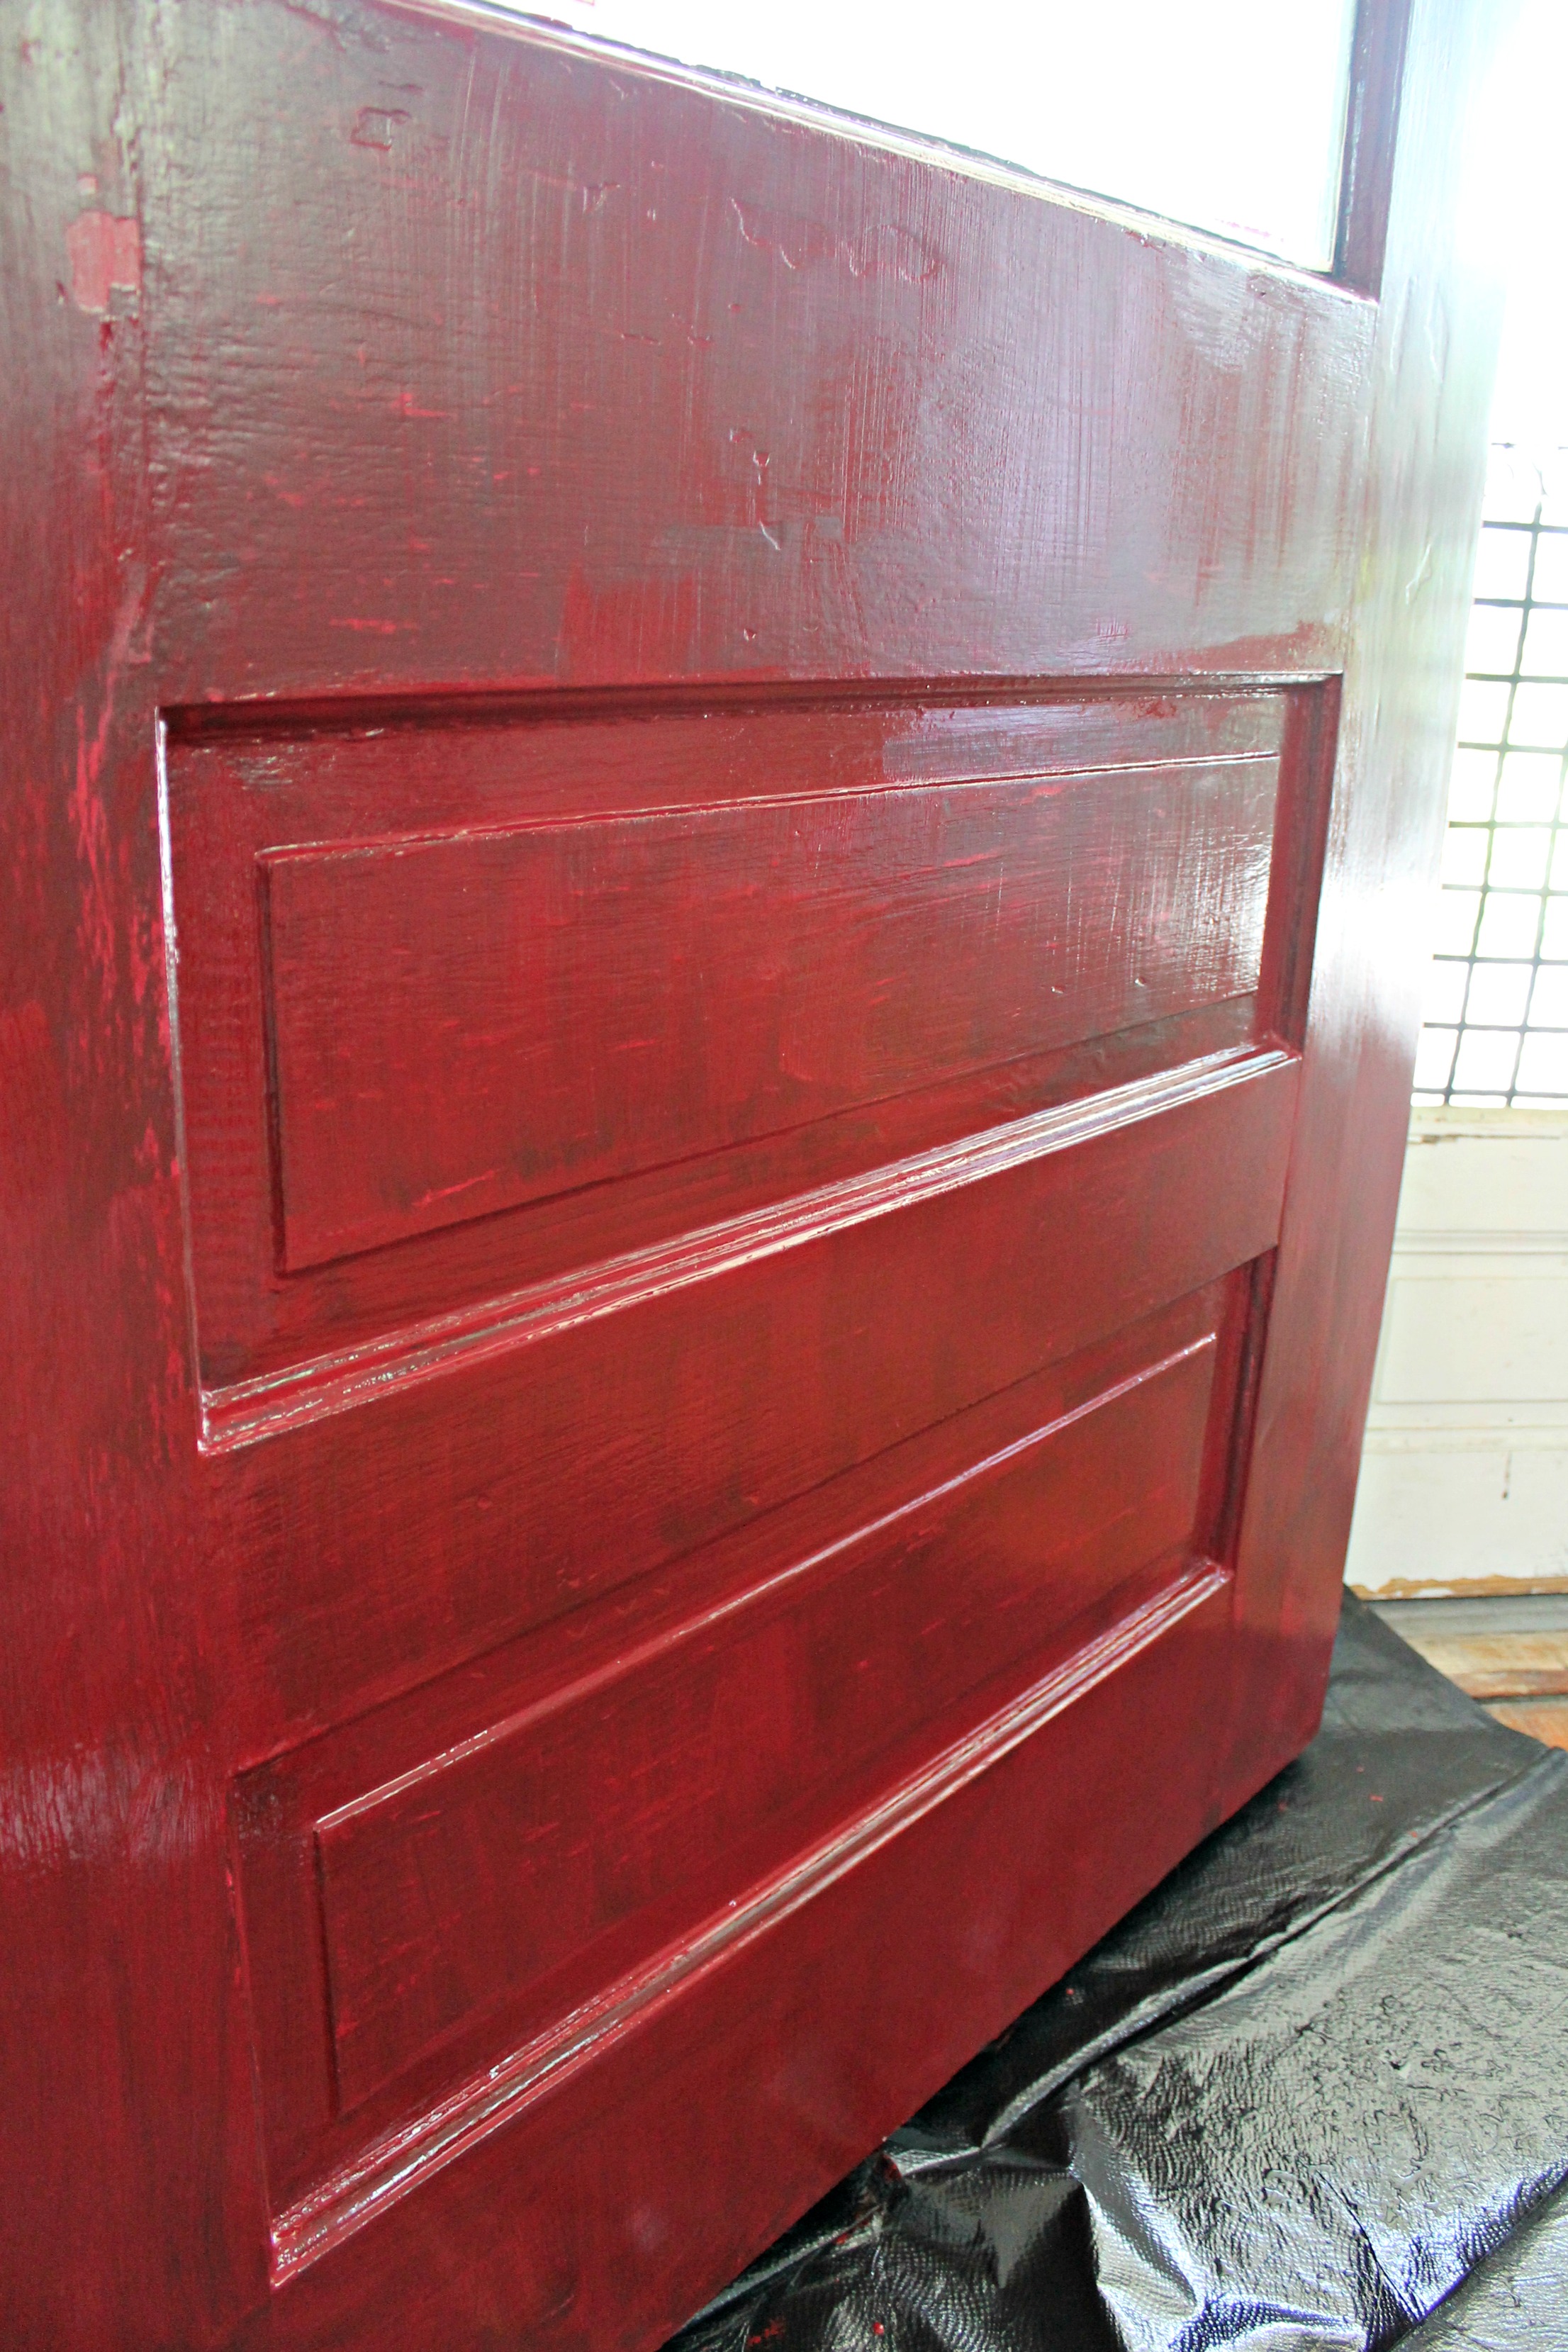
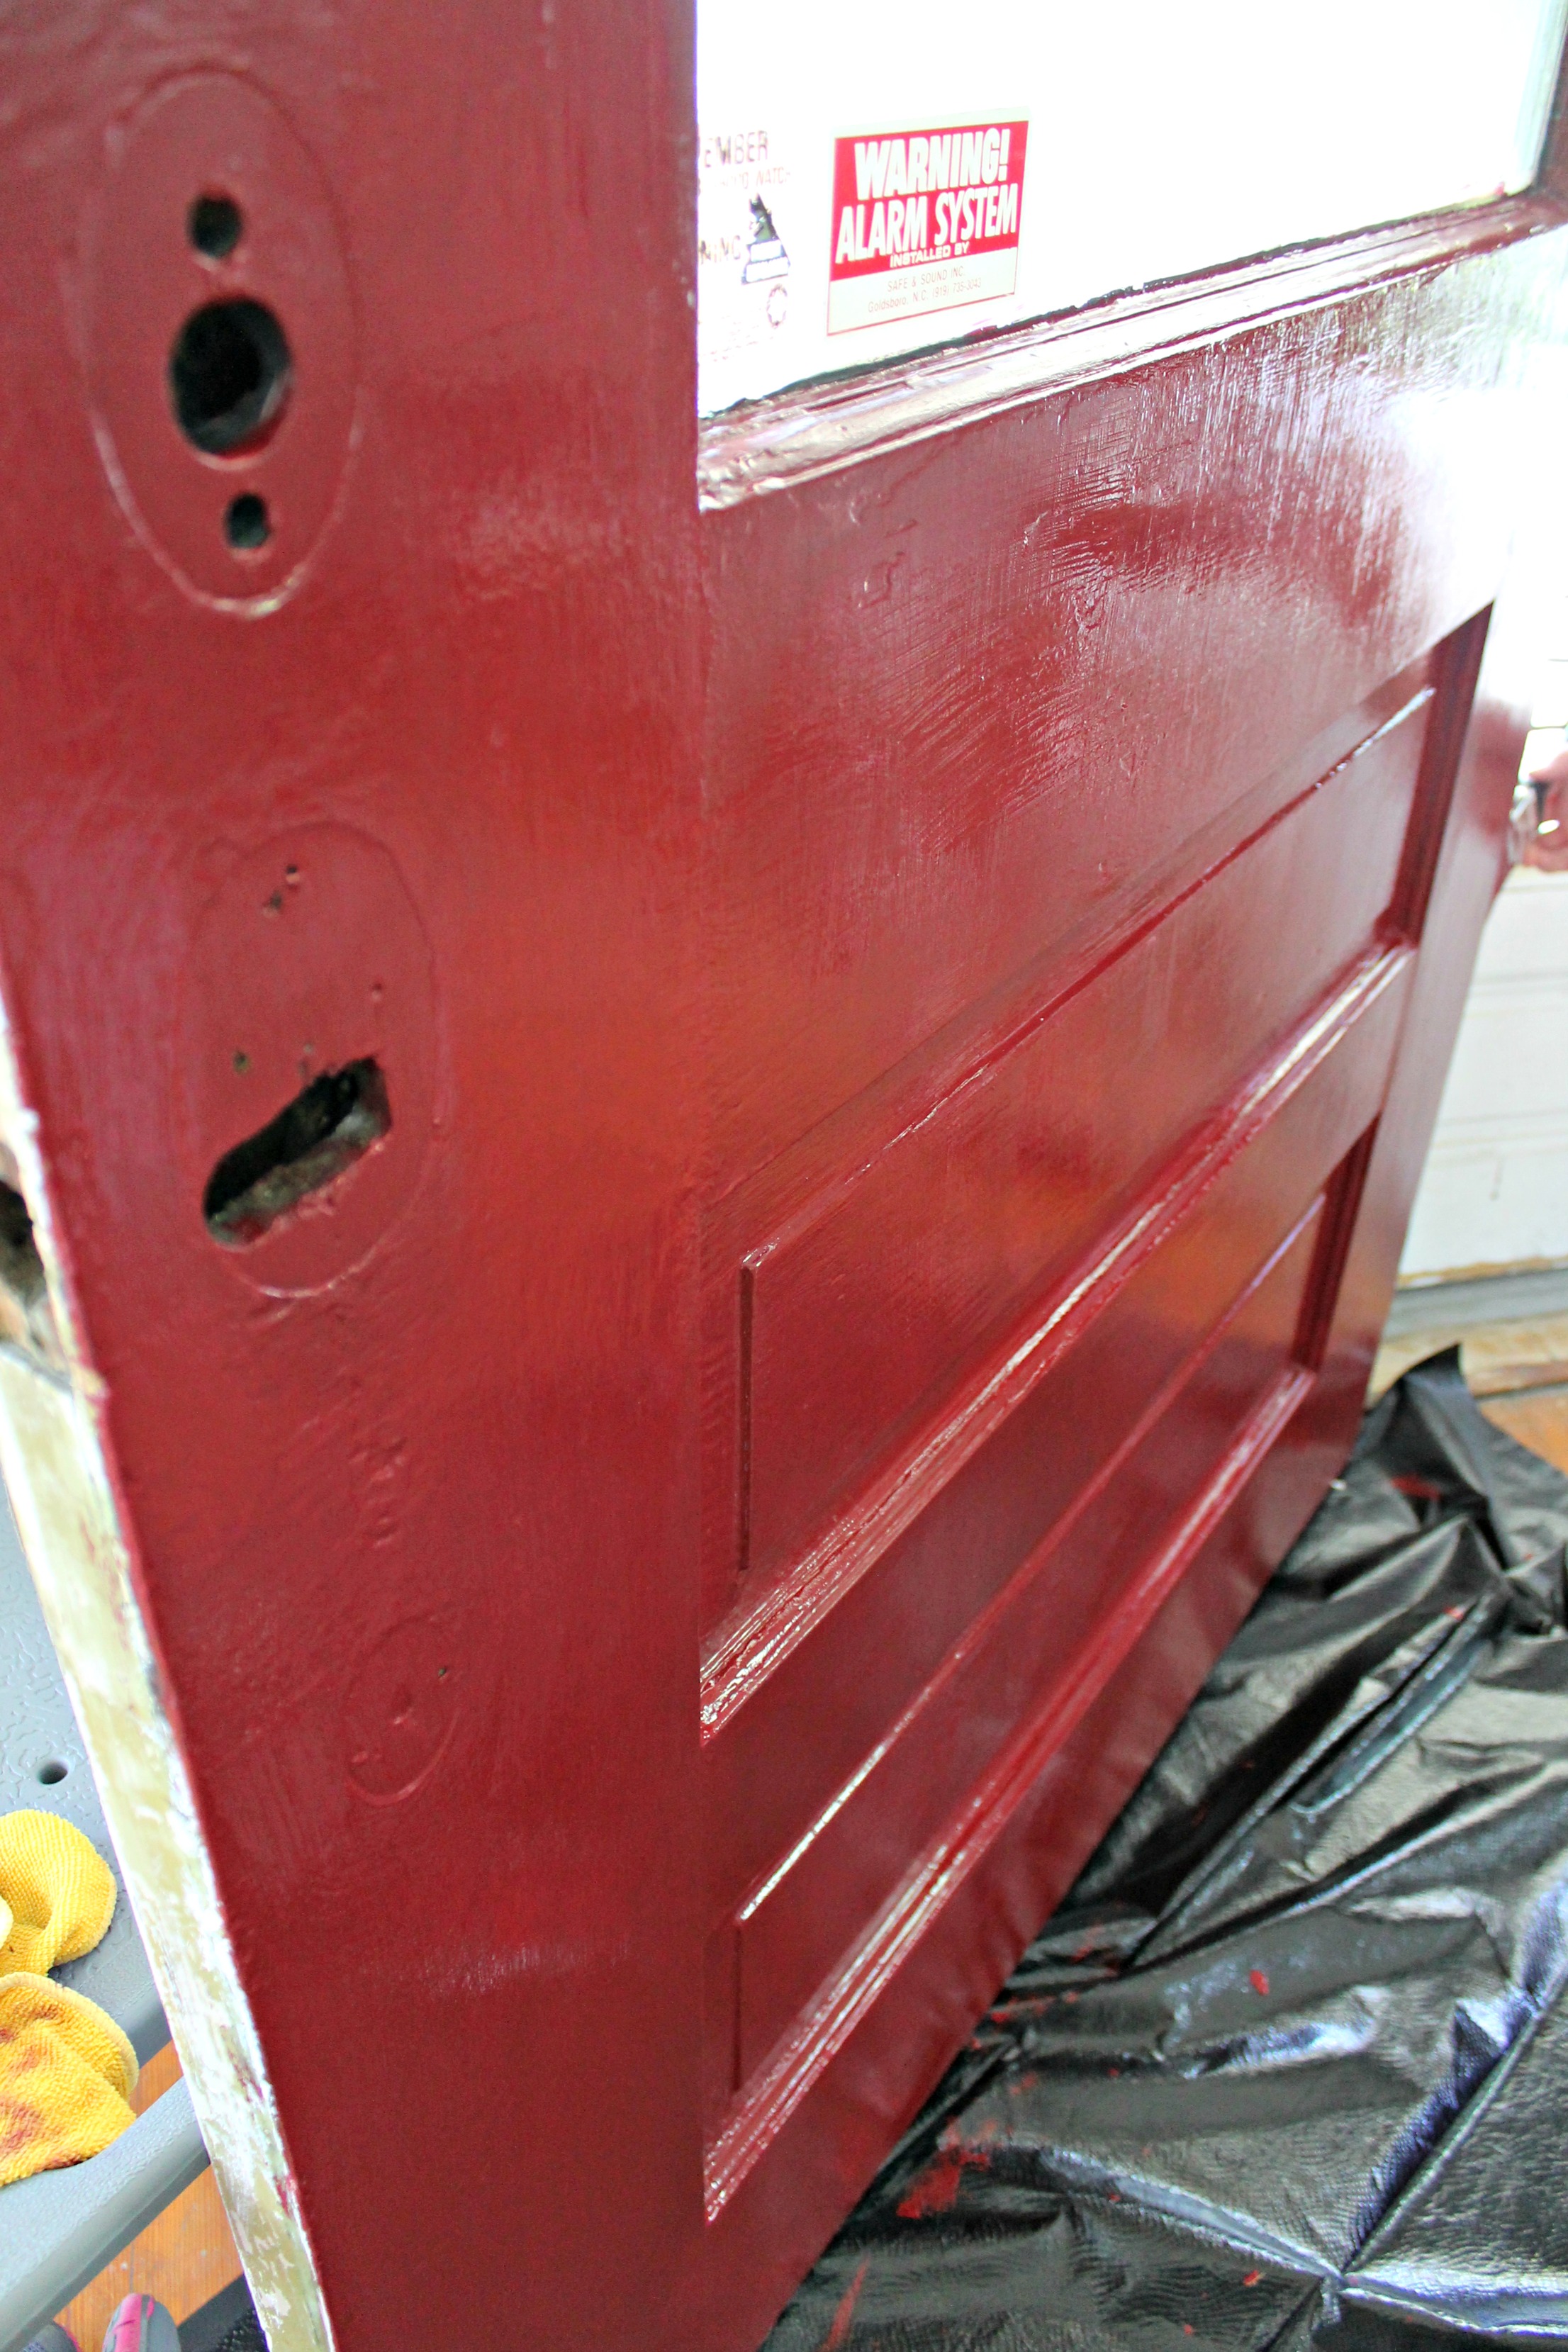
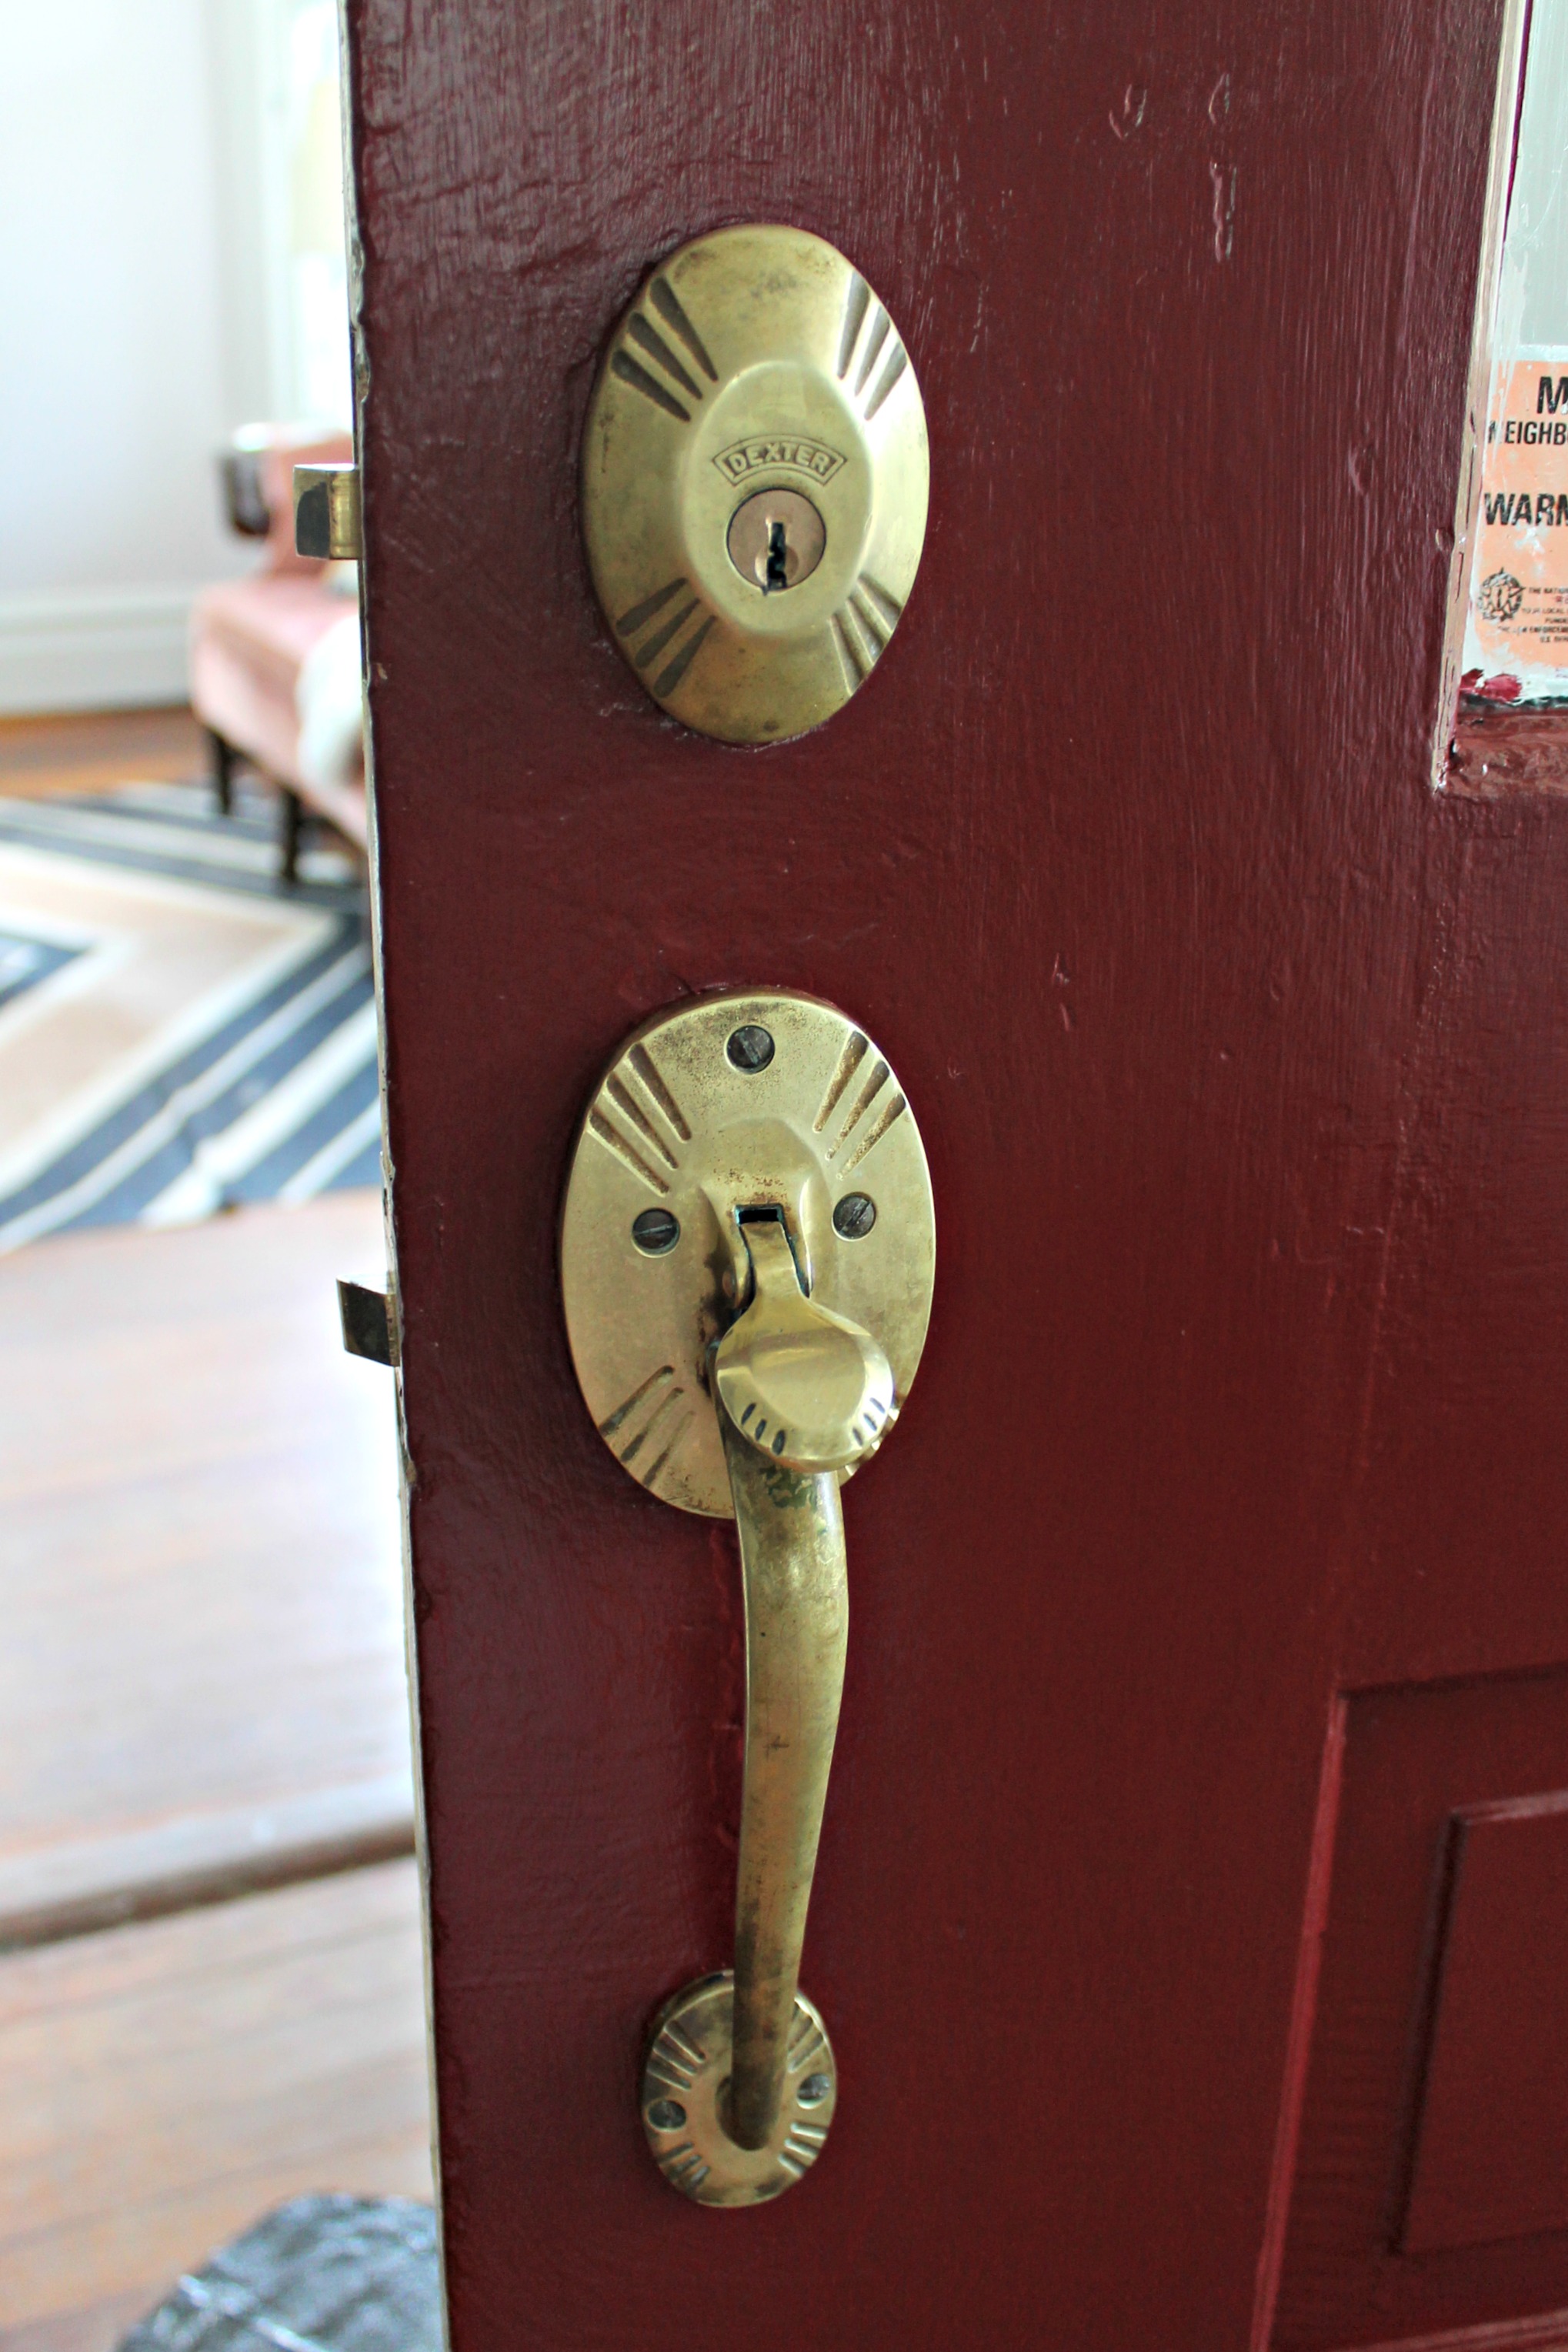
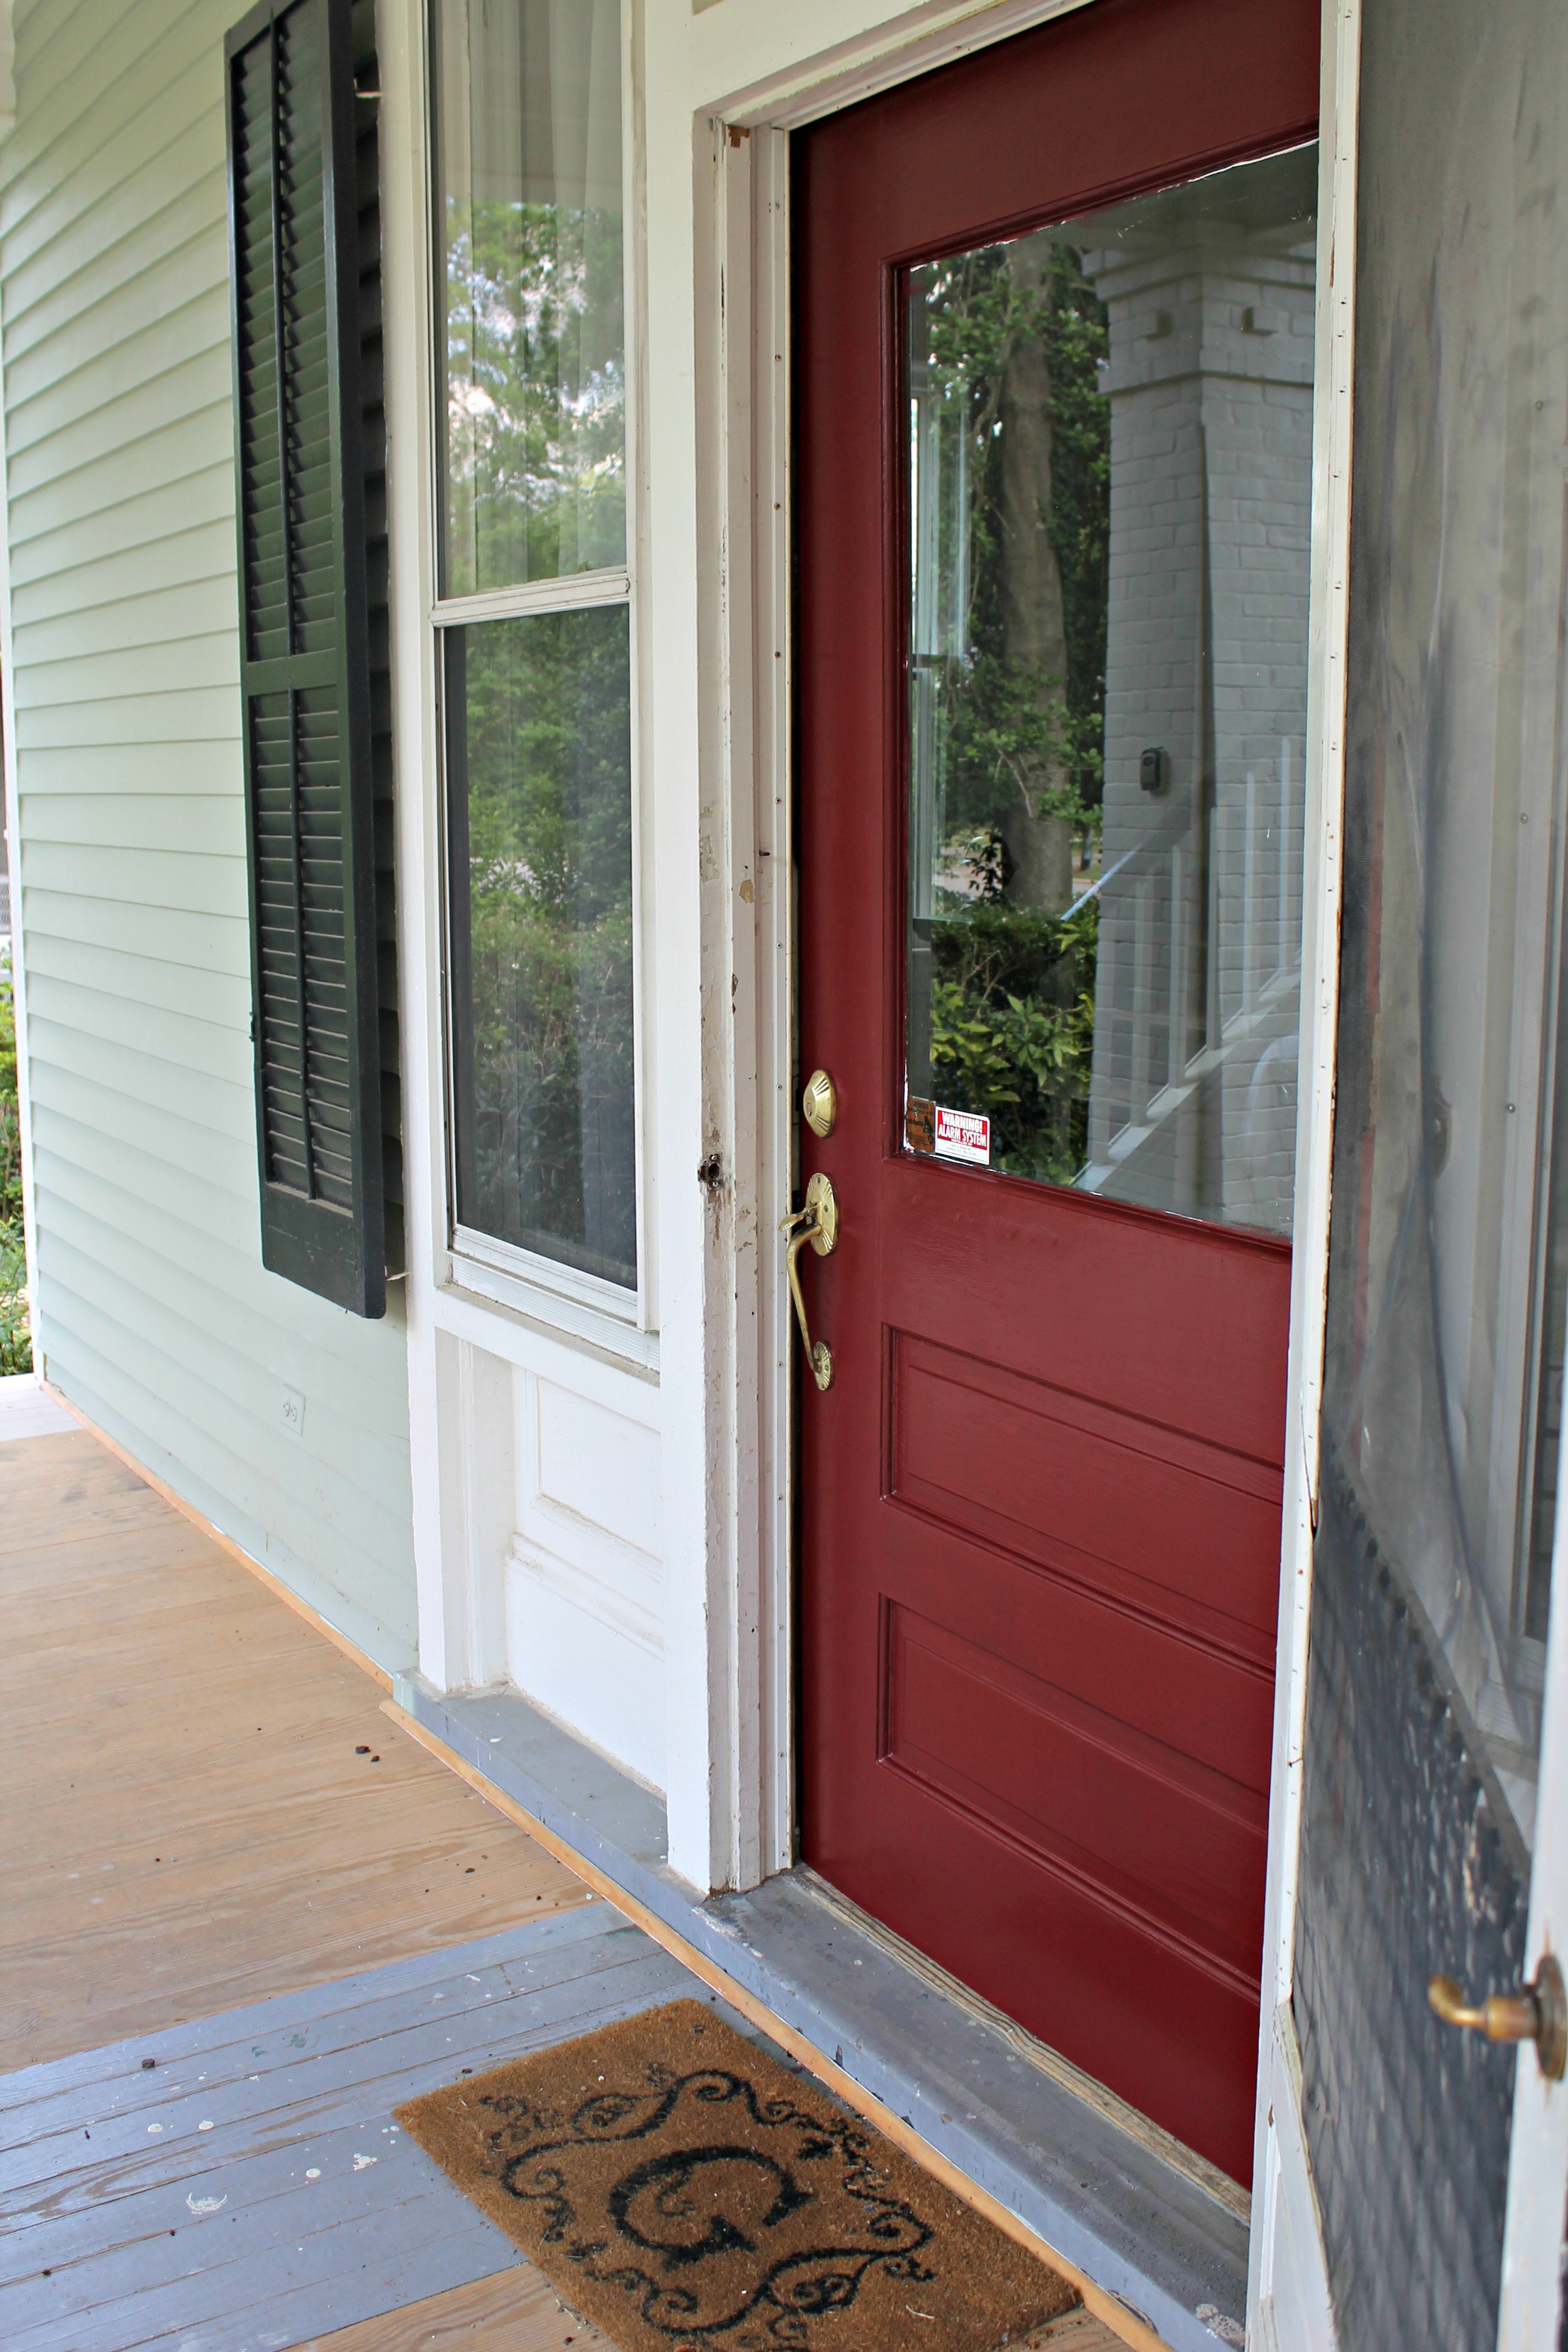
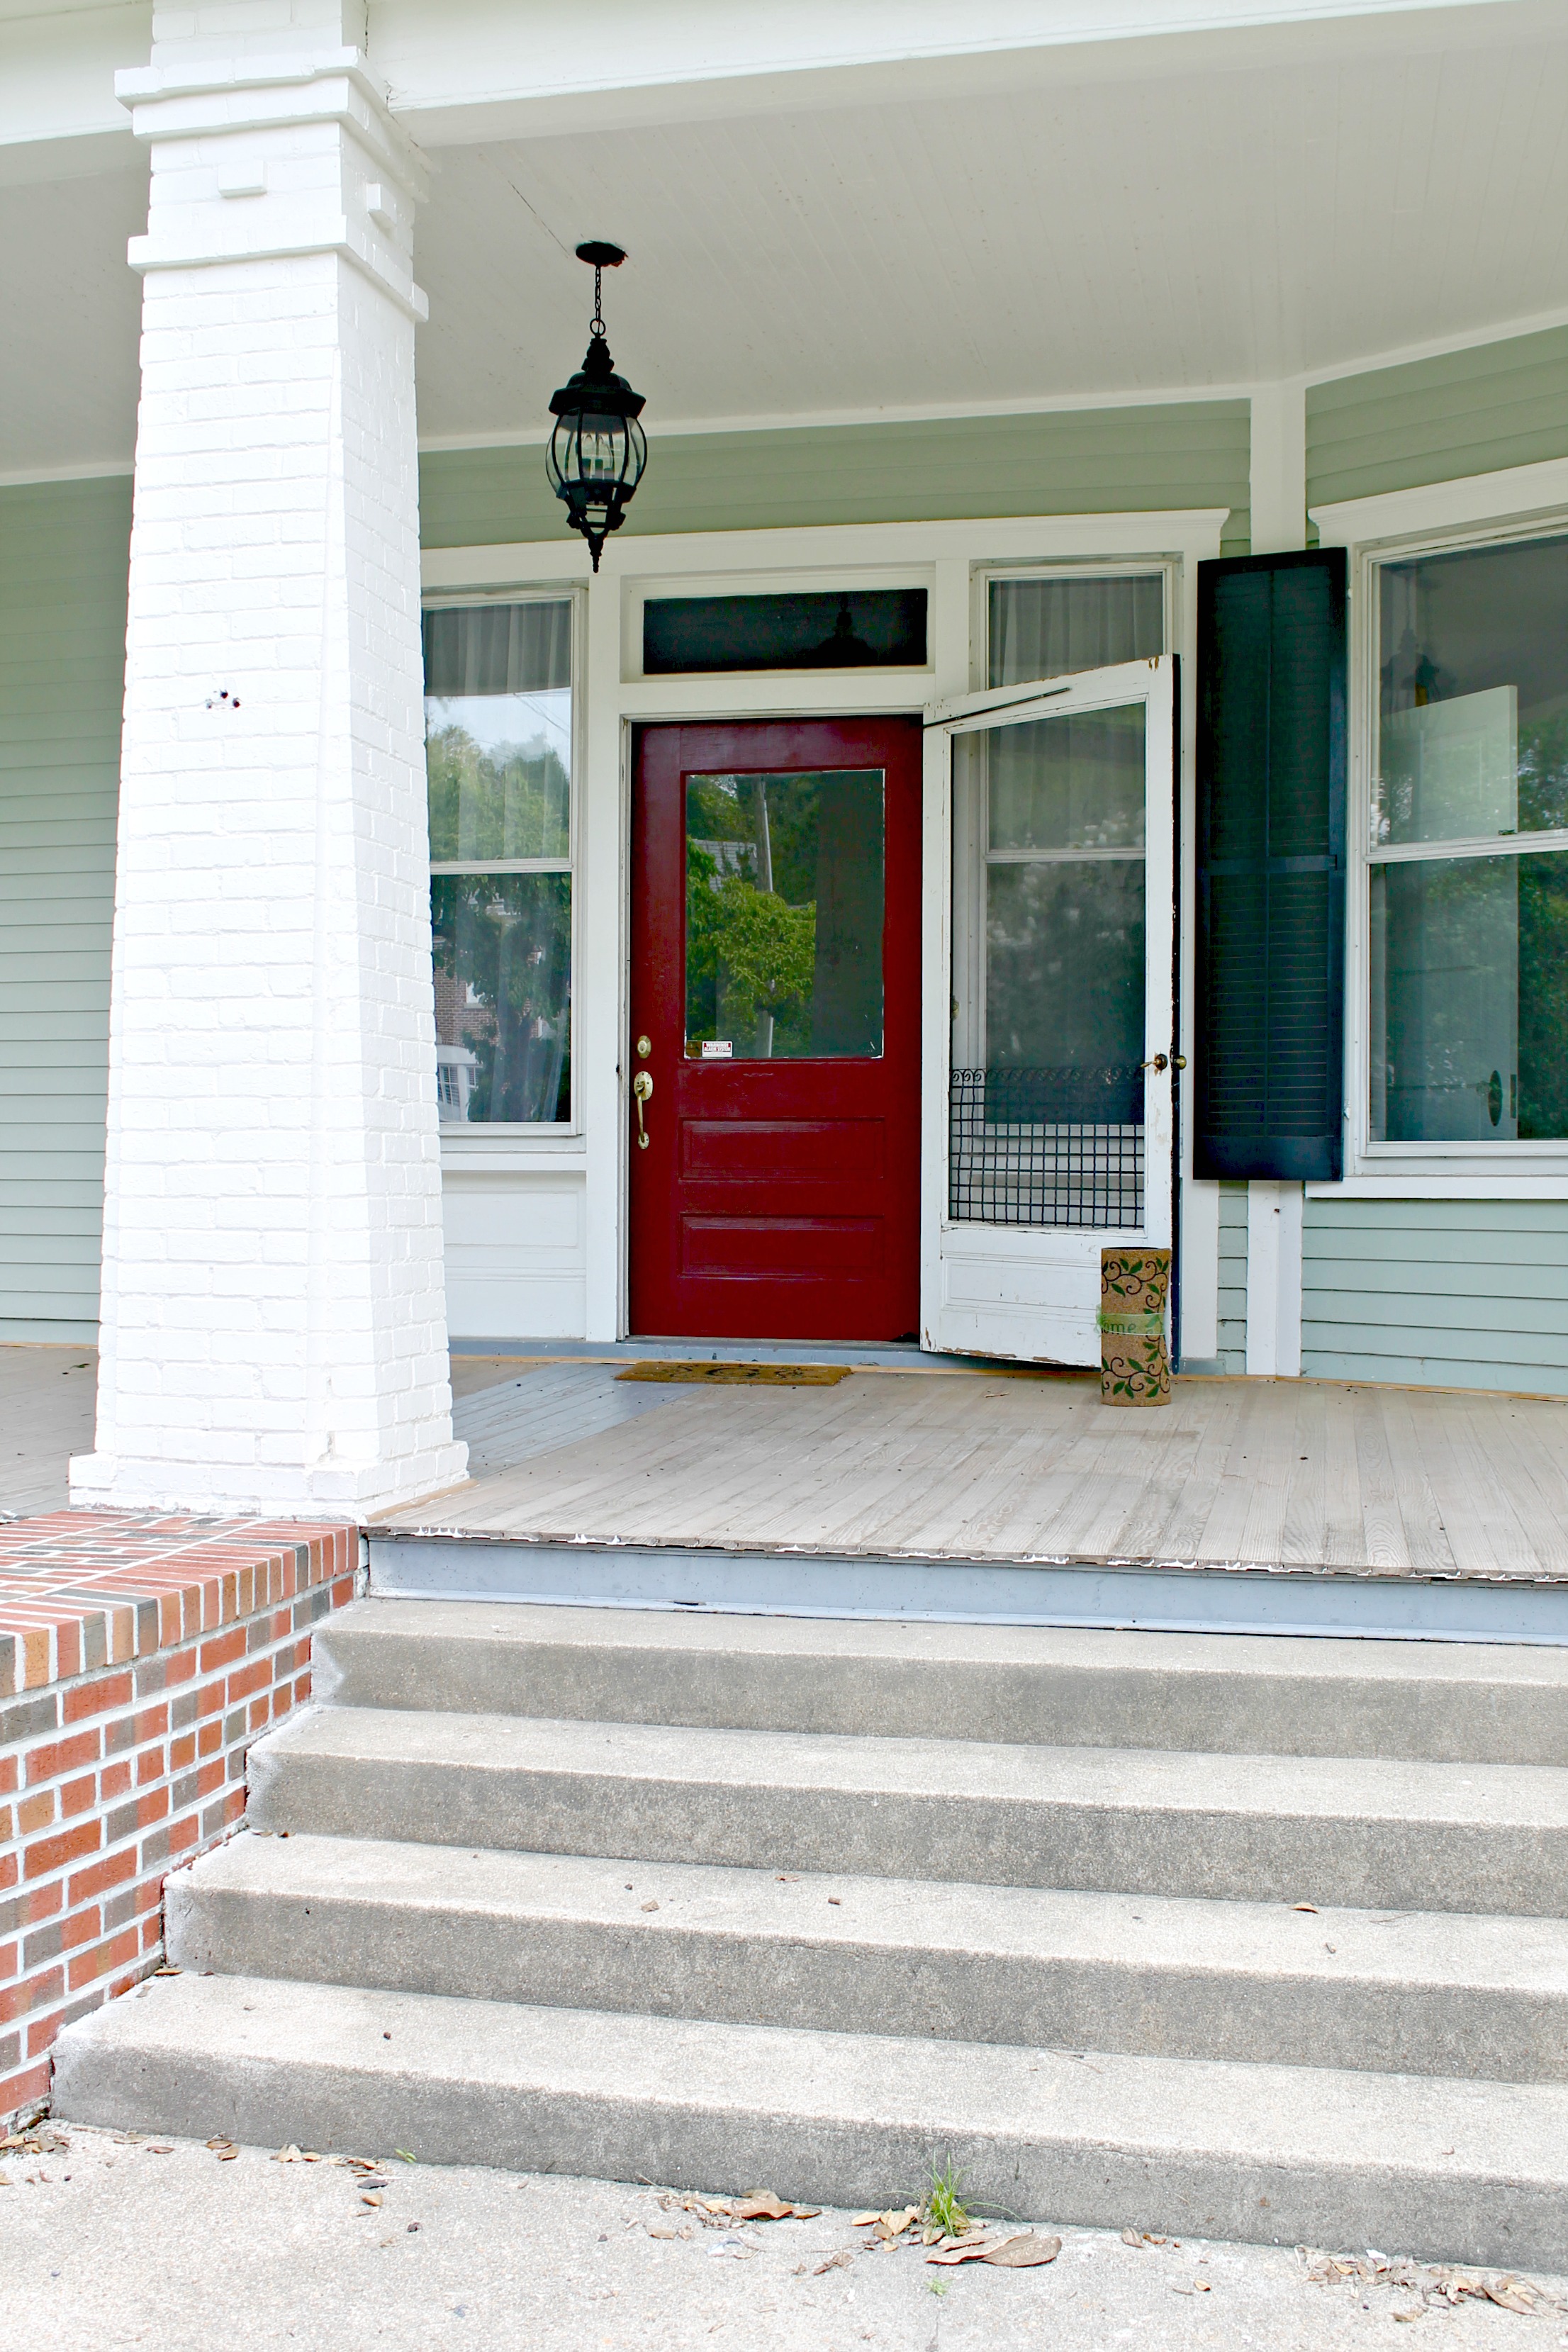
First things first, let’s start in the foyer. Here is what our entry looked like before move-in.

Entry Before and After

We wanted to give the house a more updated look, so we got rid of the cream trim, and stained our floors Minwax Dark Walnut.

Minwax Dark Walnut

Here are some detail shots, and another closer angle of the floors. We love how the dark floors turned out!

Flowers_In_Foyer1

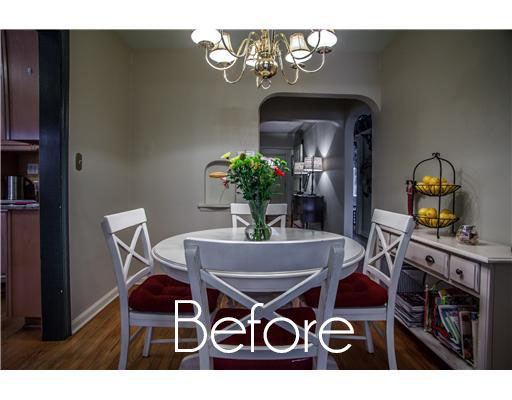
After you walk through the foyer, you land in the Dining Room. This room was really dark and dreary when we moved in, so we opted to remove the wall between the kitchen and dining space and add french doors on the side, so that we had more light coming through.

You can see the wall separating the kitchen and dining in the before shot, below.

Dining_Room_Before

And here is the after!

Sisal Rug in Dining Room

One of my favorite before and after rooms is definitely our kitchen. Now, I guess in all fairness I should start out by saying that Tuscan wall murals are really not my jam. Tuscan wine, totally. But wall murals, not so much. One of my first tasks once we moved in was painting over that job (I think it would have broke the previous owners heart, so I did feel kinda bad about it).

Kitchen Before

Alas, we decided to completely gut the kitchen and add some nice crisp white cabinets to keep the space feeling bright and open. One of my favorite details in this room was the herringbone tile backsplash we added behind the oven.

DIY Herringbone Backsplash

Here’s another shot of the kitchen, looking out from the Dining Room.

Kitchen After

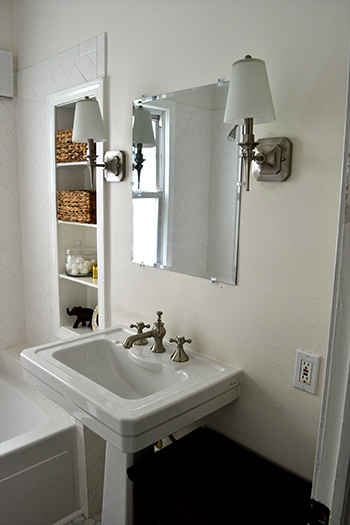
You can pretty much call this the house of herringbone, since I continued that theme right on into our downstairs bathroom. Although the bathroom was pretty basic, and definitely not offensively bad when we moved in, I knew that I wanted to spice things up a bit, and get rid of some of the more basic renovations that had been done a few decades before.

This is the before.

Bathroom Before and After

And this is how we transformed the space, after.

Traditional_Marble_Bathroom

I wanted the room to feel authentic to the time period of the home, so I opted for some sweet little cross handle details on the tub and sink faucet. They’re from Kingston Brass, and we absolutely loved them.

Kingston Brass Cross Handle

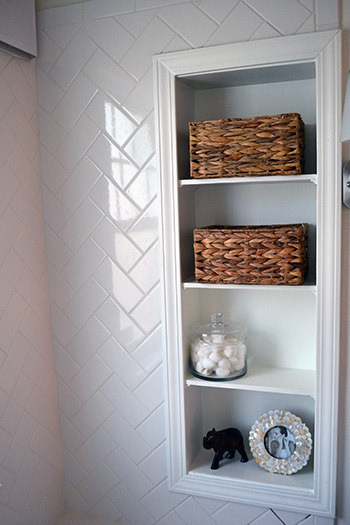
We didn’t have a lot of storage in this small bathroom, so we decided to create a small inset cabinet while we had the room down to the studs. I love how it turned out – it was perfect for stashing toiletries and accessorizing the space.

bathroom_built_in

One of the value adds for us on this house was the fact that it had a finish-able attic, which we eventually converted into our Master Suite. It was a ton of work, but in the end, it was definitely one of the selling features for the house, so I’m very glad we did it!

Although the room had some finishes already, it was really dated, and really bad quality. We decided to rip everything out to the studs, insulate it (we did live in Michigan after all!) and add a half bathroom.

Attic Conversion

This is what the room looked like right before we moved out.

Converting Attic to Master Suite

Overall, the space was MUCH more functional, and we really loved how everything turned out!

Converting Attic into Bedroom

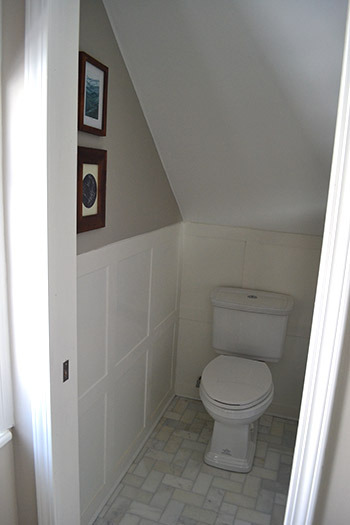
We also decided to add a very small half bath on, so that we wouldn’t have to trudge down a flight of stairs if we wanted to use the loo in the middle of the night. ;)

Installing_Toilet_Against_Knee_Wall

Yep! Your eye’s are not deceiving you … even more herringbone marble tile. Can’t stop, wont’ stop.

Herringbone Tile Floor

We just purchased another house here in Durham, North Carolina and we’re already knee deep in projects. I’m loving every second of making our new house our home. Follow along with the journey here!

Paint It Red

UPDATE: The front screen door was painted too!

Some of you may know that Charles and I have gone back and forth on the color for our front door since the project started.  He has been firmly set on white and I have been firmly set on black.

black white

Since we couldn’t decide between black or white, we decided to look into a few other non-traditional, non-neutral colors. We discovered that a company called Modern Masters makes a paint specially designed for front doors.  It’s called…wait for it…front door paint!  There’s actually a Front Door Paint app (for iPhone and Android) that you can download to test out colors. After trying all 24 (yes, I may have gone overboard) of the colors, the paint color we chose was “Passionate.”

IMG_5633

First, we sanded the front door with an electric sheet sander to smooth everything out and knock off any shine.  Then we used sponge sanding blocks to get into the more detailed areas.  (Isn’t my hubs the best model?!)

IMG_5631 IMG_5630 IMG_5629

Pretty soon, our door was looking like this:

IMG_5625 IMG_5627

We decided to take the antique hardware off so that we could paint underneath it.  This was actually a bigger decision that it sounds…with antiques, you never have any assurances that things will go back together properly after you disassemble them.  Lucky for us, it all worked out.

IMG_5635 IMG_5636

After we finished sanding, we wiped down the entire door with a warm, slightly soapy rag.  Just a couple minutes of dry time, and we were ready to paint!

IMG_5632

We decided not to prime the door because we wanted the color as dark as possible.  I was a little concerned that it would come out too “fire engine red,” so we just left the base black.  Here’s a shot of the door after the first coat.

1 coat

To be honest, I was a little skeptical about the claims for this paint: you only need 2 coats, it dries super quick, and it never fades.  But we were pleasantly surprised! We started painting at the top of the door, and by the time we got to the bottom, the top was pretty much dry already.  So we just gave it a few more minutes, then started with our second coat.

2 coats

Amazingly, that was all we needed.  And we still have well over half of the quart of paint left!  We polished the hardware with a bit of brasso, and it made a truly remarkable difference!

IMG_5645

Overall, we are so so happy with our new front door!

IMG_5646 IMG_5647 IMG_5648

Next up, we plan to paint the screen door red as well.  Because our front door has such a large window, you really can’t see the red from the street with the screen door closed, so we think that painting the screen door will really make the house pop.  (Side note: the porch floor will be painted a dark gray to match the paint color of the roof…which is going on this week!)  And since we have so much paint left over, maybe we’ll hit the side door and back door as well.

Modern Masters claims that the paint will never fade, so I can’t wait to see how it holds up!  Don’t worry…I’ll keep you posted! :)

This post was sponsored by Modern Masters.  All content and opinions, as always, are my own.  Front door paint is available at selected Lowe’s and Ace Hardwares as well as online via Amazon or the Modern Masters online shop.