Category Archives: Reno

Our Bathroom in Stages

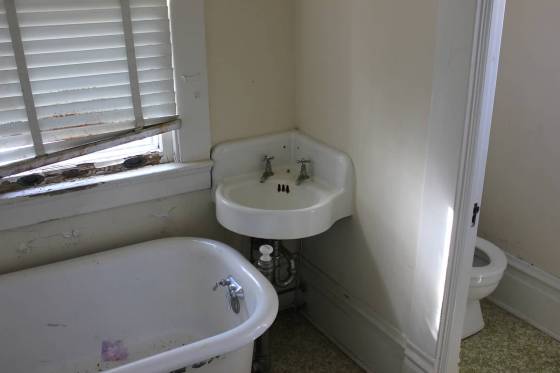
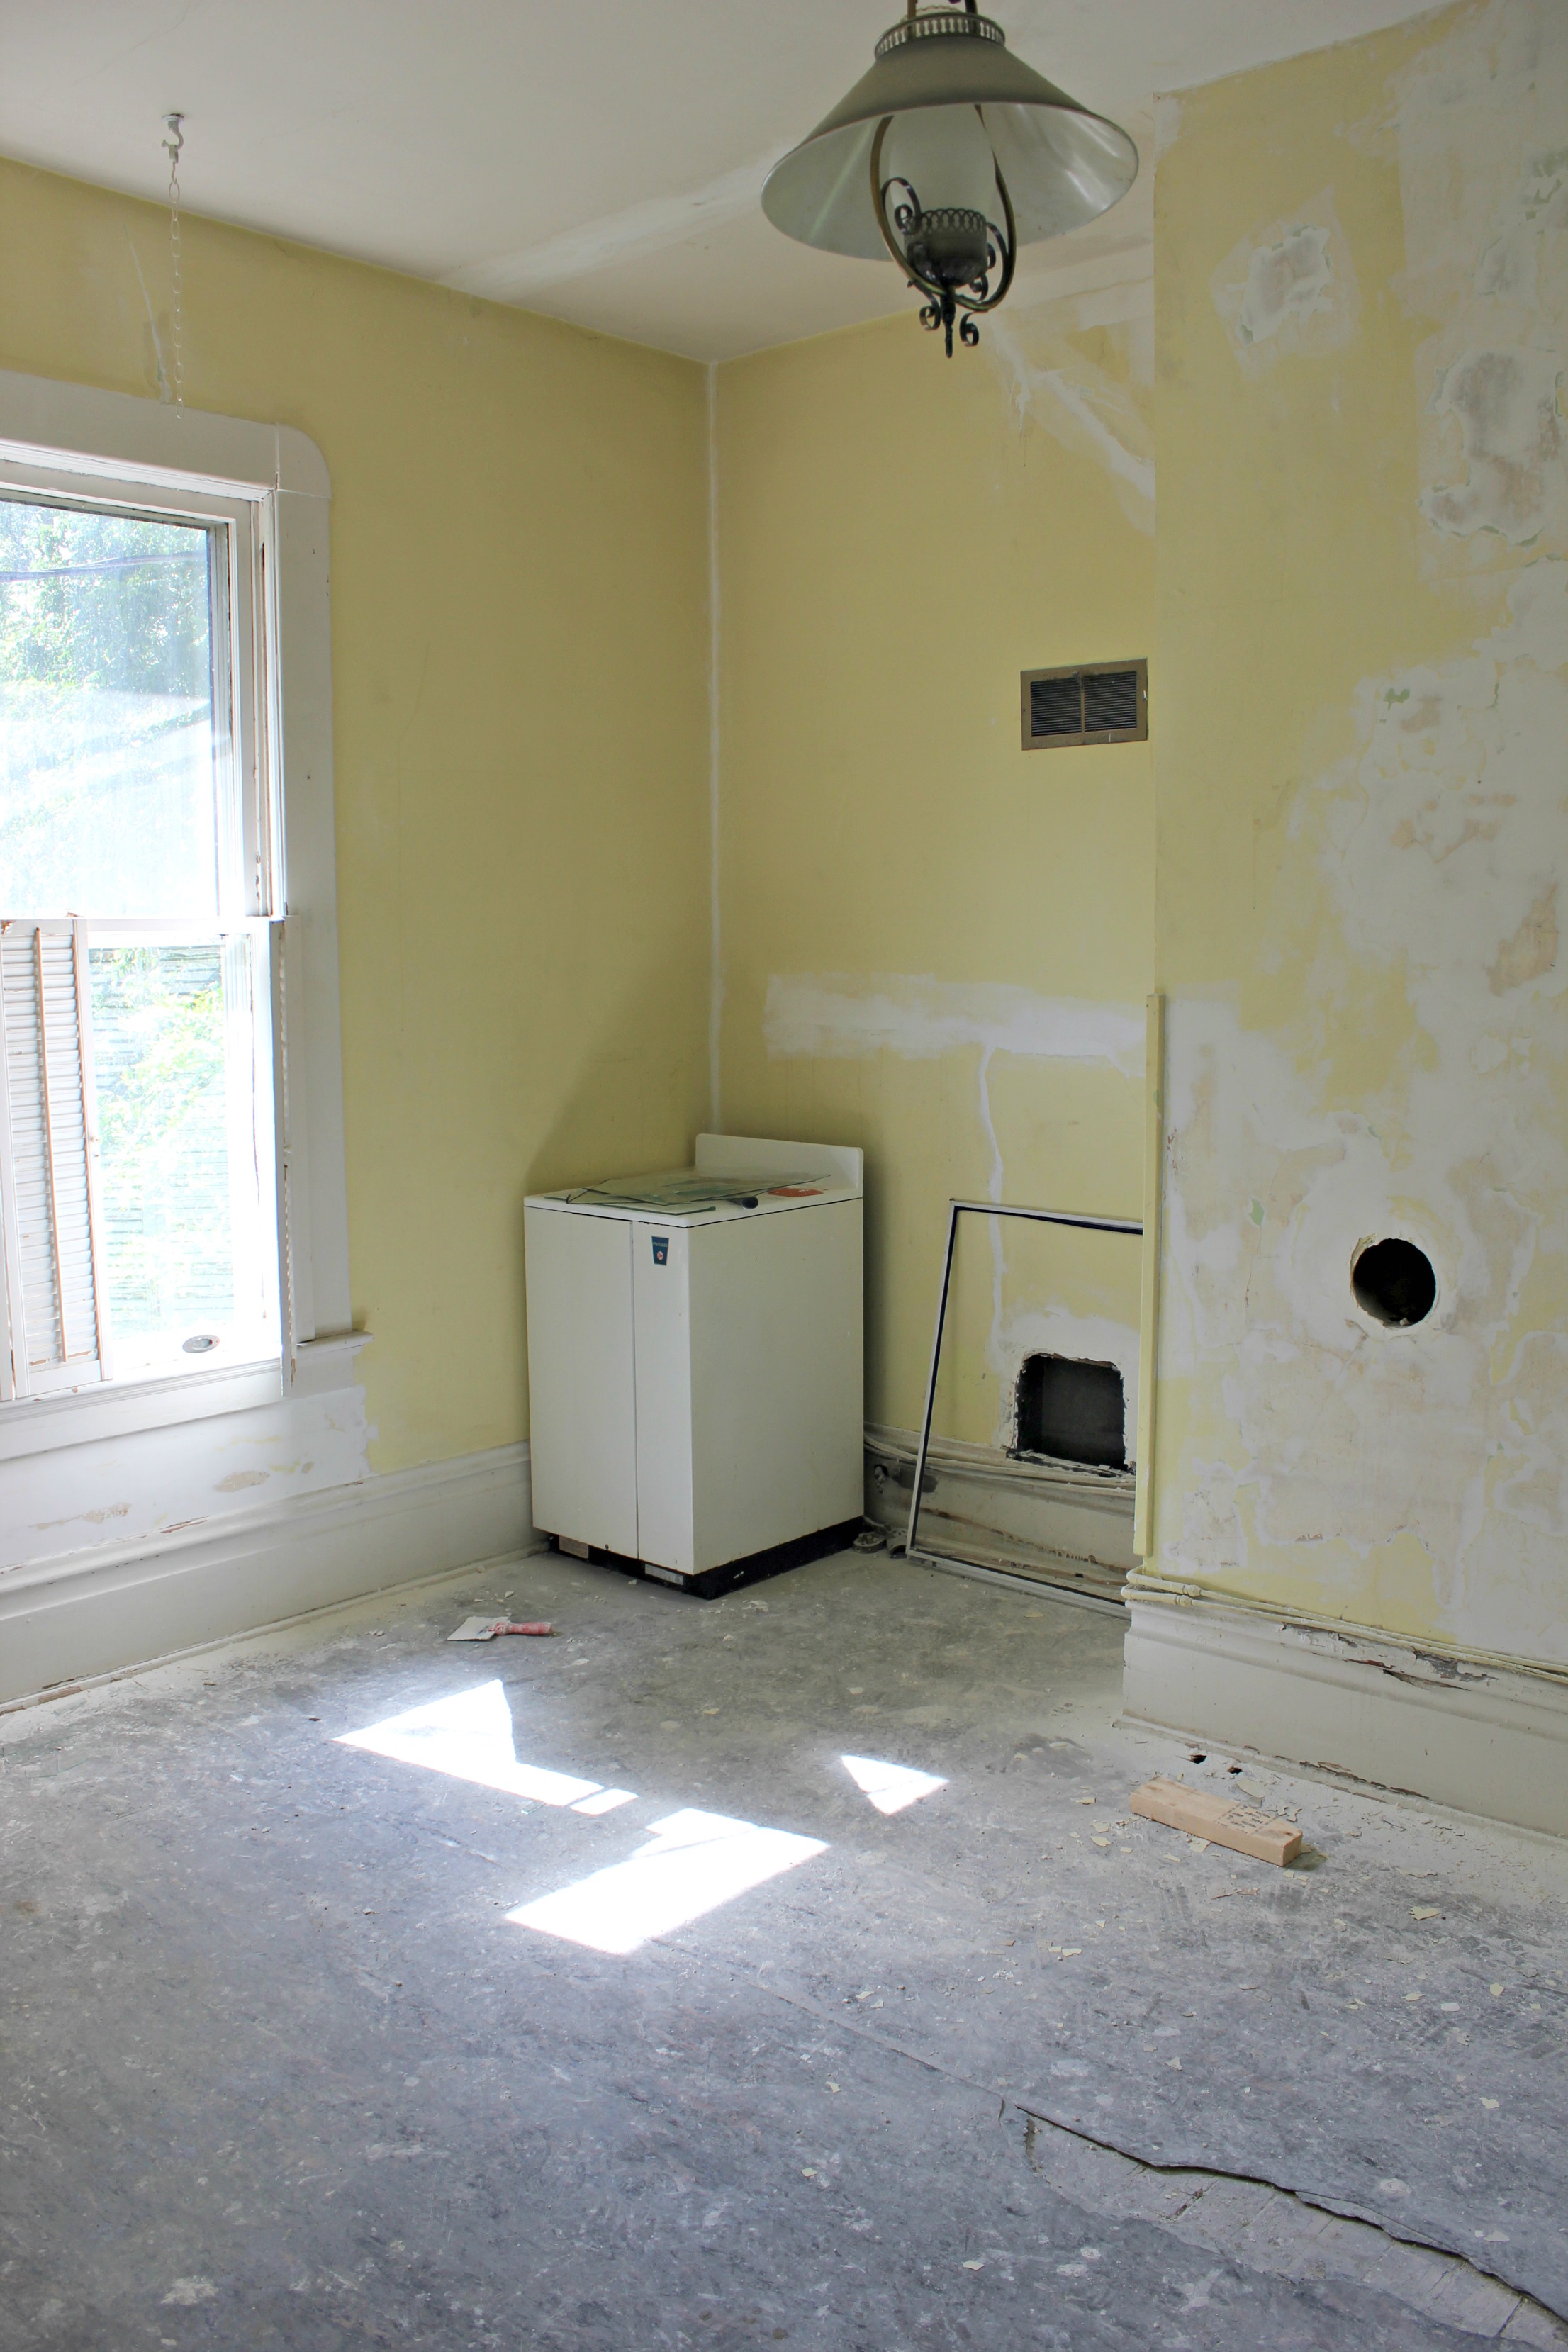
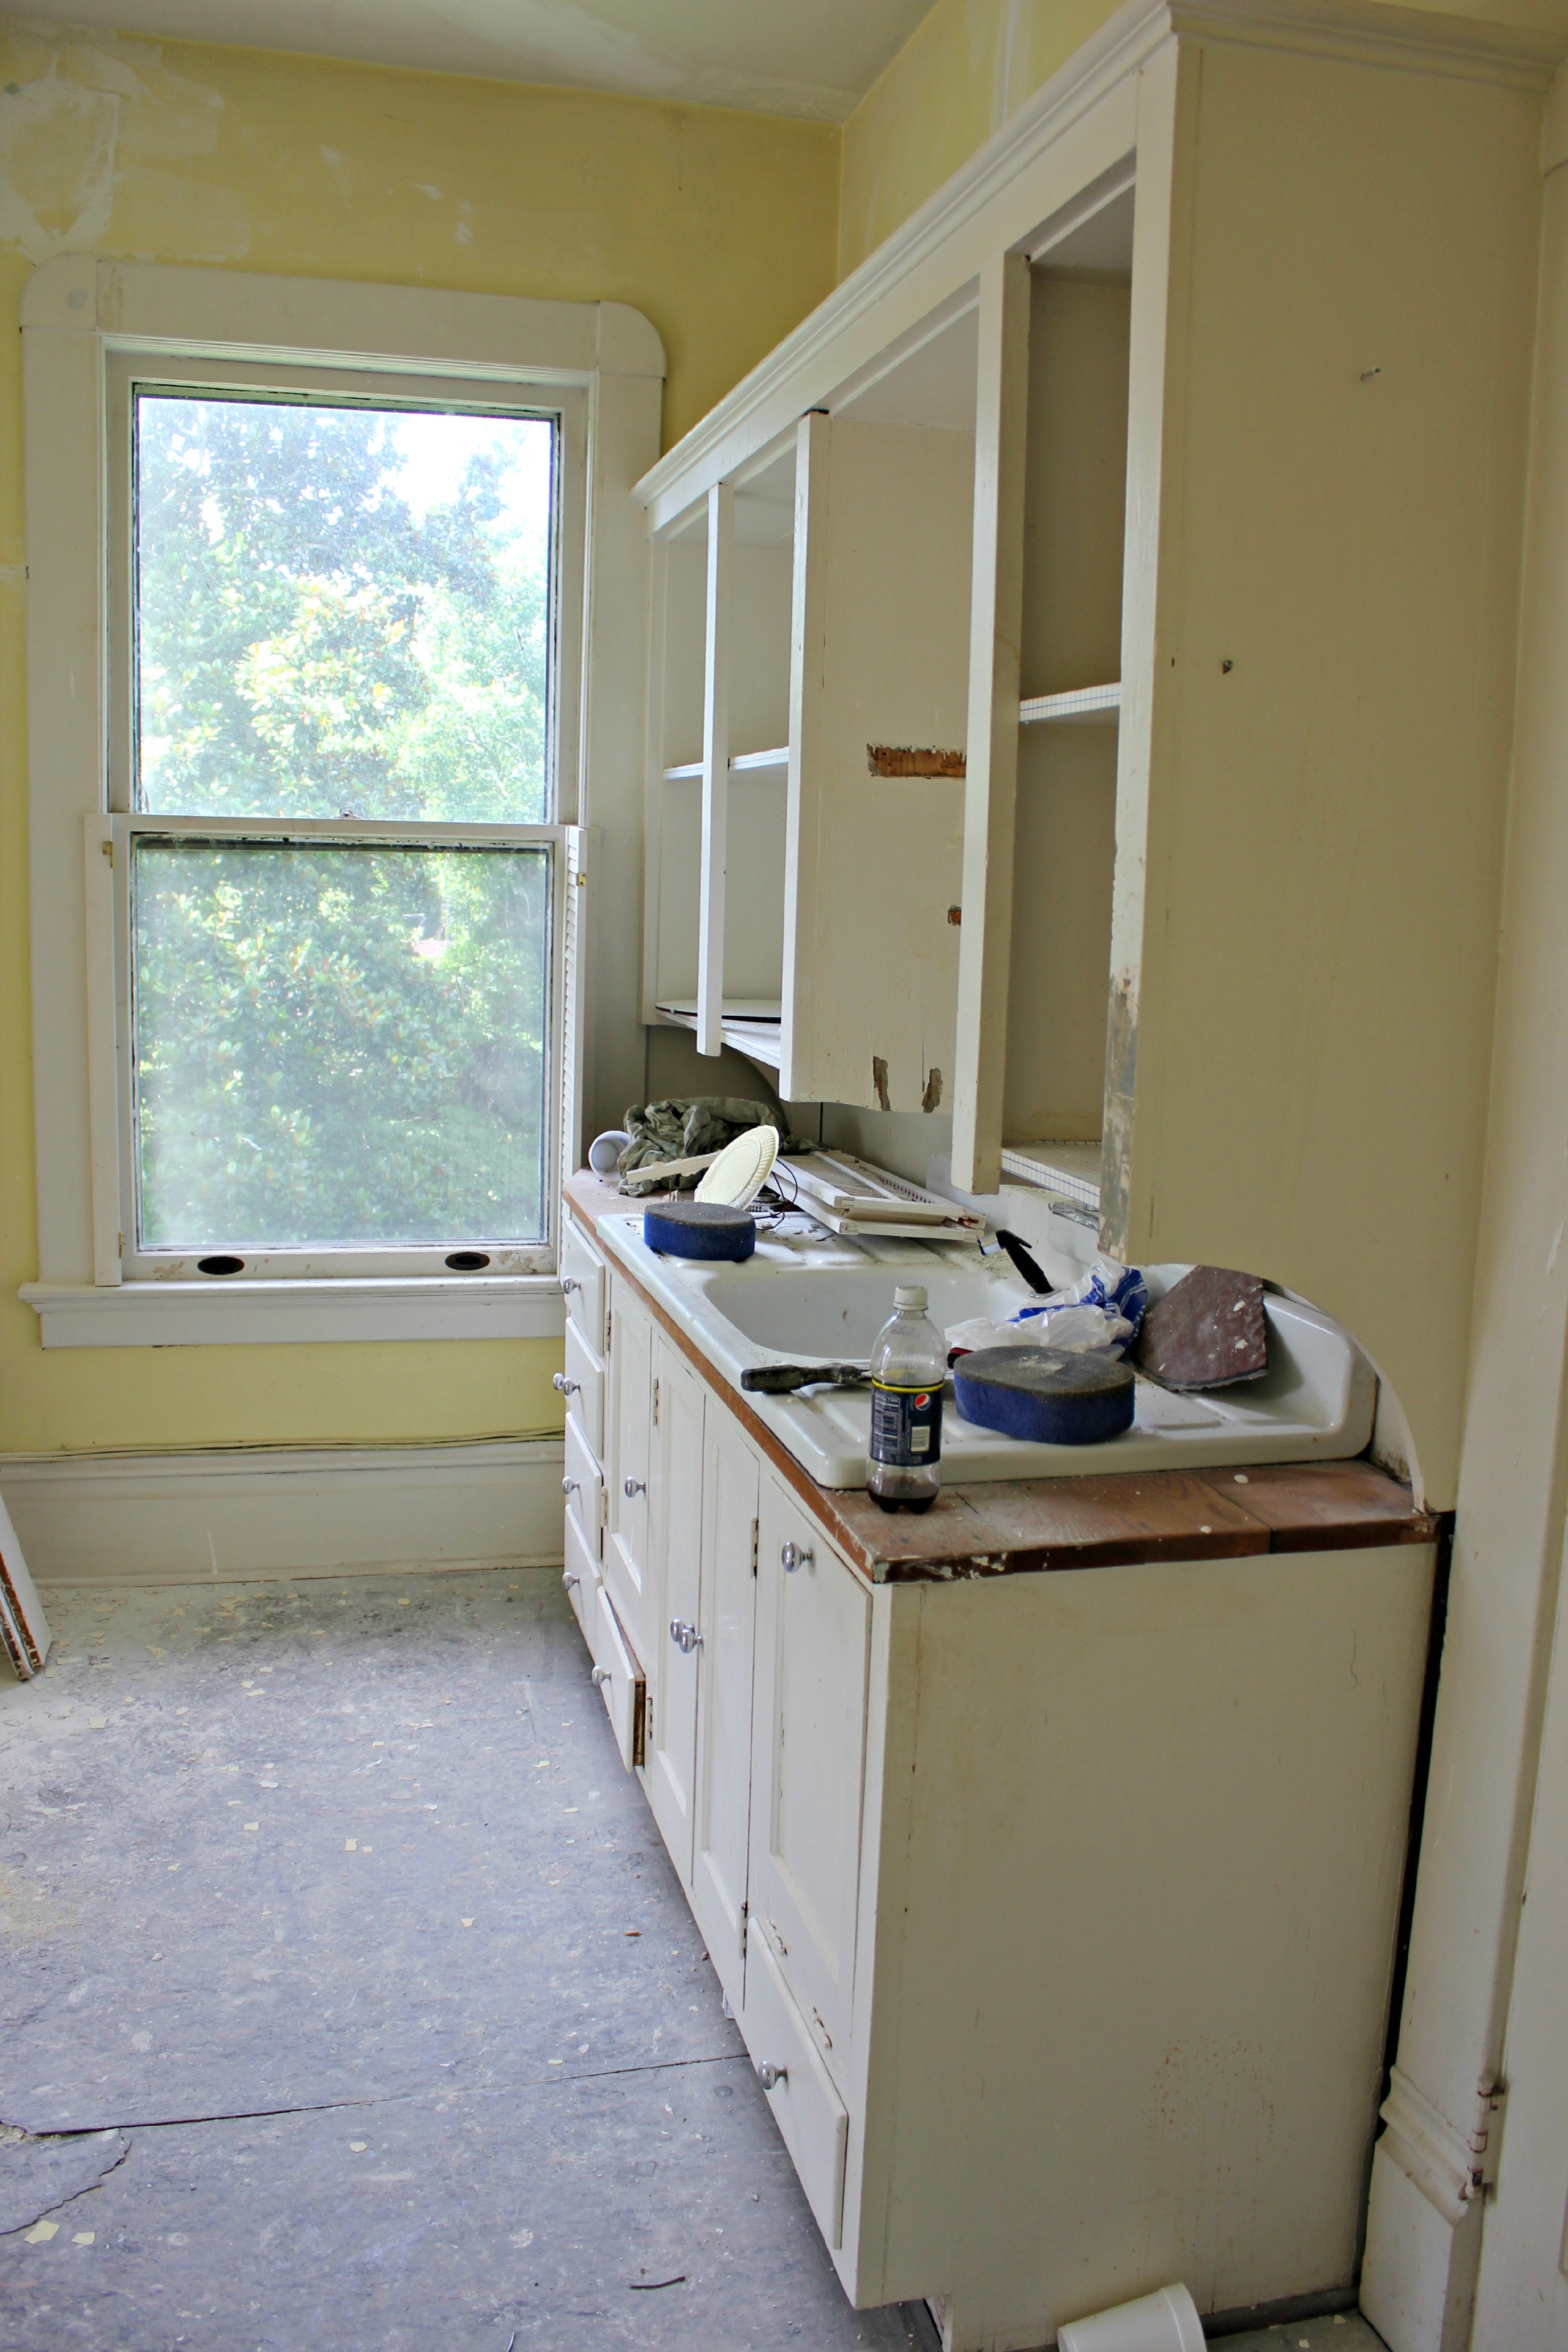
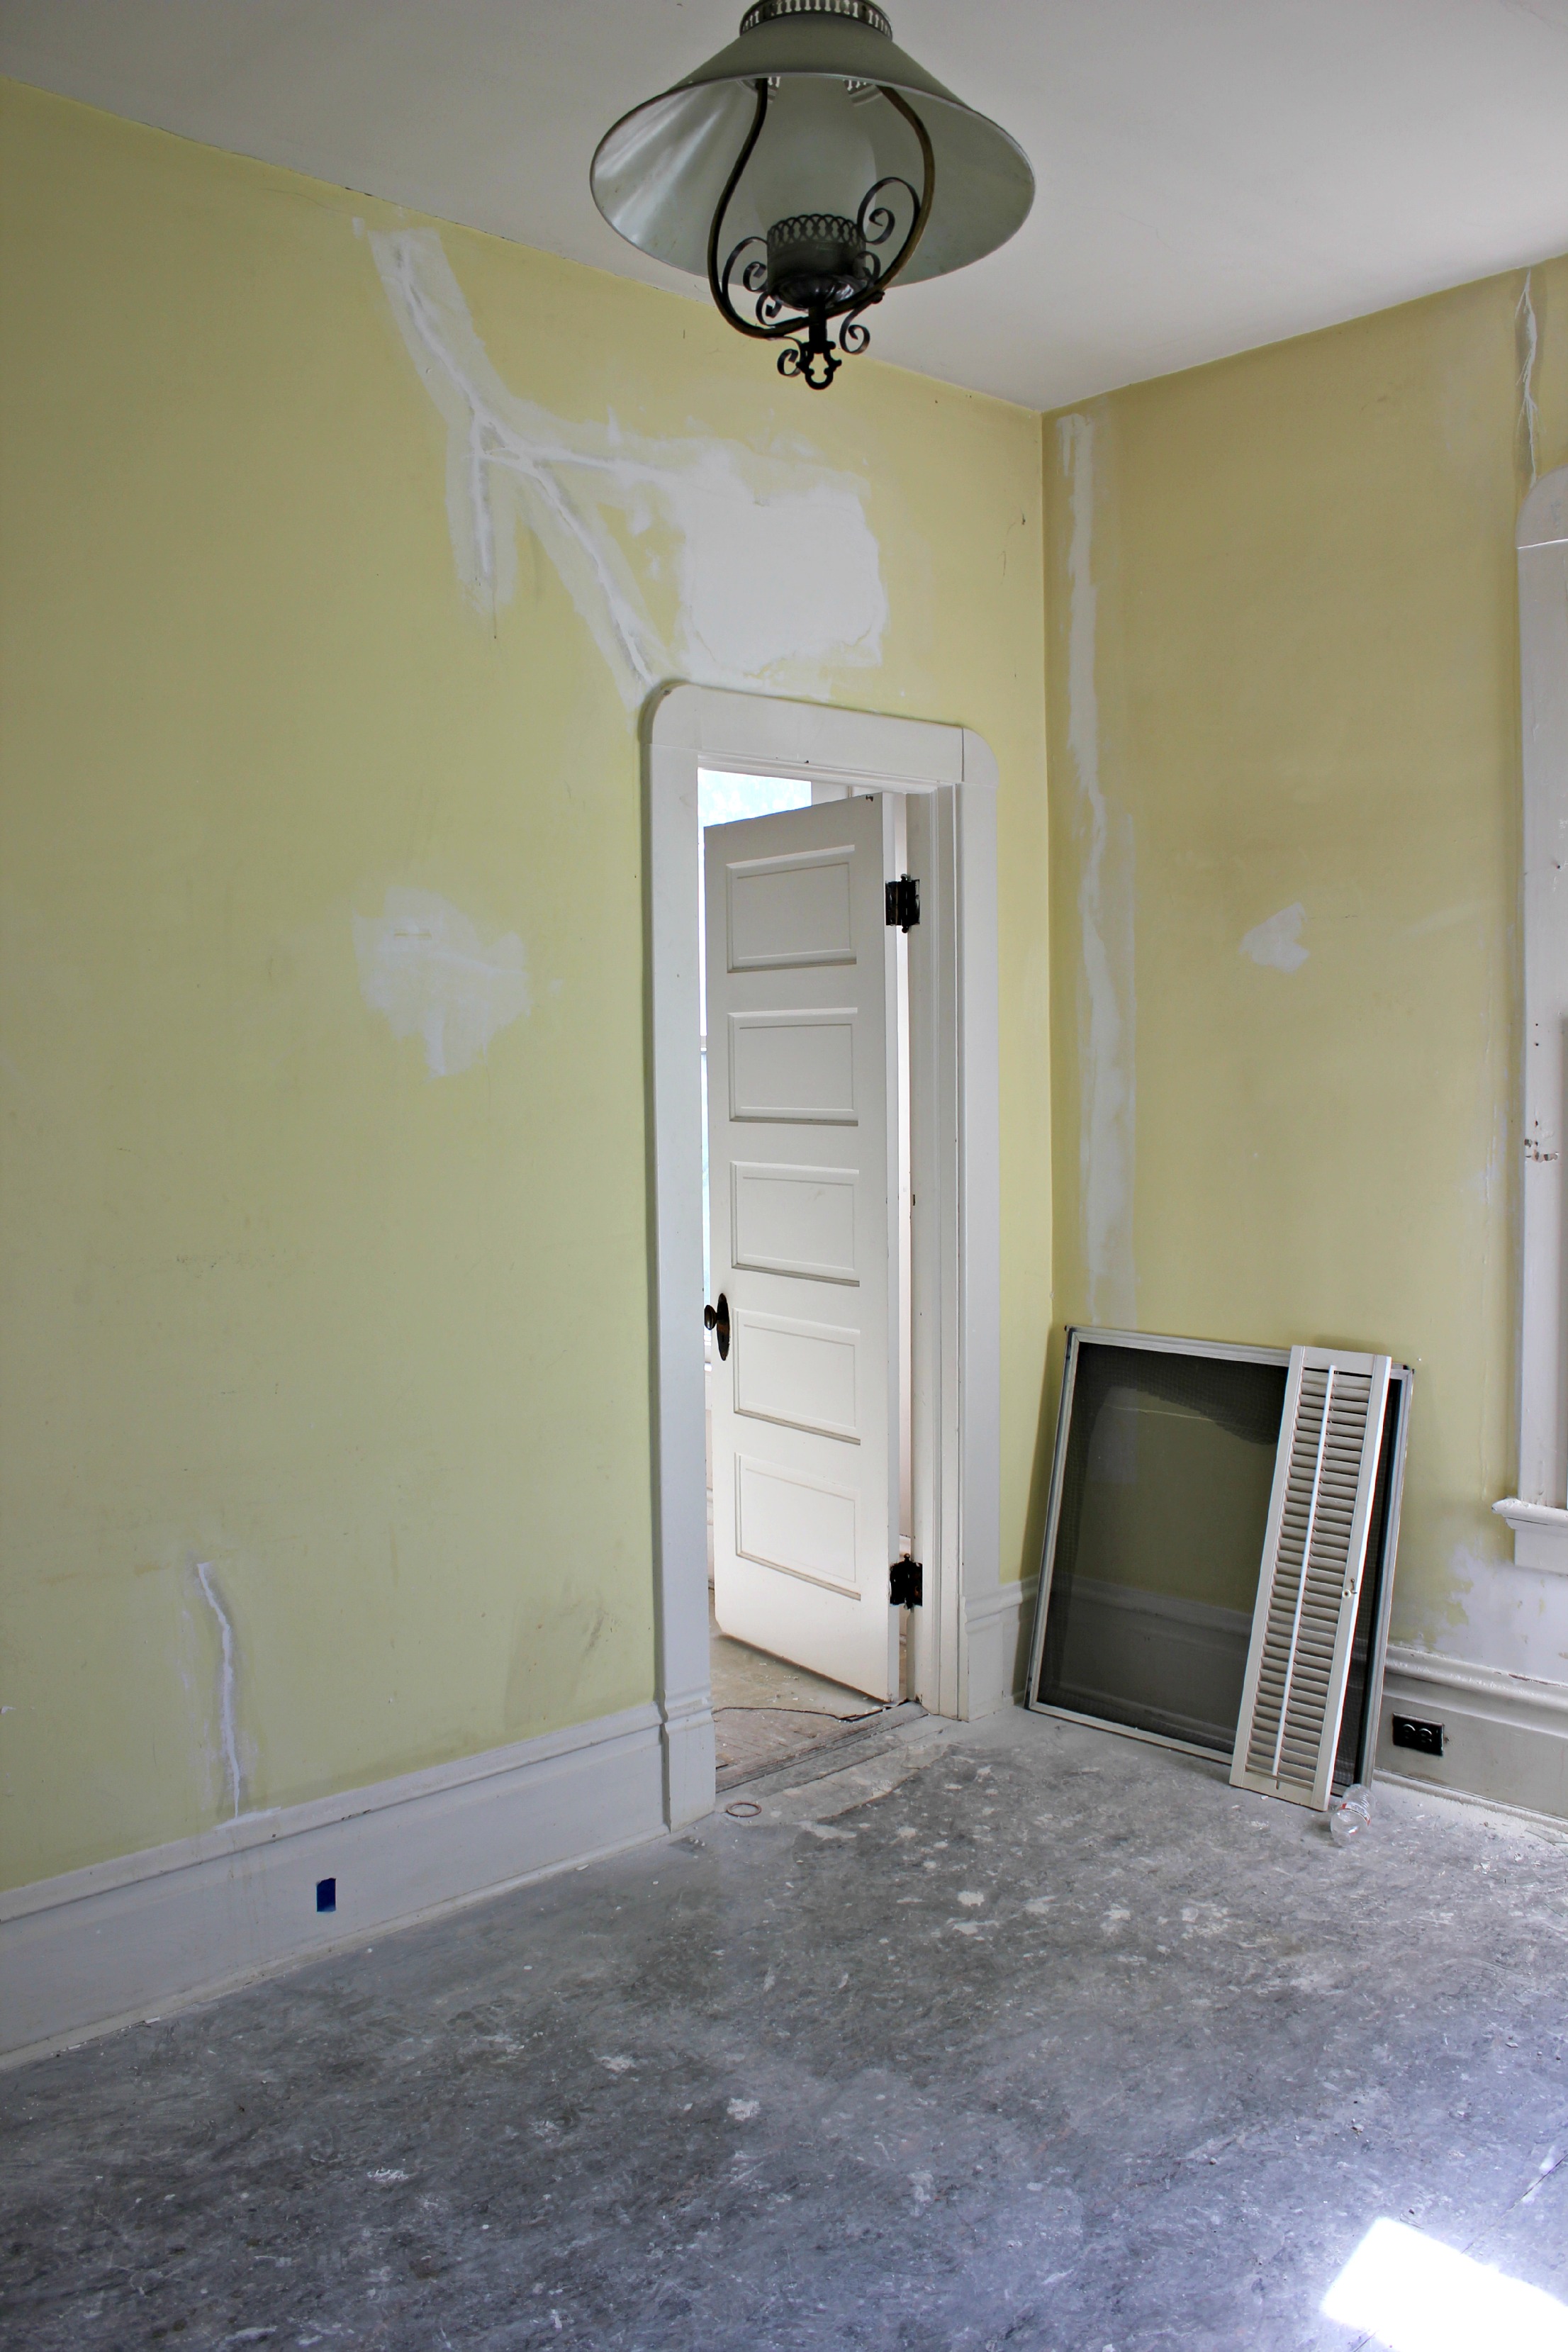
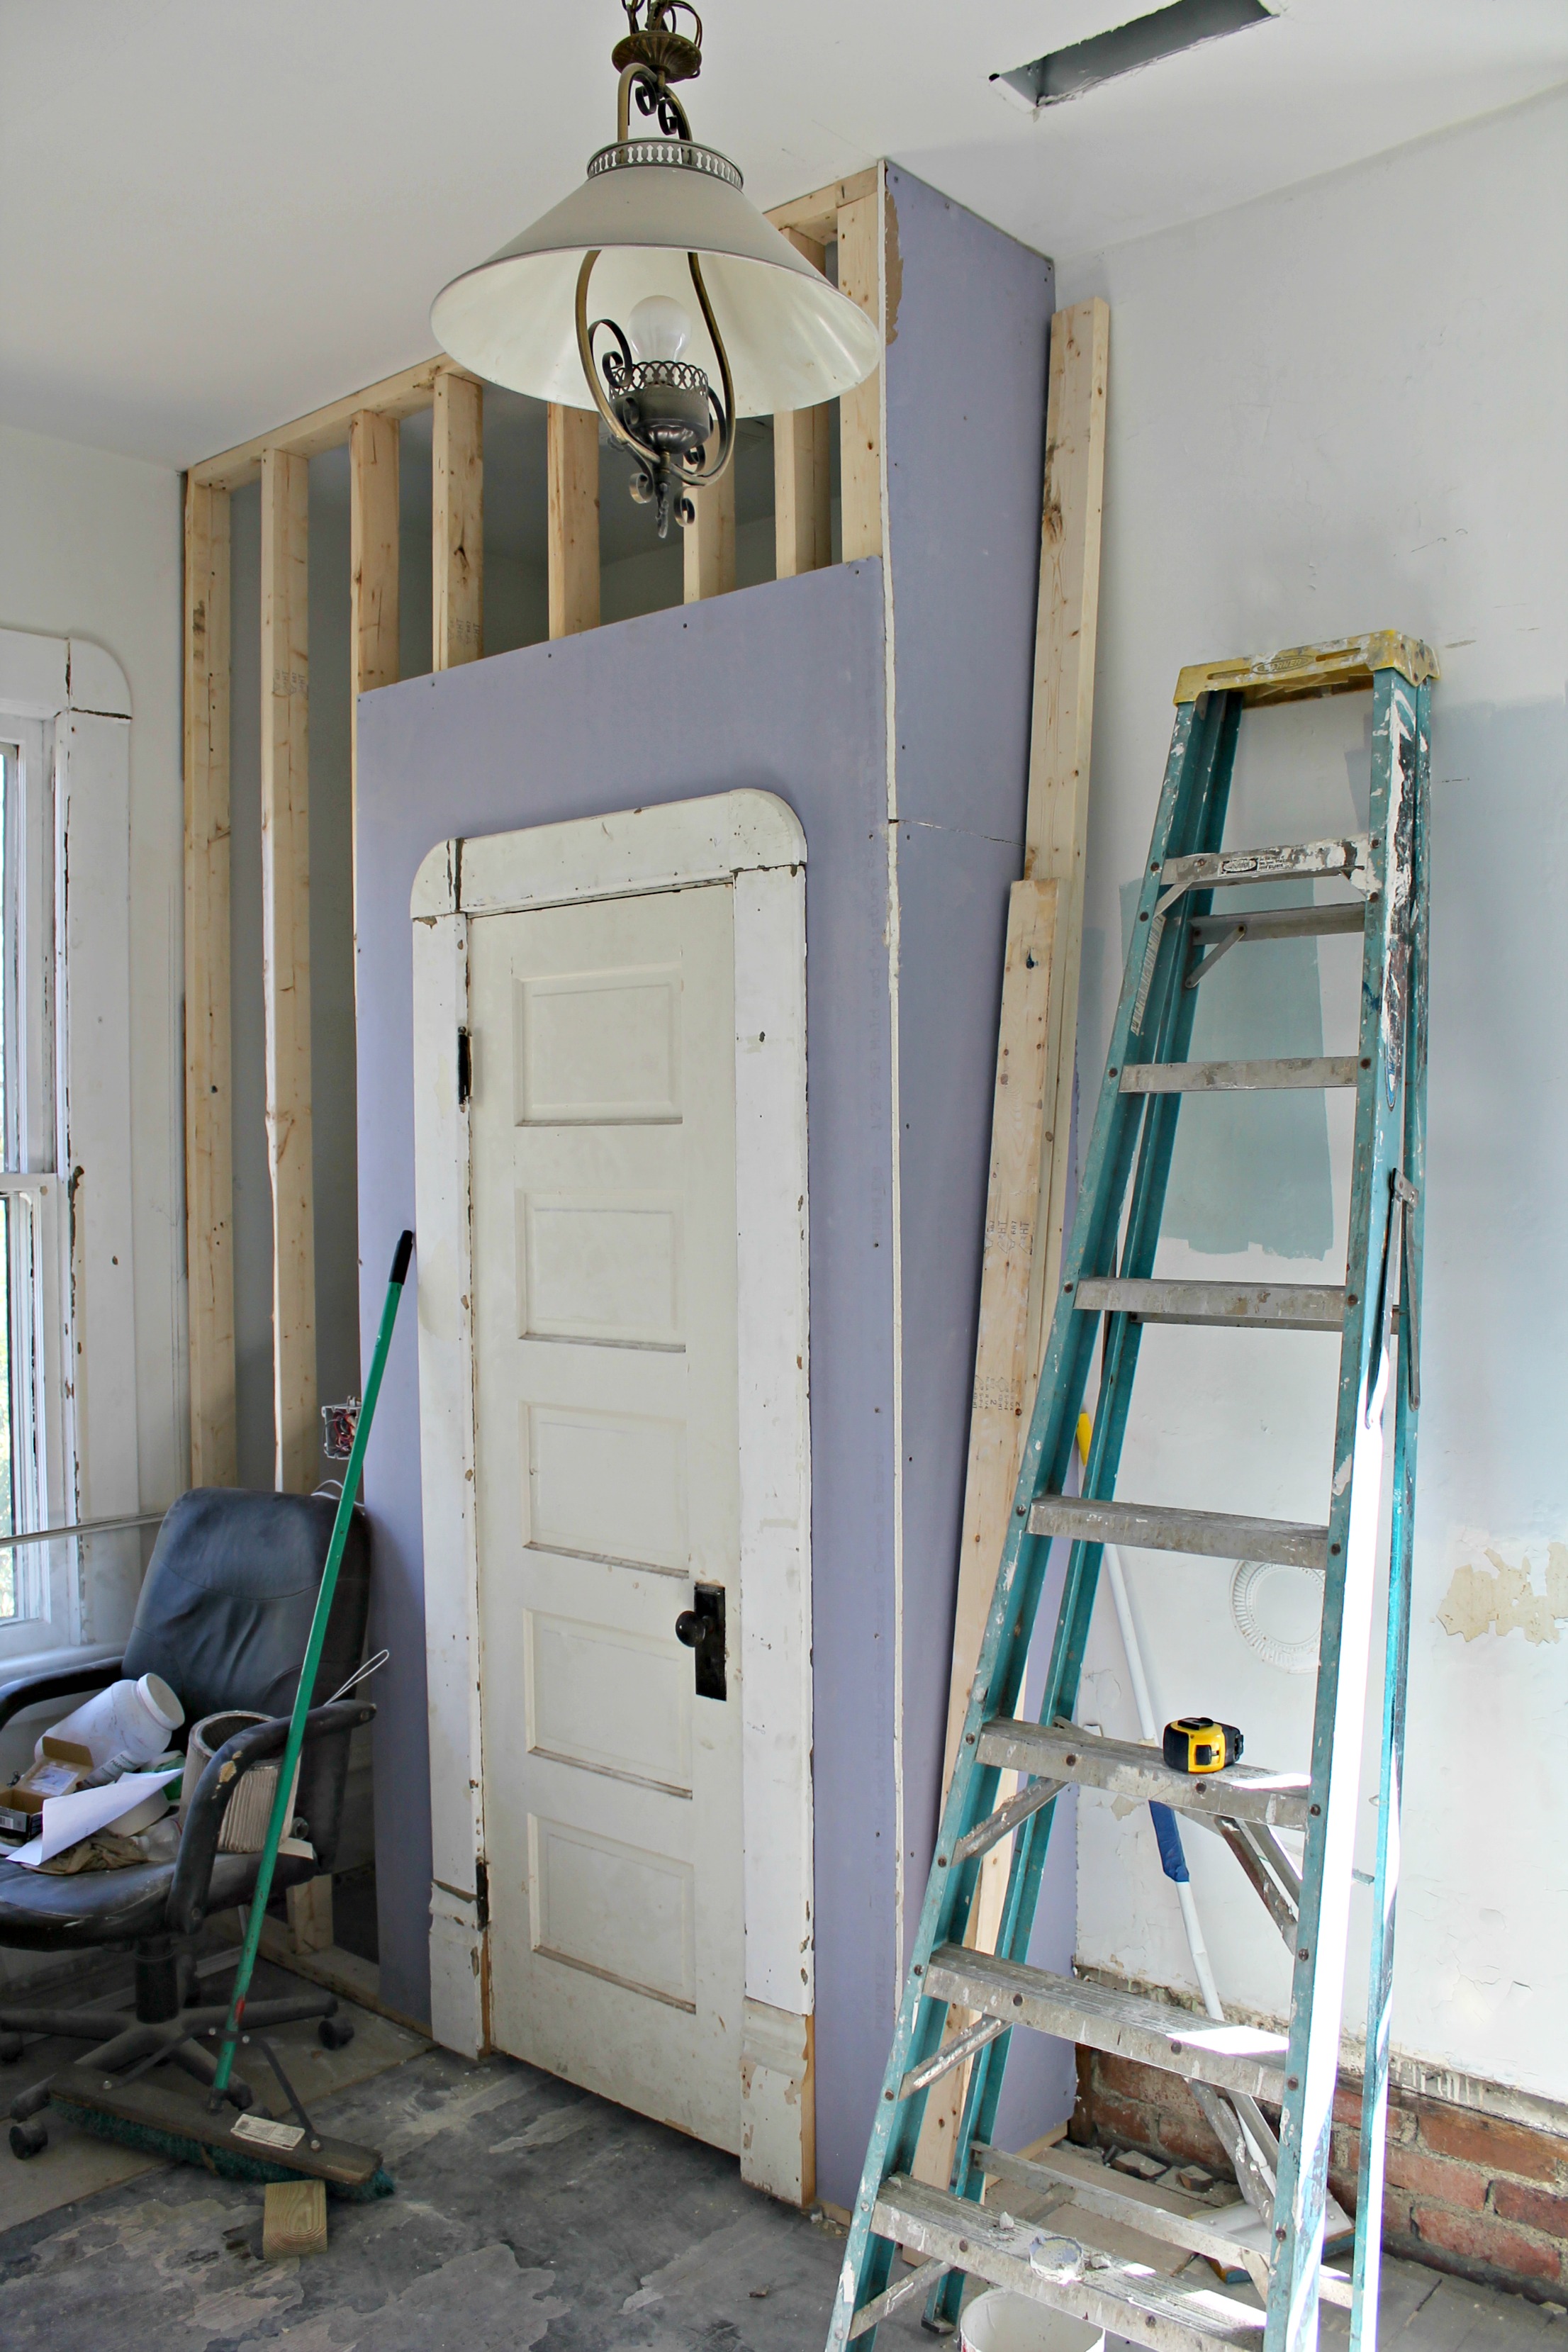
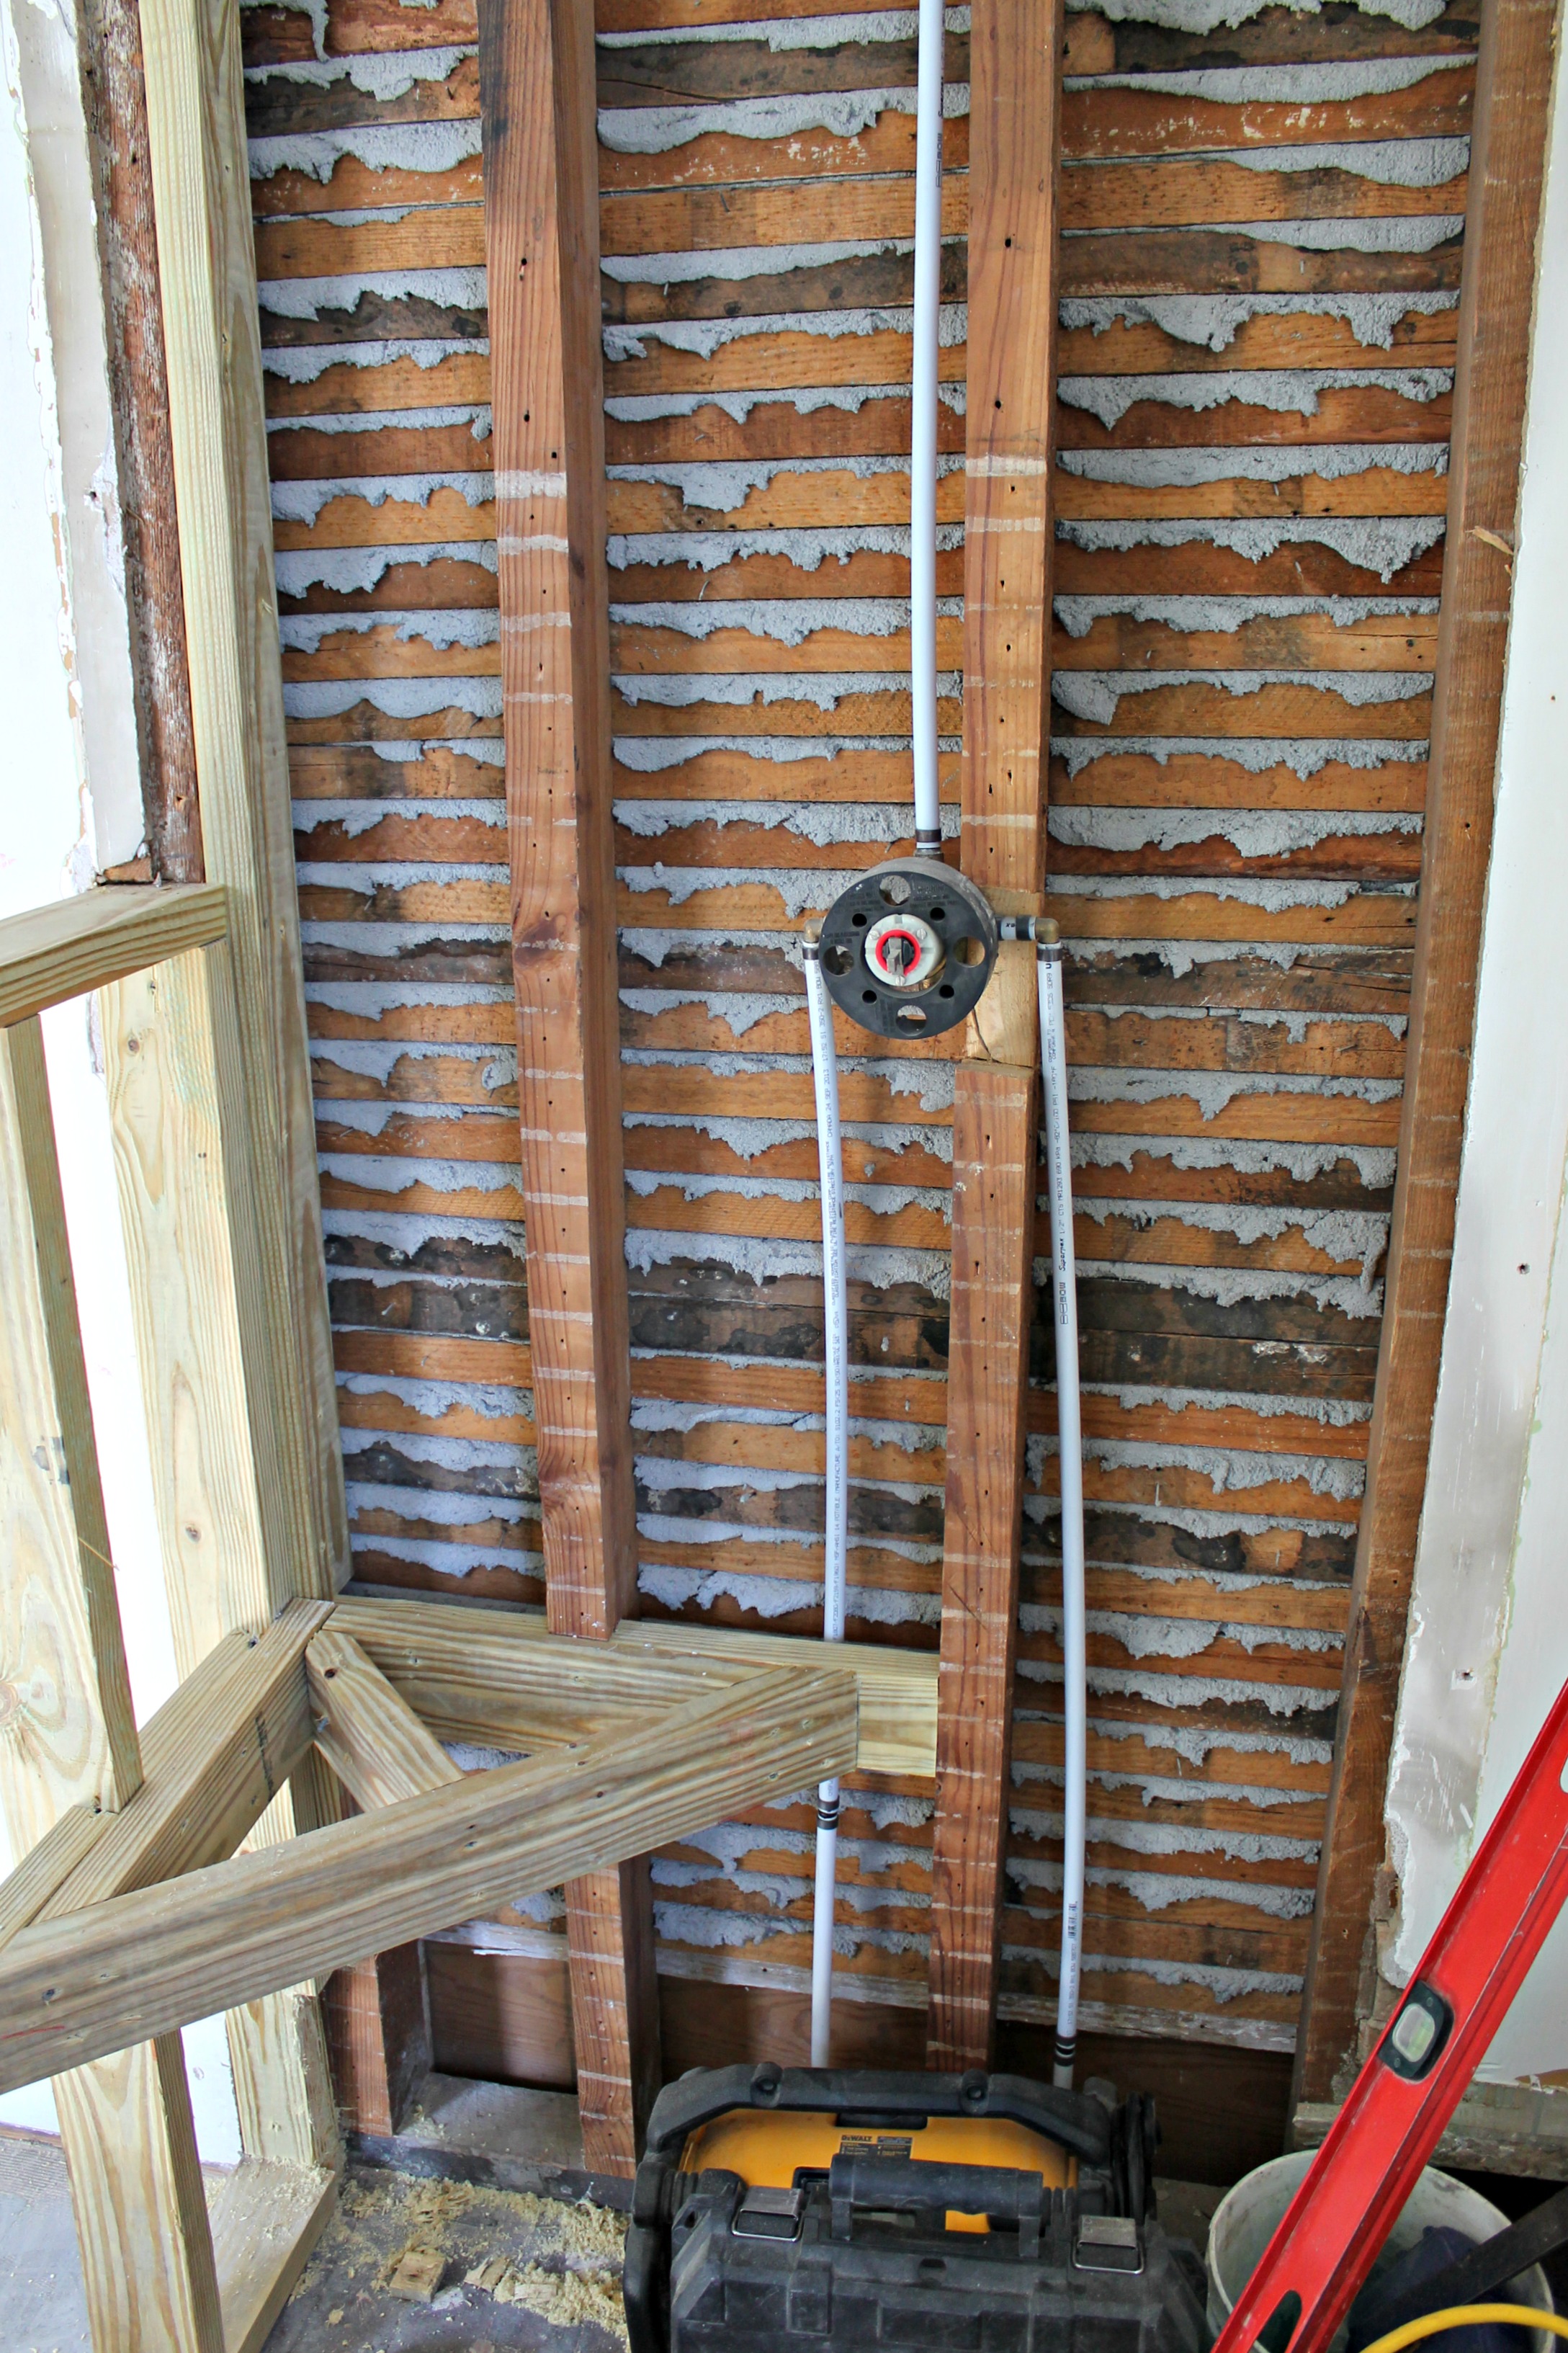
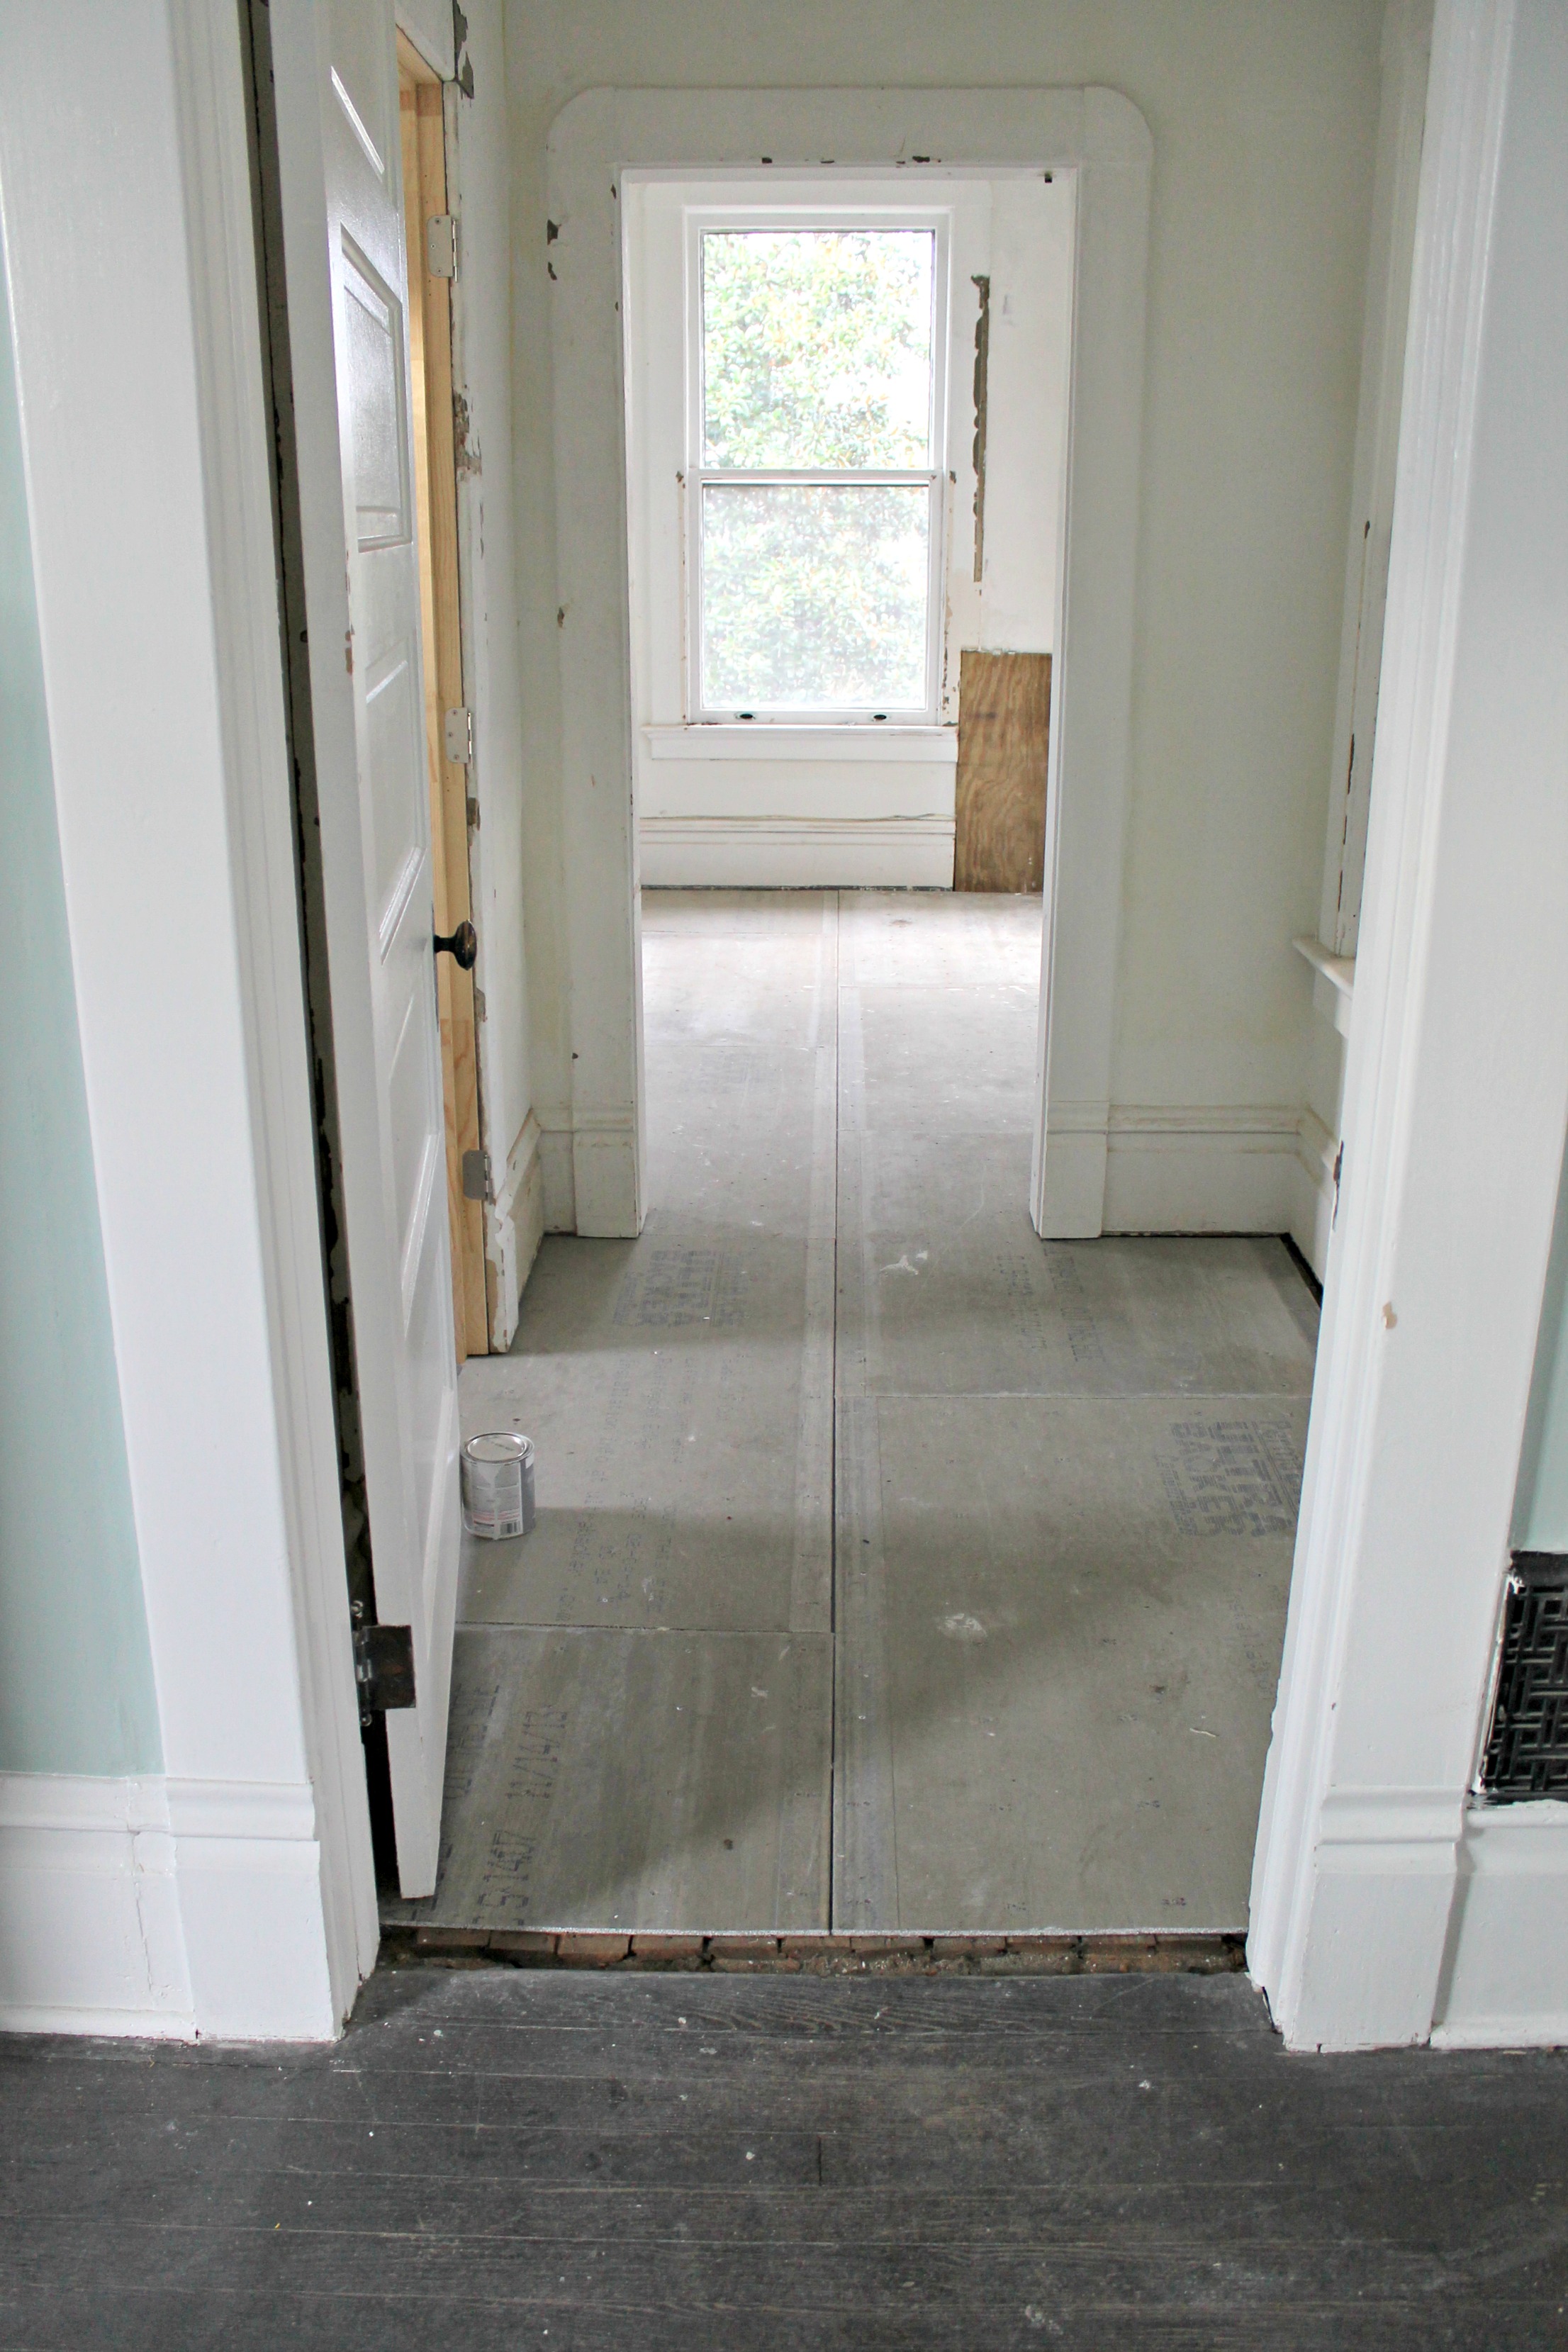
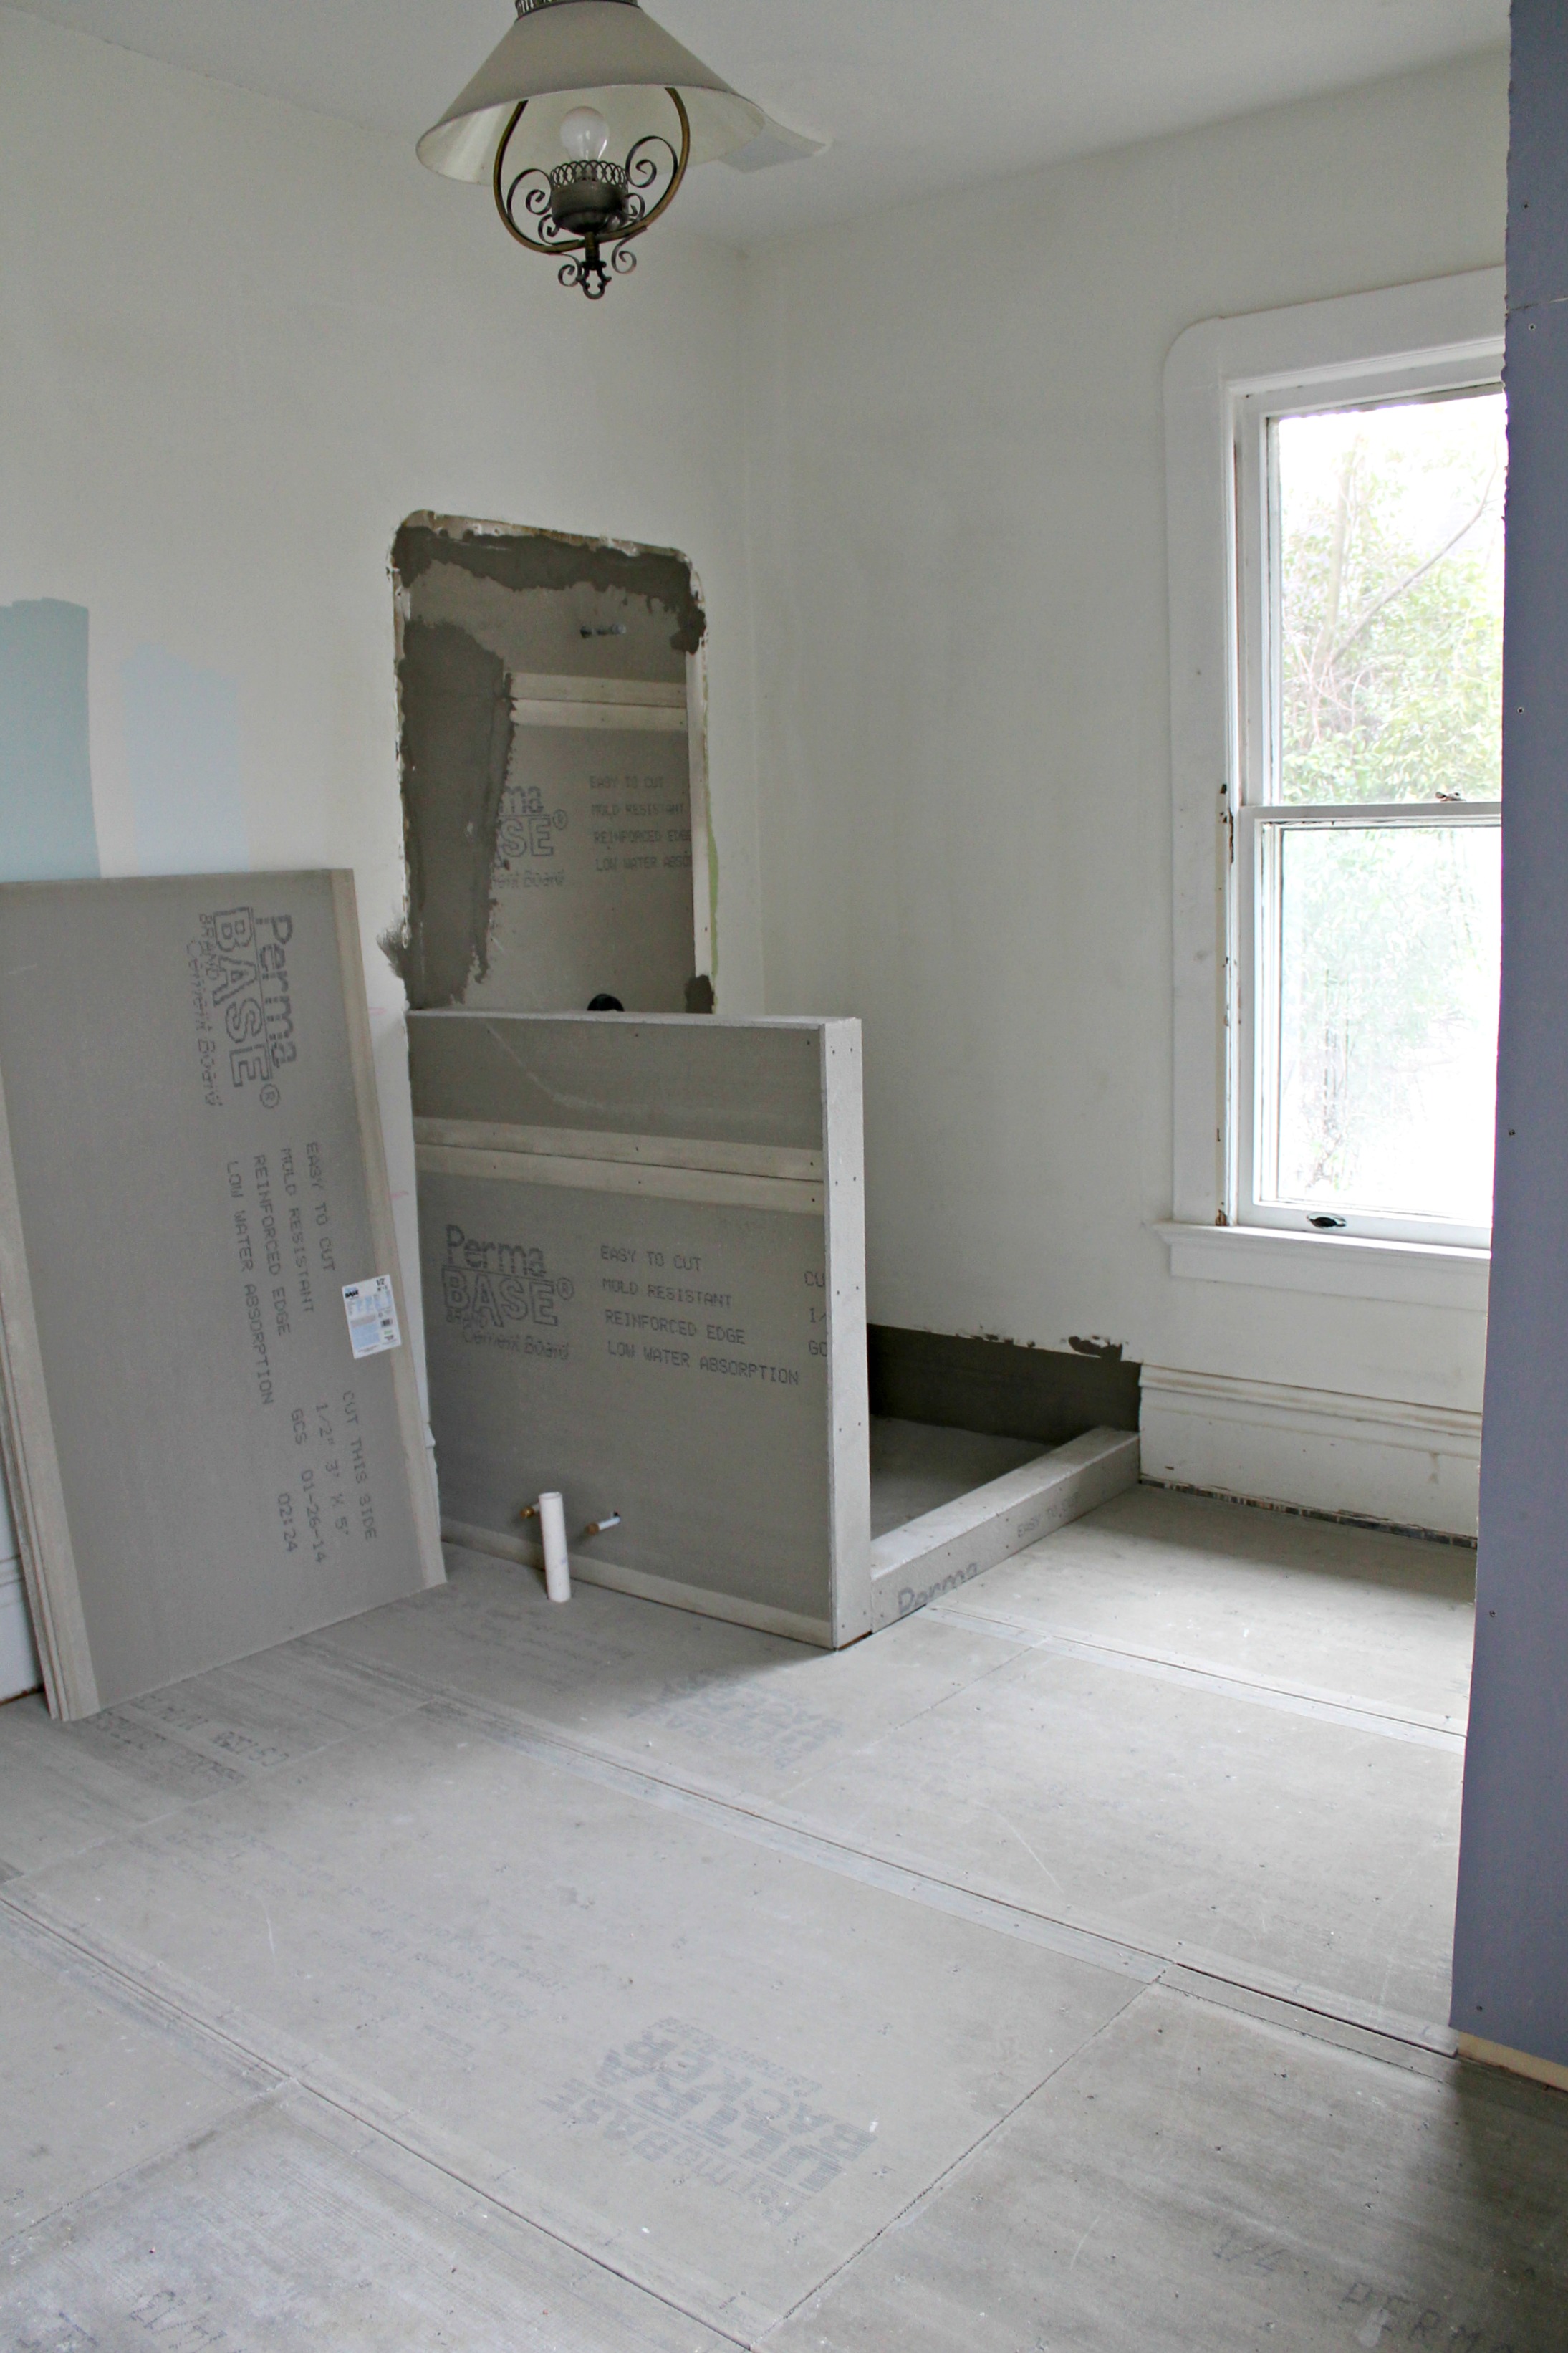
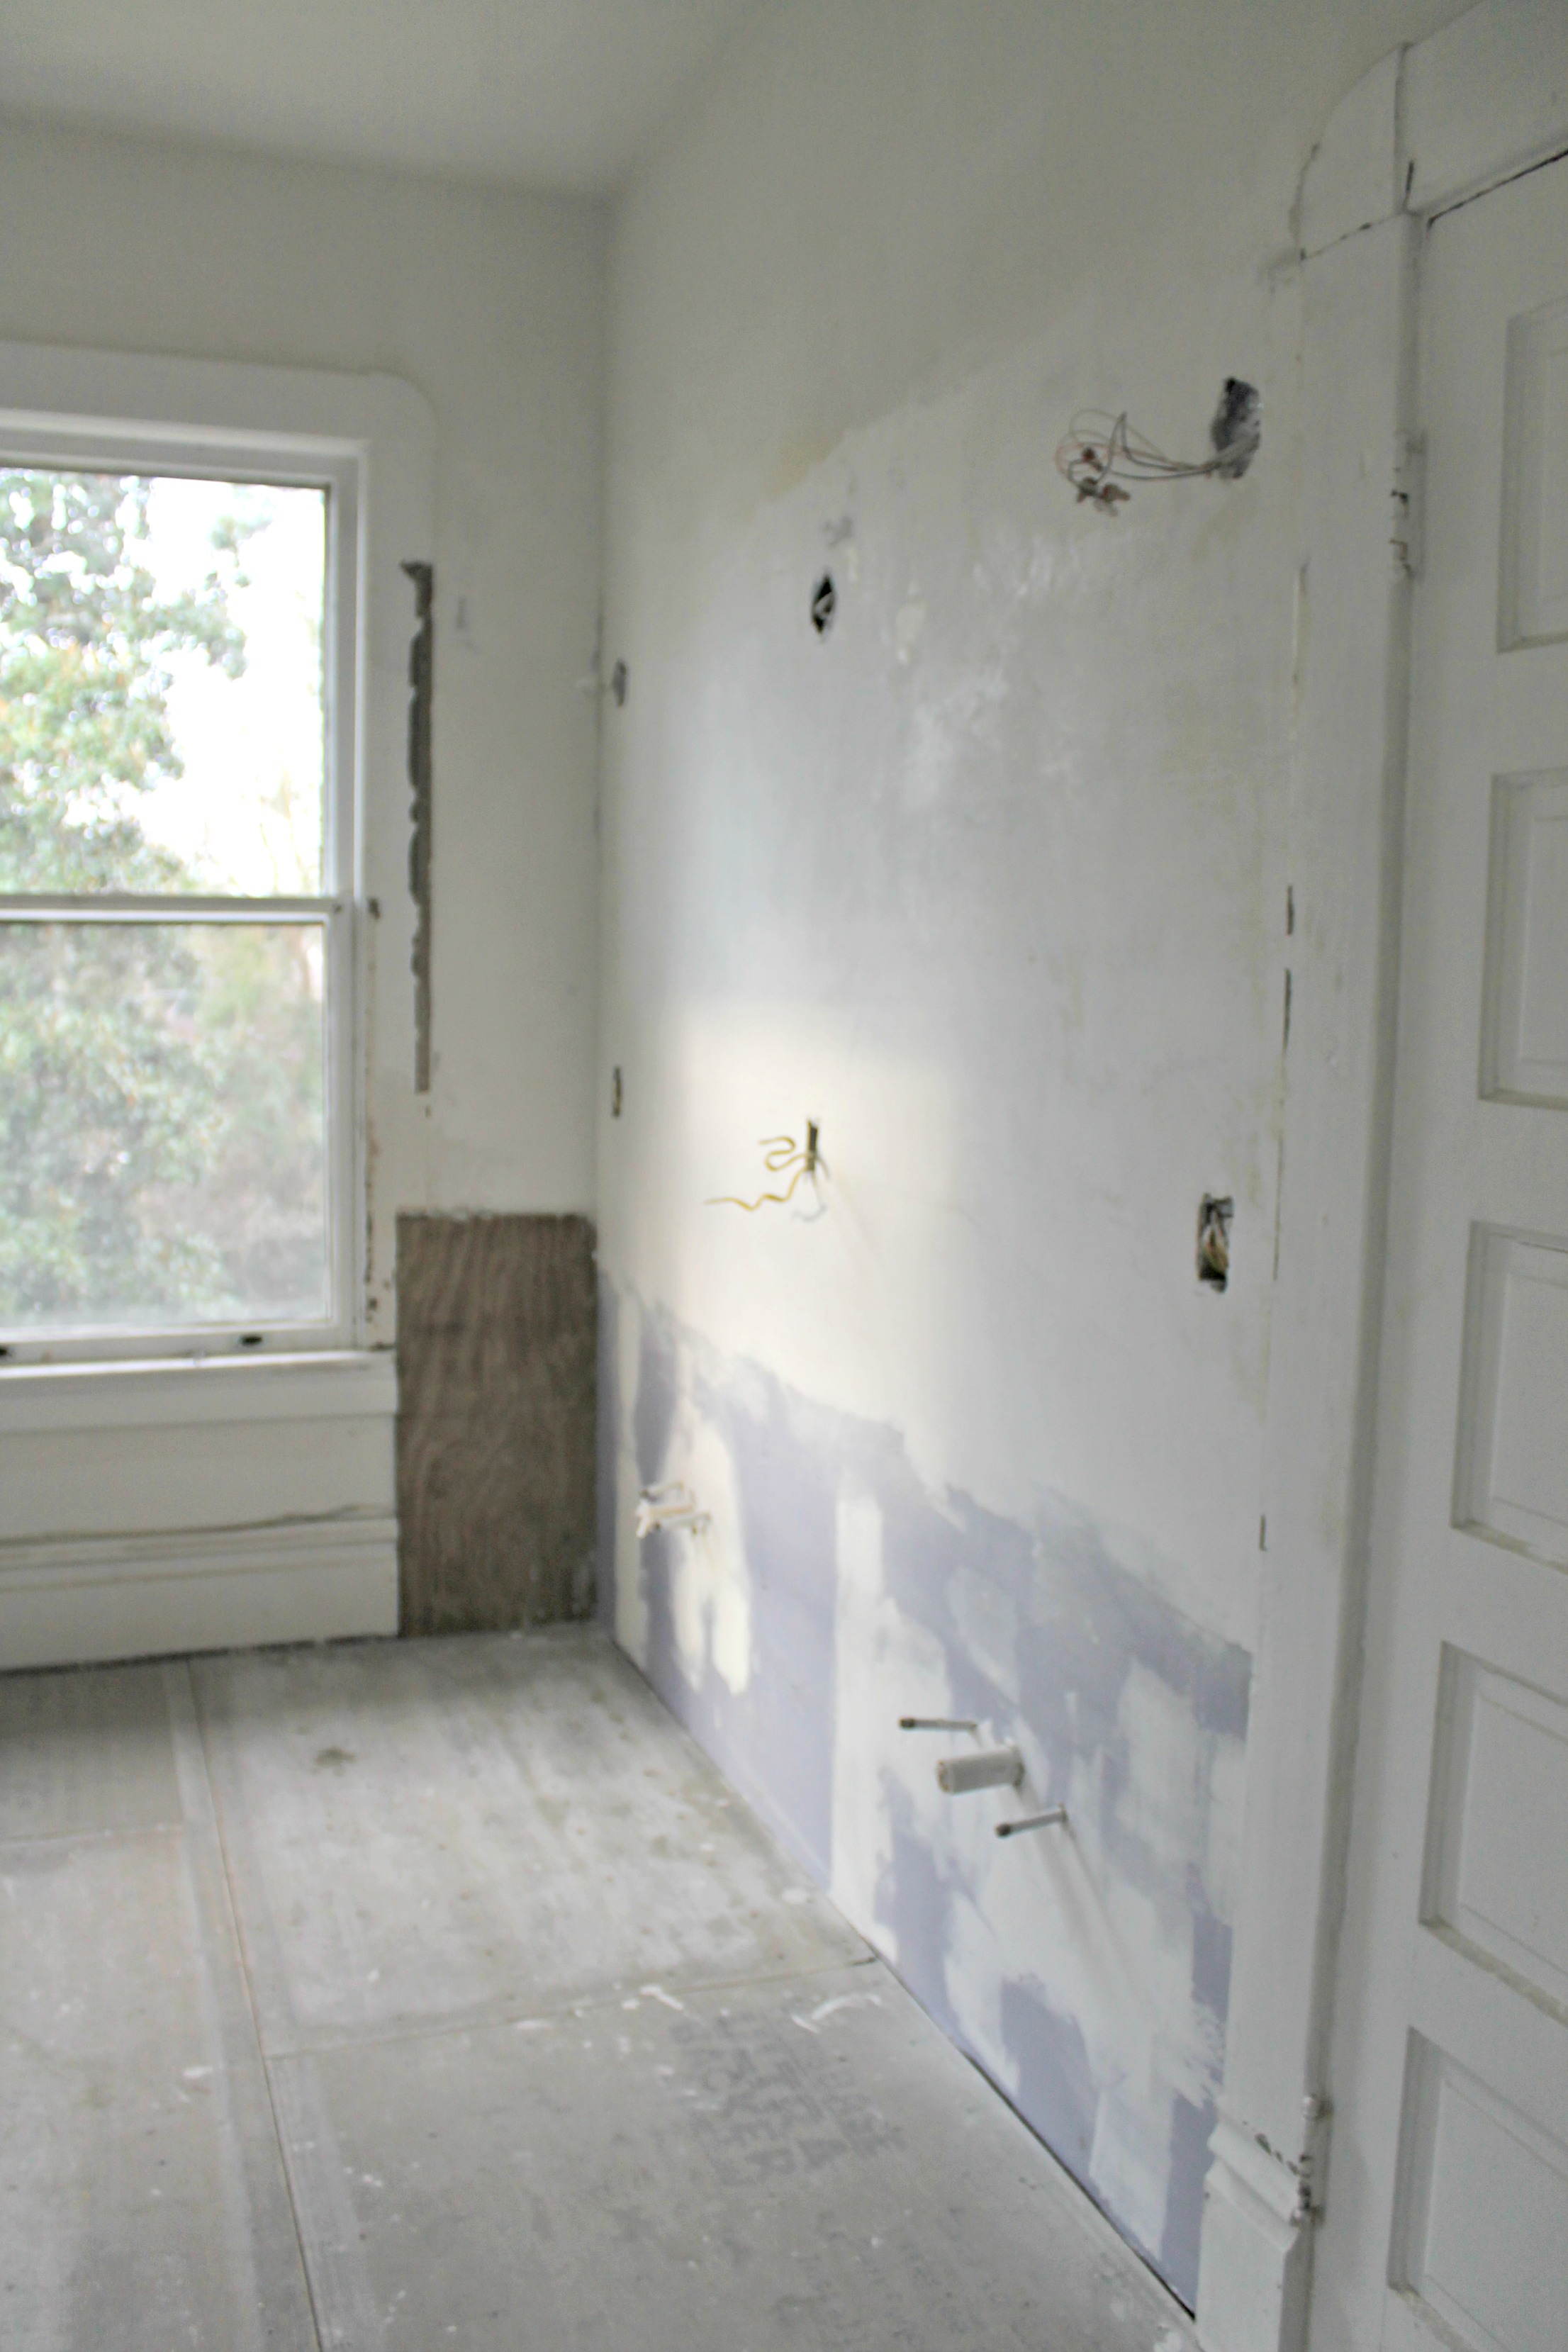
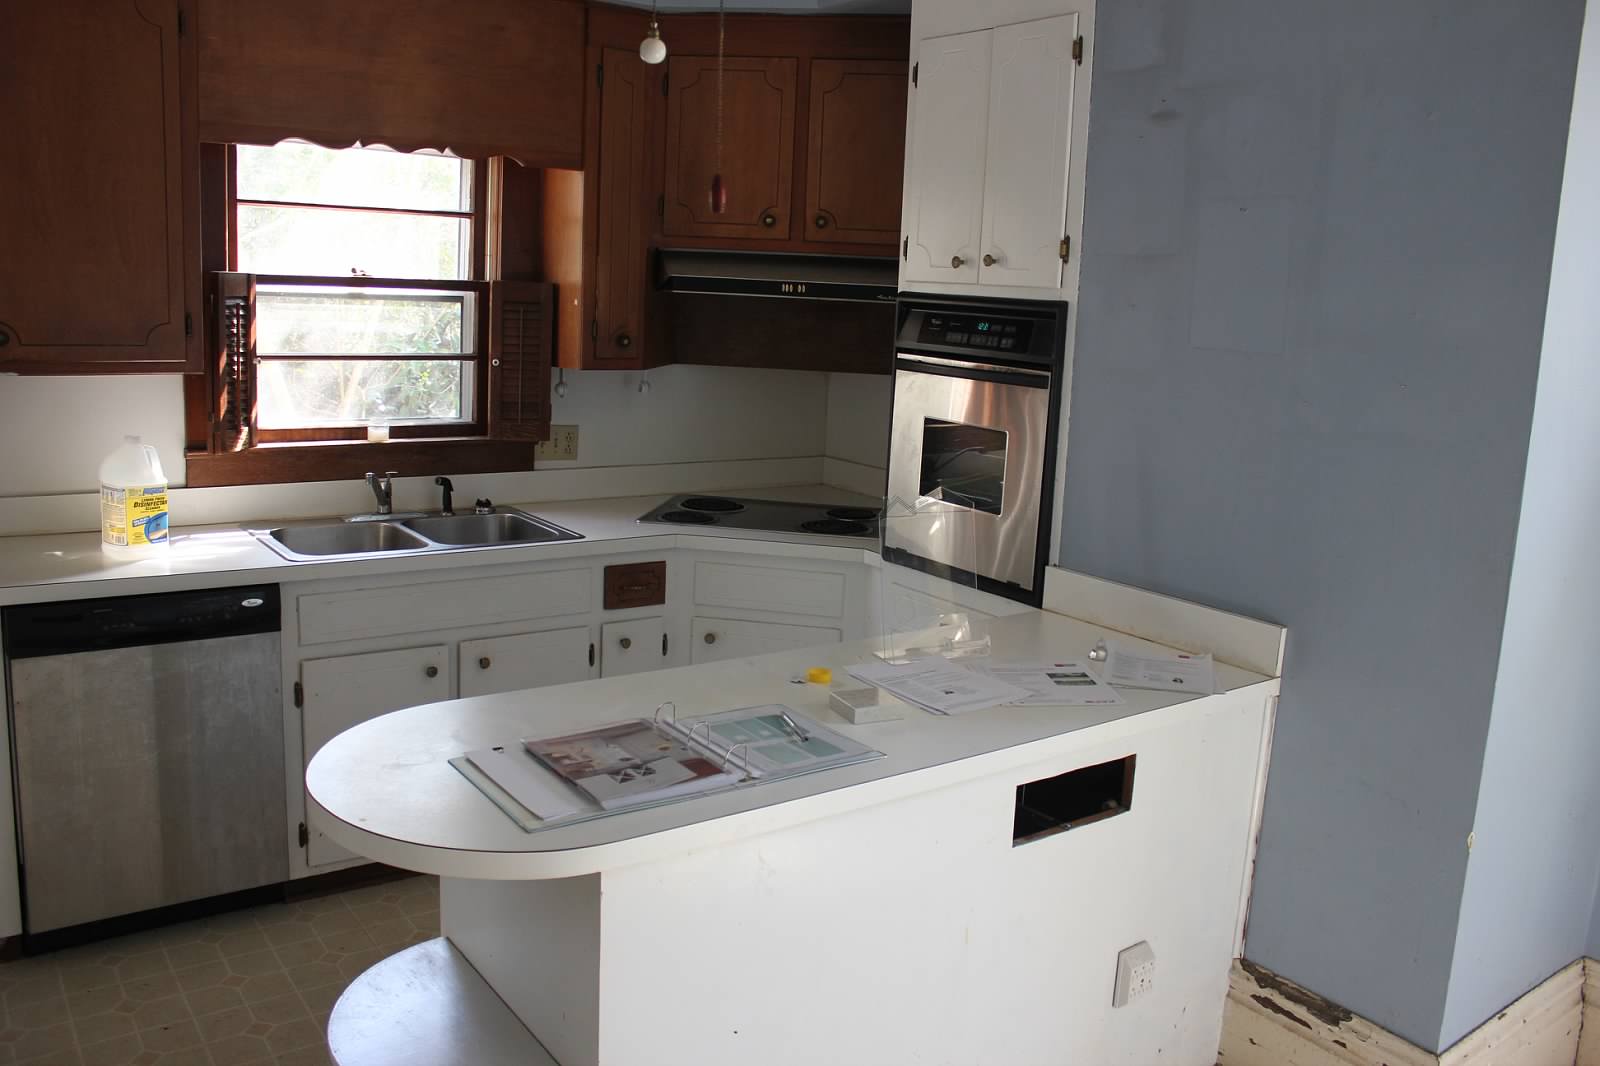
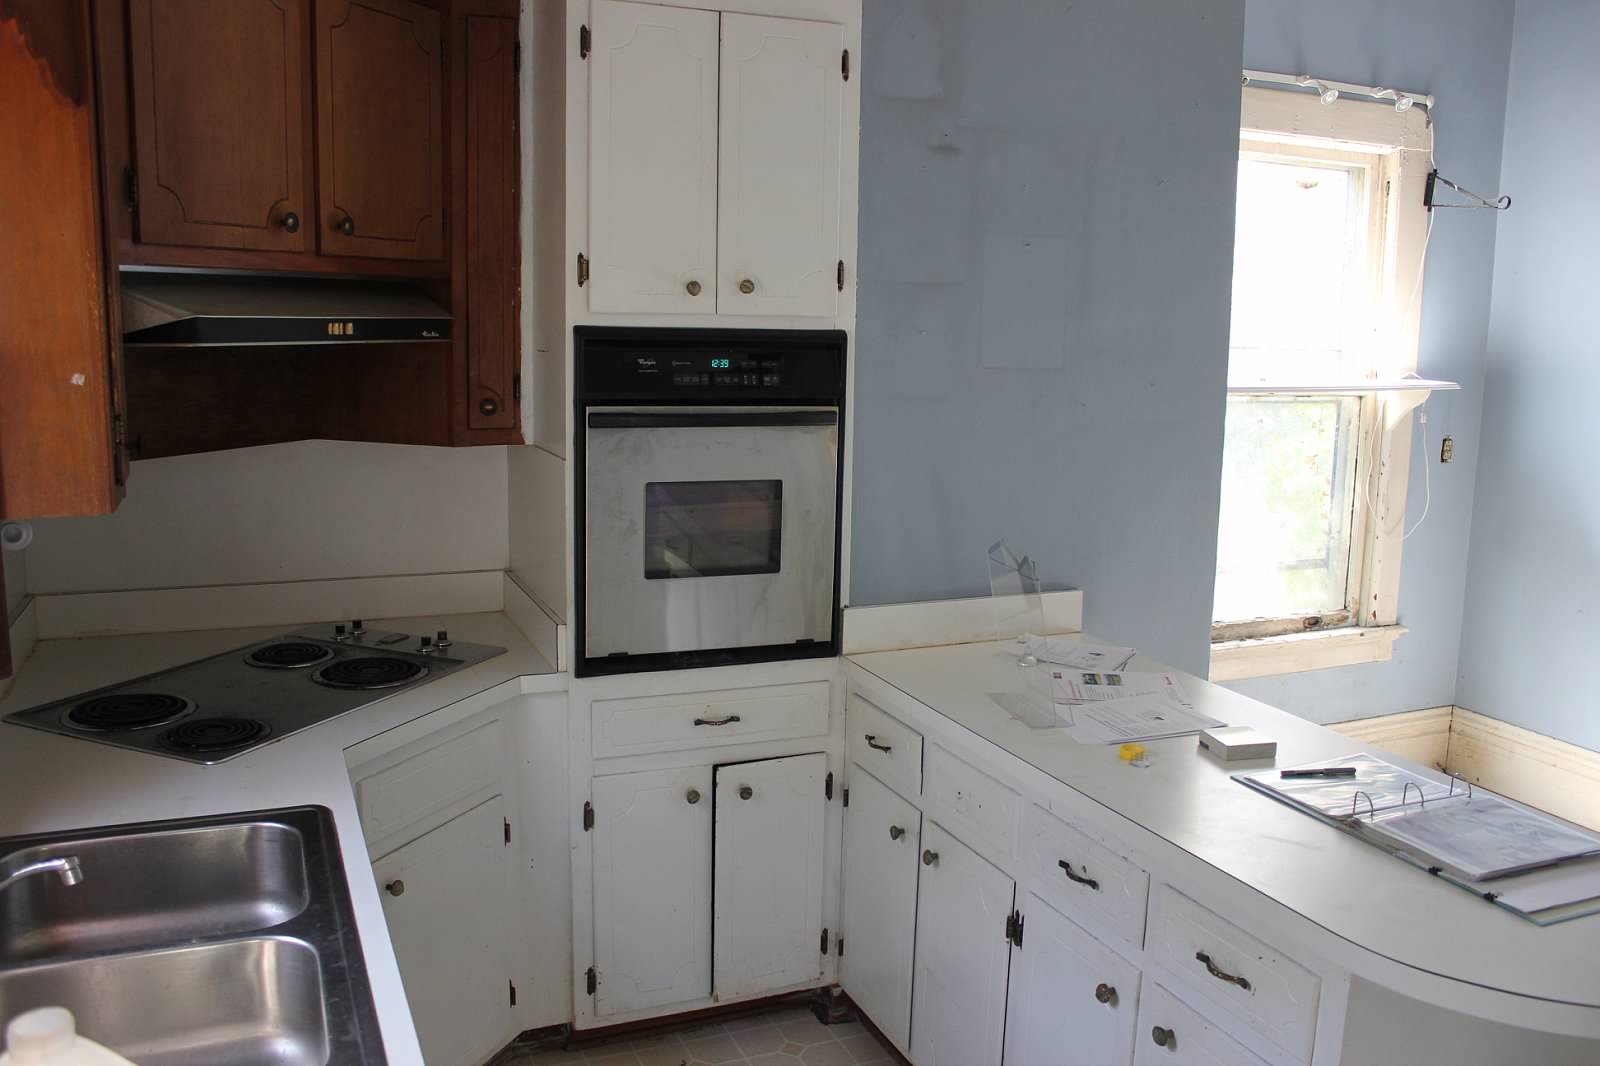
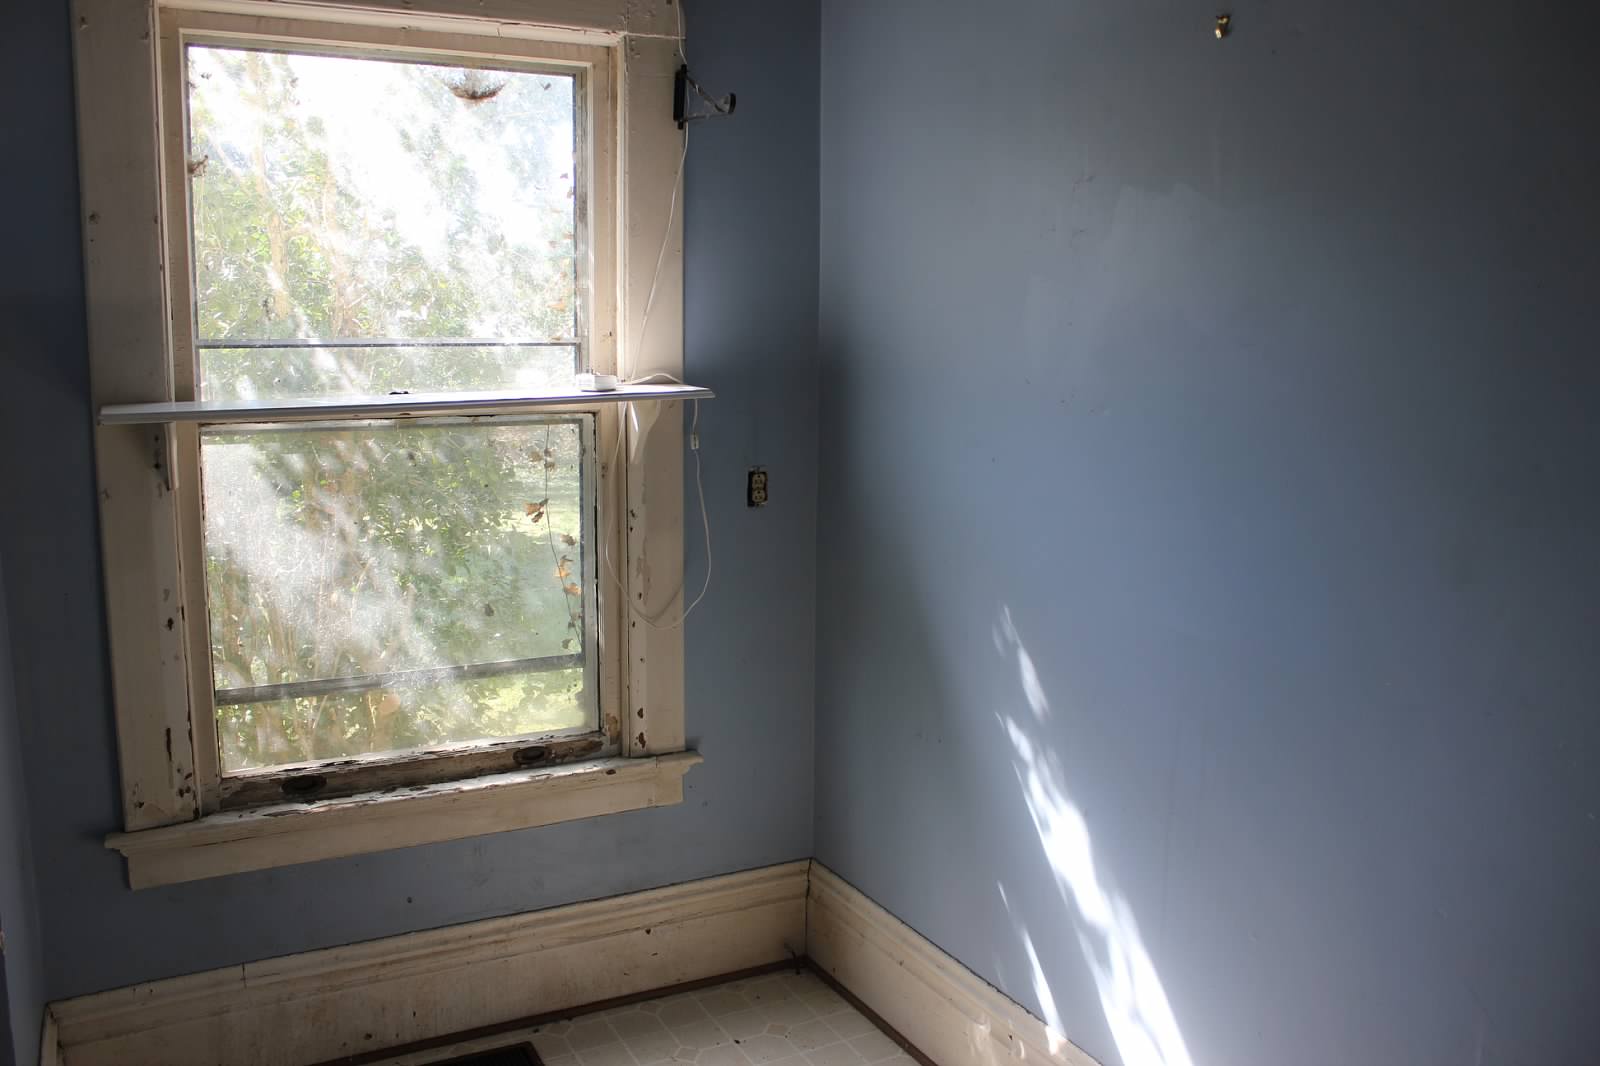
For our master bathroom, we really had a blank slate.  The space used to be the kitchen of the upstairs apartment, so we knew we would have to remove all the elements and start from scratch.  Here’s a look from early on in the project.

IMG_3574 IMG_3575 IMG_3576

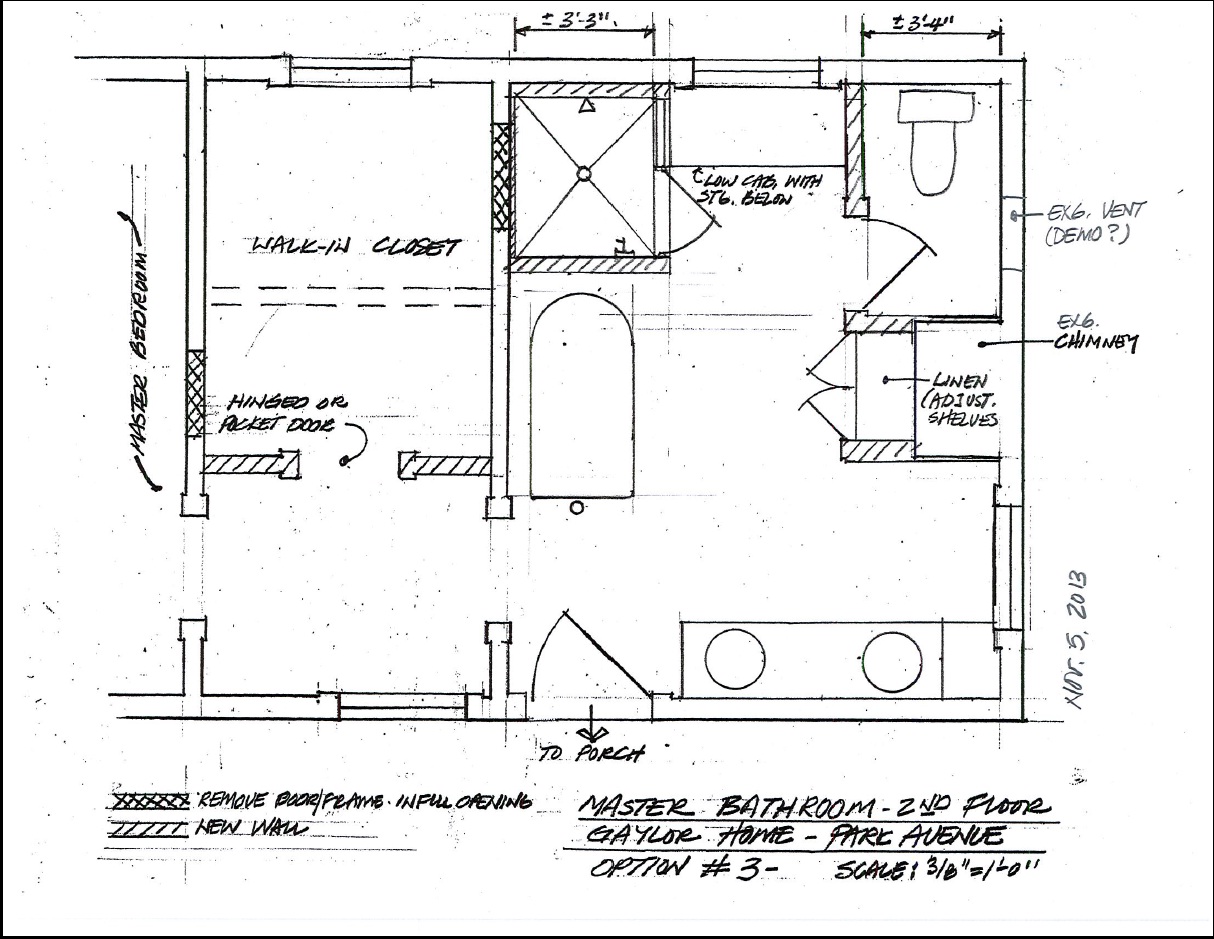
This post outlines the options that we mulled over, but ultimately we chose this floorplan for the new bathroom.

Option 3

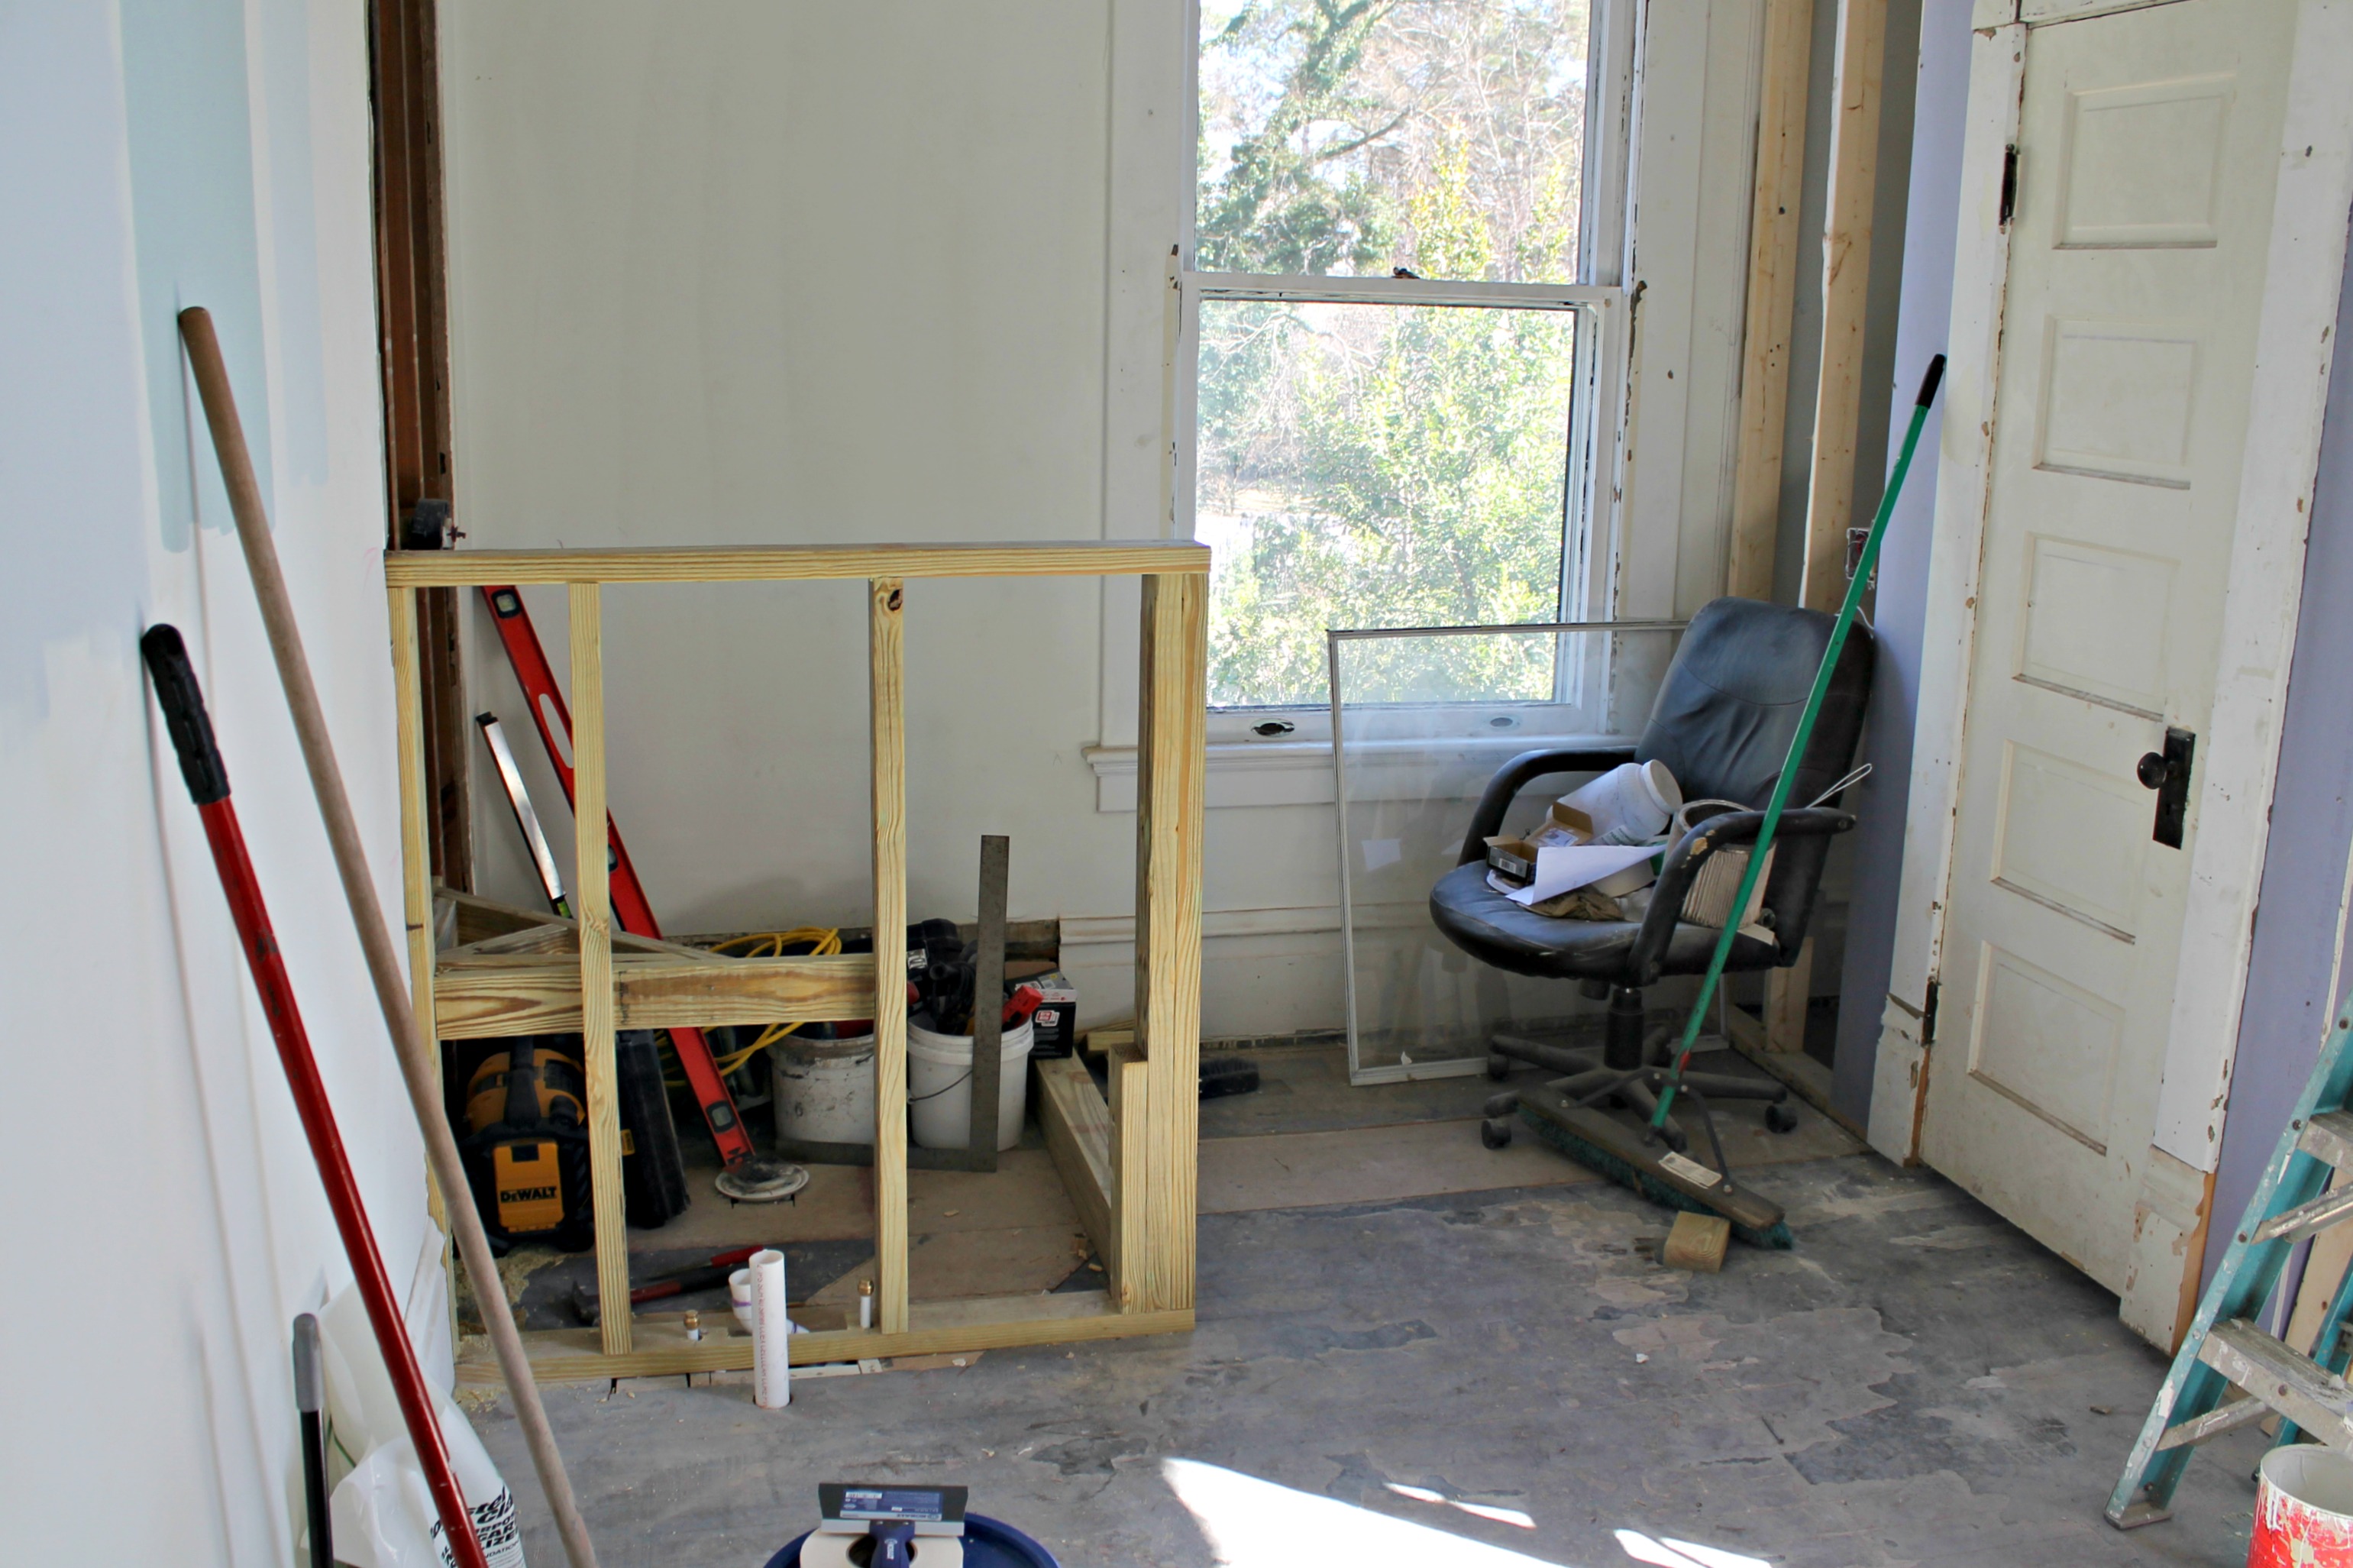
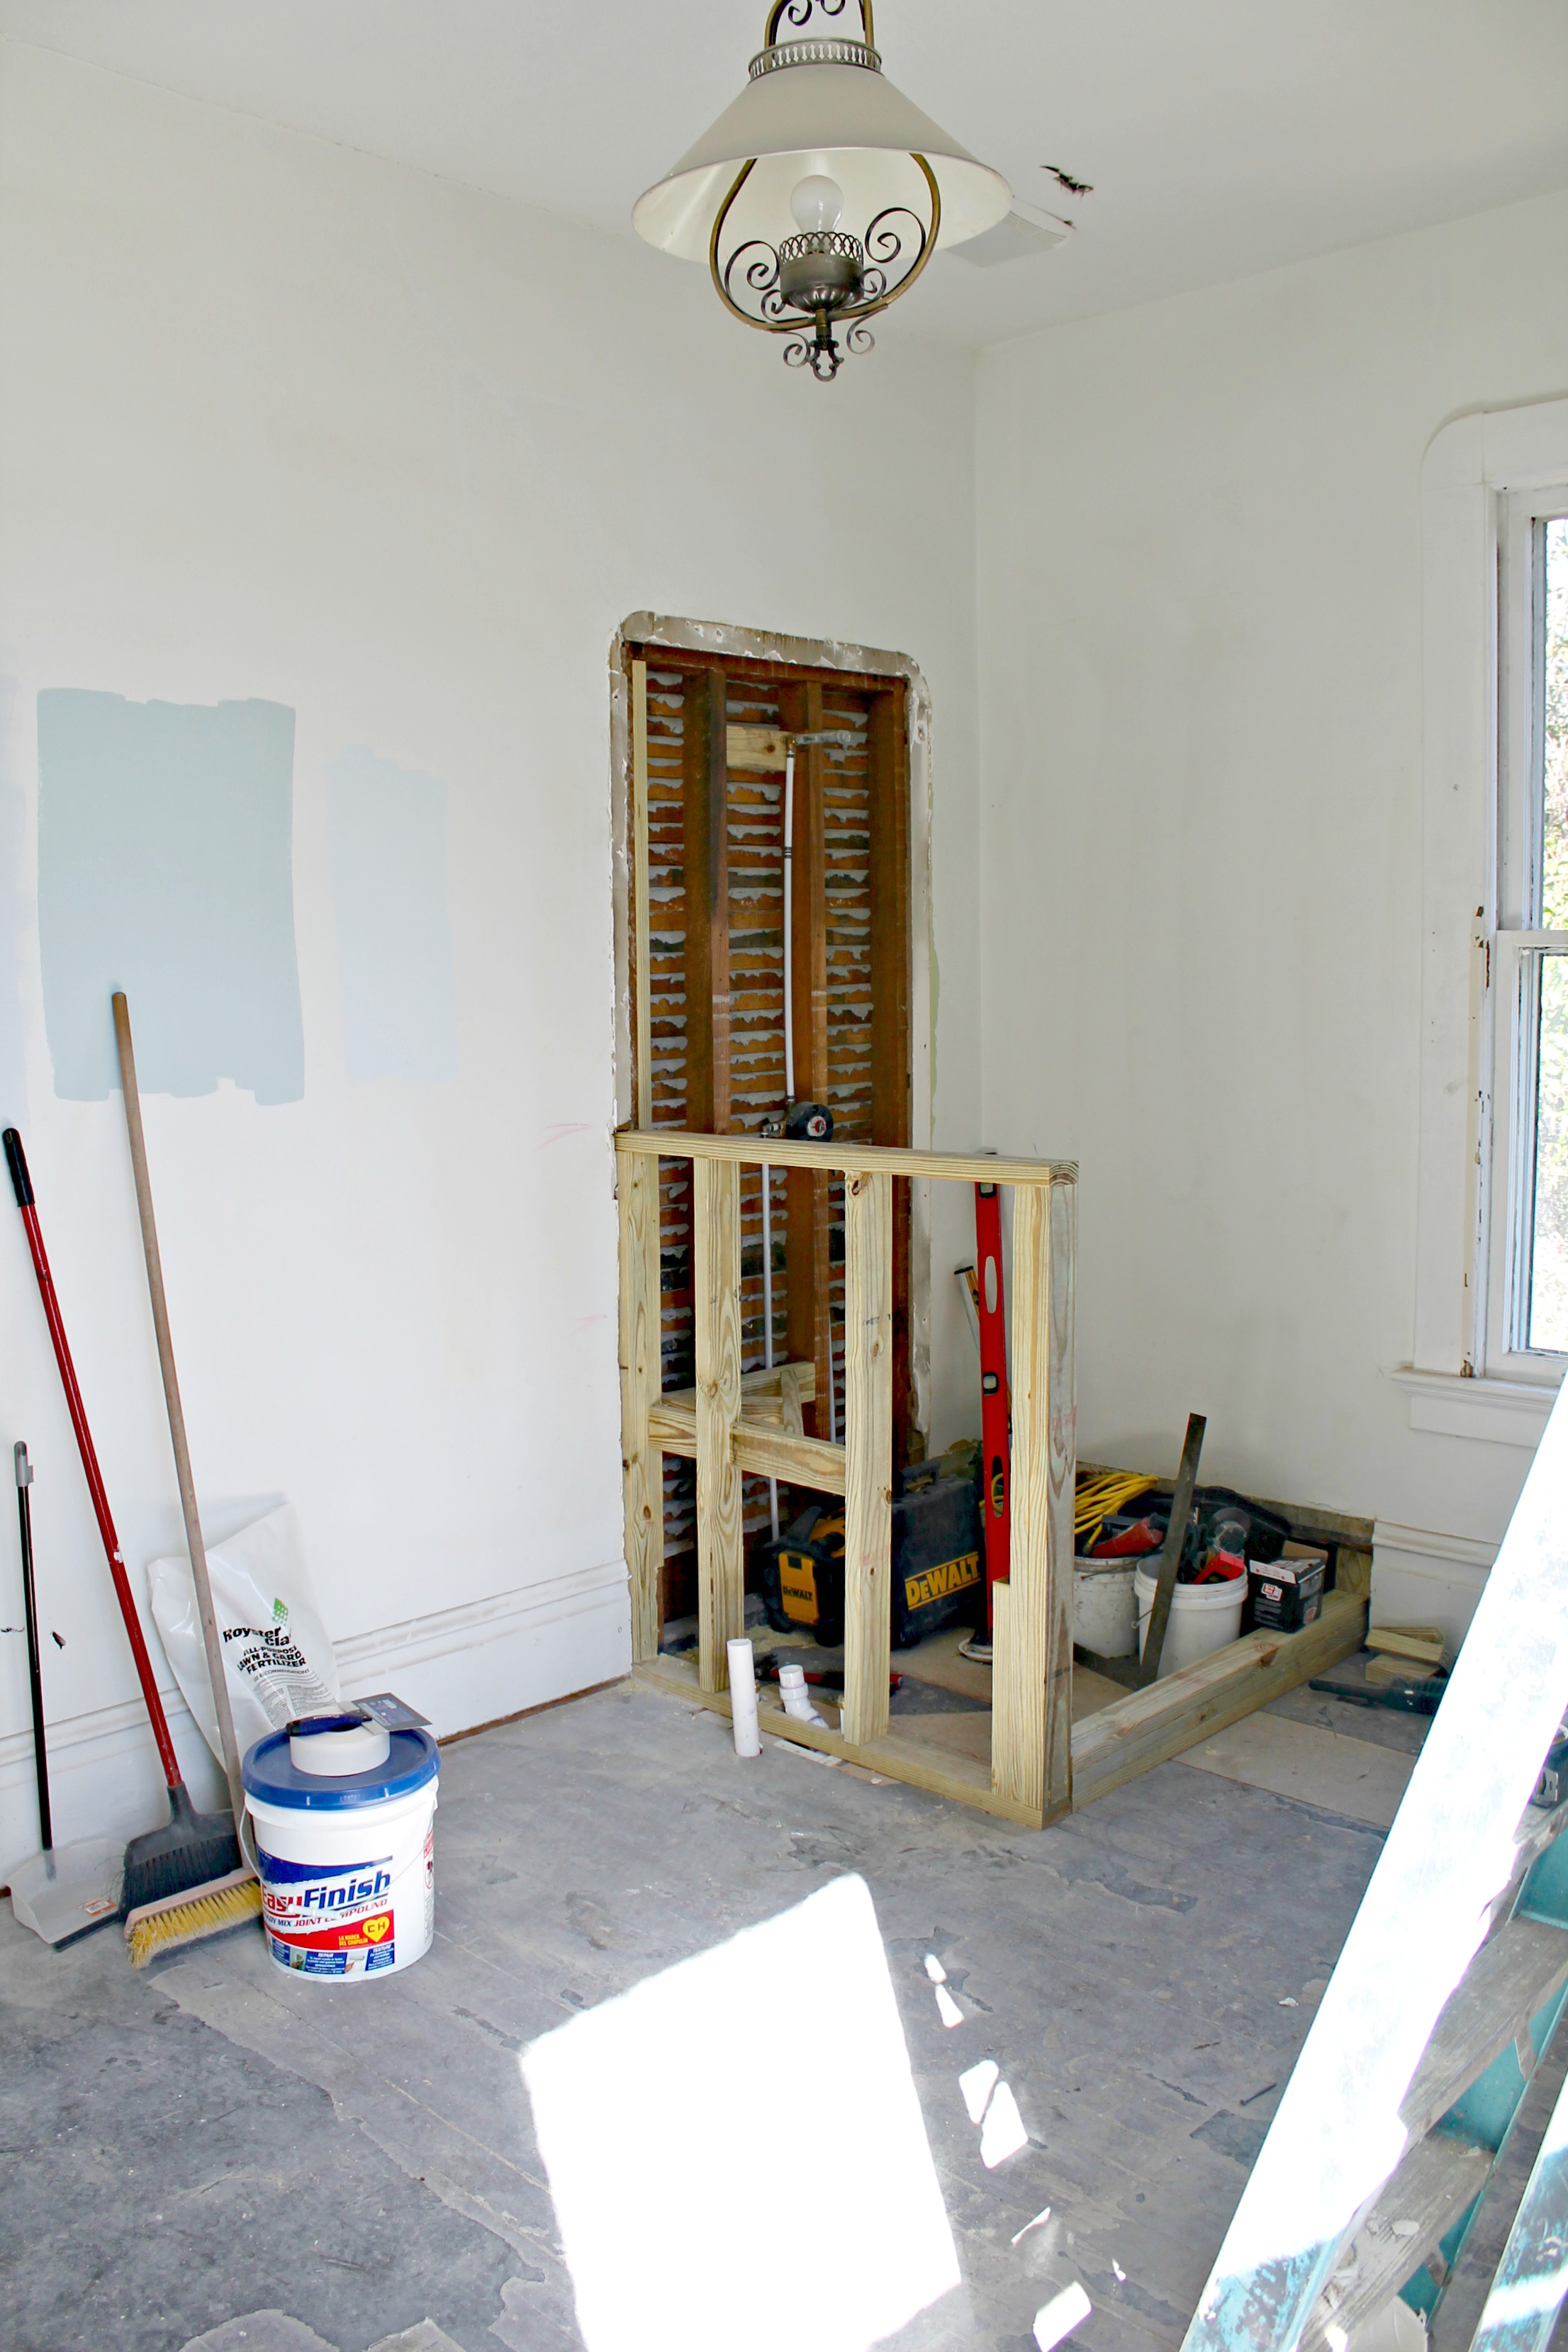
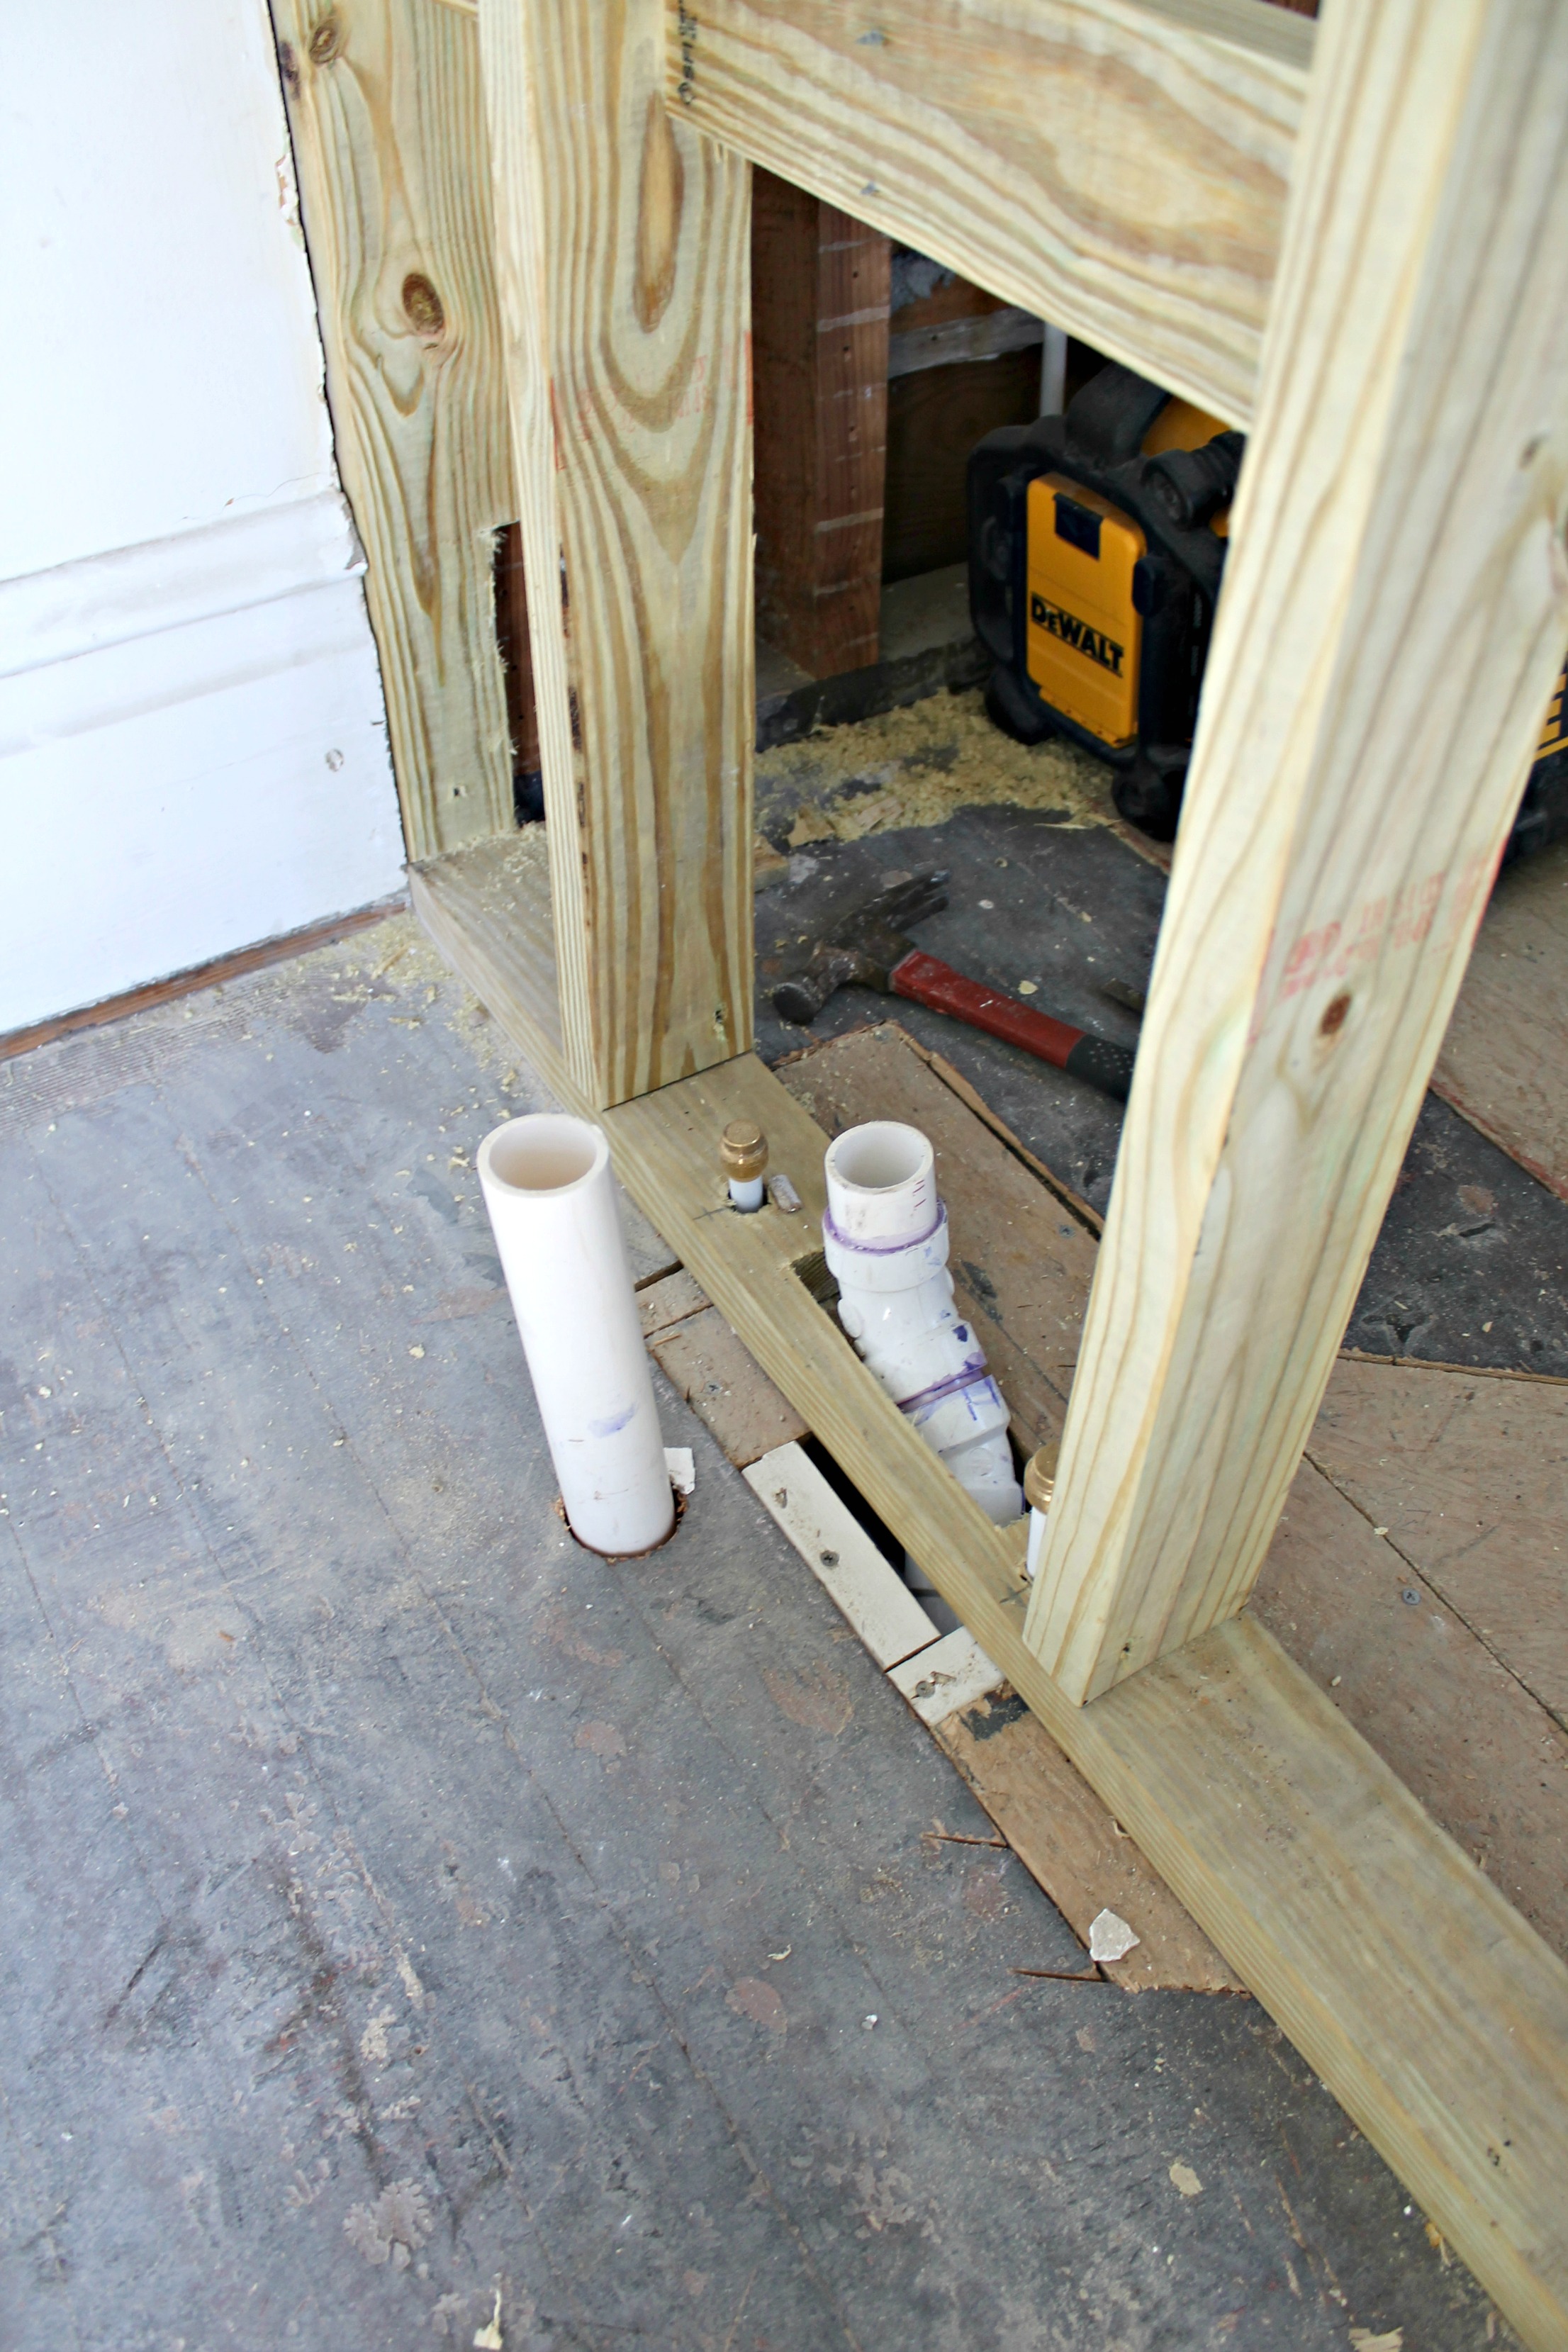
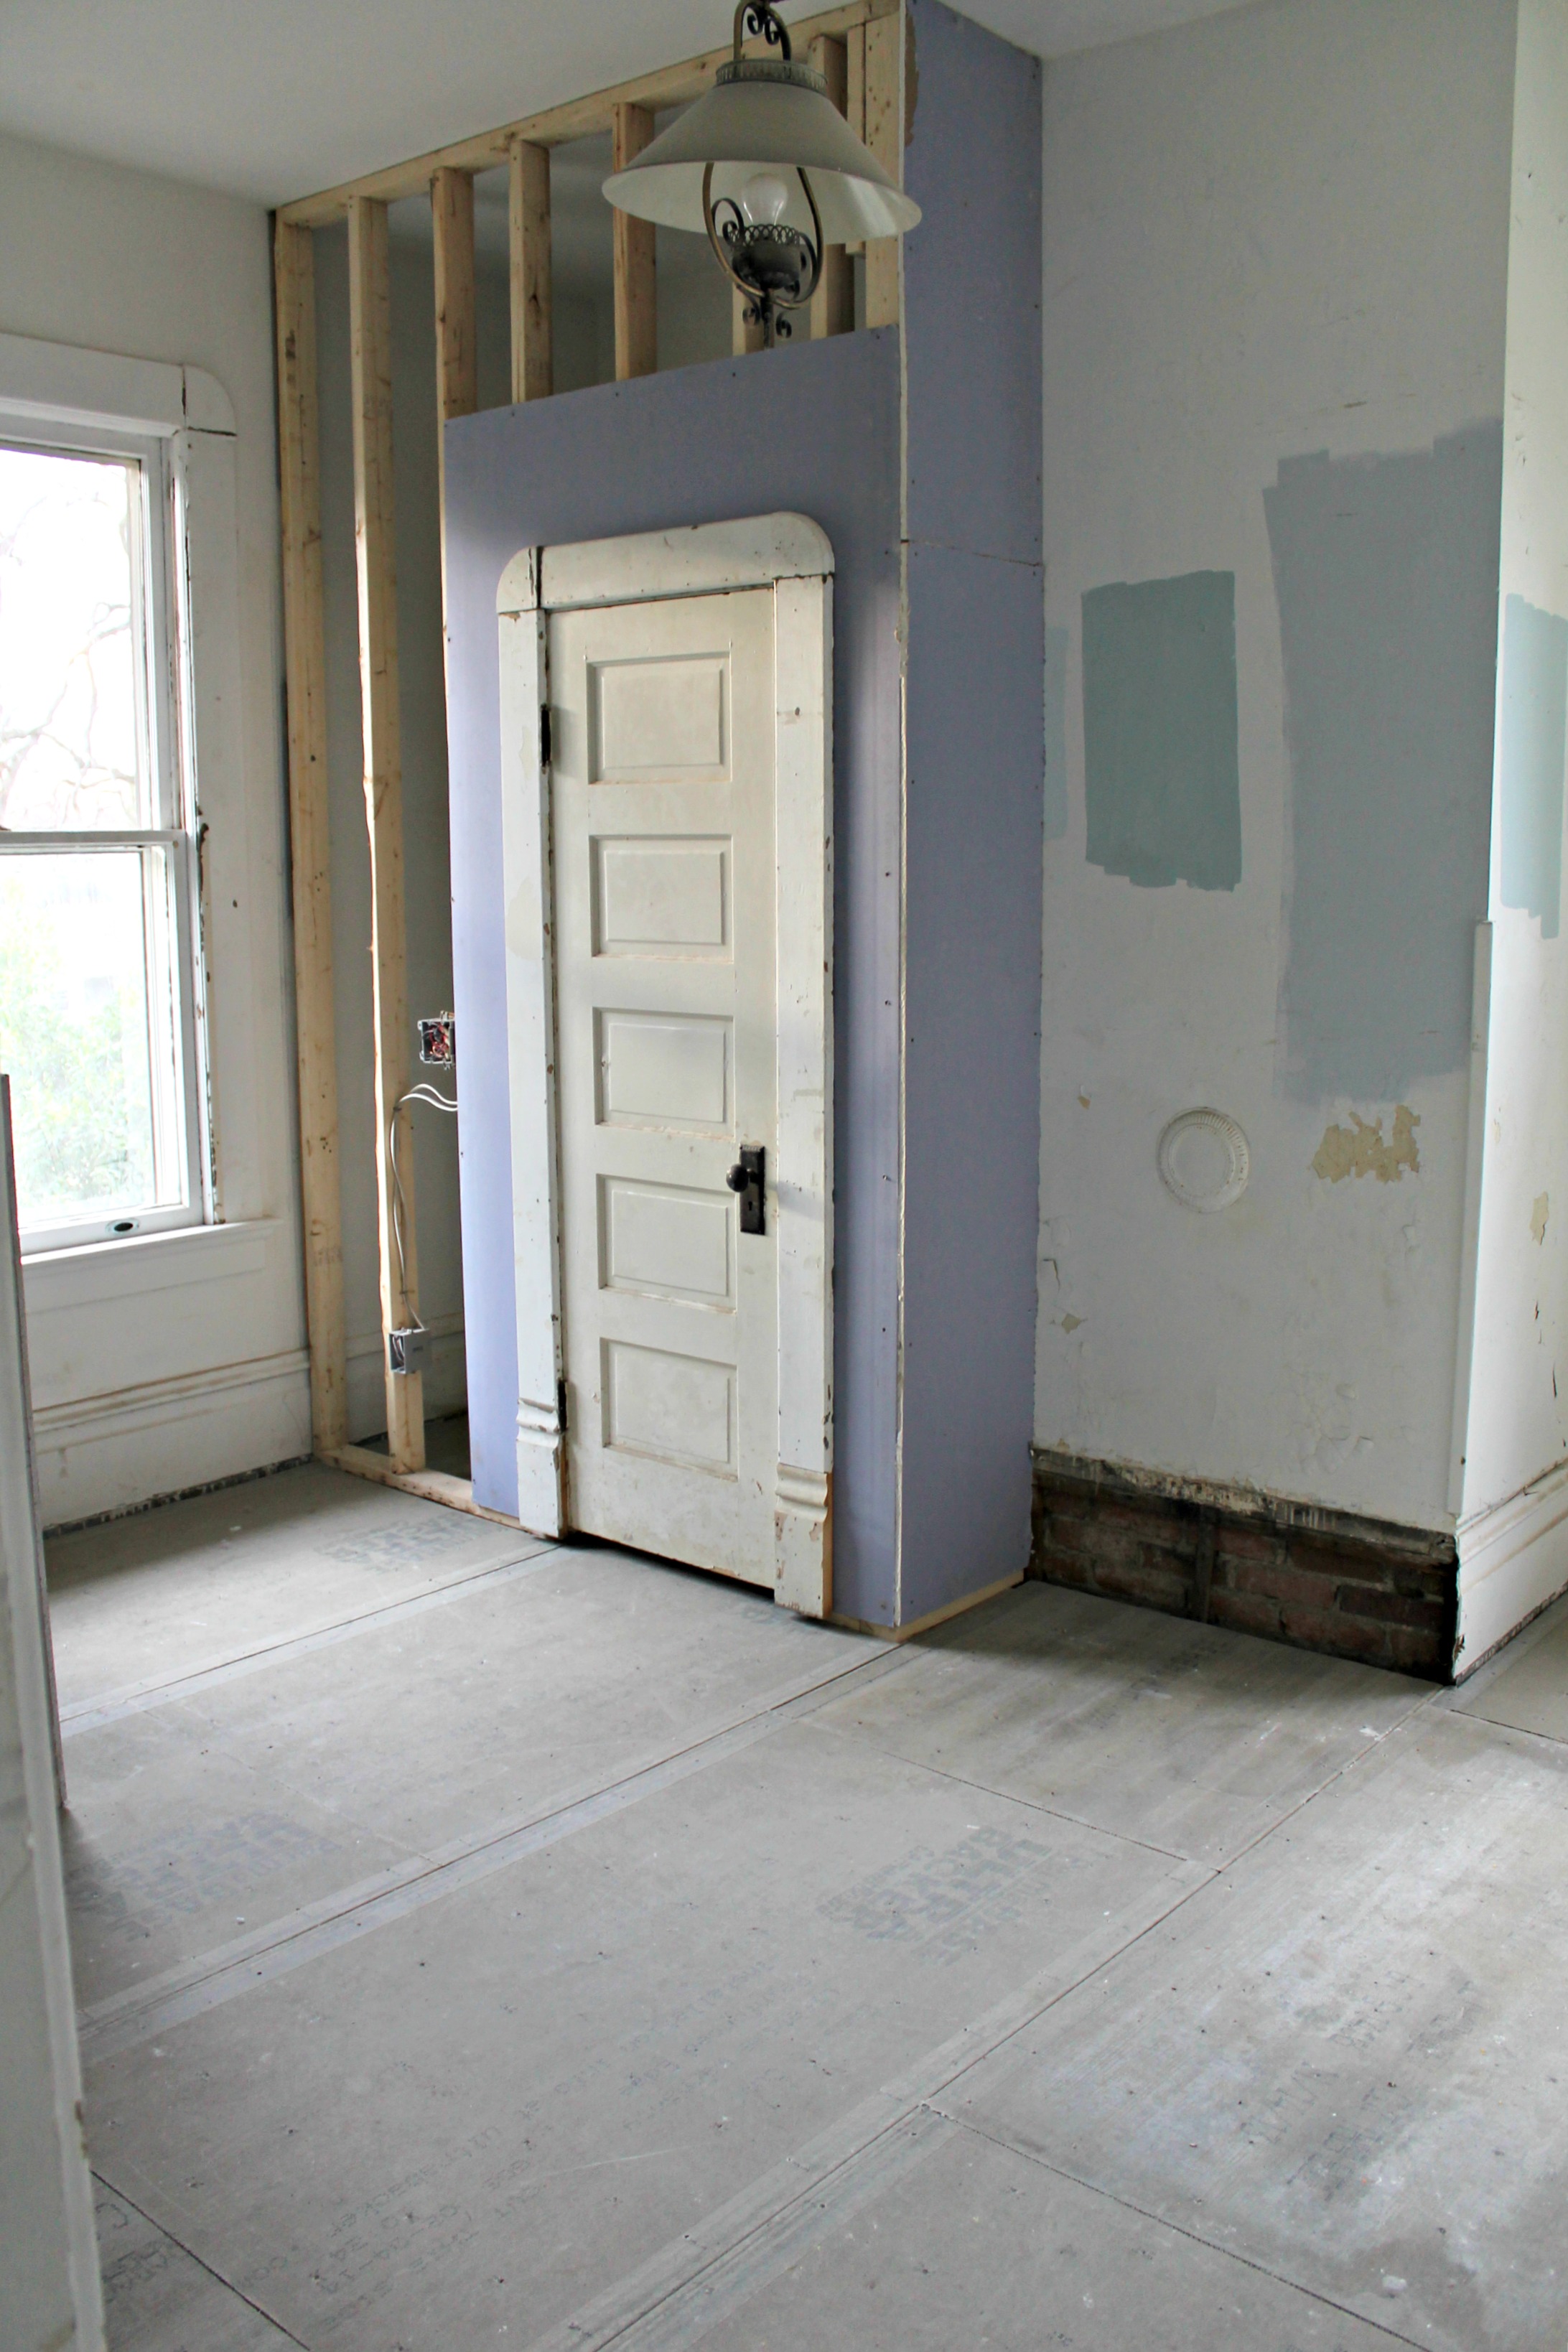
So we ripped everything out and got started! The “water closet” and shower wall were framed, and electrical and plumbing was roughed in.

IMG_5173 IMG_5163 IMG_5167 IMG_5168 IMG_5169 IMG_5166

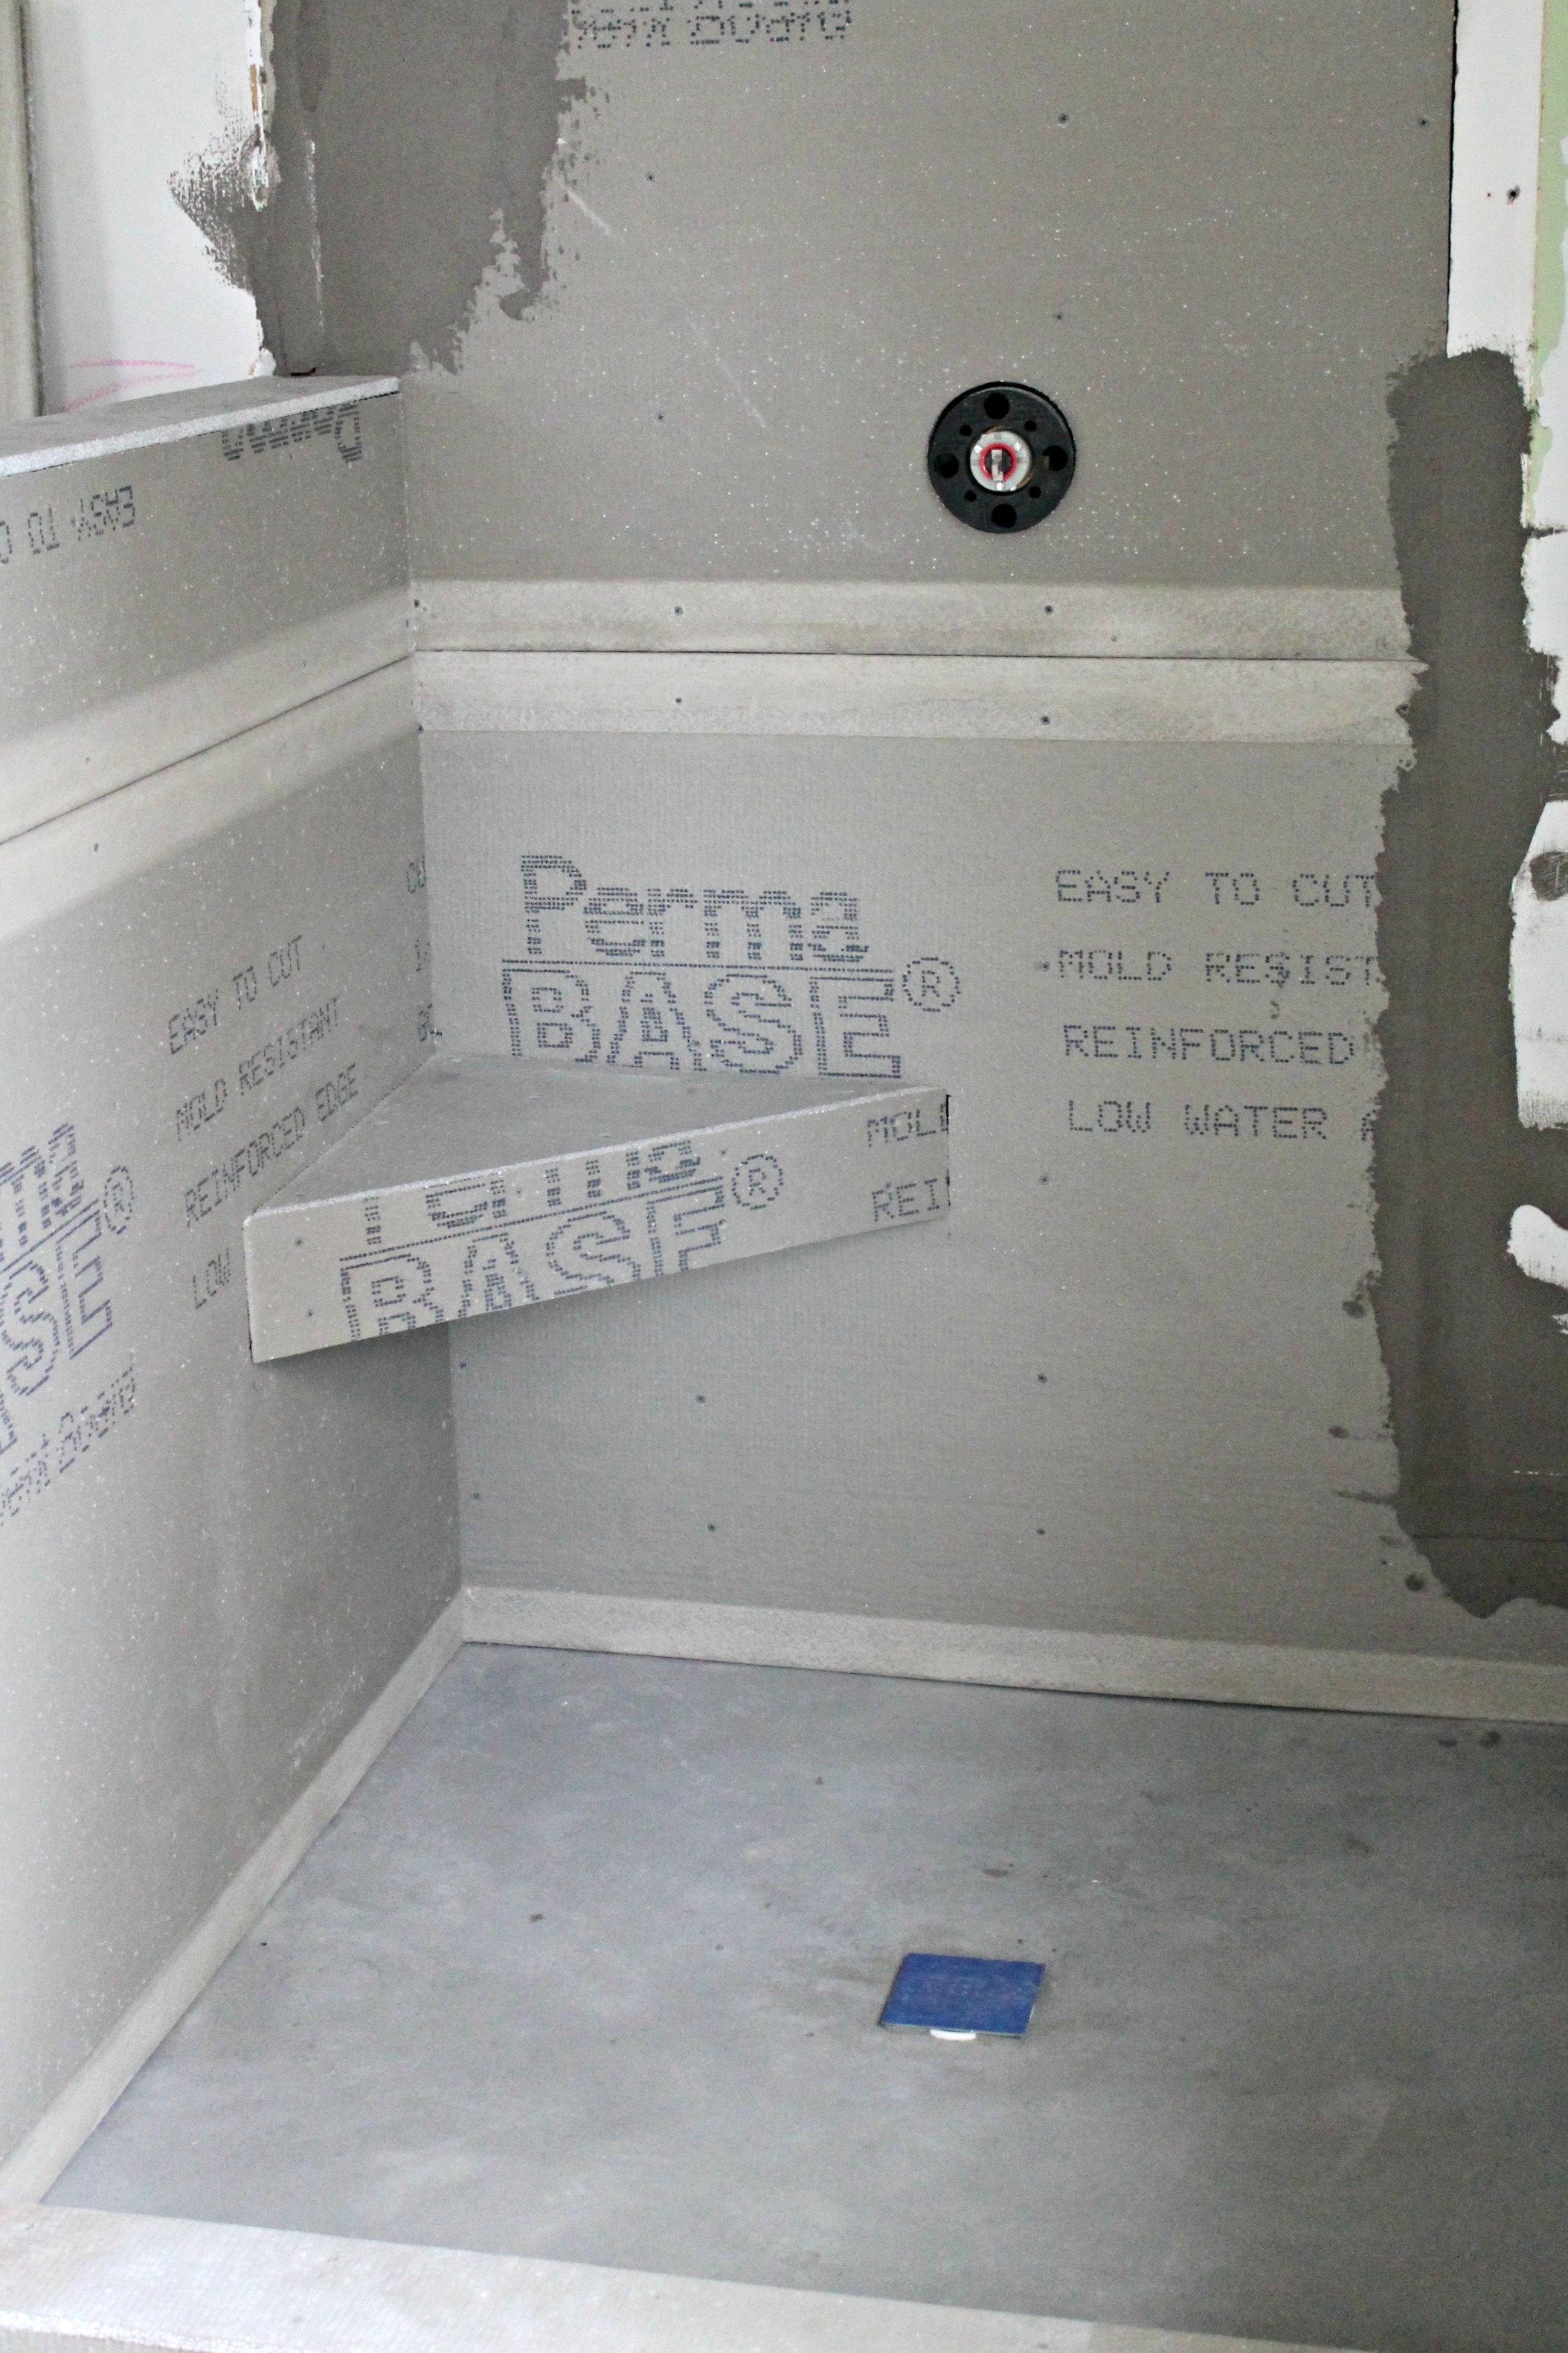
Next, the concrete board was laid for the tile, and the shower really started to take shape.  The vanity wall also got a little plaster fix.

IMG_5231 IMG_5232 IMG_5234 IMG_5235 IMG_5242 IMG_5233 
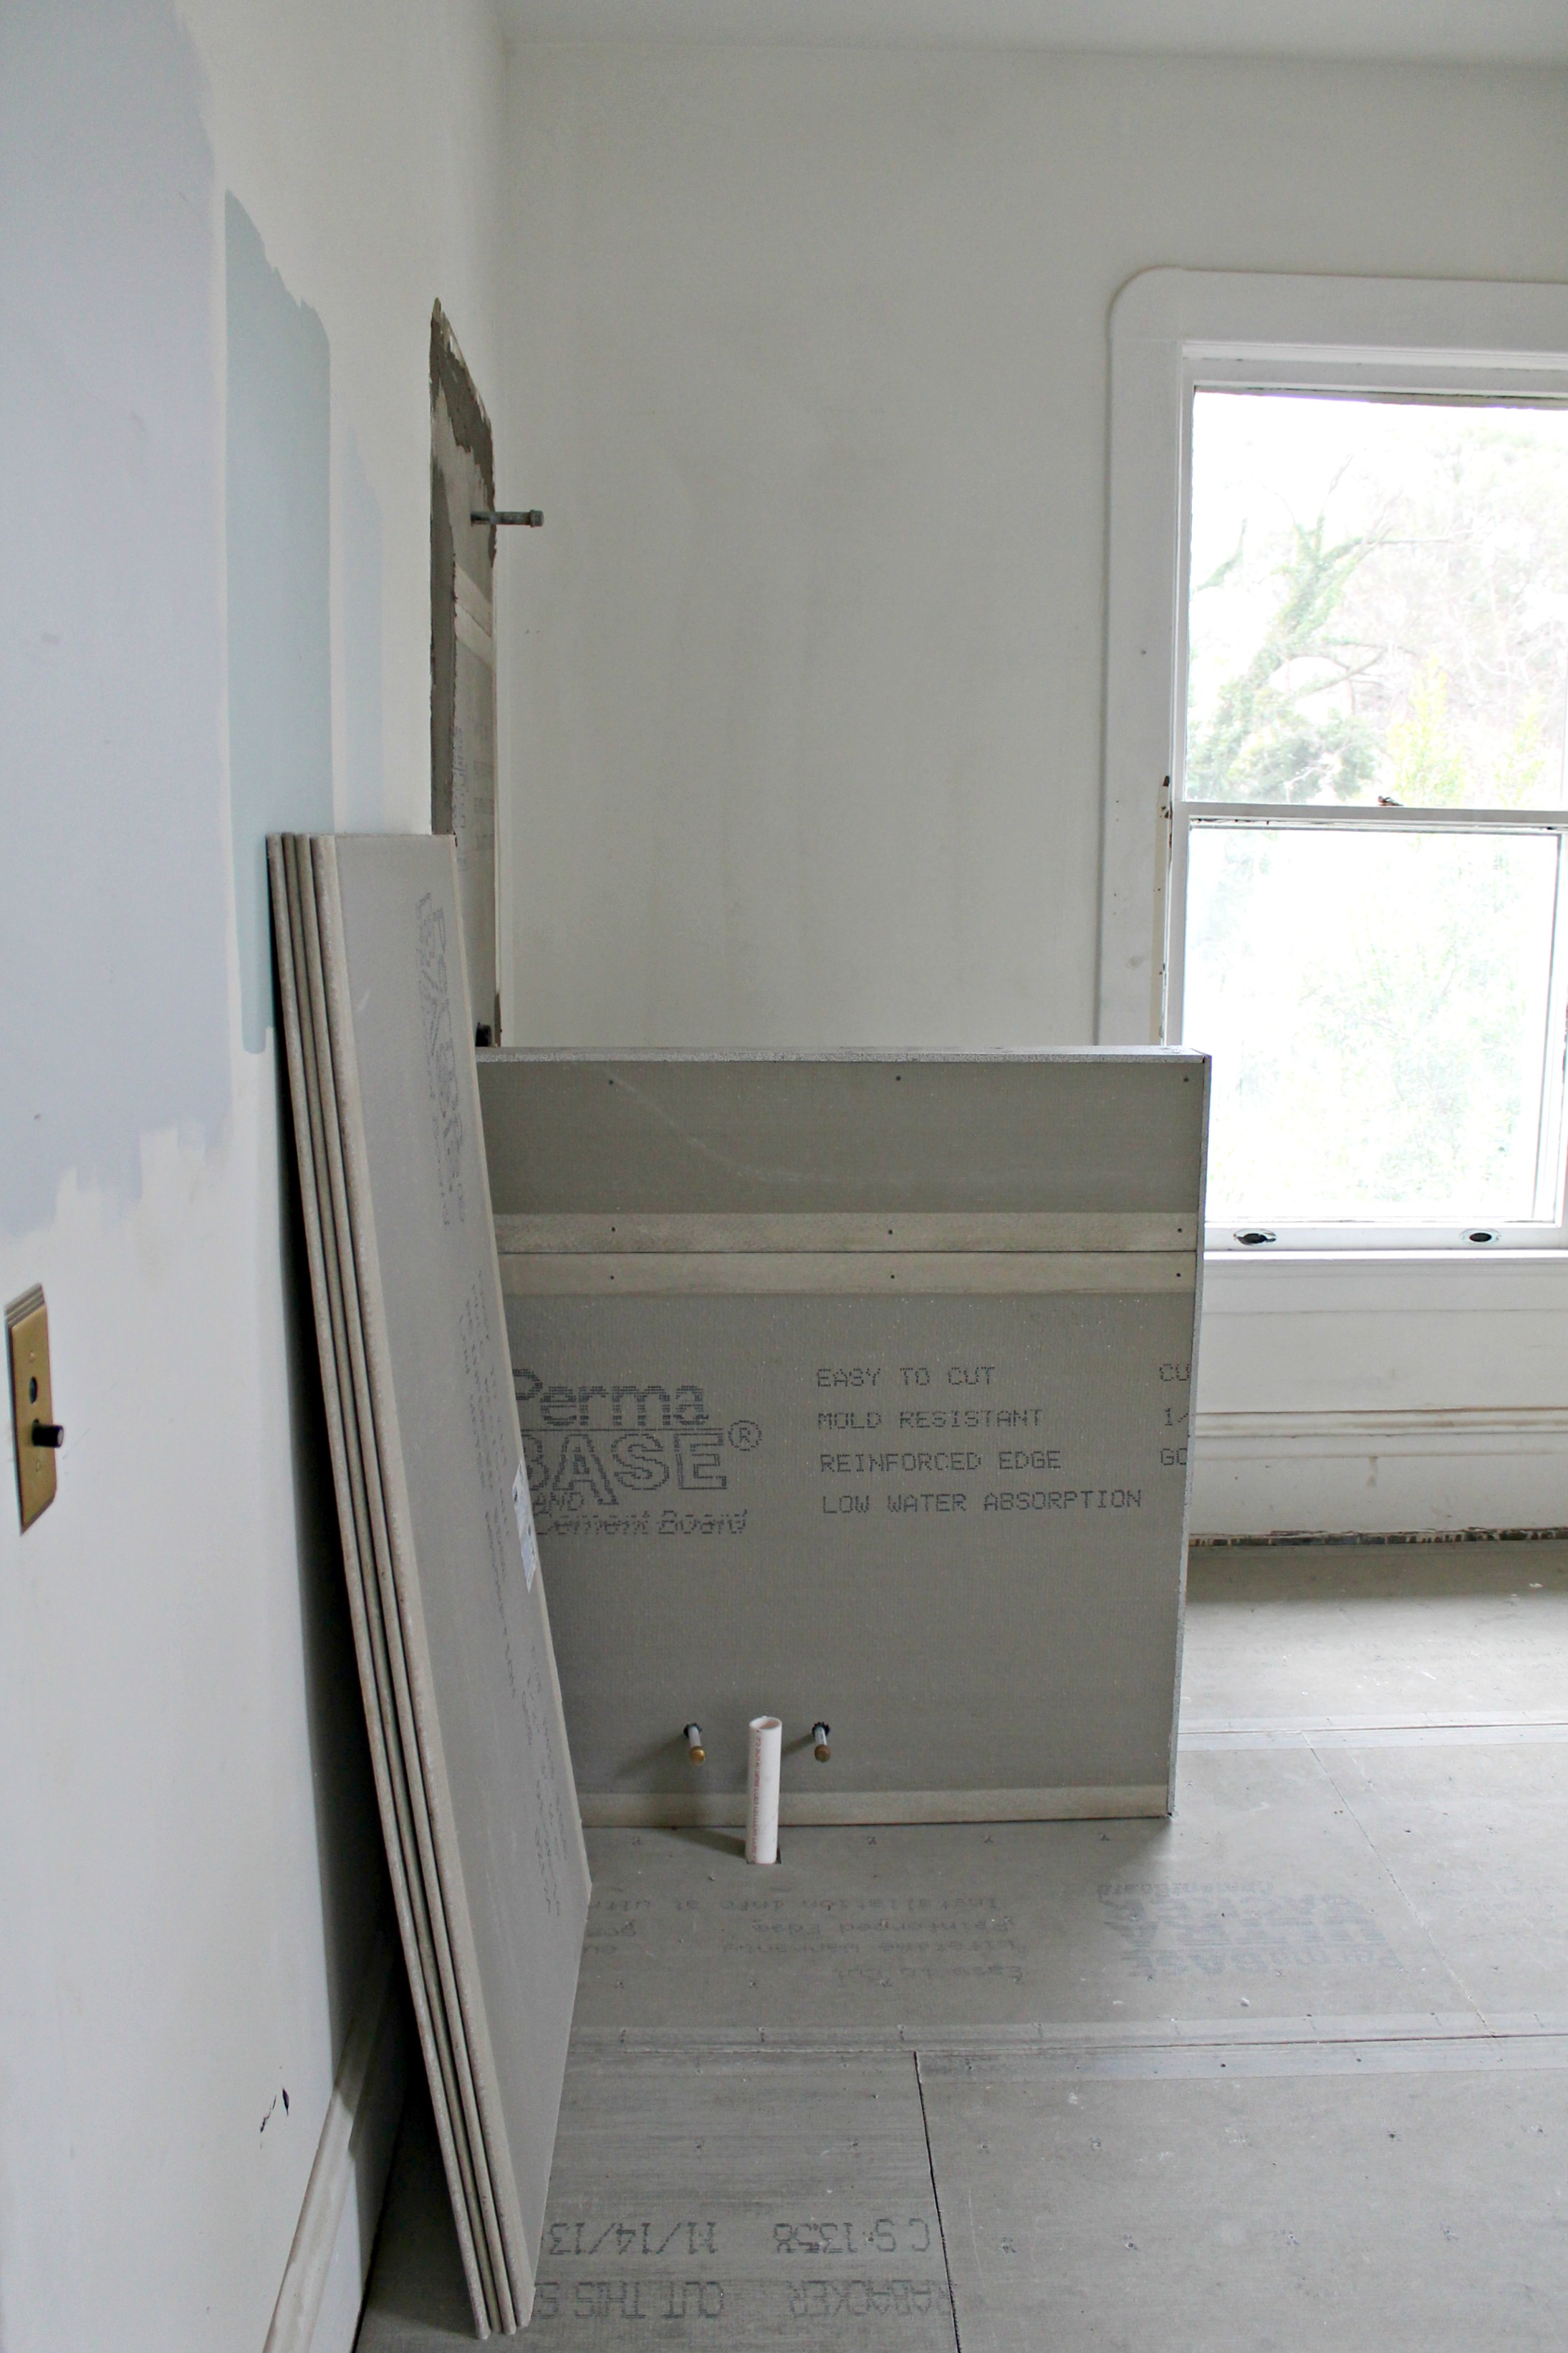
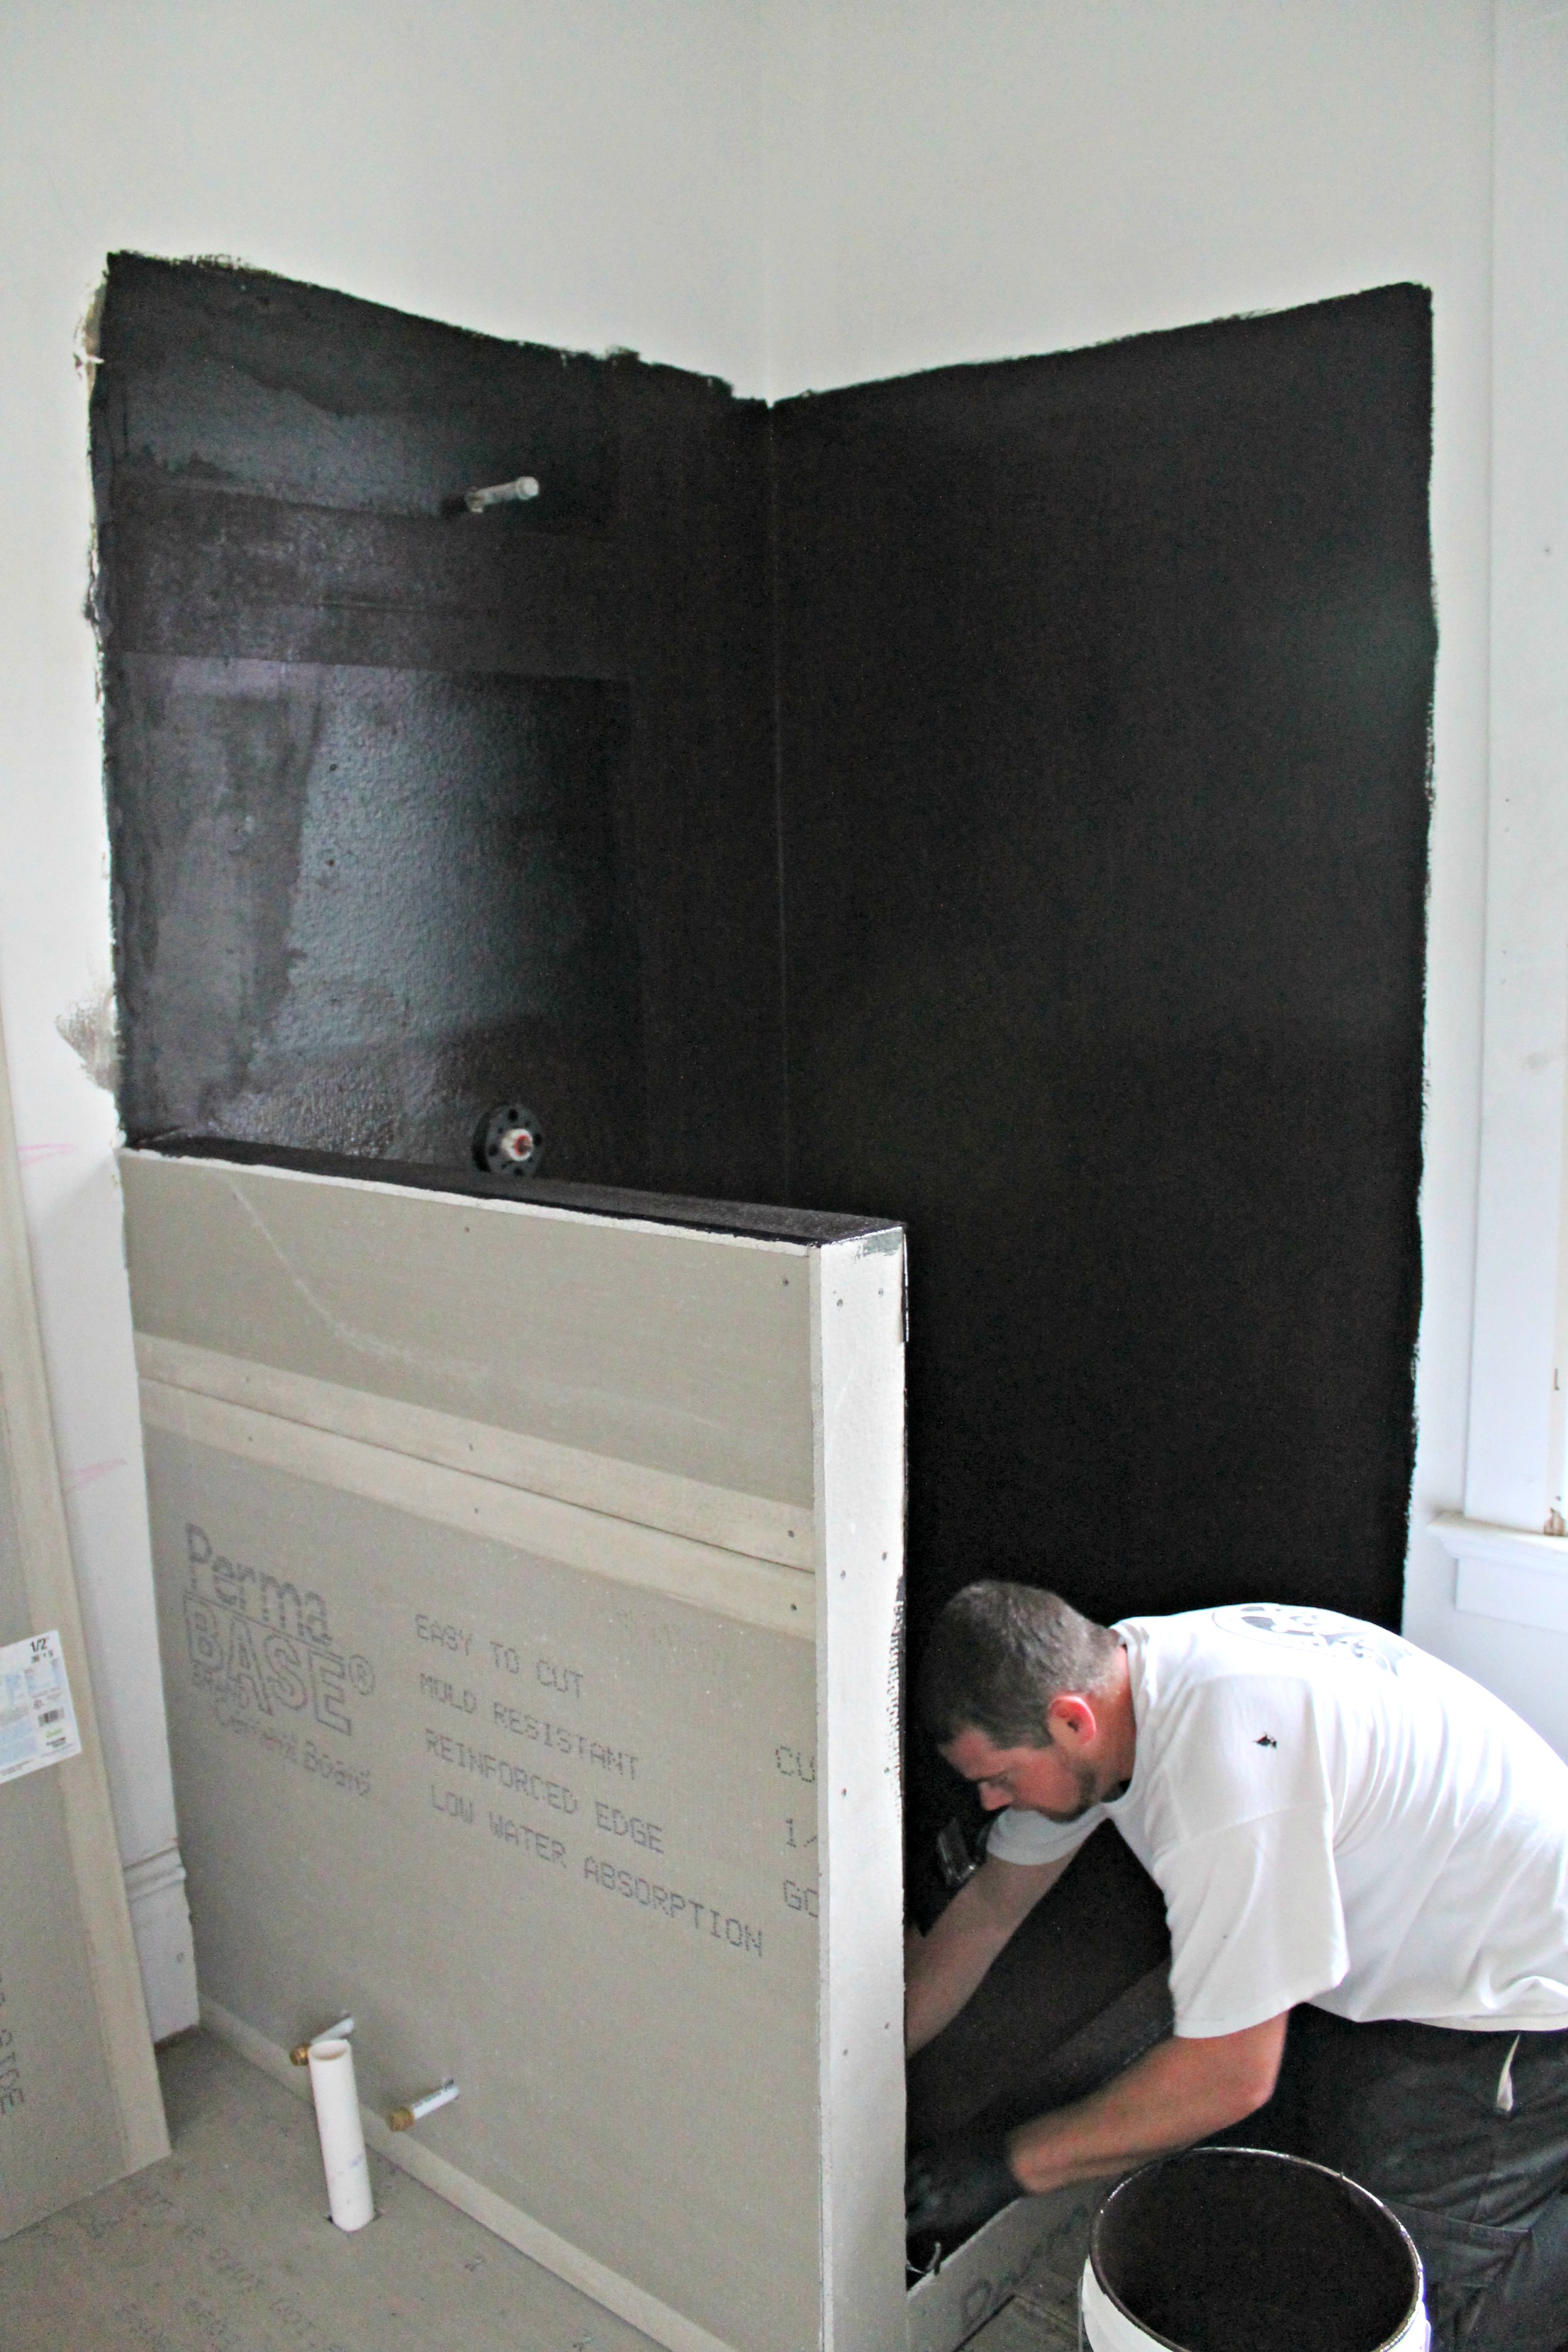
On Sunday night, the waterproofing membrane was painted on.

IMG_5259

And that’s where we are! It’s quite a change, right?!  We loved the plans, but it was so hard for us to envision what the bathroom would actually look like and what kind of space we would have.  But now we can really see it taking shape and we are in love!

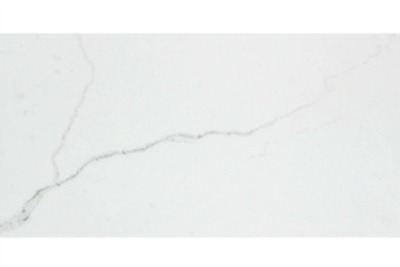
We picked out 12″x24″ white Calacatta porcelain tile with gray veins for the floor of the bathroom.  My favorite part: they will be laid in a herringbone pattern!! I can’t wait to see how that turns out!

Calacatta Tile

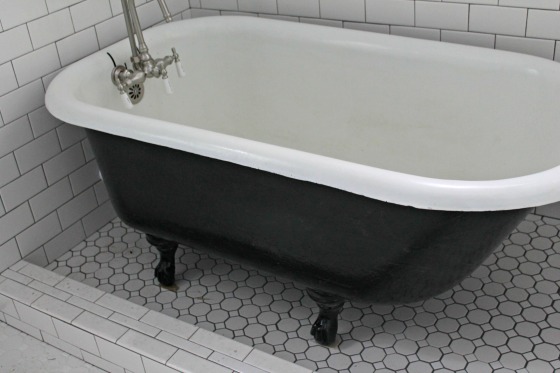
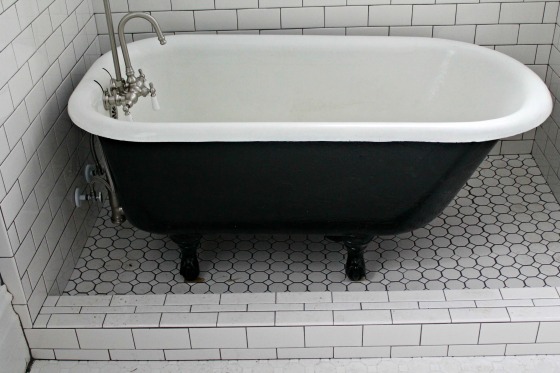
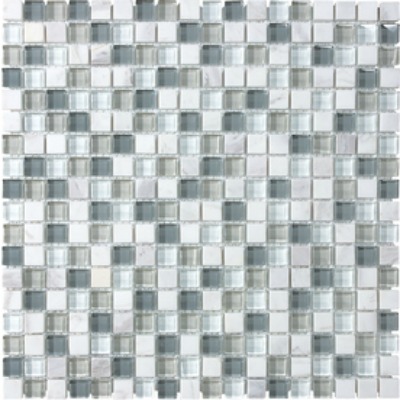
We are also going to do a smaller version of the same tile on the shower walls in a traditional alternating pattern.  We picked out this Allen + Roth mosaic tile for the floor of the shower. We will also run a smaller ribbon of that tile about three quarters of the way up the shower walls.

A+R Venatino Mosaic Tile

We are still deciding on paint colors.  We went with Benjamin Moore Palladian Blue in the master bedroom, so I’d like to stick to something in that family for the bathroom.  My top choices are Seafoam, Ocean Air, and Gossamer Blue.  I’m leaning towards Seafoam, but it’s yet to be determined.  (Opinions welcome!)

Ben Moore colors

We are also having a custom double vanity built for the space, but more on that later.  The tile is going down this week, and we’ll be picking out lighting soon, so stay tuned for more updates!  :)

Kitchen on a Budget

Does anyone even remember what the kitchen looked like when we started? It feels like forever ago!  Let me refresh your memory.

Kitchen Before 1 Kitchen Before 2 Kitchen Before 3

Pretty unappealing, huh? And what’s more, we didn’t really have a lot of money to put towards the kitchen right now.  We plan to do a full renovation in about 5 years, so we wanted to minimize the investment on the front end, but still wanted something we weren’t ashamed of.

Well, it’s really coming together now! (Please excuse the copious amounts of crap…we’re still working on getting the contractor out and us in.)

IMG_5198 IMG_5199

First we painted the kitchen (Morning Fog by Sherwin Williams), then we painted the cabinets and cabinet doors/drawers stark white. Those two things made a HUGE difference!!  And thanks to our super wonderful family, the labor was free!

Next, we put in engineered hardwoods that we got at a steal from Lumber Liquidators. The materials cost for our entire kitchen and butler’s pantry was under $400.  Seriously…a steal!

image

Our fridge was delivered a few weeks ago (from the Sears Outlet at more than half off), and we also installed a new sink faucet, garbage disposal, and gas range (found on Craigslist for $80).  We also had the round ends of the peninsula cut off to make more room for the fridge.

photo

And this past weekend, I finished installing the hardware.  We found it online at 99centknobs.com where, you guessed it, the hardware is just 99 cents.  Best. Discovery. Ever.  We replaced the hardware in our entire kitchen for just $35!

IMG_5201 IMG_5200

Luckily we were able to salvage our hinges, and the new “antique” brass knobs and pulls match perfectly! Oh and I also lined the drawers and shelves with this fun liner. It makes me happy.

We’re still mulling over our countertop options, and we need to find a piece of furniture to go where the old (teeny tiny) fridge went, but it’s definitely taking shape!

Have you done any whole room makeovers on a budget lately? How did they turn out?

10 Lessons in 10 Months

Next Monday will mark 10 months that we’ve been homeowners.  To say it has been a rollercoaster would be the understatement of the decade.  We’ve been up and down and happy and sad and frustrated and excited and exhausted and pushed to our limits. But I haven’t lost that glimmer of hope that tells me it will all be worth it.  Slowly but surely.

I don’t think I could list all of the things I’ve learned since we started if I tried.  So here are the most important lessons I’ve learned in the last 10 months, in no particular order…

1.  Always get a clear and detailed contract in writing.  Always.  Because our contractor is also a family friend, we let this one slide.  Big mistake.  ALWAYS get it in writing, even if it means going with someone else.

2. It WILL take longer and cost more than you planned.  Enough said.

1002752_684480084901088_827172312_n

3. Choose your priorities.  Your budget will never go as far as you think (see #1).  In our house, we chose to have a few rooms professionally painted, but only the trim was done in the other rooms.  We painted those rooms ourselves, and saved a lot of money.  We also plan to paint the porches ourselves, and re-tar the roof to the front porch, among other things.  On a project our size, you can’t DIY everything, but you can find ways to cut corners.

4. Compromise is unavoidable.  But if you have to compromise, compromise on aesthetics.  Never compromise on the structural things that make your house safe and functional.  Stabilizing the electrical, fixing the plumbing, installing new air ducts…these things matter a whole lot more in the long run that my beloved pink couch.  (I can’t believe I just said that!)

IMG_0824

5.  Invest in the long term.  We chose to install brand new heating and cooling units that are incredibly efficient.  The cost up front was big, but it will save us money long term.  The brick steps and cheek walls are another place that we decided to splurge.  But we think they are totally worth it!  One thing that most people would never know we invested in was our bathroom tile grout.  We chose to go with an epoxy grout instead of the regular grout because it is so much more durable, and virtually stain-proof and water-proof.

IMG_50381

6. Take a breath.  Any renovation, whether you’re living in the construction zone or not, will take a toll on your relationship.  That also means, if you’re lucky, that you will come out on the other side stronger than ever.  Just remember to breathe.  You’re in this together.

7. Measure twice, cut once.  Ok, my dad taught me this a long time ago, but it’s so true.  Always double check.

8. Reduce, reuse, recycle.  I can’t tell you how much money we have saved by reusing old wood and bricks.  We’ve also reused old doors and moldings.  These really keep our home streamlined, and saves us a lot of money!

IMG_4240

9. Think ahead.  I’m not saying you have to make your house wheelchair accessible, but you should think ahead to future obstacles.  For us, we decided to leave the downstairs bathroom a full bath so that our parents can stay downstairs comfortably when they get older, or one of us if we have a surgery or injury that prevents us from climbing the stairs.  We decided to add the tub to the upstairs guest bathroom instead of just a shower so that we have a place to “wash our babies” one day (as my mom likes to say).

10. Blog about it! You don’t actually have to start a blog, but be sure to at least keep a journal and take lots of pictures throughout the process.  You’ll be sad you didn’t later on. One day, hopefully many years from now, when I’m frustrated over something about our house, I can look back and see how much time, money, energy, blood, sweat, tears, and love we poured into it and remember the reasons why.

Have you been through a home remodel or renovation?  What were the most important lessons you learned?

Don’t forget to enter the GIVEAWAY for your chance to win the bamboo mirror!! :)

Countertop Options

IMG_2548

IMG_2550

When we started our restoration project, we decided to hold off on doing a full kitchen renovation.  The kitchen does not necessarily have a look or layout that we would choose, but it is functional and, for now, that’s what’s important.  So we wanted to spend as little money as possible in this space until we do a full renovation down the road.  We have done a few easy upgrades that we think have really made an impact in that space.  We painted the walls (Sherwin Williams Morning Fog) and trim (glossy white), painted the cabinets white, installed new engineered hardwoods, installed a new sink faucet and garbage disposal, installed a 5-burner gas range we found on Craigslist, and bought a new fridge.  With the exception of the fridge, which was our big splurge (although still a bargain), we’ve spent less than $700 in the kitchen.

But there’s still one glaring problem area: the countertops.  They are ugly and cheap laminate countertops with lots of stains–paint stains, burn stains, food stains, etc.  And no amount of cleaning is going to make them look better.  So I’ve been exploring some options…

1. Paint – Apparently you can paint countertops.  See examples here, here, and here.  This would be pretty inexpensive and give us a lot of creative freedom, but I worry about durability.

painted-countertops{via}

2. Concrete – This would be an inexpensive and durable option, but it could prove difficult to do ourselves.  Also, to my knowledge there isn’t a food-safe concrete sealer available.  We could get around this by always using cutting boards, etc. but it may become a nuisance.  Examples here and here.

6a00d8358081ff69e201a3fcaf106e970b-800wi{via}

3.  Buy New – We could purchase new, inexpensive countertops from somewhere like Ikea.  This would probably be the easiest option for us, but the most expensive of the three.

butcherblock-countertops-3{via}

We have less than 25 square feet of counter space, which would make any of these options pretty economical.

Does anyone have experience with any of these methods?  Is there another option we should look into?  What are your thoughts?

If you haven’t voted in Apartment Therapy’s Homies Awards, head on over and vote! You can vote for as many blogs as you like, including this one!

Fireplace Happenings

First of all, I want to start today’s post by wishing my sweet big brother, Jason, a happy happy birthday!!  I love you very much and I hope today is splendid!  (PS- did I mention he’s getting married this year? It’s a big one!)

180180_899623555139_5479420_n

68388_10100891907152829_1804553829_n

1669613_10101035979421028_1830864306_o

A few weeks ago, we did something so simple that I think really made a big difference in the downstairs rooms.  We have fireplaces in four rooms downstairs: the foyer, the formal living room, the dining room, and the den.  Three of those got a bit of a face lift.

Along with the two tubs, we decided the fireplace inlays should get a coat of Rustoleum as well.  So each fireplace was cleaned (for the first time in probably at least a decade), each inlay was taped off, then primed and painted.  We chose to go with Flat Black instead of the glossy.  In the pictures, it probably looks like a very subtle, almost unnoticeable difference.  But if you see it every day, the fireplaces just look so much more fresh and clean.

Here is the den fireplace before:

IMG_2743

Not too bad, just very dirty and kind of gross.  Here it is after a round of paint.

IMG_4872

Unfortunately, it’s not that the floor tiles aren’t clean…they are stained.  That’s what 112 years does to tile, I guess!  I’m looking into some deep cleaning options.

Here’s a look at the dining room before:

IMG_2568(1)

We immediately got rid of that dingy old screen and went to town cleaning this fireplace.  Here it is after a coat of primer (which just happens to be the ugliest color ever):

IMG_4871

And here it is after a coat of paint:

IMG_4899

For this fireplace, I’m looking into tile painting options.  Nothing major, but I’d like to paint the black border tiles black again to give the whole piece a fresh look.

Here’s the foyer before:

IMG_2714

Again, nothing terrible, but in need of a deep cleaning.  Here it is after paint:

IMG_4875

IMG_4896

Now all that’s left is the formal living room fireplace, which is actually accessible now that we’ve moved our furniture into the rest of the house.  Maybe that will happen this weekend?

On another note, I love that each fireplace inlay is completely different and each room has a pattern all its own.  No repetition here!

IMG_4876

If you’d like to know exactly how to go about painting with Rustoleum, you can follow the same process that we used for the tubs here.  It’s a quick, cheap, and easy fix that can really make a difference throughout your house!

Side note: Rustoleum goes a VERY long way.  We bought a quart of primer and it covered a standard pedestal tub, a “baby” clawfoot tub, and three fireplace inlays, including two inlay doors.  And we still have about a third of the can left!  So if you are planning to prime or paint with Rustoleum, you can probably get away with less than you think.

PS- This blog was nominated for The Homies Award over on Apartment Therapy (I know, I can’t believe it either).  If you enjoy reading, hop on over there and vote…you can vote for as many blogs as you like! Thanks friends! :)

Shower Time

If you live anywhere on the east coast, you know we’ve been having a bit of a winter wonderland these last few weeks.  It’s very rare for us here in North Carolina, and as all the jokes go, we pretty much shut down.

IMG_50501

Luckily, our plumber didn’t shut down.  He braved the storm to come finish installing our second guest bathroom fixtures.  Let me refresh your memory…

IMG_2139

When we bought the house, the bathroom was configured in the most nonsensical way.  There was an exterior door (for no apparent reason), the tub butted right up to the tiny corner sink, and the toilet was in a separate room.

IMG_2581

So we ripped everything out and basically started from scratch.  We tore down the wall separating the toilet, we removed all the fixtures, and we sealed up the exterior door.  And as of yesterday, the shower/tub is FINISHED!!

IMG_50401

IMG_50411

IMG_50421

IMG_50391

IMG_50381

IMG_50471

Sorry there aren’t better pictures.  The room is about 5′ x 8′ which makes snapping full shots rather difficult.  Anyway…

We went with a white grout on the main bathroom floor, then a dark gray on the shower floor and walls.  I love the way the difference makes the shower area look complete.

Of course it’s not finished yet.  The tile and tub still both need a lot of cleaning, and we’ll have to scrape off a bit of paint that dripped into the inside of the tub.  And we’ll need a shower curtain.  But I was just so excited that I couldn’t wait to show y’all!!  It really turned out even better than I expected.

This bathroom was the last thing that needed to be completed before we moved in.  Now….it’s on! :)

Sources:

Floor tile- American Olean Sausalito mosaic tile

Wall tile- American Olean subway tile

Tub hardware- Signature Hardware

Tub paint- Rustoleum High Gloss Black

Wall paint- Sherwin Williams Lazy Gray