All posts by Sarah @ 702 Park Project

Fall Favorites: Wreaths

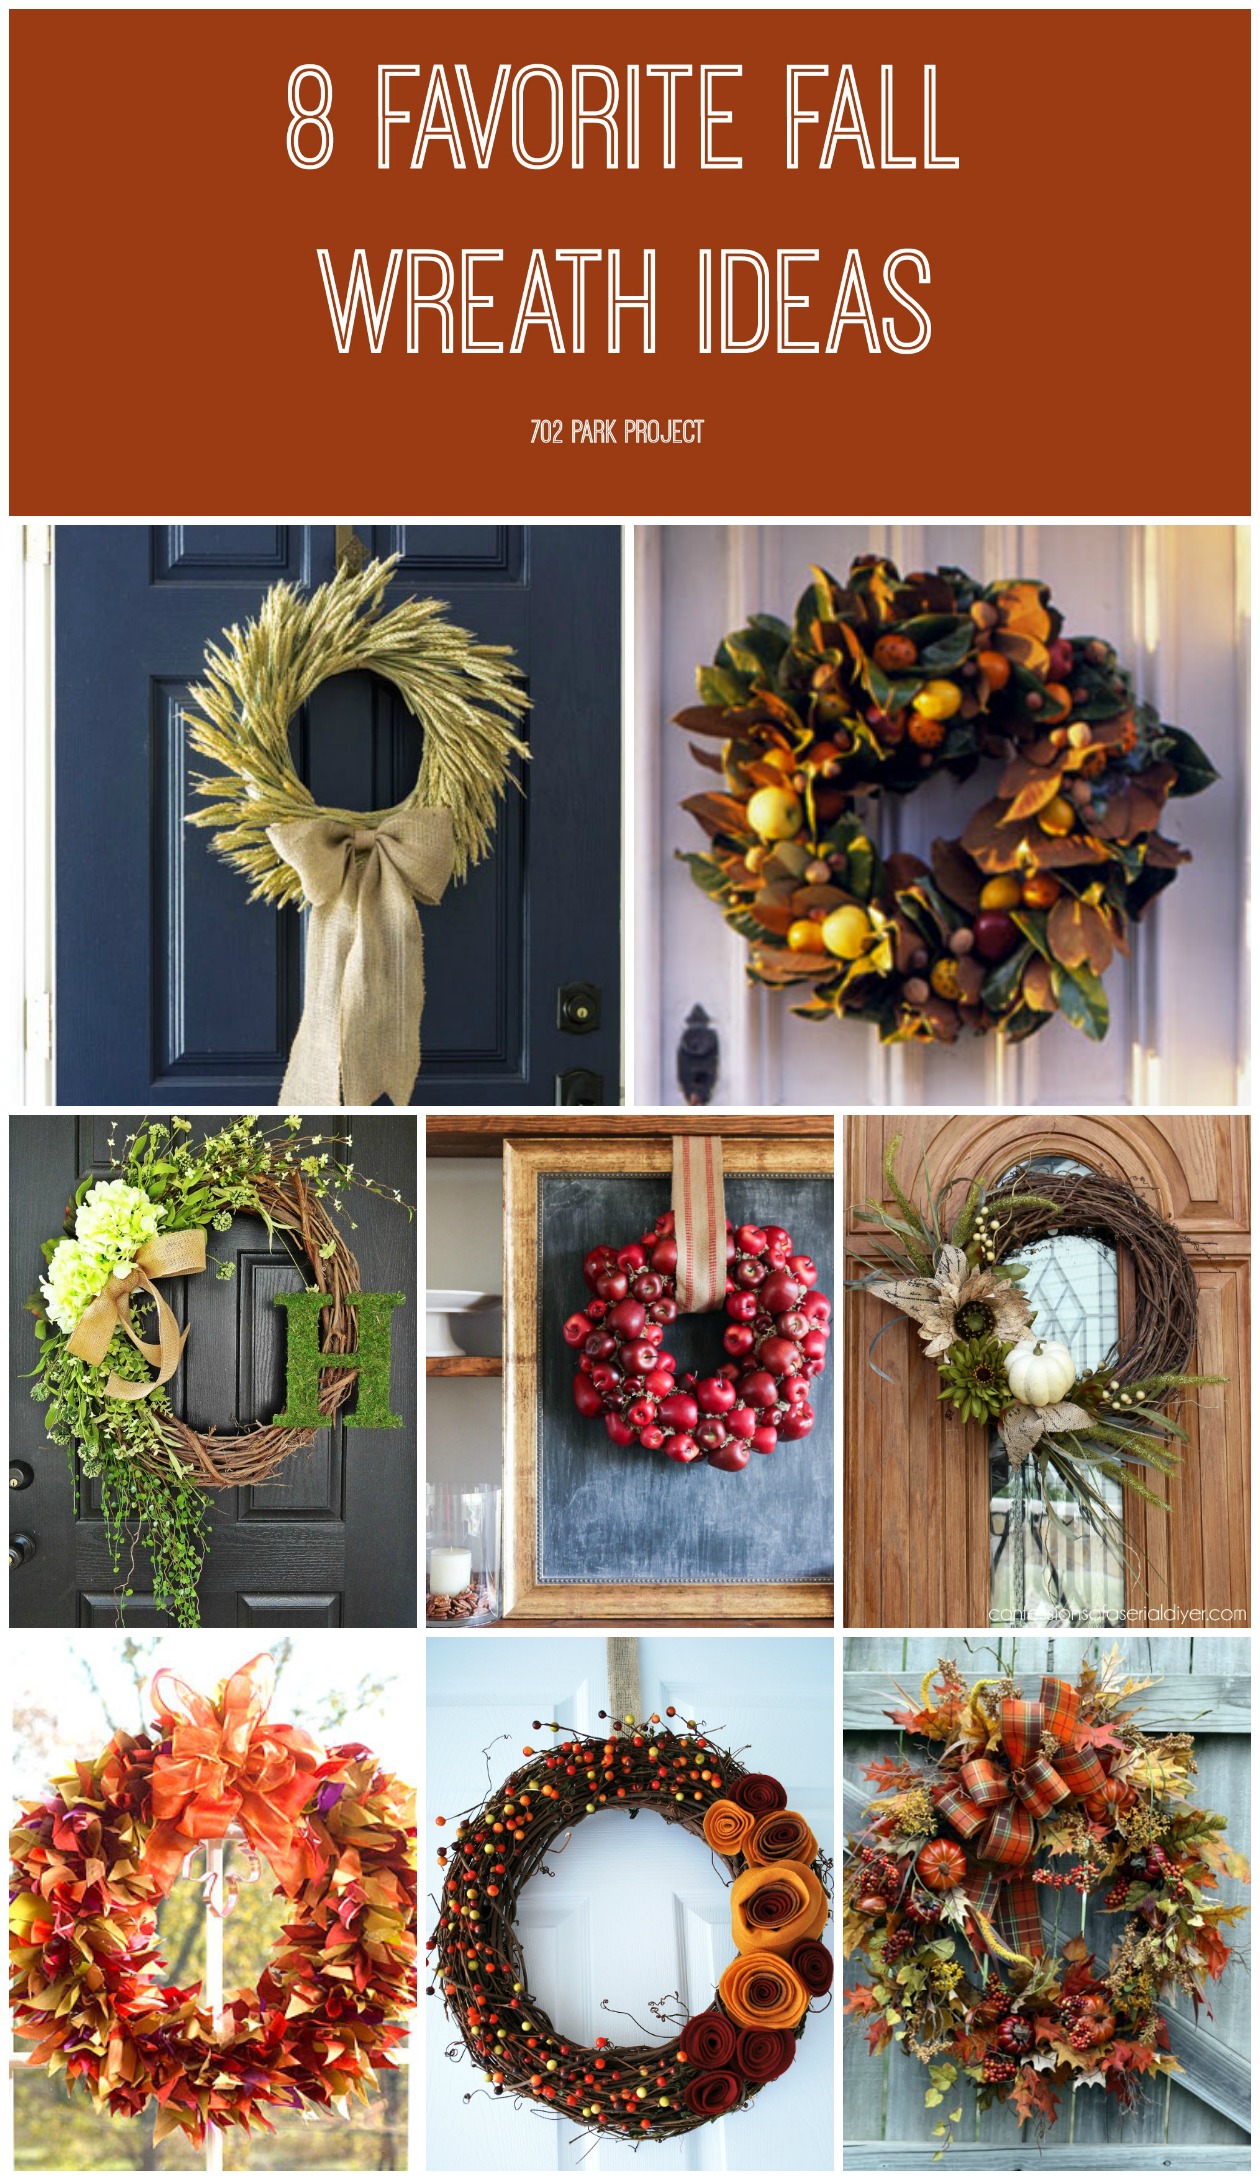
Are you enjoying this week of fall favorites? I planned this week some time ago, thinking that surely by the middle of October, NC temps would have cooled off and fall would be here to stay. Joke’s on me, Mother Nature. It has cooled off considerably today, but the past two days have been a cool gross 86 degrees. The best laid plans, right?!

Anyway… today I’m sharing my favorite fall wreath ideas.  Most of these are DIYs, so get out your hot glue guns and burlap and get ready!

I love wreaths, but our house isn’t the best for them.  Our screen door is almost all screen, and you can’t see a wreath on the main door behind it.  I guess I could hang a wreath from the top of the screen door, but I just worry about it getting damaged/ruined/stolen/egged.  It’s irrational, I know.  So for now I’m pining away for these beauties…

702parkproject - 8 Favorite Fall Wreath Ideas

1. Fall Wheat

702parkproject - OSP fall wreath

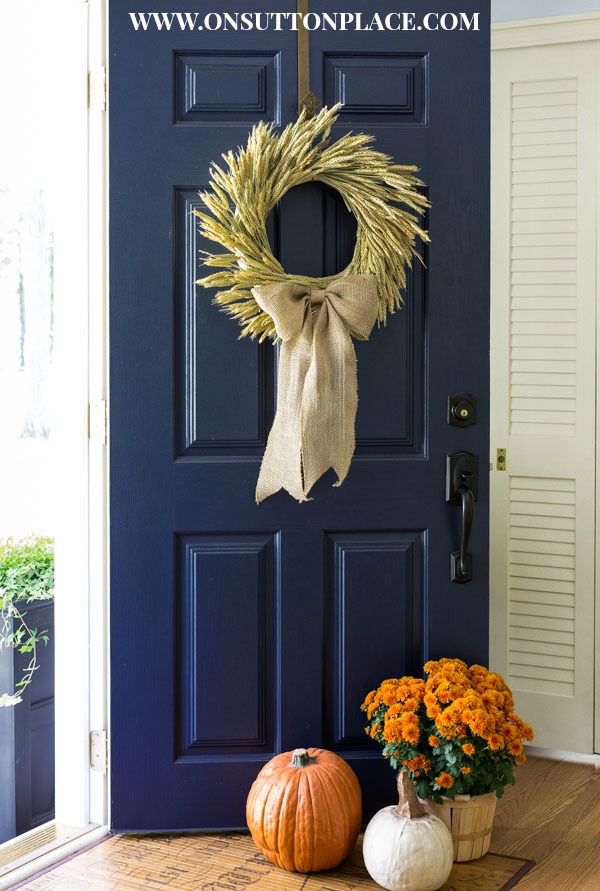
I love the simplicity of this wreath so much. I’ll admit I’m not always a big burlap fan, I think it’s overdone, but I could get on board with this one. (DIY tutorial included.)

2. Magnolia & Fruit

702parkproject - BHG2 fall wreath

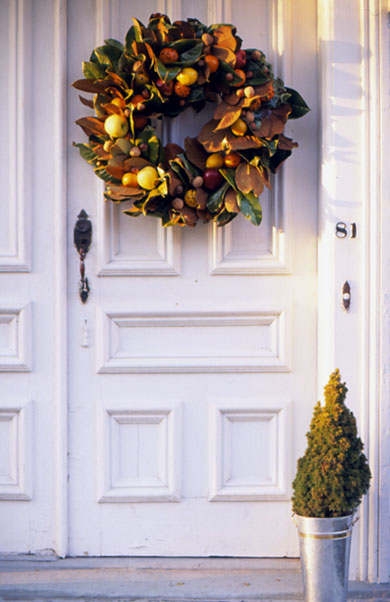
We have a massive magnolia tree in our back yard and it’s perfect for grabbing last minute mantel foliage.  I wonder if I could make this myself?  Added bonus: this one works for the holidays too, so it could last you several months.

3. The Louisa

702parkproject - fall wreath

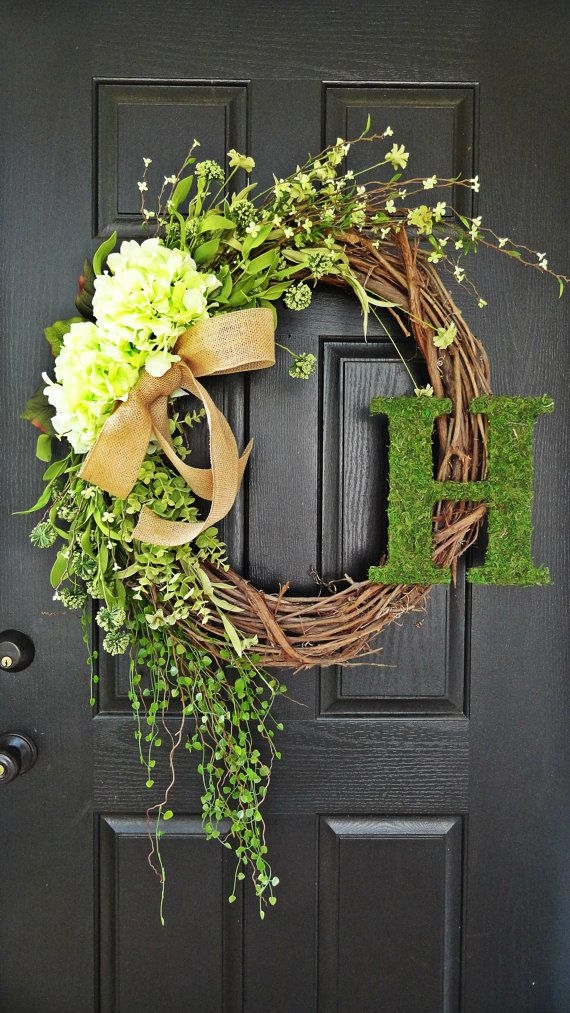
Ok, this is technically a summer wreath, but I just love it.  I think the green palette is a nice alternative to the traditional colors of fall, and might just be a little pick-me-up on those colder days! And who doesn’t love a monogram?! PS- This one’s for sale!

4. Apples To Apples

702parkproject - WGC fall wreath

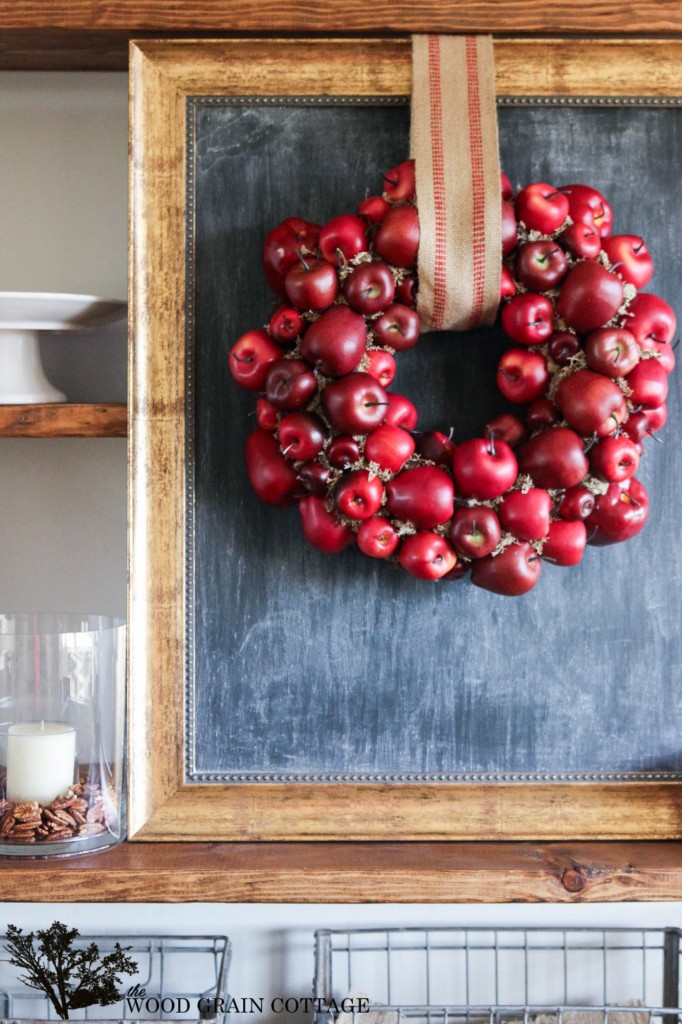
It seems like everyone thinks pumpkins when it comes to fall, but apples are a great fall trend.  I like this one for indoors especially.  (DIY tutorial included.)

5.  Natural Sprigs

702parkproject - COASD fall wreath

I’m loving me some white pumpkins this year, and this somewhat subdued color palette is spot on. Aren’t grapevine wreaths the best — and easiest! (DIY tutorial included.)

6. Pretty Ribbons

702parkproject - BHG1 fall wreath

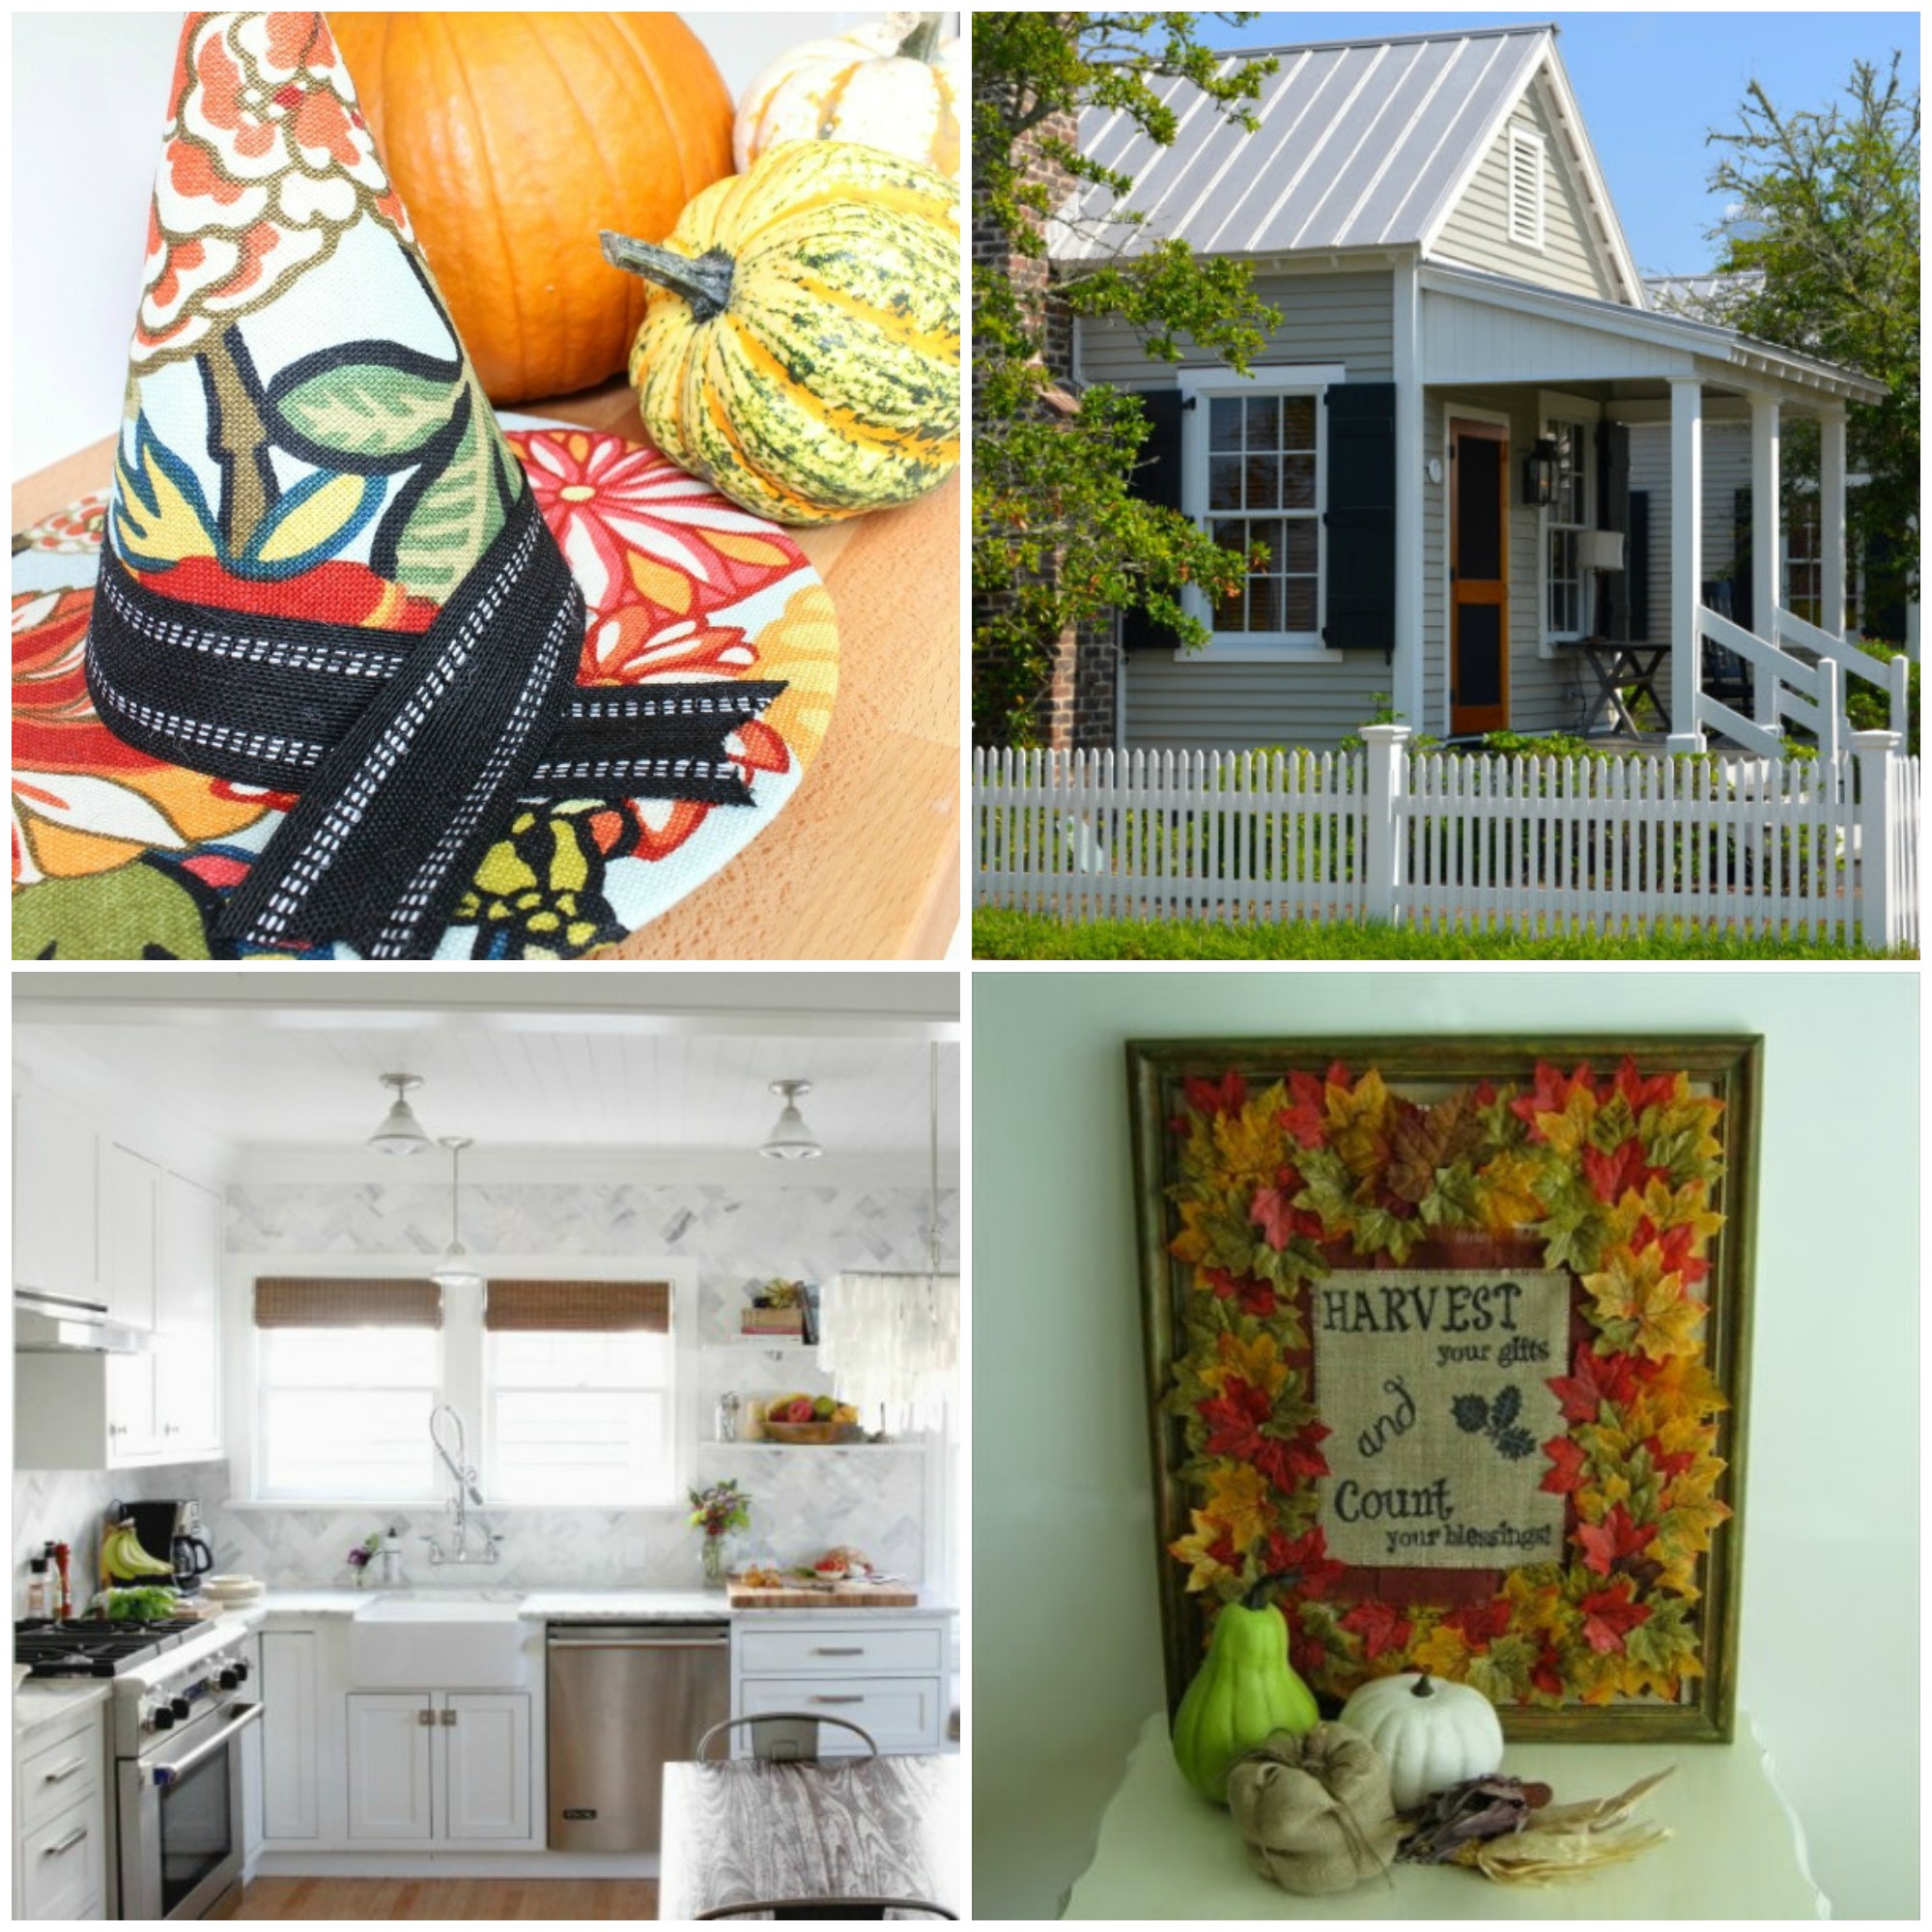
Easy, cheap, and reusable.  Yep, I’m in!  You could make one for every season or holiday using different ribbons. (DIY tutorial included.)

7. Rosettes & Berries

702parkproject - CM fall wreath

Another lovely grapevine. Unique and handcrafted, you won’t see this one on every door on the block. (DIY tutorial included.)

8.  Traditional Fall

702parkproject - SSD fall wreath

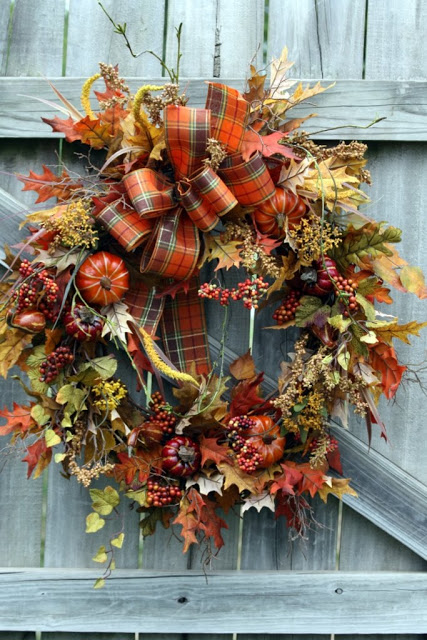
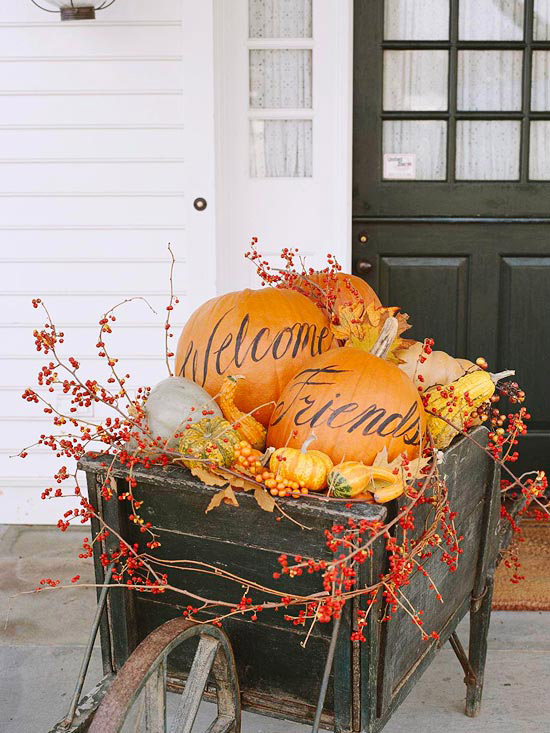
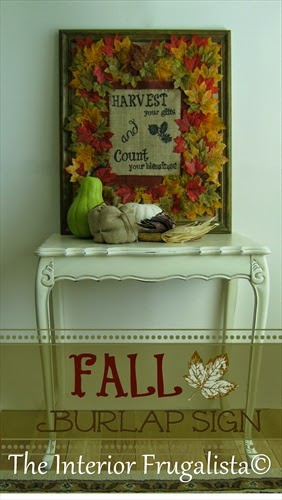
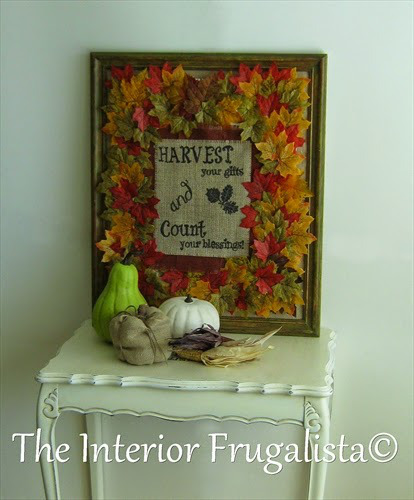
It doesn’t get any more “fall” than that! The plaid ribbon is a nice touch, and I love the berries mixed in with the pumpkins and leaves.

That’s it, my 8 favorites! What do you think?  Do you love these as much as I do? Which is your favorite? You can see all of my fall inspirations here.

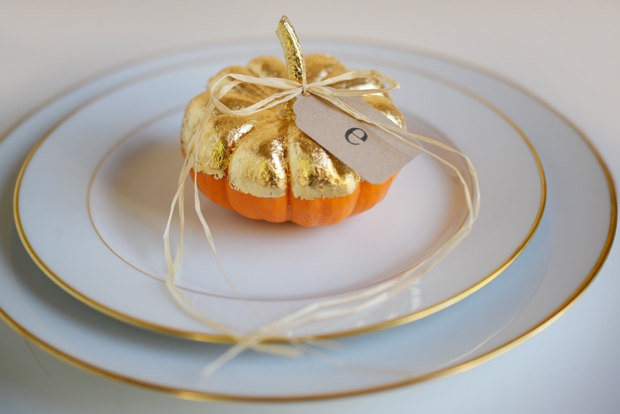
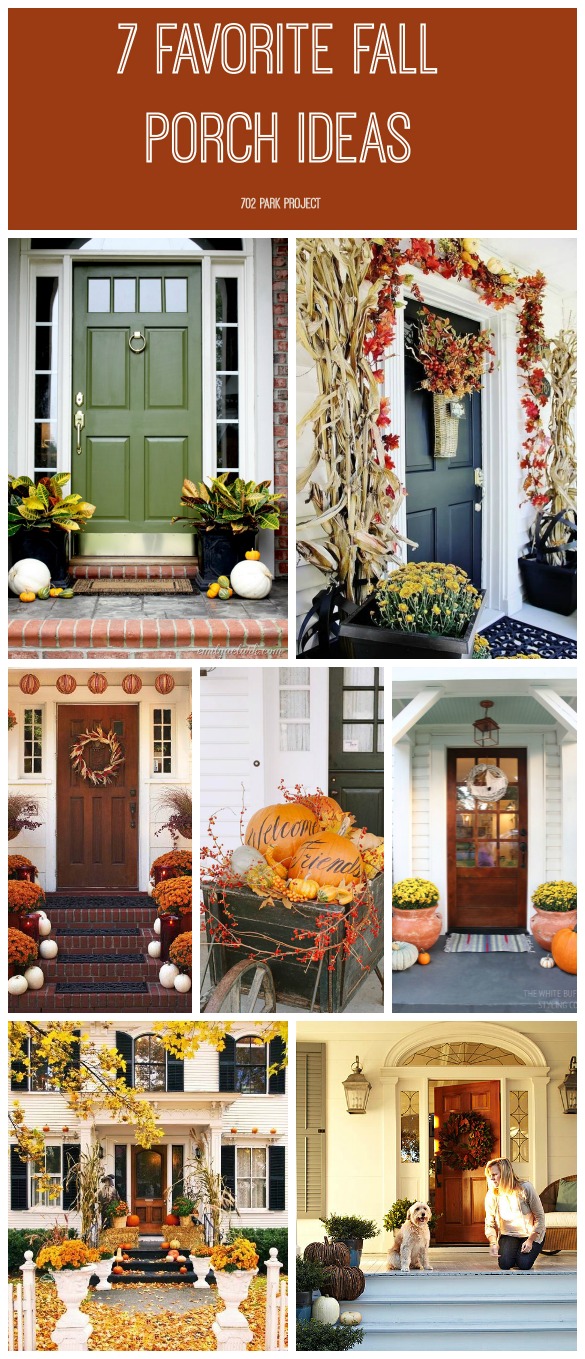
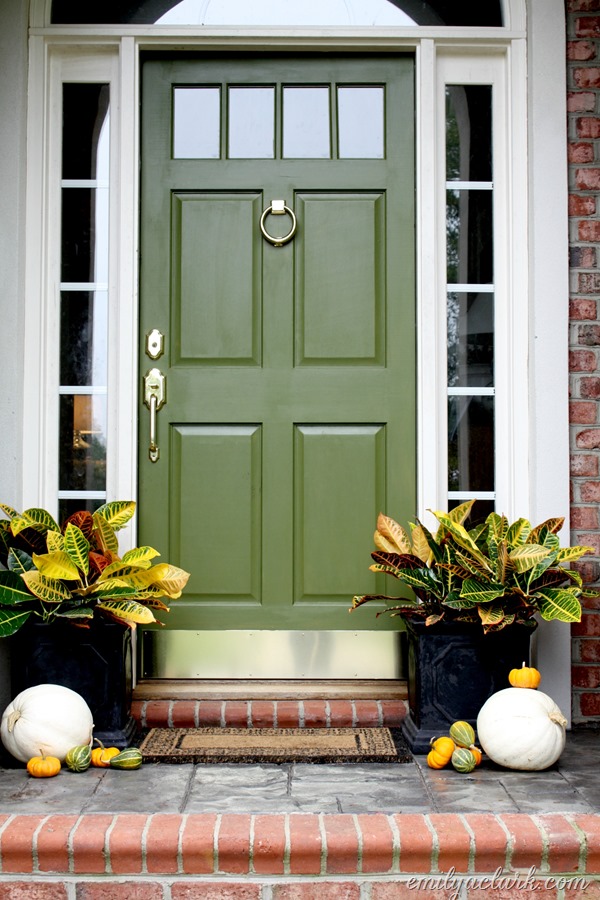
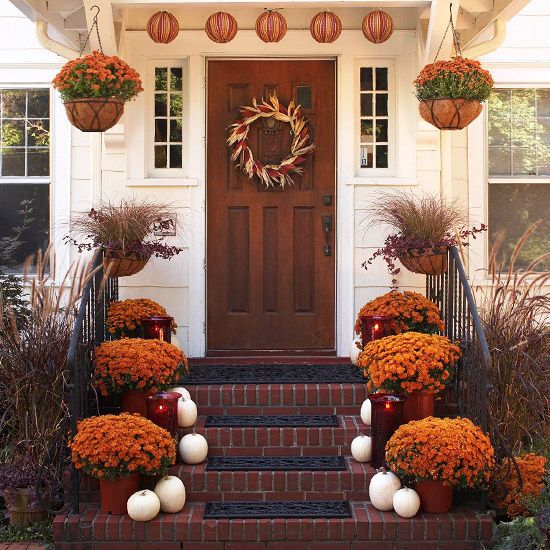
Check out my favorite fall porch ideas and favorite fall place settings, and stay tuned for more fall favorites, including no-carve pumpkins and fall cocktails!!

Fall Favorites: Place Settings

Yesterday, to kick off Fall Favorites Week I shared my favorite fall front porches.  Today, the next stop on the round up is place settings!  Is there anything prettier than a grand dining room table set for guests?  Or for everyone to look at and no one to ever touch? ;)

And in case you weren’t aware, I have a thing for gold.

702 Park Project - 4 Favorite Fall Place Setting Ideas

1. Beautiful On A Budget

702parkproject - griffanie place setting fall

What’s not to love about this setting? A little nature, a little gold. The best part: it’s budget friendly! Click through for steps and sources.

2. Rustic & Refined

702parkproject - CS place setting fall

This sprig of wheat brings a natural element into an otherwise fancy setting, and the teal is an unexpected winner!

3. A Glam Thanksgiving

702parkproject - HWH place setting fall

I love everything about this one.  The feathers, the pear, the plate patterns, the charger. Seriously, perfect.

4. Gilded Harvest

702parkproject - C+C place setting fall

These pumpkins are about as easy as it gets when it comes to crafting, and you can use them all season long to decorate your home.  I think they look so sweet with the simple, classic gold-rimmed china.

That’s it, my 4 favorites! What do you think?  Do you love these as much as I do? Which is your favorite? You can see all of my fall inspirations here.

Stay tuned this week for more fall favorites, including wreaths, no-carve pumpkins, and my personal favorite, cocktails!!

Fall Favorites: Front Porch

If you spend any time browsing Pinterest or the blogosphere, you understand the most important thing right now: FALL IS HERE!! It’s everywhere! And I just can’t get enough.

So this week, I’ll be sharing my fall favorites with you.  First up: my favorite fall front porches!

702 Park Project - 7 Favorite Fall Porch Ideas

1.  Fall Front Door Refresh

702parkproject - emily a clark fall

This is one of my favorites because it’s so achievable.  You don’t have to be a design expert to pull this one off, and it always looks classic and beautiful.

2.  Colorful Maize

702parkproject - homedit fall

I’m not usually a fan of garland that hangs all the way around the door, but this one is pretty stinking cute.  I love the tall maize corn stalks in the planters, and the basket in place of a wreath is pretty genius too. (Anyone know this original source? If so, please let me know.)

3.  Orange & White

702parkproject - bhg3 fall

I’ve had this one pinned for years!  Everyone always seems to go towards the yellow mums and orange pumpkins (myself included).  I love this spin on the classic so much!

4. Welcoming Painted Pumpkins

702parkproject - bhg fall

Put this on your front porch and you are finished! If you have an old wheelbarrow, this is an easy and cheap fall decorating solution.

5. Fall At The Cottage

702parkproject - WBSC fall

I love the rustic look of this simple cottage porch.  The terracotta urns are my favorite. (PS- This one has a pretty fabulous before and after!)

6. Fall Explosion

702parkproject - brian jannsen fall

Fall leaves galore!  The flower-filled urns are killing it, and the hay bales are just enough without being overdone.  What a gorgeous home!

7.  Warm and Inviting

702parkproject - bhg2 fall .

Let’s be honest.  I’m drawn to this one because it has a dog. But I still love this simply decorated front porch, with a variety of pumpkins and a great fall wreath. I wouldn’t mind those lanterns on my house either!

That’s it, my 7 favorites! What do you think?  Do you love these as much as I do? You can see all of my fall inspirations here.

Stay tuned this week for more fall favorites, including place settings, wreaths, no-carve pumpkins, and my personal favorite, cocktails!!

I’m Alive!

Hi folks…just wanted to check in really quick and let you know I’m still here.  First of all, THANK YOU all so much for your words of encouragement, support, prayers, and vibes.  I appreciate it more than you know.  I feel so blessed to have found this online community of friends!

The surgery went great and we’re optimistic for positive results in the coming weeks, but the recovery has been a little more intense than I expected.  So bear with me and I’ll be back next week with lots of goodness for you!

In the meantime, here’s what you may have missed from some fabulous ladies while I’ve been away…

702PP - Guest Blogger Collage

See you next week! :)

DIY Fall Burlap Sign

Hello my name is Marie and I blog over at The Interior Frugalista, where I share all things DIY around our humble abode.  I’m thrilled that Sarah invited me to share a project with you all today!

In the spirit of Autumn I’m sharing an easy DIY Fall Burlap Sign, along with a step-by-step tutorial and a printable so you can add one to your Fall décor.

These are the materials I used along with a picture frame.

I didn’t use the plaid ribbon or the green twine seen in this photo.
Materials List:

Burlap Table Runner (Michaels)

Fall Burlap Ribbon (Michaels)

Assorted Fabric Leaves (Michaels or Dollar Store)

12 x 16 Art Canvas (Dollar Store)

Freezer Paper (Grocery Store)

Picture Frame


Equipment List:

Inkjet or Laser Printer

Iron

Hot Glue Gun


Step 1 – Printing on Burlap
Fall being about harvest and giving thanks, I created a graphic that reflects the spirit of gratefulness.   You can download the graphic in PDF format by clicking the link below.

Here is where the freezer paper, burlap, an iron, and your printer come in. Sounds intimidating but really it isn’t.

Cut your freezer paper the size of the graphic (8 1/2″ x 11″).

Measure and cut a piece of the burlap table runner at around 12 inches. Using the Steam Setting on your iron press out any wrinkles or curling of the burlap.

Lay the shiny side of your freezer paper down onto the canvas.  Line up the edge of the paper to the grain of the burlap.
Switch the setting on your iron to High Heat with No Steam and press onto the matt side of your freezer paper until you get a good bond, especially on the corners.

Cut the burlap to the same size as your freezer paper.

In your printer settings select Best Quality for a dark print.   Place your burlap into the Manual Feed of your printer and help guide it as it begins feeding into the machine.

You can see mine printed rather light and that’s because I used a laser printer.  You will get a much darker image using an inkjet.  If you have a laser do this step at your own risk because it will heat up the freezer paper and you risk it getting stuck in the machine.  I took the risk and didn’t have a problem.

I went over mine with a black Sharpie to darken the image. Worked like a charm!

Remove the freezer paper backing from the burlap by carefully peeling it back.

If you are still feeling a bit nervous about this step I found an easy to follow tutorial on You Tube that you may find helpful.

Step 2 – Creating a colorful border

With Fall colored Burlap Ribbon create a border around your burlap and attach it with hot glue.  You can see I did mine in three vertical strips (I ran out of ribbon).  For even fraying I would suggest you use four pieces around the perimeter.

To fray the edges pull one strand from the outside edge of the ribbon along all four sides.  Repeat until you have about six strands removed (or more if you prefer).

Step 3 – Picture Frame

Repurpose an old picture frame that you may have around the house or purchase one from your local thrift store.  Another option is buying an inexpensive black poster frame.

I dry brushed layers of acrylic craft paint in Fall colors. Dry brushing simply means applying paint to your brush and dabbing off the excess onto a paper towel so there is very little paint left on the brush.

The colors I used are:

Craftsmart: Olive Green, Orange, Dark Yellow
Americana: Tomato Red and Raw Umber

  • Remove the glass/plastic from the picture frame.
  • Using another piece of the burlap table runner cut it about four inches larger than the cardboard backing of the picture frame.
  • Starting at the top fold the burlap over to the back of the cardboard and attach it with a hot glue.
  • Stretch the burlap taut and fold it over the bottom of the cardboard and attach it with hot glue.
  • Continue onto the sides.
  • Place the cardboard back into the frame and secure it in place.  My frame didn’t have clips so I ran masking tape along the back to hold it in place.

Step 4 –  Creating a double frame

To give the sign some dimension I added another layer with an inexpensive art canvas purchased at the Dollar Store.  Eyeball it to the center of the frame and attached it with dabs of hot glue.

My feline buddy’s cat post was the nearest surface to work on and as you can see in the photo, he wasn’t too impressed!

You can skip this step and place your burlap graphic directly onto the frame.
Step 5 – Attaching the burlap graphic
Add a dab of hot glue on each corner of the burlap and carefully eyeball it onto the center of the art canvas.
Step 6 – Attaching Fabric Leaves
I purchased assorted sized fabric leaves from both Michaels and the Dollar Store.  I randomly hot glued them in place over the canvas.

There you have it, an easy DIY Fall Burlap Sign with pretty Fall colors!  I haven’t decided whether to lean mine on the fireplace mantle, hang it in the front entry, or add it to our Fall vignette on the front steps.

Thank you so much Sarah for the opportunity to guest post on your blog.  It was great fun making this project to share with your readers.

Happy Fall Everyone!
 

The Ravenna House Kitchen Makeover

Hi there, I’m Cathy the old-house-loving, renovation-crazed blogger behind The Grit and Polish. Nice to meet ya.

My husband and I are serial renovators living the dusty life in Seattle with our dog Bubba, and son Wilder. We’re just wrapping up our third full-house renovation (…if you can ever really be finished with an old house?), a 1926 tudor, which had no heat and a rat colony in the attic when we bought it last year. It’s been a busy 12 months, but there are no more rats. And this giant fixer – we call her ‘The Ravenna House’ – is now our little family’s home.

Sarah was nice enough to lend me her blog for the day so I could share our down-to-the-studs kitchen remodel with you guys. So let’s get to it…the heart of the home. The space where everything happens. The room my husband cooks in a whole lot more than I do. Our kitchen.

When we bought the house last October, this is what the space looked like:

2. Ravenna House - kitchen before pic

And here’s what was lurking just behind the wall on the left side of the above photo:

3. Ravenna House kitchen - cabinets before pic

The original kitchen space was tiny. The cabinet layout couldn’t actually fit a fridge and a dishwasher – two things we weren’t willing to live without. At least my husband wasn’t. I could probably live without my left foot as long as the rest of my body was in an old house.

But in the name of domestic felicity, the cabinets had to go. I cried. And then I l got over it.

4. Ravenna House Kitchen Progress Photo 1 1-31-14

I found a carpenter on Craigslist and had him build us cabinets that could pass as original. Next we enlarged the kitchen footprint by knocking out two walls and expanding into the dining nook. We feathered in oak floors to match the existing, redid all the plumbing and electrical, tiled the backsplash, installed new appliances, laid a tongue-and-grove ceiling, had the floors refinished, upholstered a bench, installed new lighting, and painted. Whew! That was a lot of work. And a really long sentence.

We did all of the work ourselves except the plumbing, countertops, and refinishing the hardwoods. And it took us the better part of six months. But it was all worth it. This is what the kitchen looks like now:

The Grit and Polish - White and Marble Kitchen 2 The Grit and Polish - Bright Colors for Fall

I get a lot of comments on that marble herringbone backsplash, and I’ll tell you what, it was a real pain to install. It took my husband and I two solid days just to lay the thing. Every tile around the cabinets and windows was custom cut and often took two tries. The whole process was painfully slow. So much so, that for our next kitchen, I’m sticking with a classic subway. On mats. Mark my words. Actually don’t, I’ll probably change my mind. Tiling is just like labor – the memories of pain fade. One day you think you can never go through it again and a little while later you think “well why wouldn’t I tile another backsplash from floor to ceiling?”

The Grit and Polish - Marble Herringbone Backsplash and Industrial Faucet The Grit and Polish - White and Marble Kitchen with Professional Stove The Grit and Polish - Kitchen Open Shelves for Fall 6 The Grit and Polish - In the Kitchen with Bubba 2

Our kitchen is by no means big – at least not by today’s standard’s – but it’s enough for our little family. And that’s saying something when you have the most active dog in the world and a 15-month-old son nicknamed ‘the Tornado’.

Kitchen - Wilder and his stickers on his bench

Thanks for hanging out with me today! I hope you liked this little peak into our house (you did…right?!).

All kitchen resources and more photos can be found here. And if you’d like to follow along on our renovation of the Ravenna House, you can do so here.