
Hello my name is Marie and I blog over at The Interior Frugalista, where I share all things DIY around our humble abode. I’m thrilled that Sarah invited me to share a project with you all today!
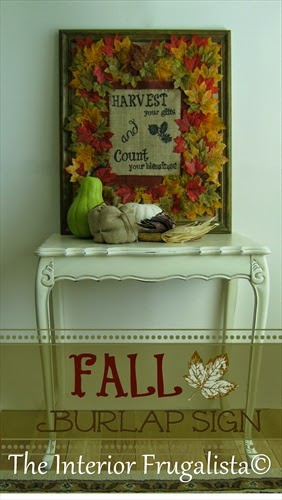
In the spirit of Autumn I’m sharing an easy DIY Fall Burlap Sign, along with a step-by-step tutorial and a printable so you can add one to your Fall décor.
These are the materials I used along with a picture frame.
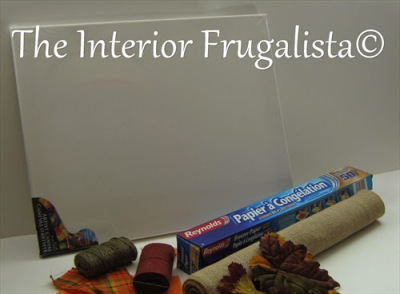
Burlap Table Runner (Michaels)
Fall Burlap Ribbon (Michaels)
Assorted Fabric Leaves (Michaels or Dollar Store)
12 x 16 Art Canvas (Dollar Store)
Freezer Paper (Grocery Store)
Picture Frame
Equipment List:
Inkjet or Laser Printer
Iron
Hot Glue Gun
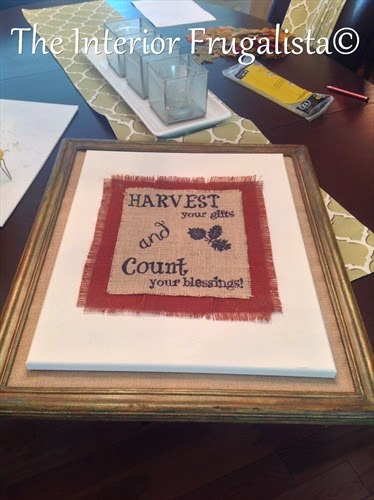
Step 1 – Printing on Burlap

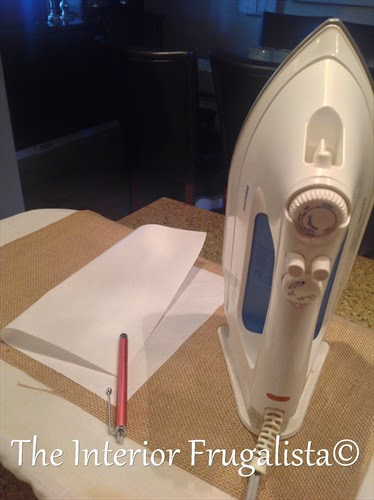
Here is where the freezer paper, burlap, an iron, and your printer come in. Sounds intimidating but really it isn’t.
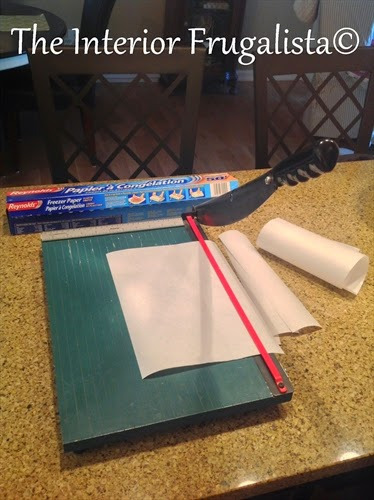
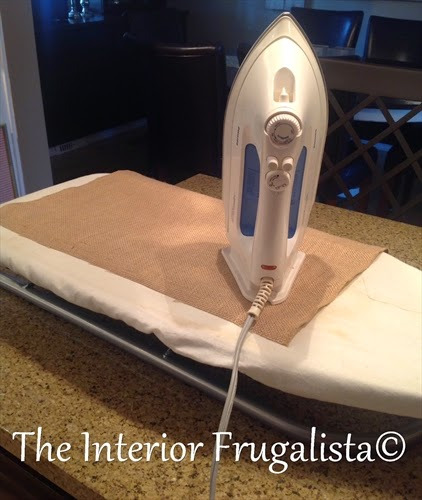
Measure and cut a piece of the burlap table runner at around 12 inches. Using the Steam Setting on your iron press out any wrinkles or curling of the burlap.
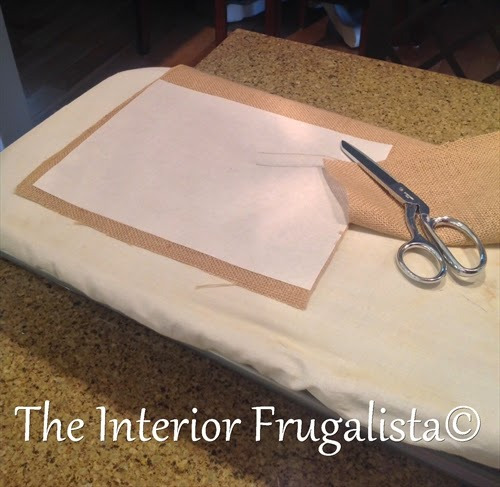
Cut the burlap to the same size as your freezer paper.
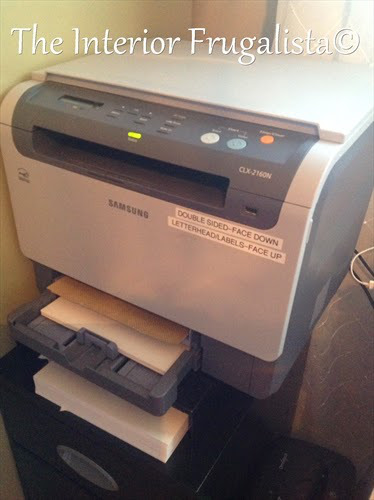
In your printer settings select Best Quality for a dark print. Place your burlap into the Manual Feed of your printer and help guide it as it begins feeding into the machine.

You can see mine printed rather light and that’s because I used a laser printer. You will get a much darker image using an inkjet. If you have a laser do this step at your own risk because it will heat up the freezer paper and you risk it getting stuck in the machine. I took the risk and didn’t have a problem.
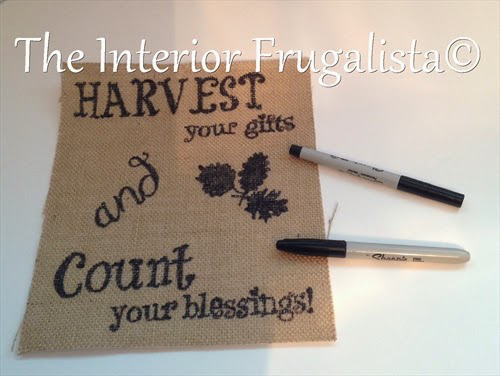
I went over mine with a black Sharpie to darken the image. Worked like a charm!
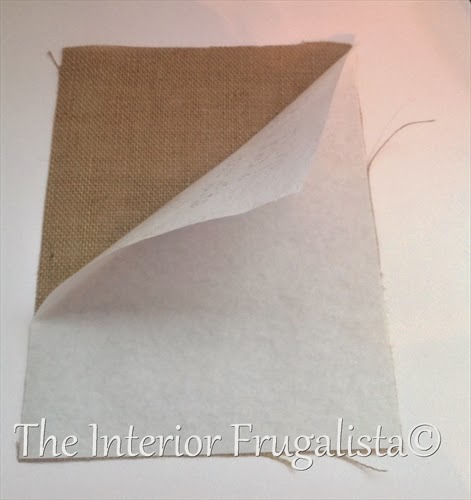
Remove the freezer paper backing from the burlap by carefully peeling it back.
If you are still feeling a bit nervous about this step I found an easy to follow tutorial on You Tube that you may find helpful.
Step 2 – Creating a colorful border
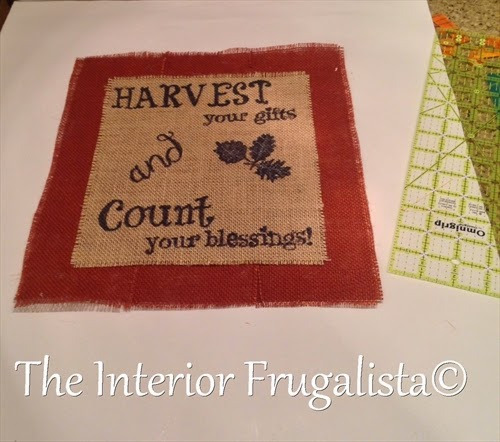
With Fall colored Burlap Ribbon create a border around your burlap and attach it with hot glue. You can see I did mine in three vertical strips (I ran out of ribbon). For even fraying I would suggest you use four pieces around the perimeter.
To fray the edges pull one strand from the outside edge of the ribbon along all four sides. Repeat until you have about six strands removed (or more if you prefer).
Repurpose an old picture frame that you may have around the house or purchase one from your local thrift store. Another option is buying an inexpensive black poster frame.
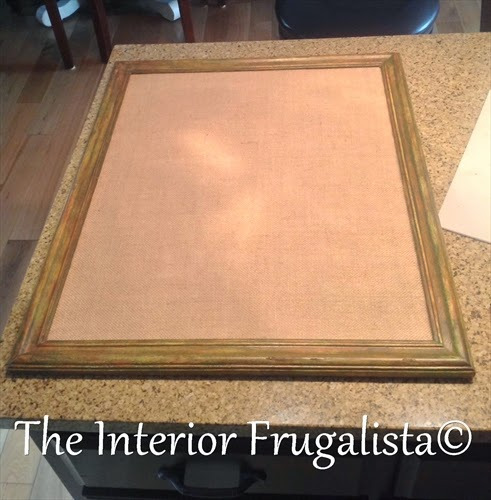
I dry brushed layers of acrylic craft paint in Fall colors. Dry brushing simply means applying paint to your brush and dabbing off the excess onto a paper towel so there is very little paint left on the brush.
The colors I used are:
- Remove the glass/plastic from the picture frame.
- Using another piece of the burlap table runner cut it about four inches larger than the cardboard backing of the picture frame.
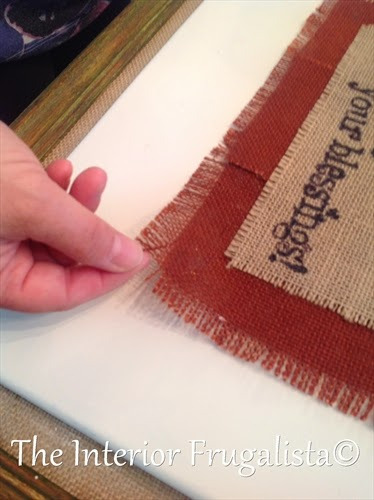
- Starting at the top fold the burlap over to the back of the cardboard and attach it with a hot glue.
- Stretch the burlap taut and fold it over the bottom of the cardboard and attach it with hot glue.
- Continue onto the sides.
- Place the cardboard back into the frame and secure it in place. My frame didn’t have clips so I ran masking tape along the back to hold it in place.
Step 4 – Creating a double frame
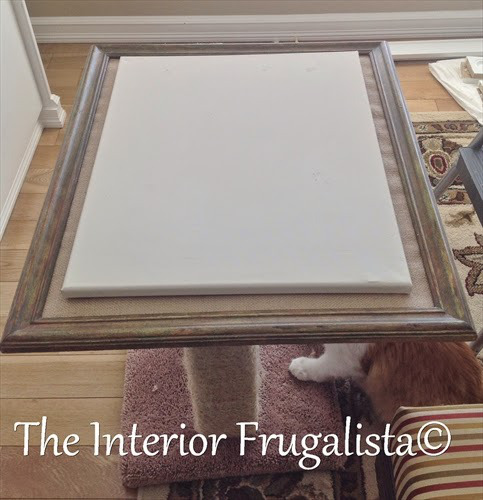
My feline buddy’s cat post was the nearest surface to work on and as you can see in the photo, he wasn’t too impressed!
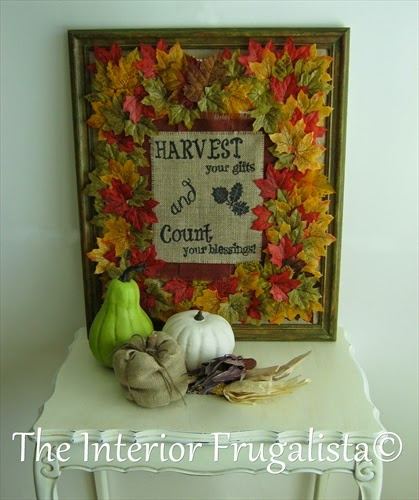
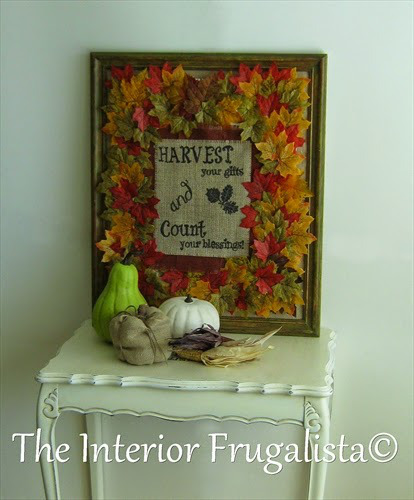
There you have it, an easy DIY Fall Burlap Sign with pretty Fall colors! I haven’t decided whether to lean mine on the fireplace mantle, hang it in the front entry, or add it to our Fall vignette on the front steps.
Thank you so much Sarah for the opportunity to guest post on your blog. It was great fun making this project to share with your readers.
What a fun project!
I’m glad you like it Elizabeth @The Little Black Door – it was fun to make!