Happy Hump Day! It’s time for another update on our master bathroom!
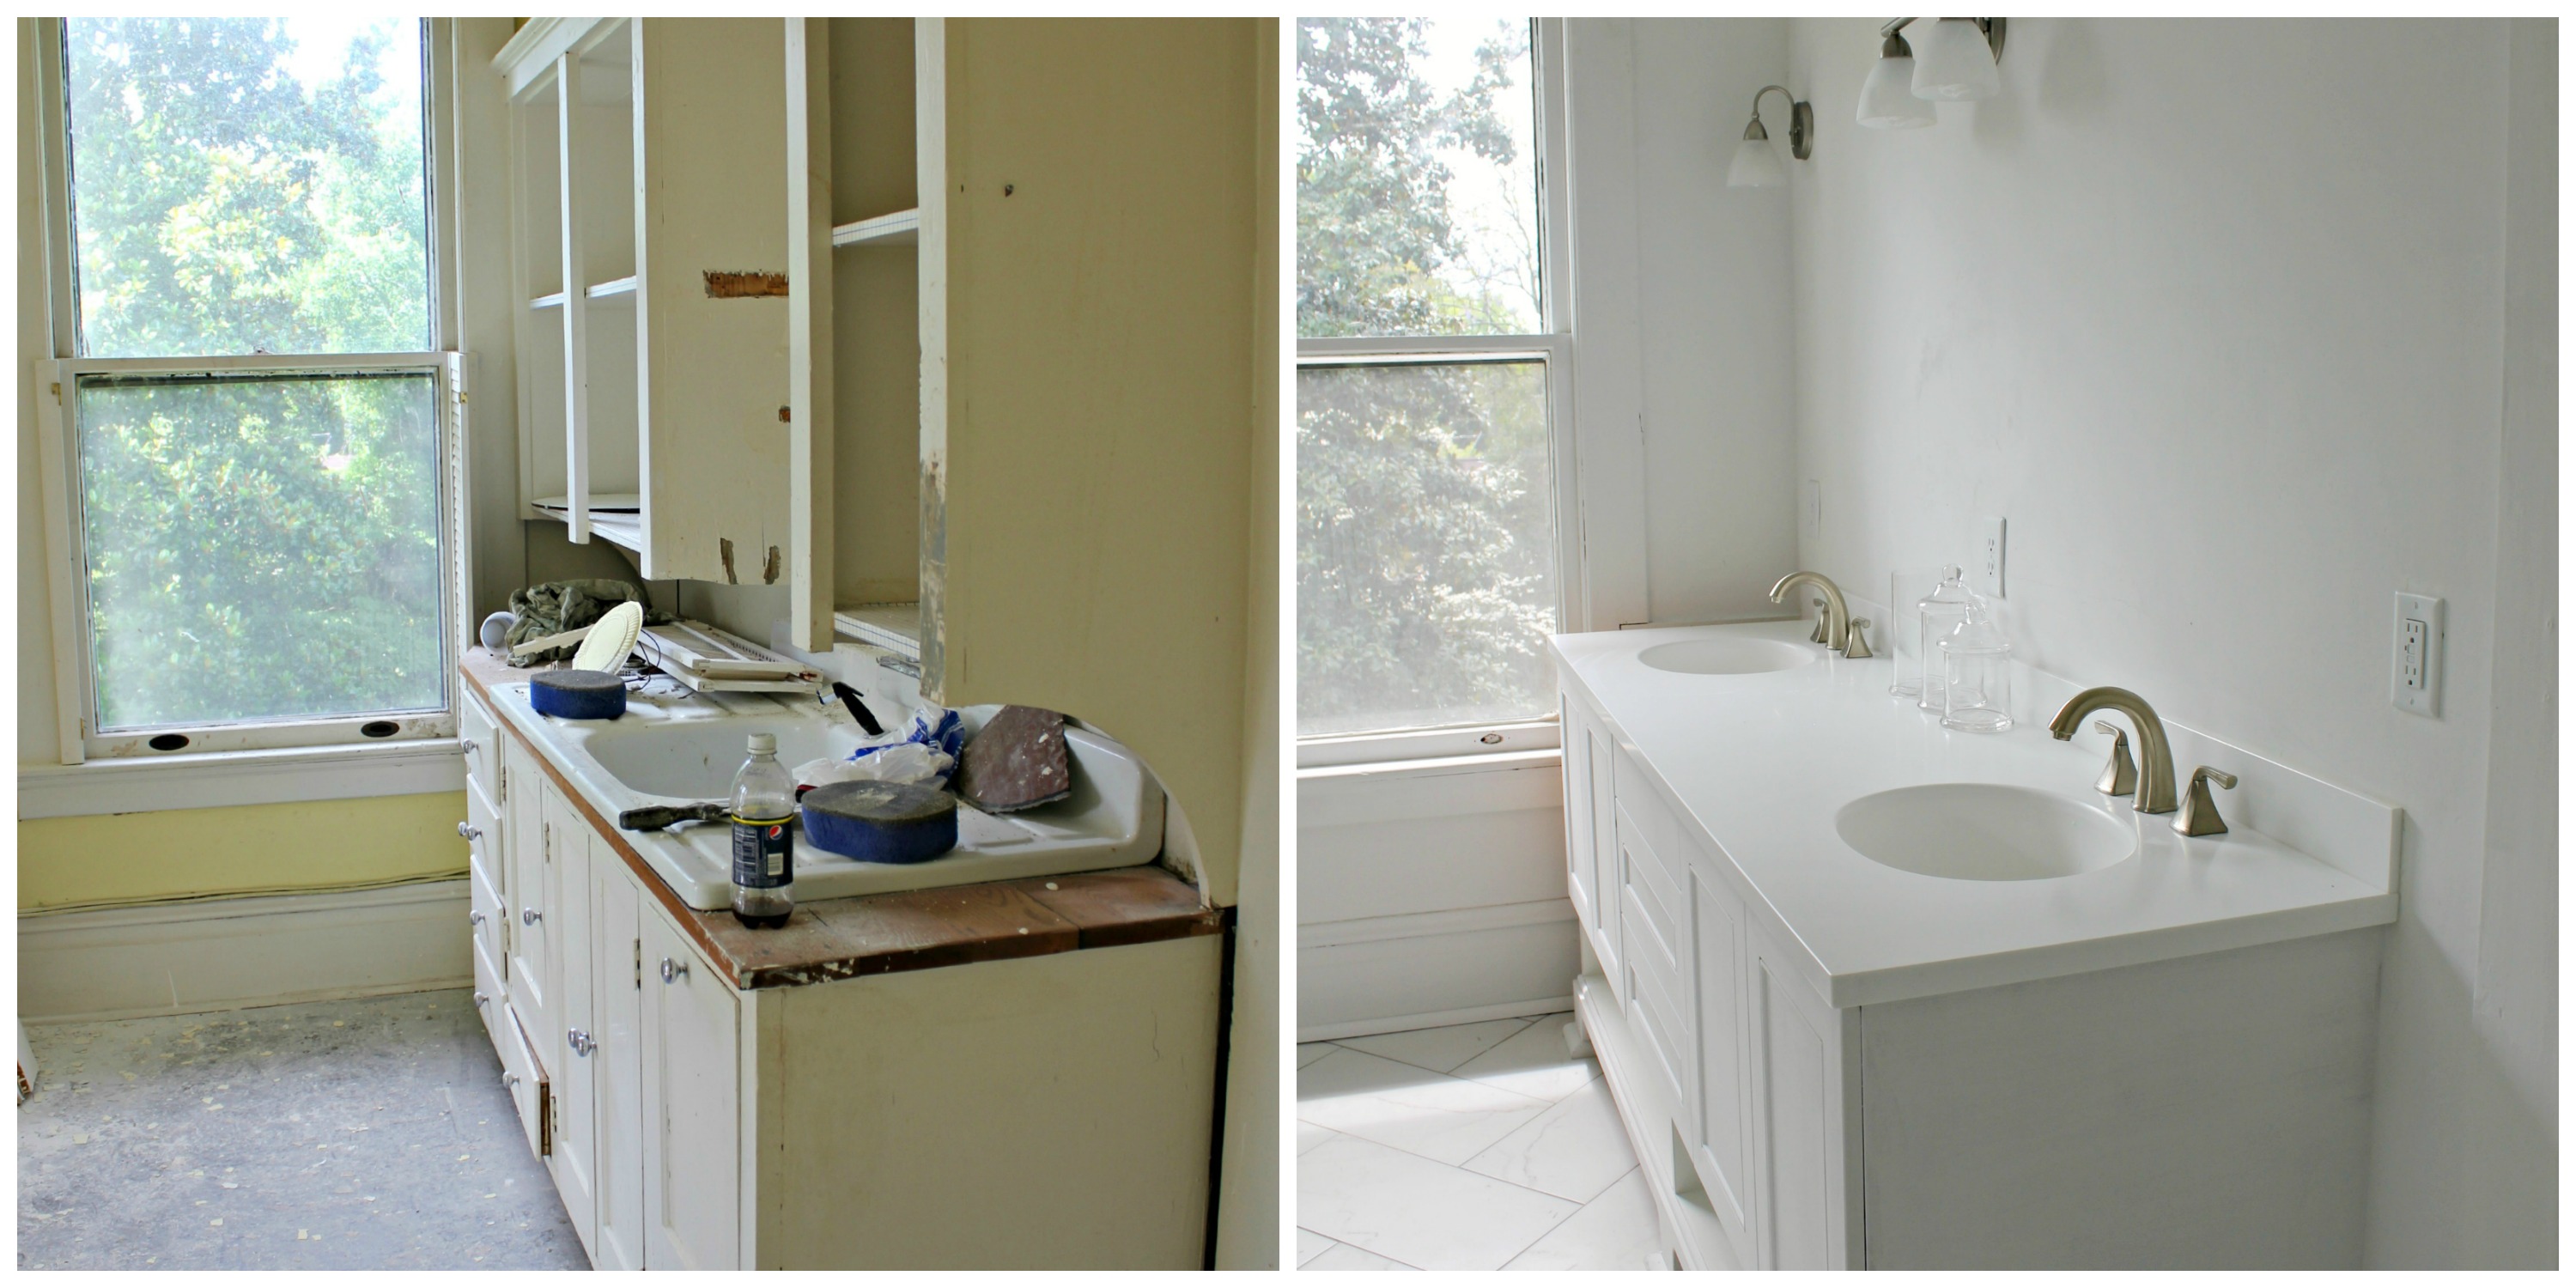
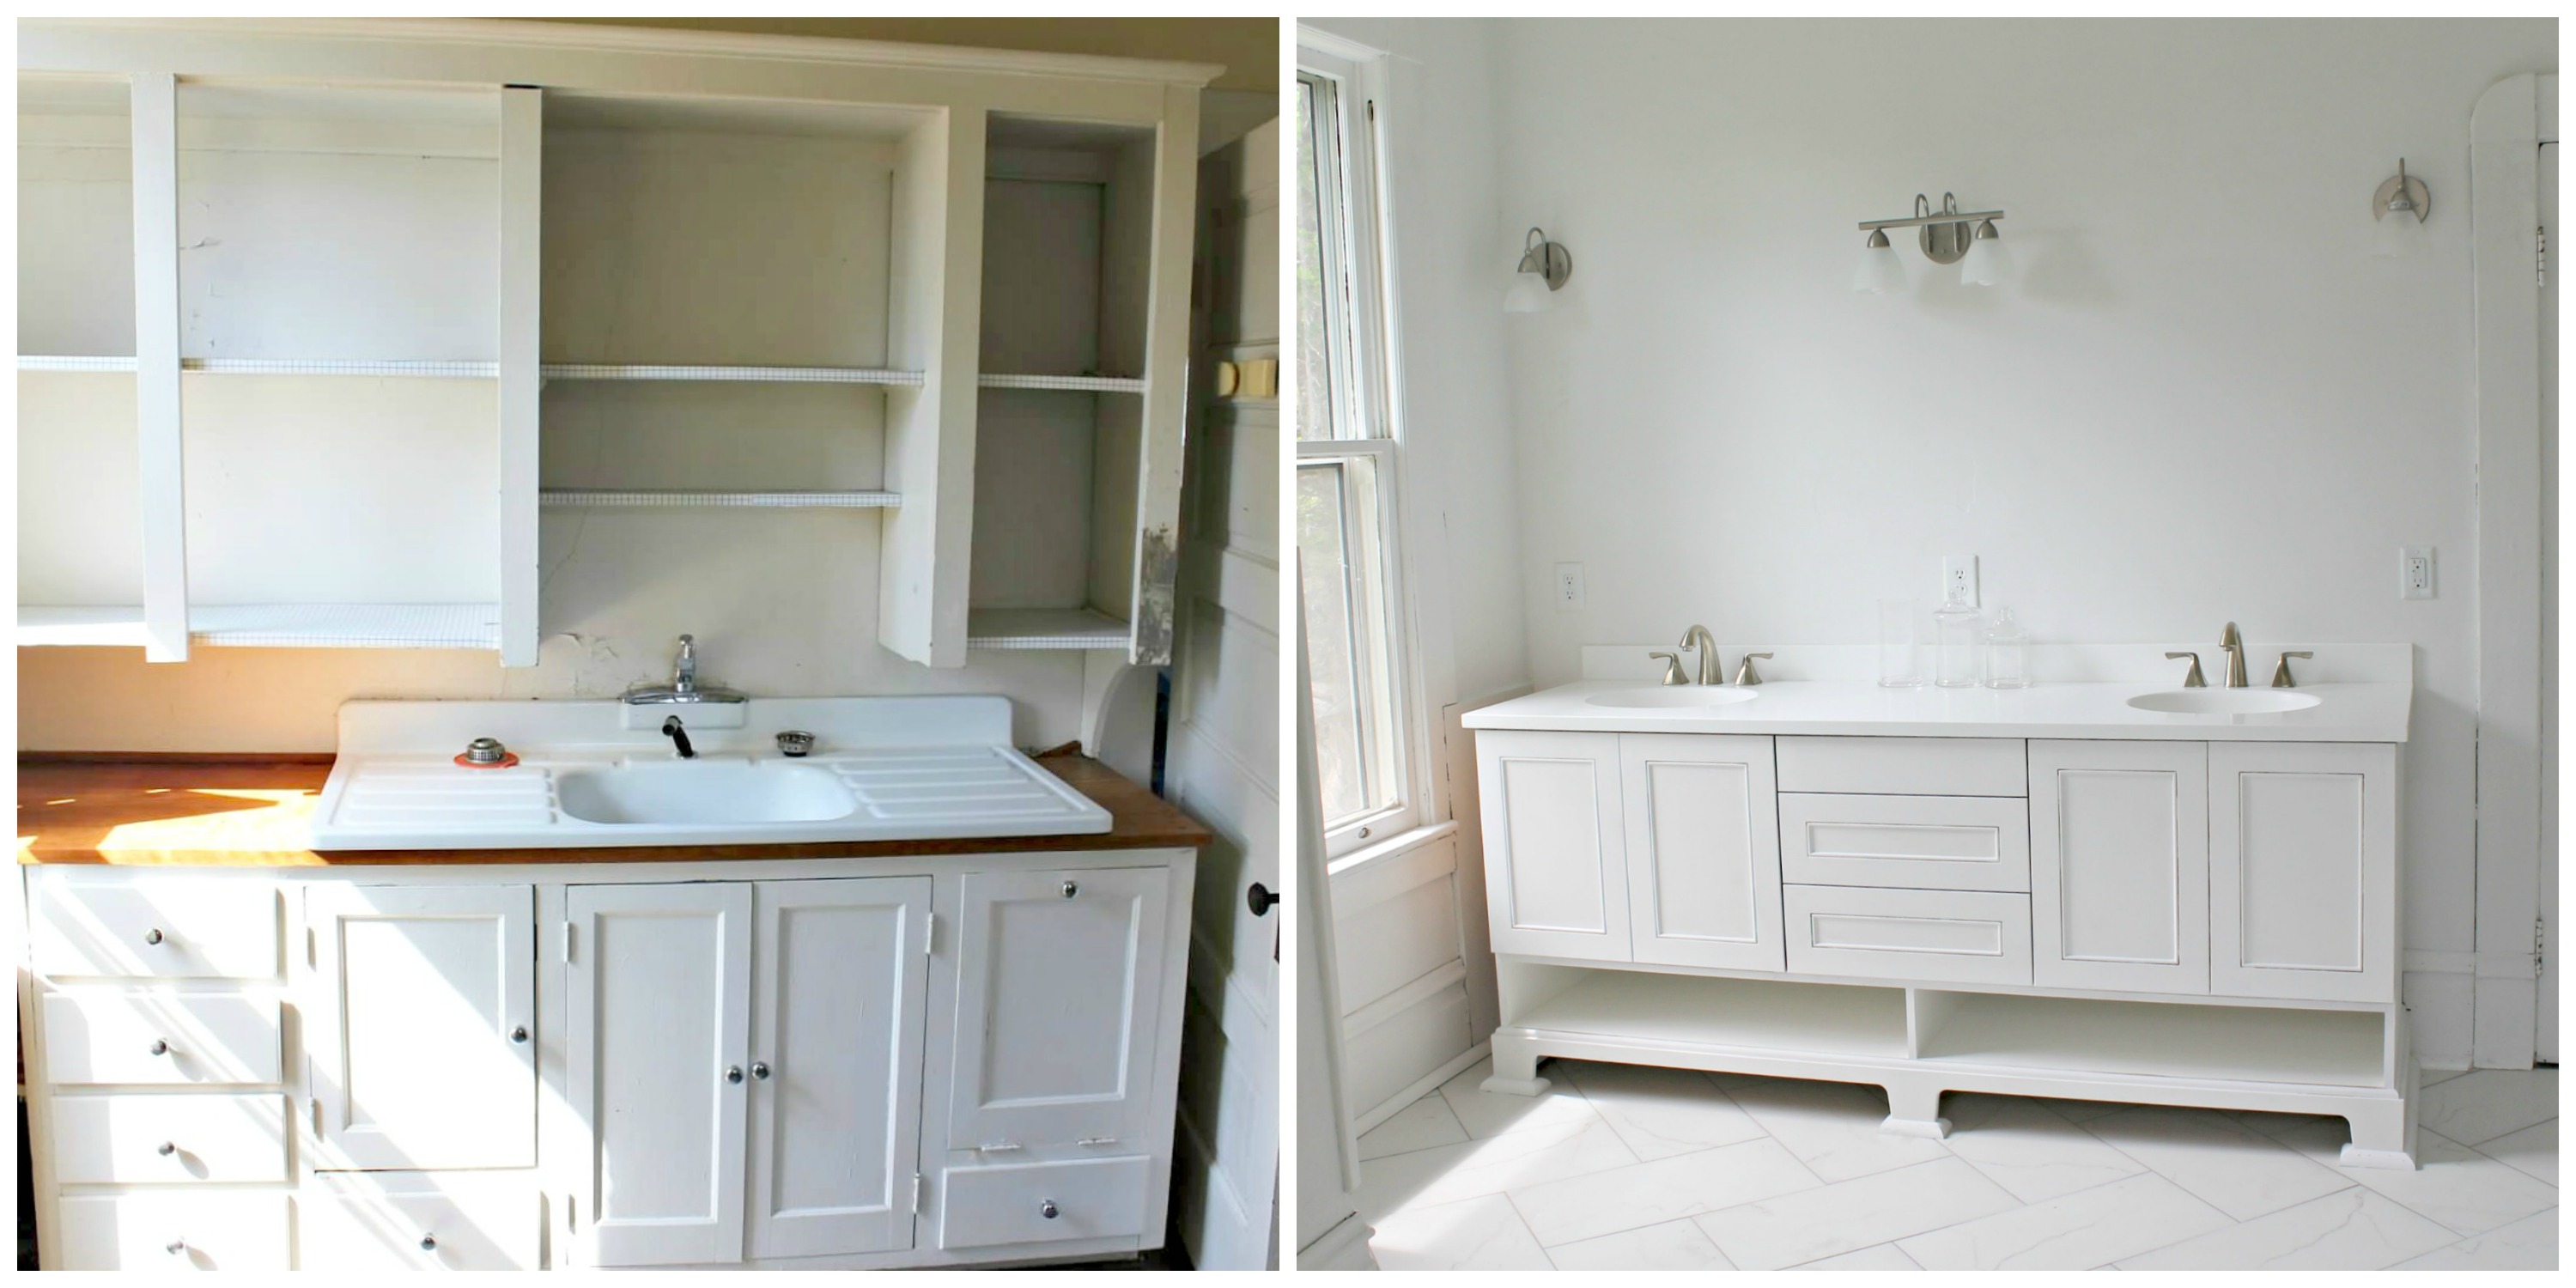
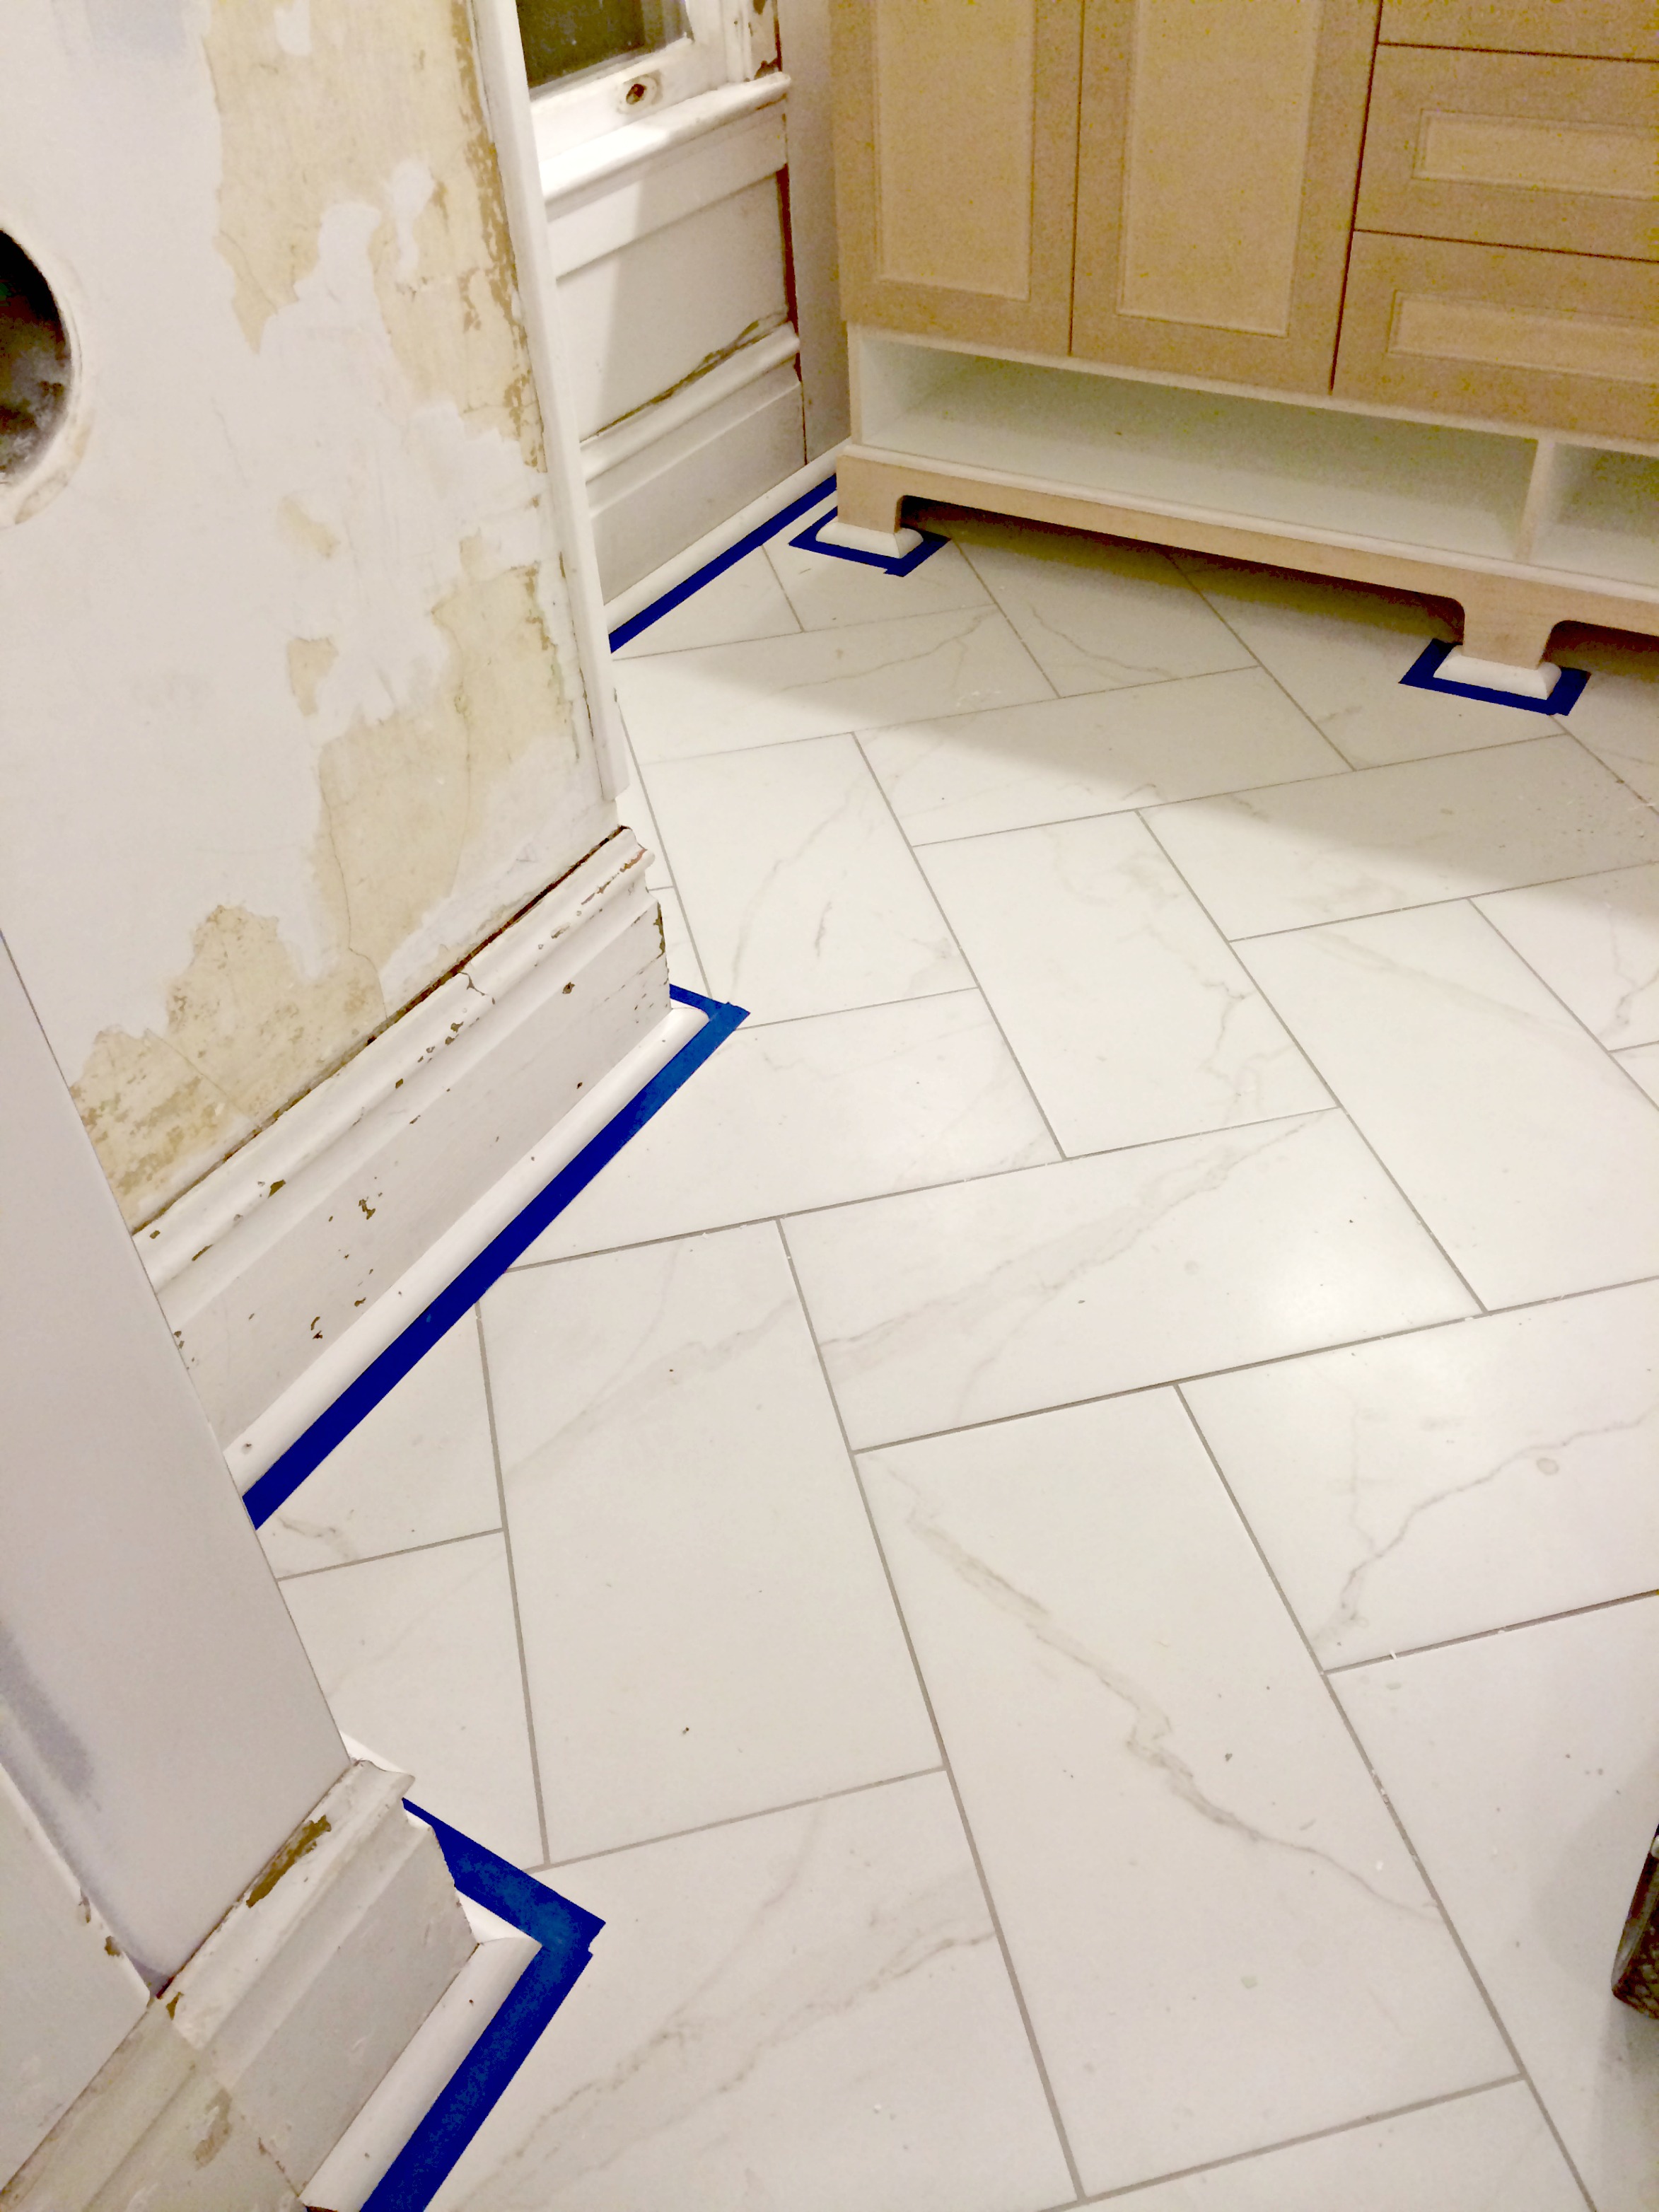
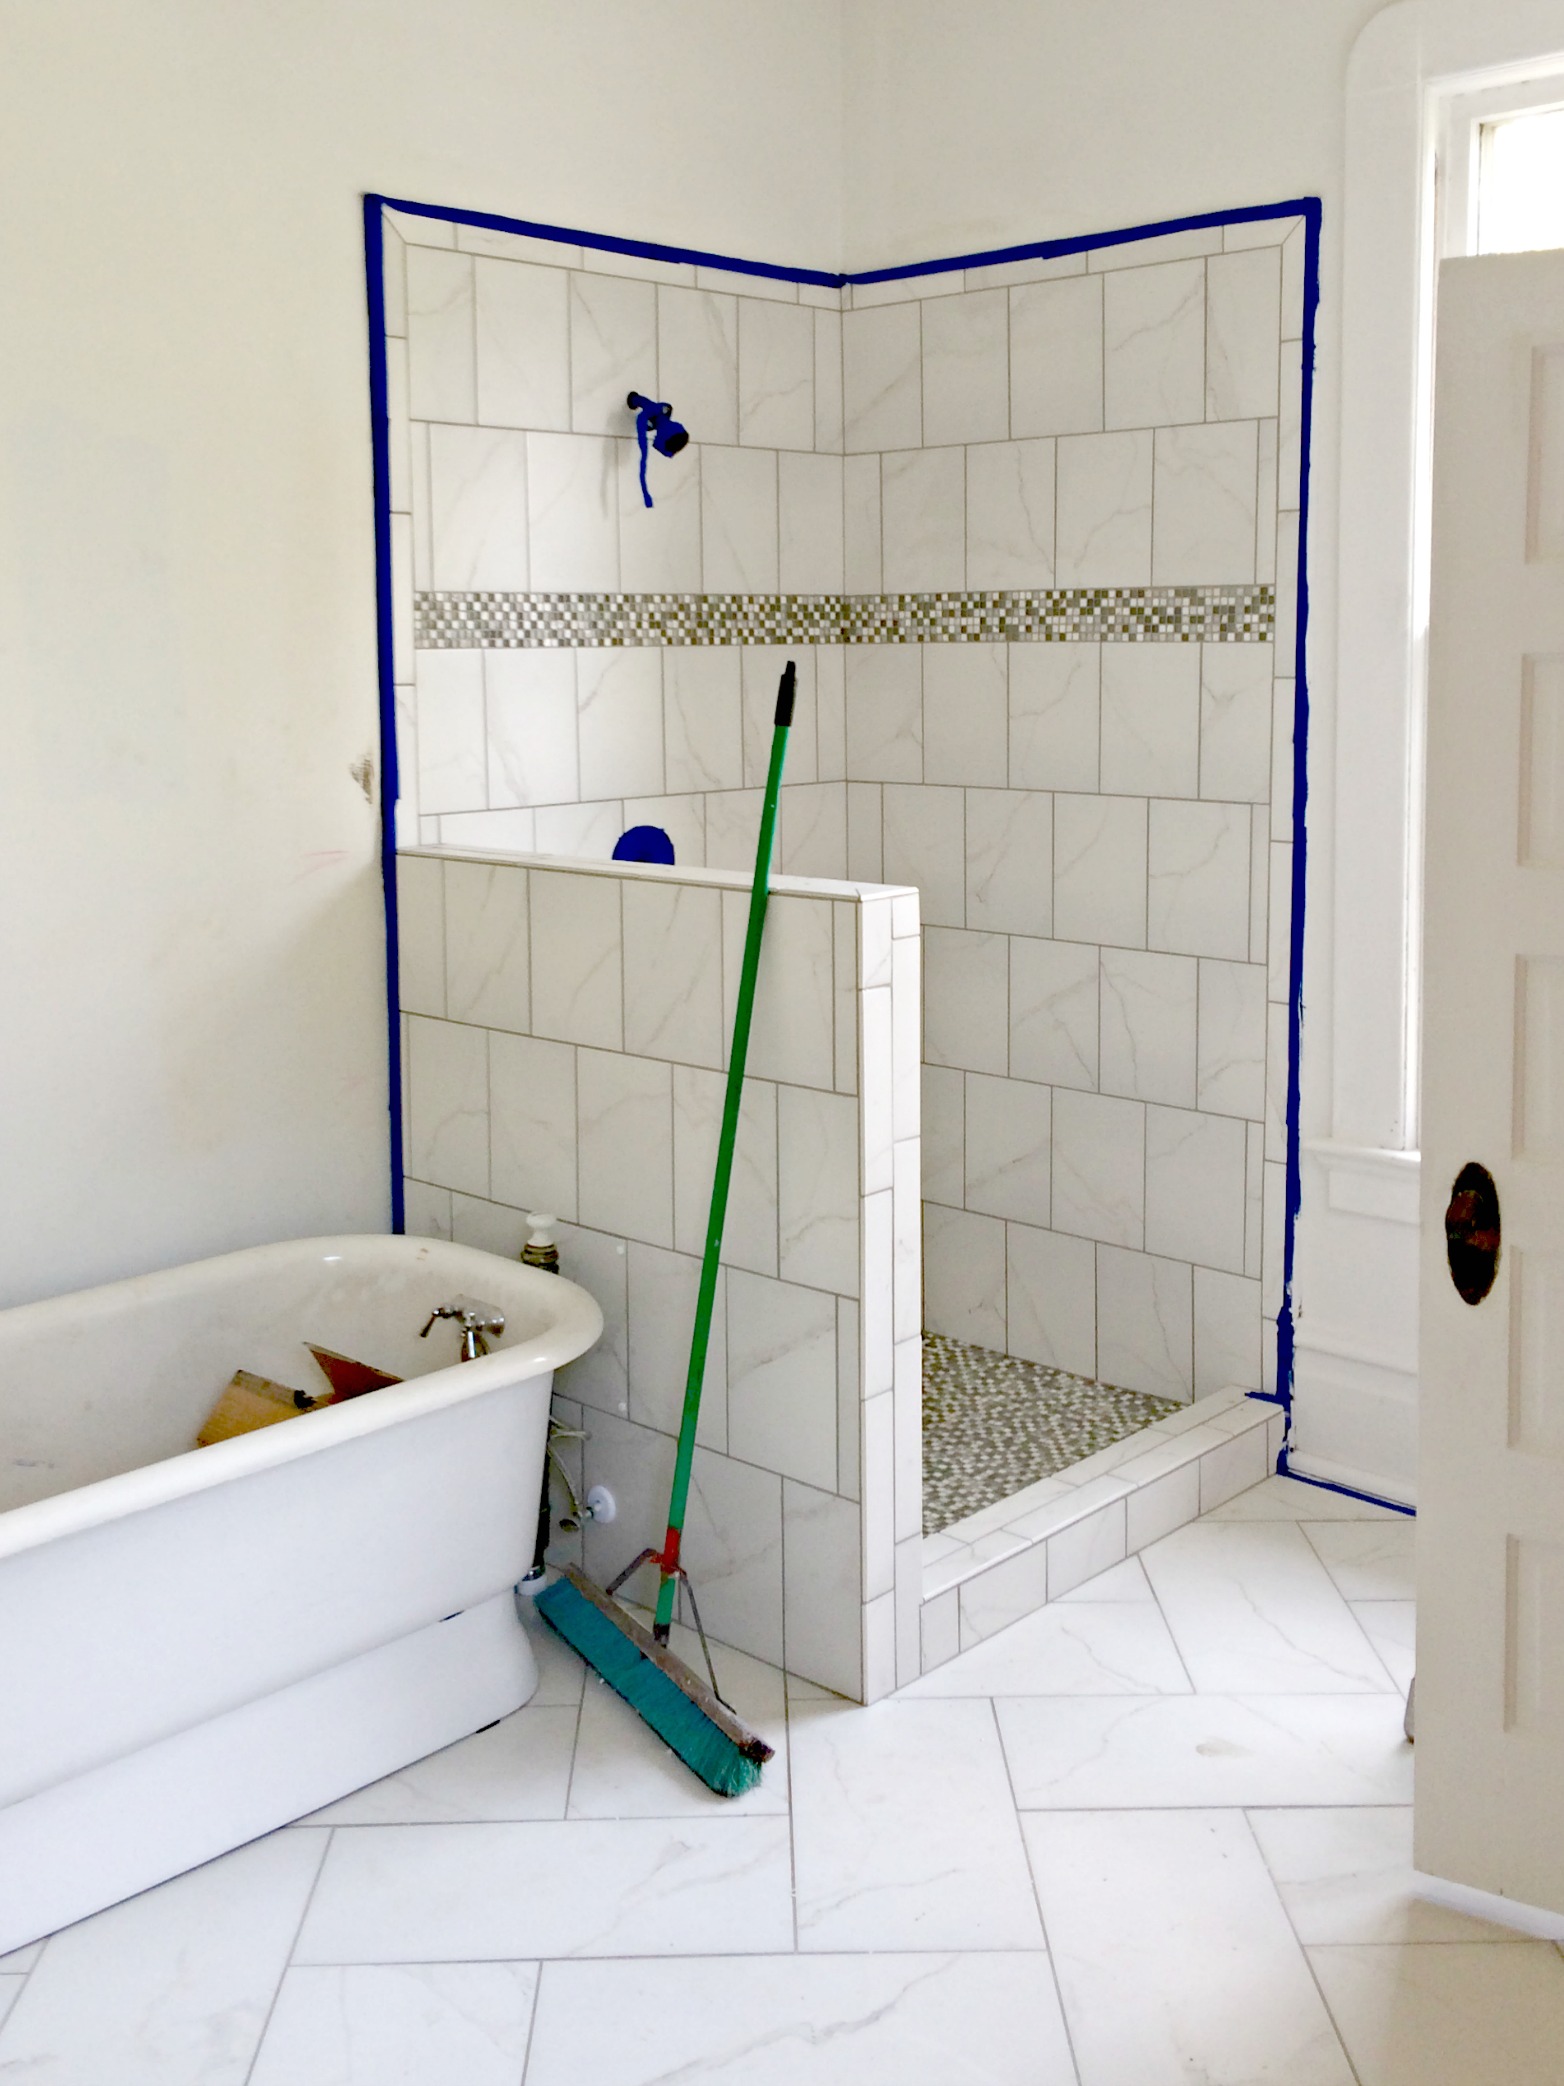
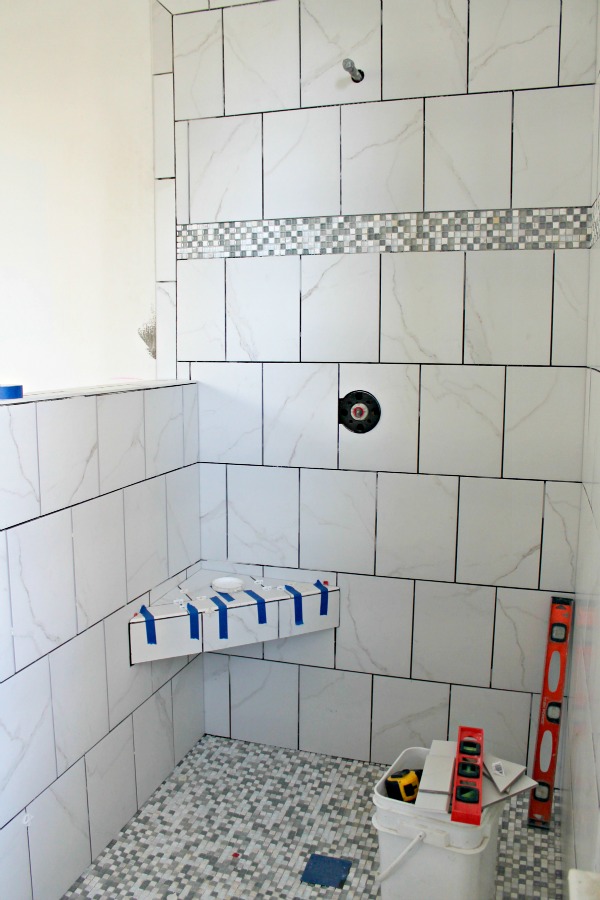
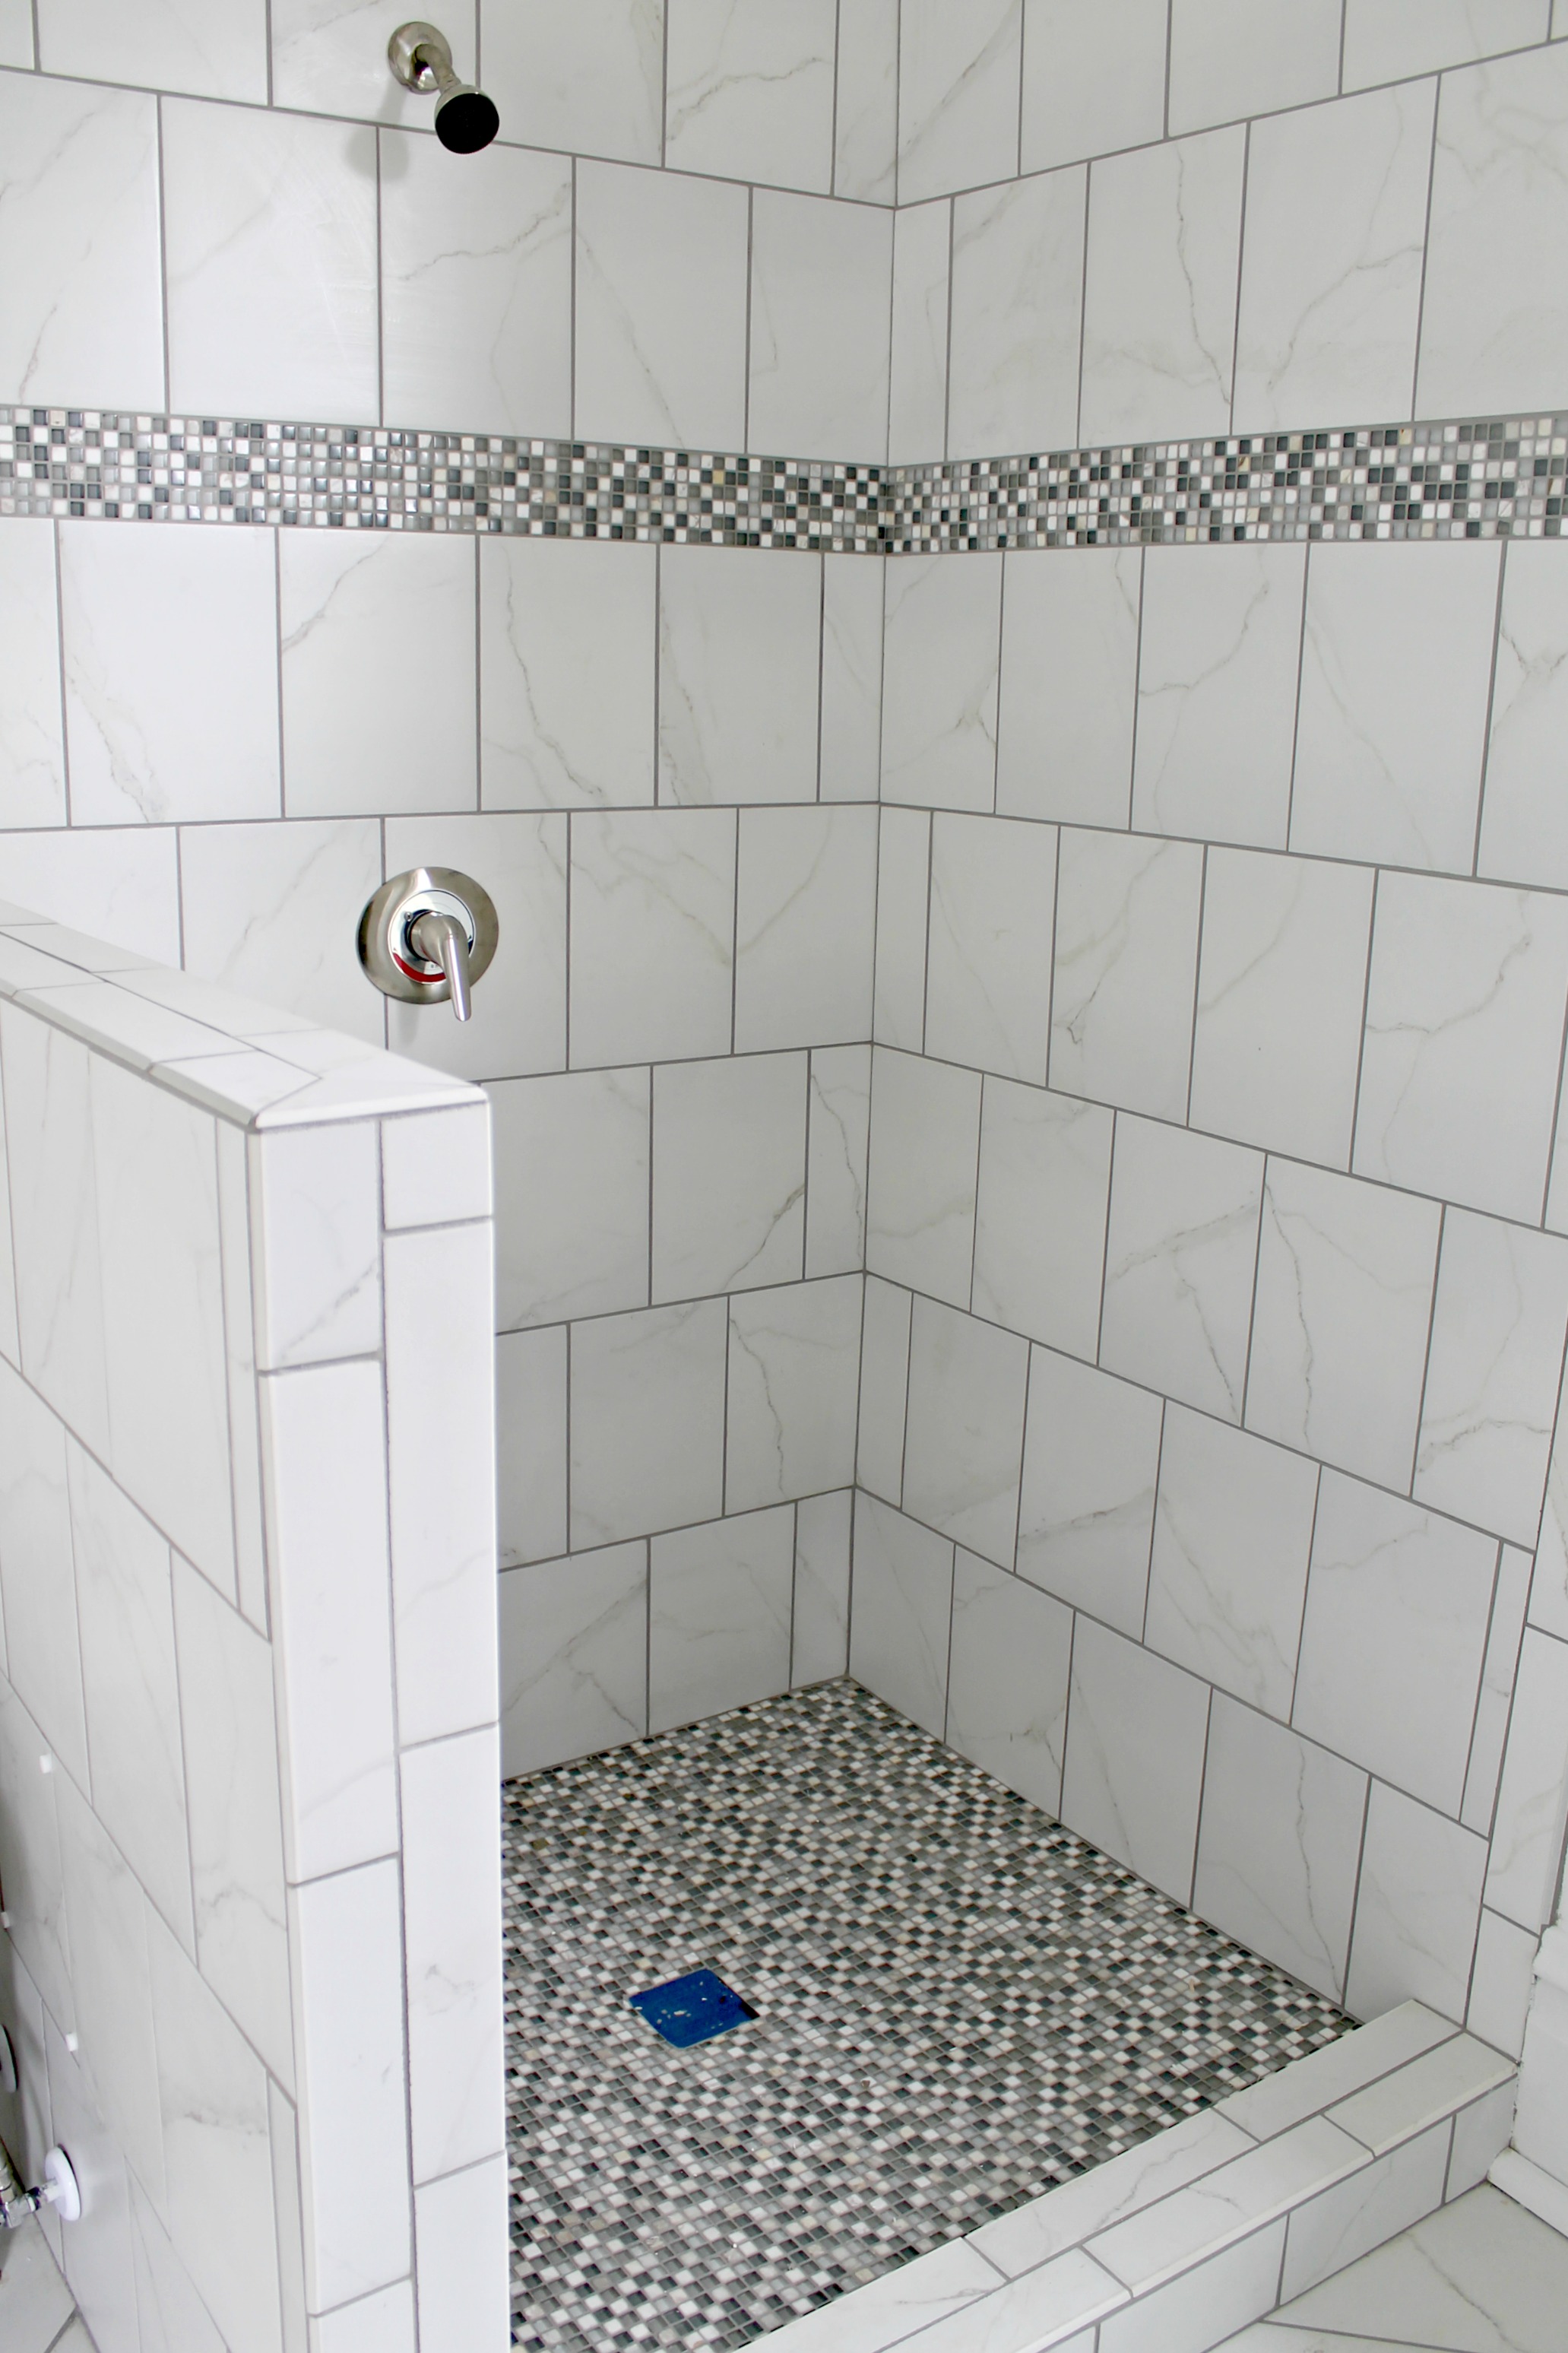
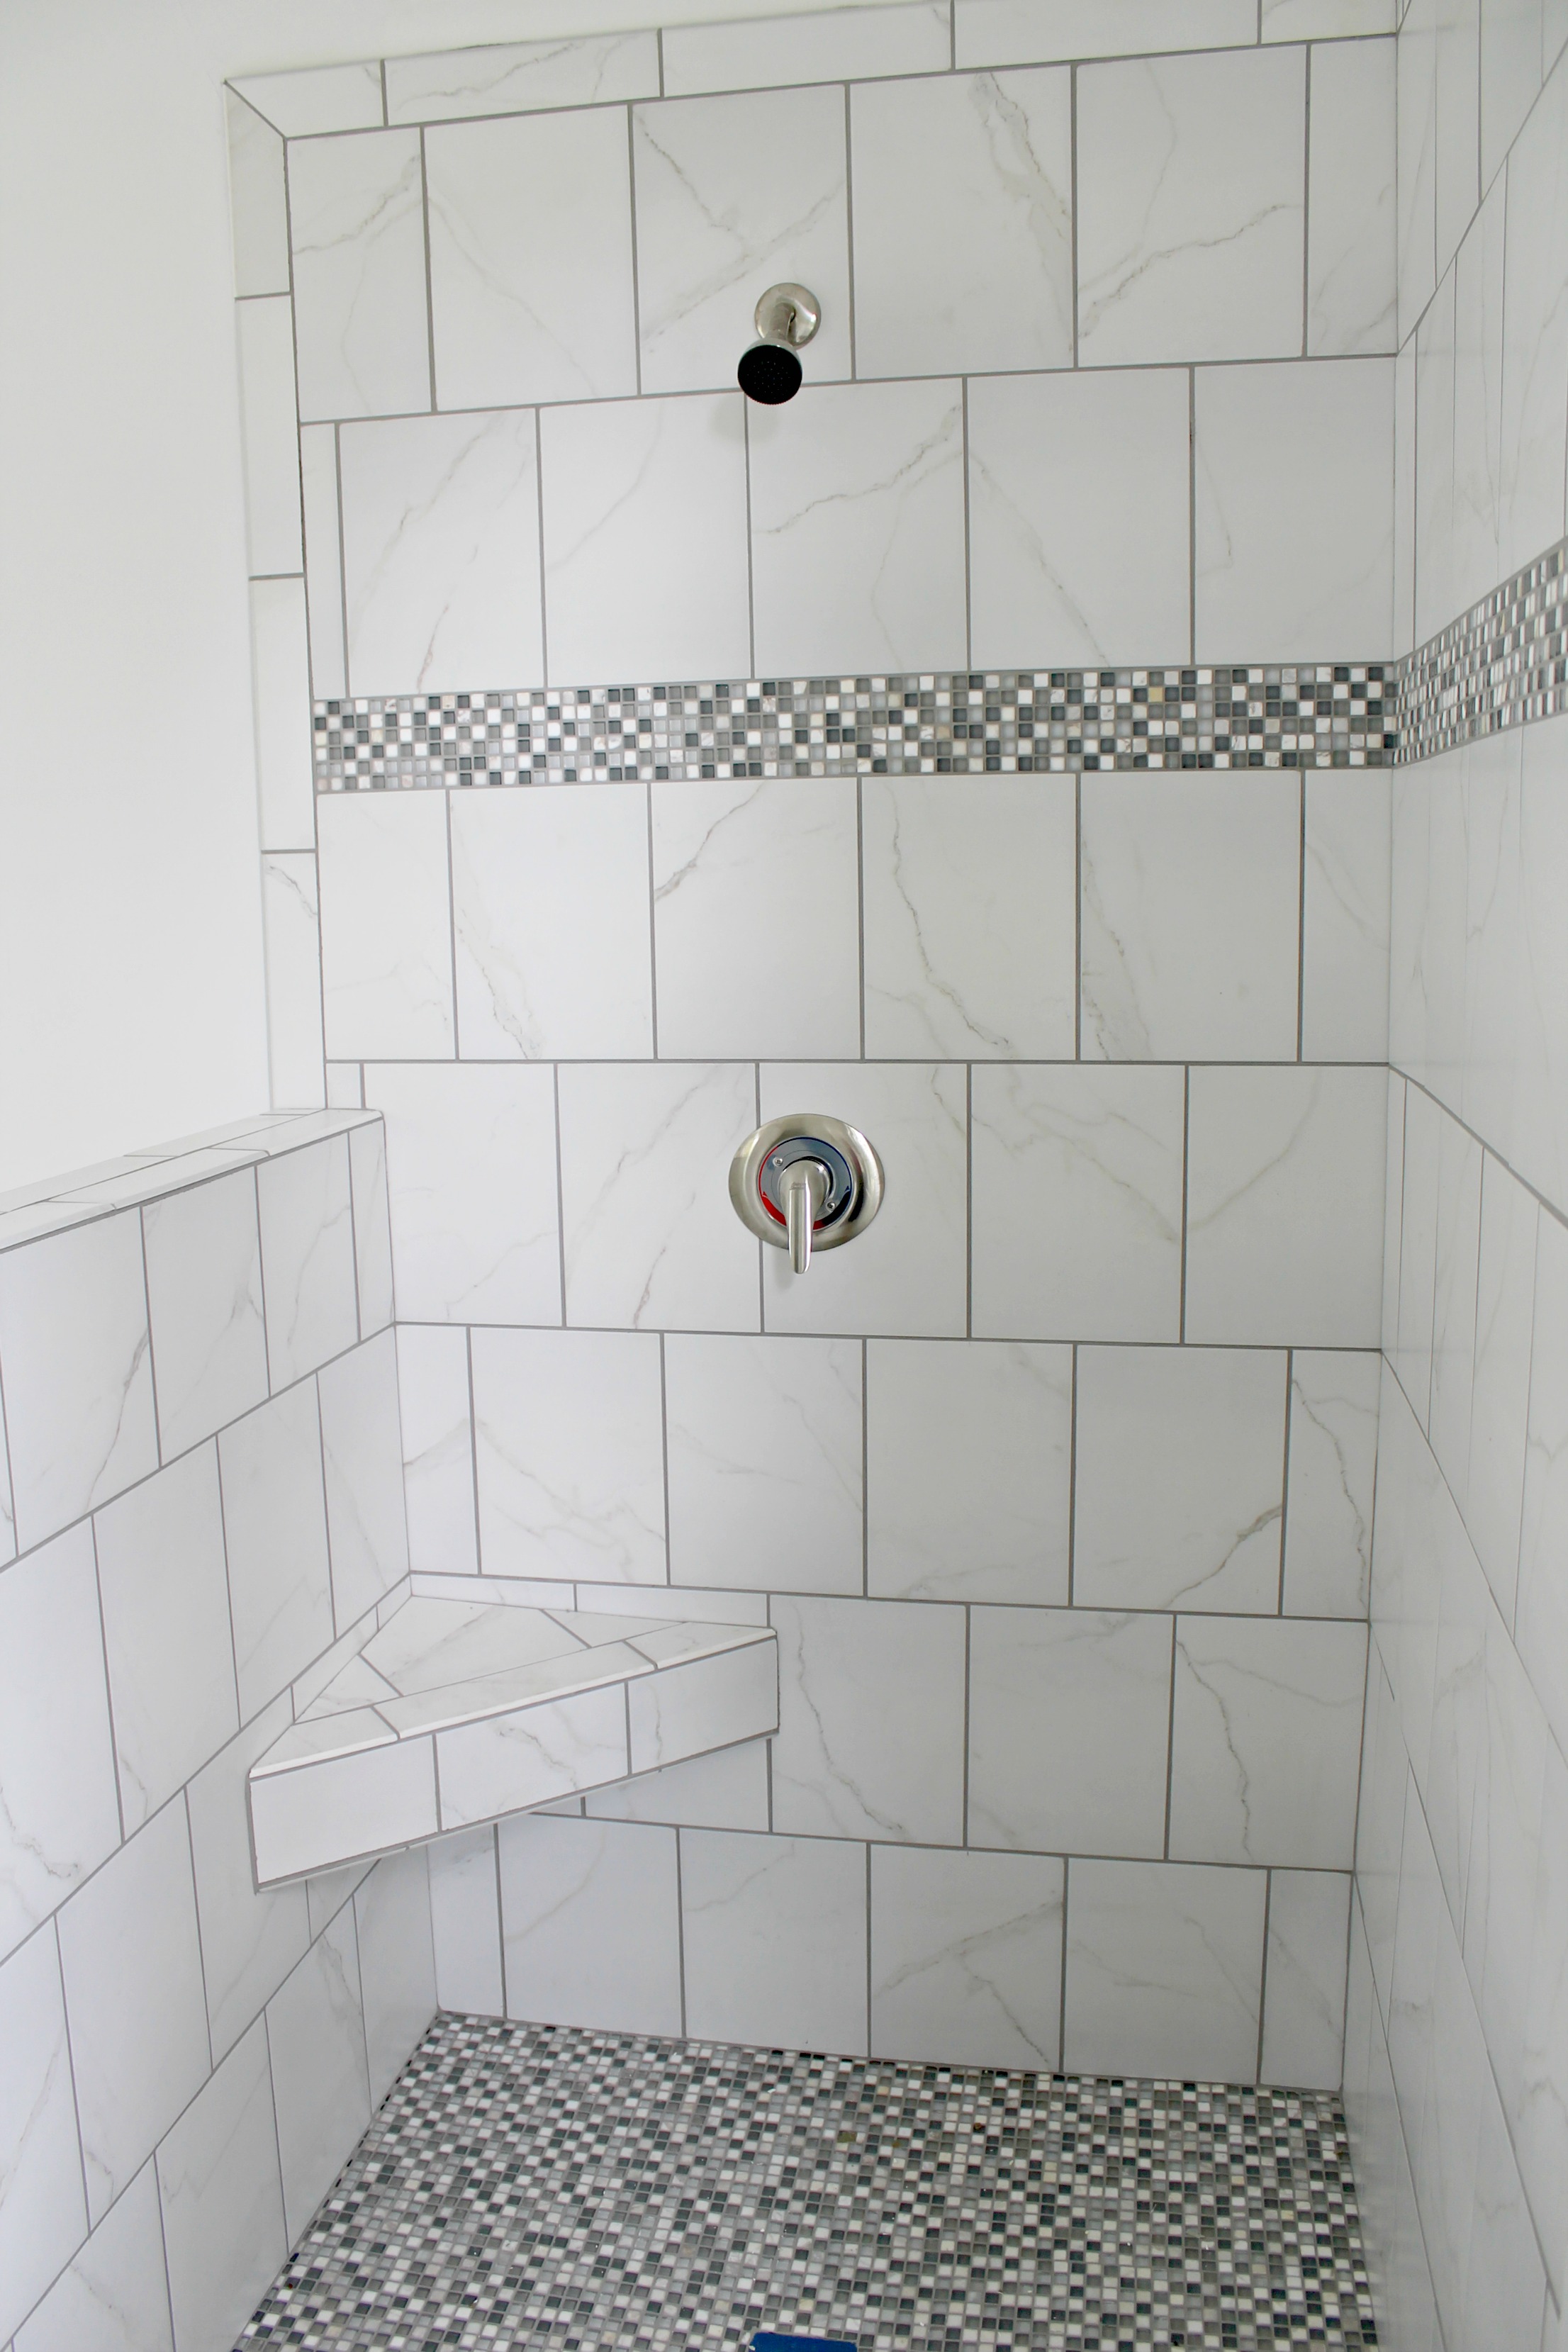
If you follow on Instagram, you’ve seen a few peeks into the bathroom. In my last update, we had finished the floor and the shower tile and installed the unpainted vanity. (See all the stages here.)
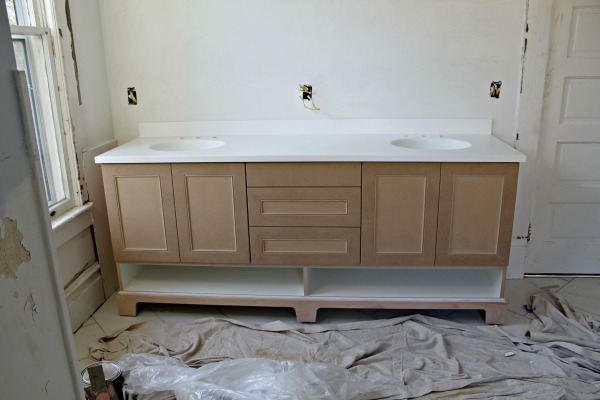
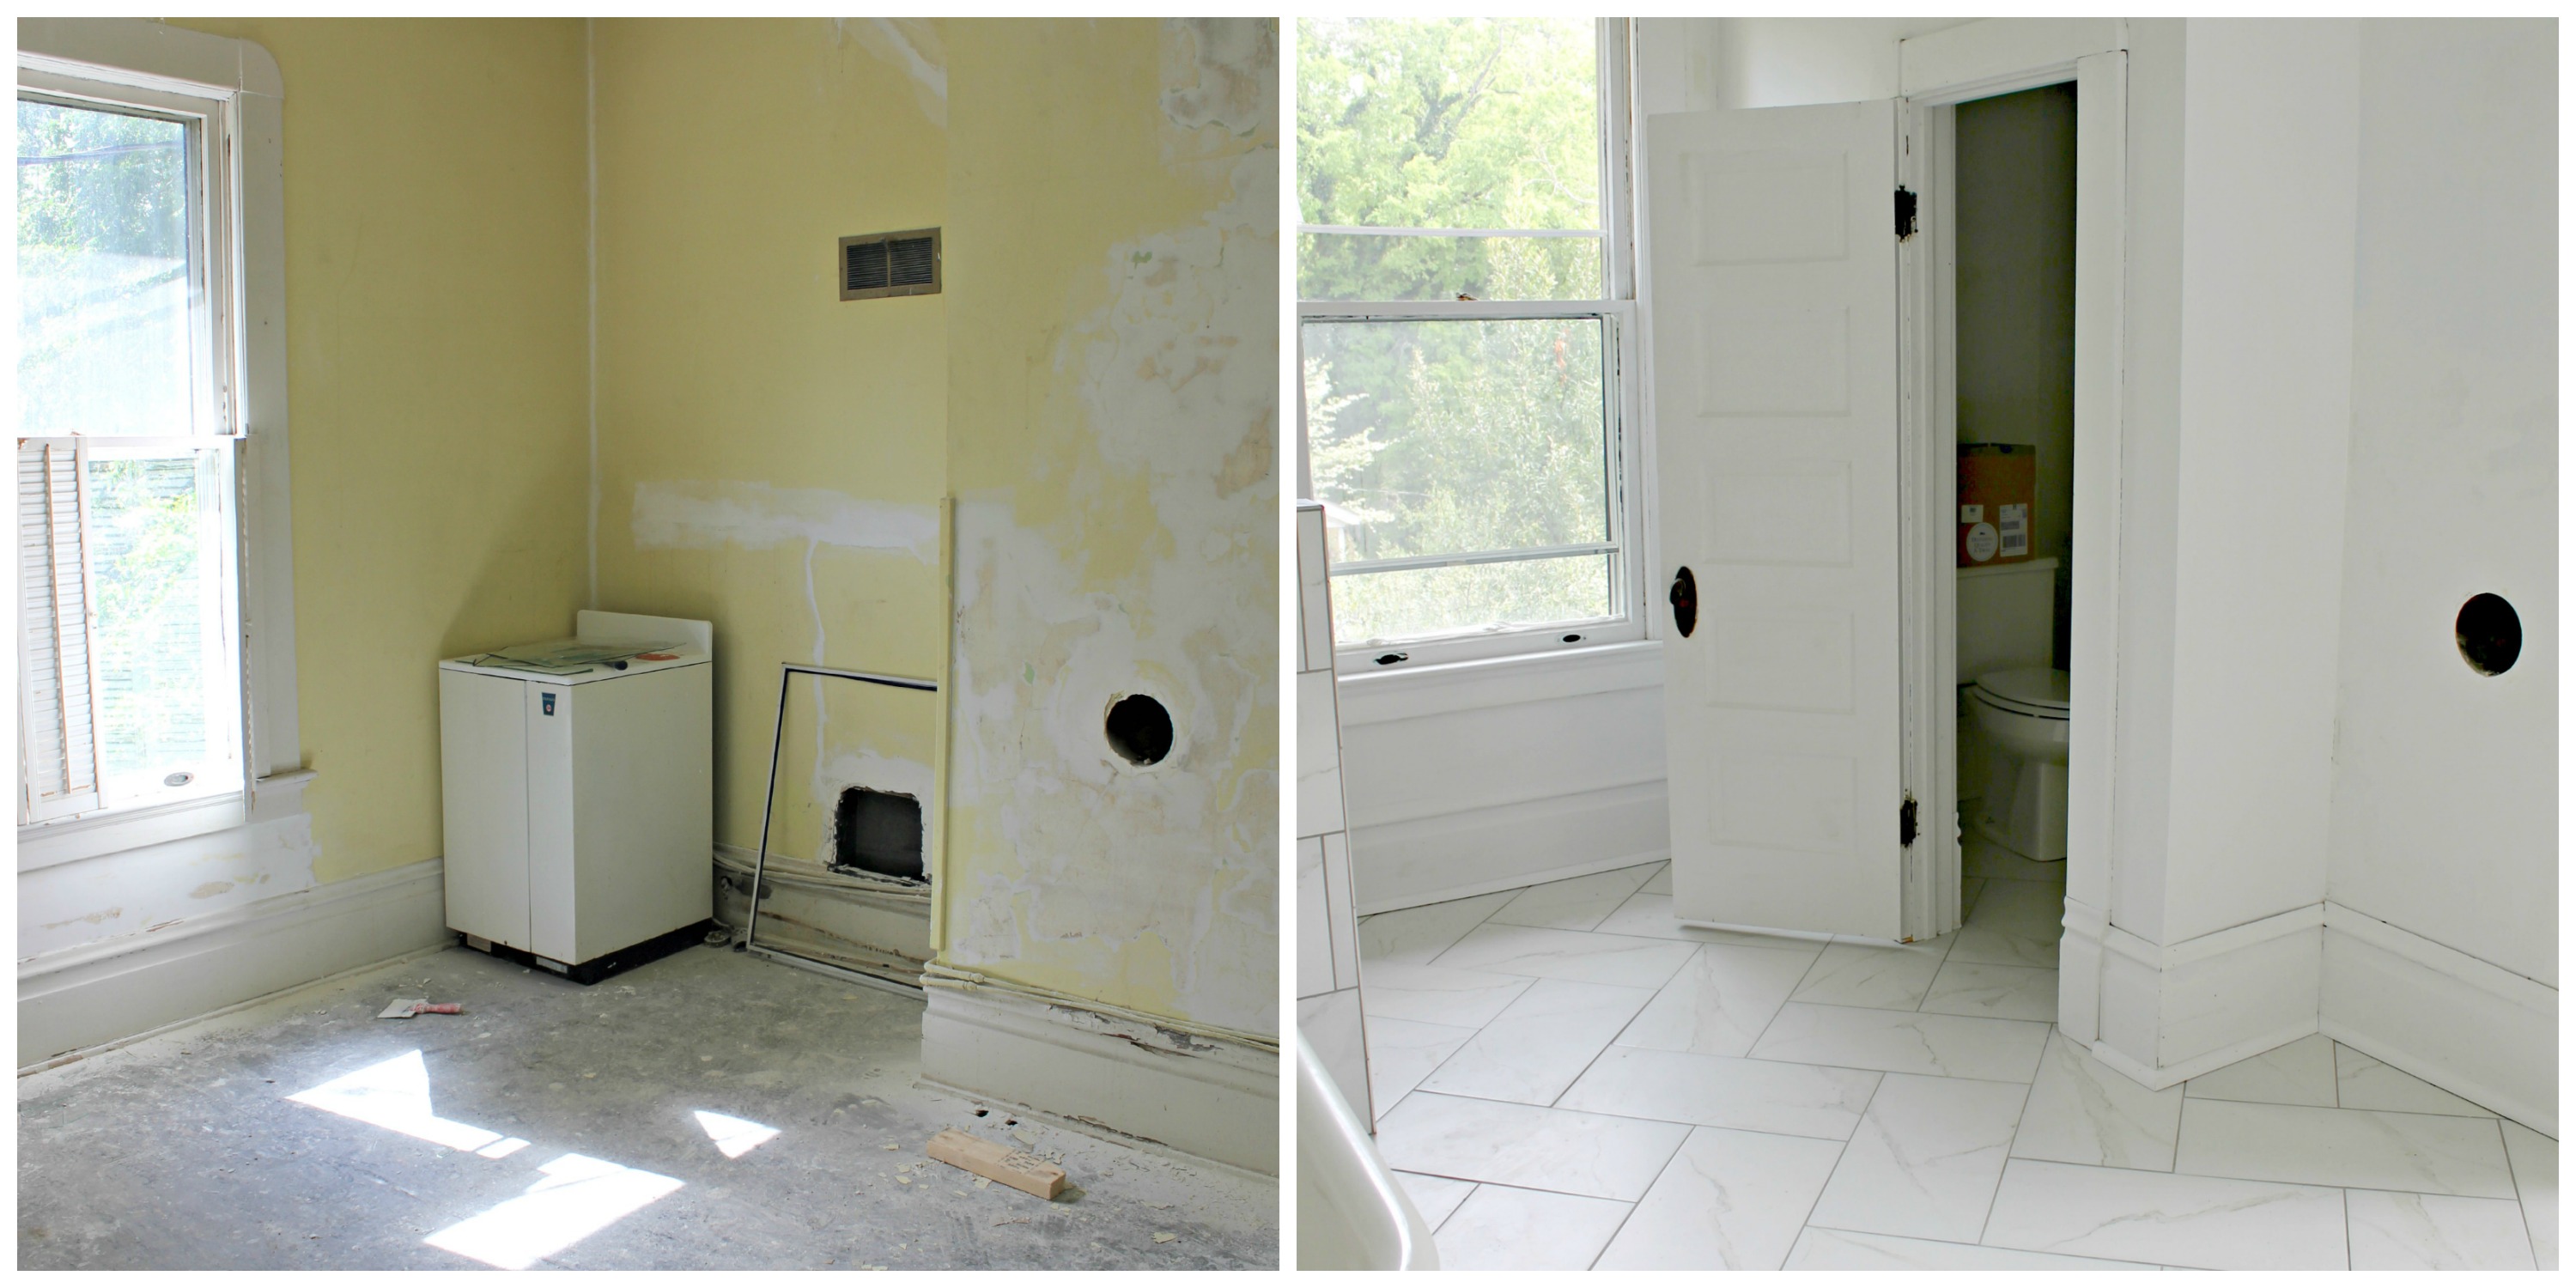
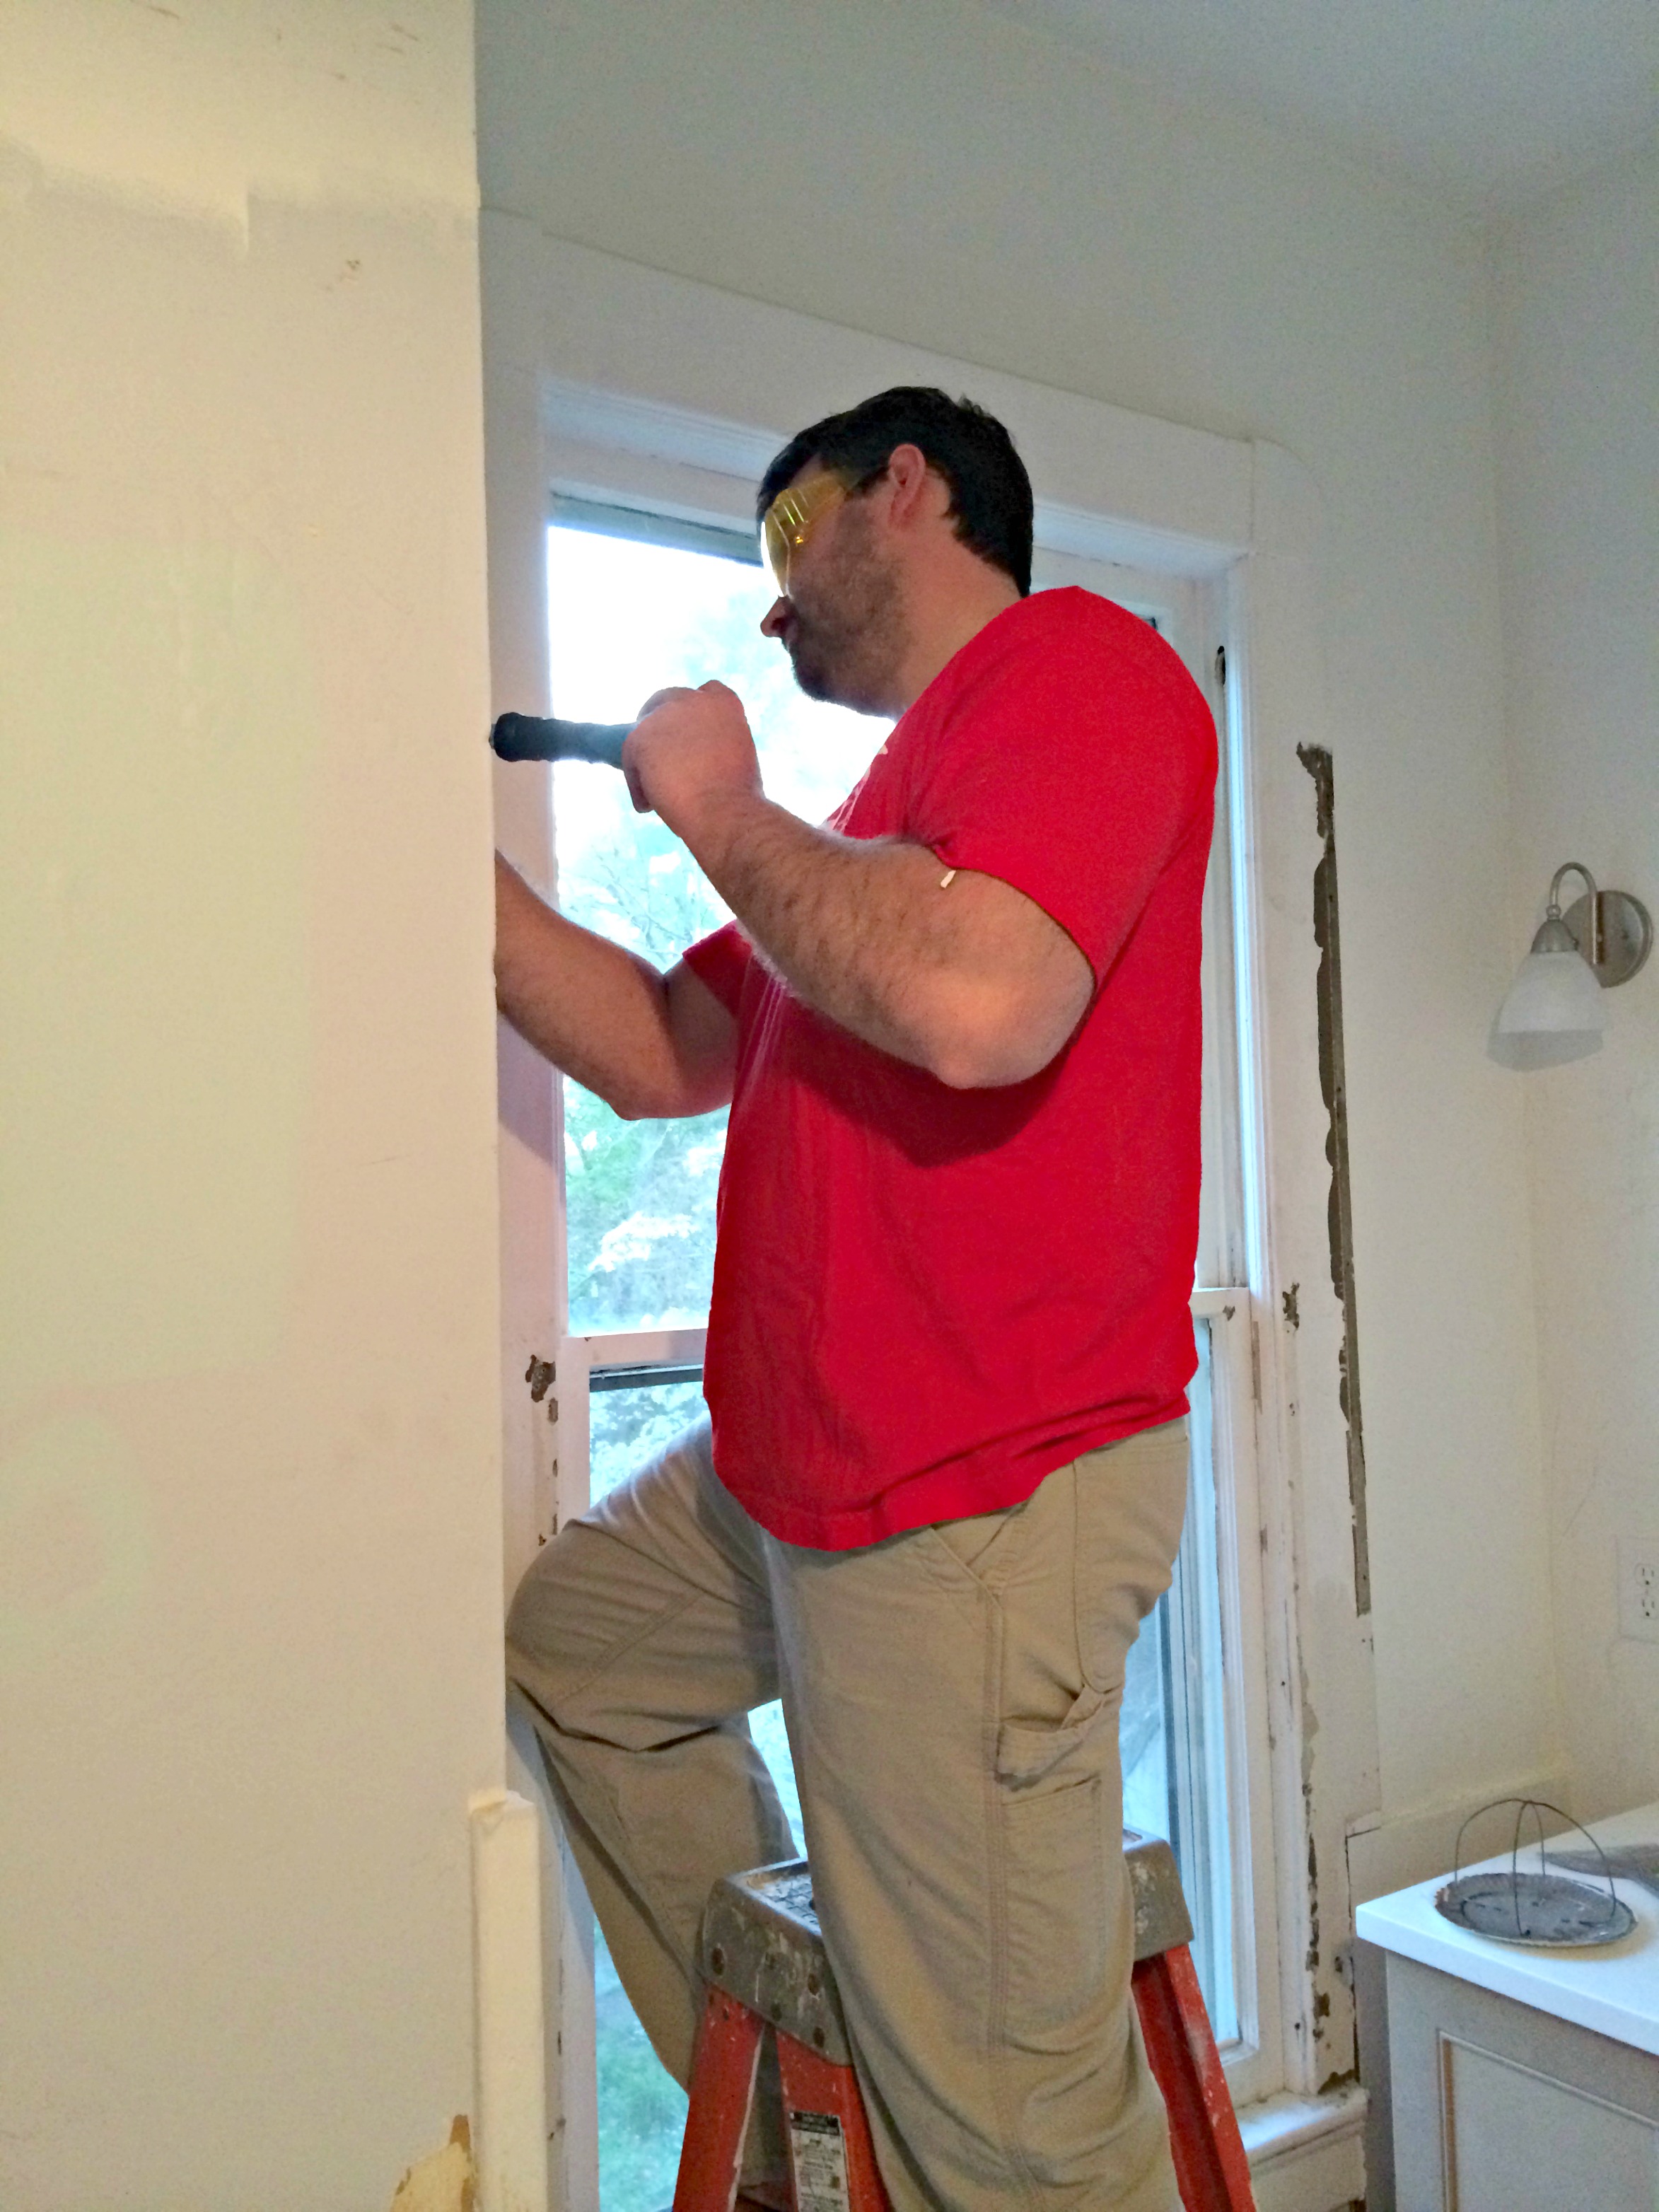
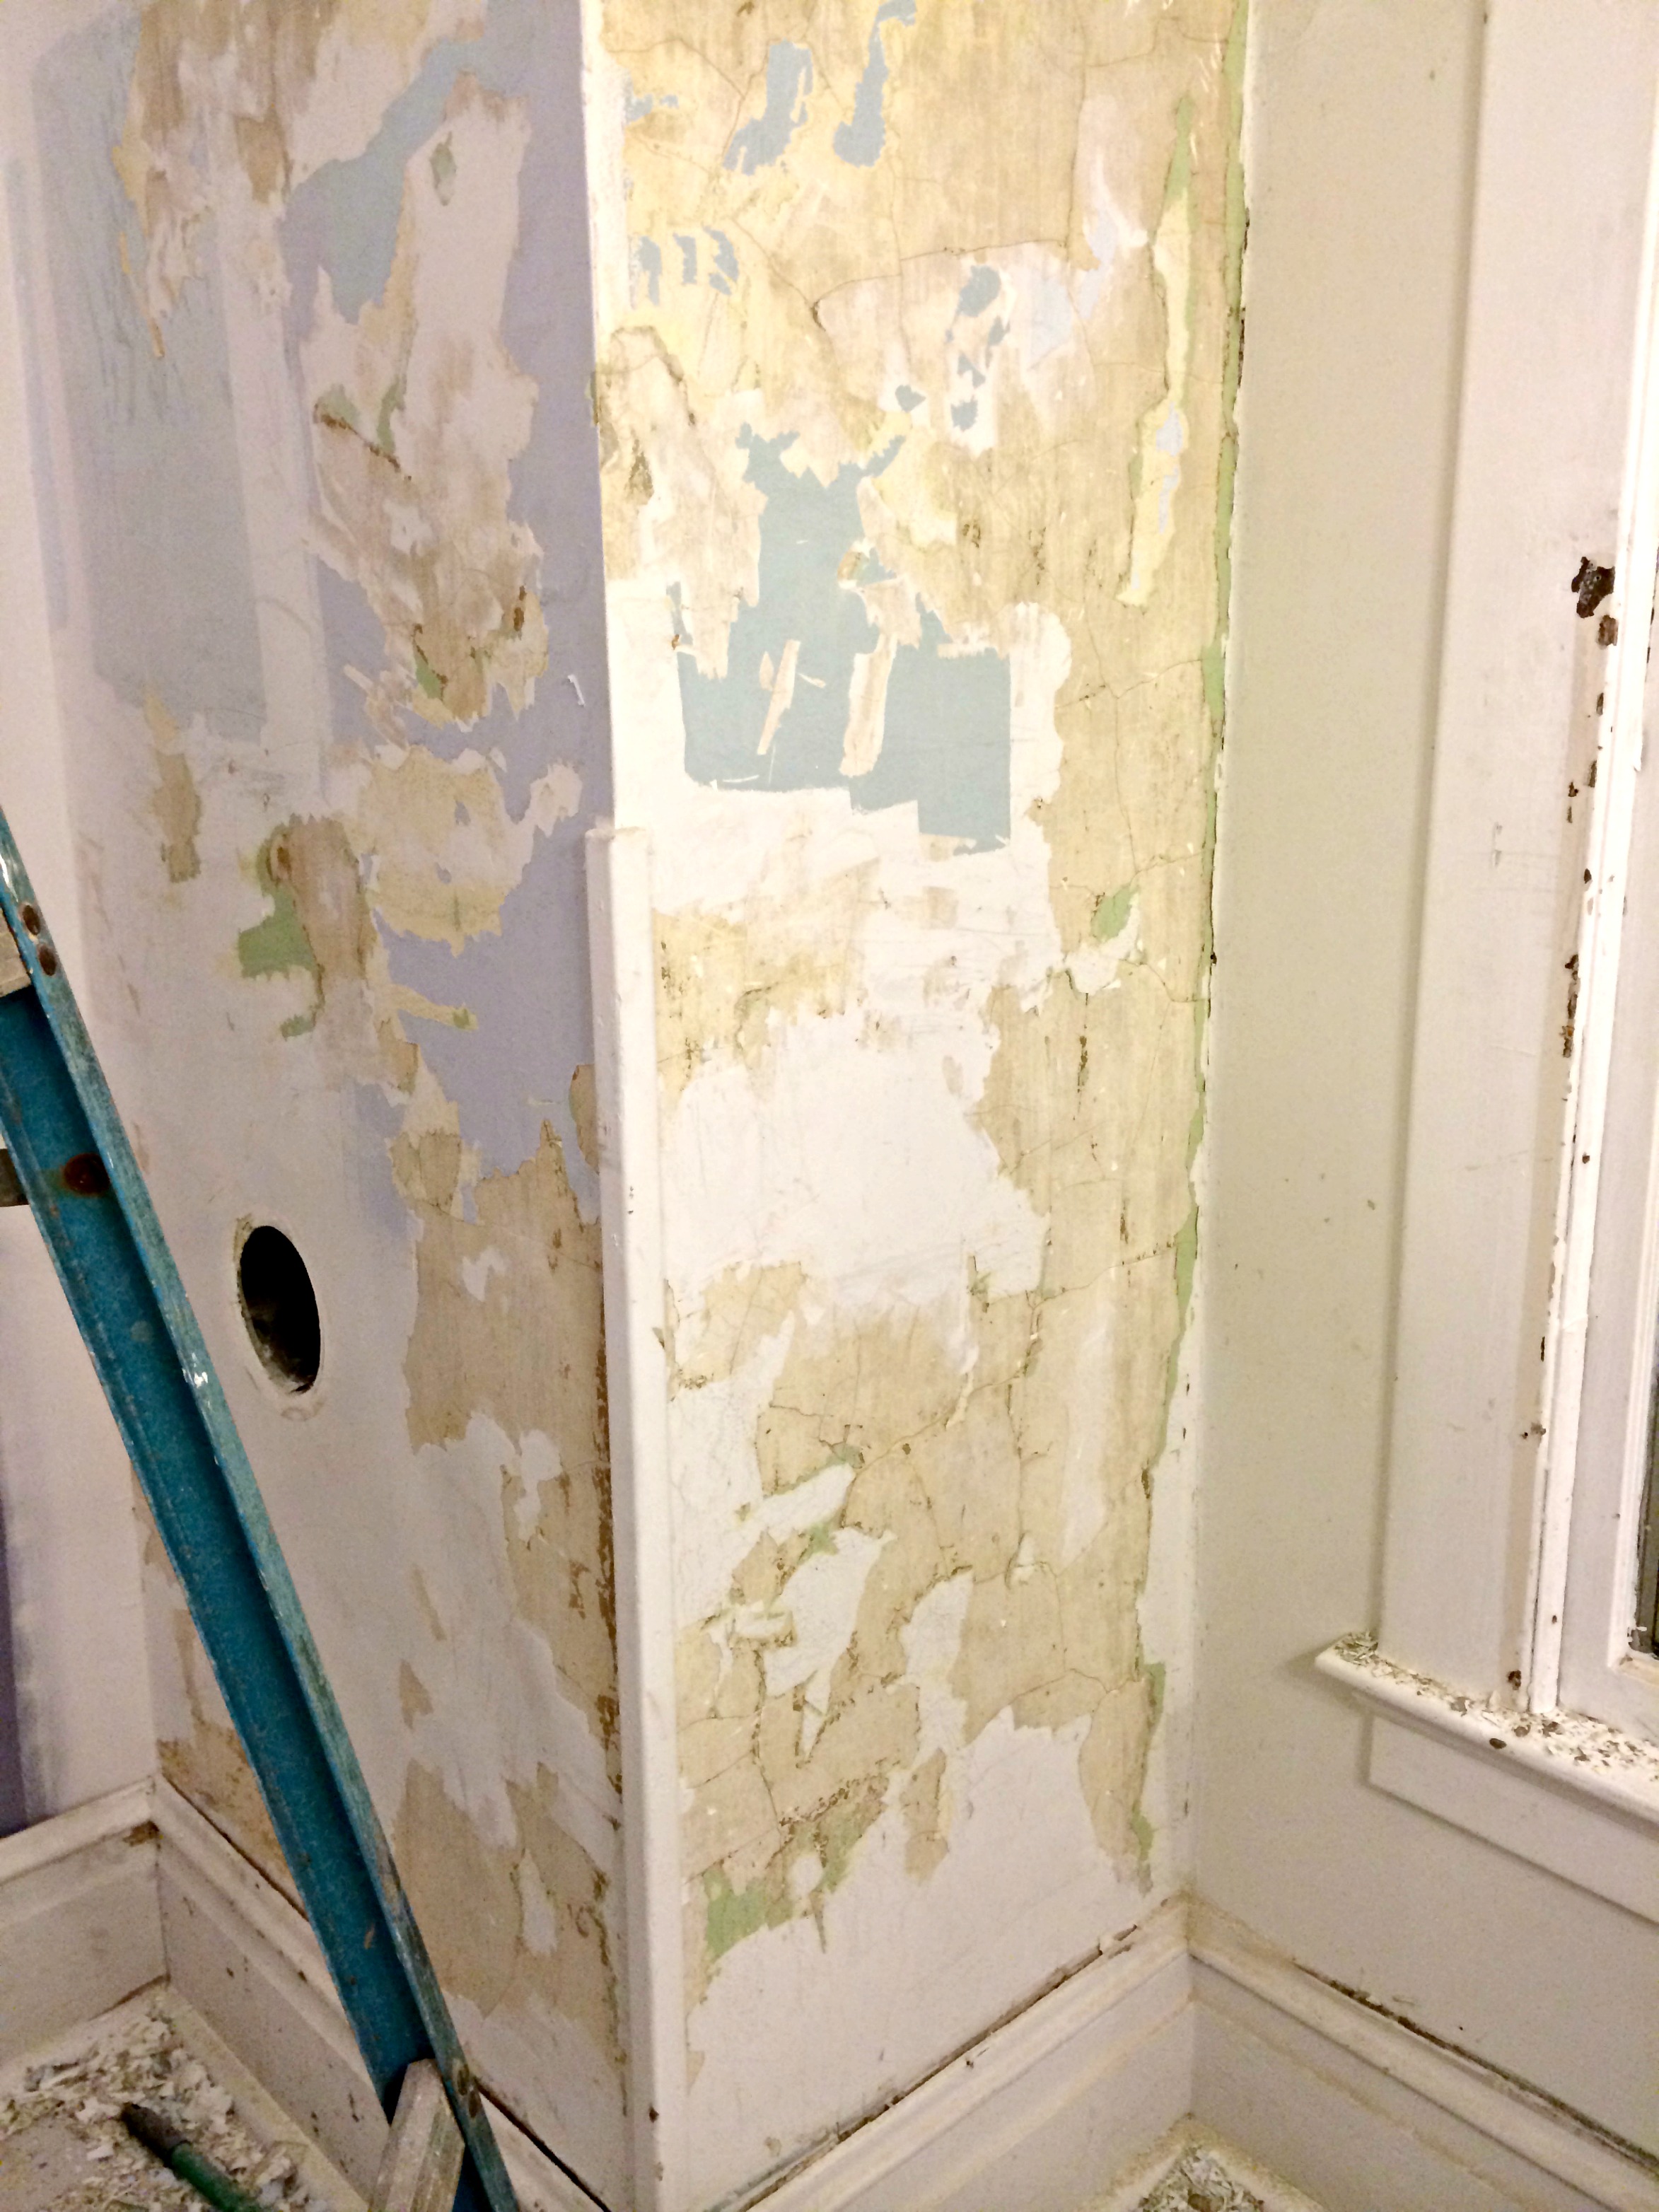
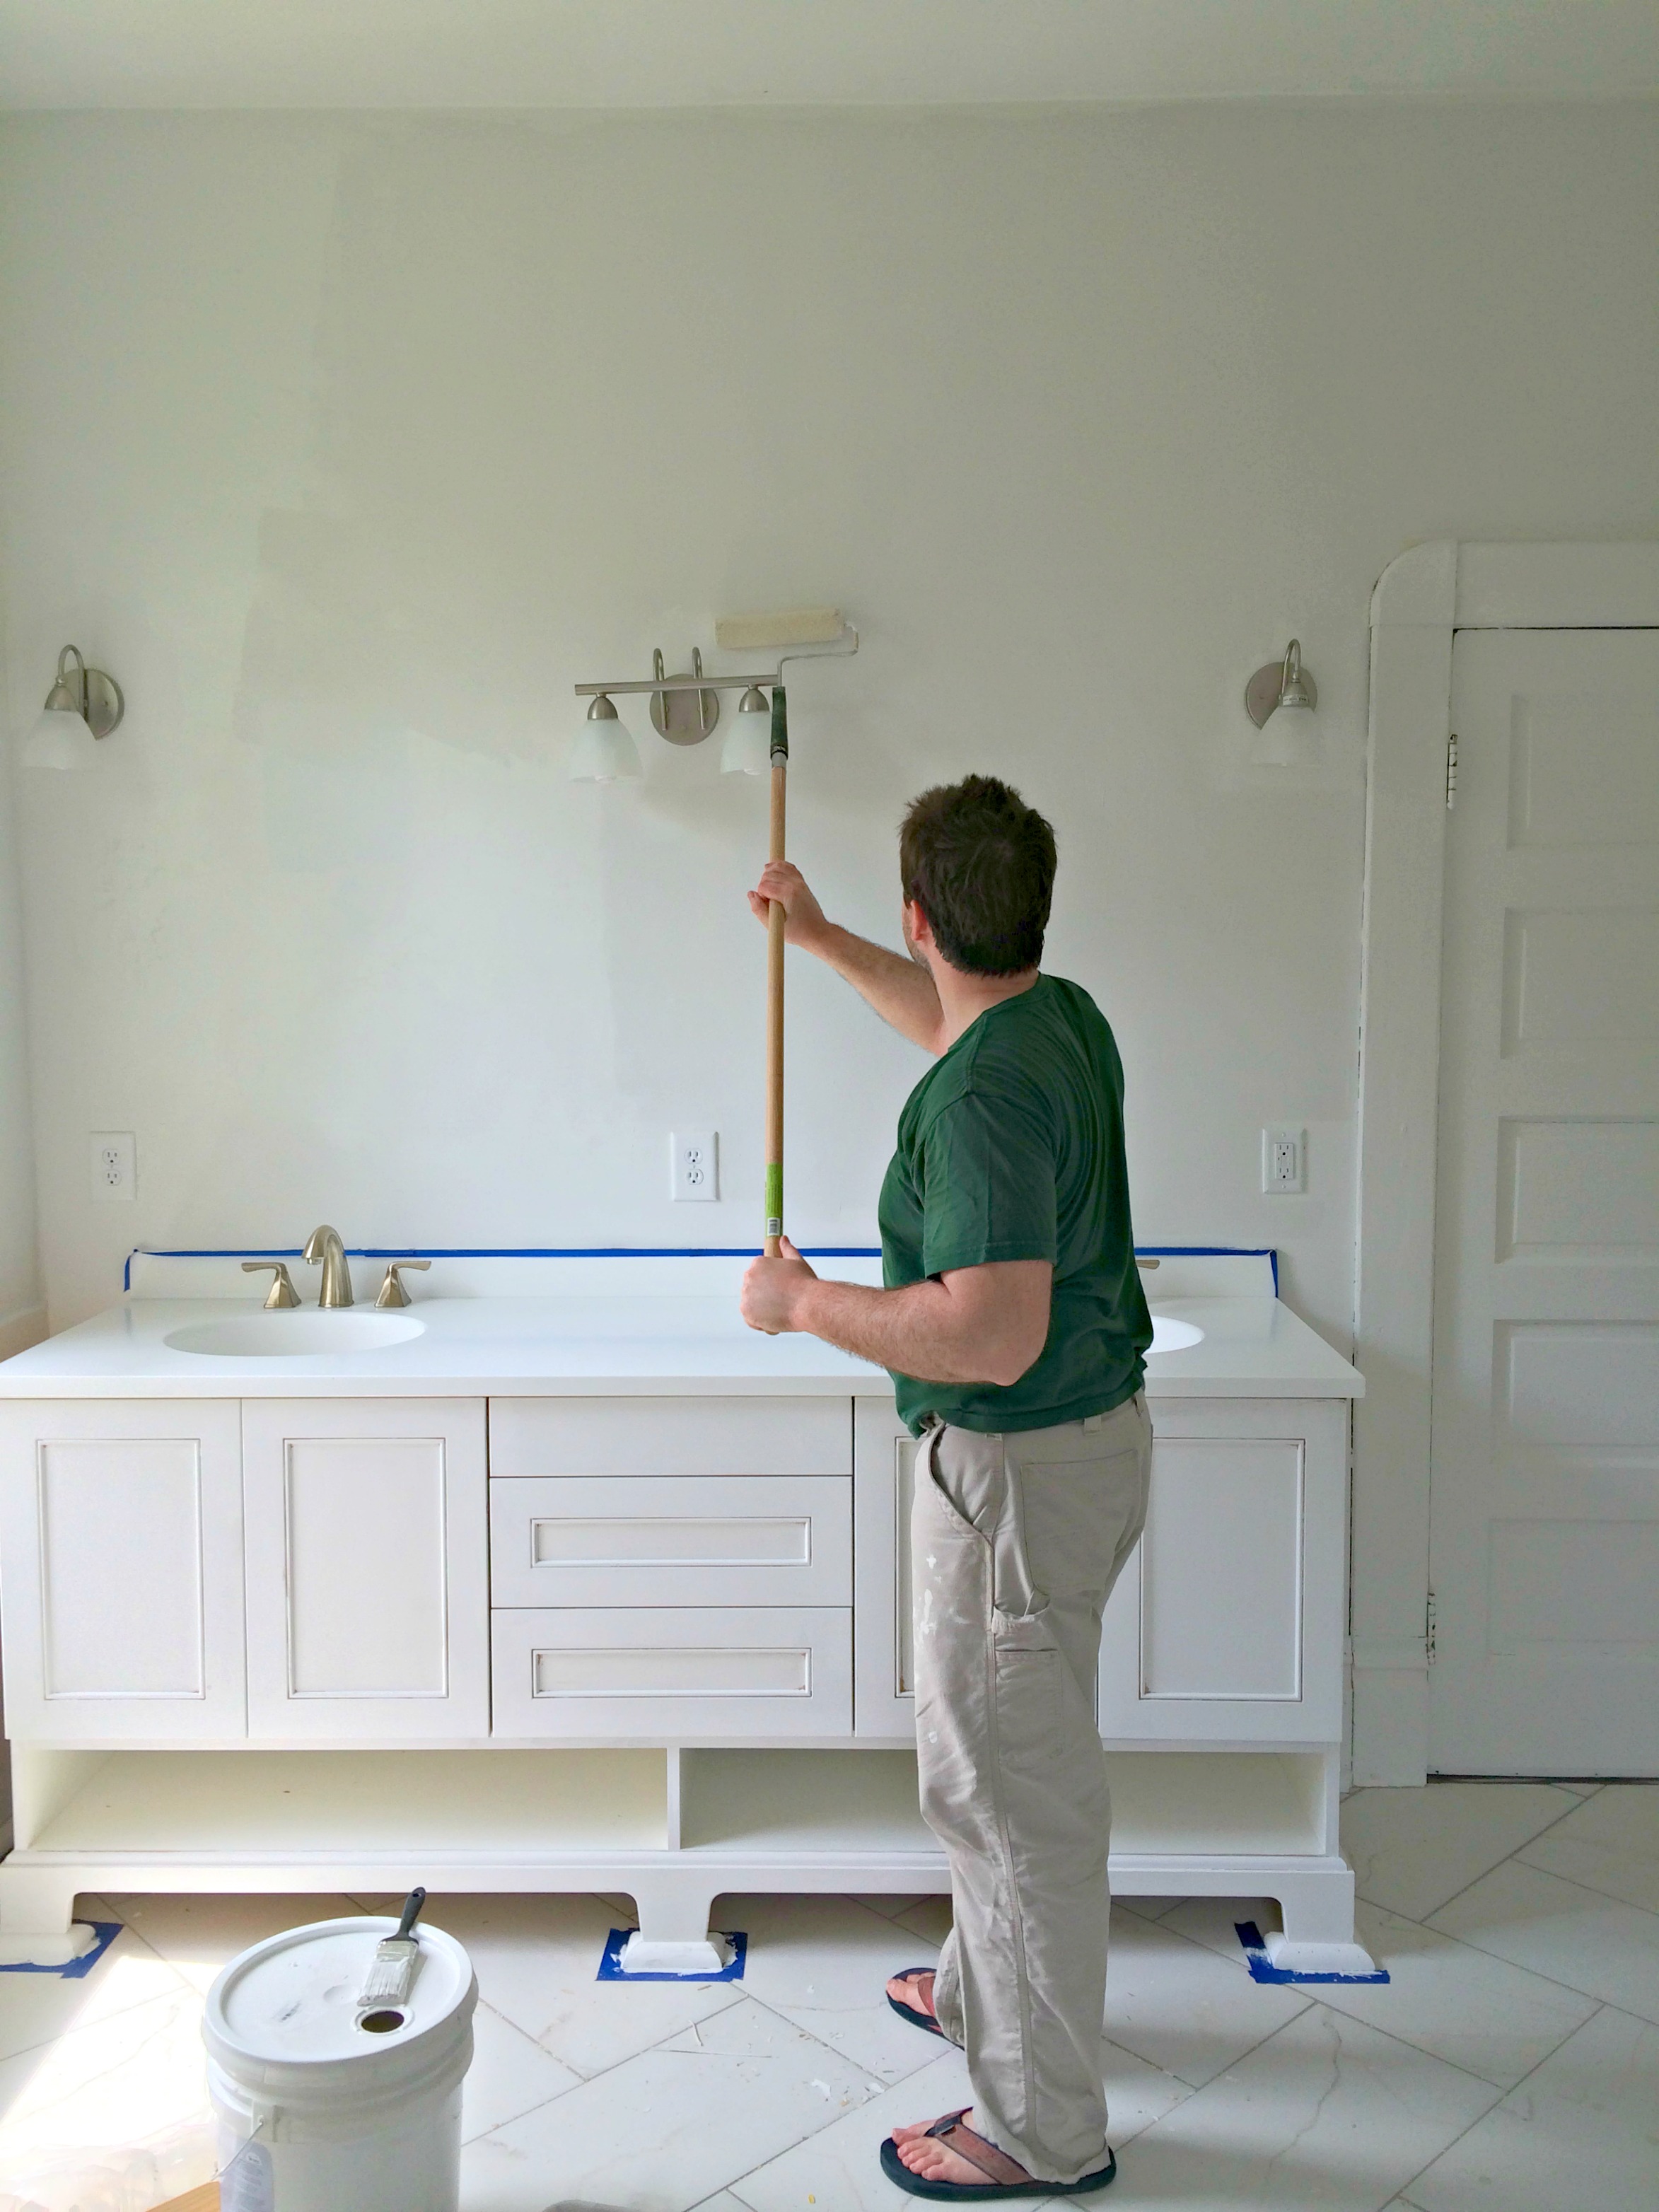
Since then, we’ve installed the tub, which was the original tub from this bathroom (get the tub painting tutorial here), and scraped, sanded, and primed the entire bathroom, including the vanity.
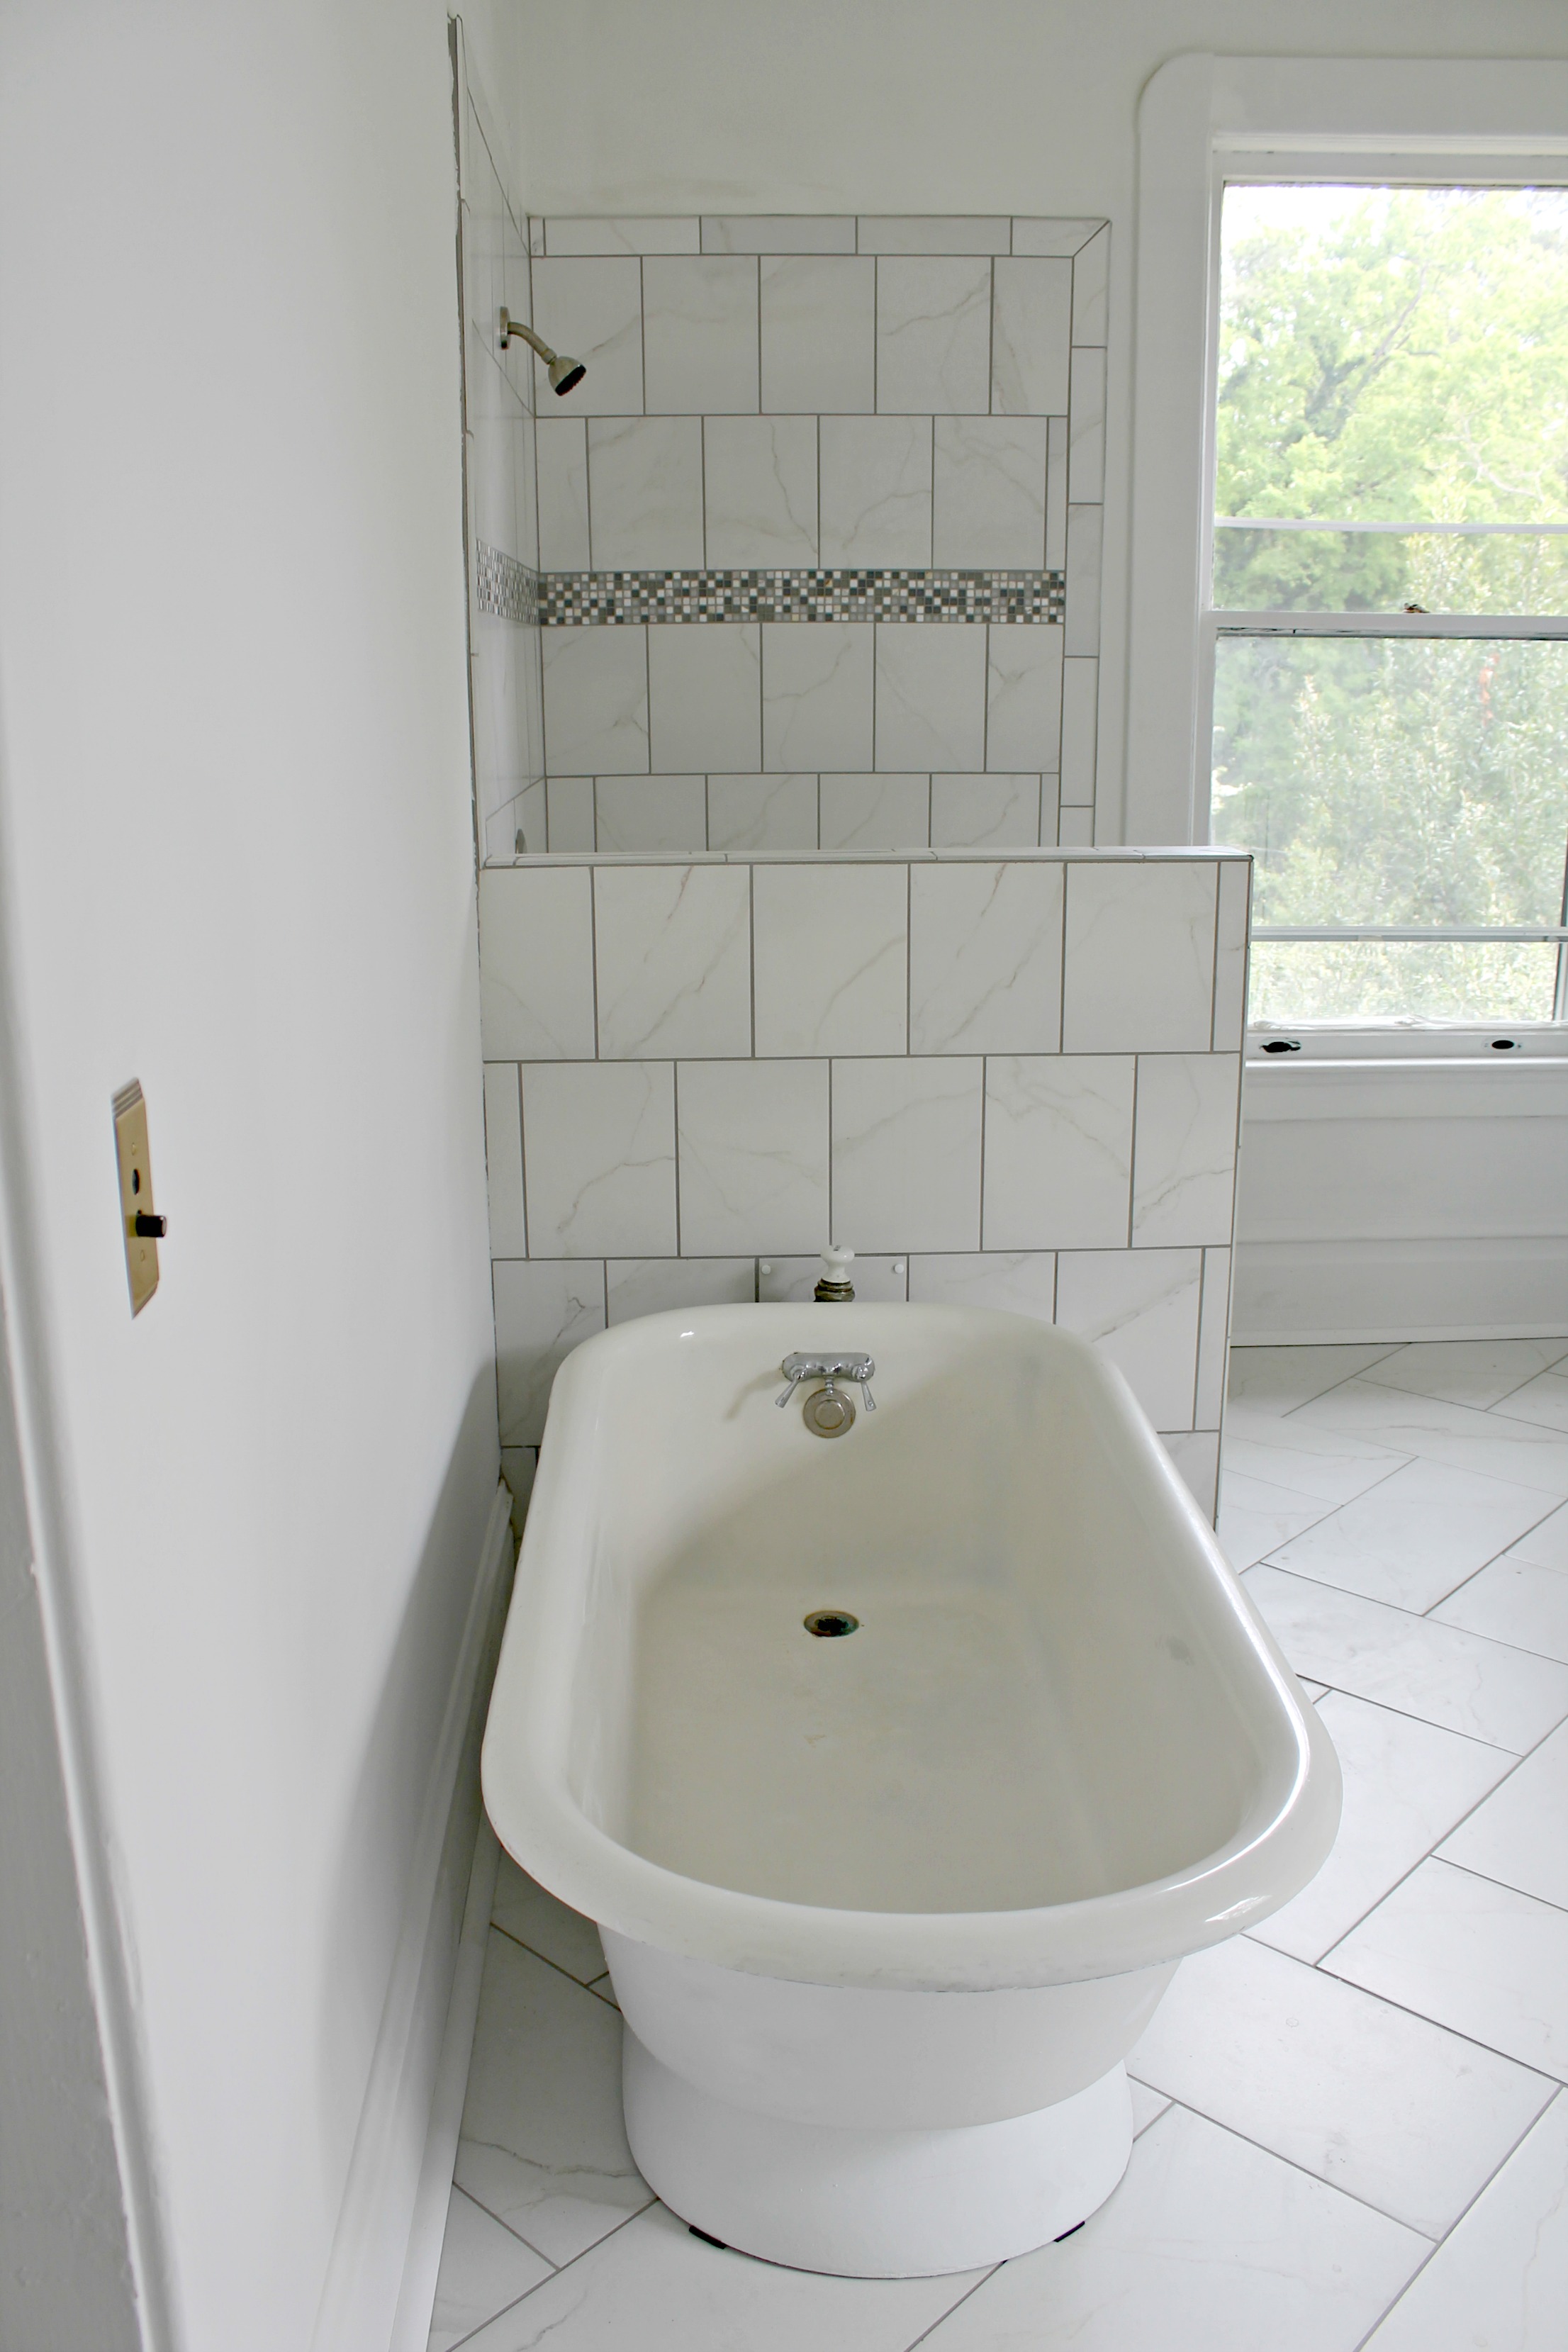
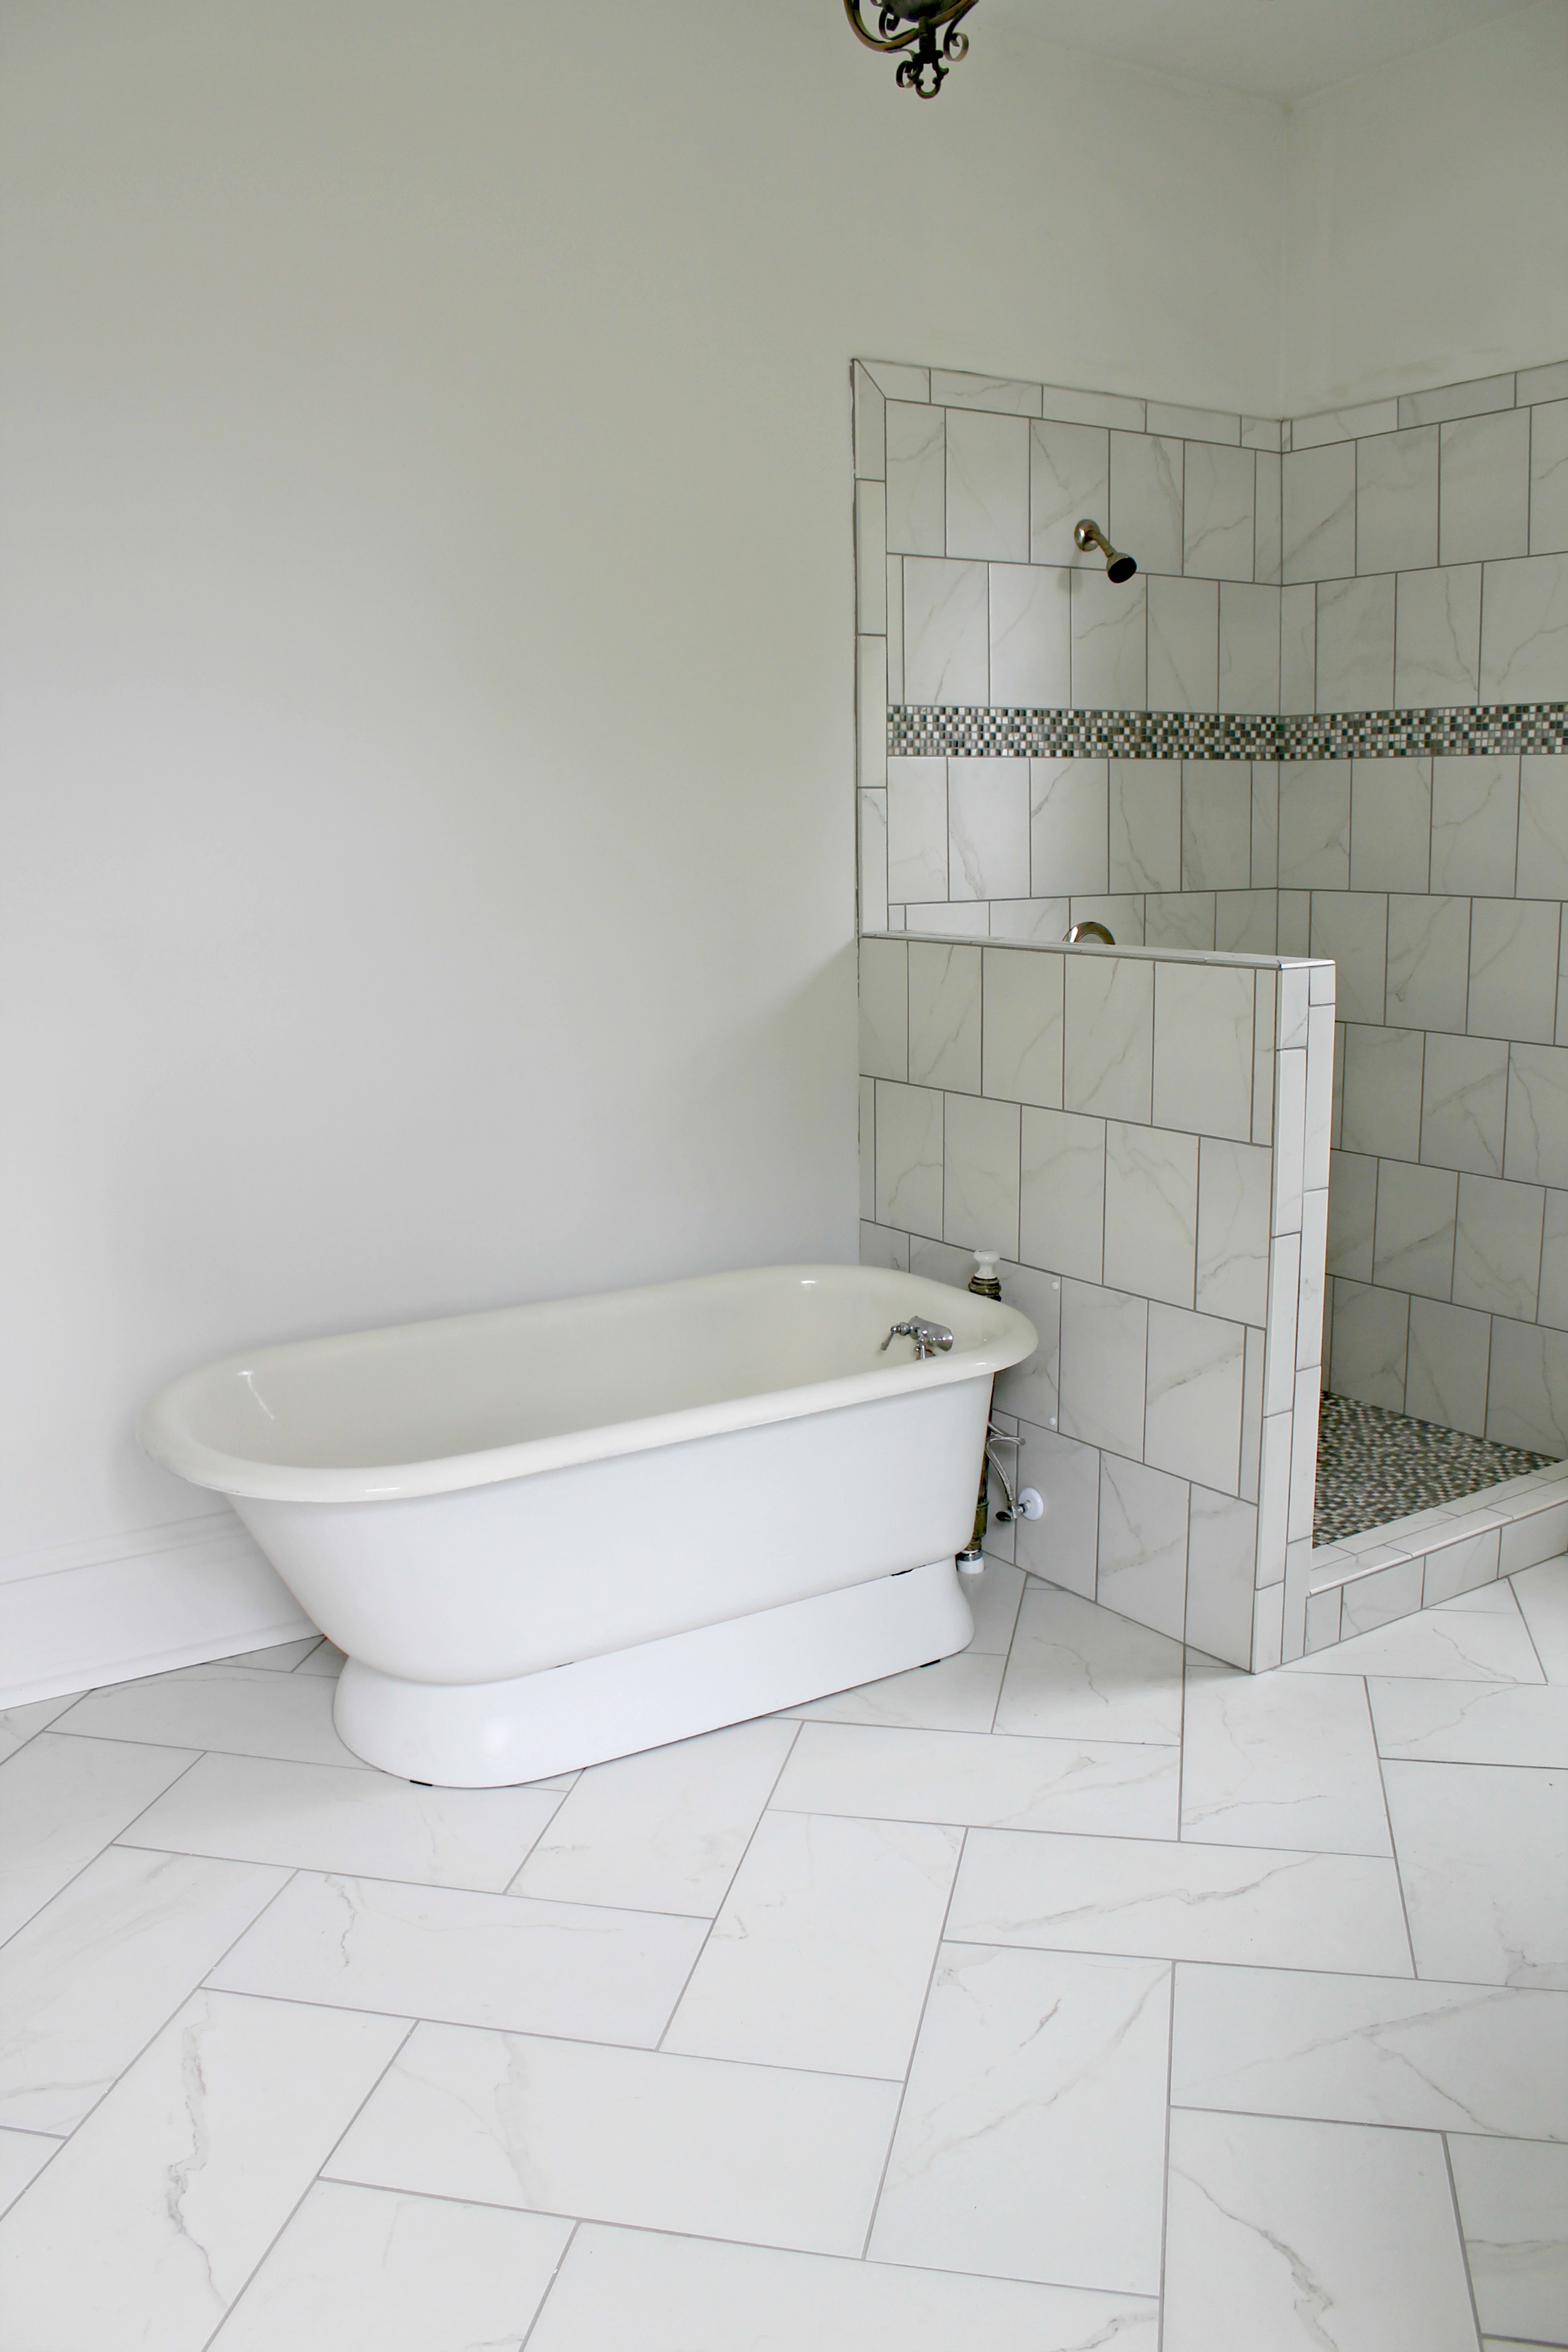
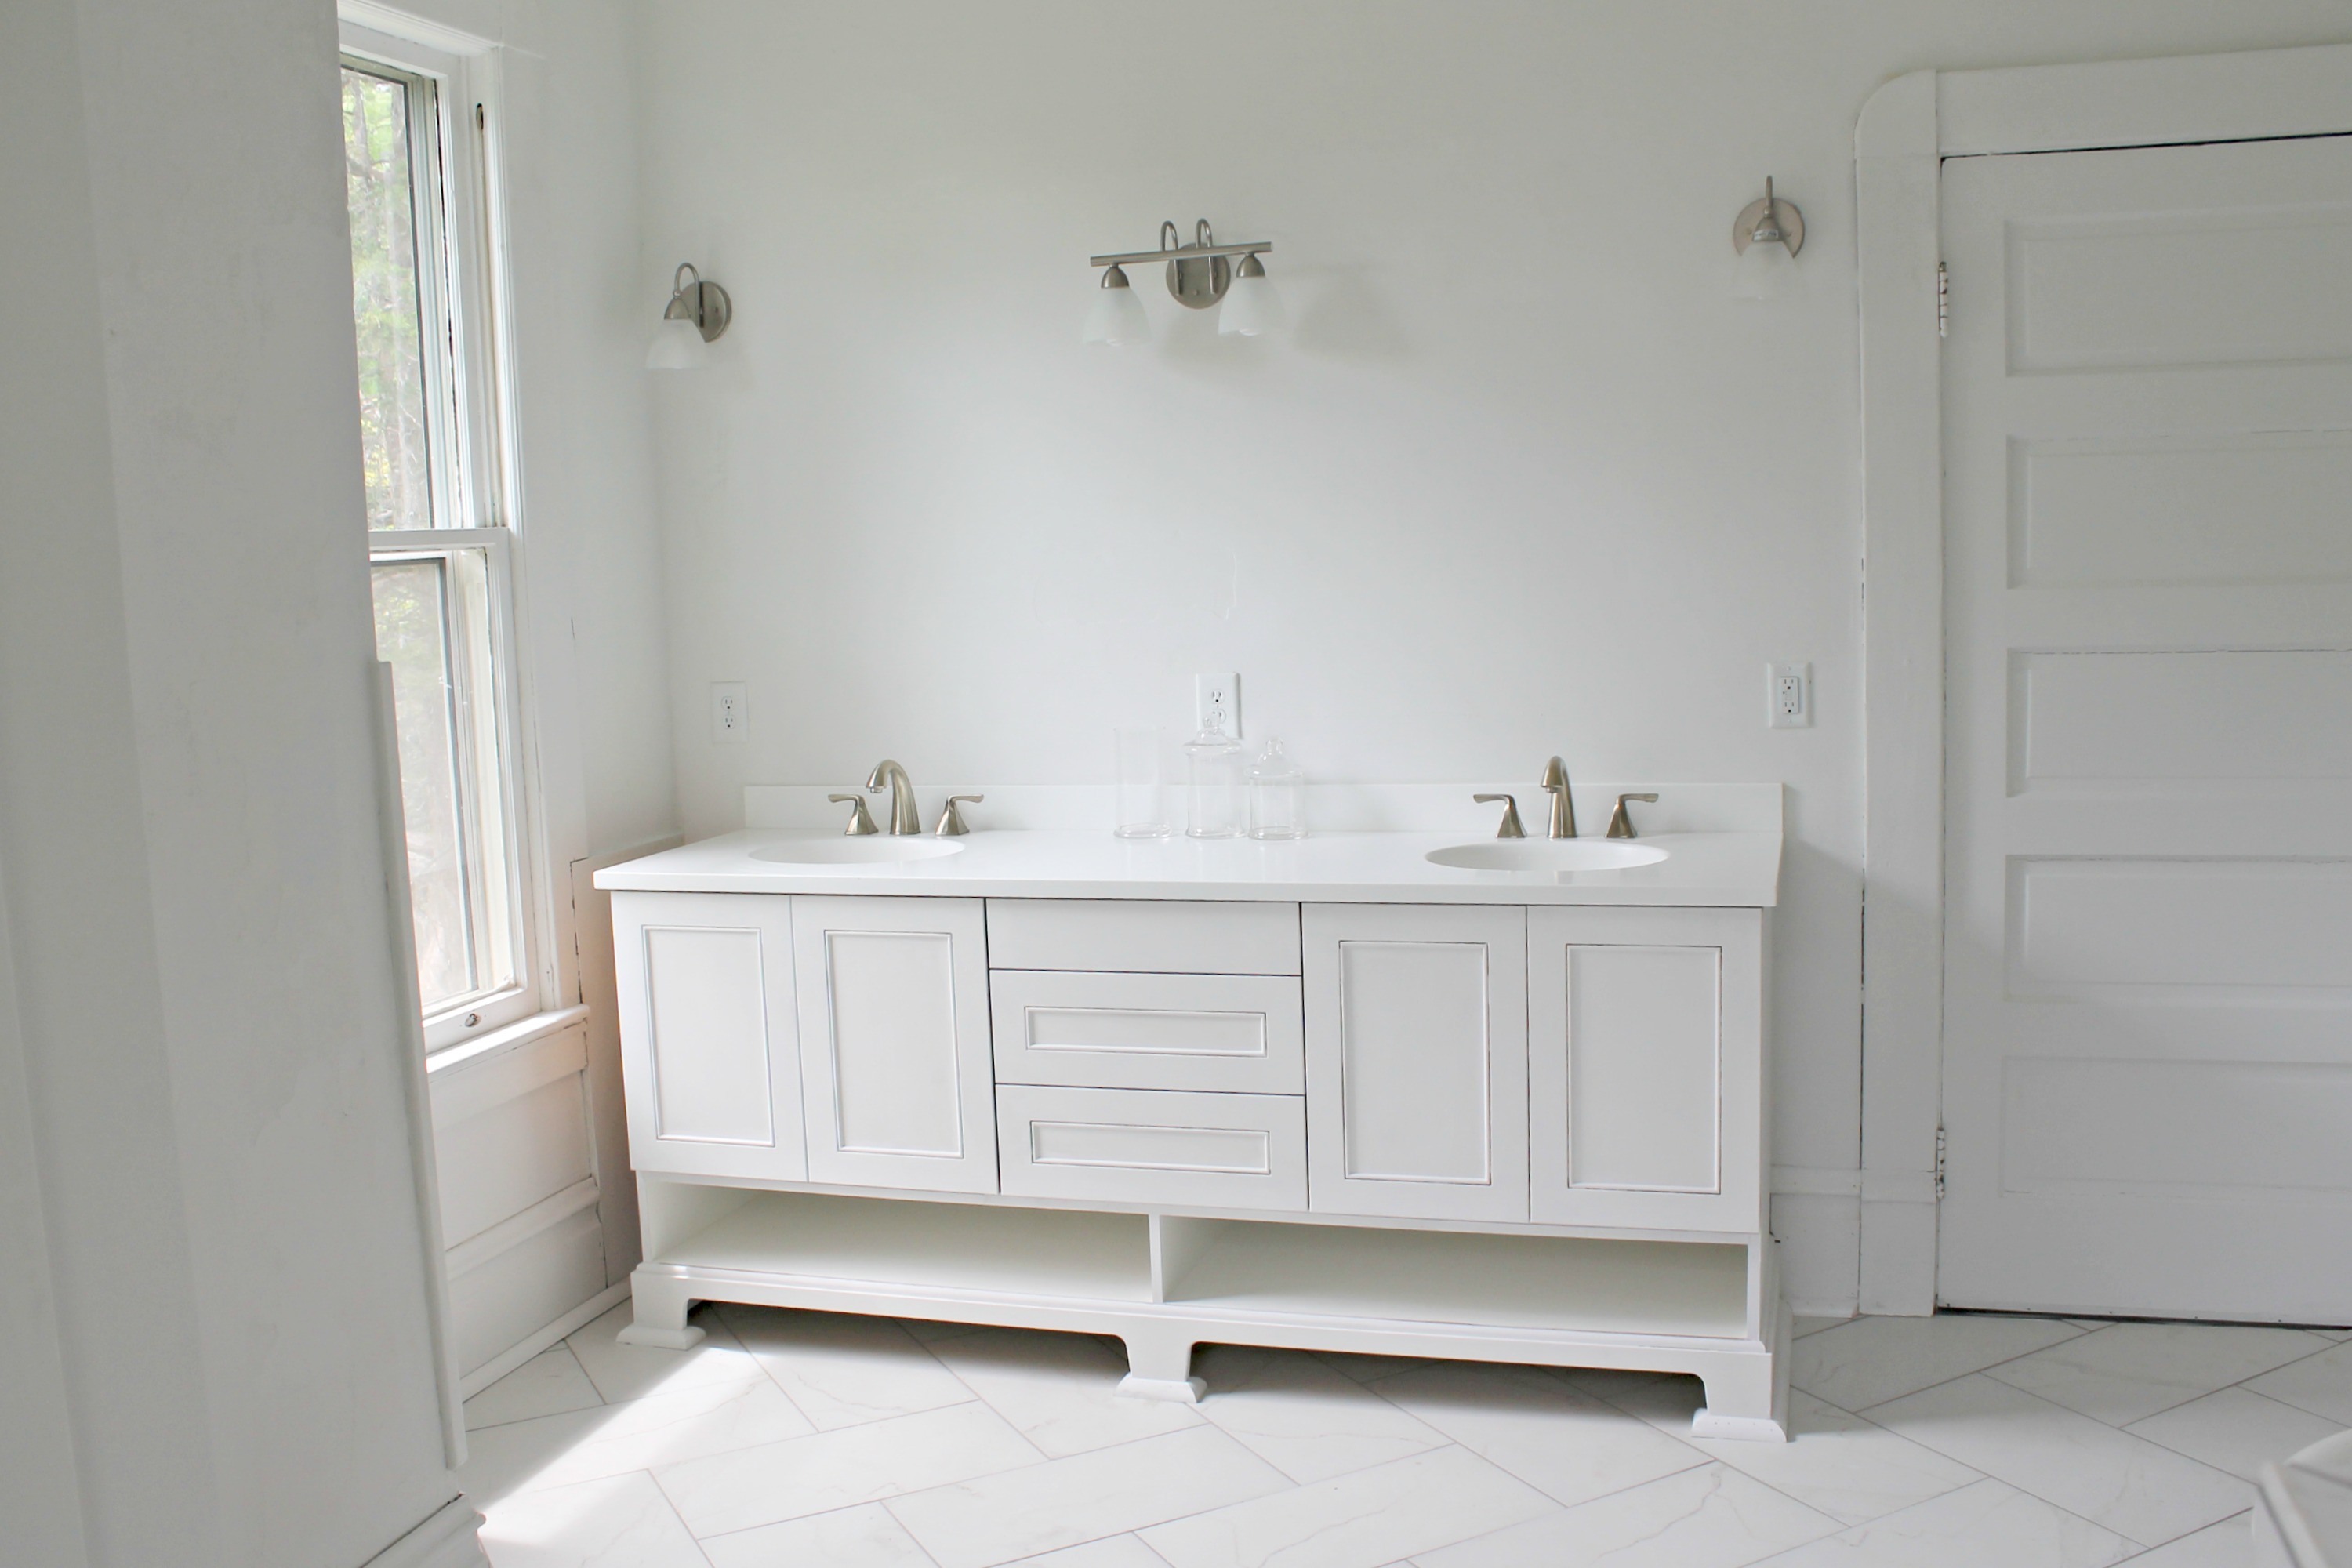
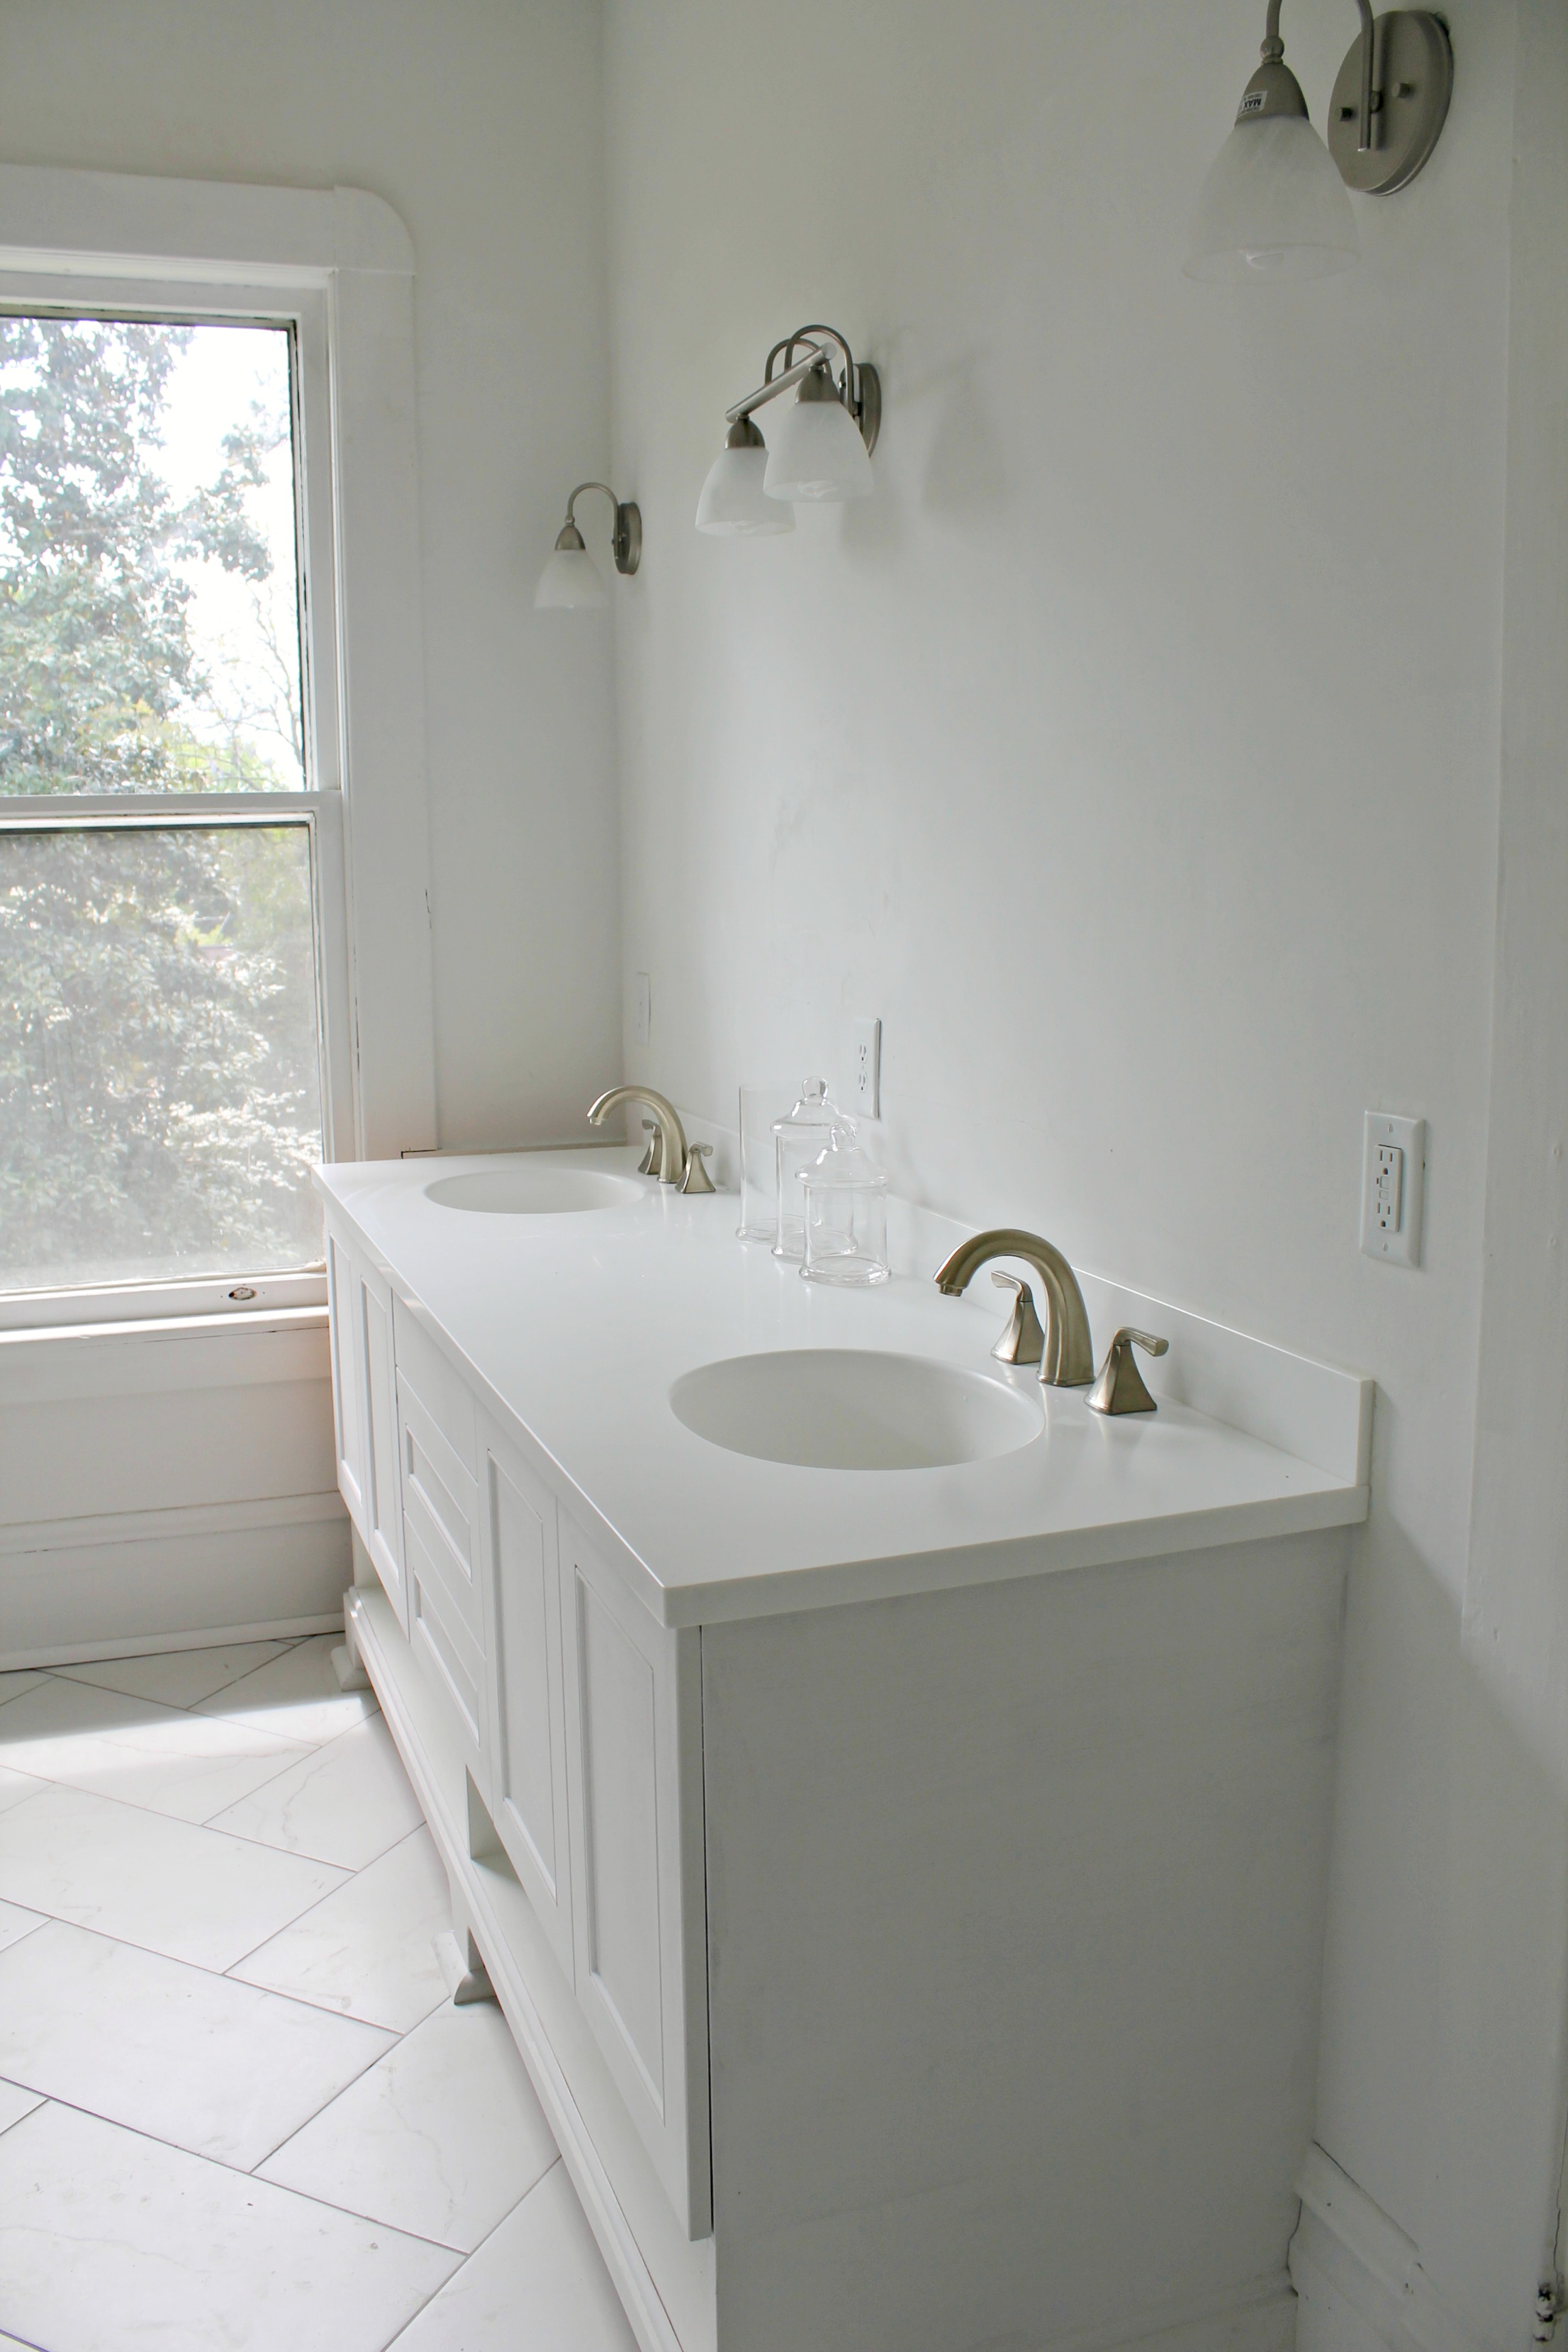
We also installed sink fixtures and light fixtures for the vanity, as well as fixtures for the shower. The shower head in there now is temporary–we have a rain shower head that we plan to install ourselves.
So here’s our to-do list for this bathroom:
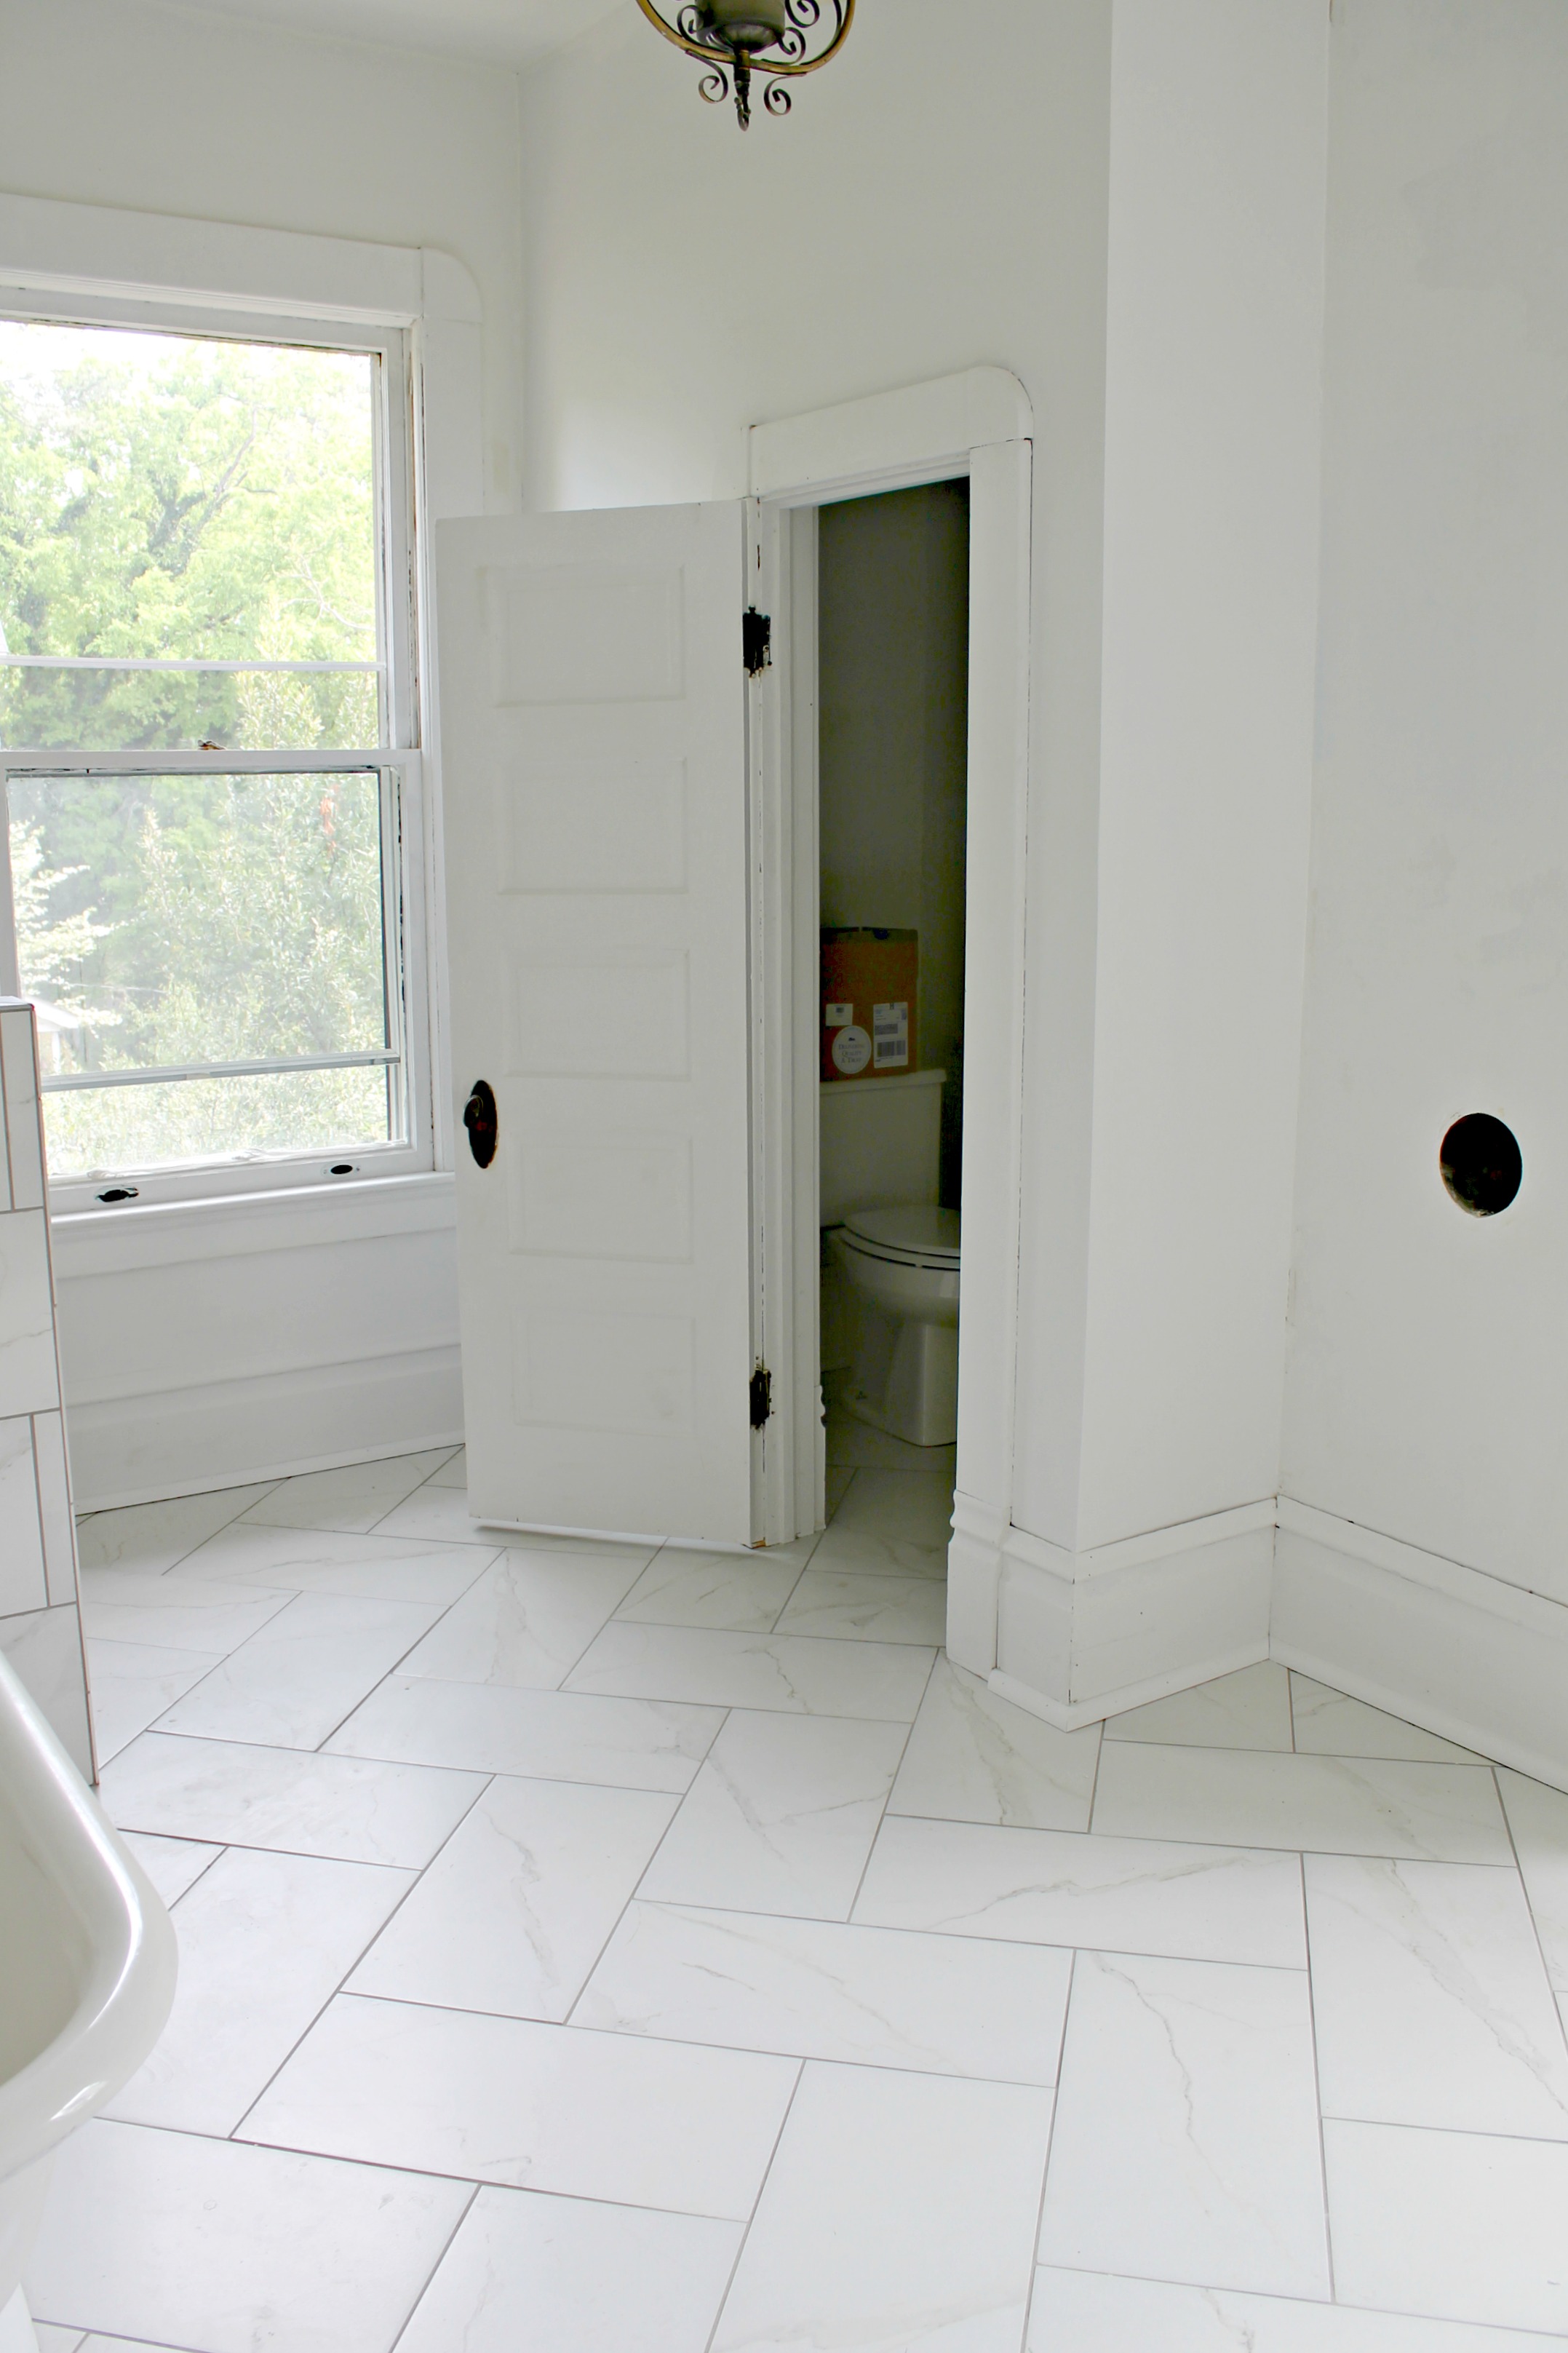
Remove old cabinet unit, sink, and hot water heater.Repair plaster walls.Remove vinyl flooring.Close up door to the existing “pantry.”Build water closet.Install new tile floor.Install new toilet.Install new vanity.Install new tile shower.Install refurbished tub.- Install new fixtures for tub.
- Install lighting.
Prime walls, trim, and vanity.- Paint walls, trim, and vanity.
As you can see, we’re almost there! The only light fixture left to add is the center light. I’d like to put a chandelier in here, but we’ll see.
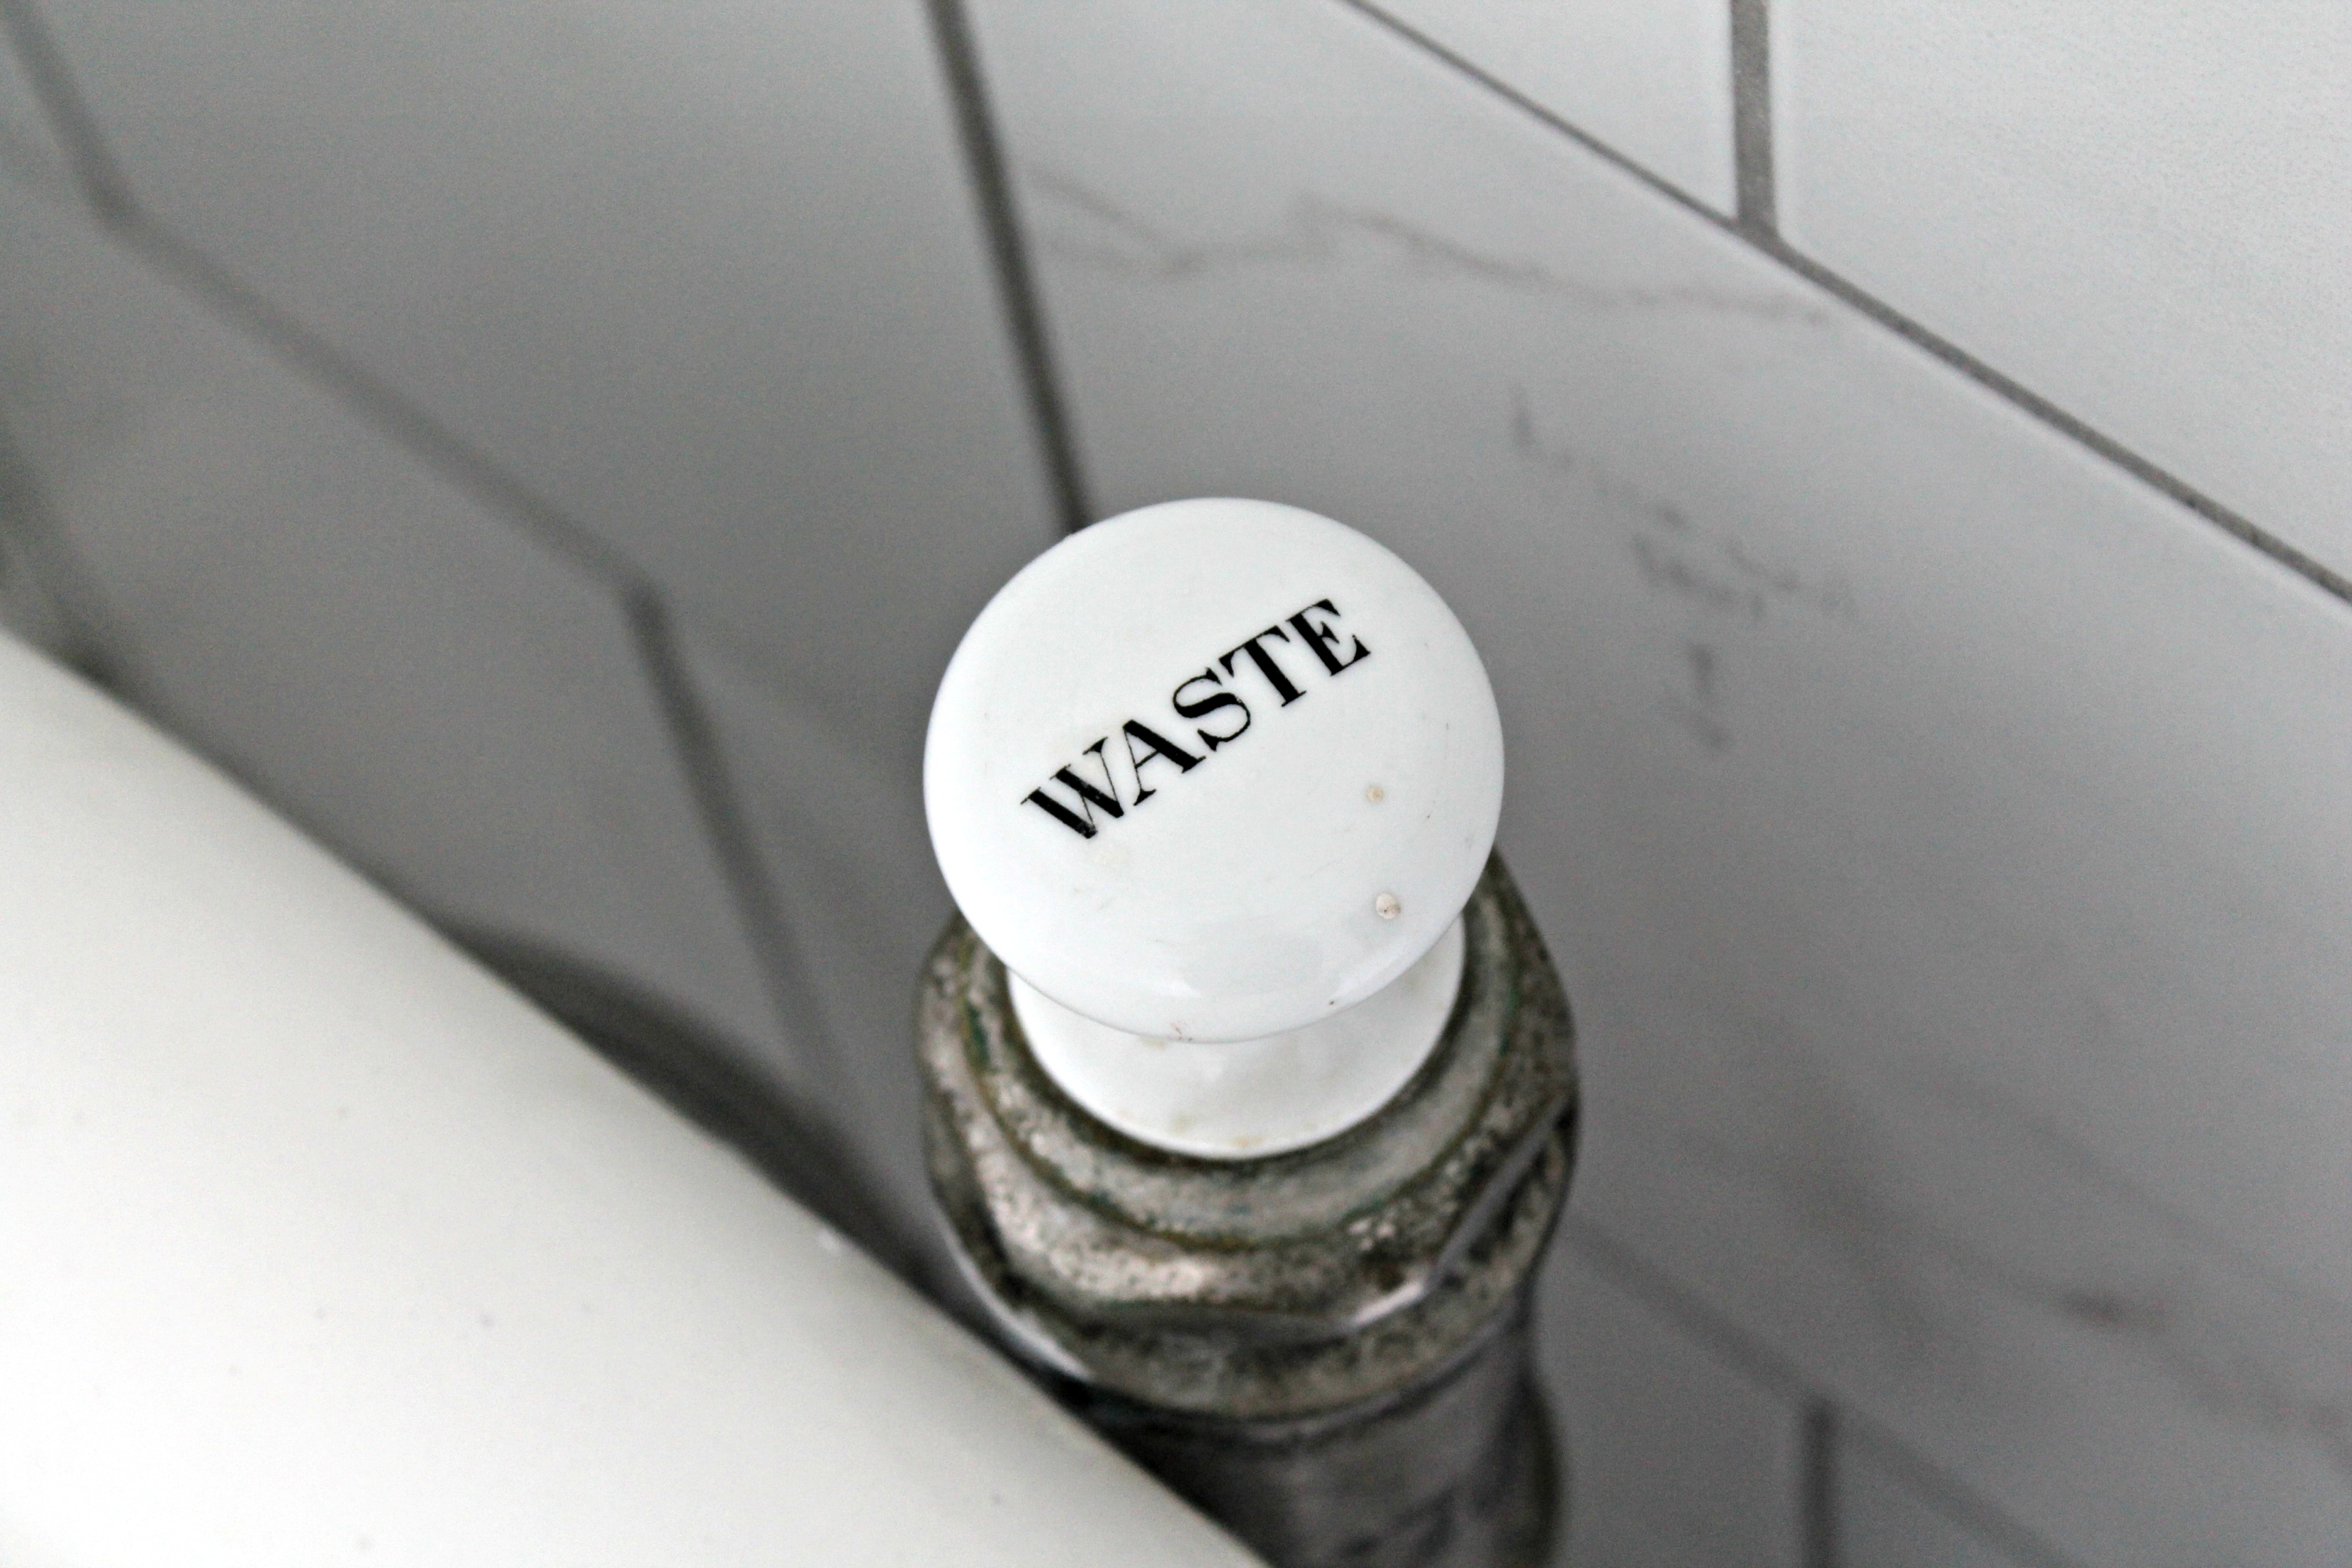
After we primed and painted the tub with Rustoleum, it was in pretty great shape. But the existing faucet was too rusty to salvage. We’ve ordered new hardware and are just waiting for the plumber to return to install it.
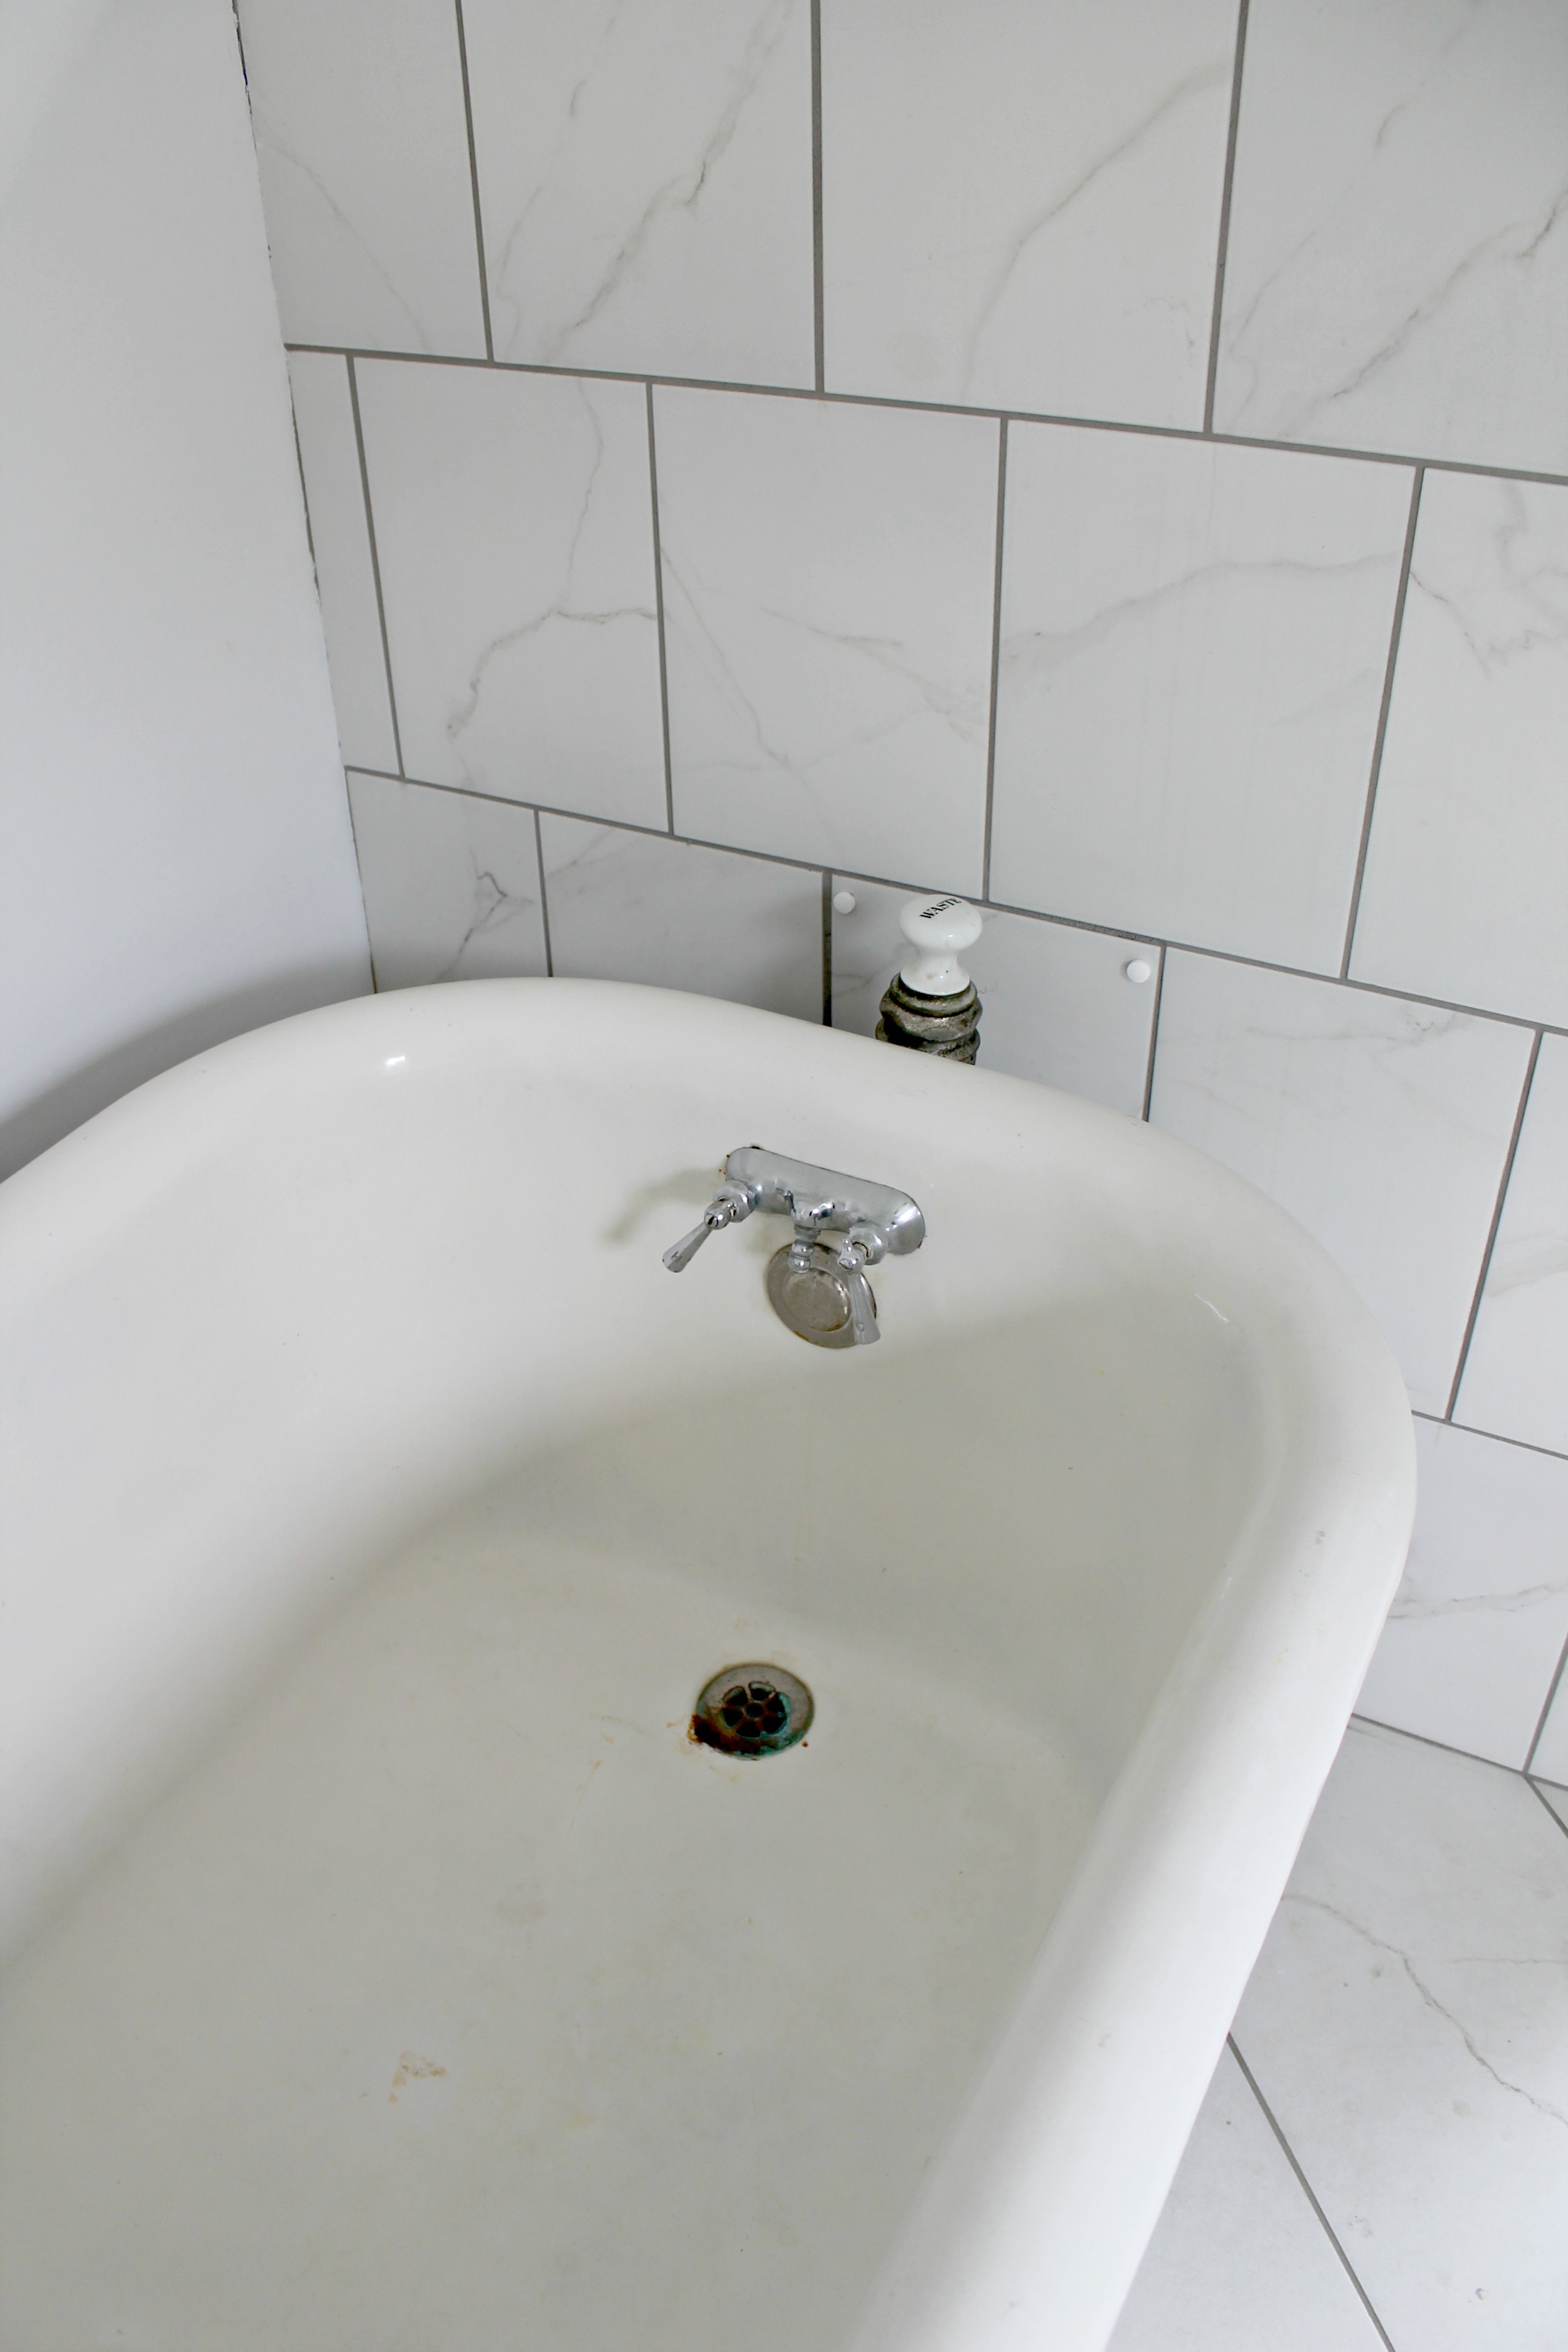
I was so excited that we could reuse this tub. I think it really brings the old features and new features together well.
You can see our bathroom layout options here and the one we chose here.
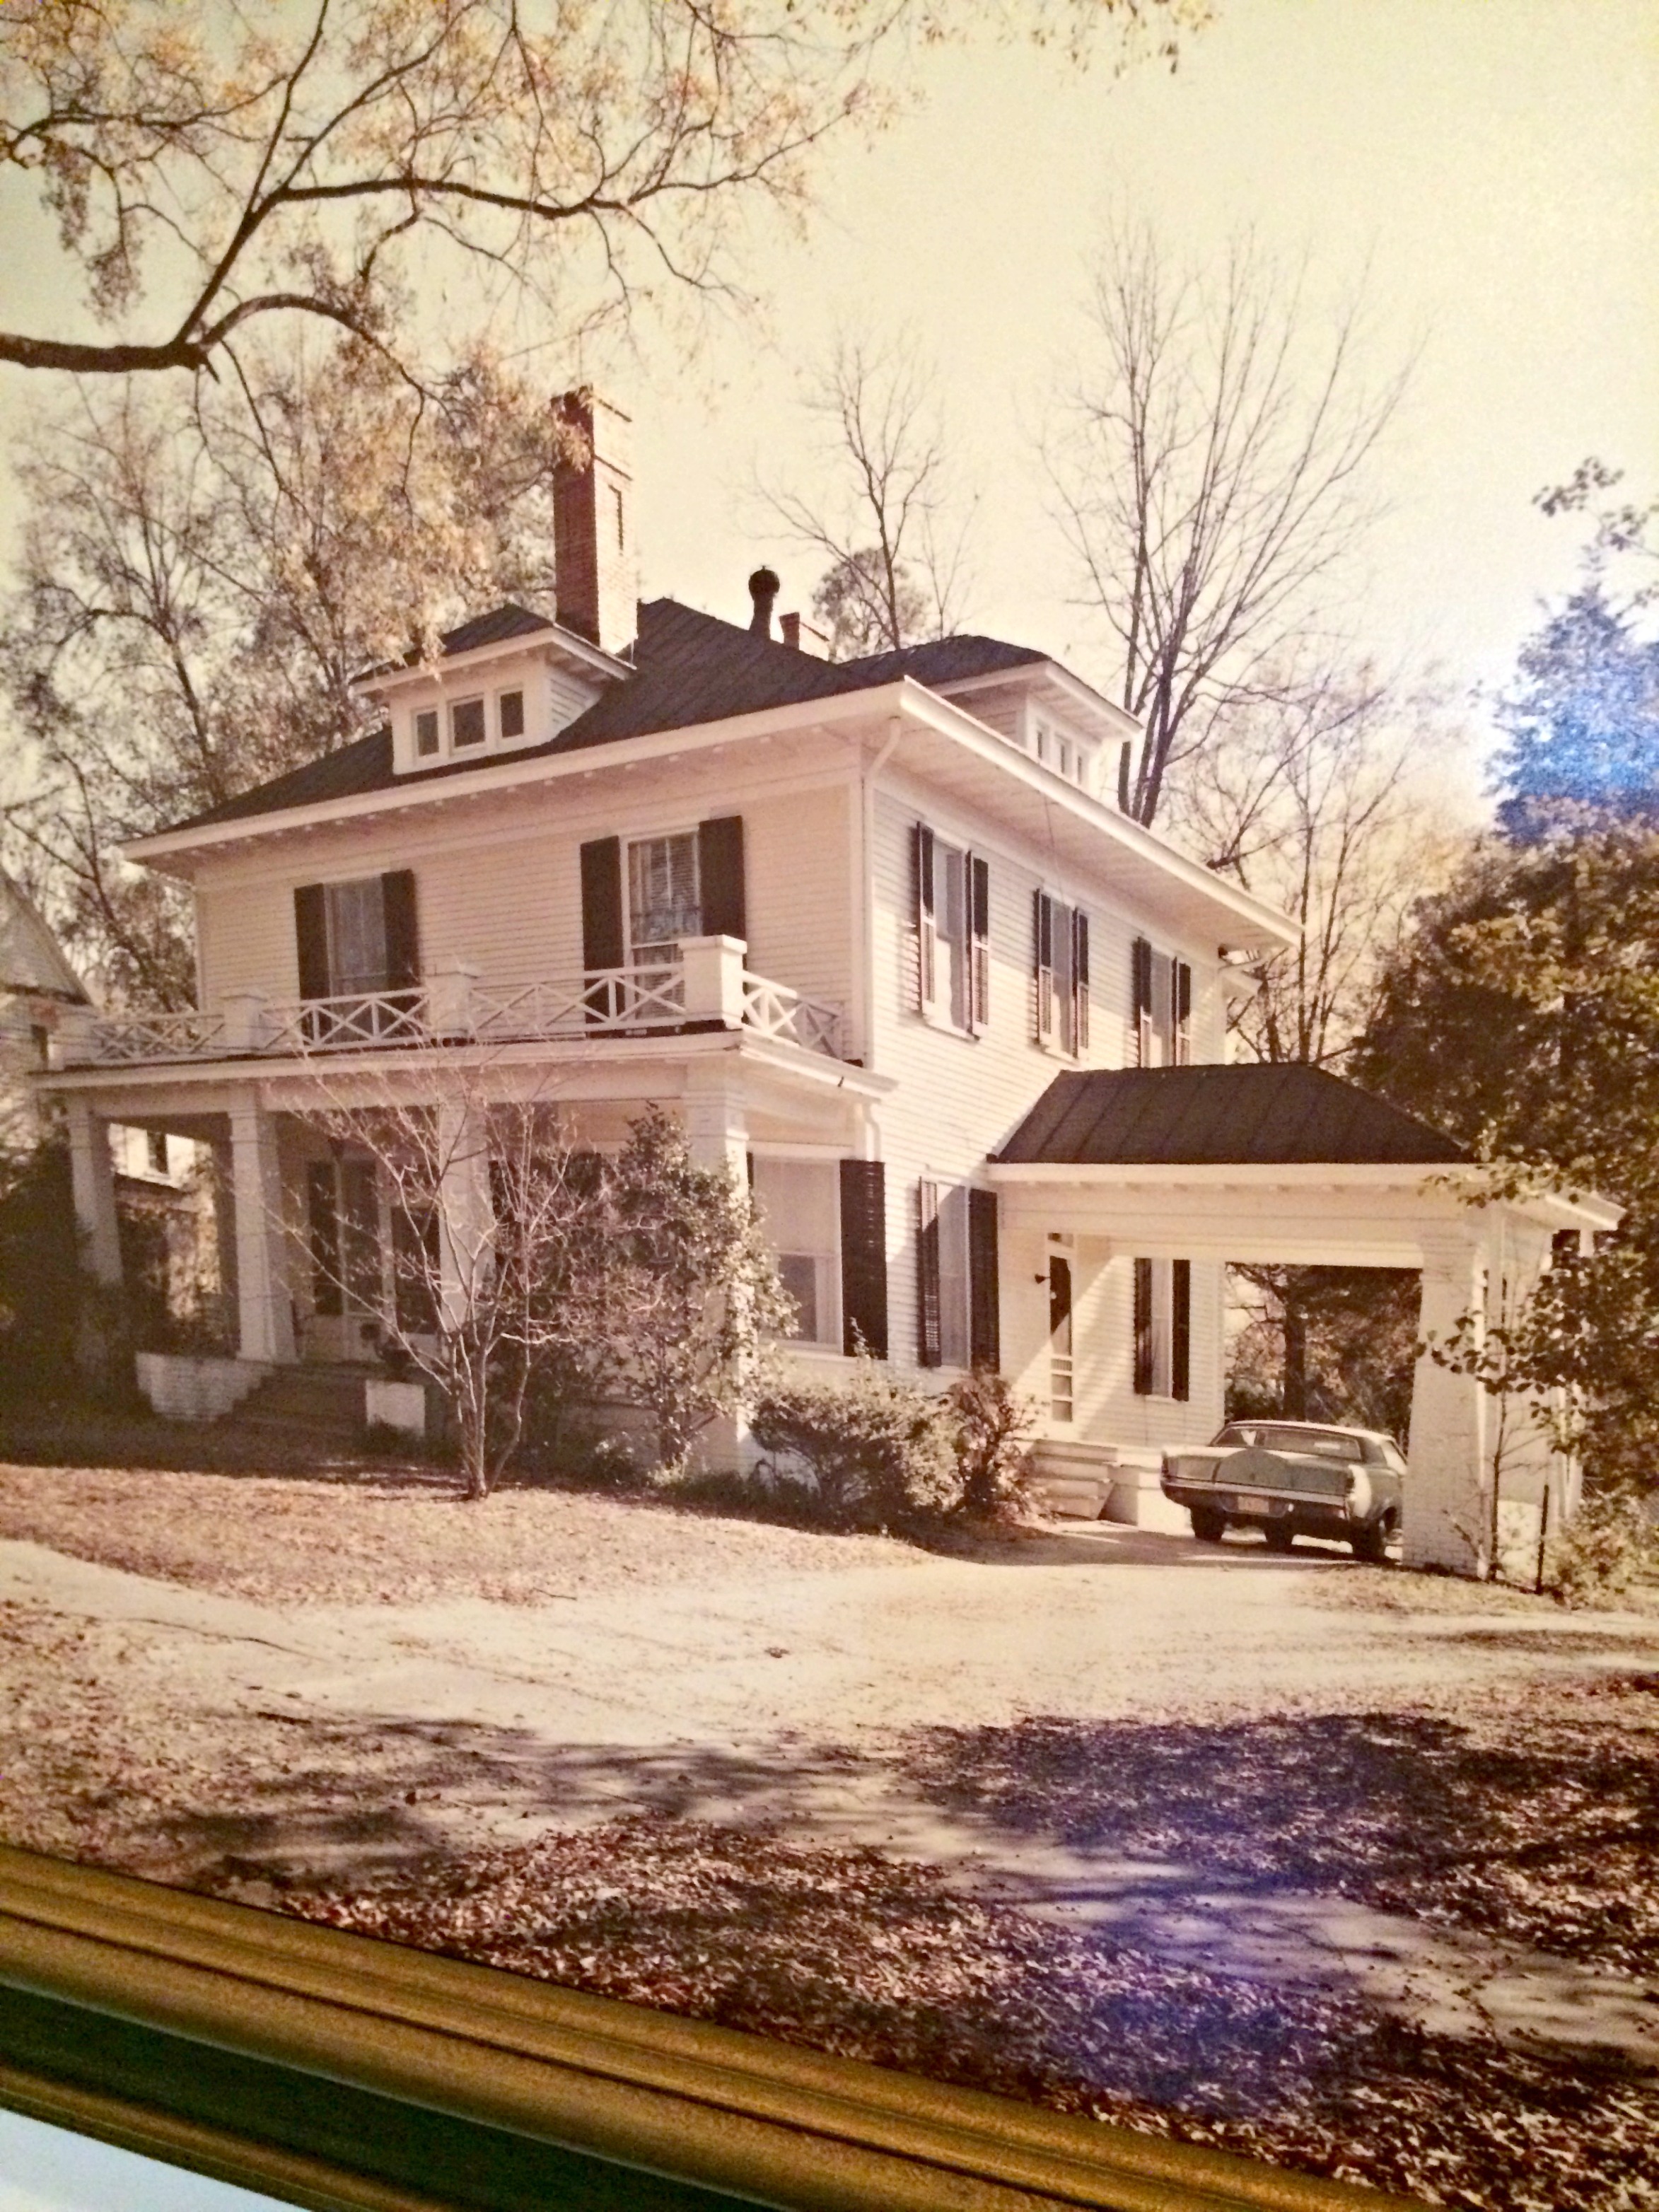
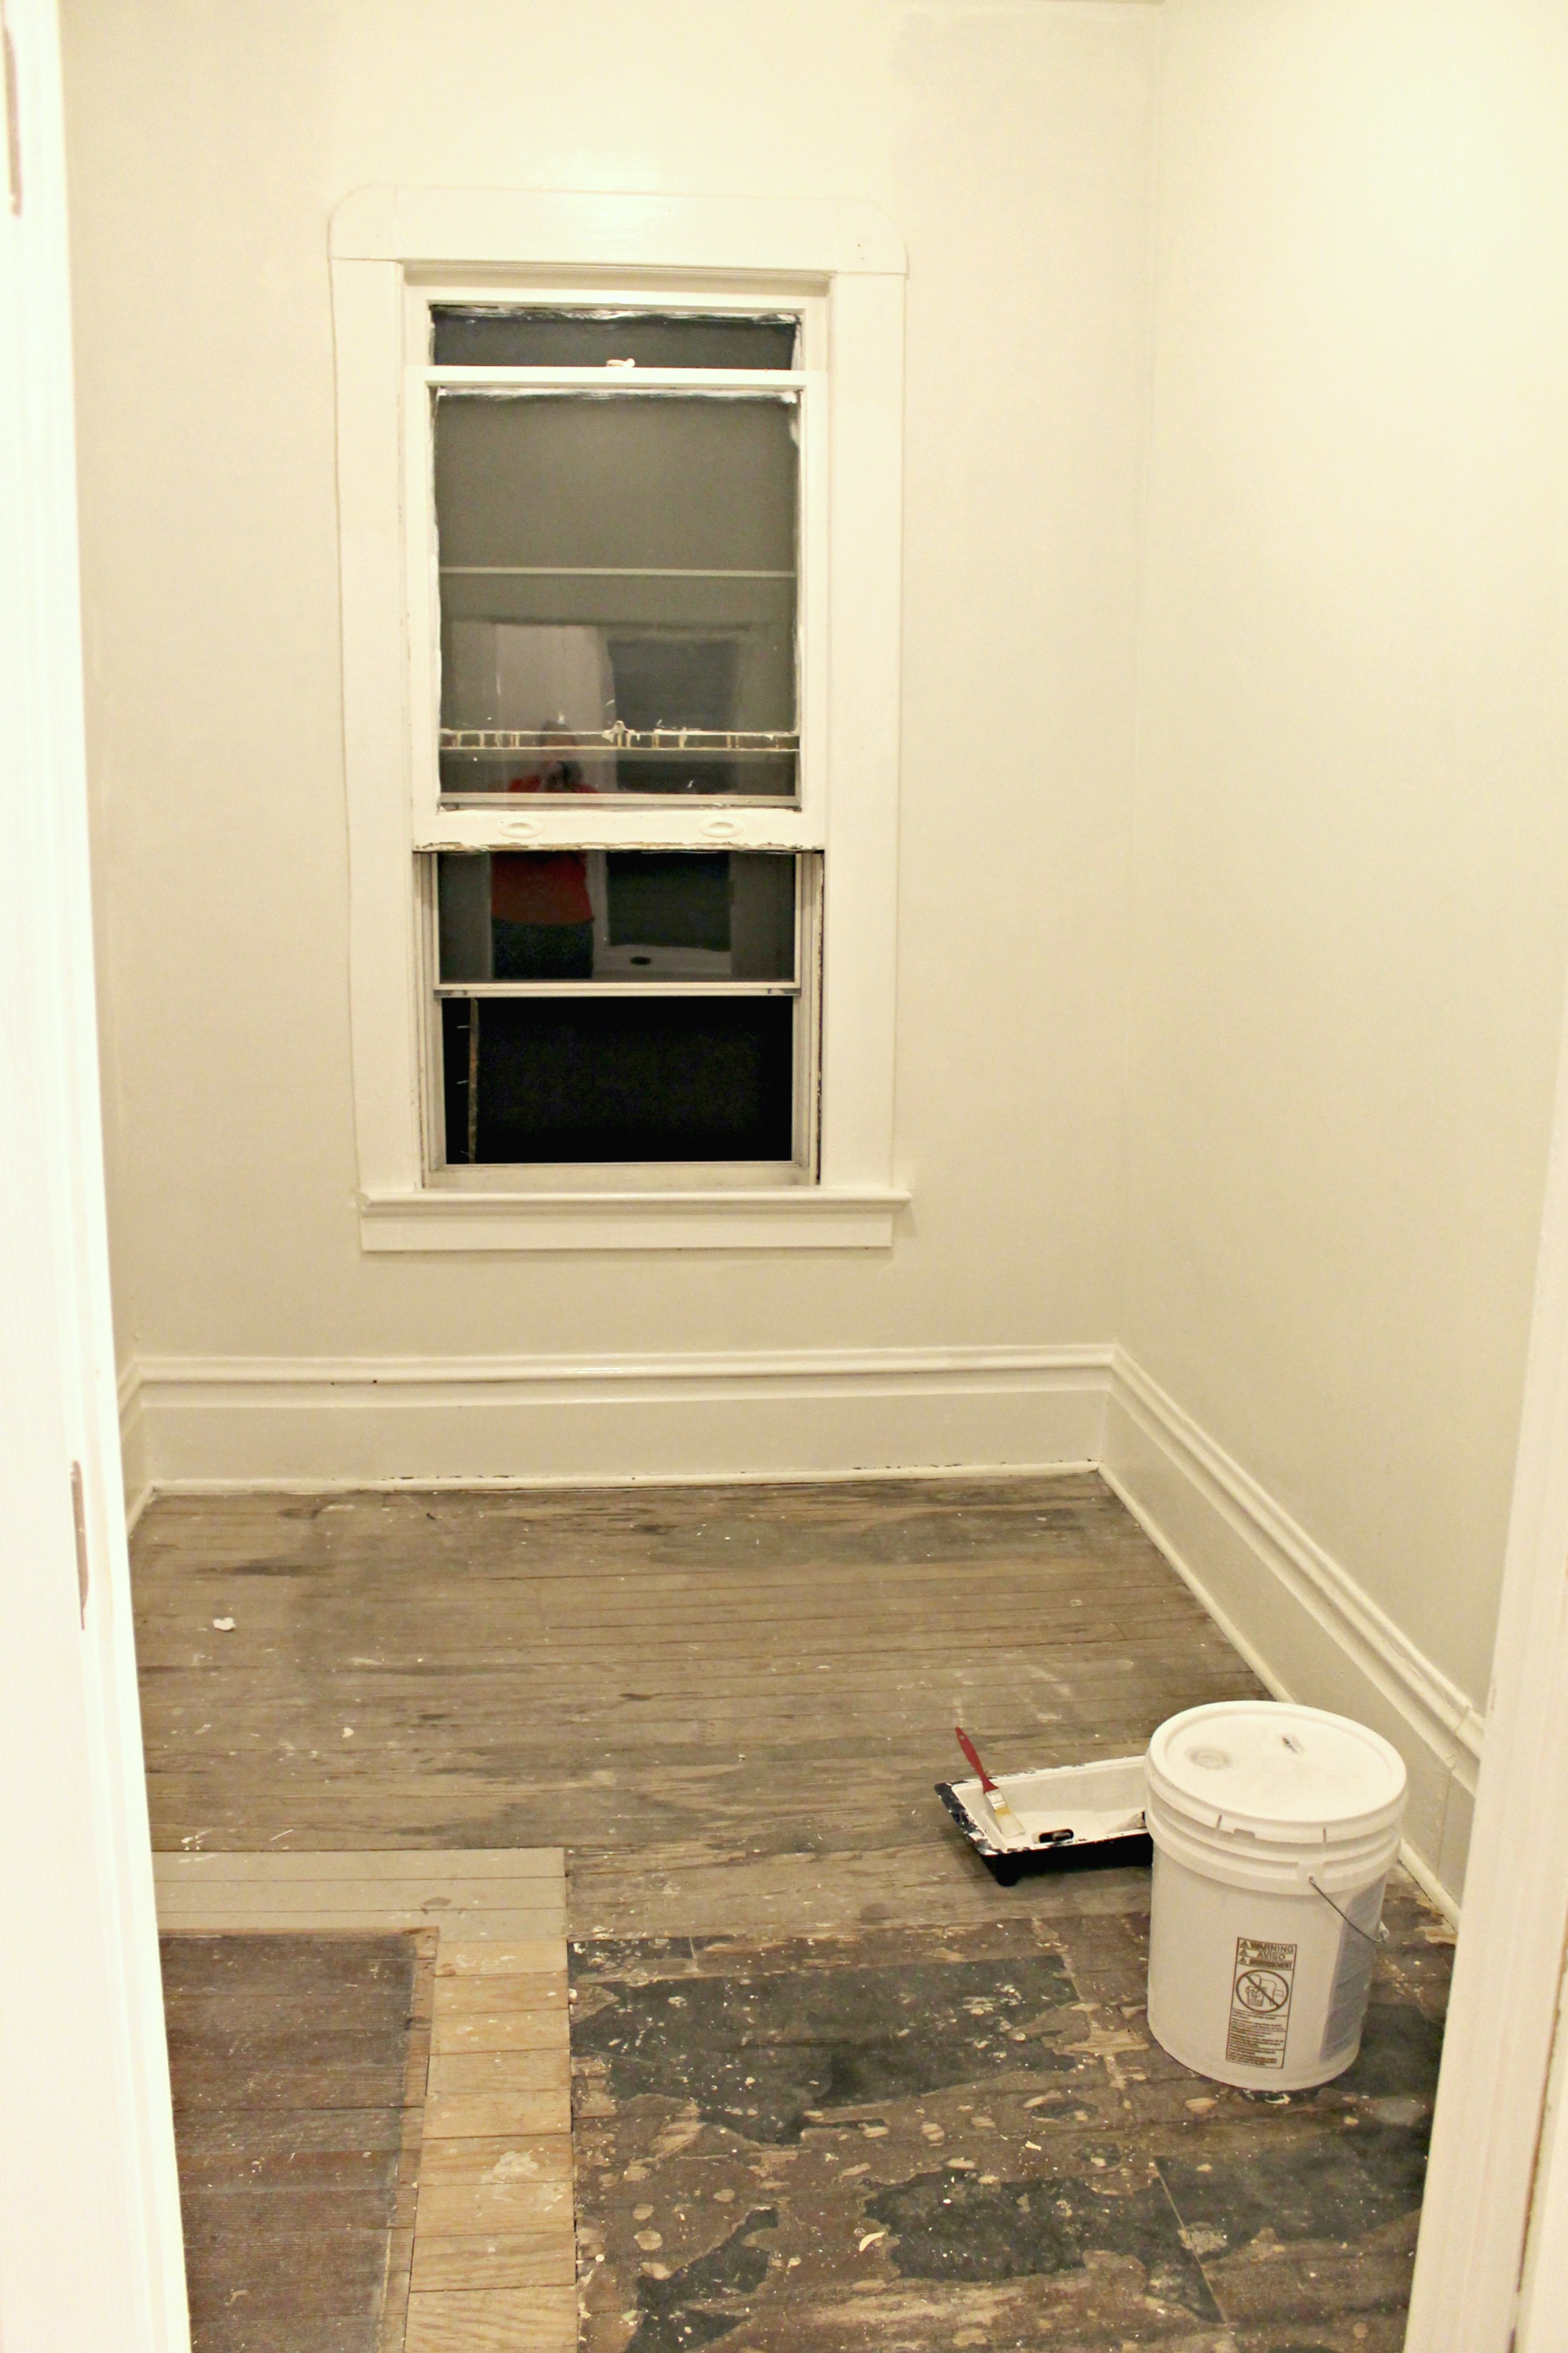
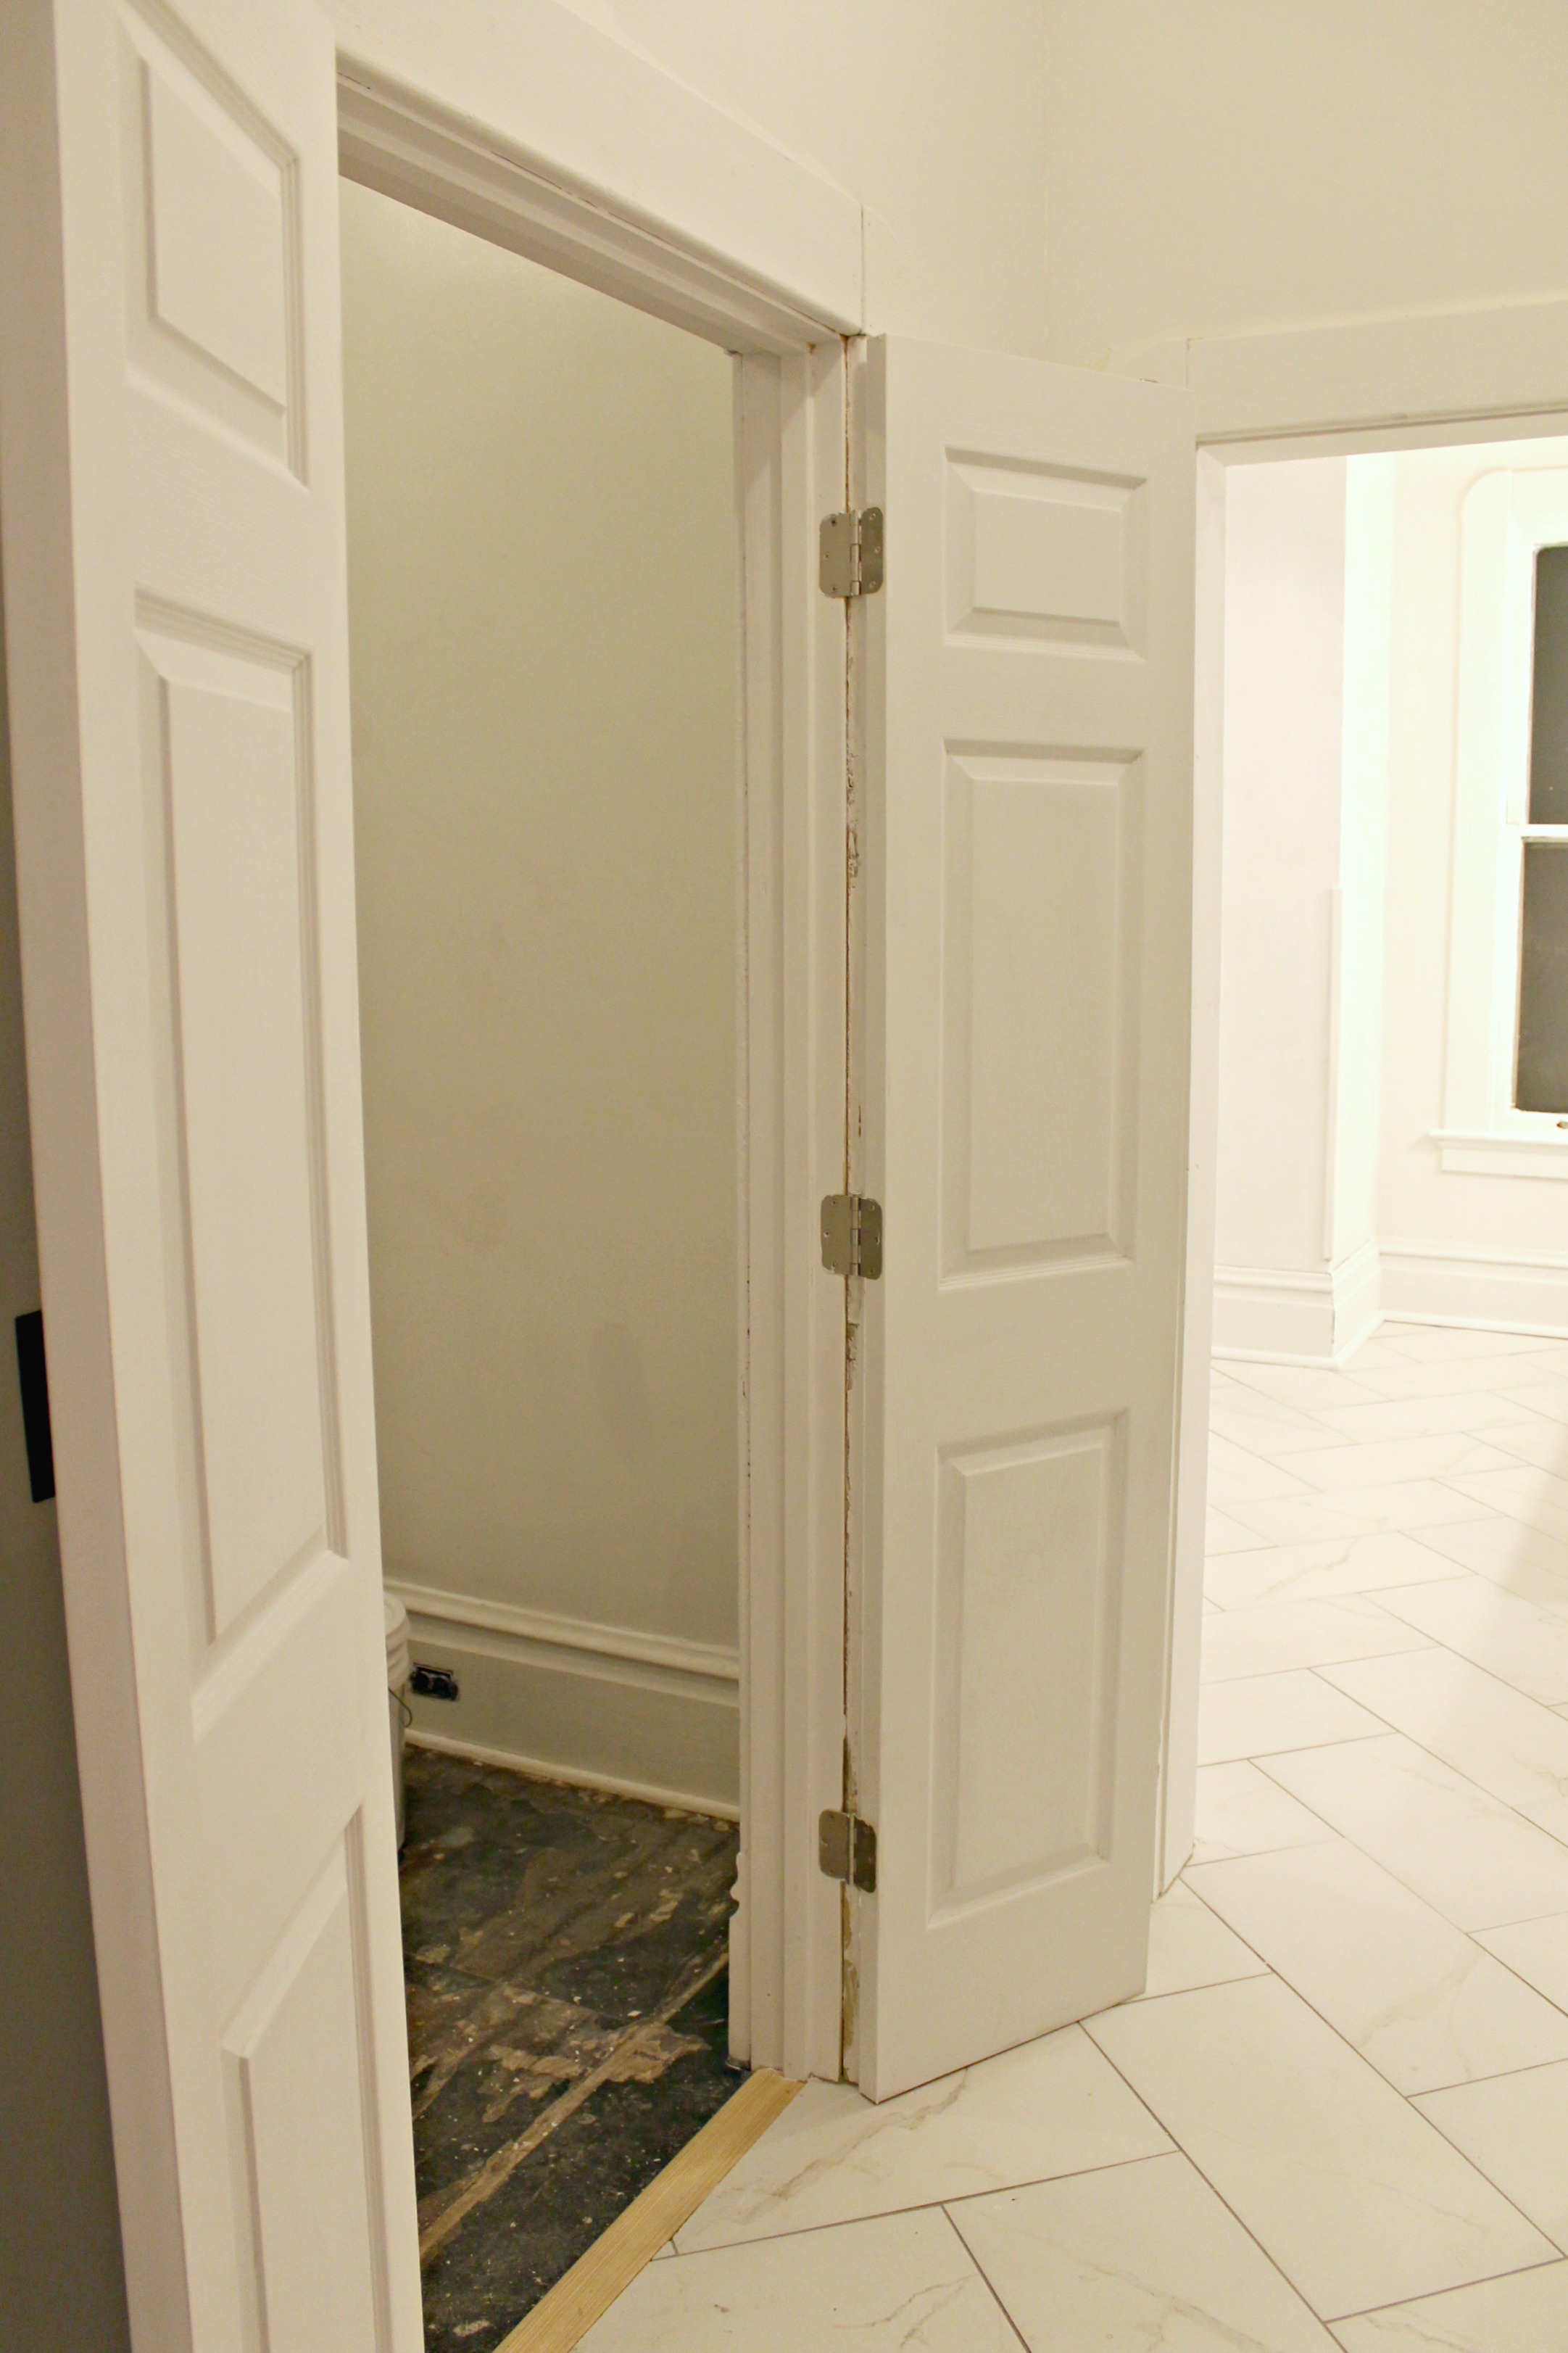
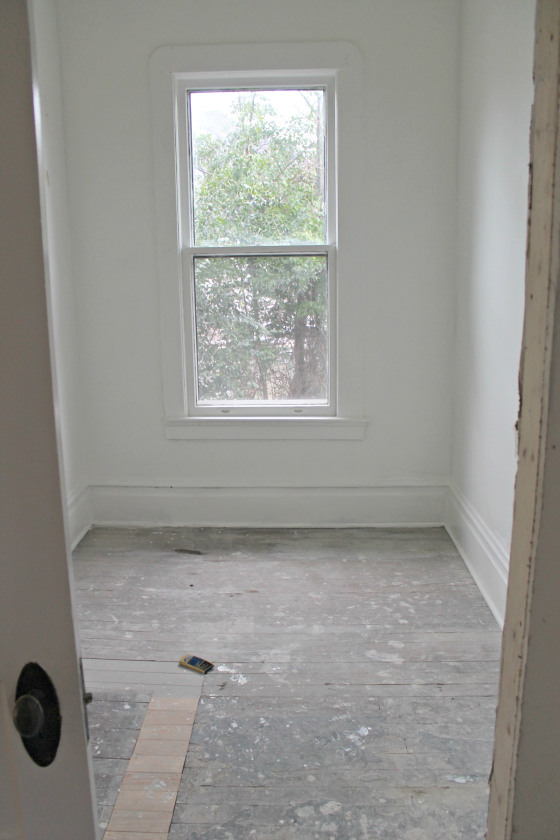
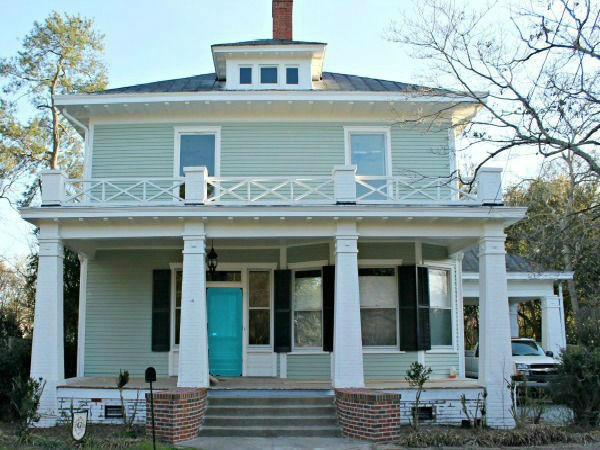
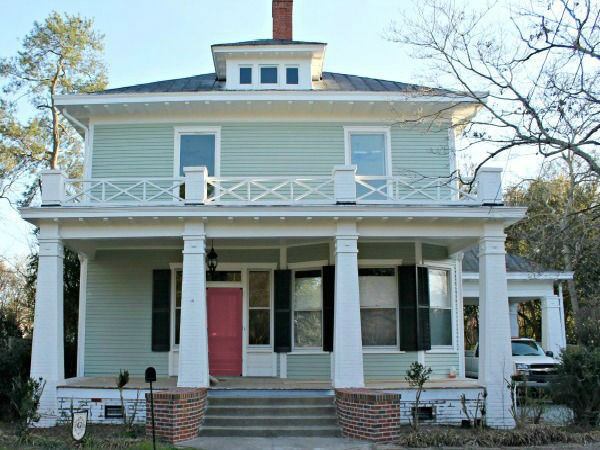
And lastly, just a few before and afters…so far.