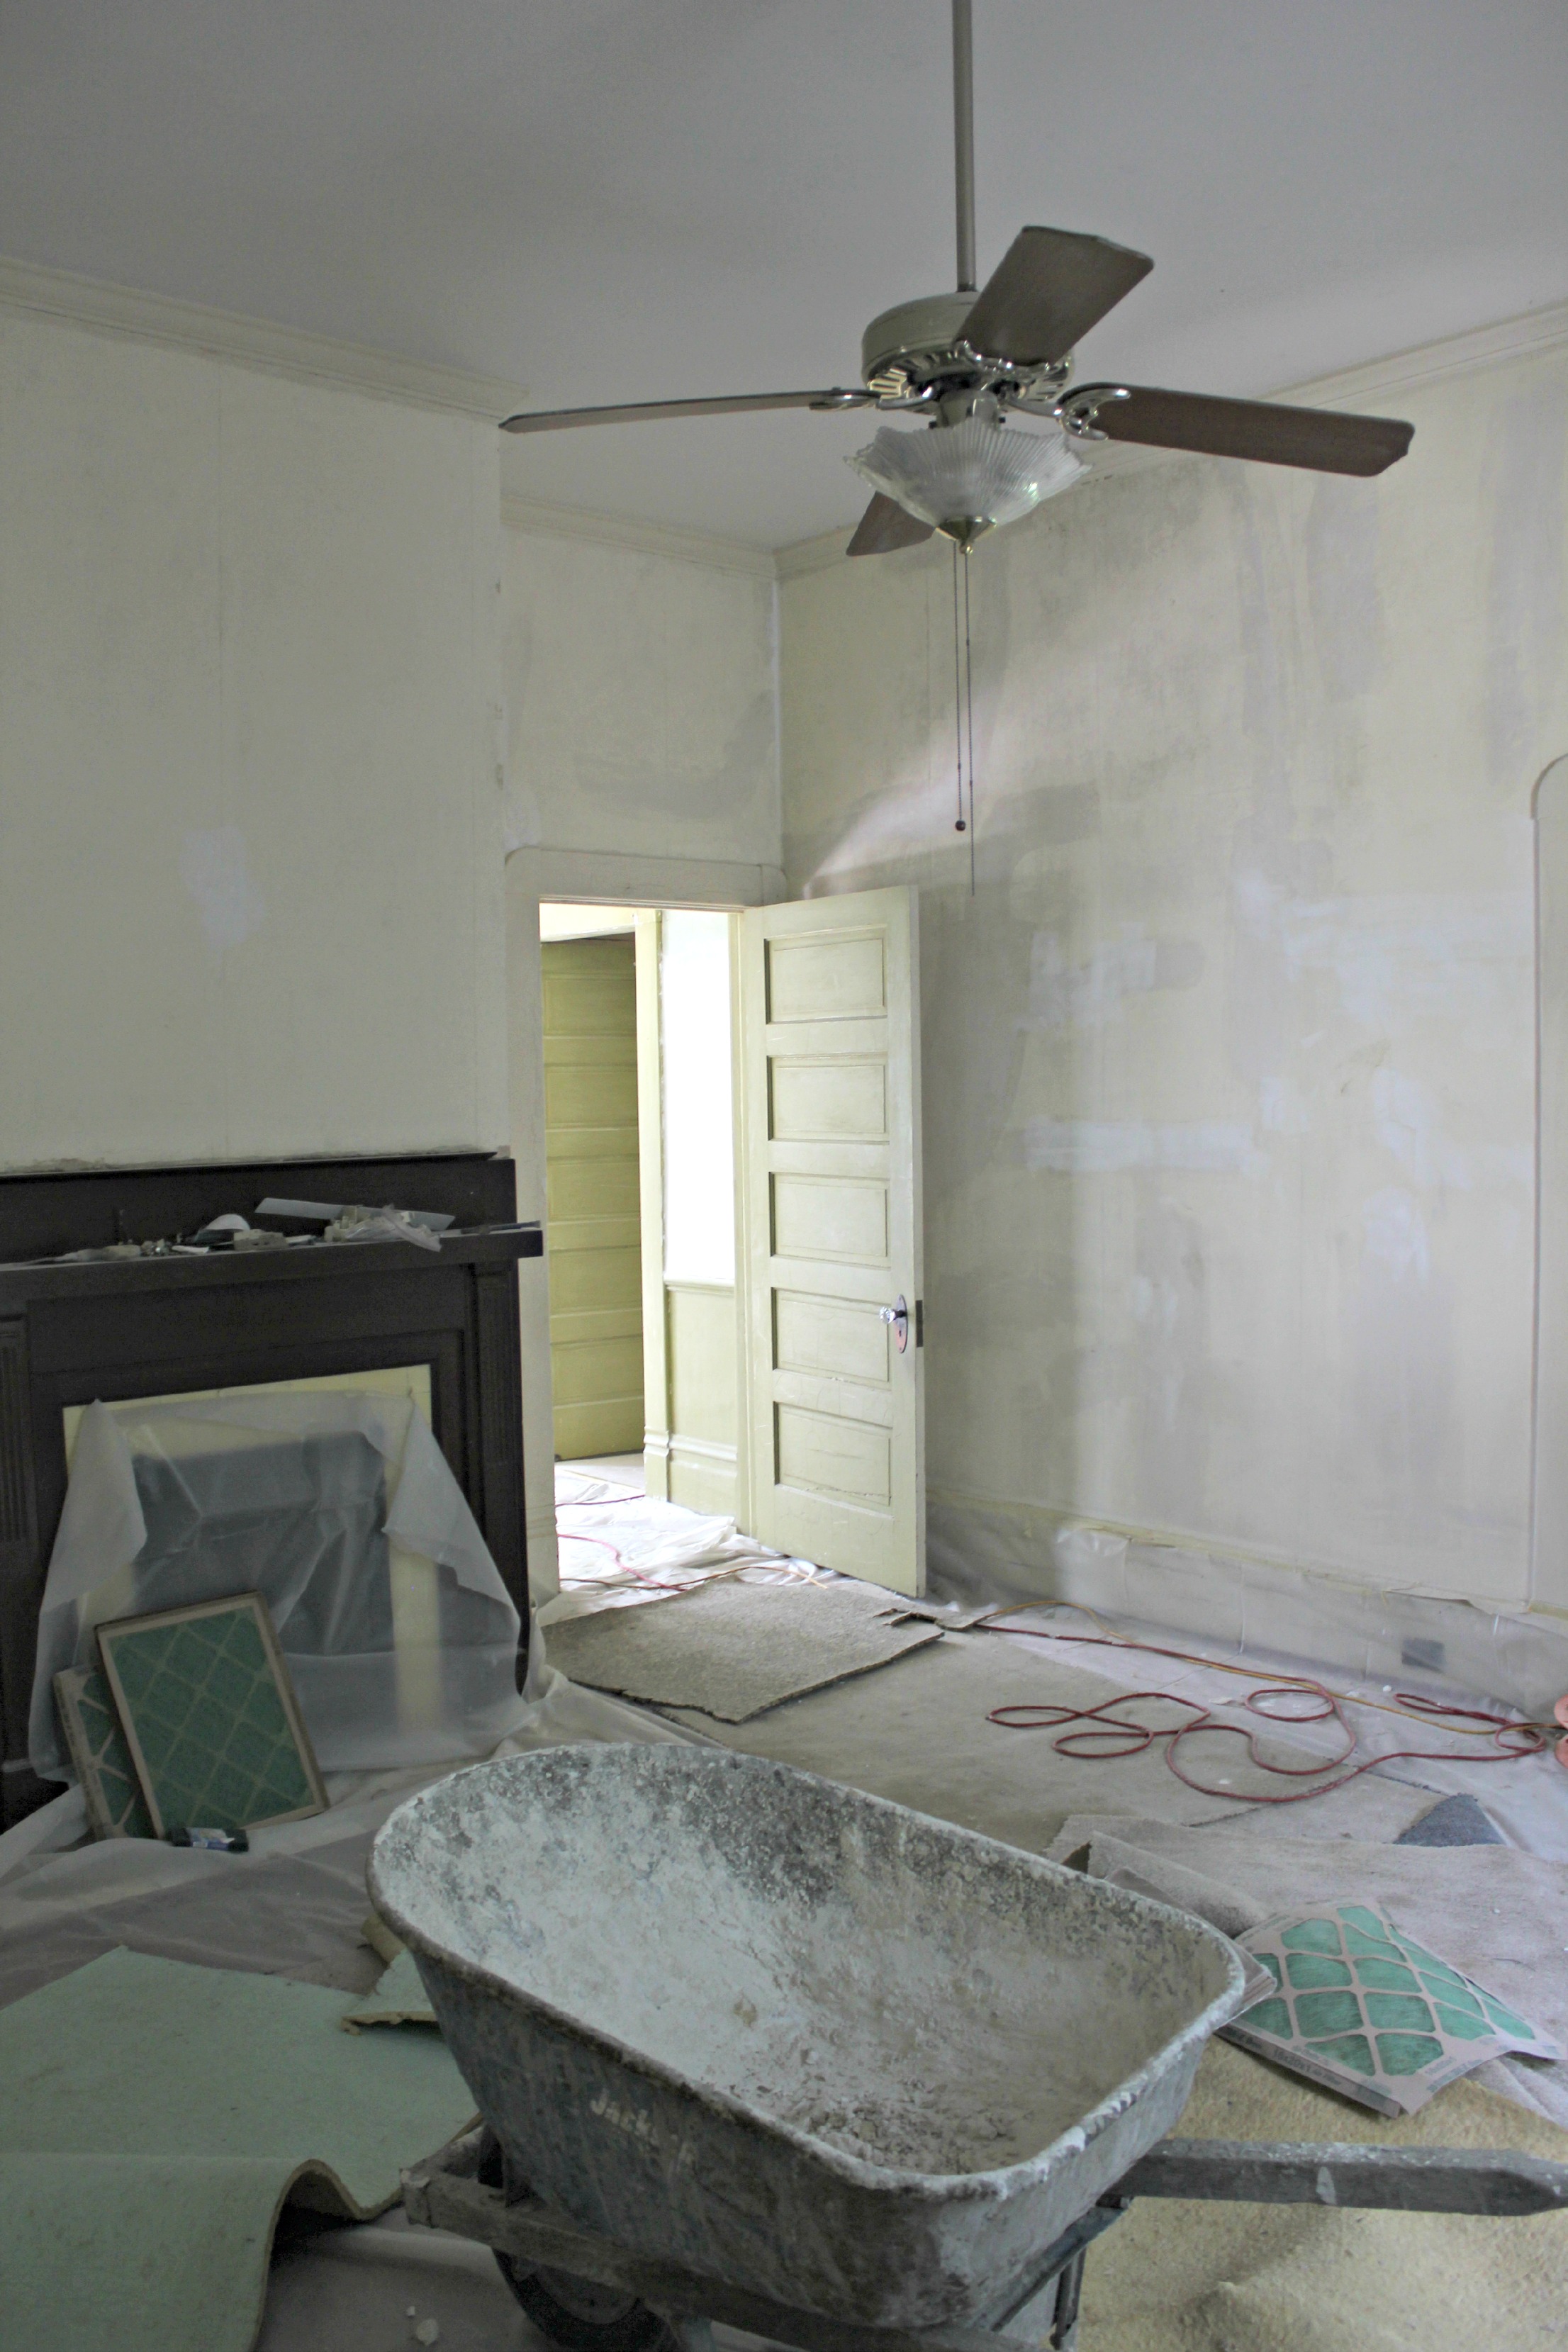
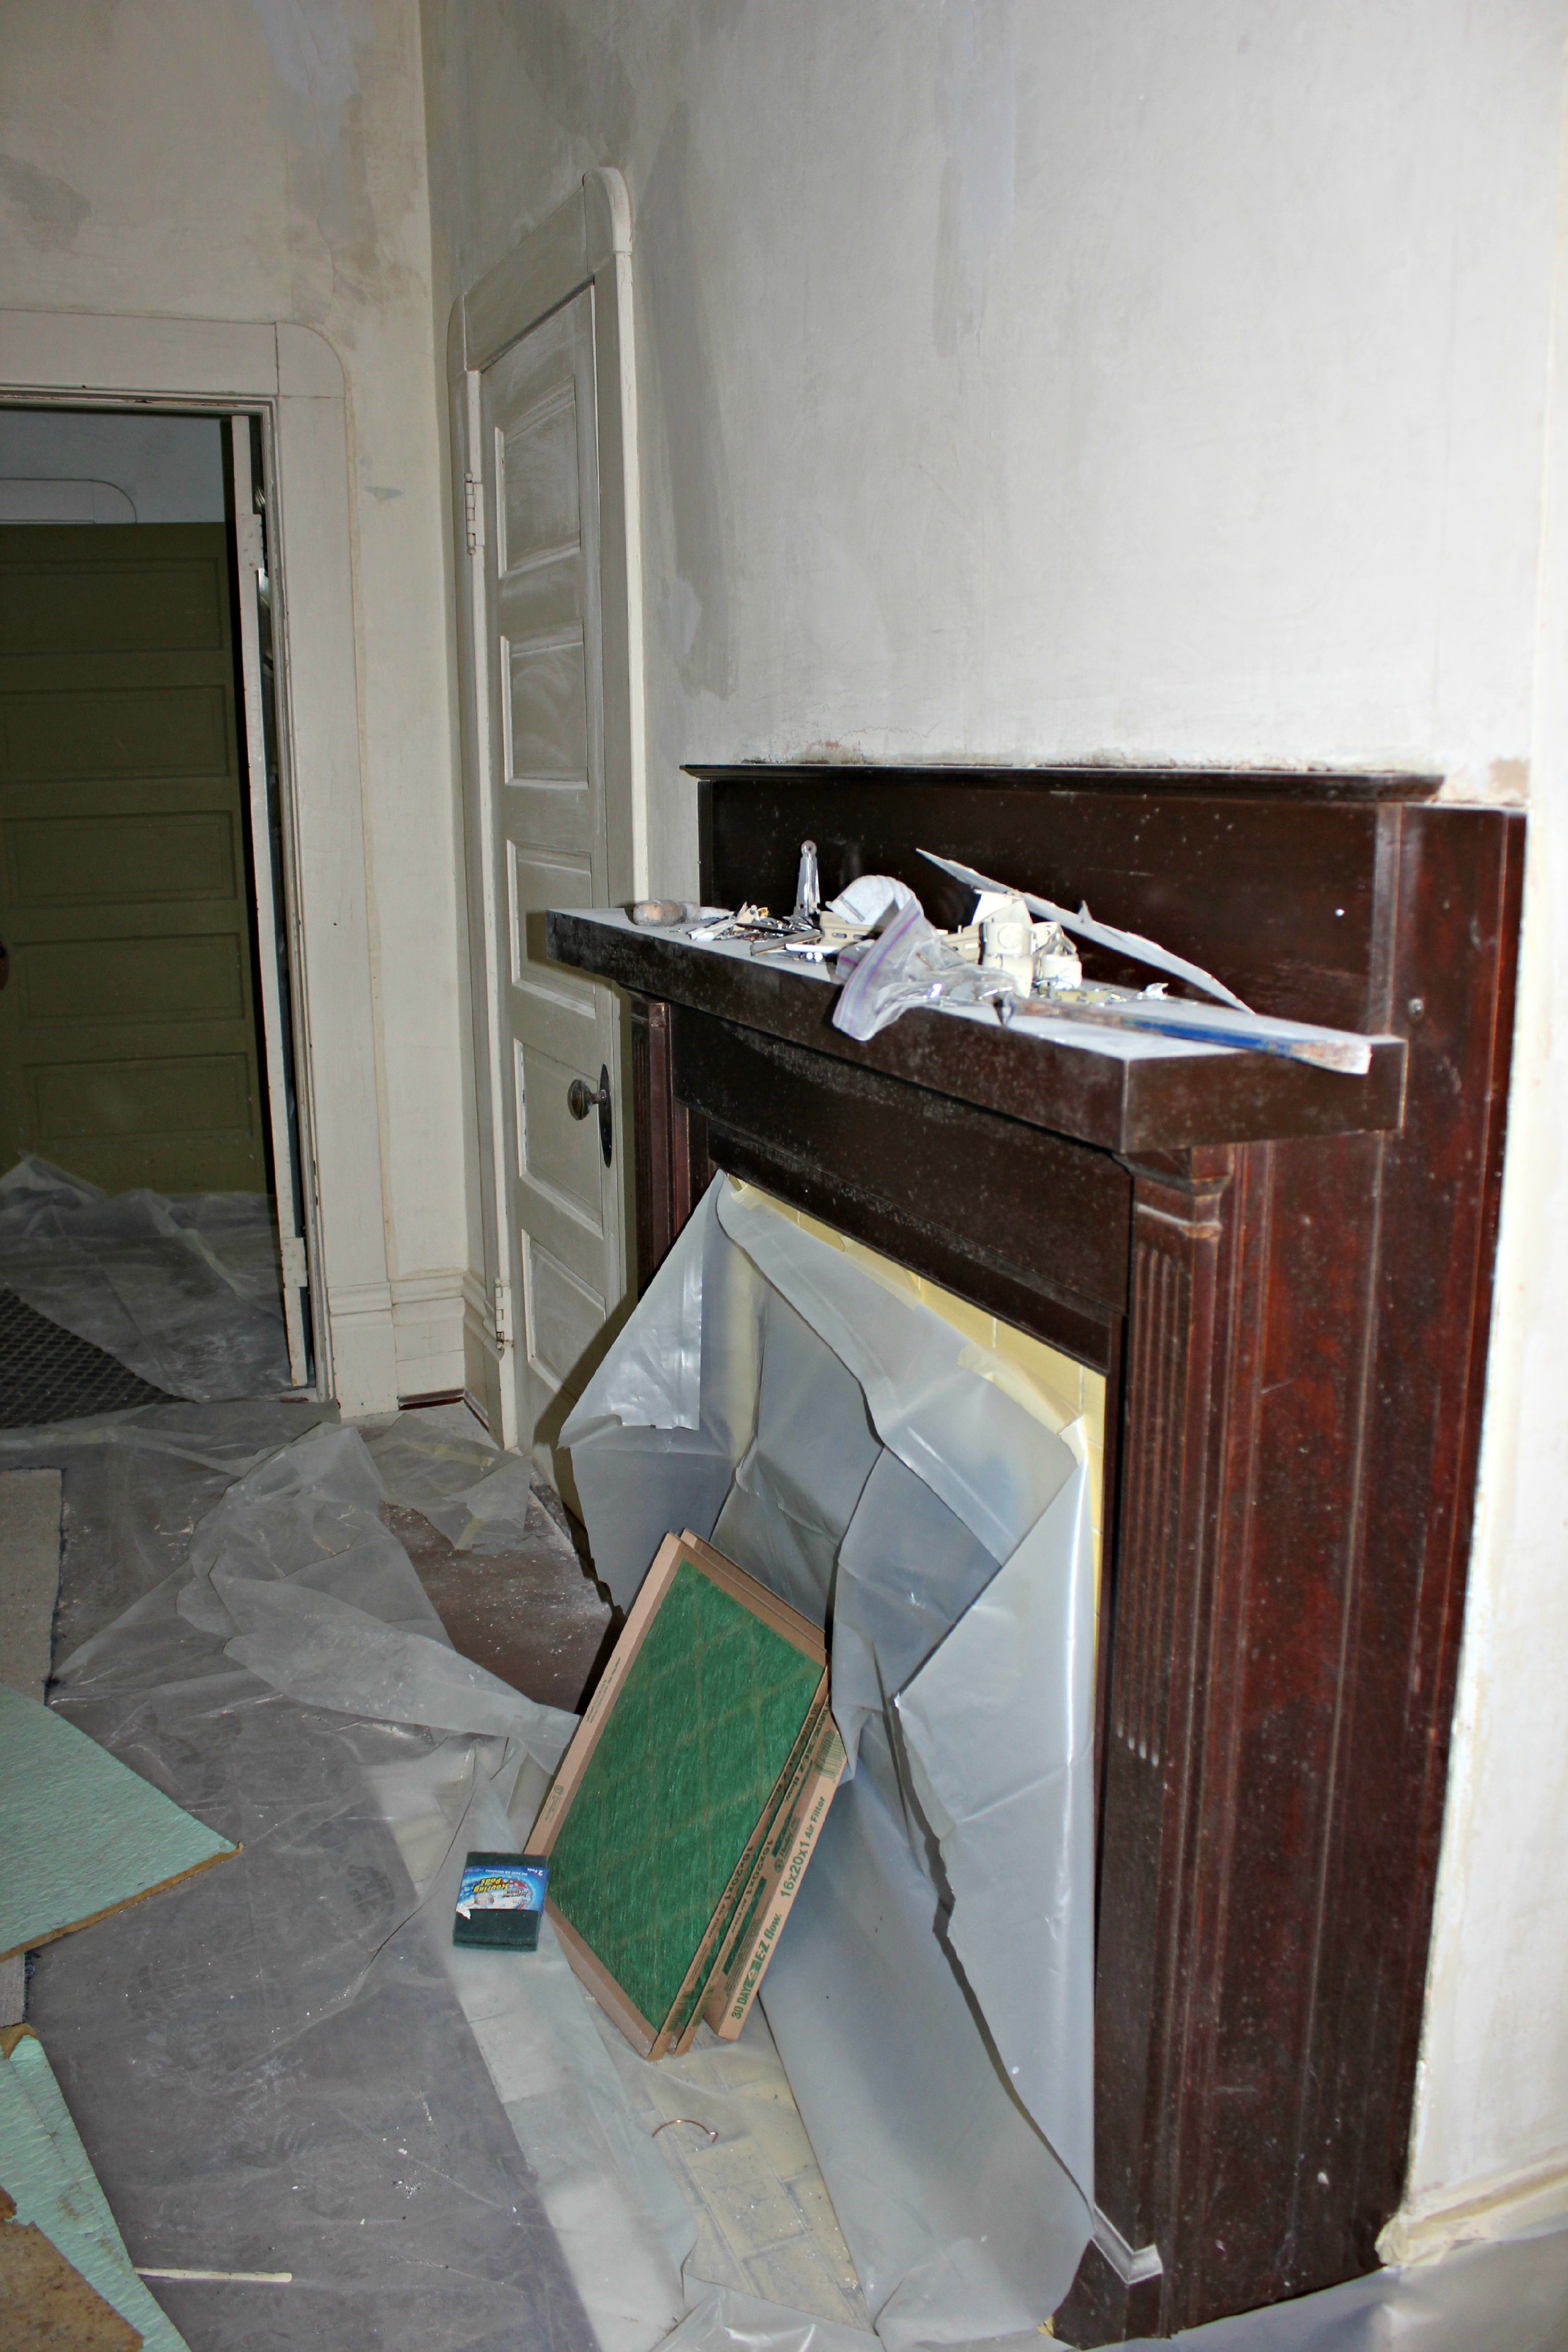
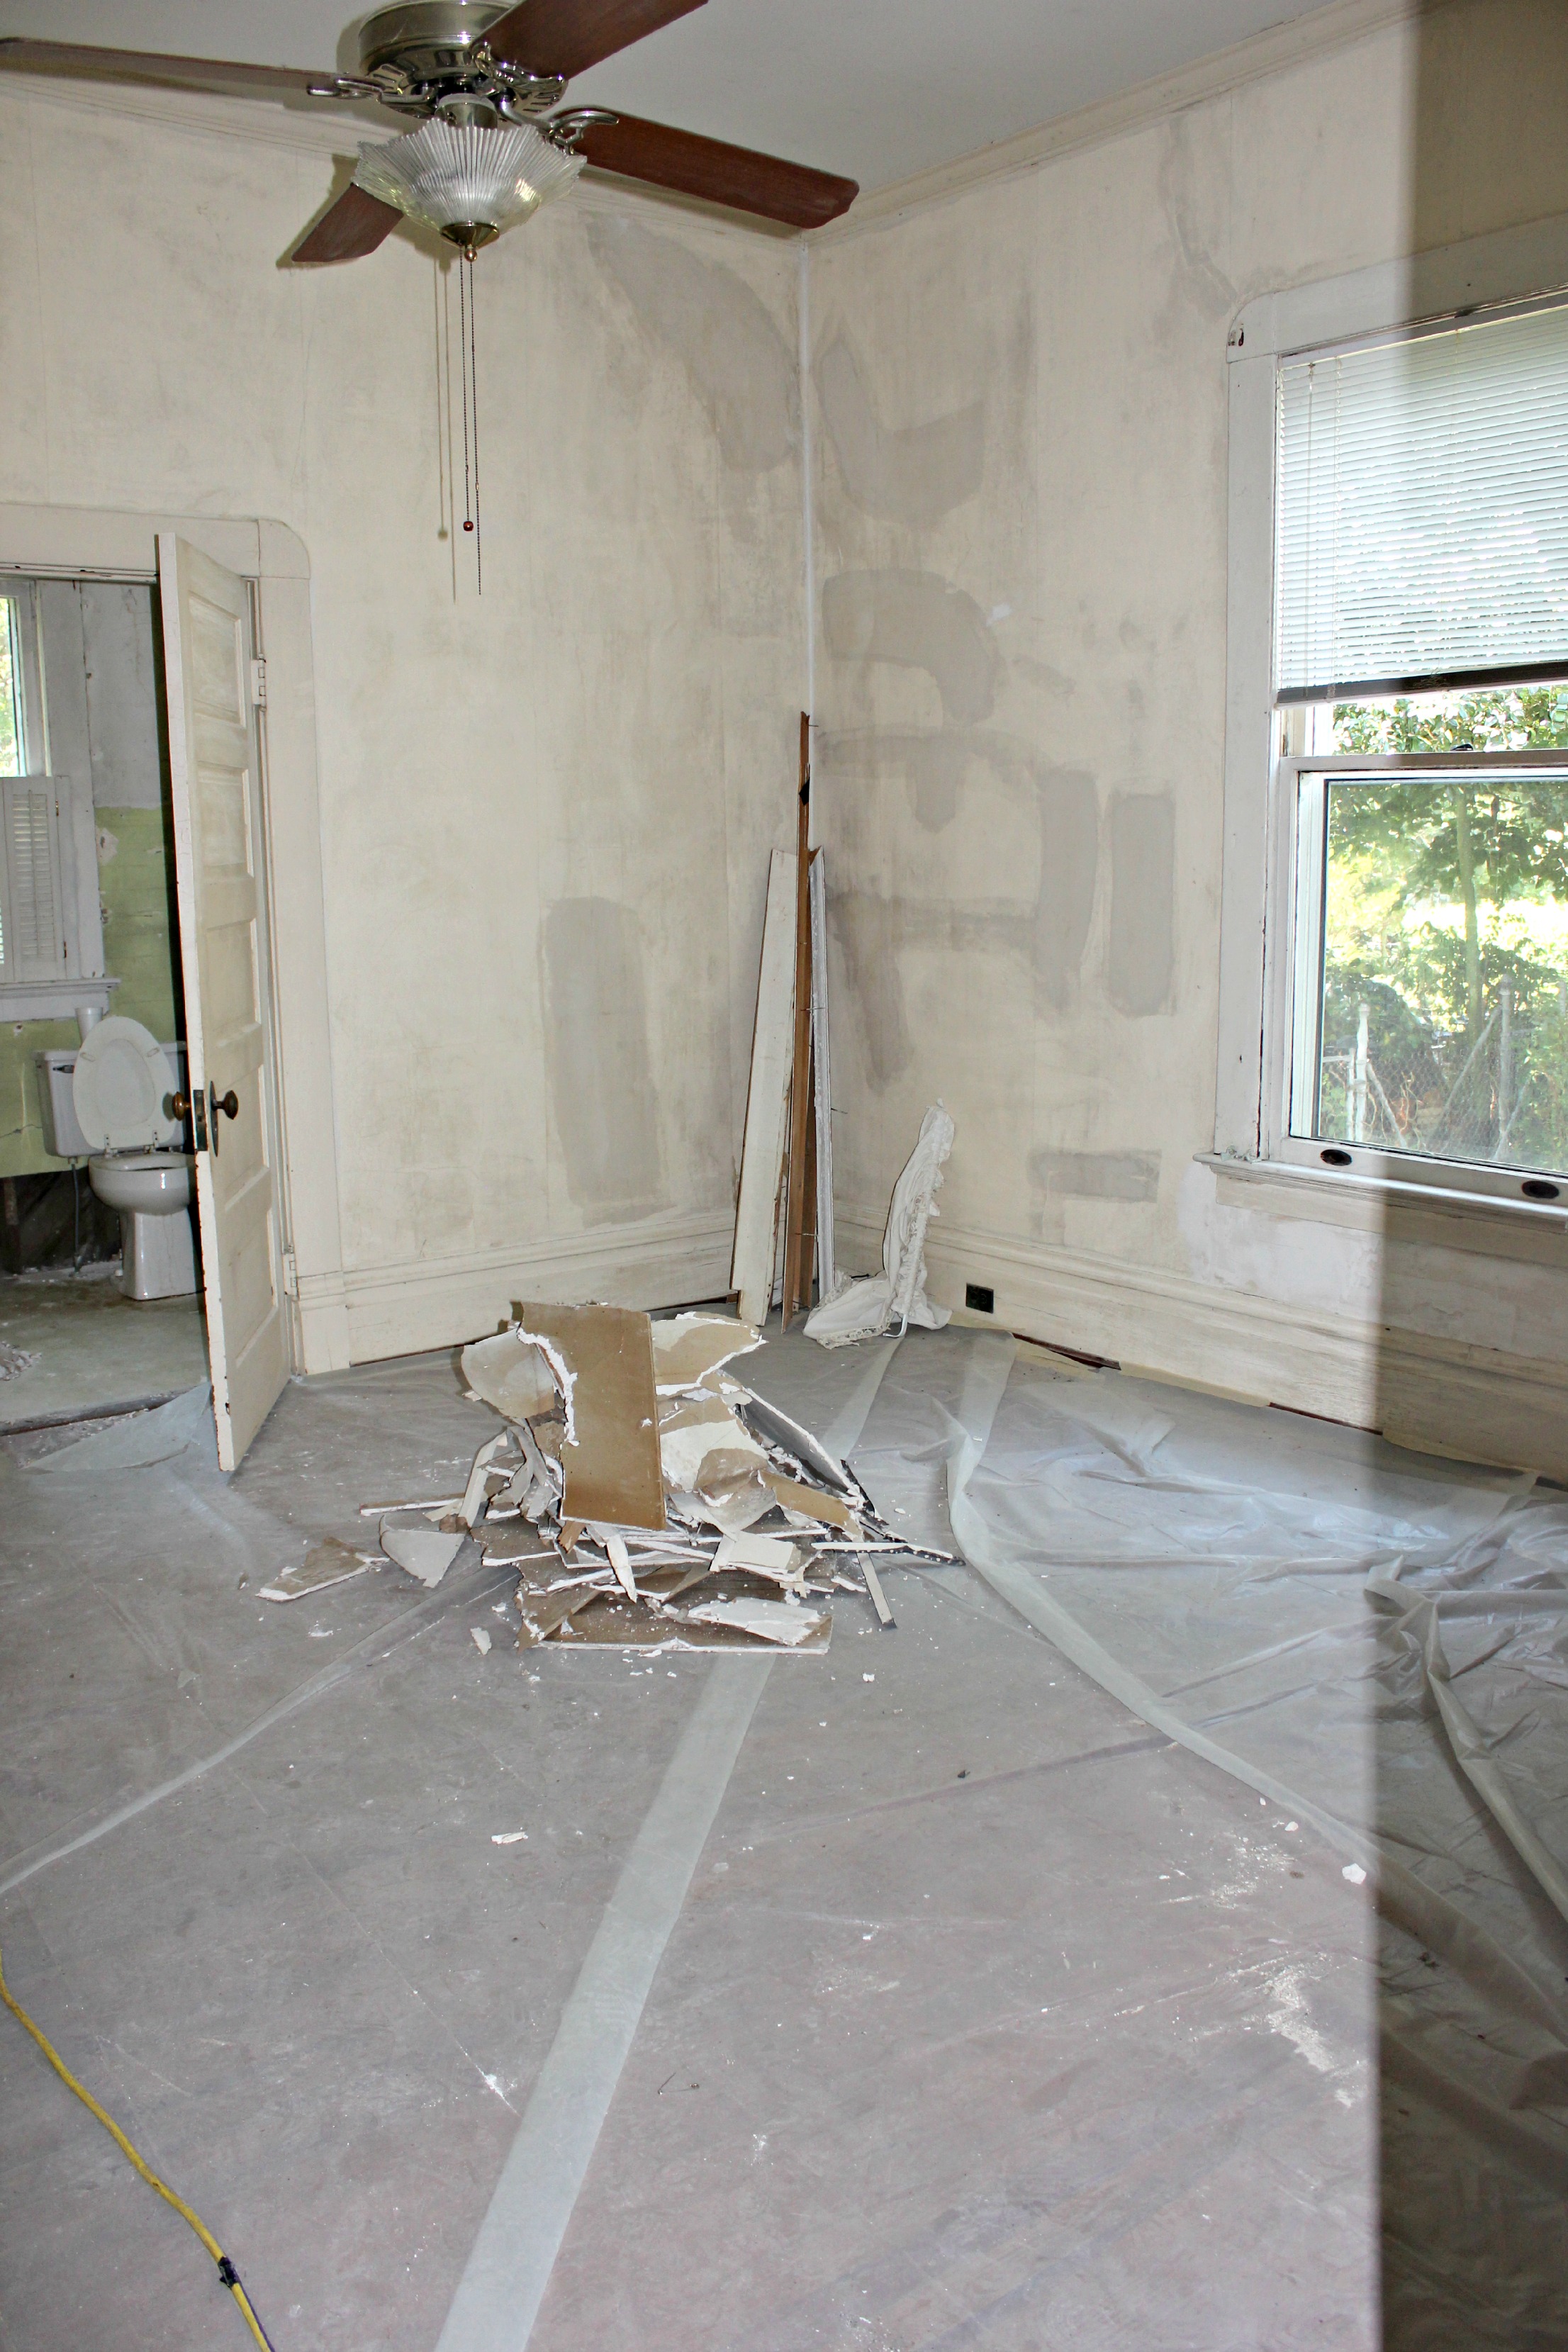
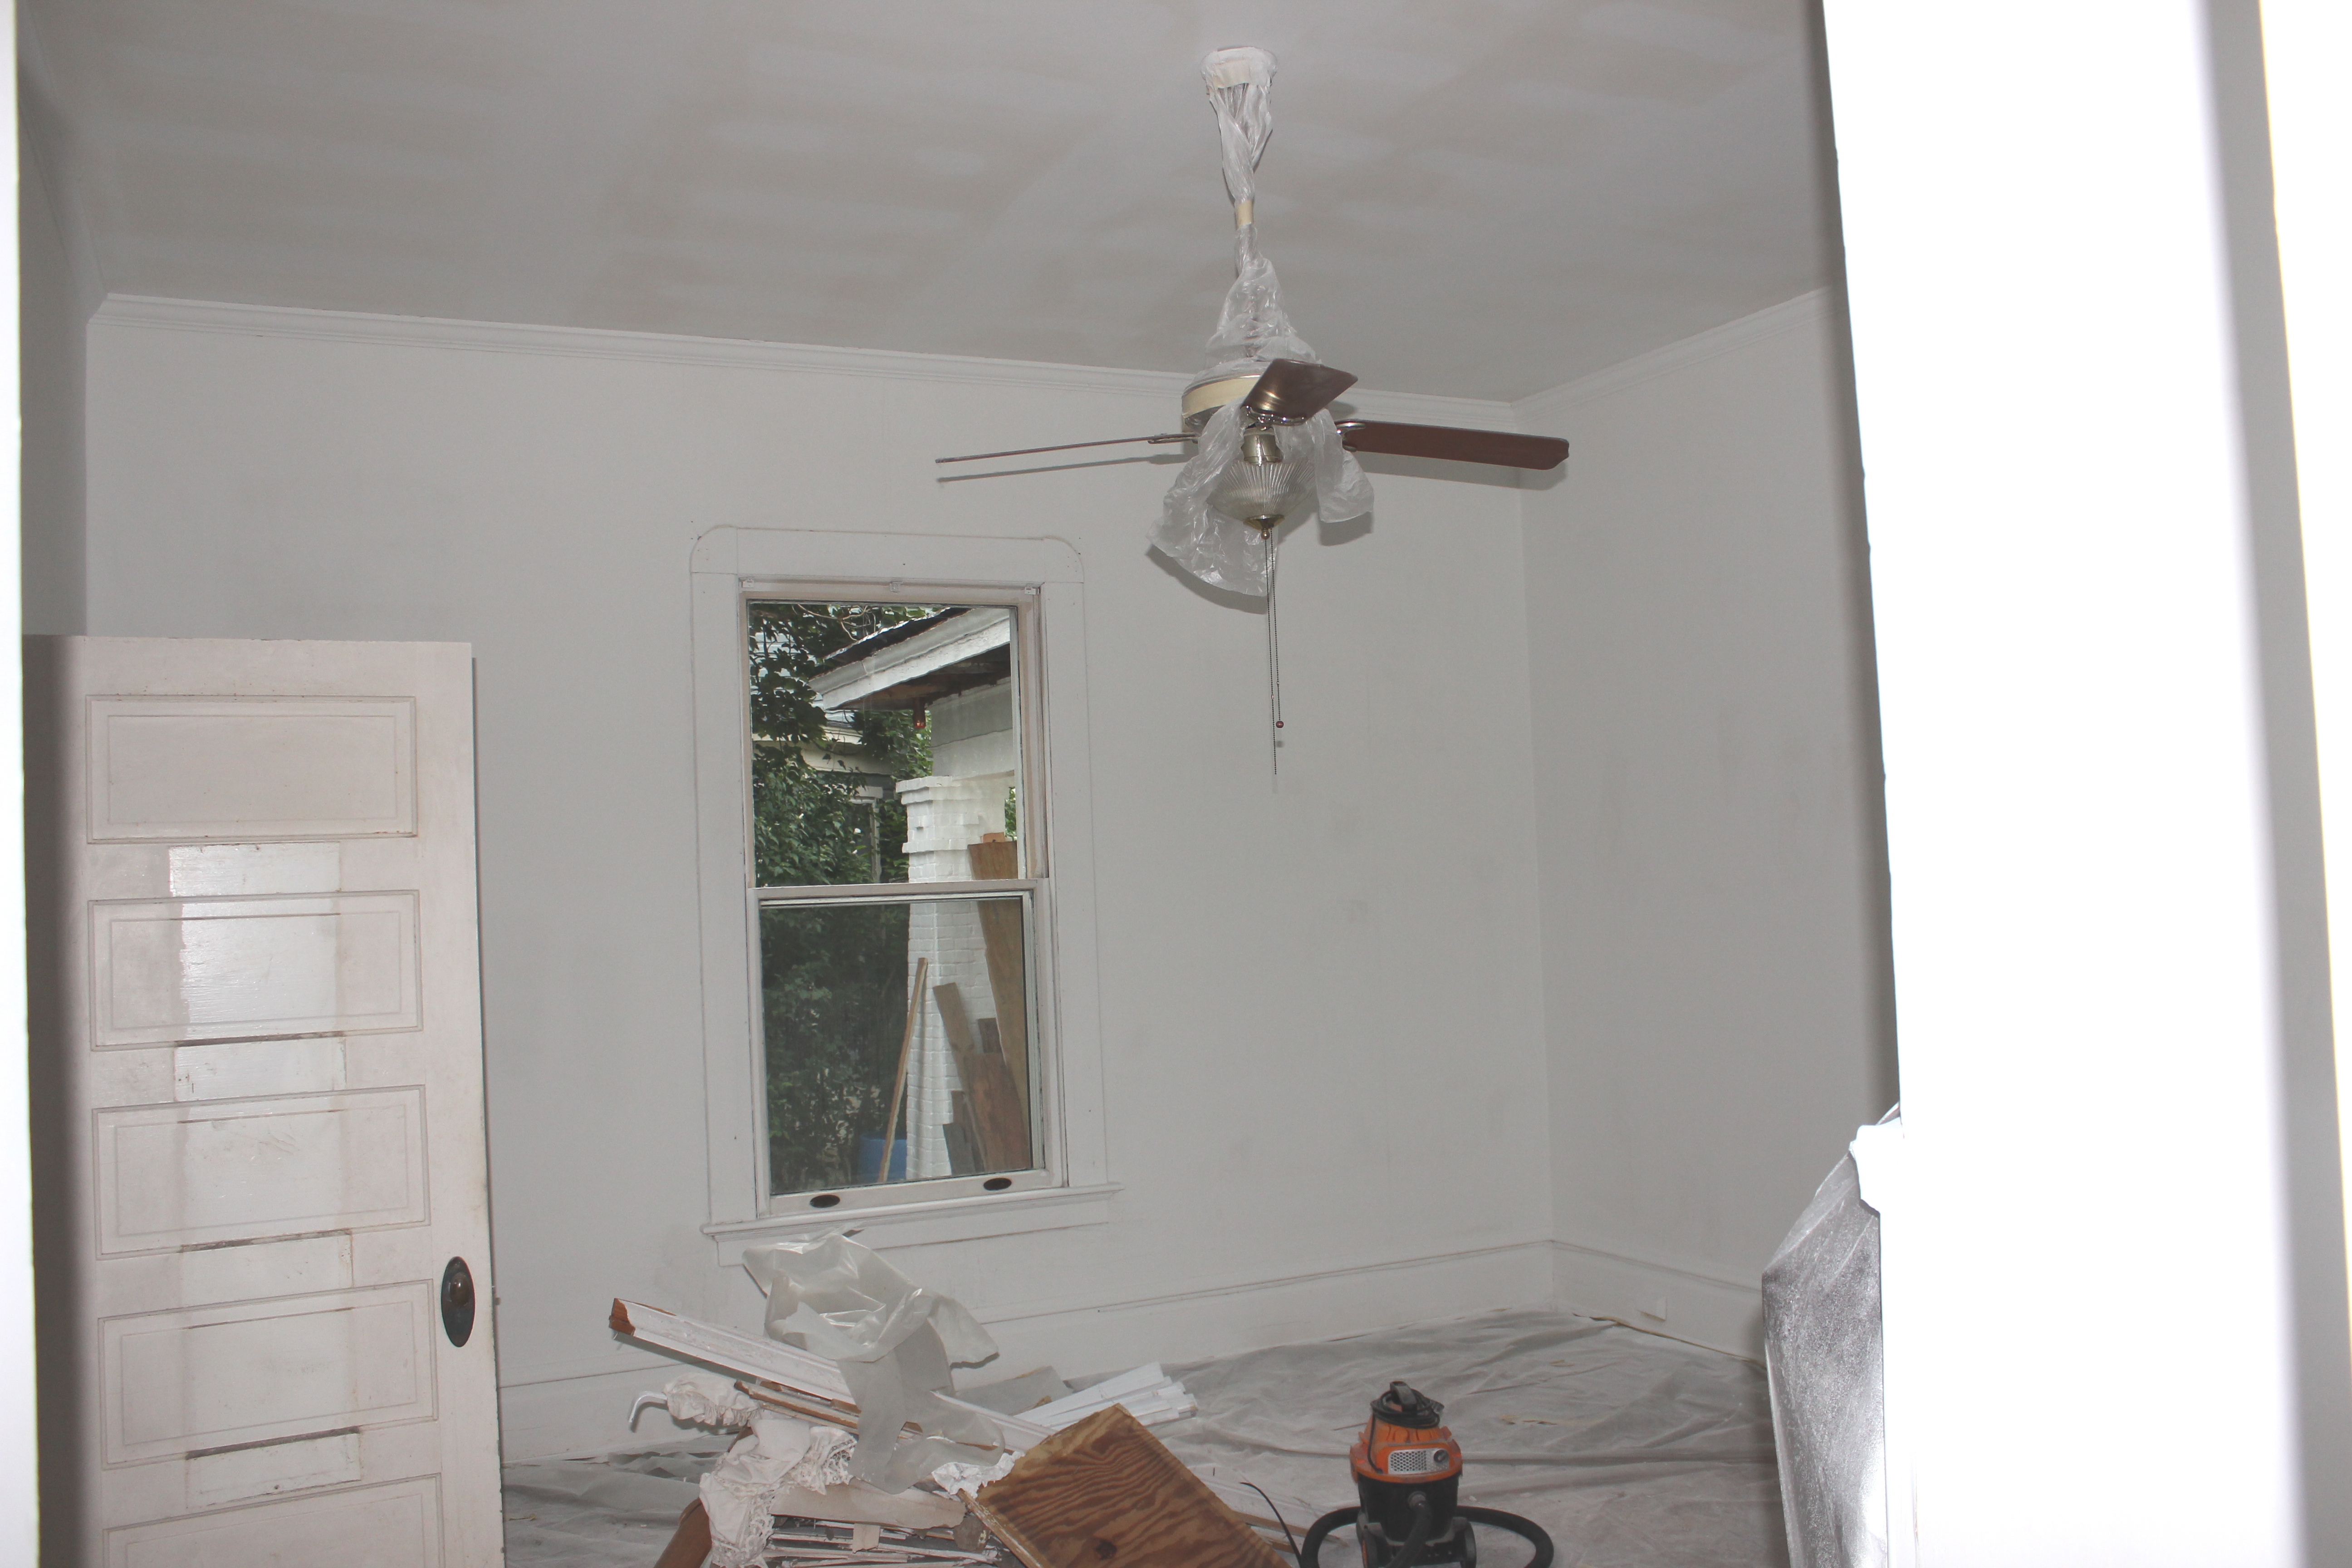
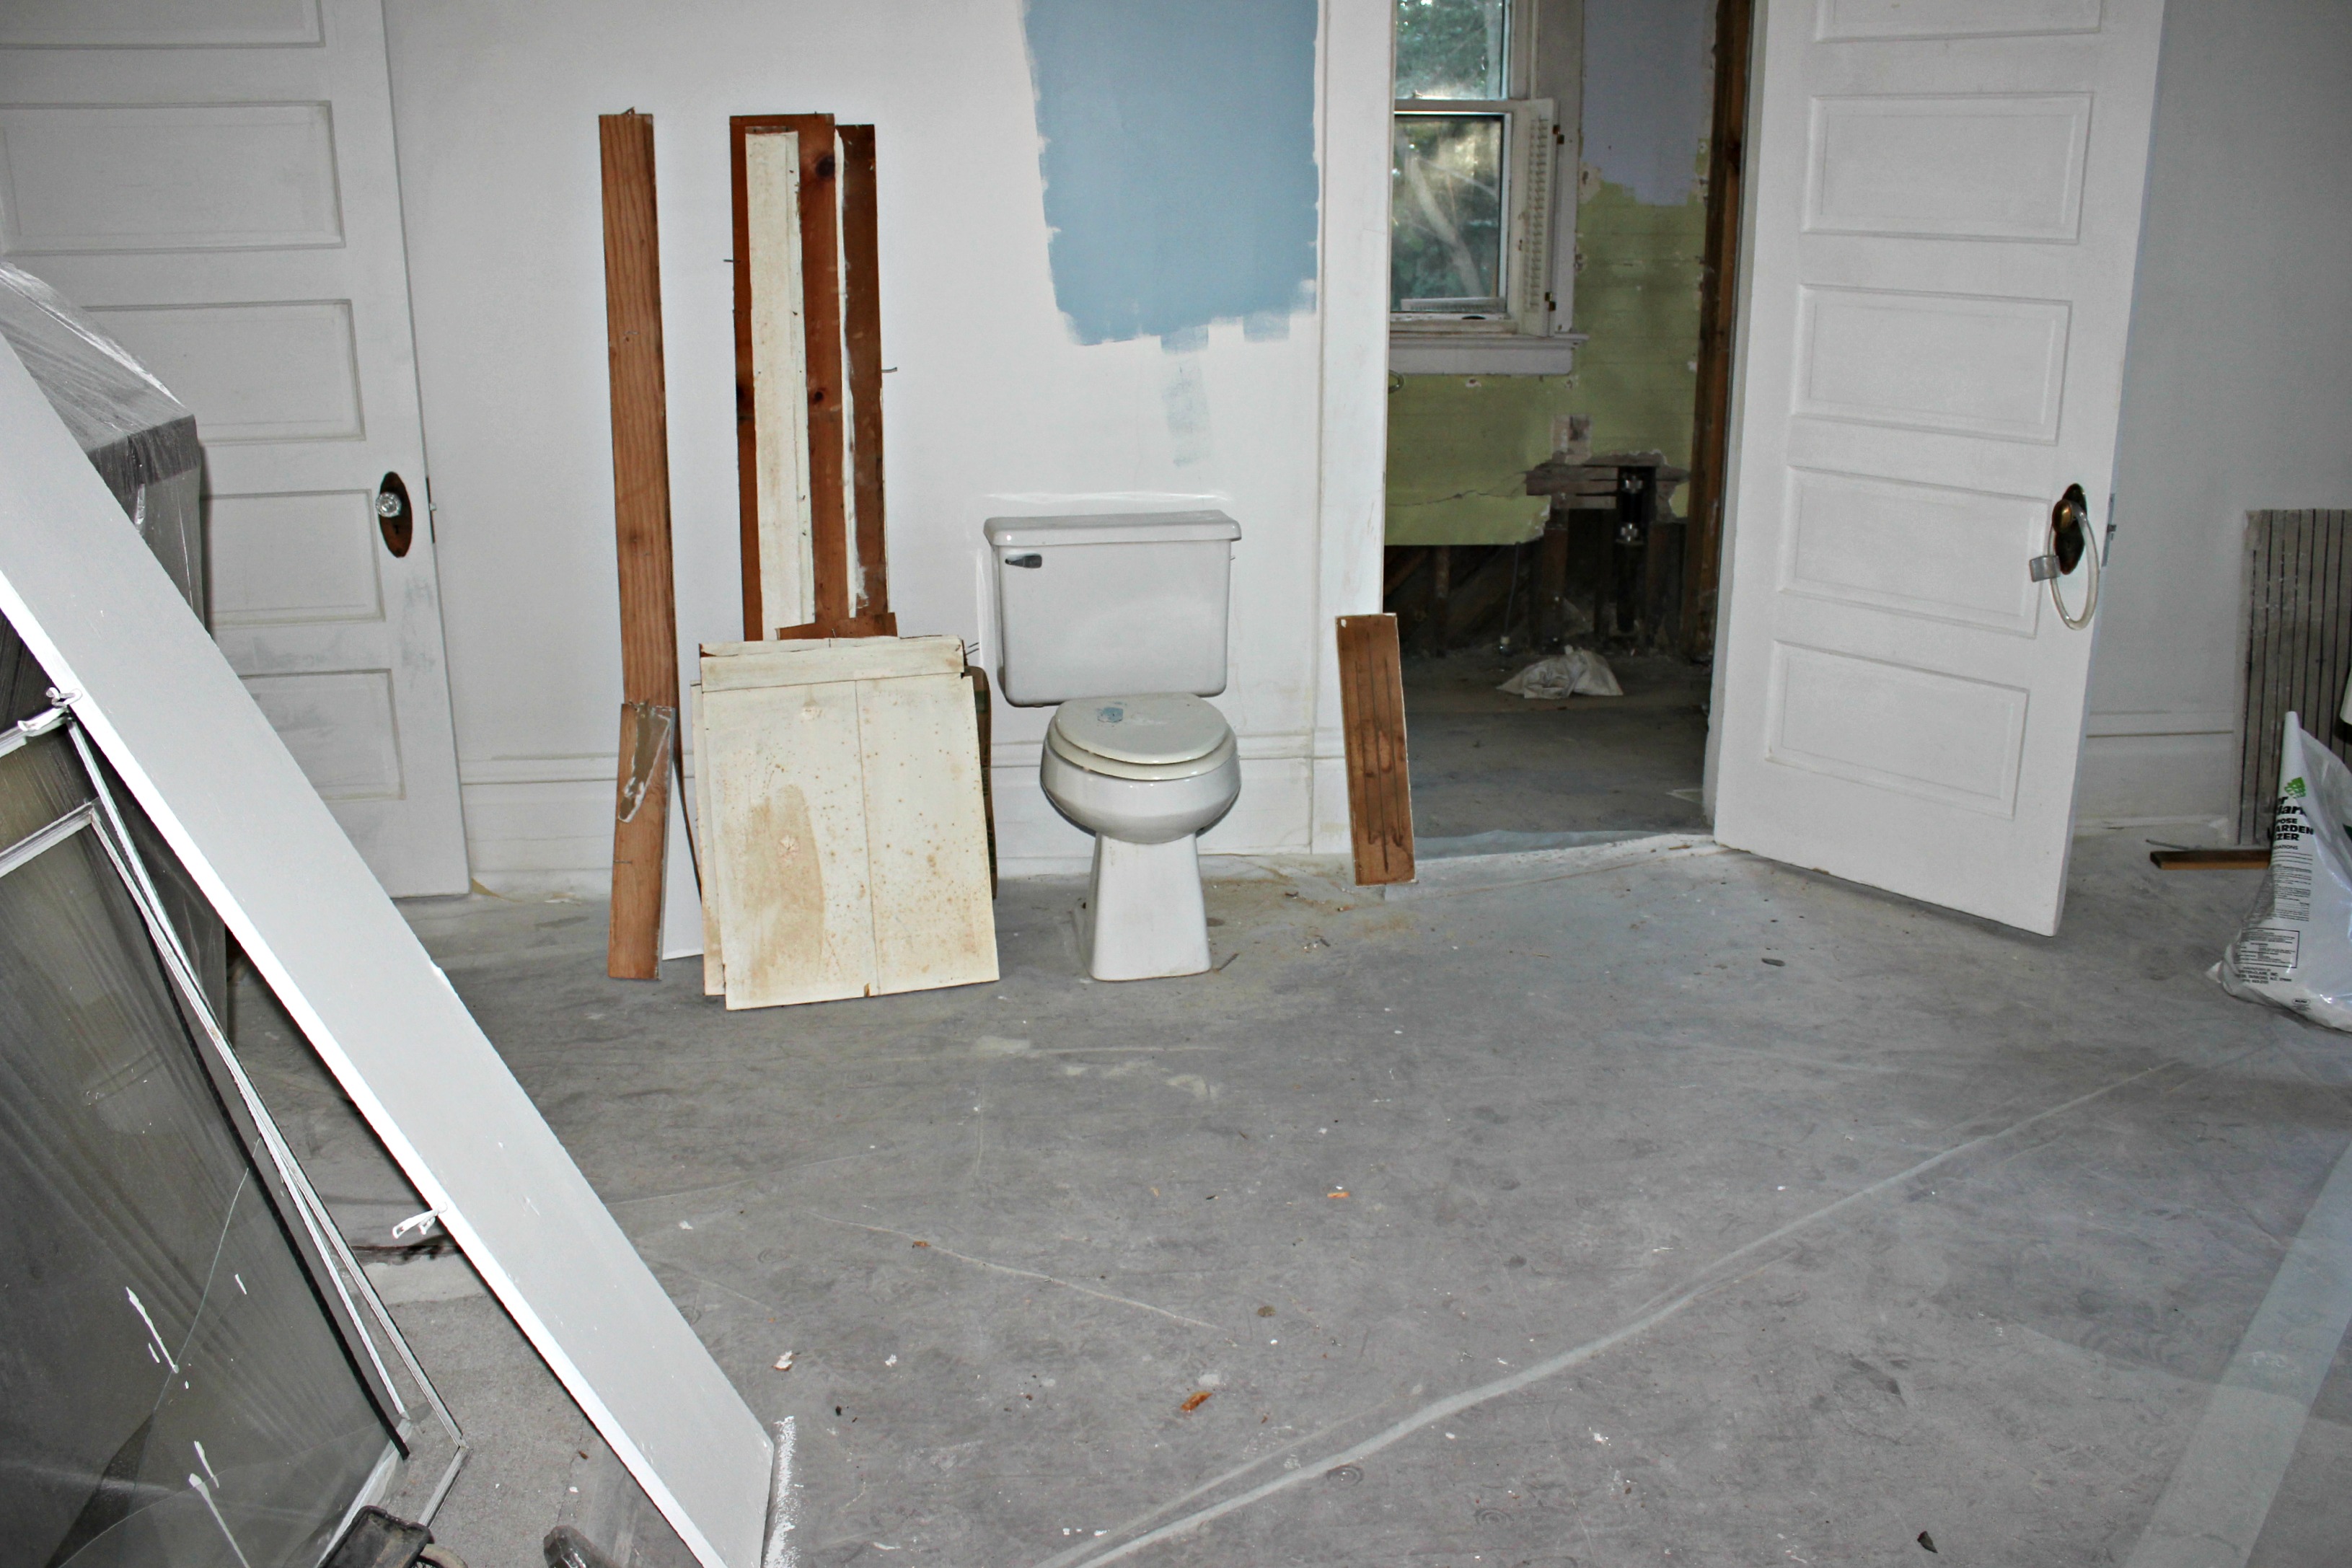
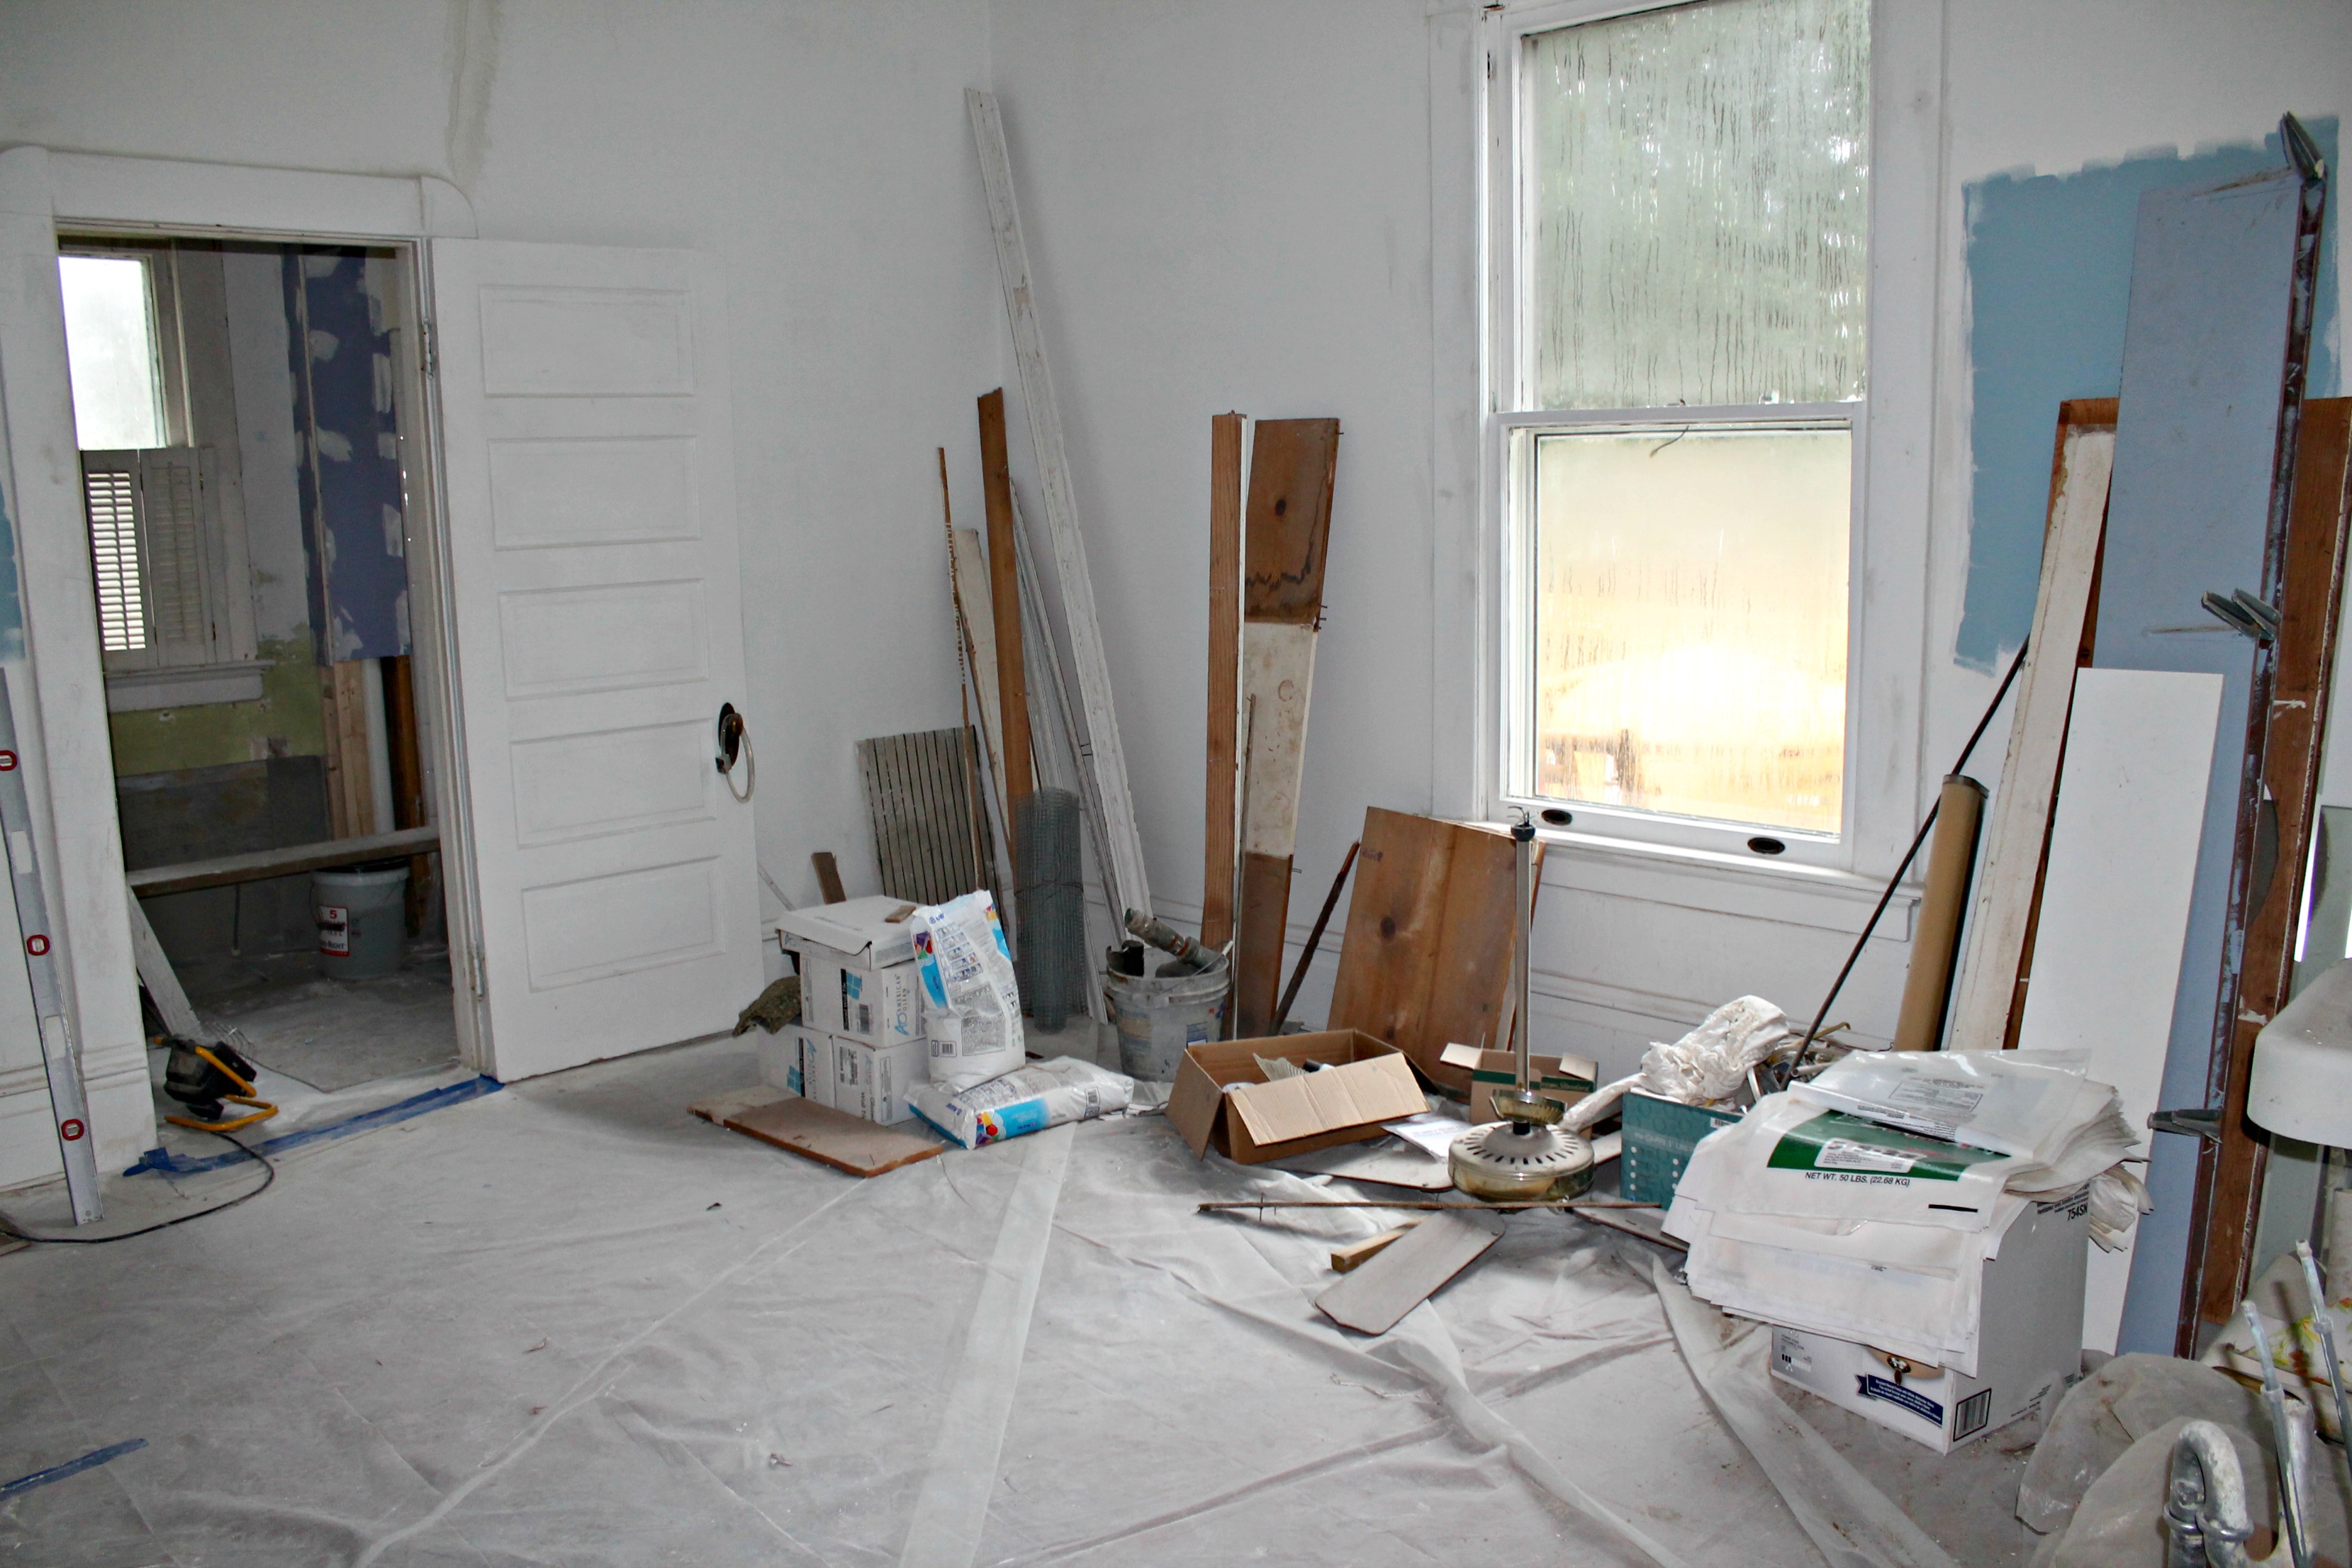
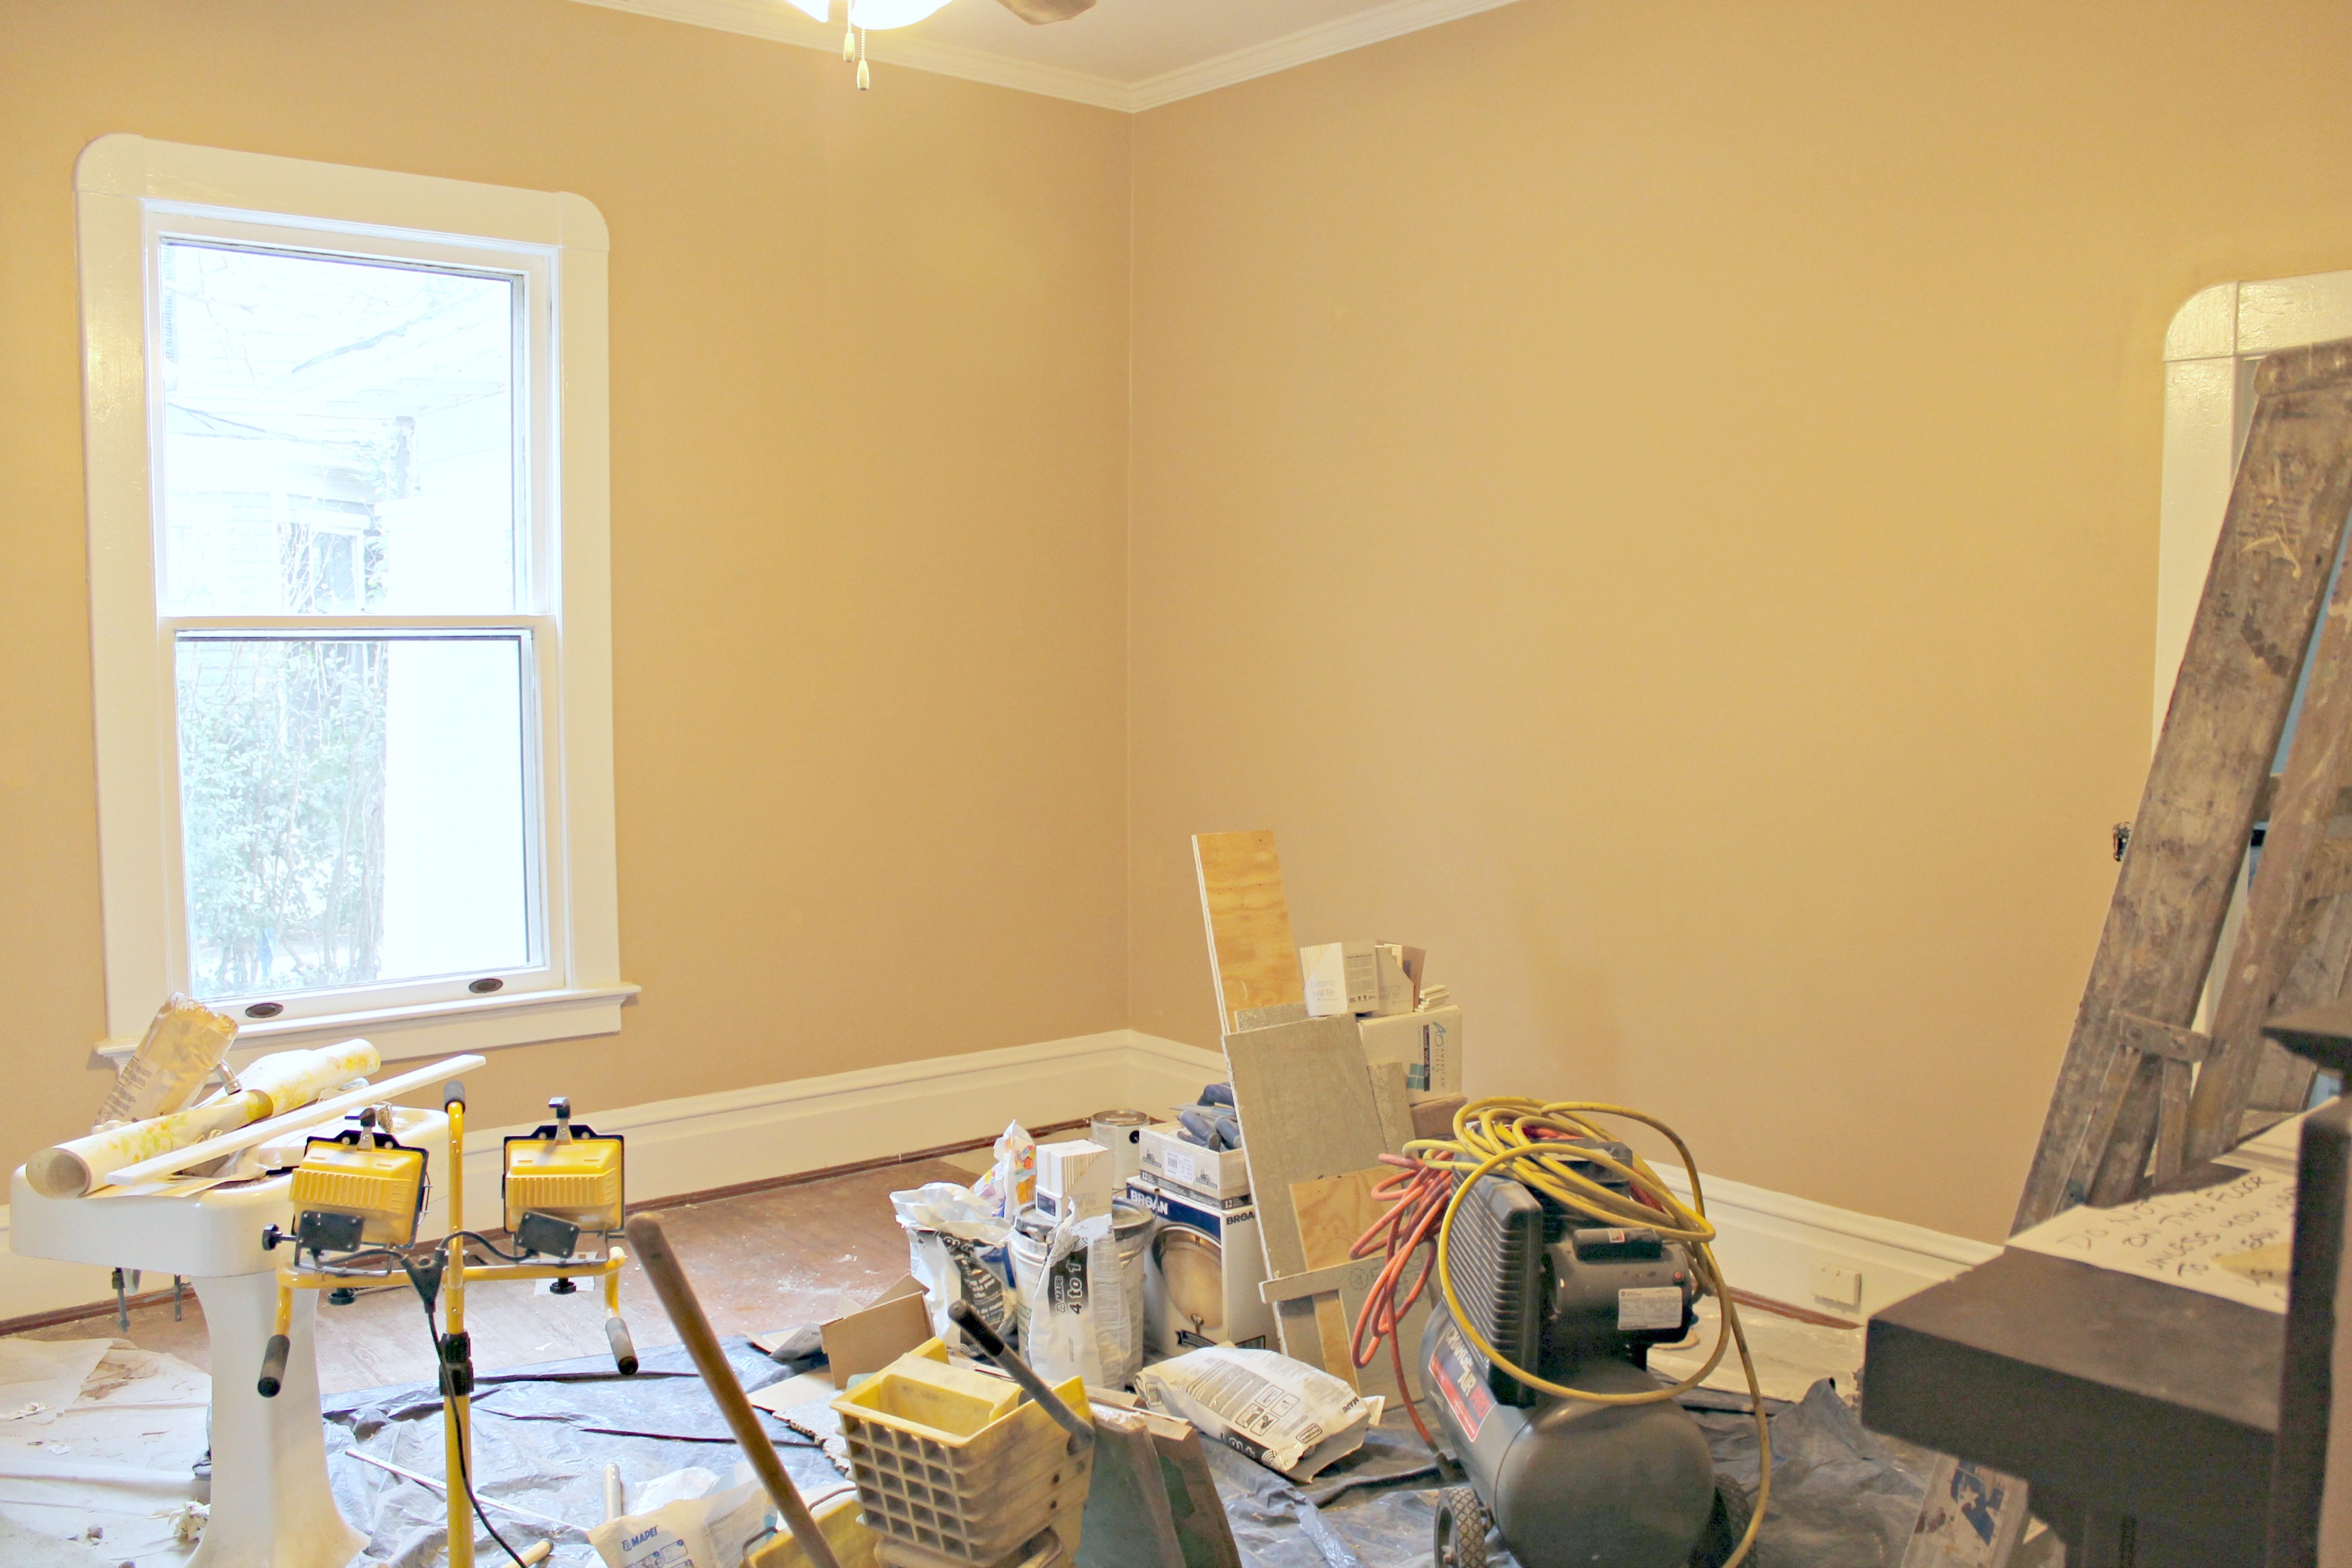
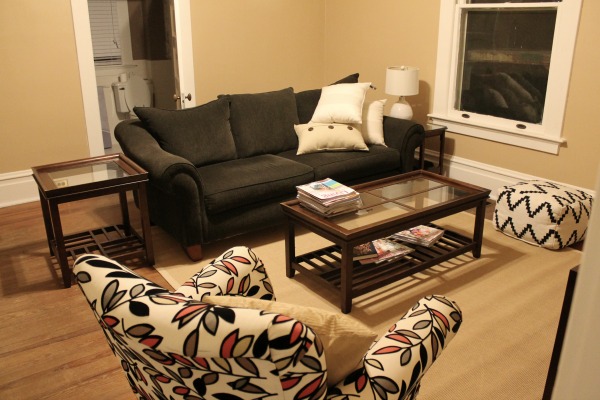
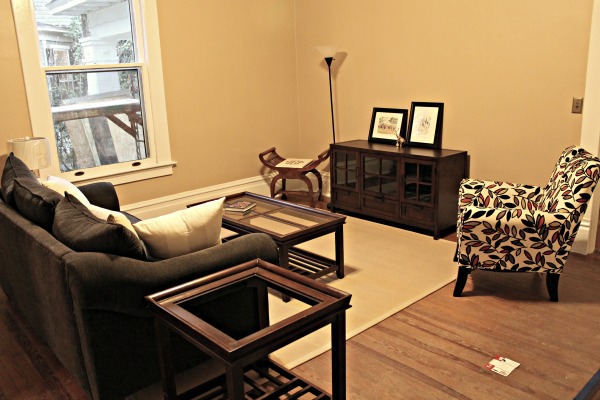
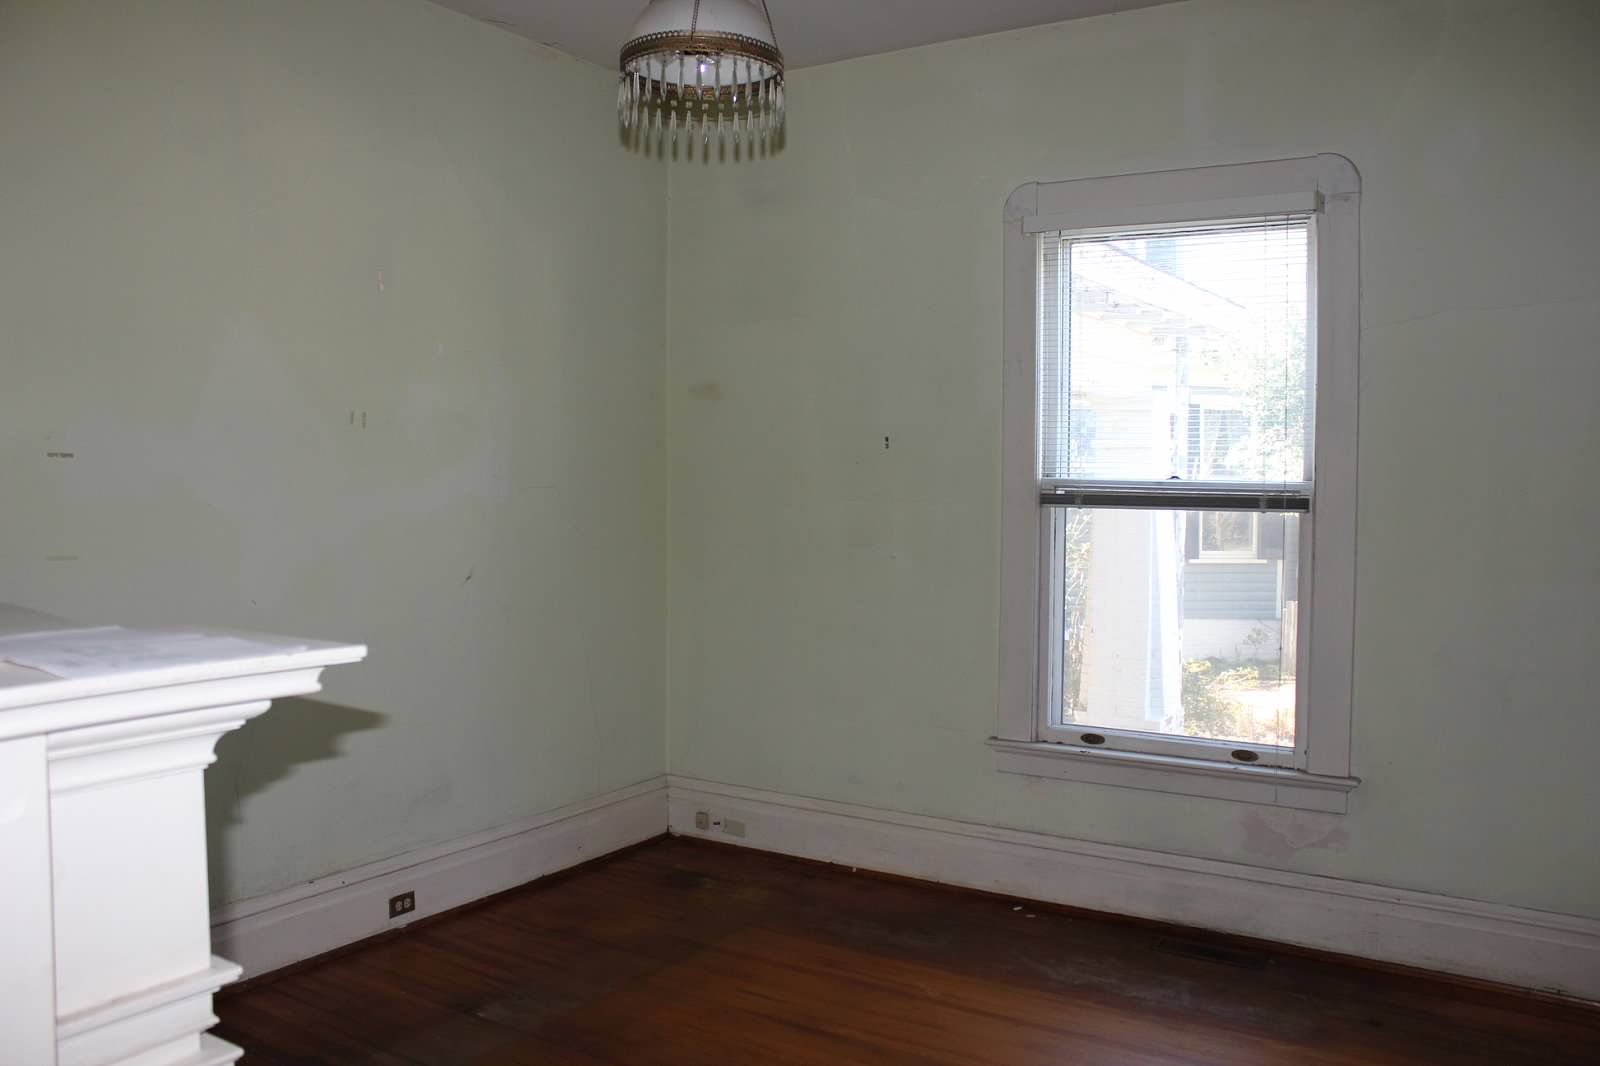
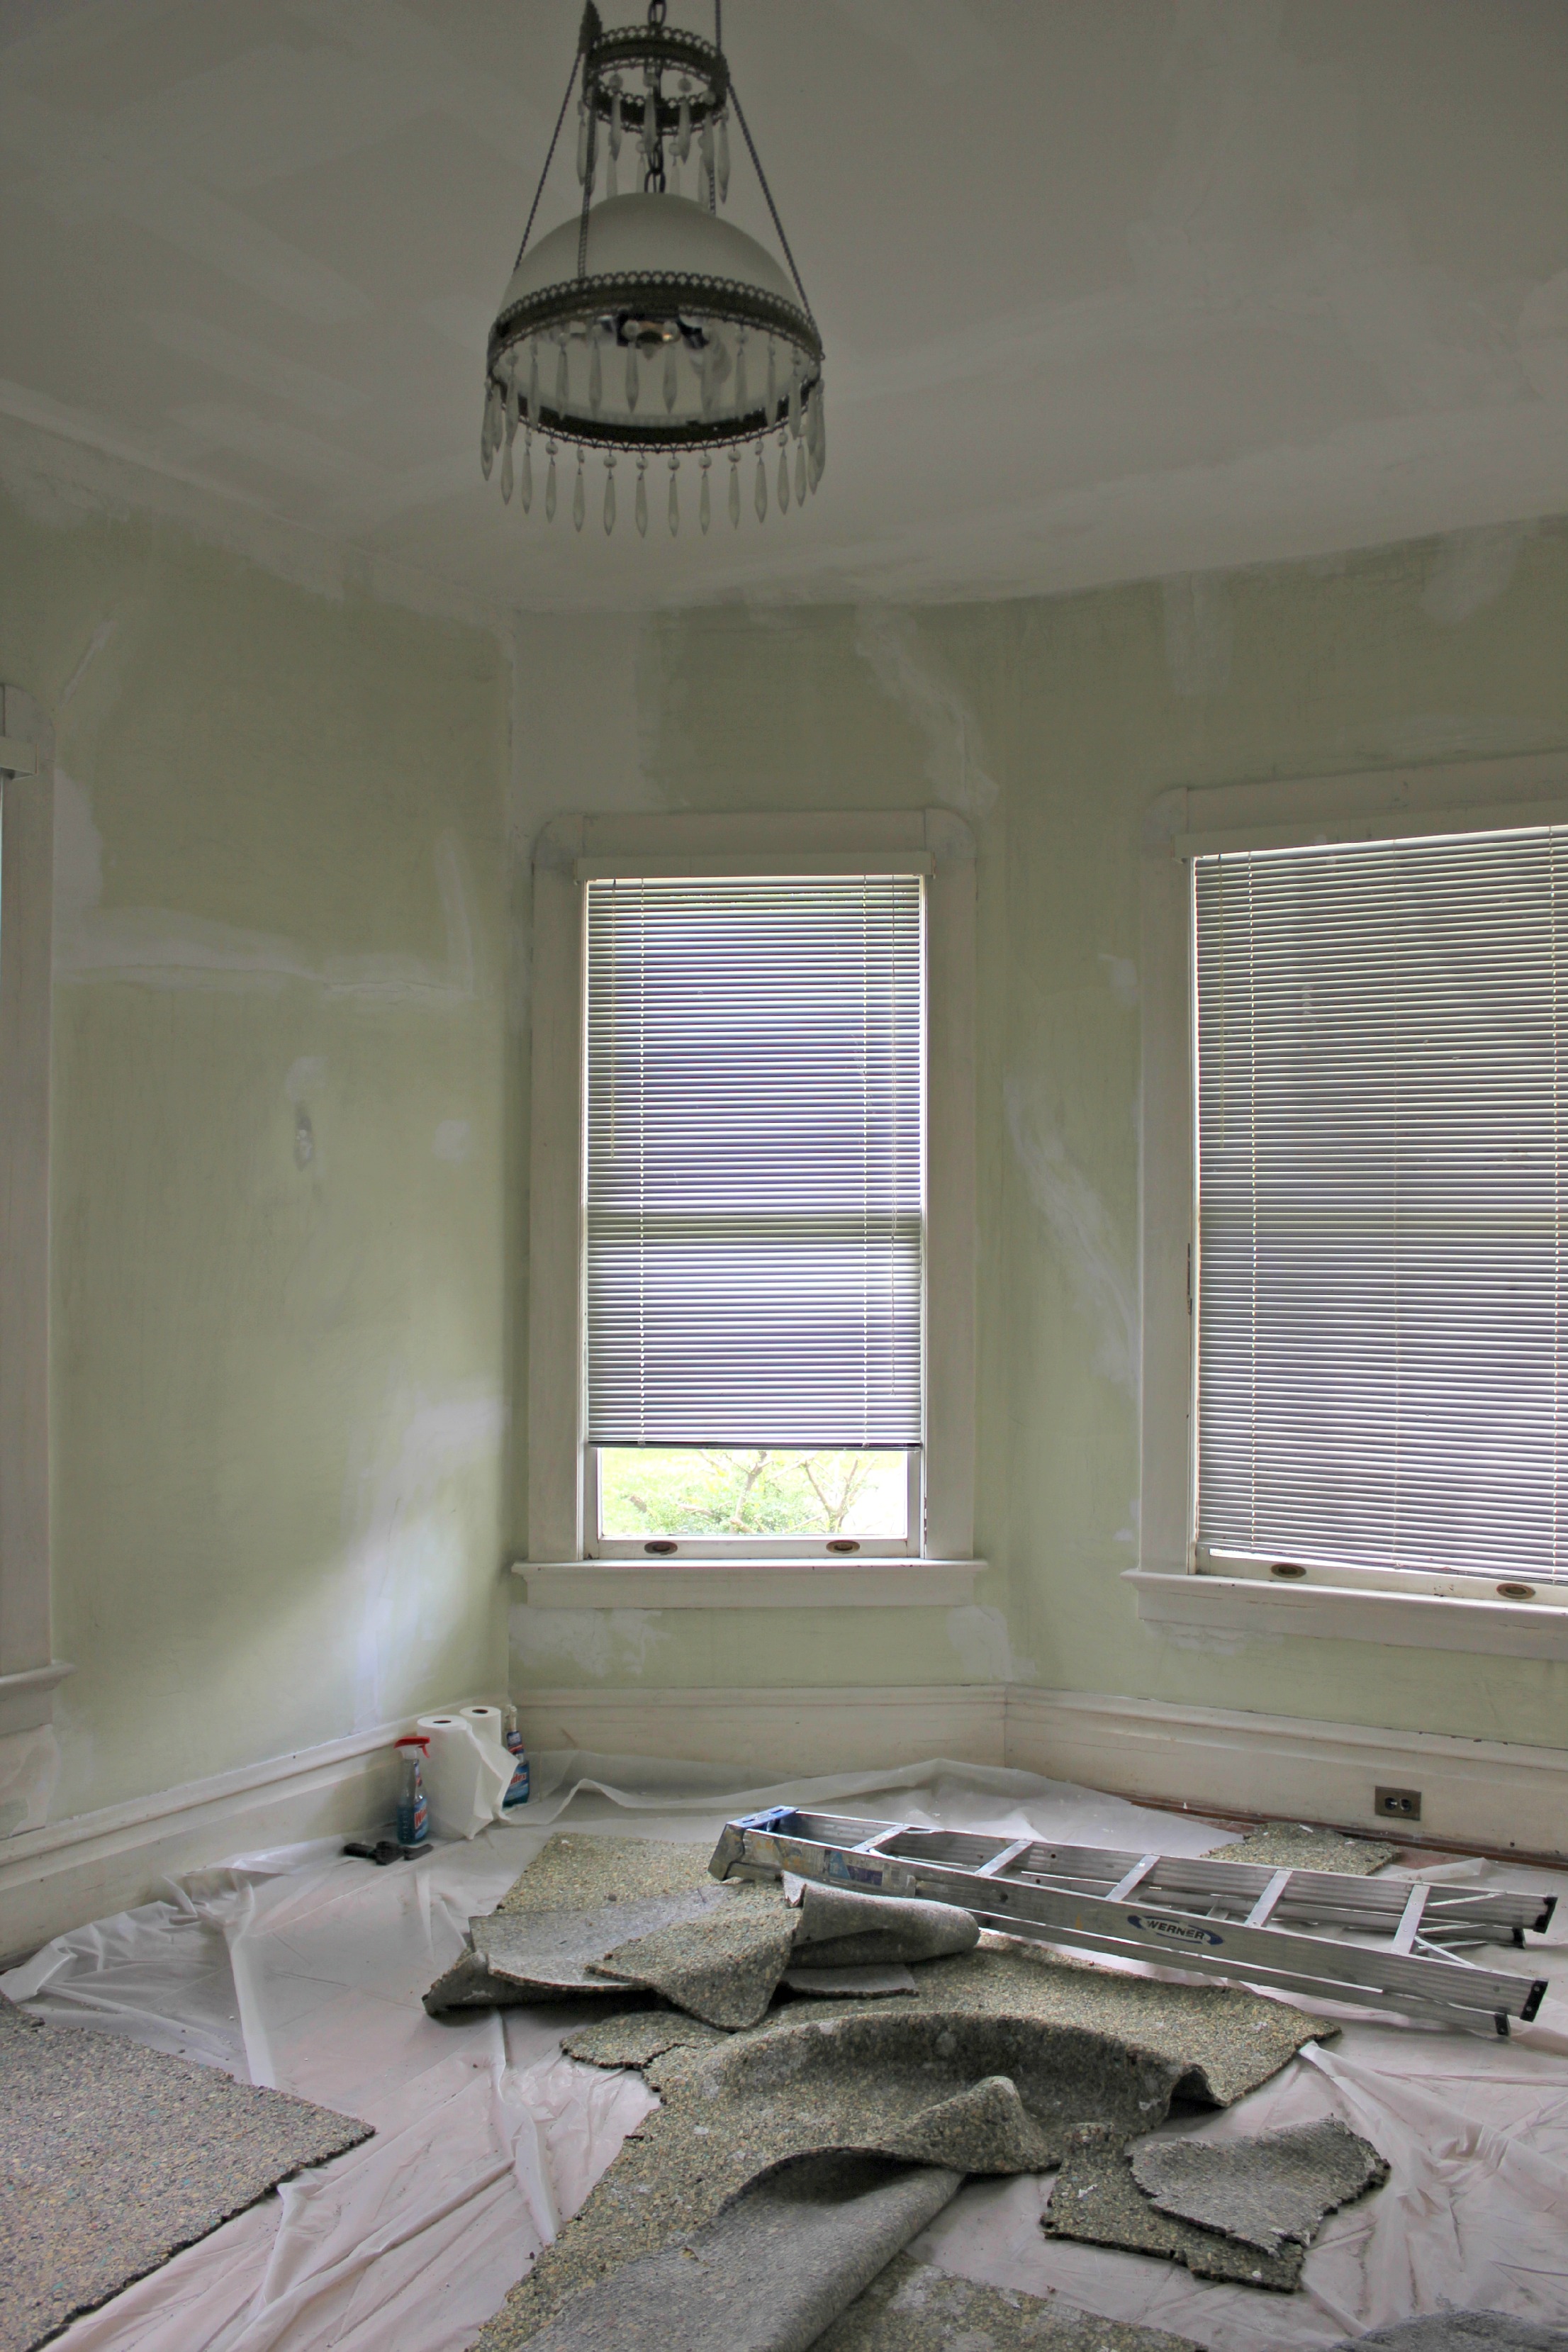
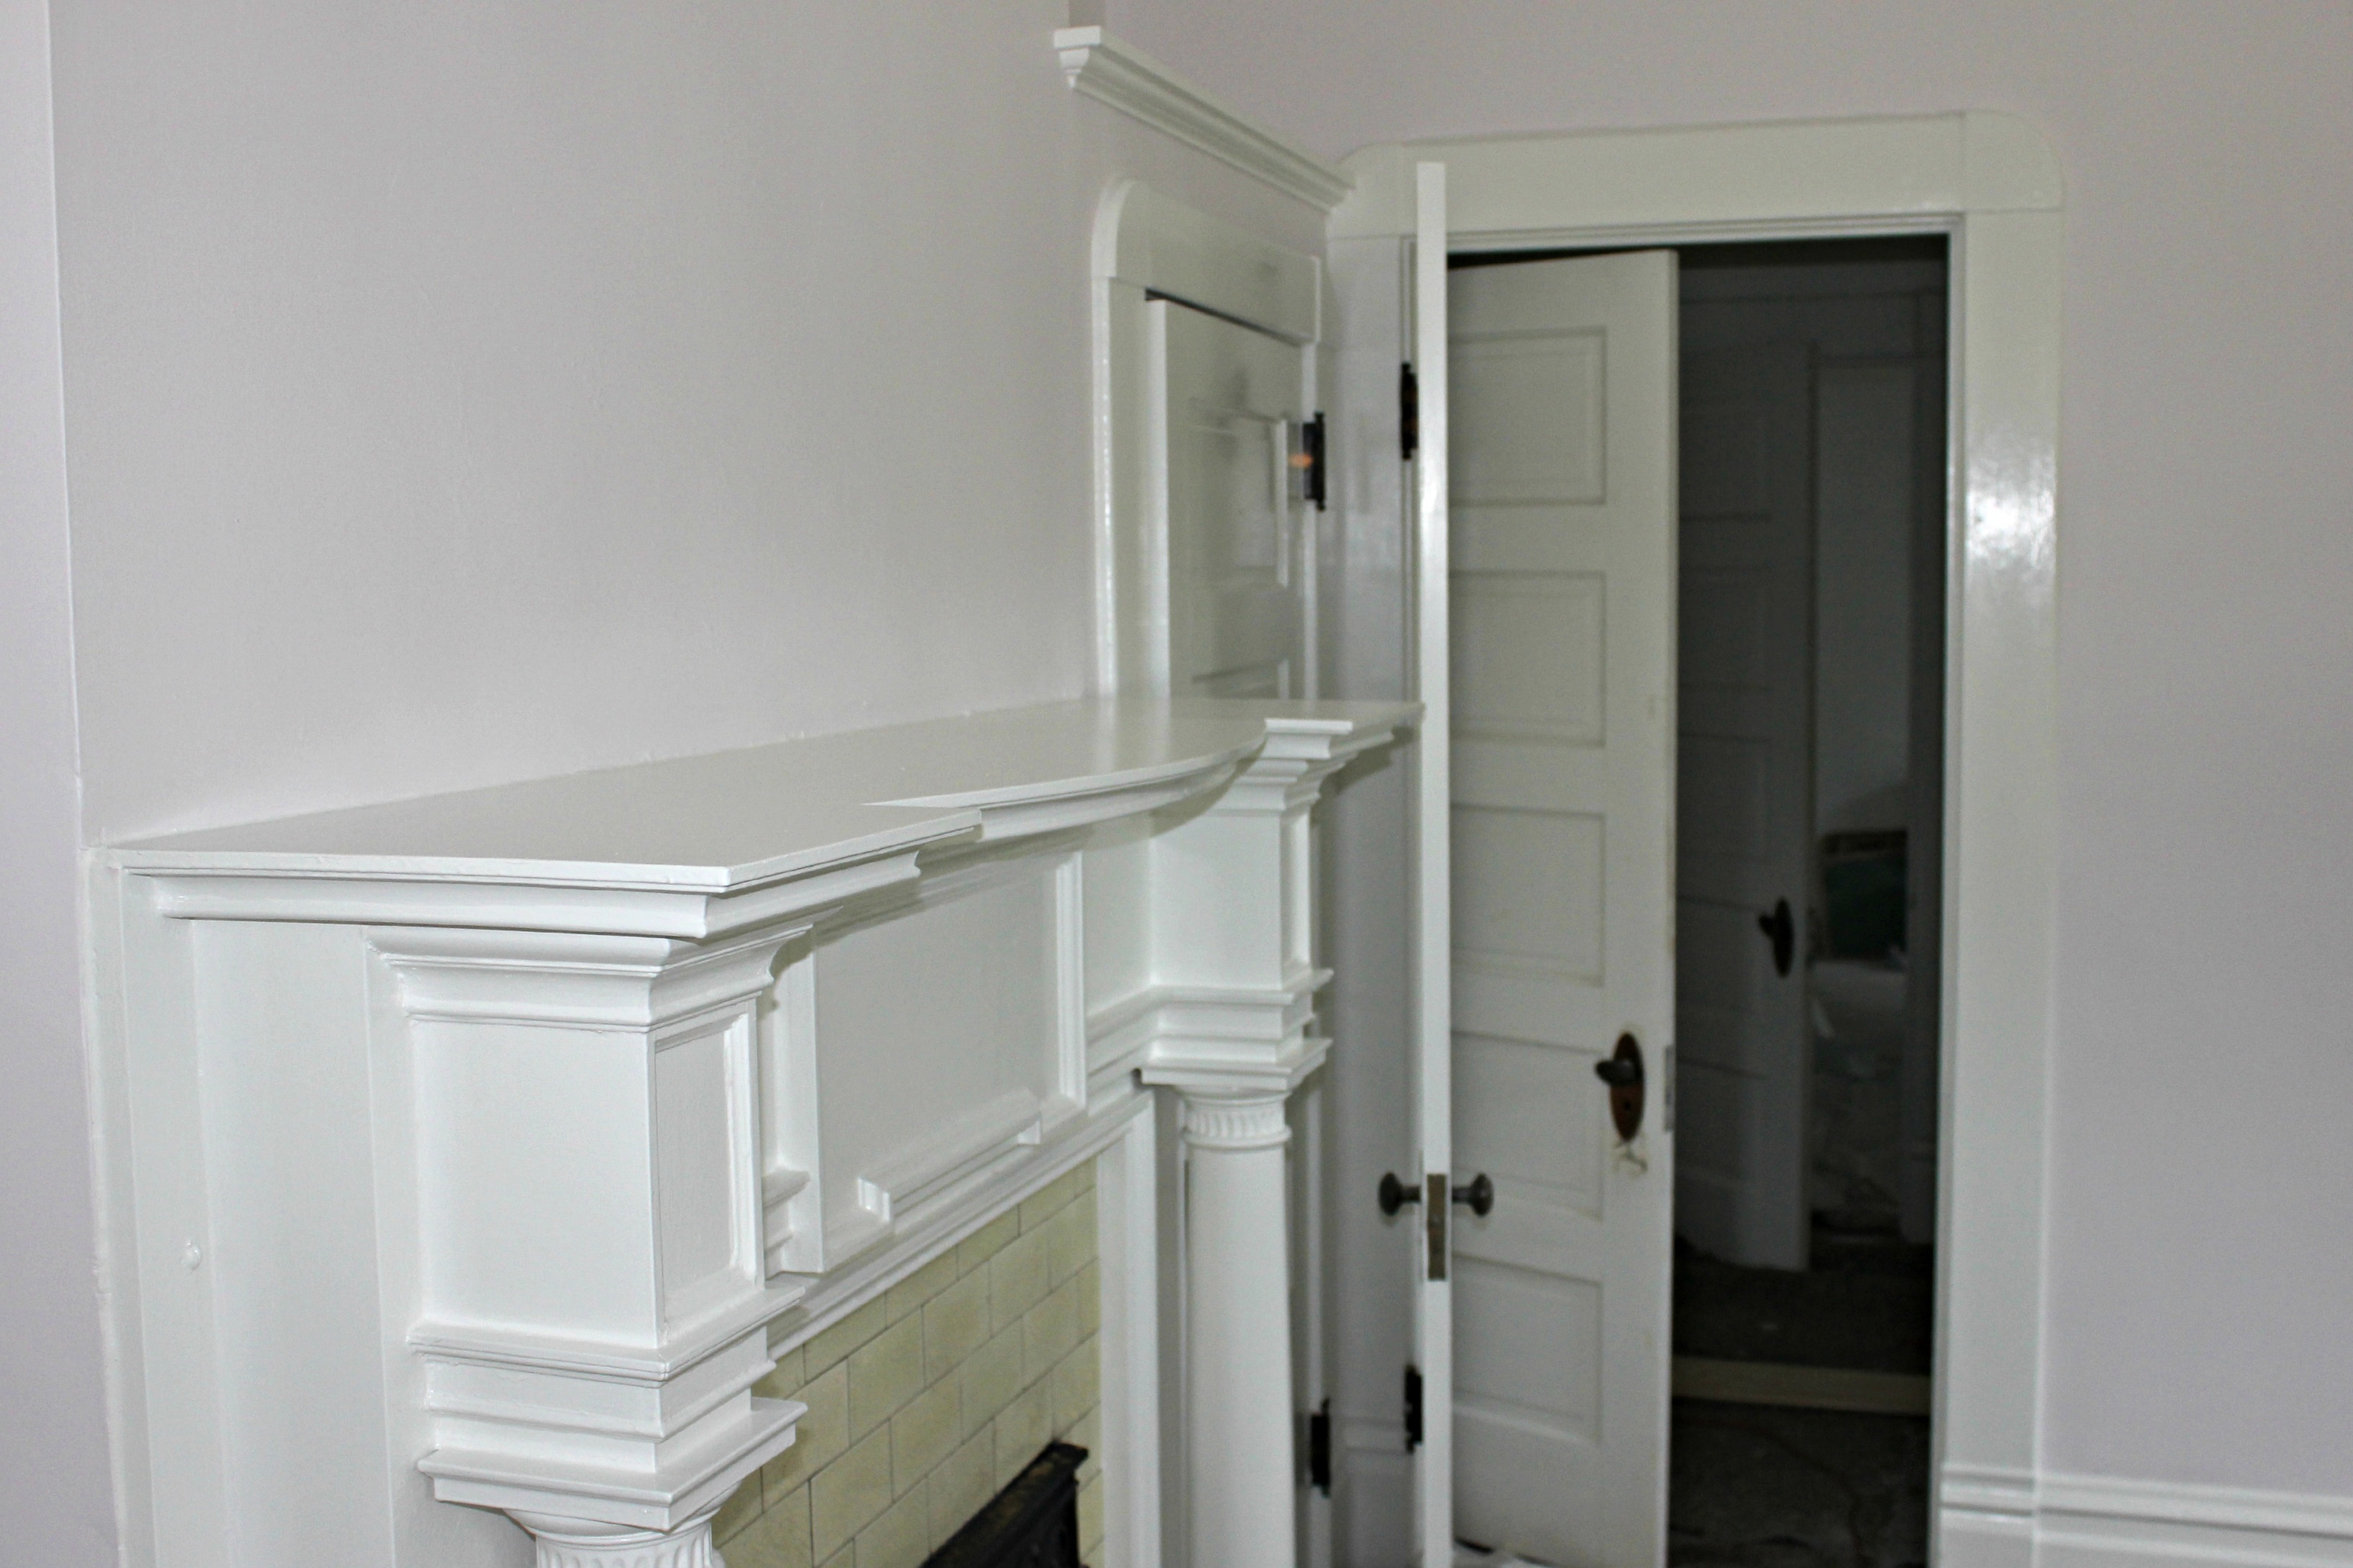
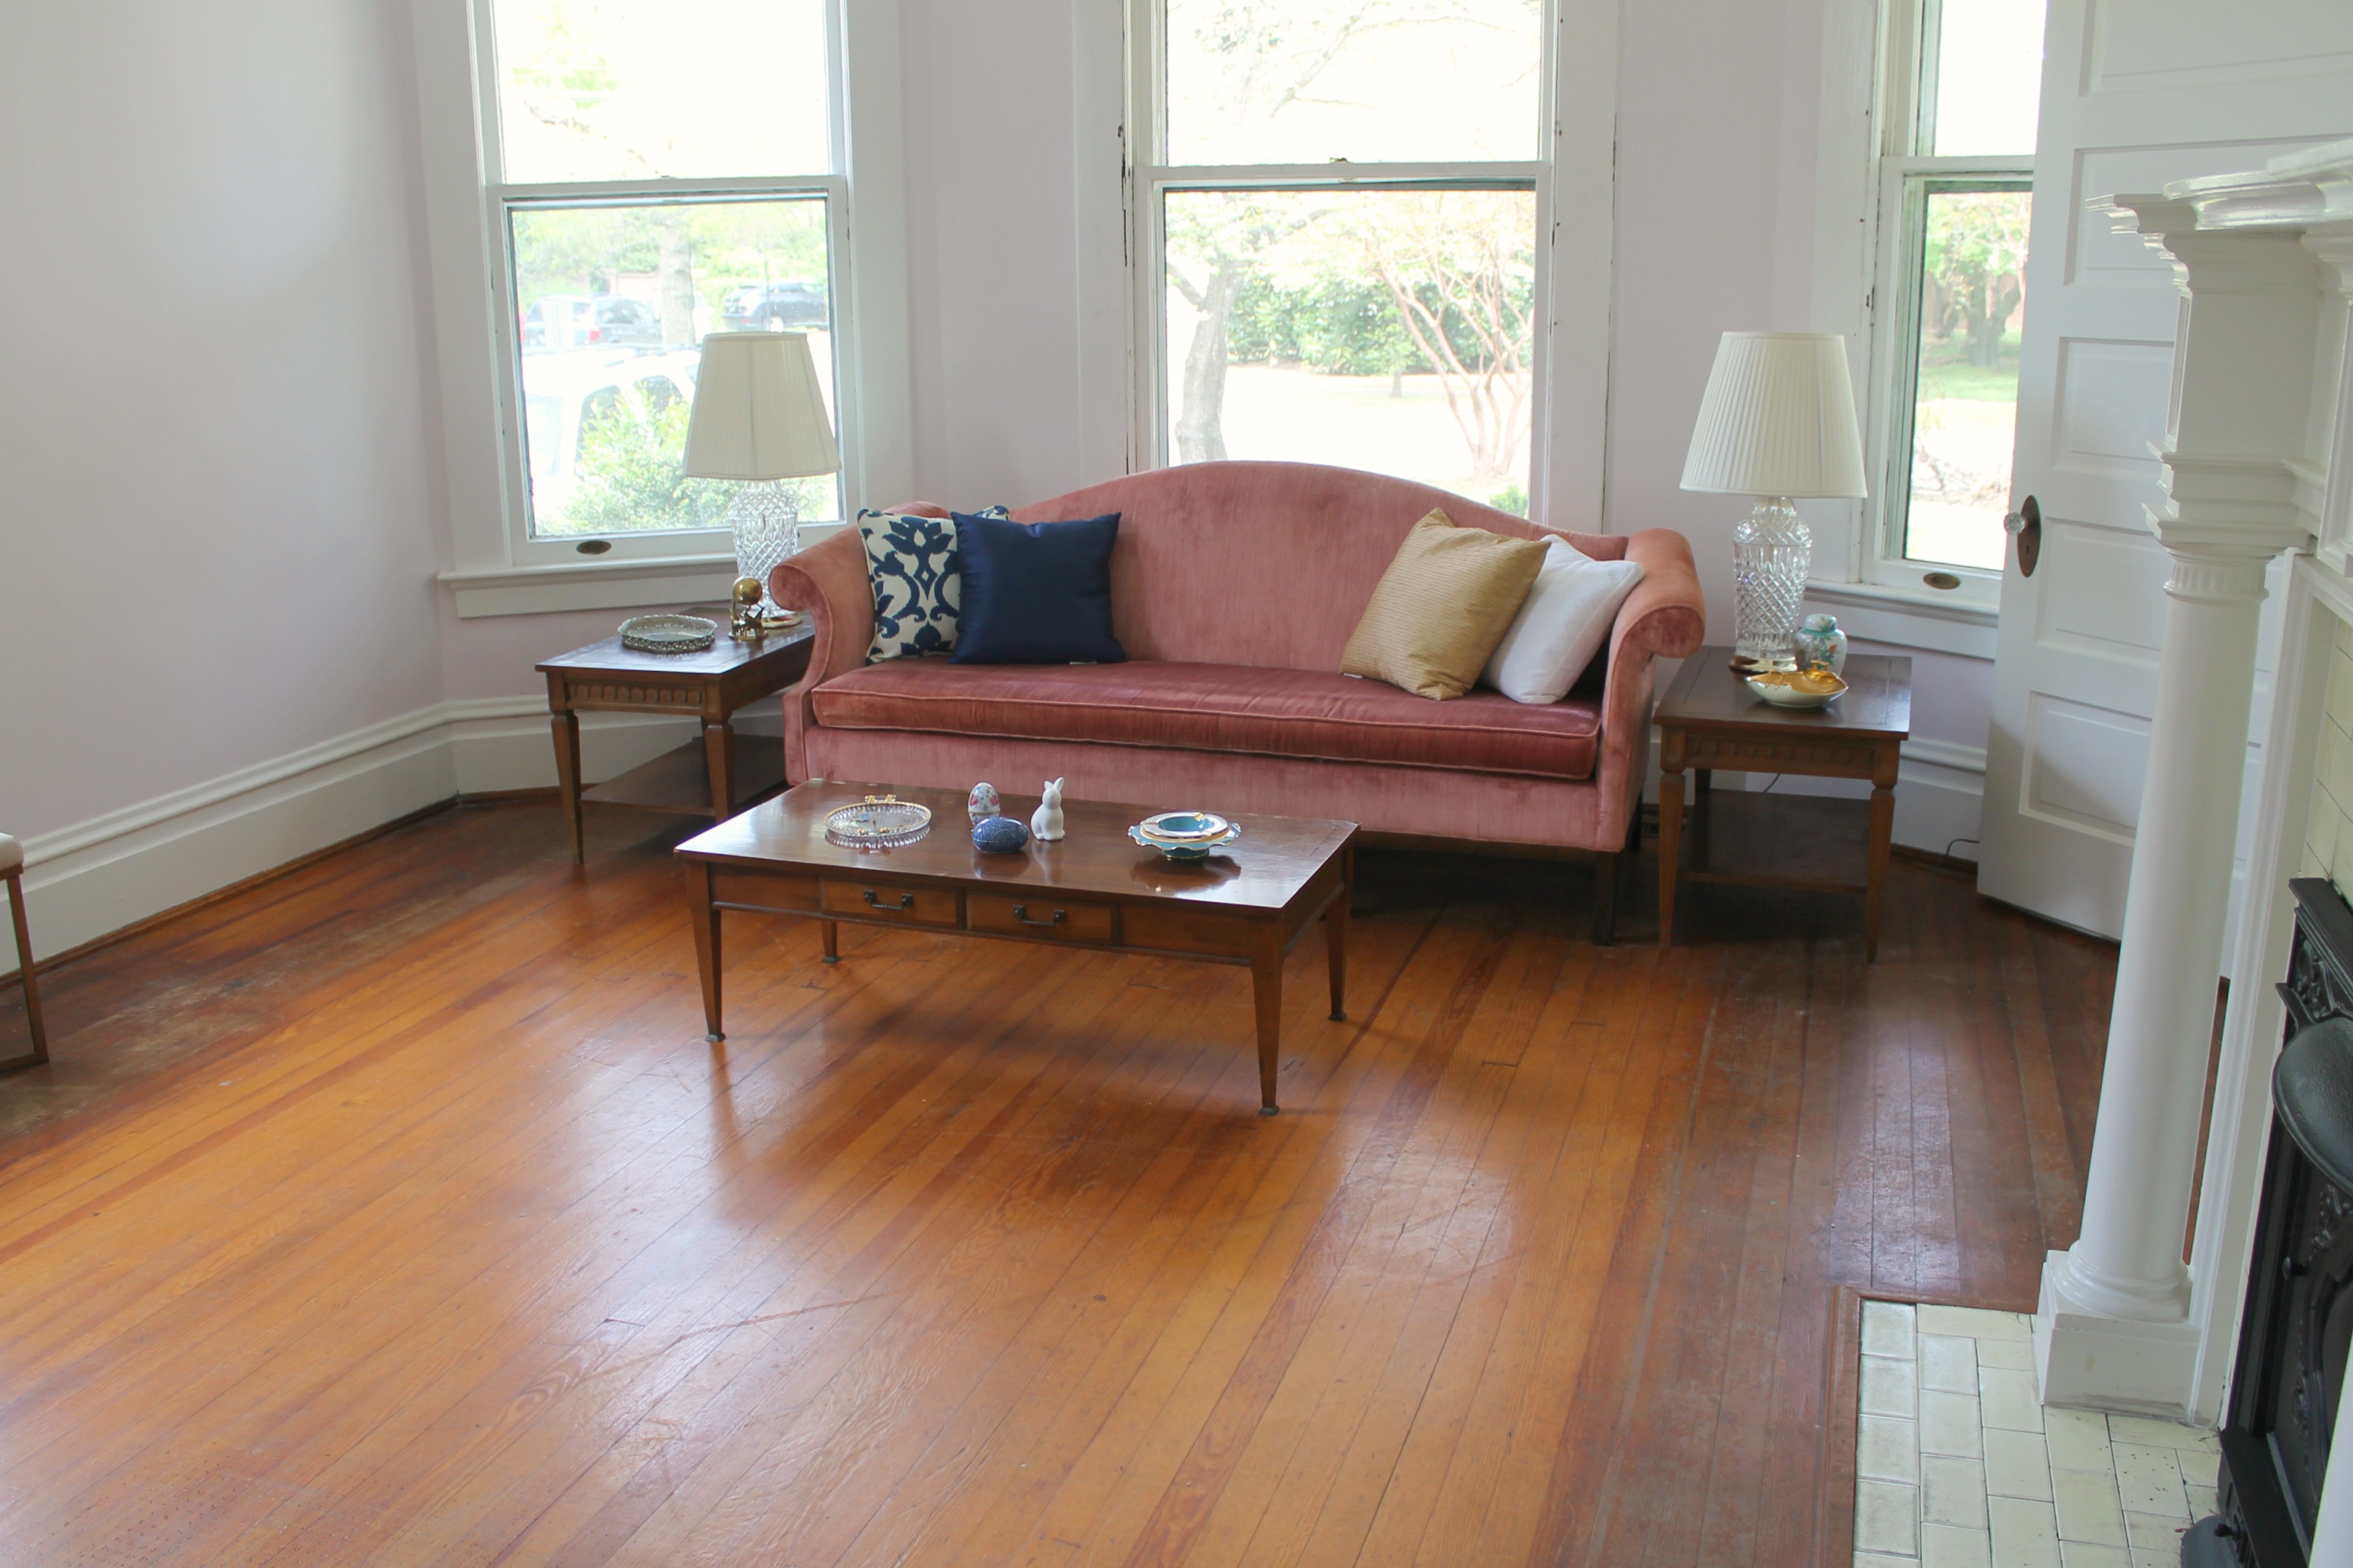
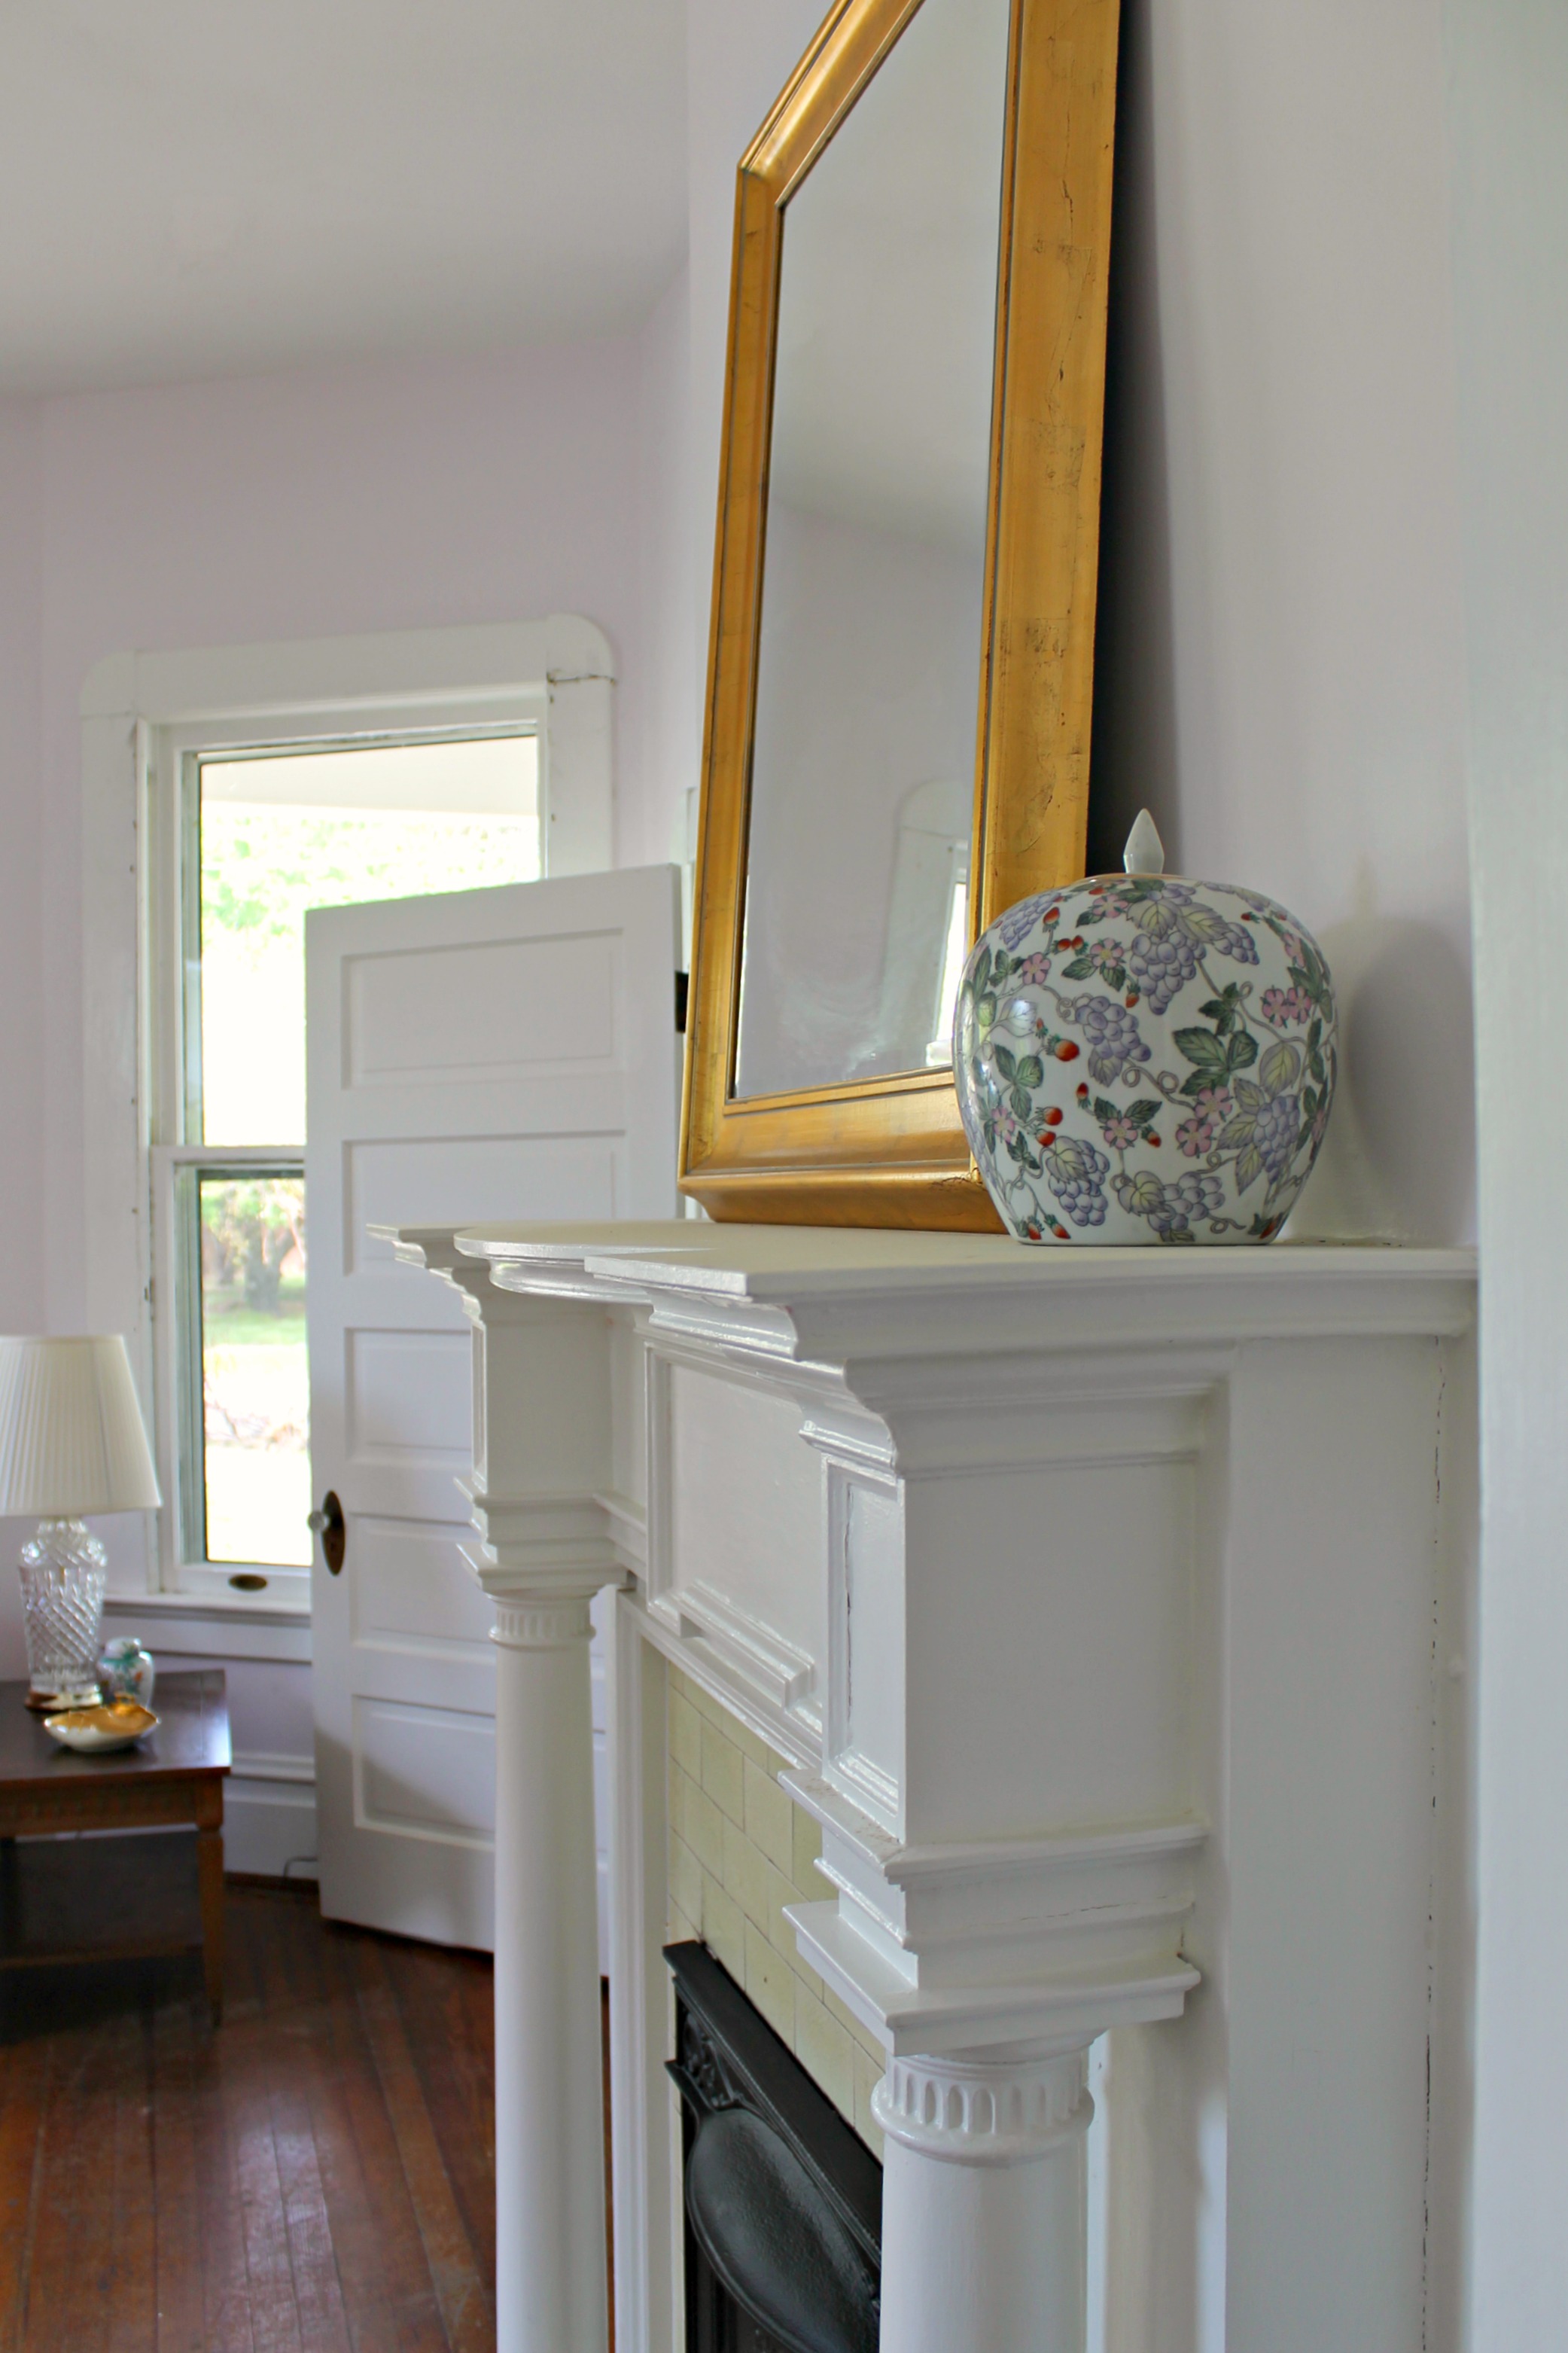
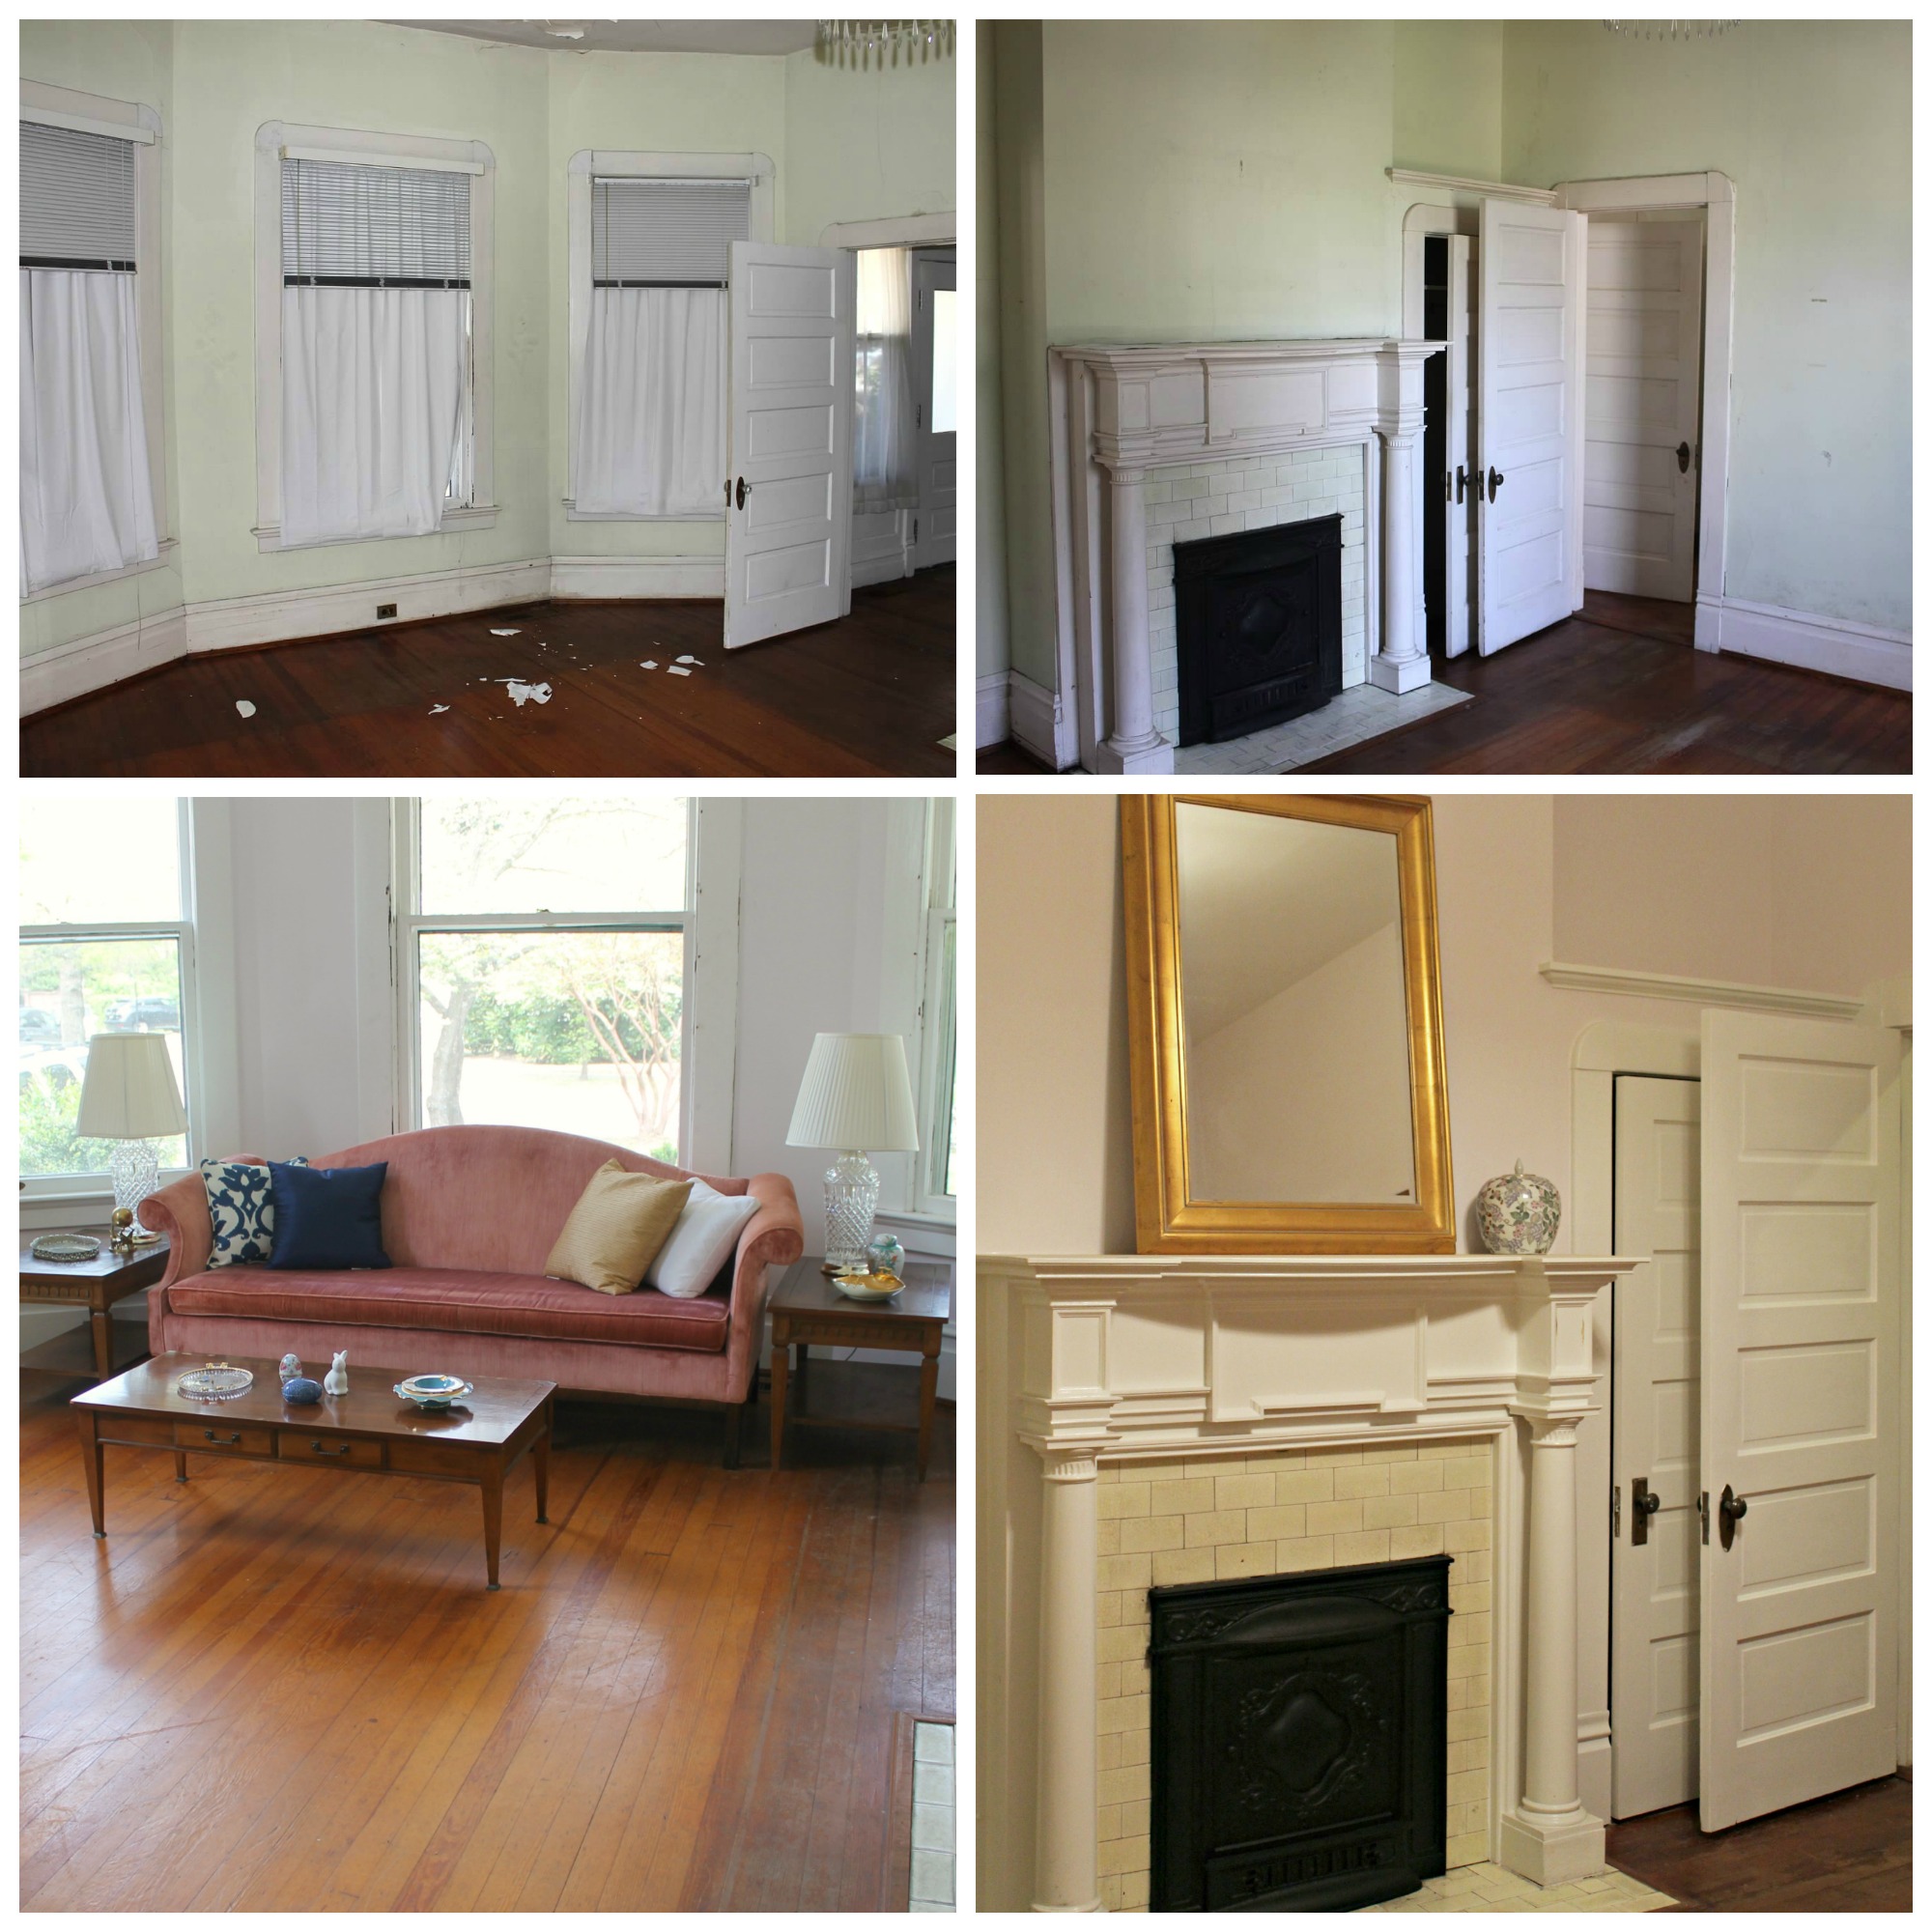
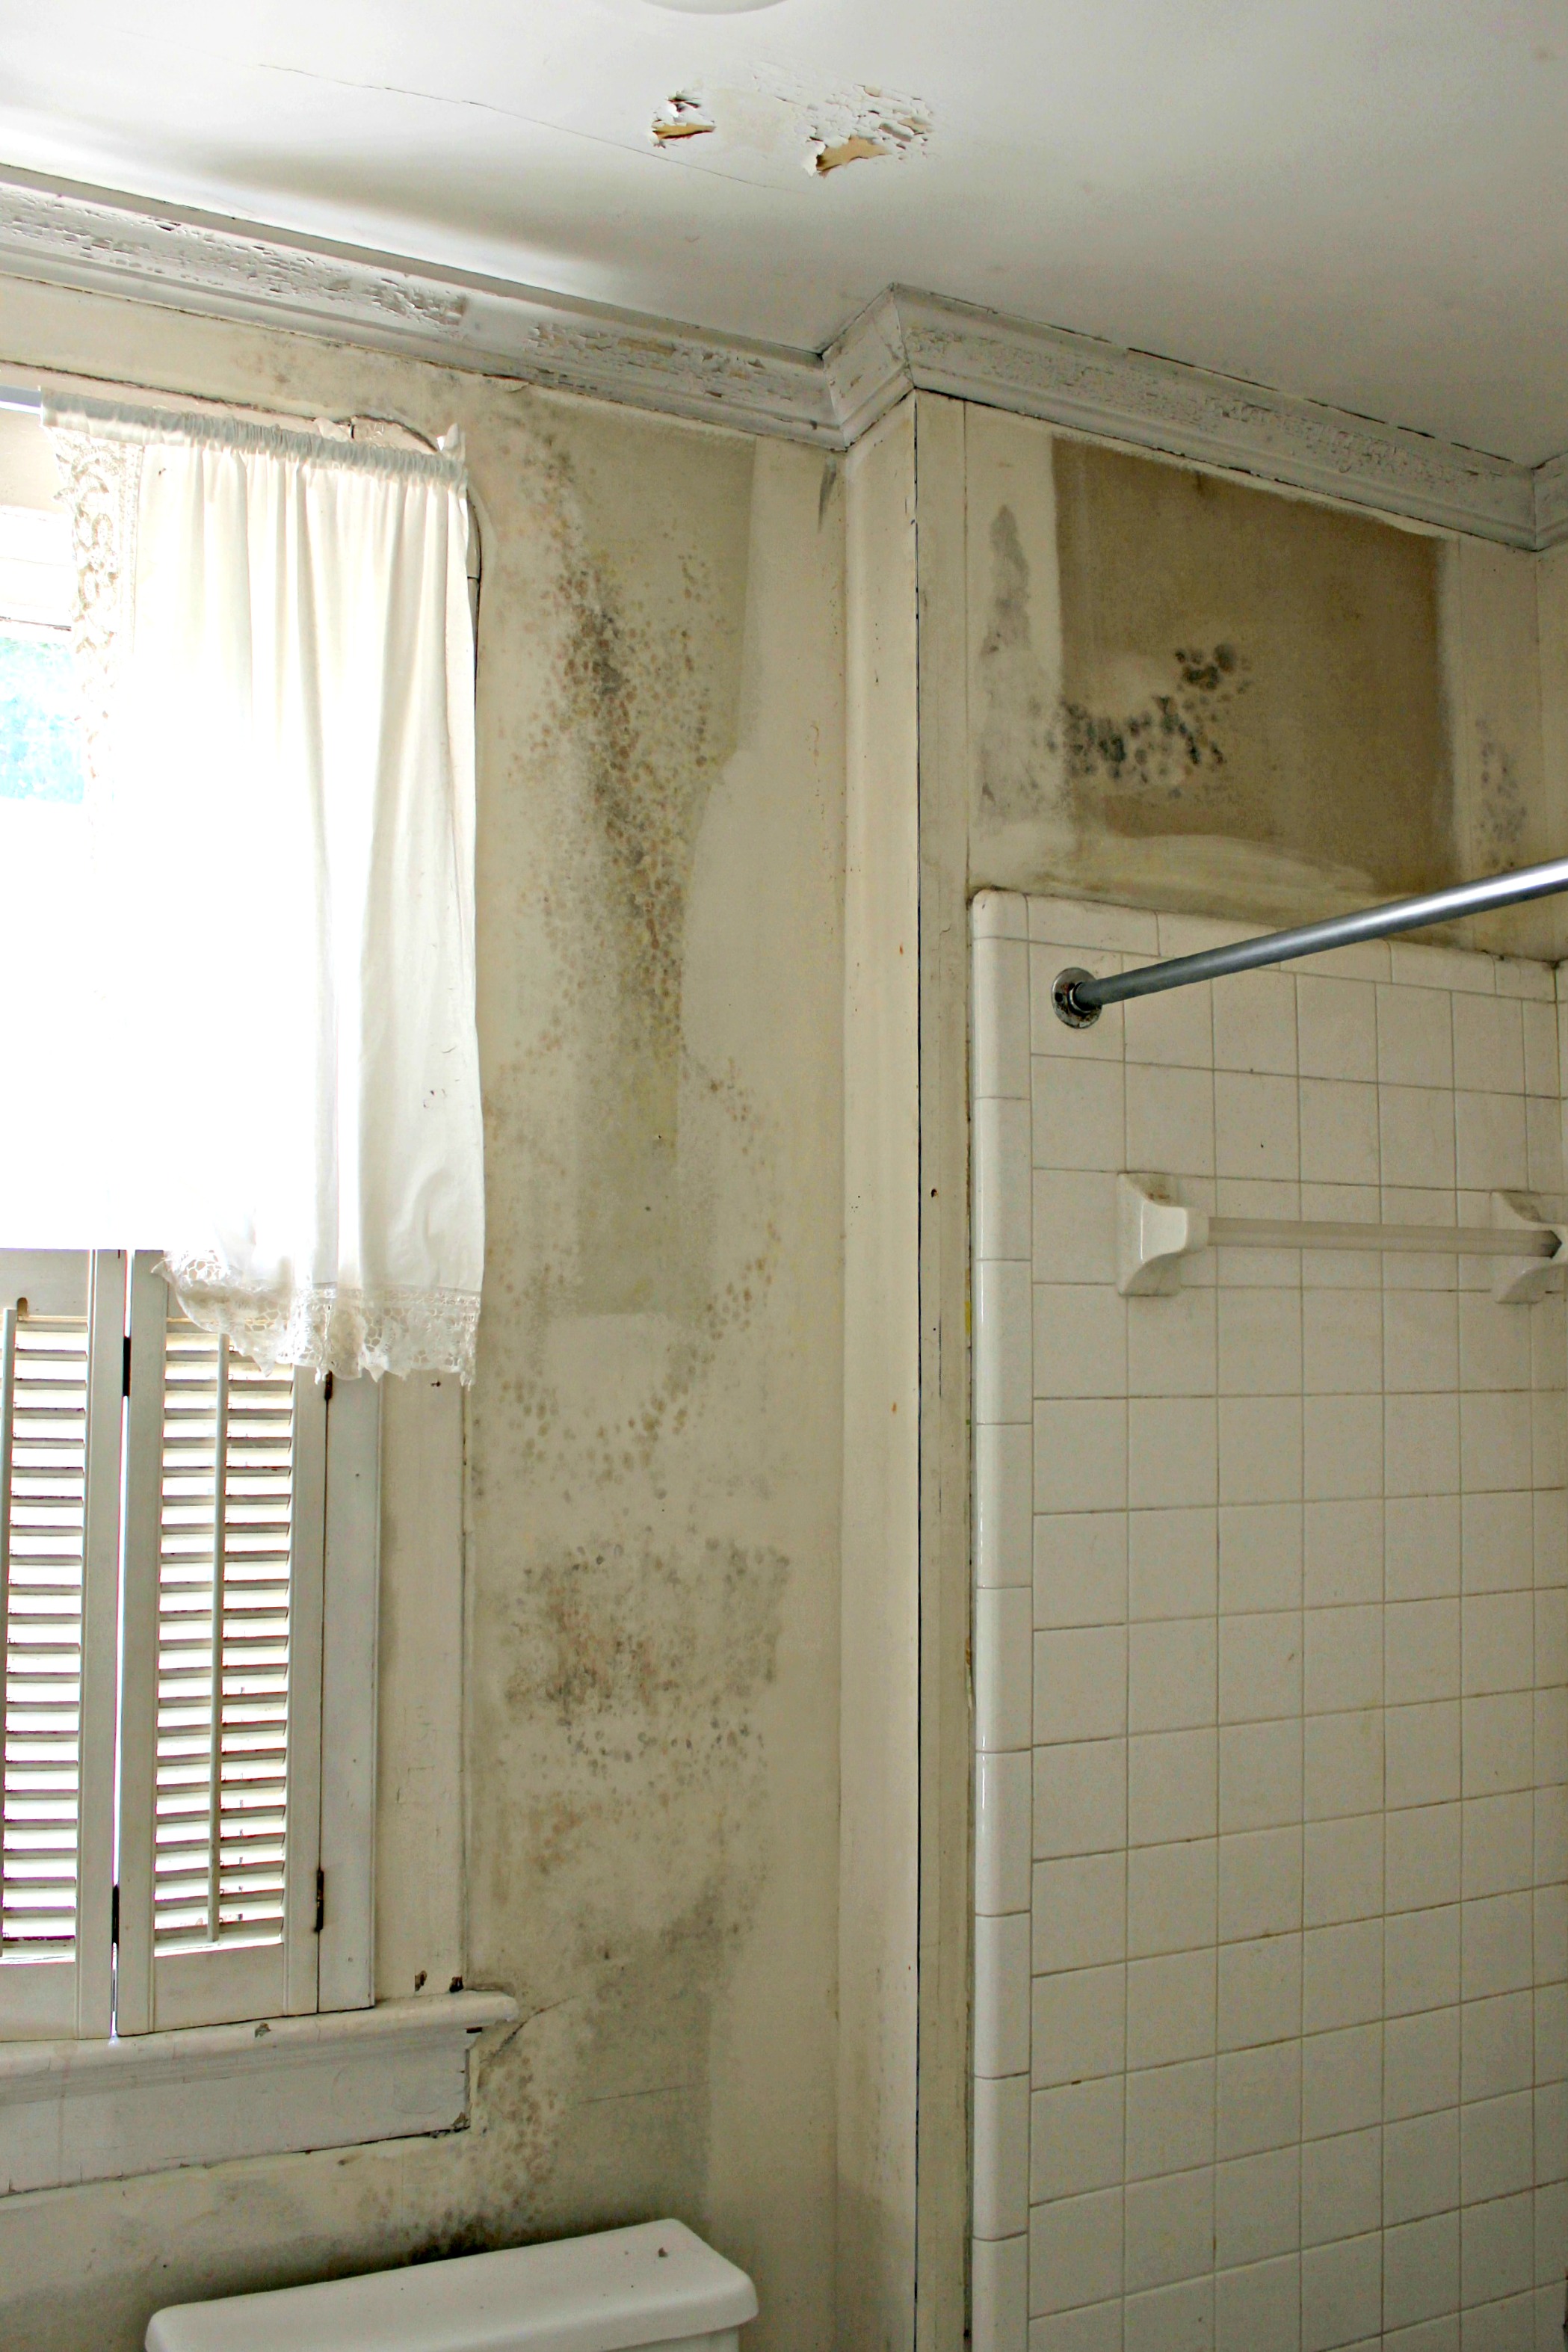
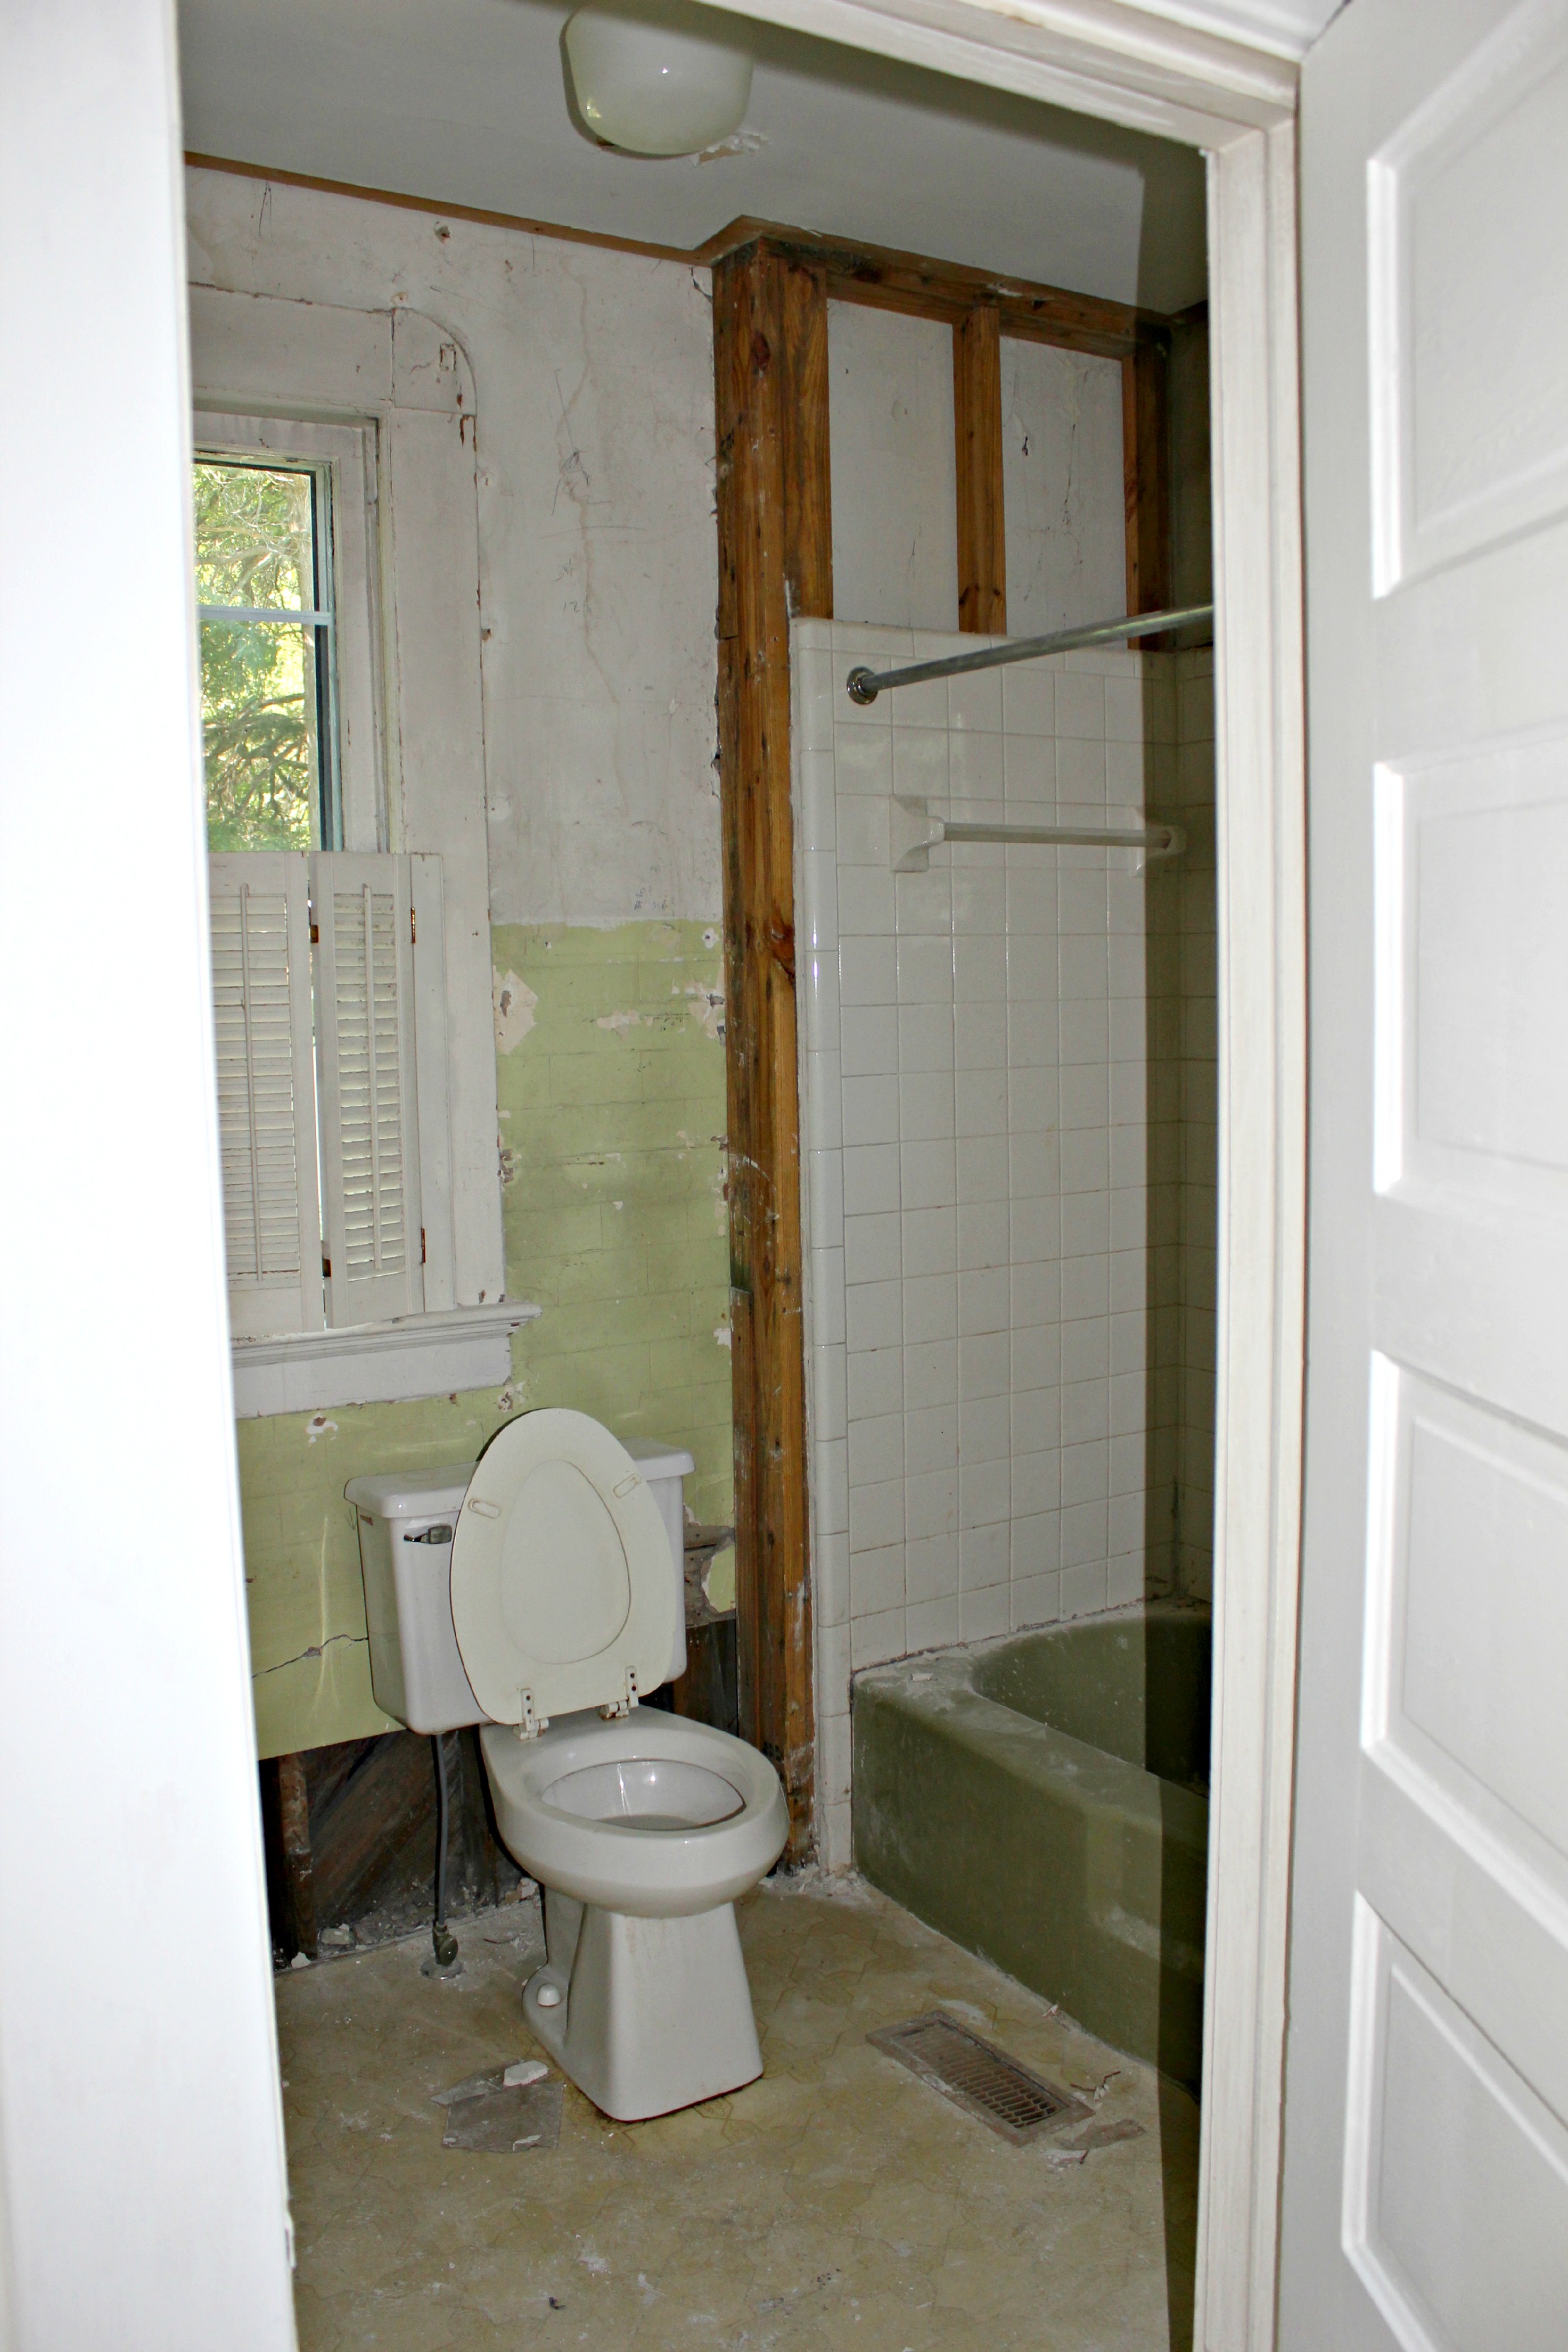
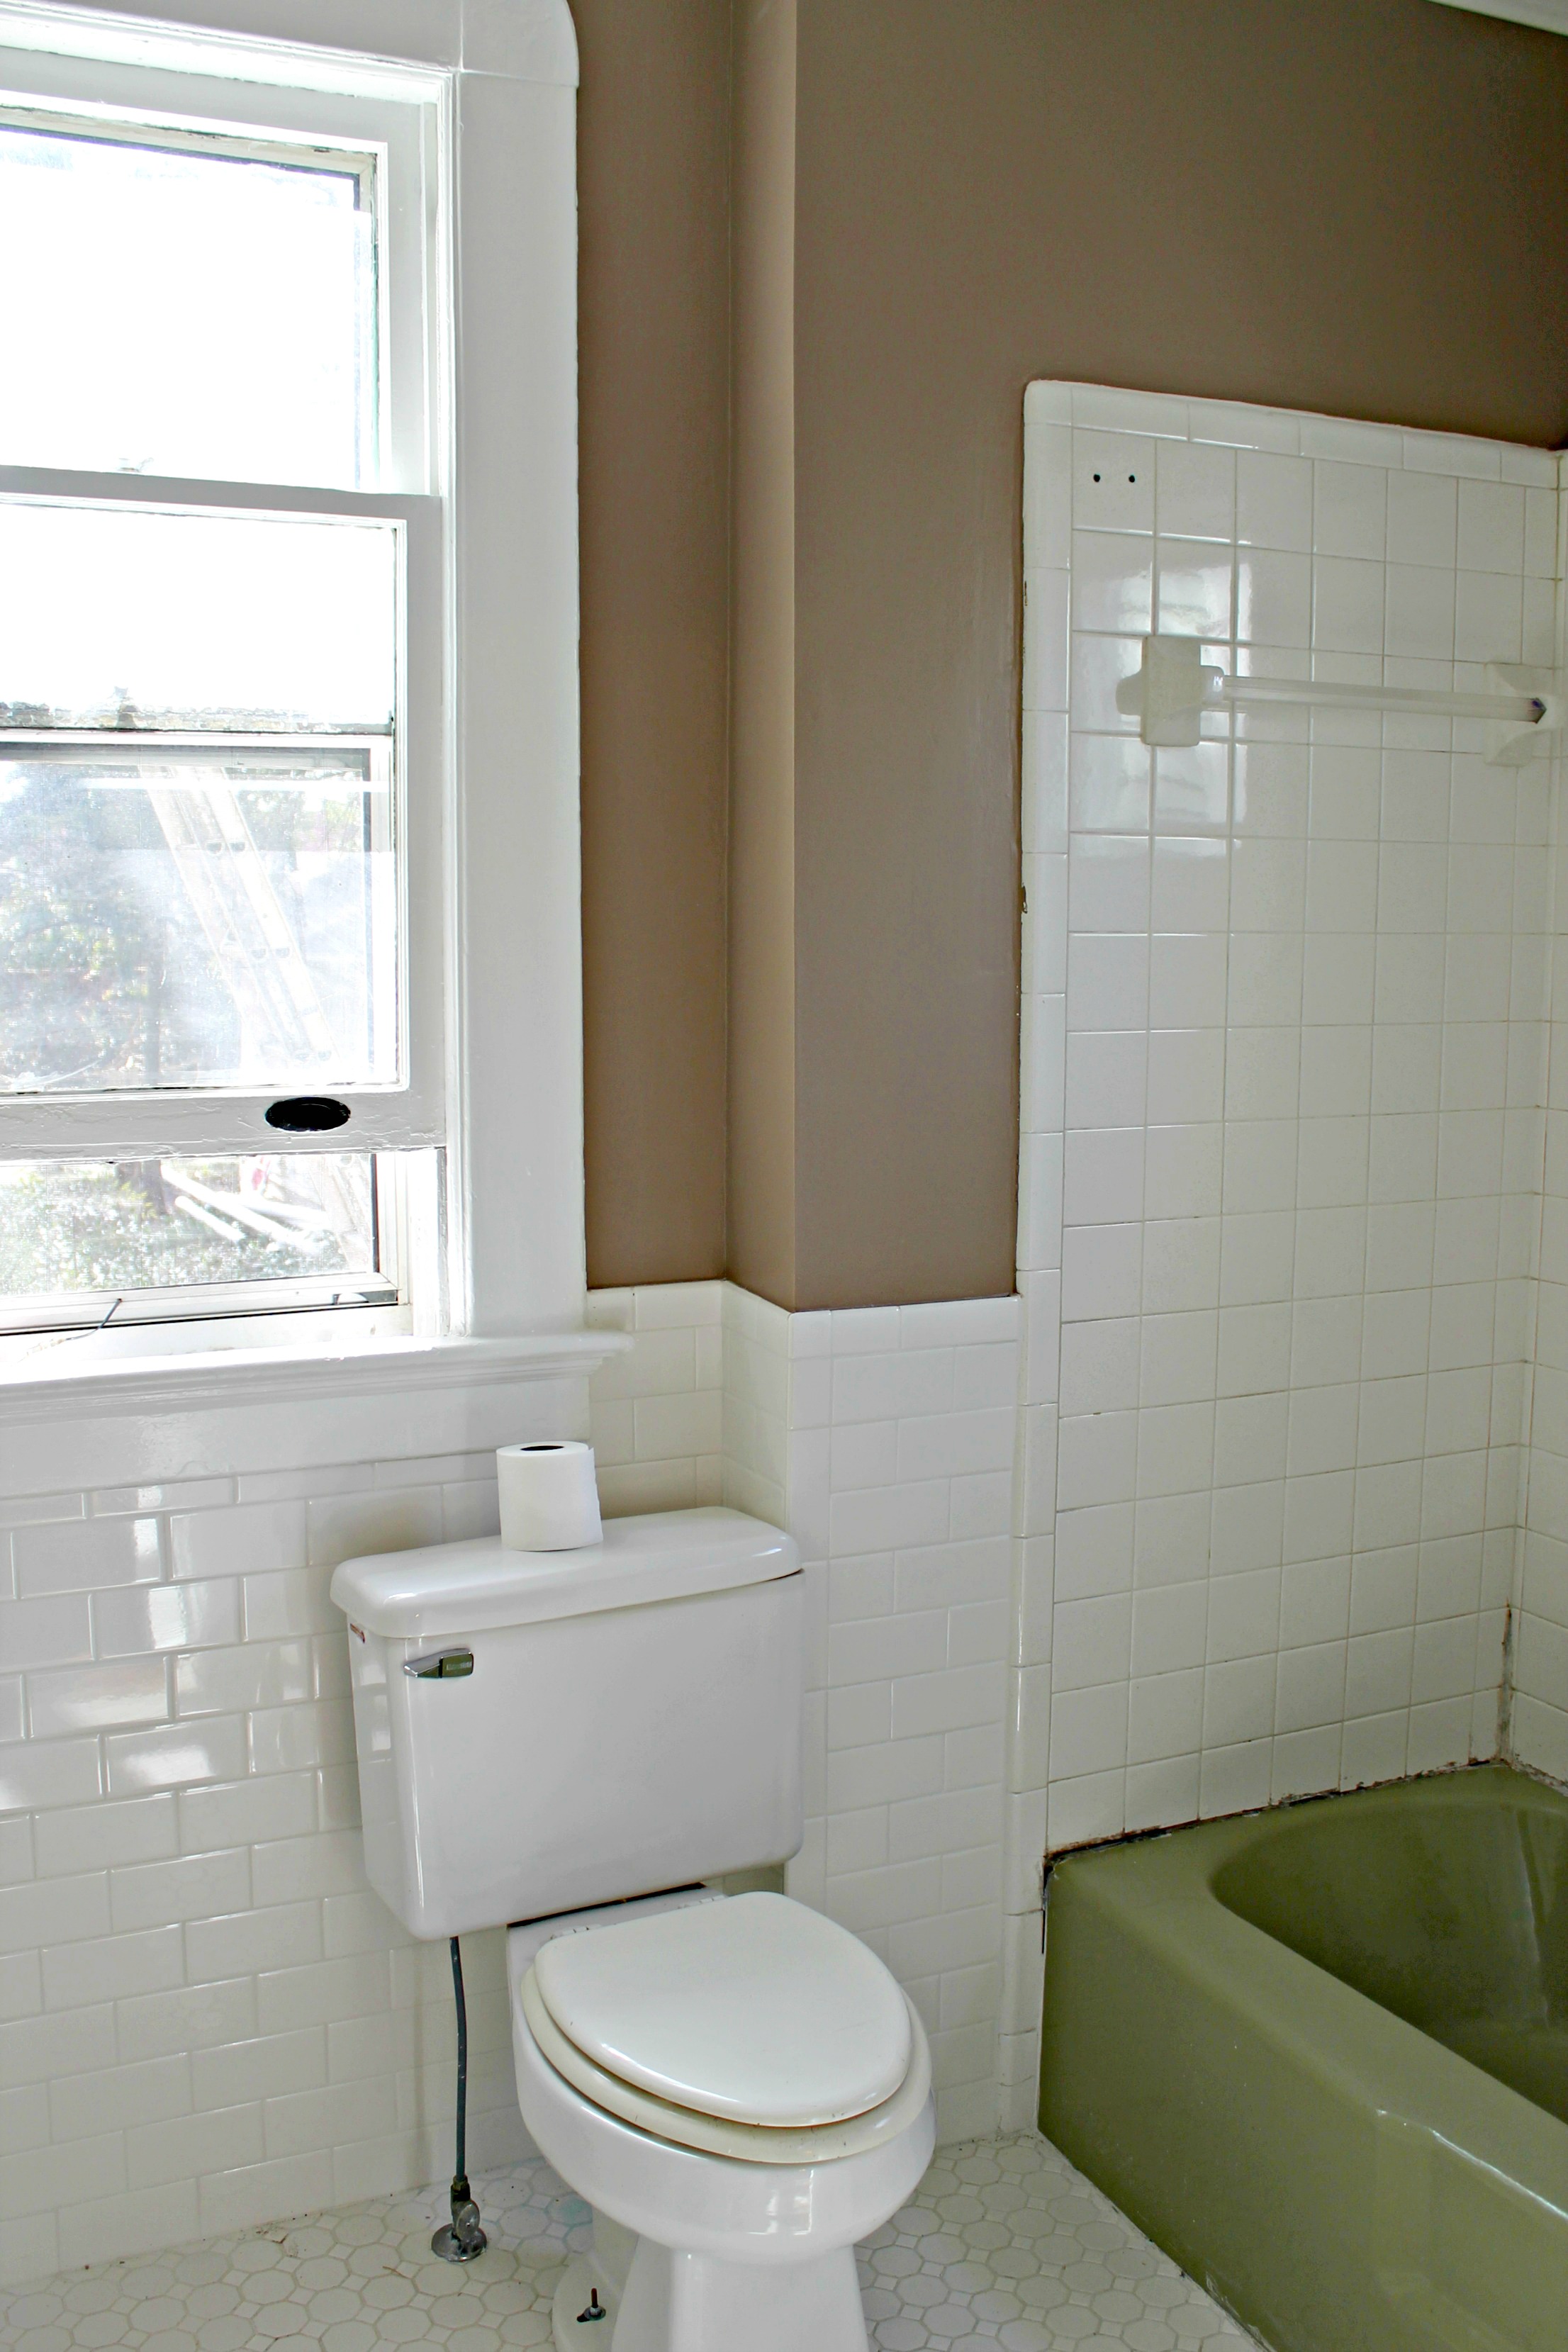
Now that we’ve covered the formal living room and the den, let’s head into the downstairs bathroom just off the den.
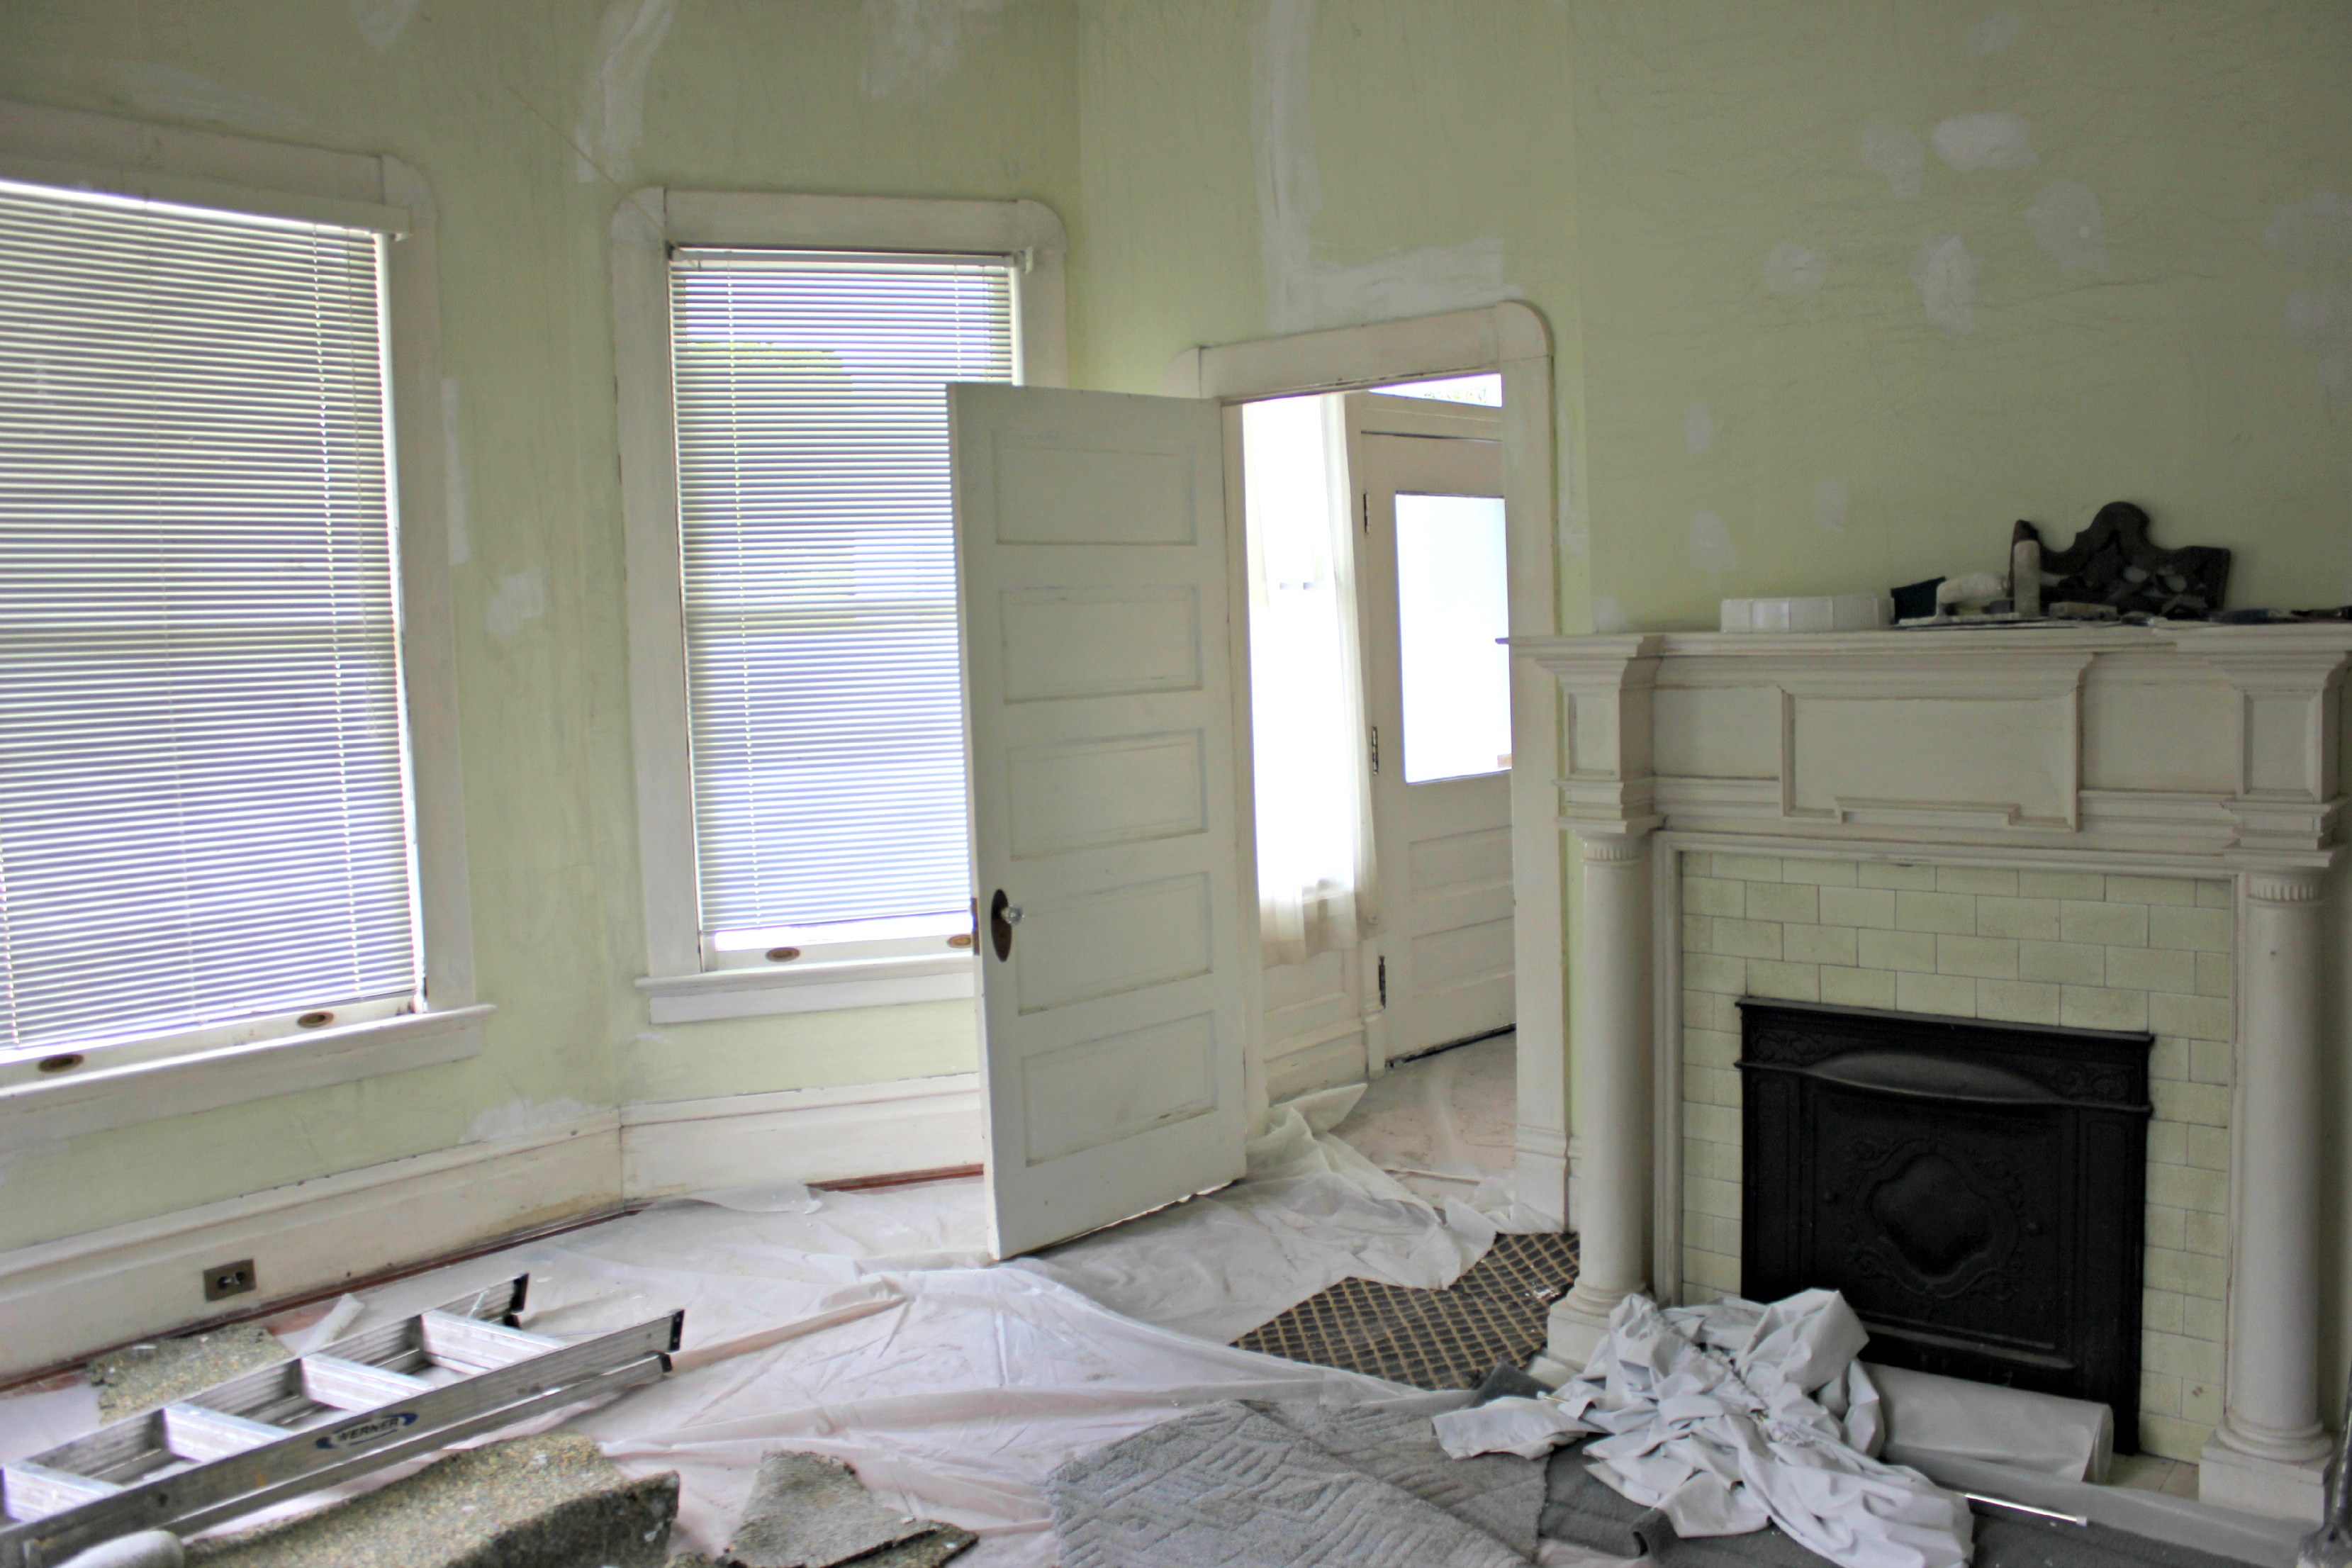
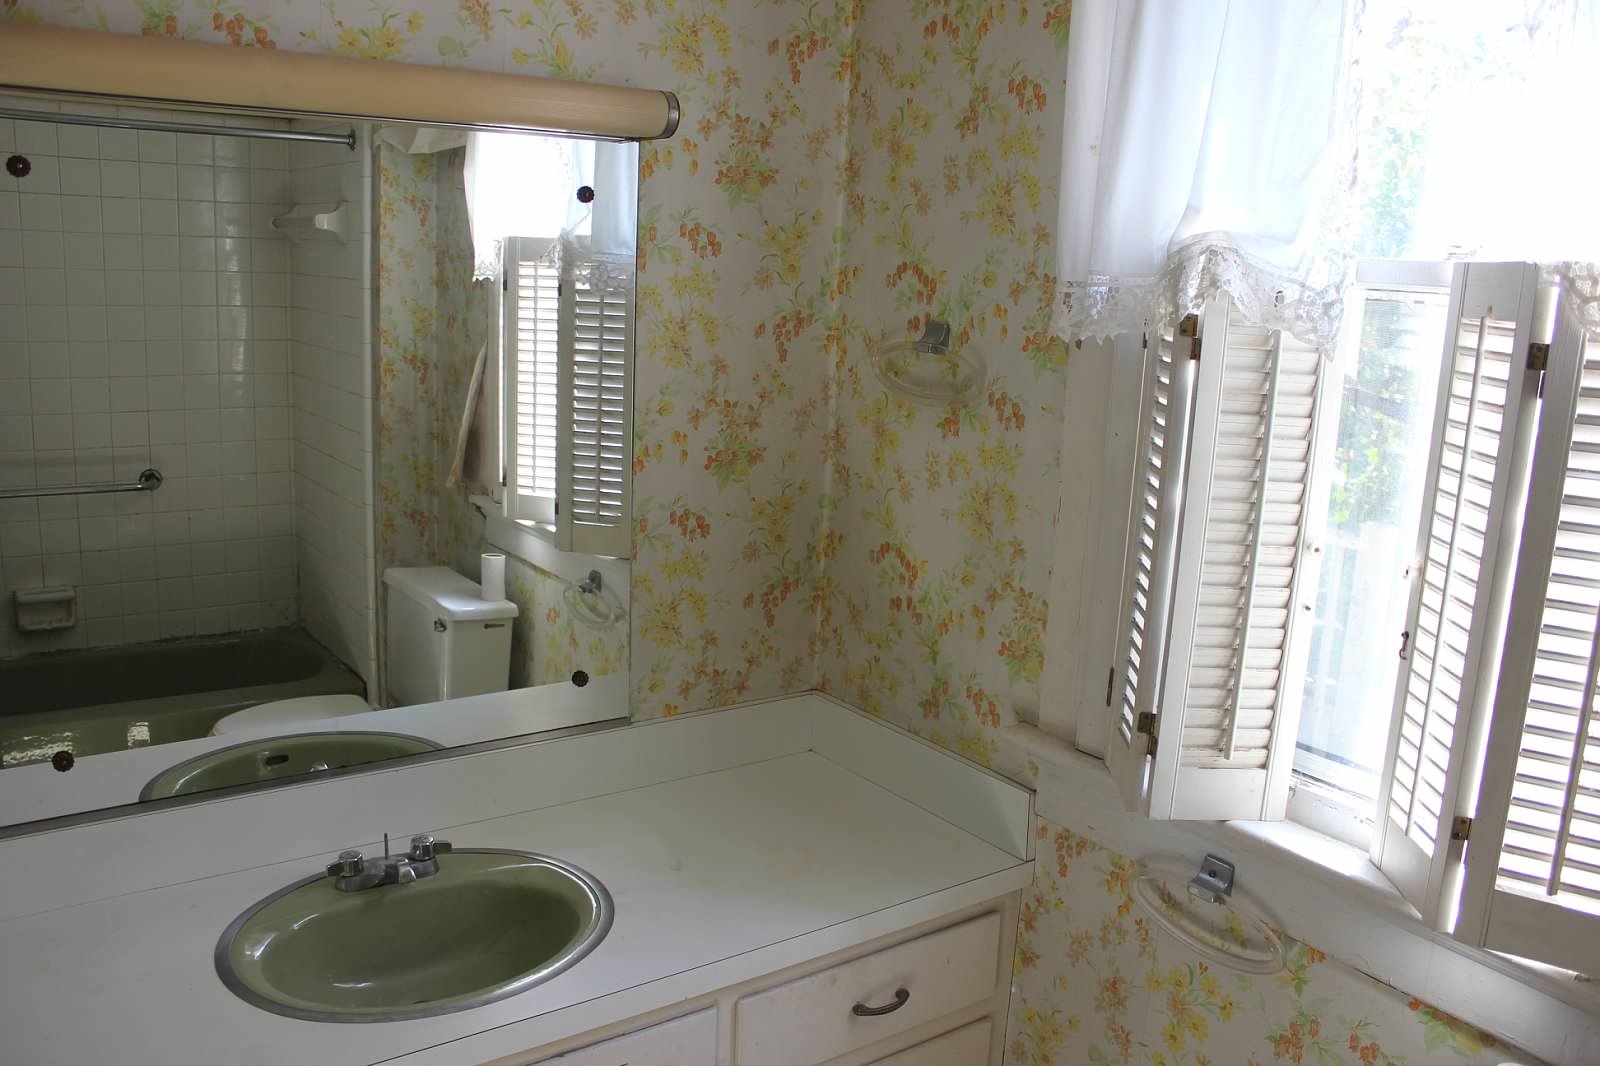
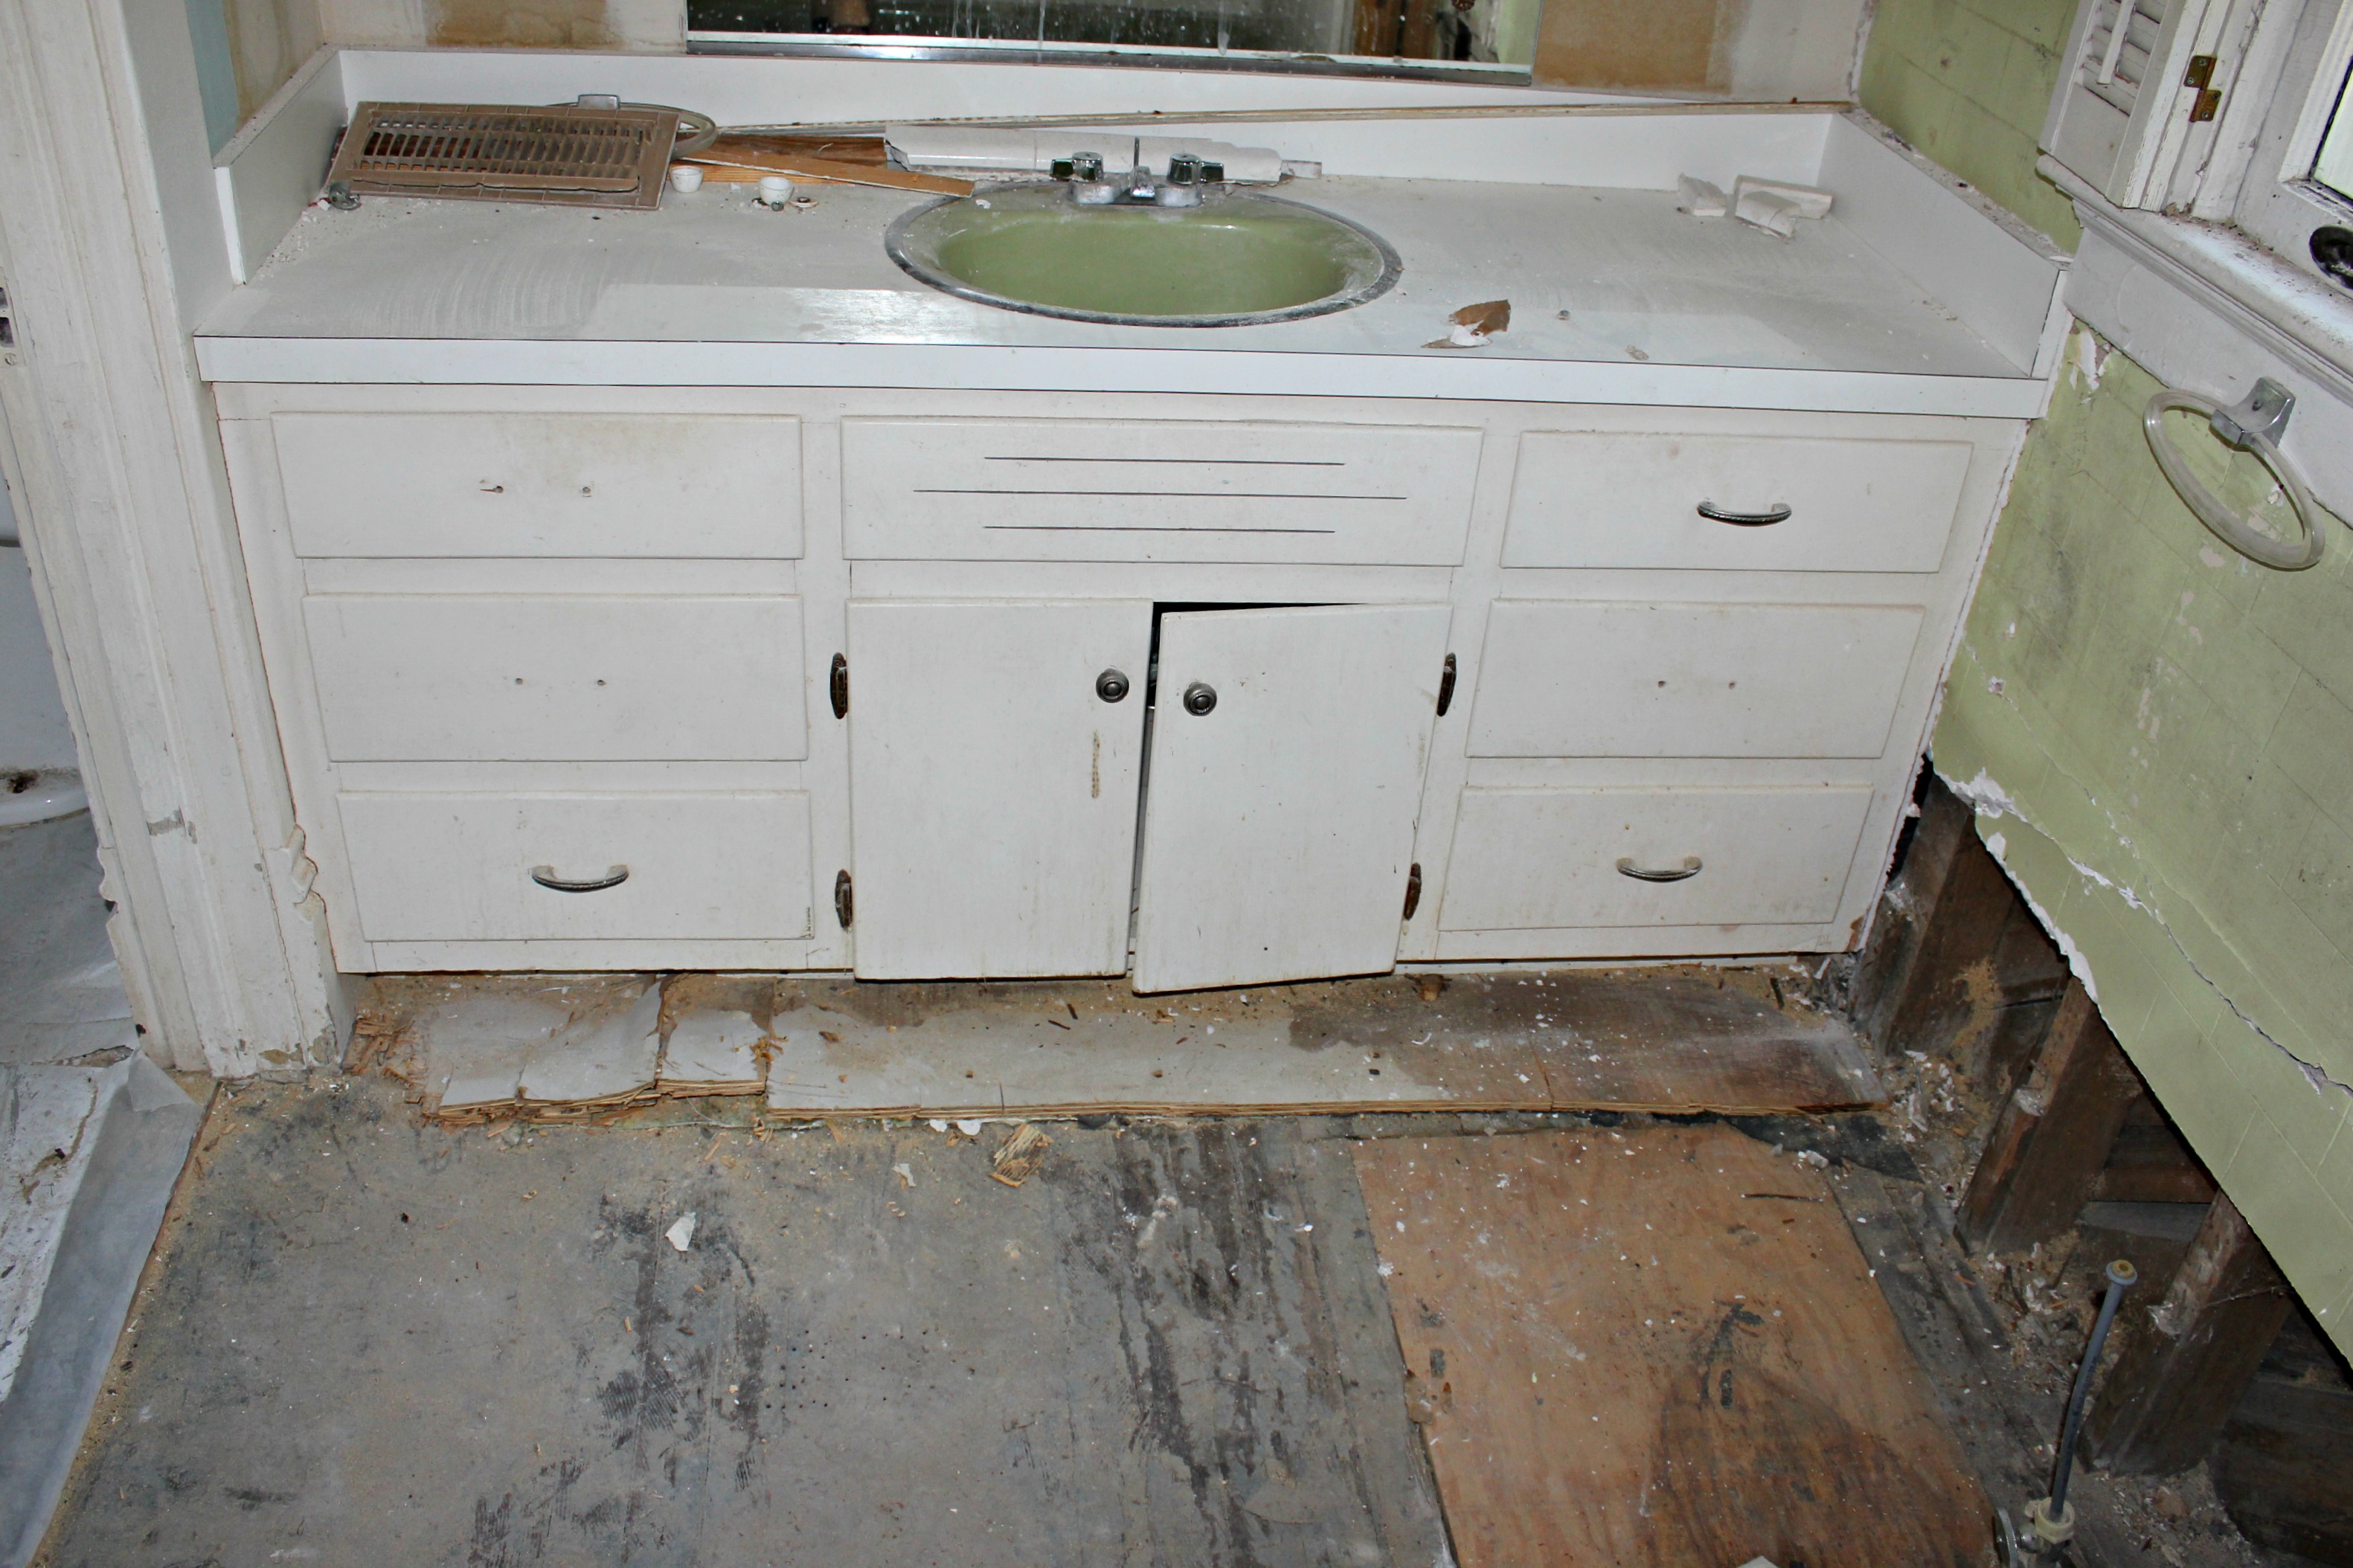
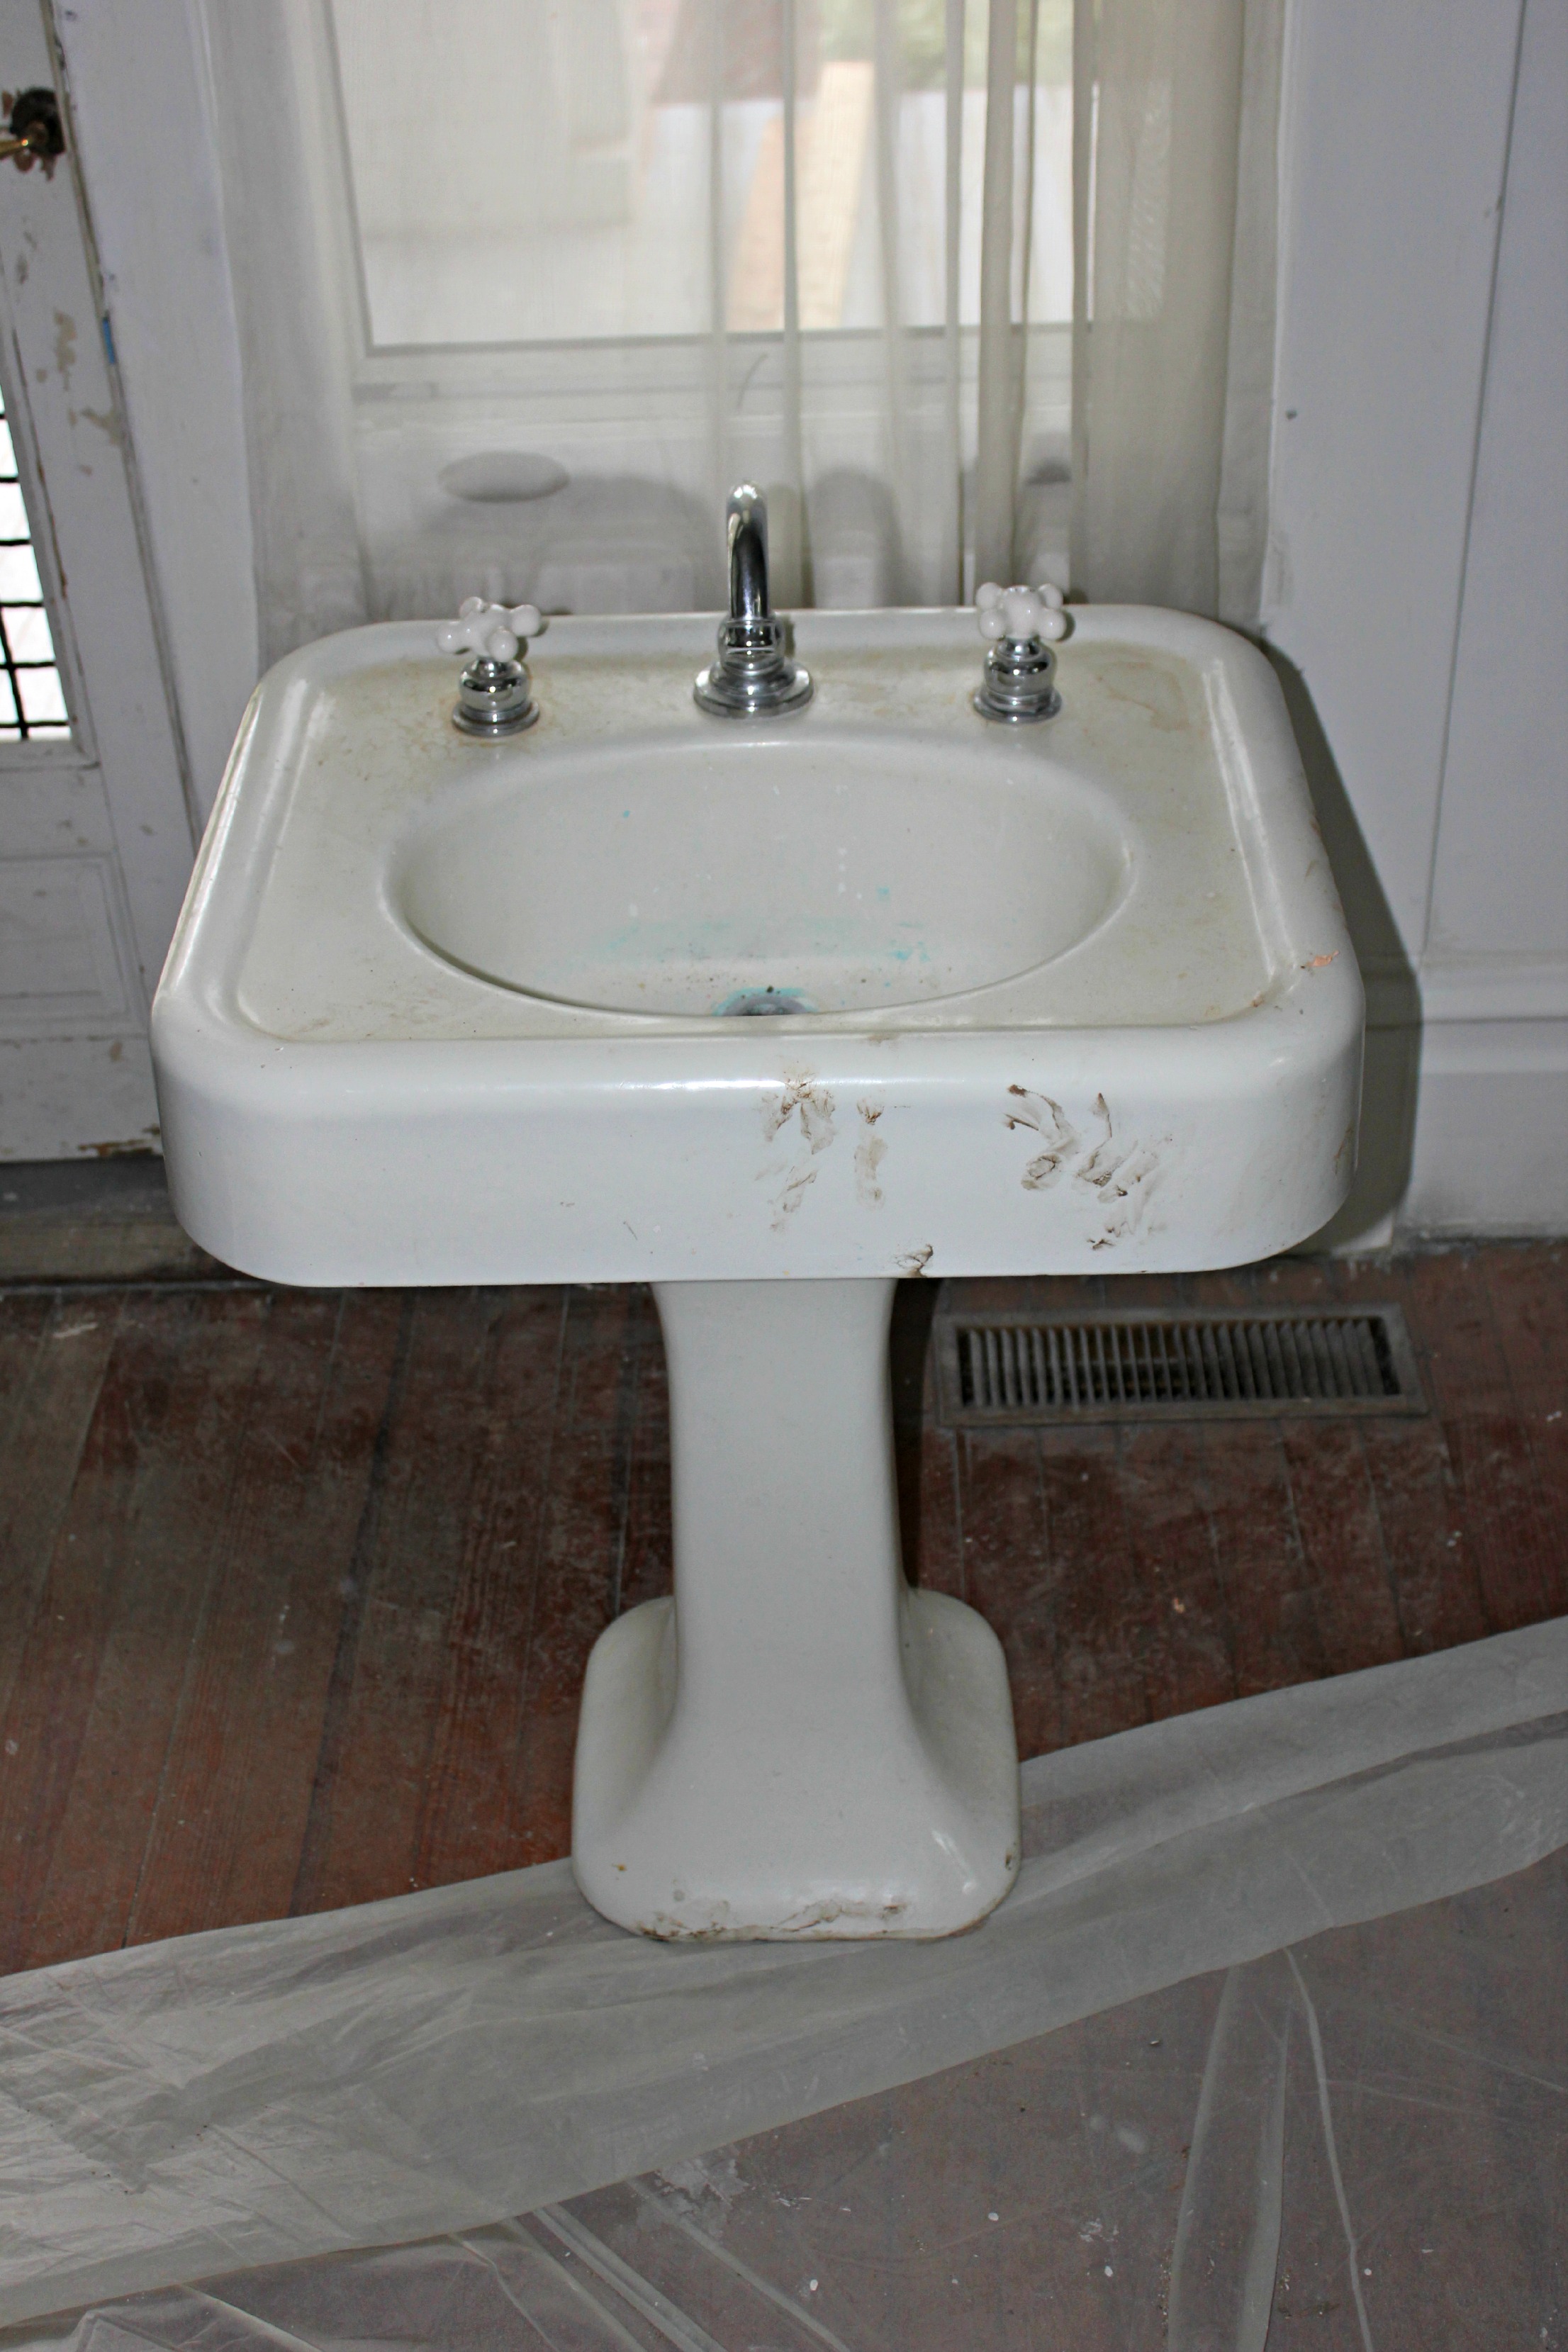
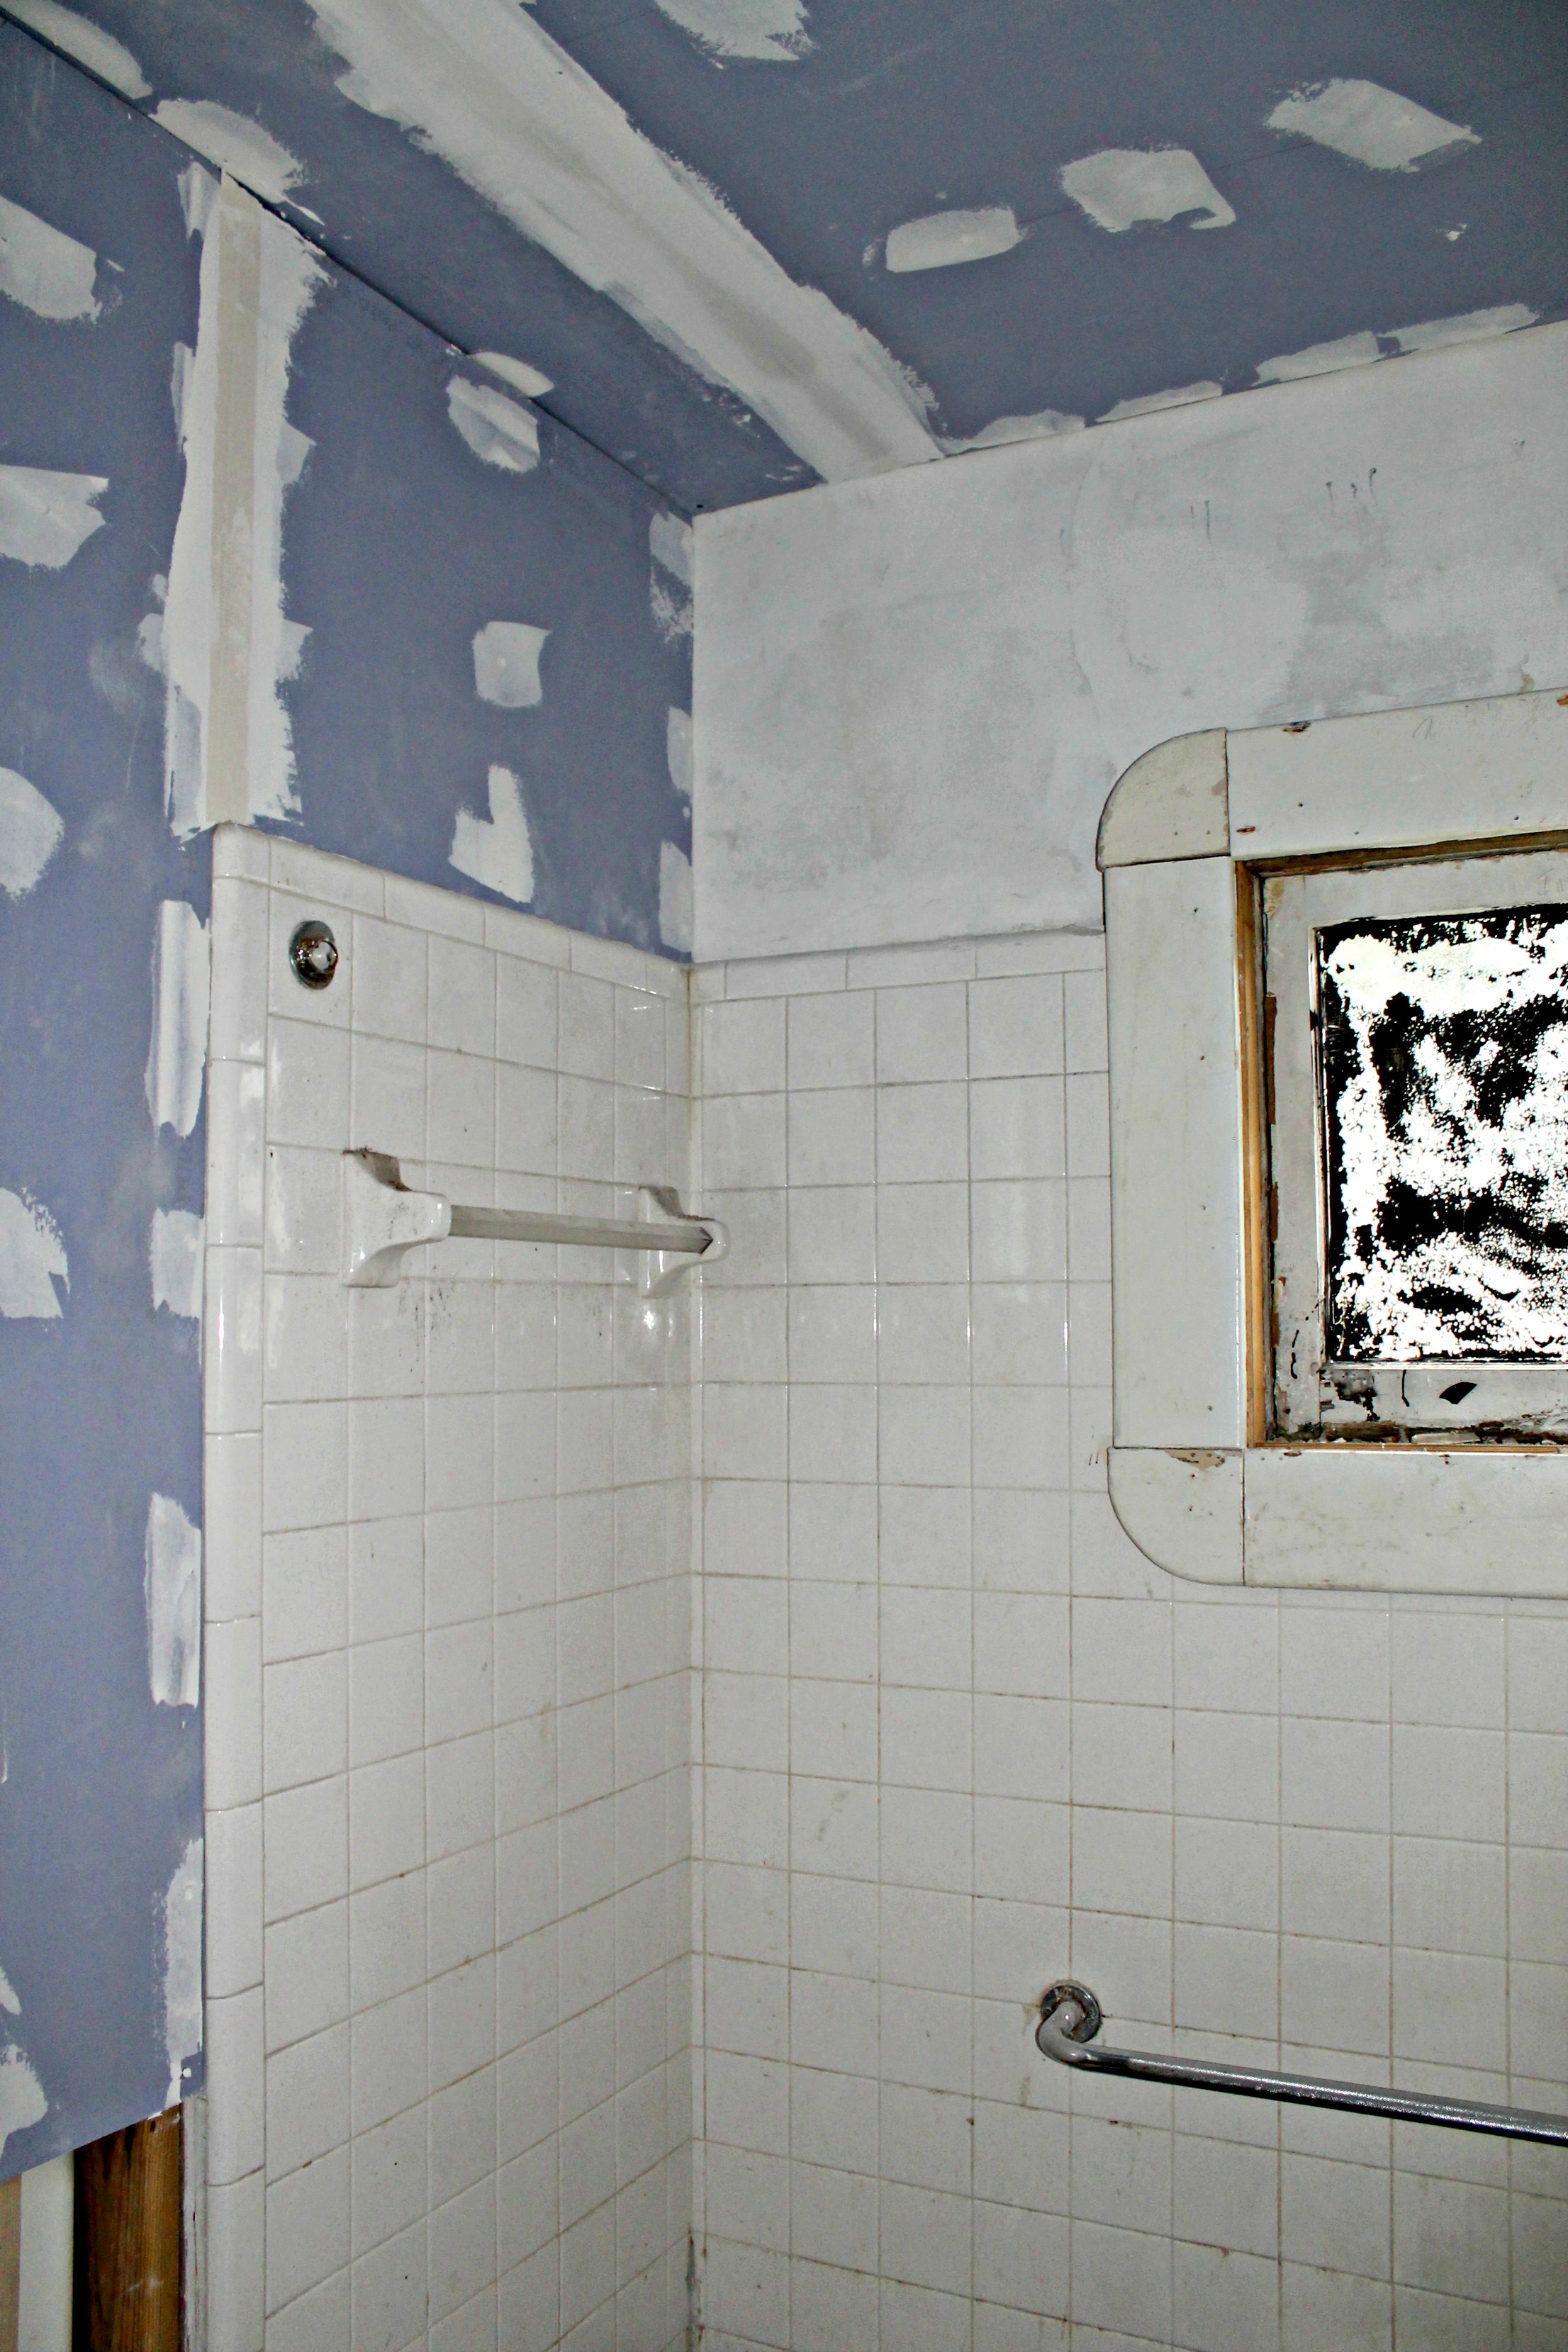
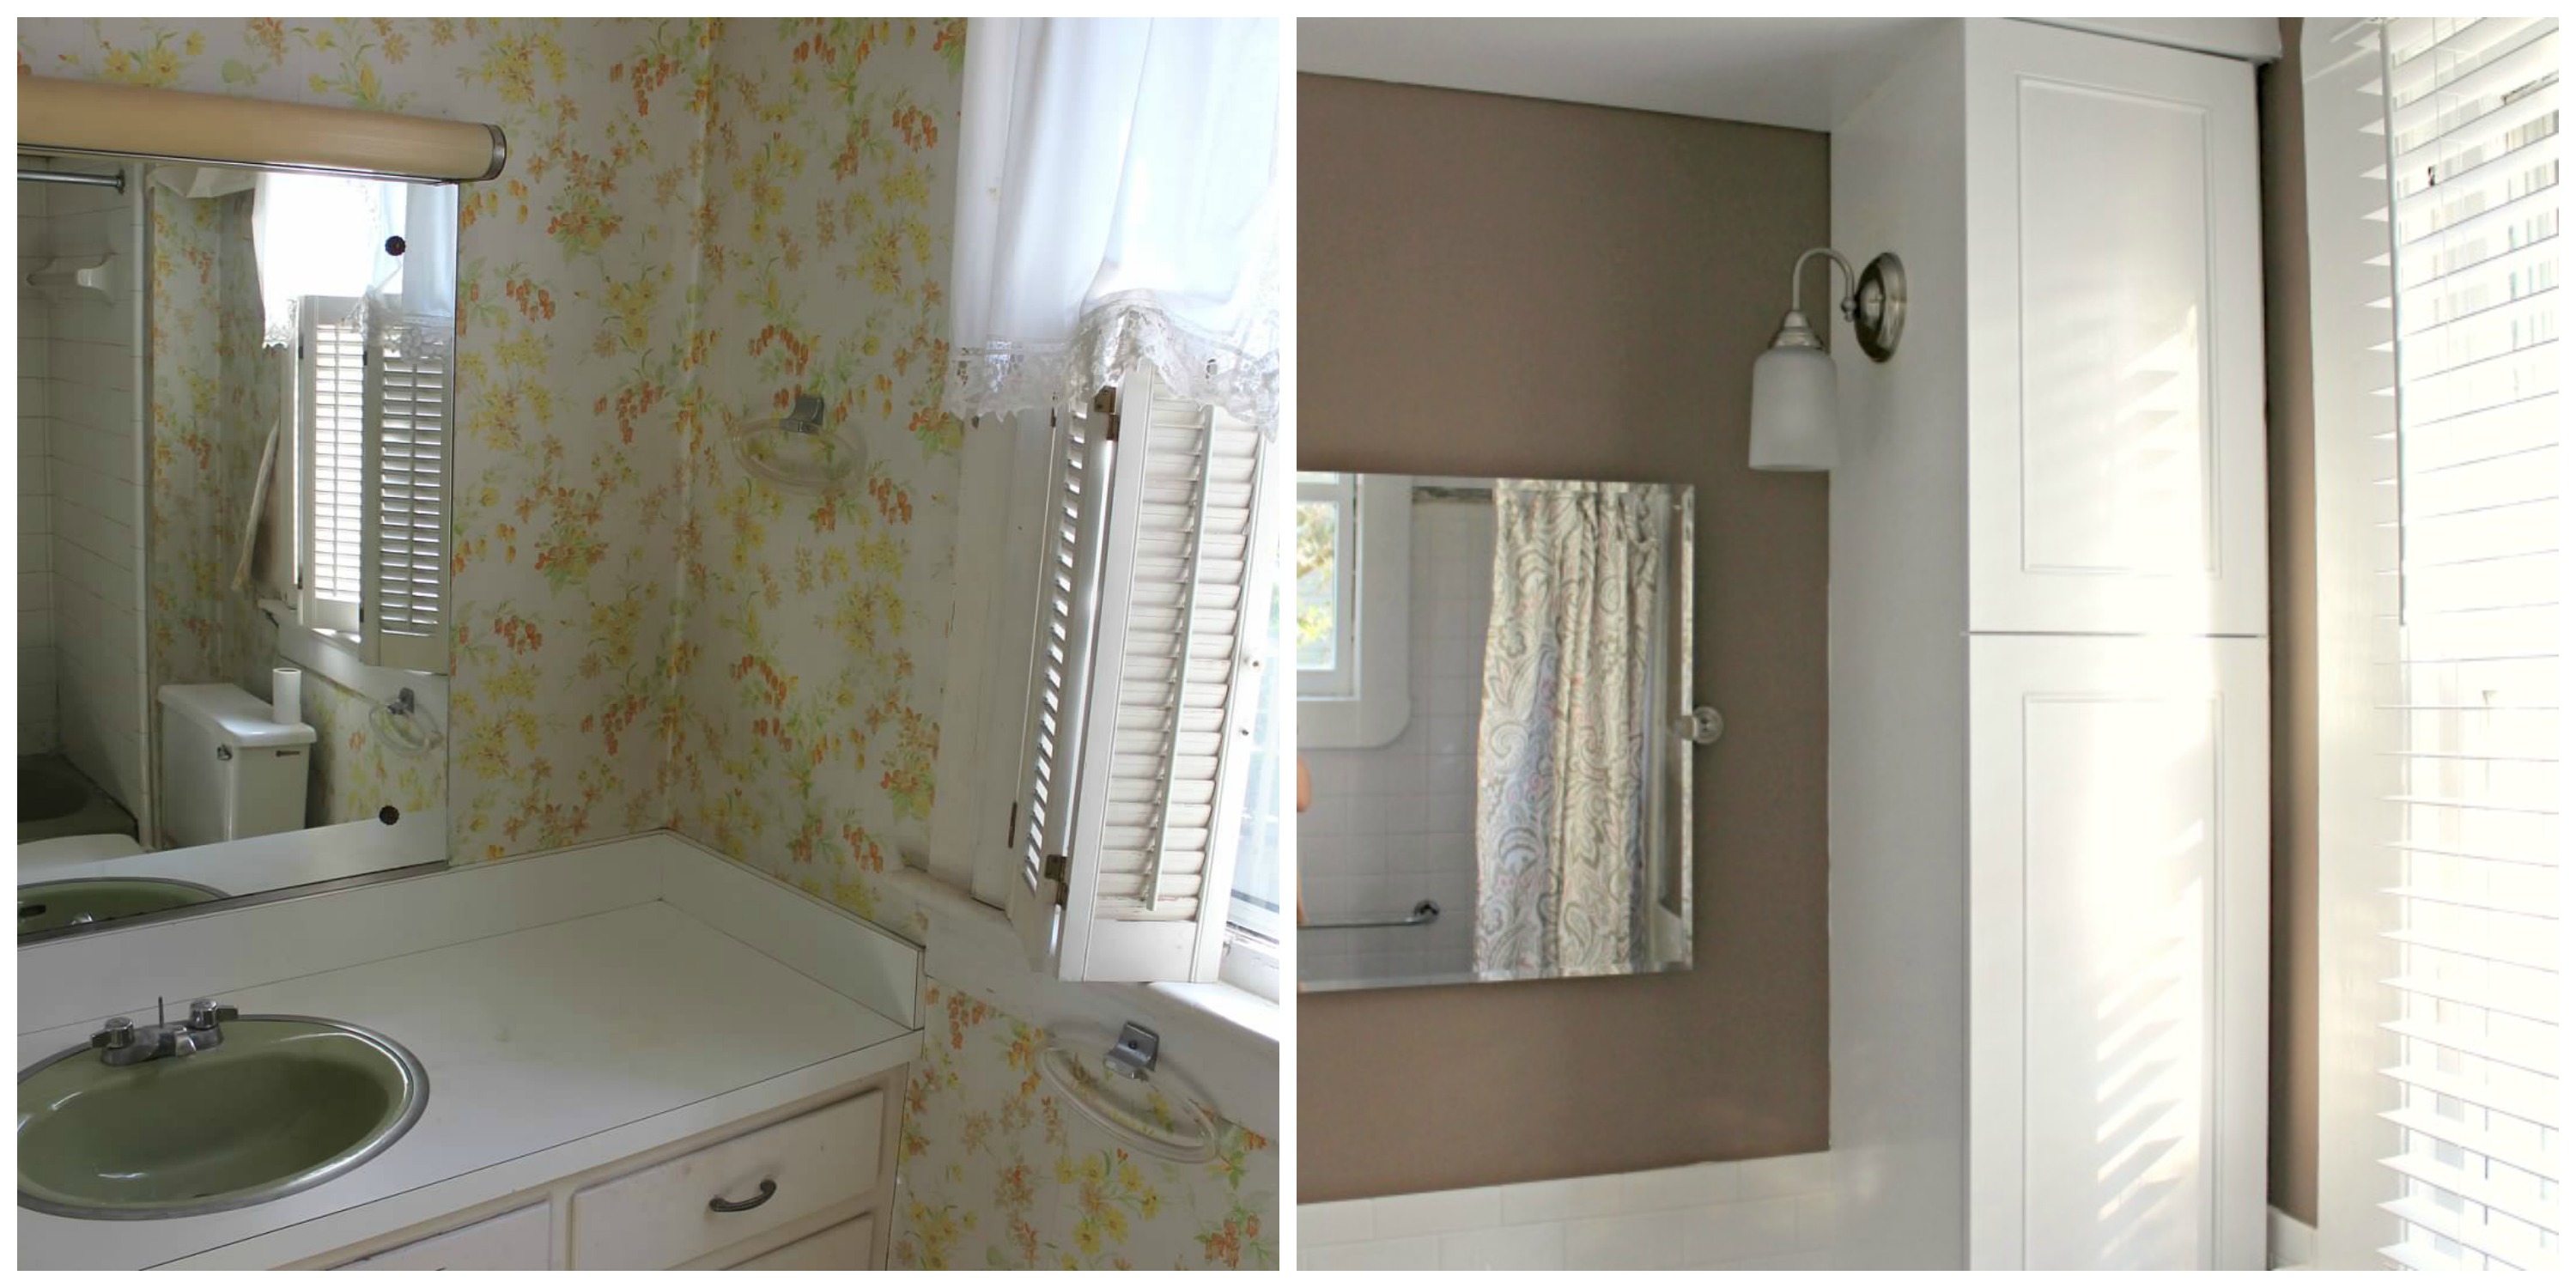
We thought this bathroom was going to be a pretty quick job. We planned to remove the wallpaper and fix any issues with the walls, replace the vinyl floor with a tile floor, leave the existing cabinets alone other than a paint job, and replace the lights and mirror. Easy enough, right?
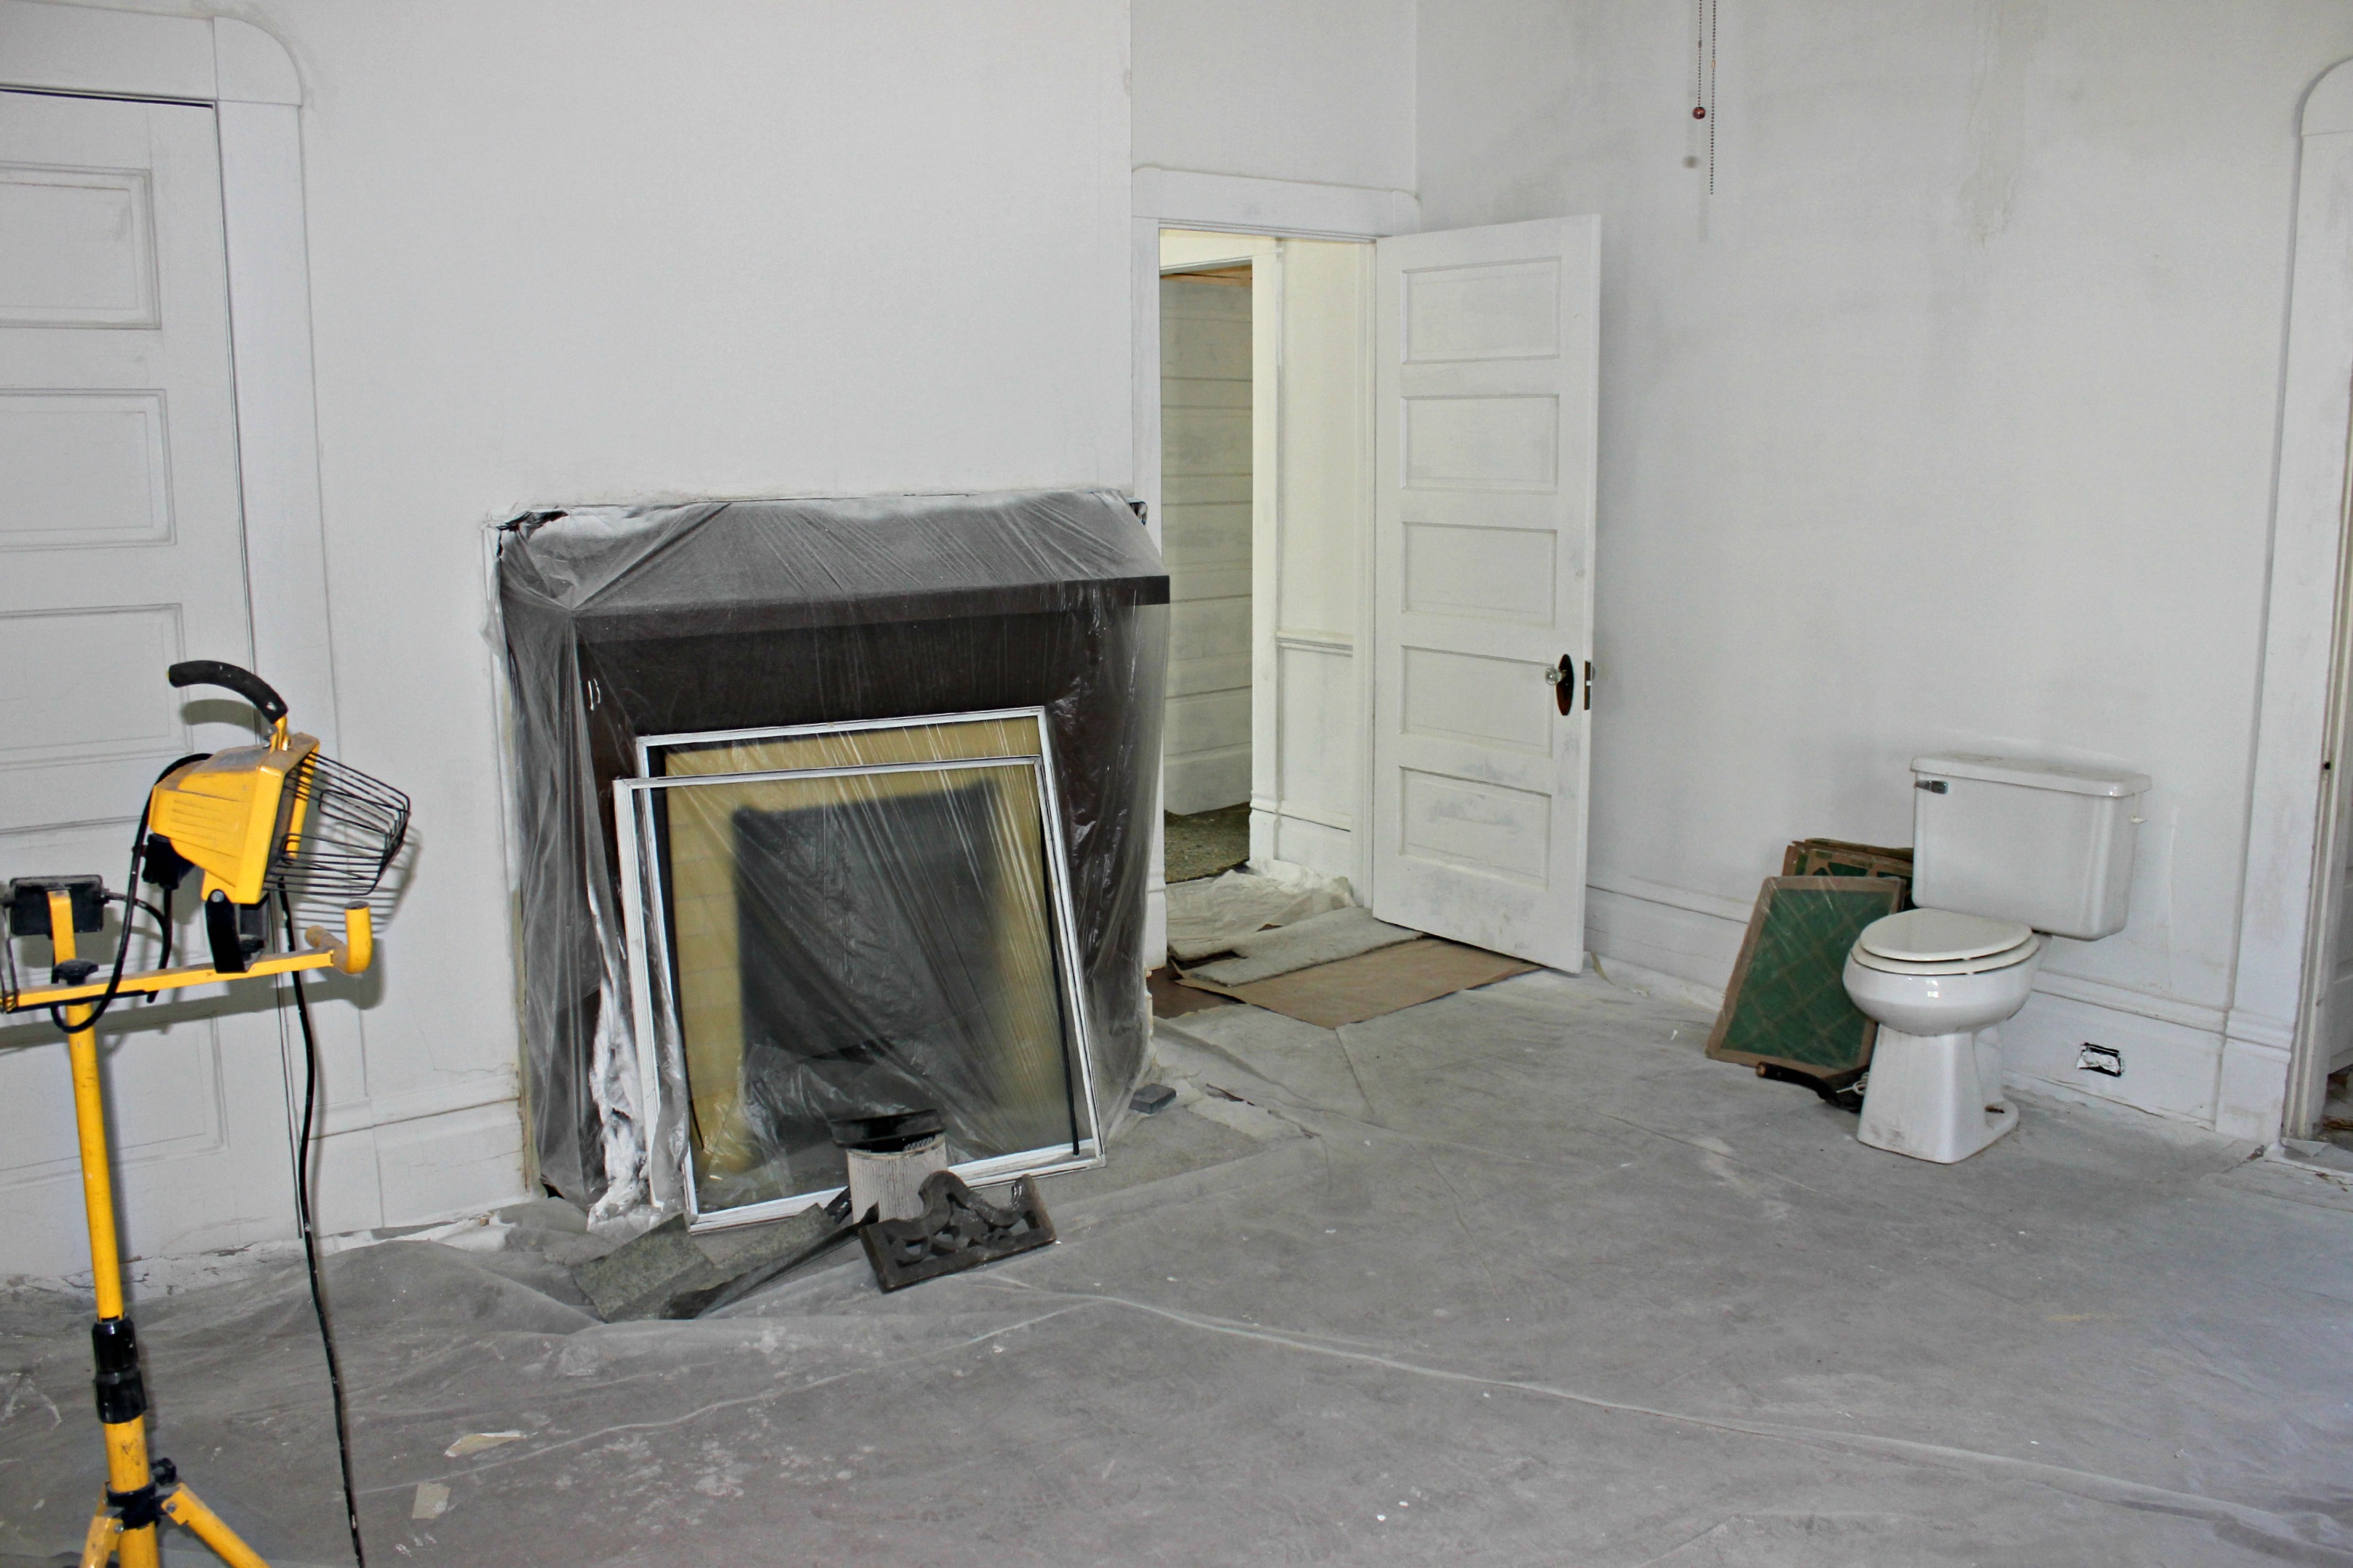
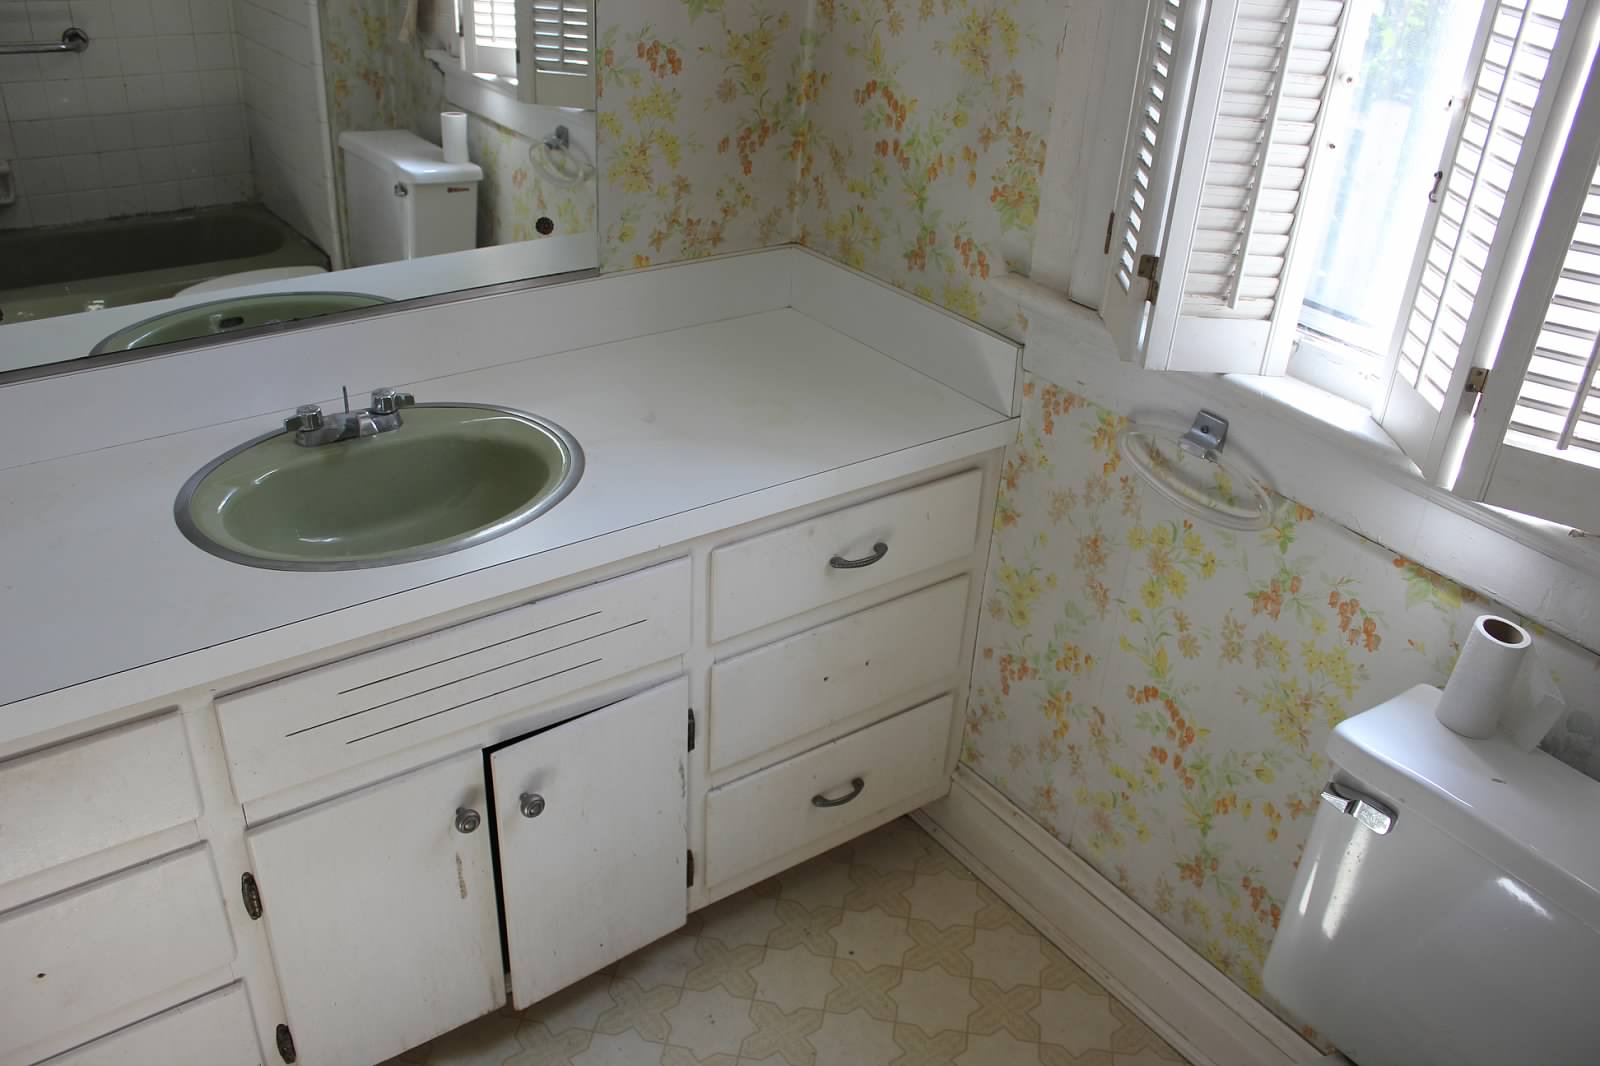
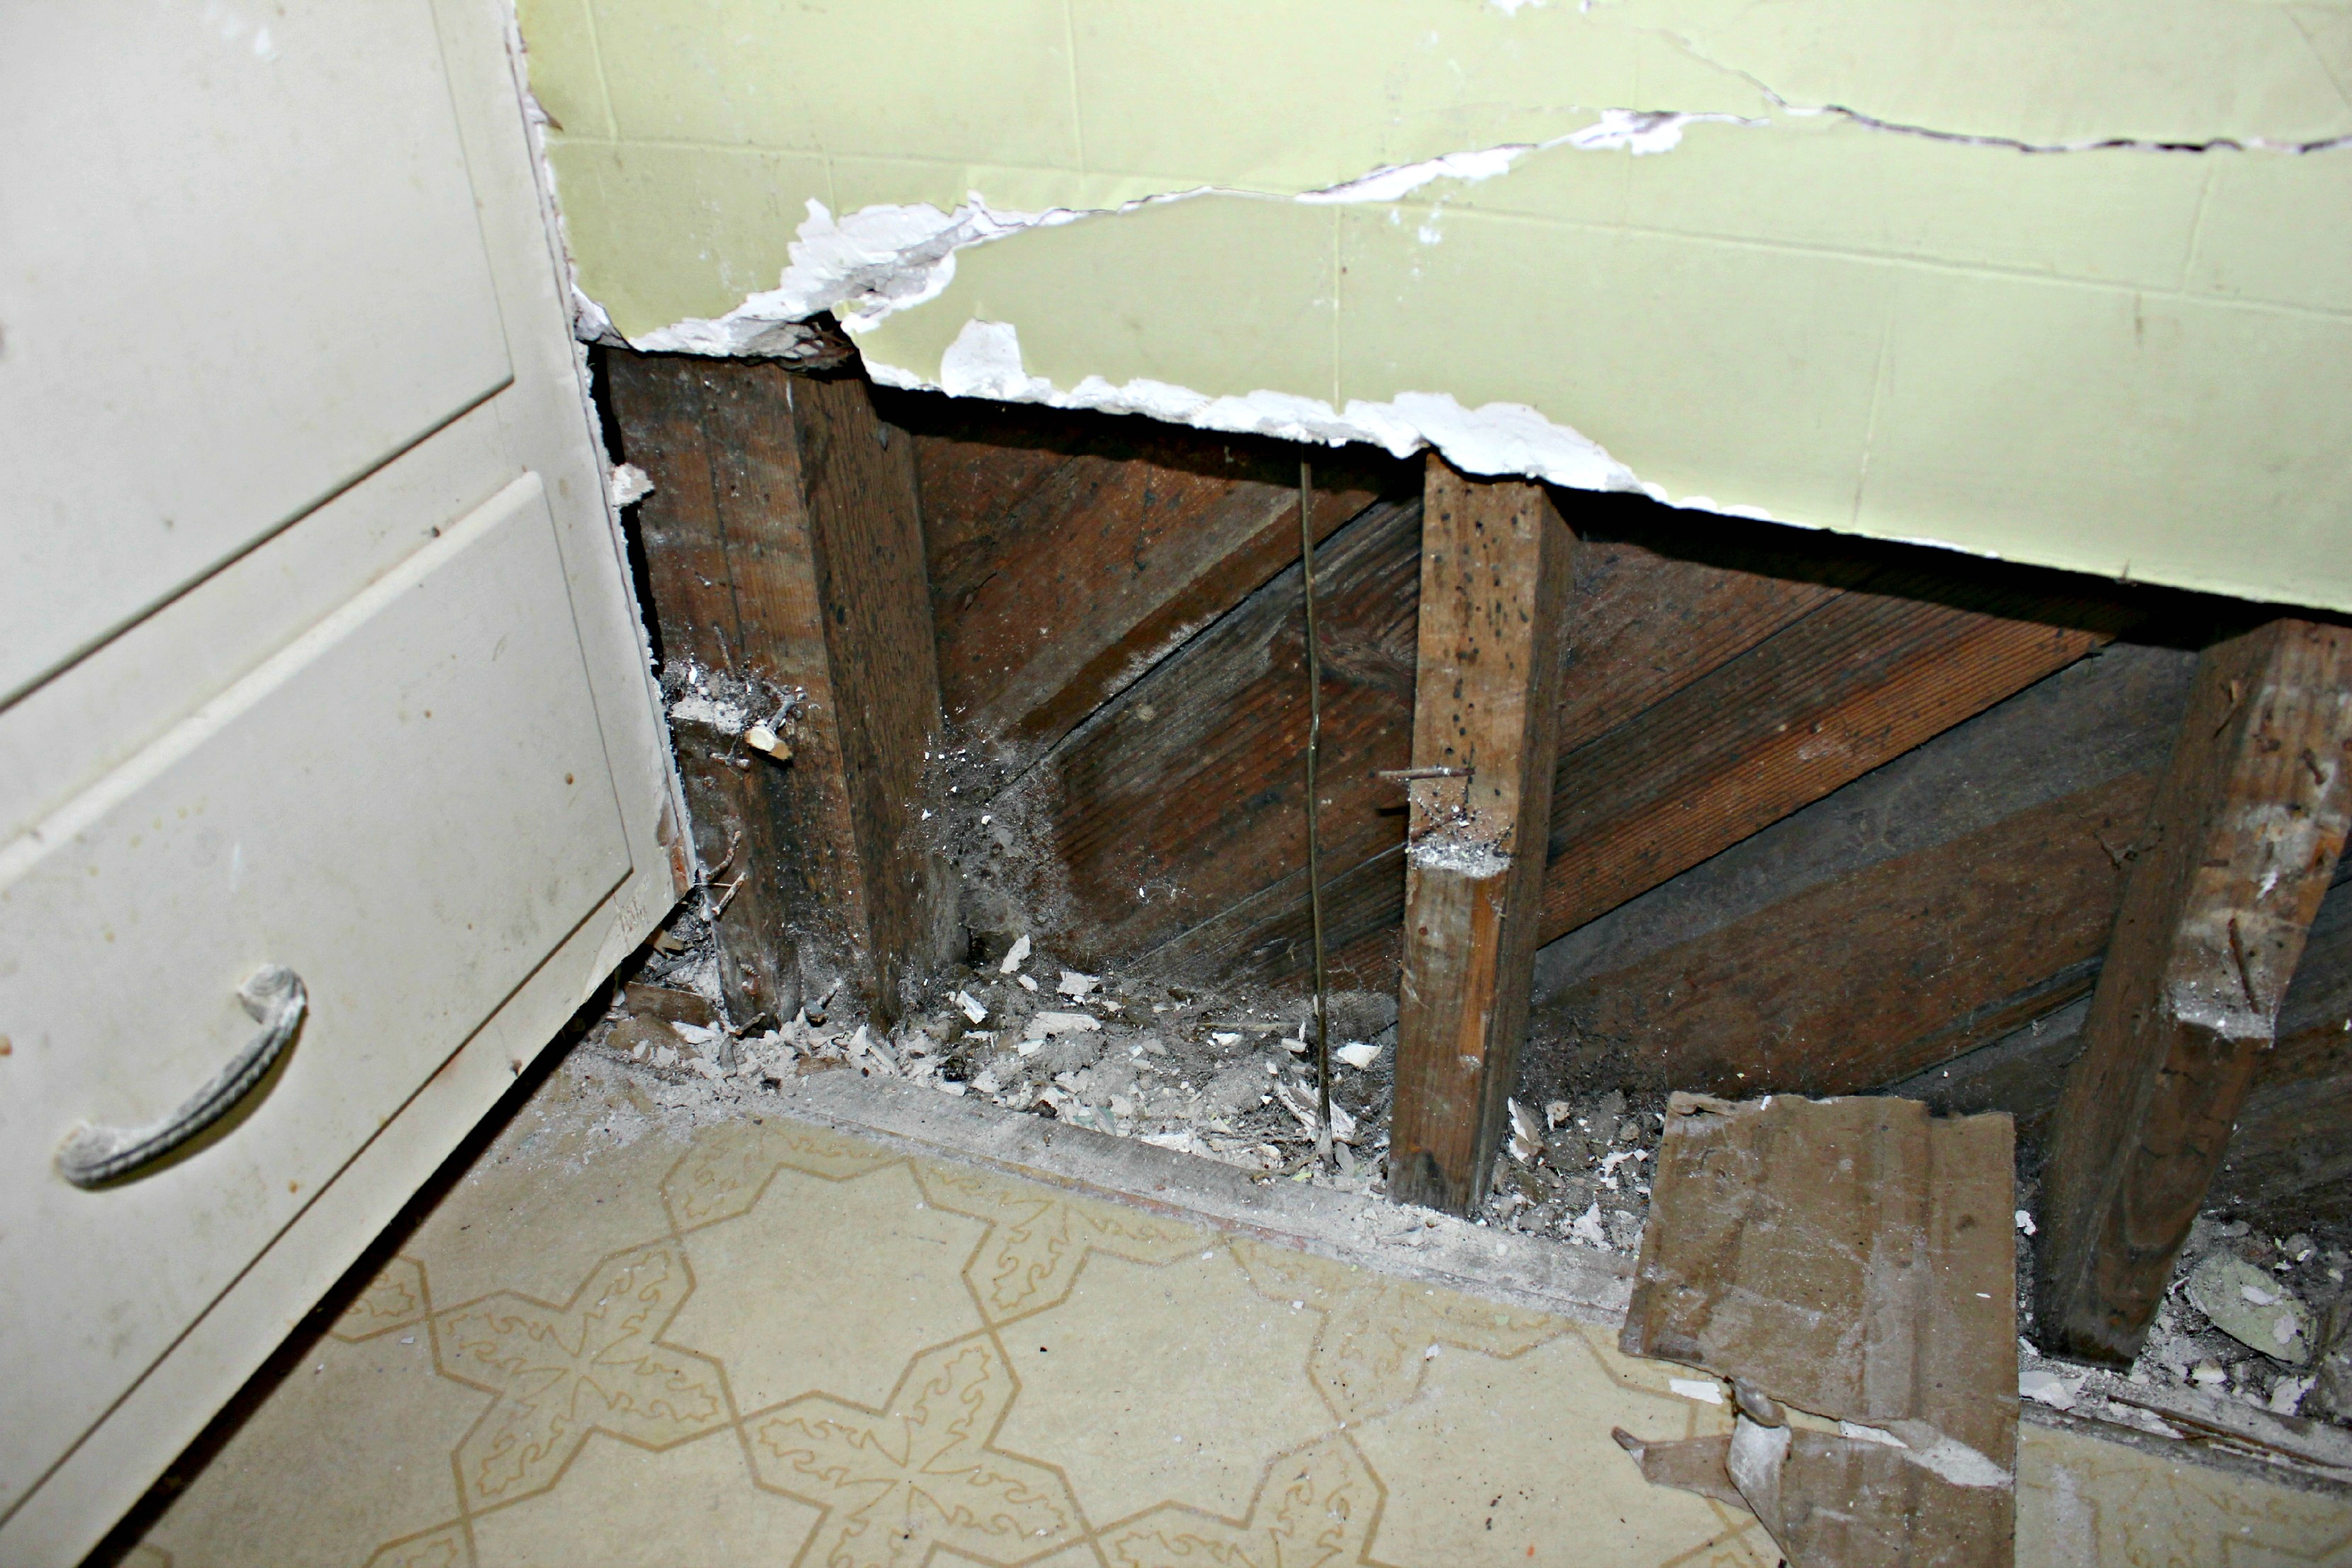
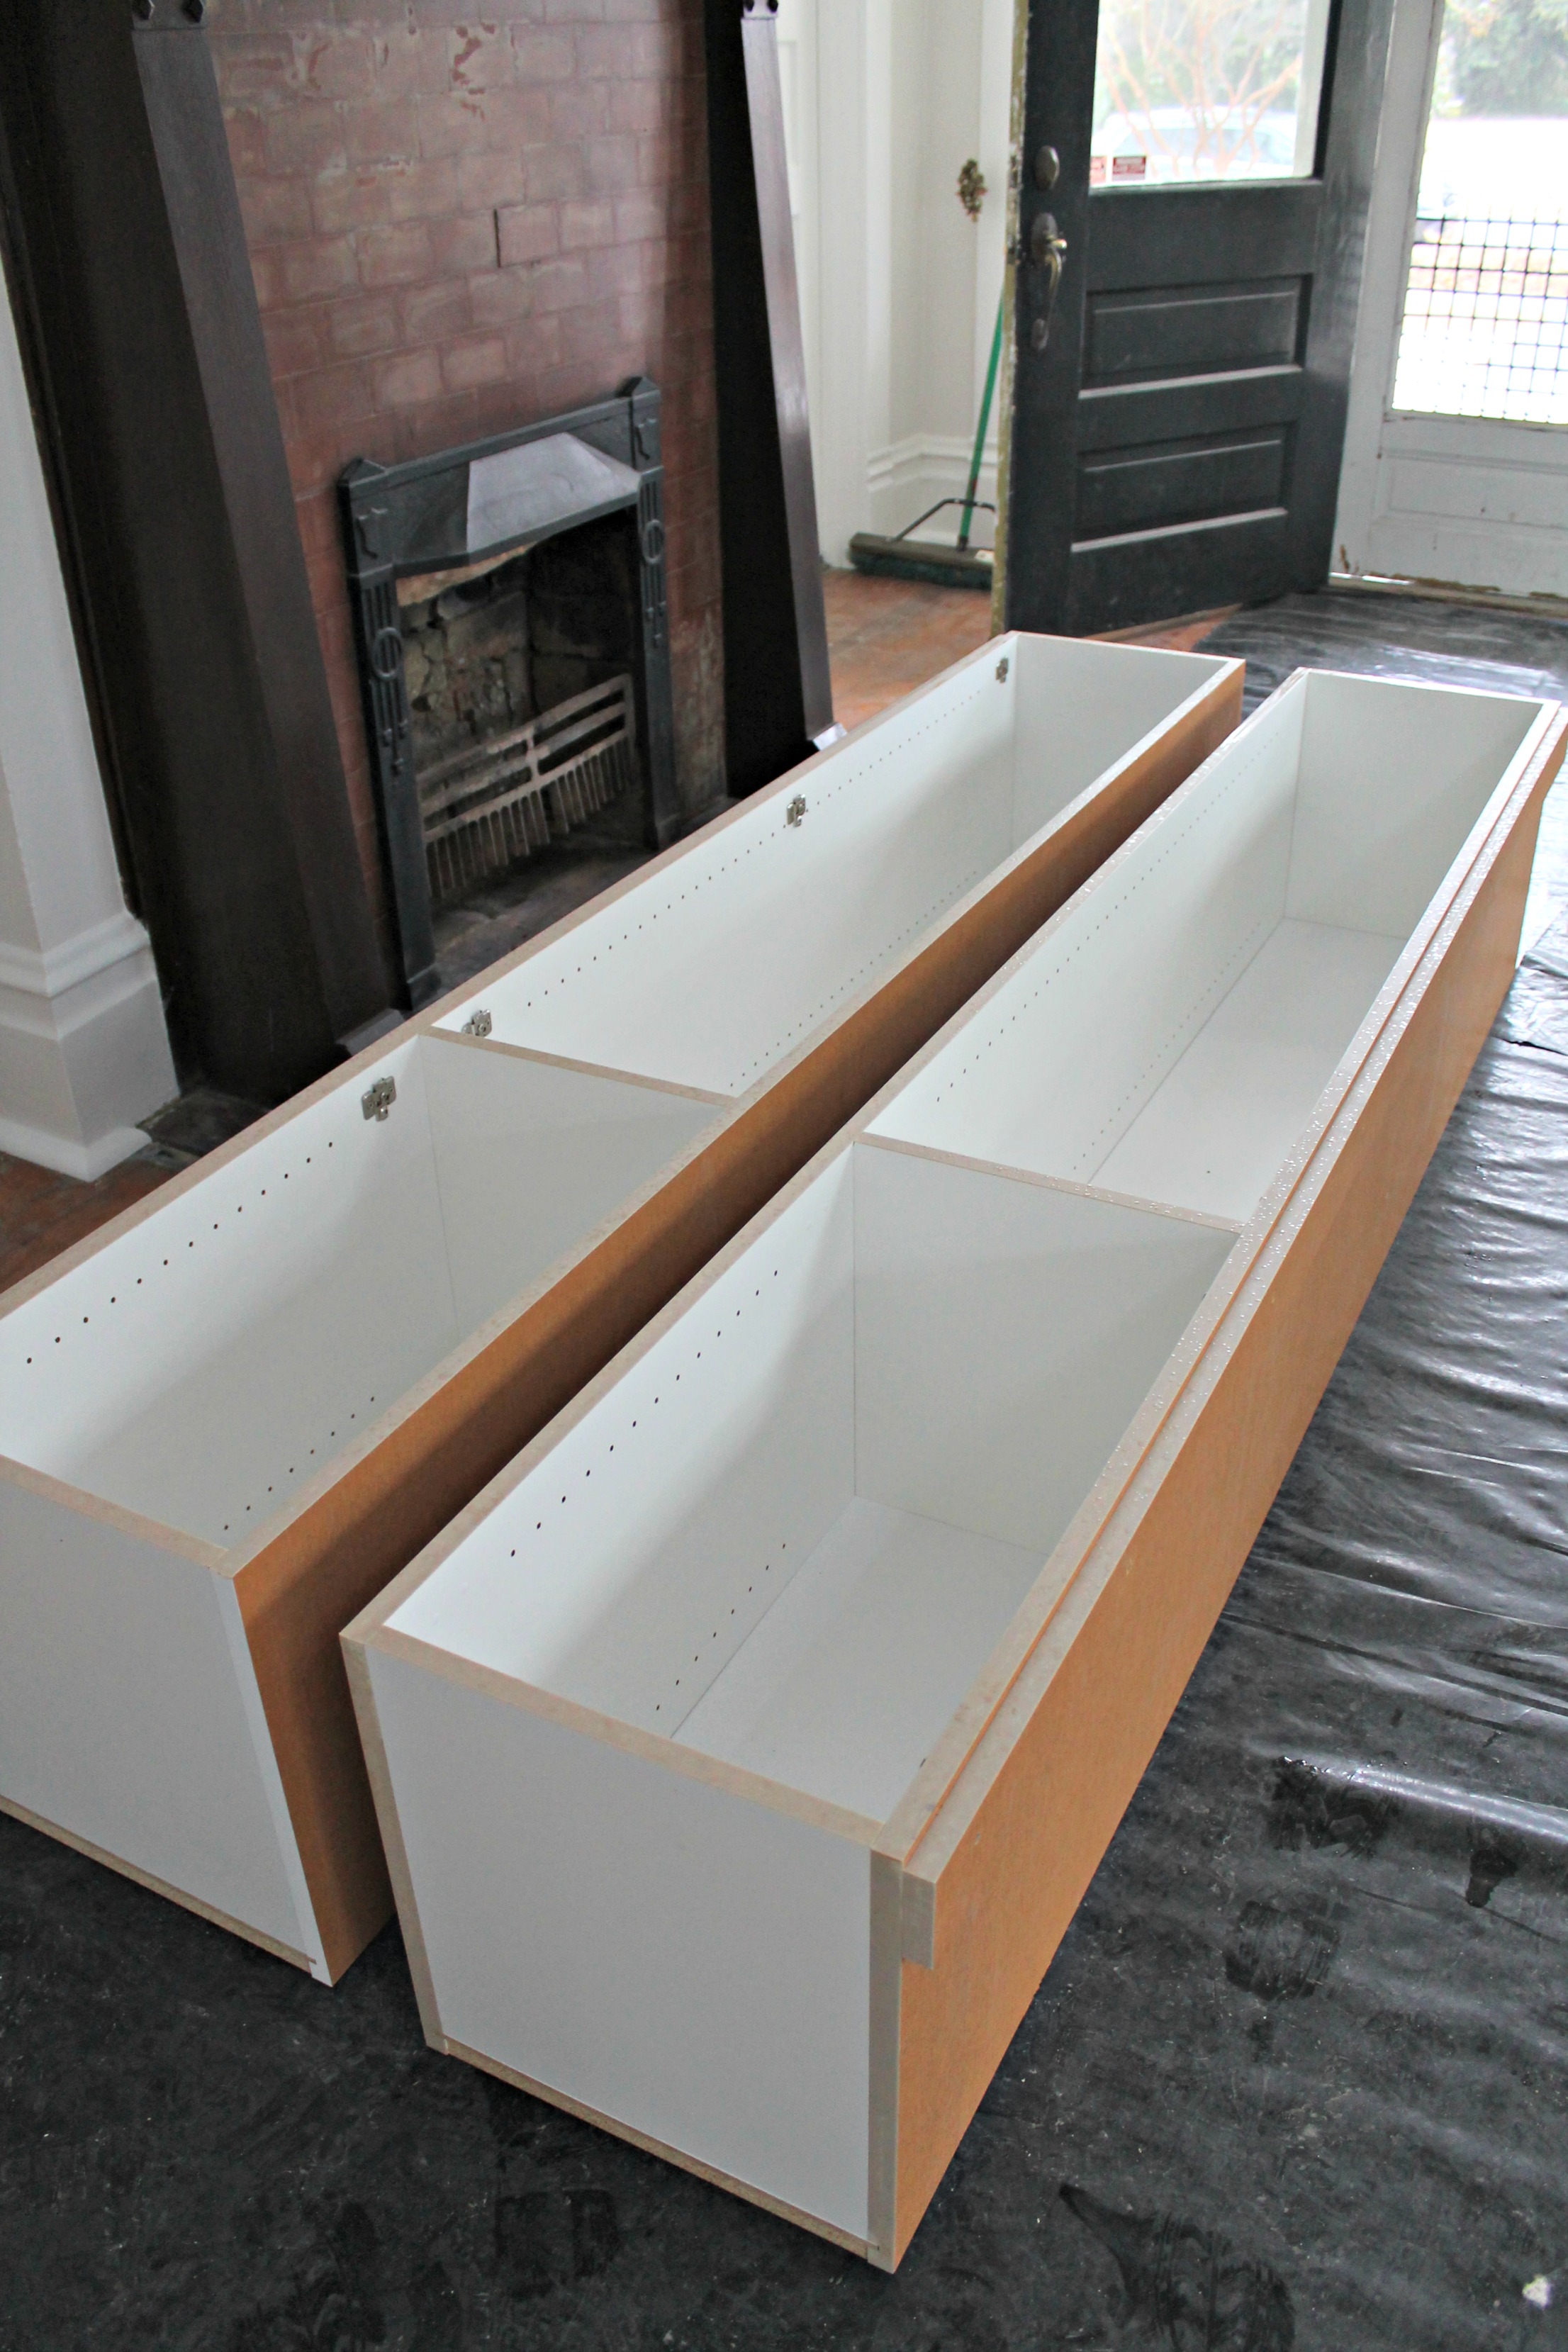
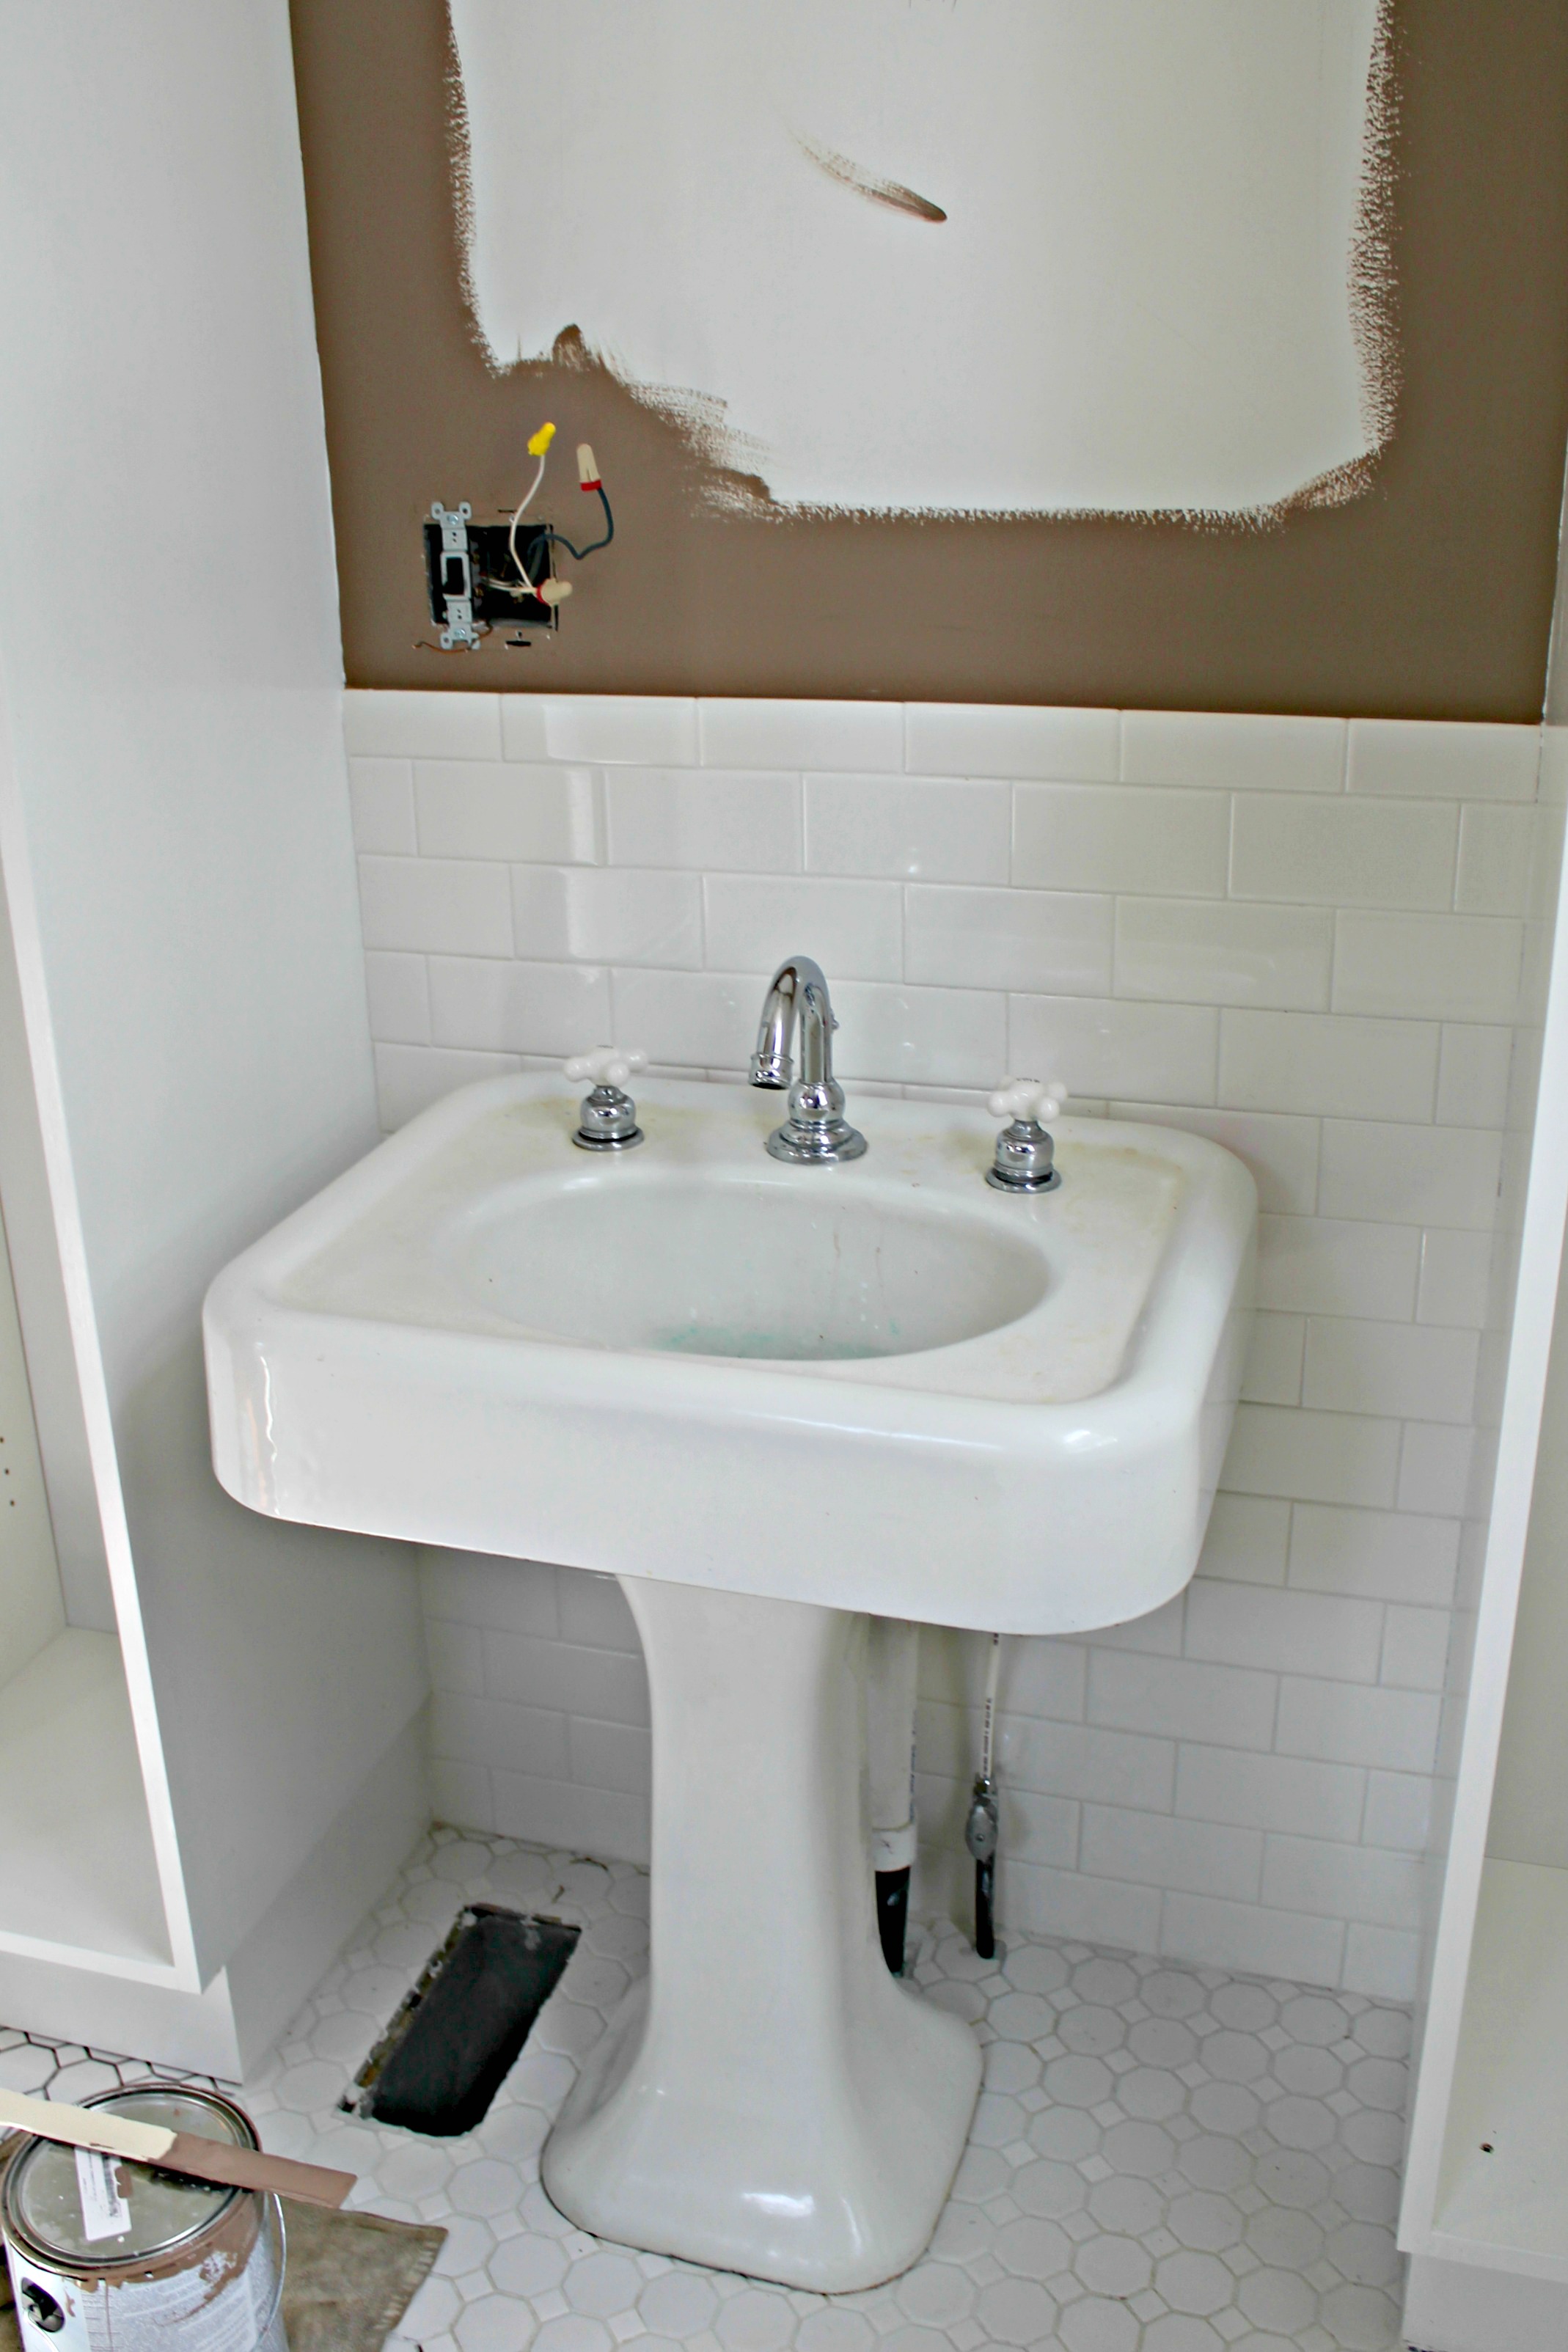
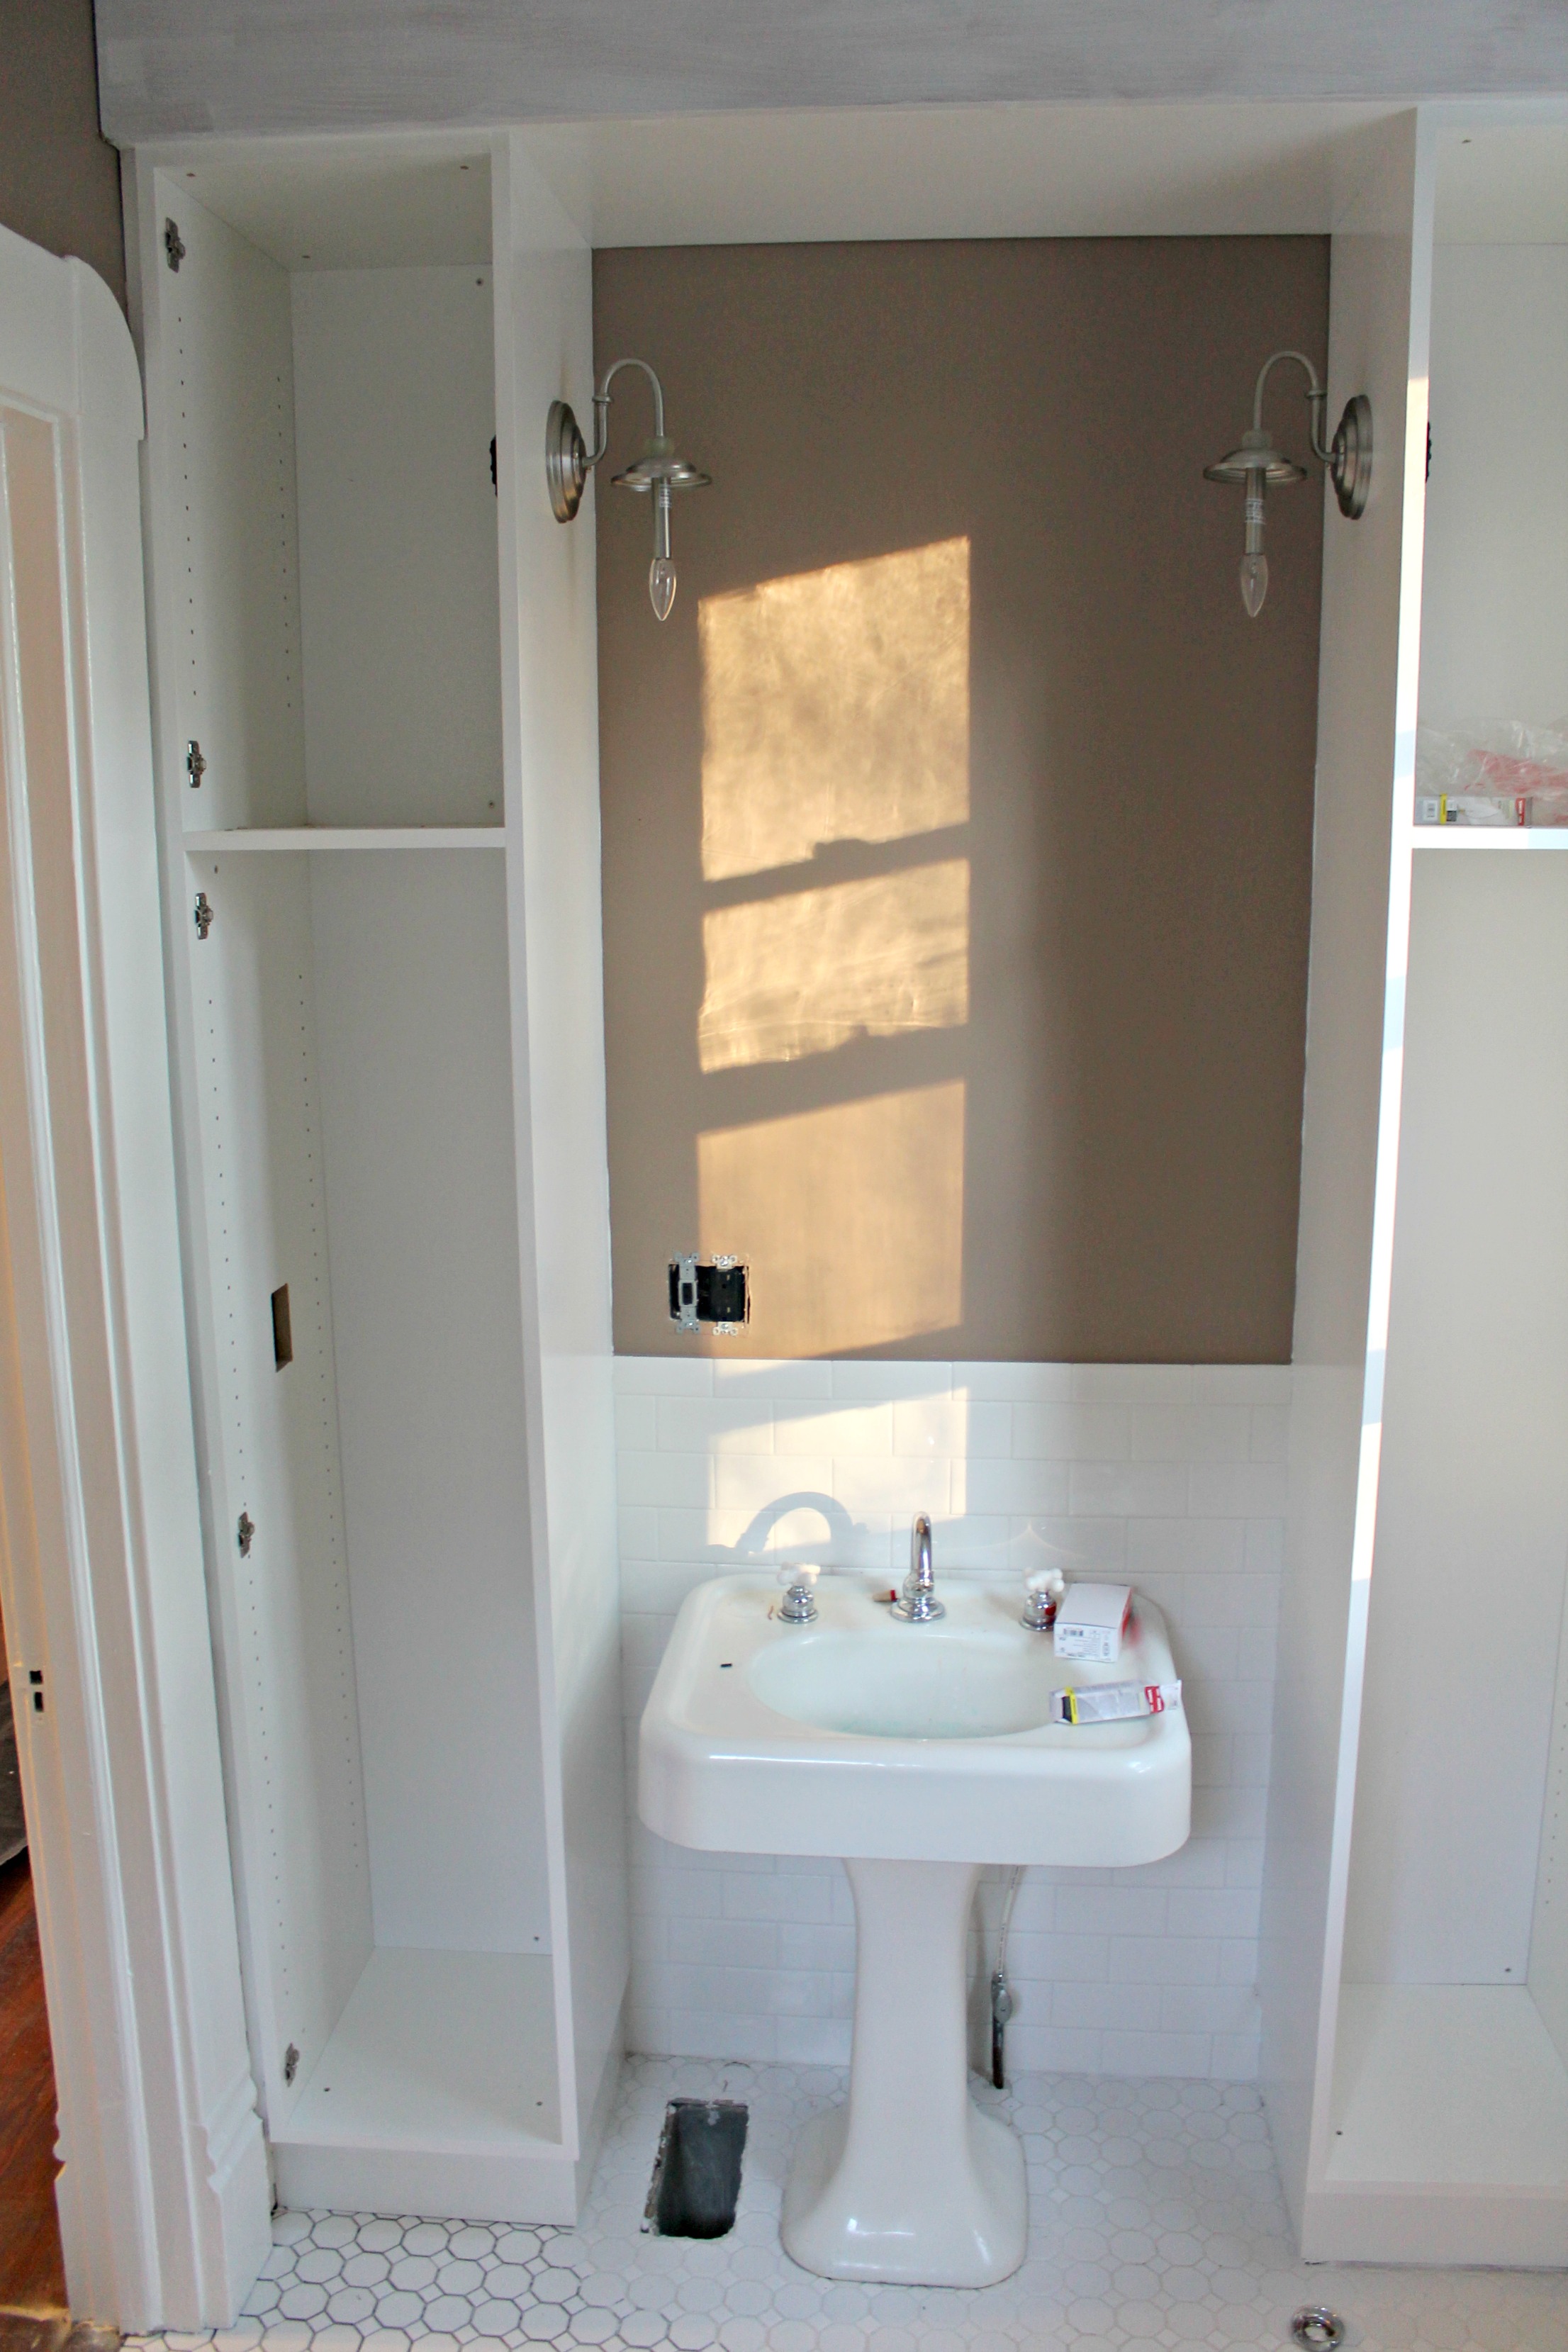
Wrong. We quickly realized that if we planned to do any renovations in the future (and we did), we needed to go ahead and rip out the vanity so we could tile underneath it. At that point, we made the decision to throw it out and put in a new sink and bathroom faucet, and built in custom cabinets. You can read more about that here and here.


What we’ve finished
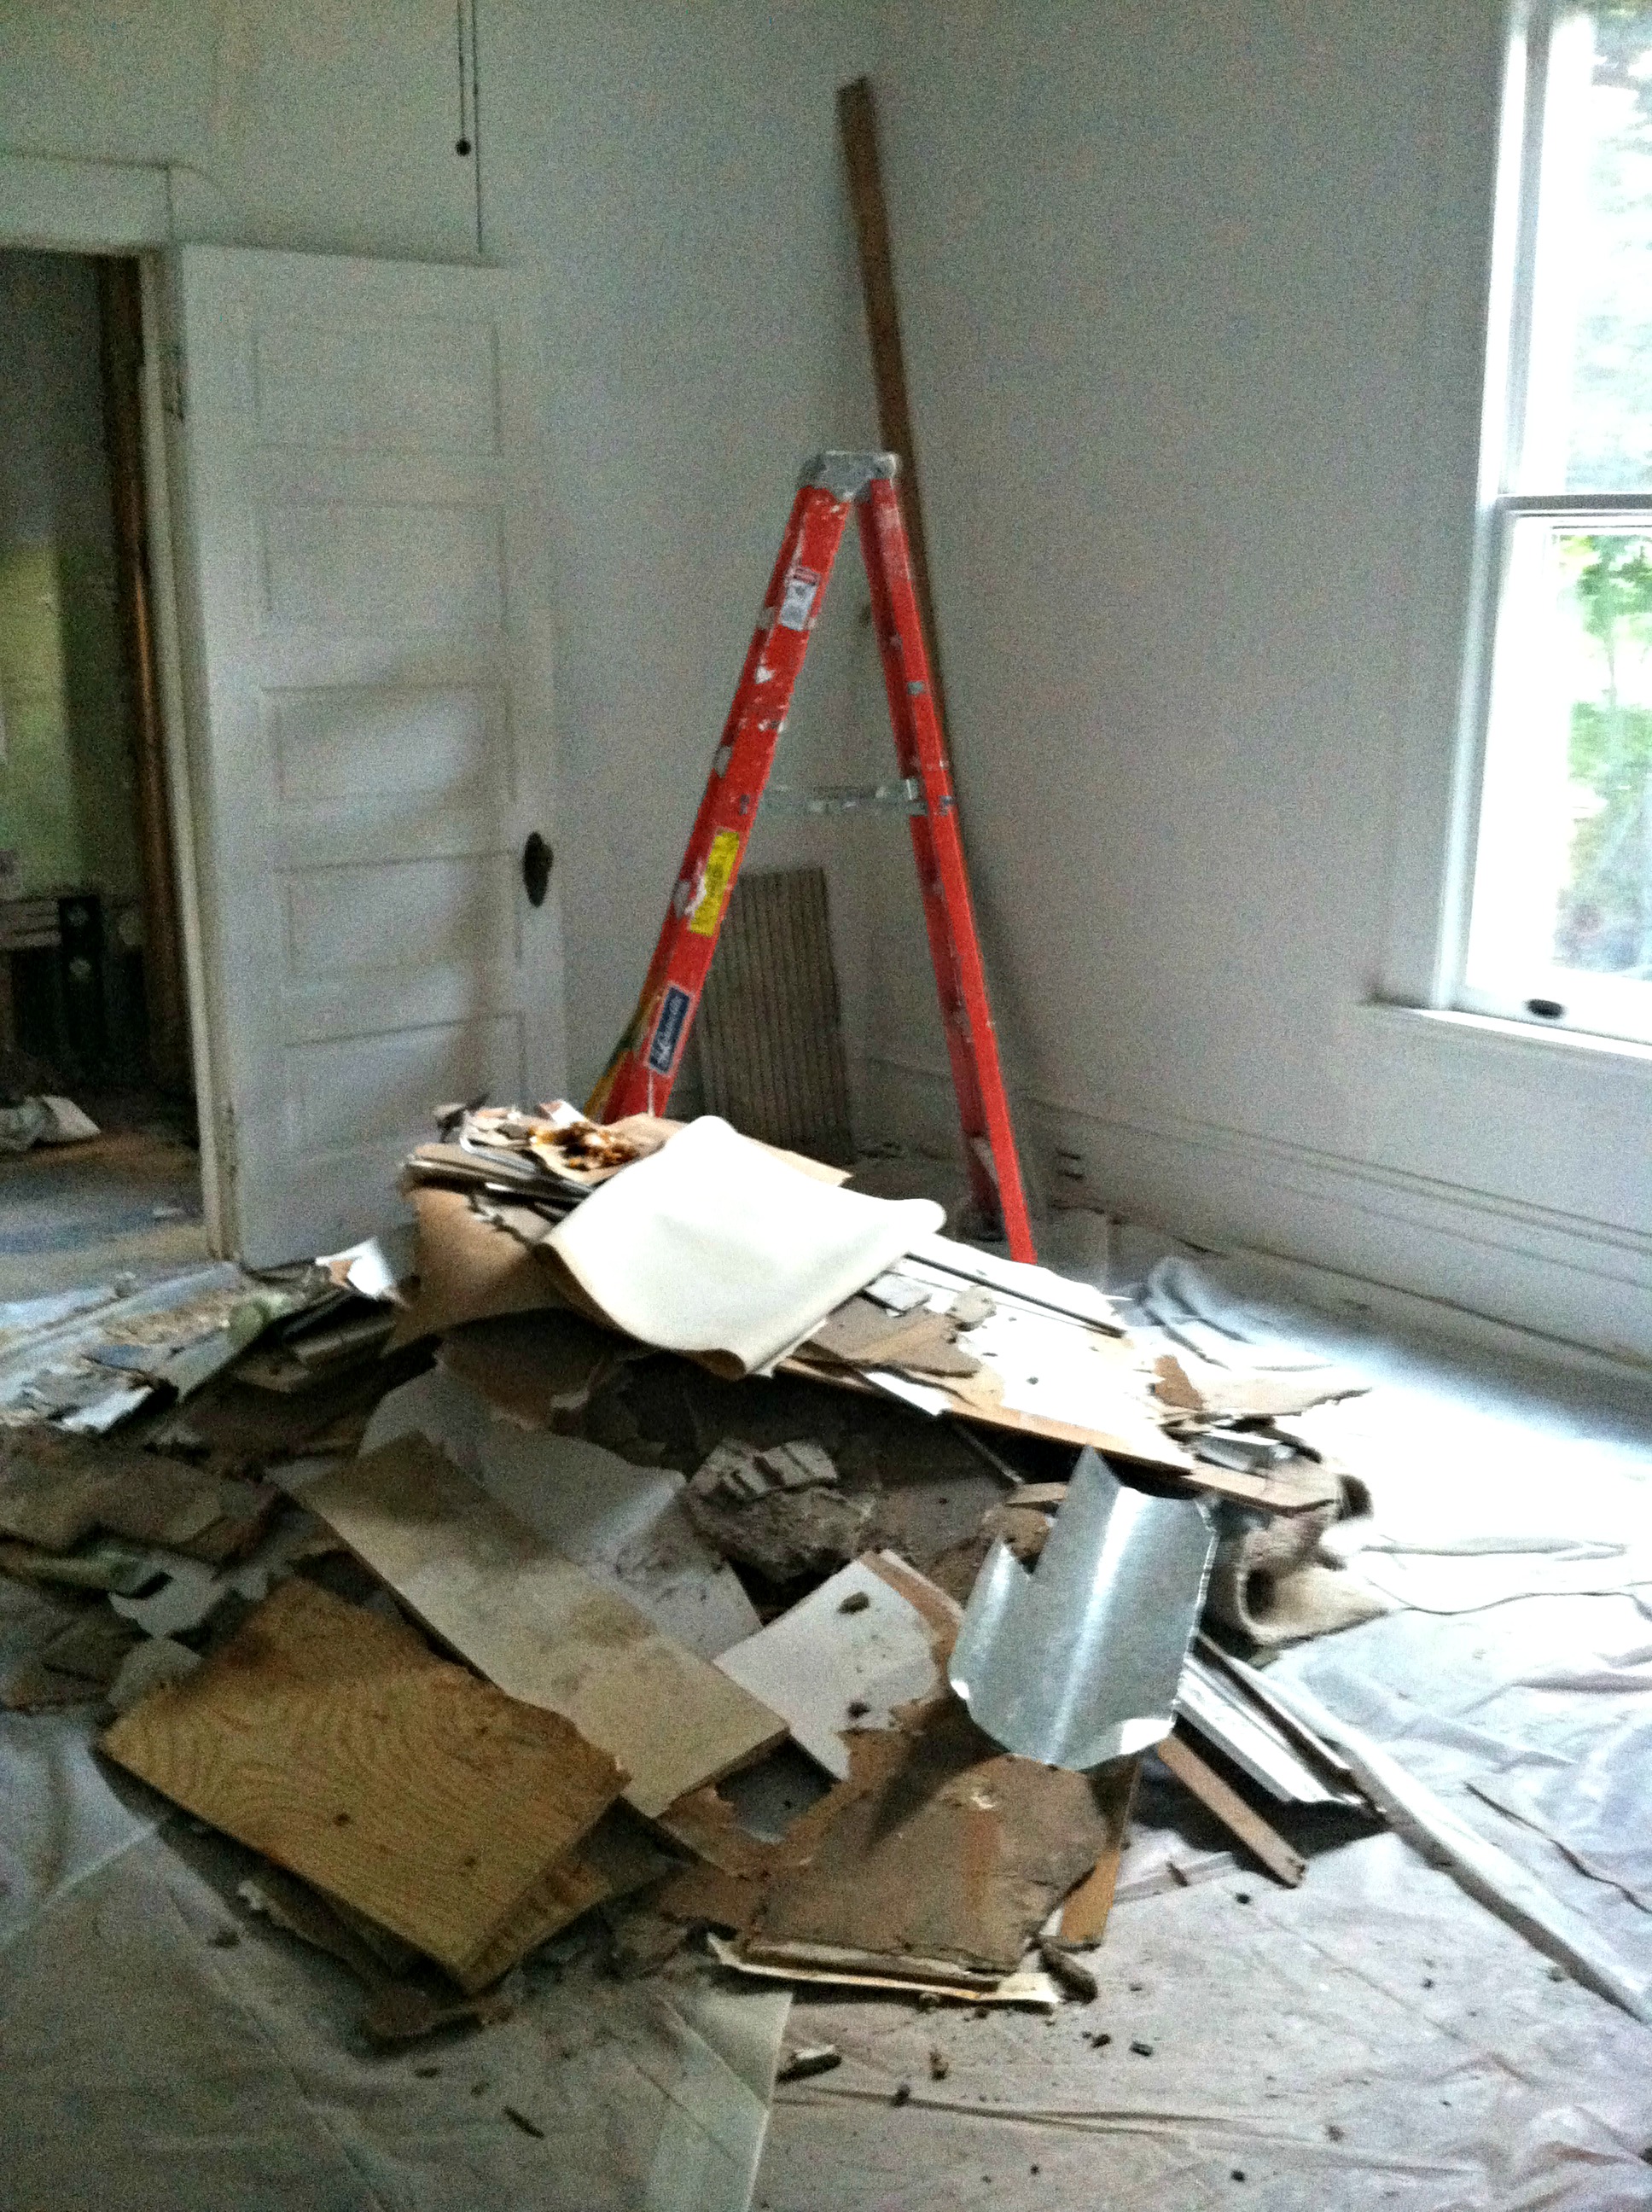
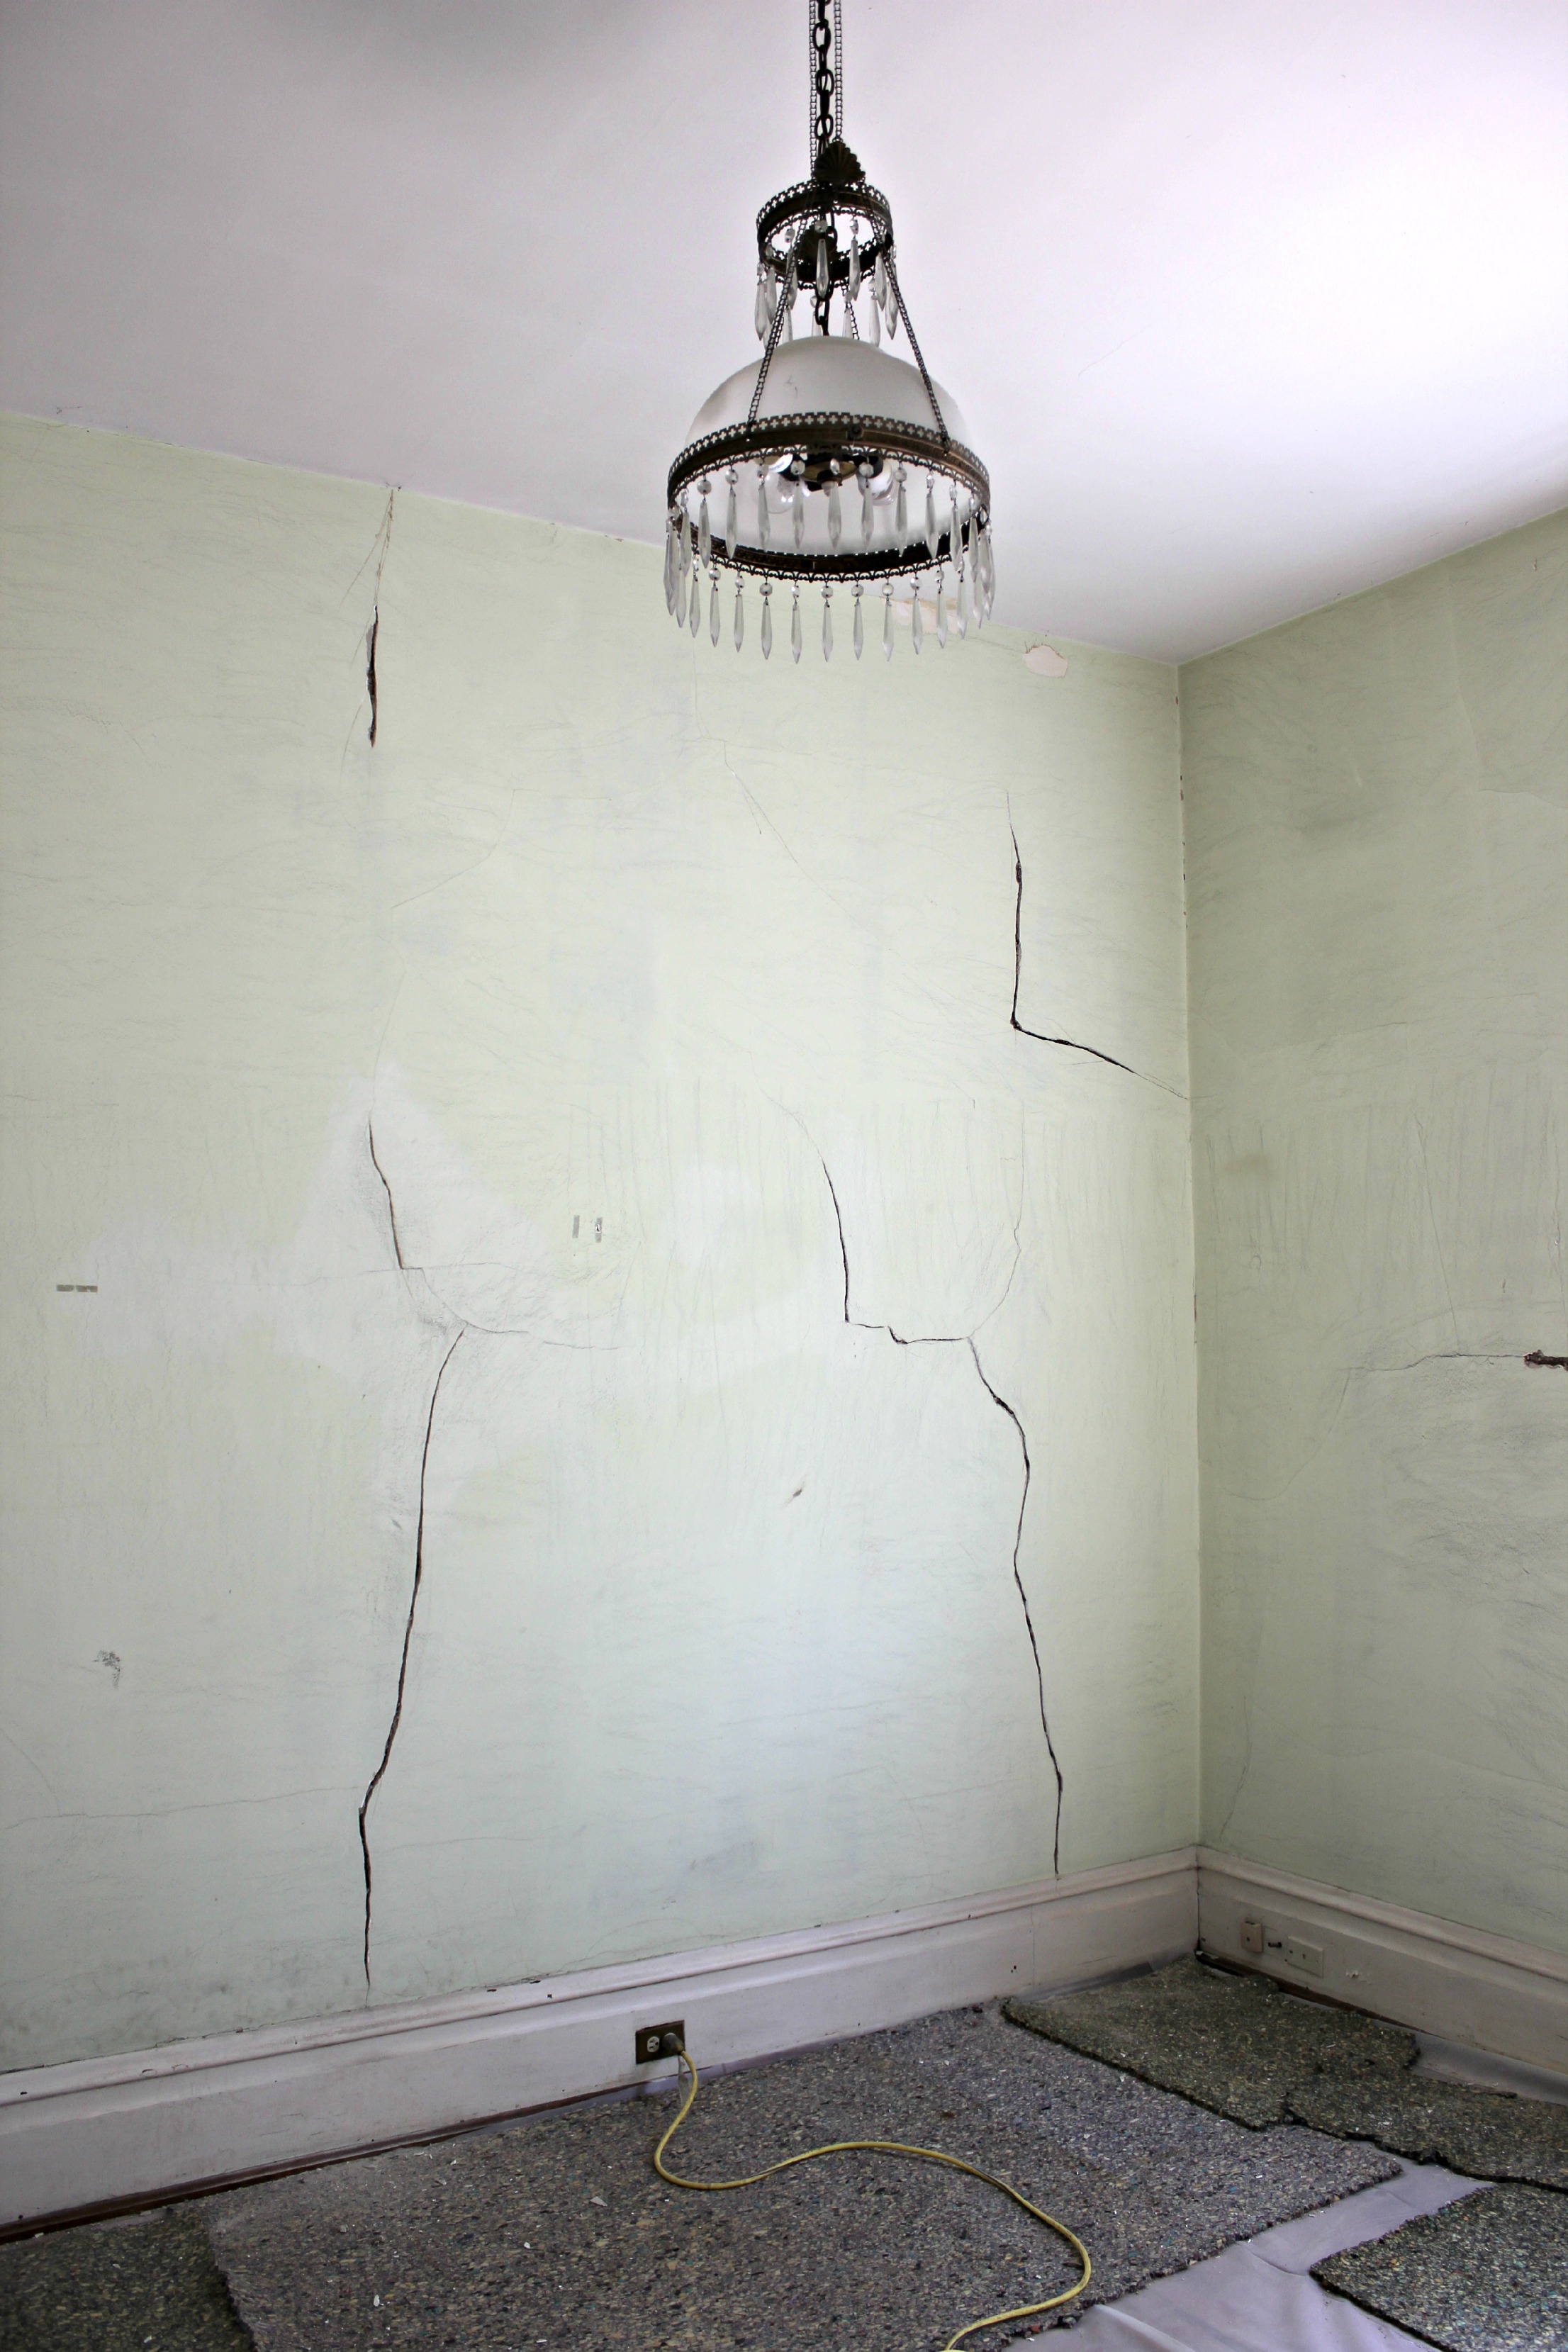
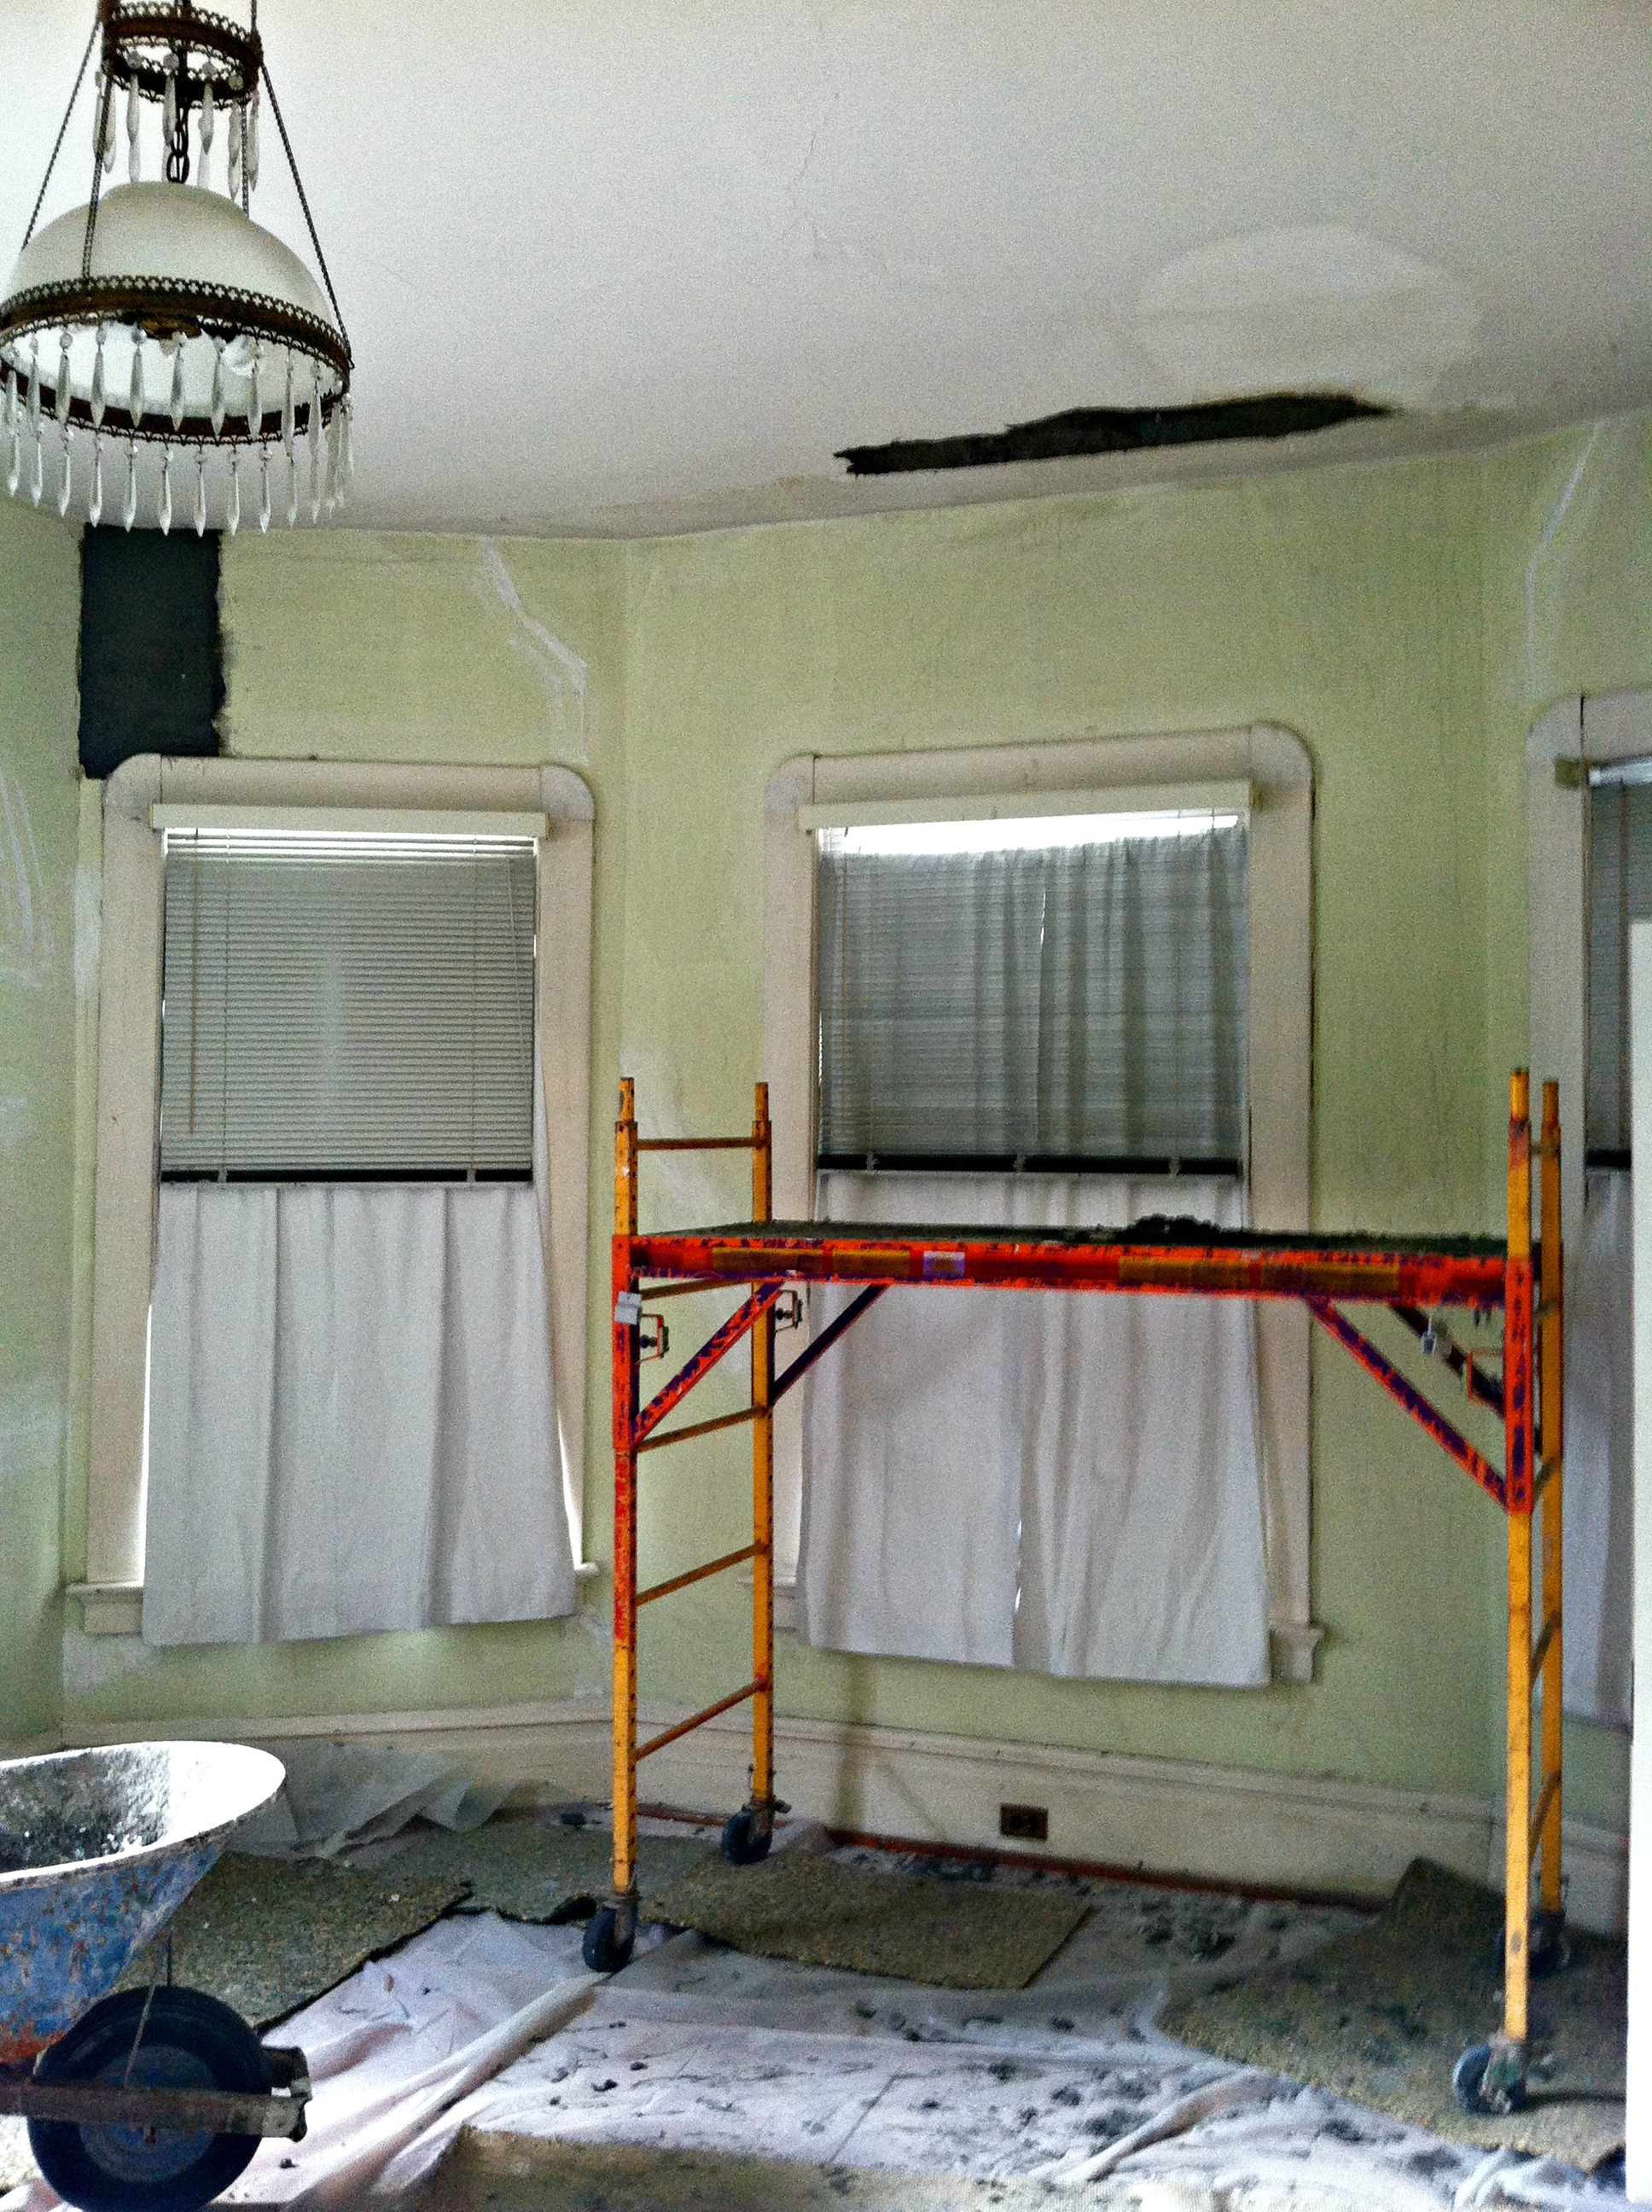
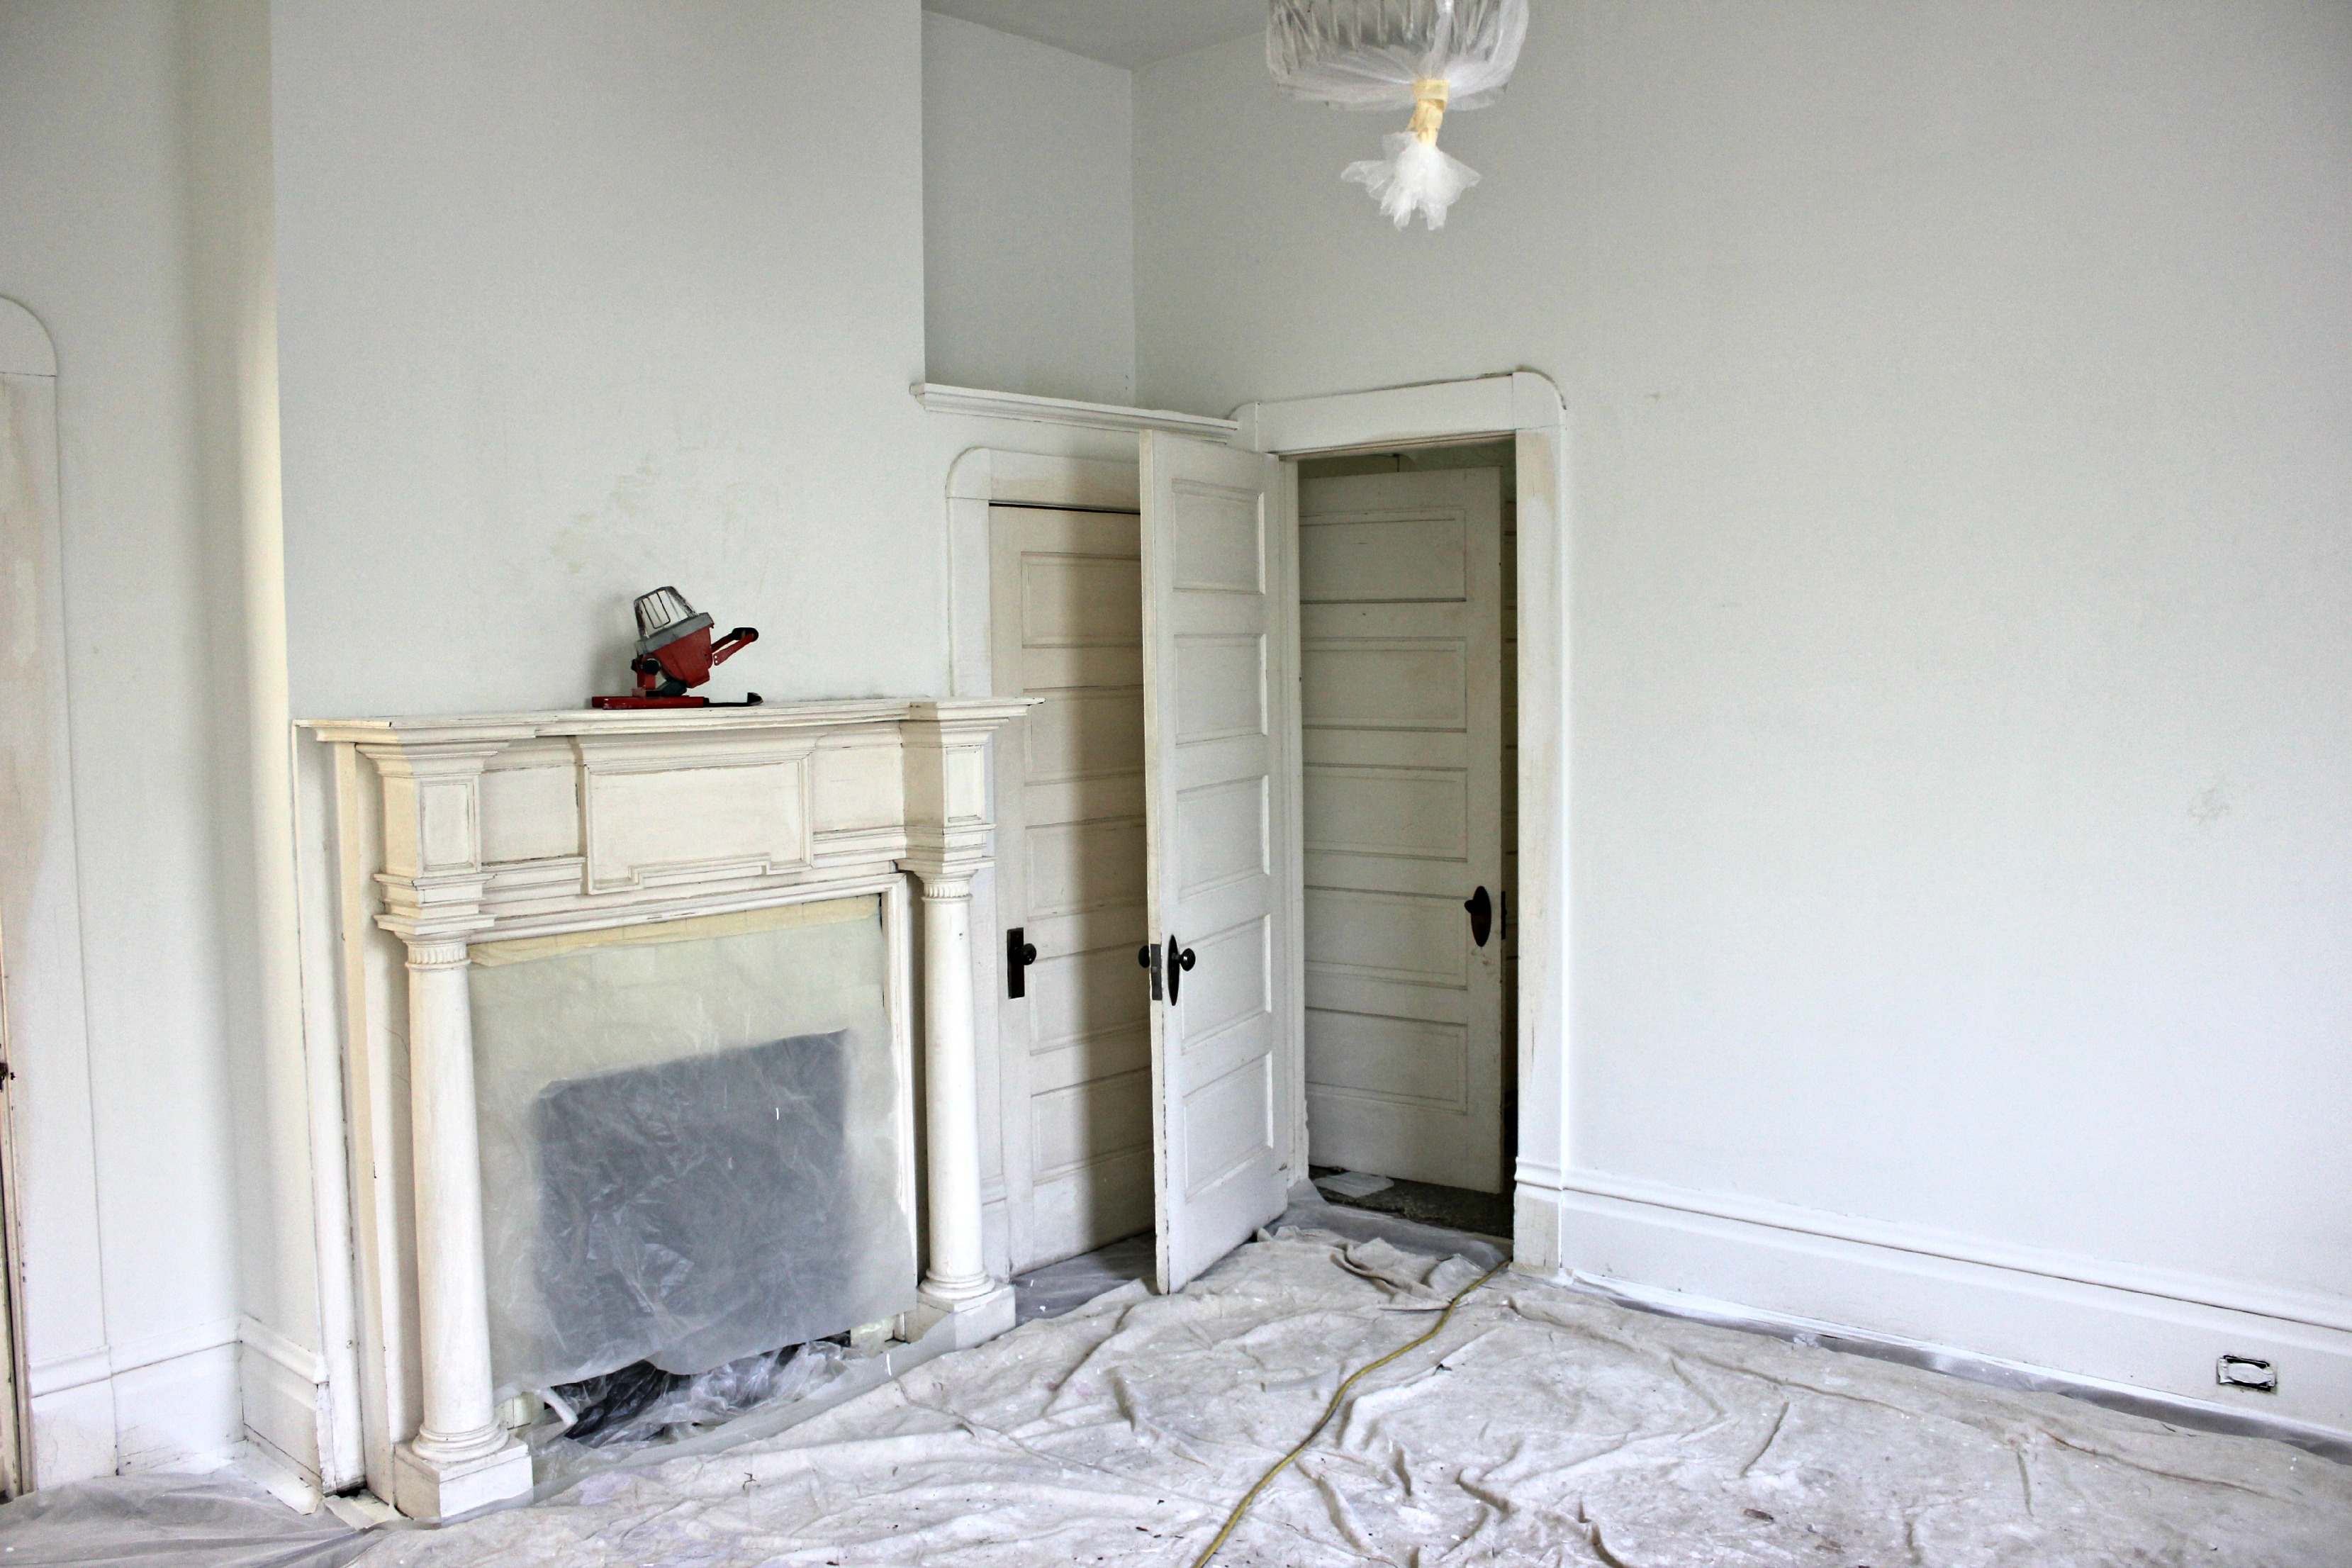
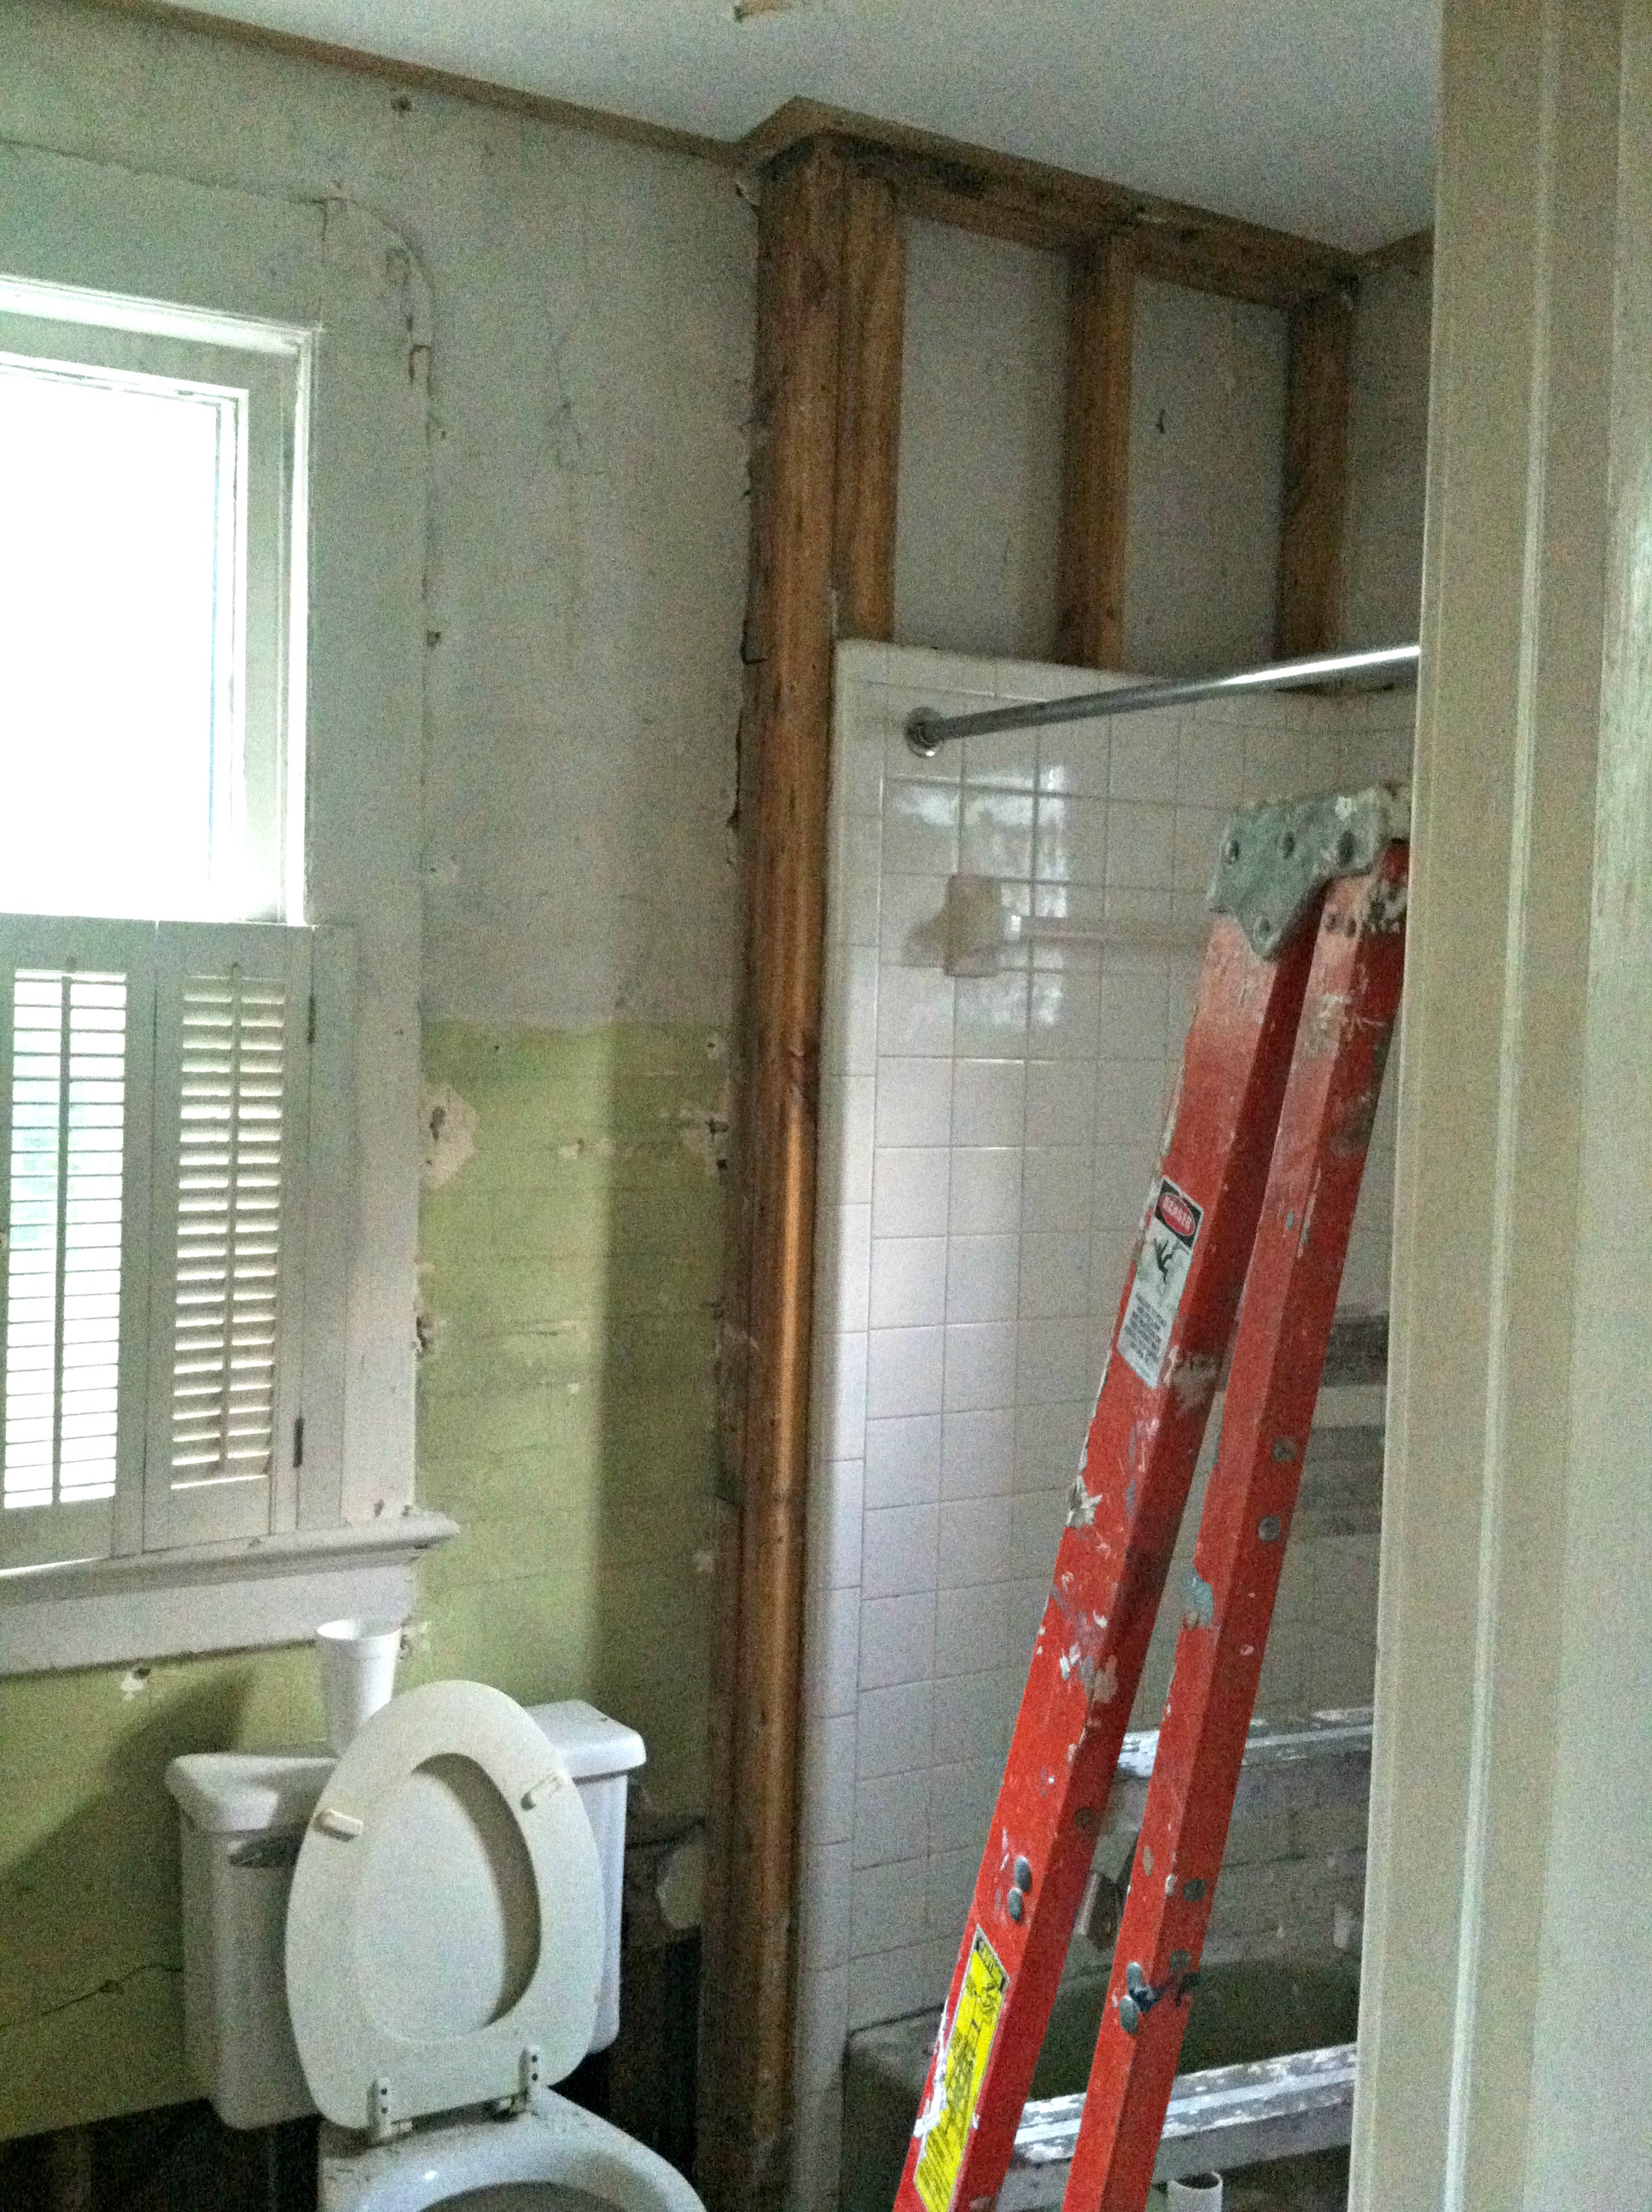
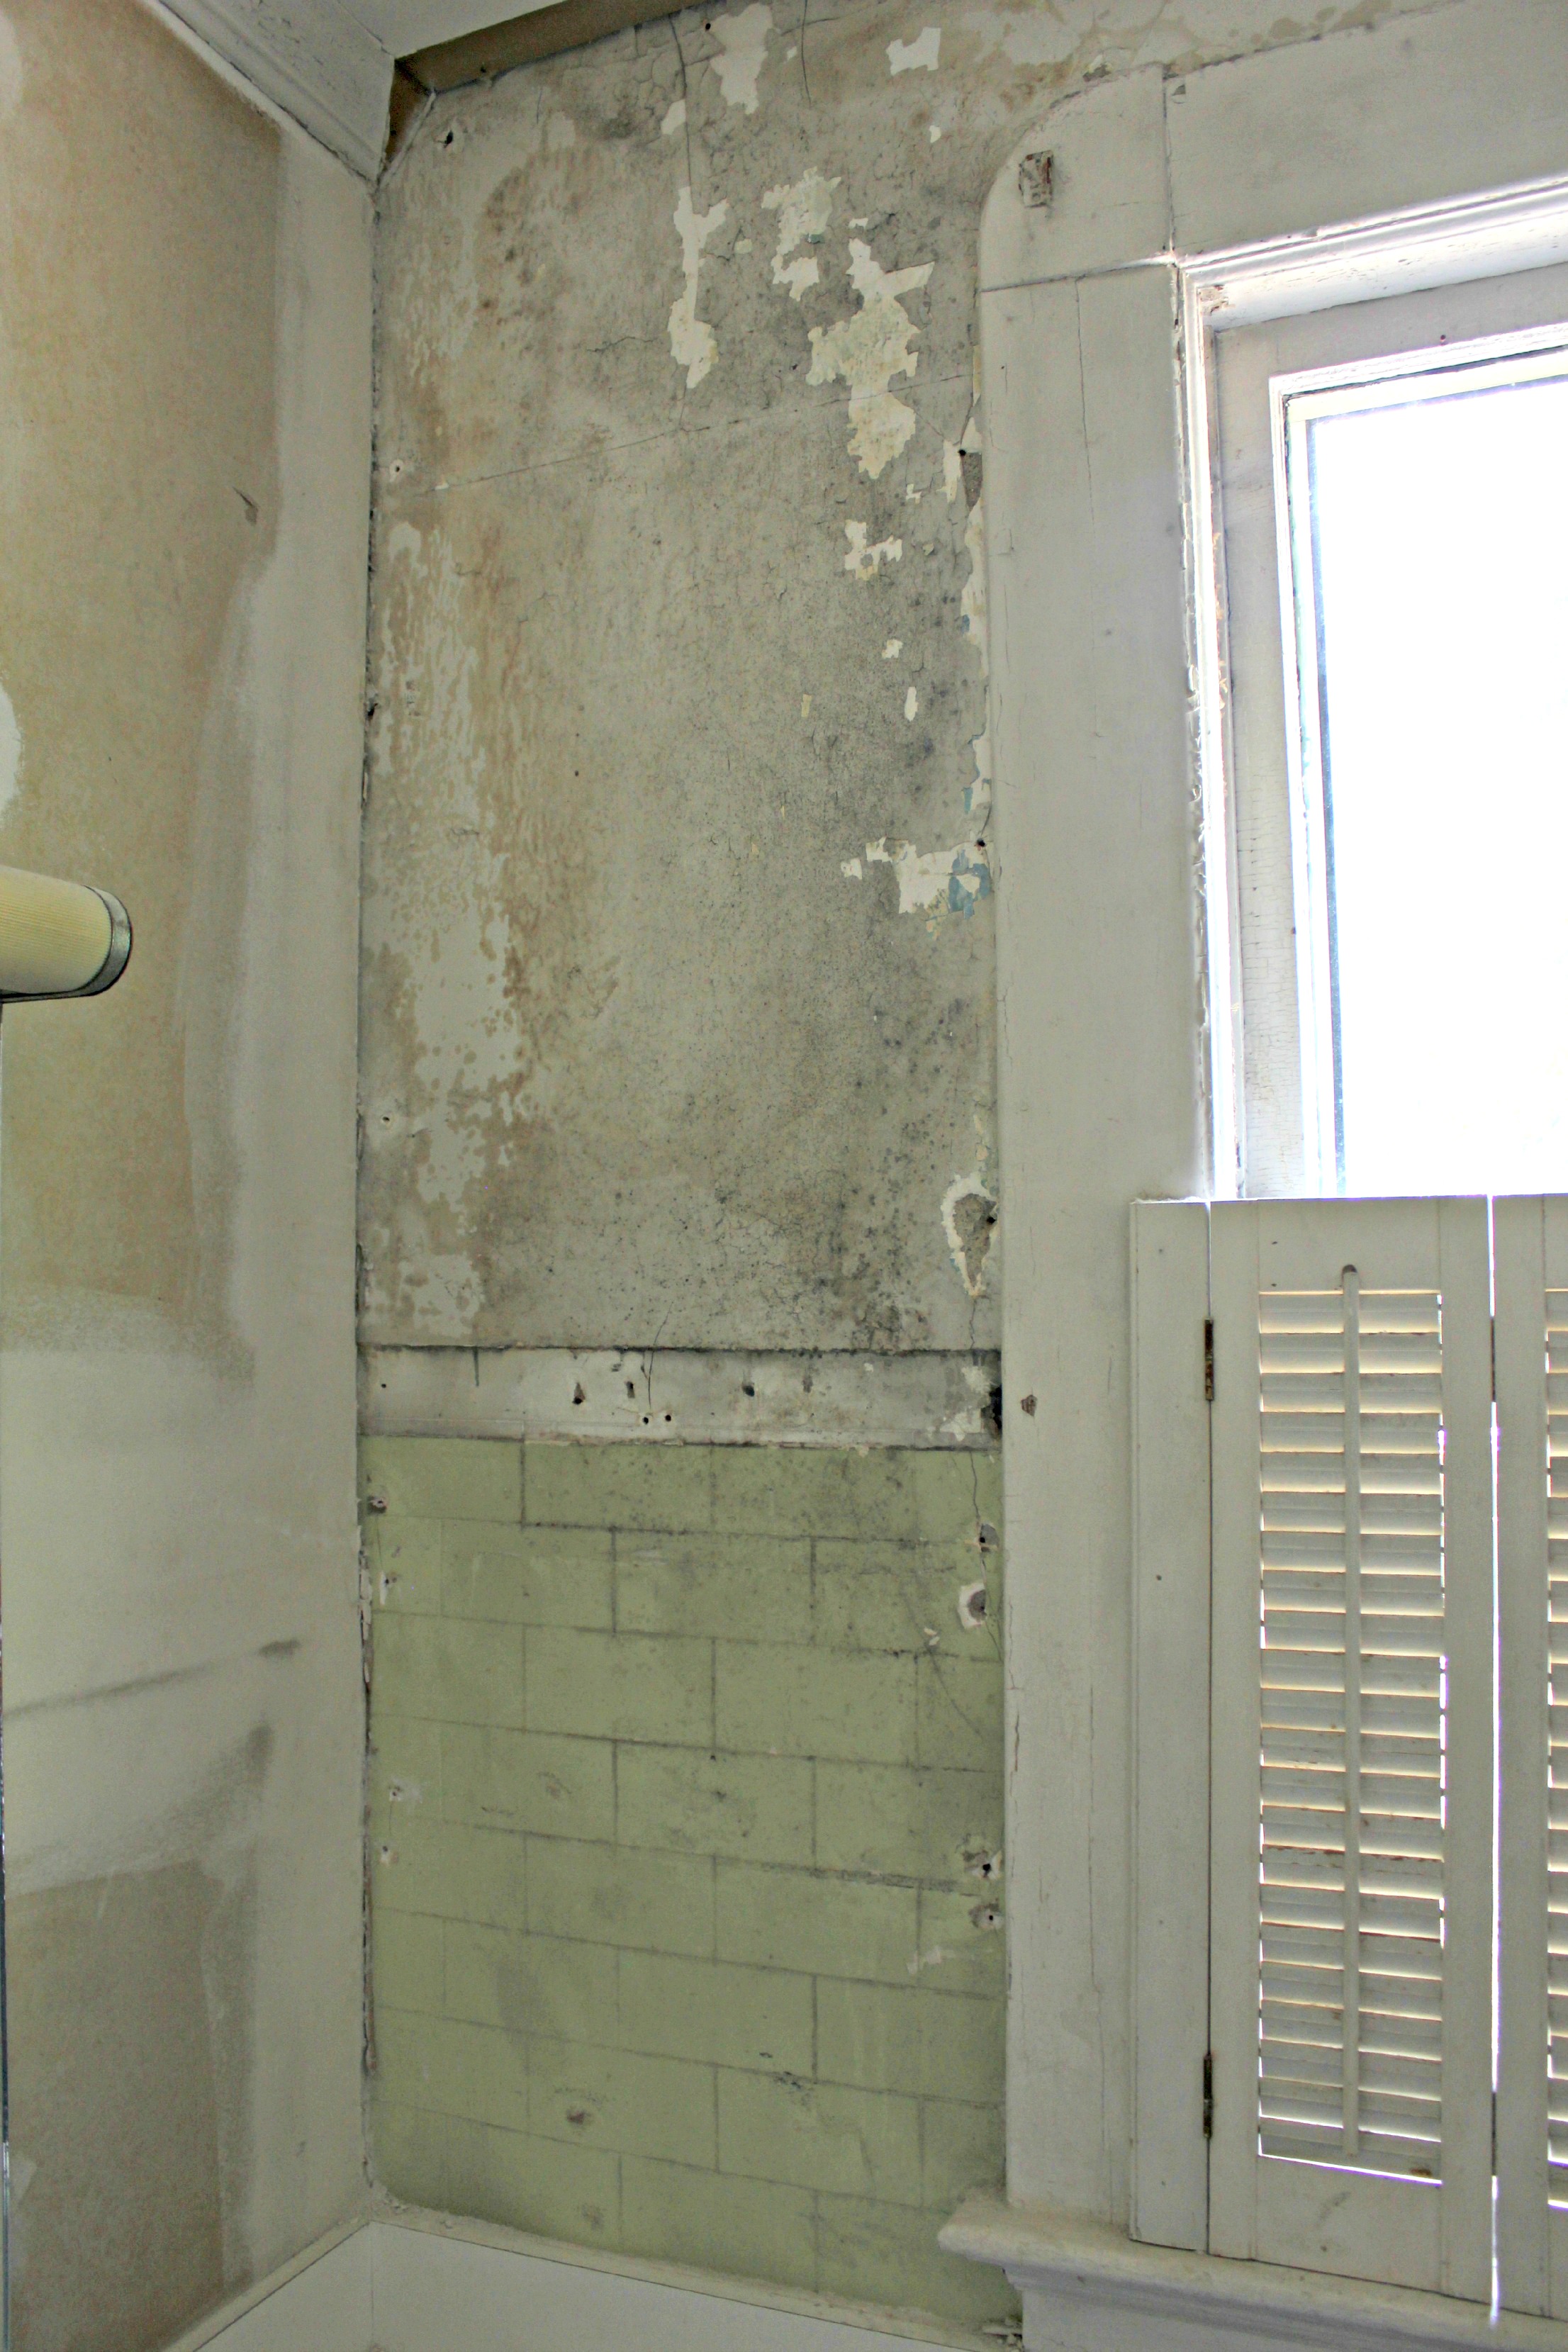
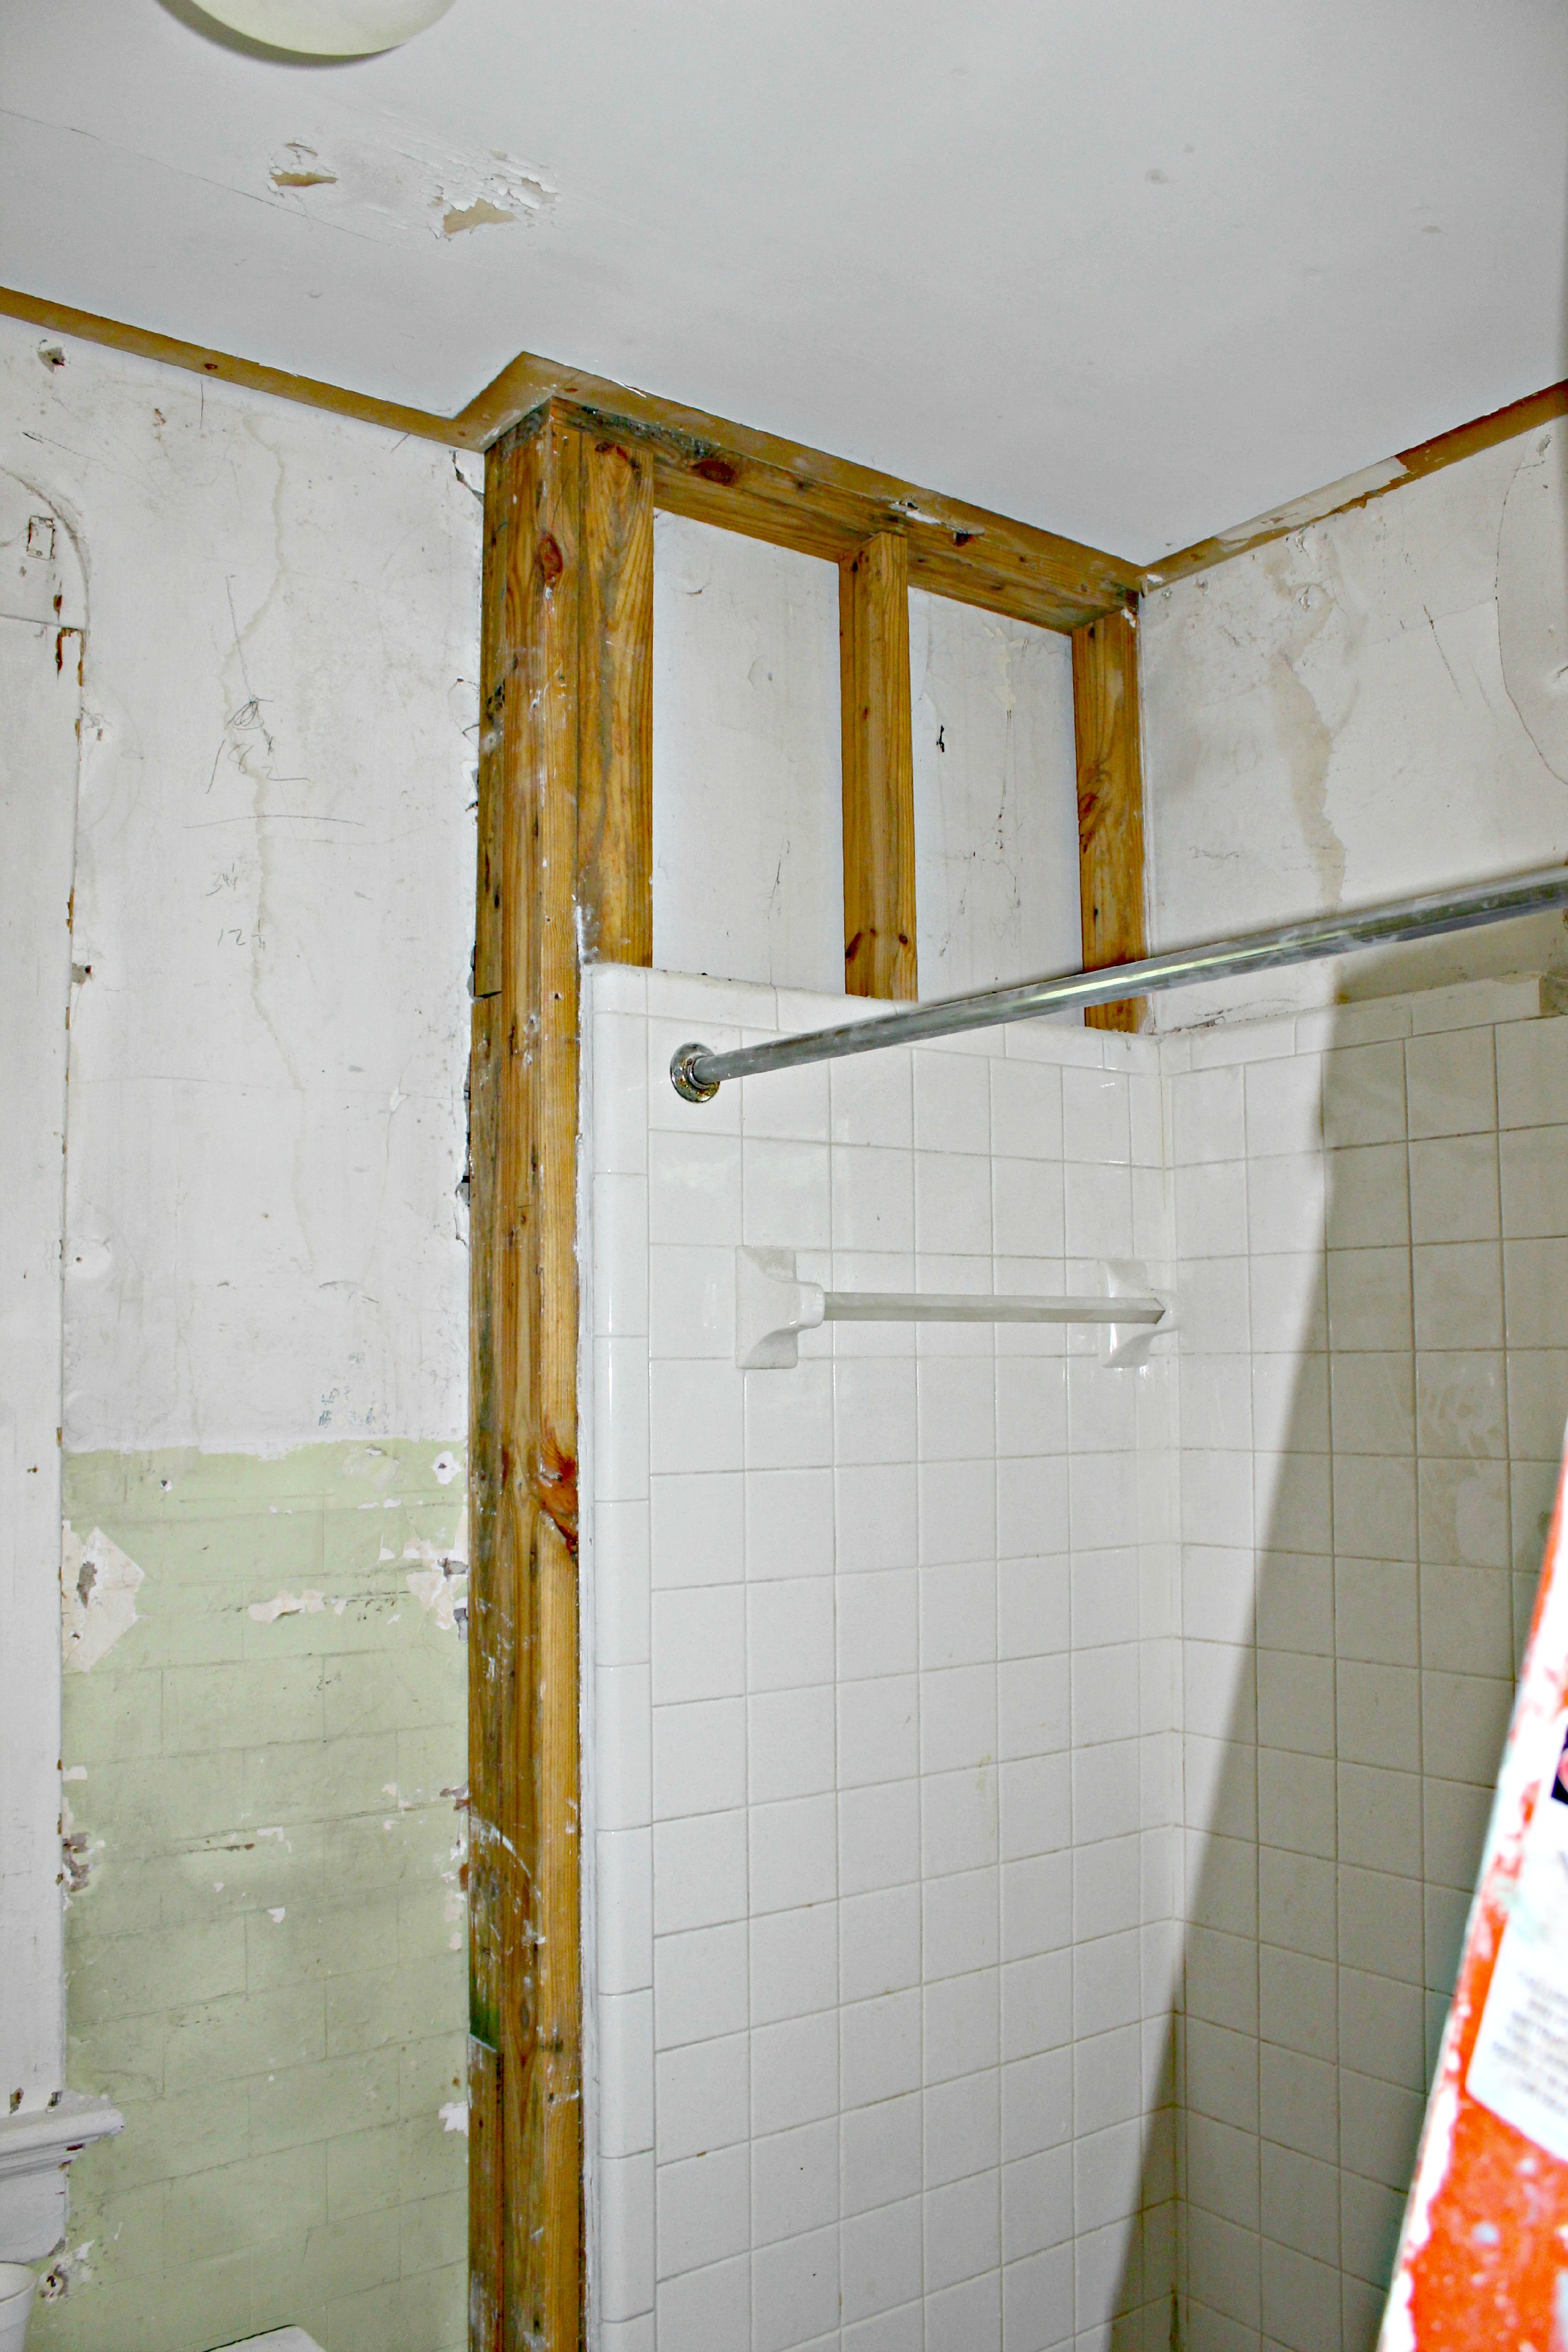
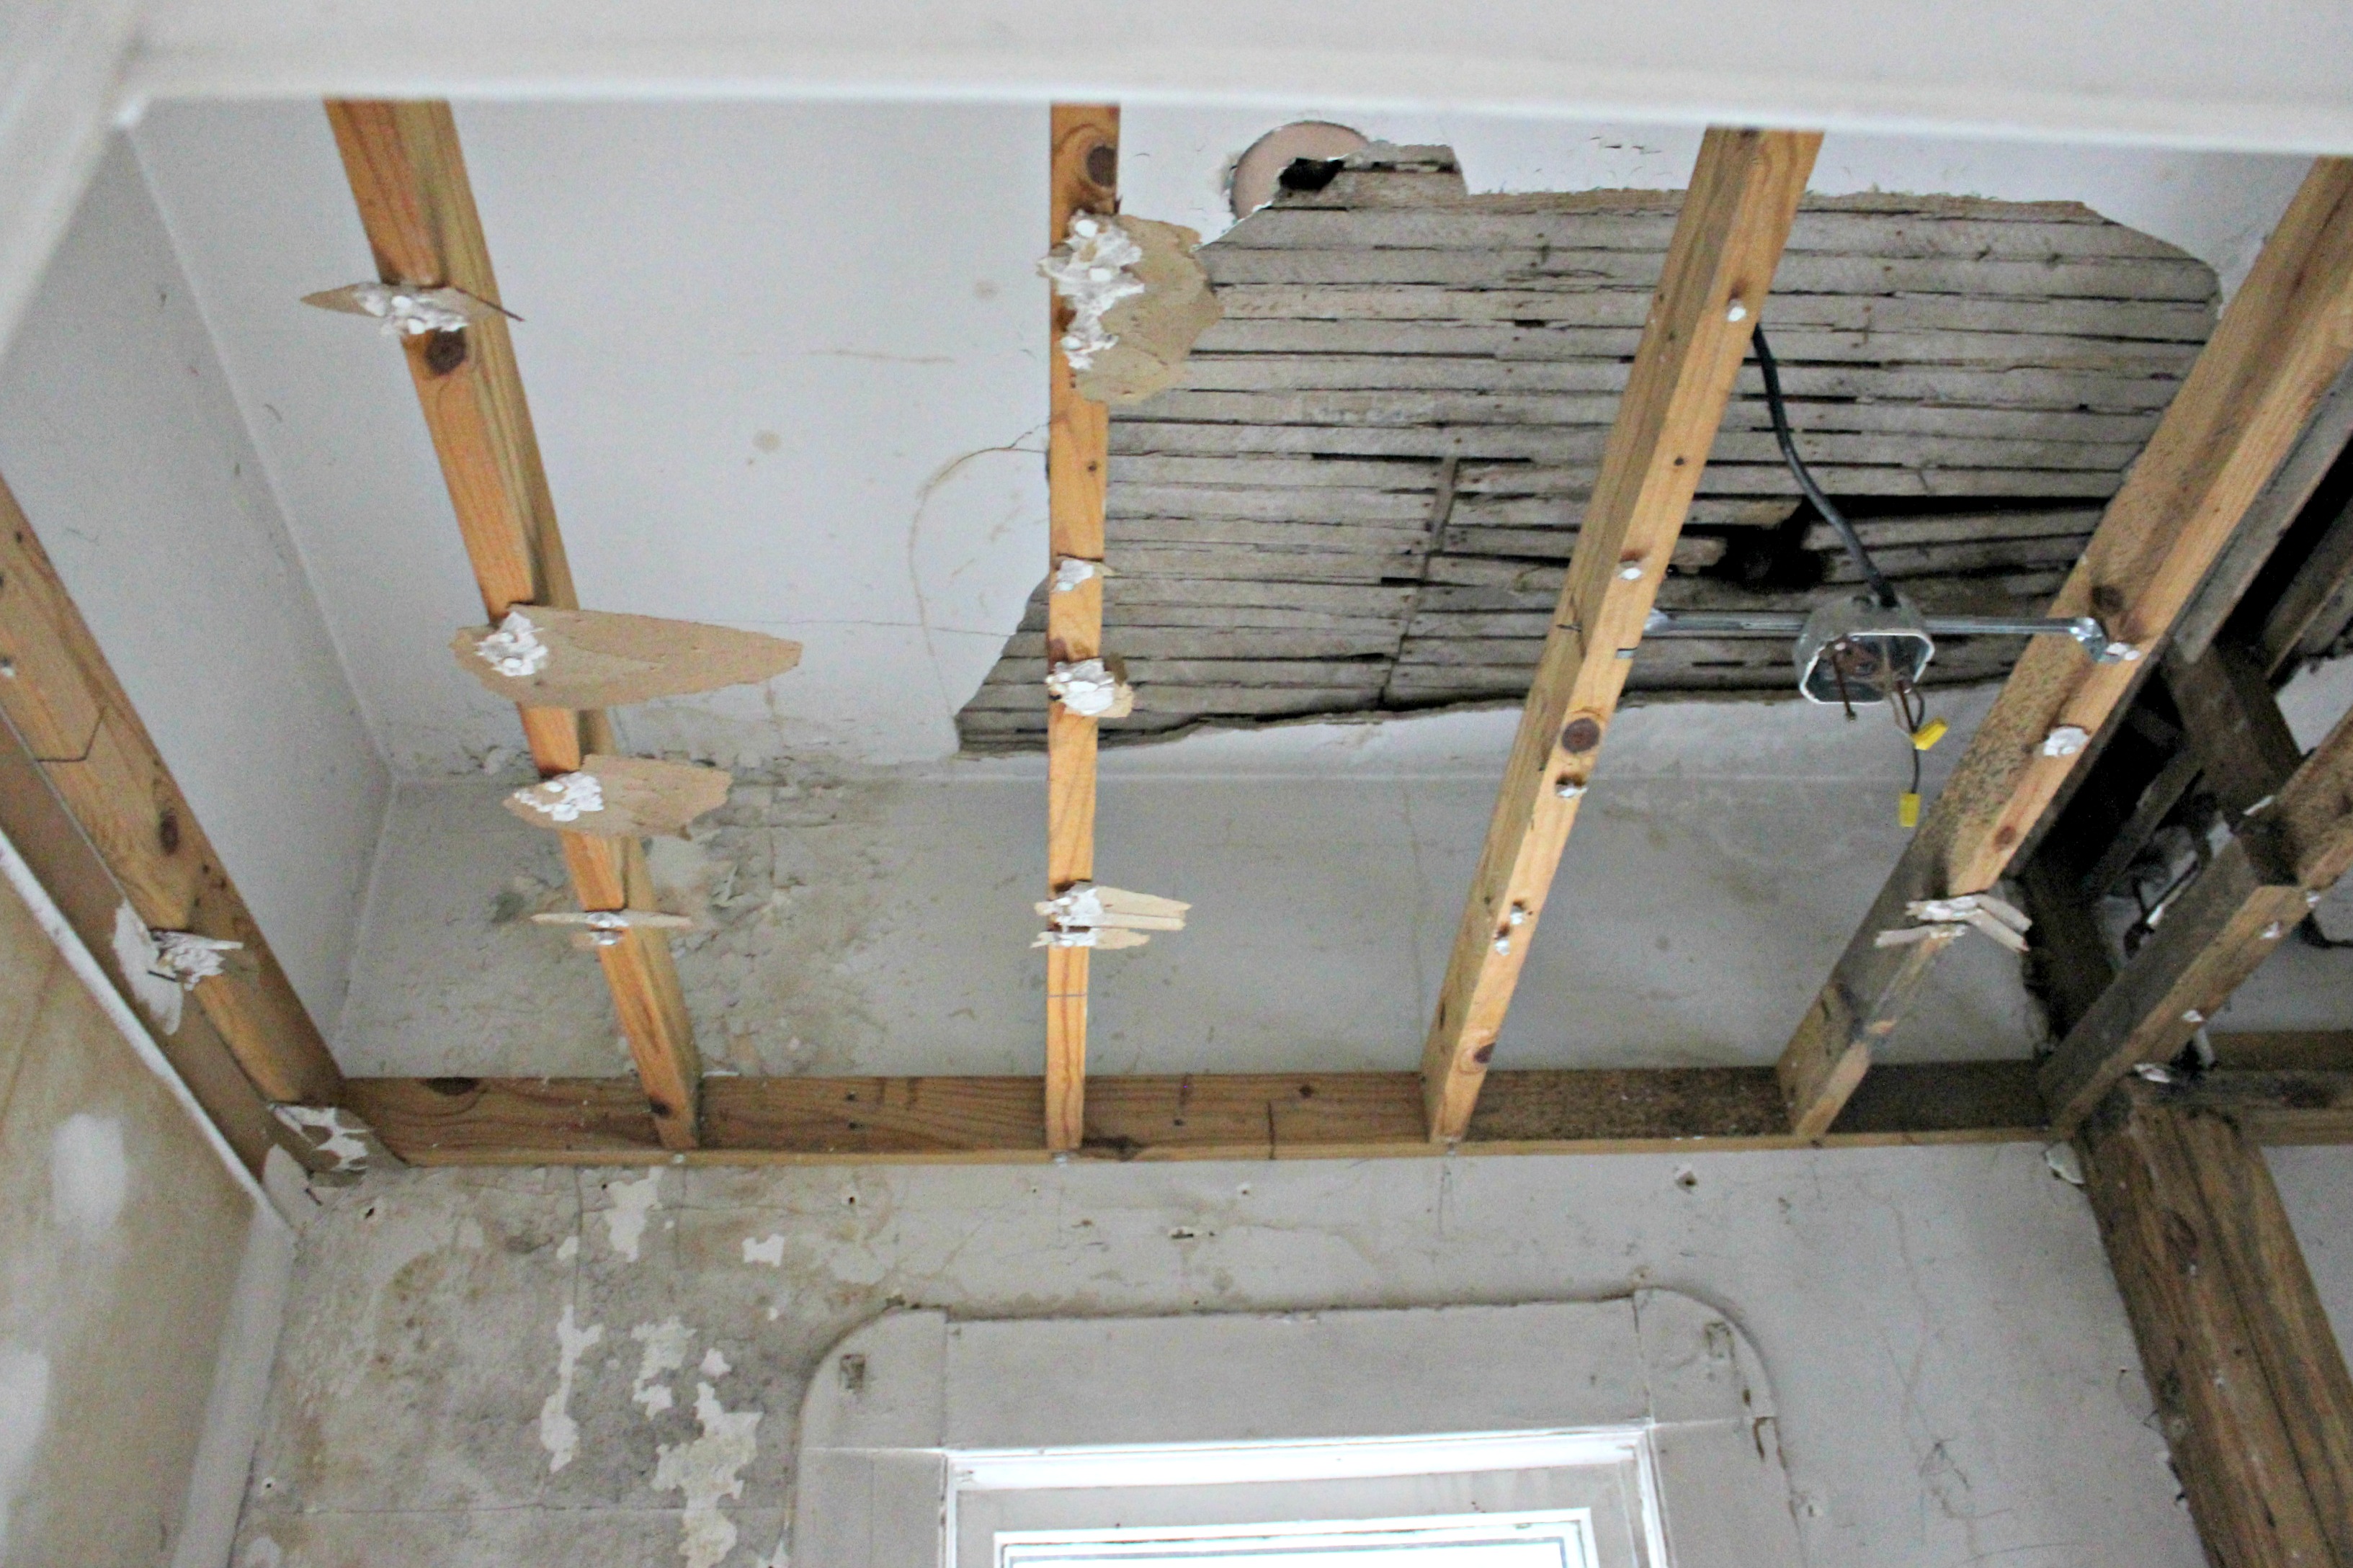
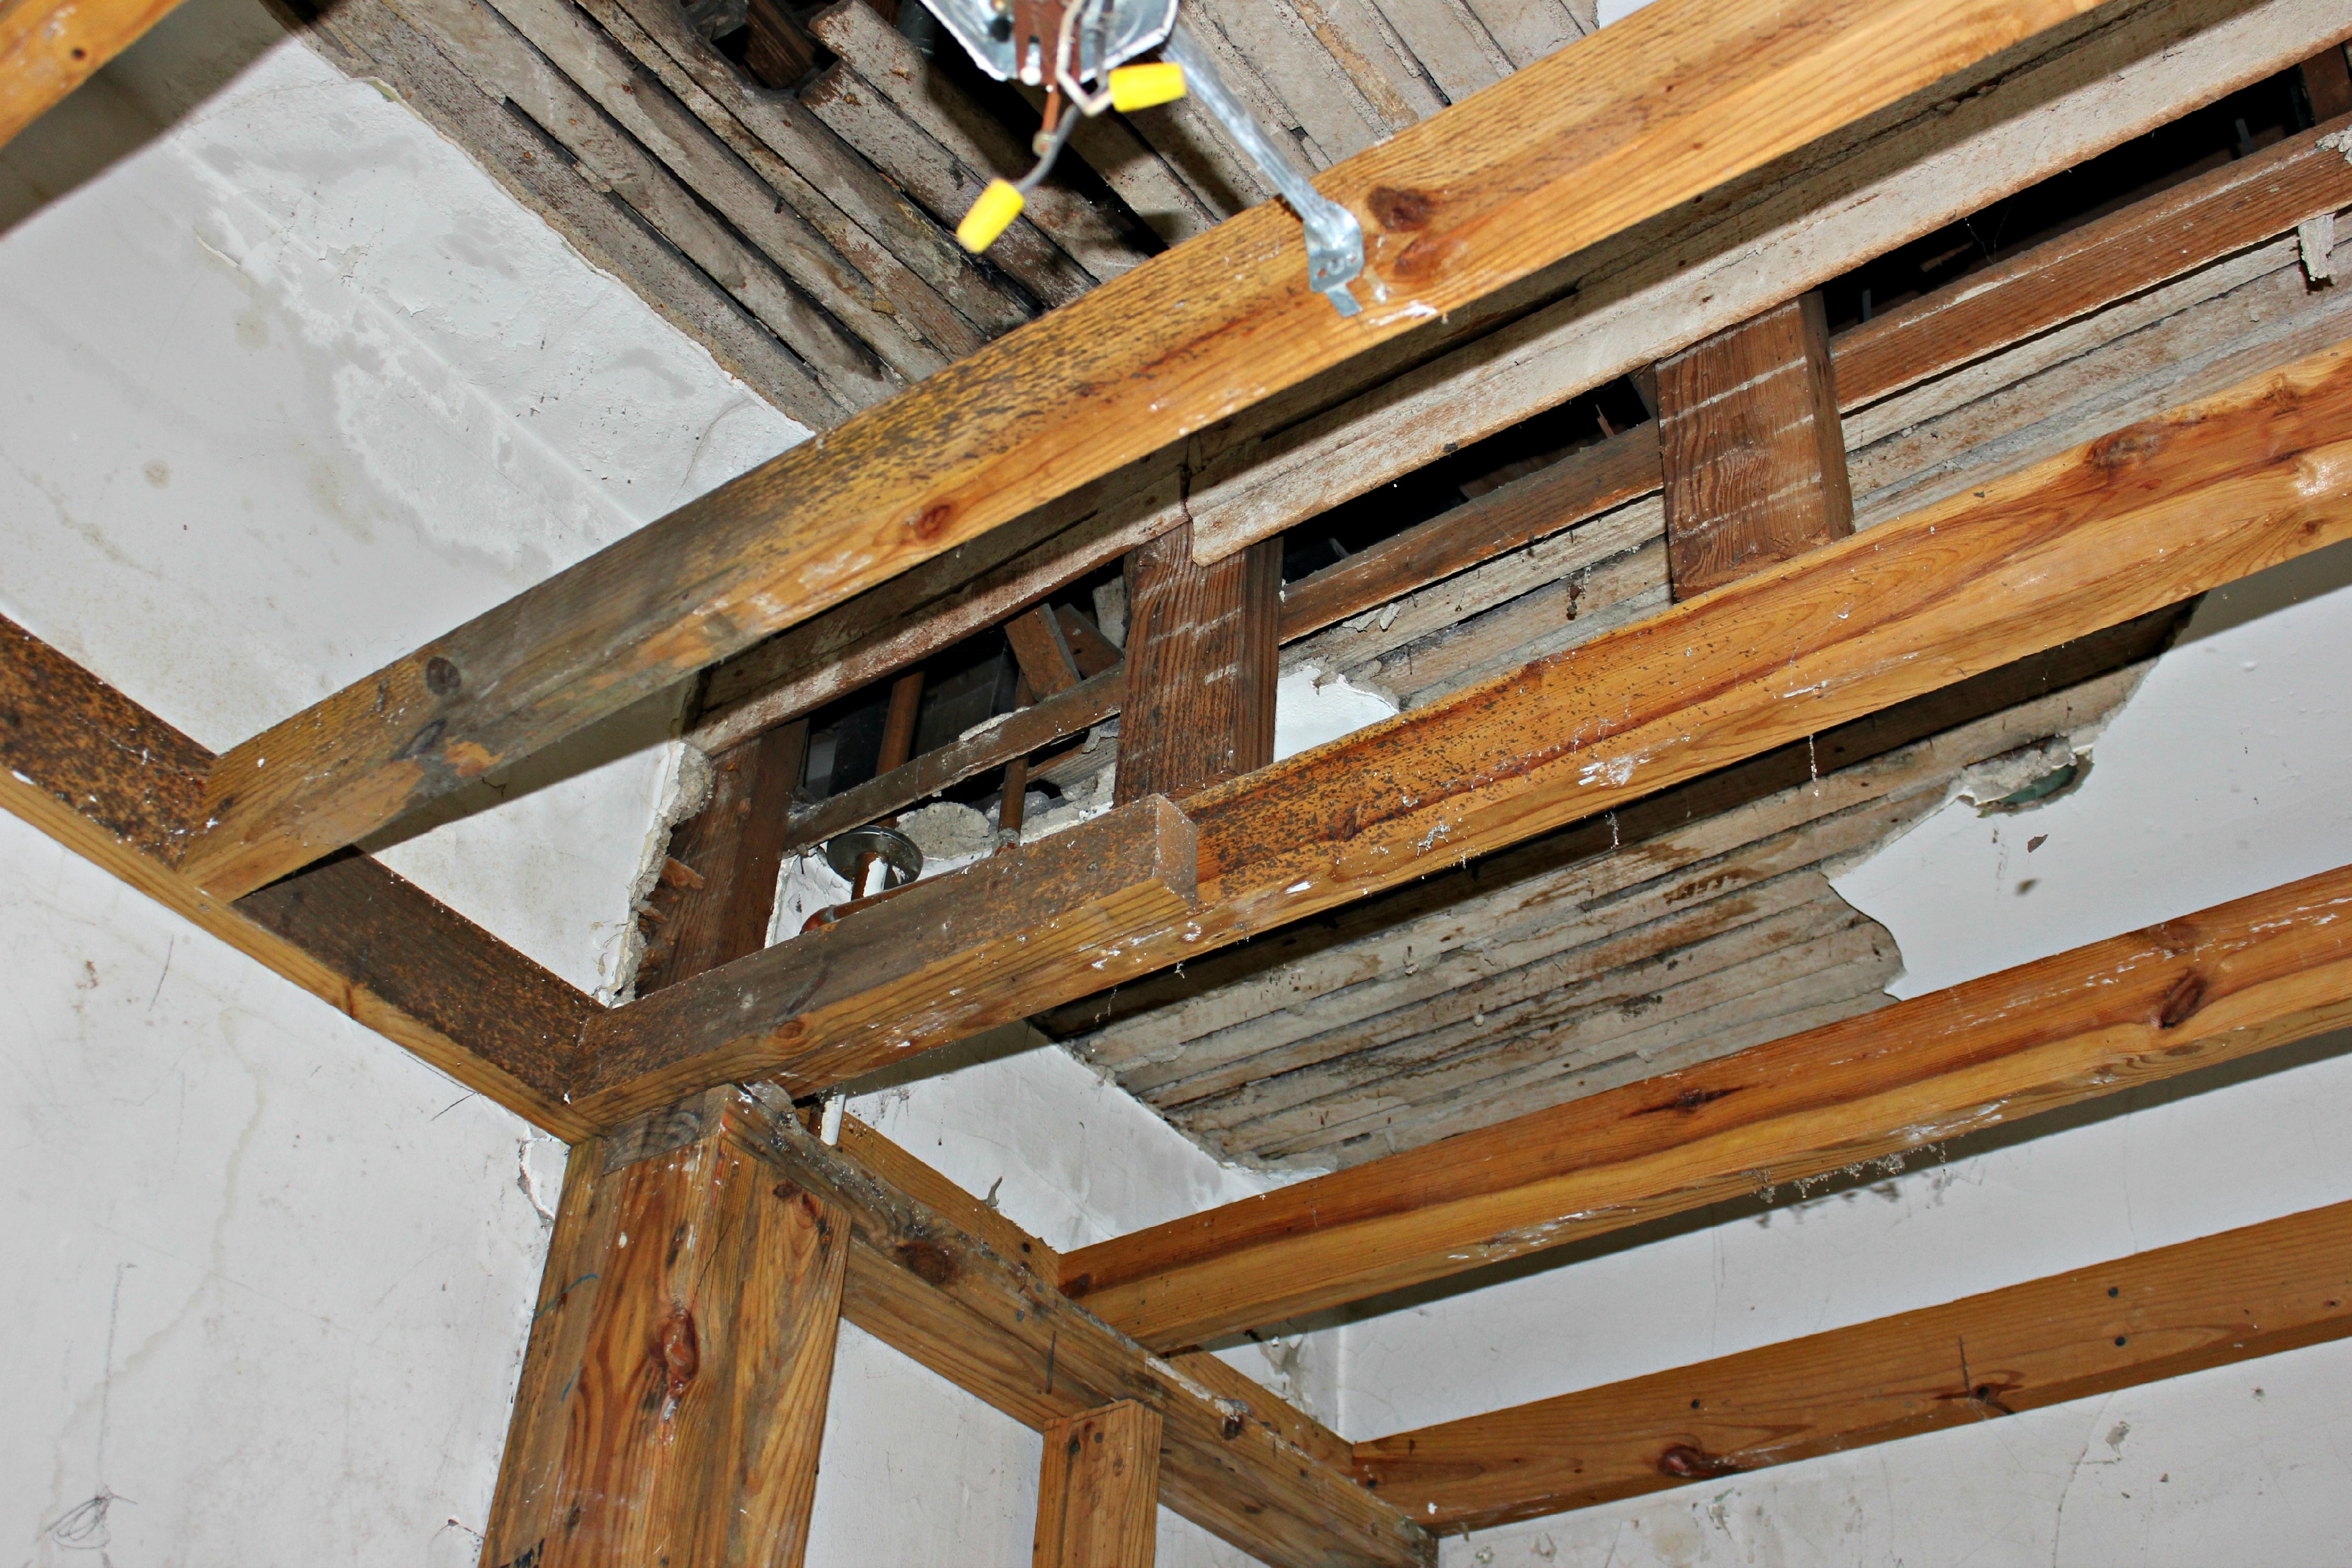
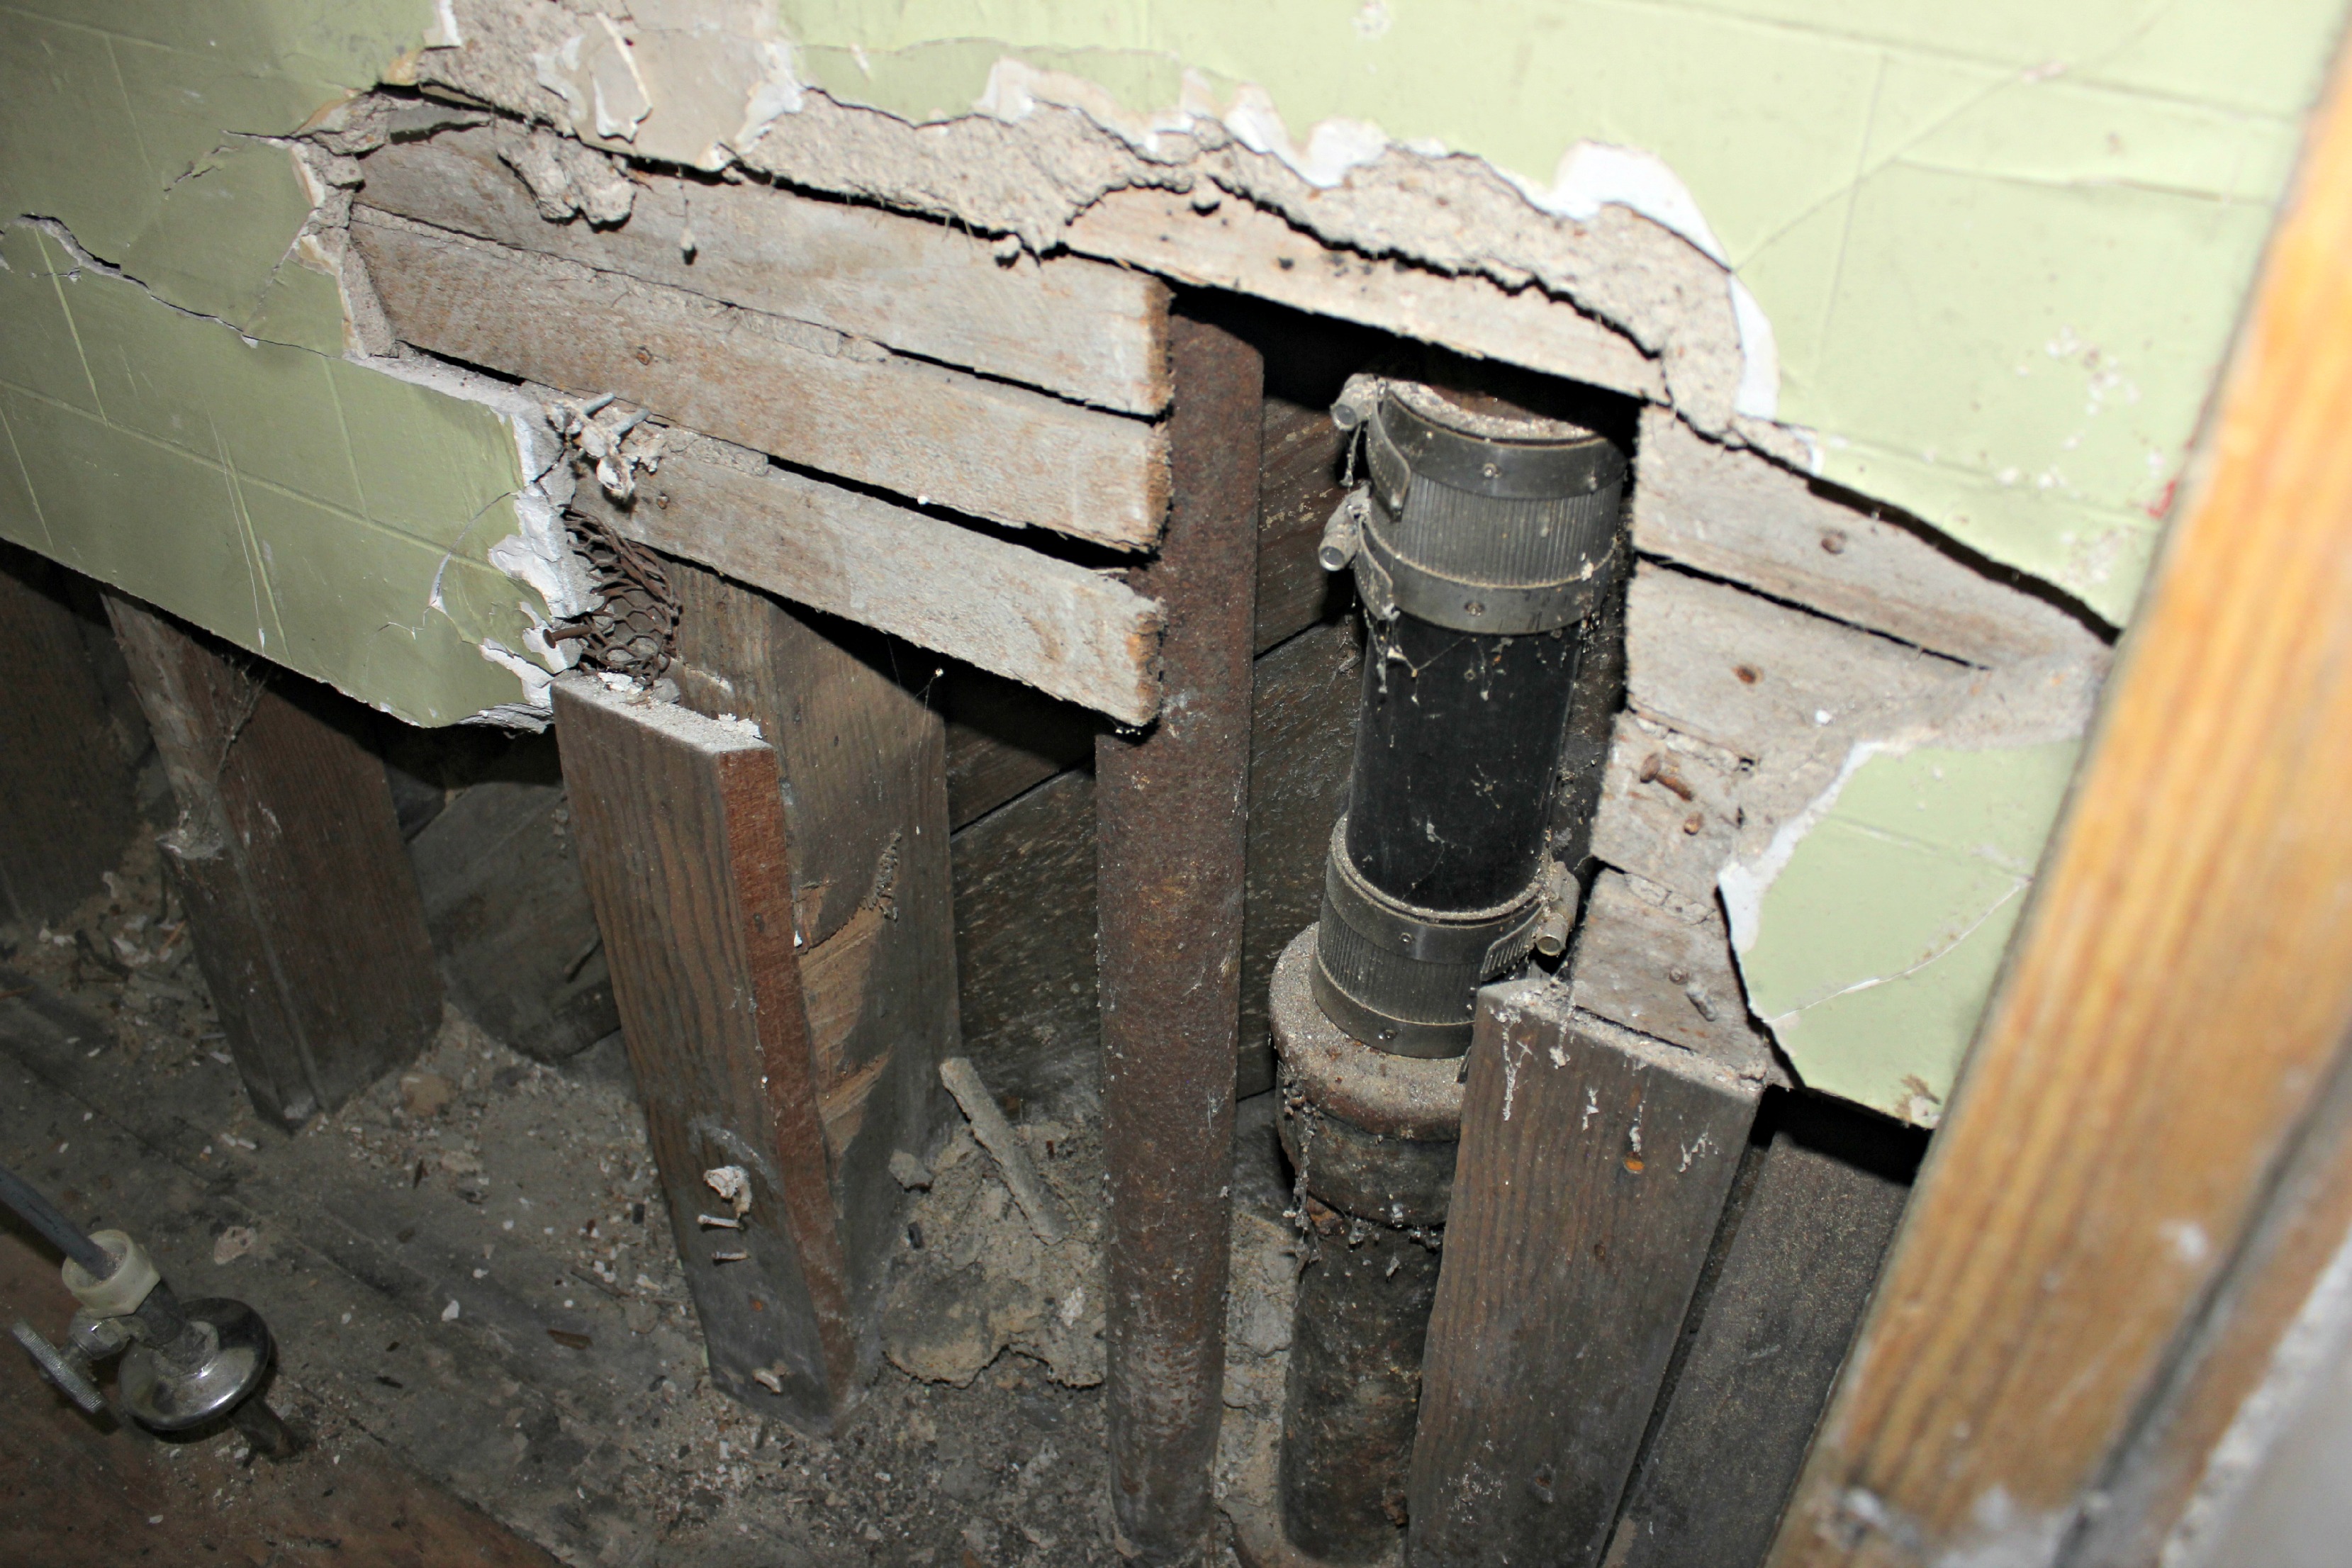
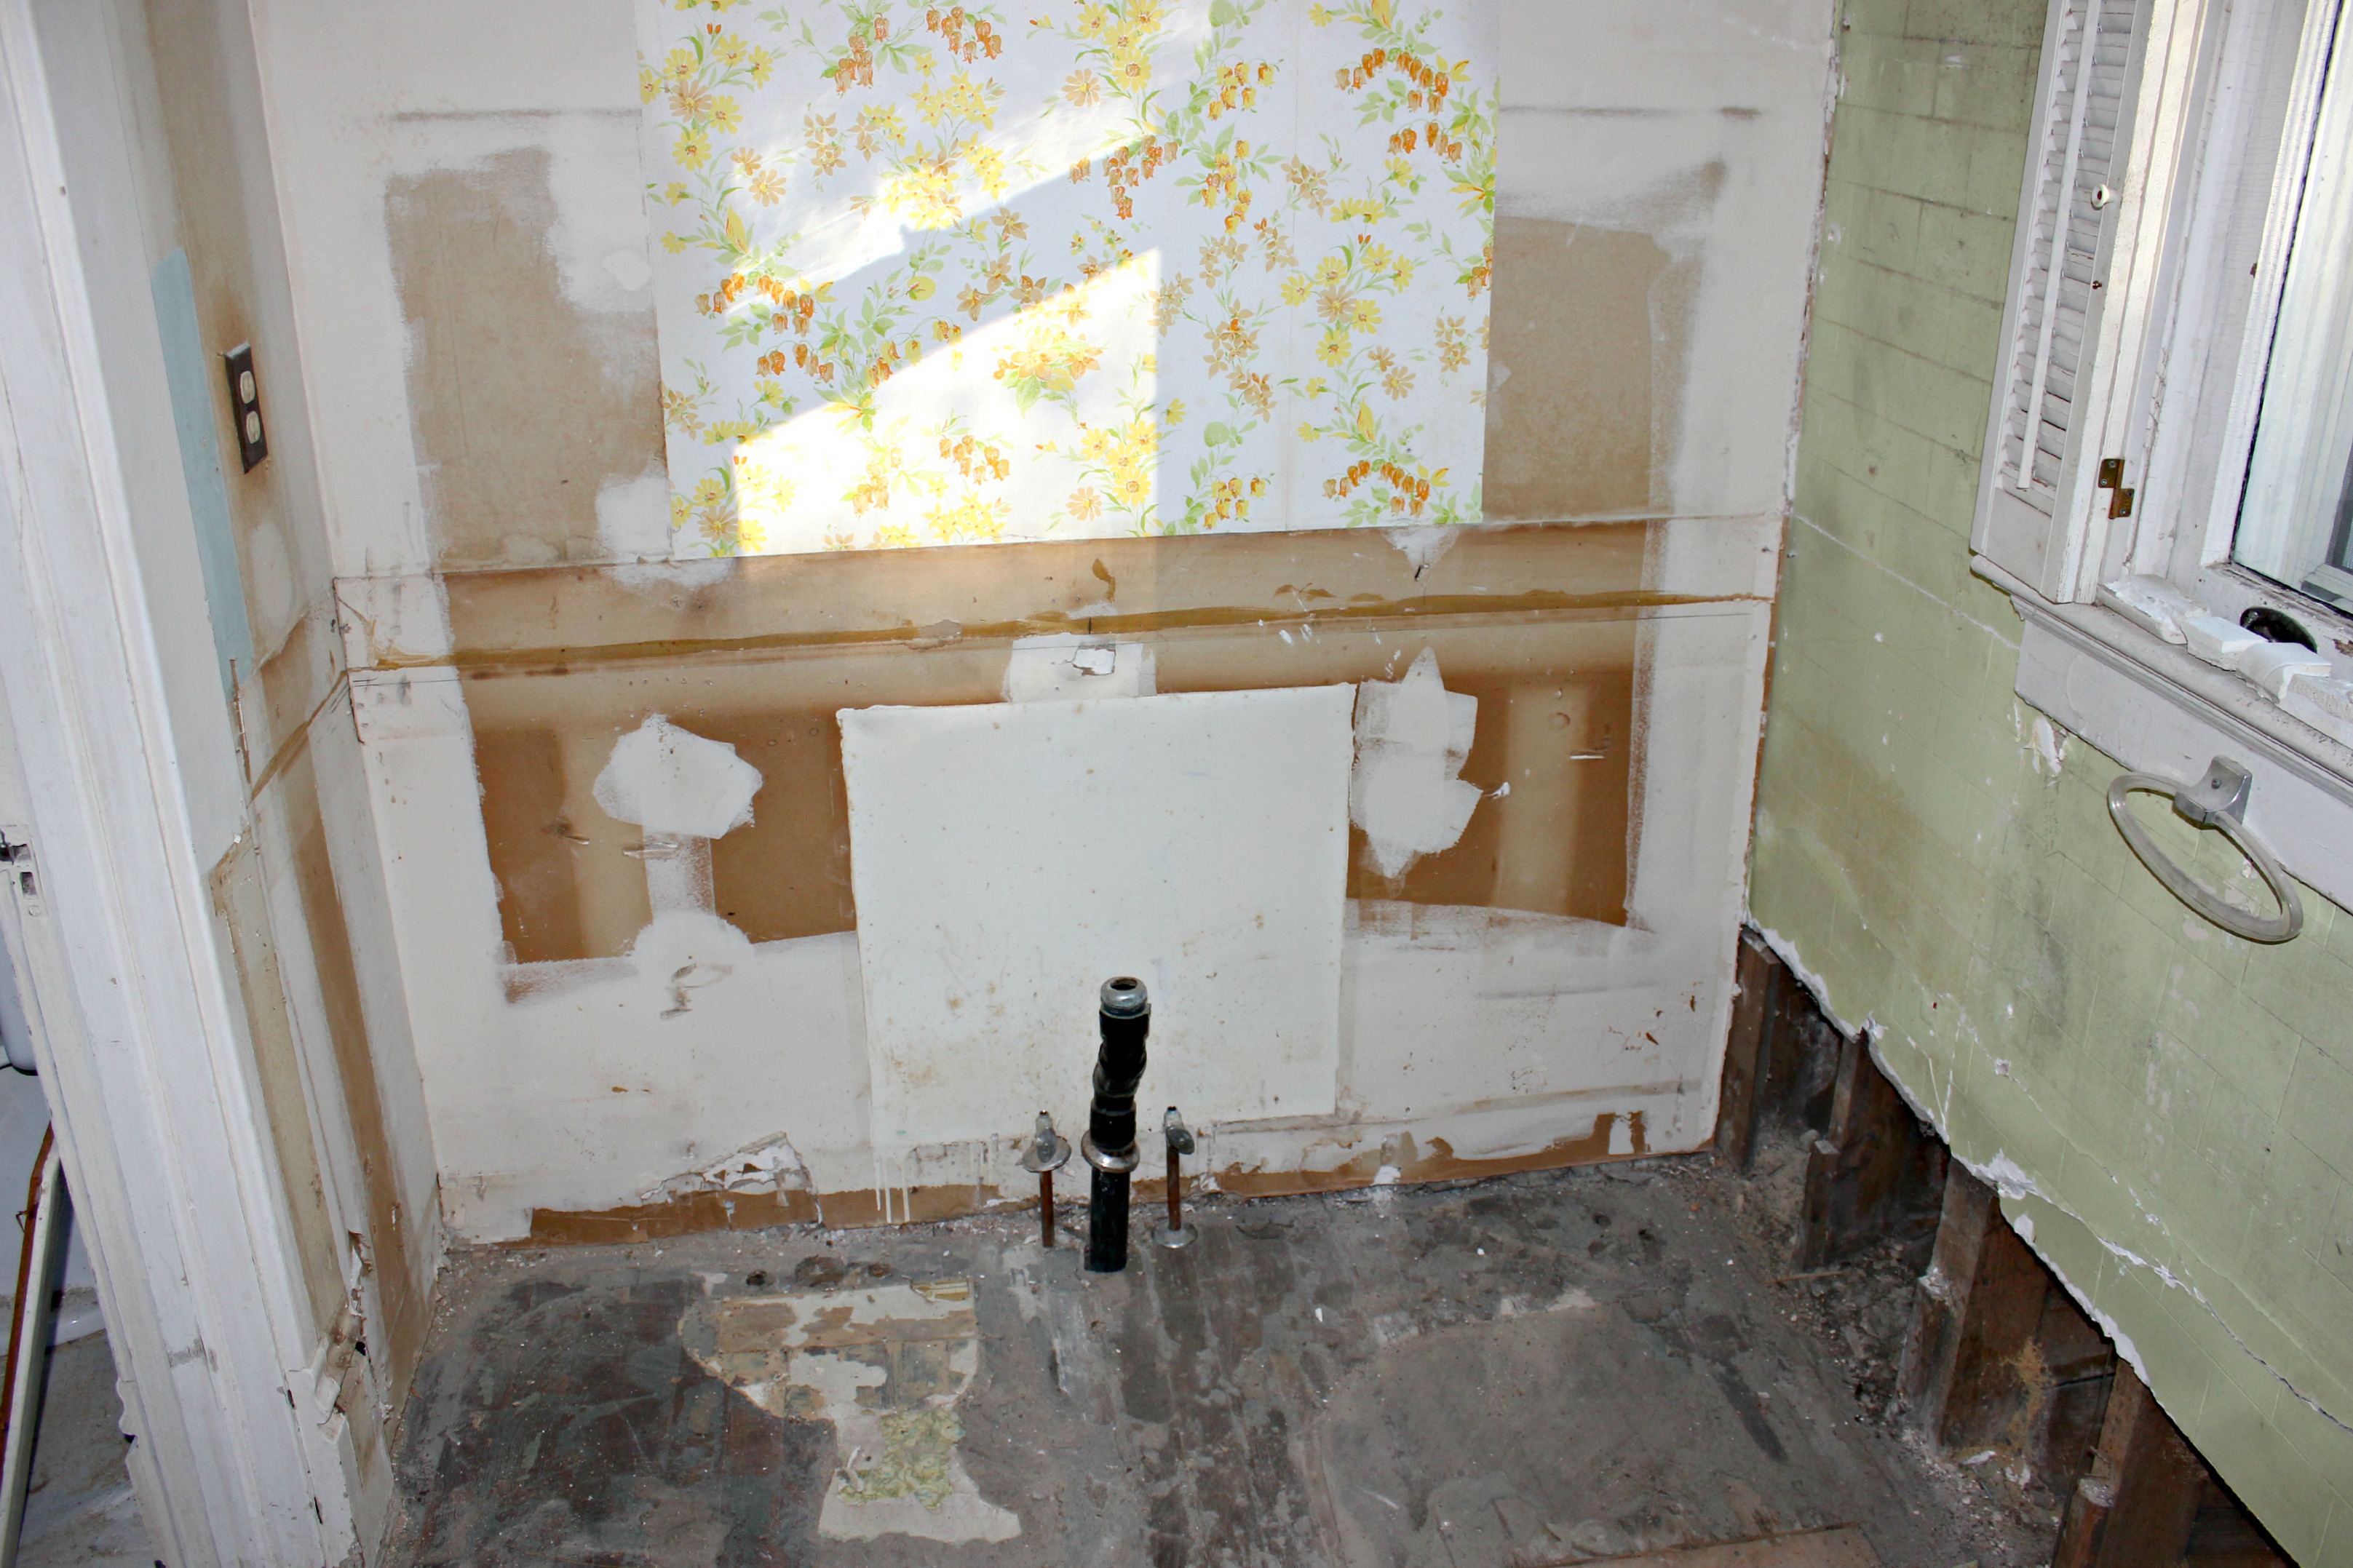
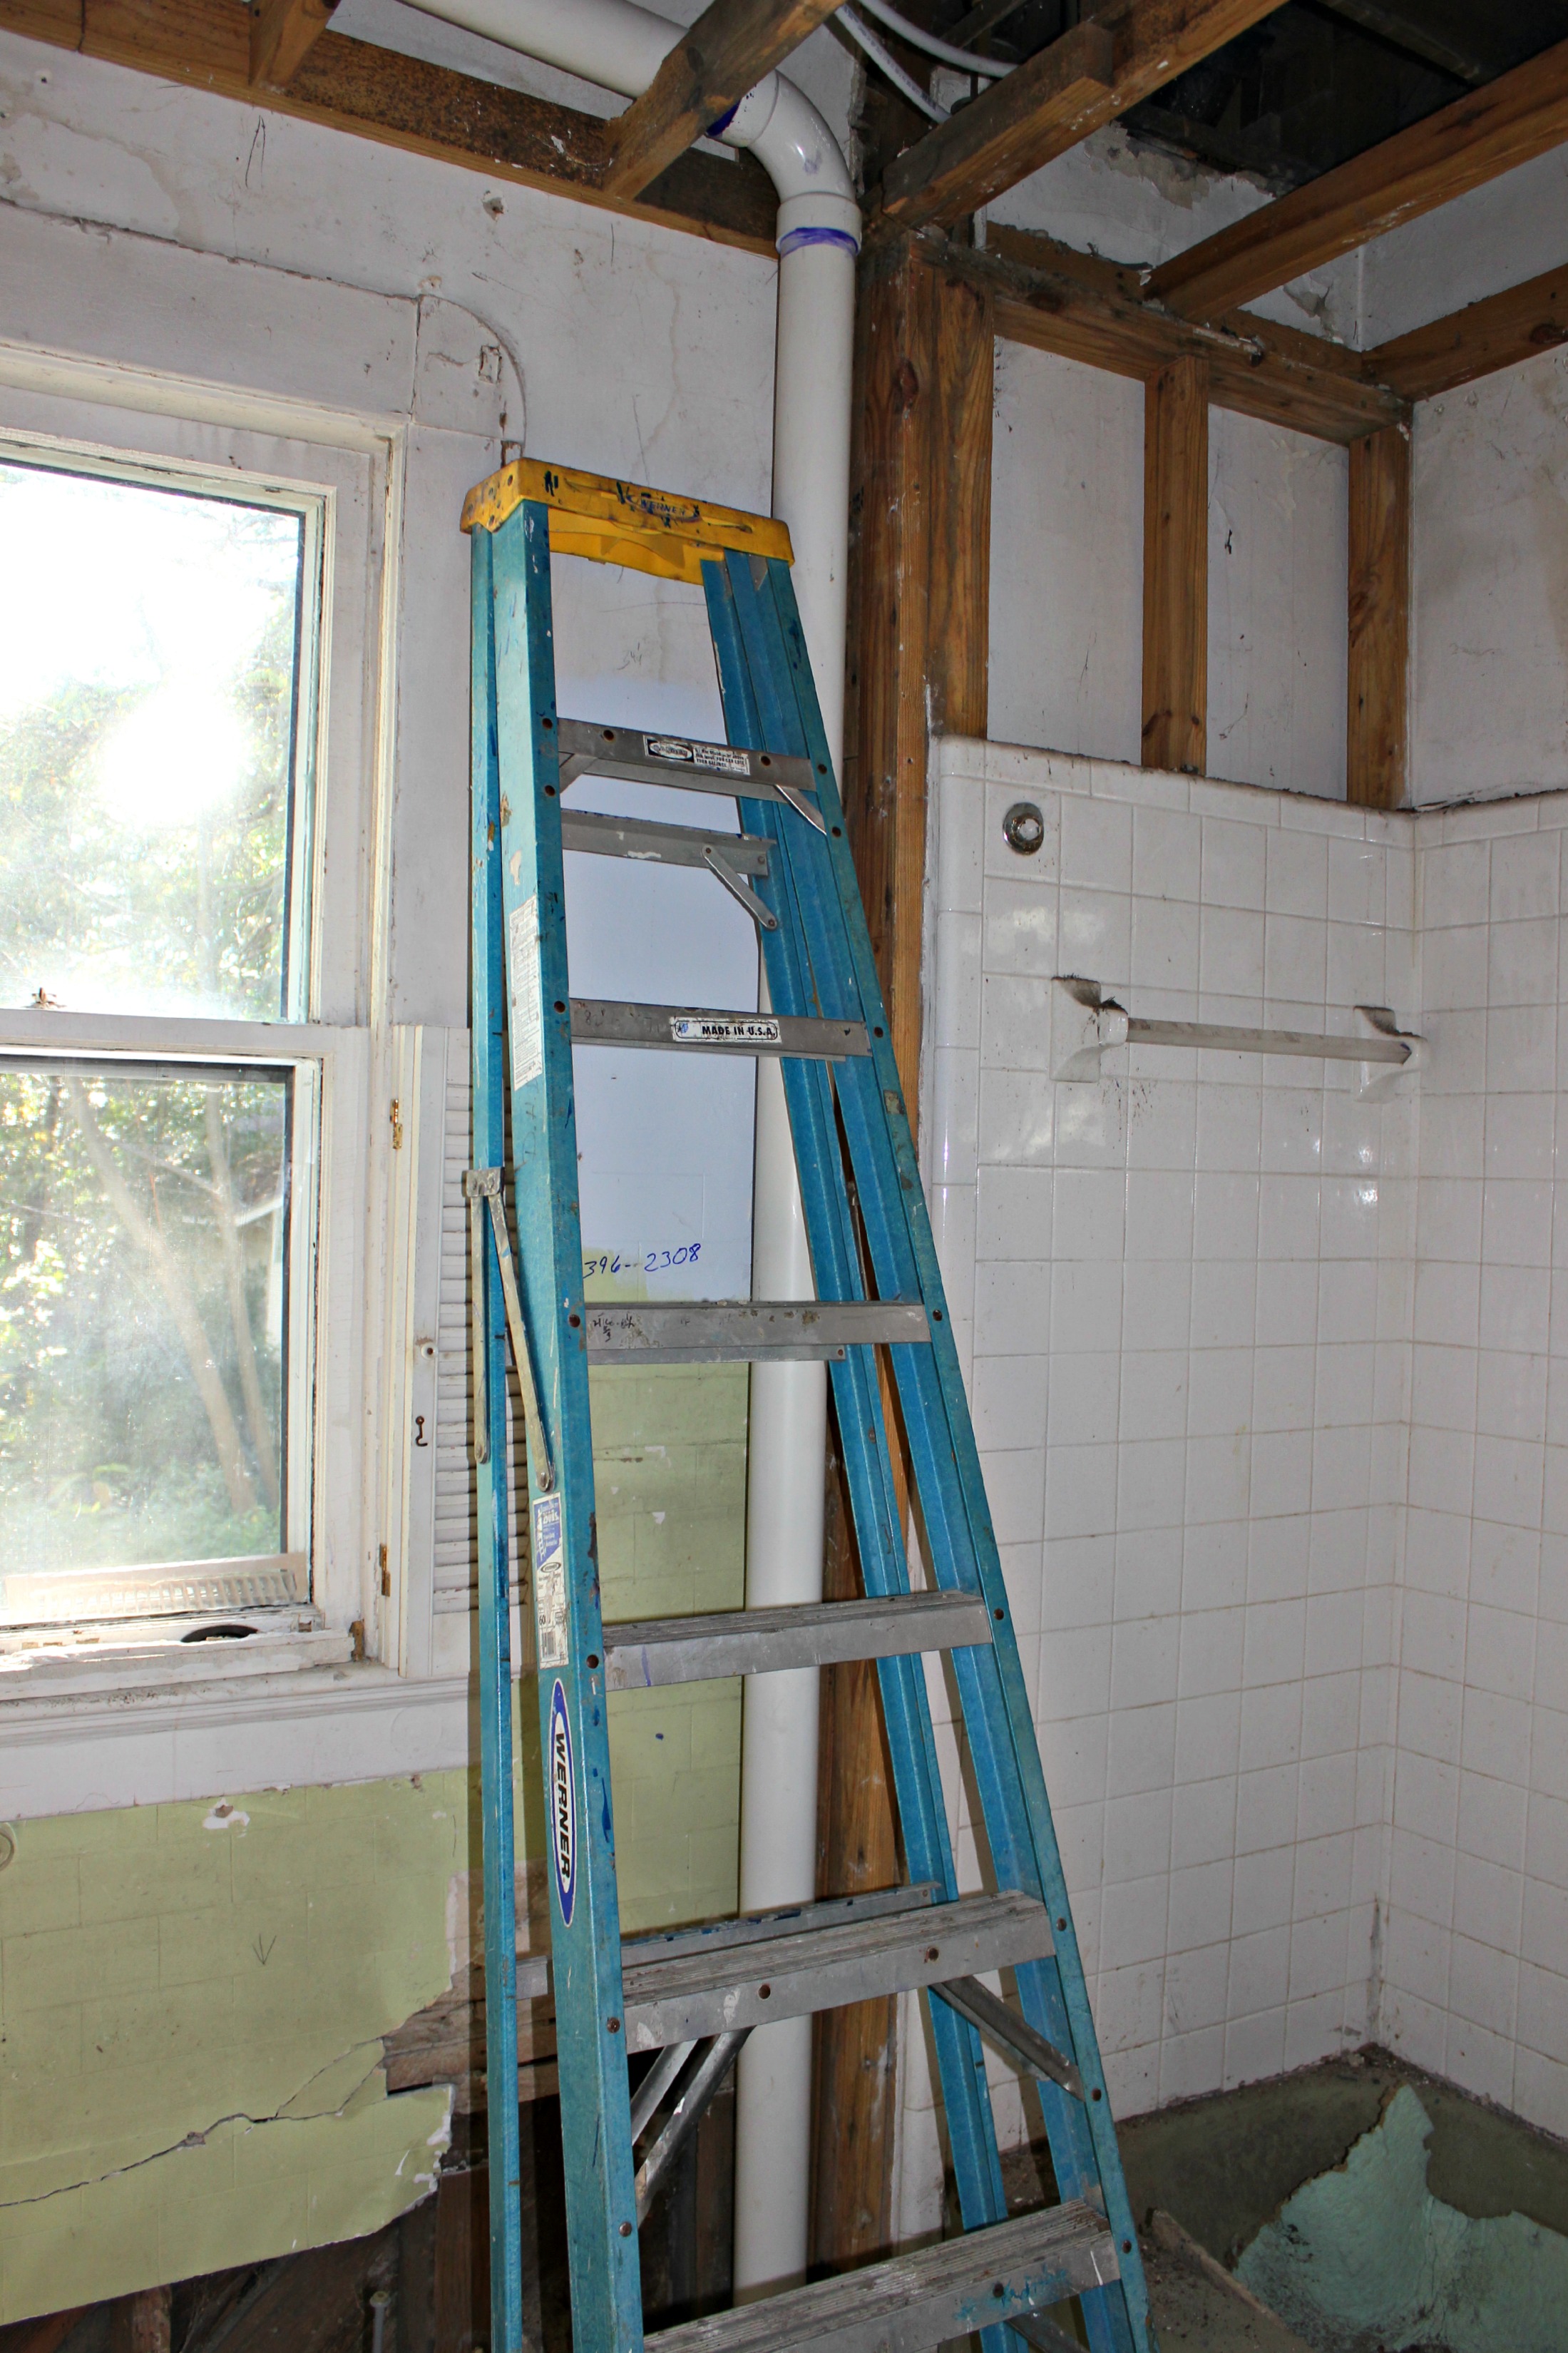
- Repair plaster walls and ceiling
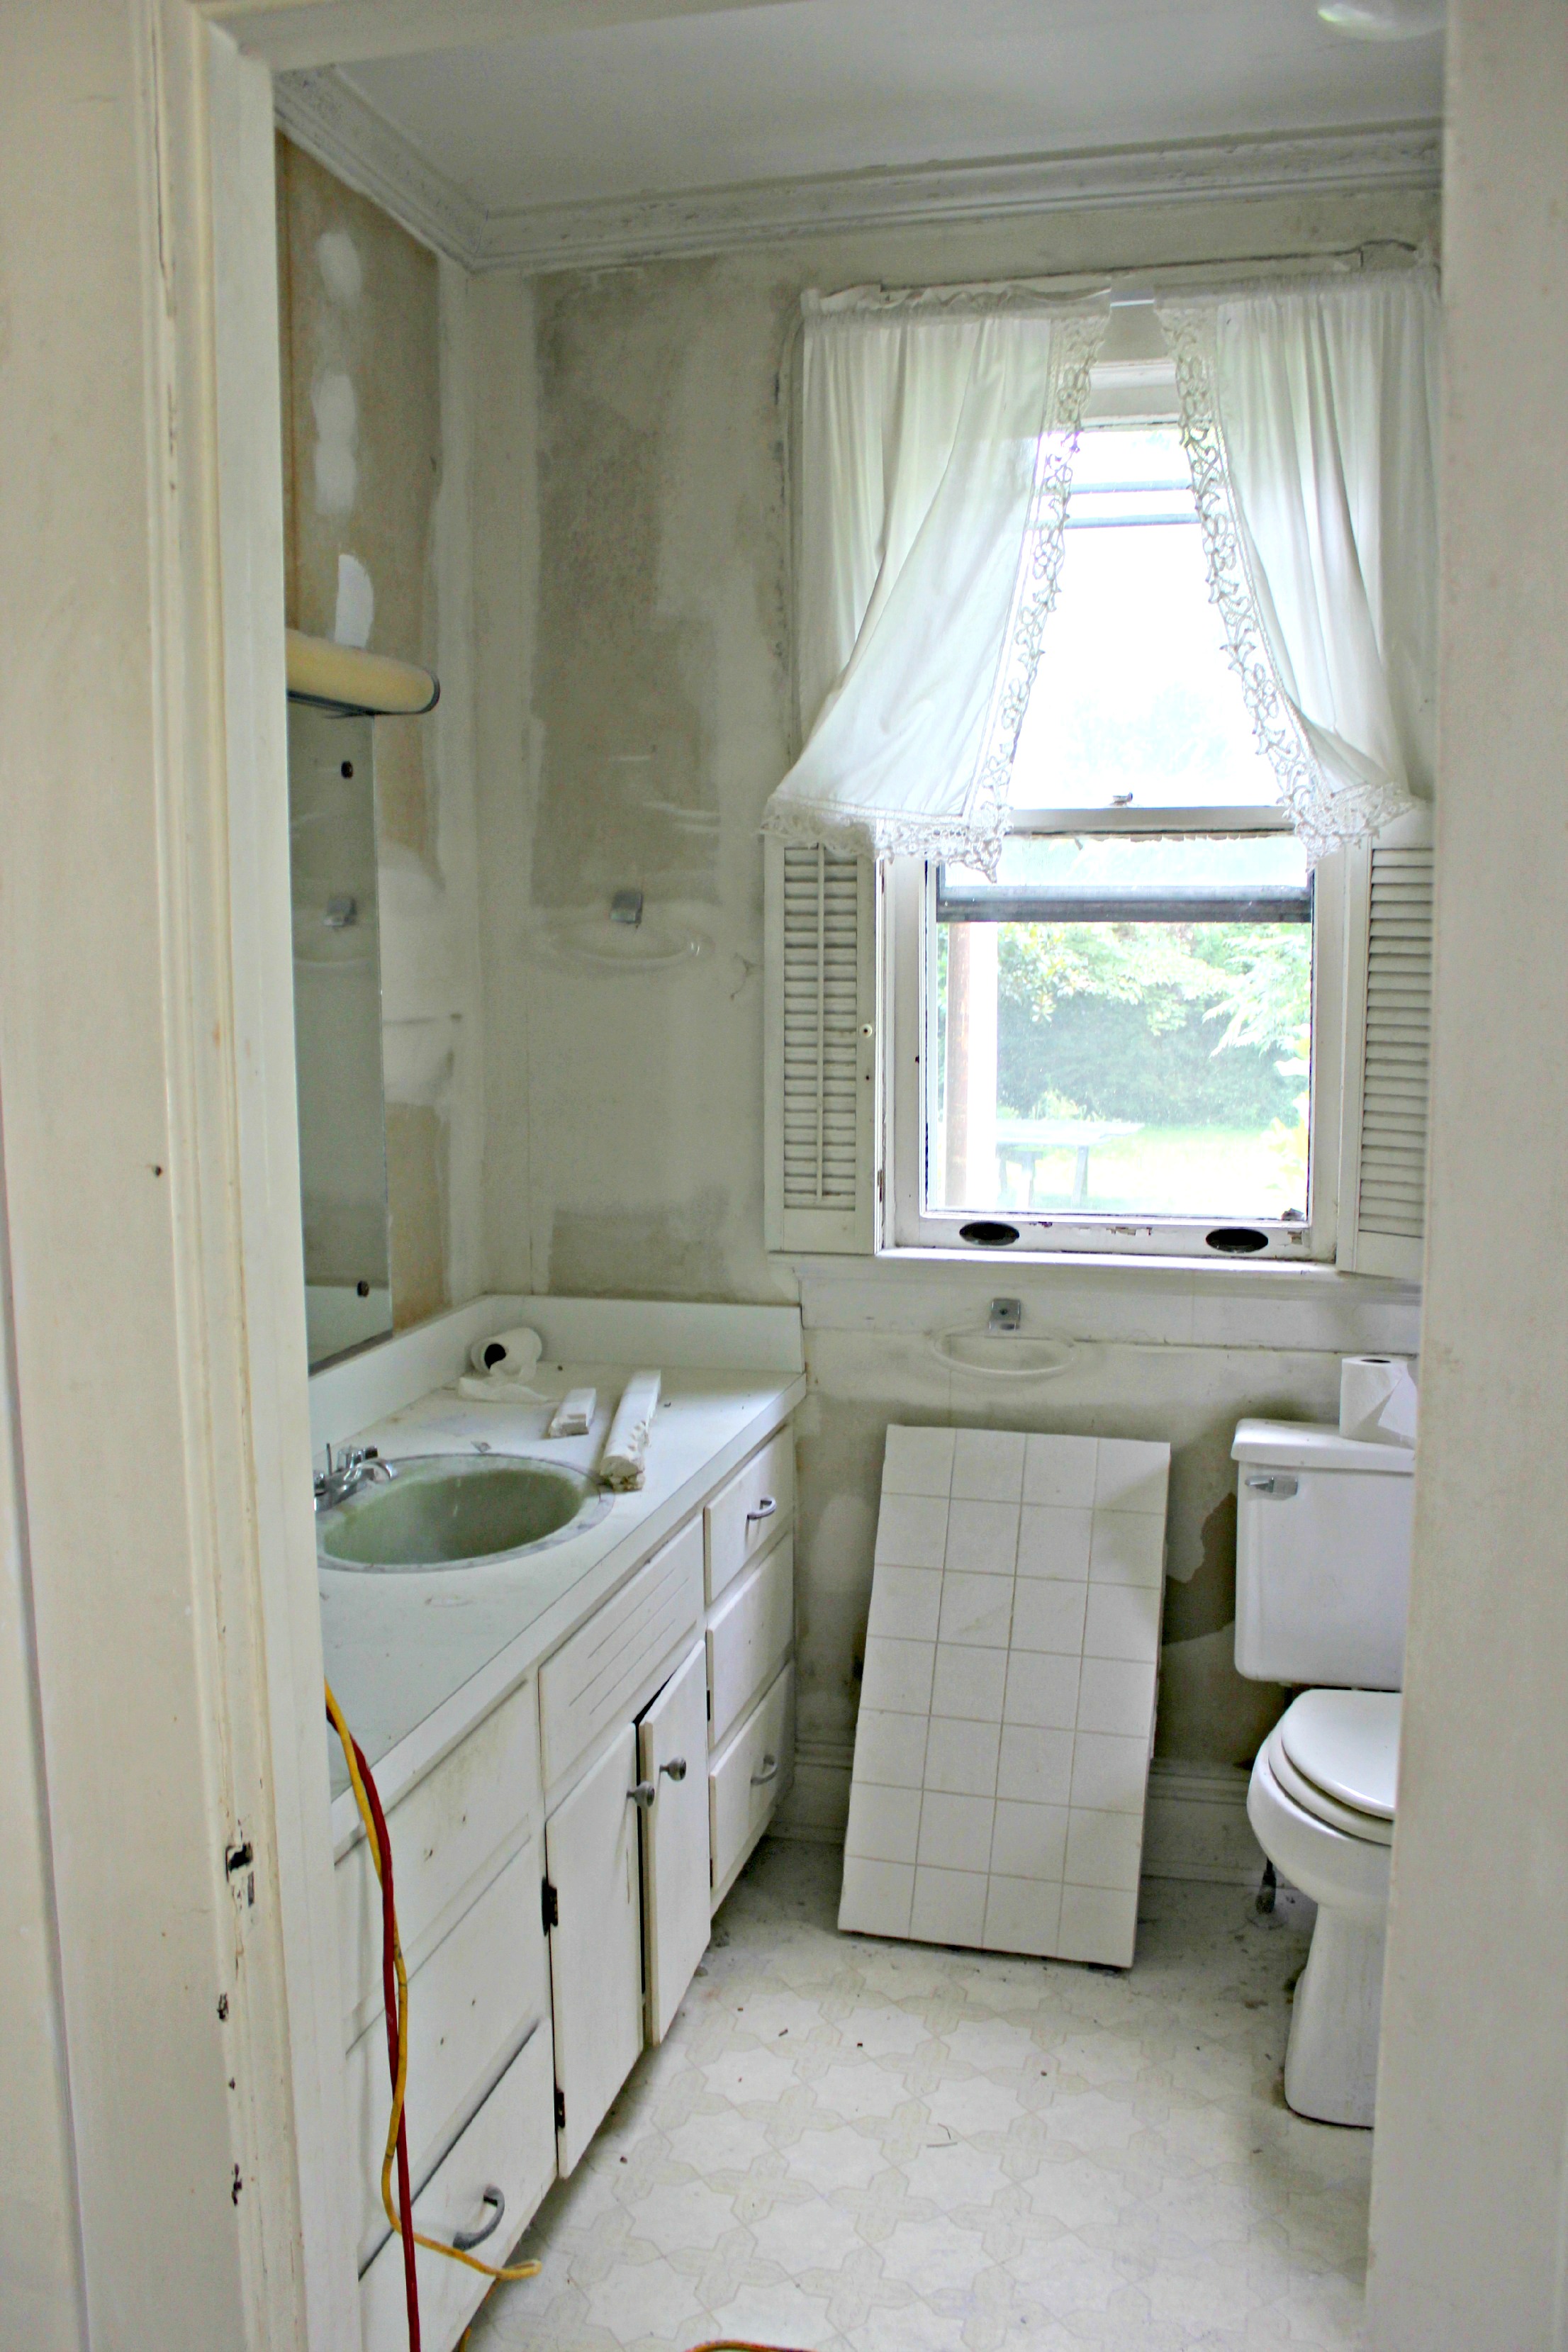
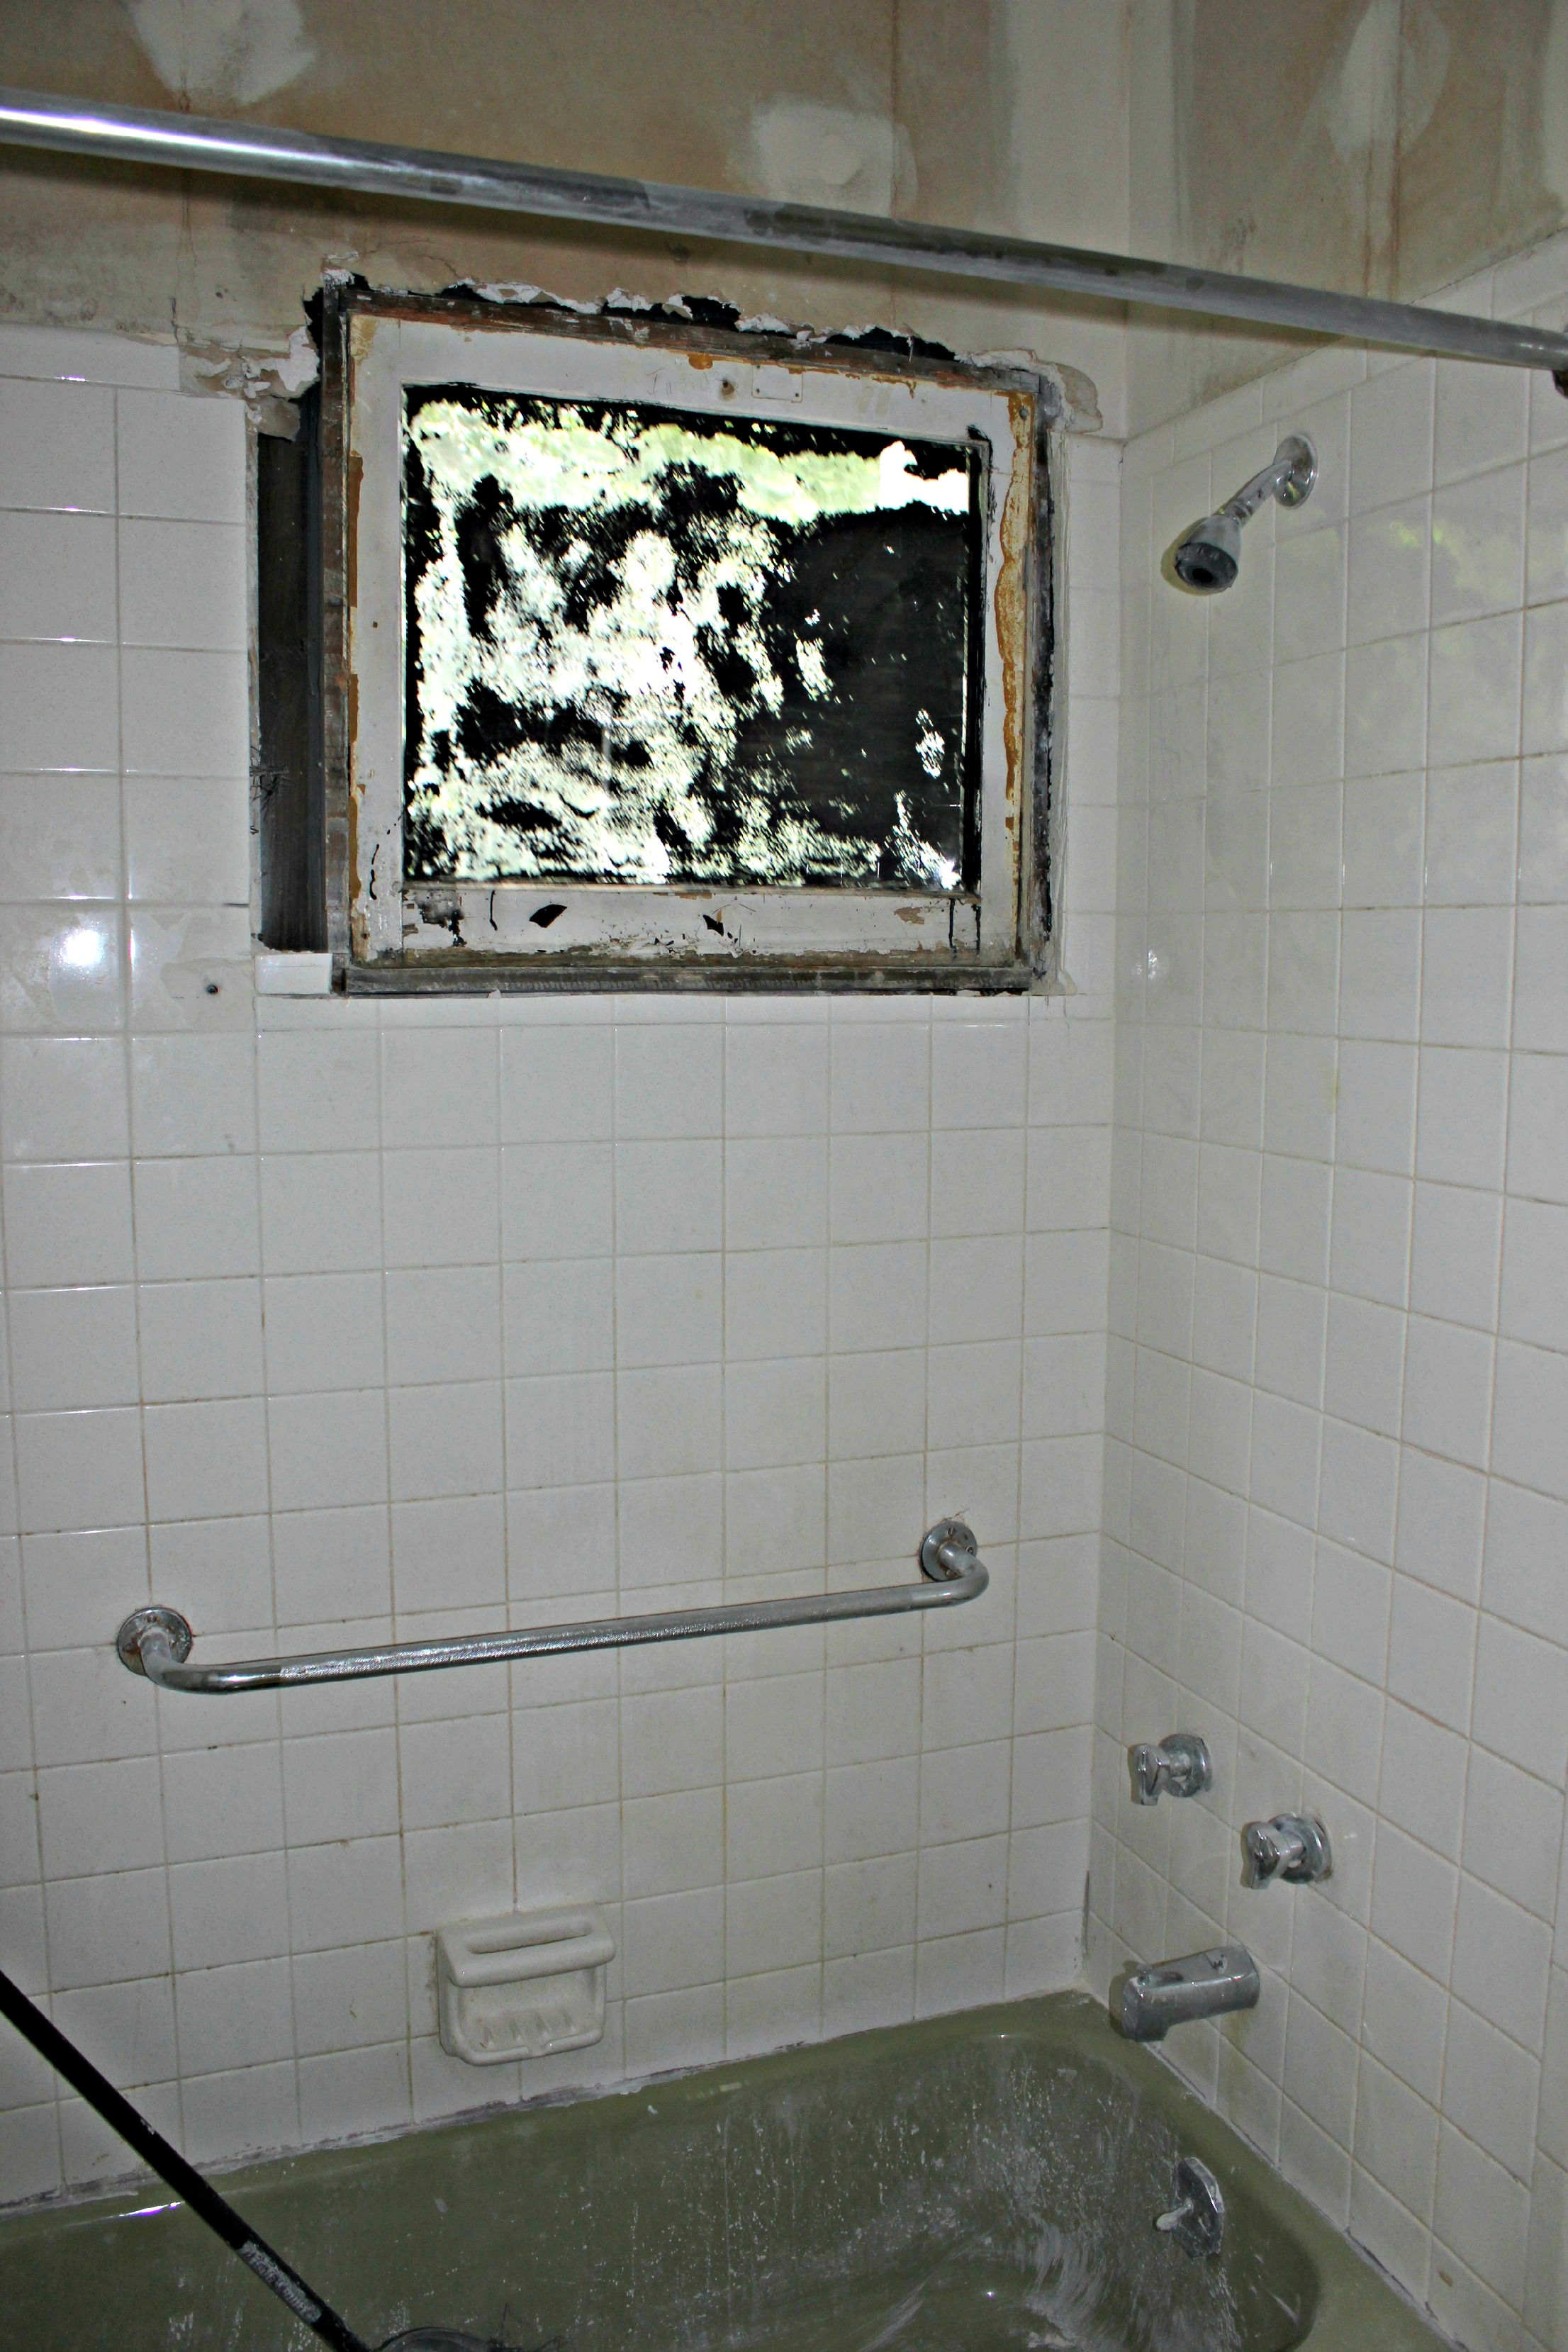
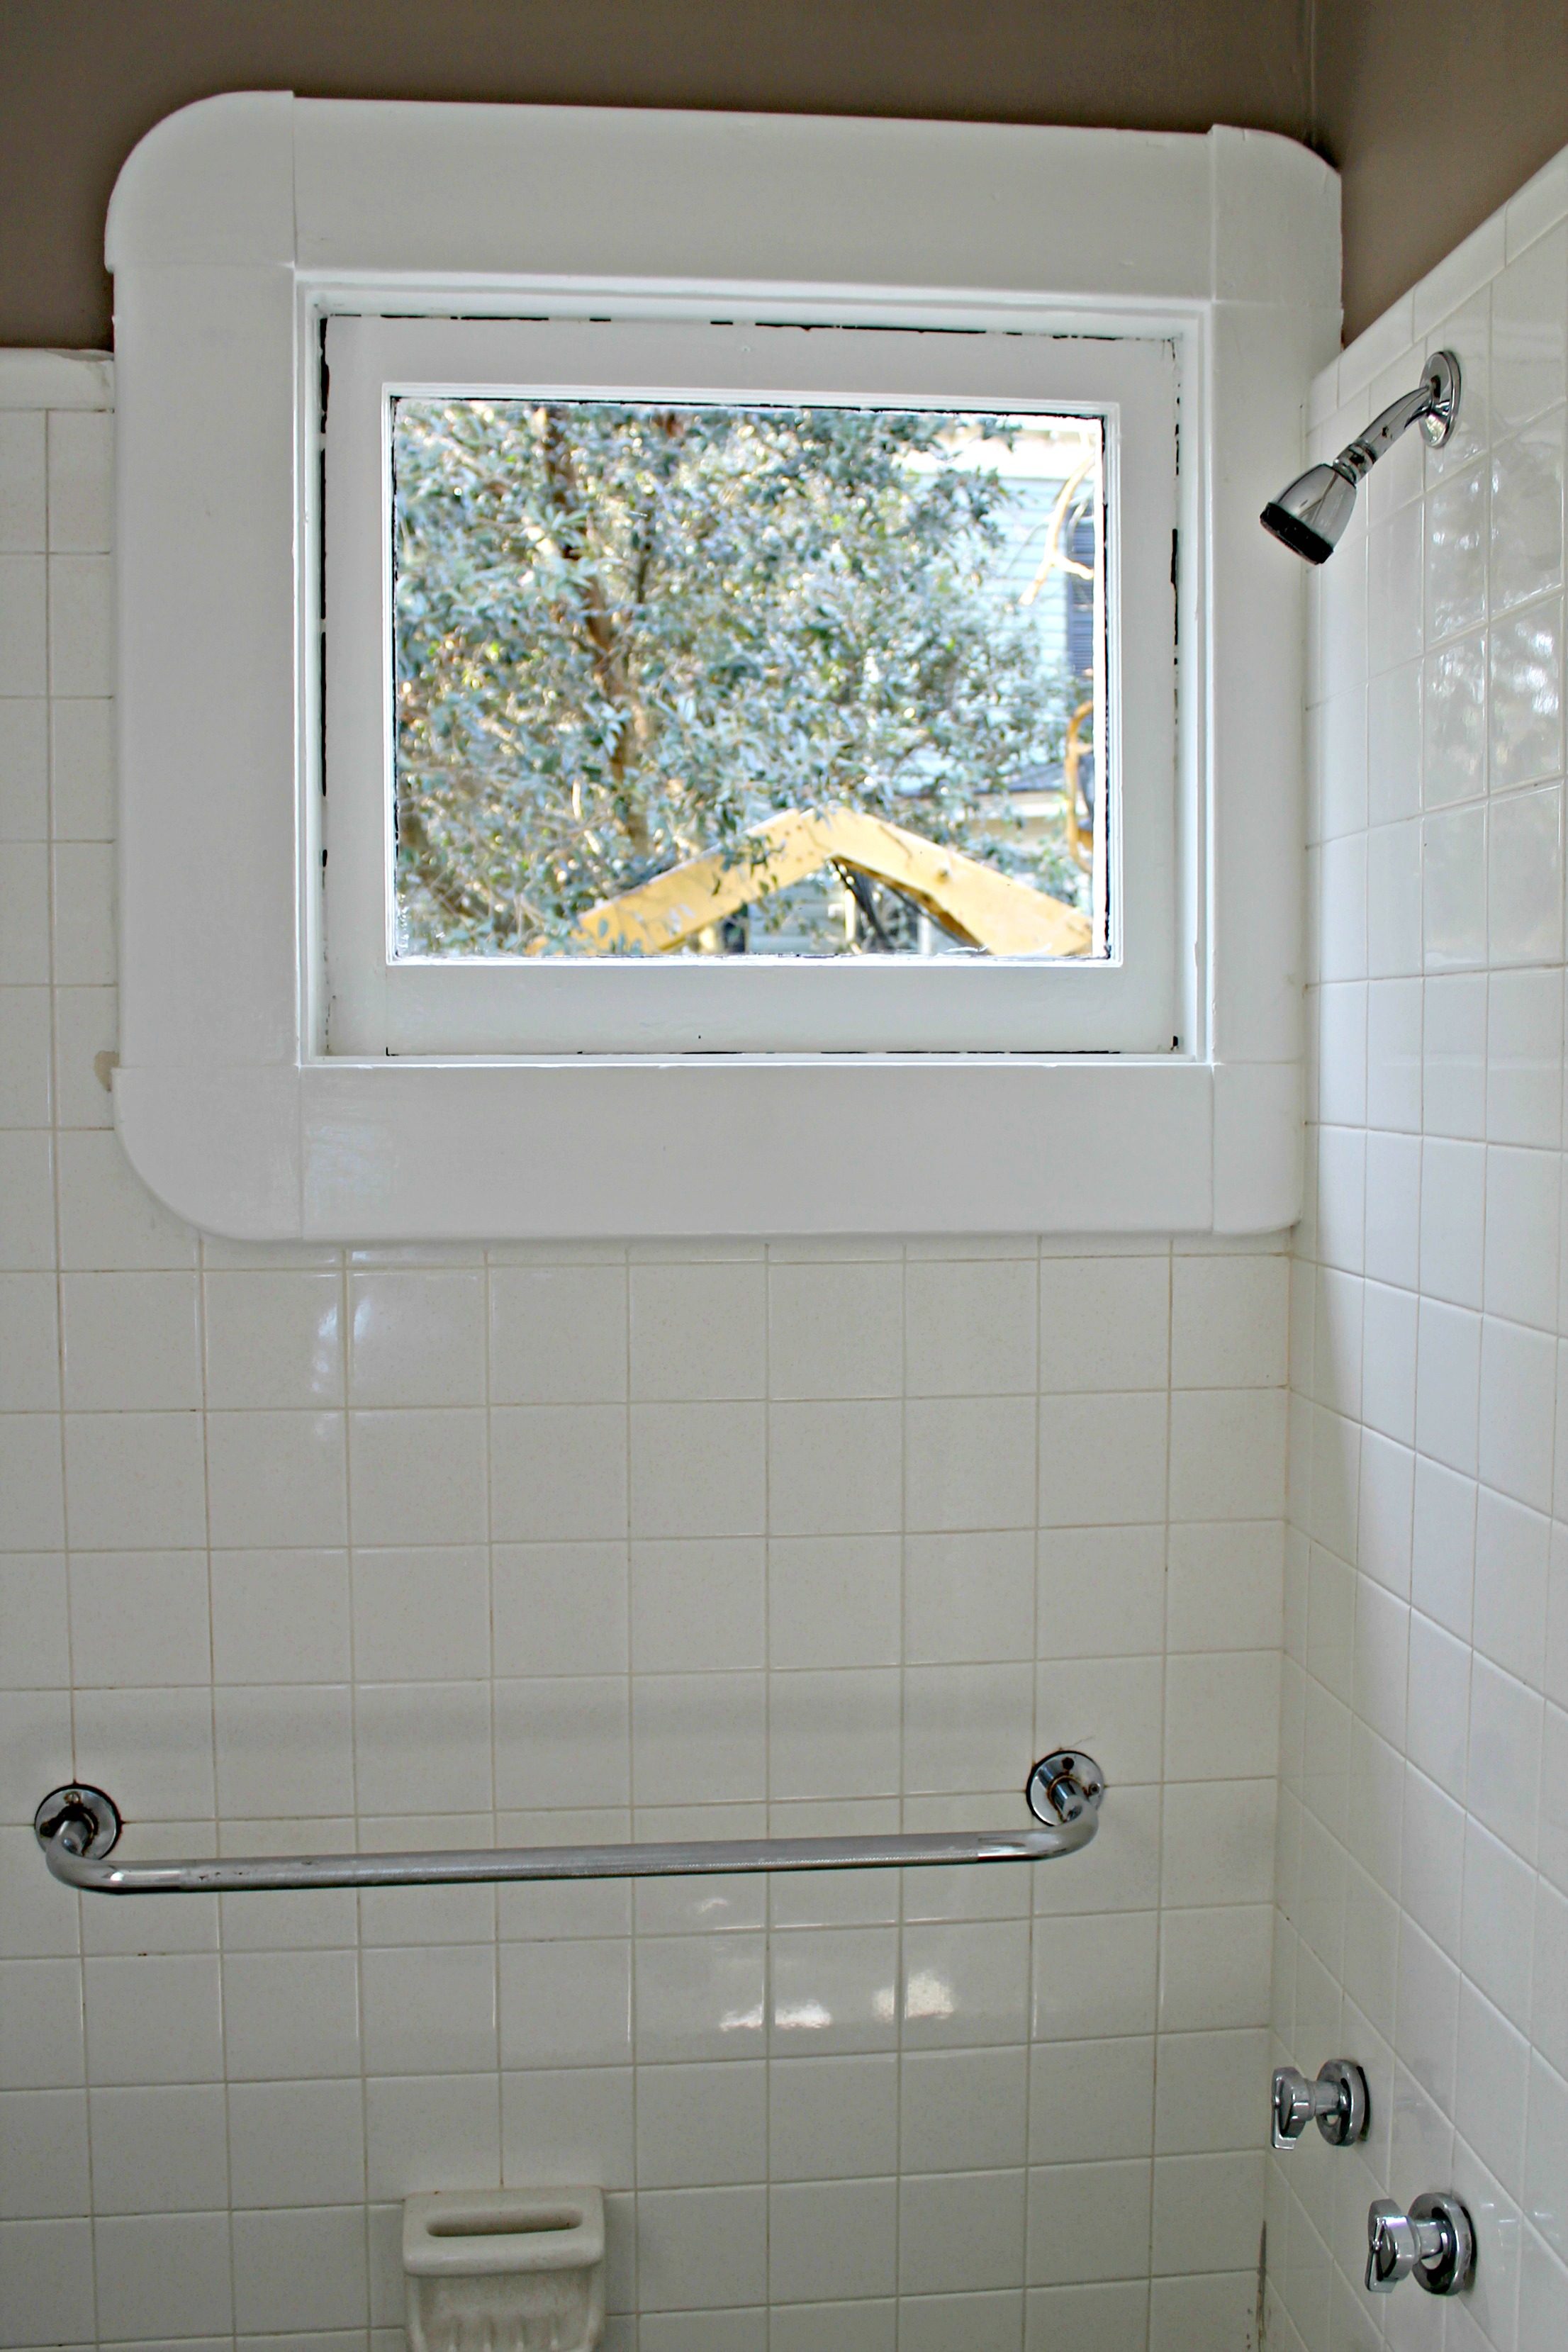
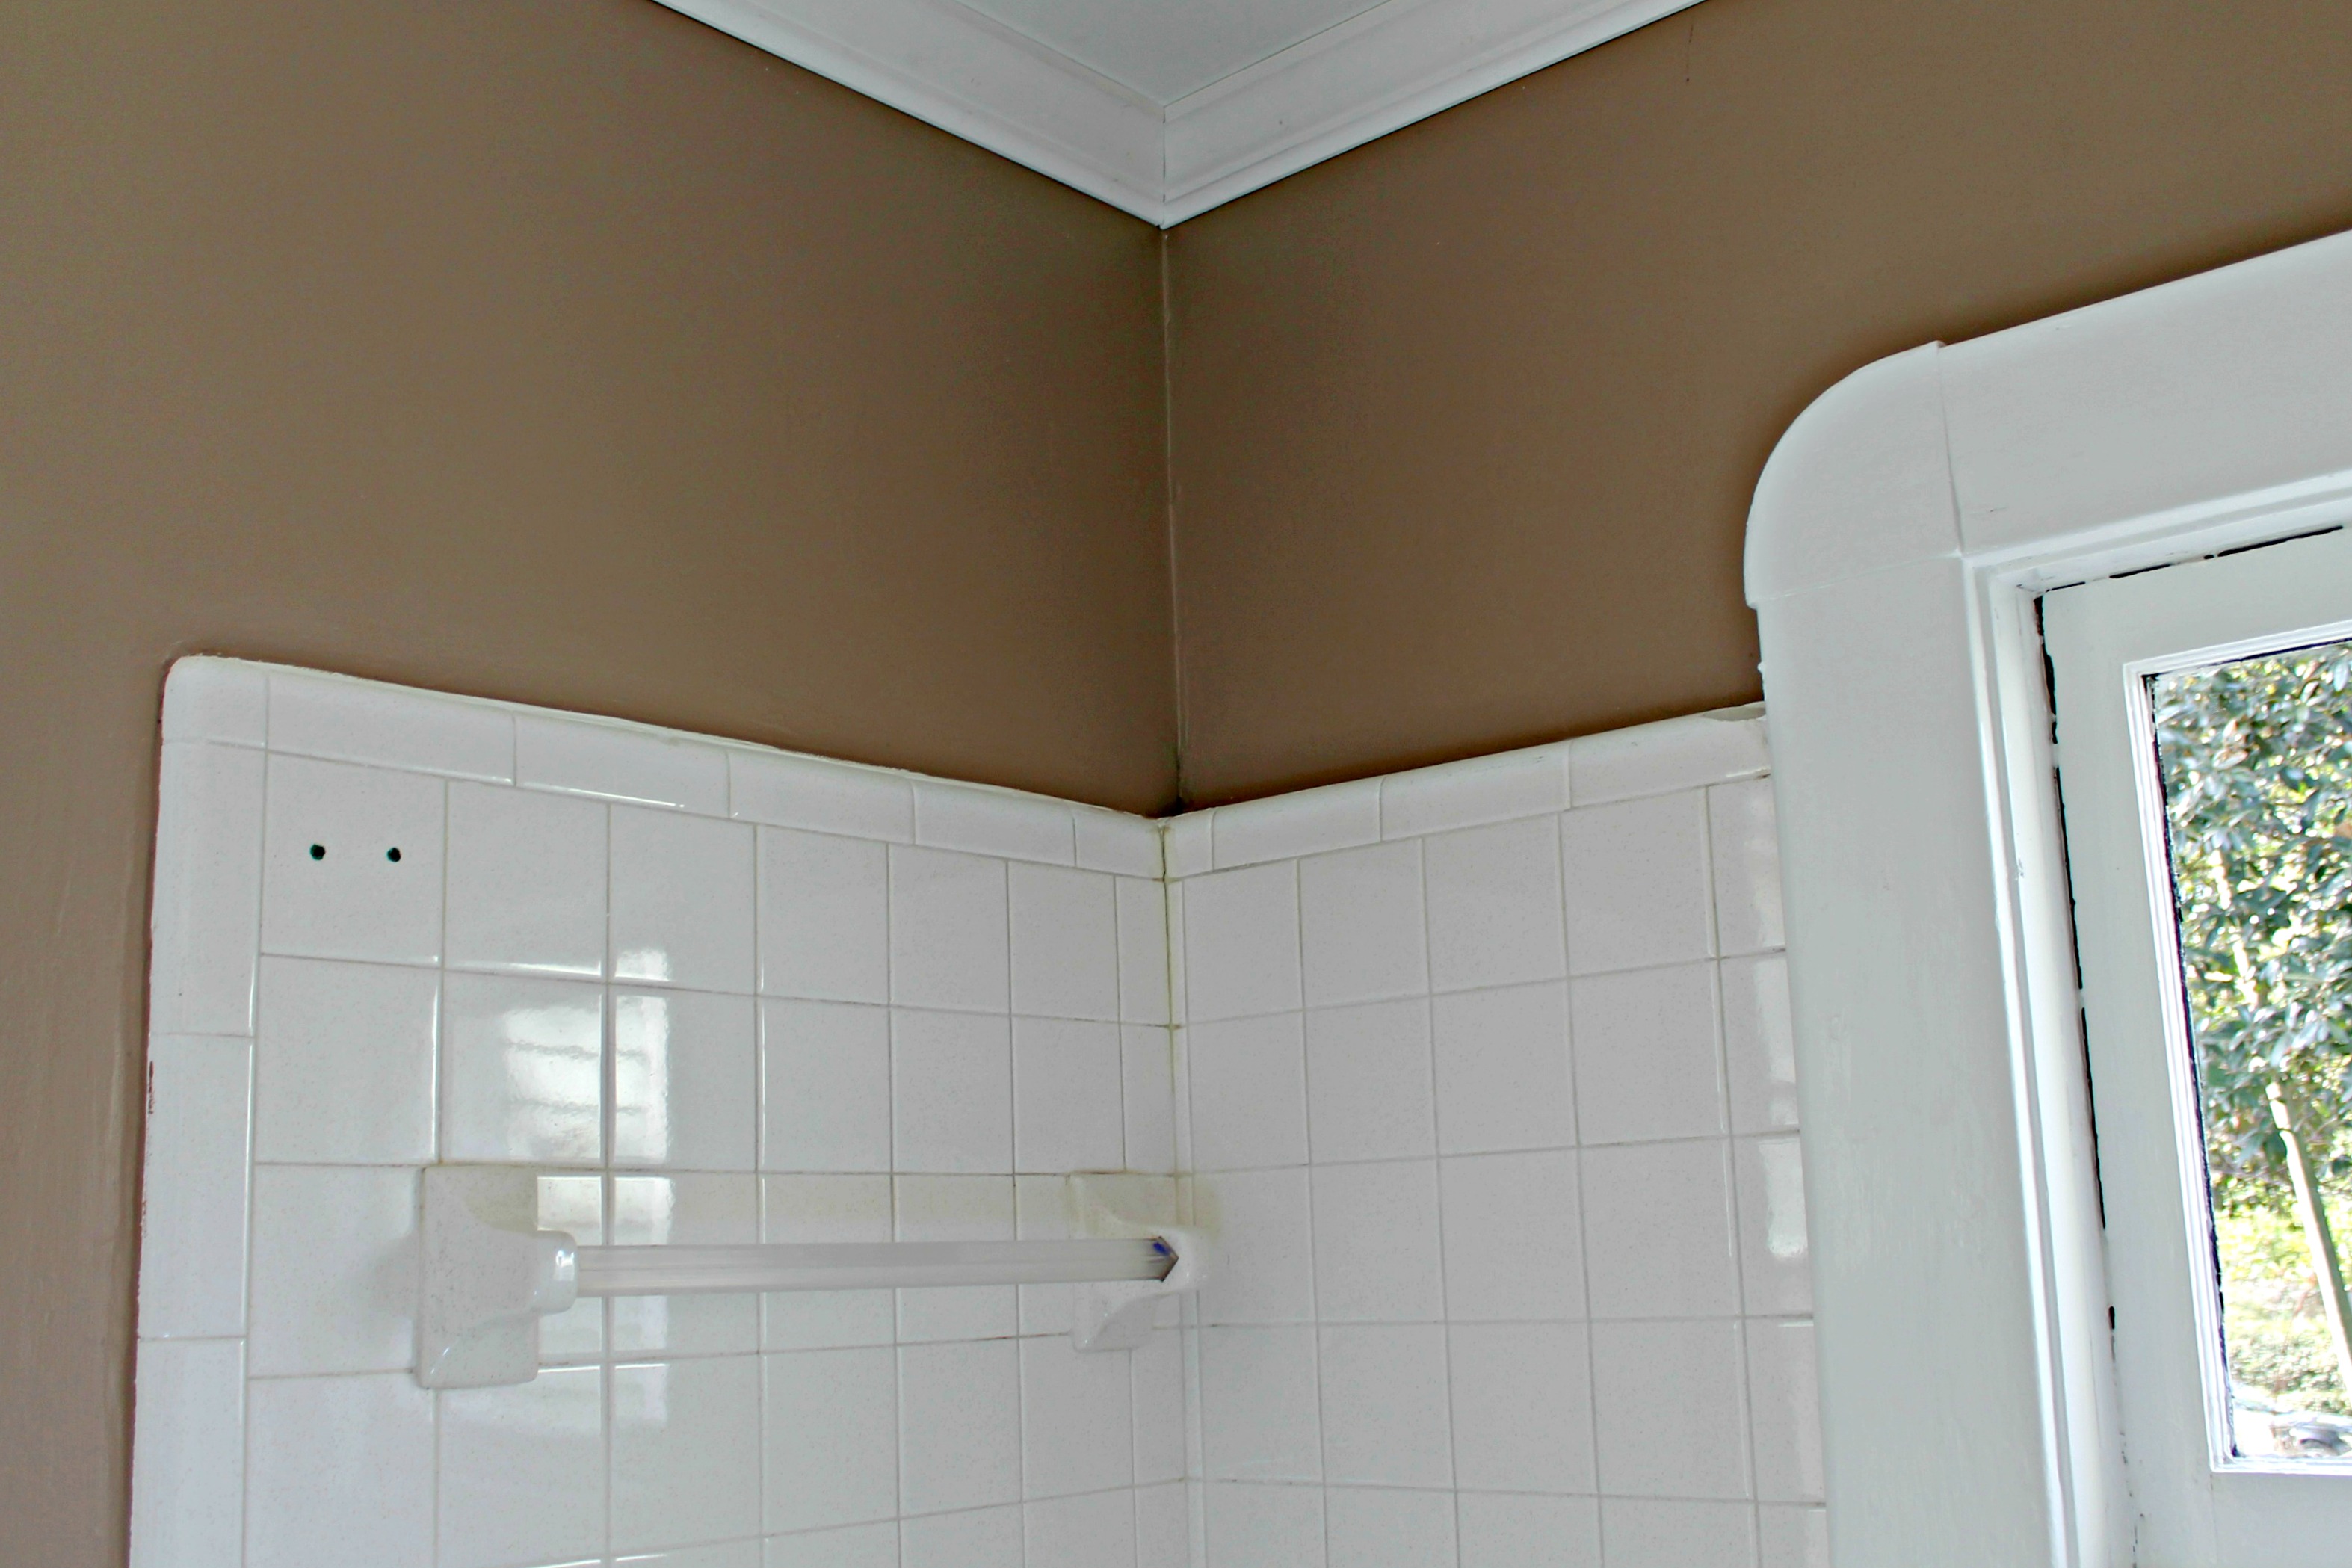
- Remove tile covering window in shower
- Add trim to window in shower
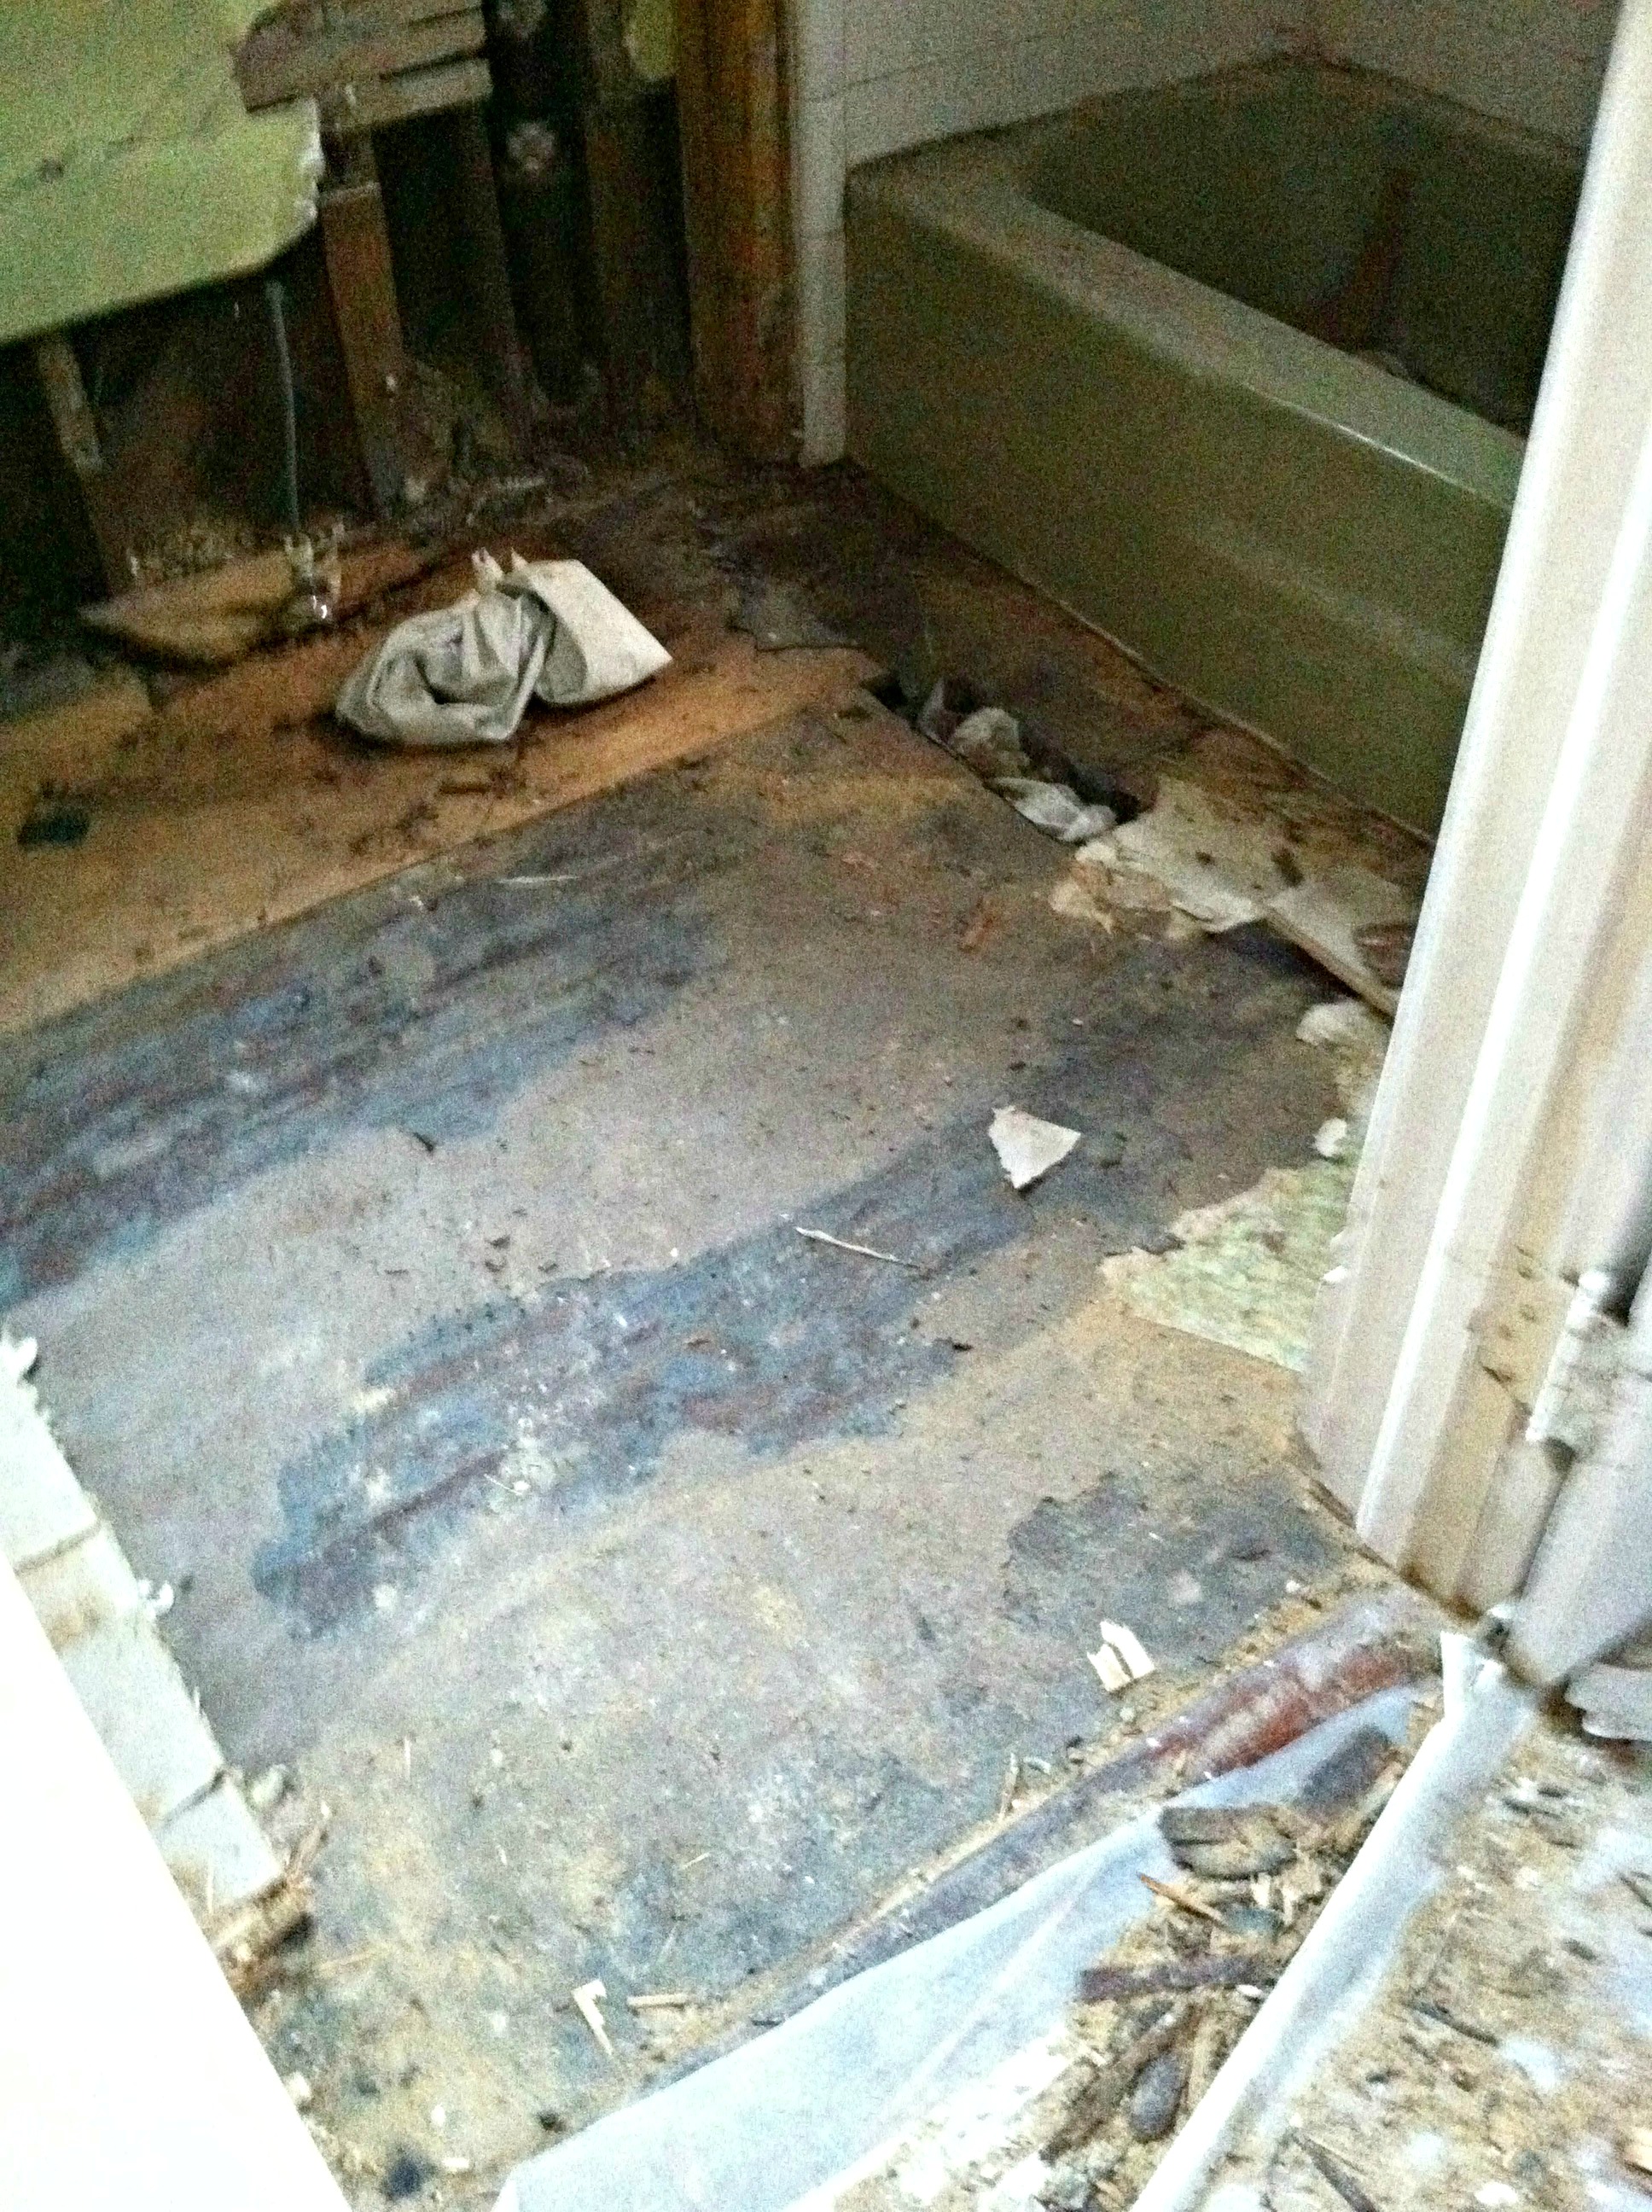
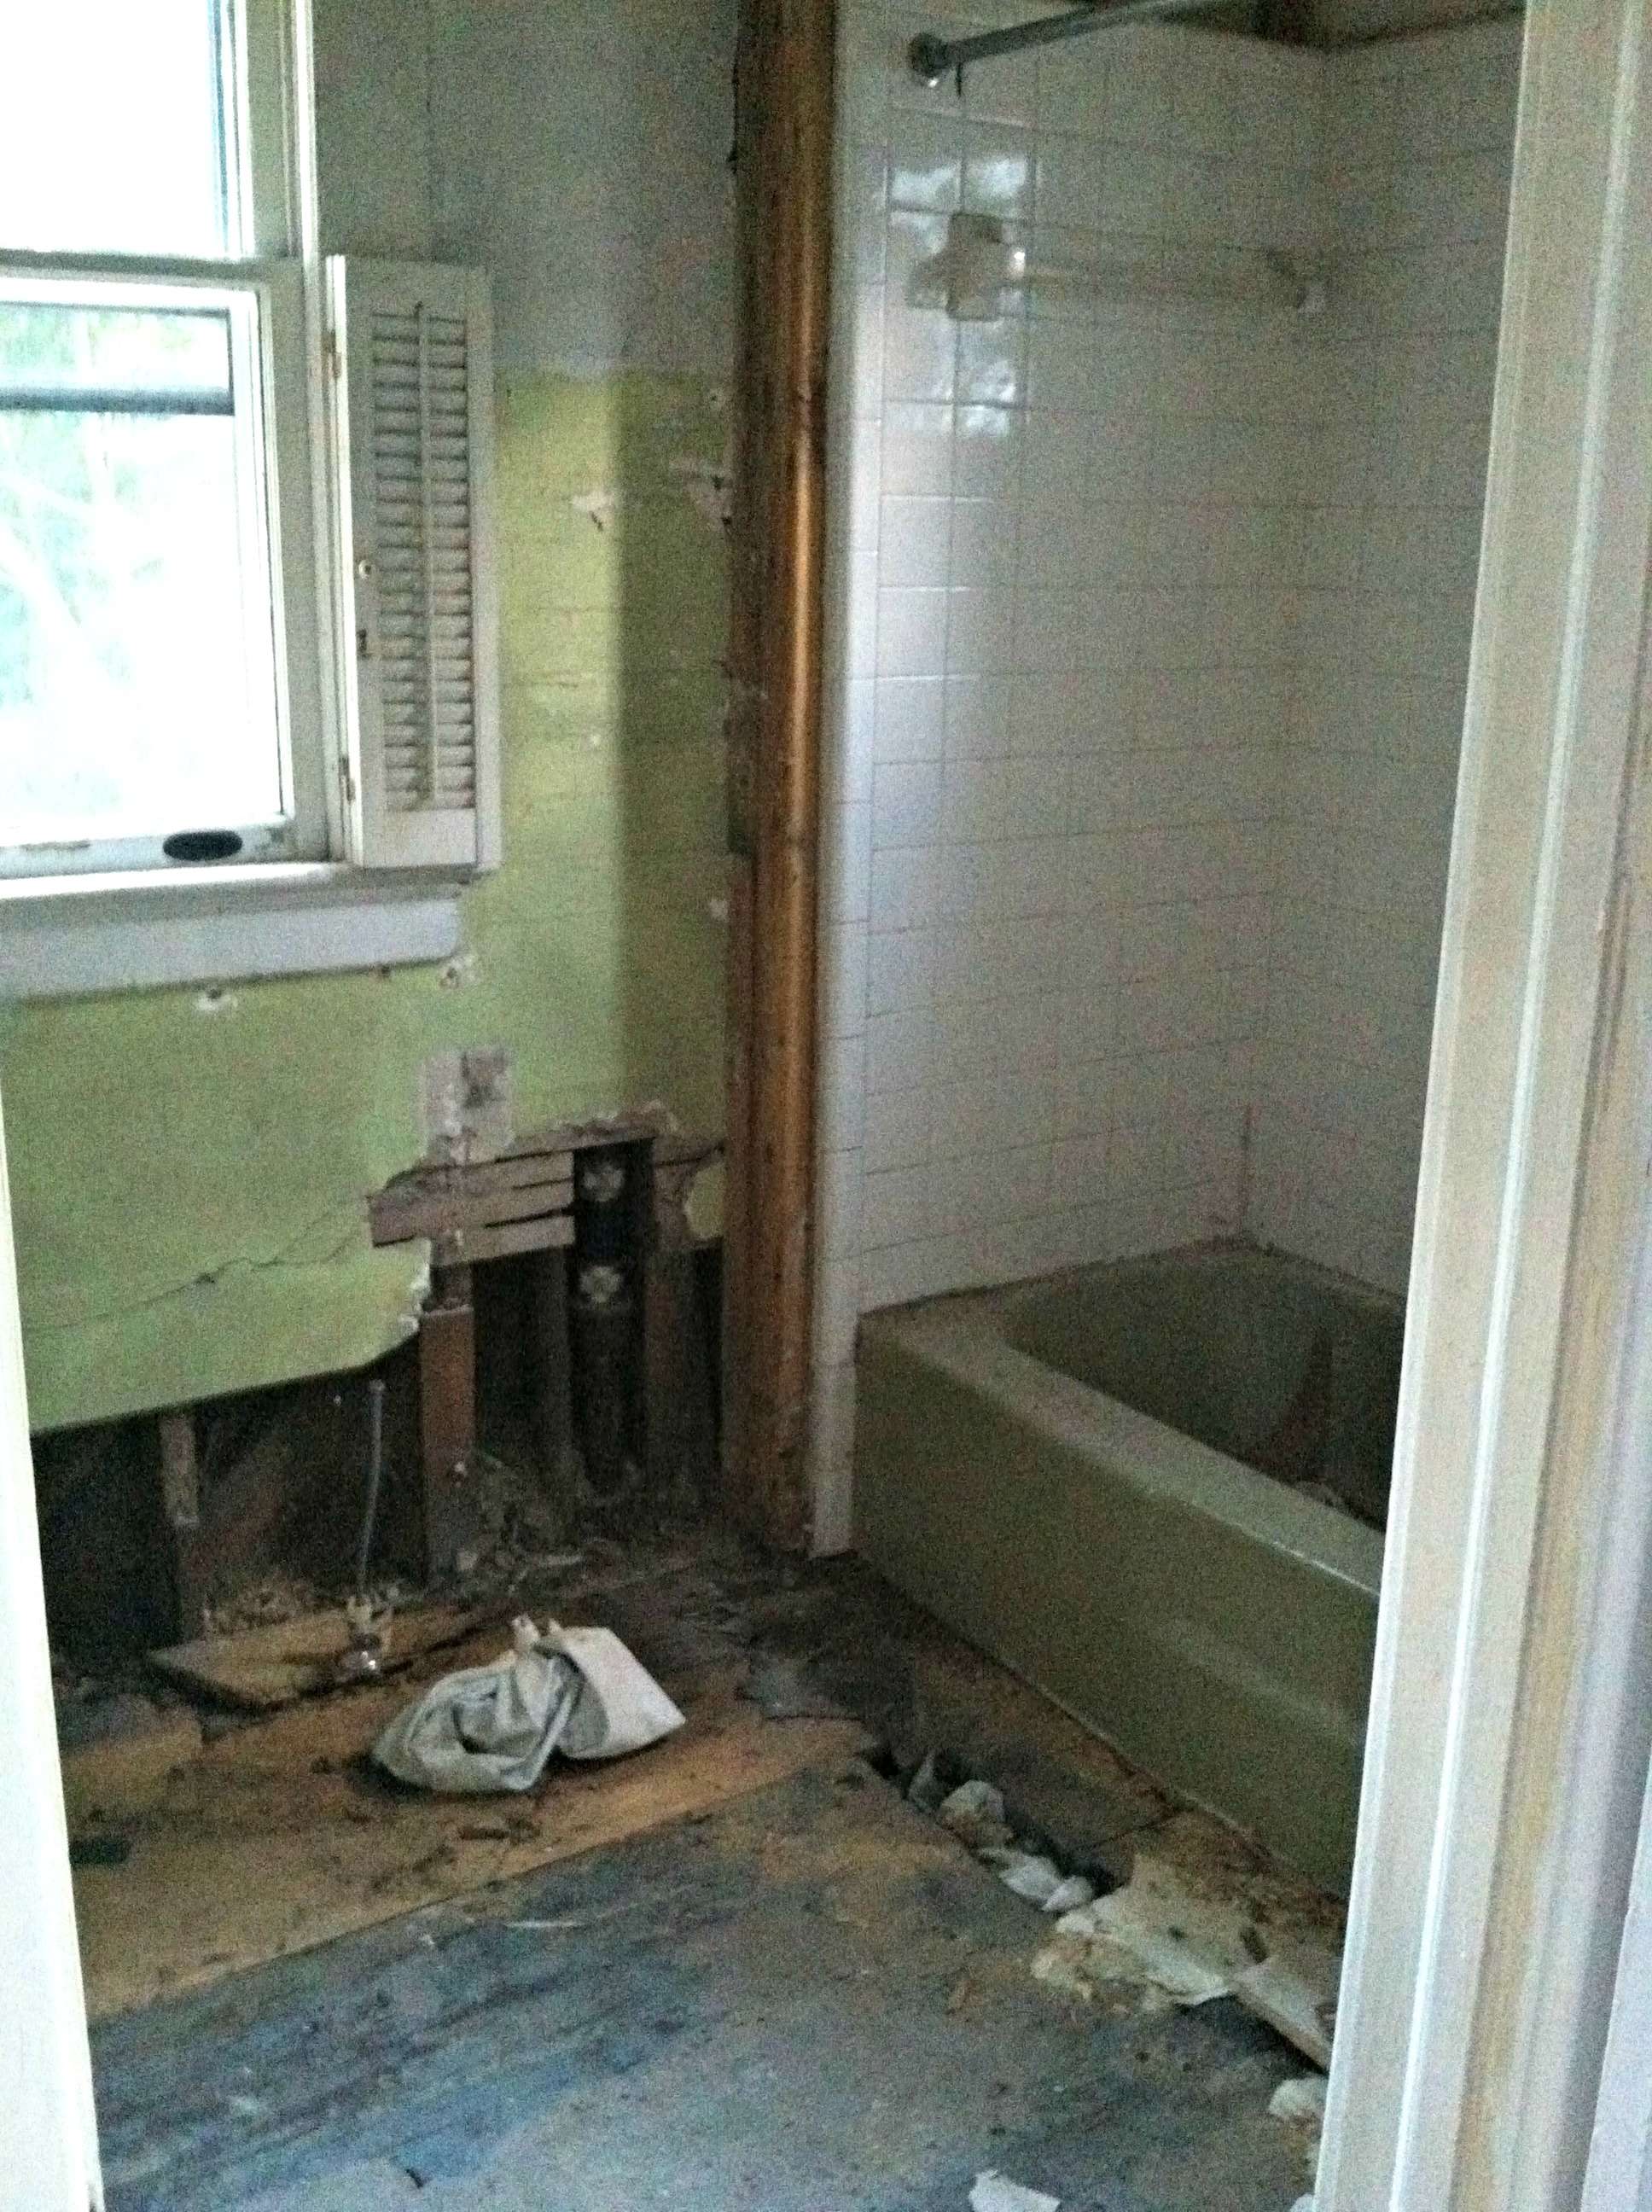
- Remove vinyl flooring
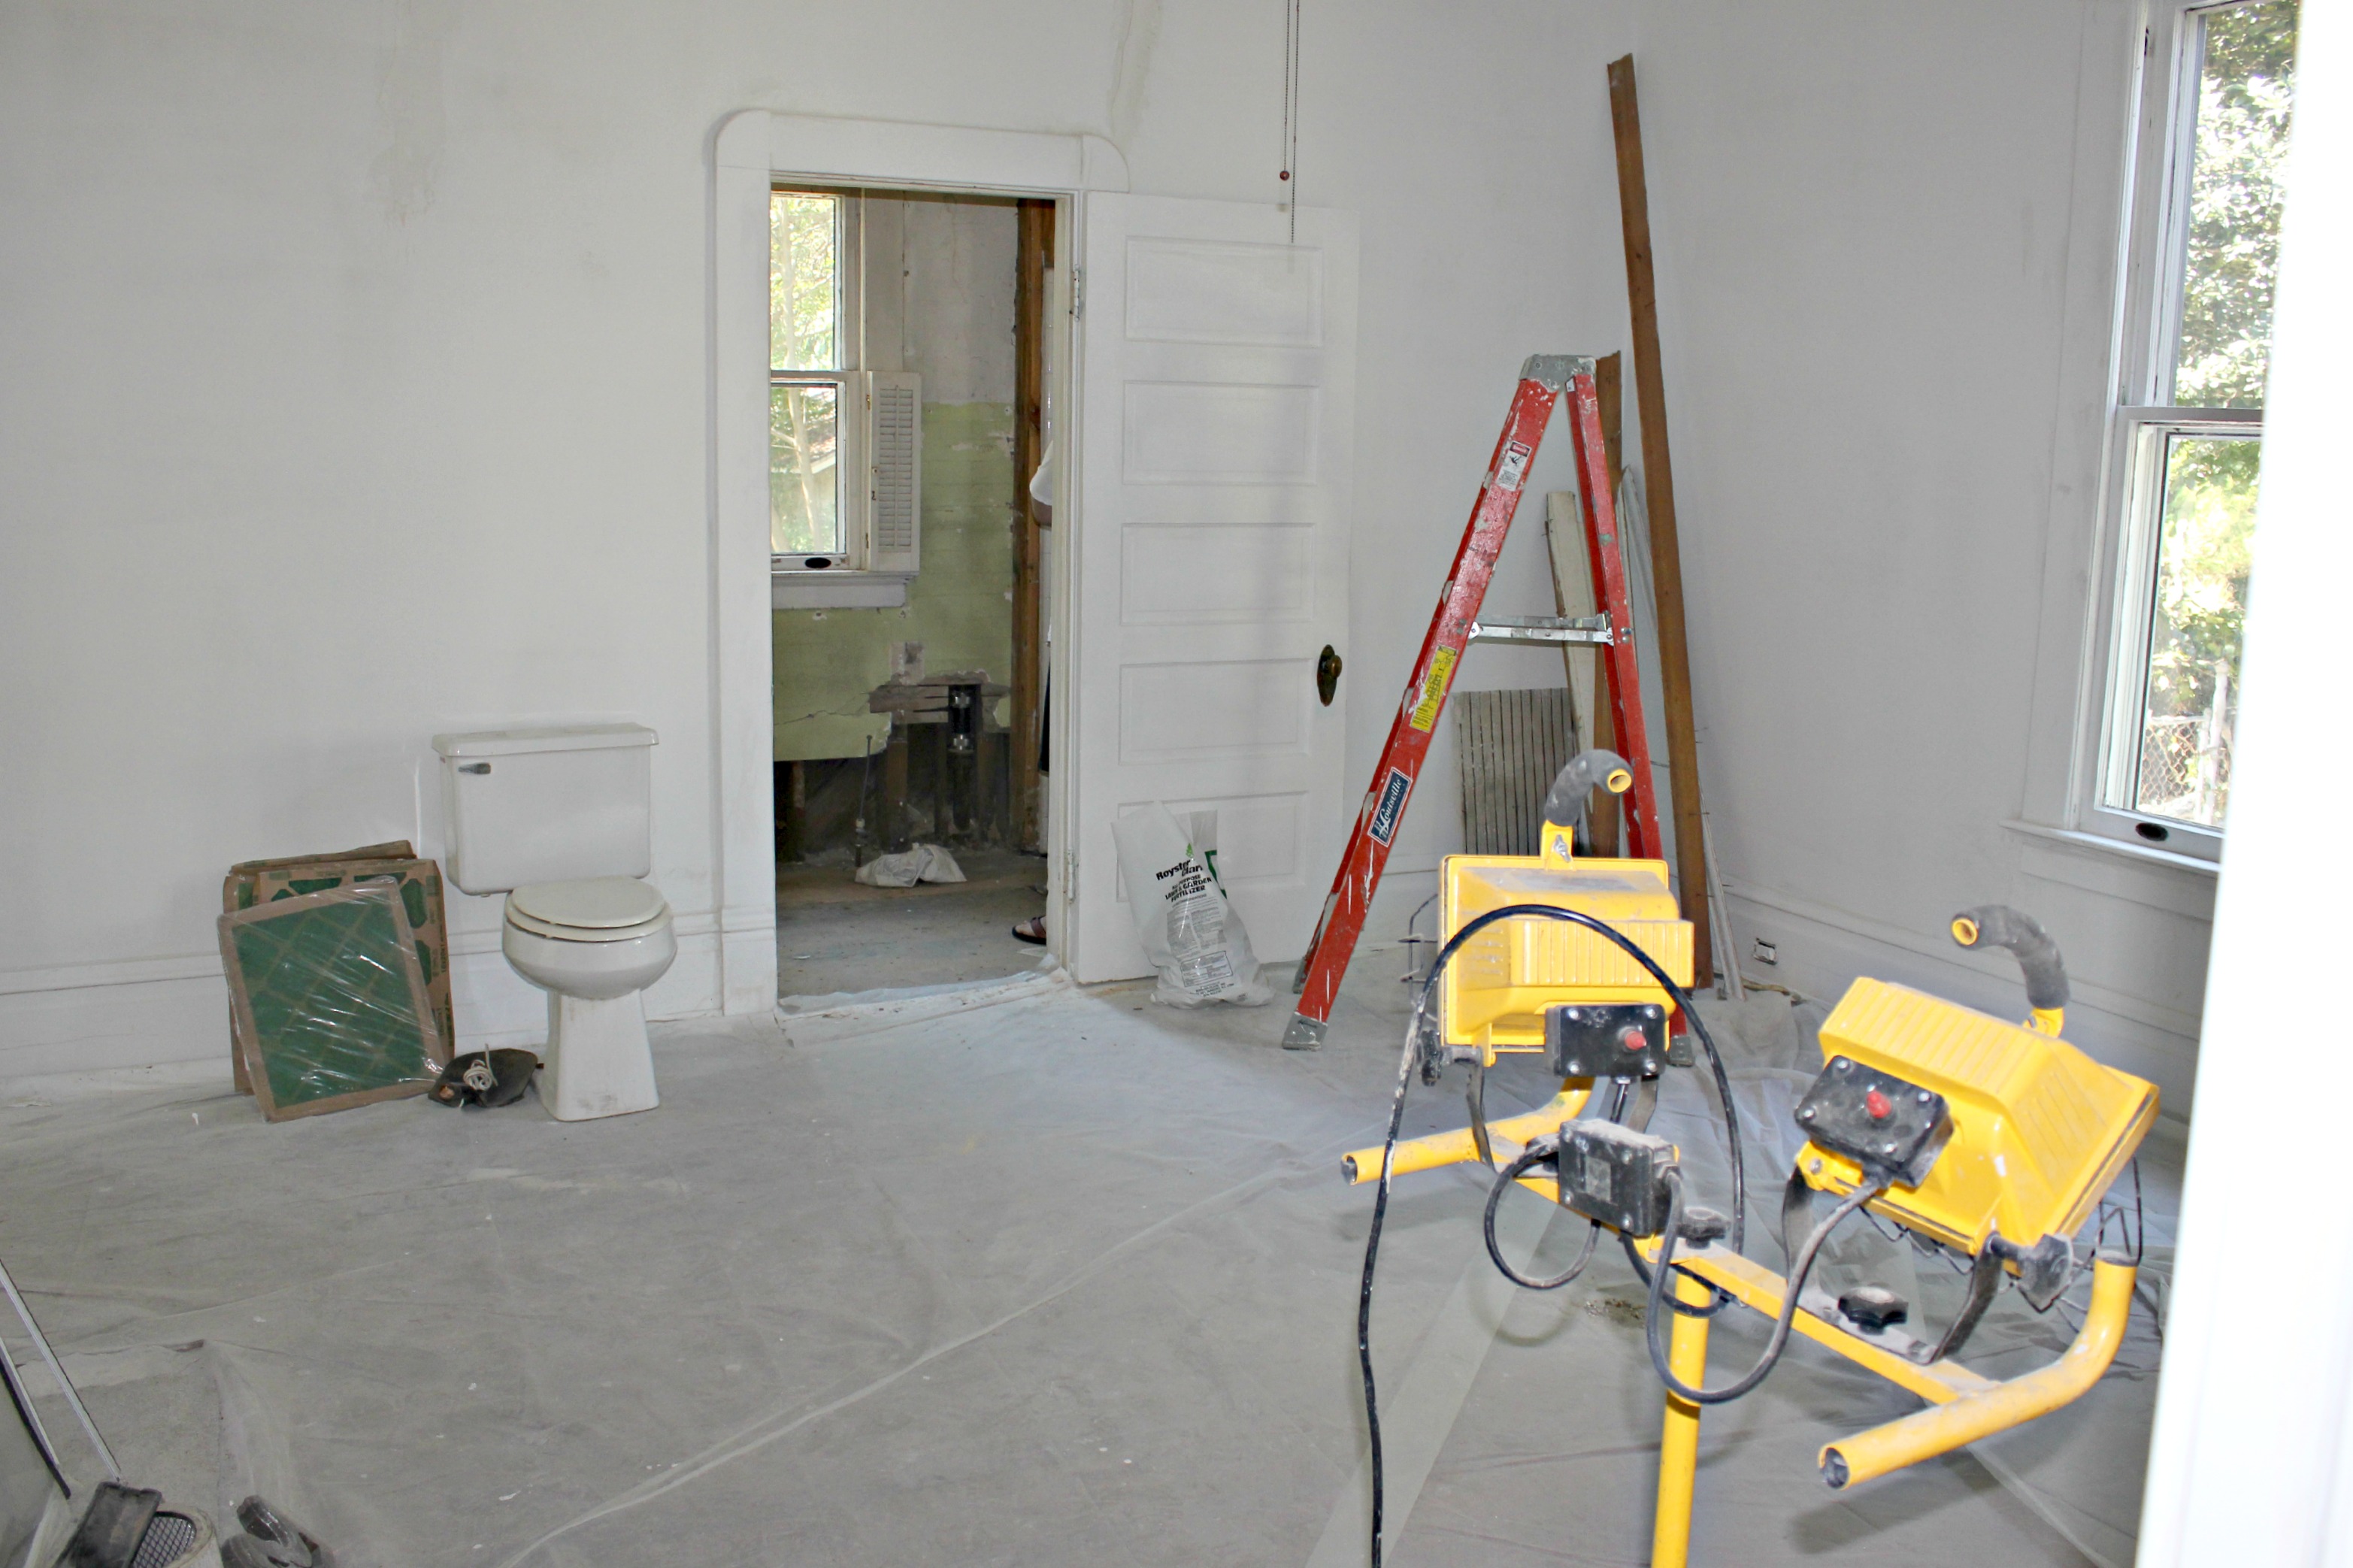
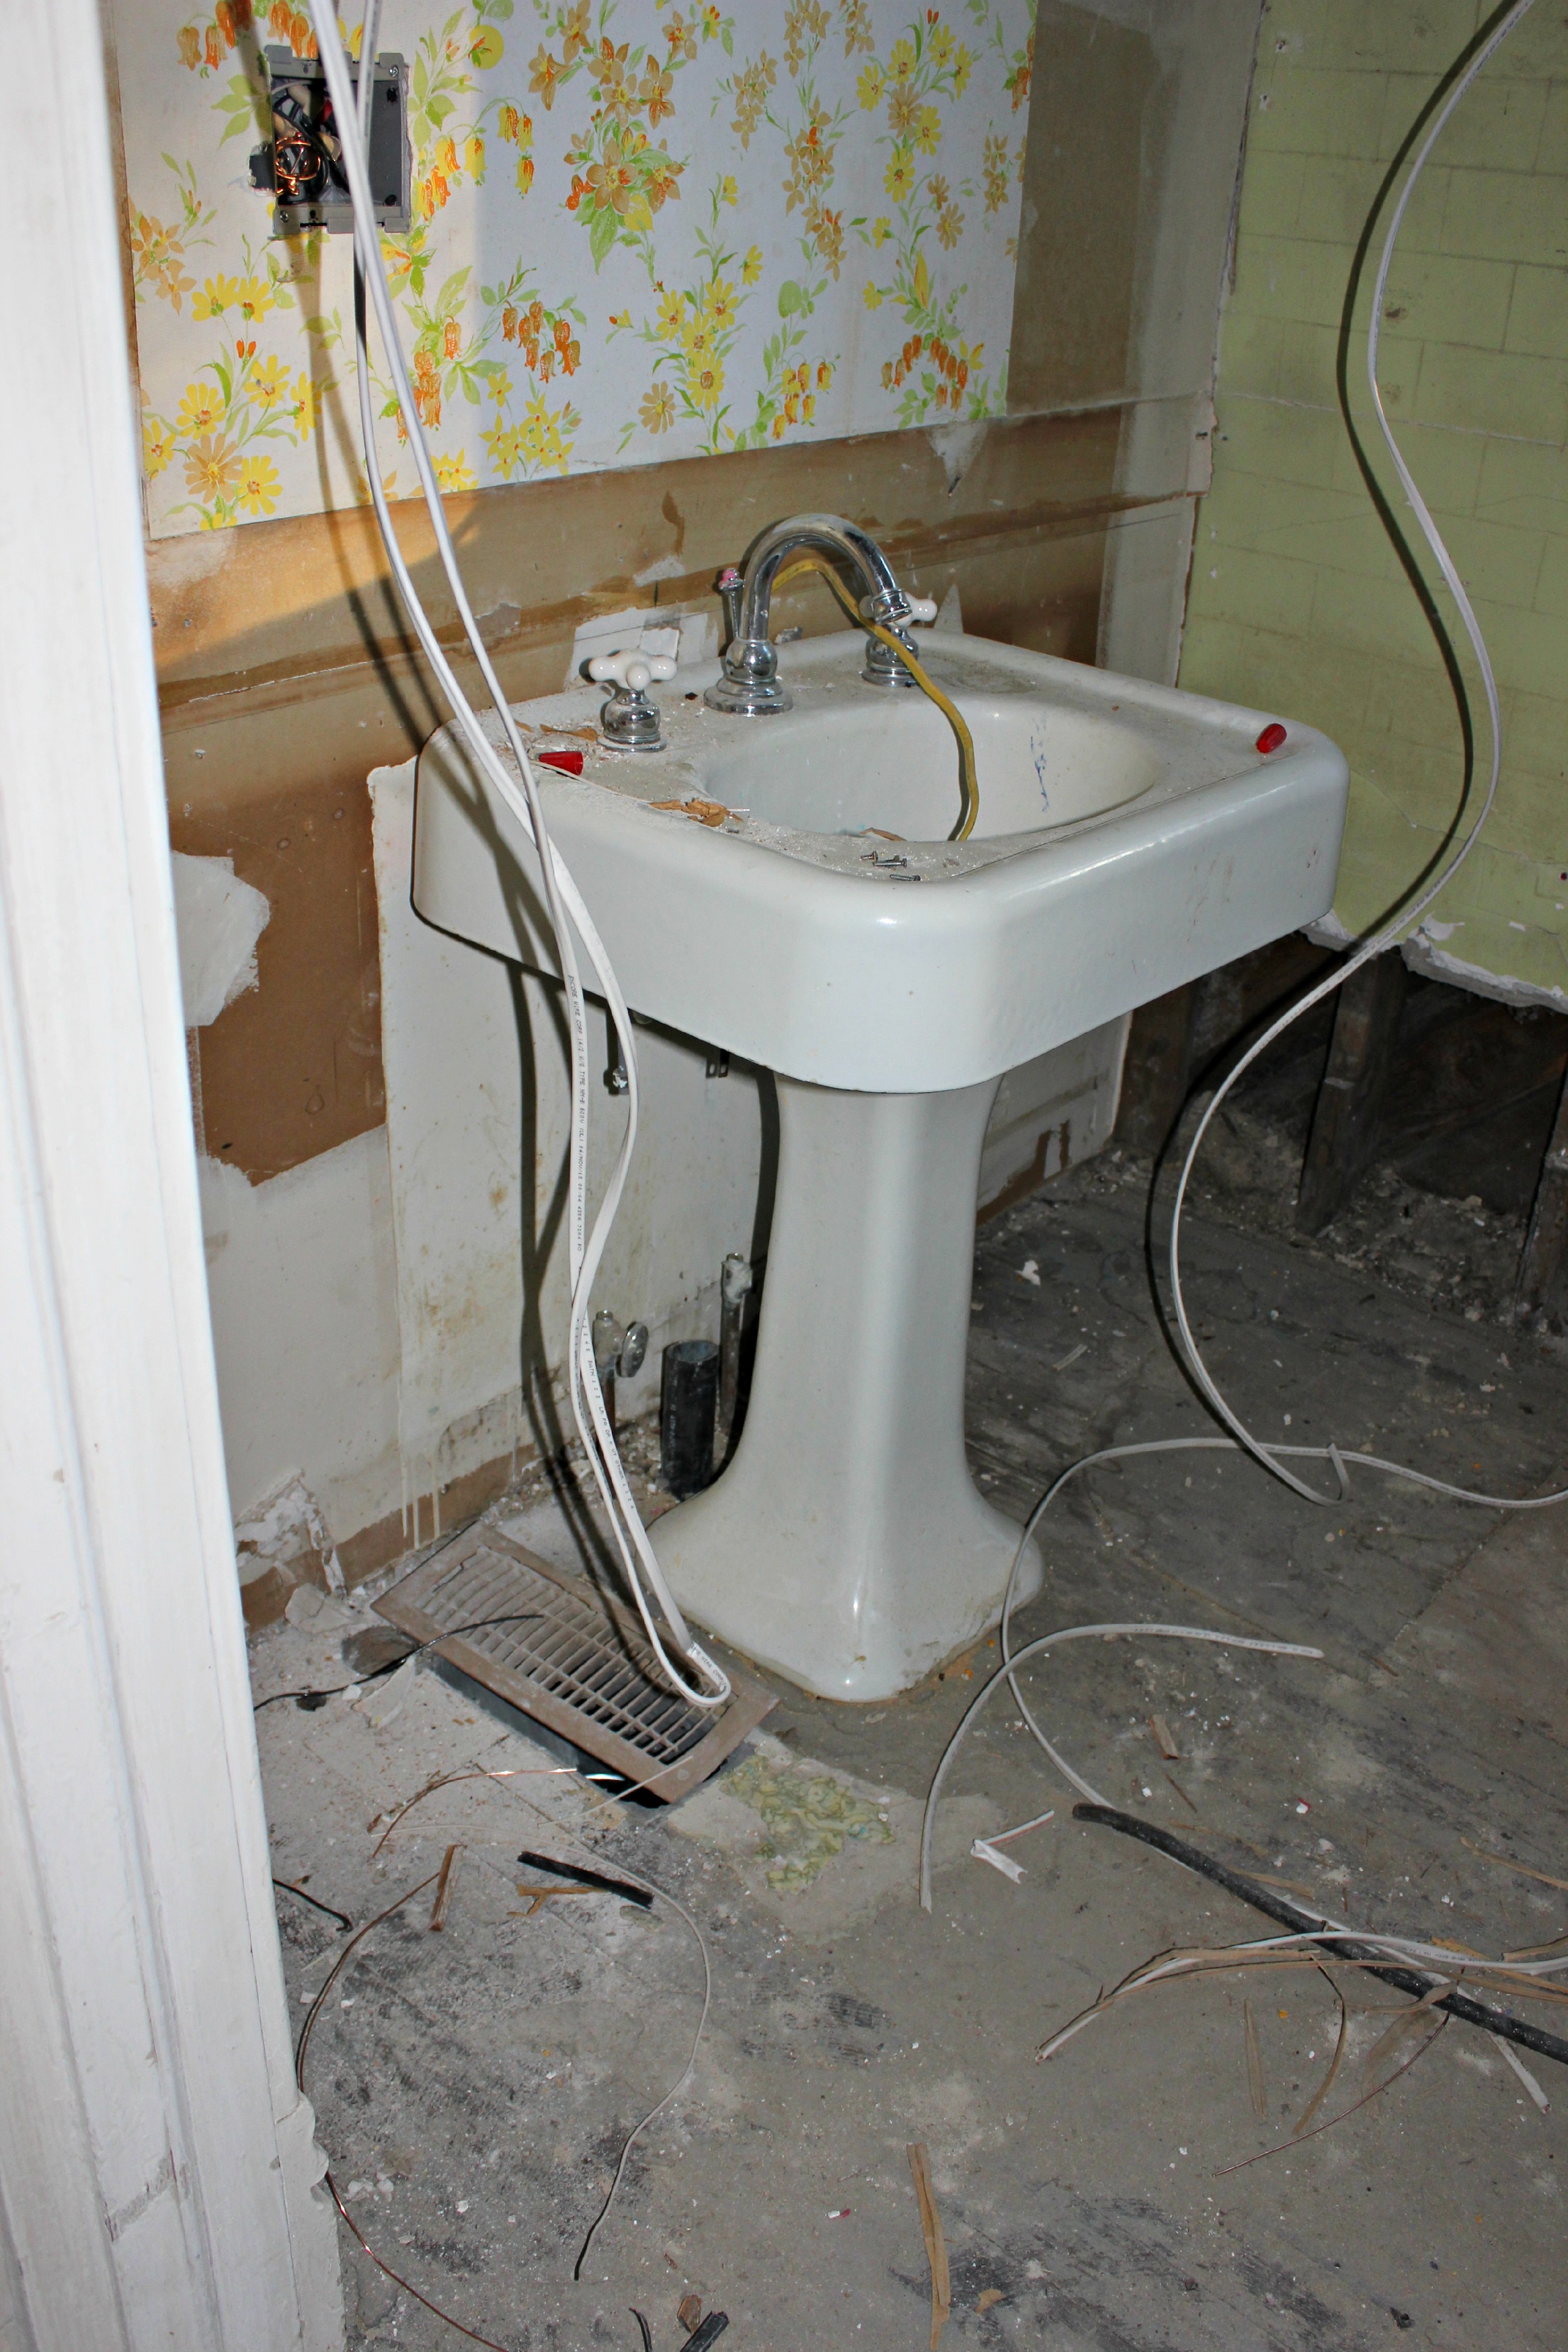
- Remove existing vanity and sink
- Remove mirror
- Remove toilet
- Update plumbing
- Update electrical
- Relocate air vent in the floor
- Install new ceiling light/vent
- Install new tile floor
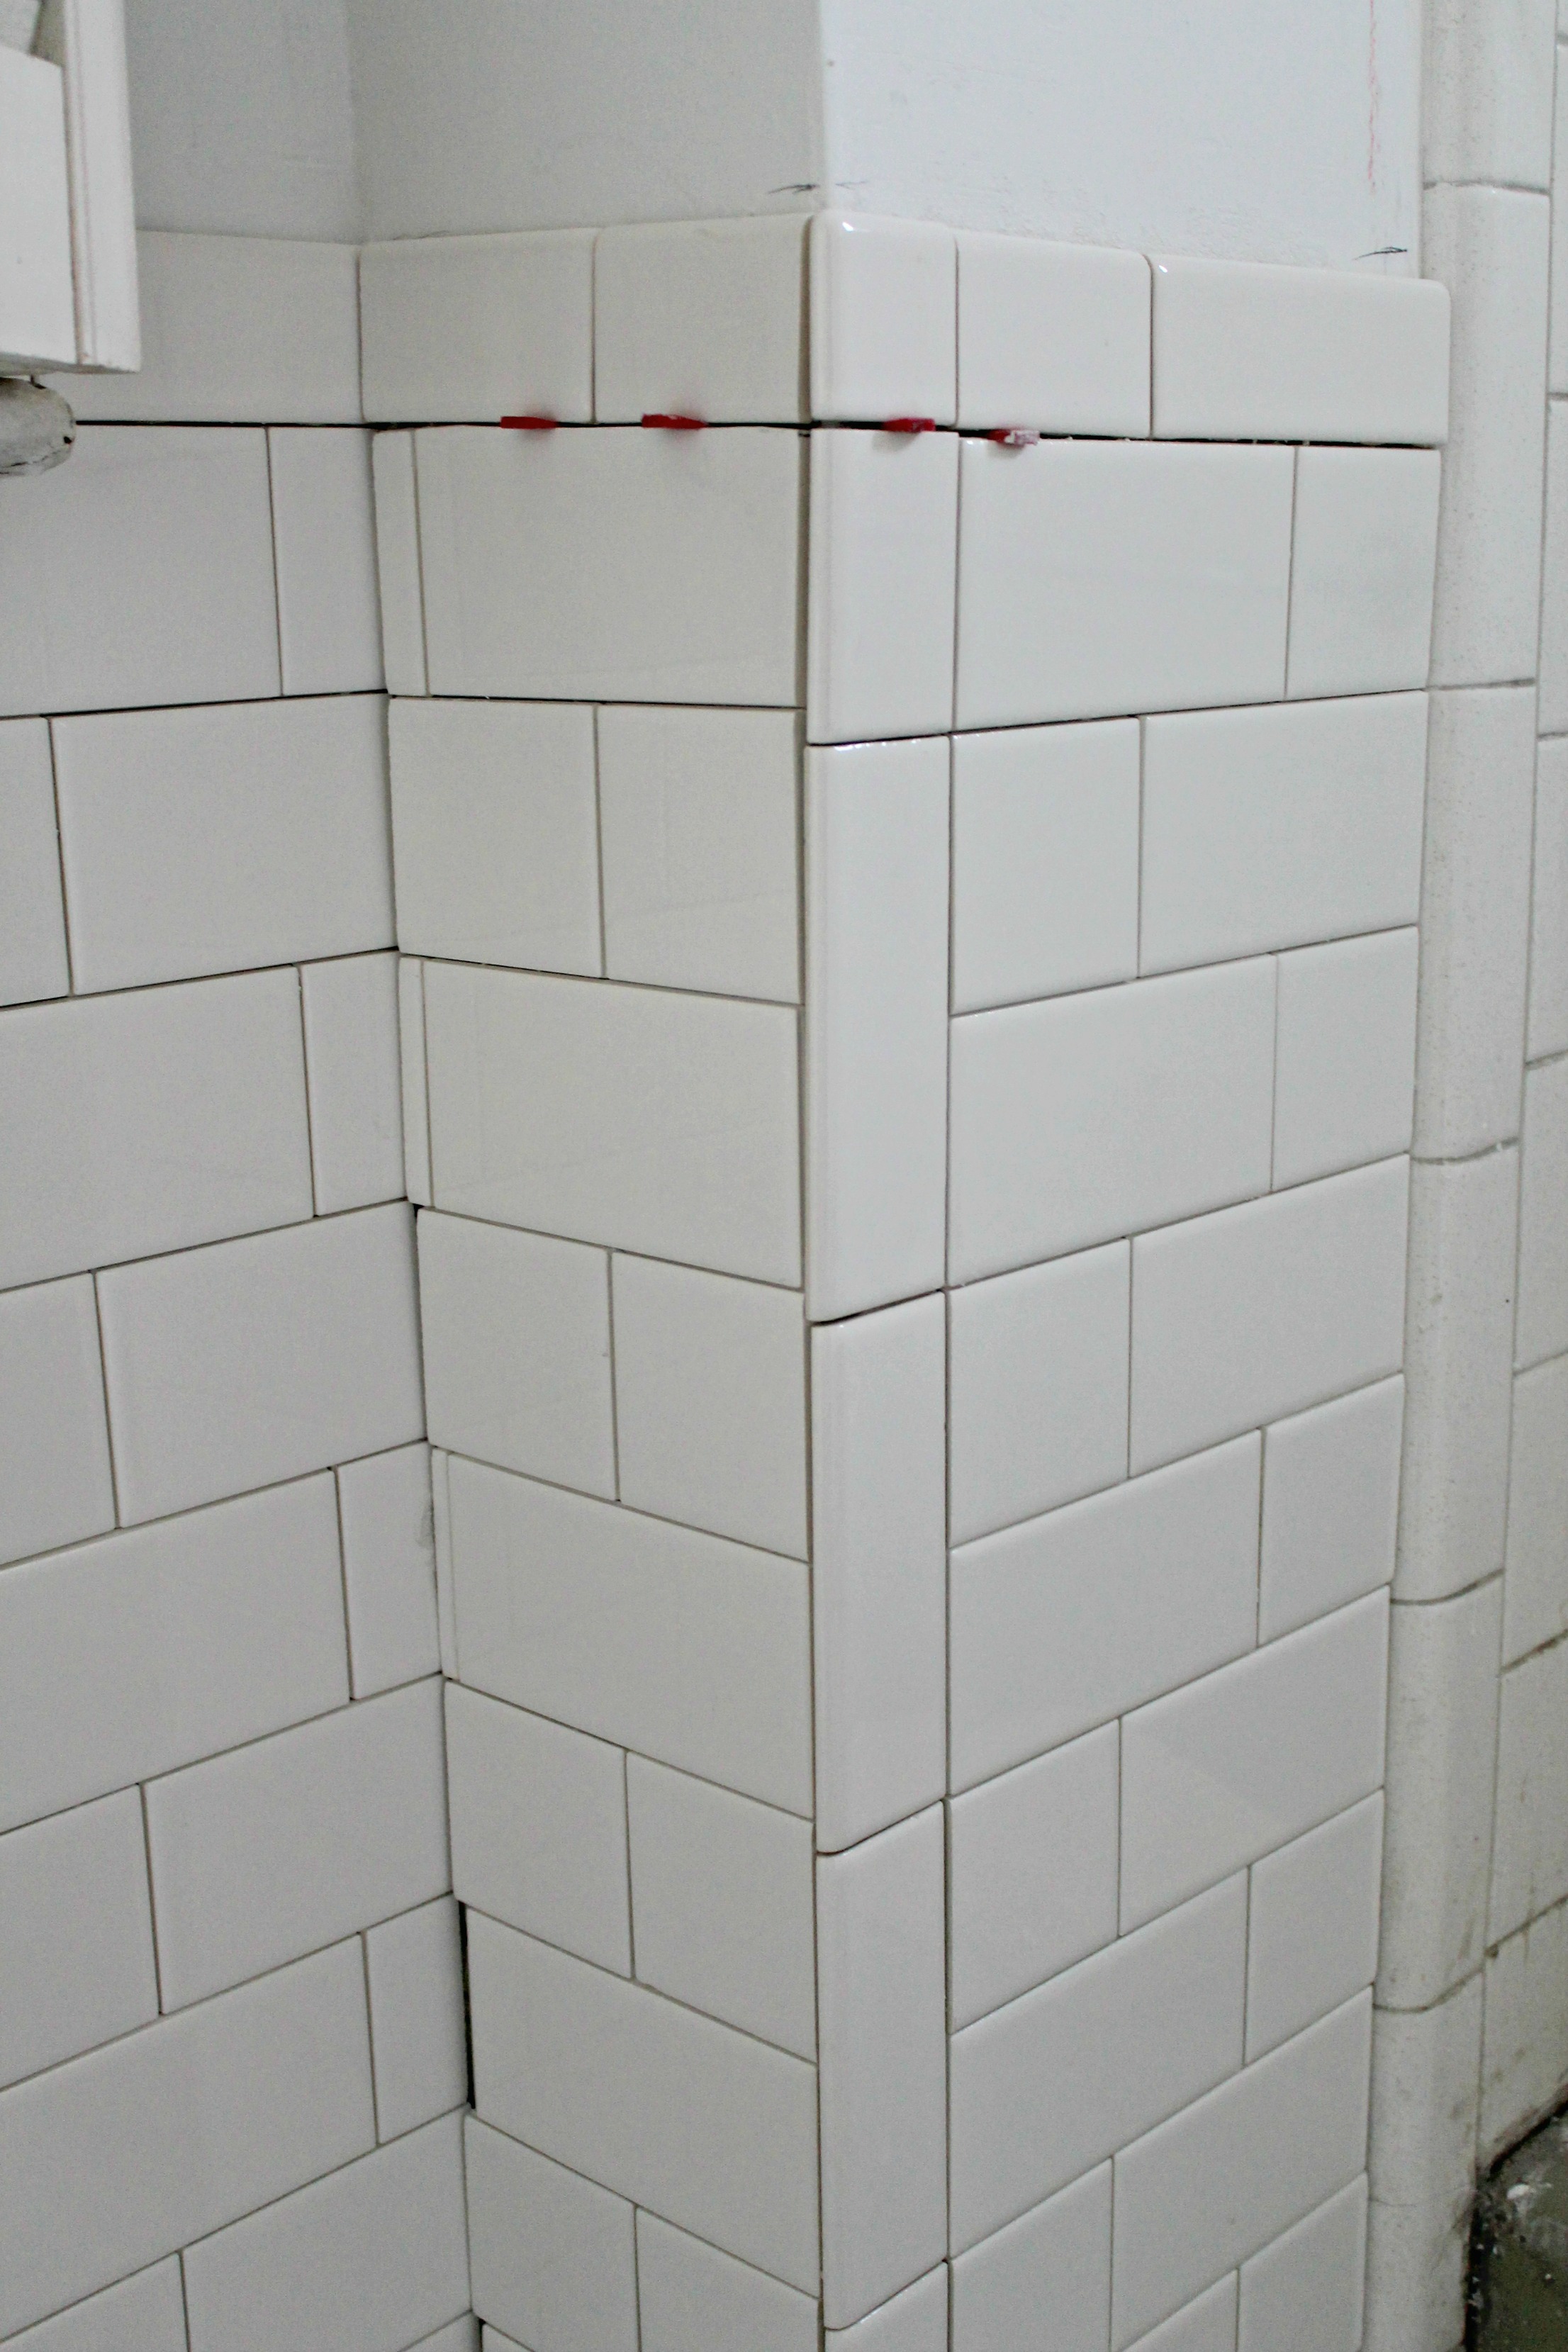
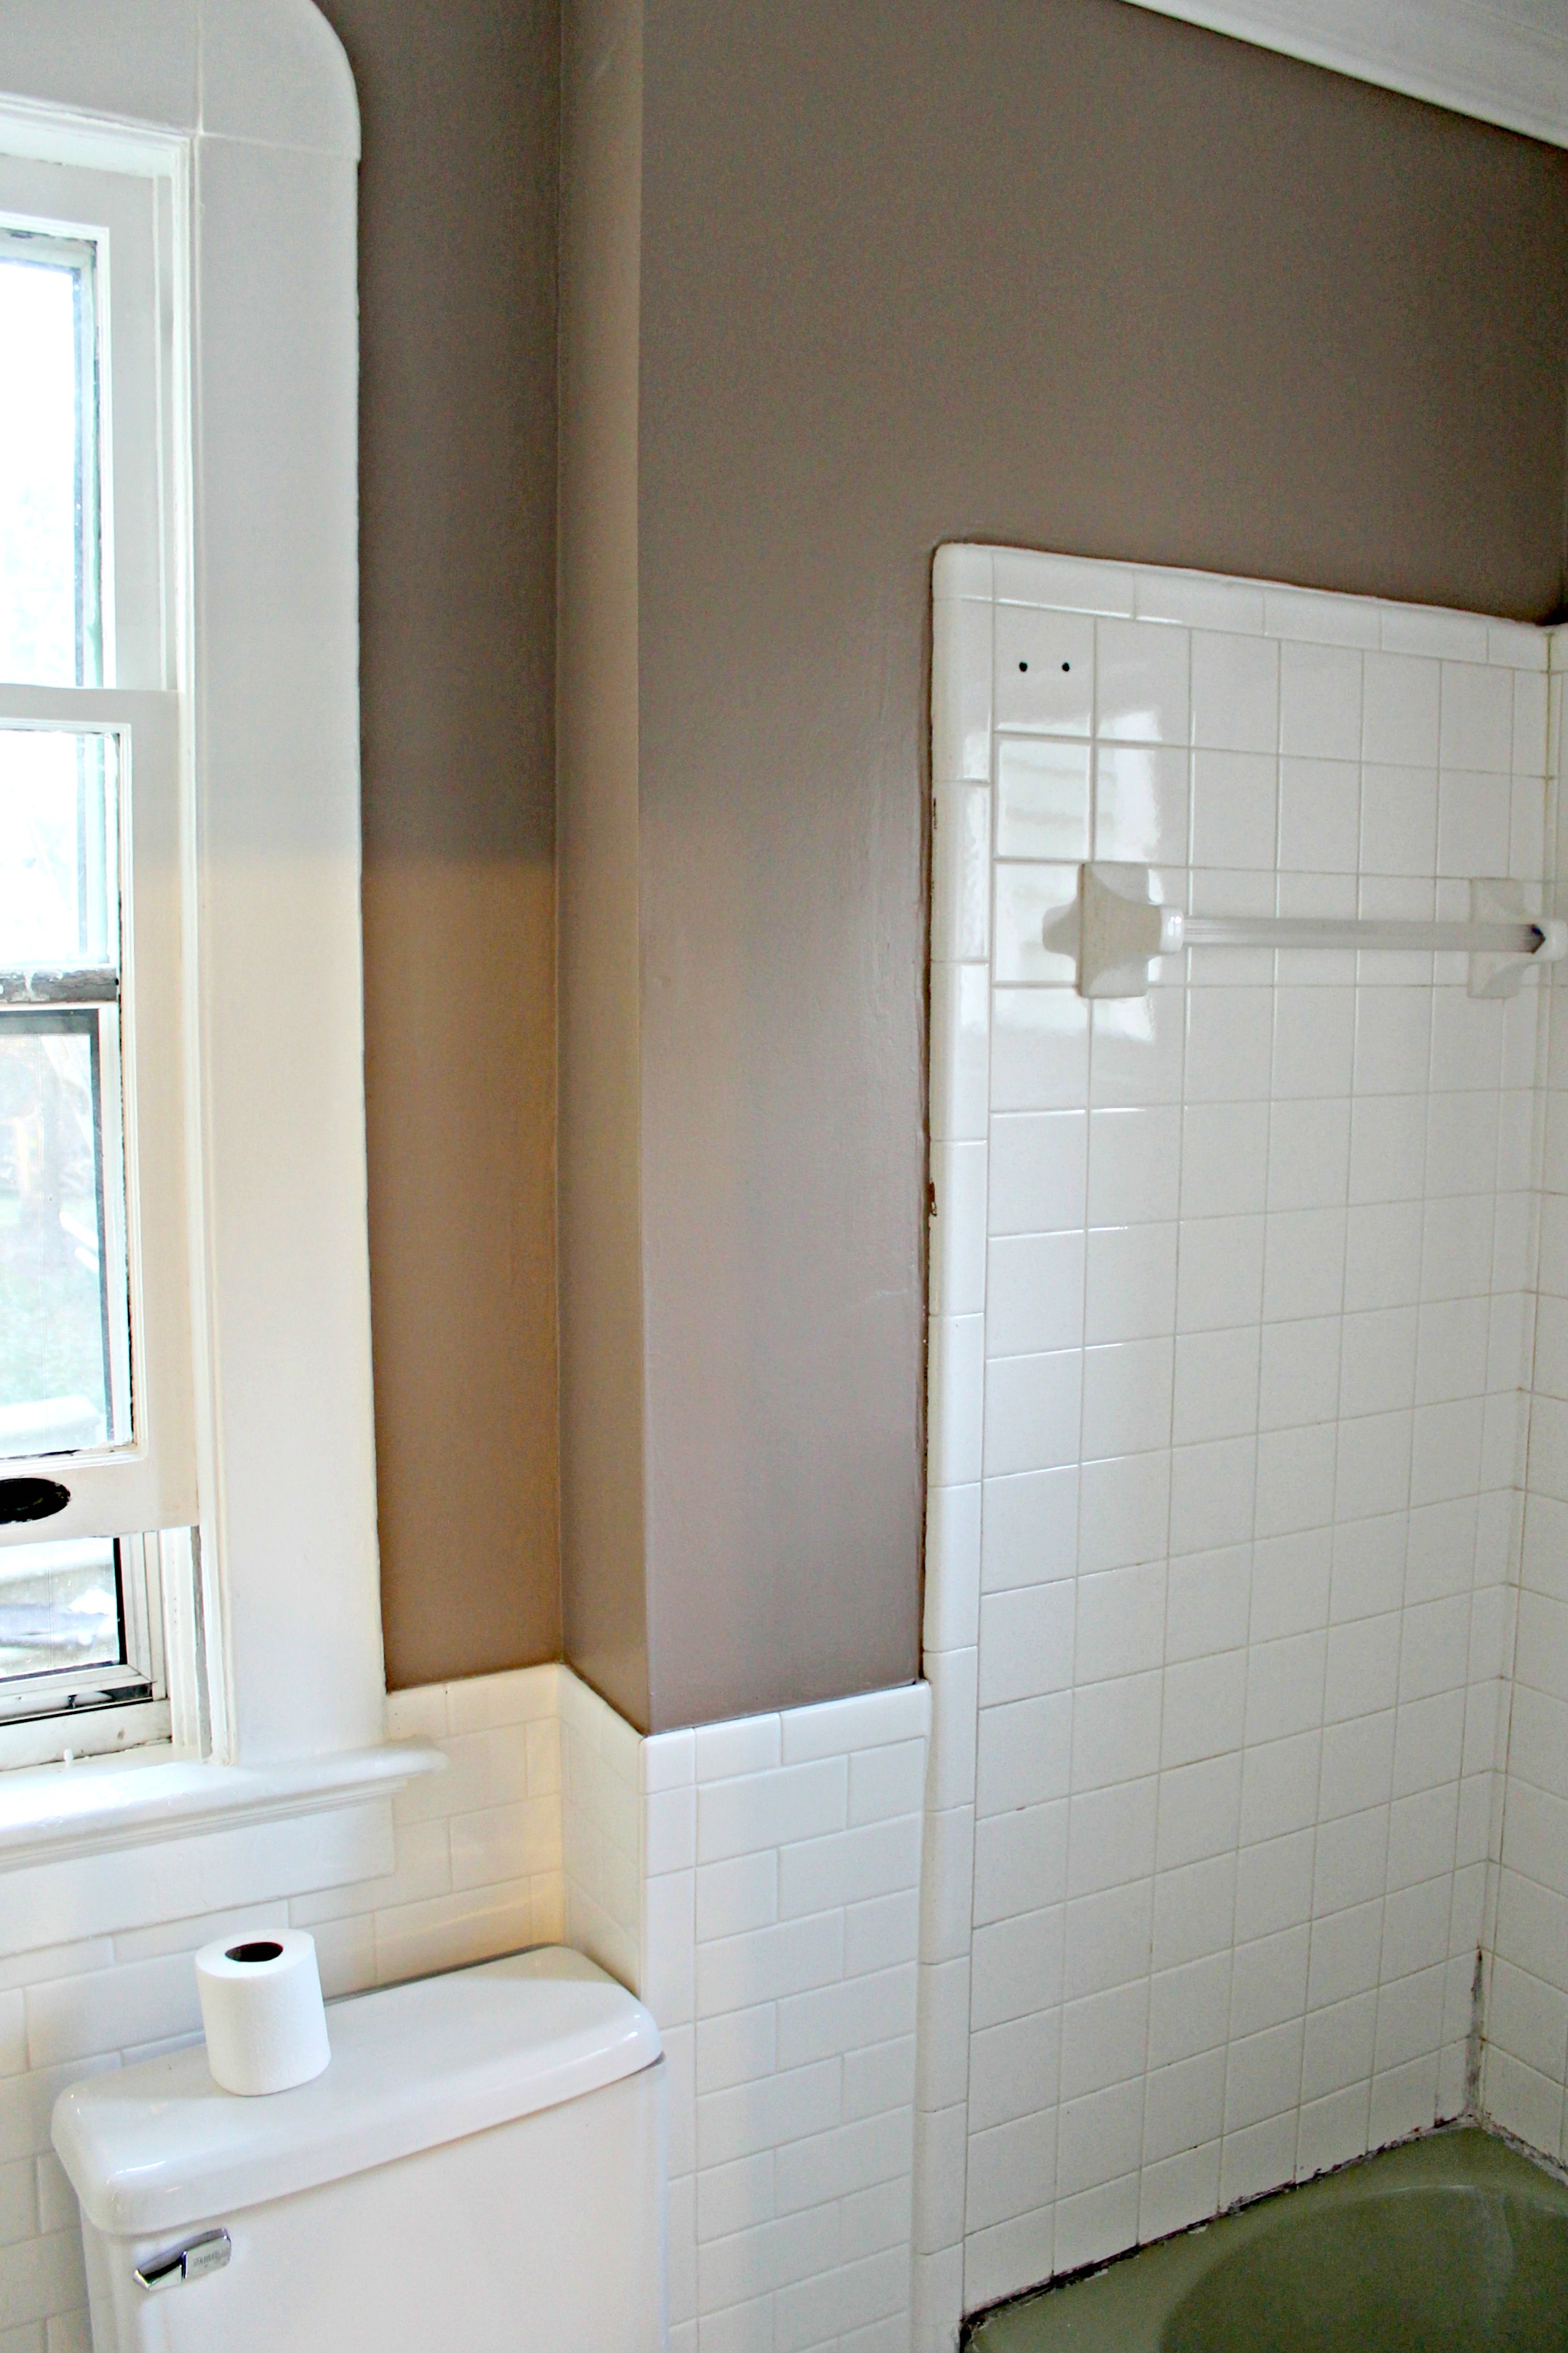
- Install new wall tile
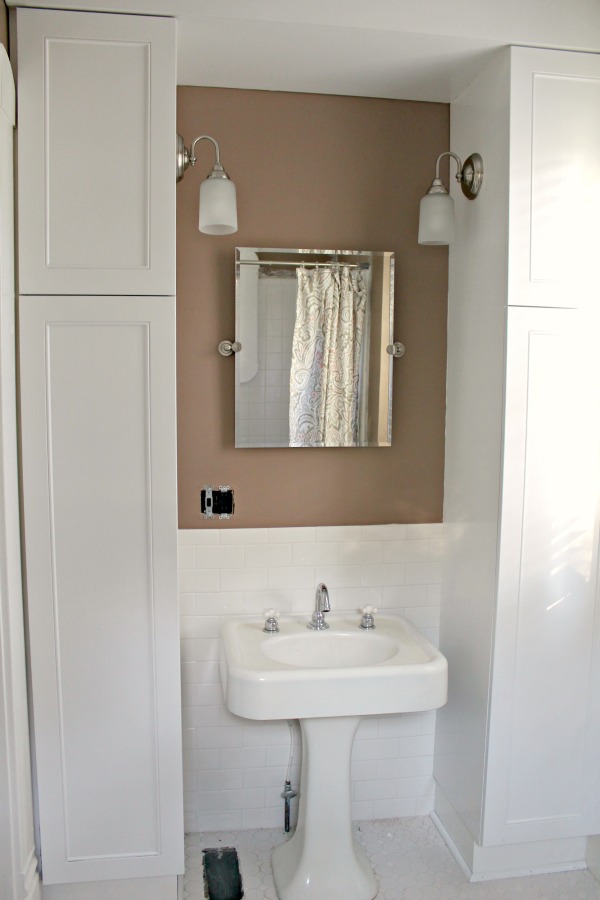
- Install new pedestal sink
- Install new toilet
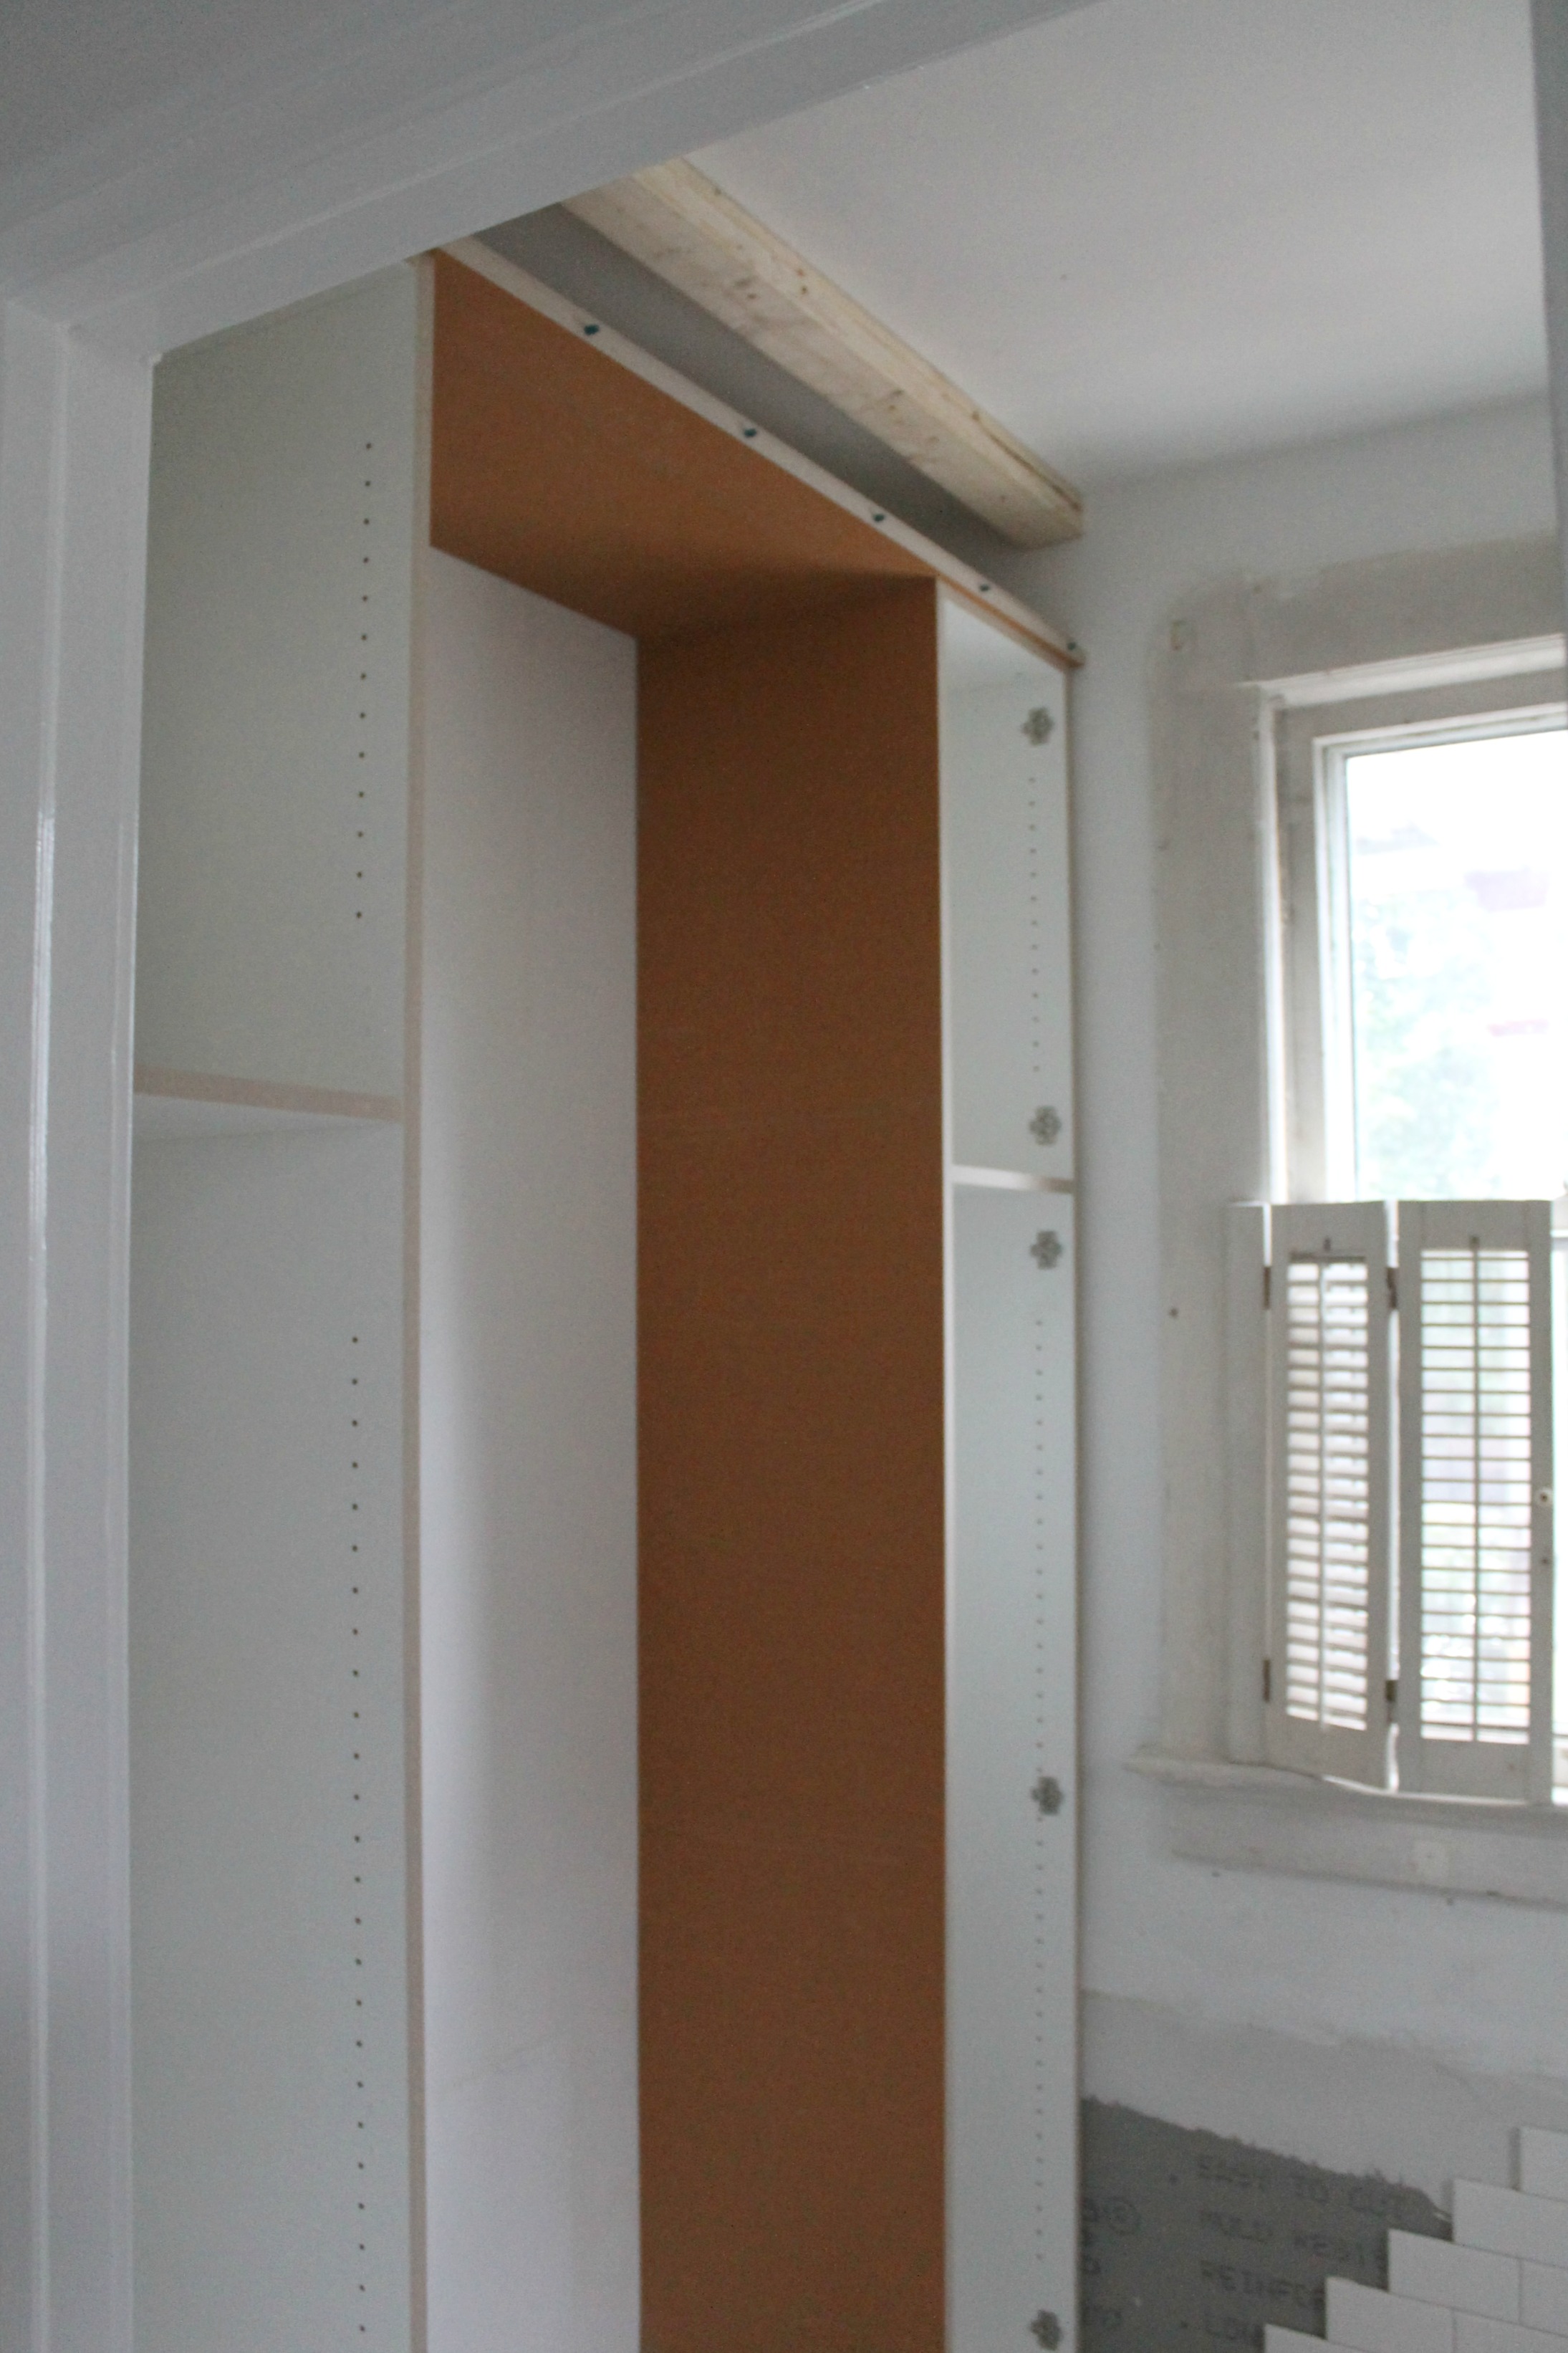
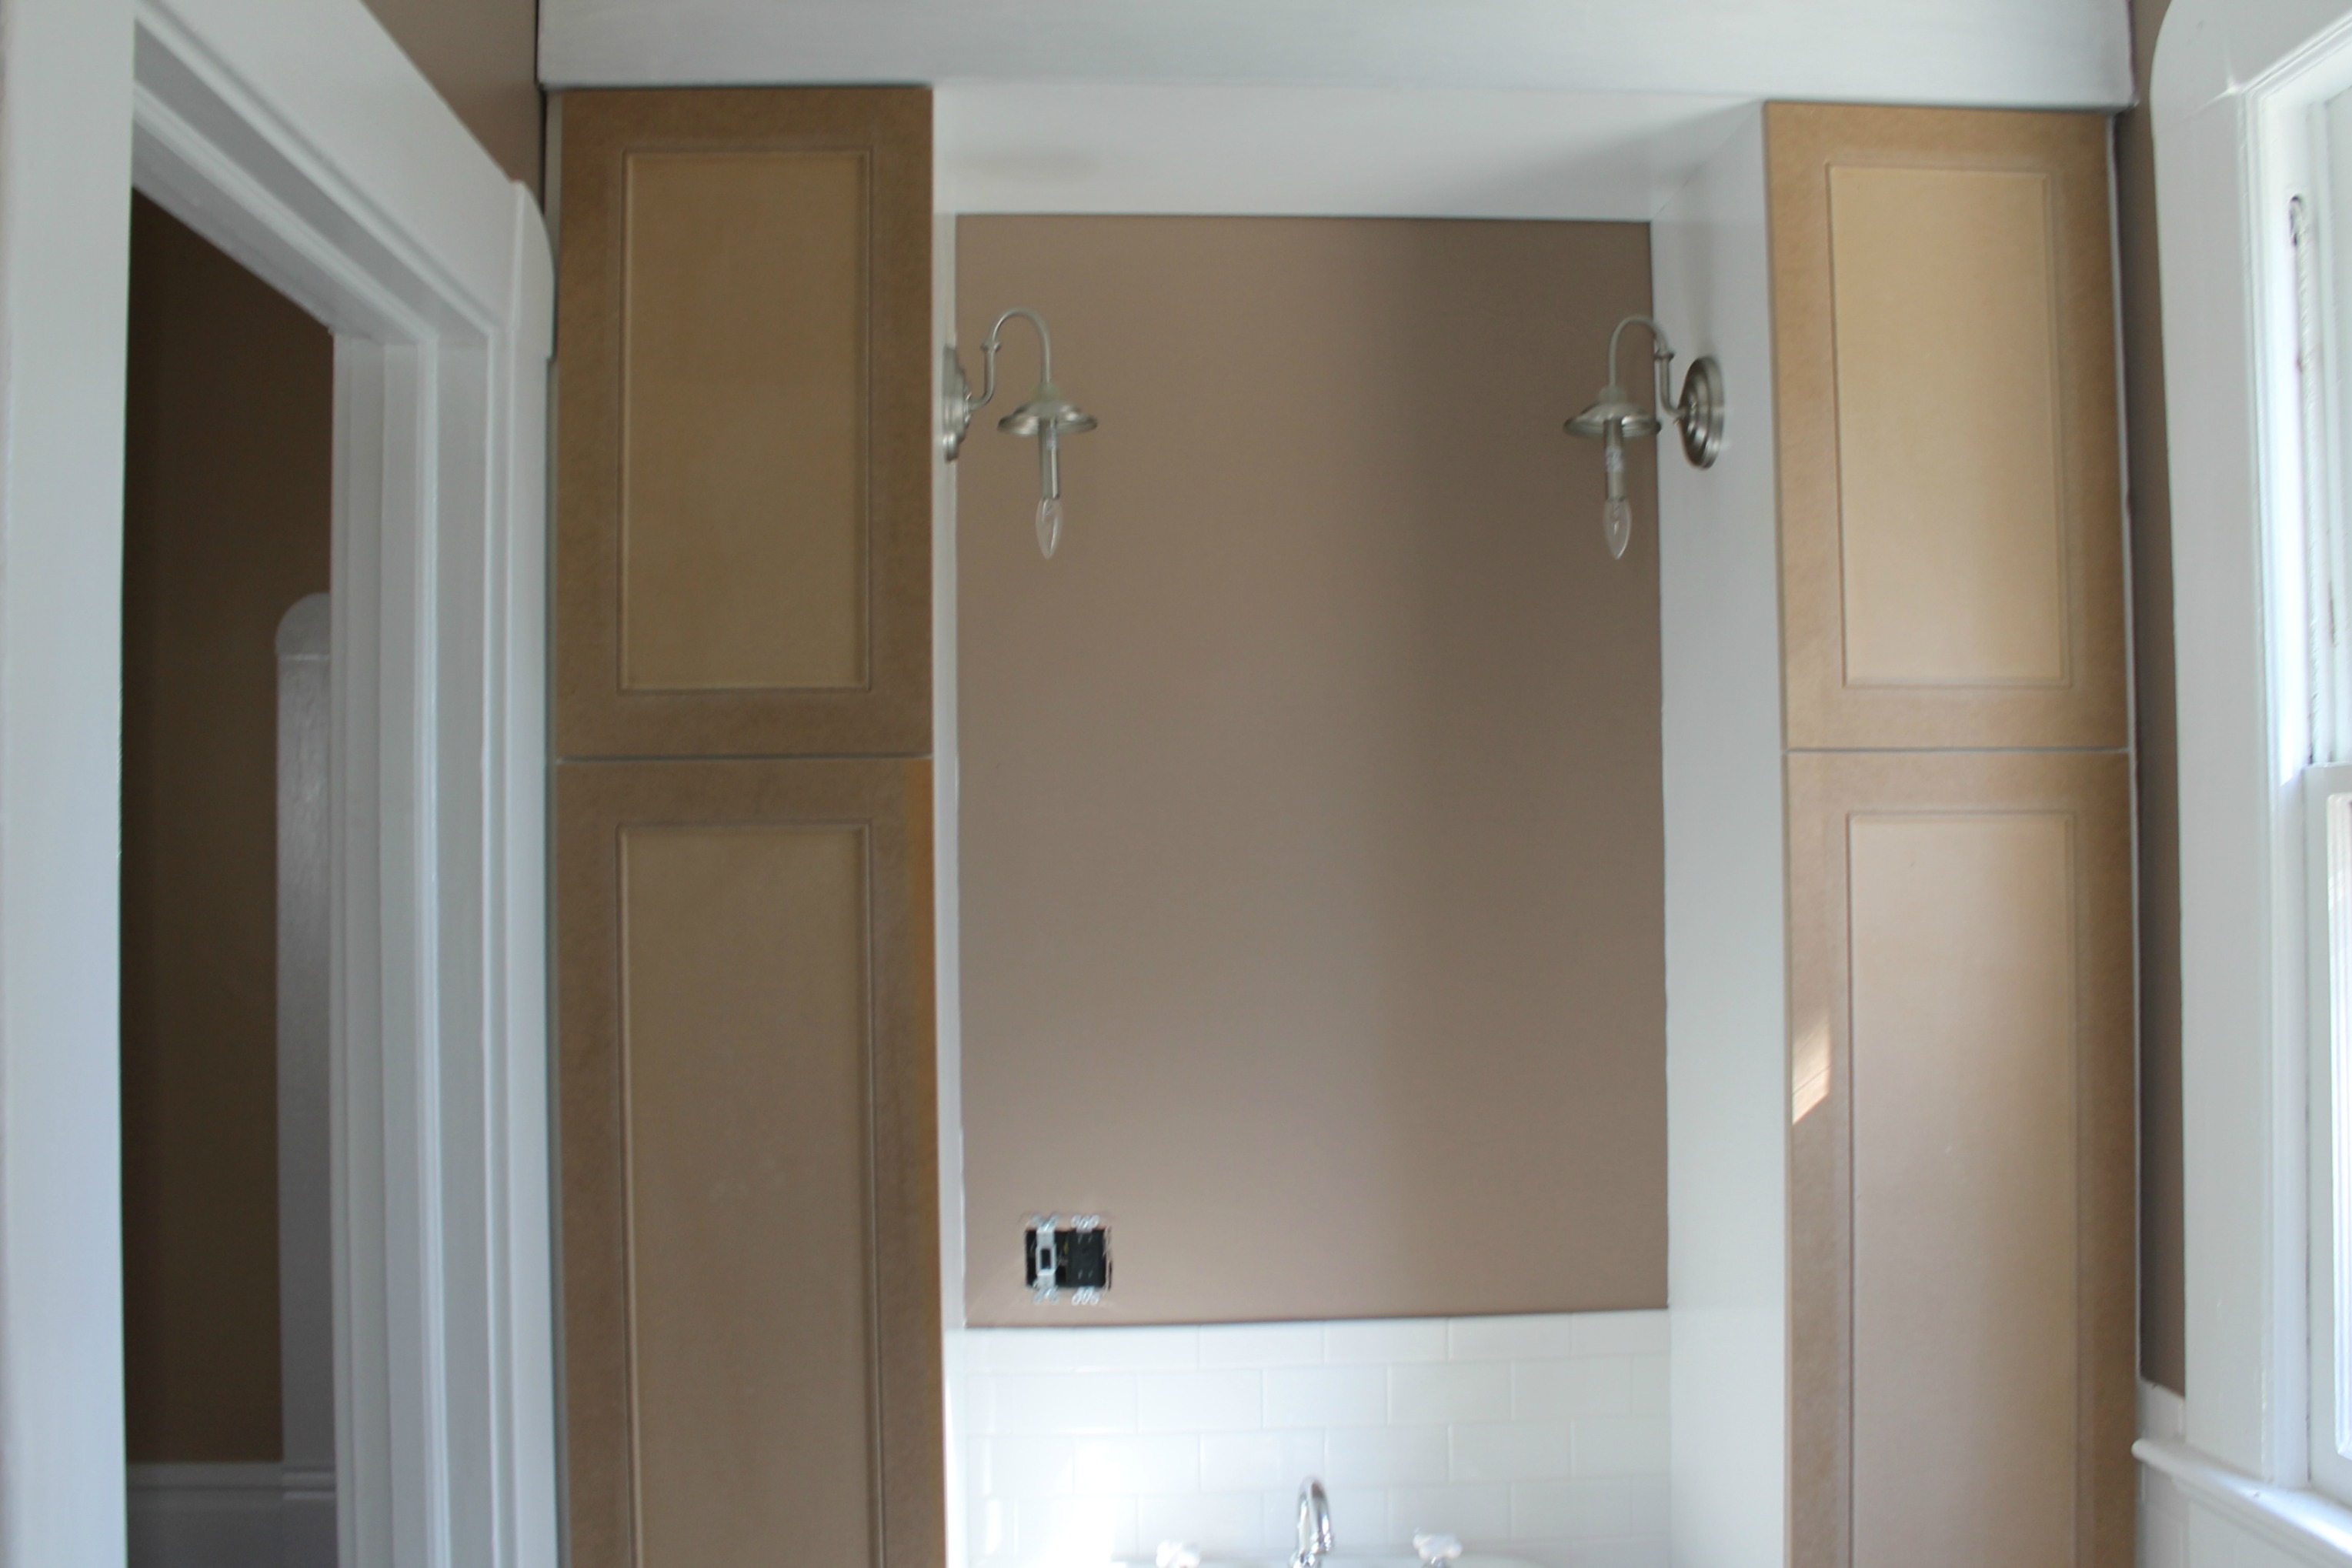
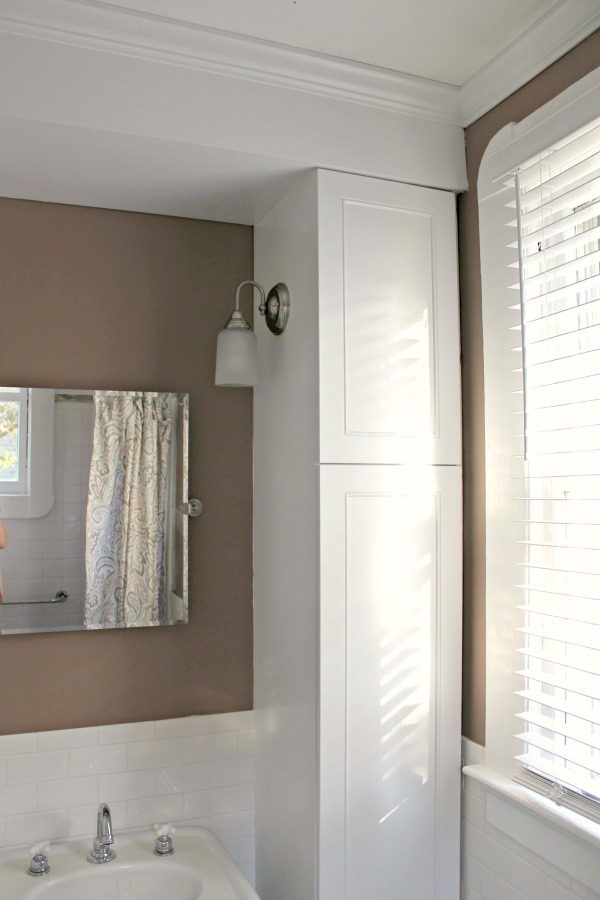
- Install custom built in cabinets
- Repair window ropes
- Install crown molding
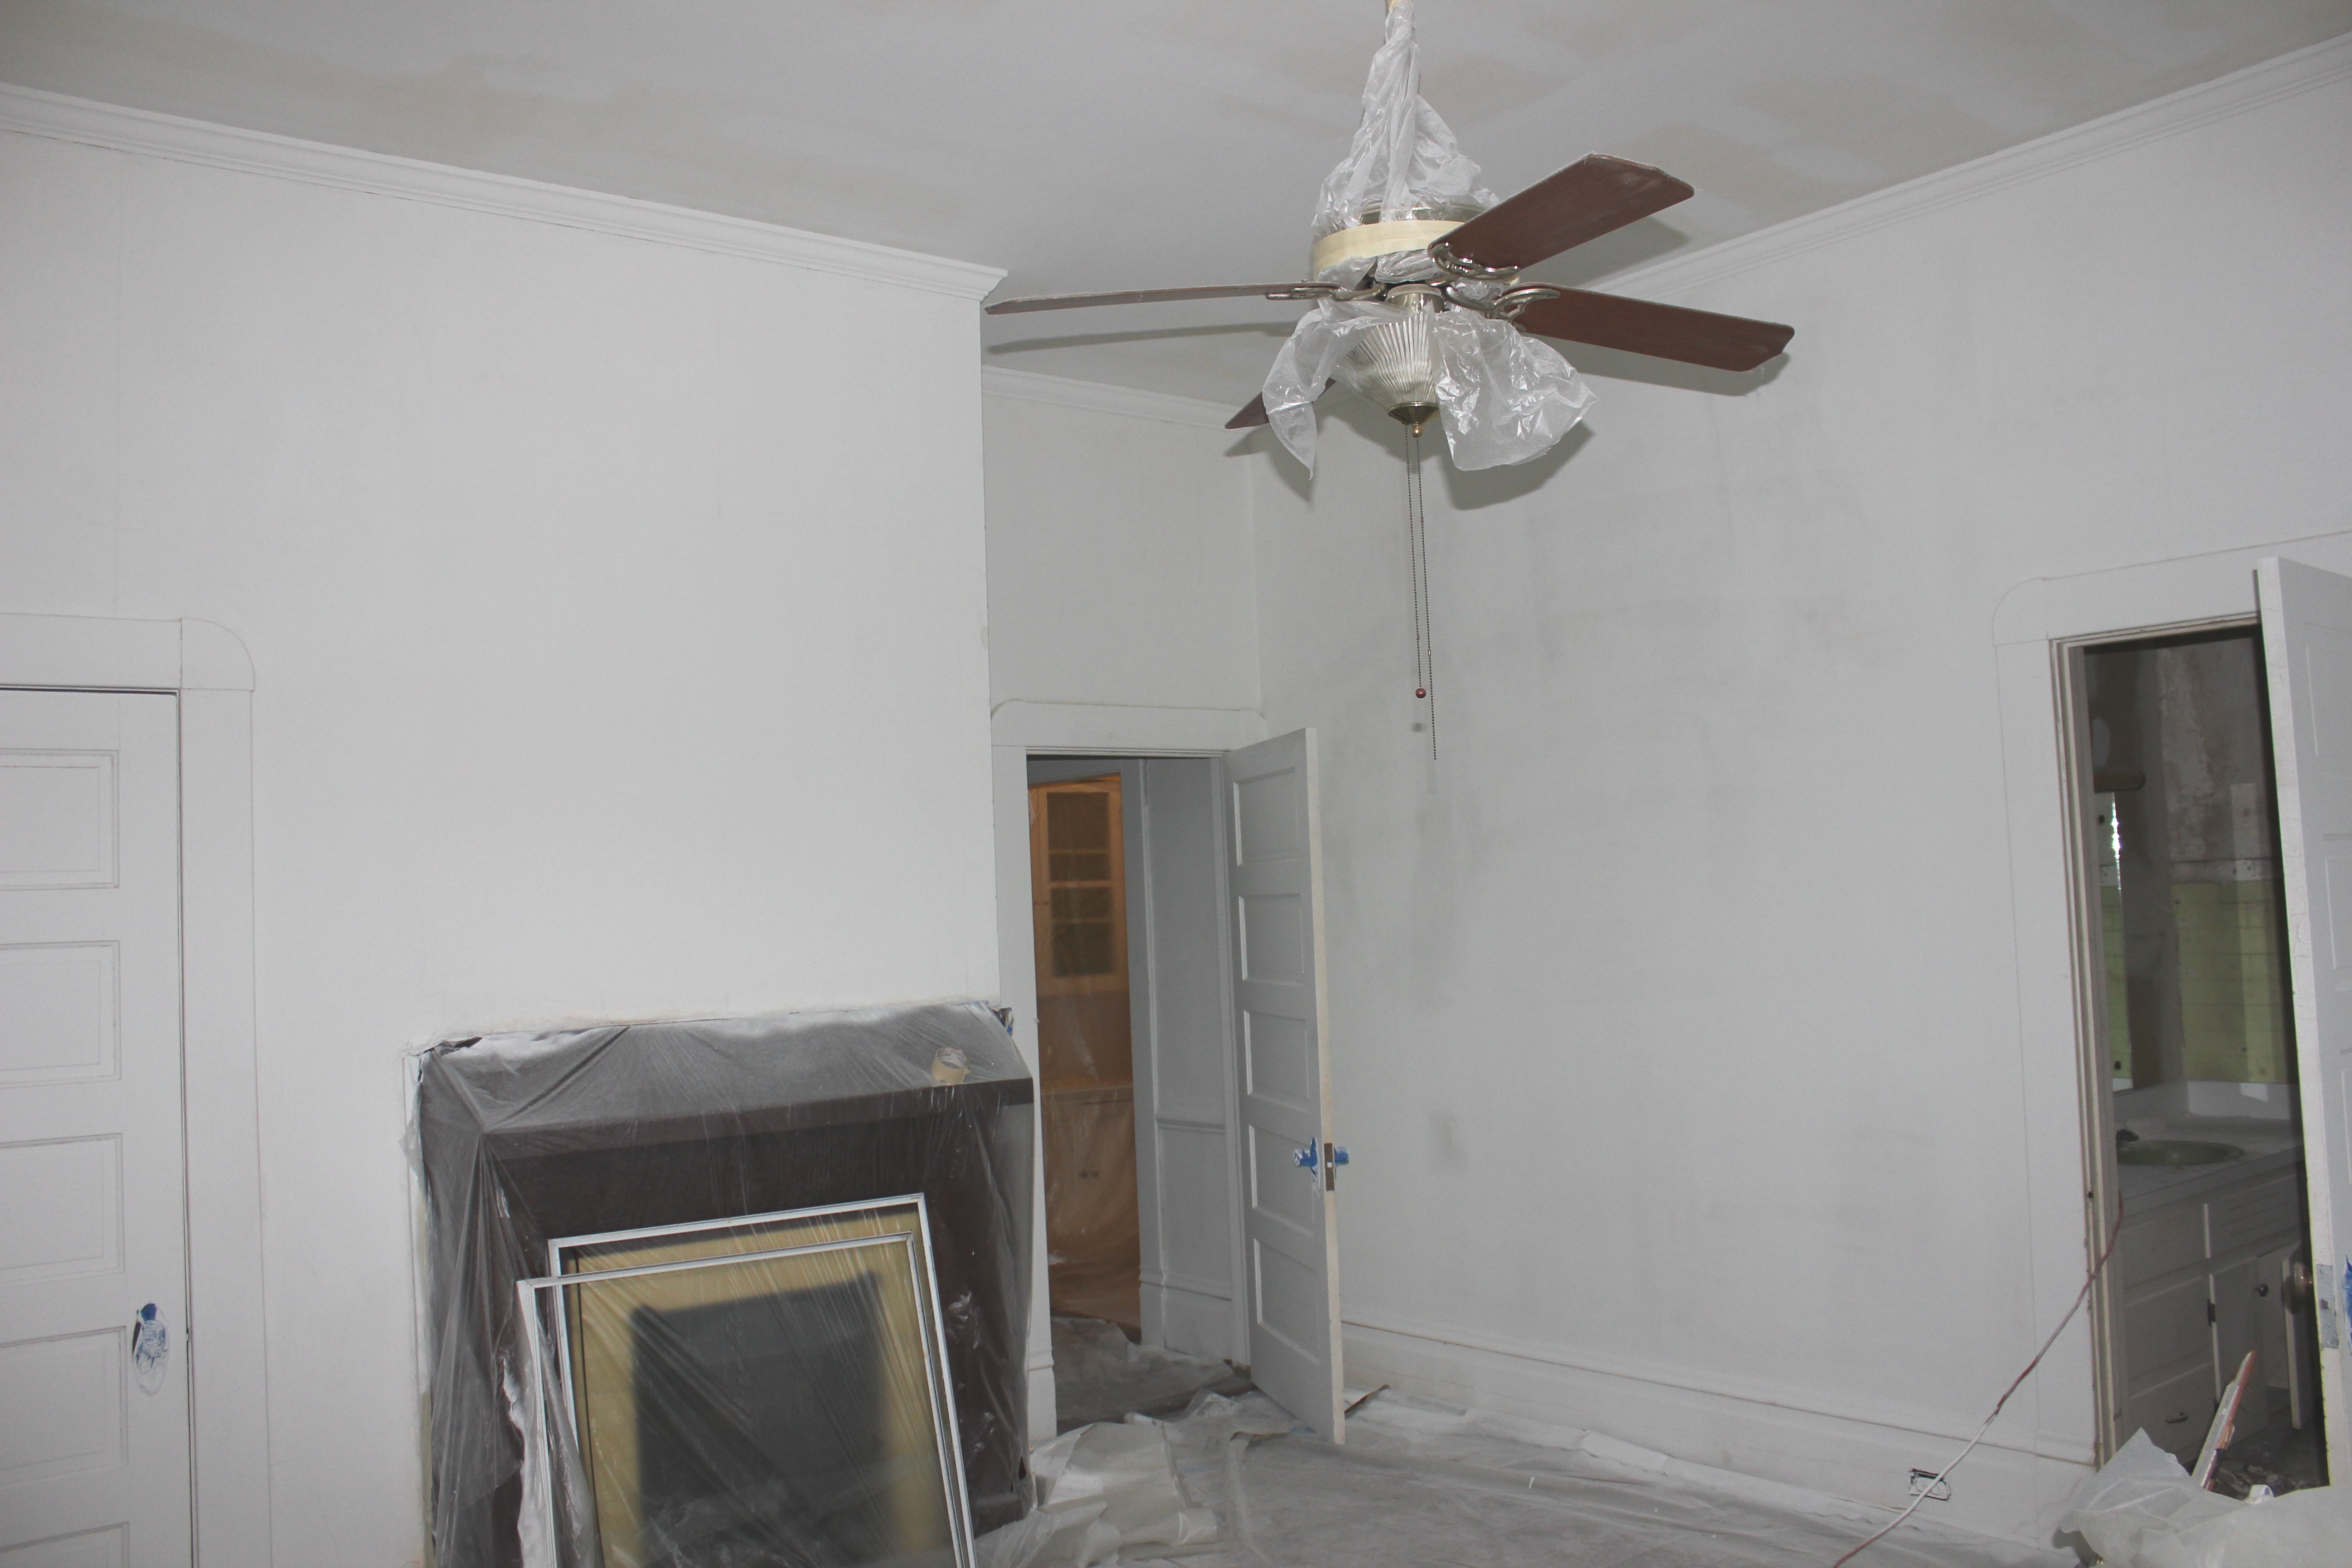
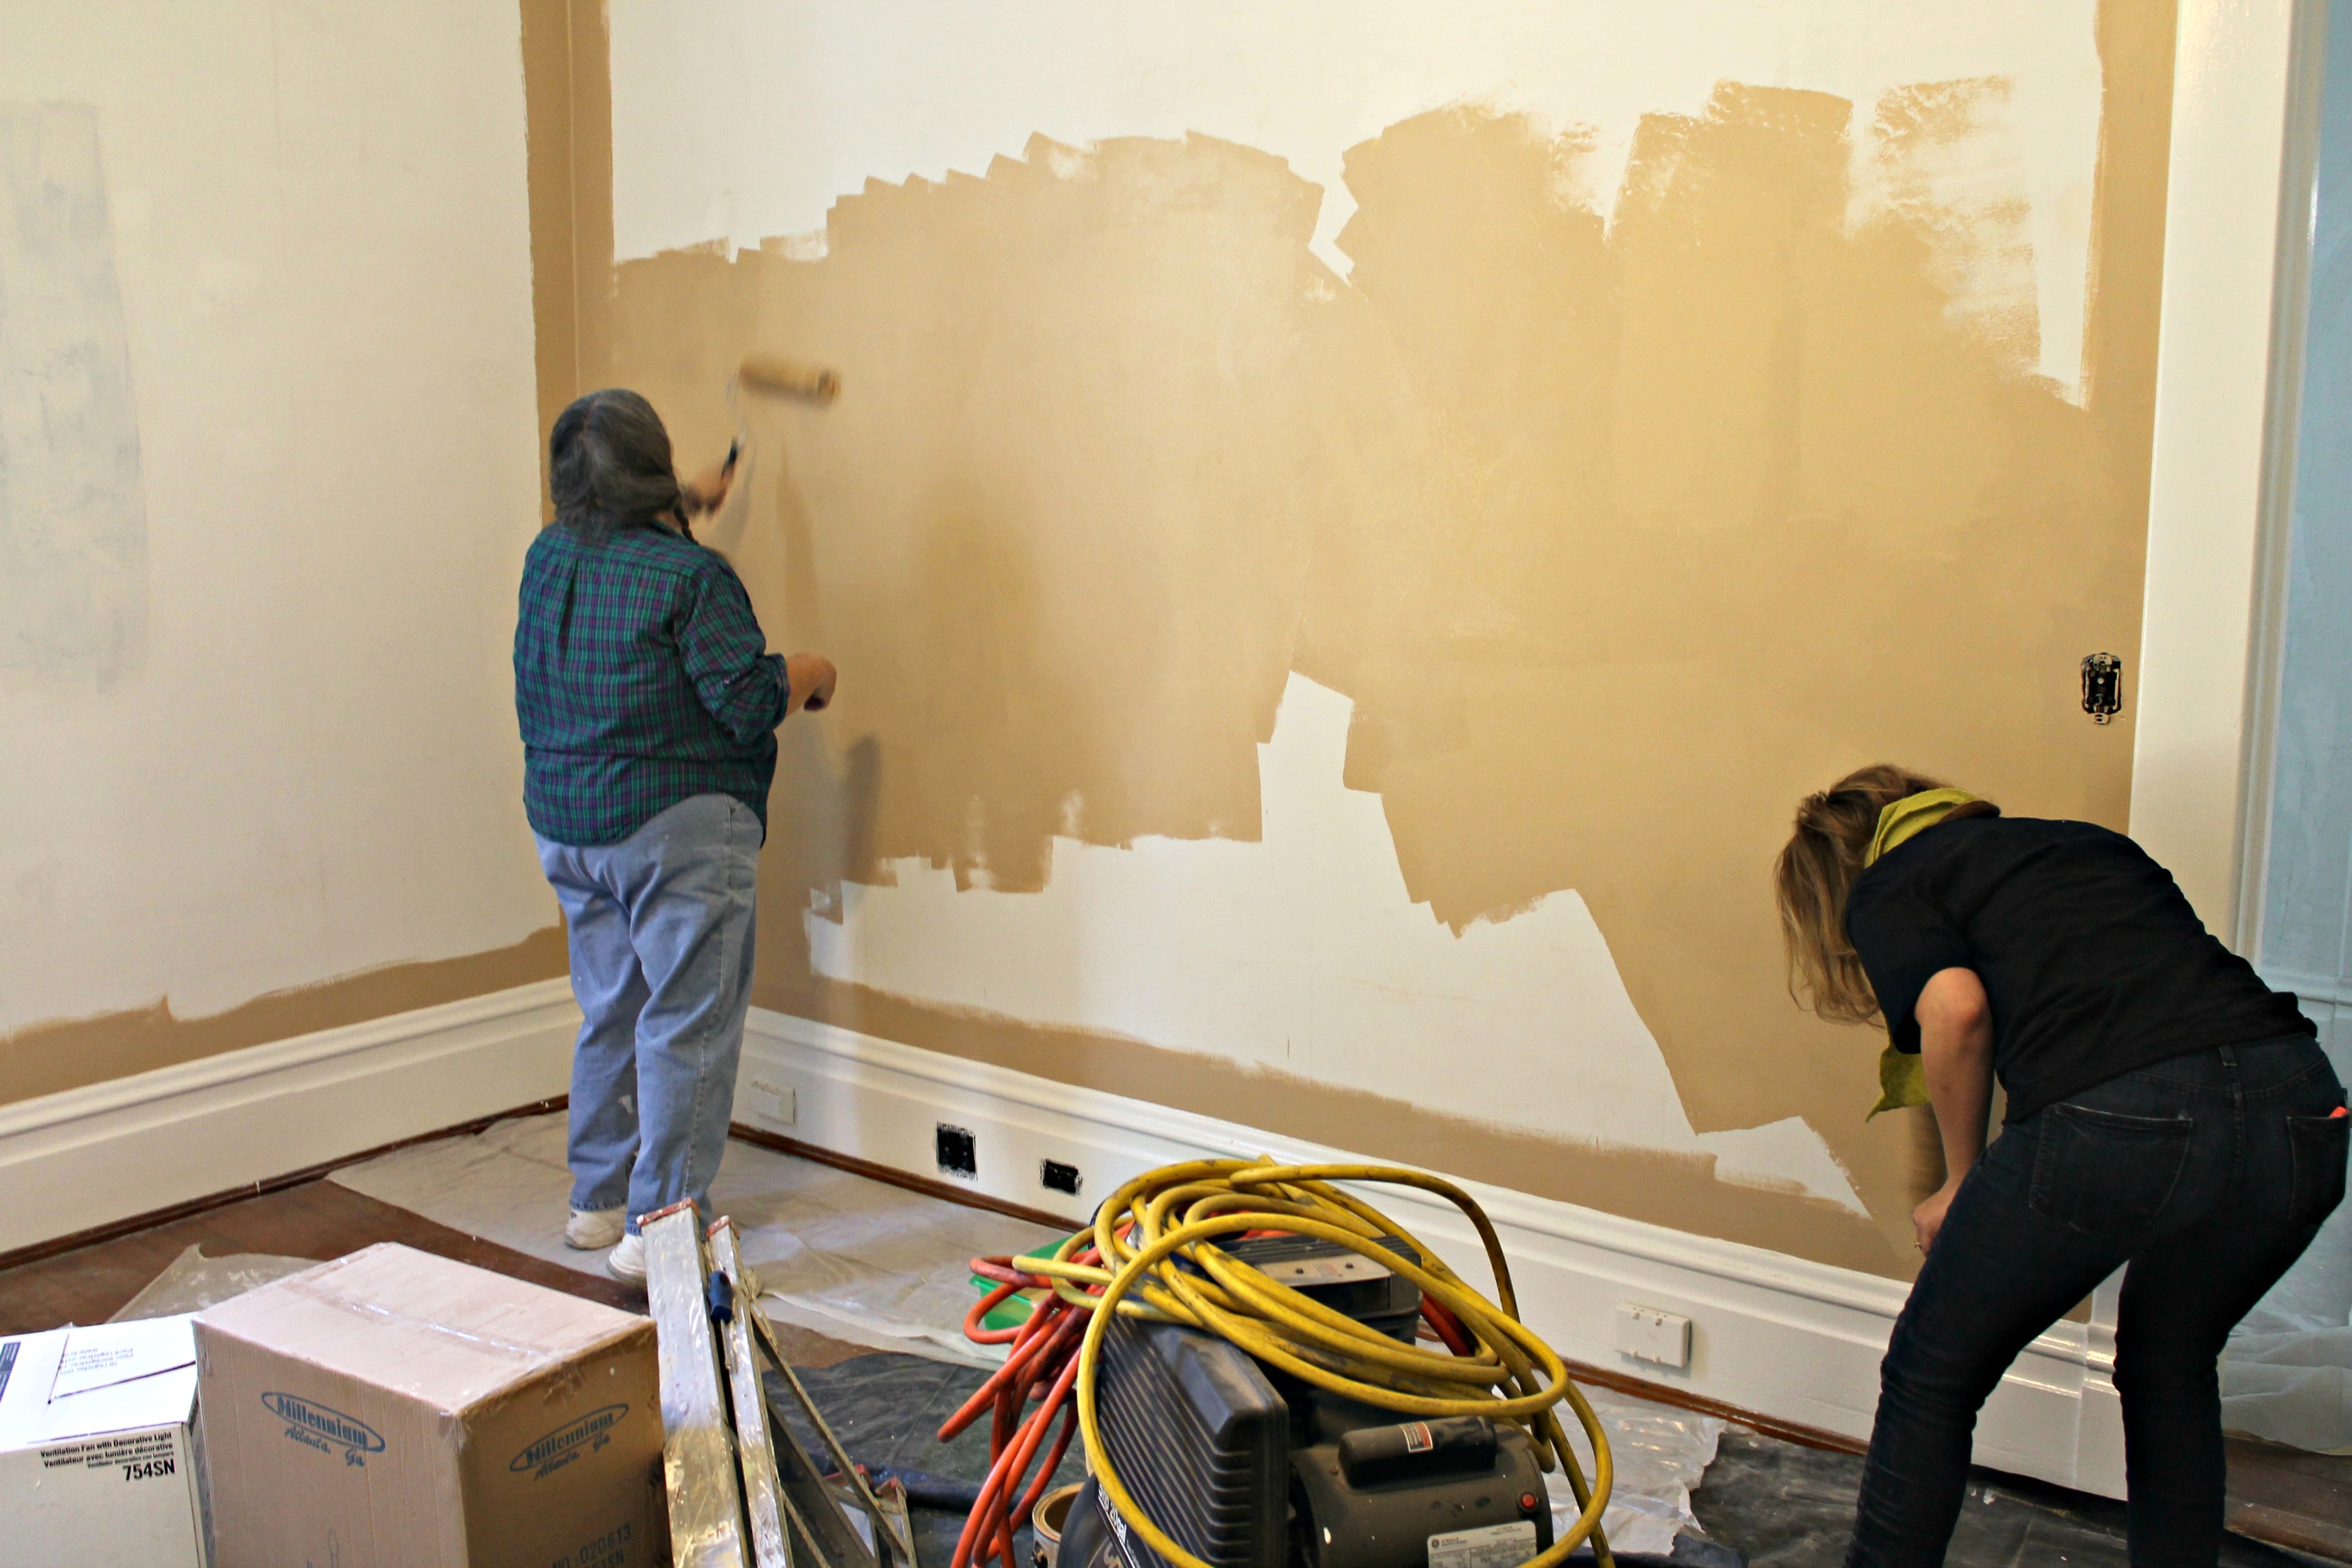
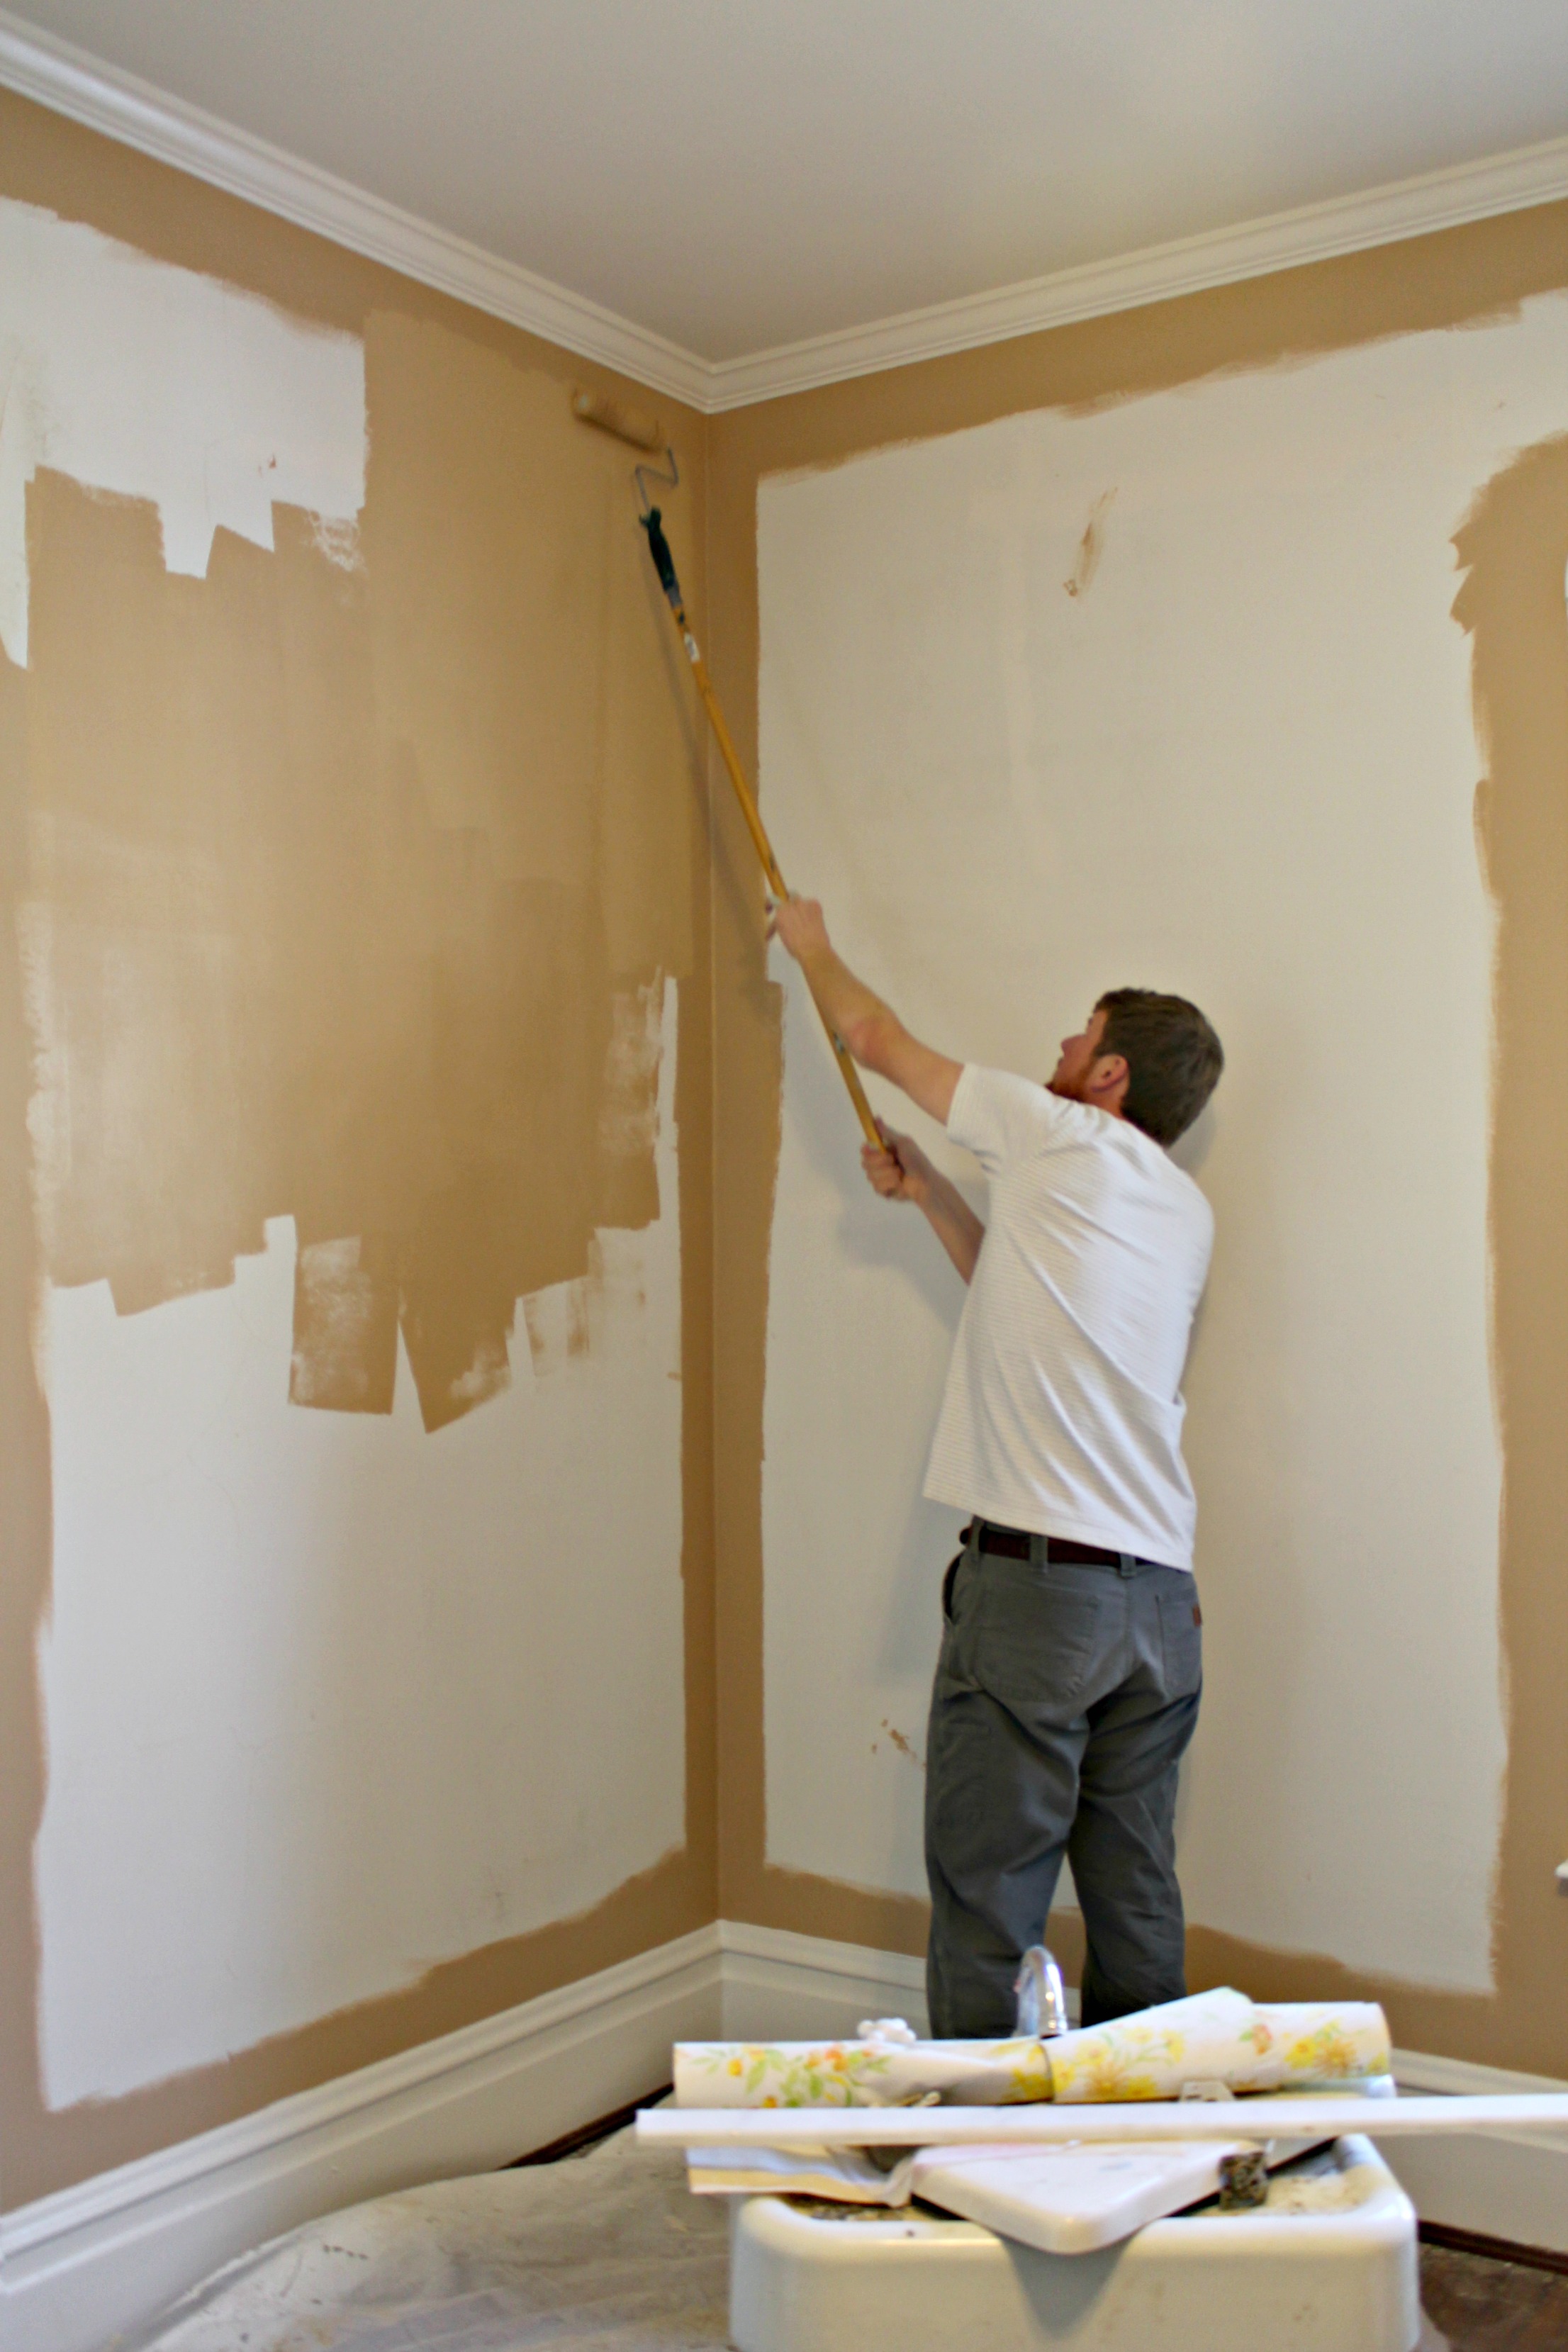
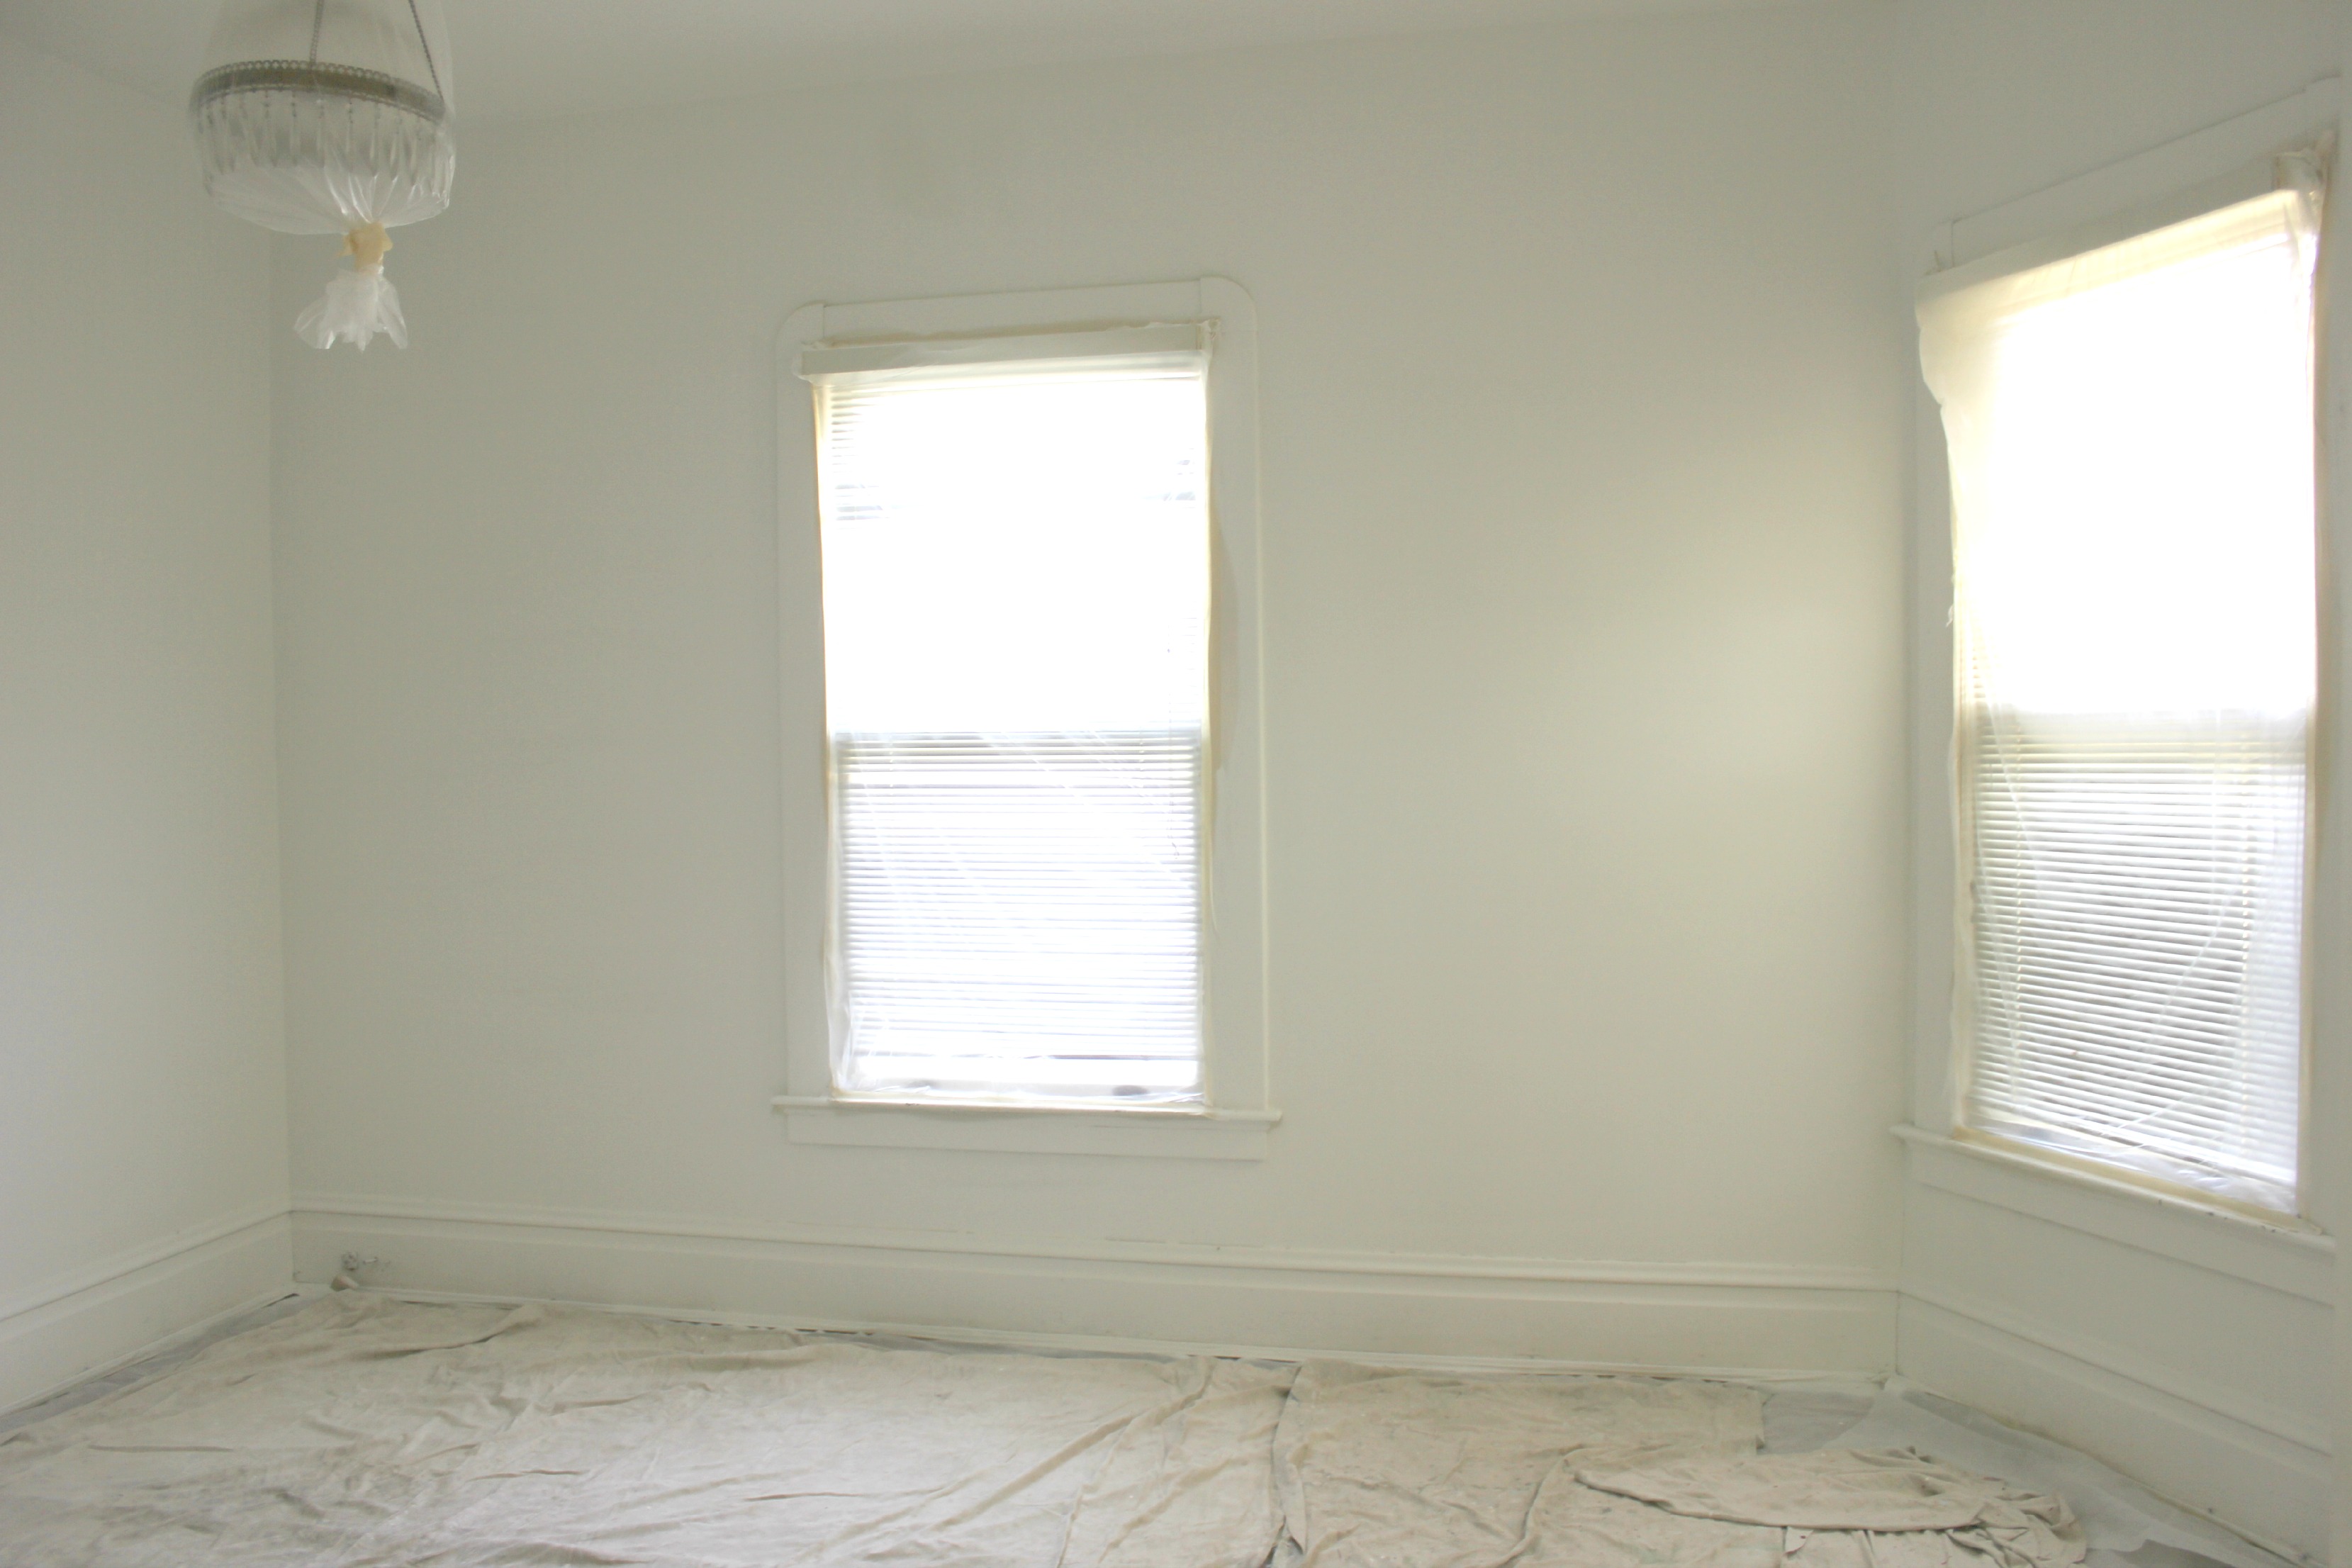
- Prep, prime, and paint walls and ceiling
- Prep, prime, and paint trim and cabinets
- Install new mirror and sconces
- Hang blinds
What’s left
- Epoxy the green tub (maybe?)
- Install hardware on cabinets
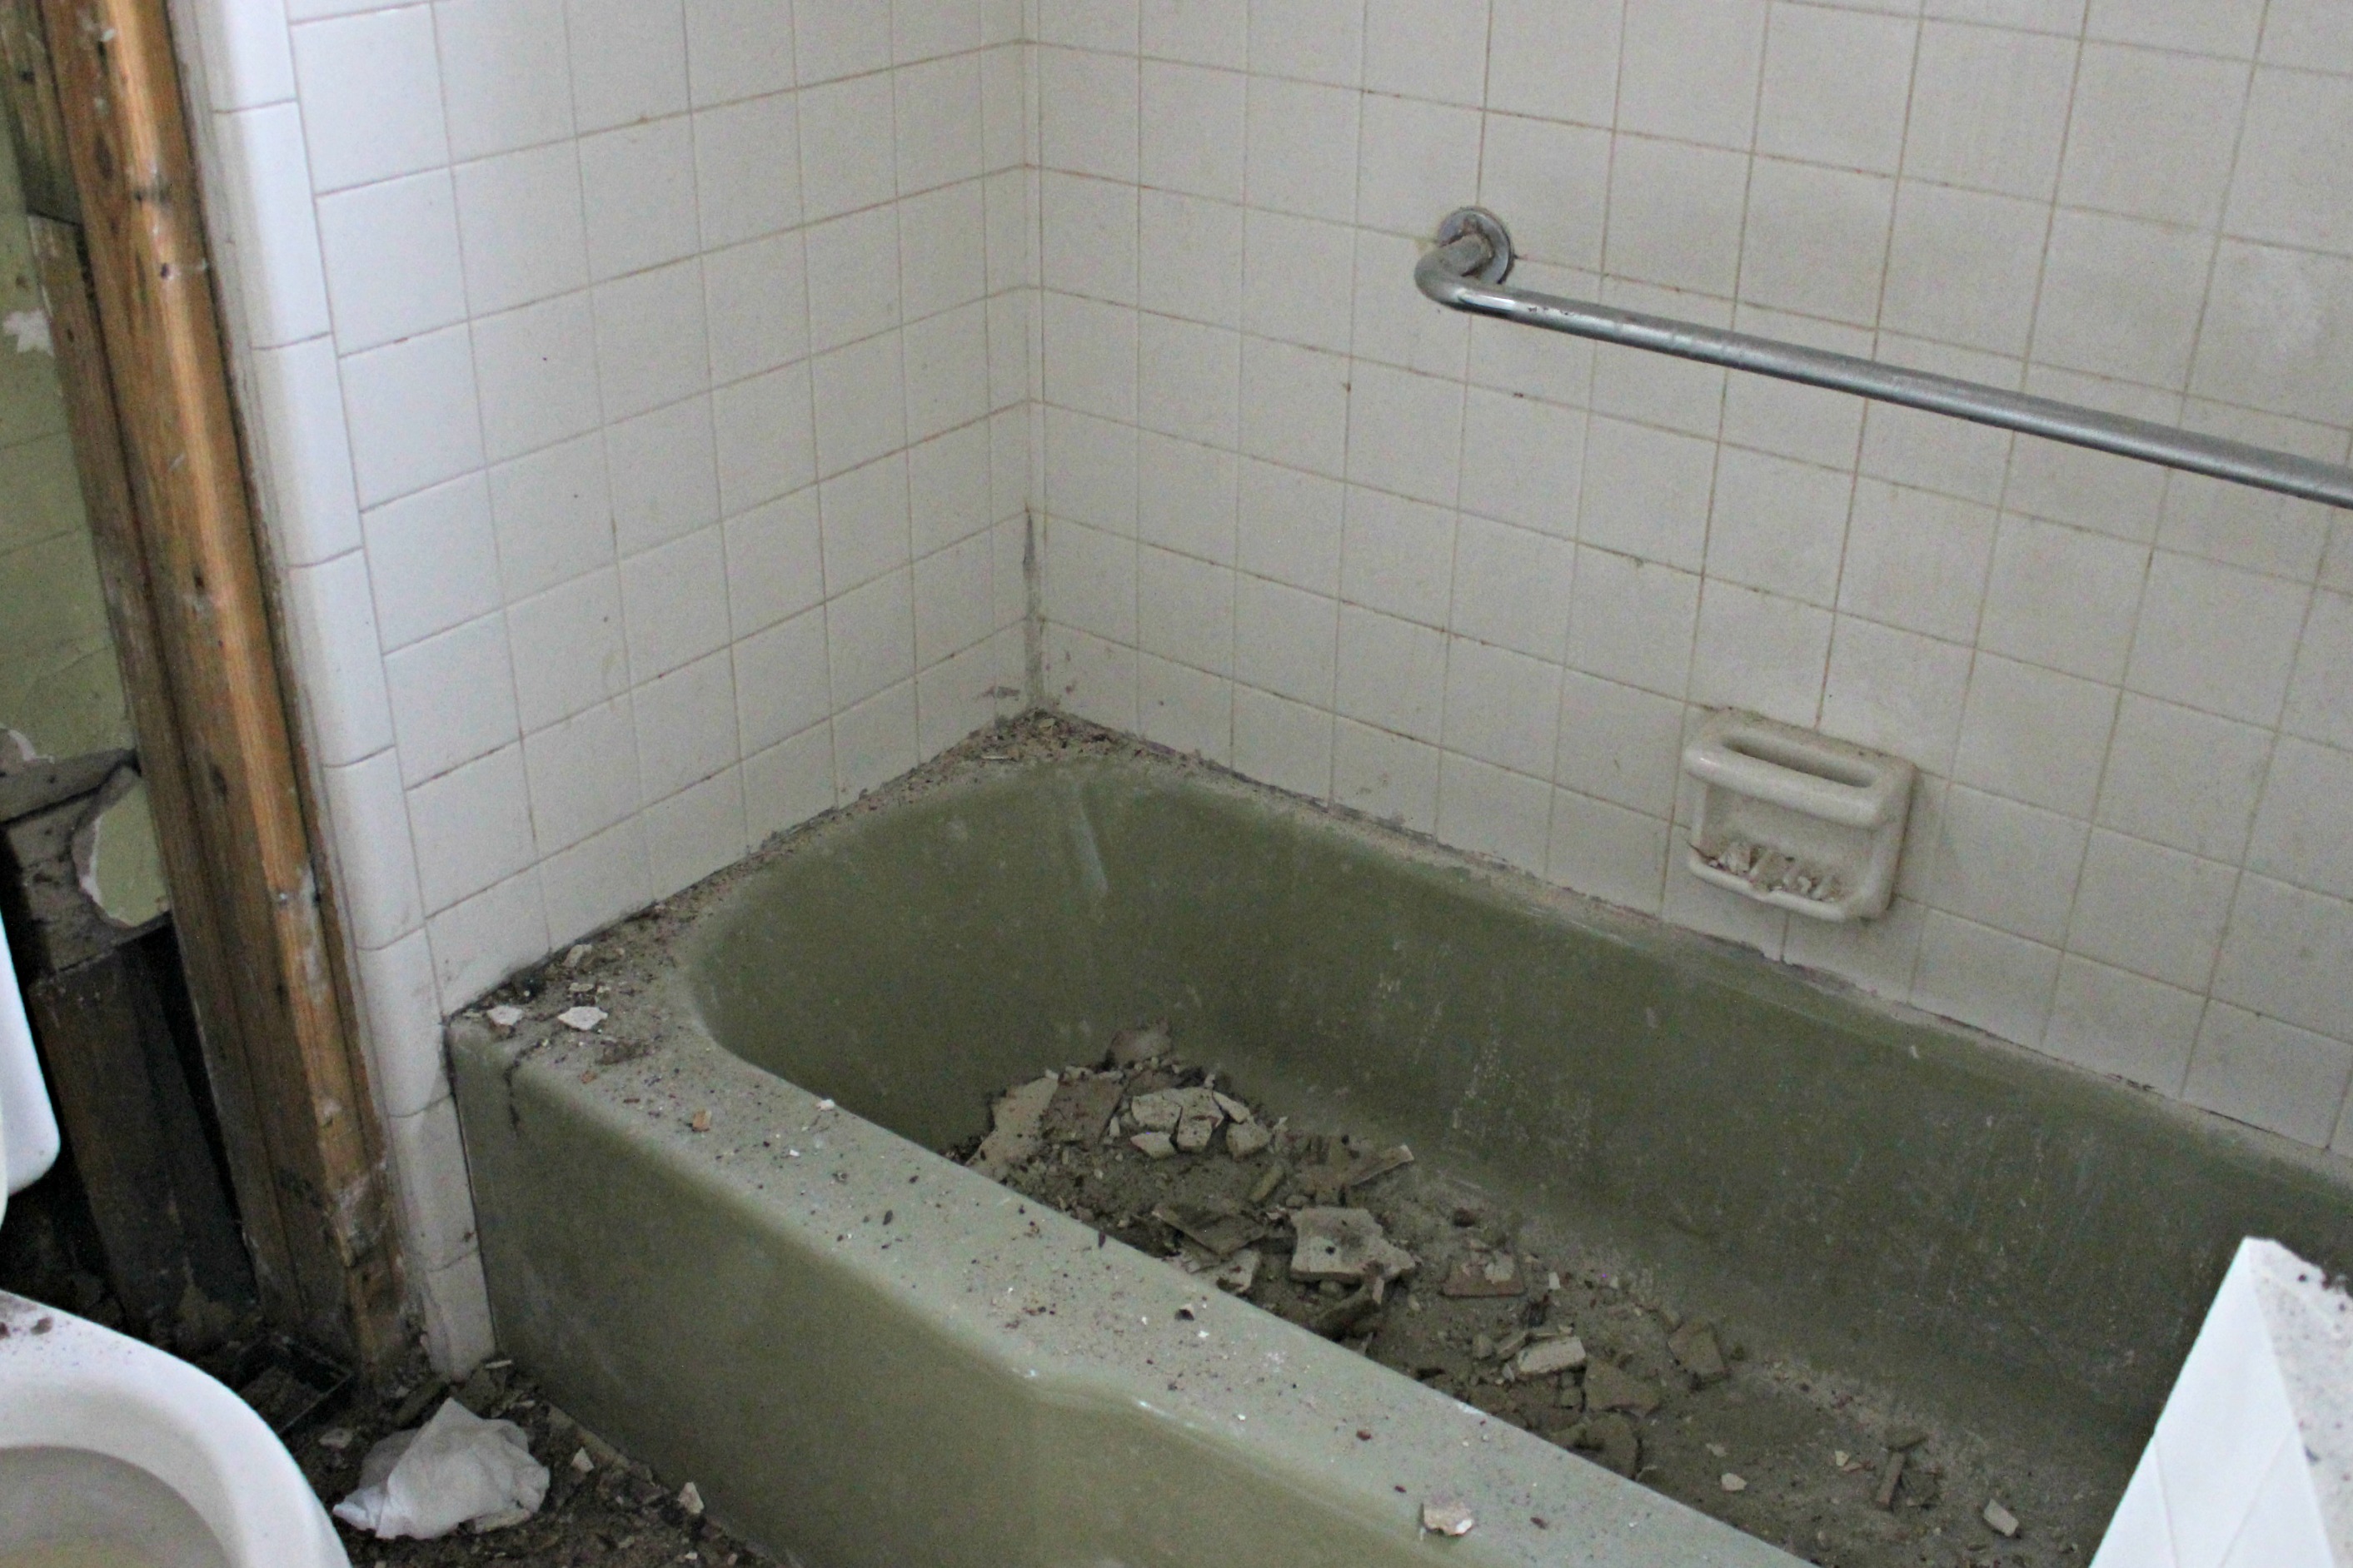
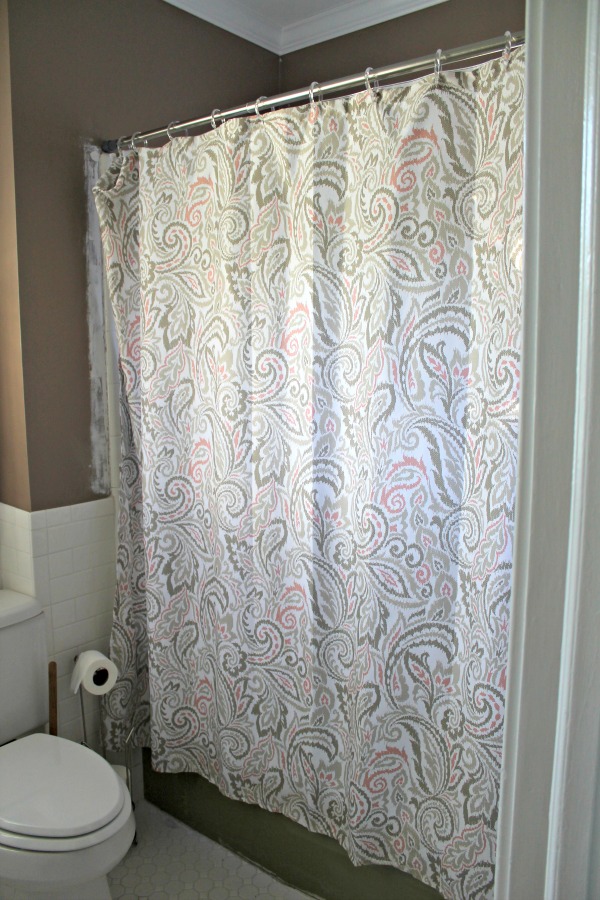
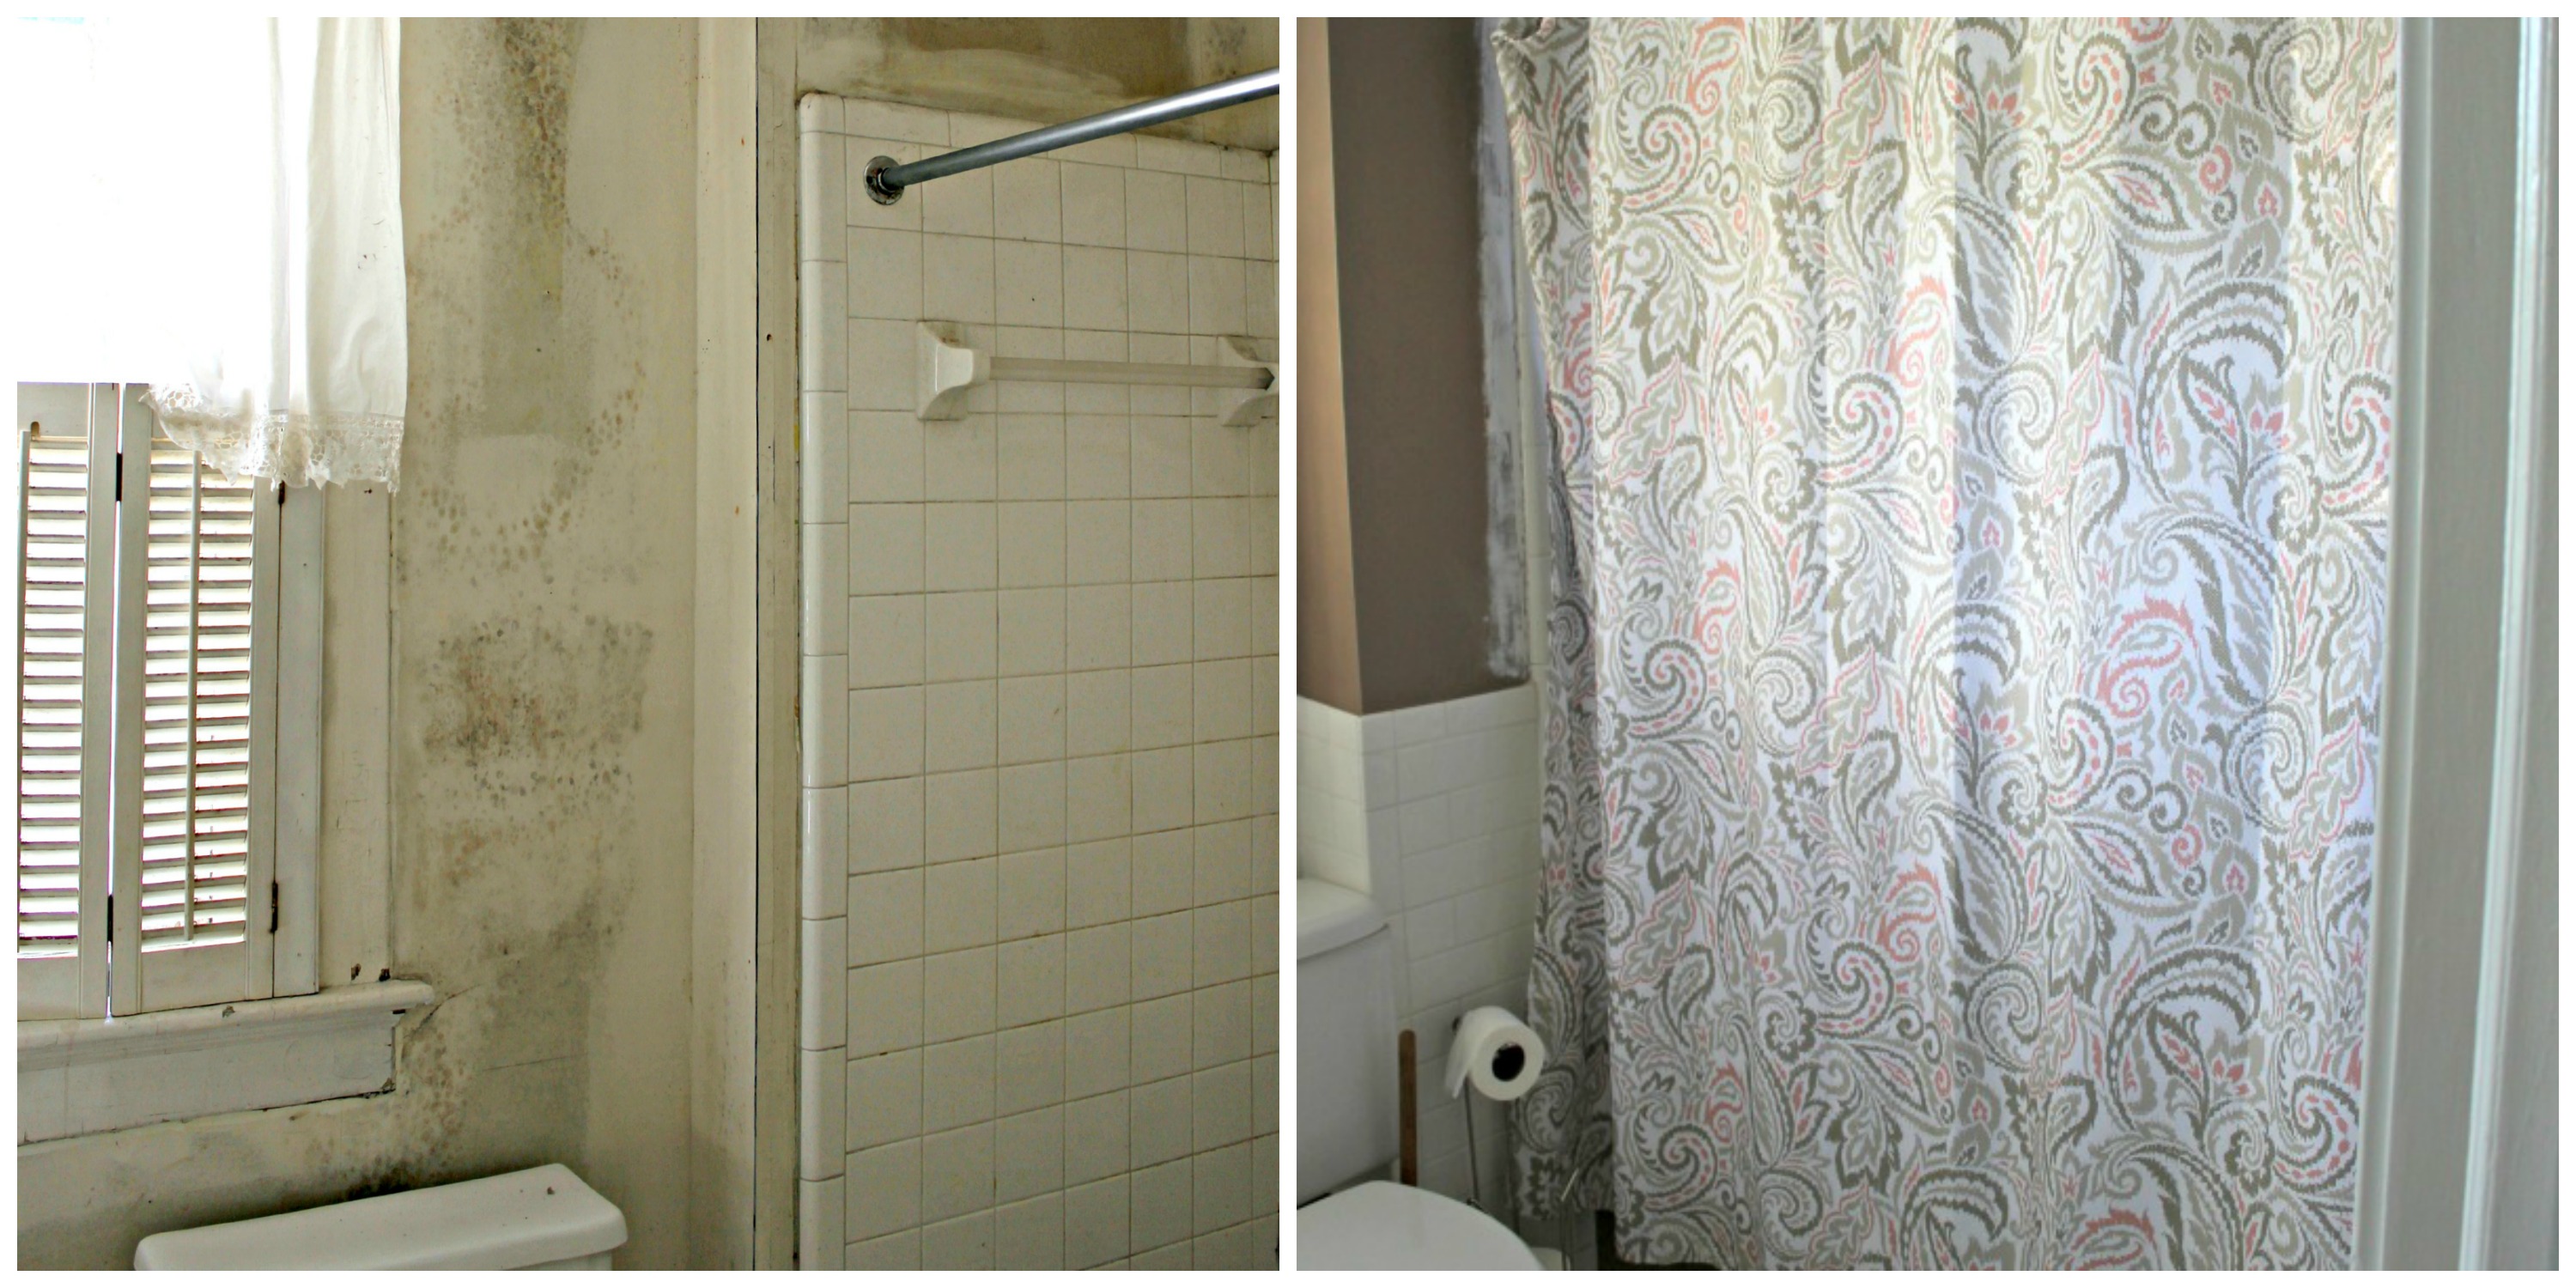
When we first bought the house, I hated that green tub! But I have to say, it’s grown on me. I still don’t love it, and I still plan to get rid of it at some point, but after a good cleaning (with a toothbrush!) and a pretty shower curtain, it’s not so bad. The natural light from the window doesn’t hurt either.
You can pay hundreds or even thousands to have a tub repainted, and there’s no real guarantee that the job will last. So we decided to leave it and wait until we could afford to replace it altogether.
The figures…the room is 5′ 6″ x 9′ 2″ with 2 windows.