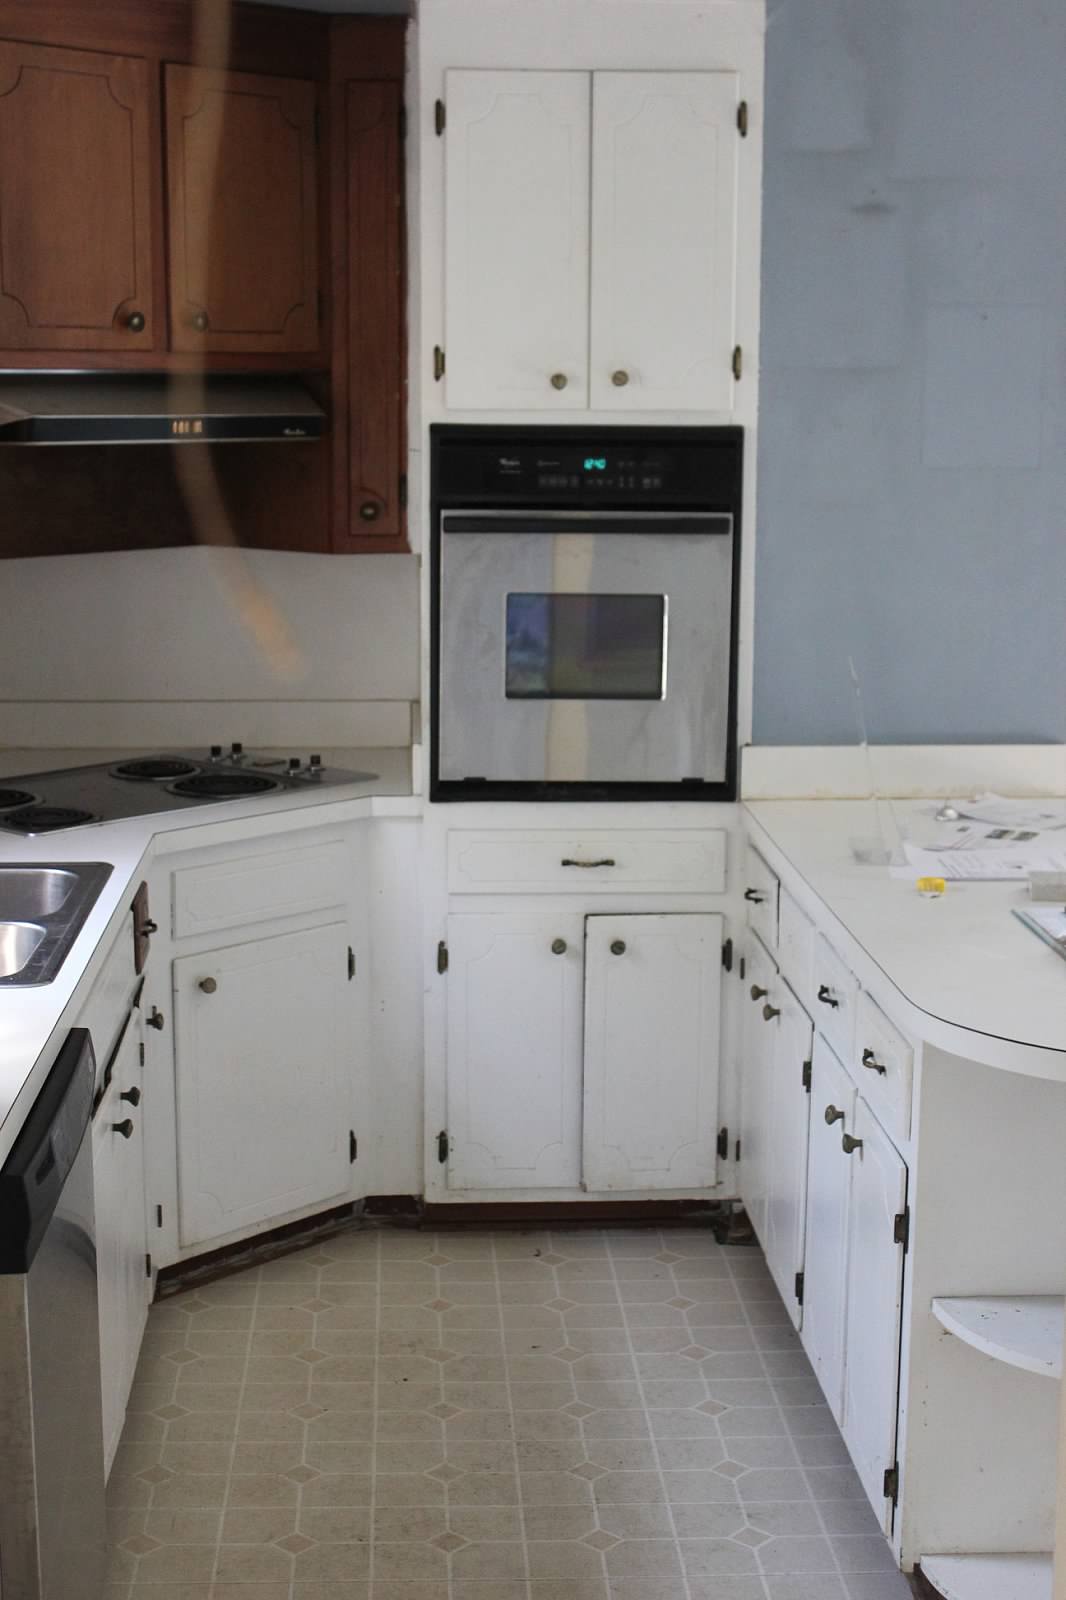
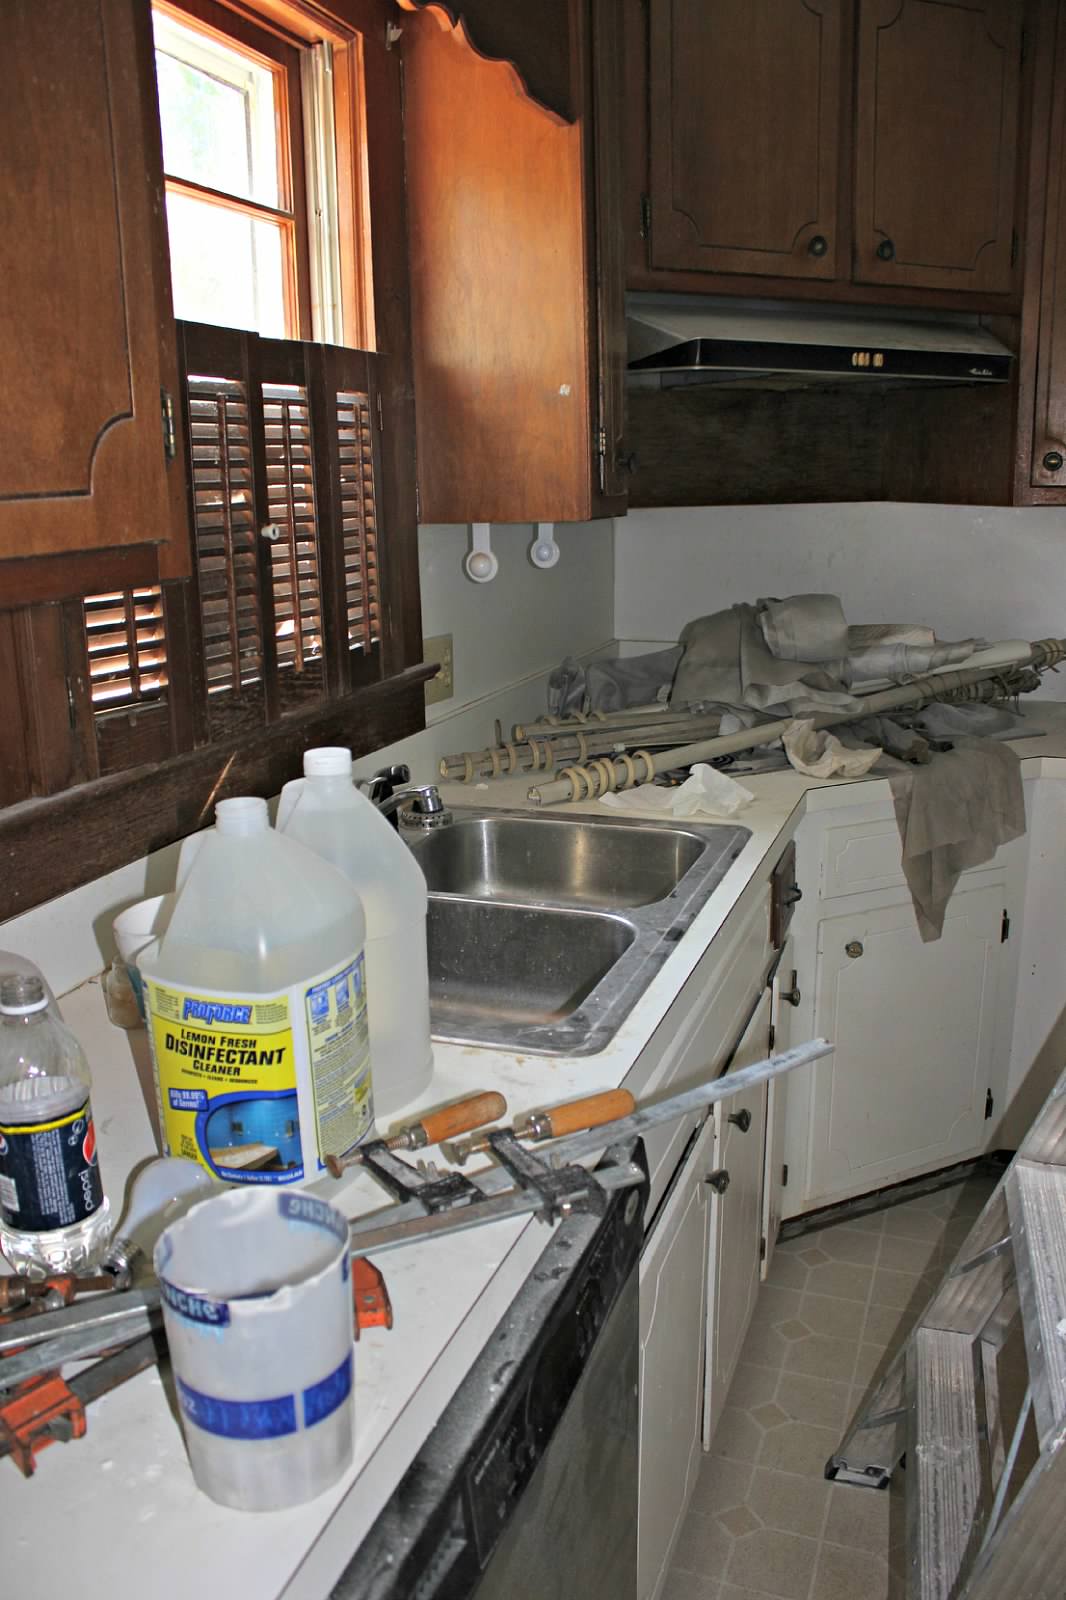
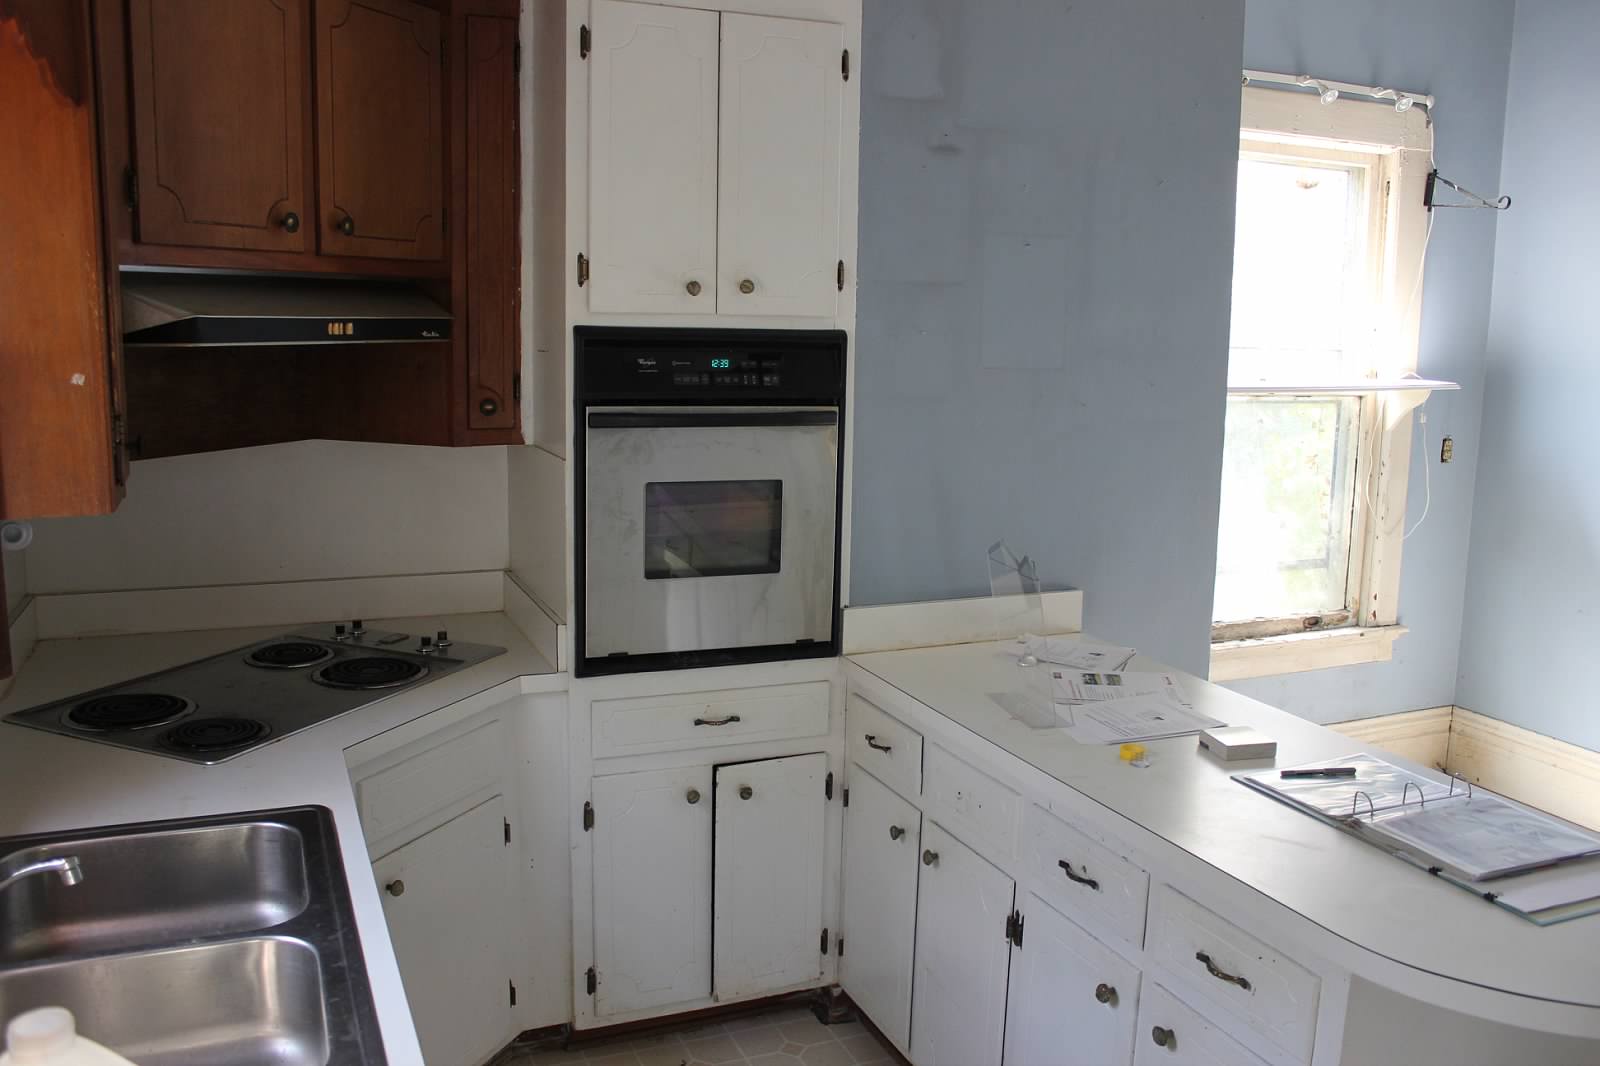
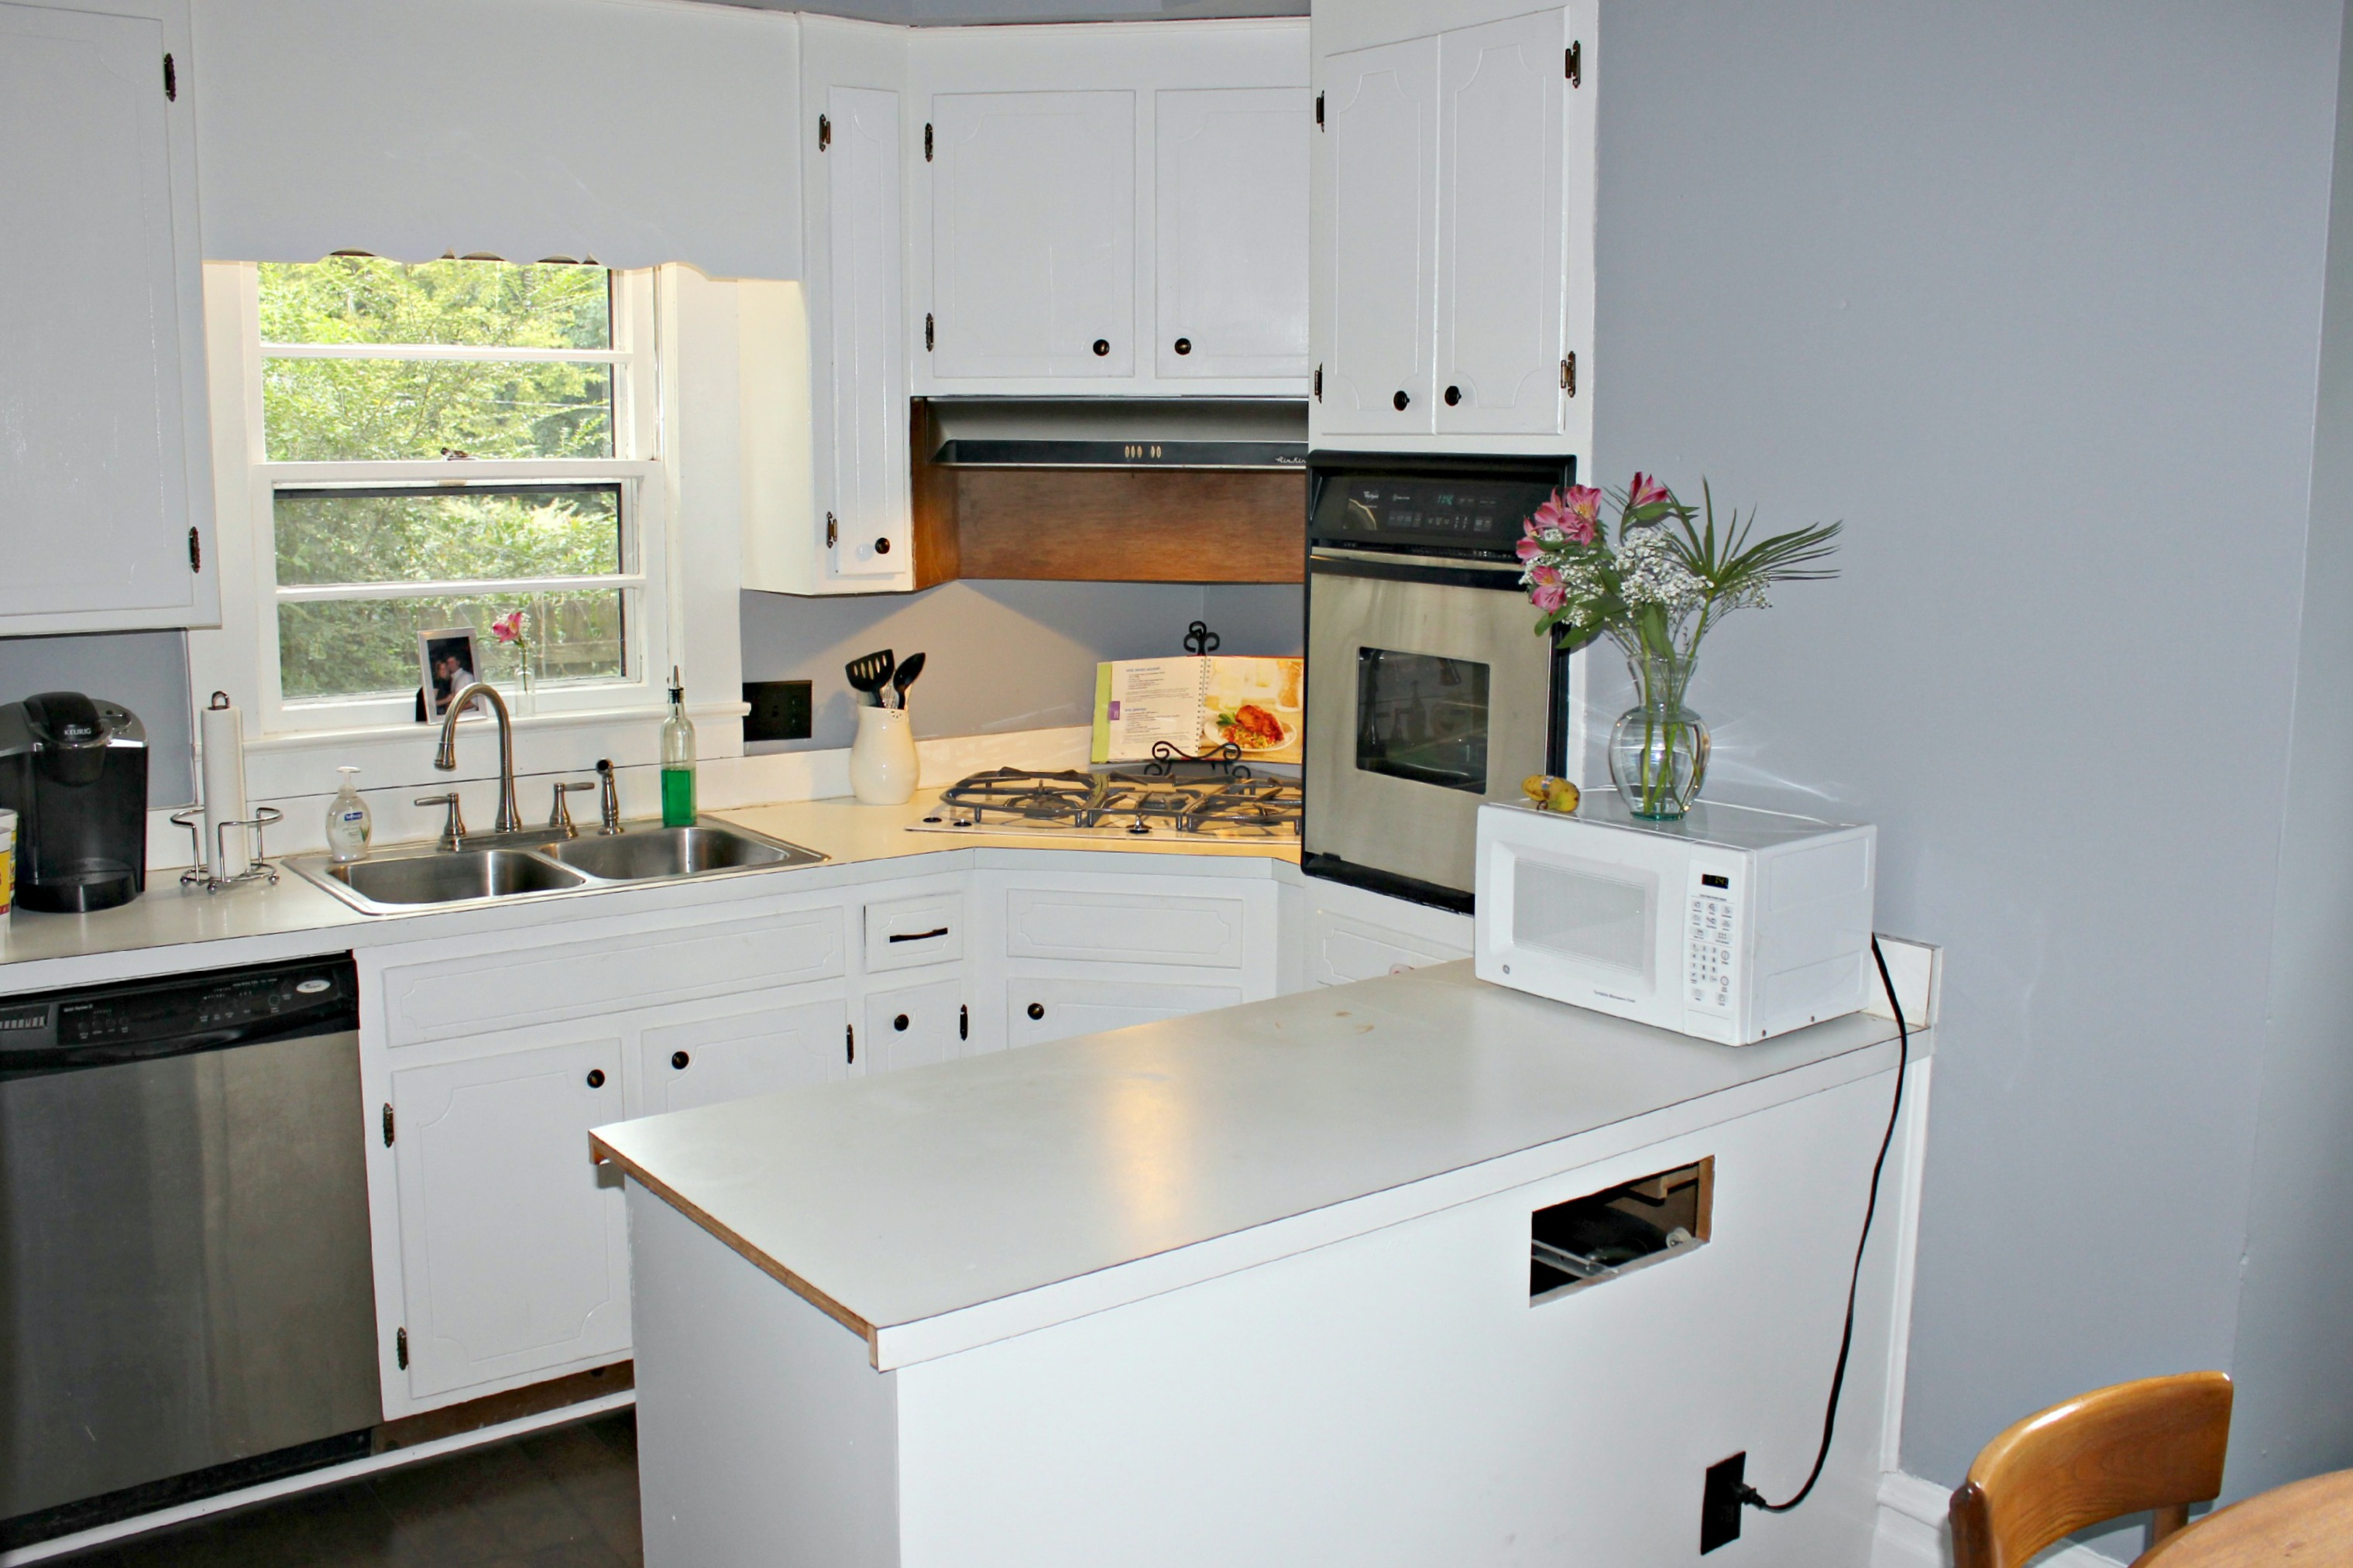
Compared to the rest of our house, the kitchen renovation was a breeze. We knew that we wouldn’t have enough in the budget to fully remodel the way that we wanted, so we decided to spend as little as possible in the kitchen and plan for a huge overhaul a few years down the road.
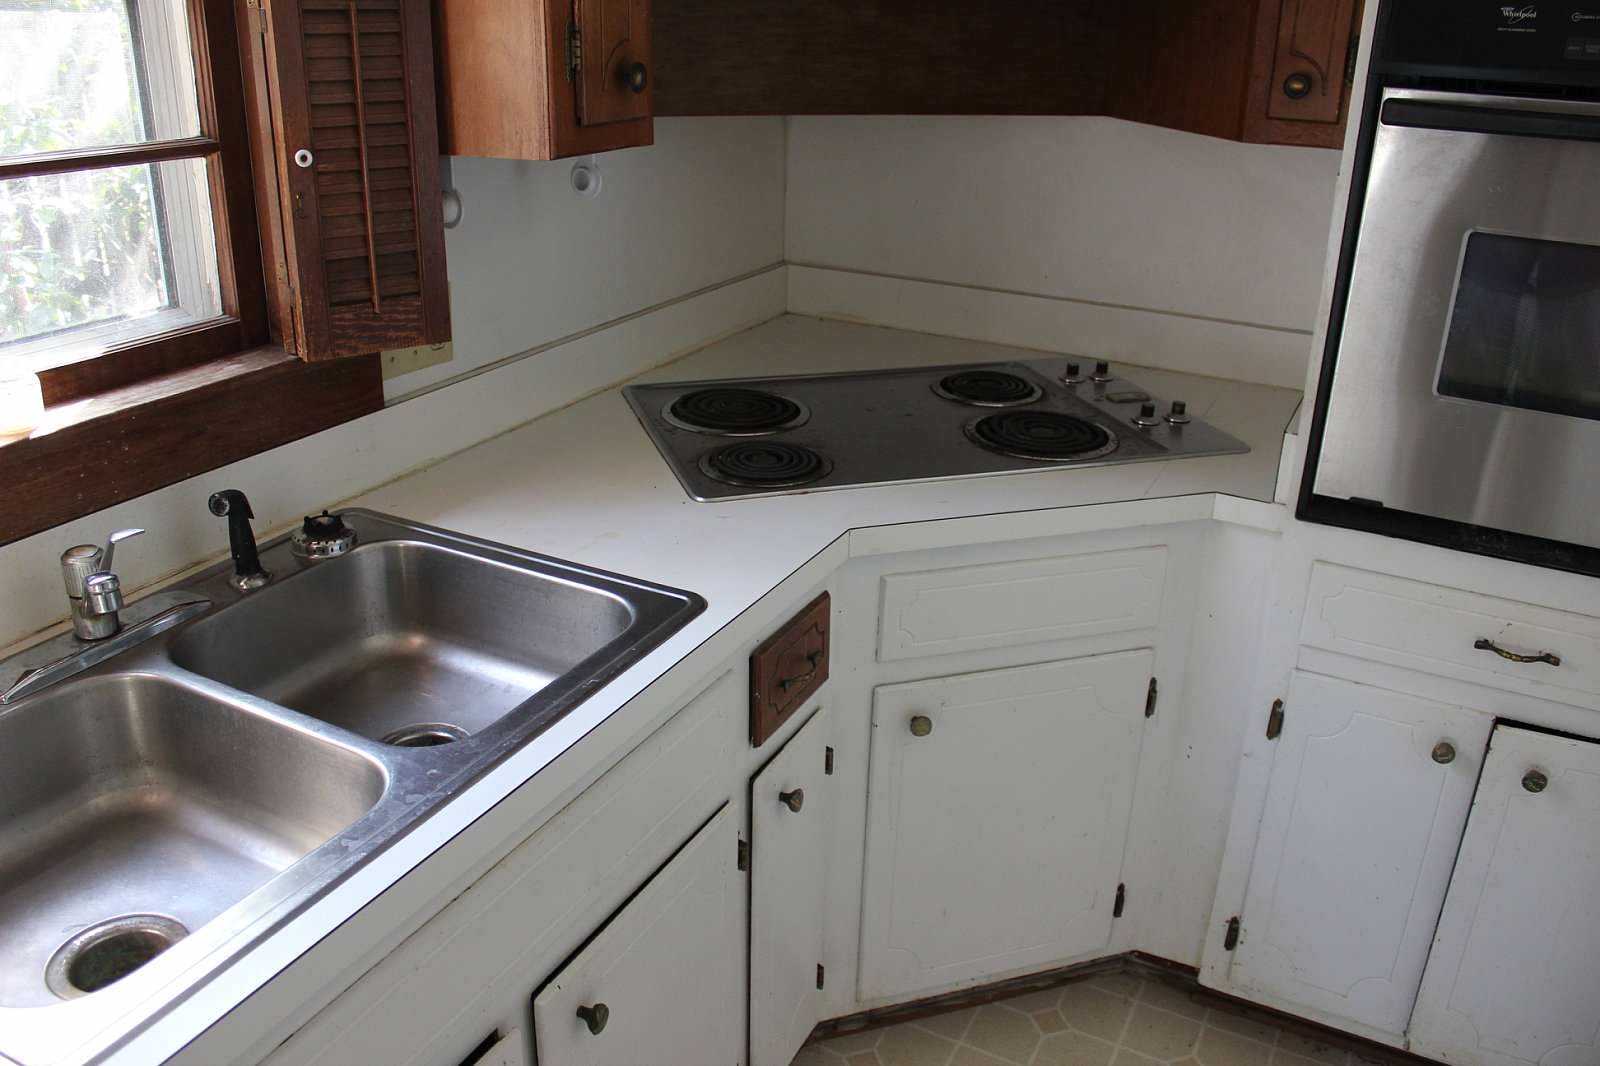
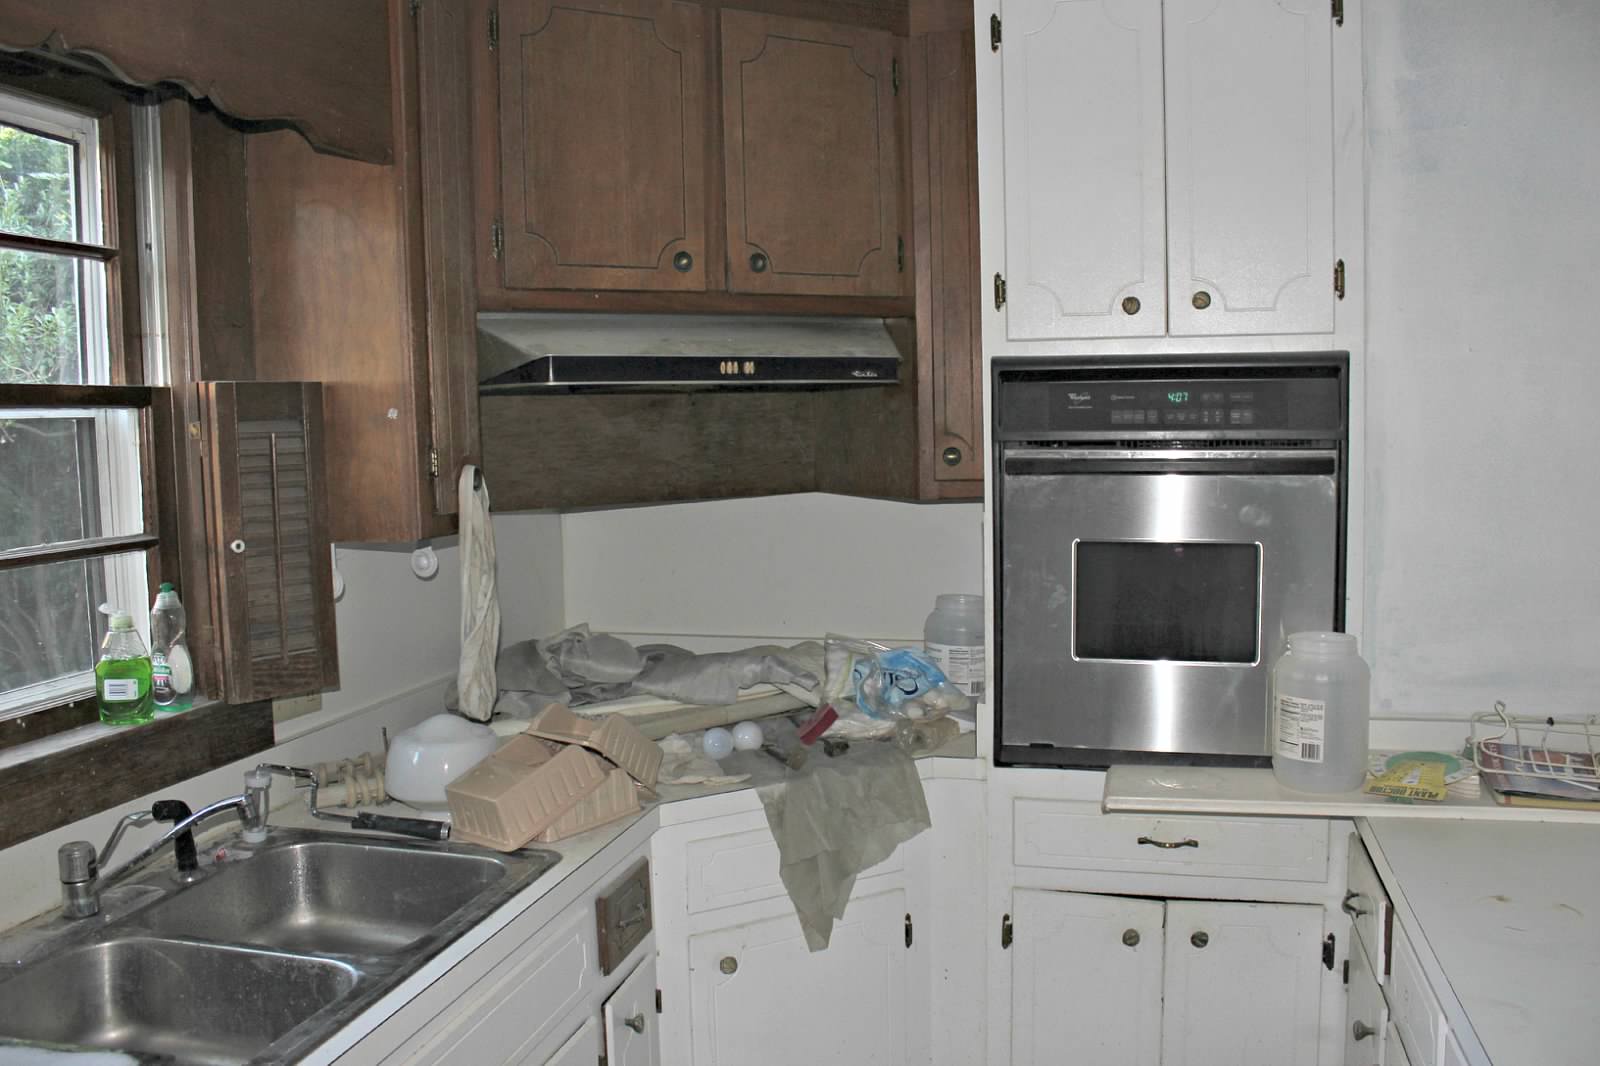
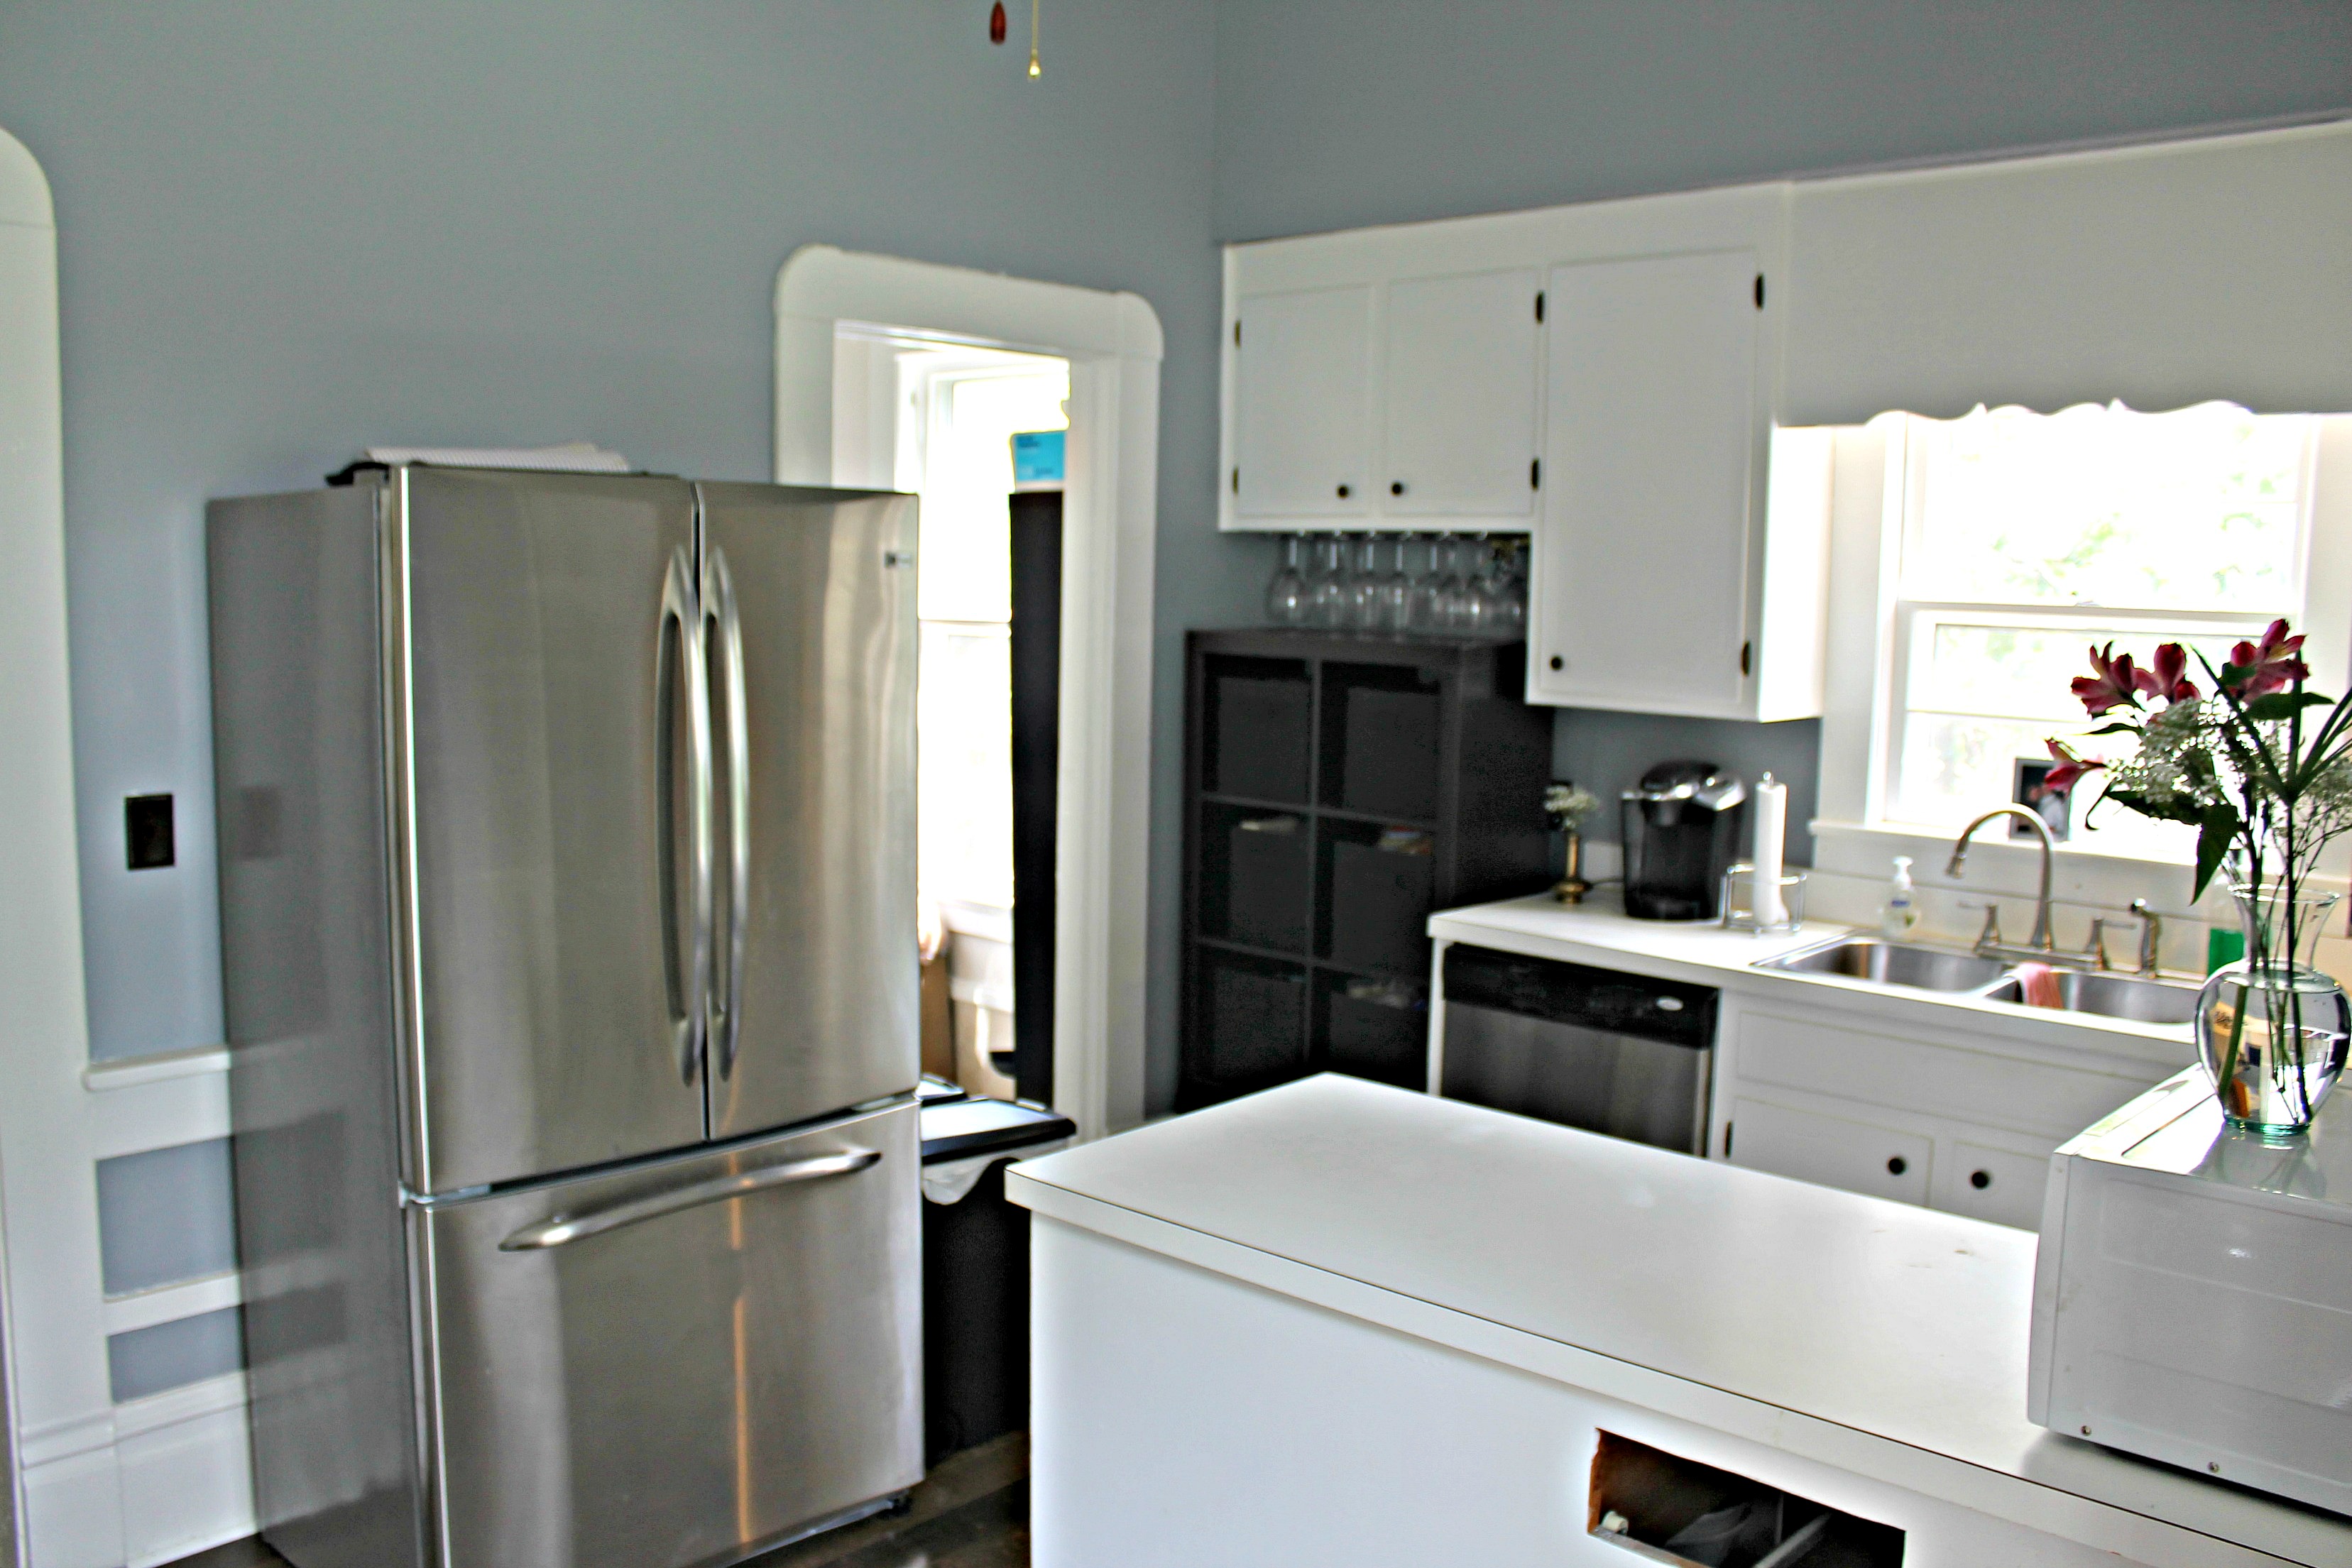
We did just about all of this kitchen ourselves, and on a budget. Not including the fridge, we spent less than $1,000 giving this kitchen a little makeover. The dishwasher, sink, and oven were dated but functional, so we decided to stick with those for now. Some new floors, a coat of paint, and a lot of time and energy…it makes a big difference!


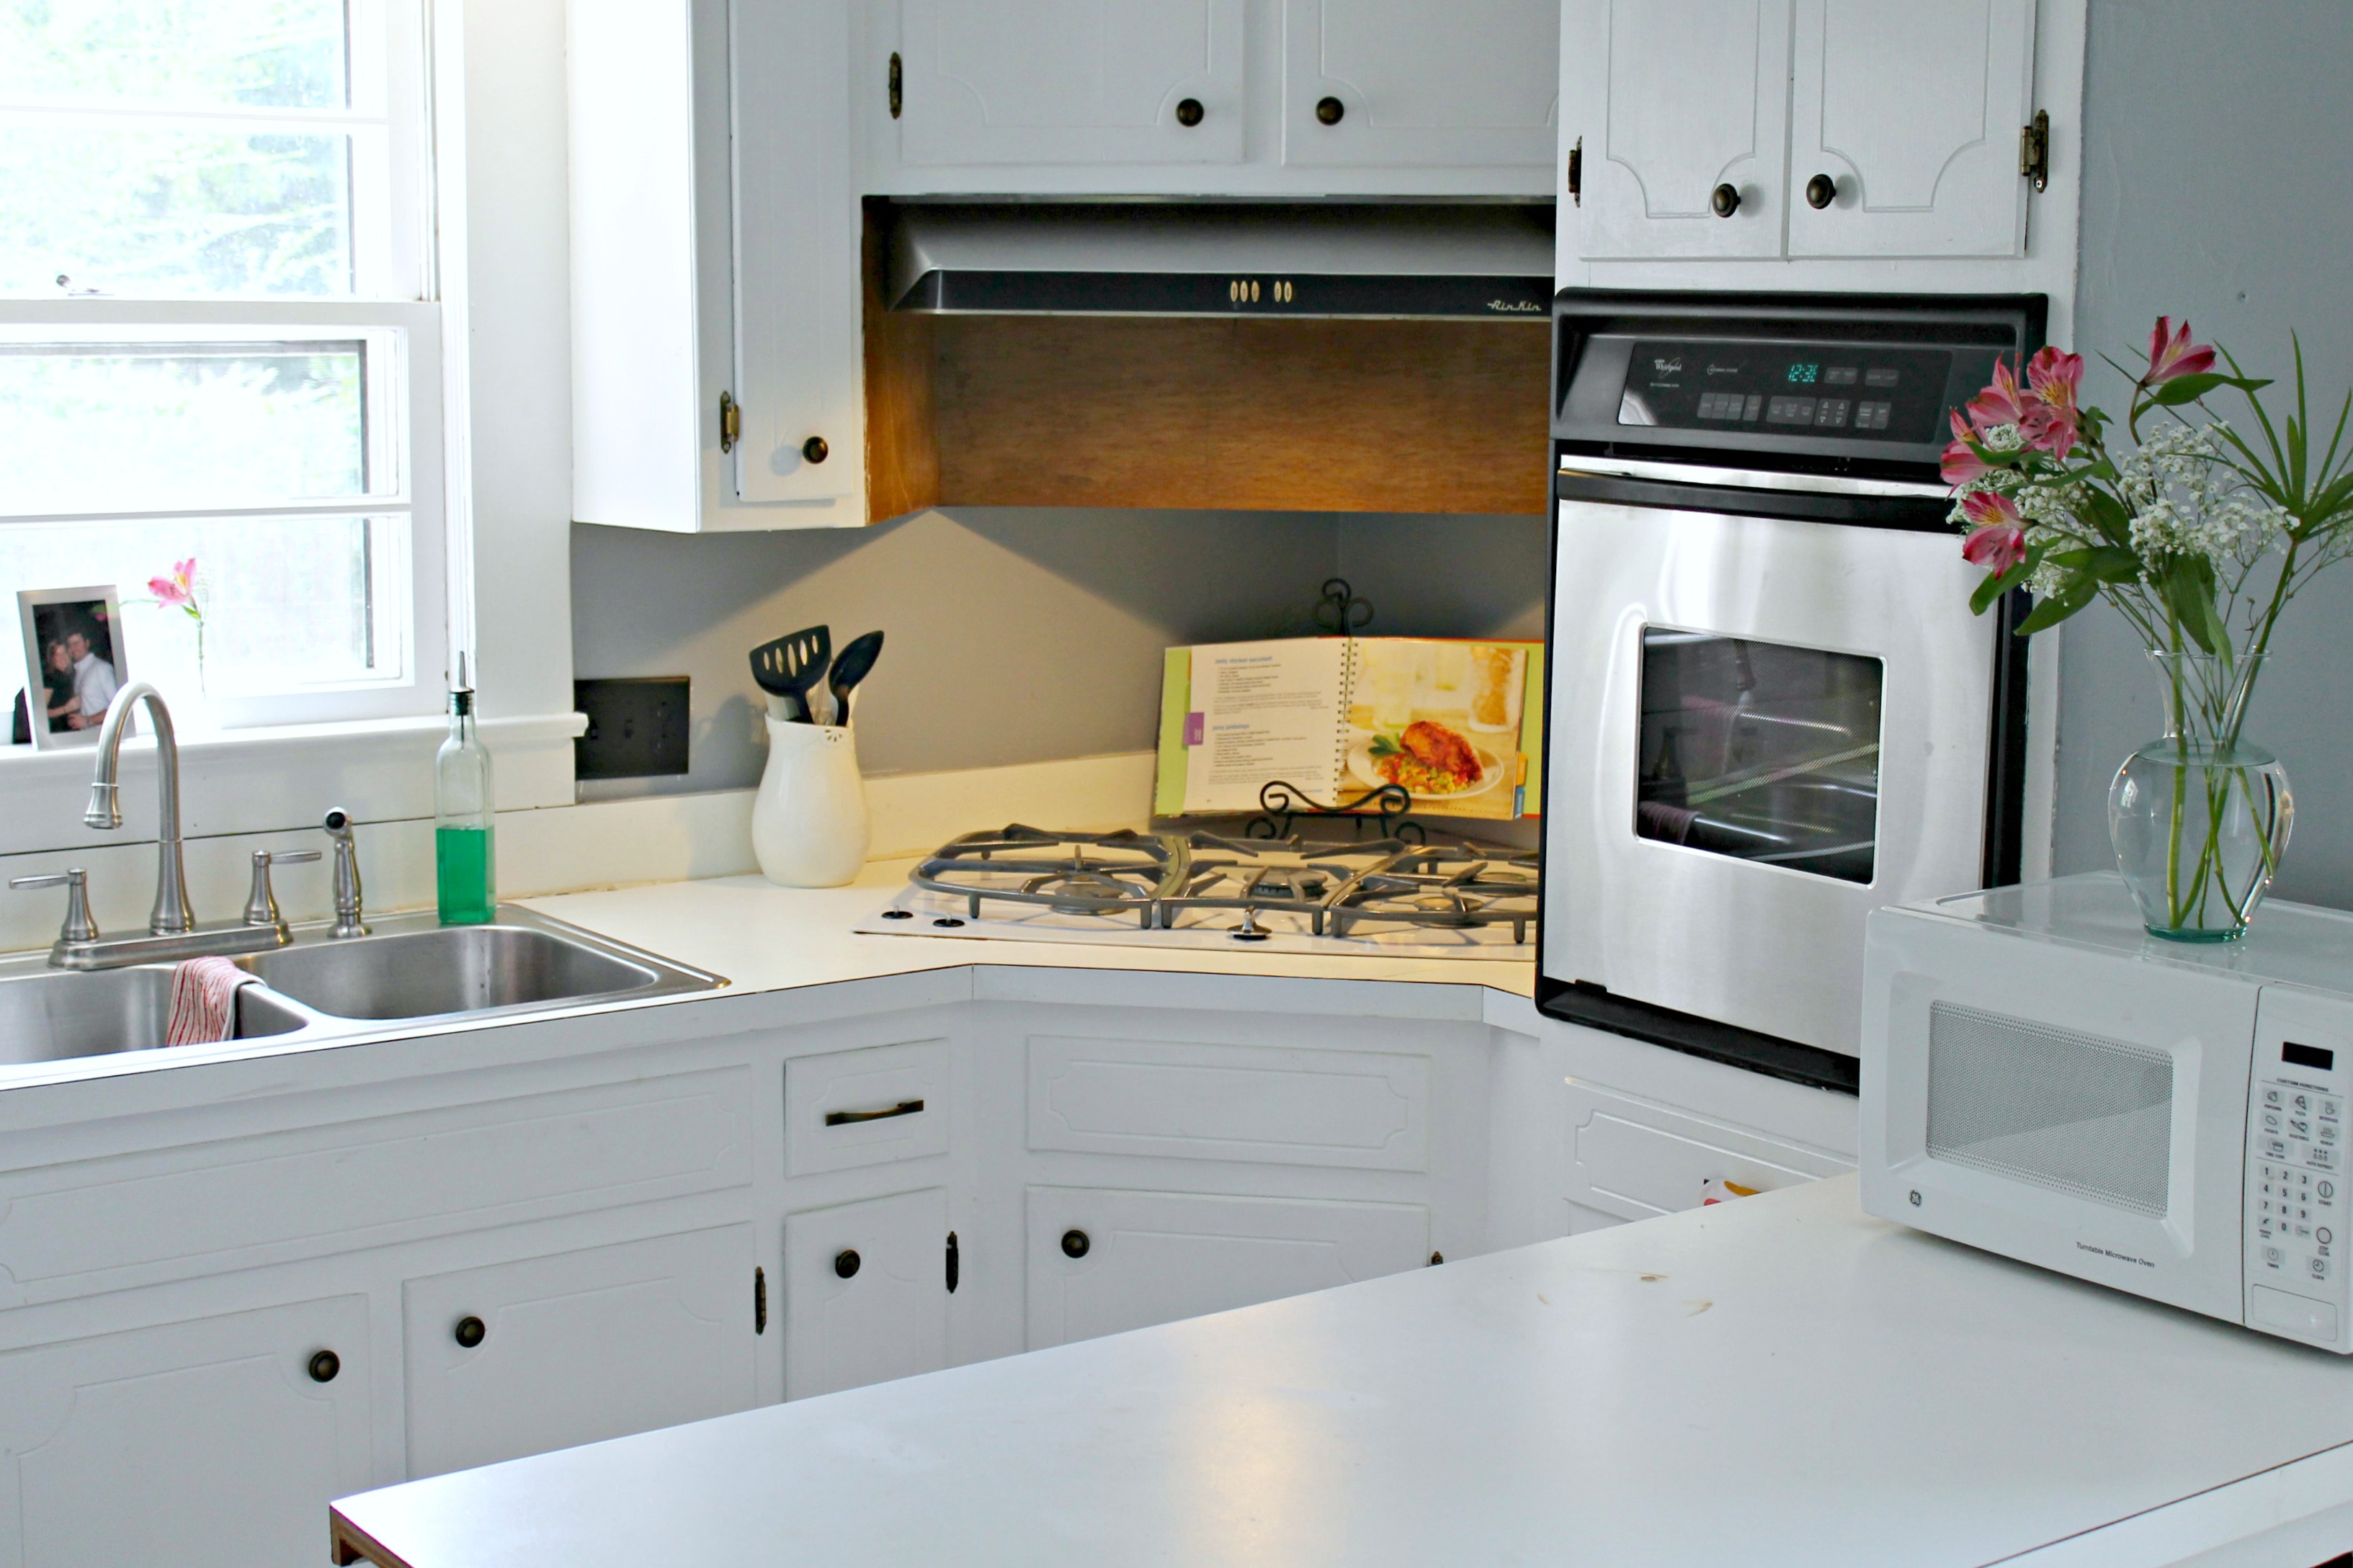
What we’ve finished:
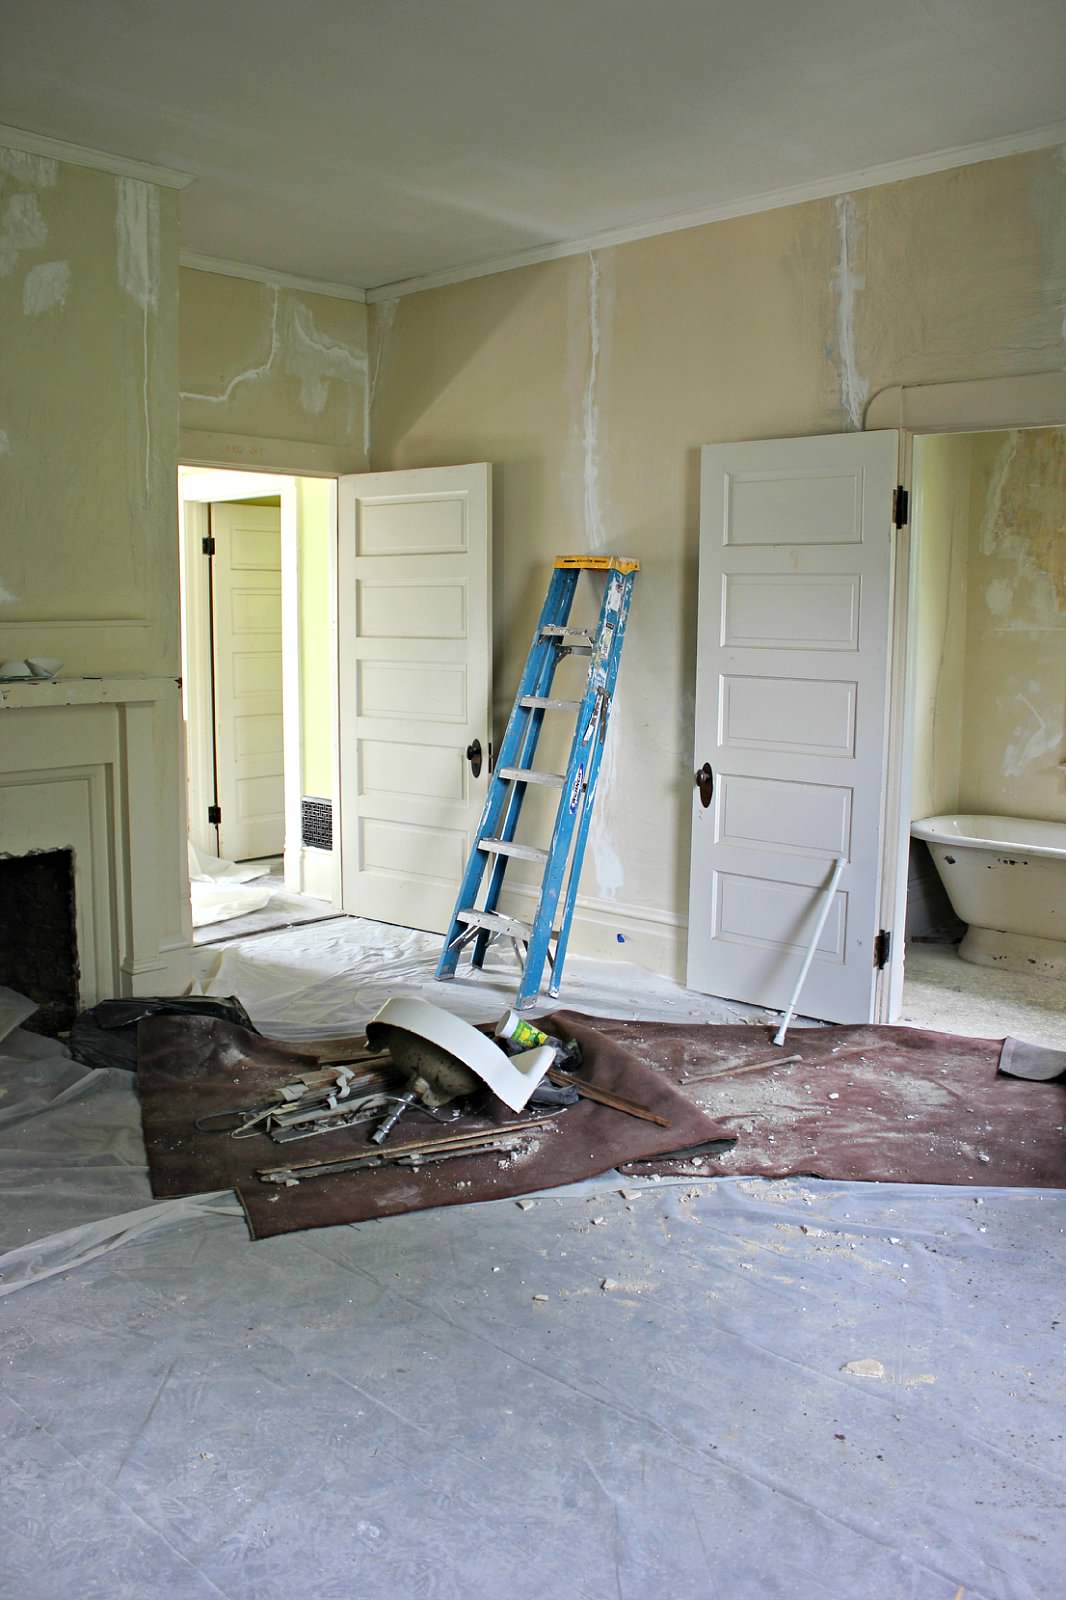
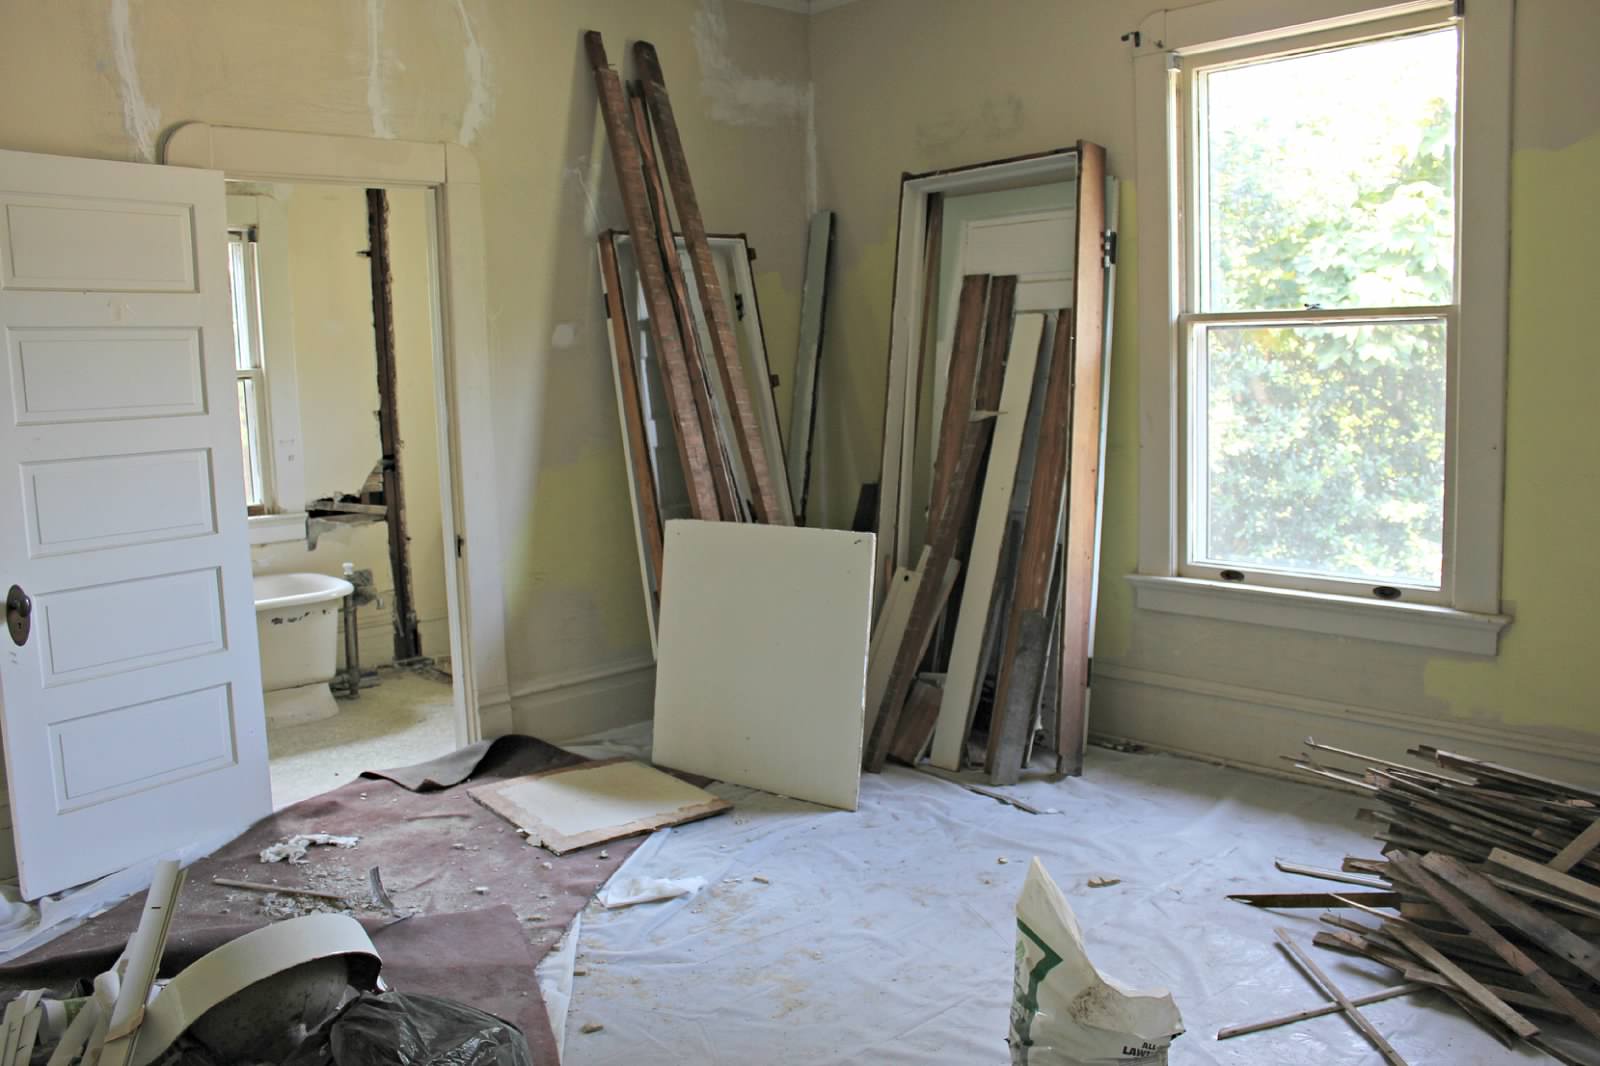
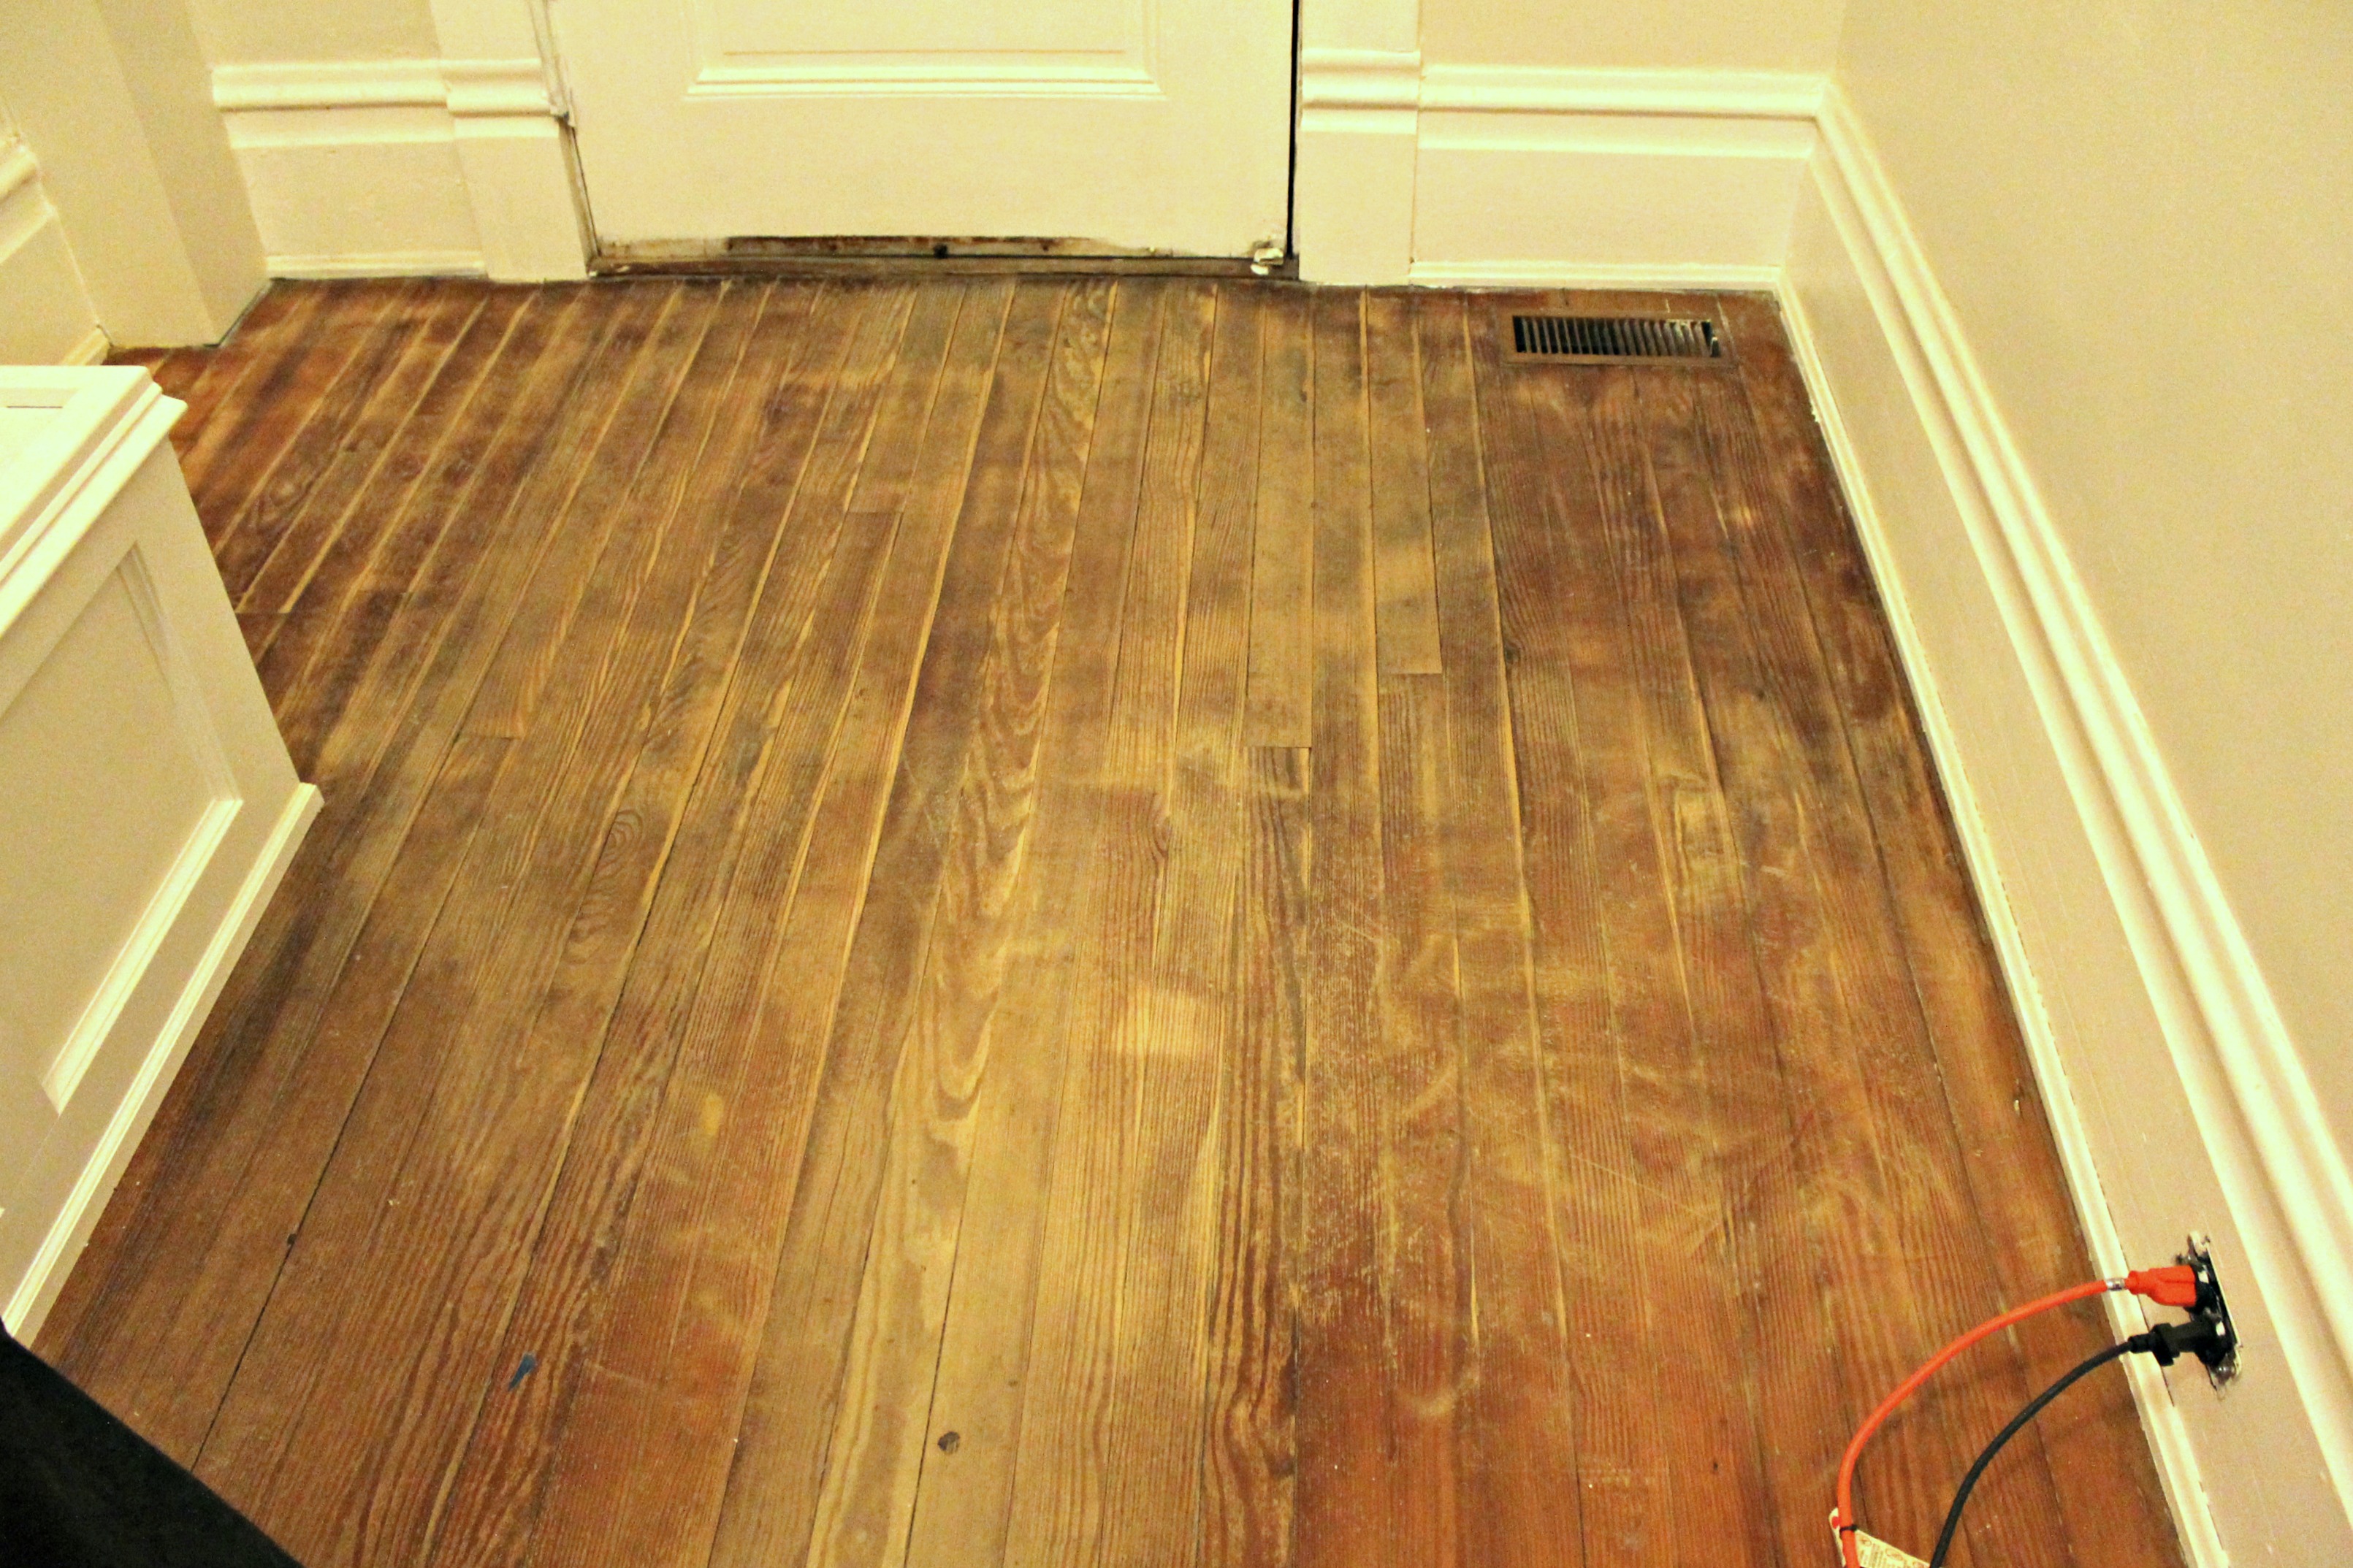
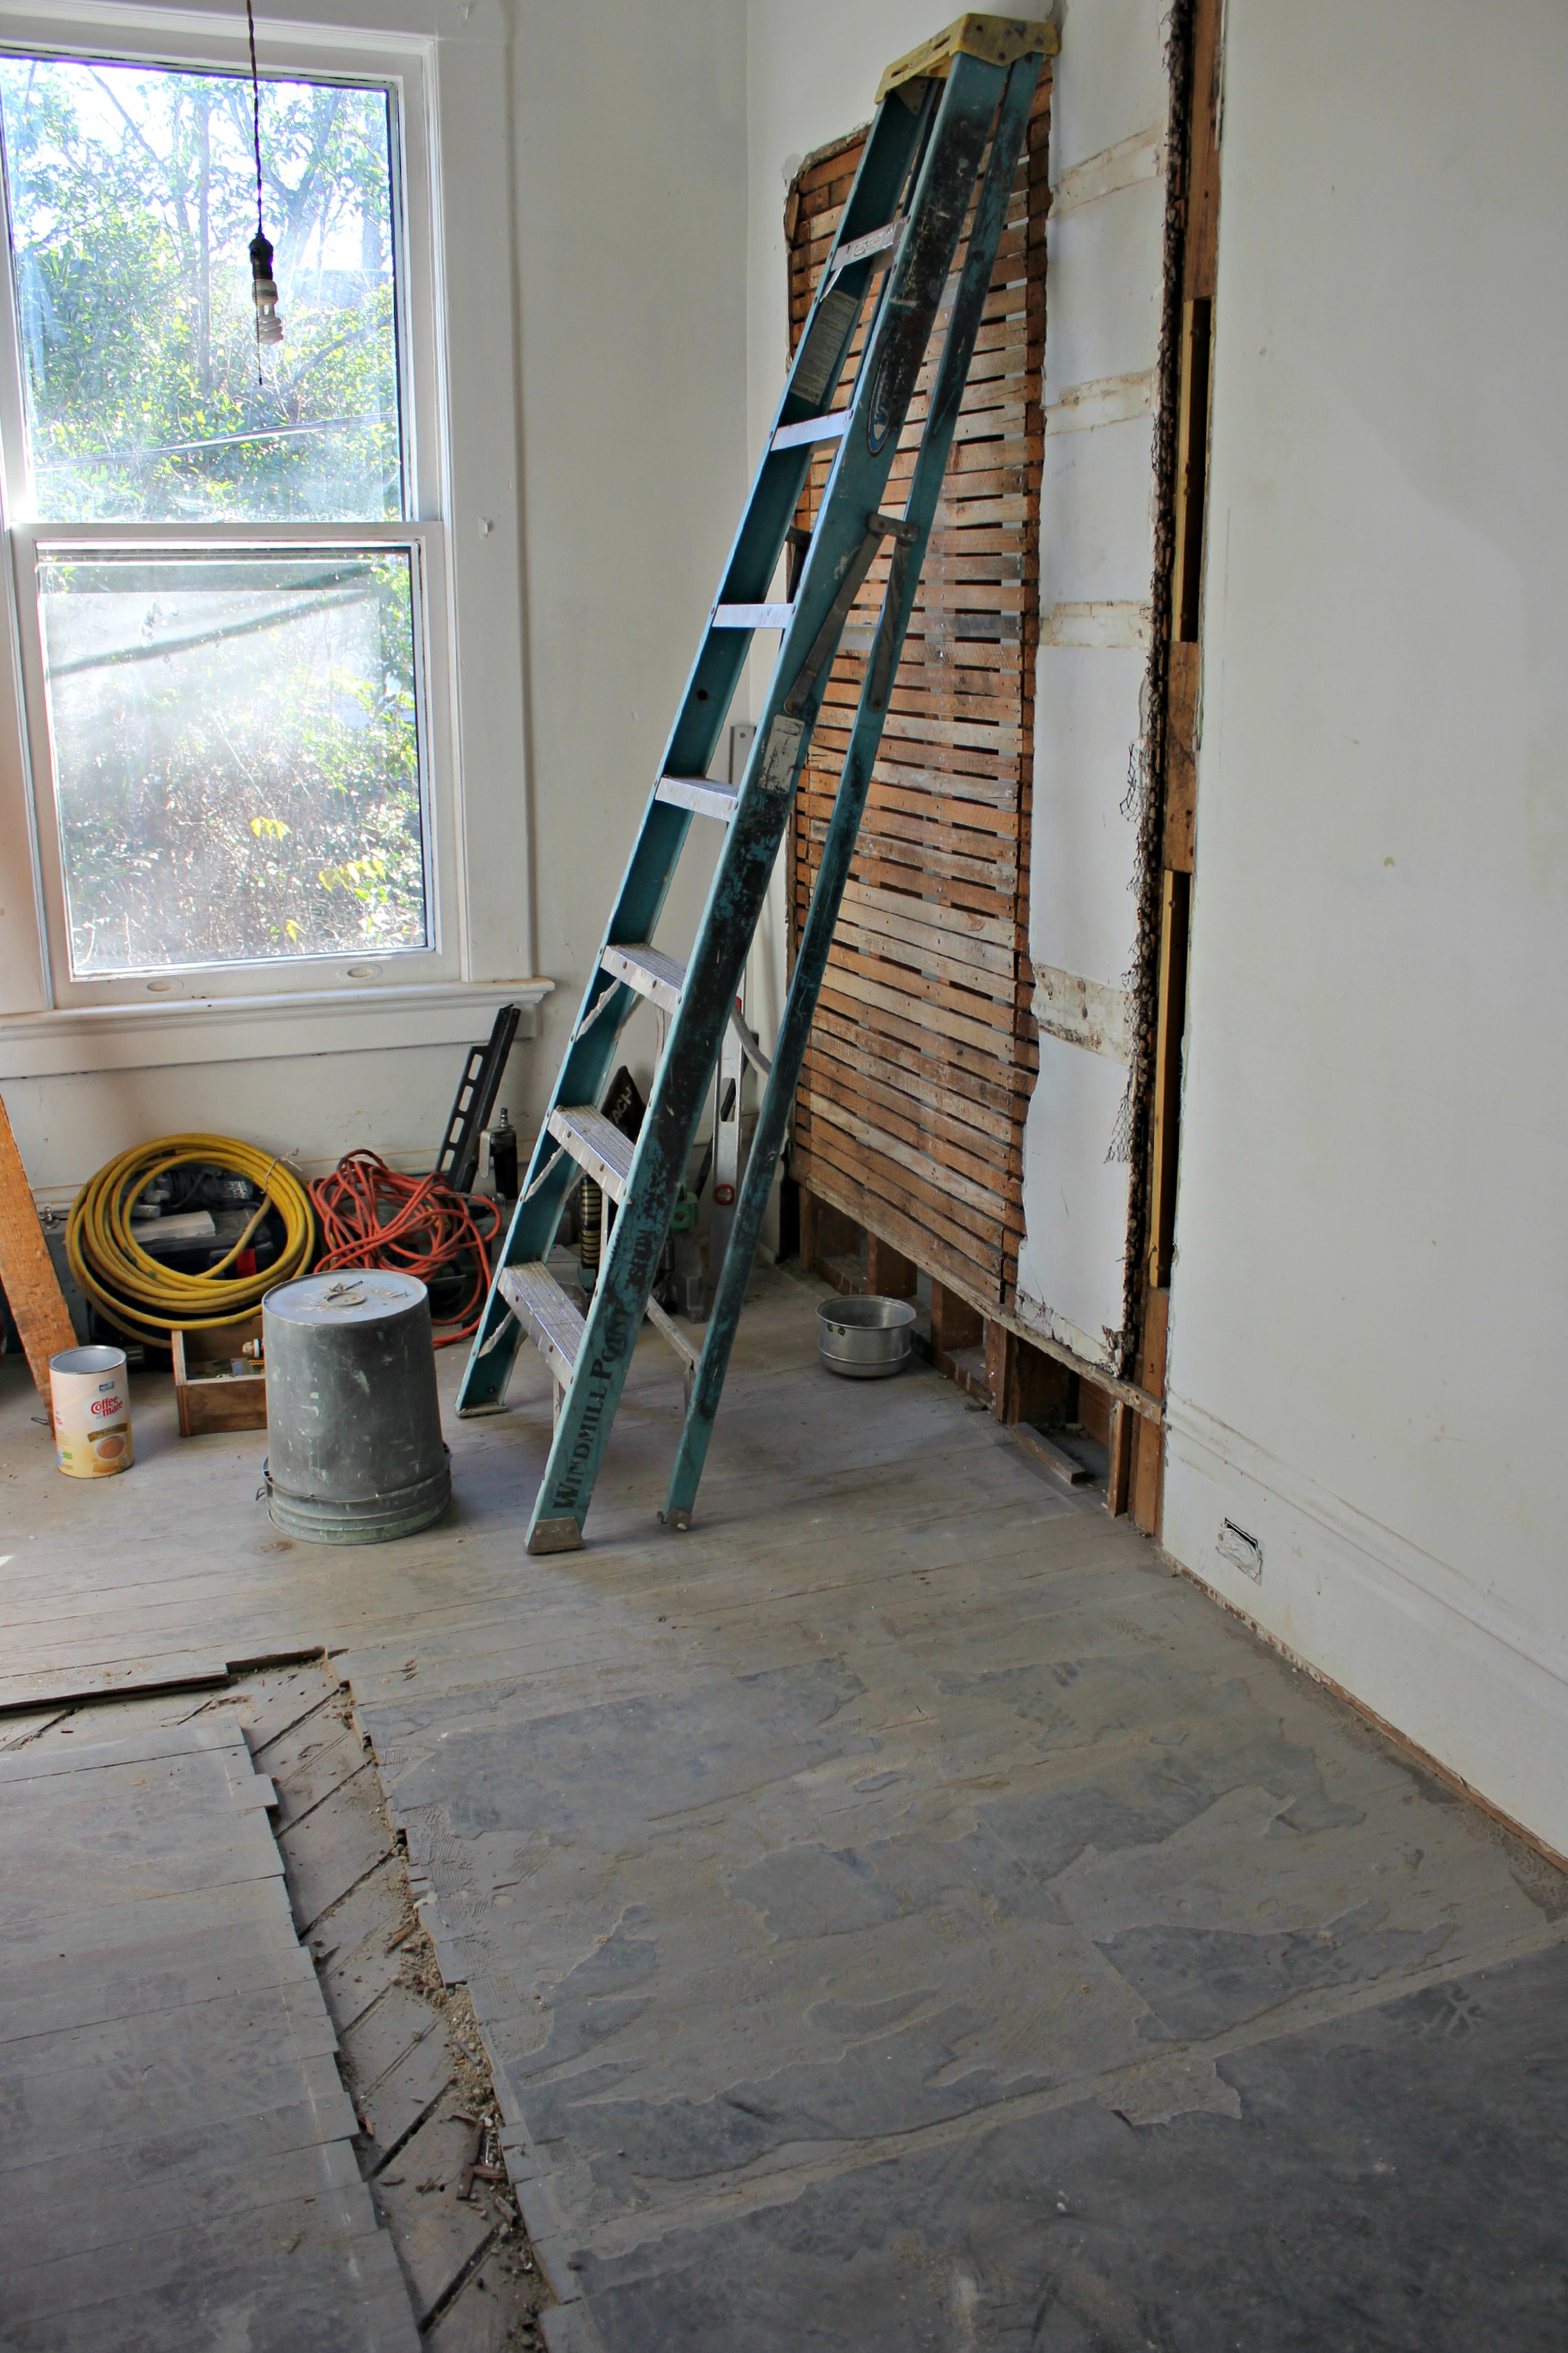
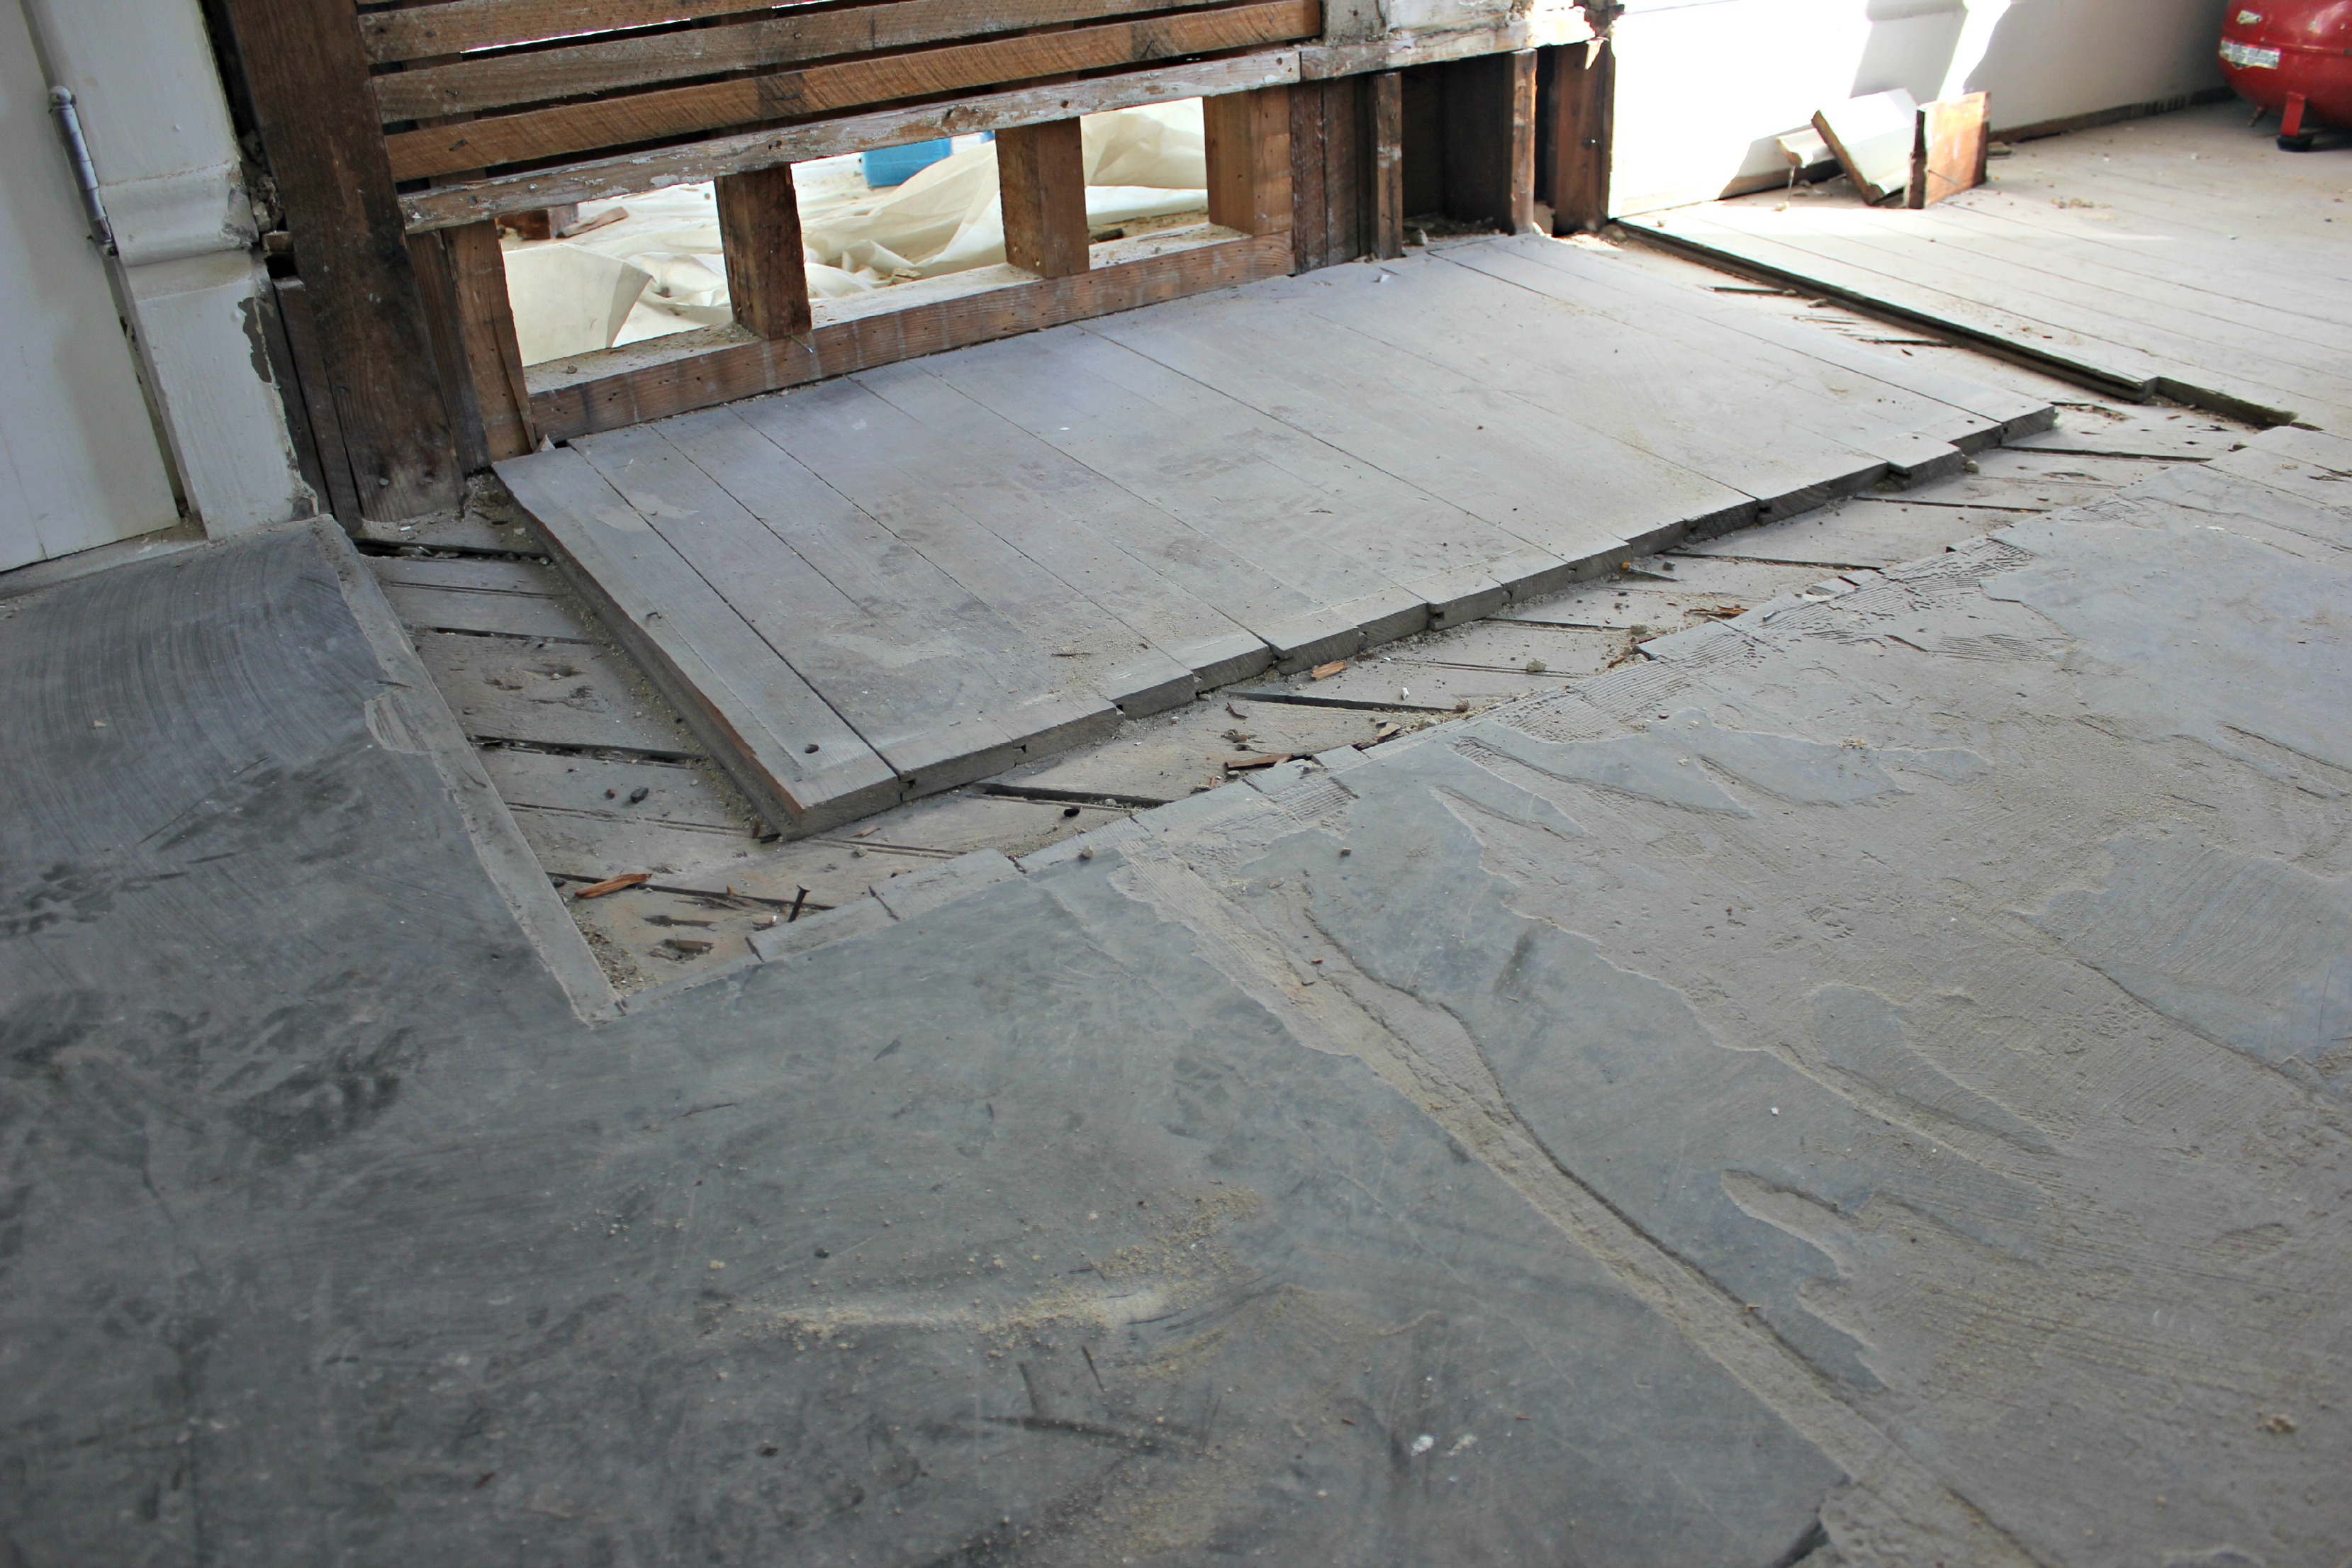
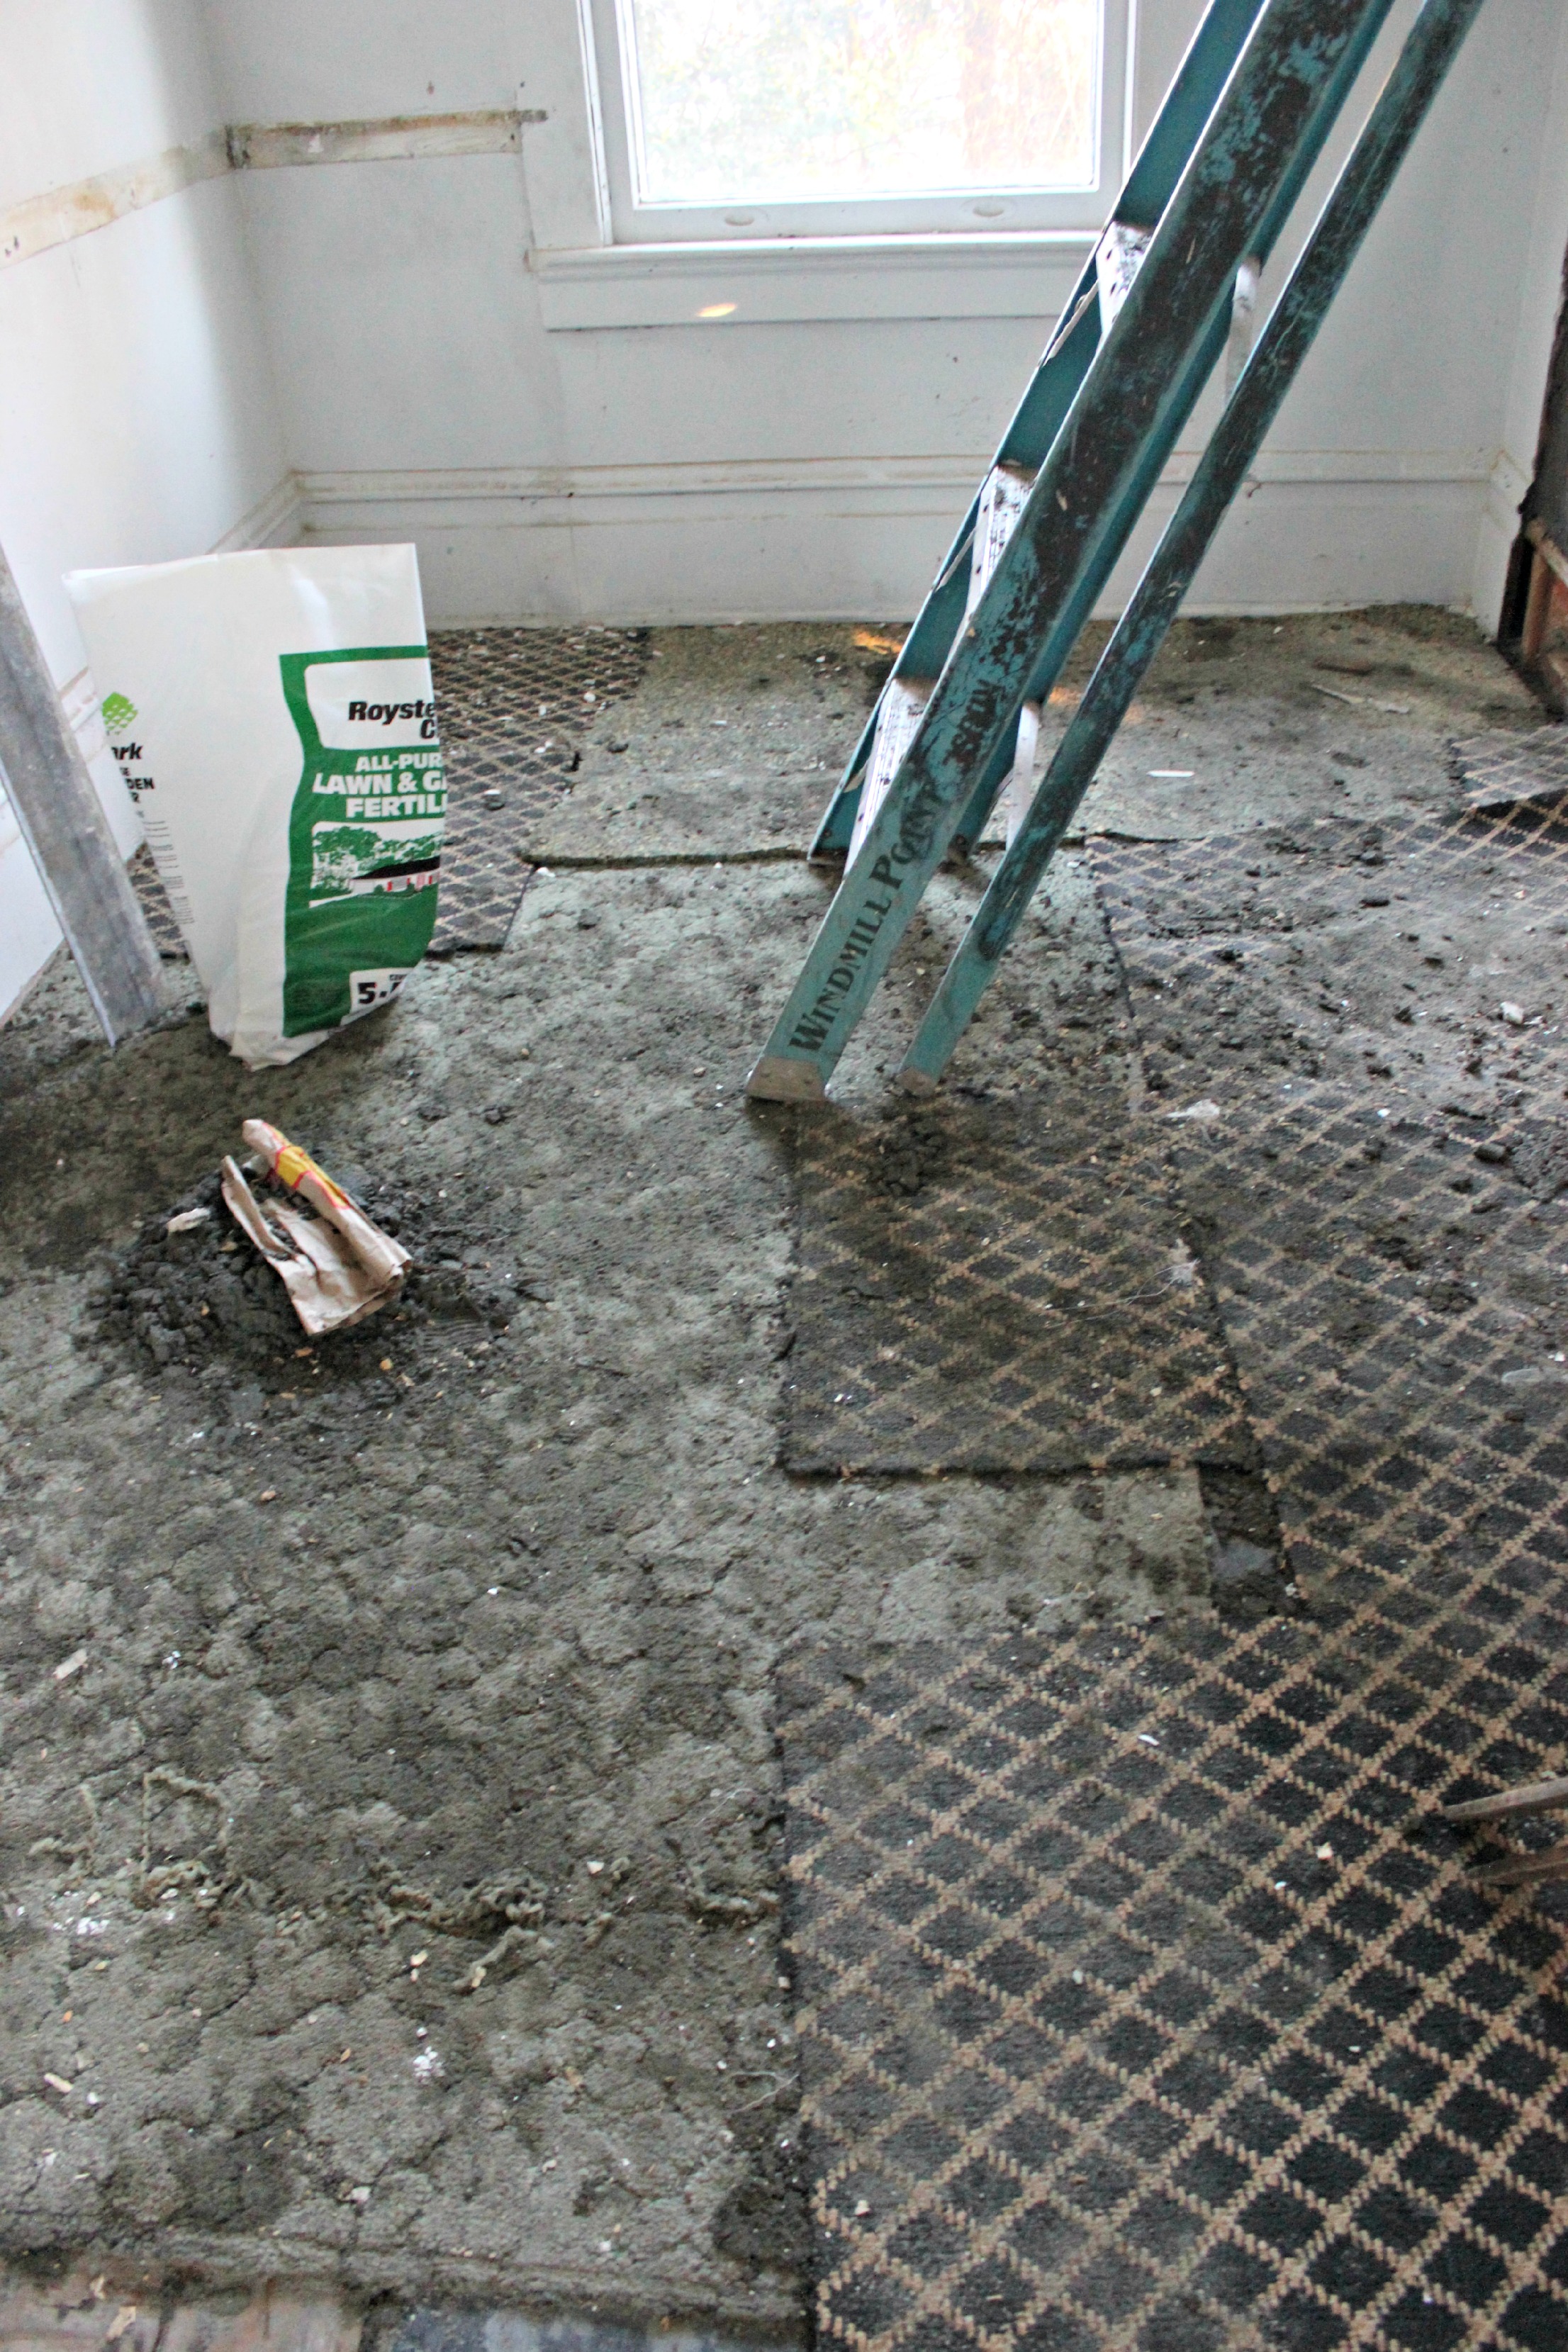
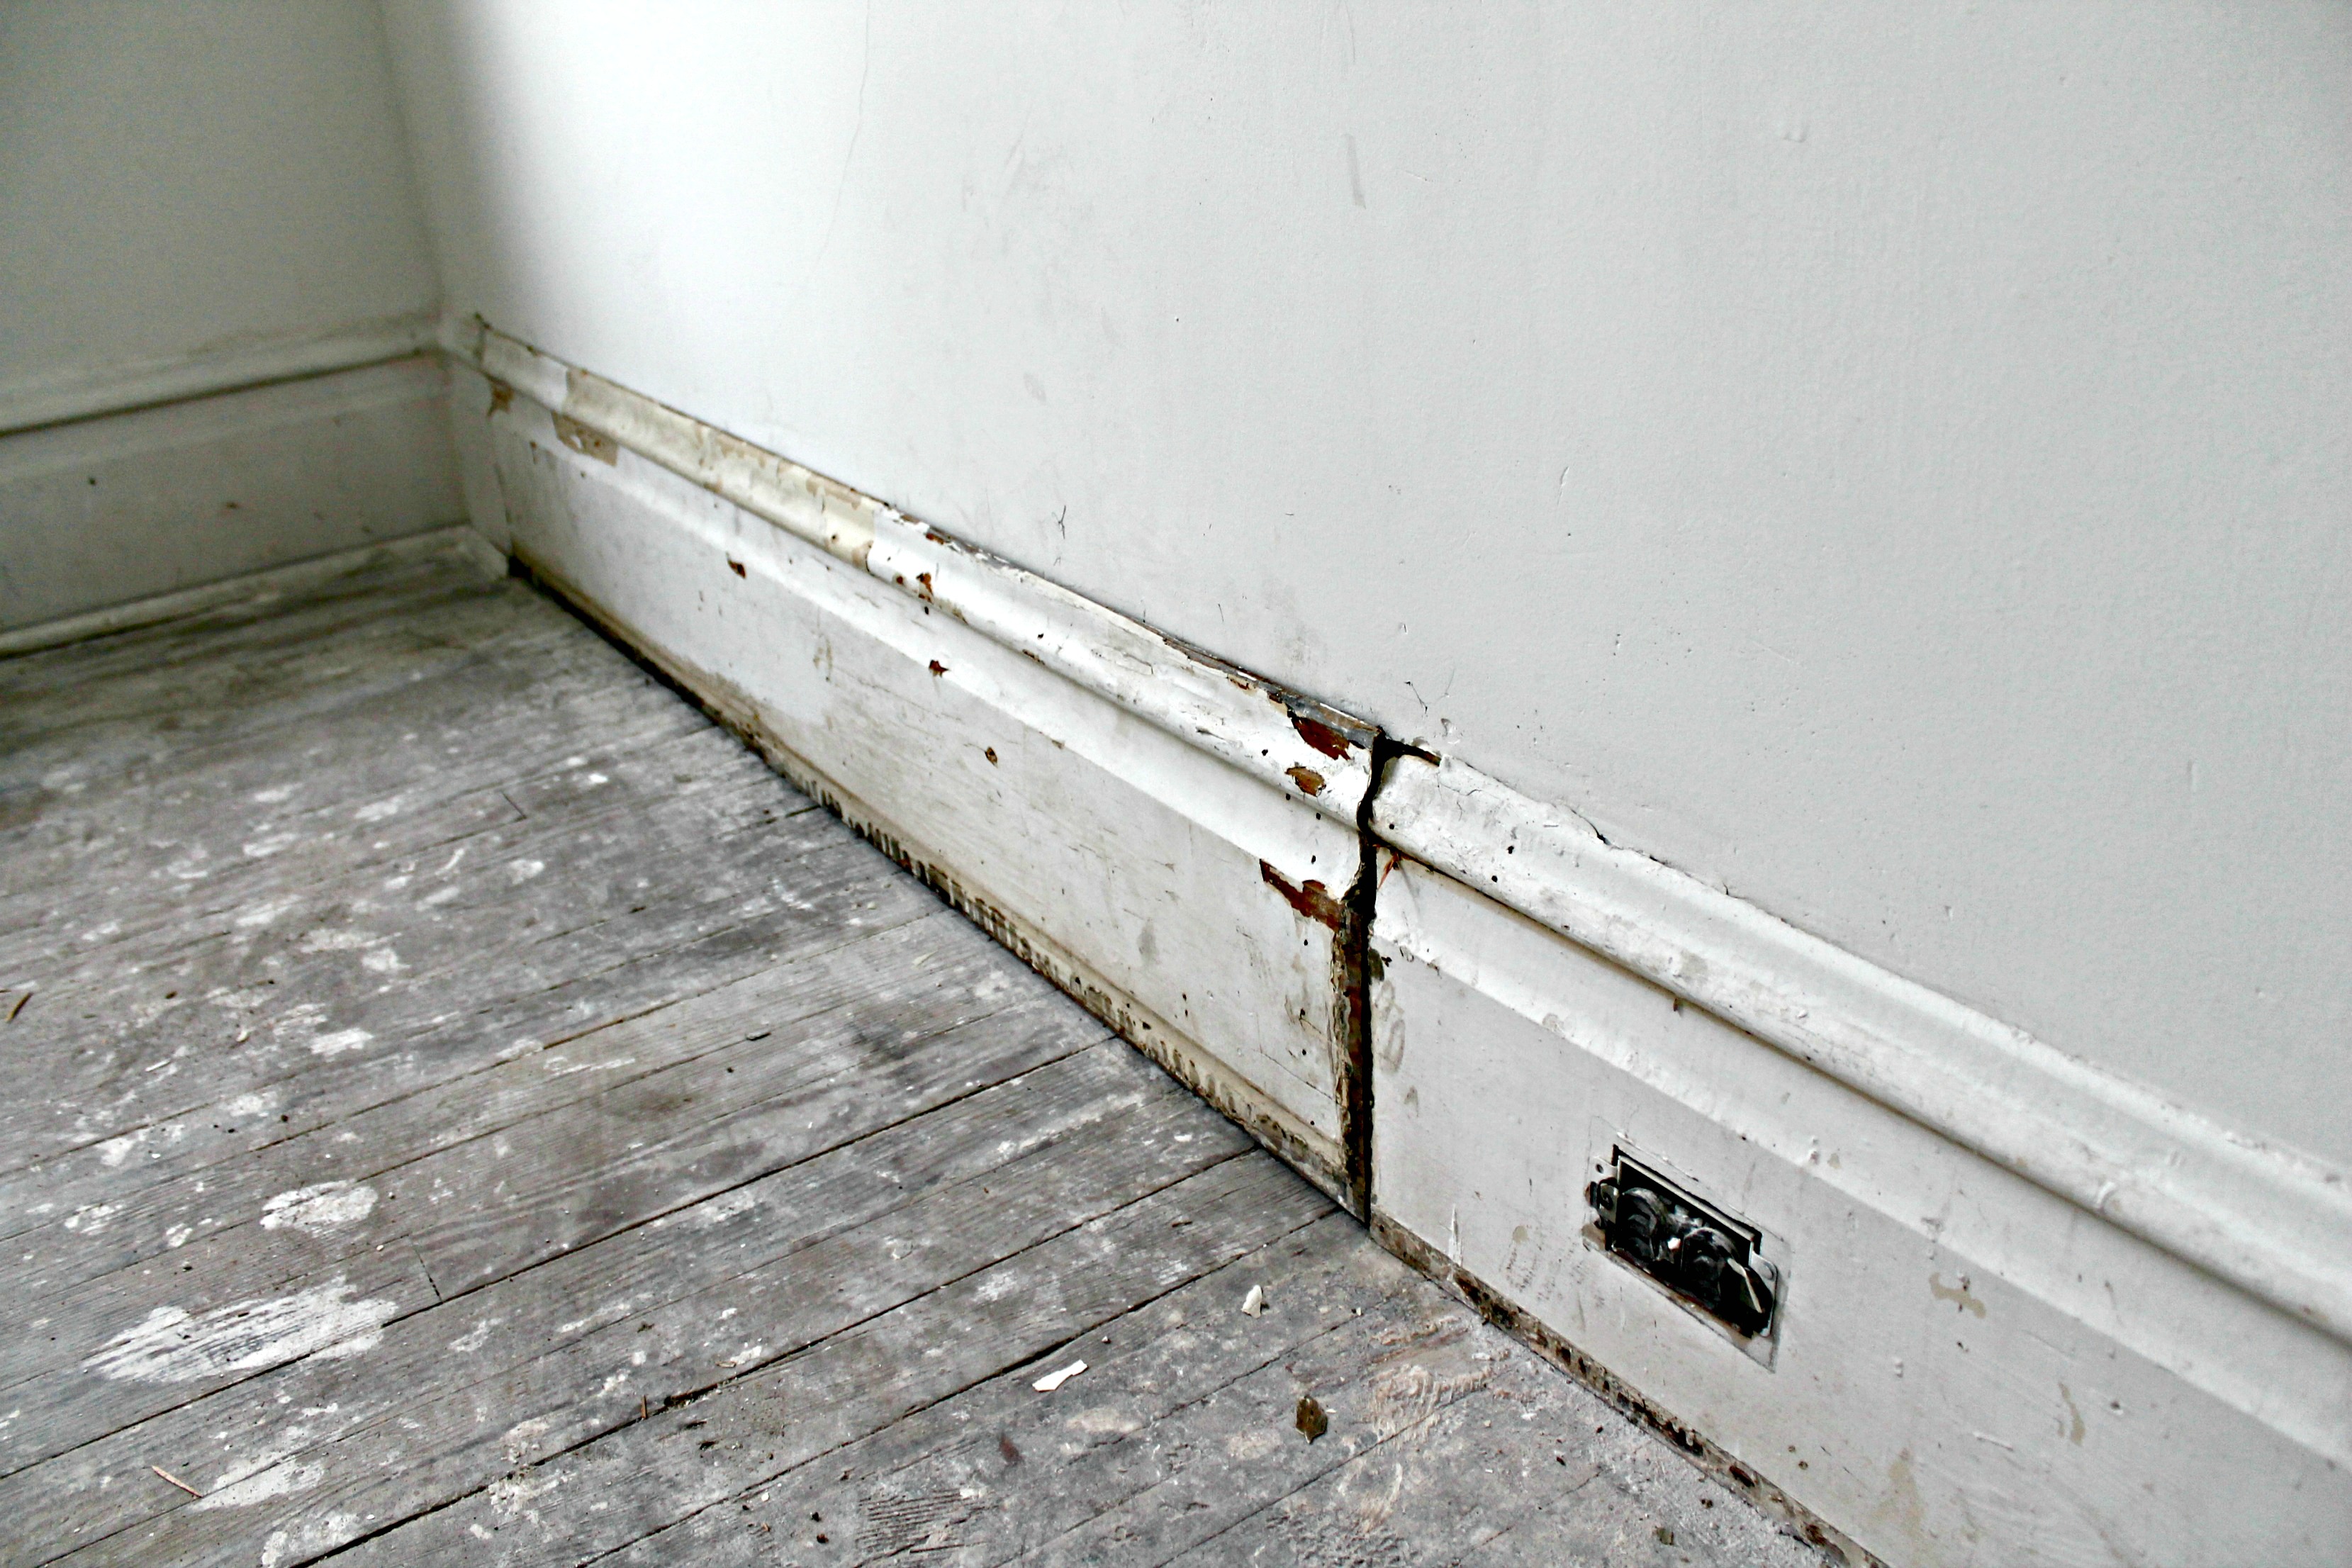
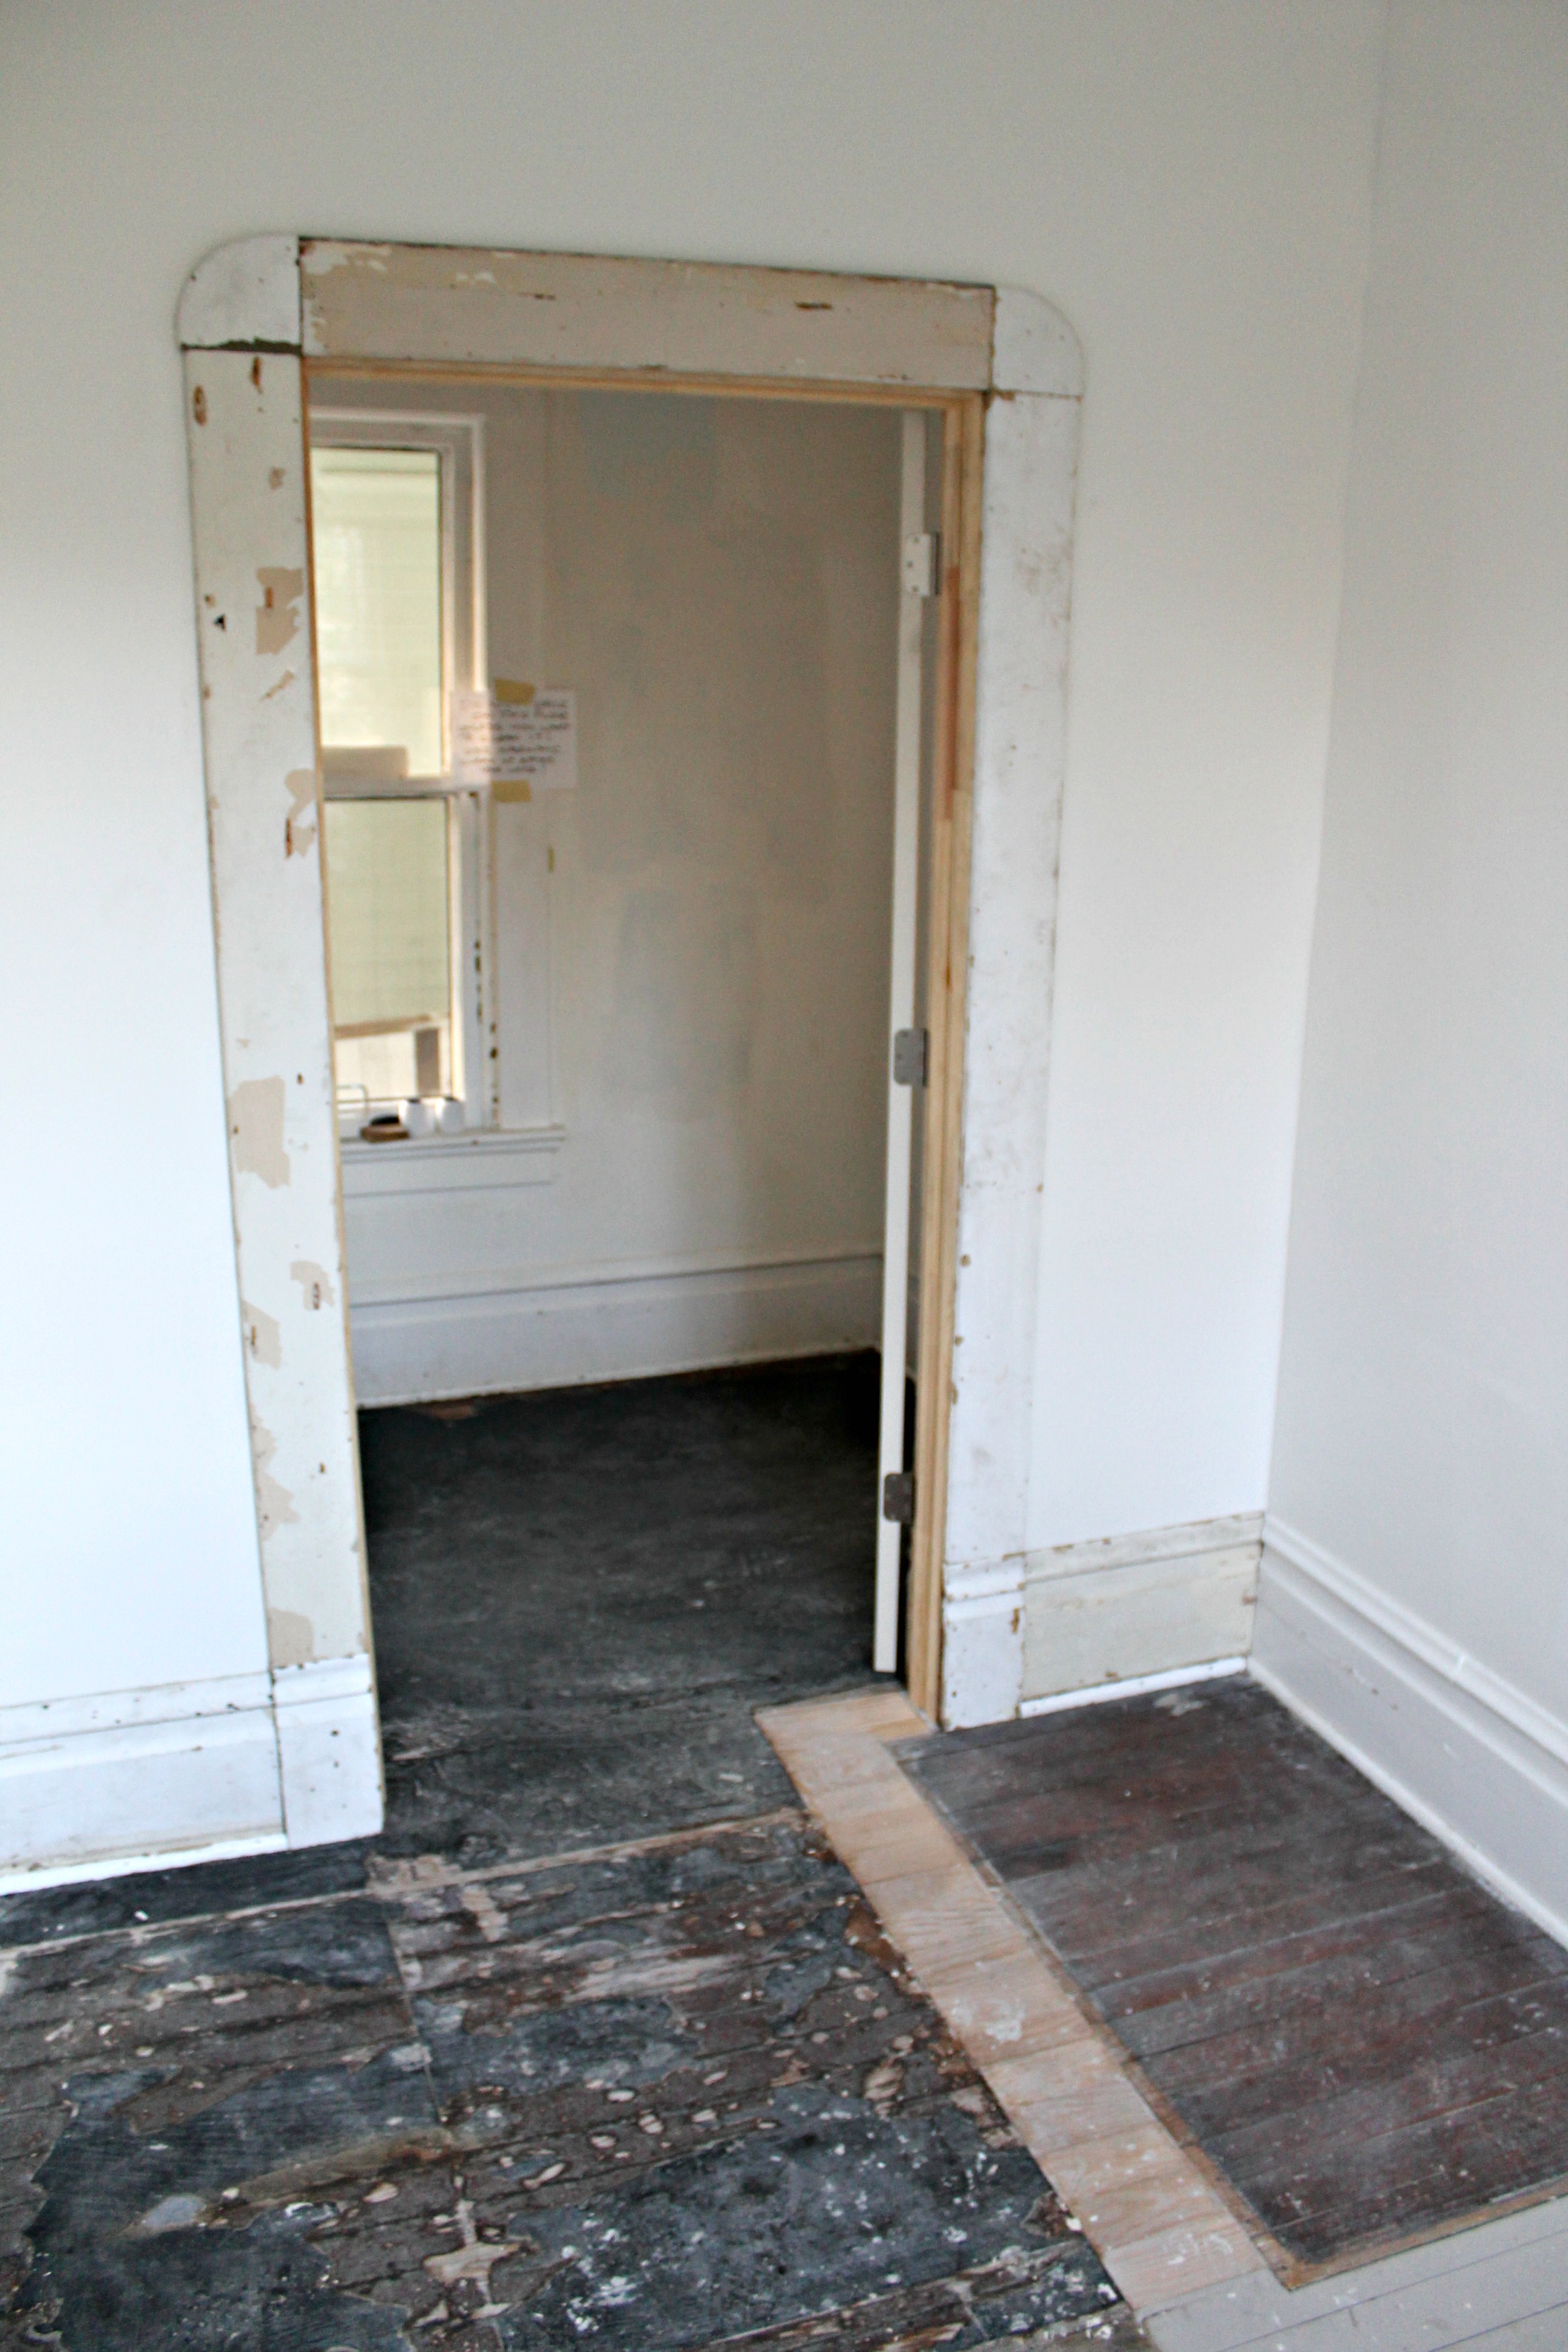
- Remove vinyl flooring
- Remove electric range
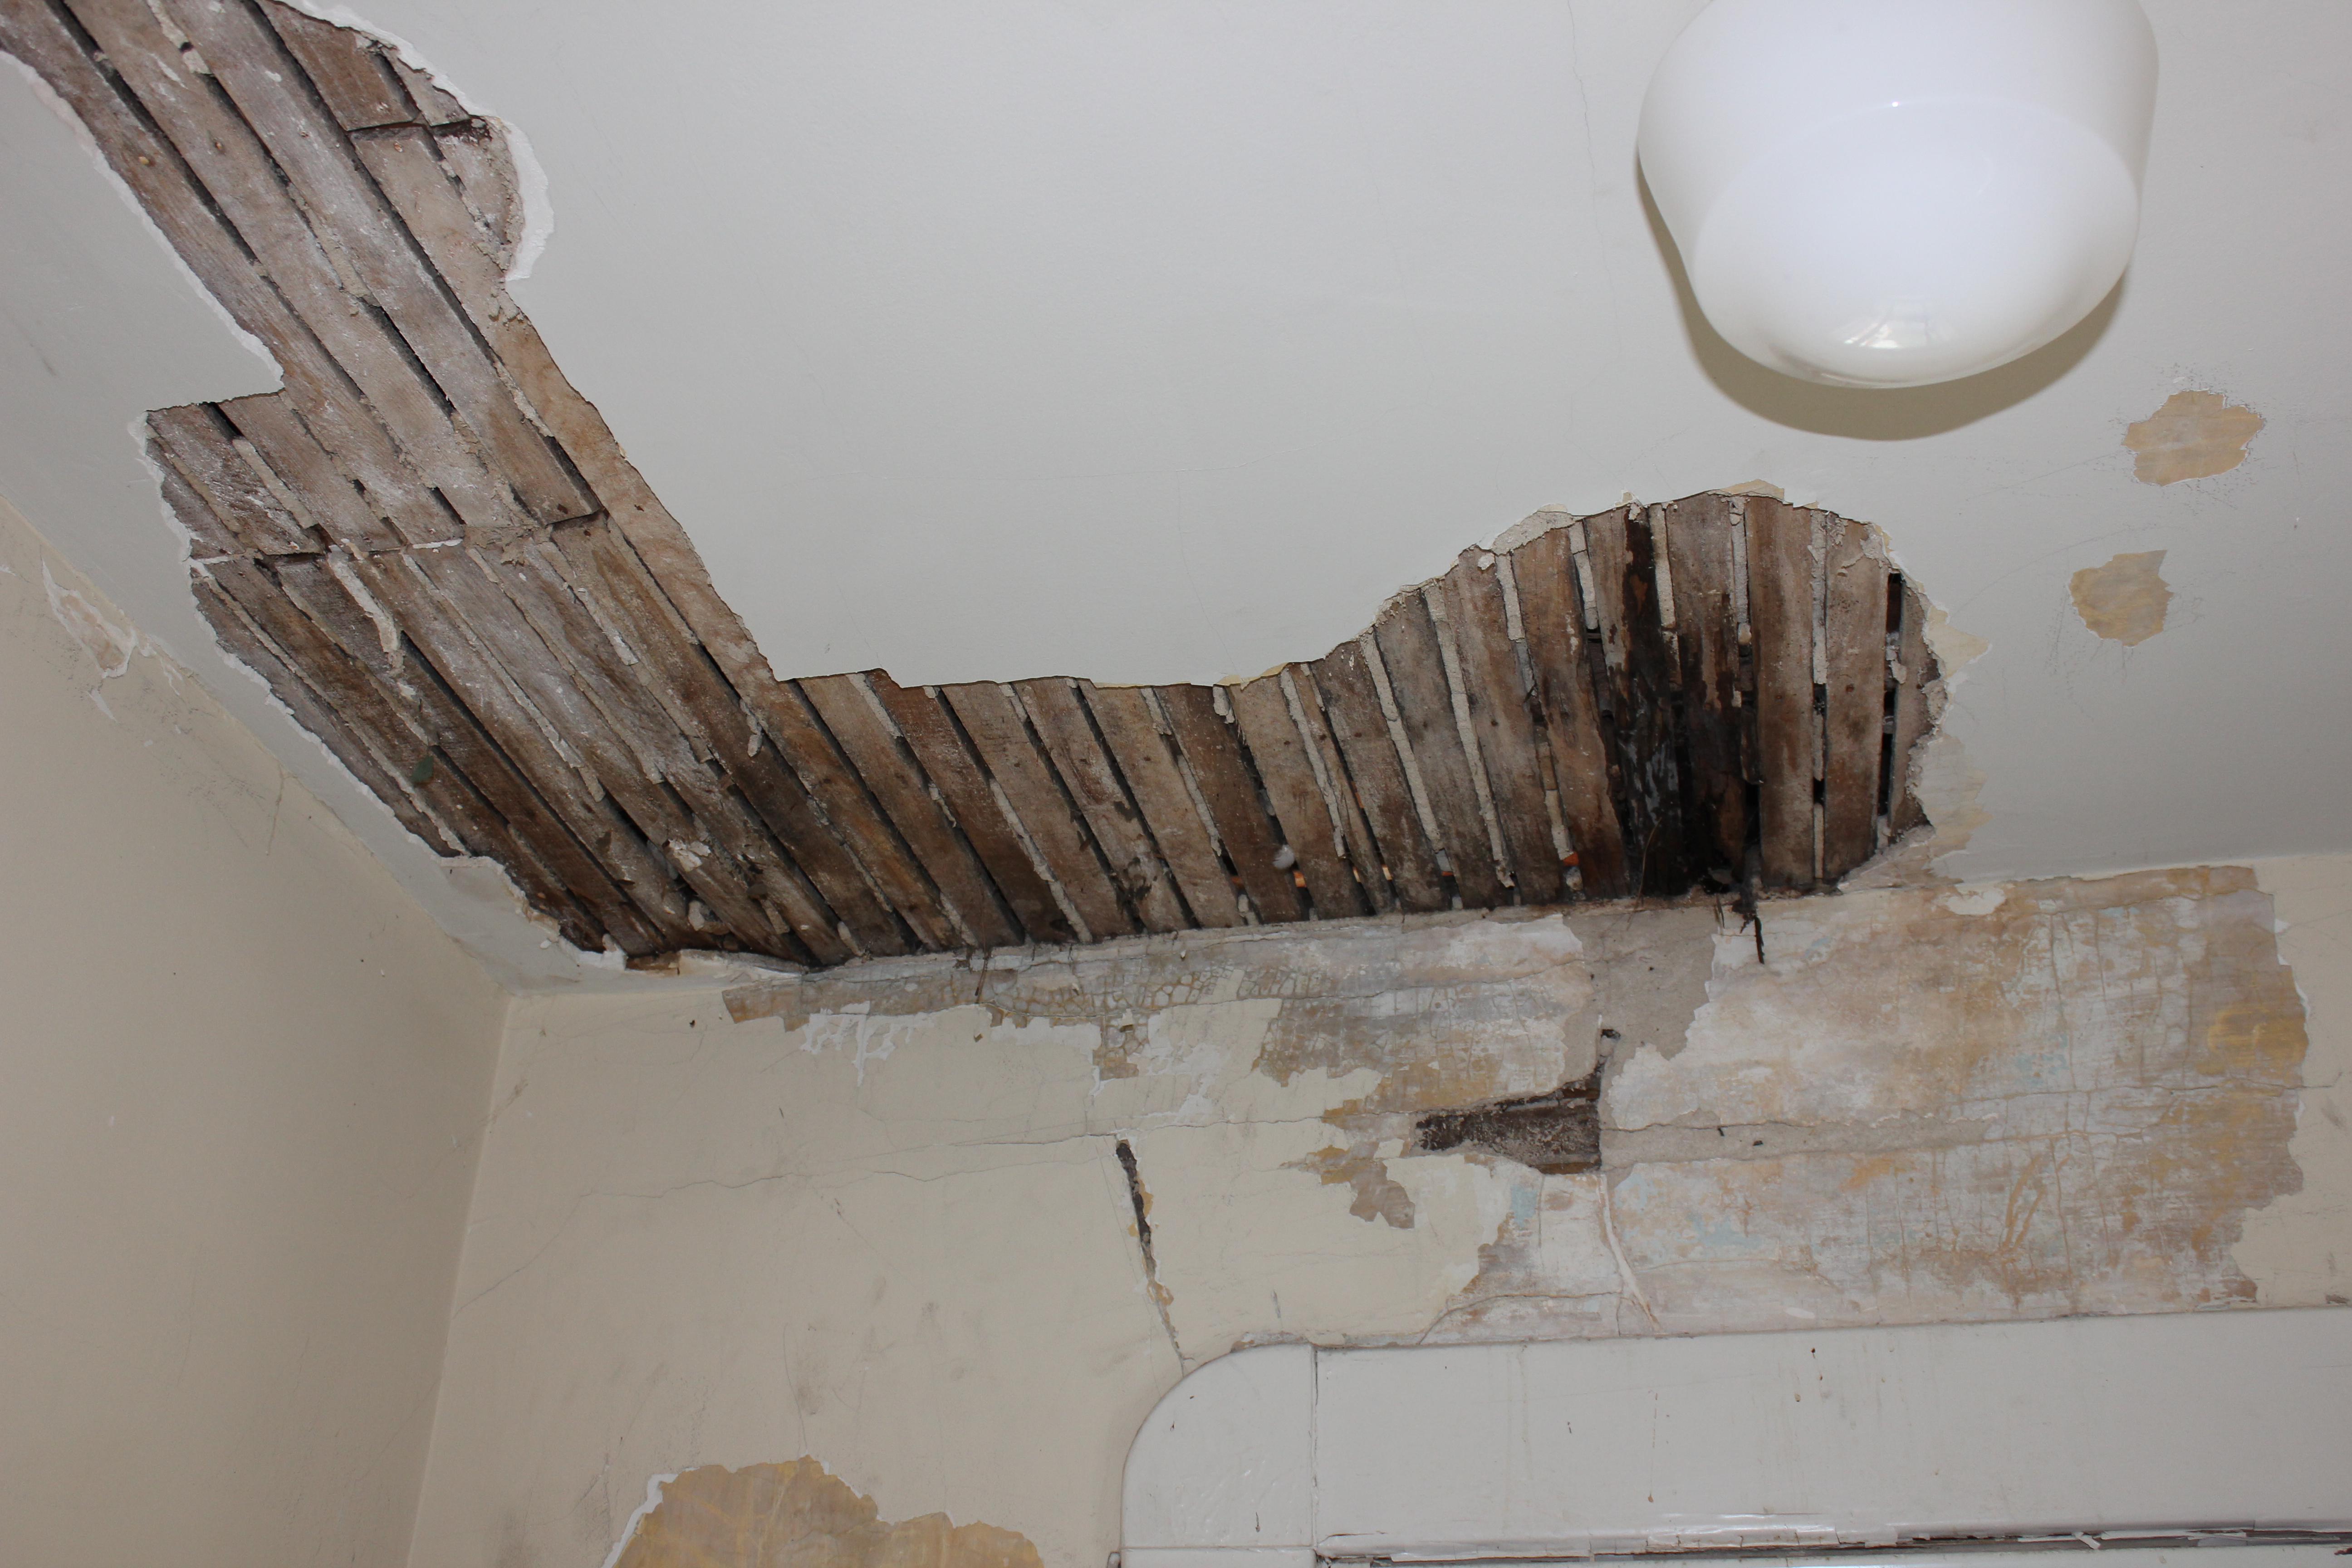
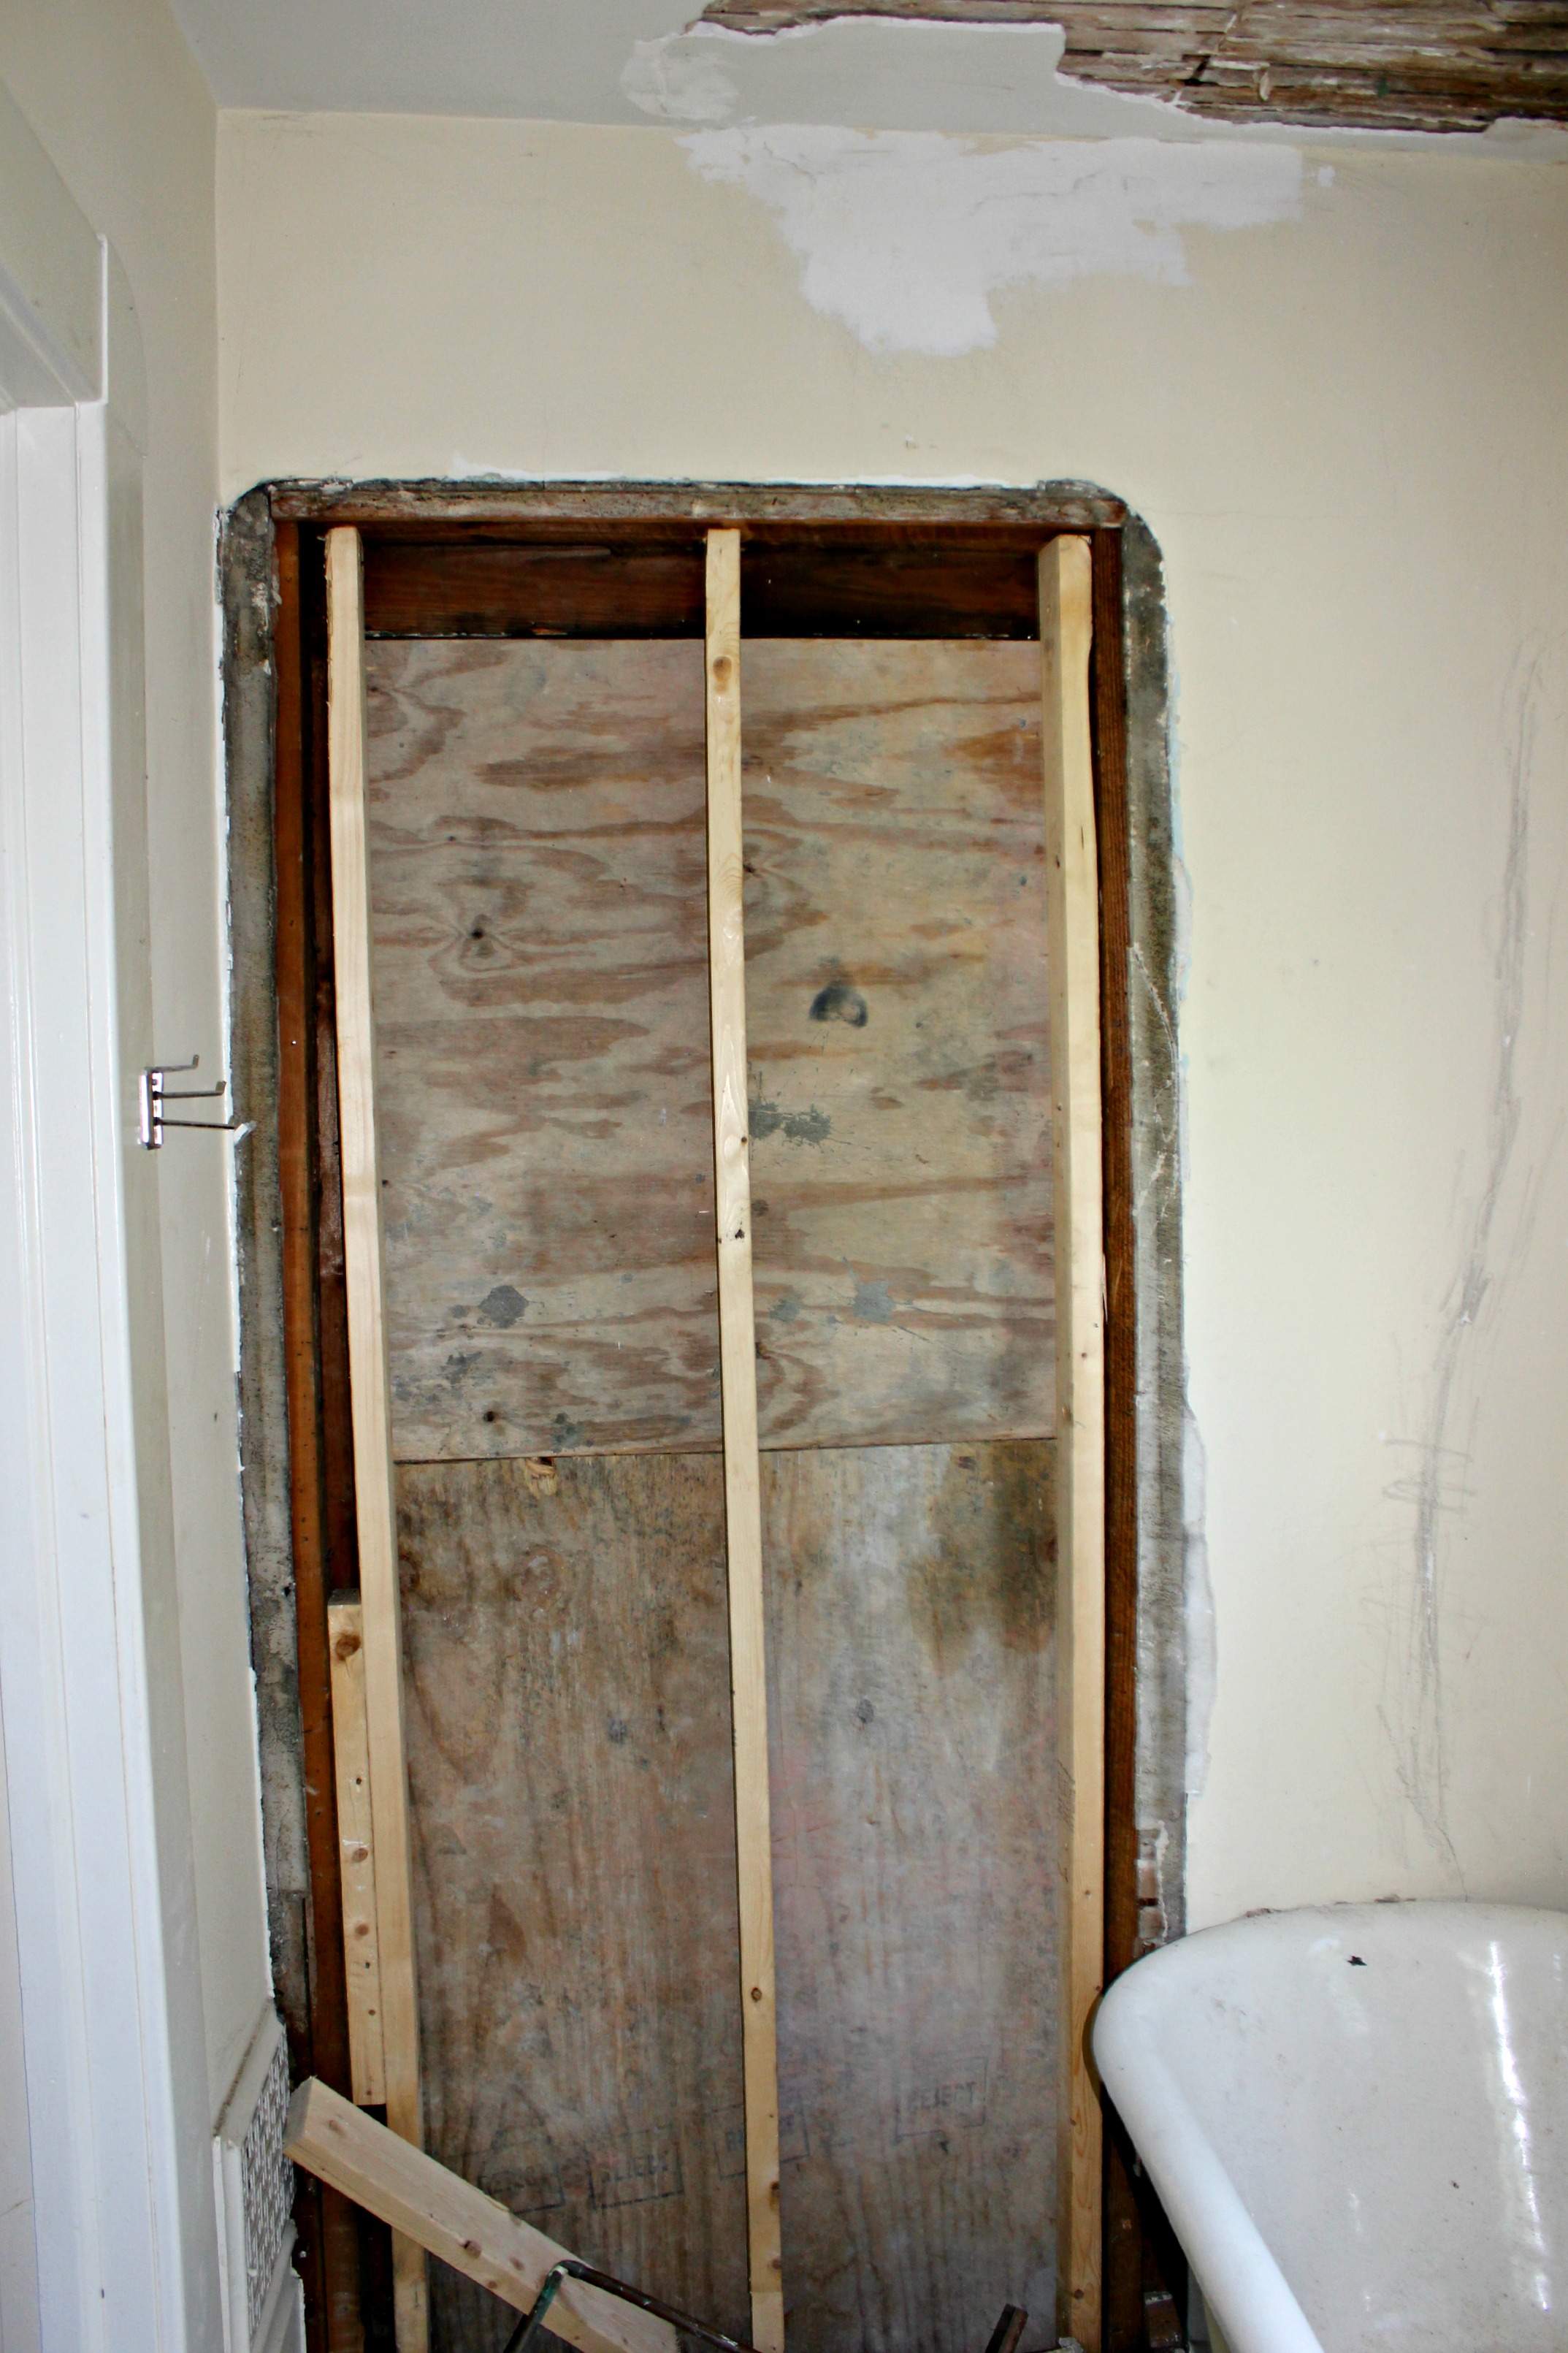
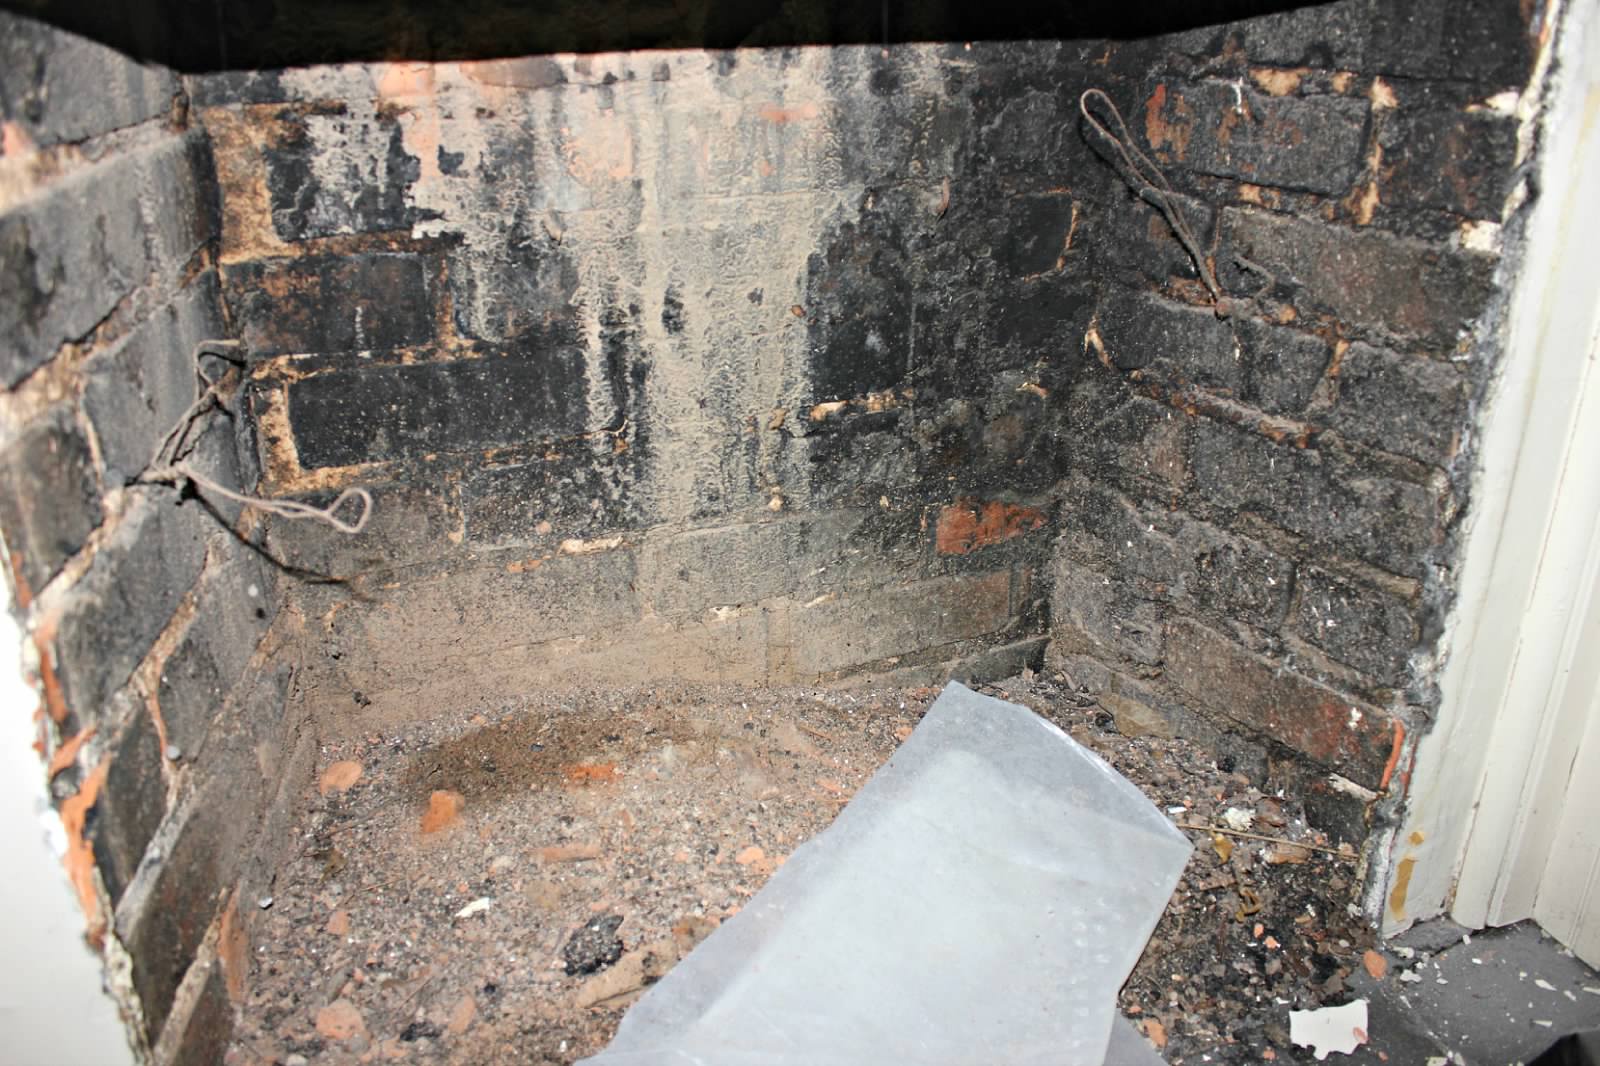
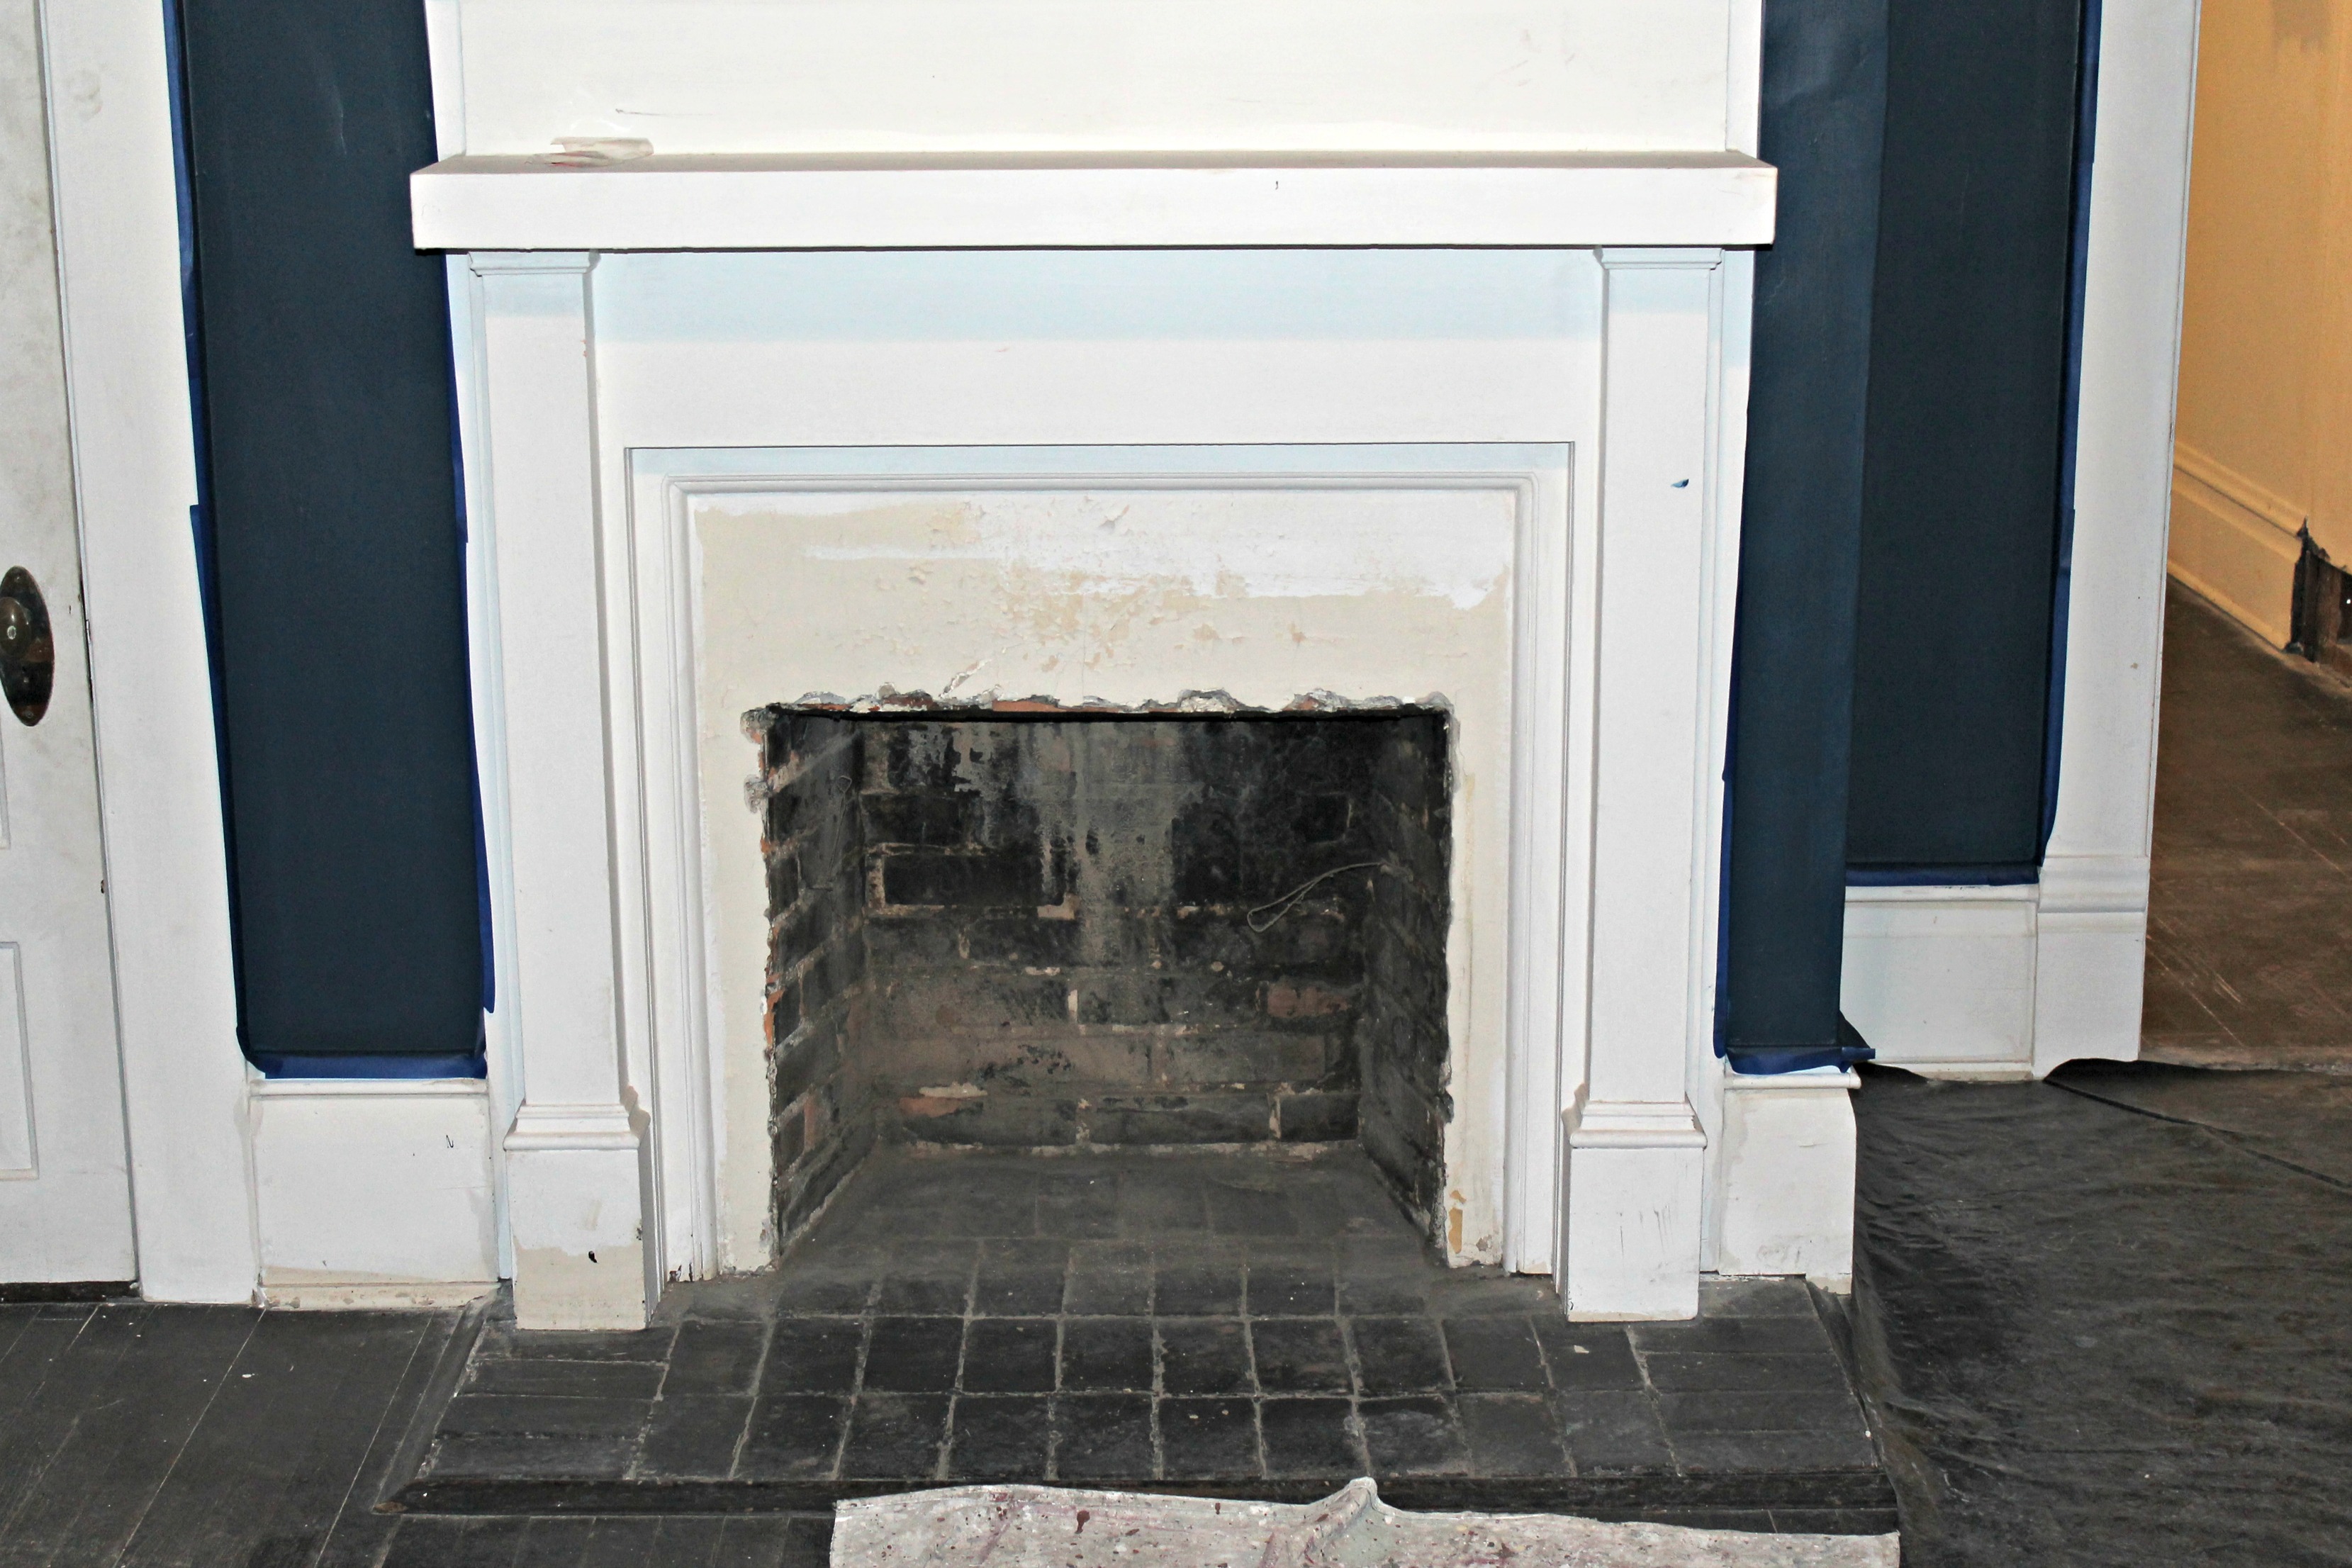
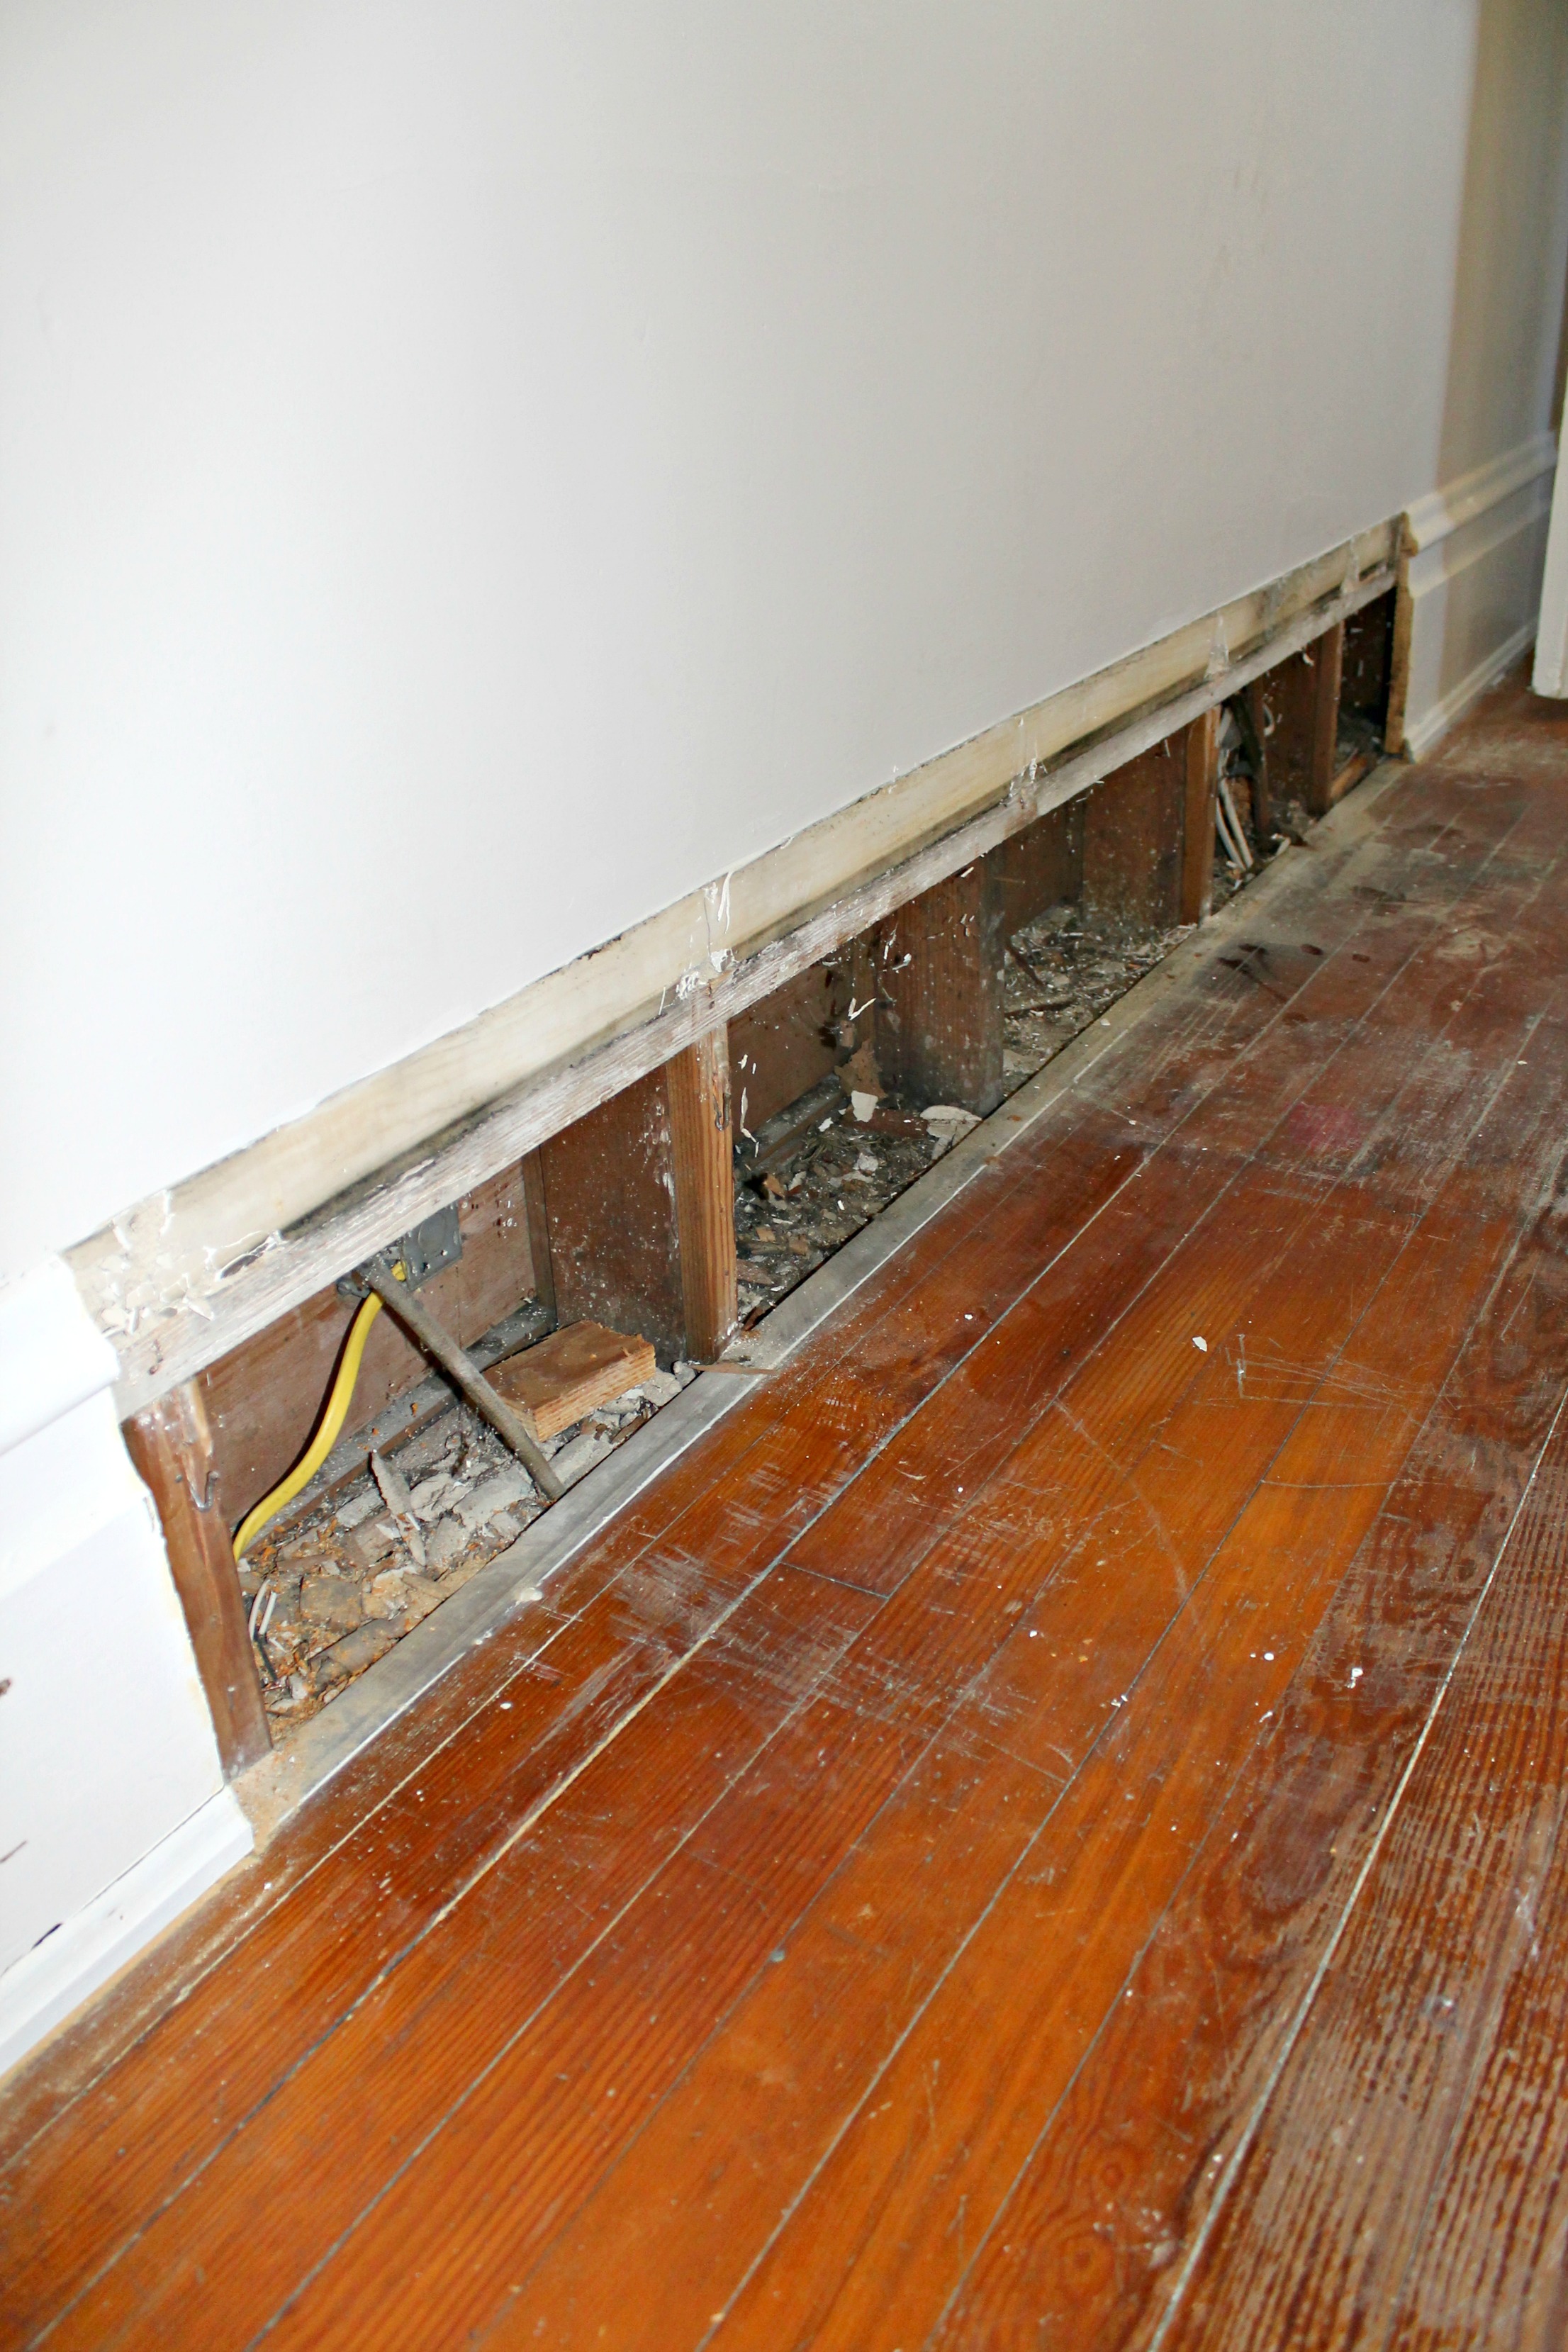
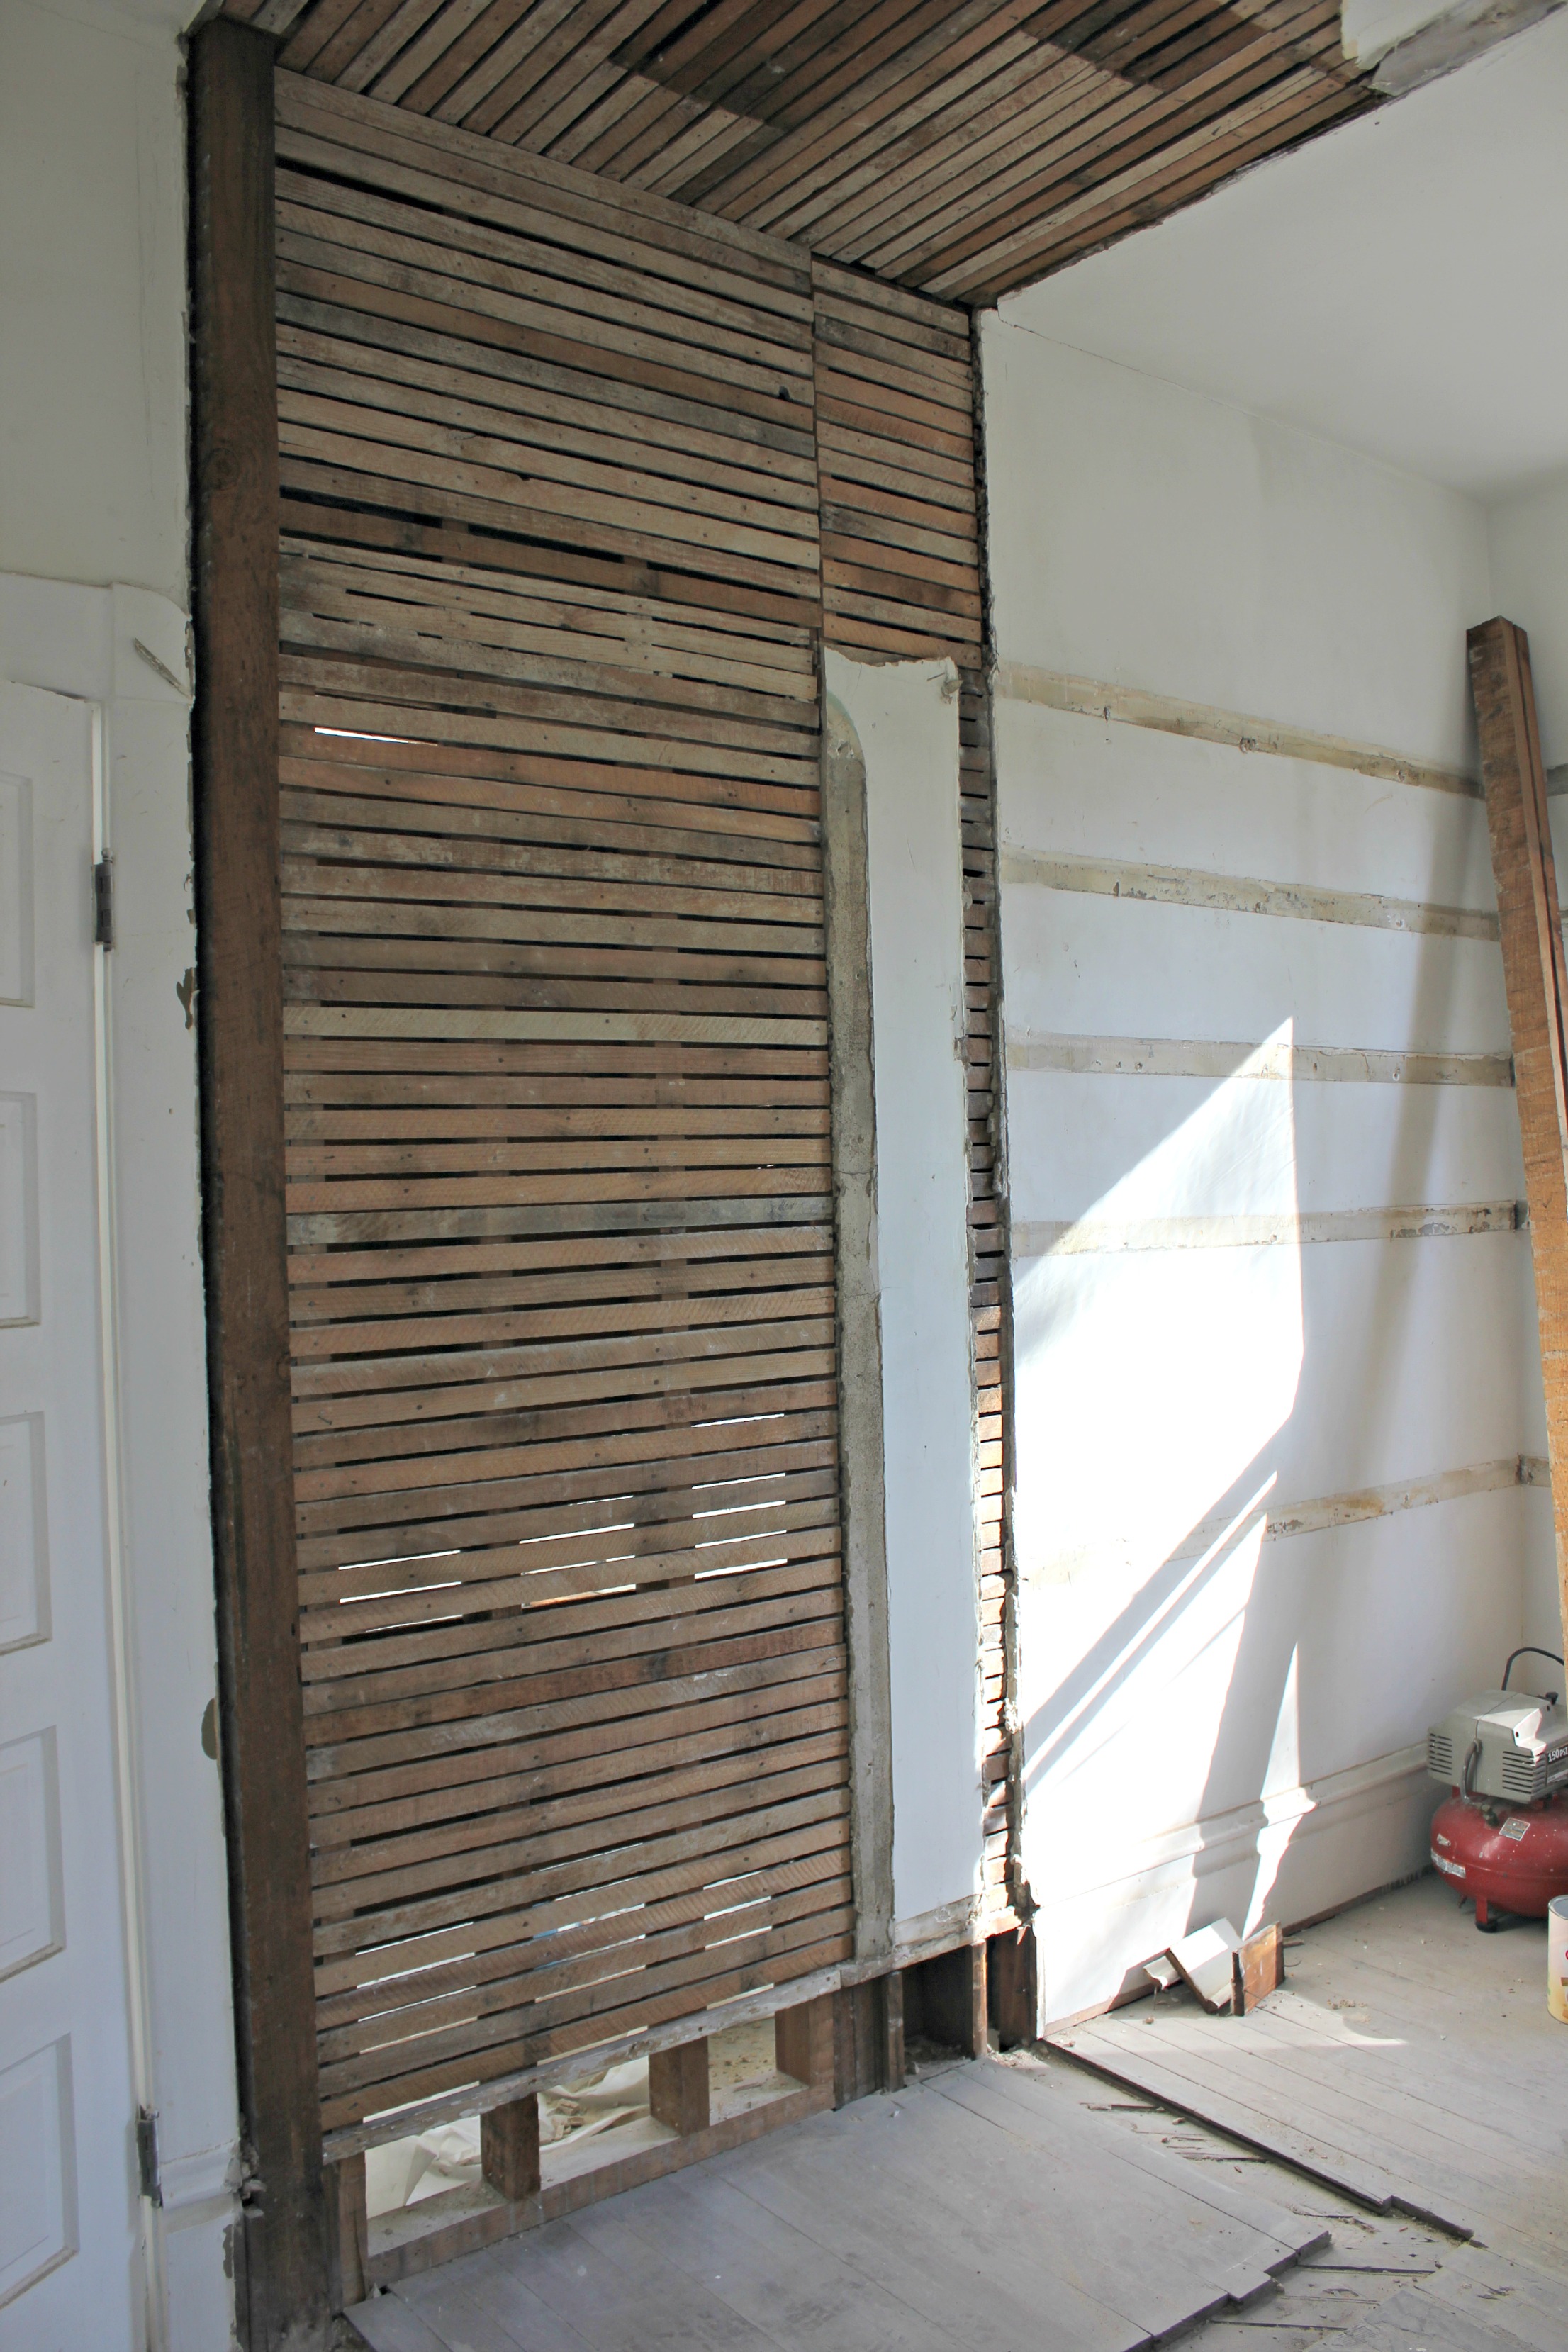
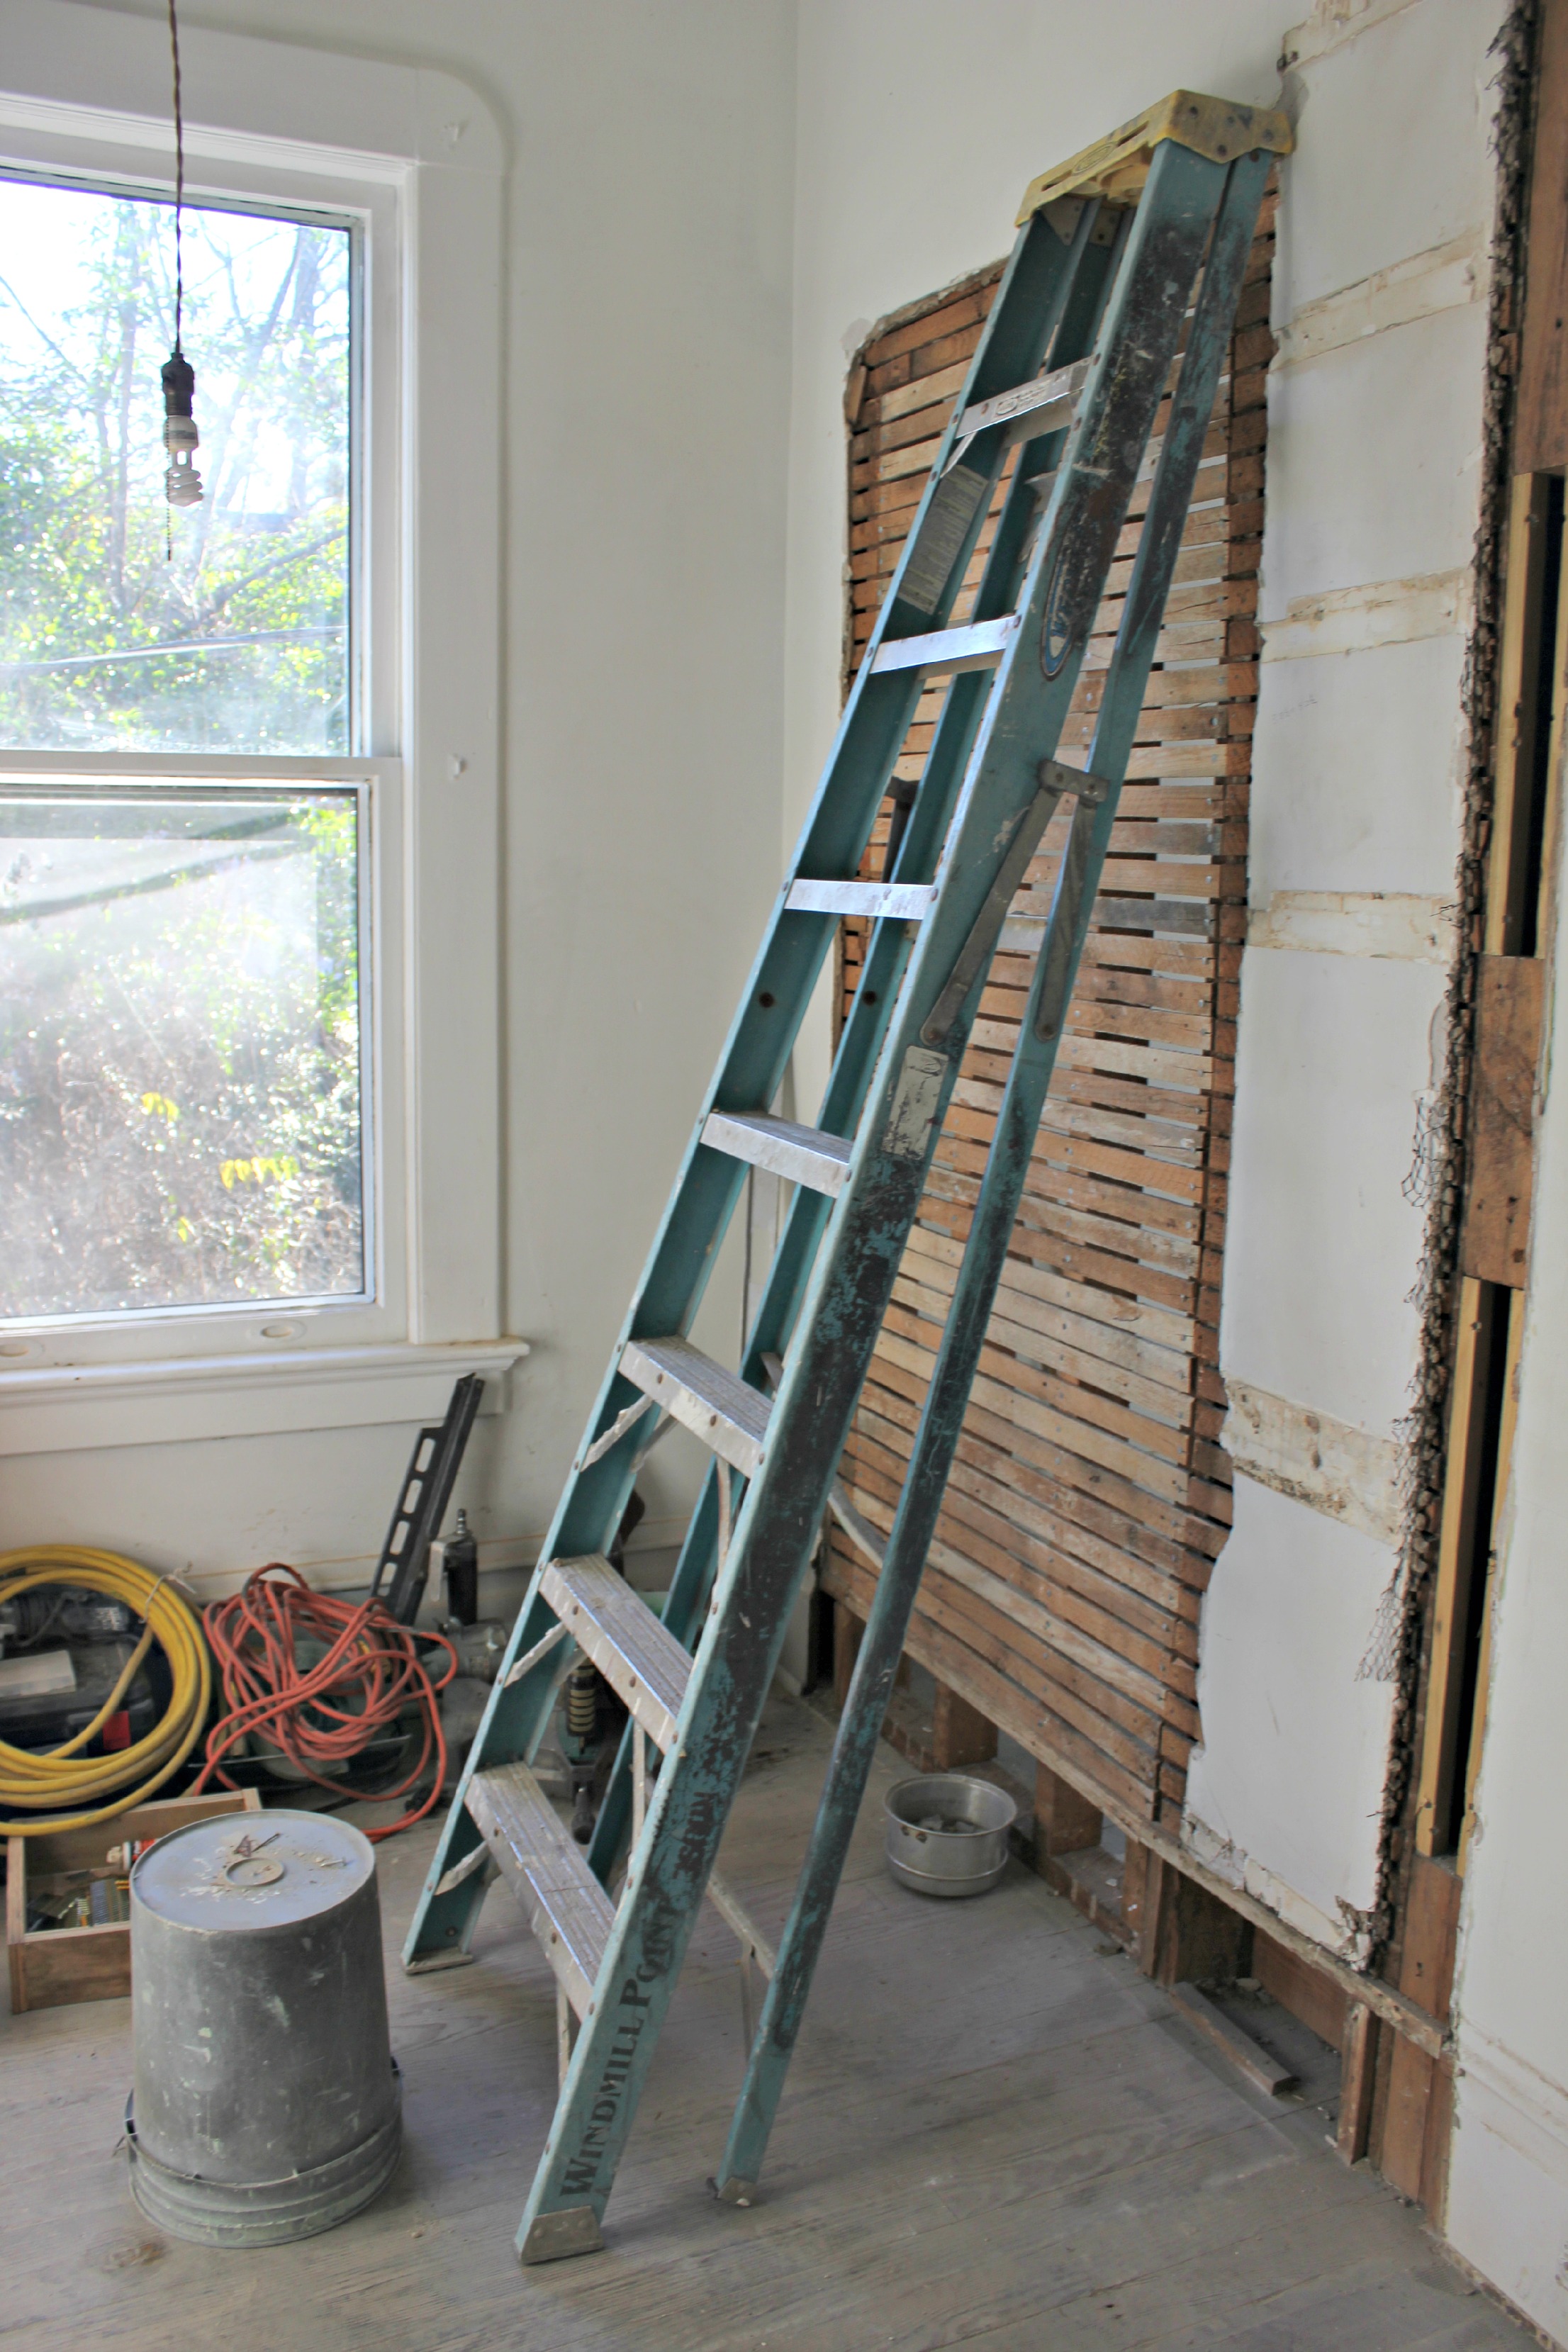
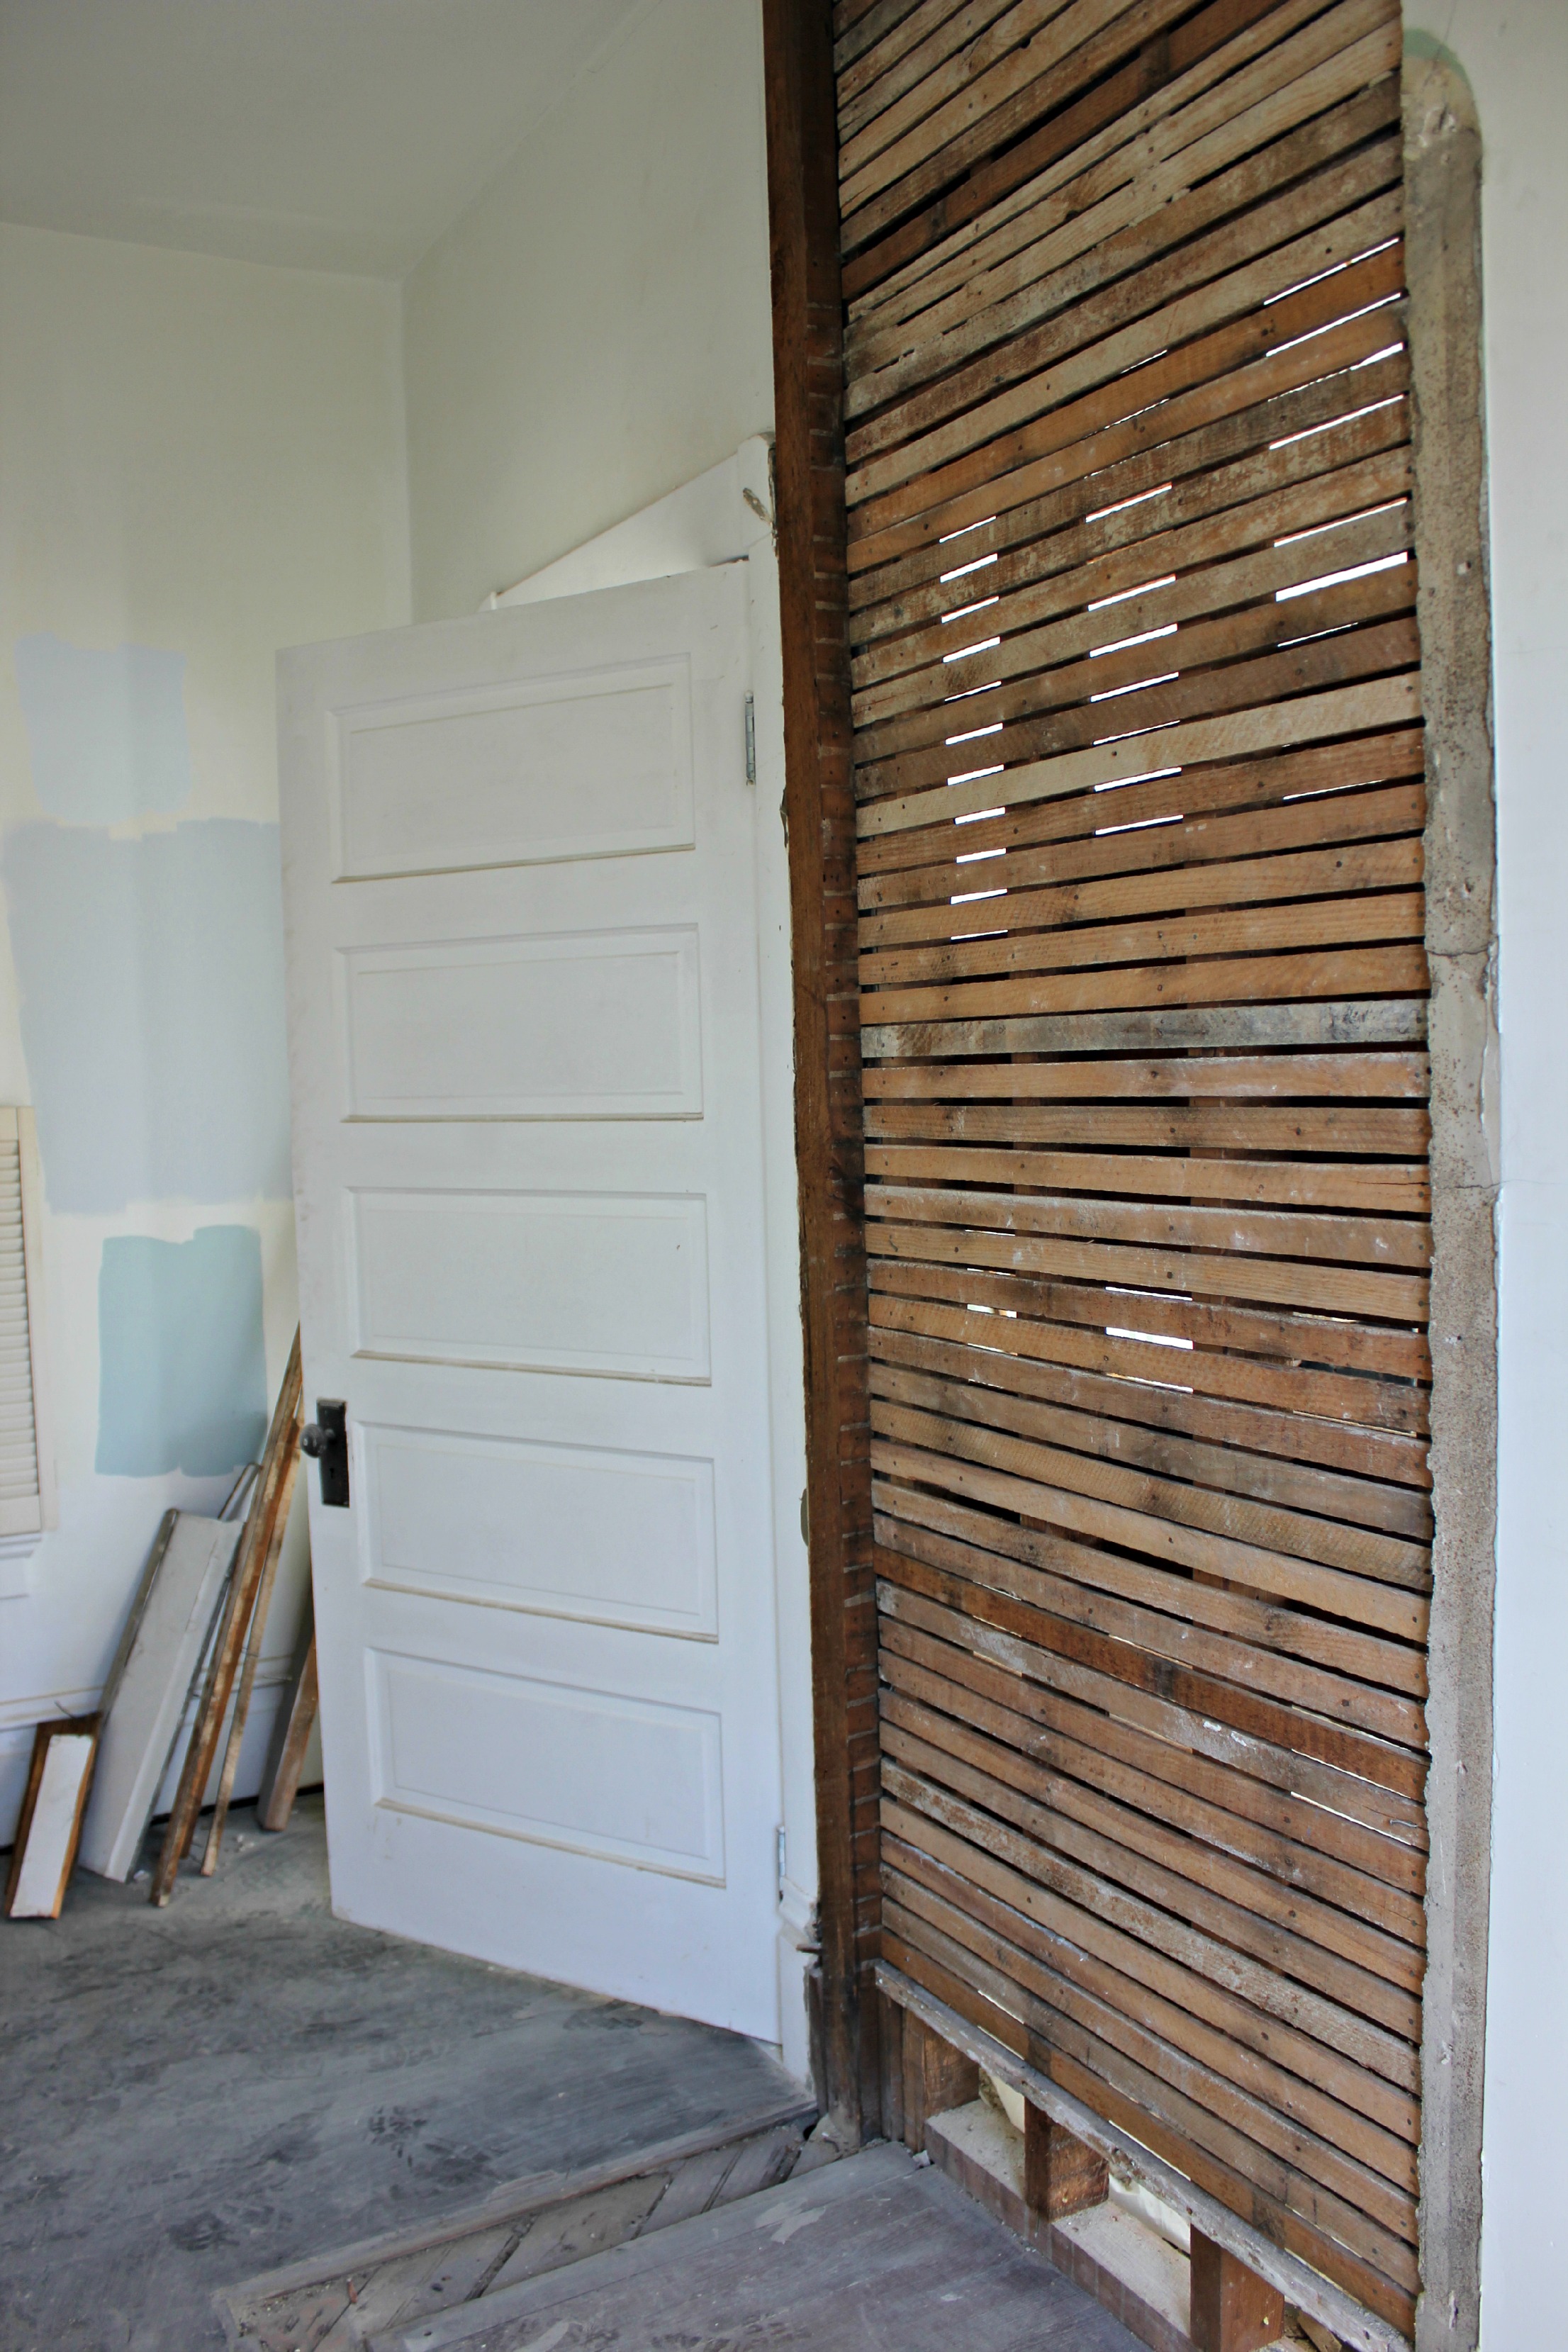
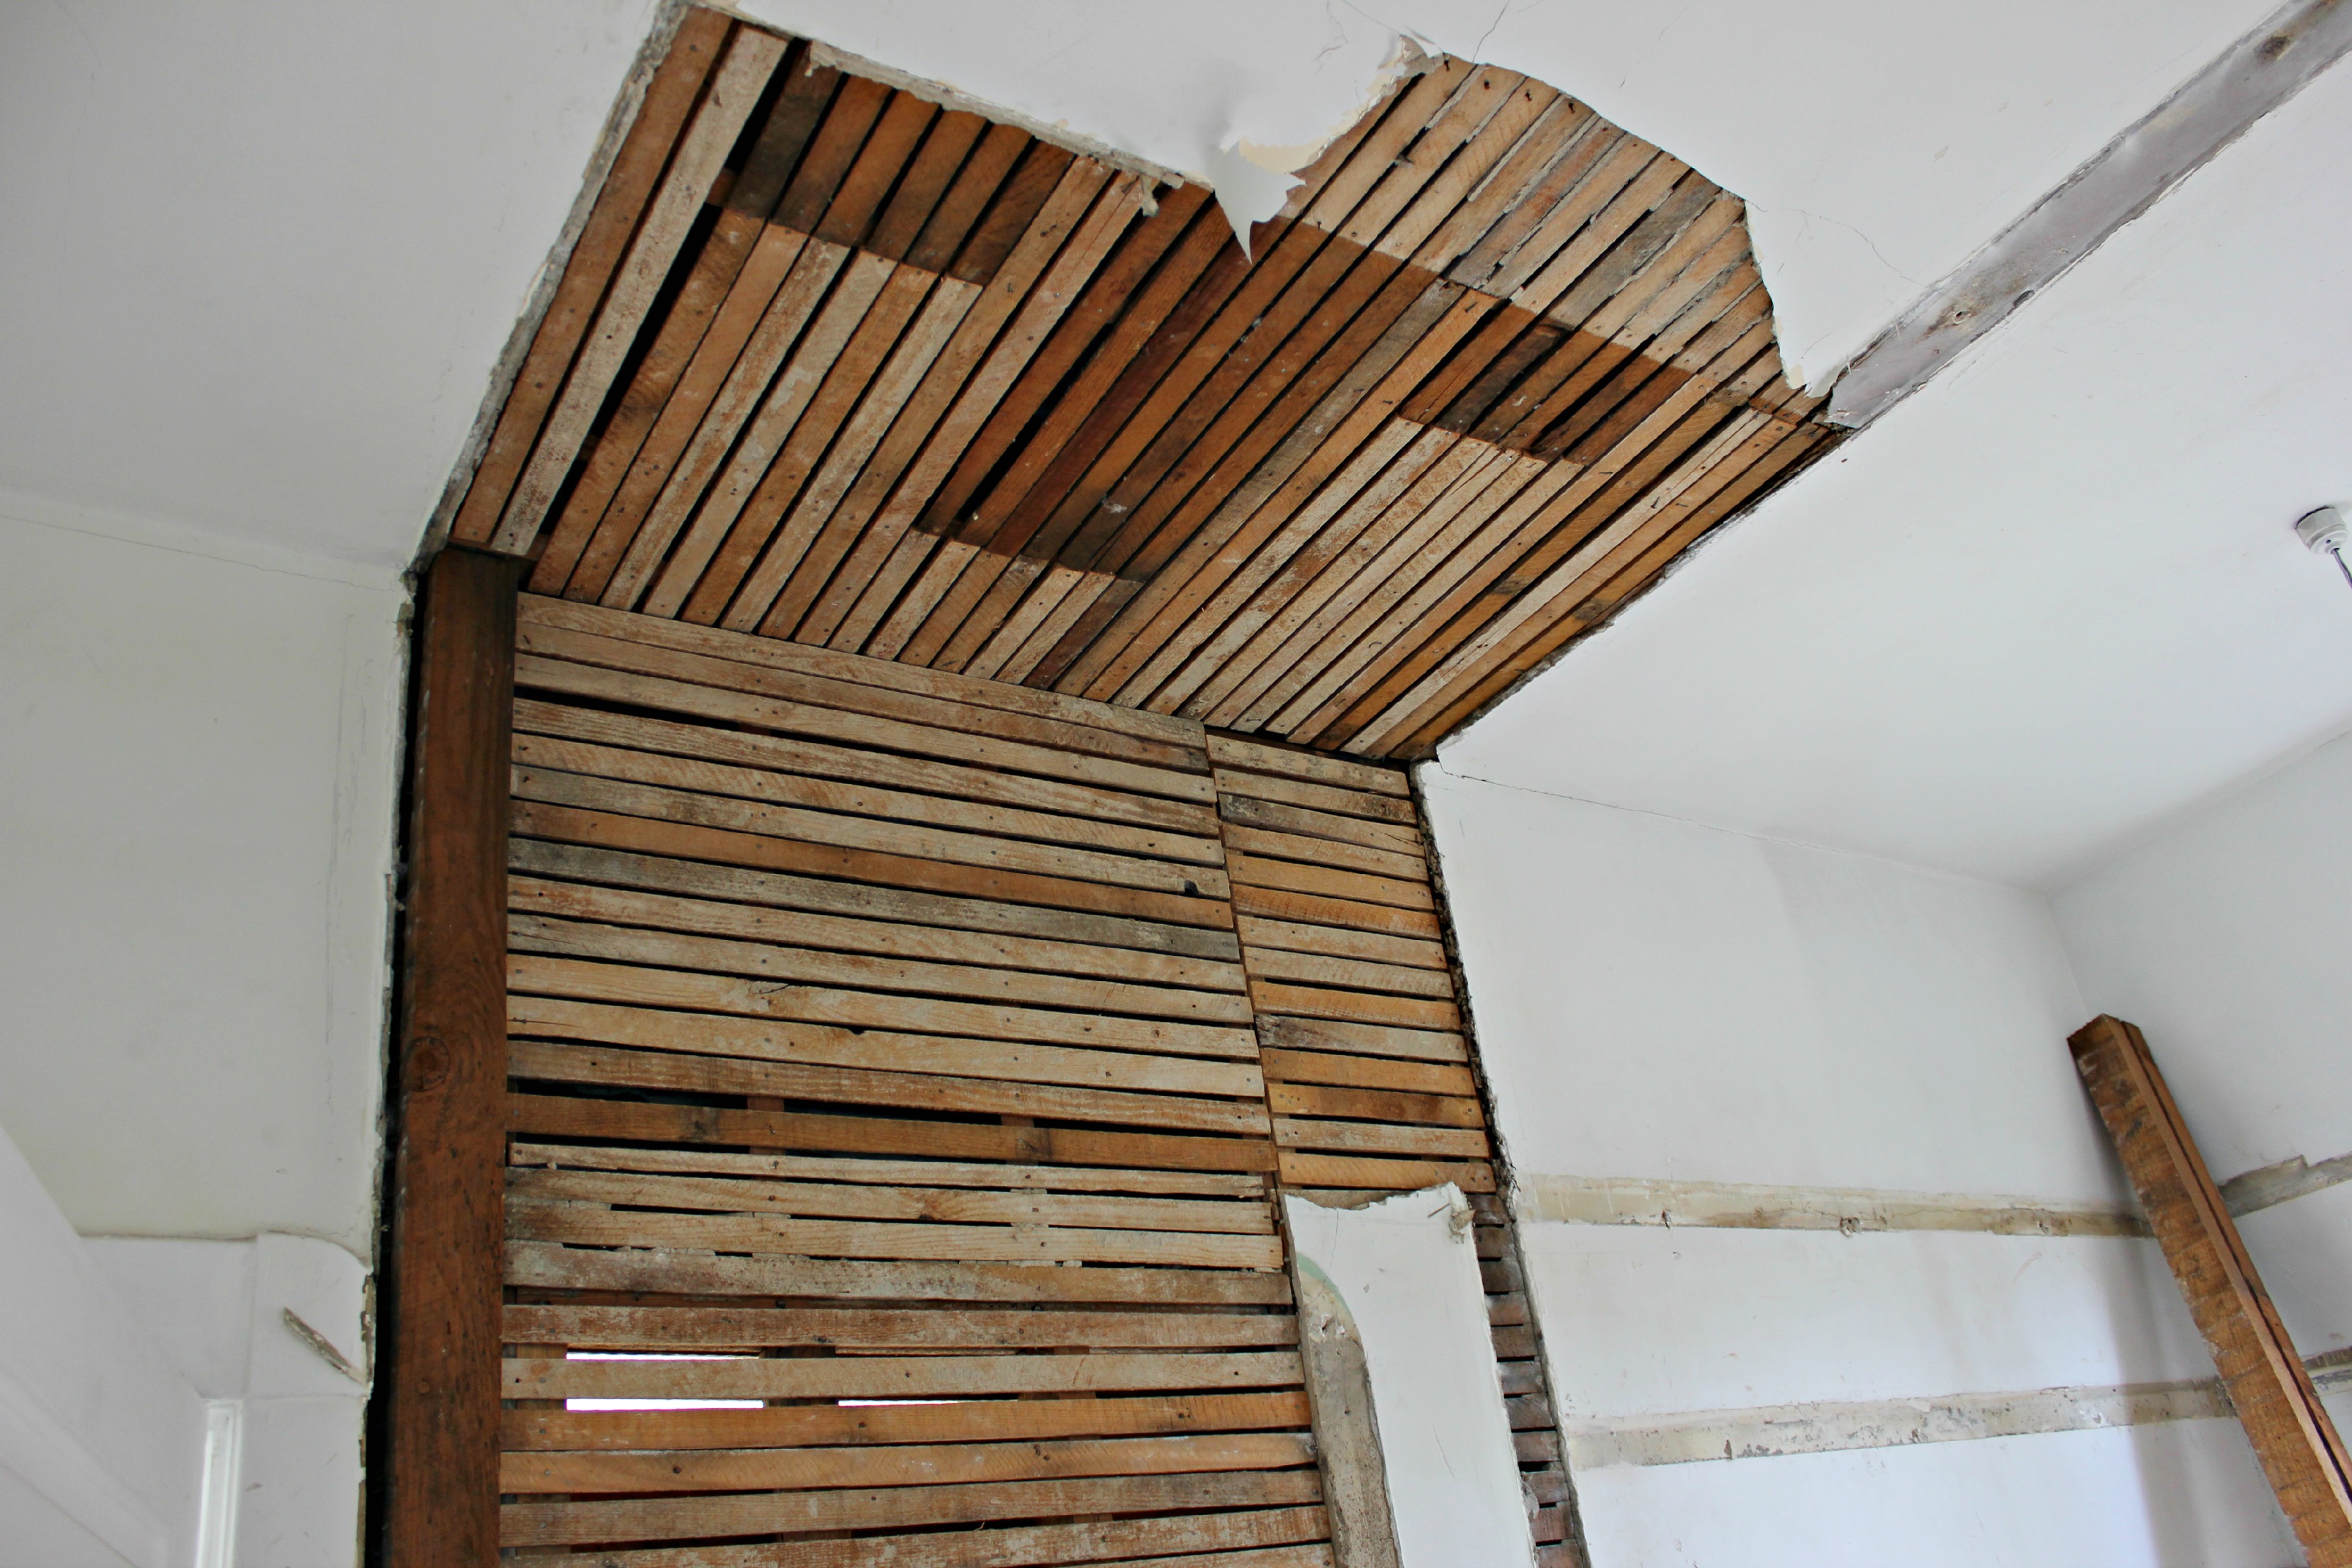
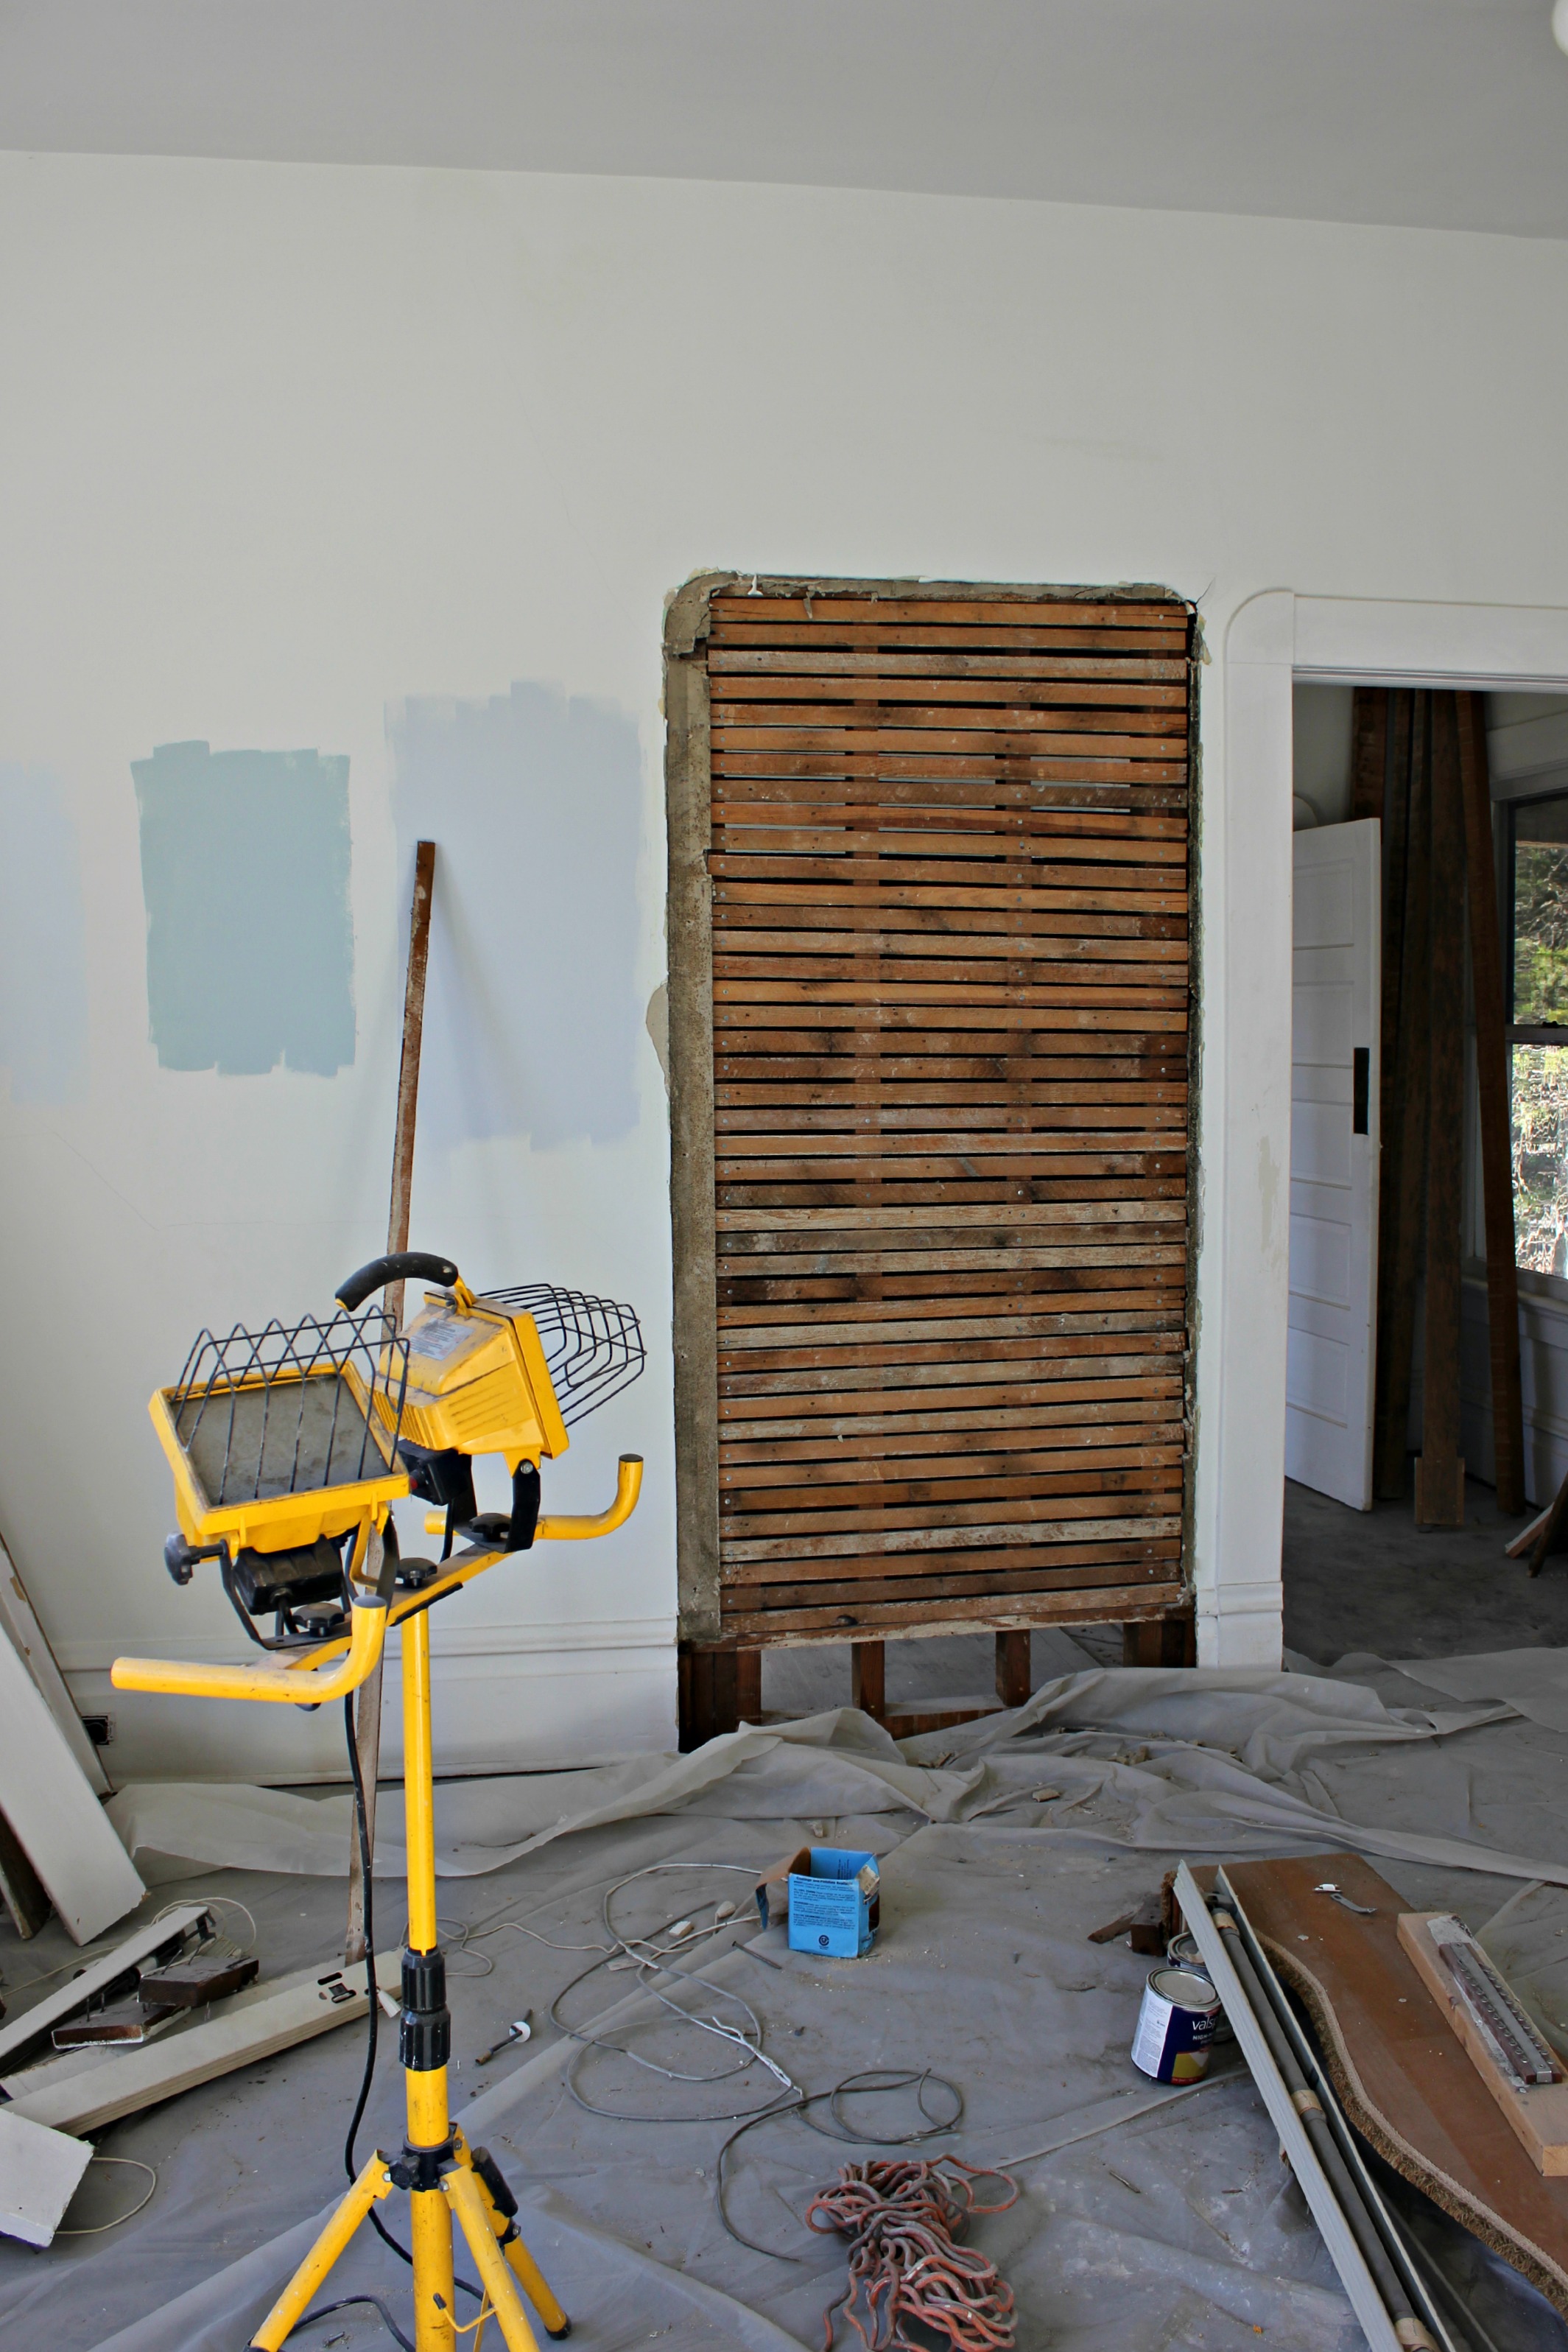
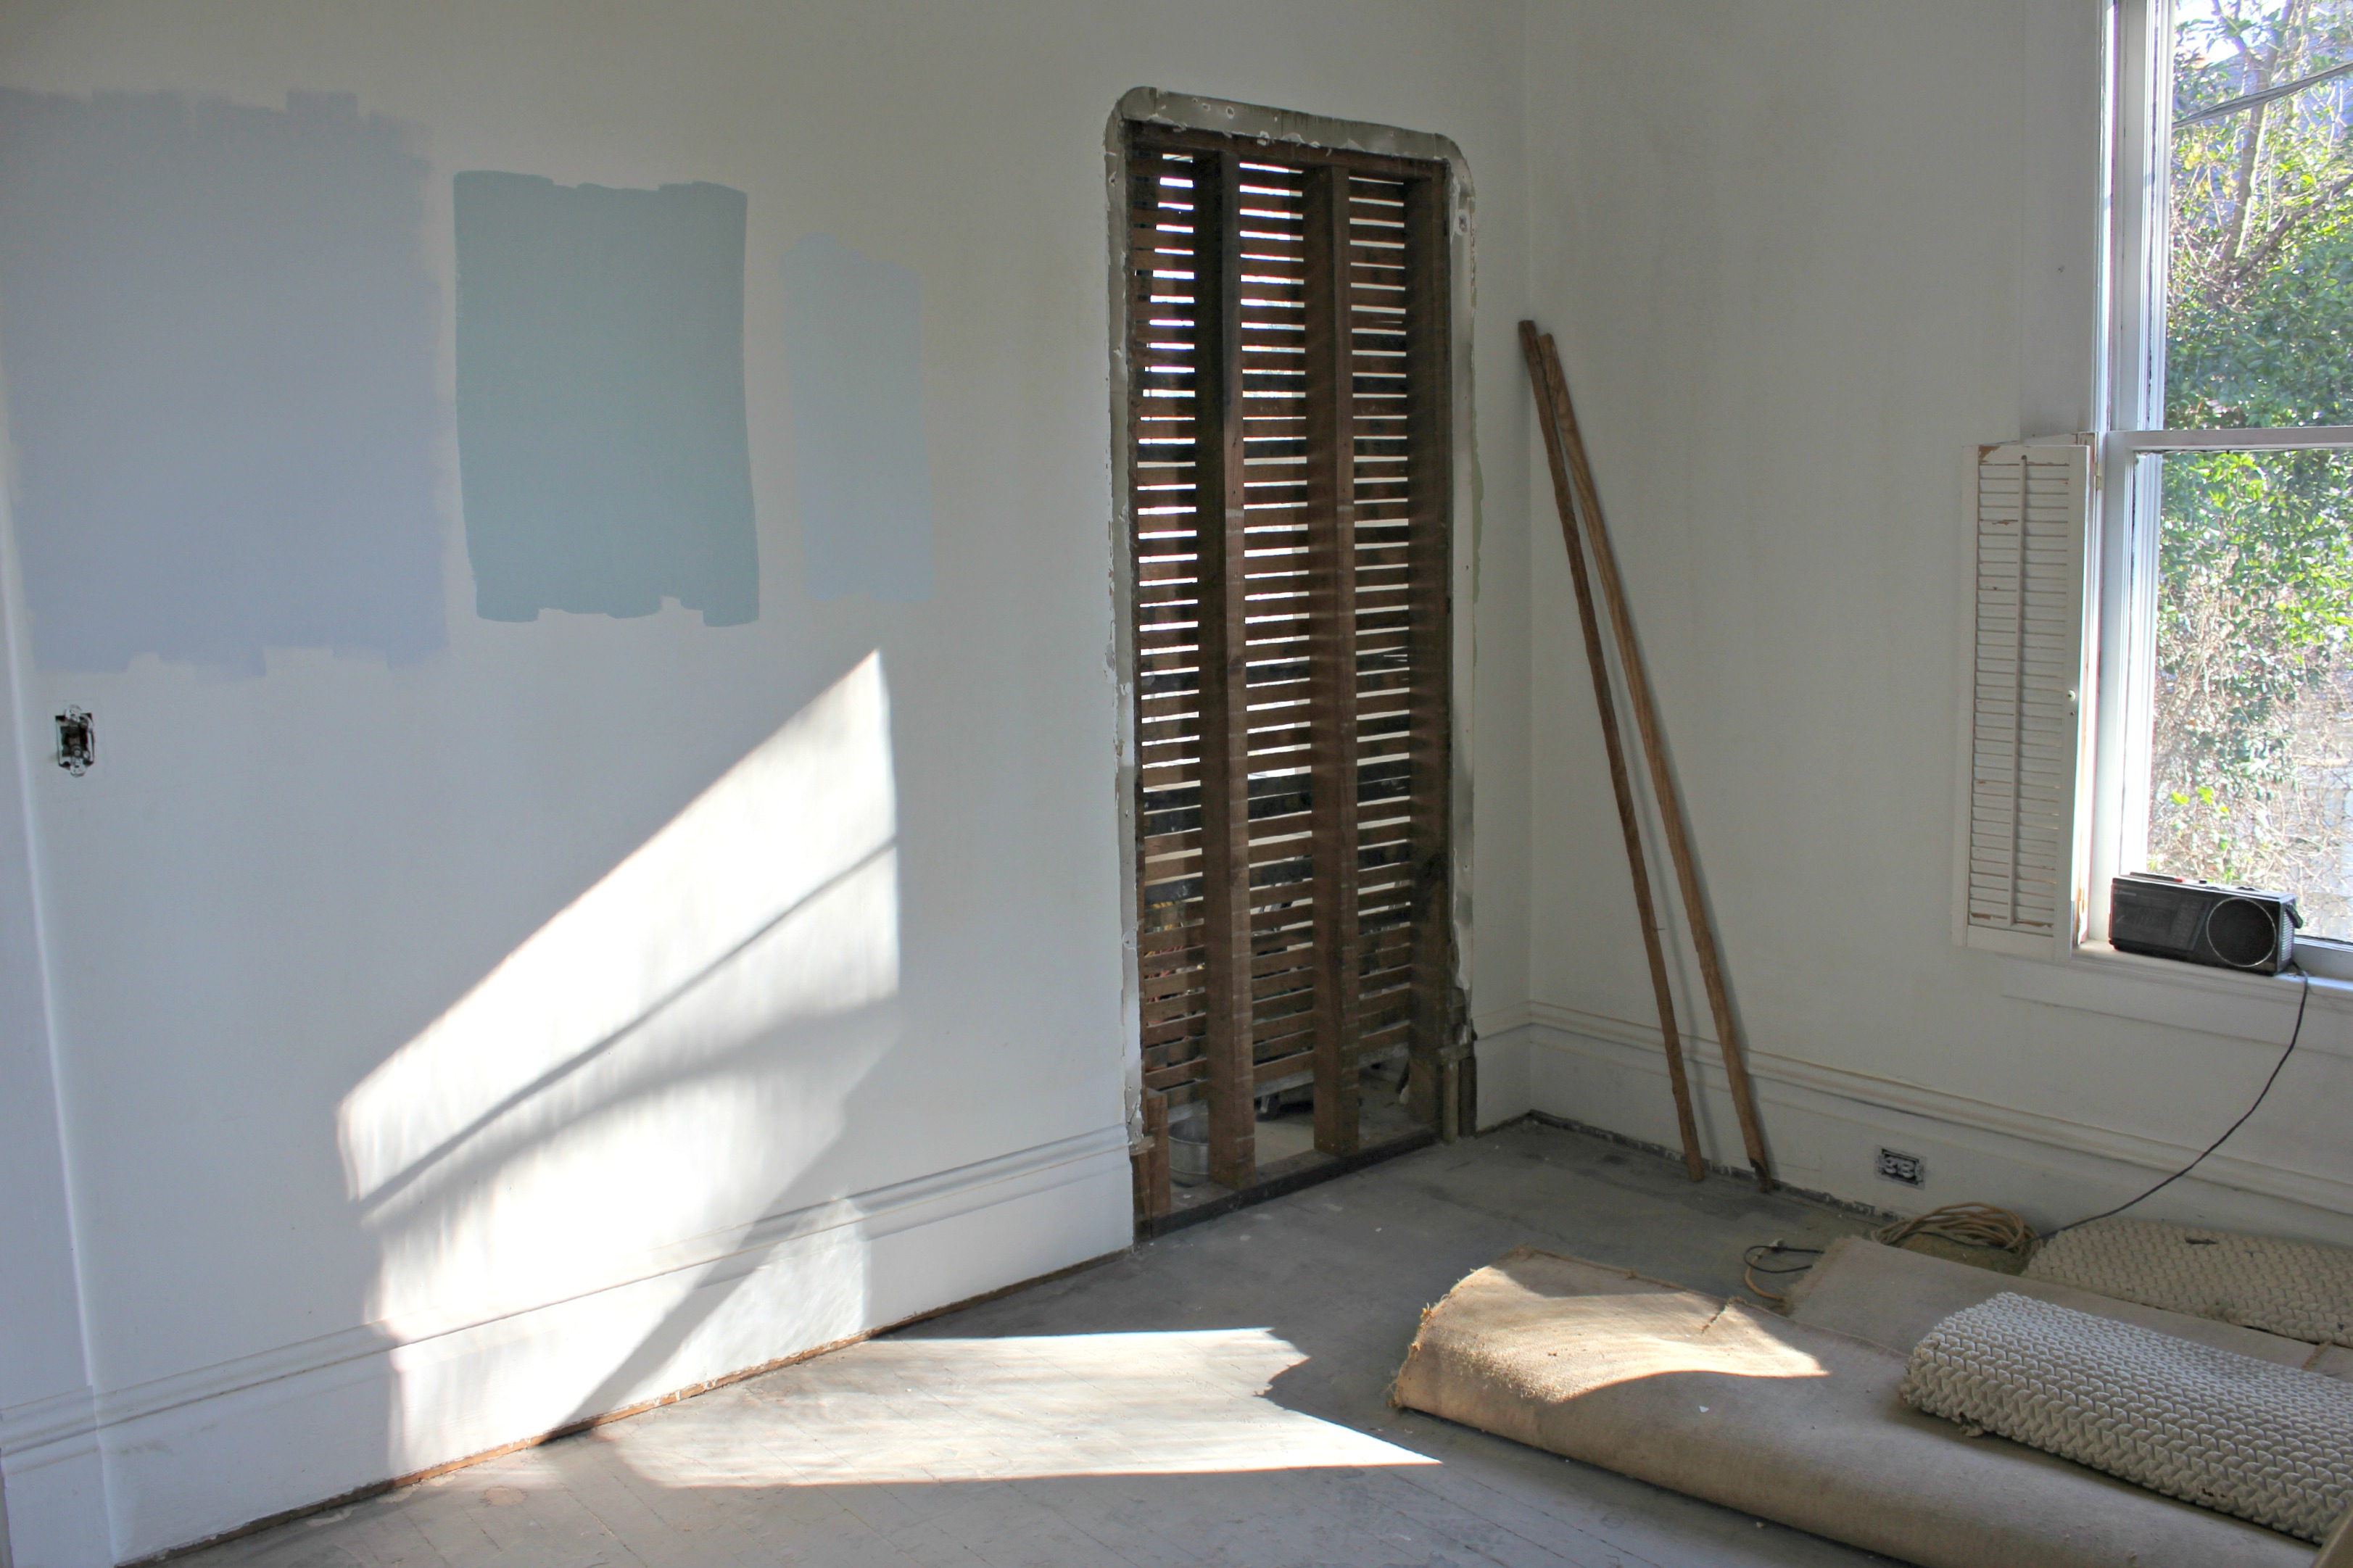
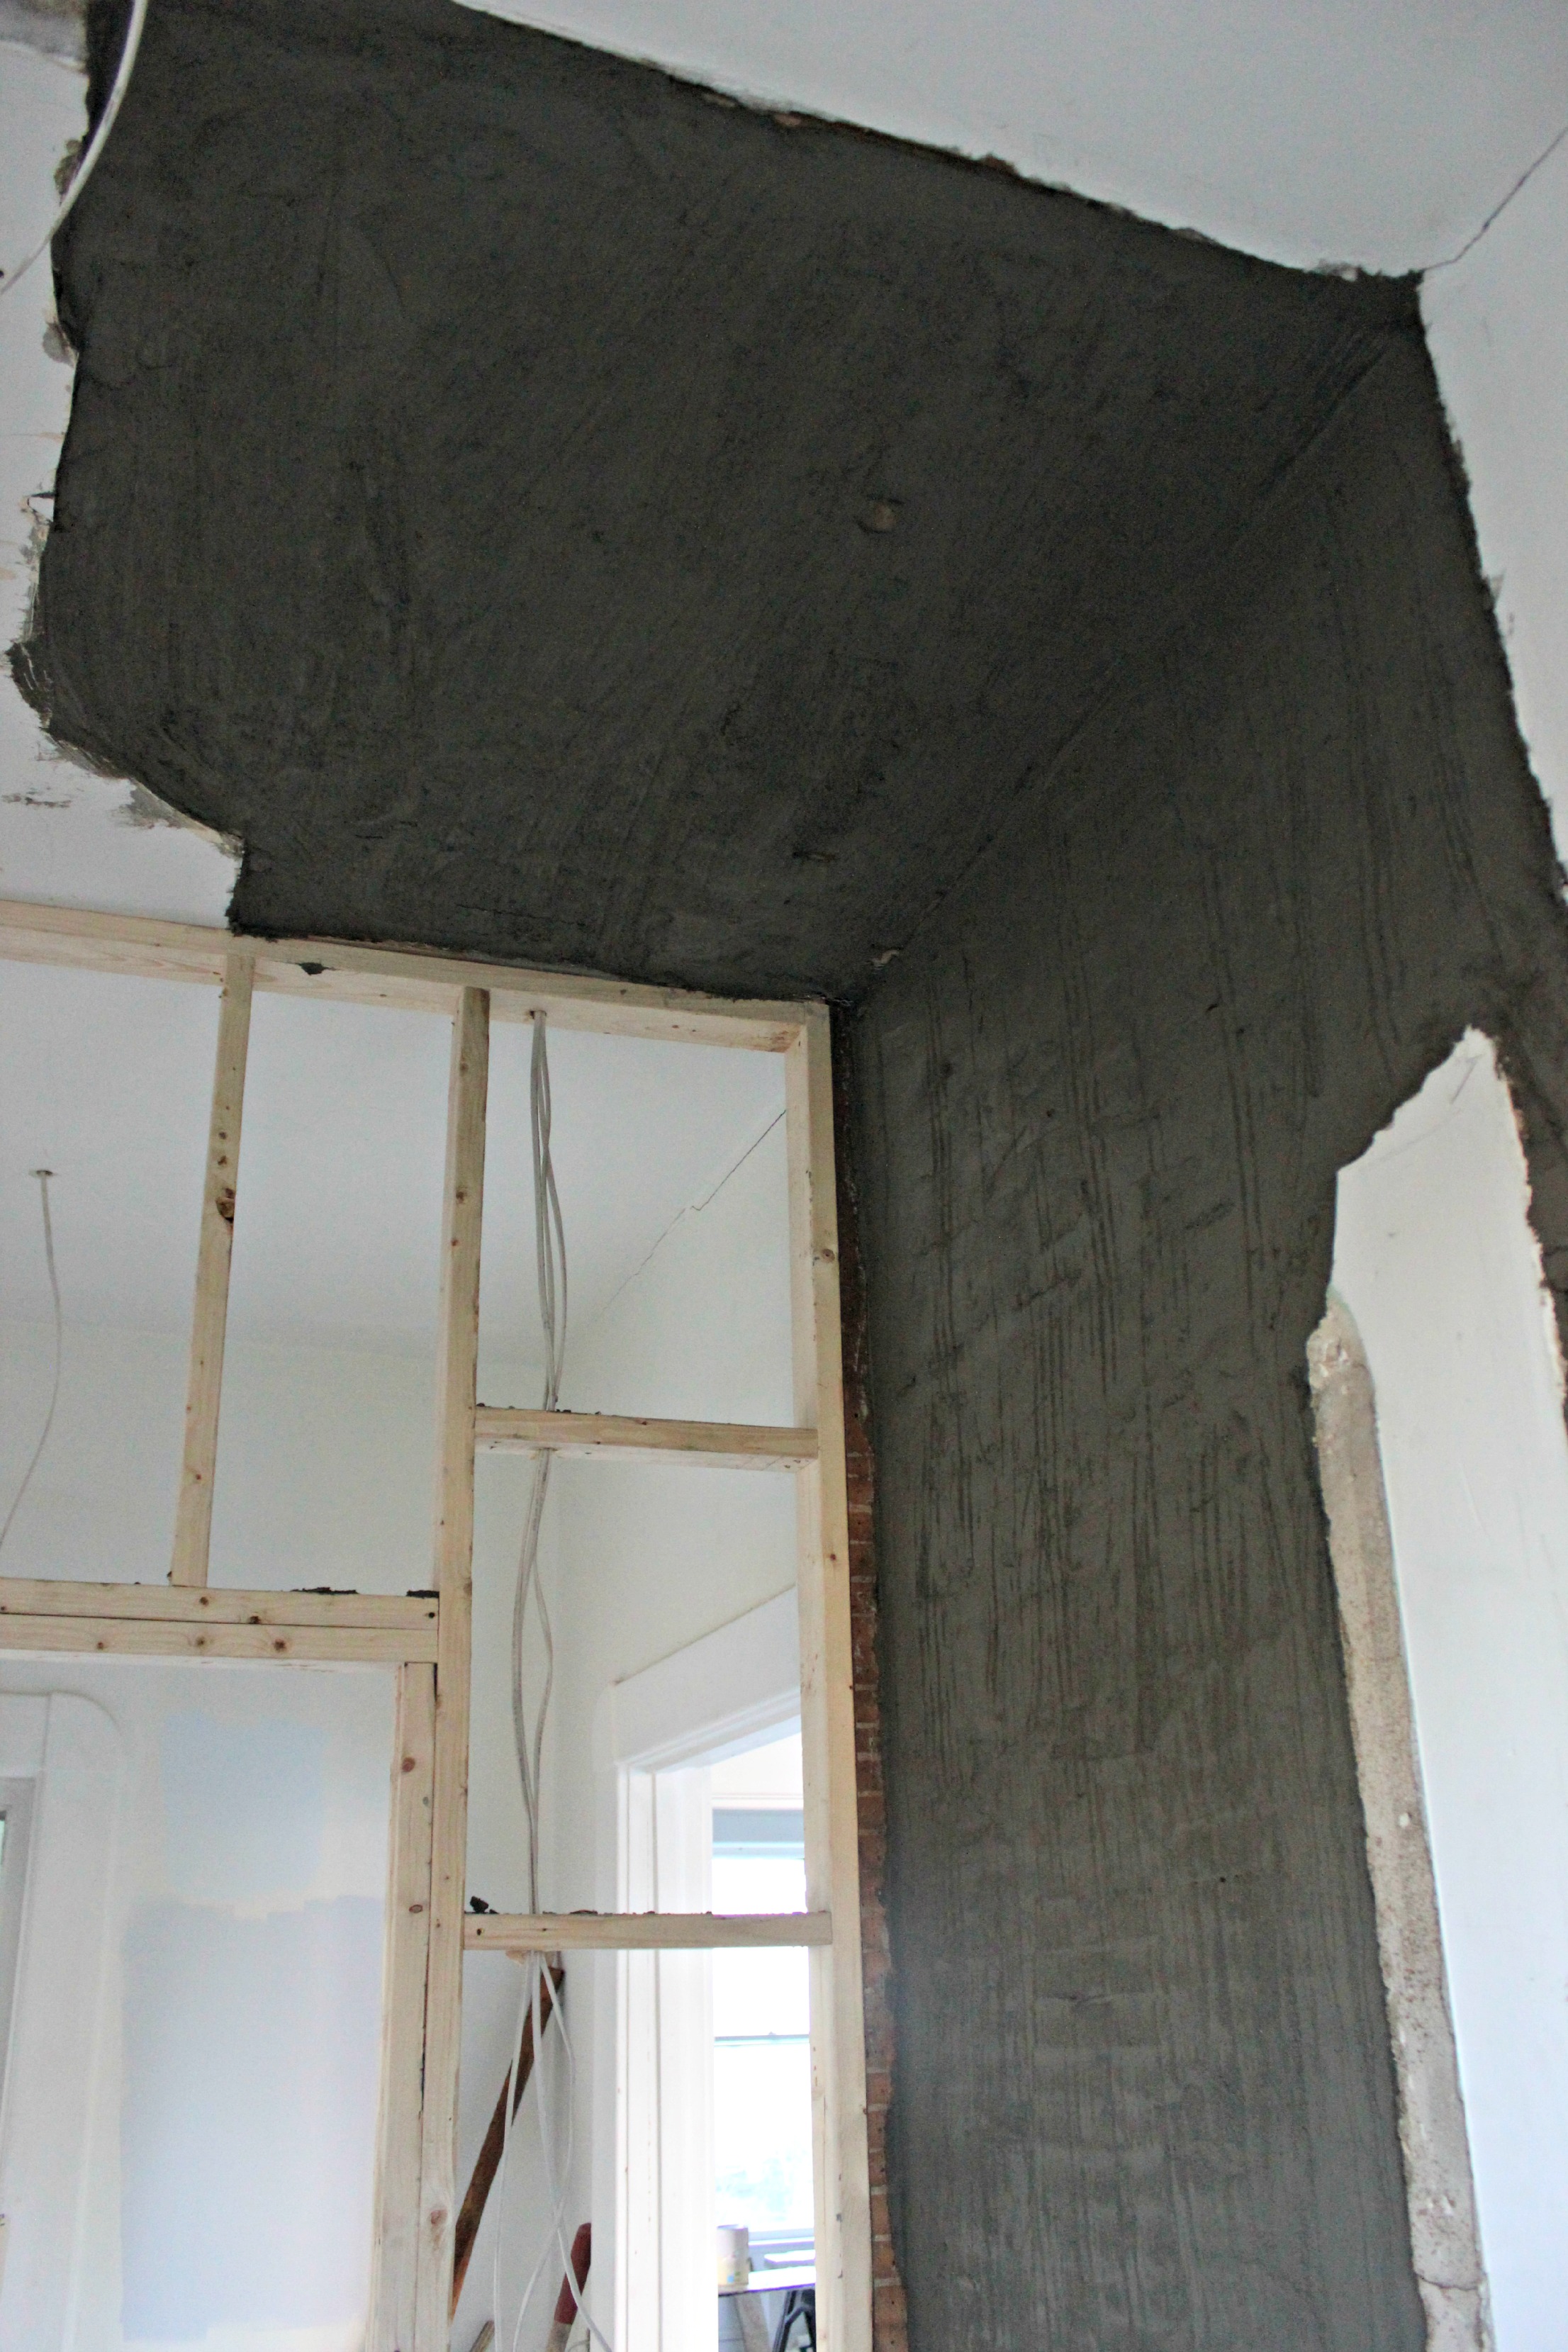
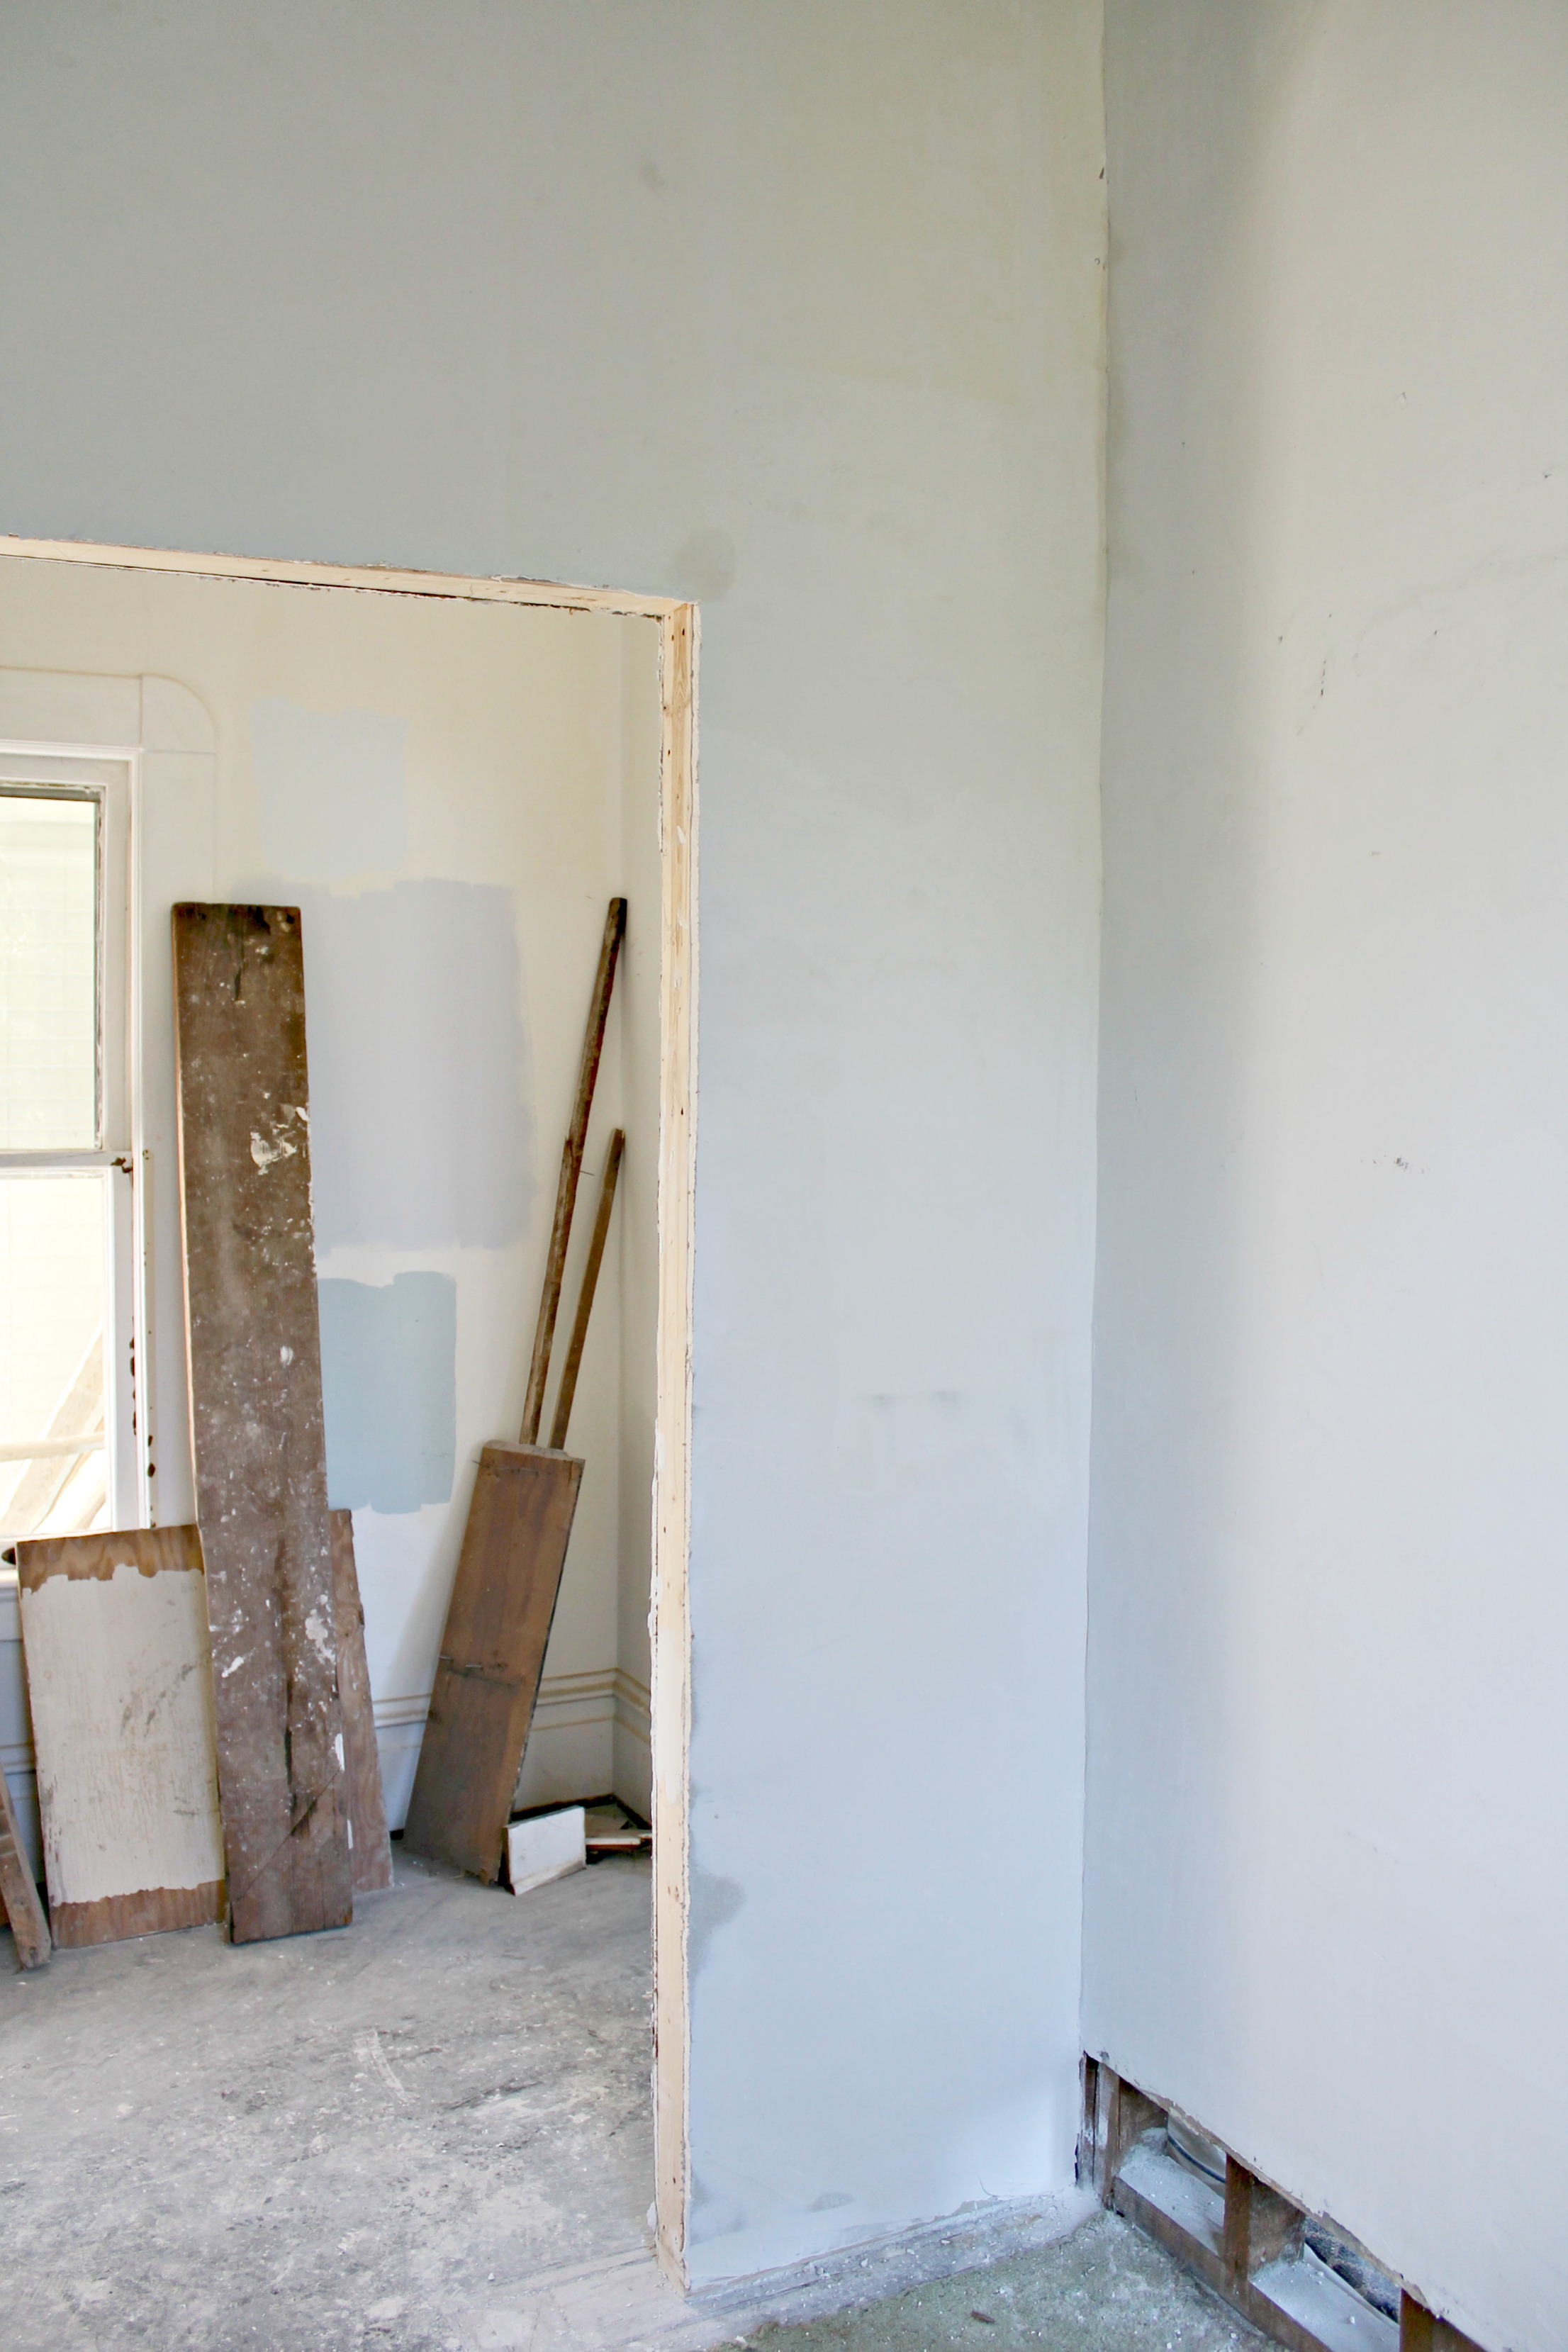
- Repair plaster where necessary
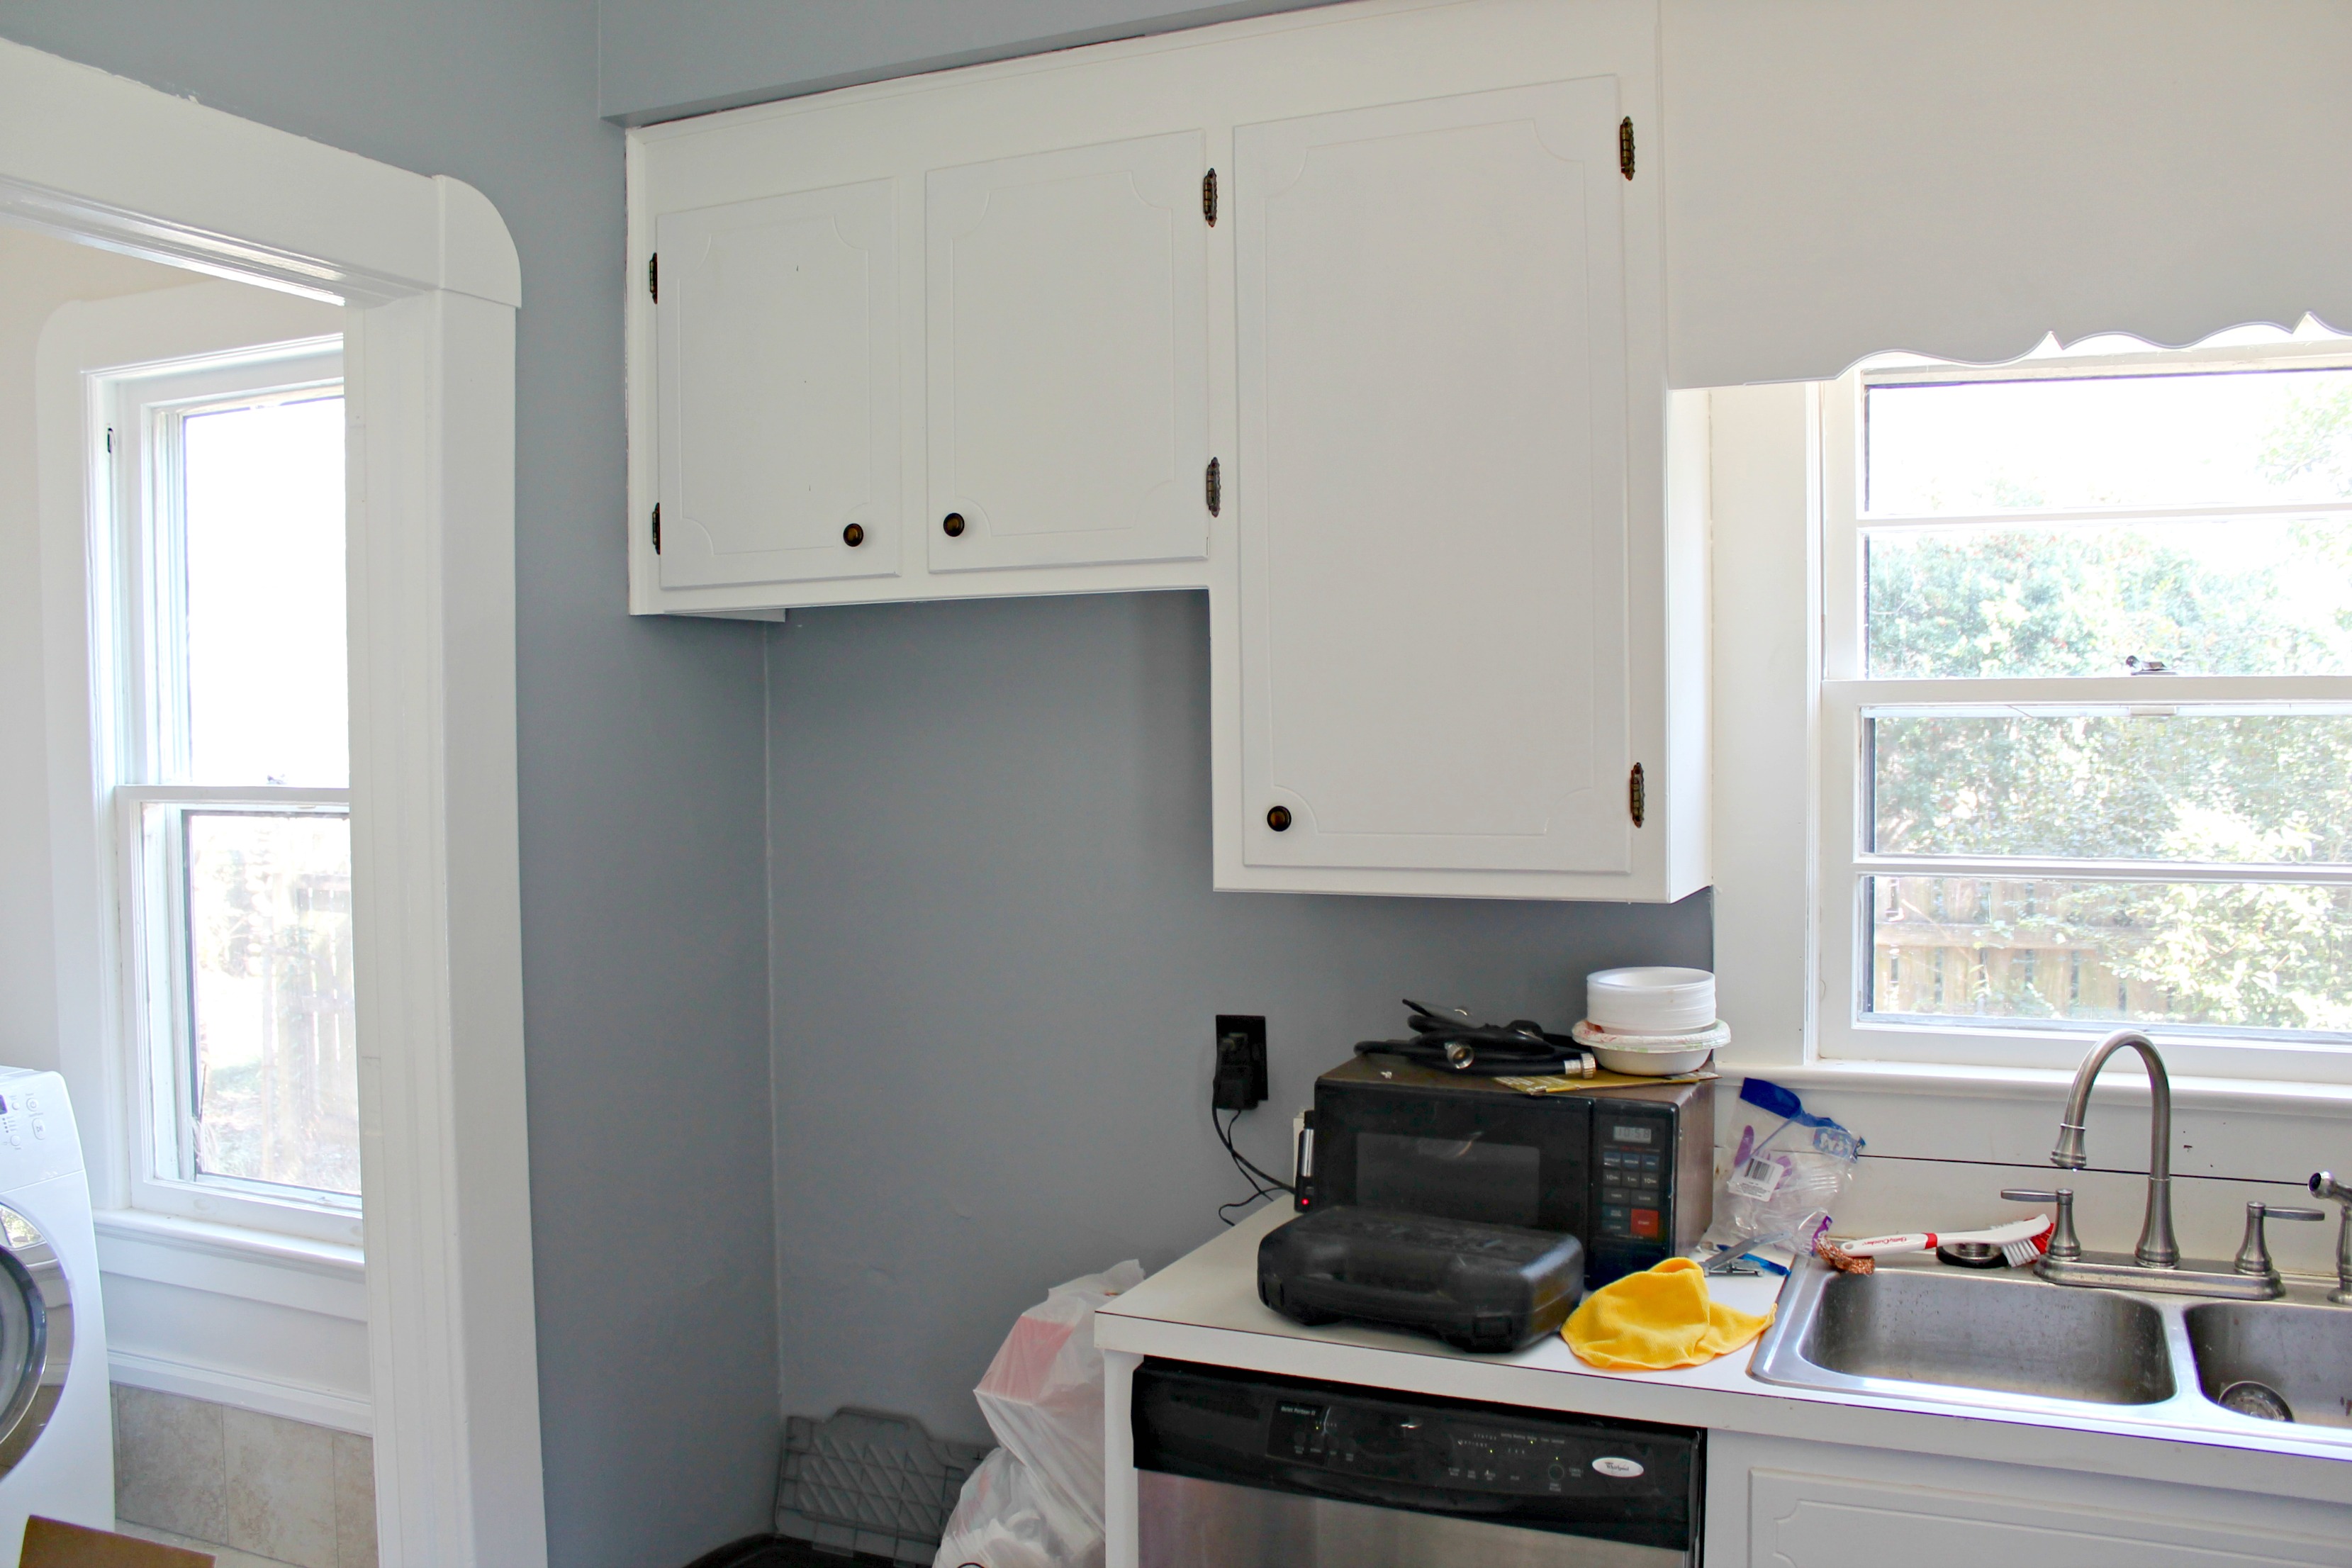
- Prep, prime, and paint all cabinetry
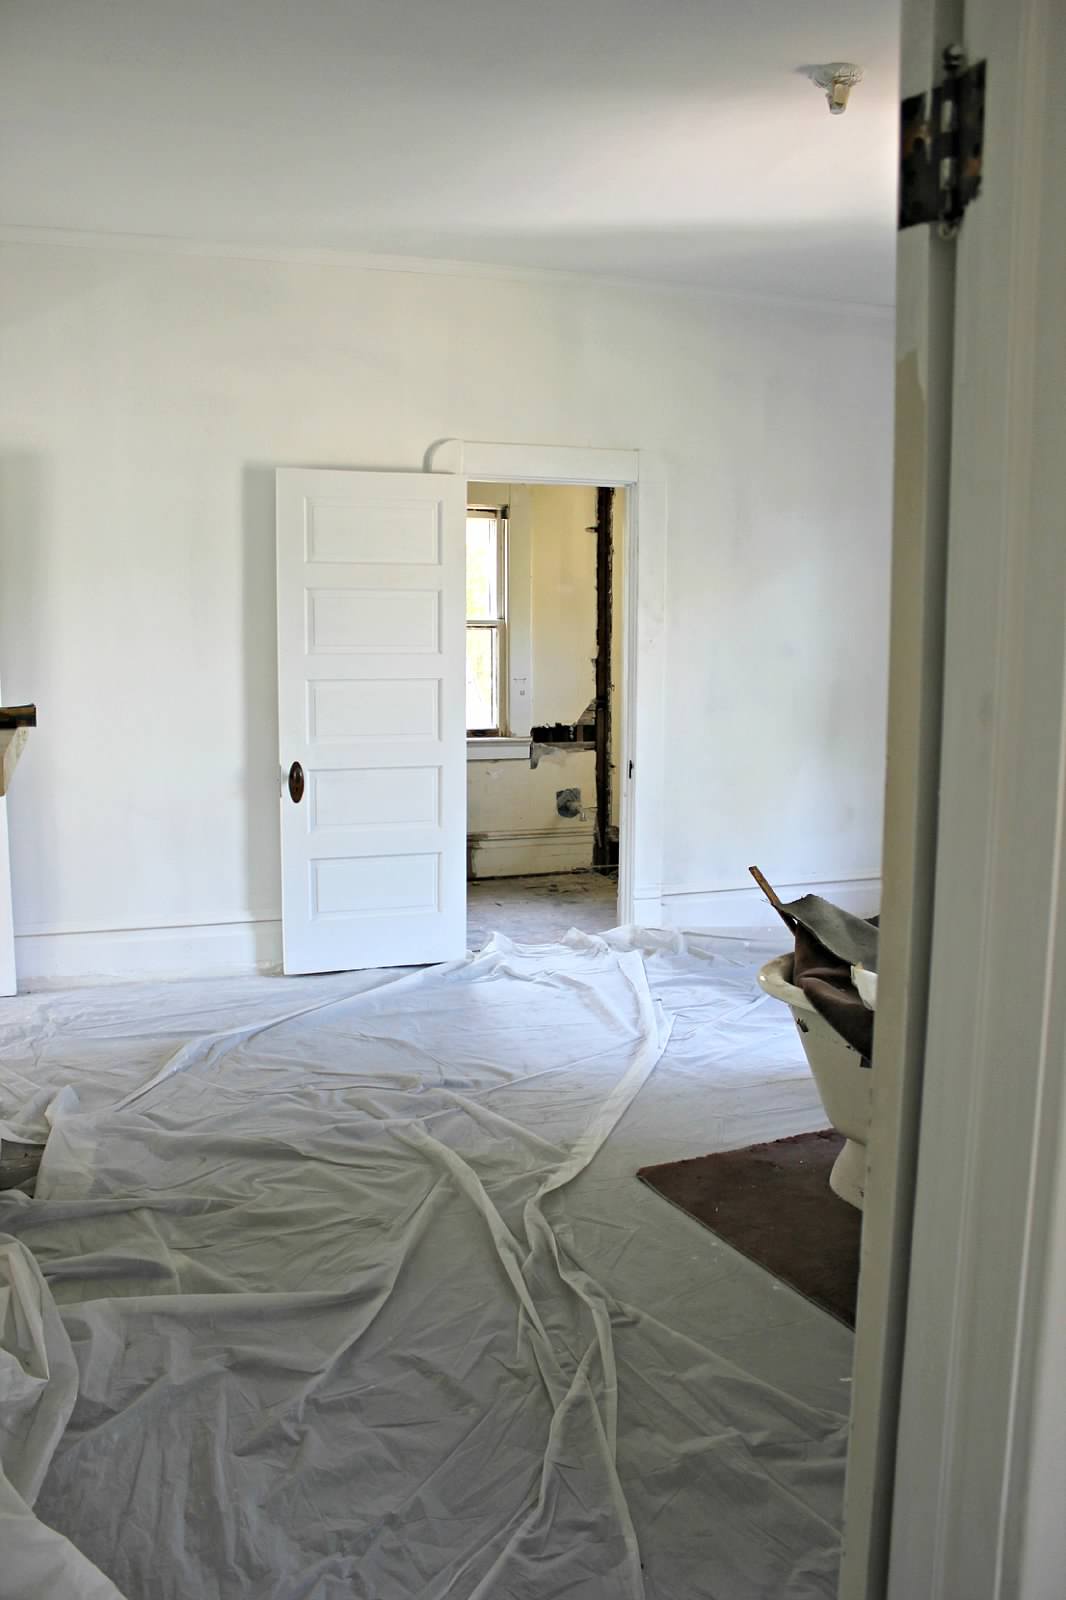
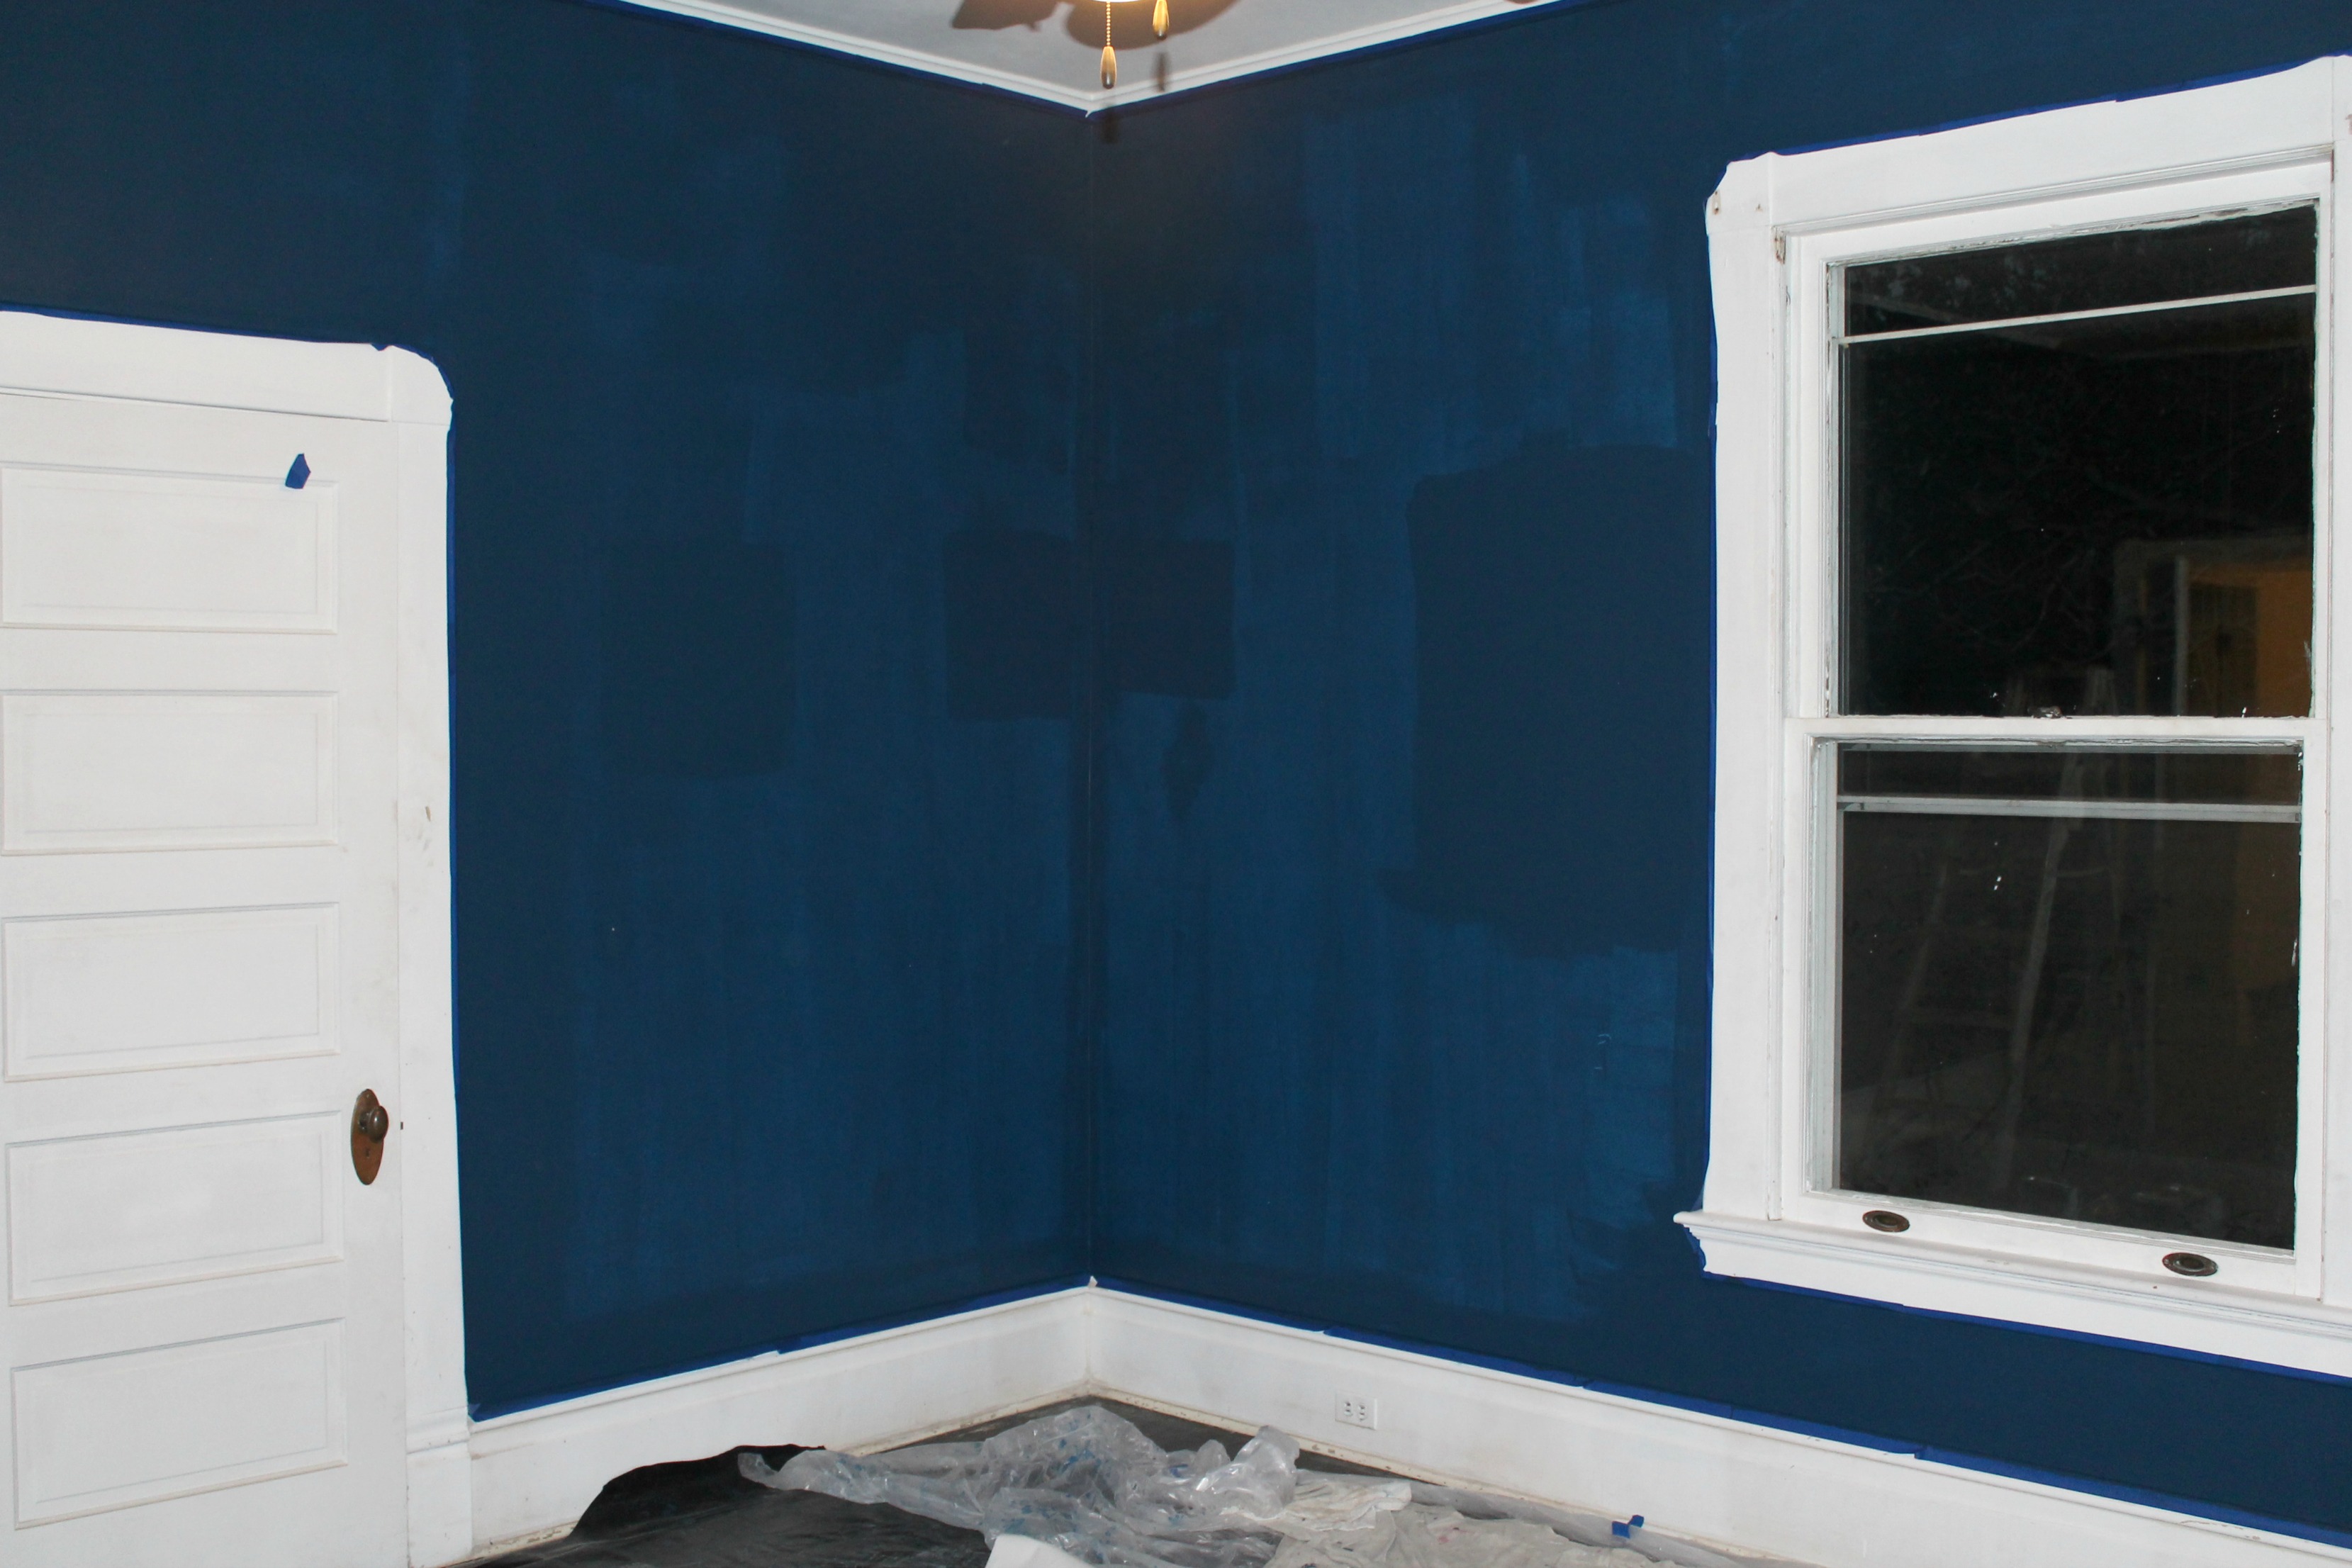
- Prep, prime, and paint walls, ceiling, and trim
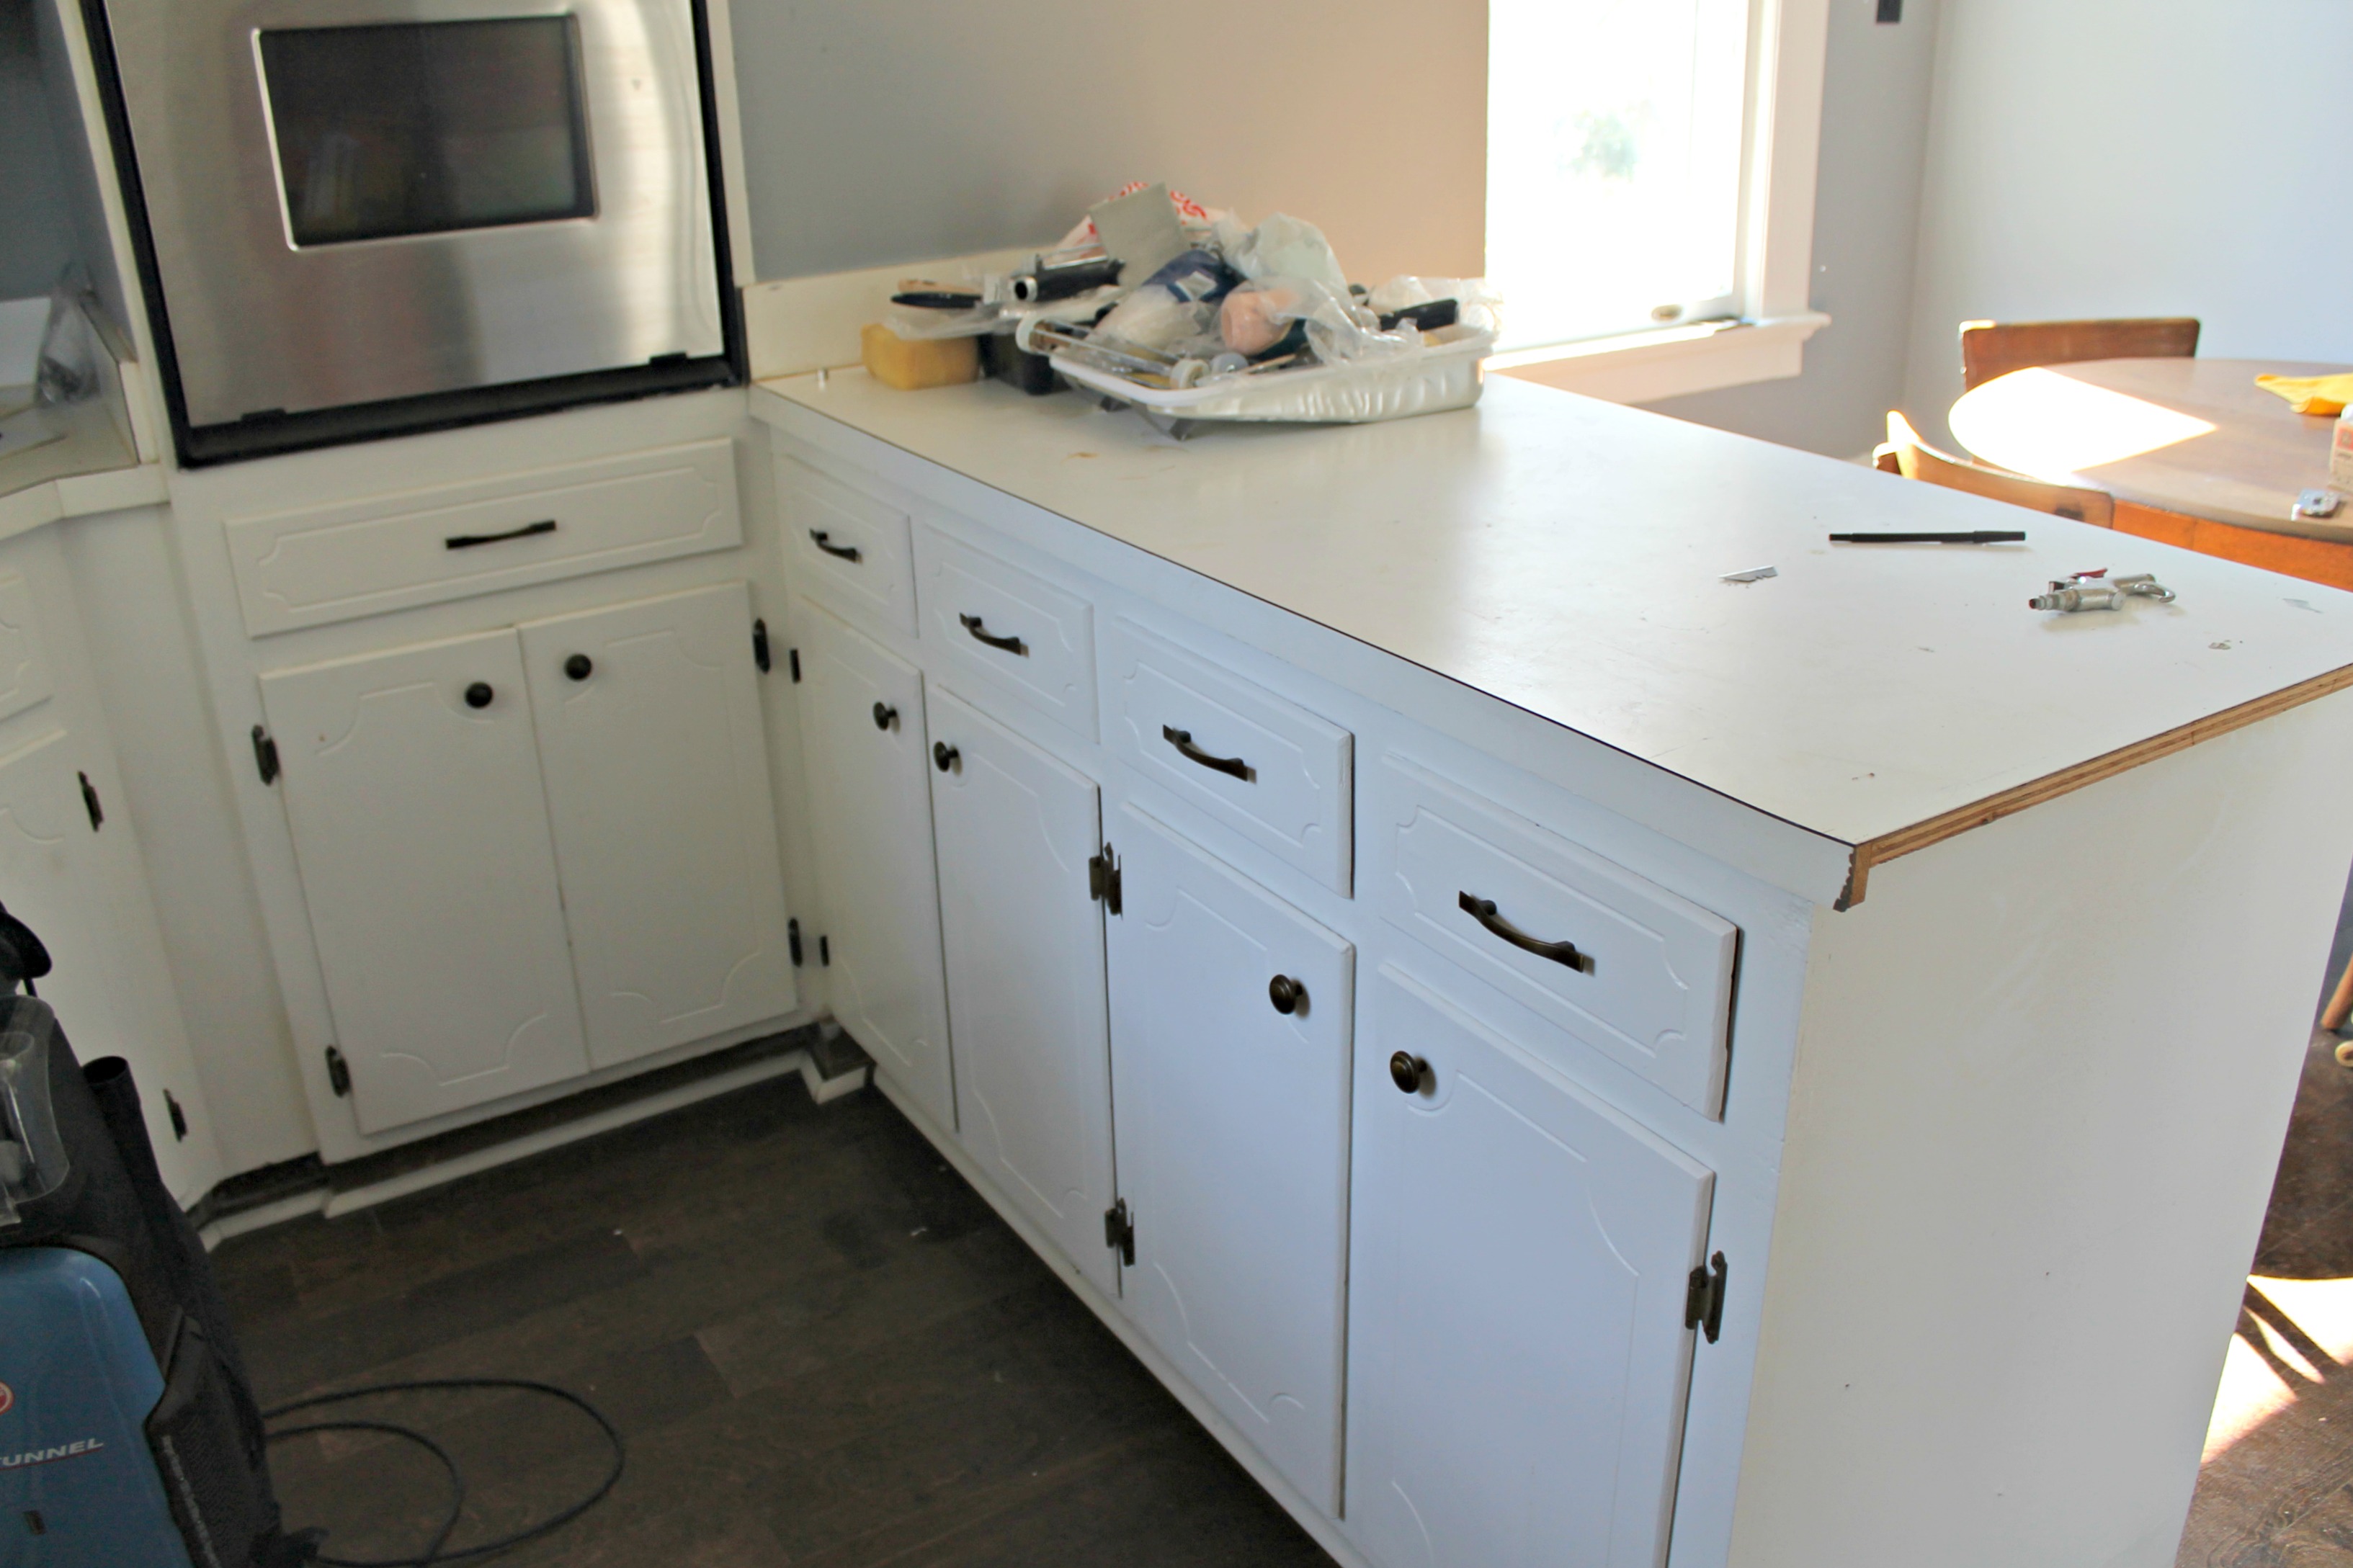
- Install new hardware
- Install new floor
- Install gas range
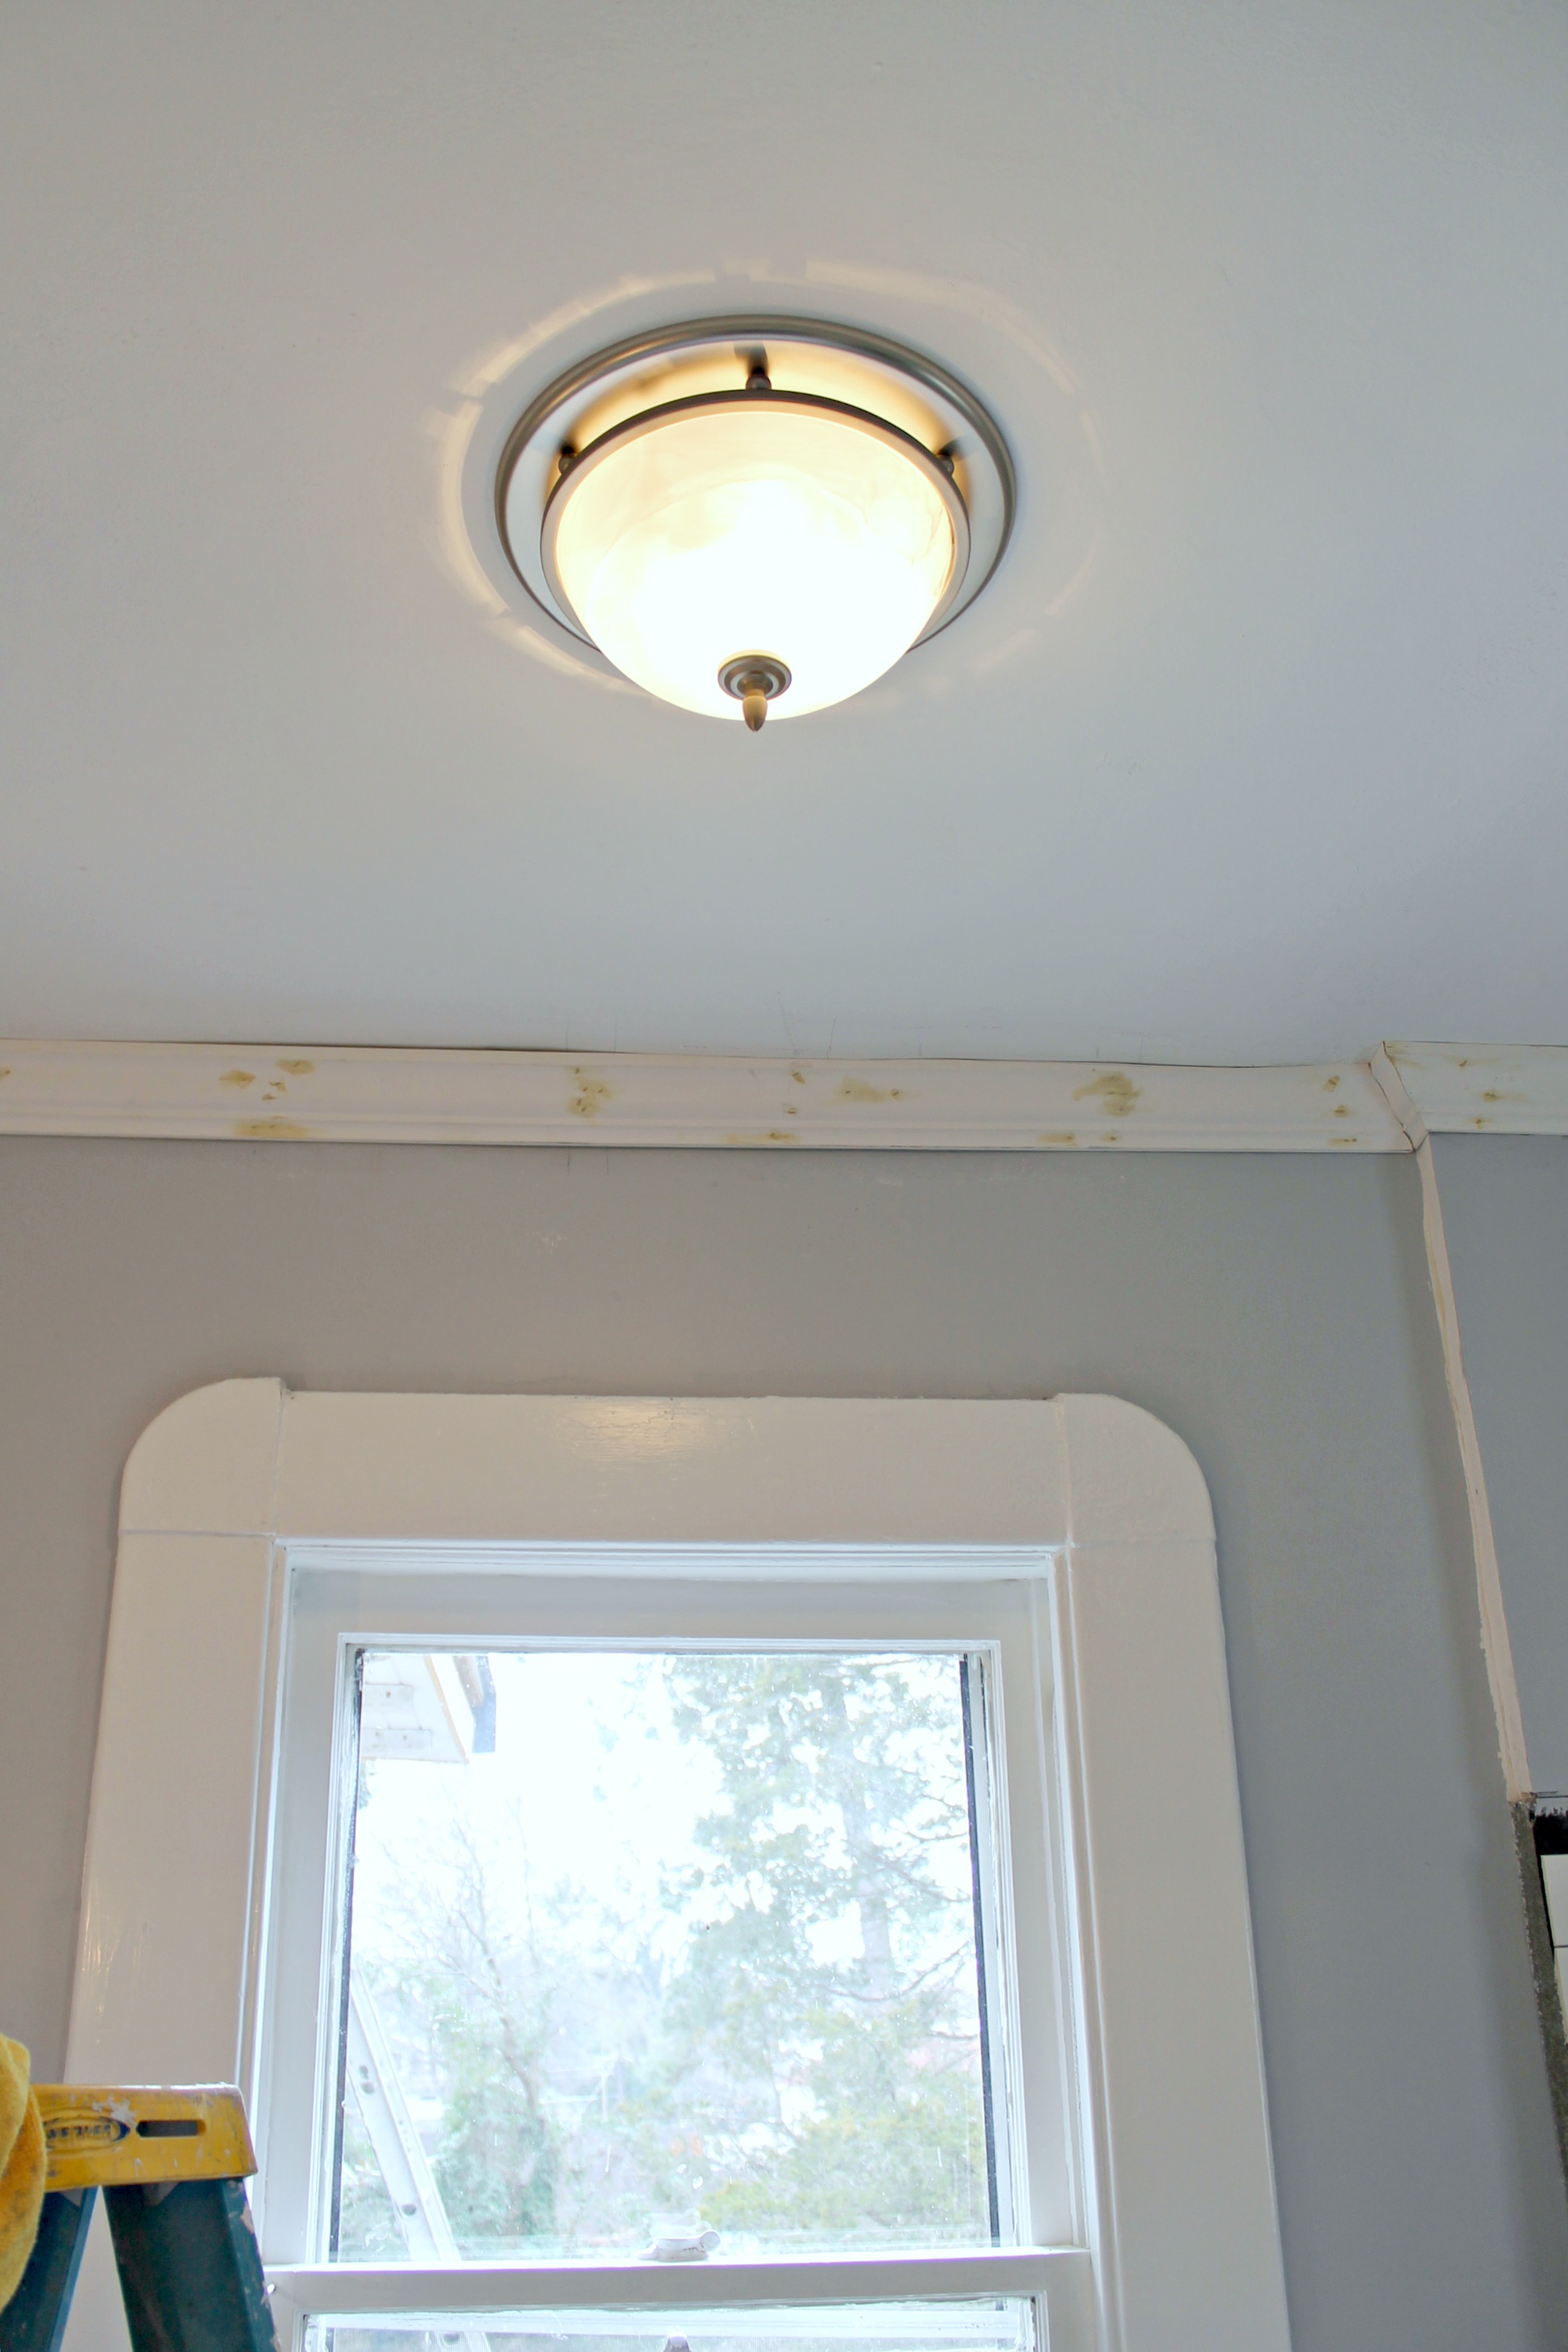
- Install new ceiling fan light kit
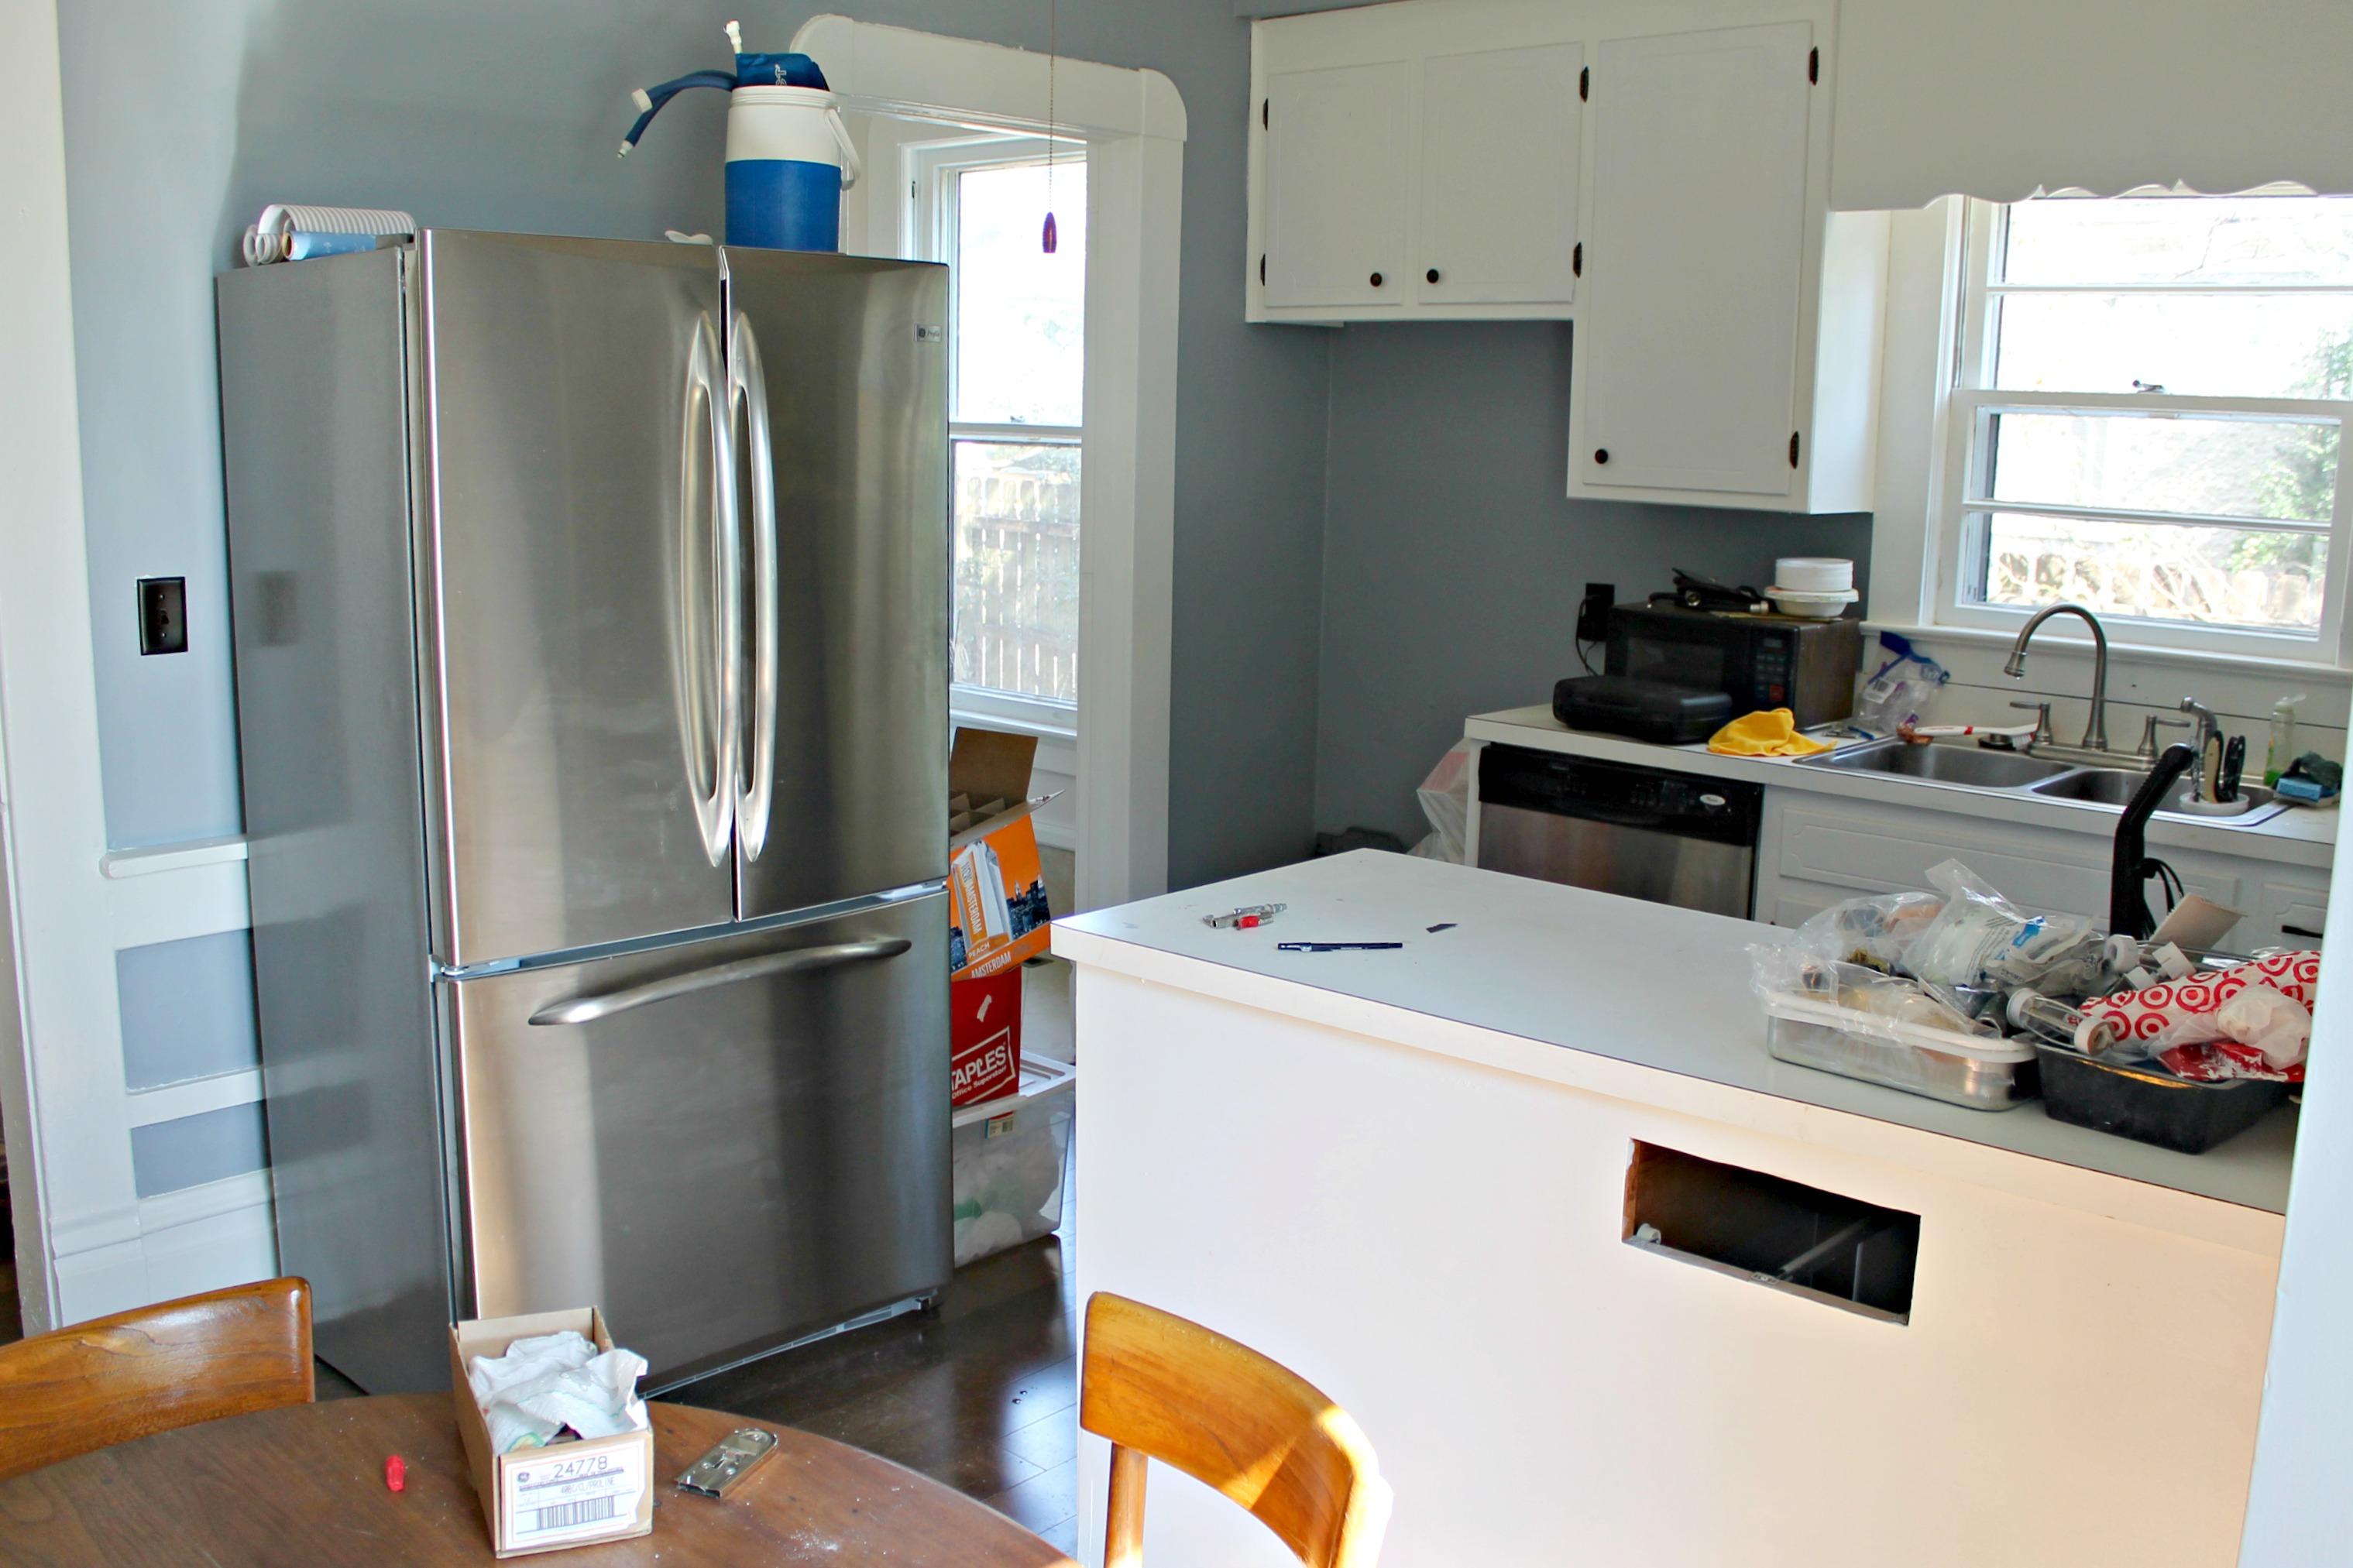
- Install new refrigerator
- Install new sink faucet
- Install garbage disposal
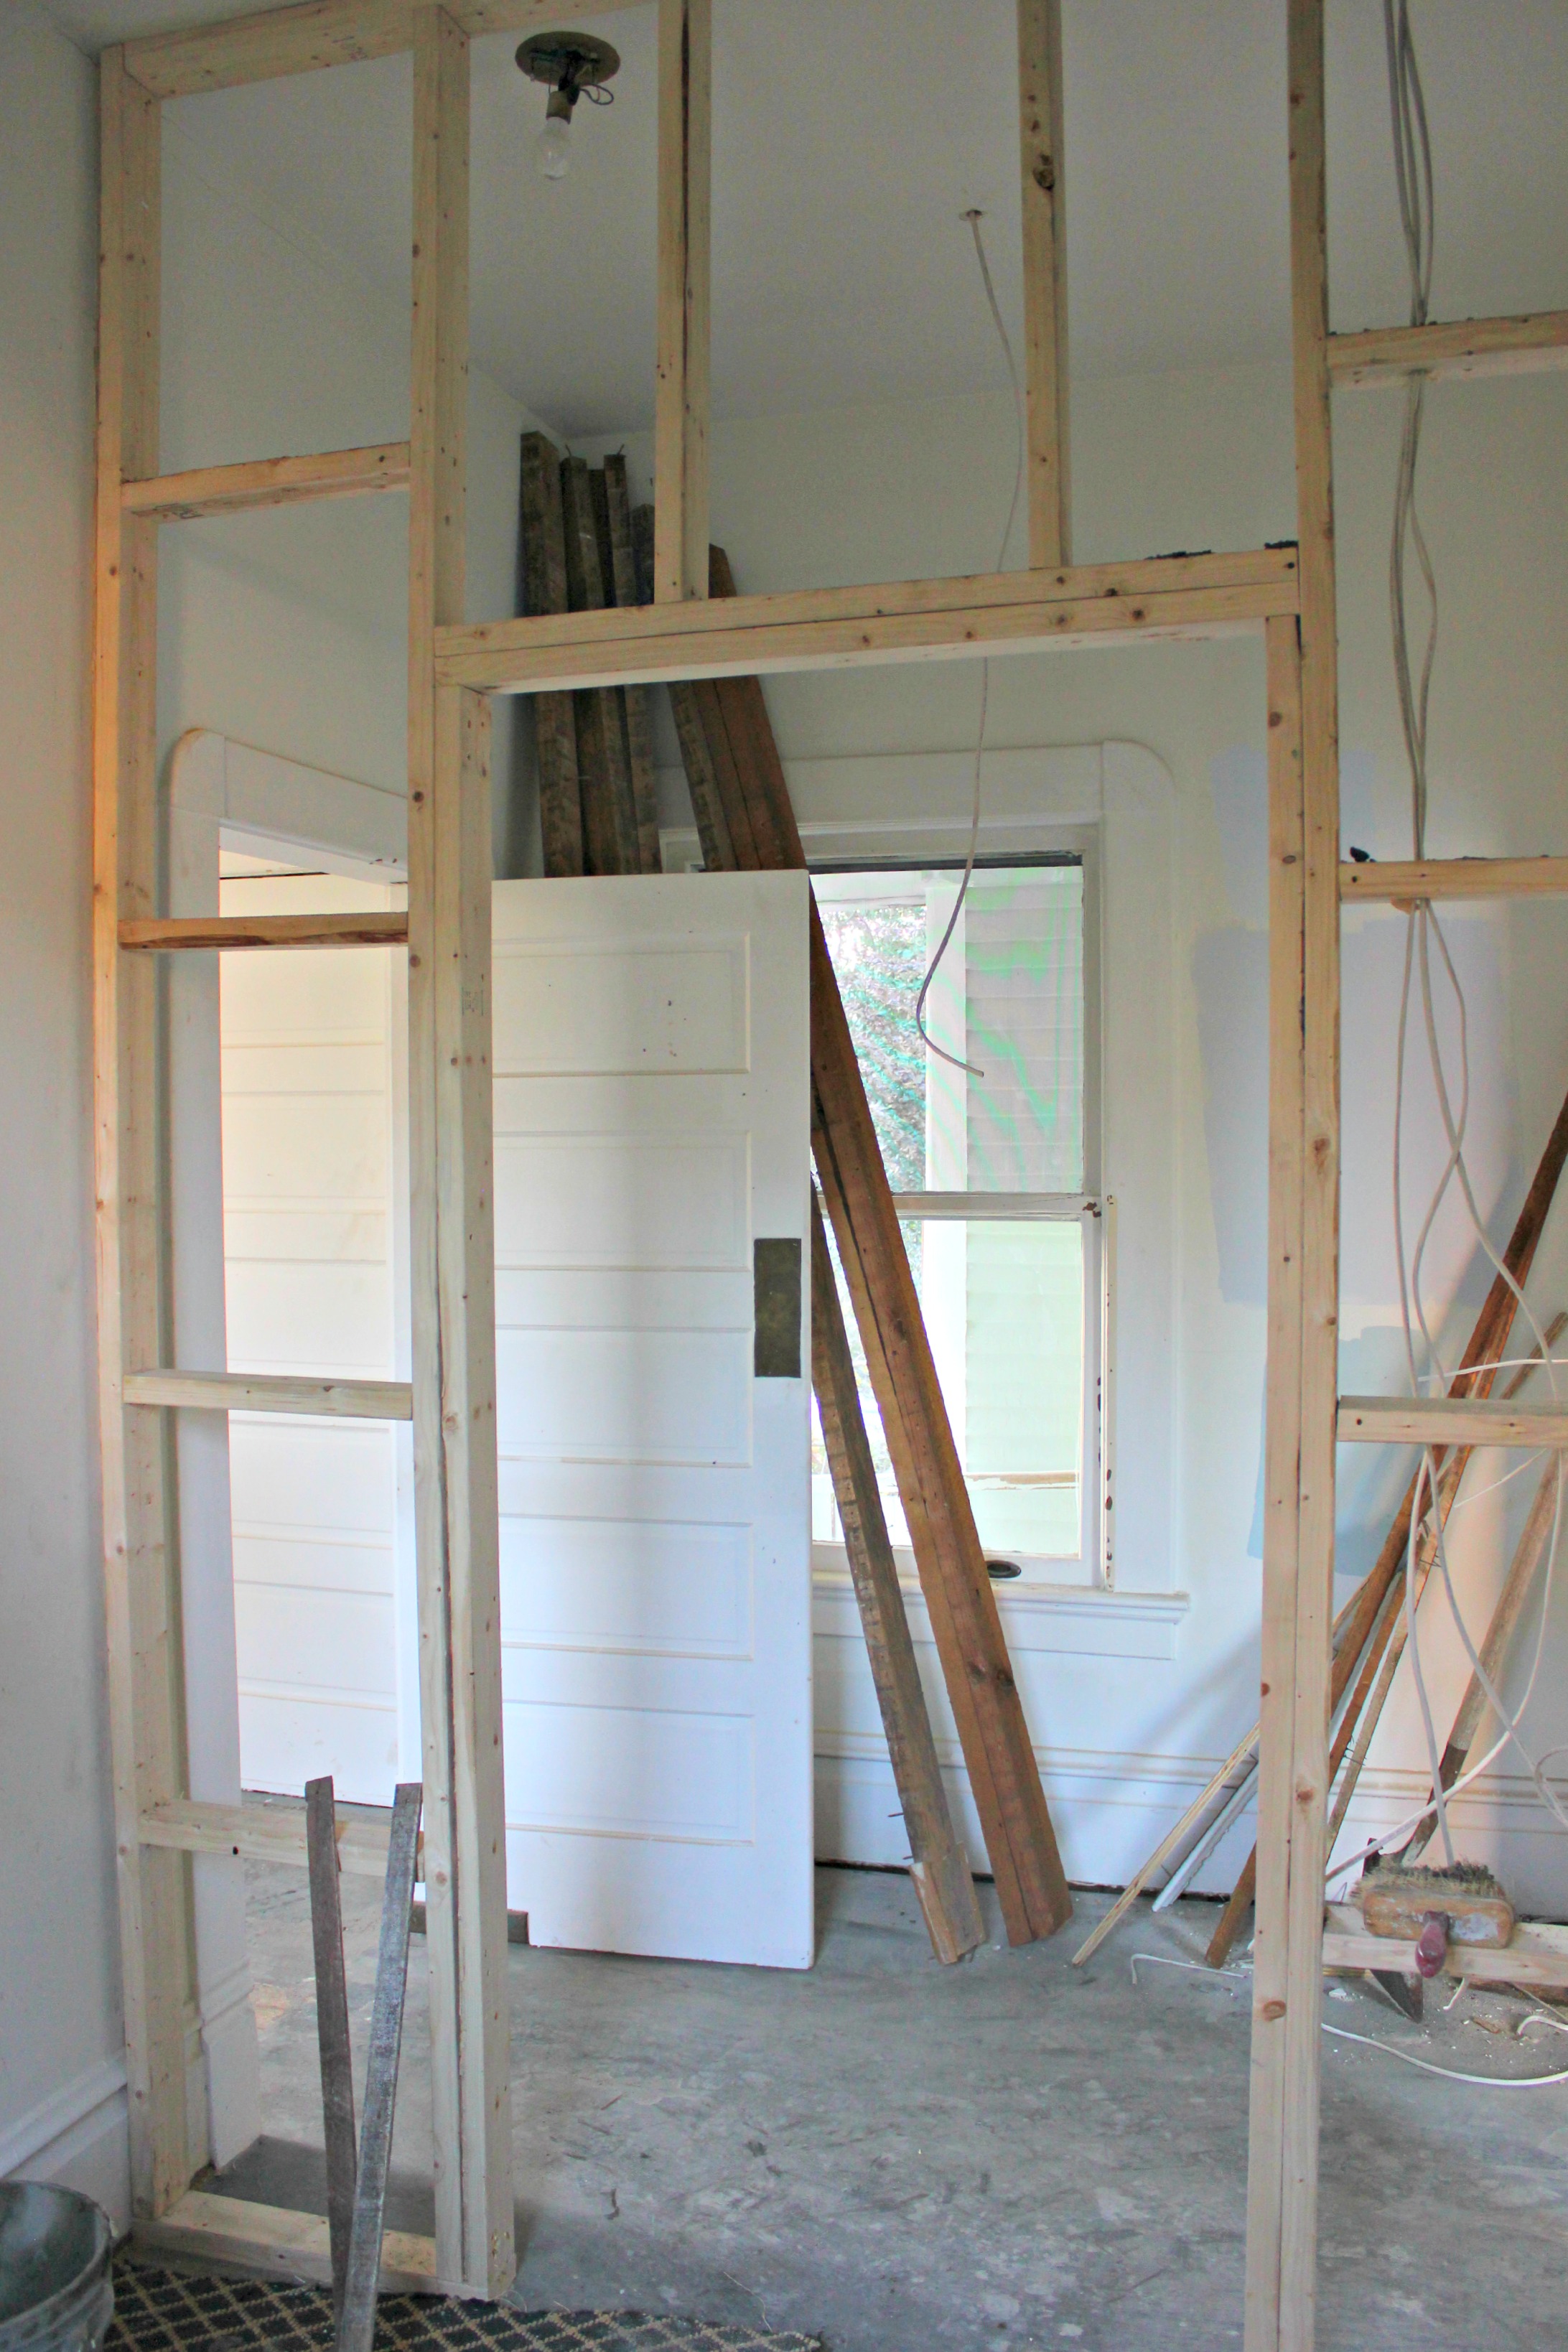
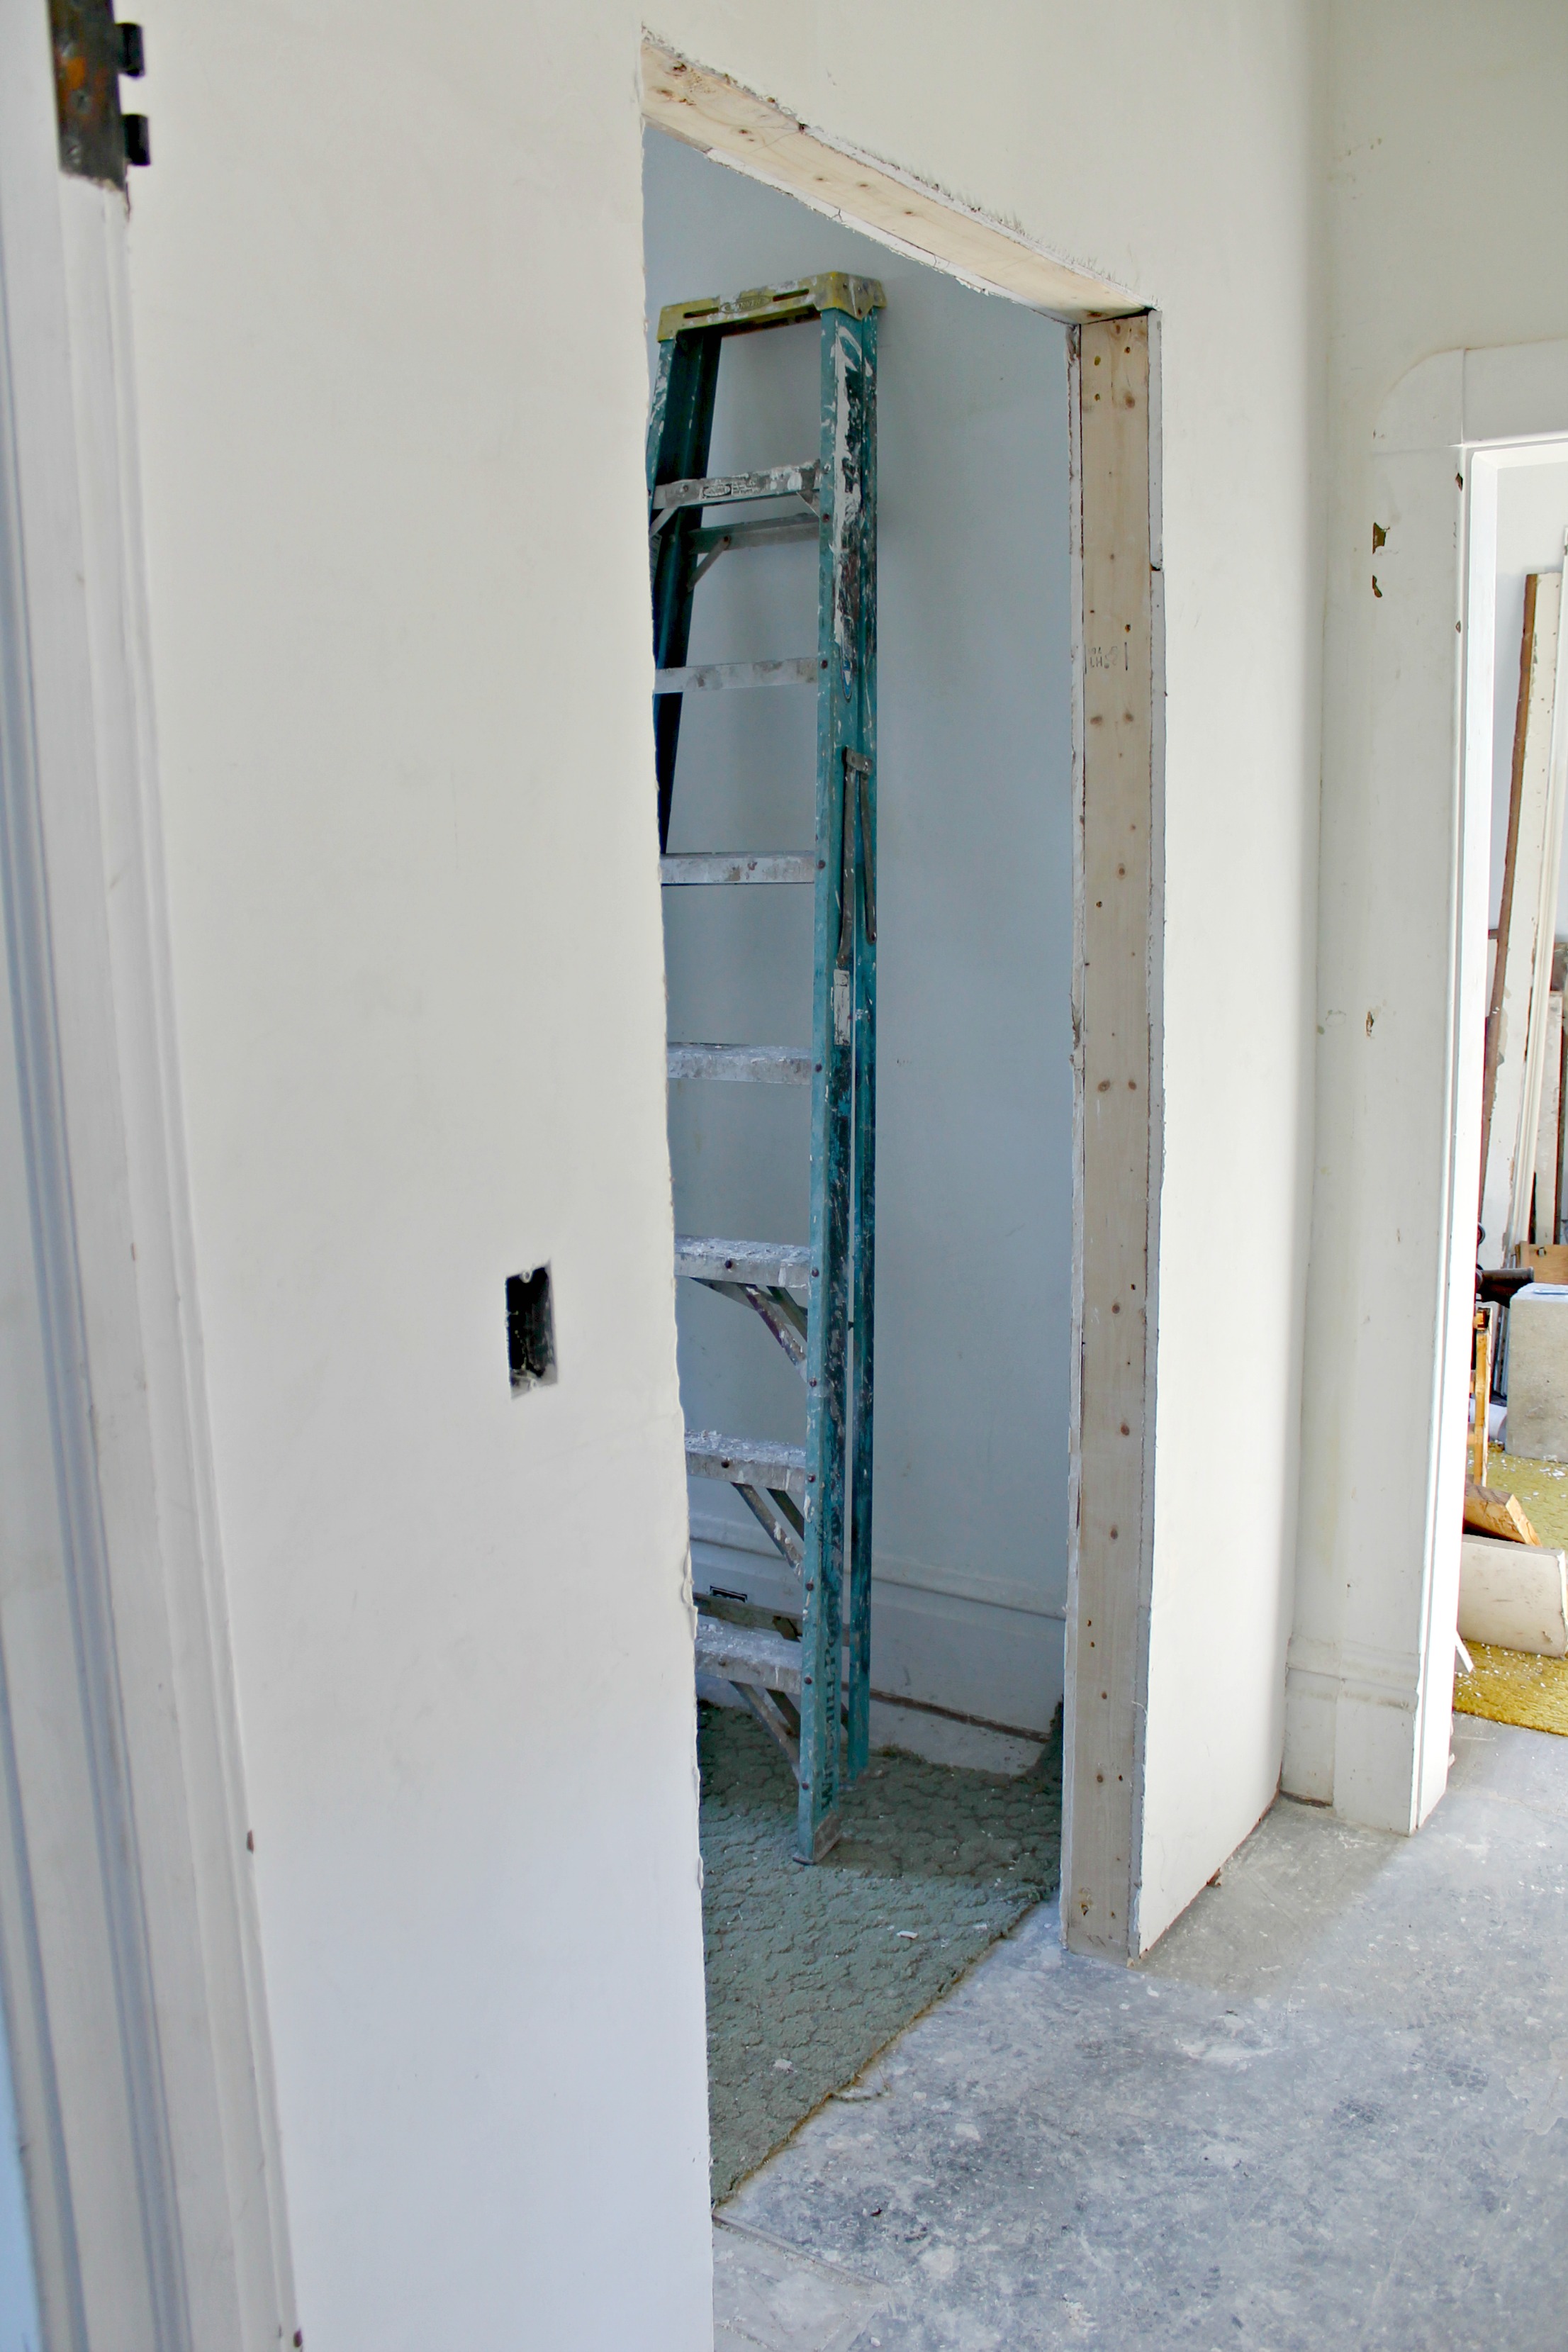
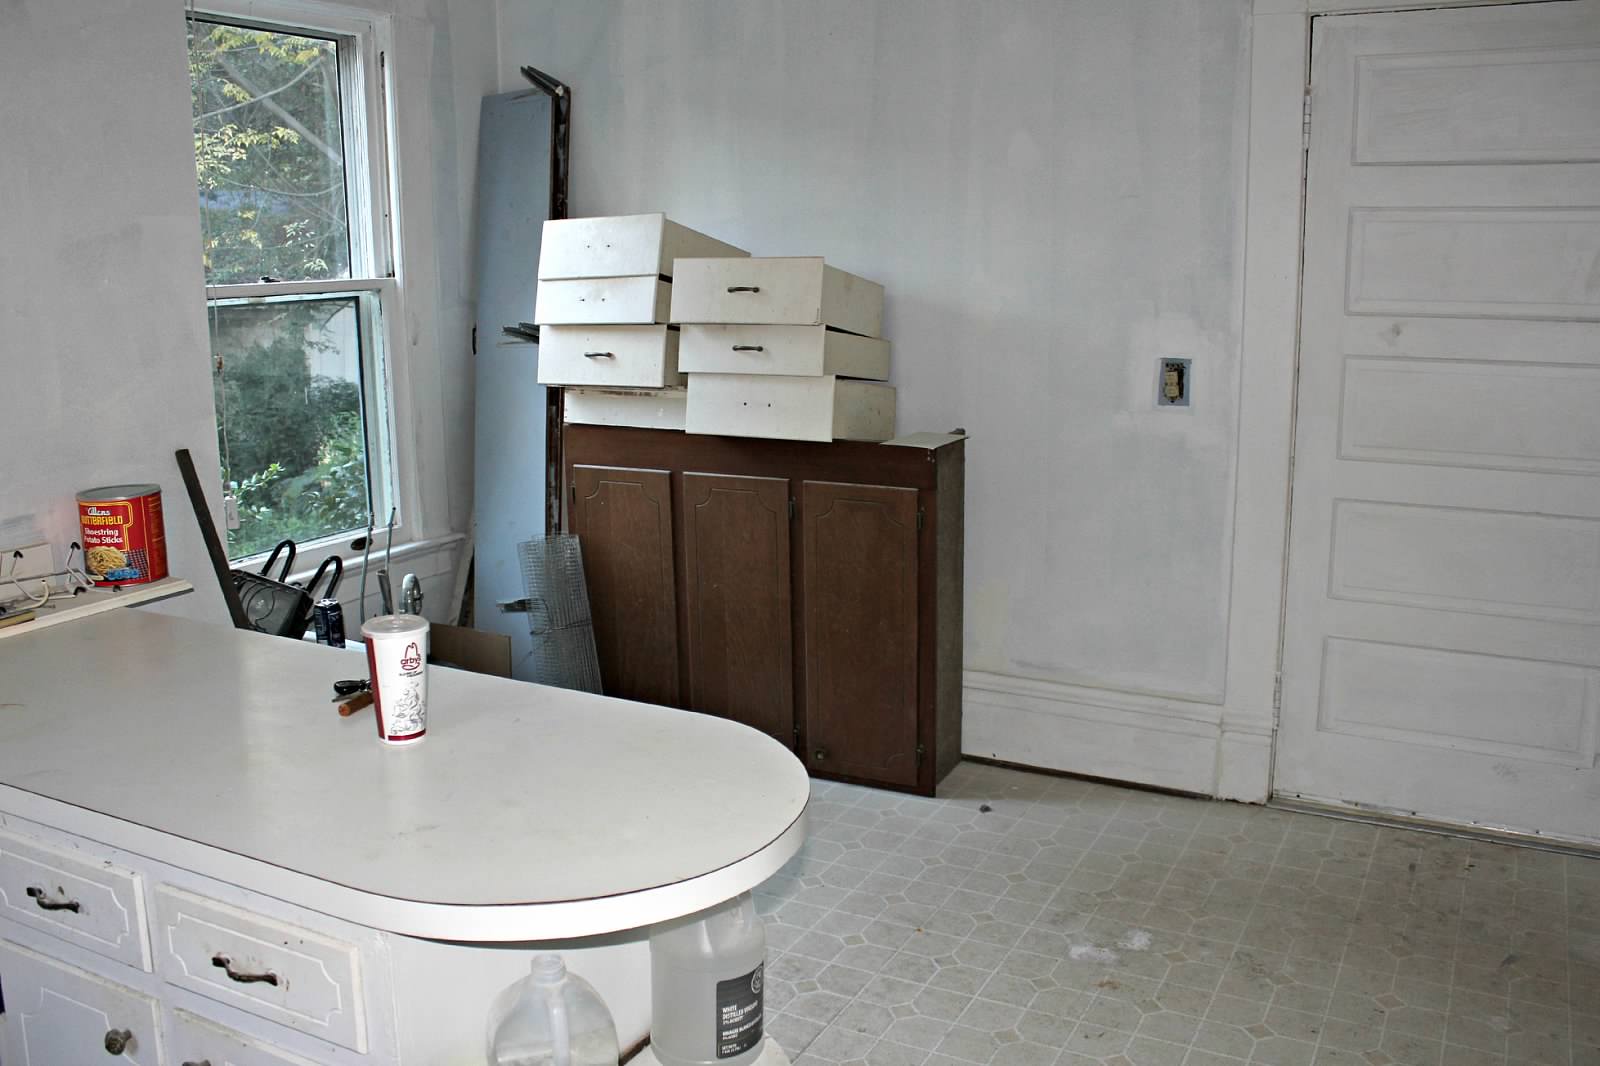
- Cut off rounded penninsula to make room for fridge
What’s left:
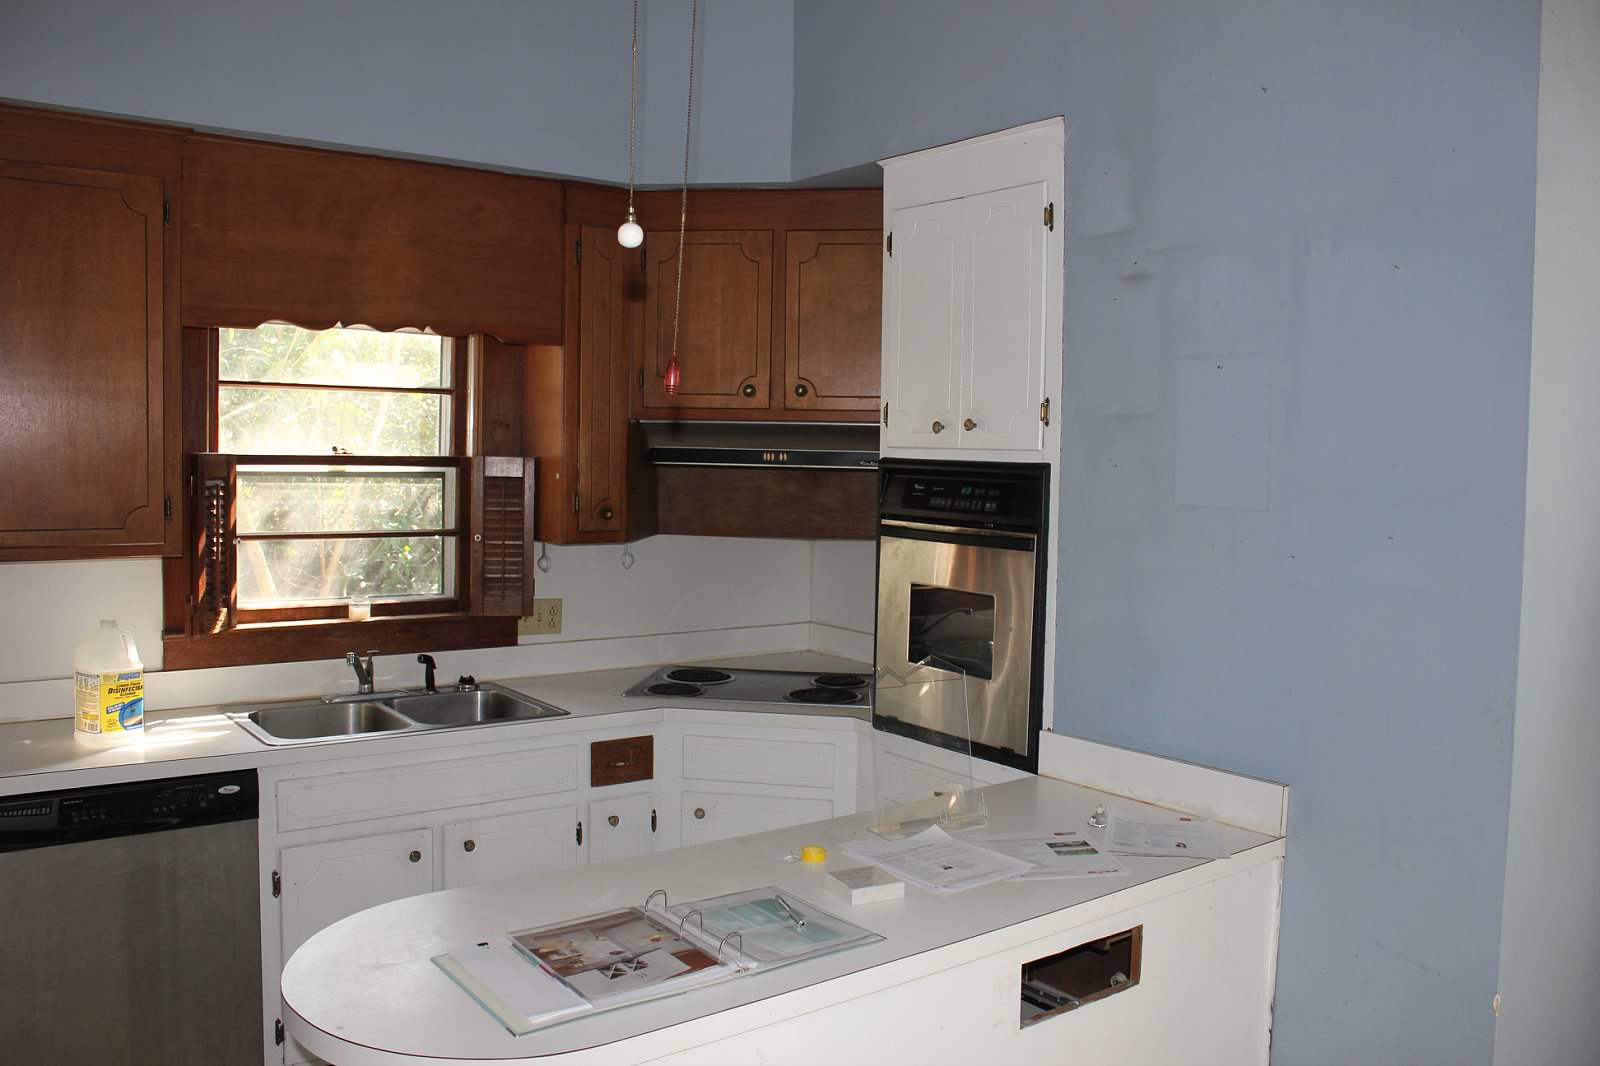
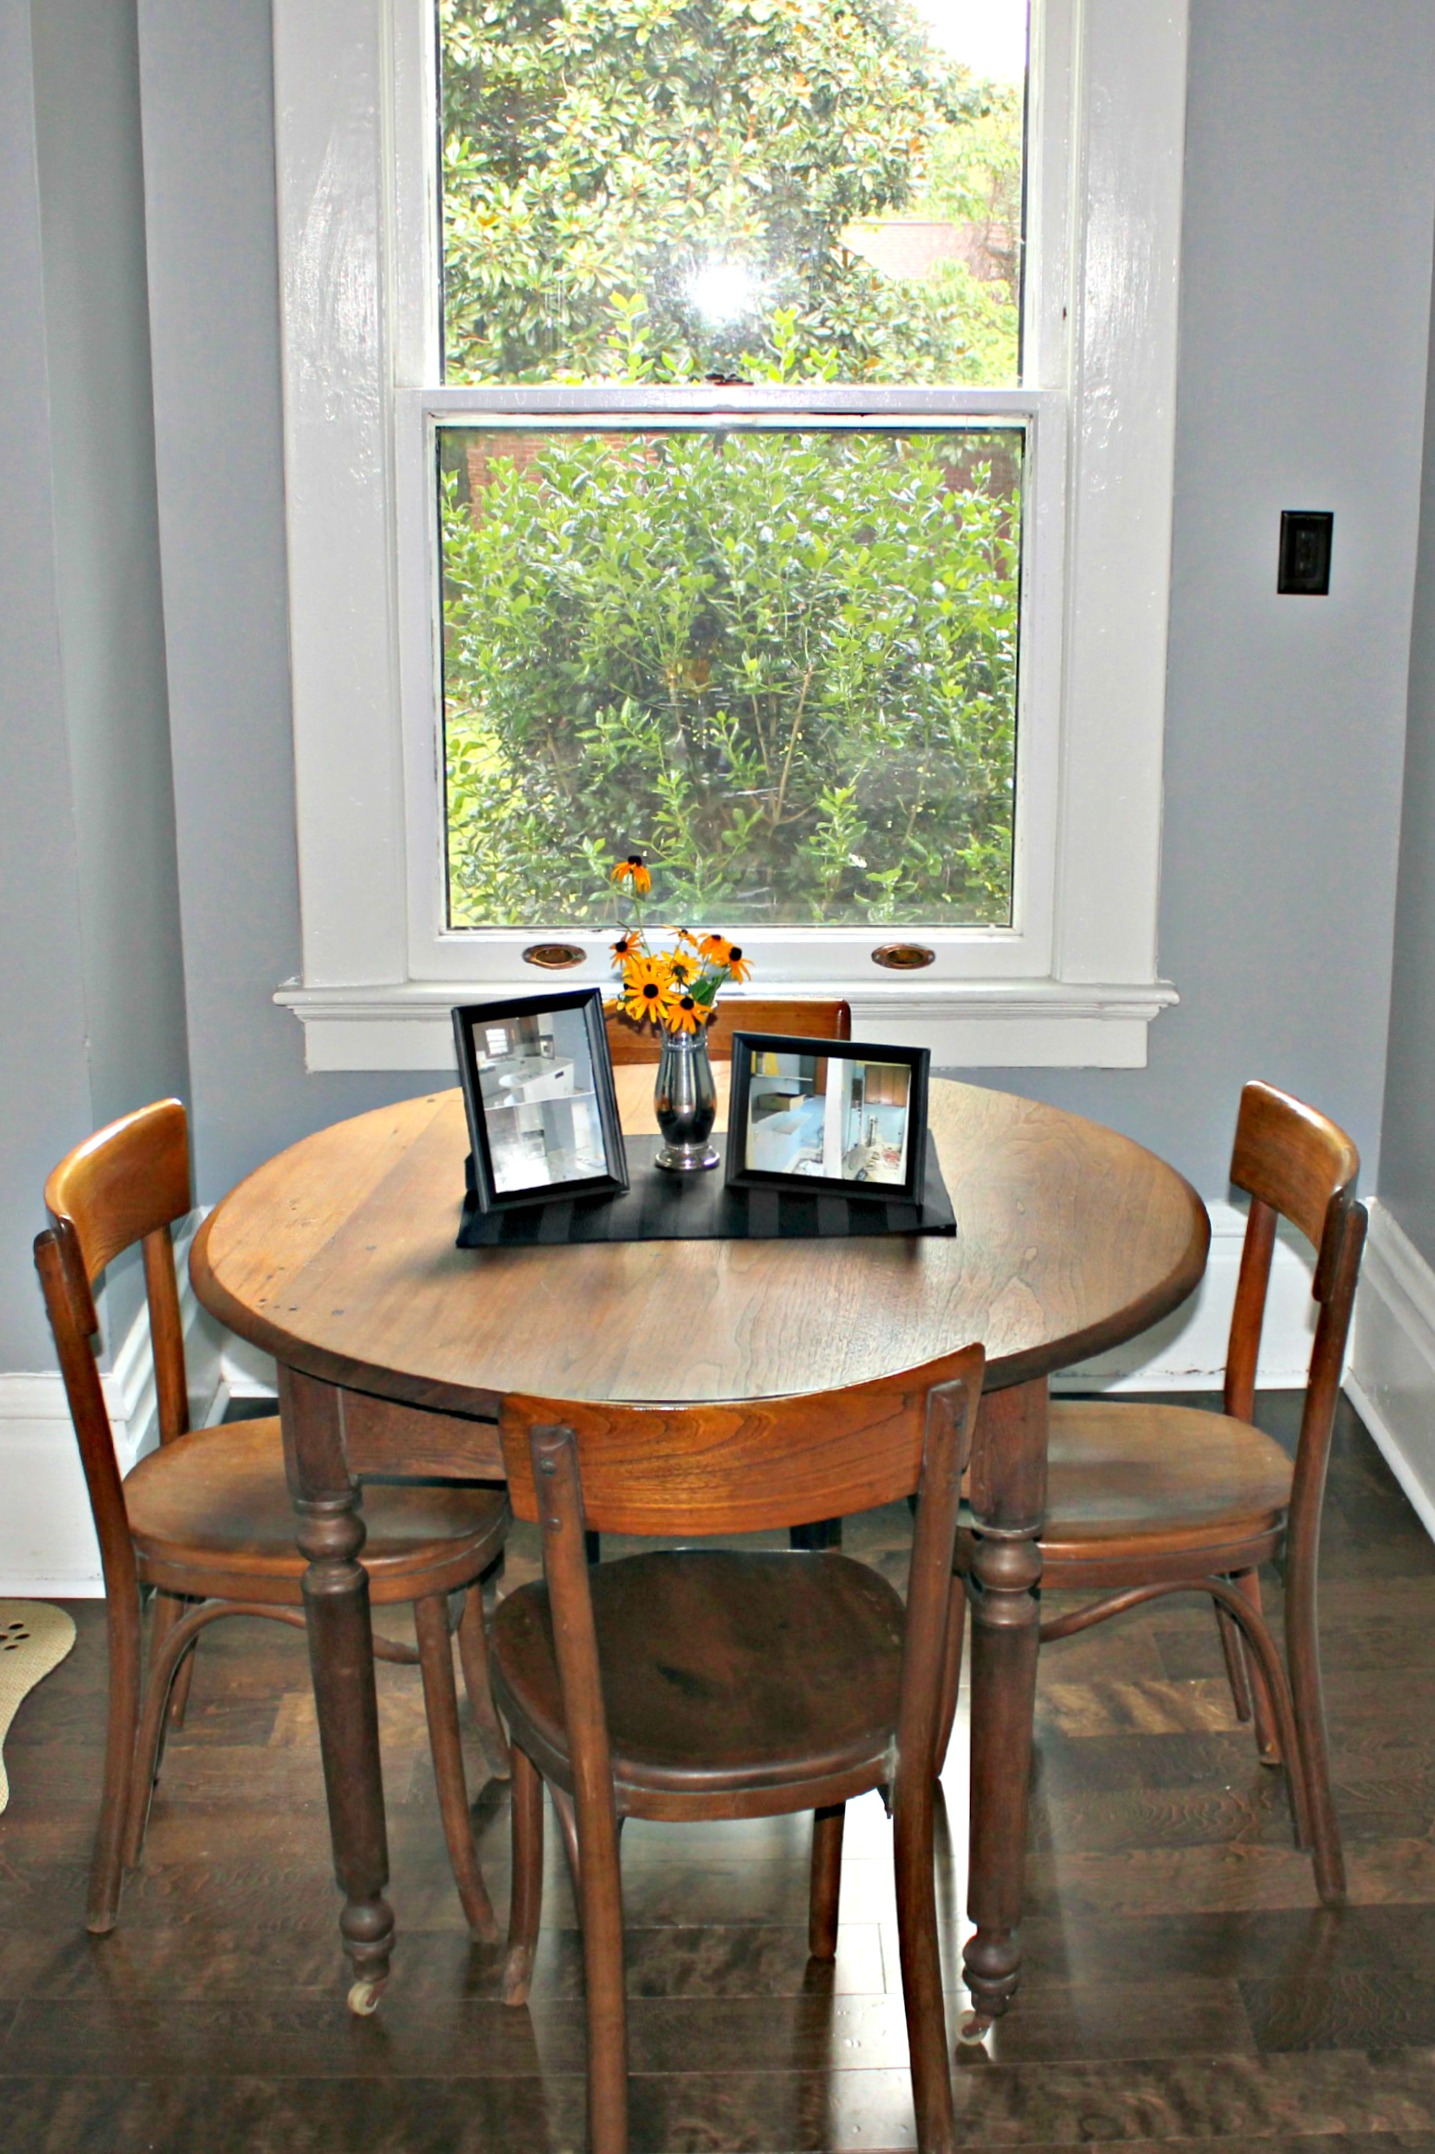
A major renovation down the road! But that’s a different post. For now, it works. It’s not our favorite and it’s certainly not glamorous, but it’s functional. And right now that’s all that matters.
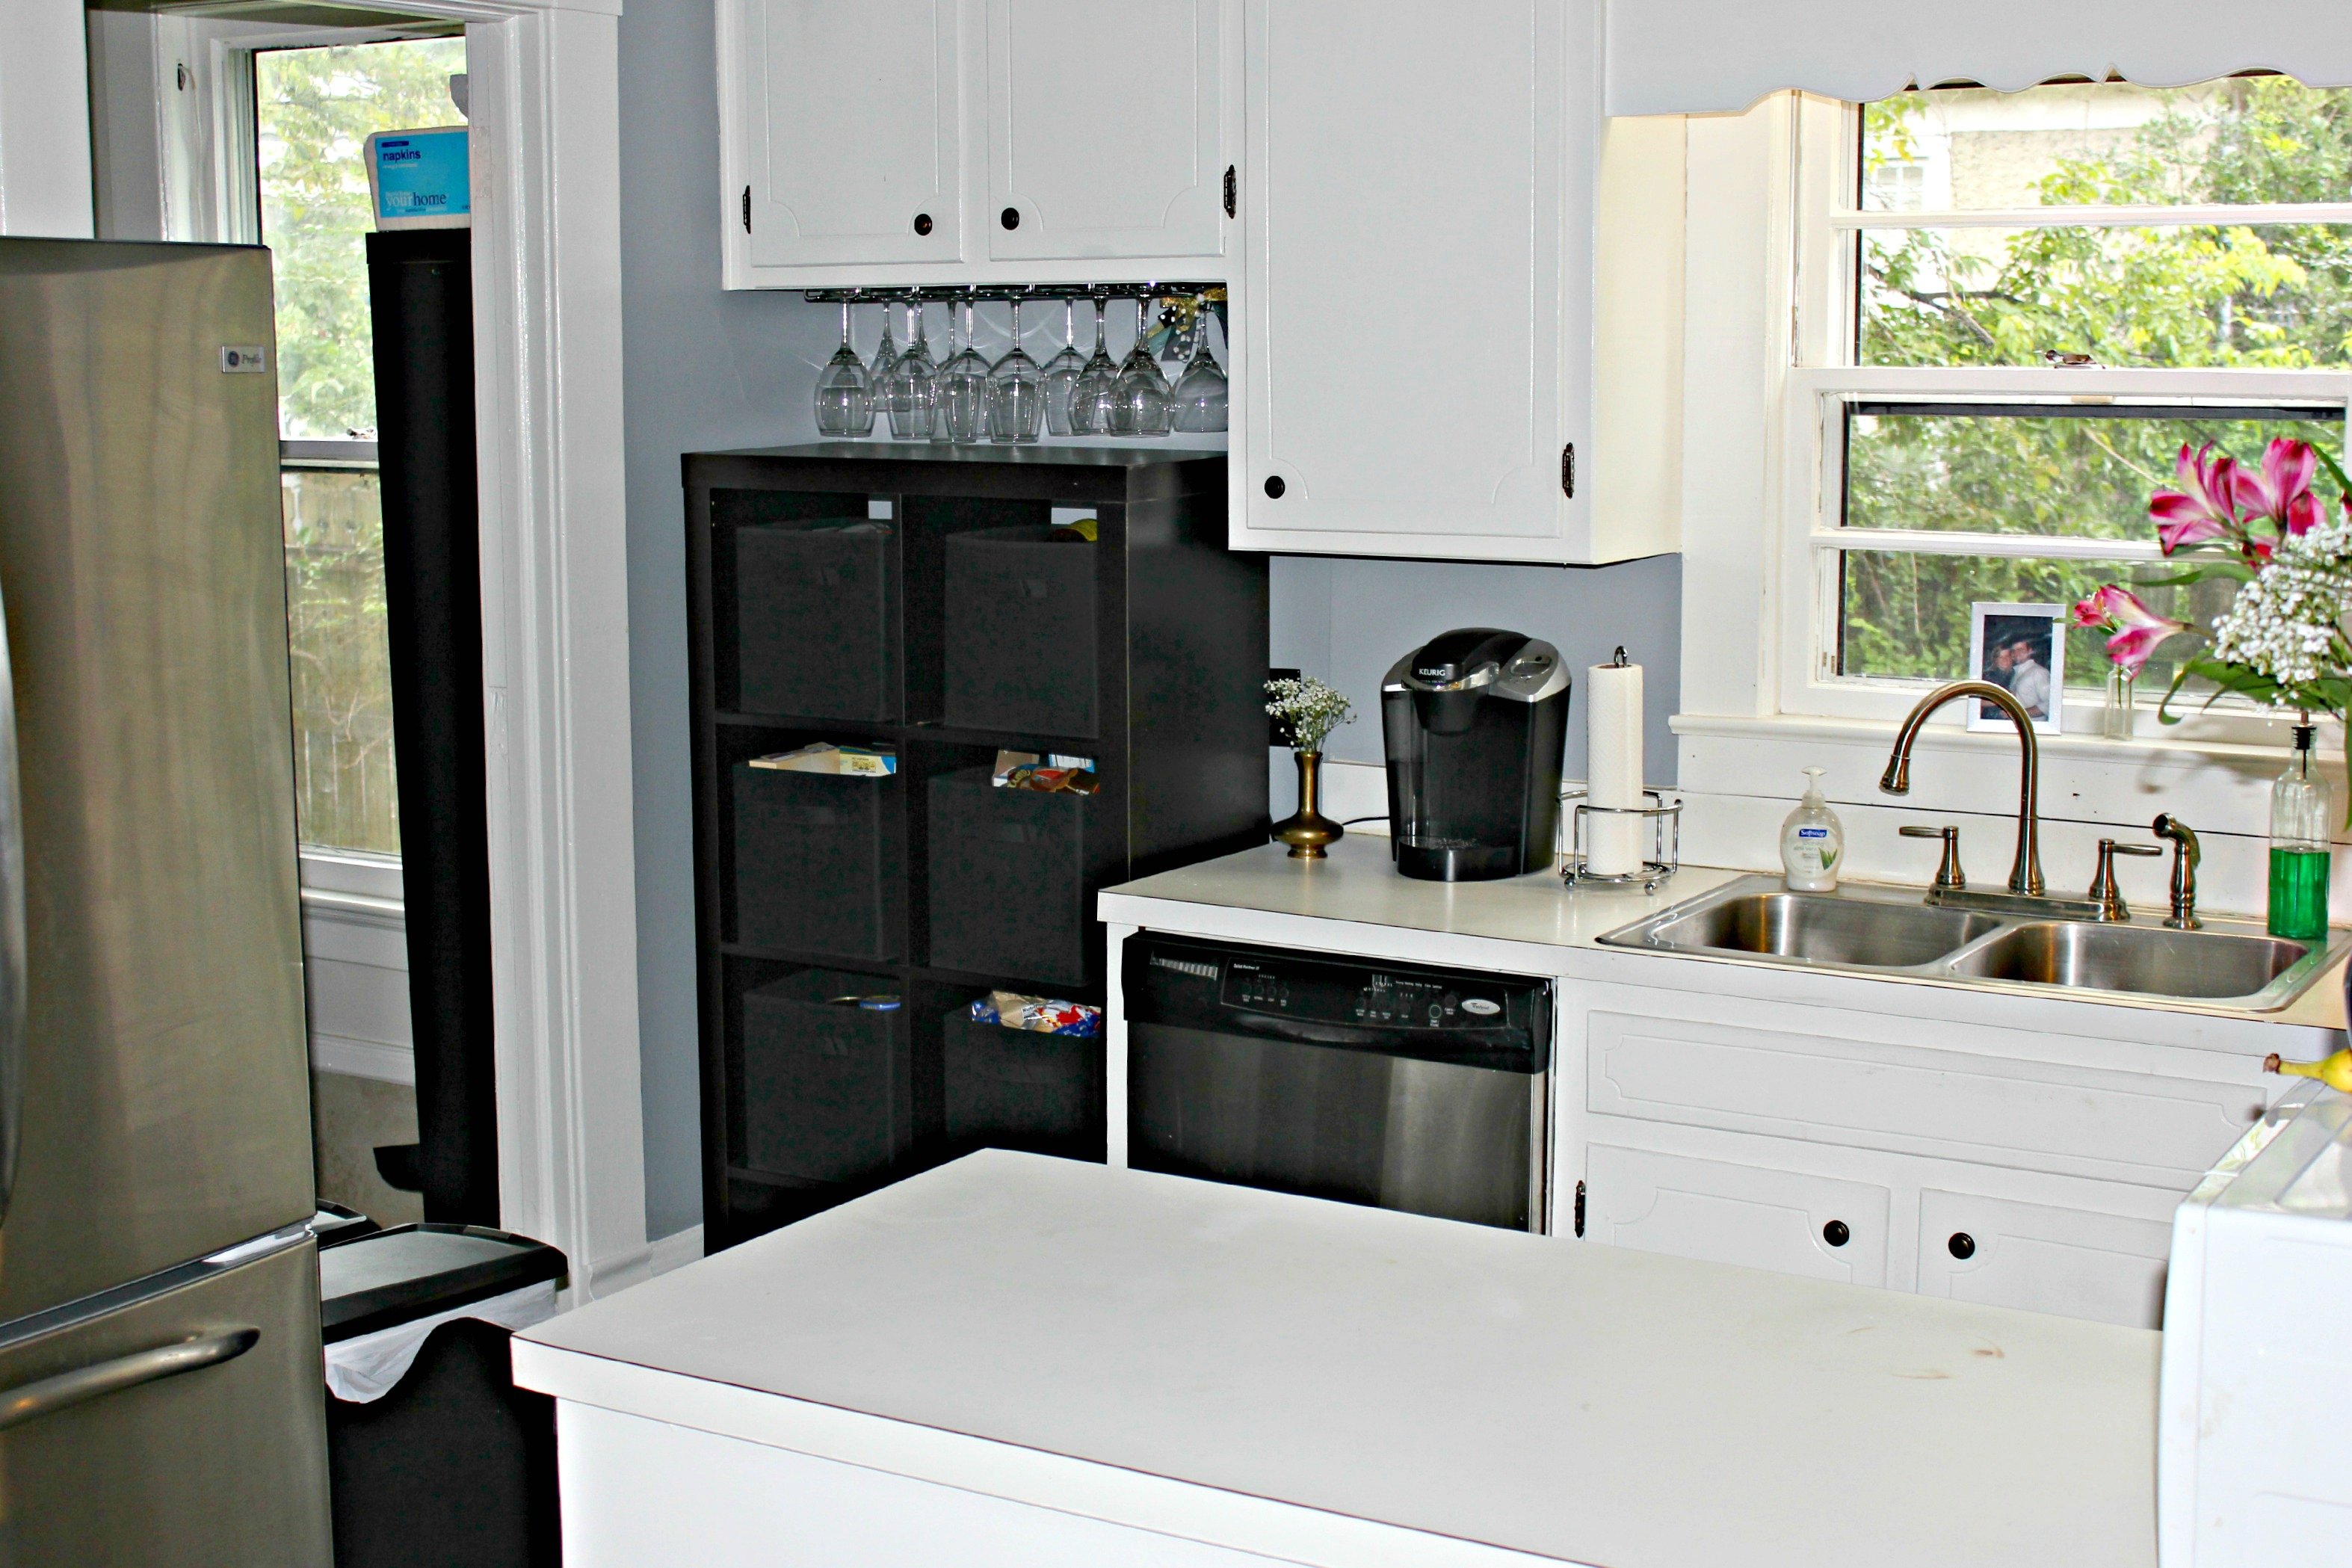
A few sources in case you’re wondering…we got the flooring (an engineered hardwood) on sale from Lumber Liquidators and cabinetry hardware from 99centknobs.com. All hardware is…99 cents! This site is amazing. We replaced all of our kitchen hardware for less than $35!!
We ordered our fridge from Sears Outlet online and had the best experience. We got about 60% off a brand new beautiful fridge because it had a dent in the side. I swear we cannot find the dent! It was definitely one of our best scores! The wall color is Morning Fog by Sherwin Williams, and the trim and cabinets are stark white. The gas range (which we are obsessed with!!) was a Craigslist steal — $80! The garbage disposal and sink faucet were from Lowe’s.
That’s it! Our budget kitchen renovation. And don’t worry, I’ve already started planning our kitchen remodel…see my ideas here! (Hint: it will probably be white on white!)

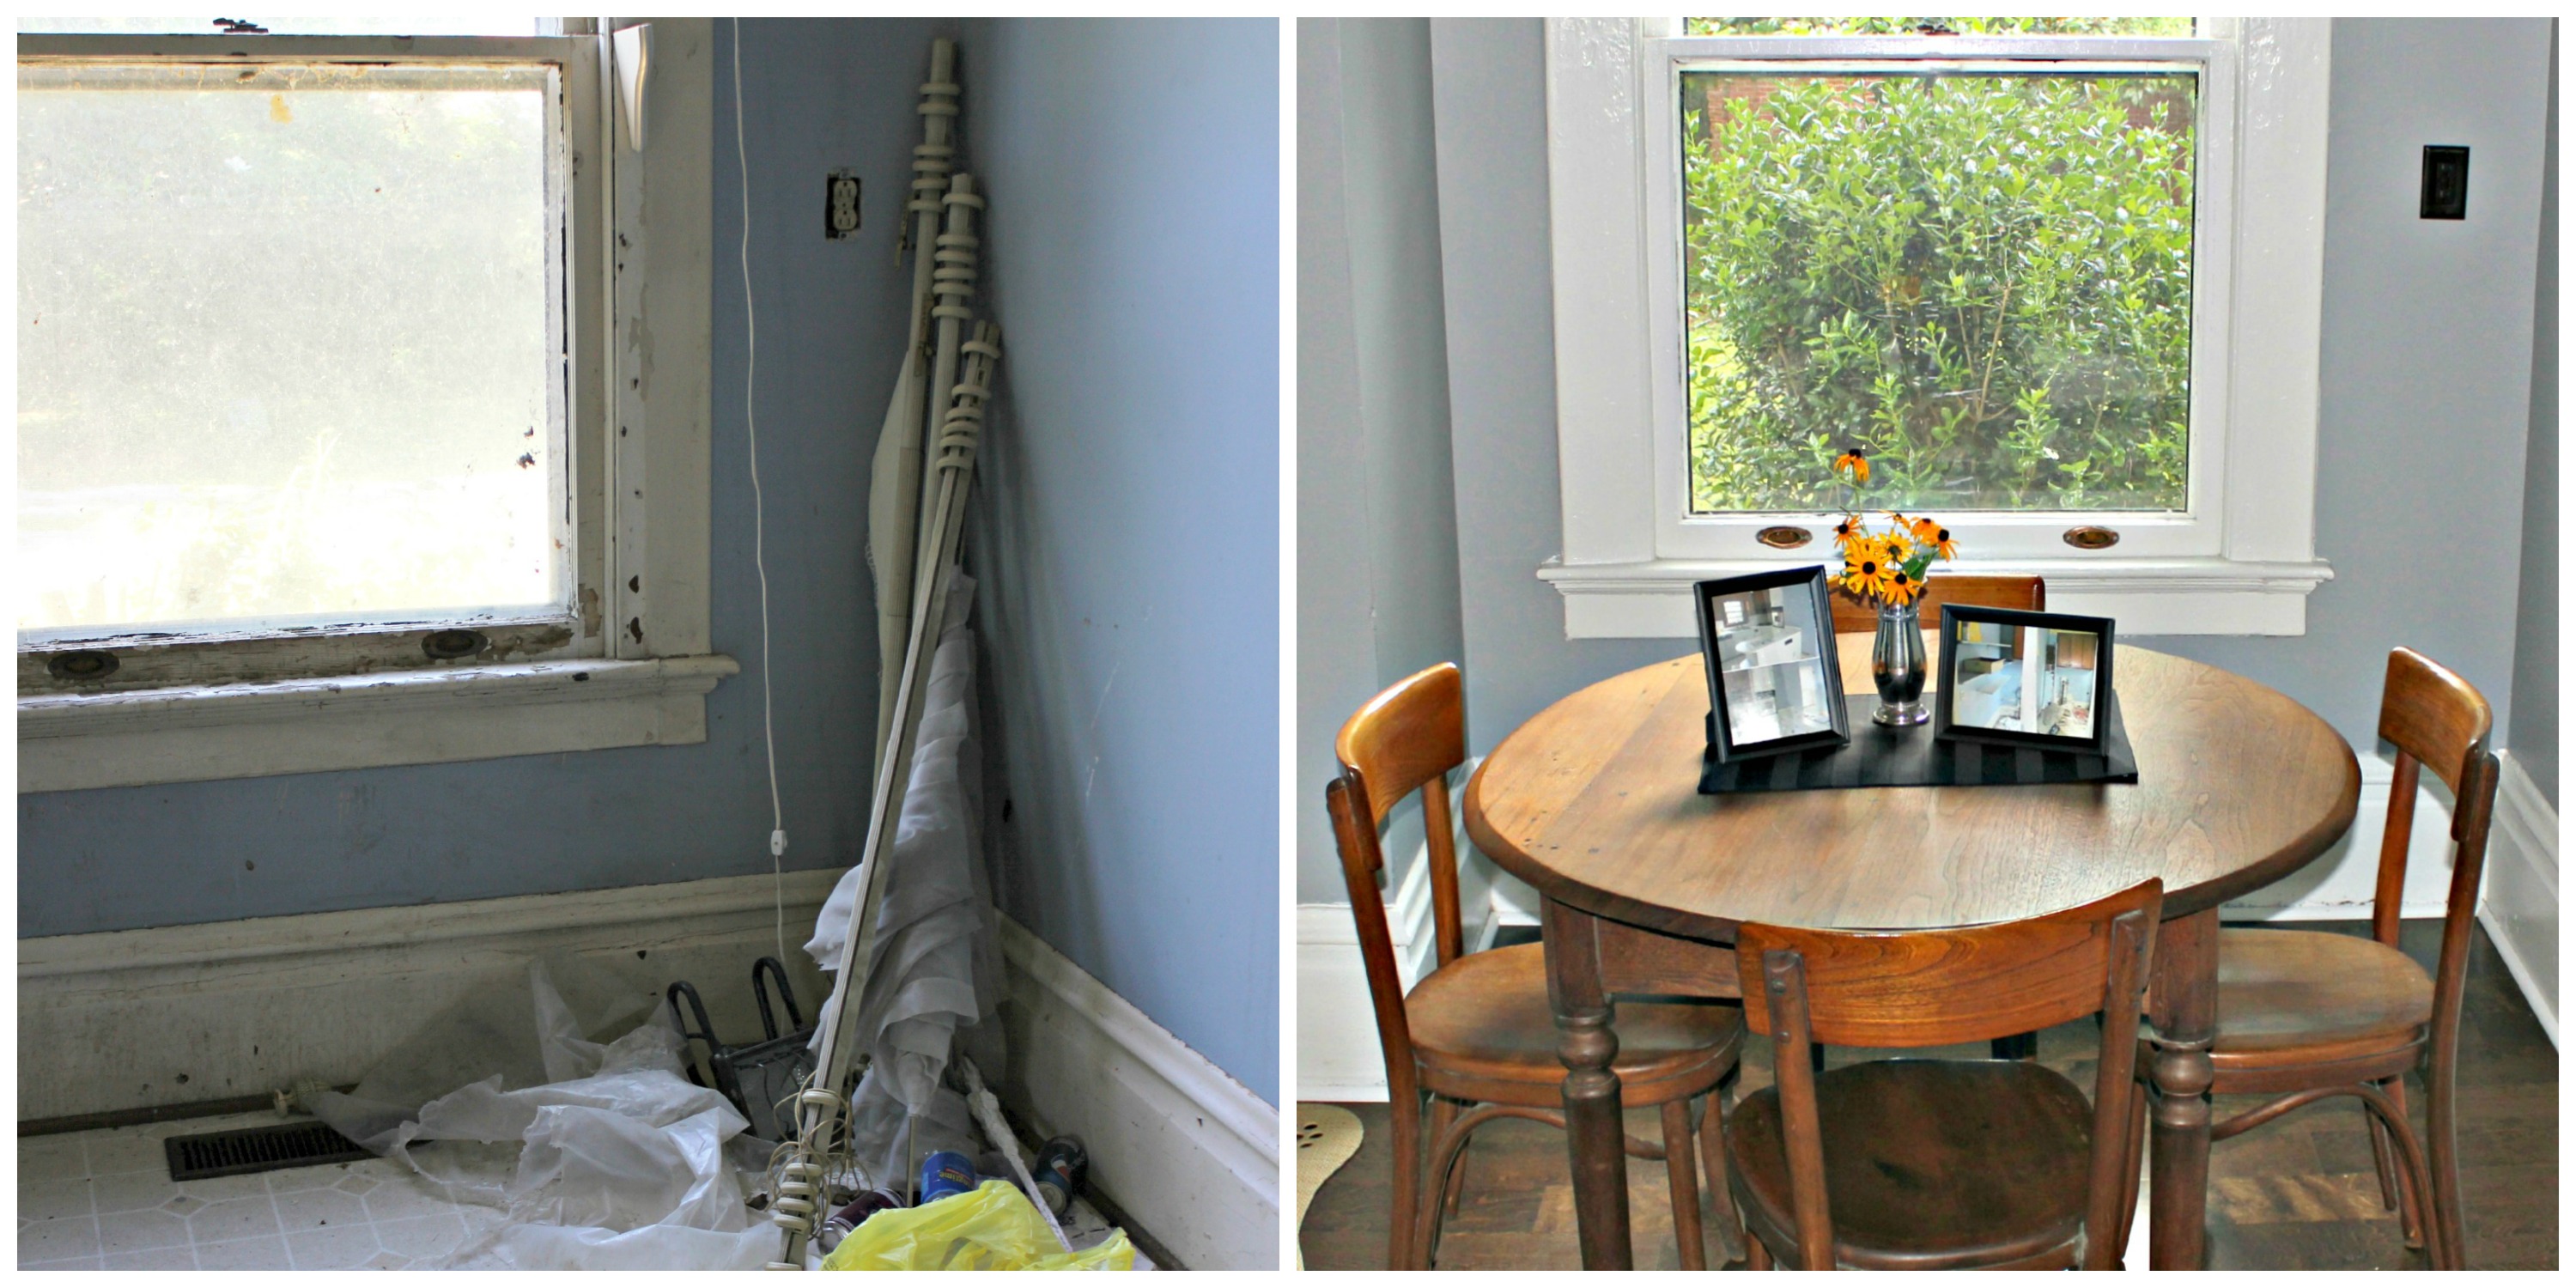
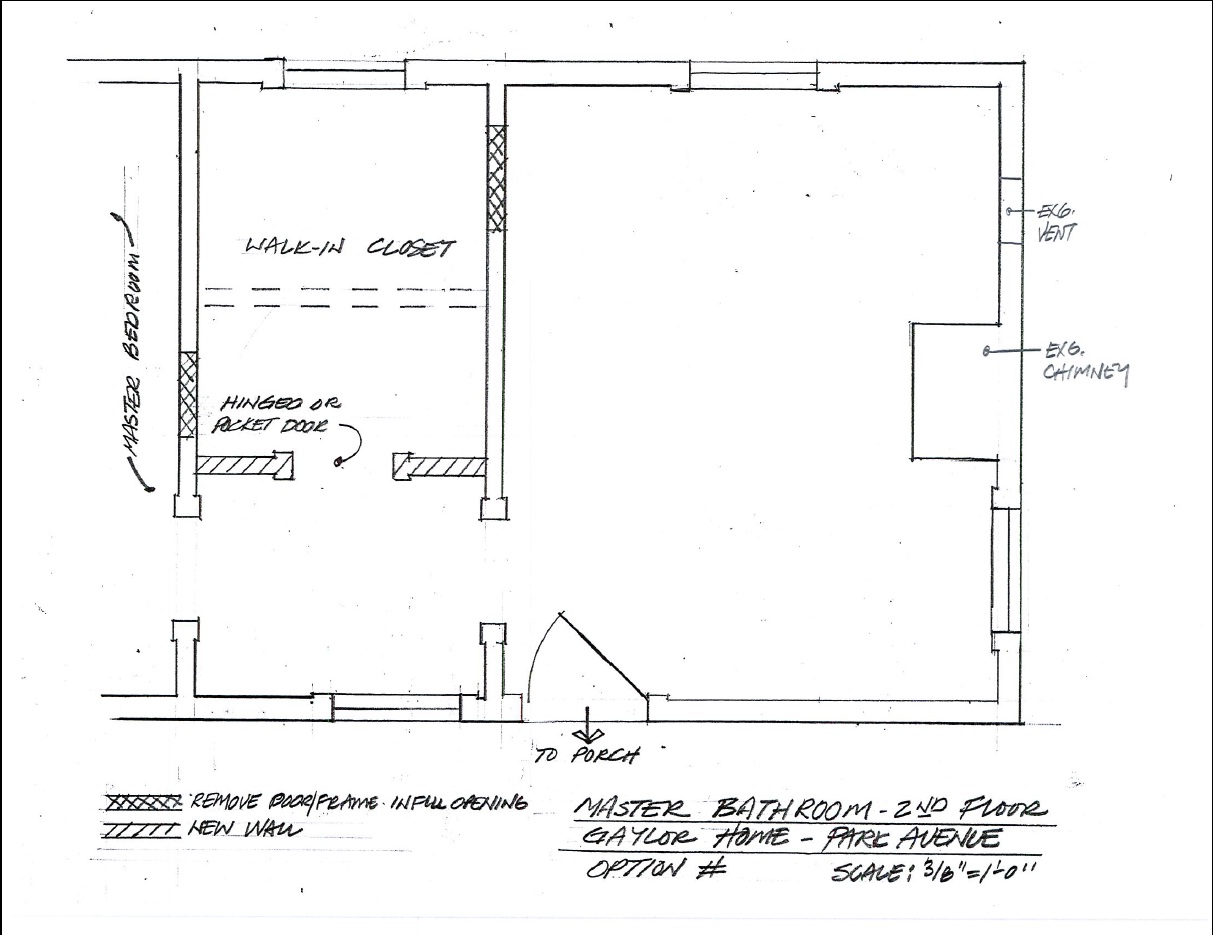
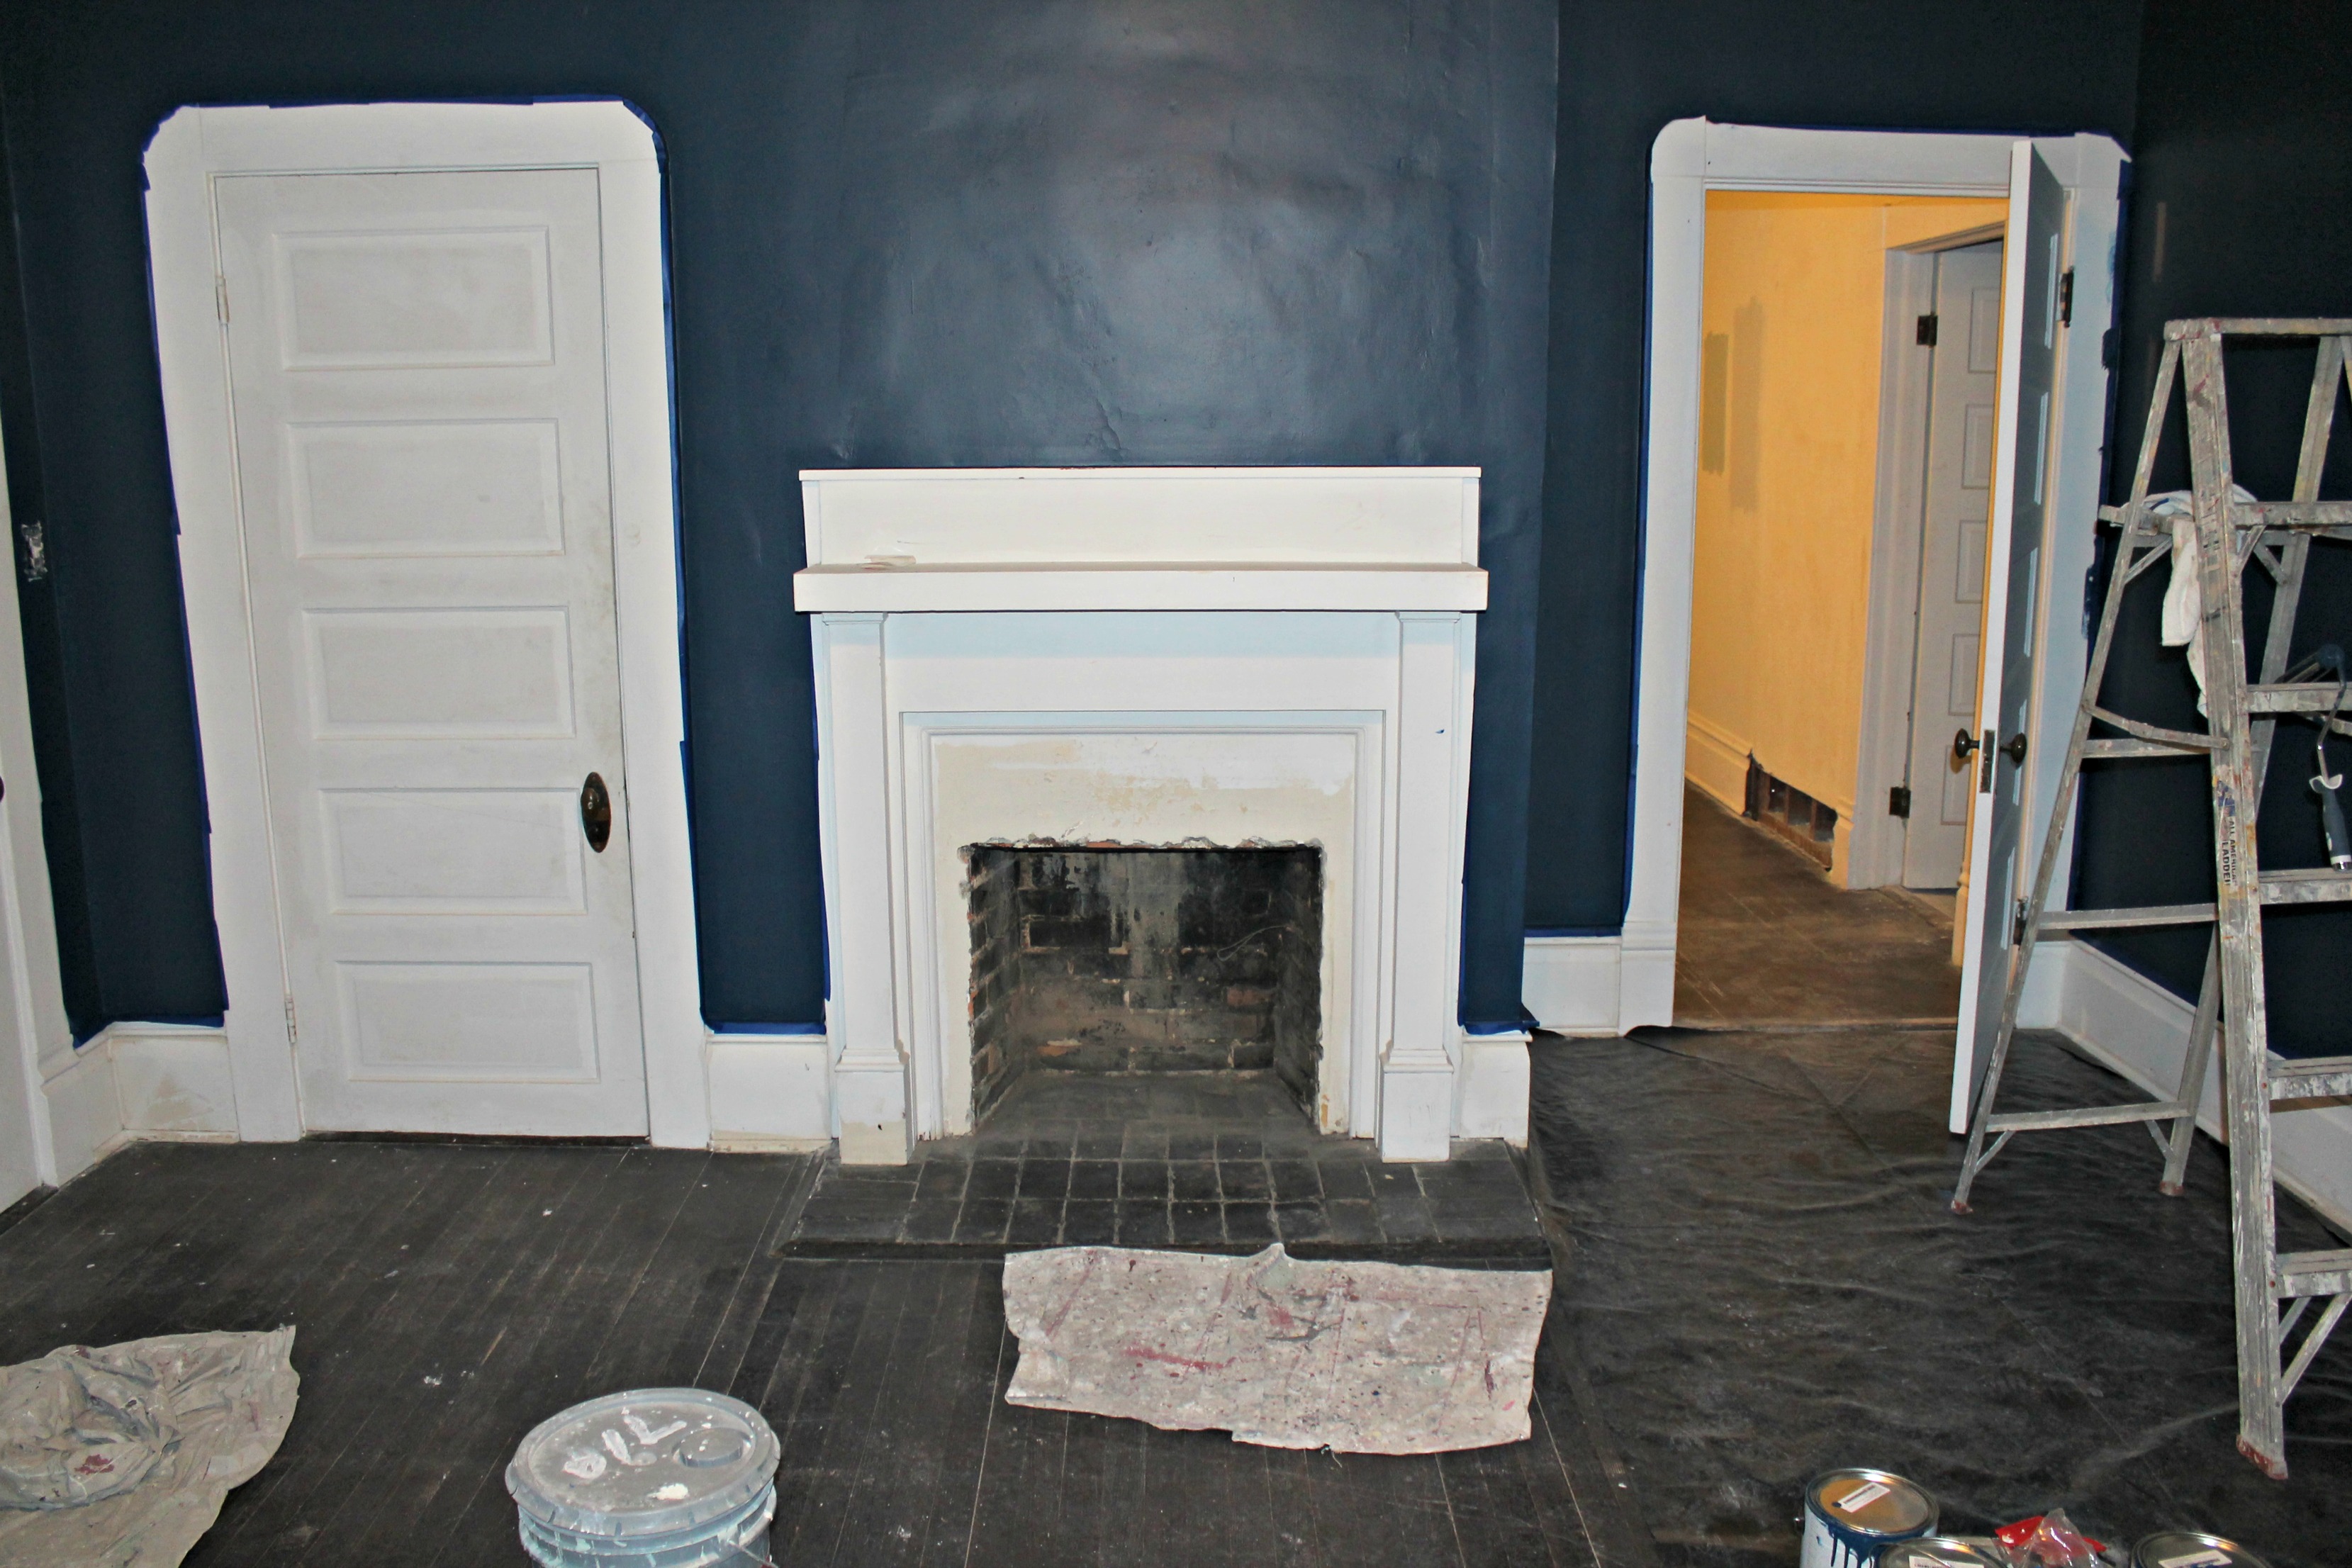
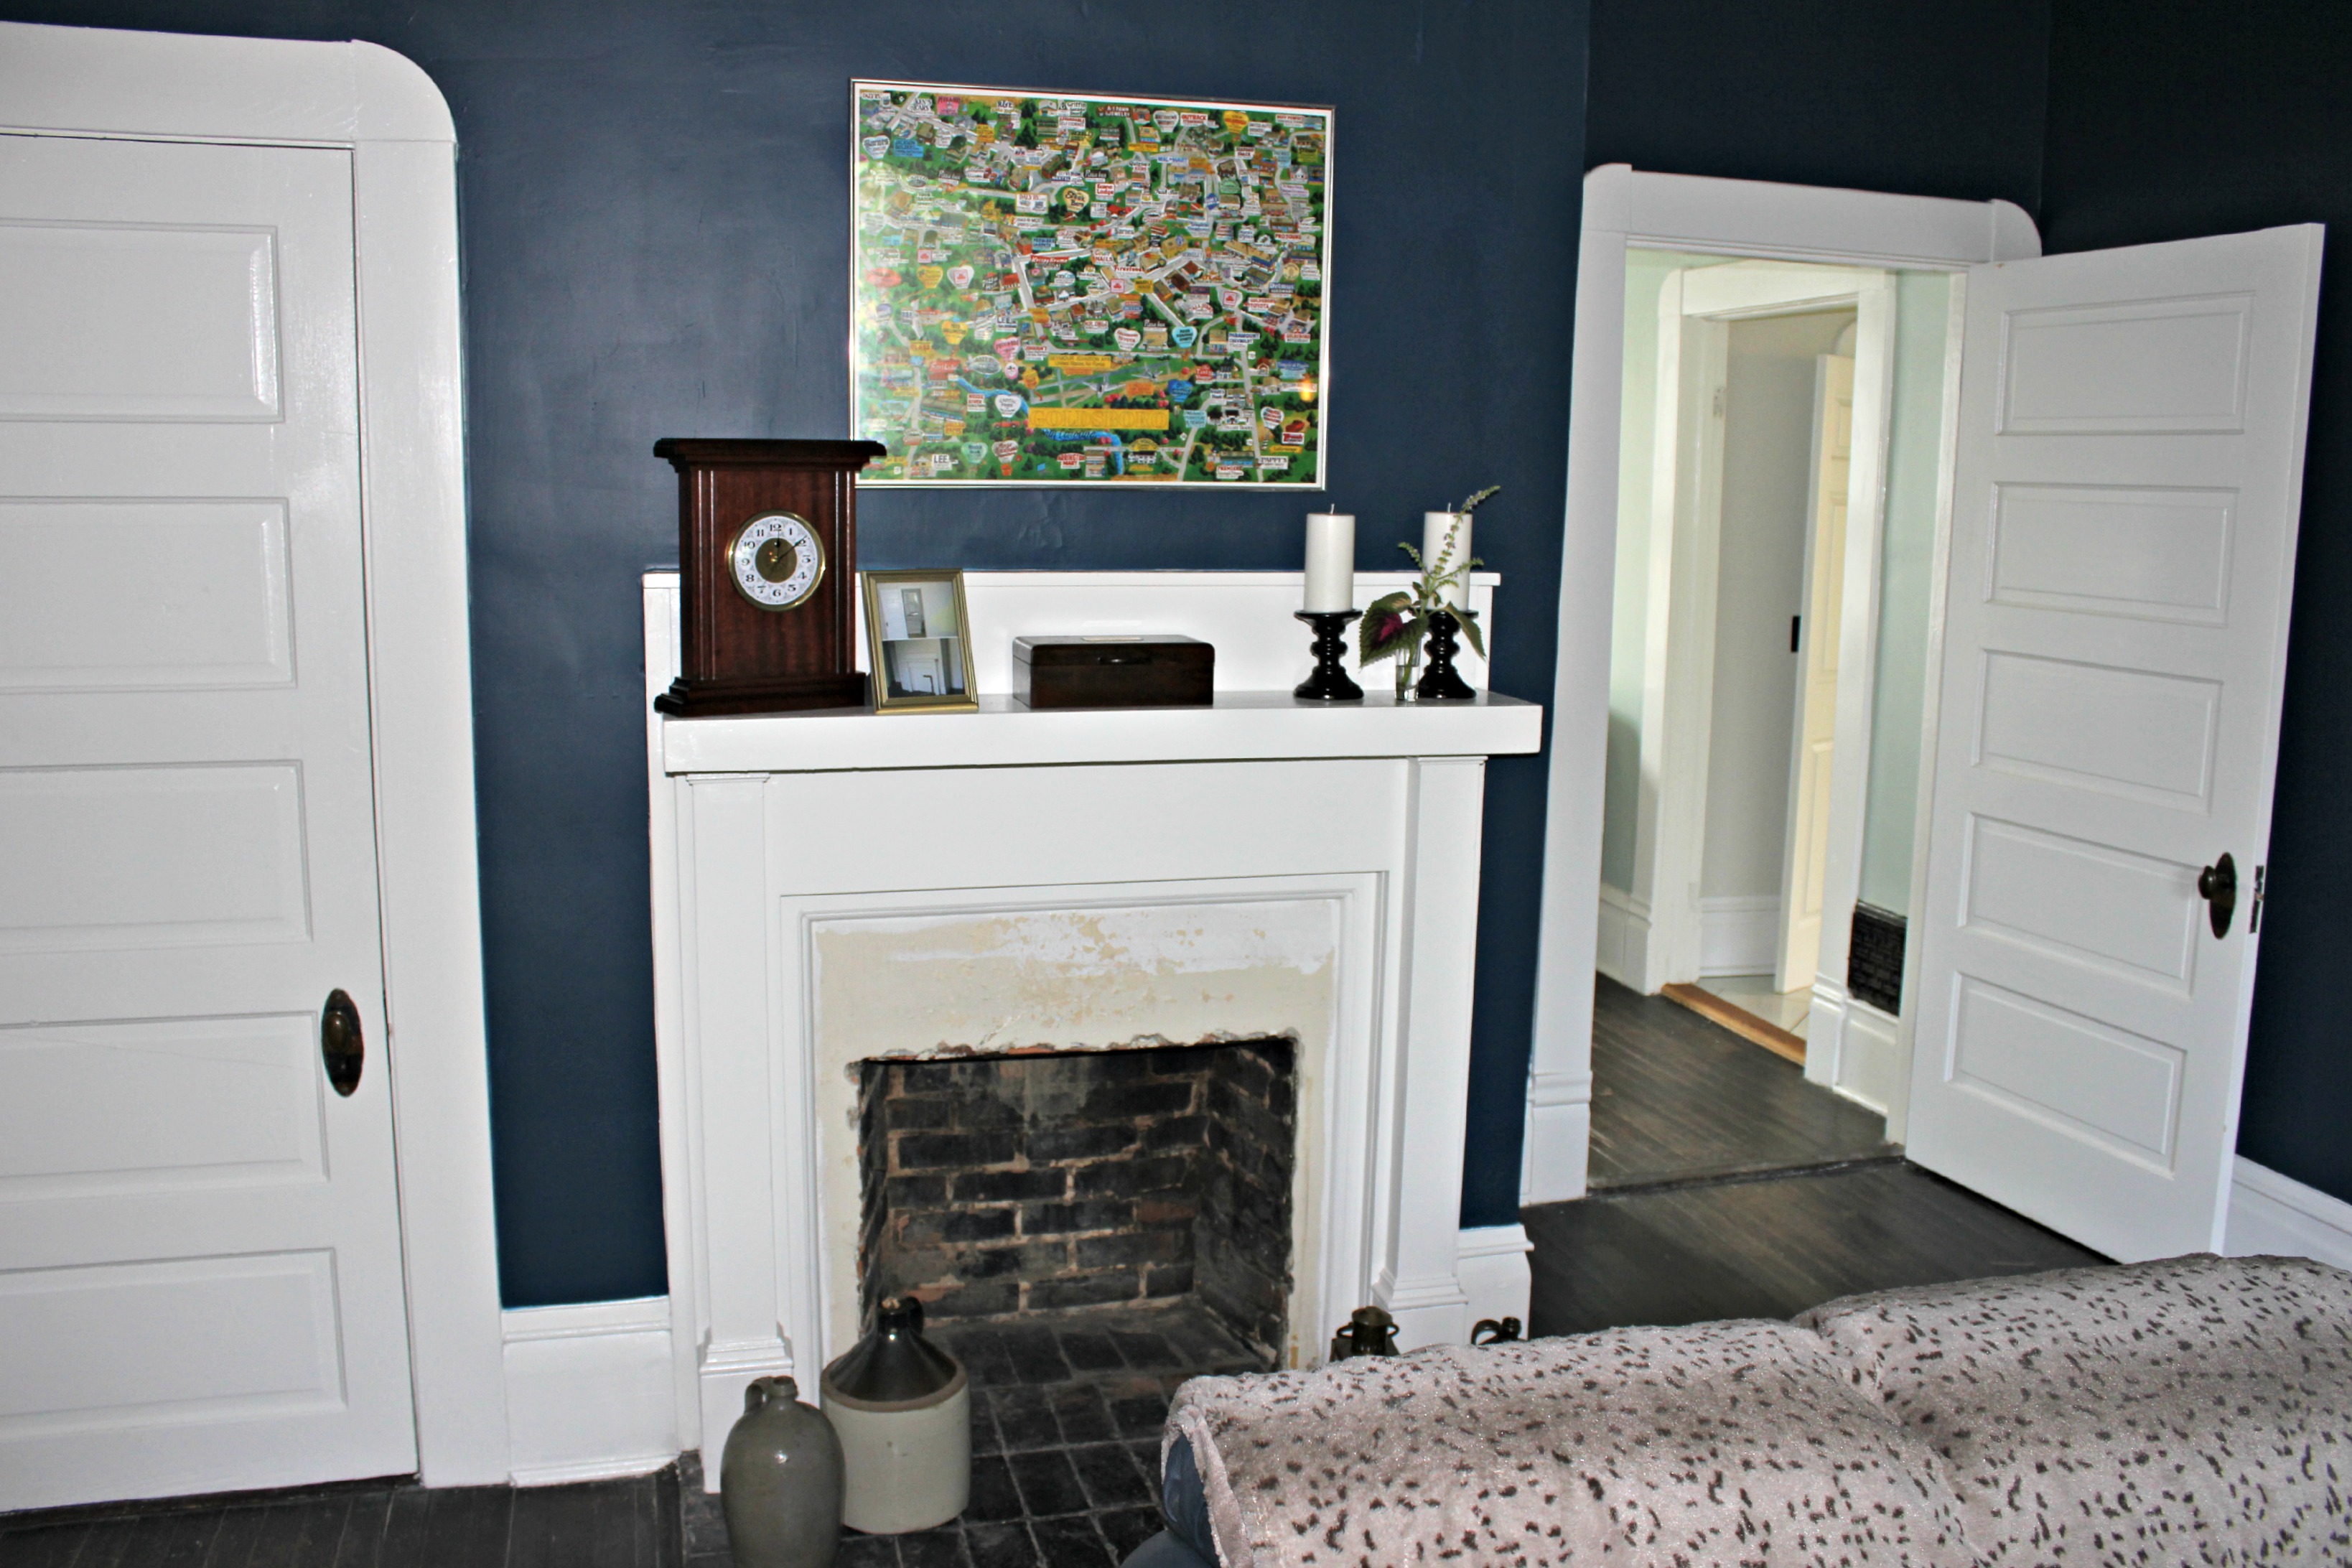
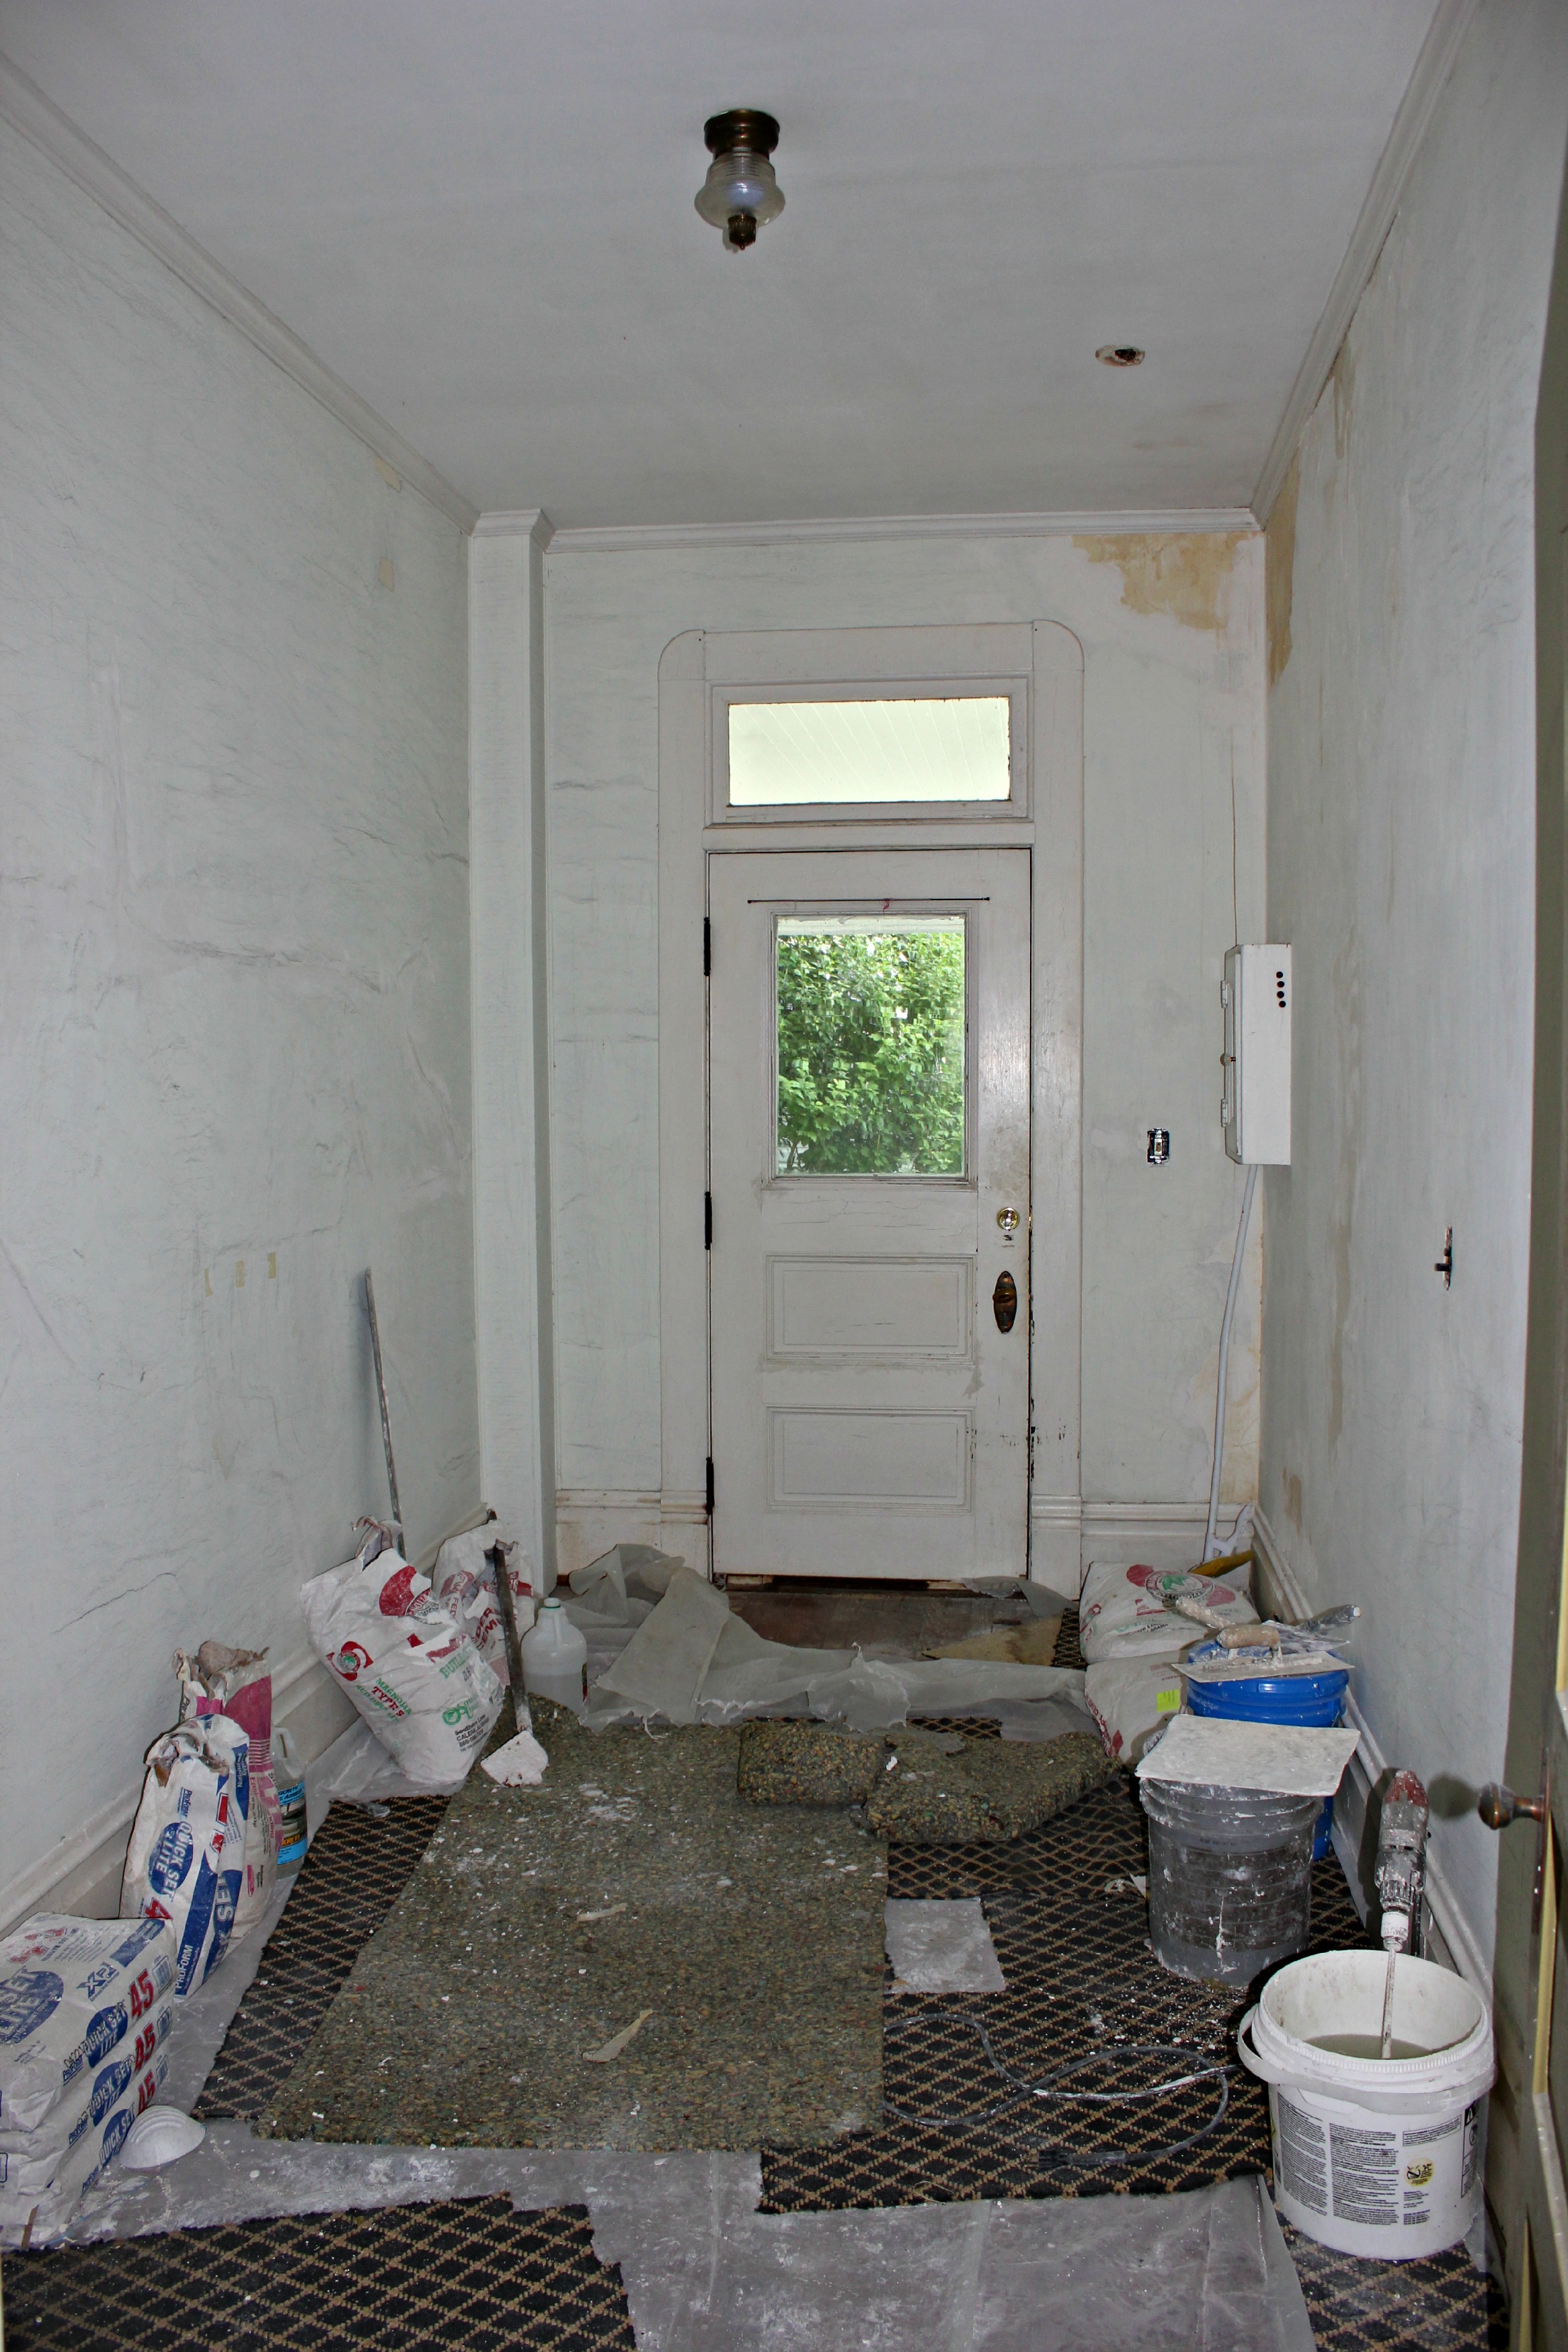
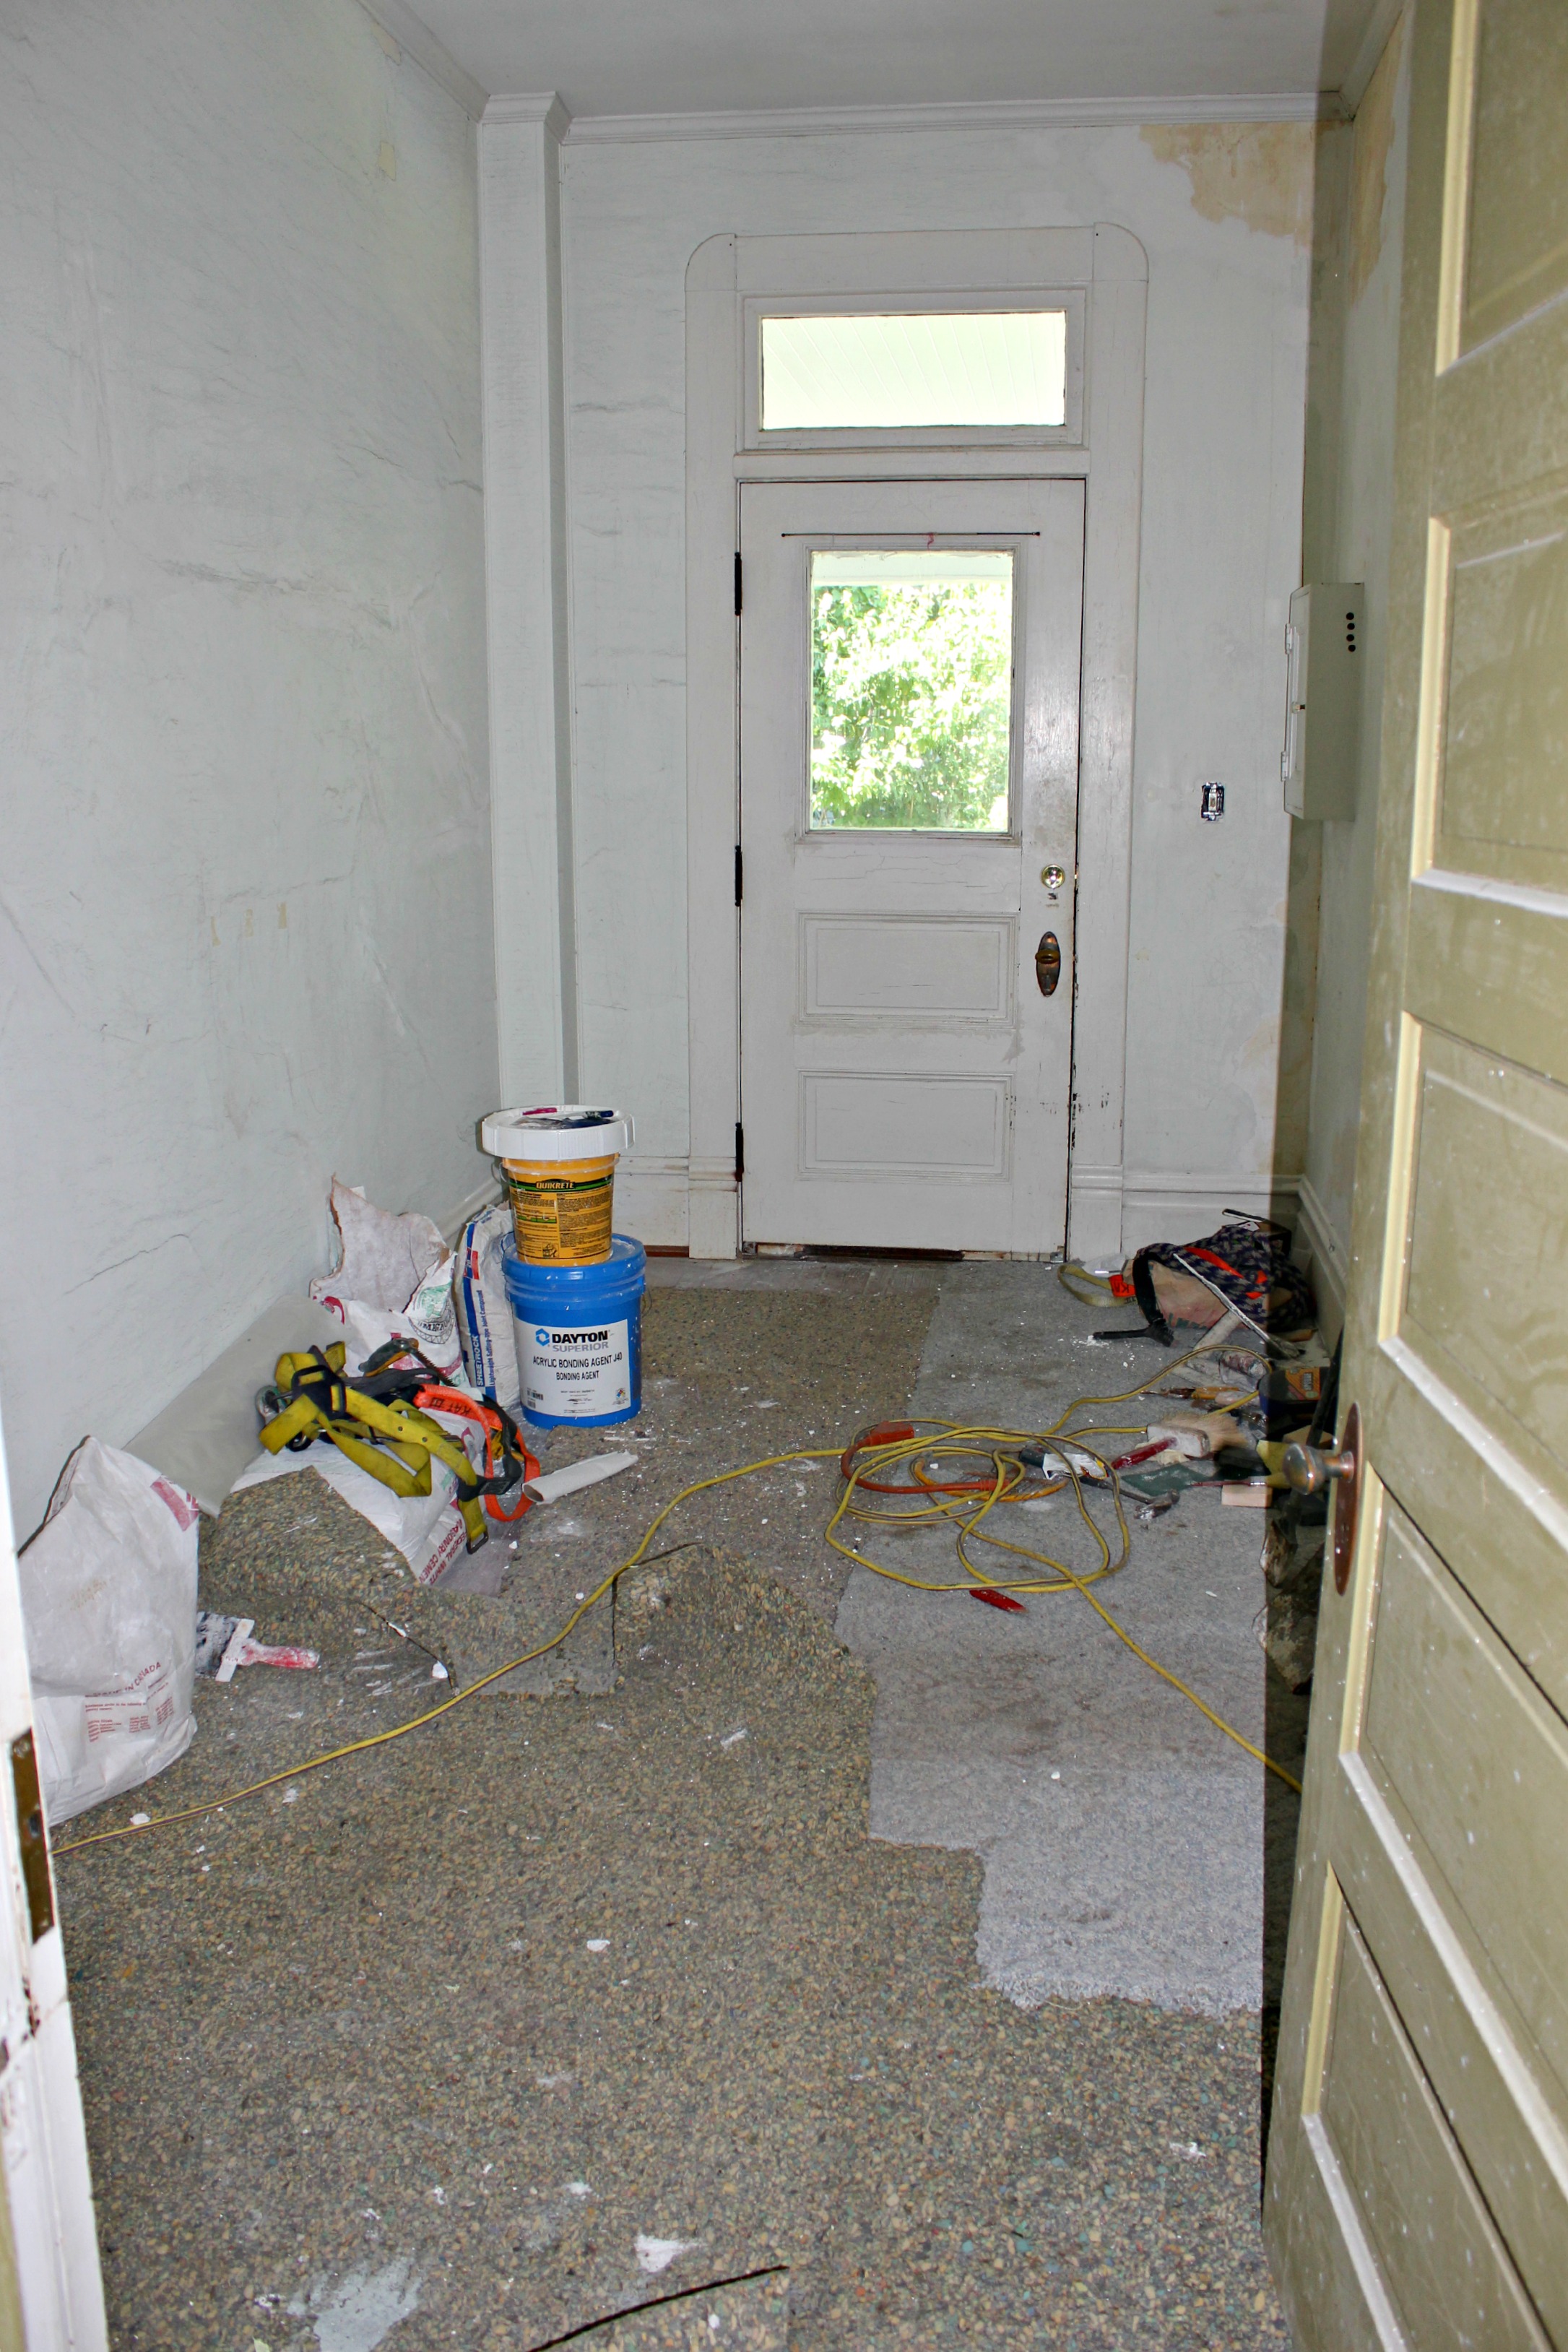
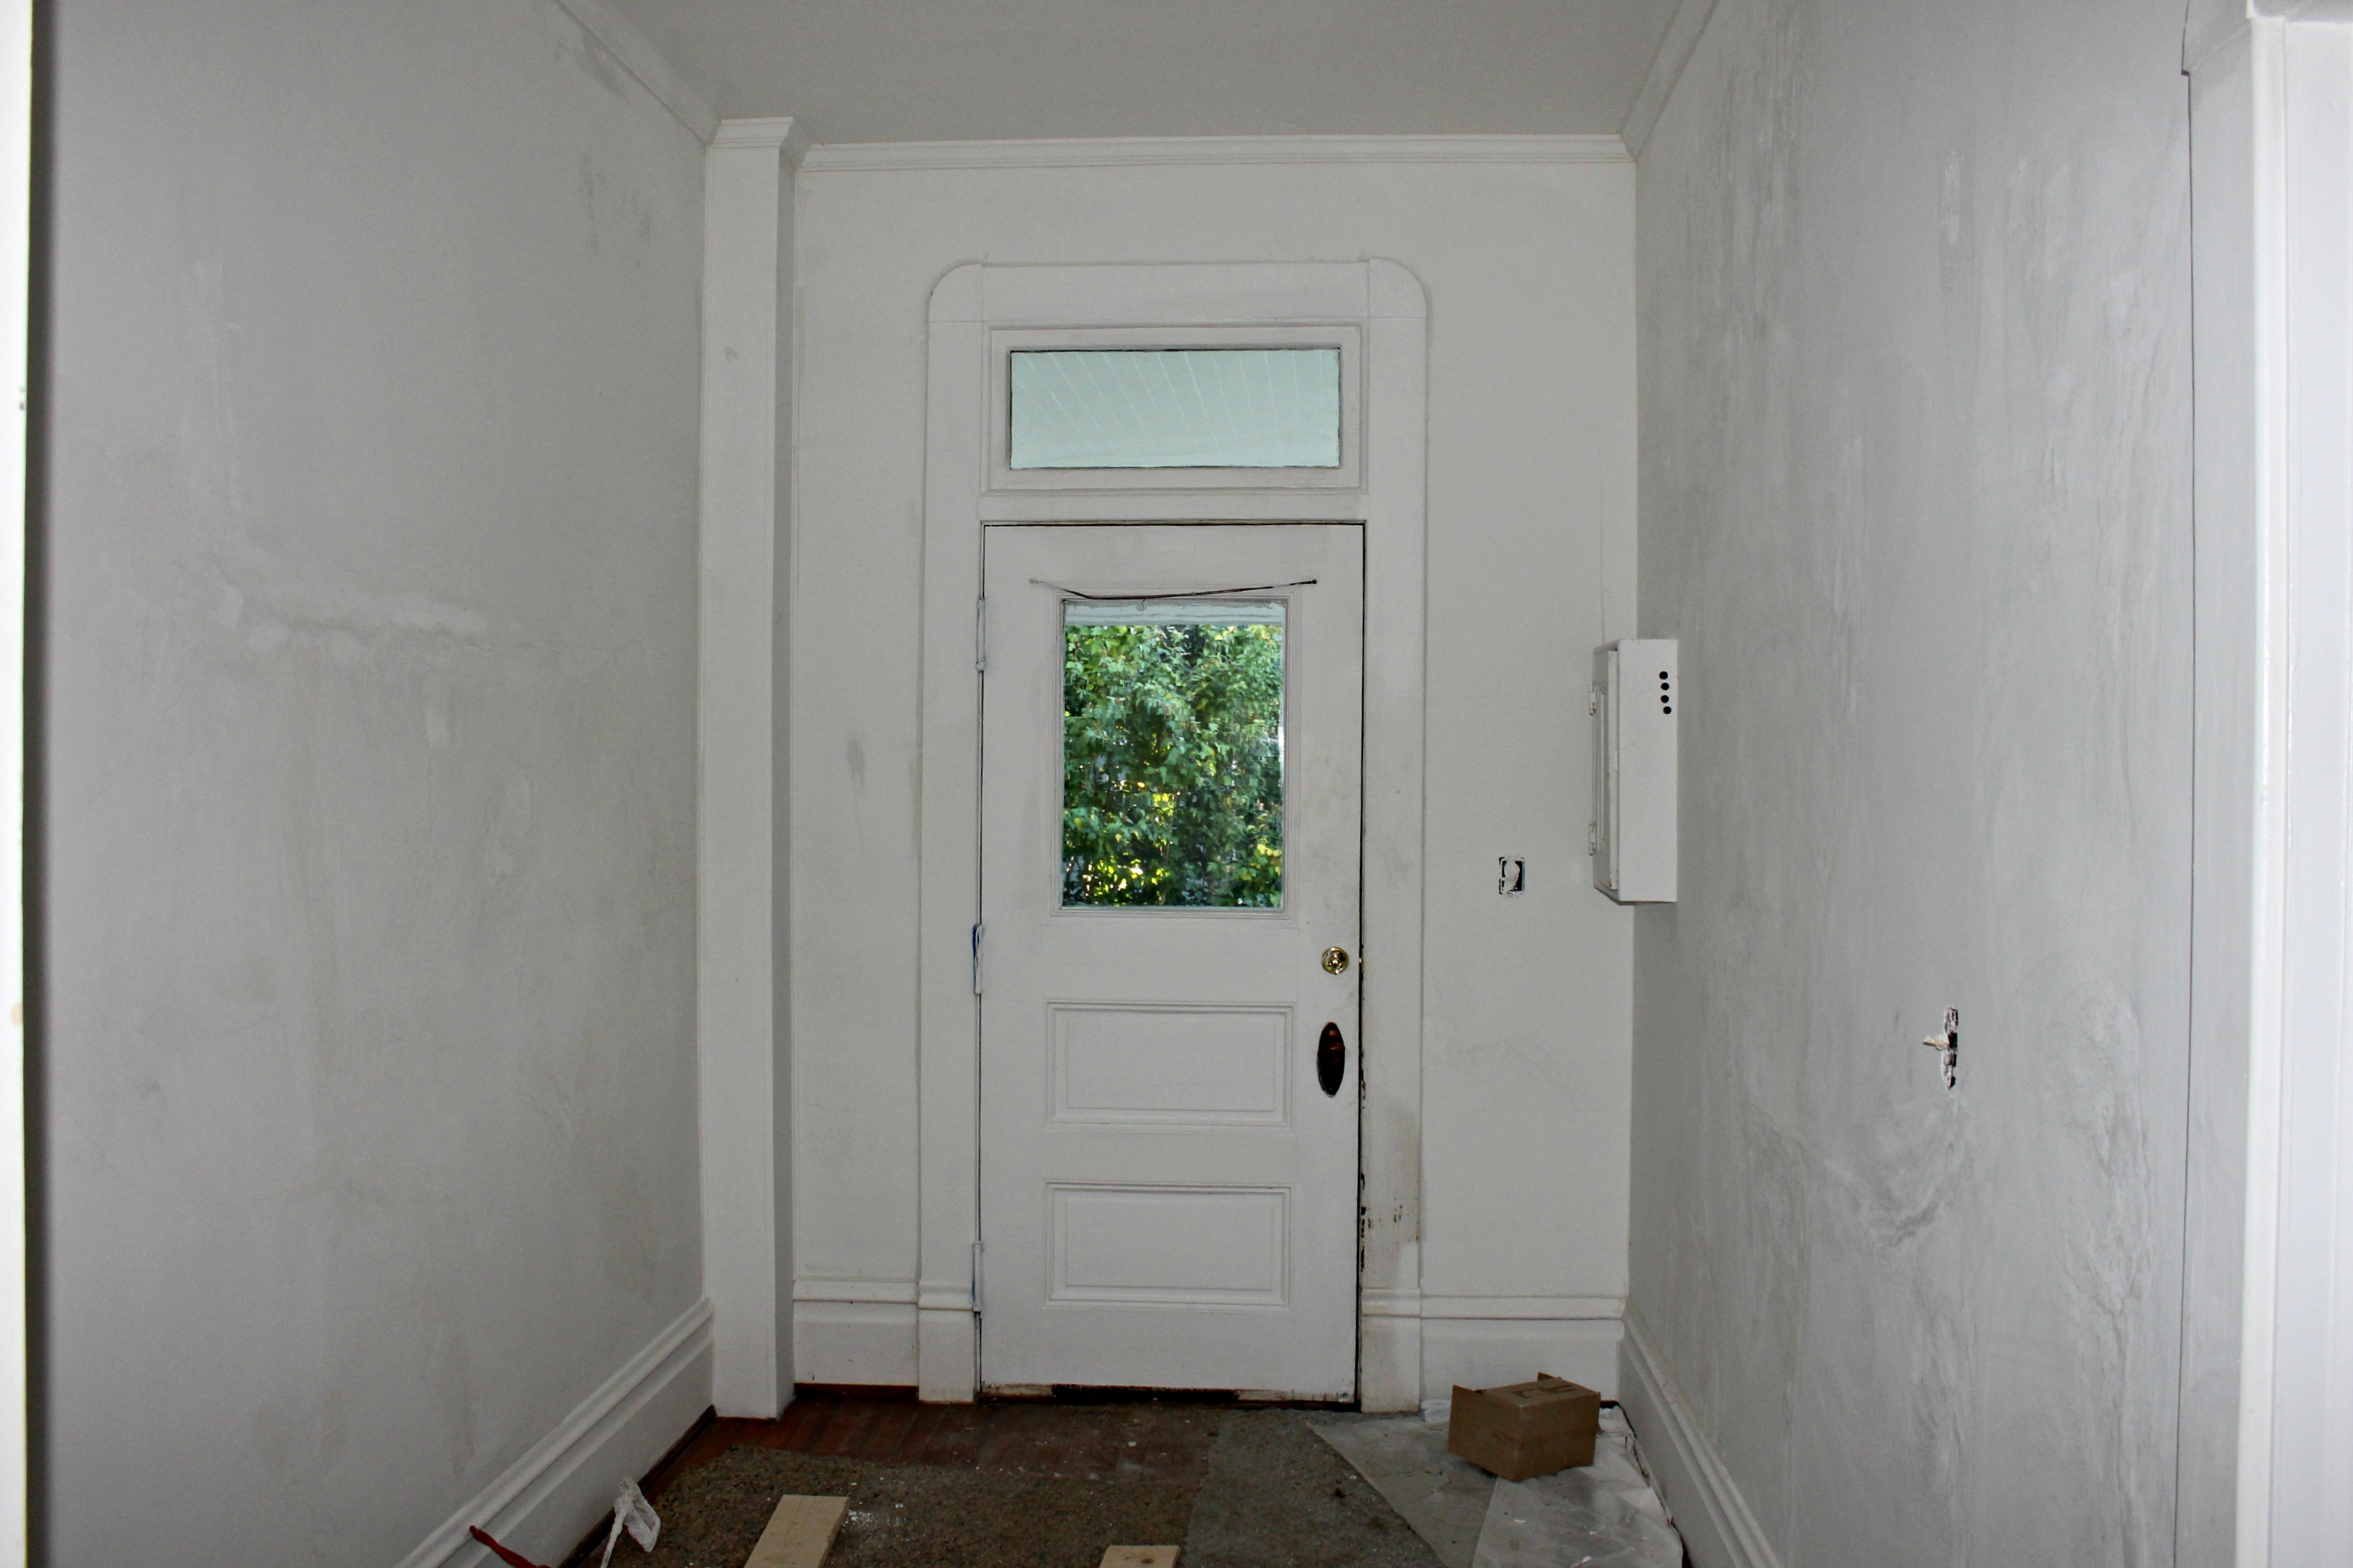
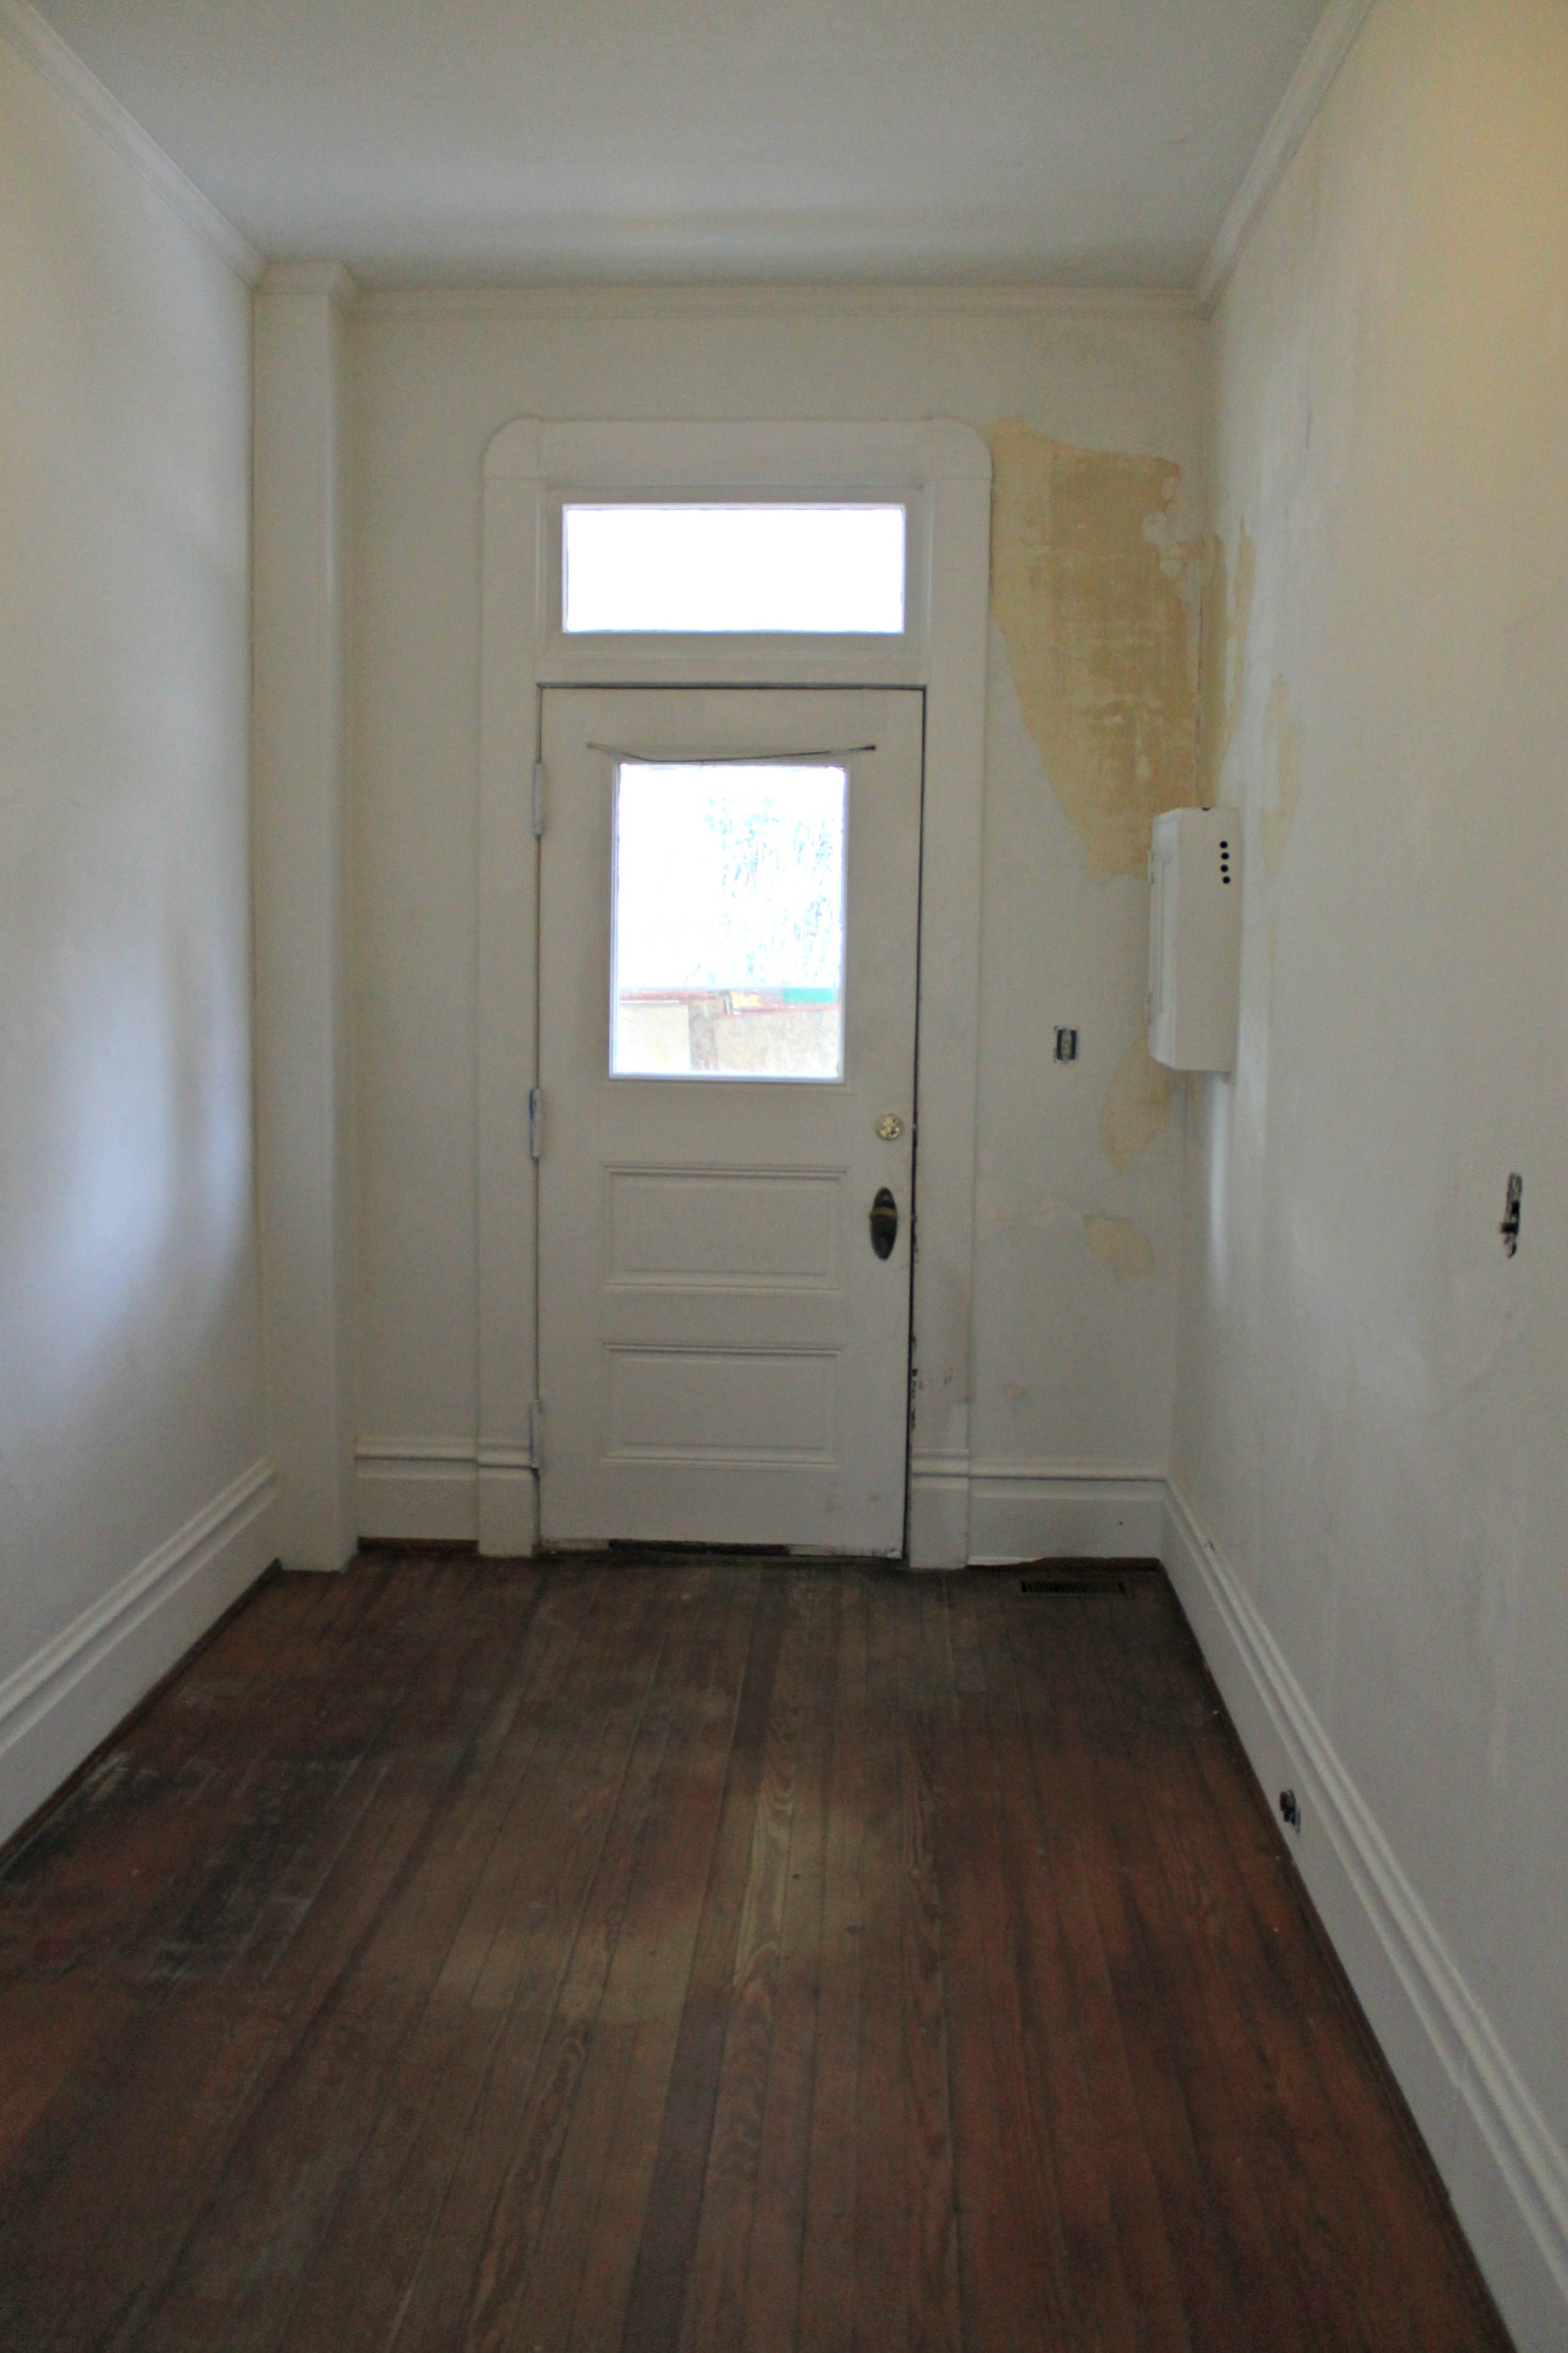
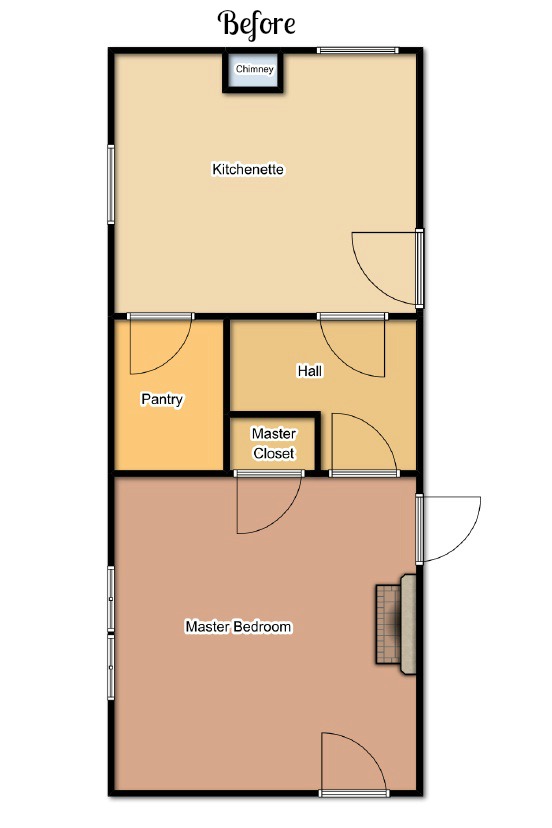
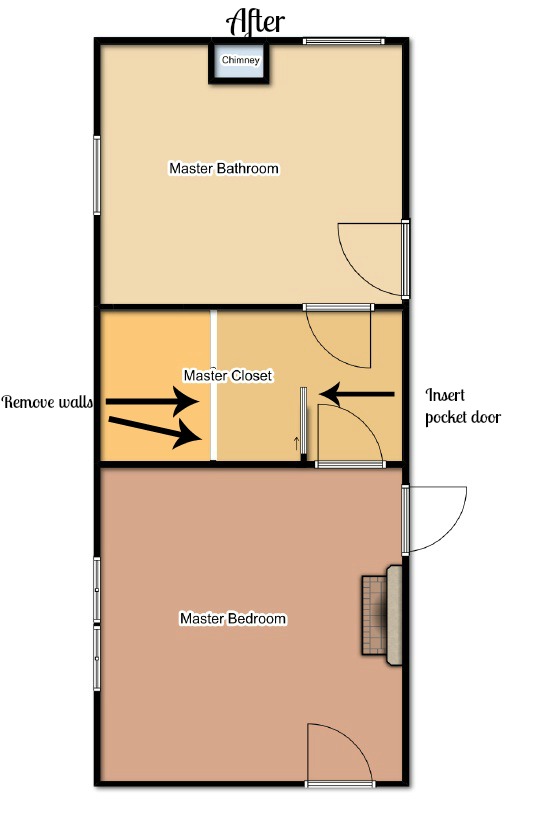
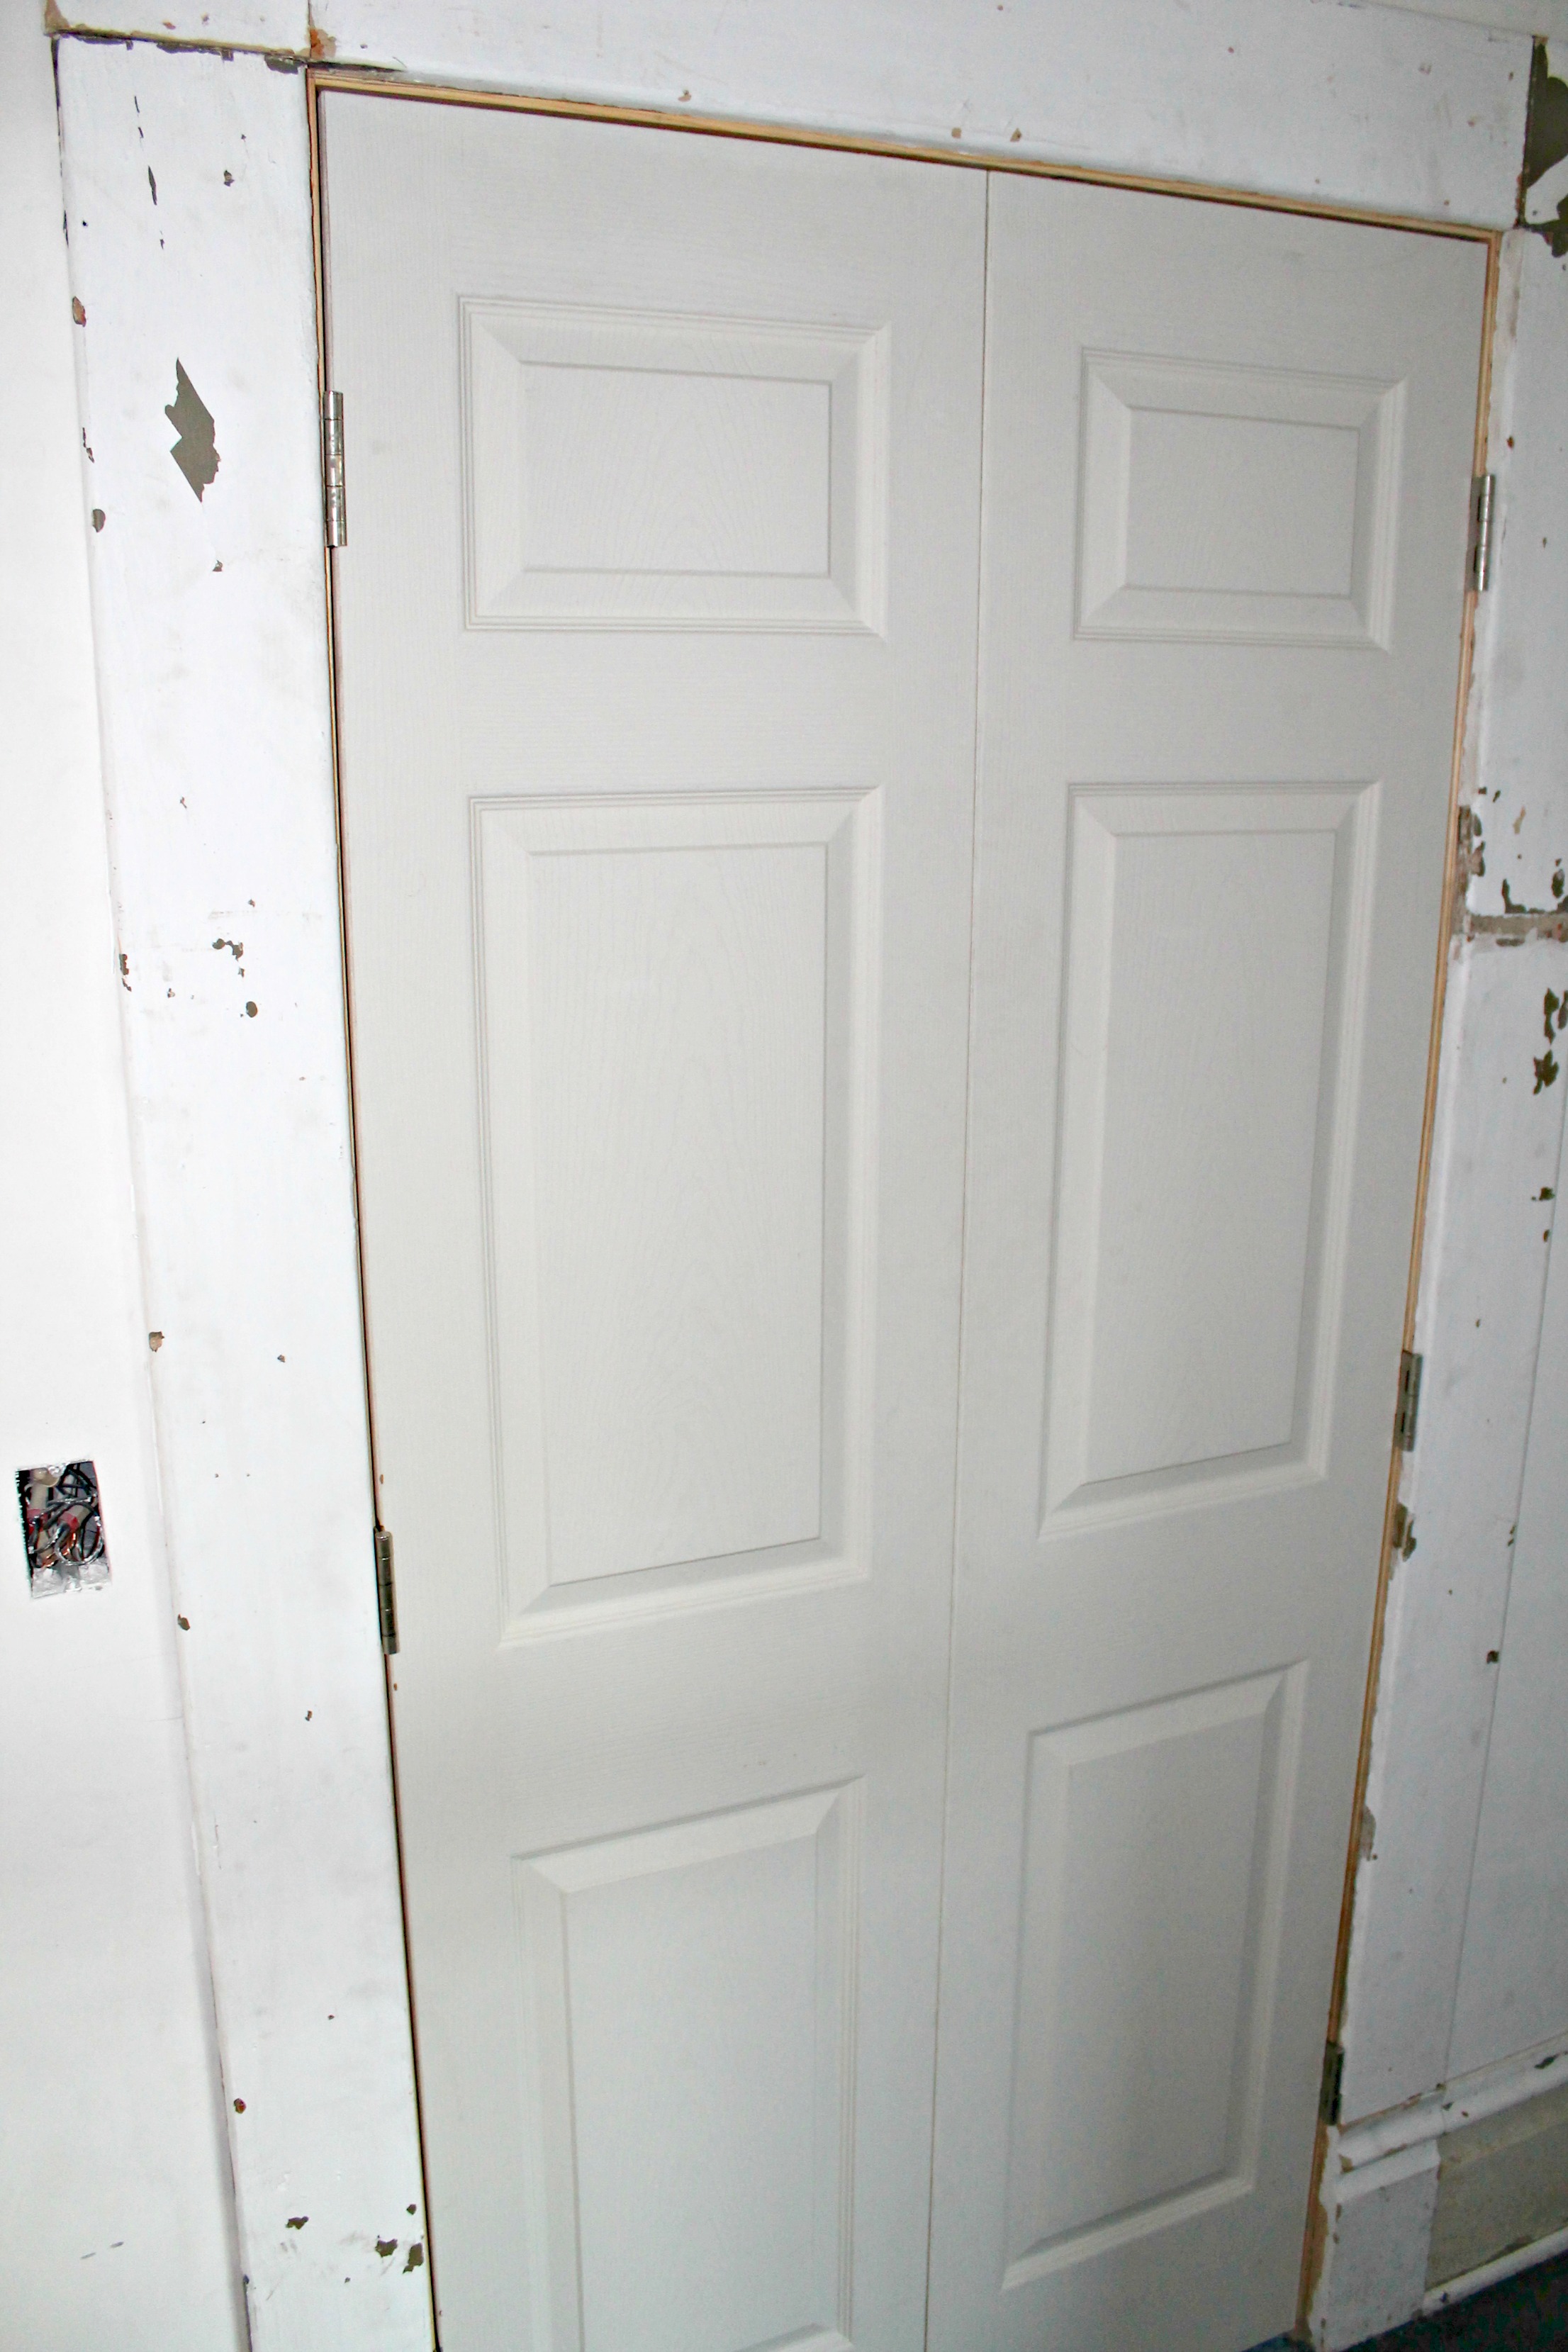
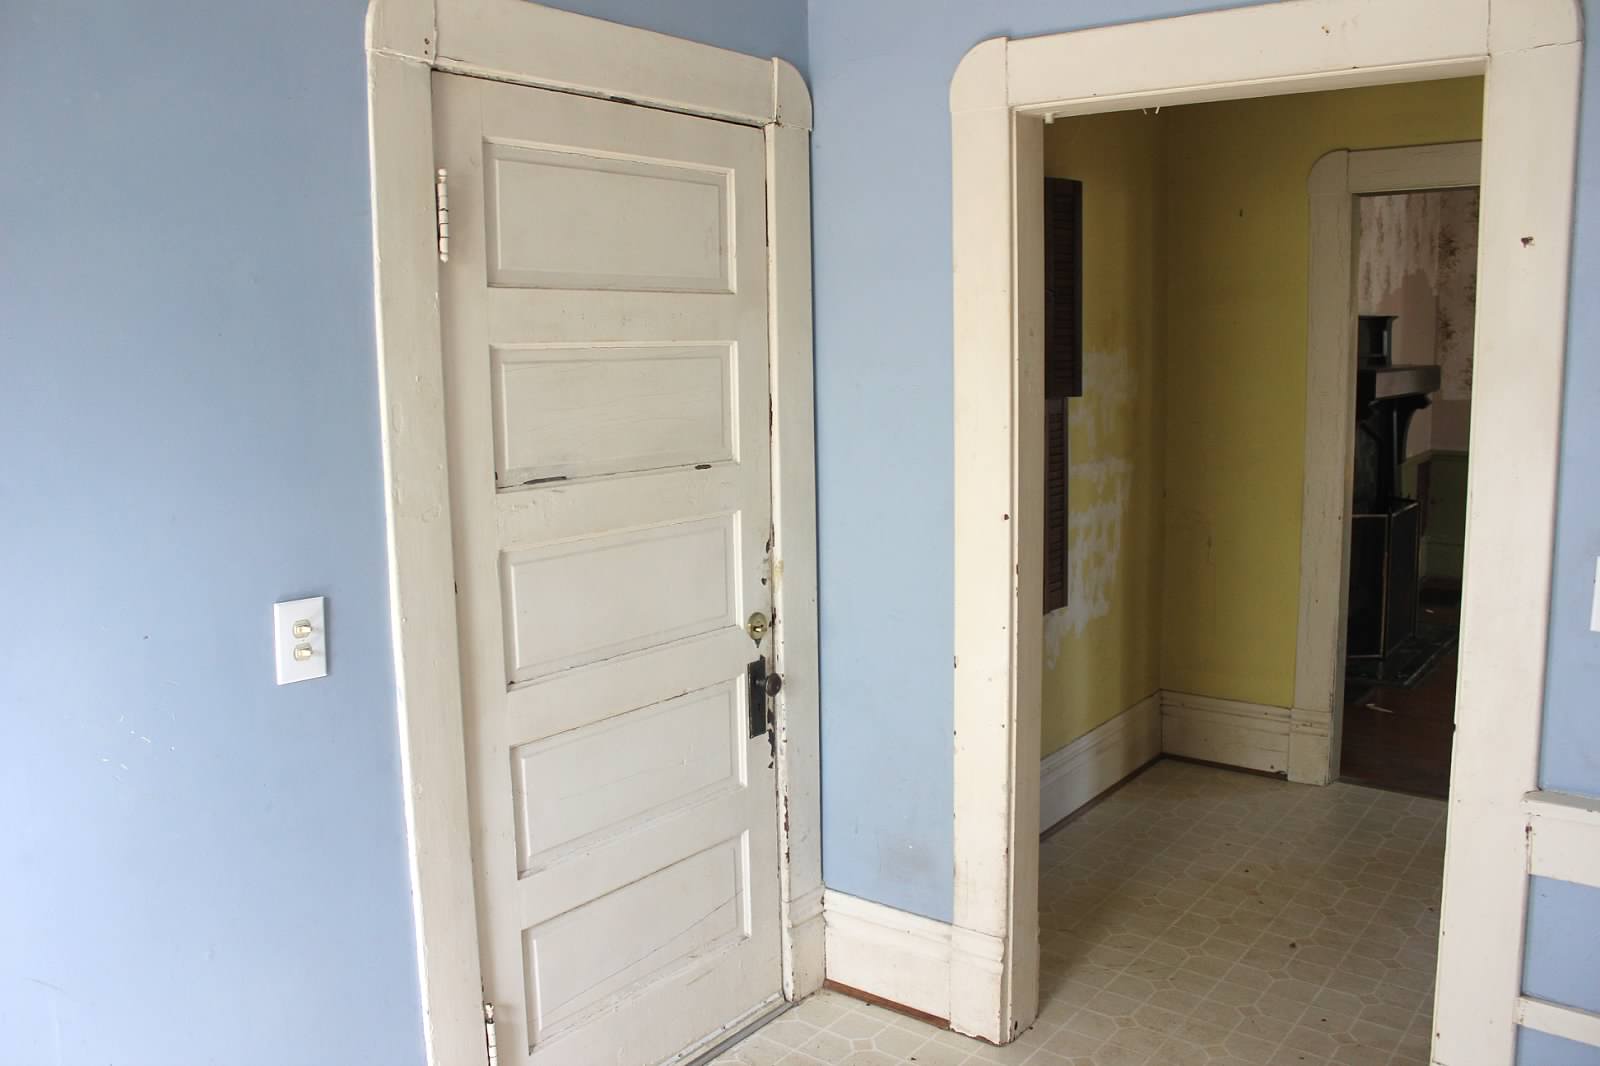
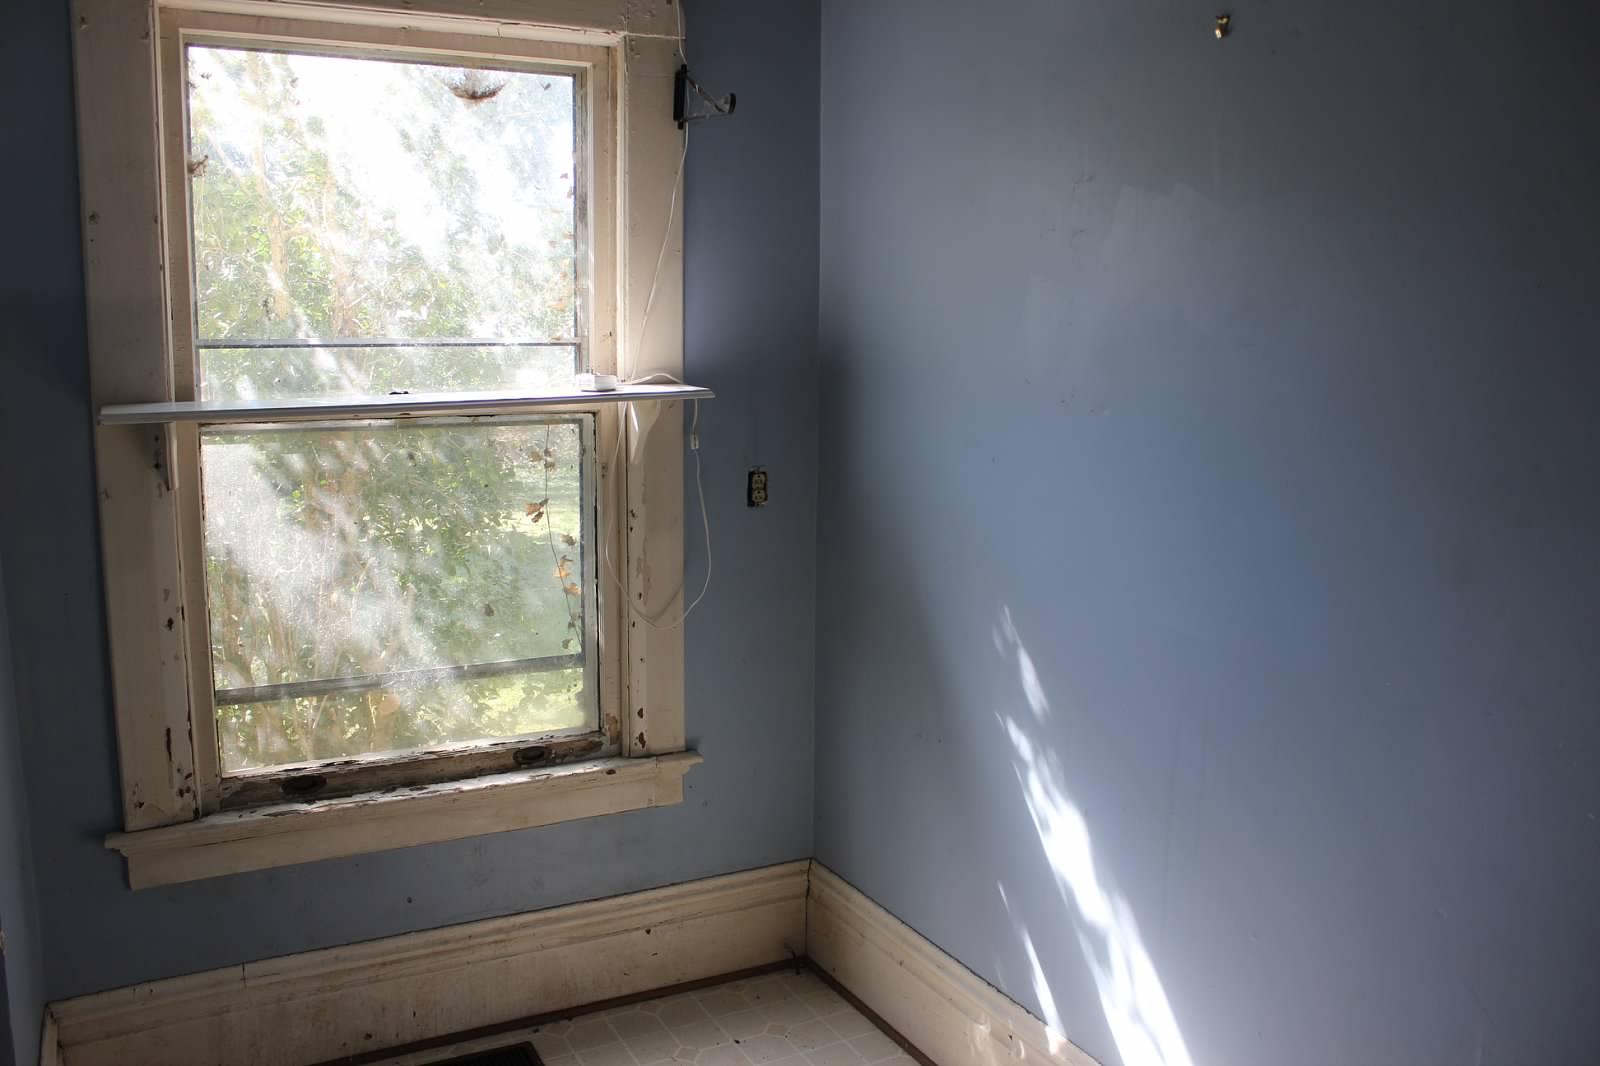
The figures…this room is 11′ x 15′ with 11′ ceilings. There are 2 windows, 2 interior doors, 1 chimney (no fireplace), and 1 exterior door leading to the back porch.
Be sure to check out these other room recaps:
- Formal Living Room
- Den
- Den Bathroom
- Dining Room
- Gold Room
- Bear Room
- Butler’s Pantry
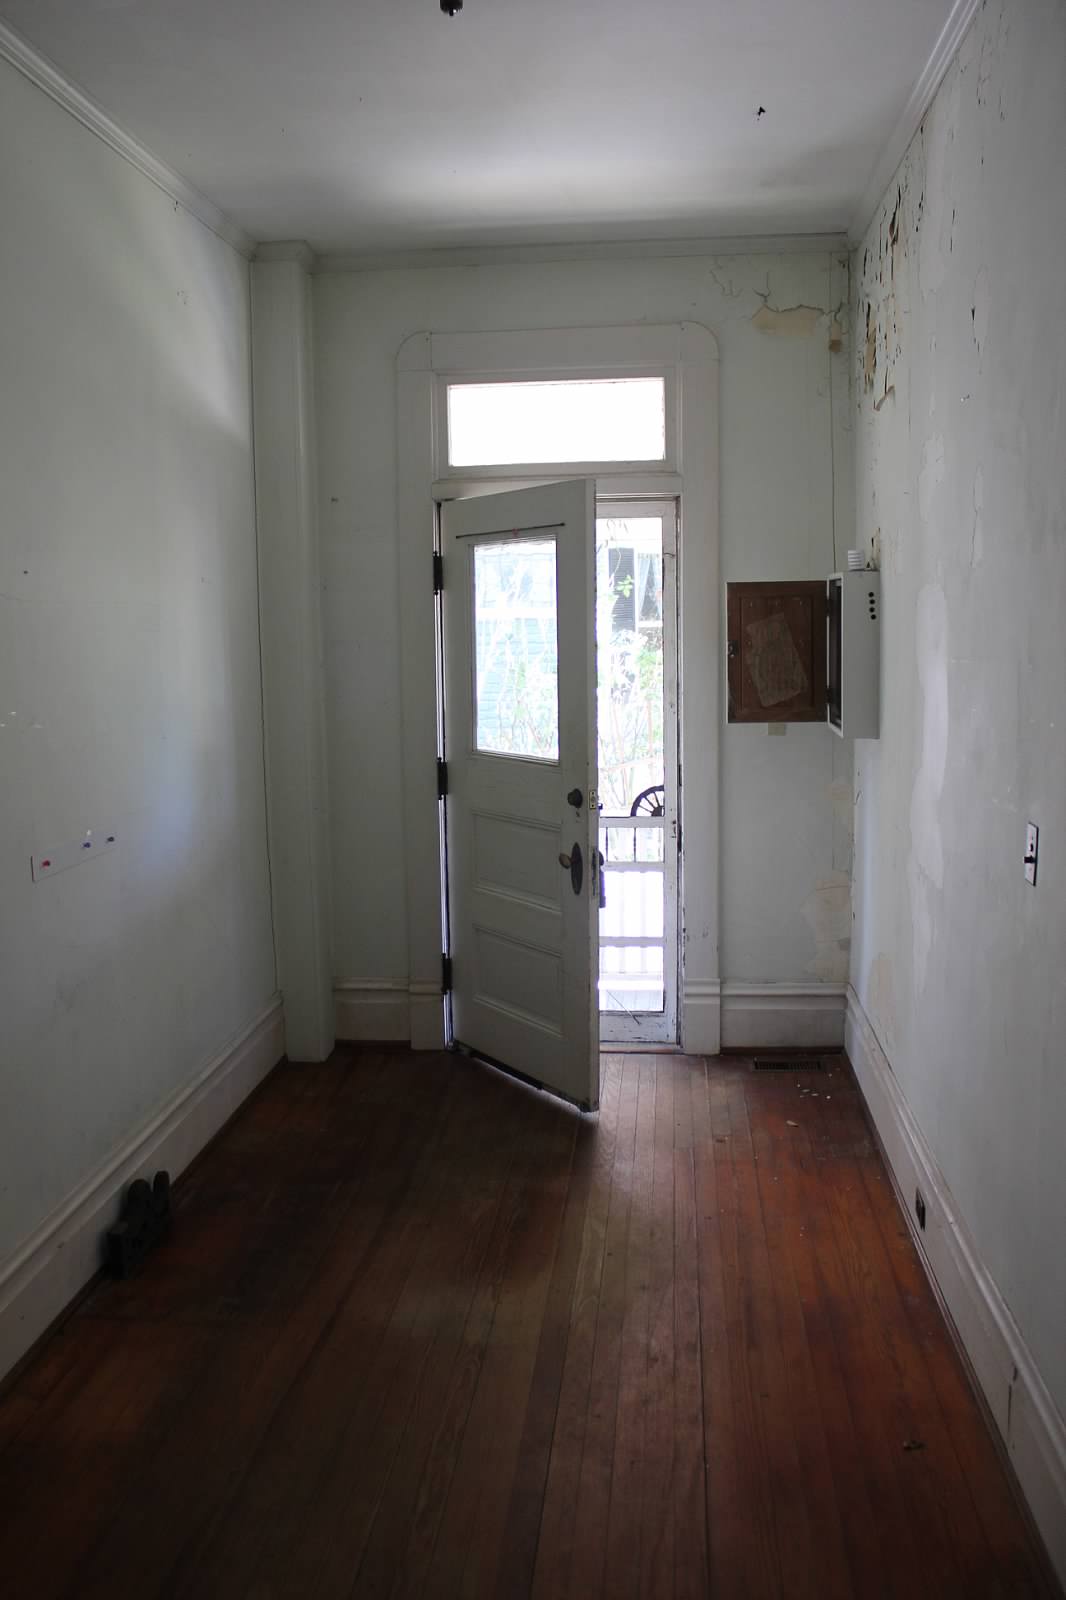
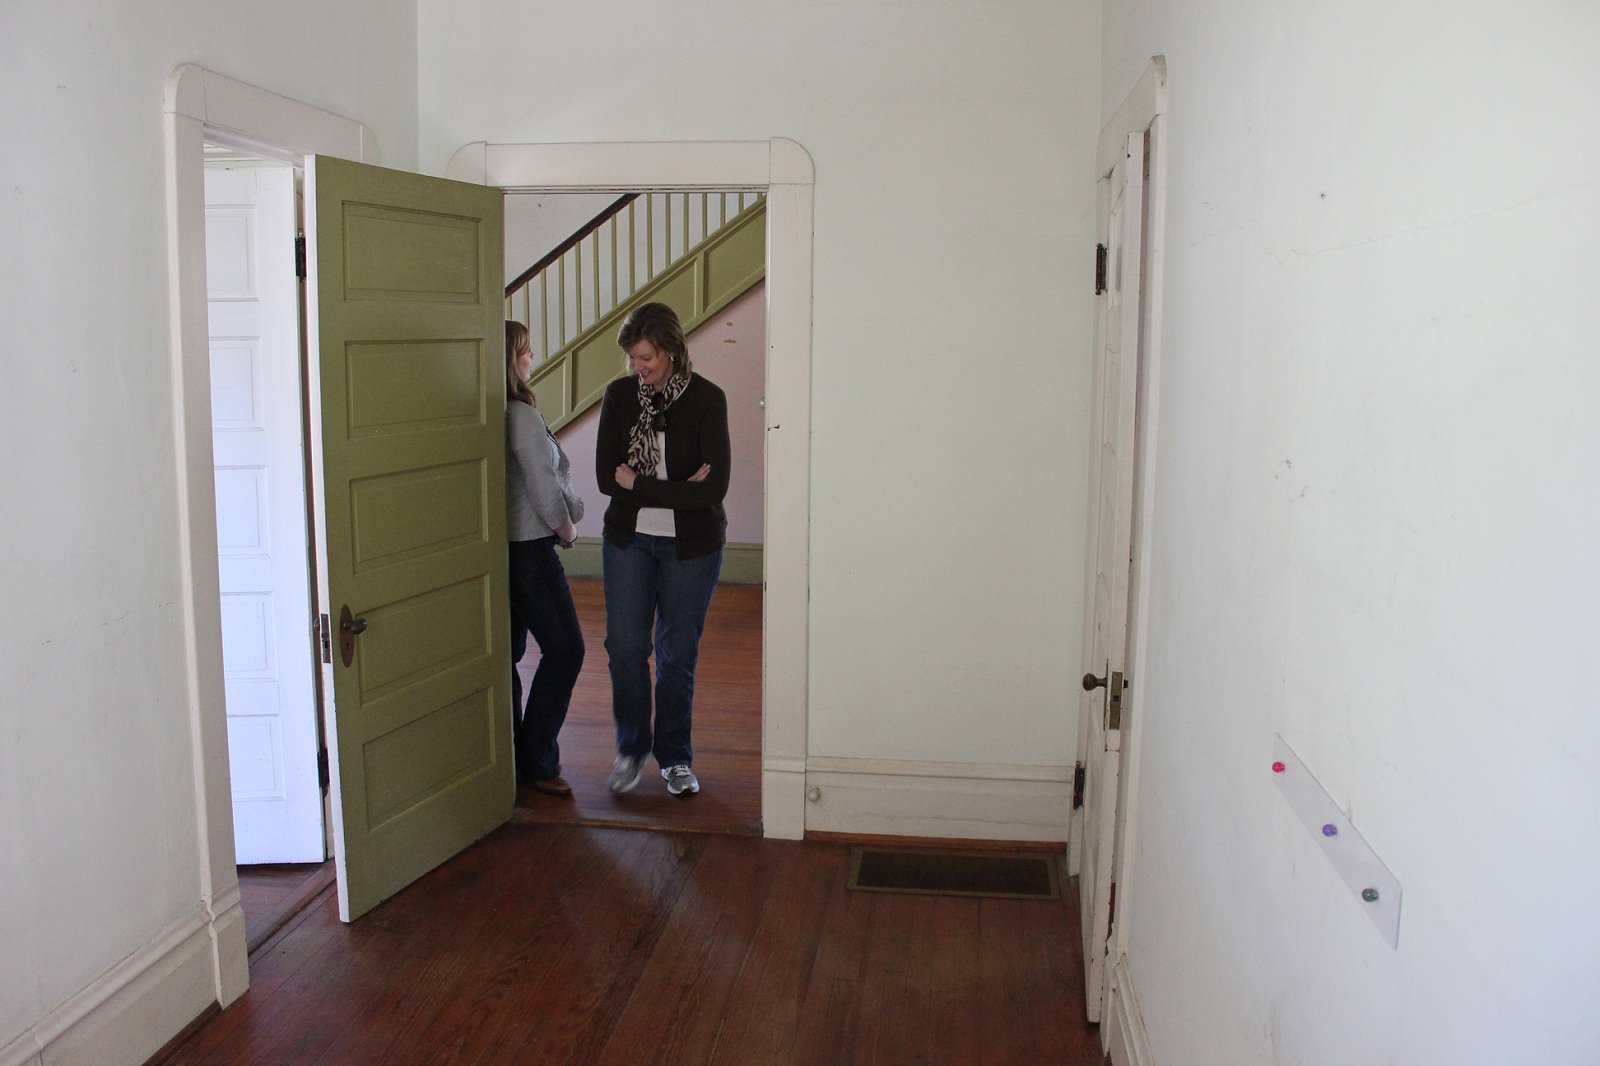
- Foyer & Stairs
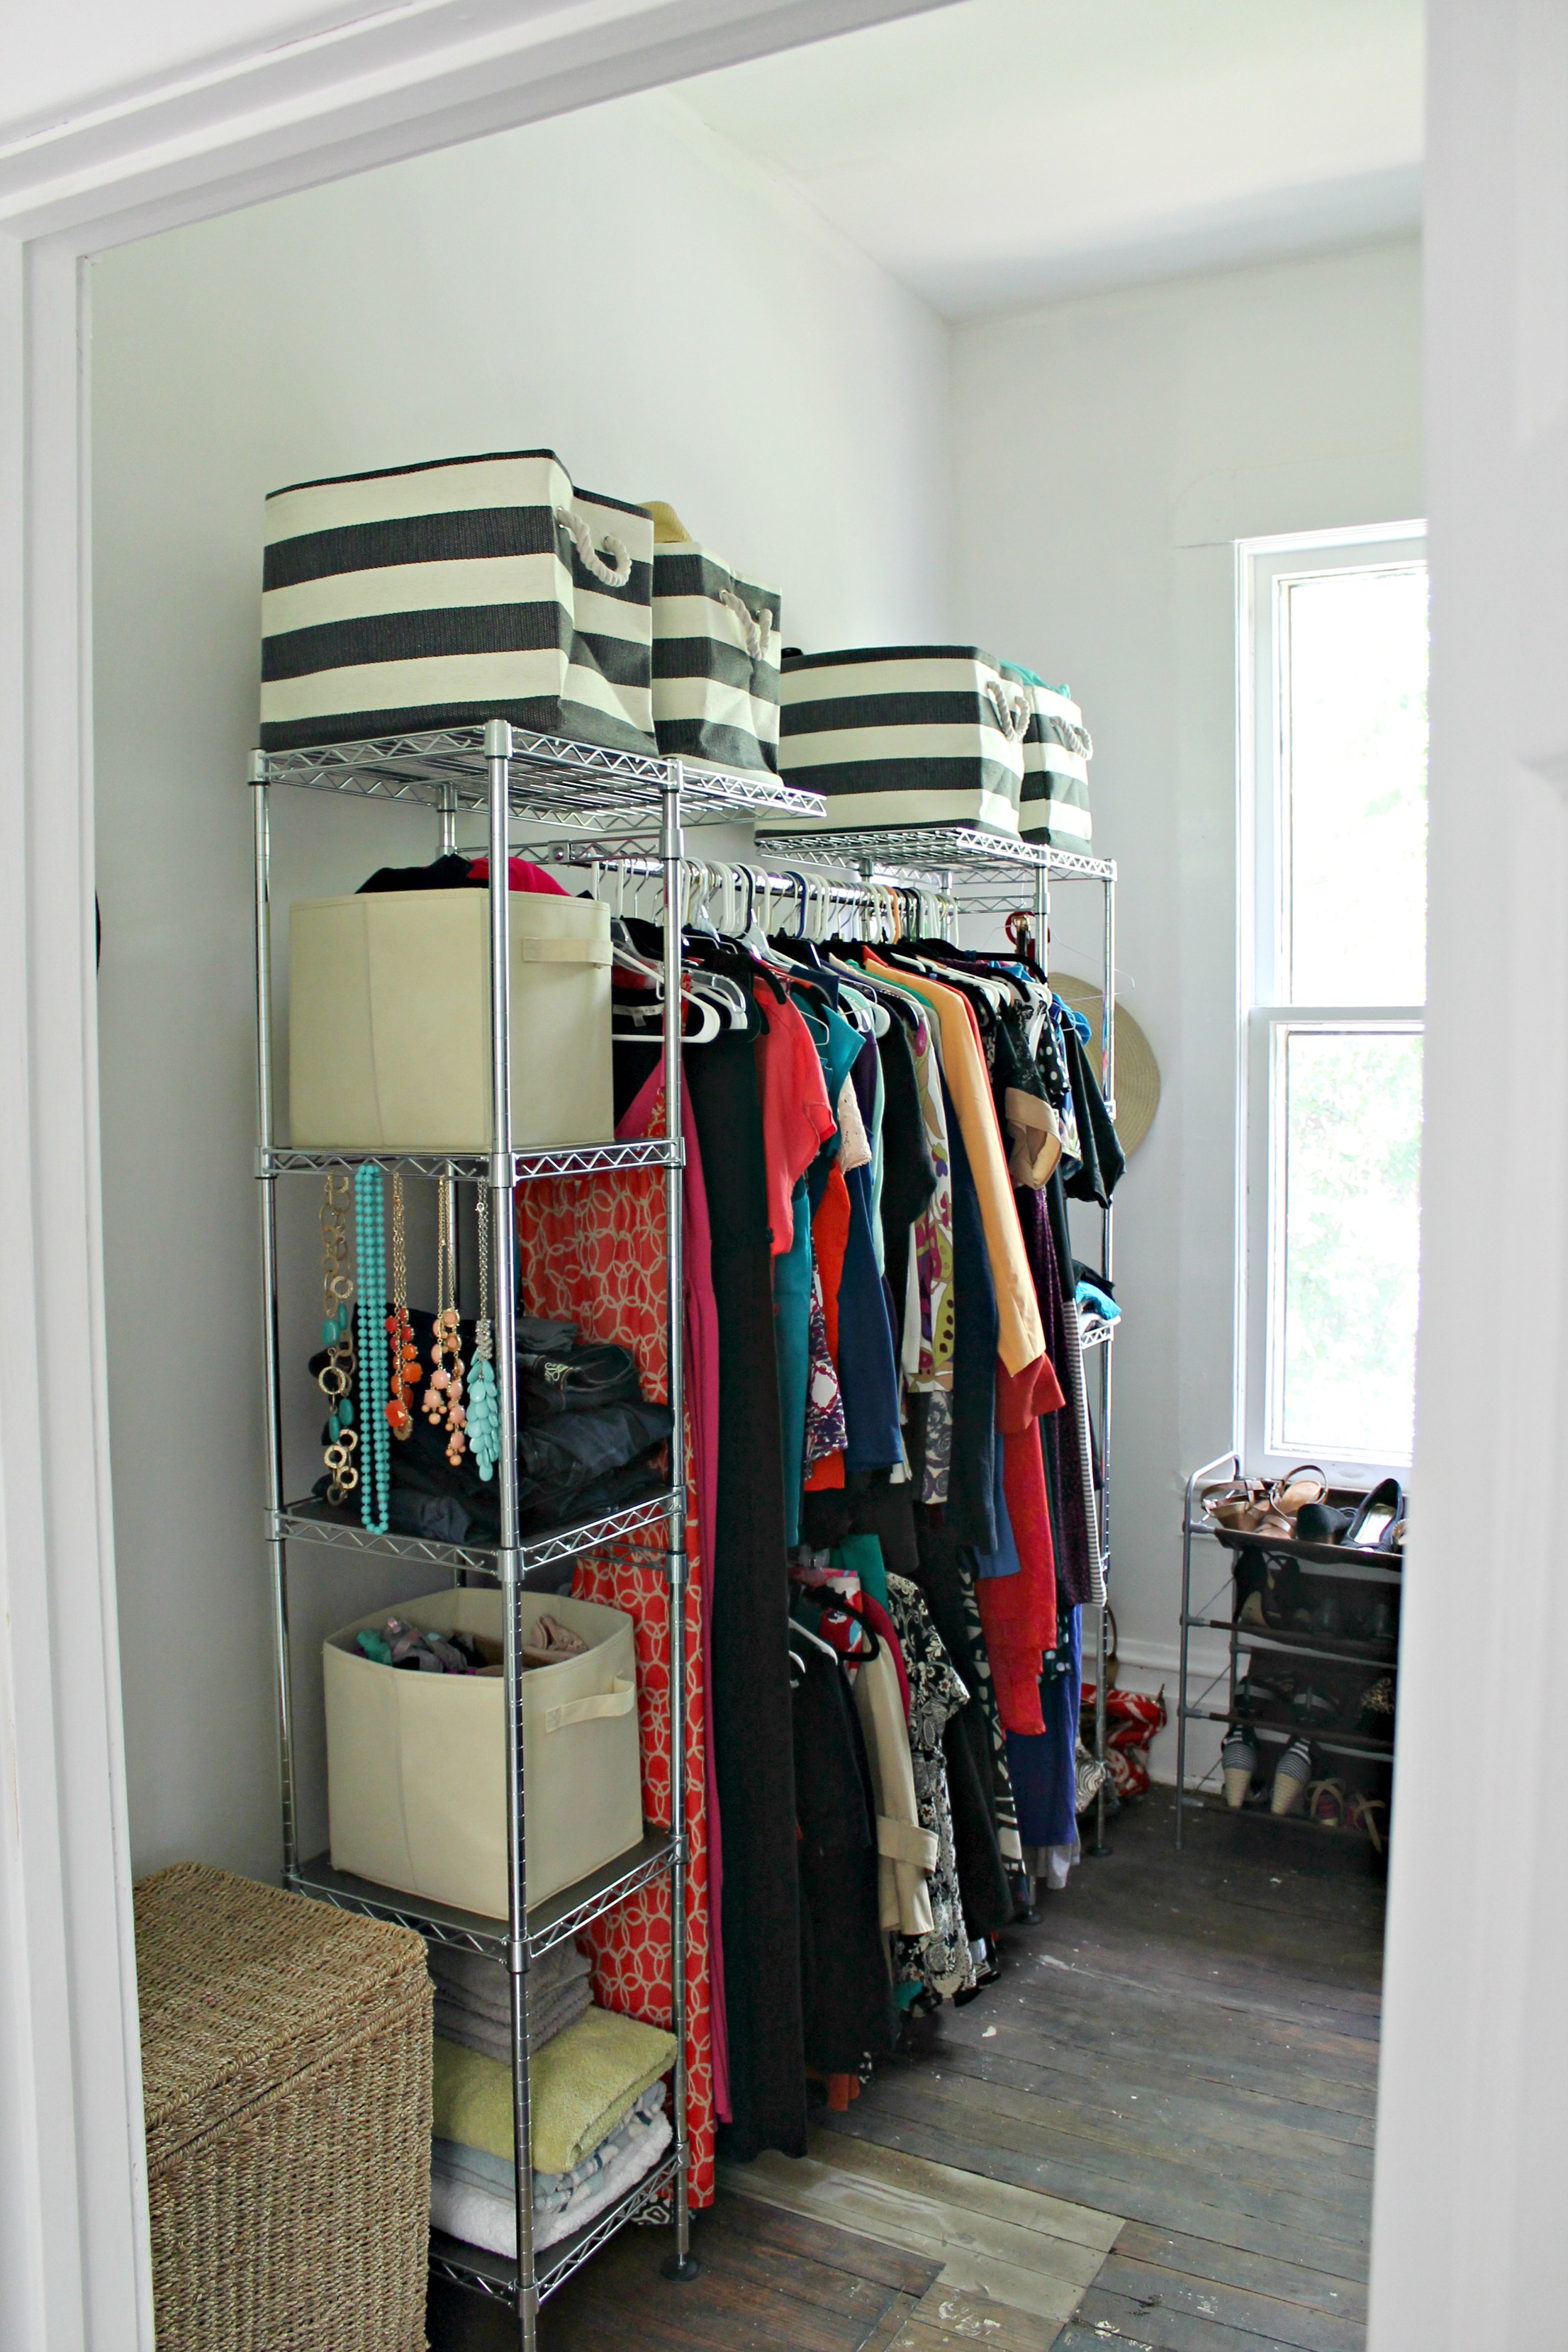
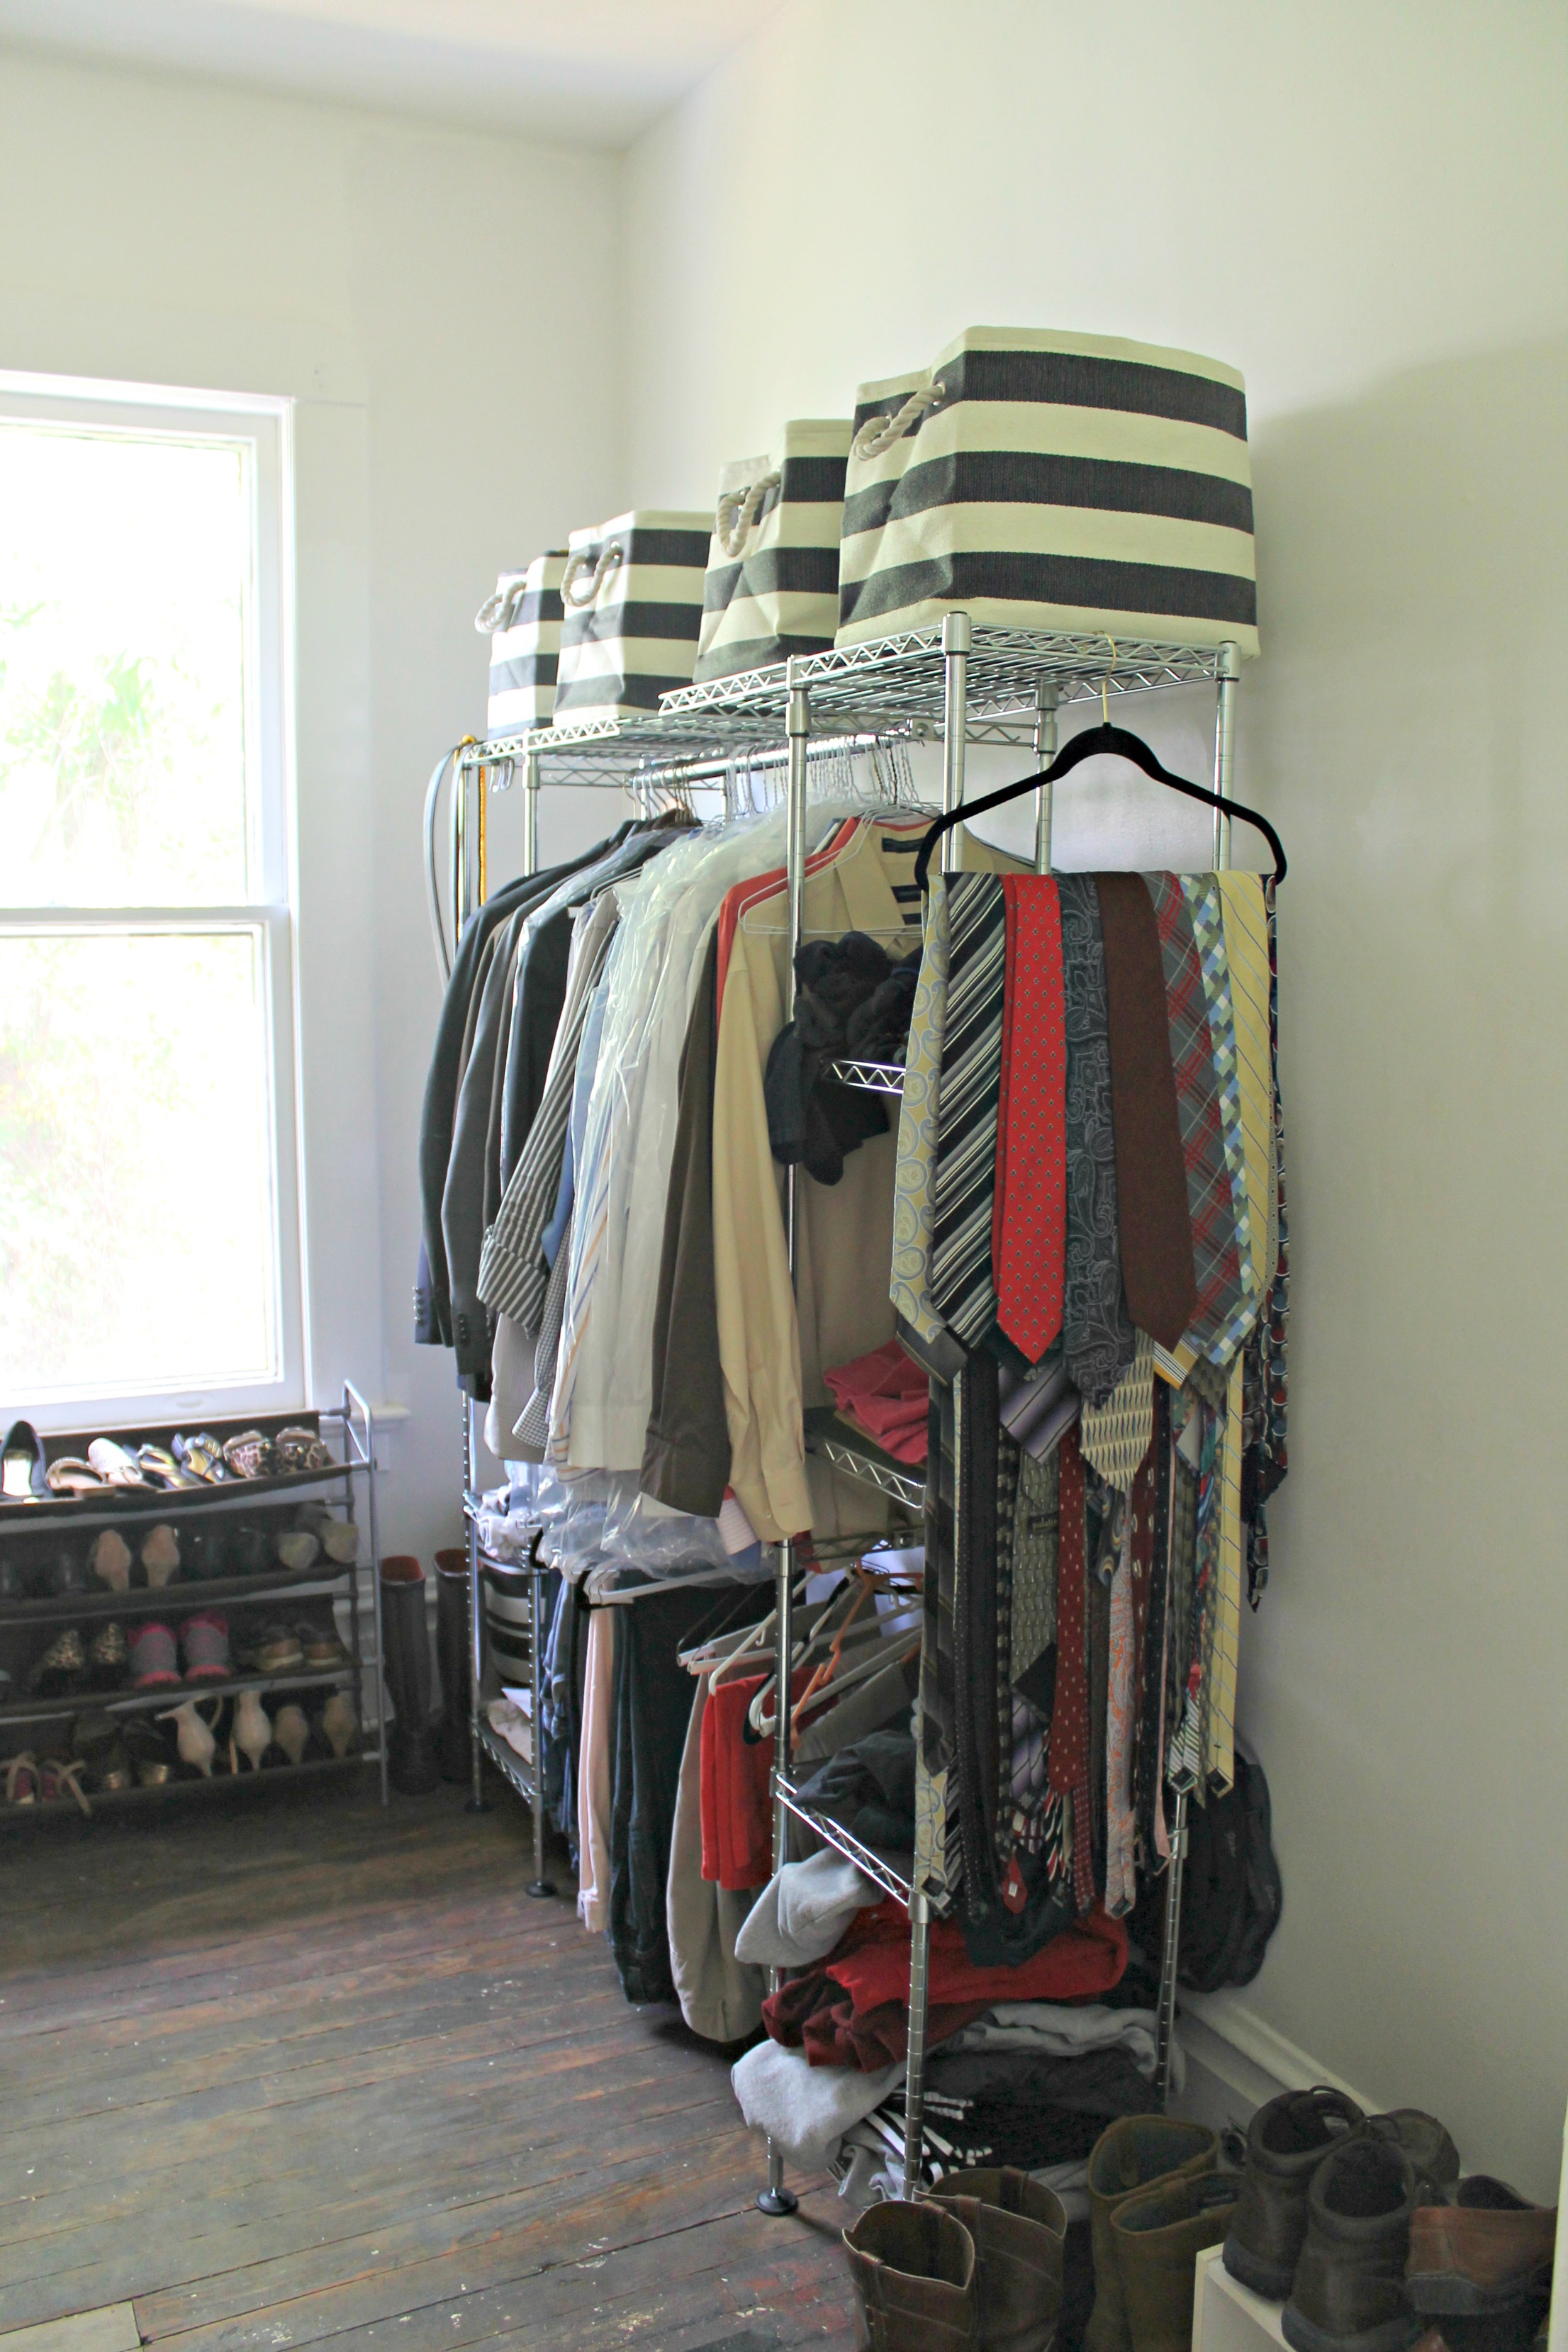
- Master Closet
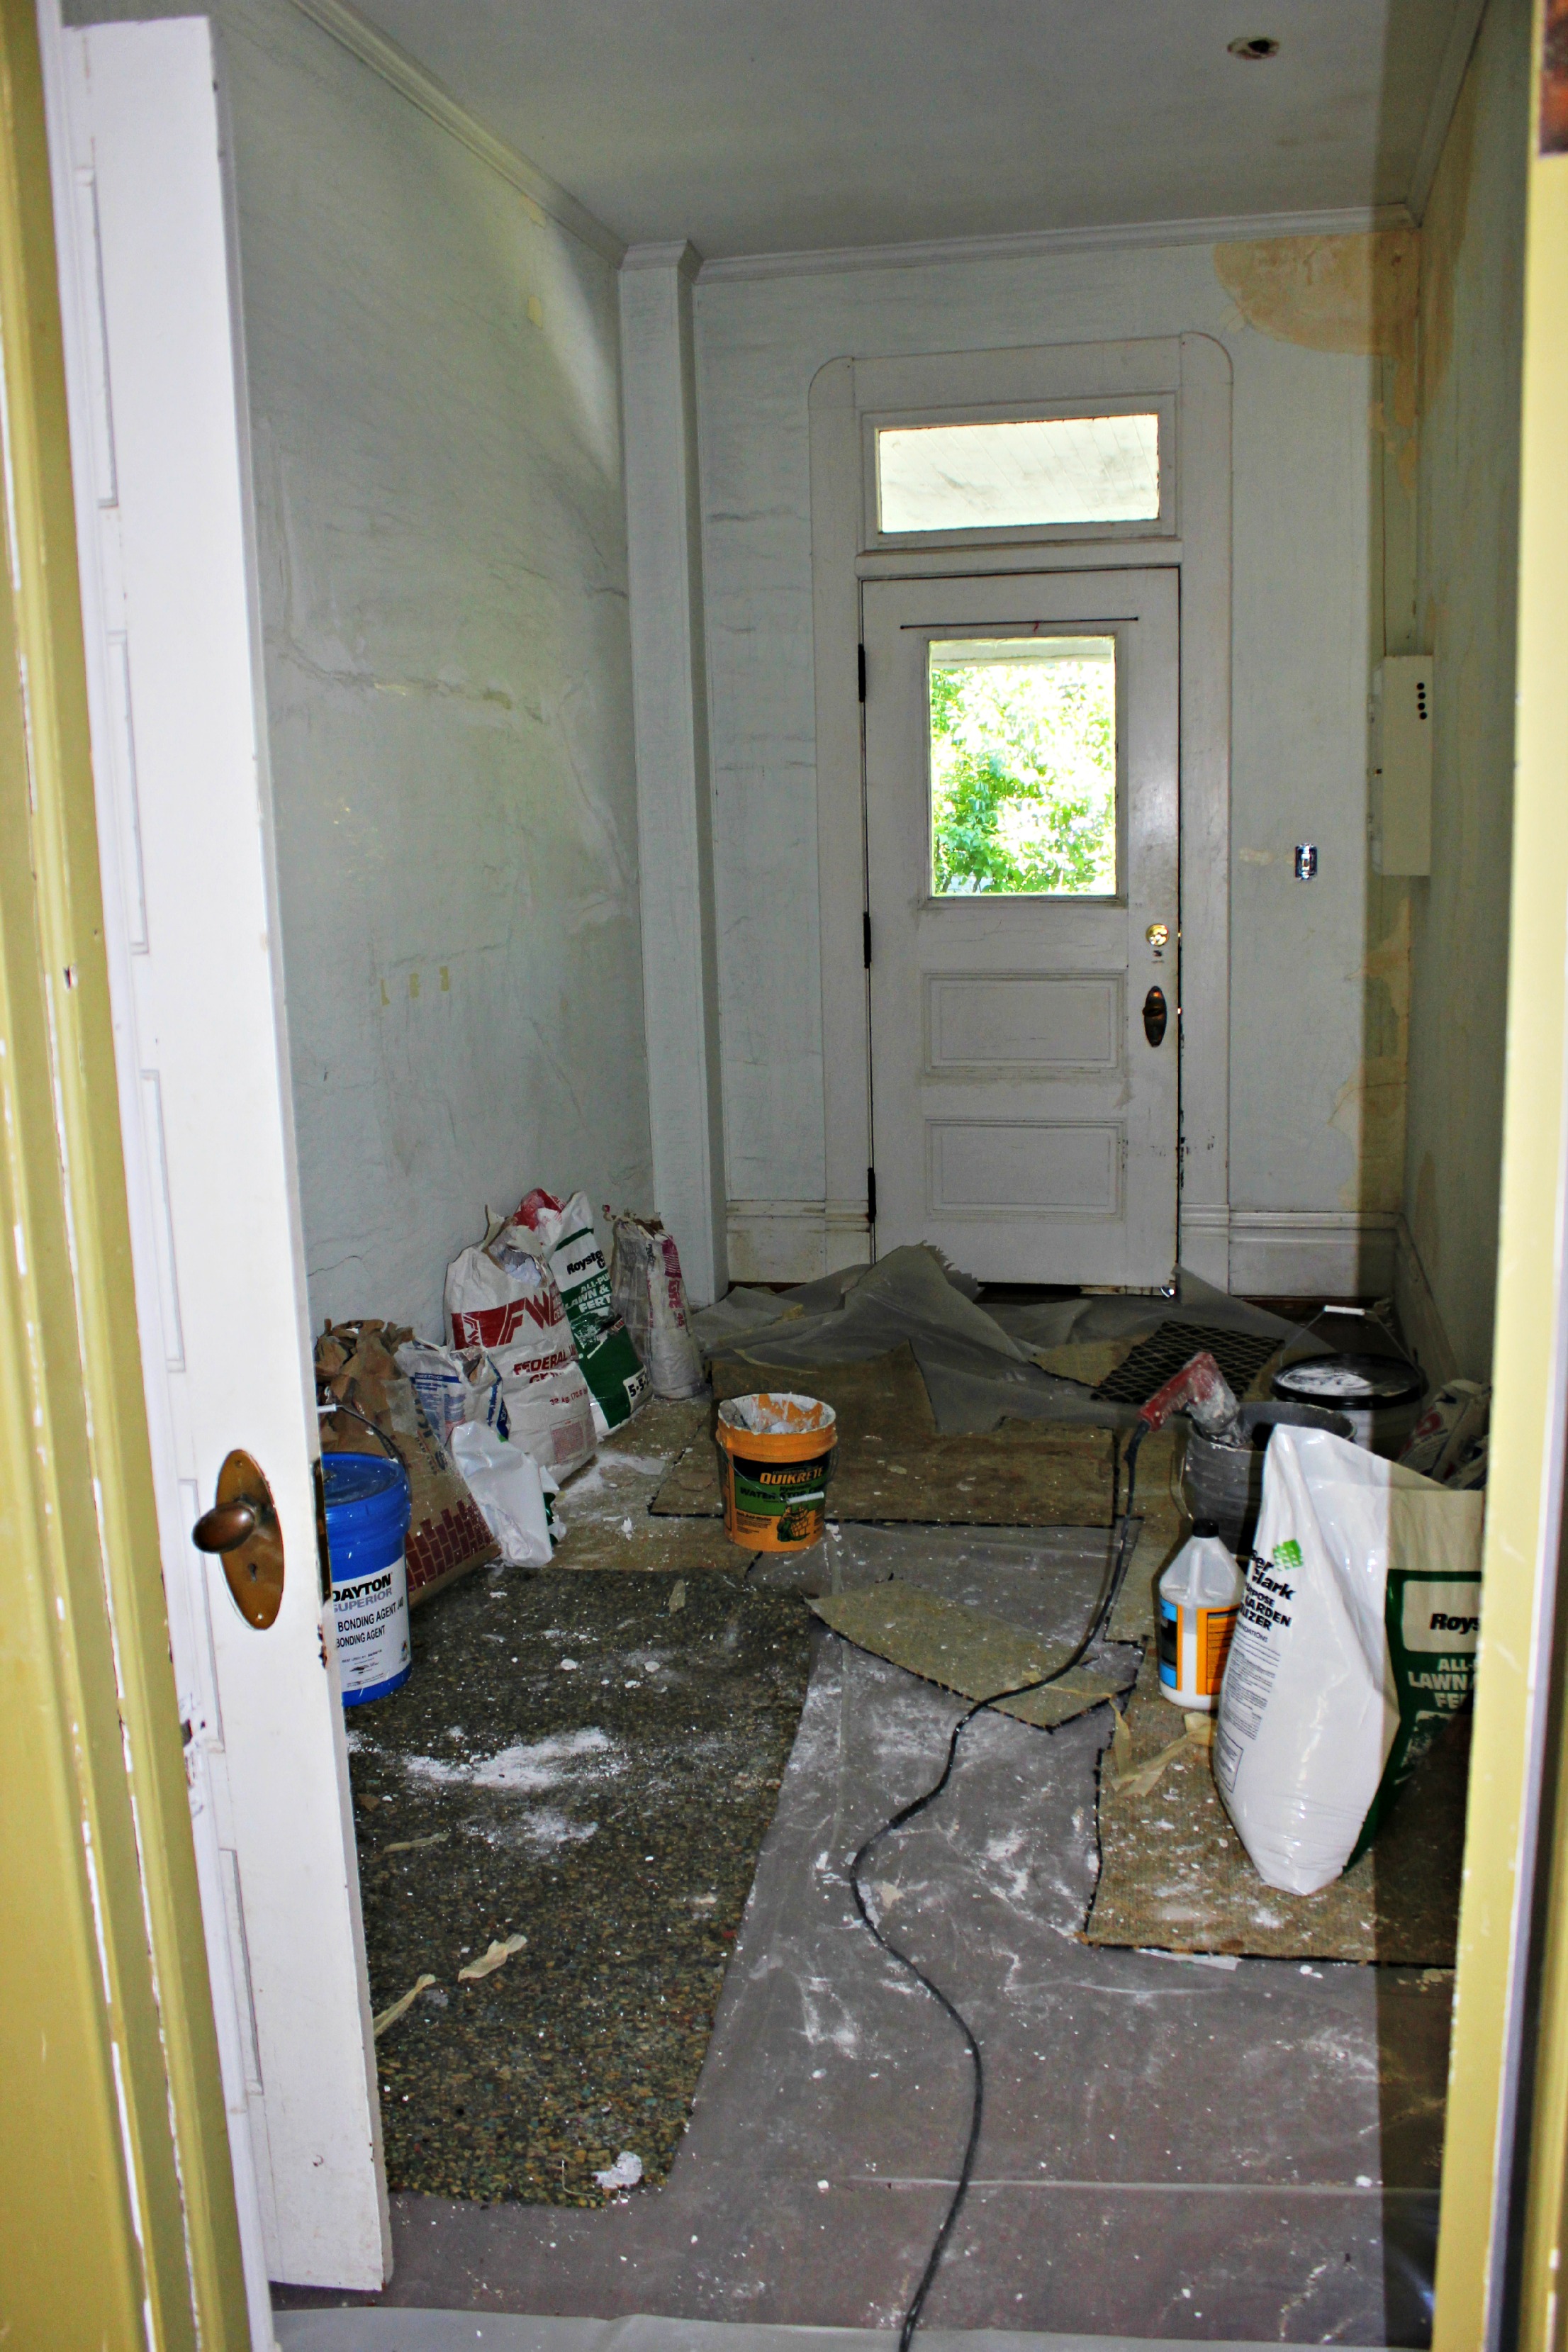
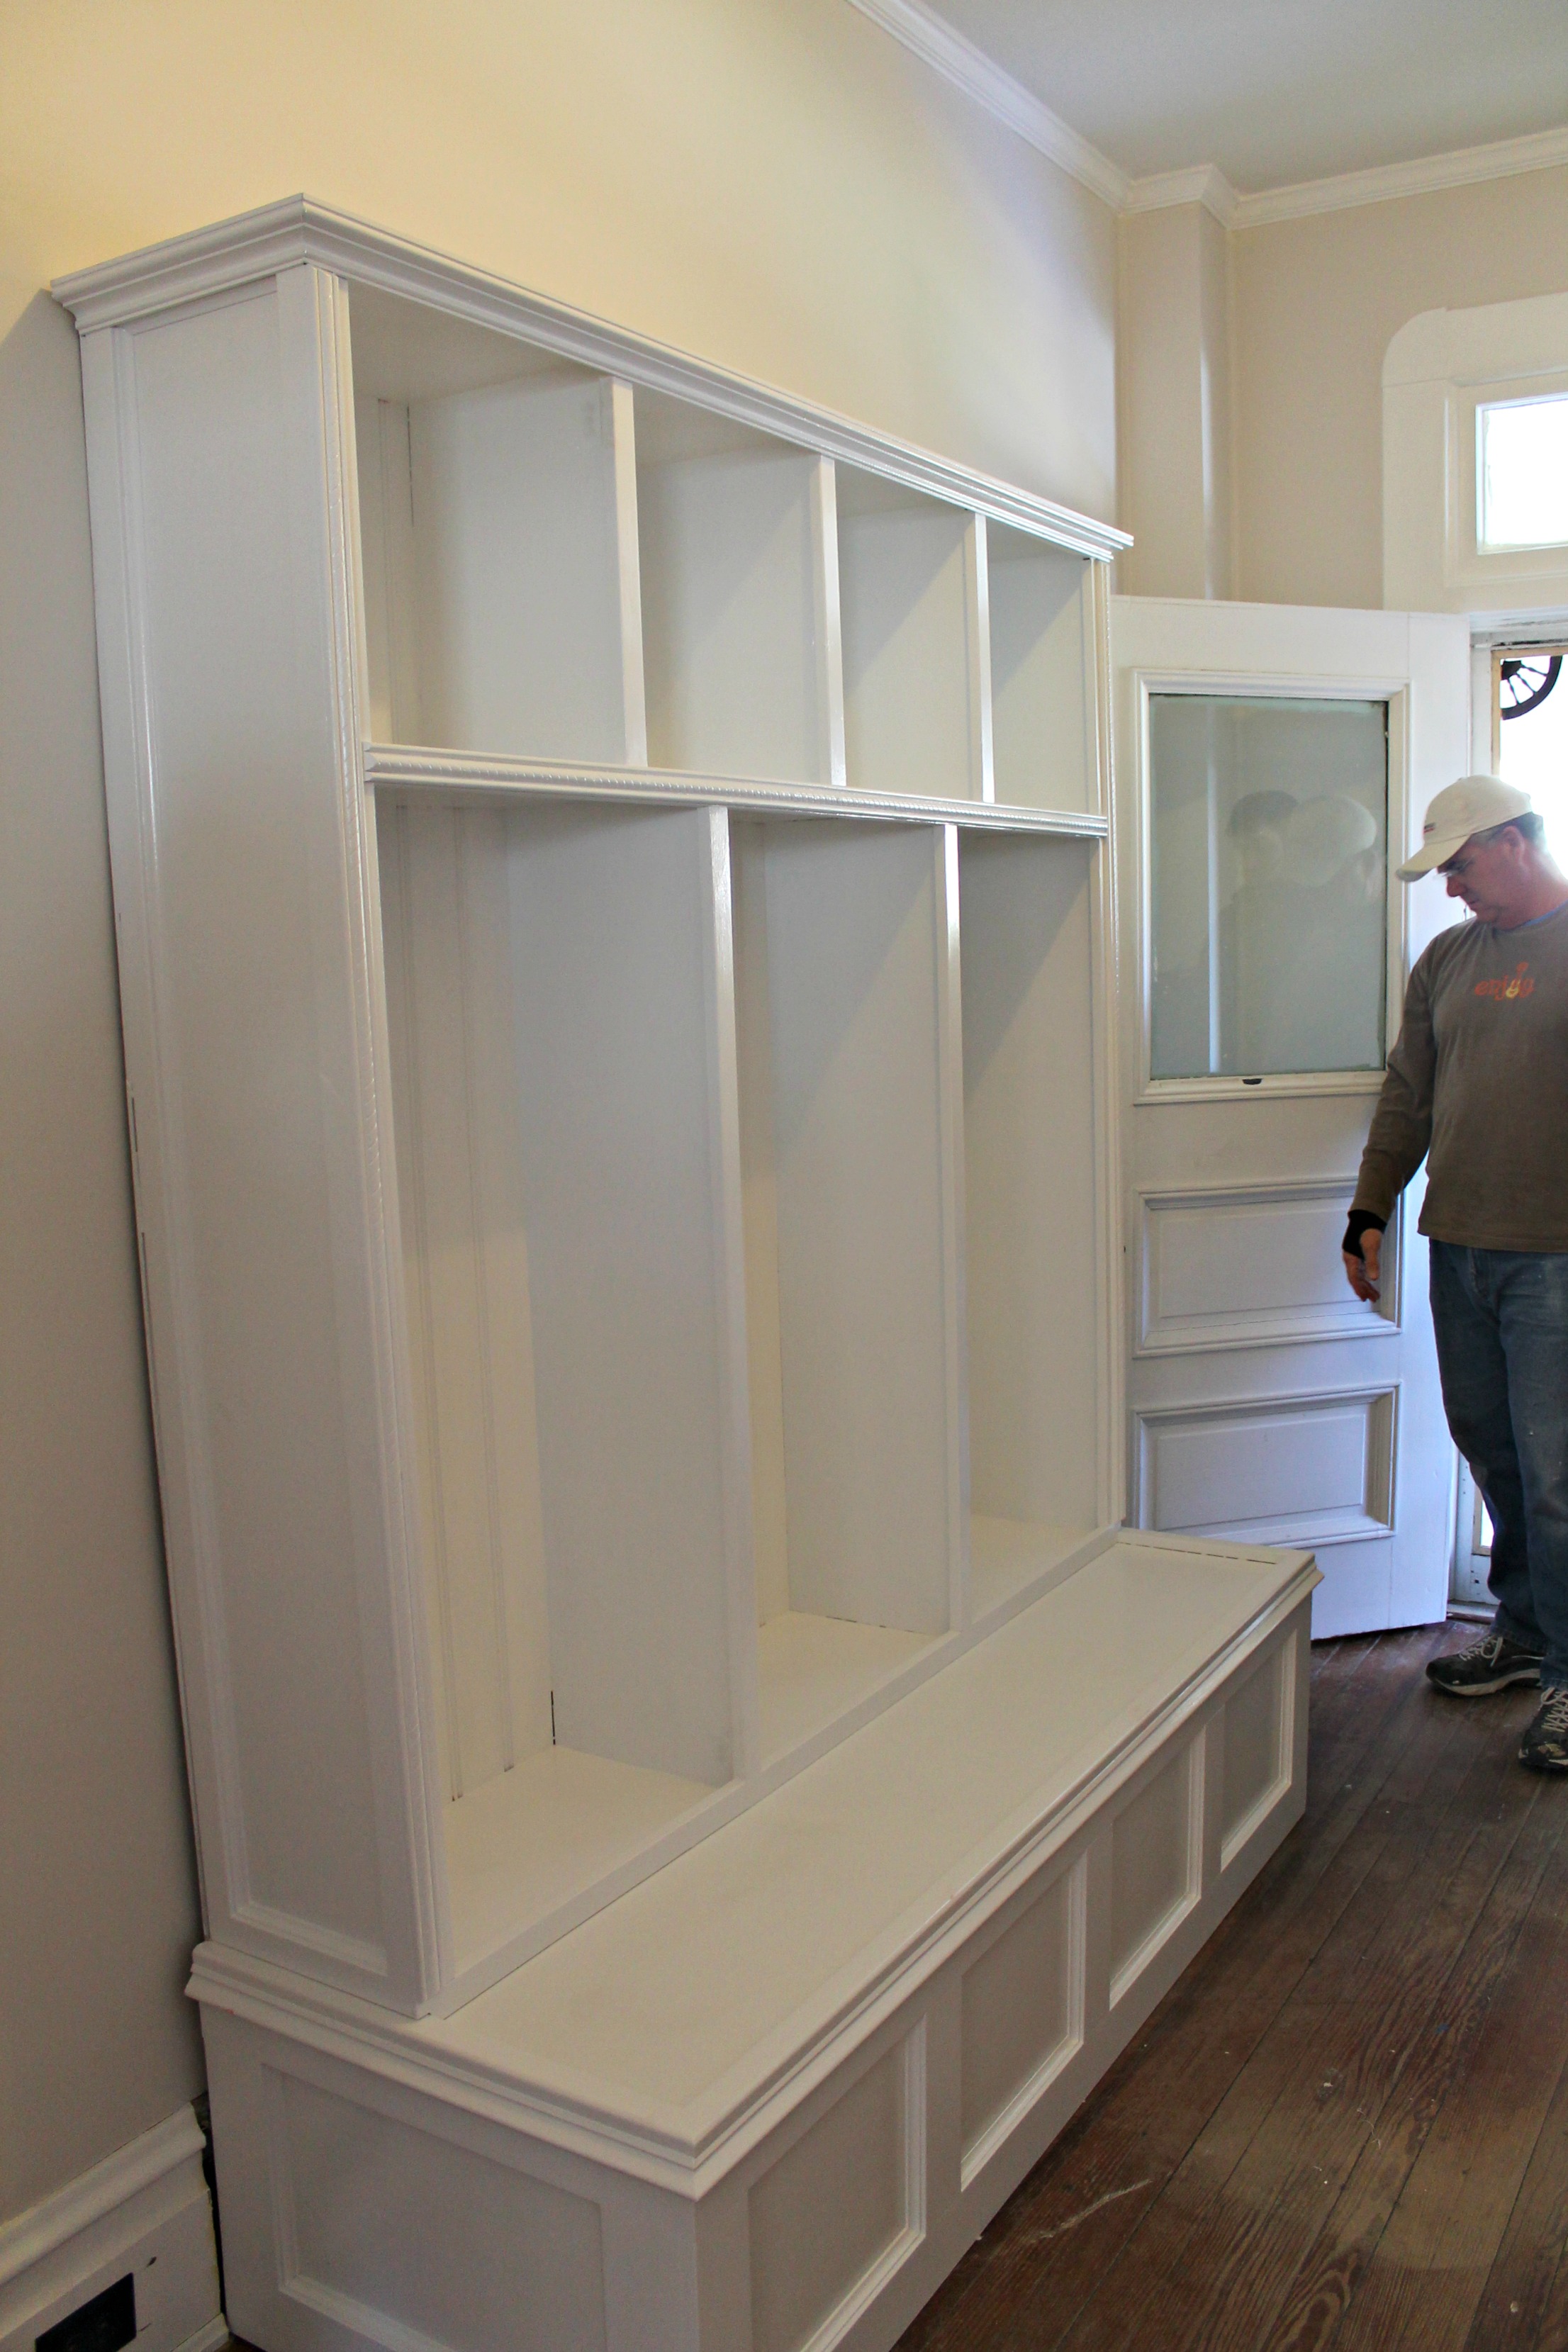
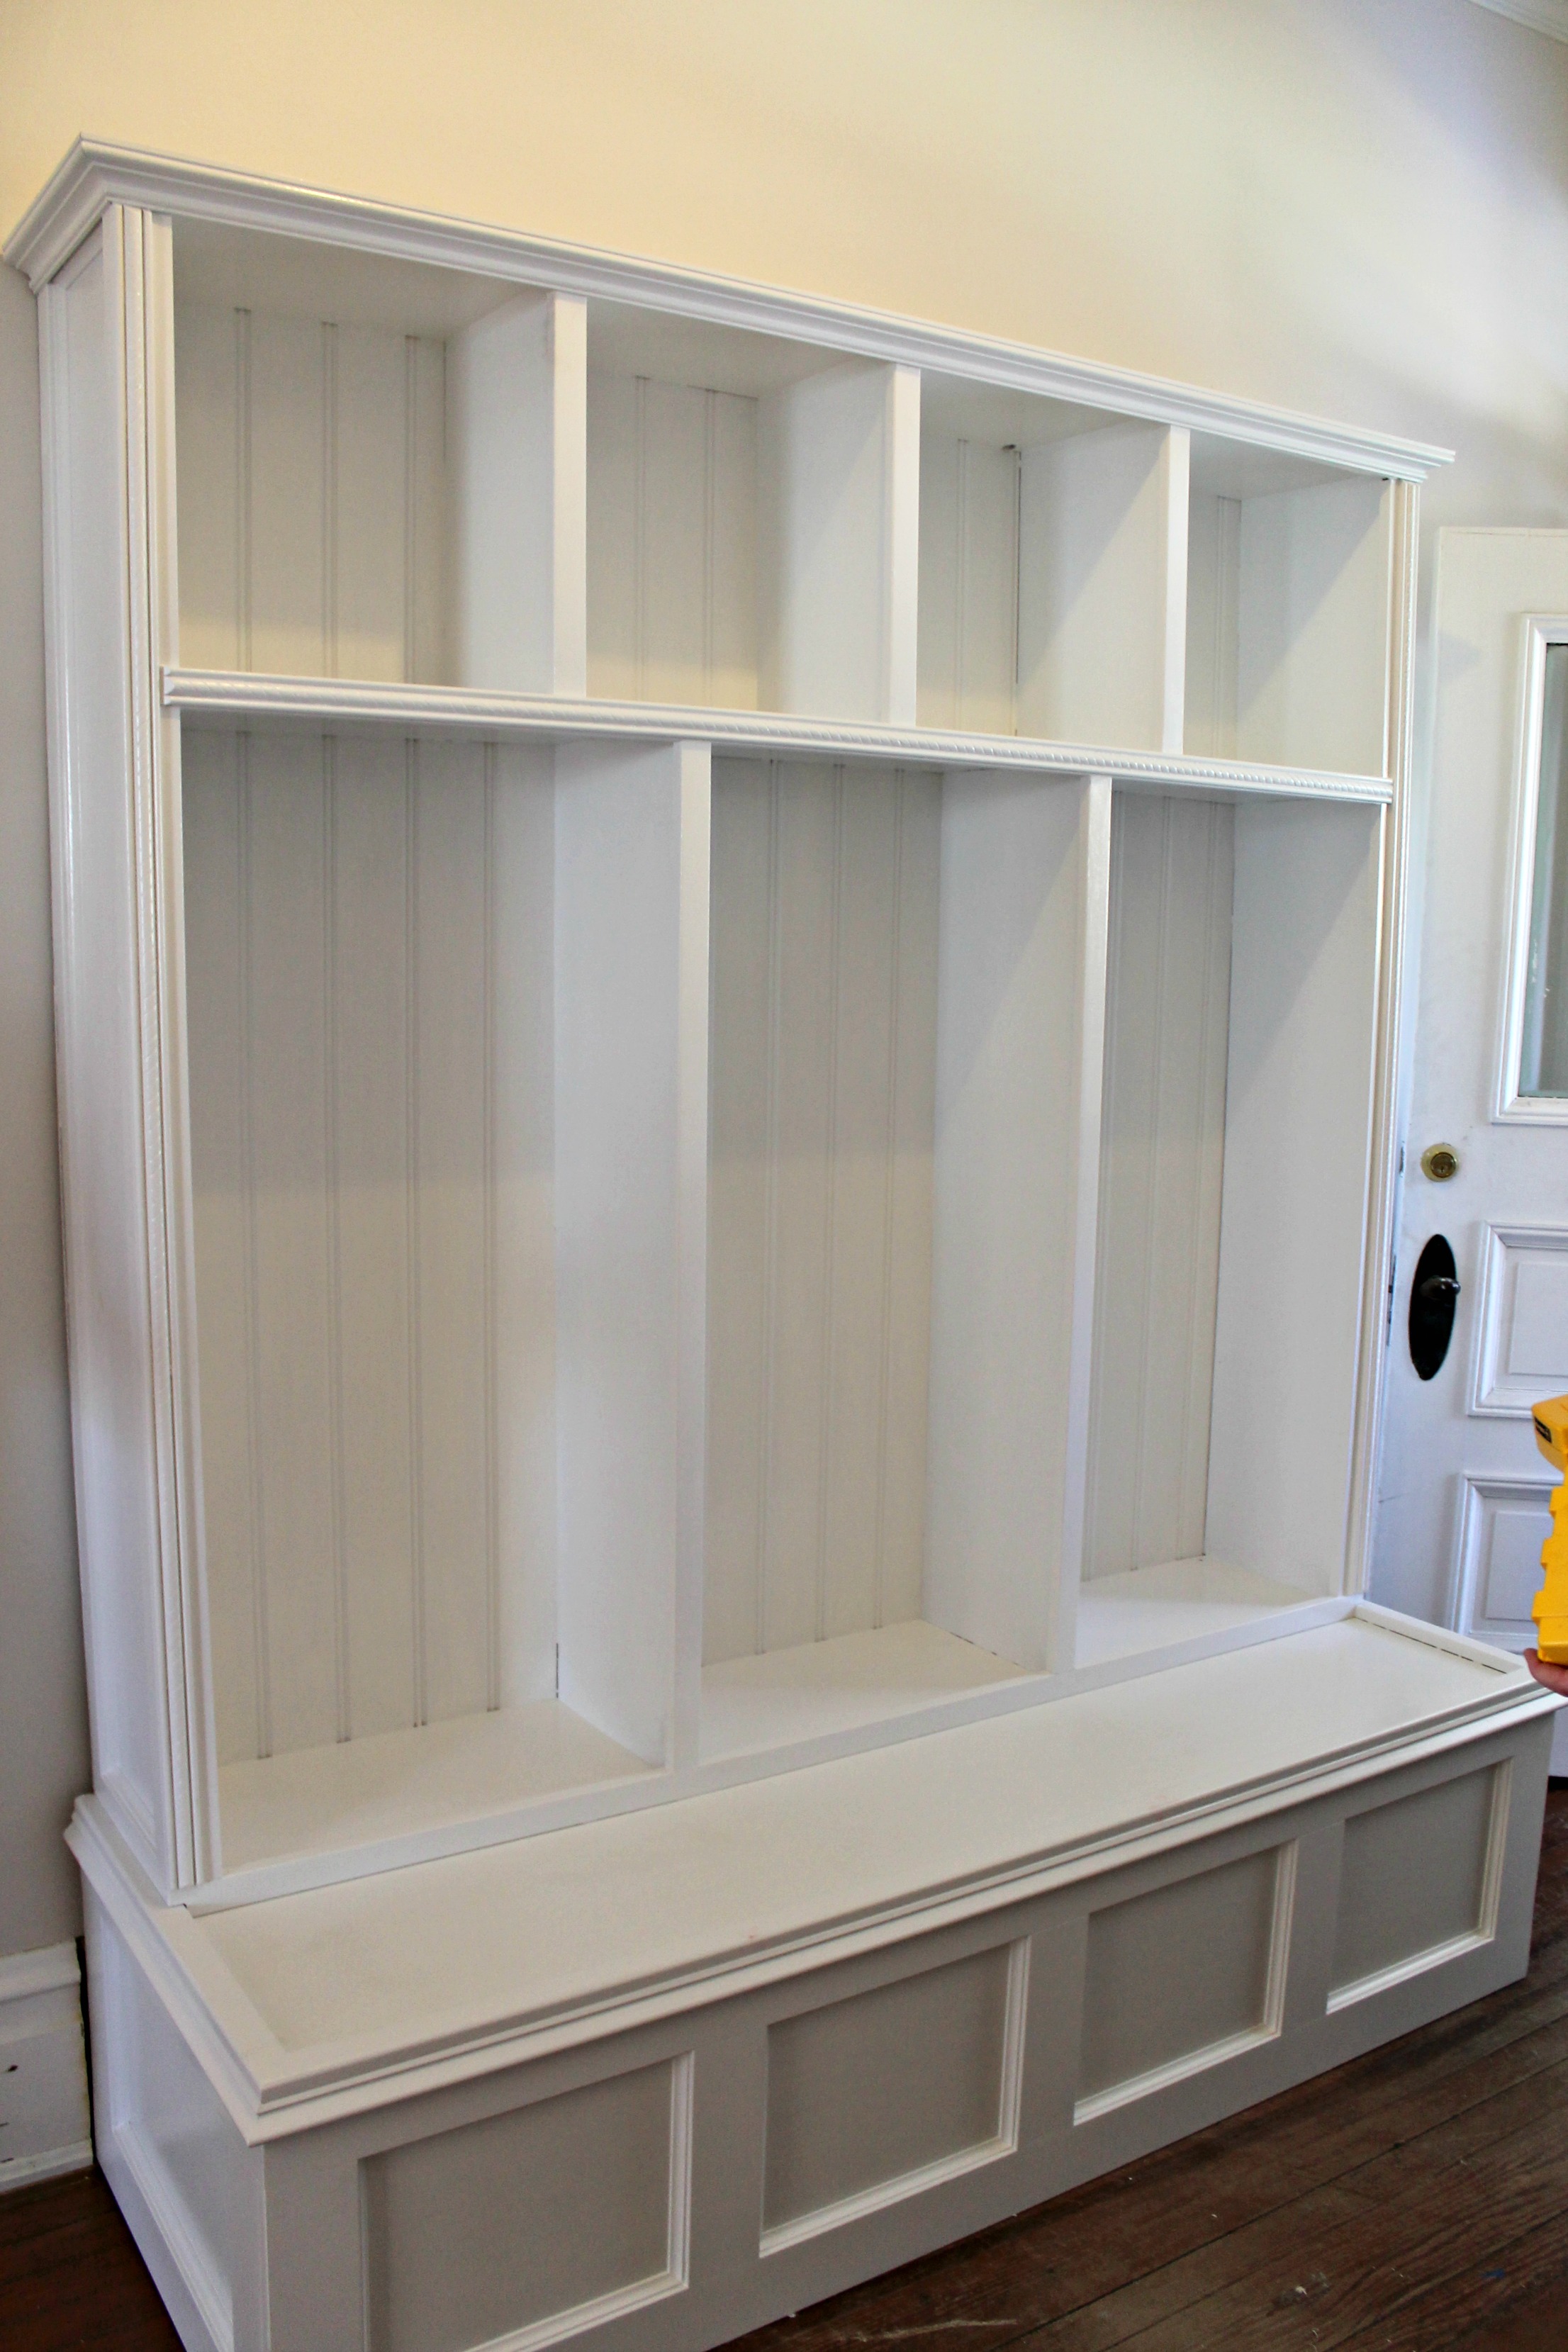
- Mud Room
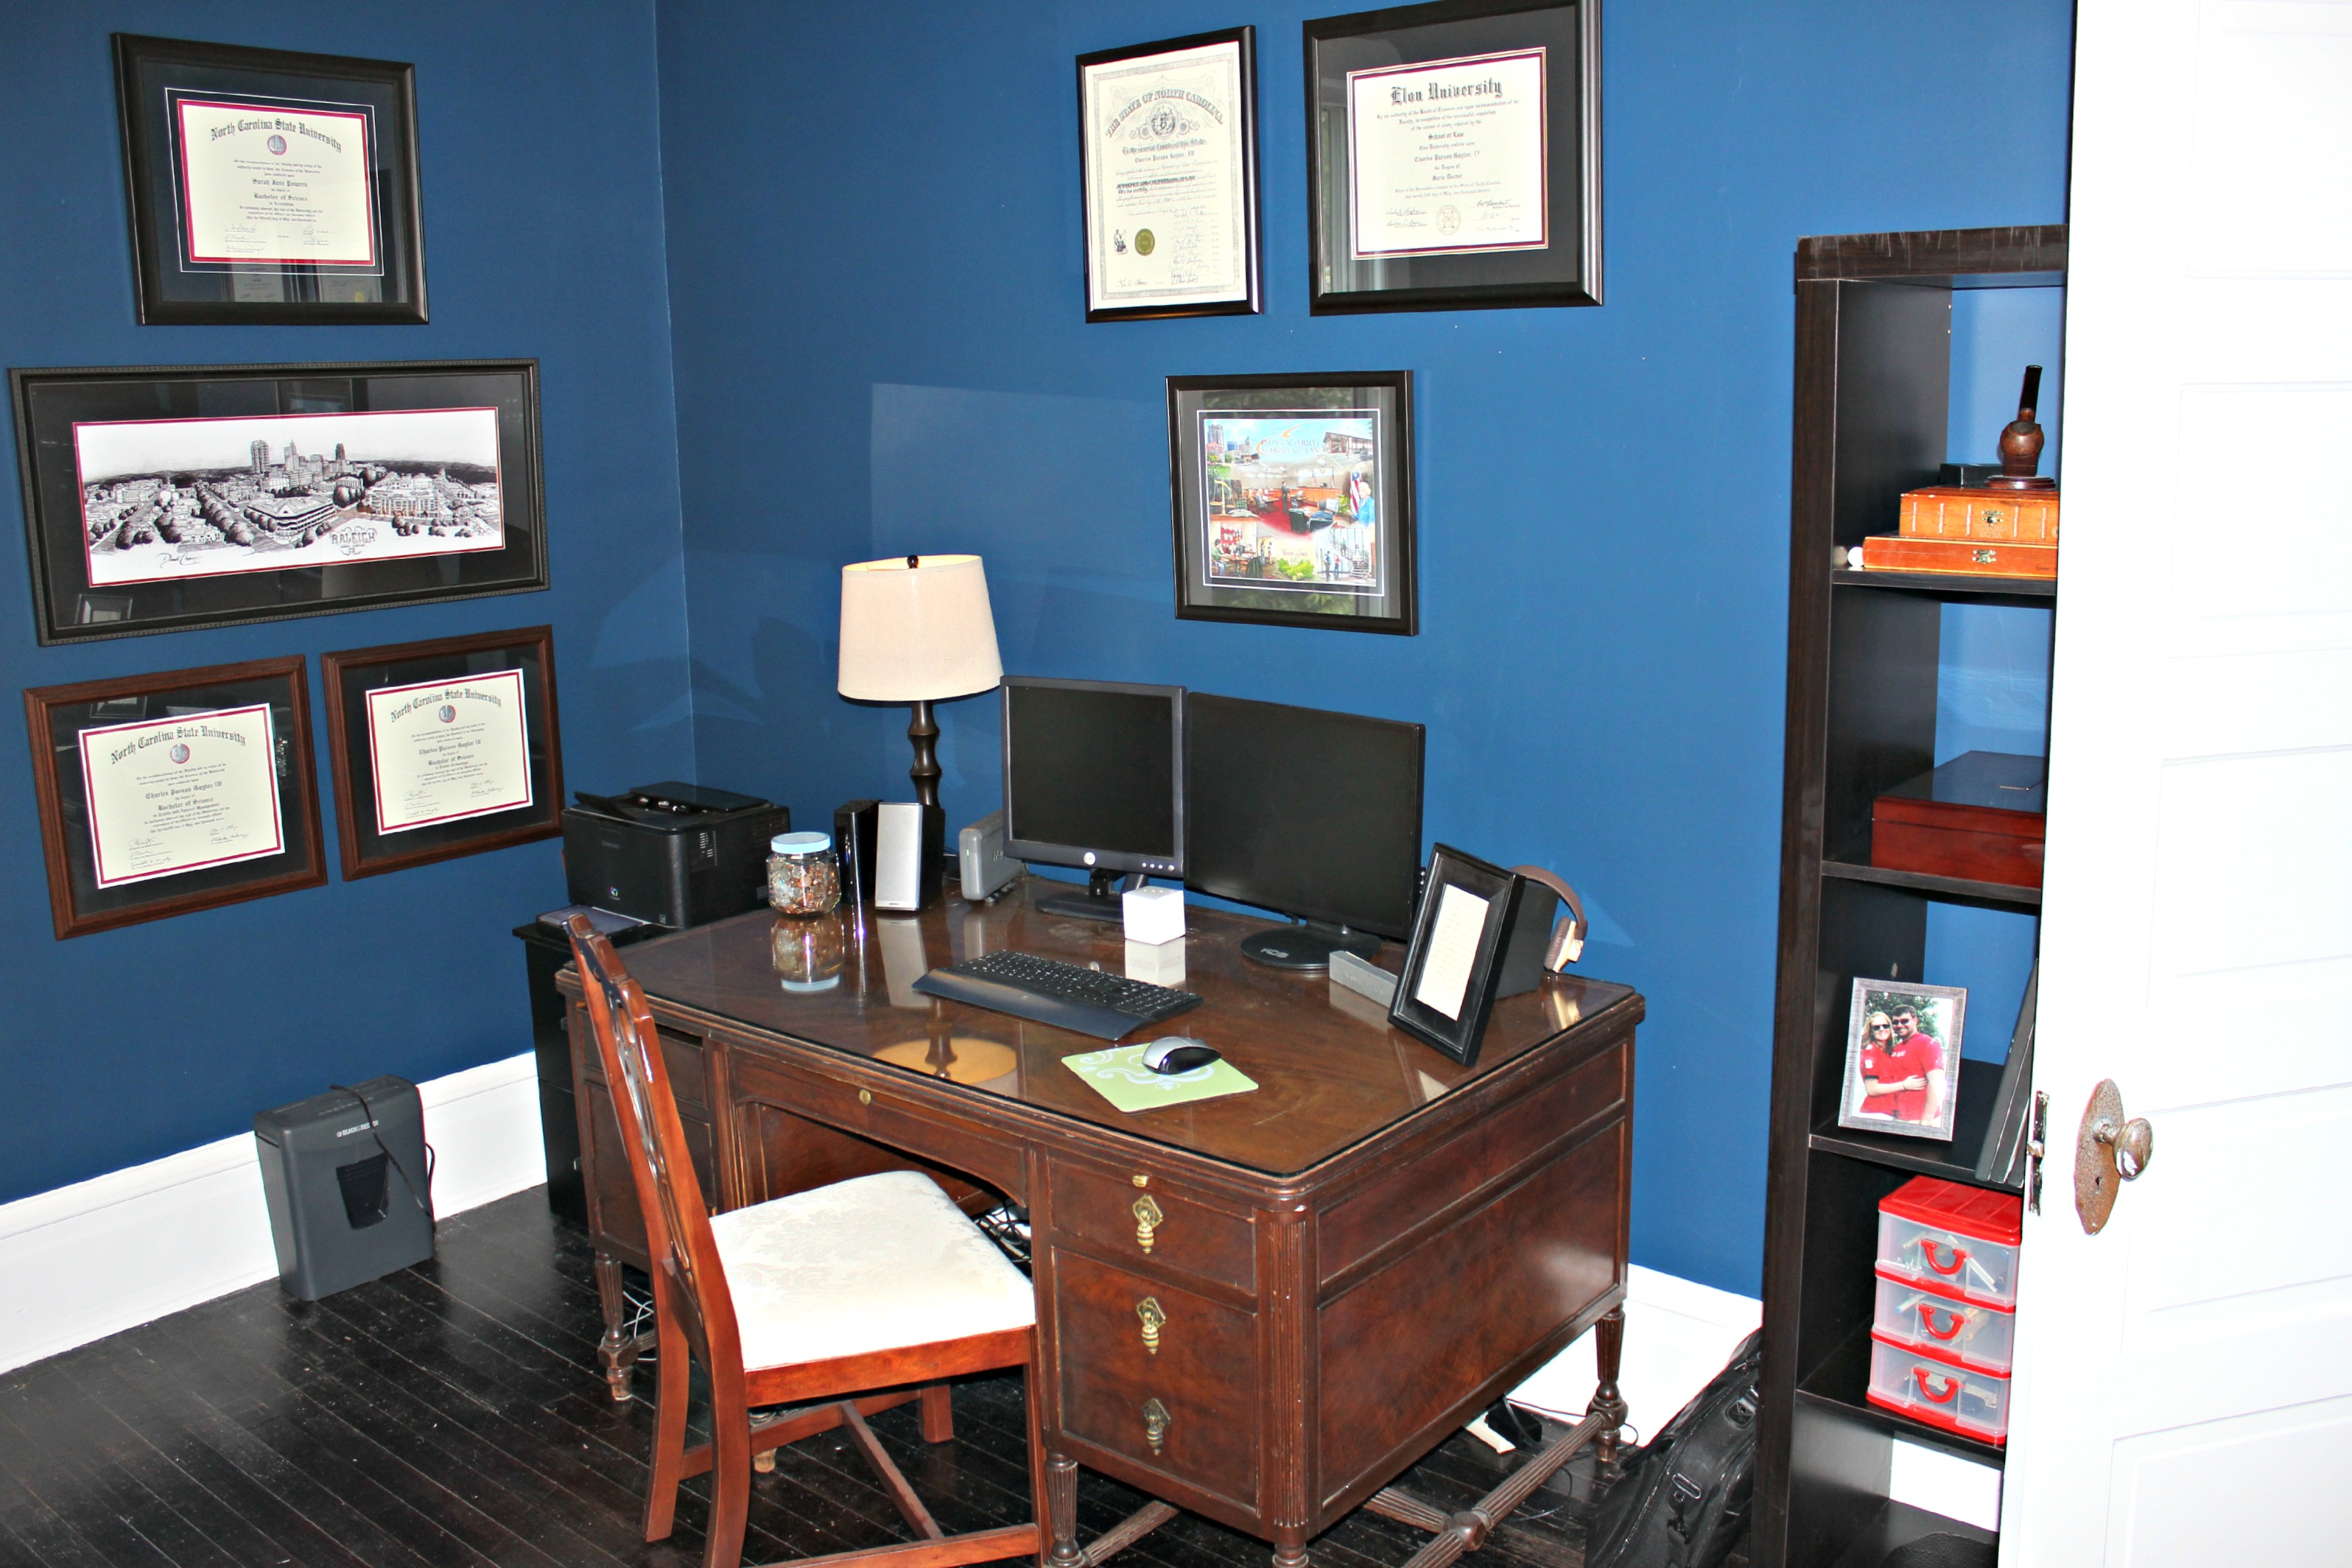
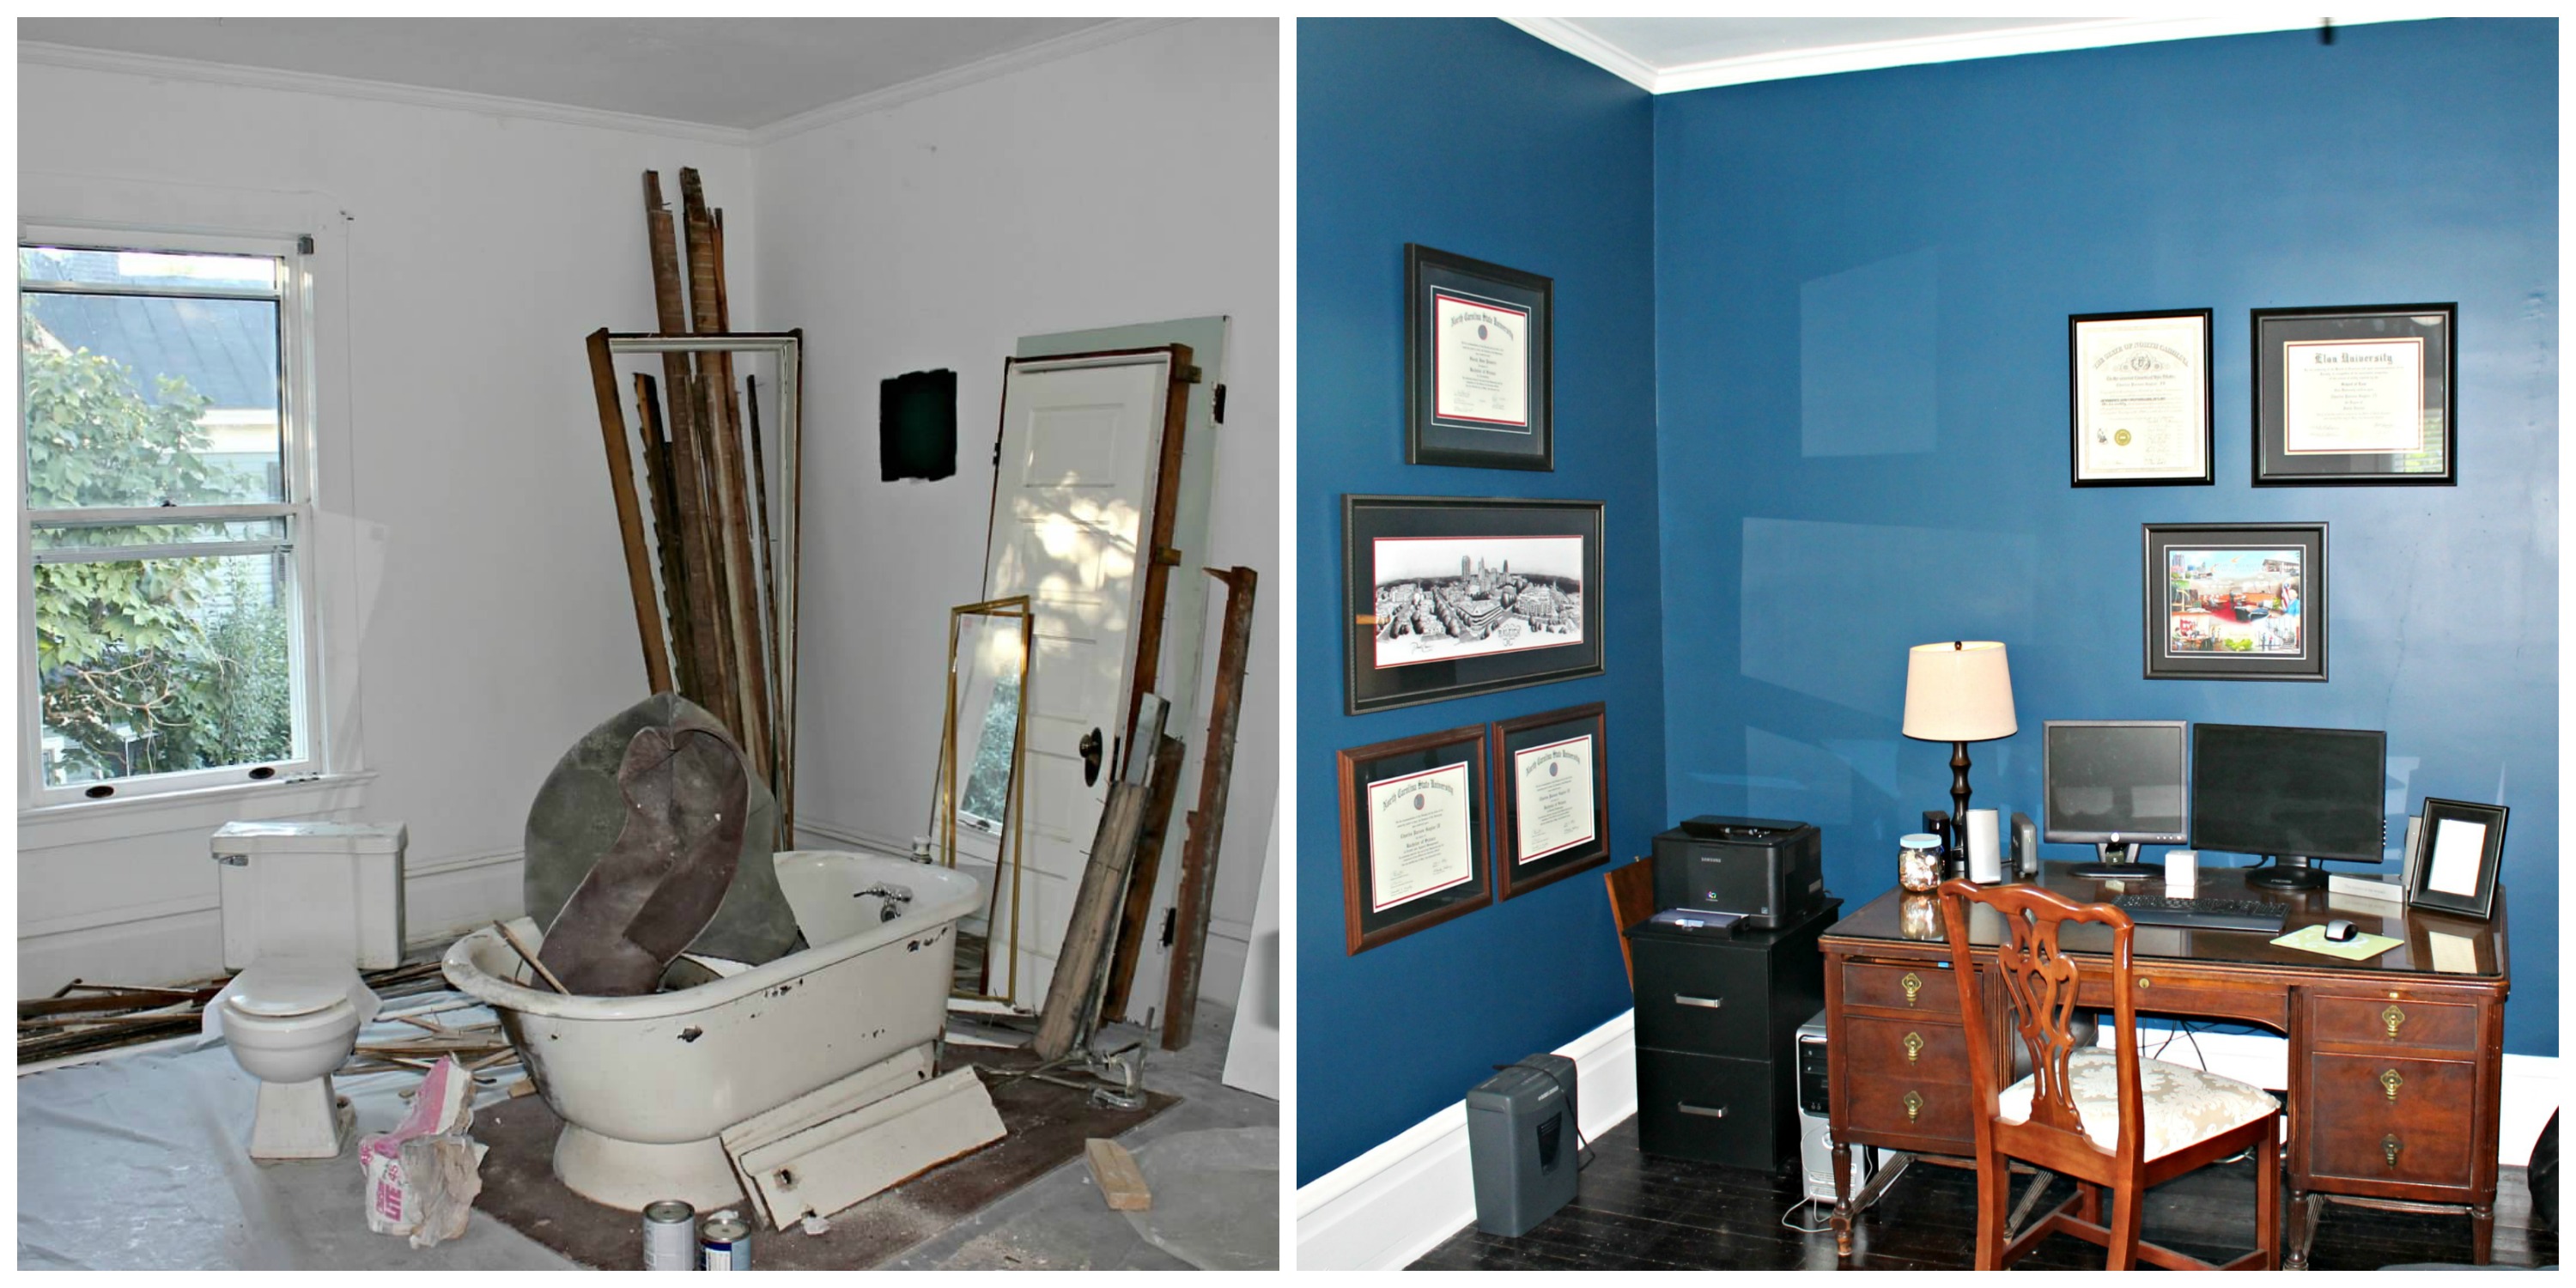
- Home Office
- Office Bathroom
- Master Bathroom